Ideas do not fall out of the sky – one gets inspiration from many different places. Some time ago I saw a pincushion embroidered with Cross stitches and Back stitches along a French pattern.
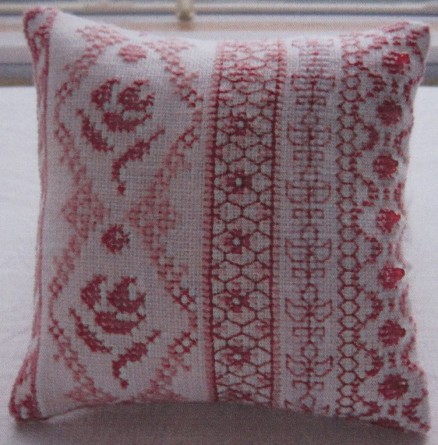
I thought that such a pincushion could also be worked in the style of Schwalm whitework.
Perhaps a small Schwalm design at the left?
In the center area a nice Needleweaving hem, a Peahole hem or an Openwork patterned band? At the right small schwalm-typical borders or decorative stitches?
I can very well envision this; what do you think? Won’t you please stitch along with me on this small and creatively fun project?
Let’s get started!
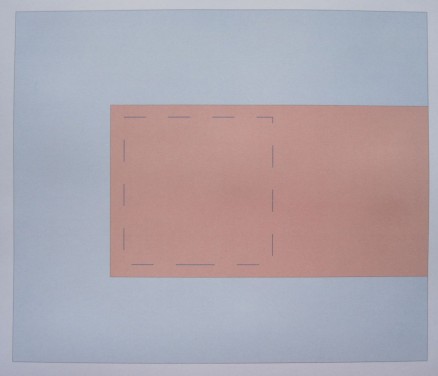
The finished pincushion will measure 12 cm X 12 cm. So, after the embroidery is finished, the linen will be cut (for the front and back) in the size of 14 cm X 26 cm (beige-coloured section); the measurements include a 1 cm seam allowance along three sides (after the rectangle is folded). The reason why one does not cut the linen to size beforehand is that the linen must be stretched in a hoop while working. The blue area represents the area that will be cut away after the embroidery is finished, and the size of excess linen depends on the size of the hoop one is using.
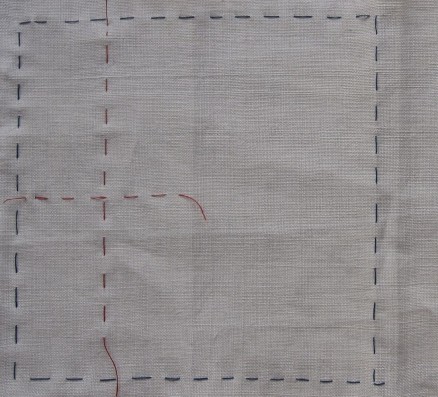
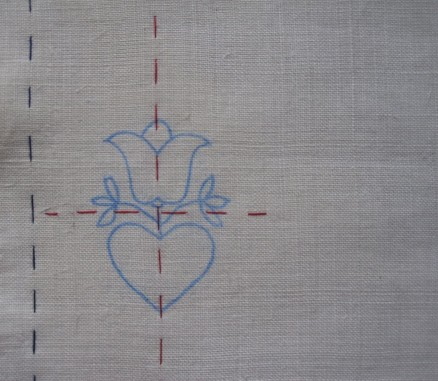
For my project I chose a very fine handwoven linen. With Running stitches (blue) I outlined a 12 cm X 12 cm area, which will be decorated with embroidery later. Inside this space I marked the horizontal and vertical axes to aid in the precise placement of a small motif which I had chosen to work at the left. Additional small designs can be found in the downloadable document 24 small designs
I transferred the chosen motif to tracing paper using a DEKA iron transfer pencil. With a pen I marked the straight of grain.
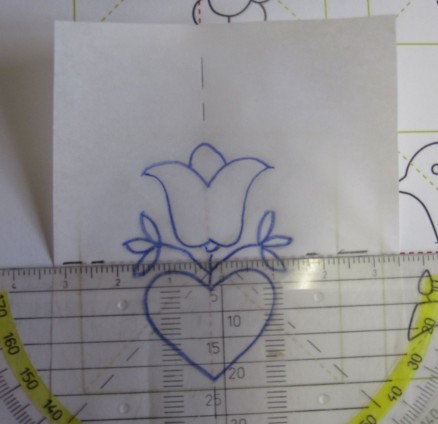
The motif was then transferred to the linen.
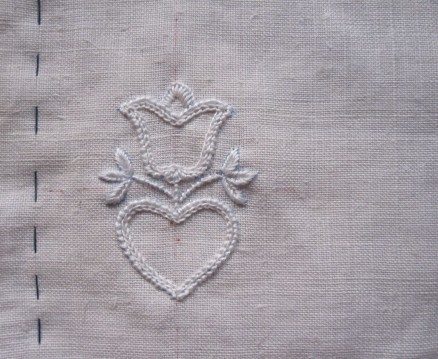
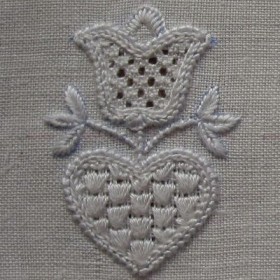
Coral Knot stitches, Chain stitches, Satin stitches and Blanket stitches were worked.
I decided to fill both motif areas with Limet patterns. So I withdrew the threads cutting 1 – leaving 3
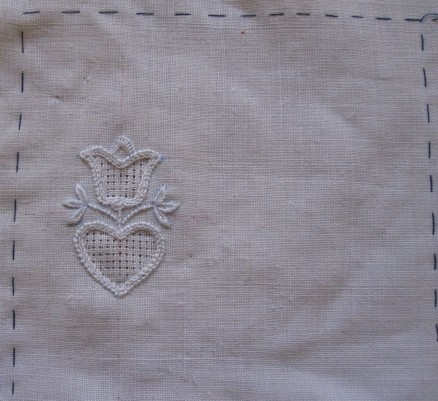
and embroidered the chosen patterns.
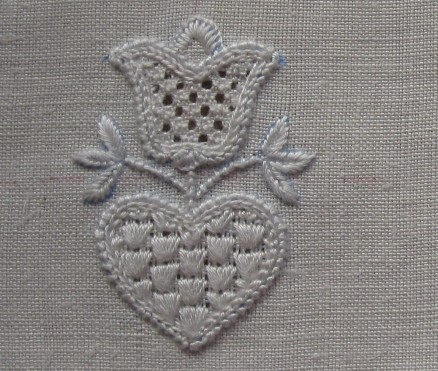
The heart was filled with the pattern “Netzpatent” (“magic net”) (Limetrosen I, page 64). The tulip was decorated with Rose stitches (Basic Principles of Schwalm Whitework, pages 50–52).
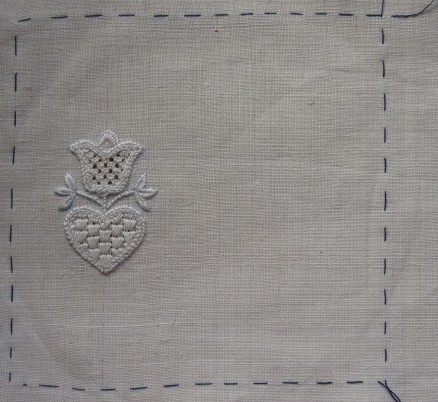
The first section is finished. Now it is time to consider how to embroider the next section:
Needleweaving hem? Peahole hem? Openwork pattern band? Or….?
What have you decided?
I would really enjoy receiving emails with pictures of your ideas realized!


Vielen Dank für diese tolle Anregung!
grazie per le bellissime cose che ci fai vedere.
Sei bravissima!!!!!
un saluto dall’ Italia
This is going to be a very interesting Ideas Workshop.
Great idea!