
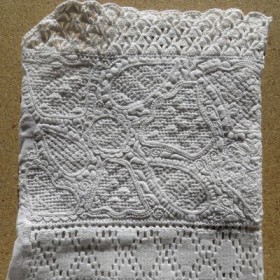
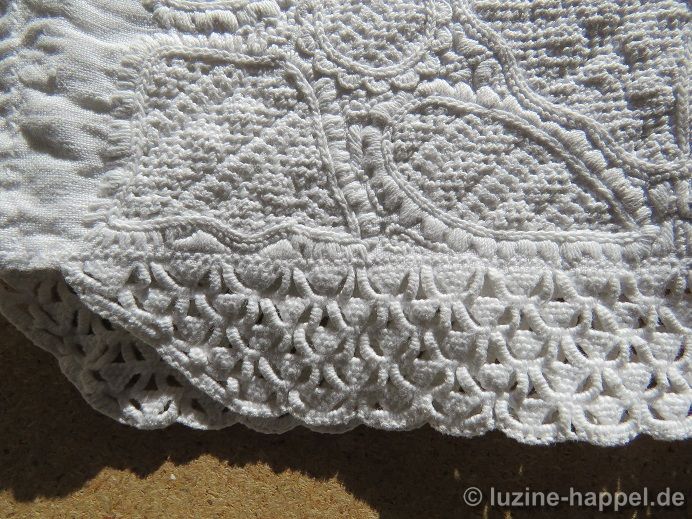
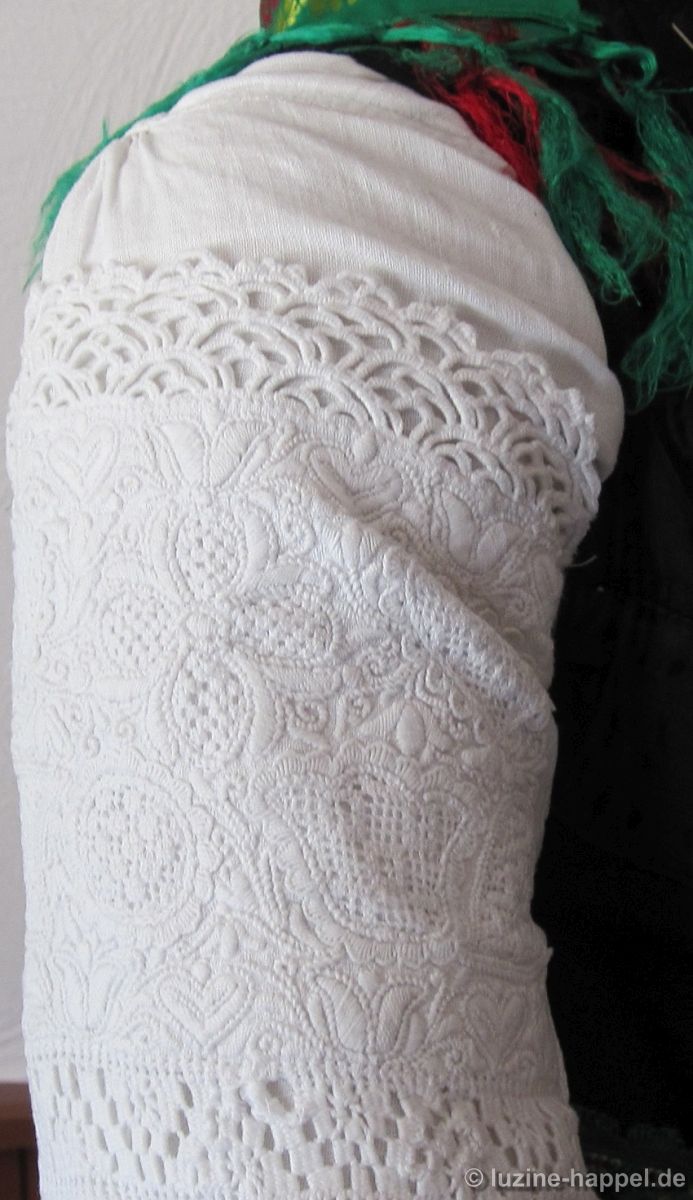
There was a wide variety of embroidery on the cuffs of the Schwalm bodice sleeves. The bottom edges (looking at the cuff unfolded) always had a more
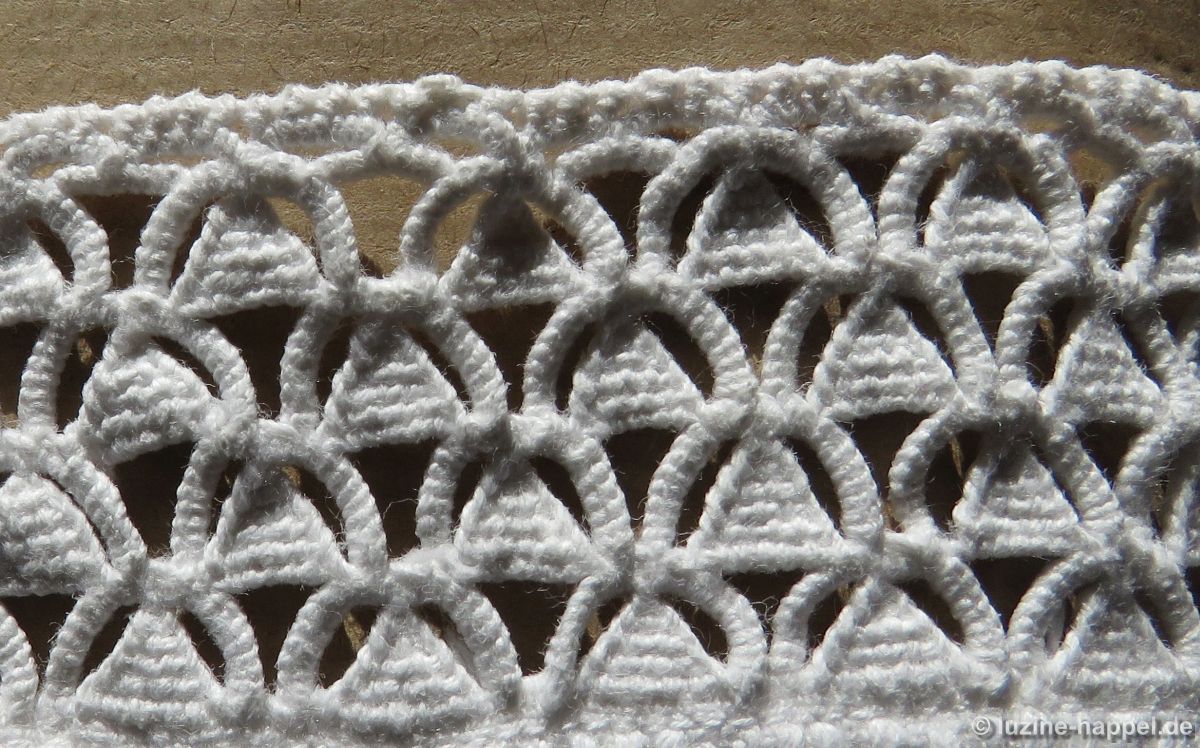 or less elaborate needlelace.
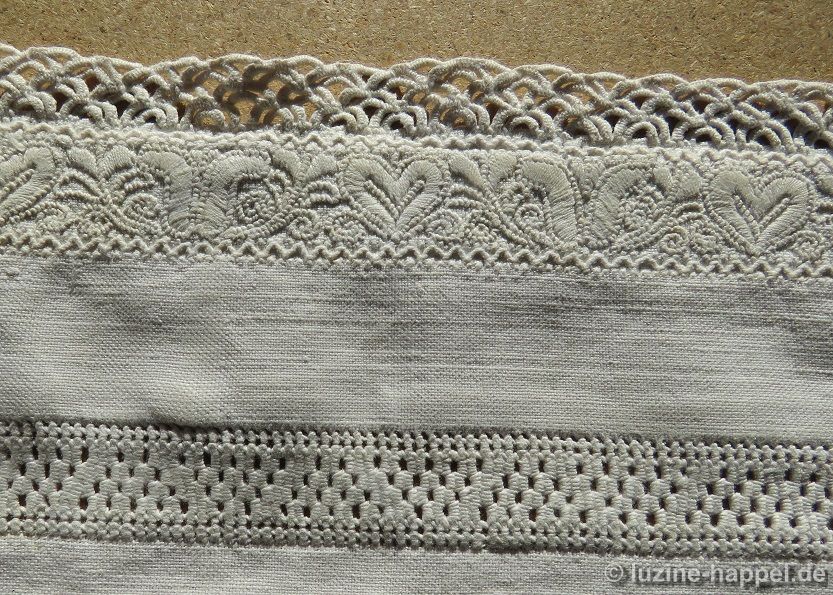
 At the top edge of the cuff, either a Peahole hem,
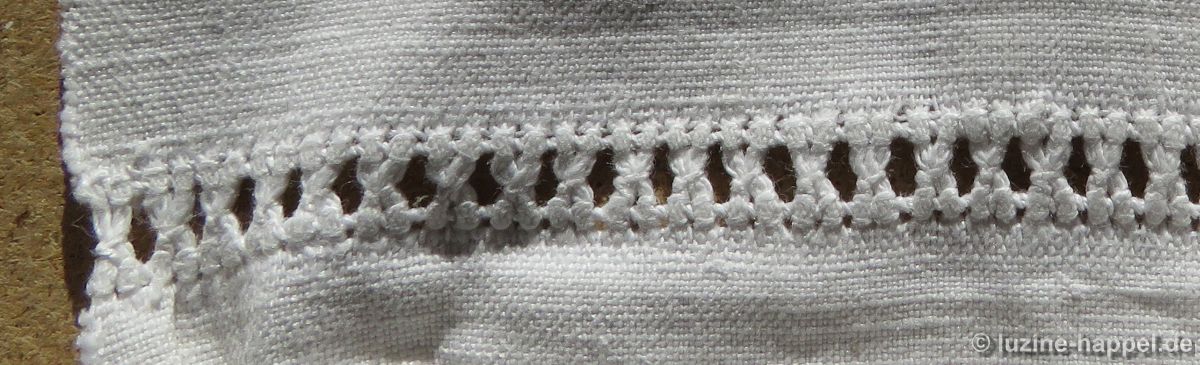
 a needle weaving hem,
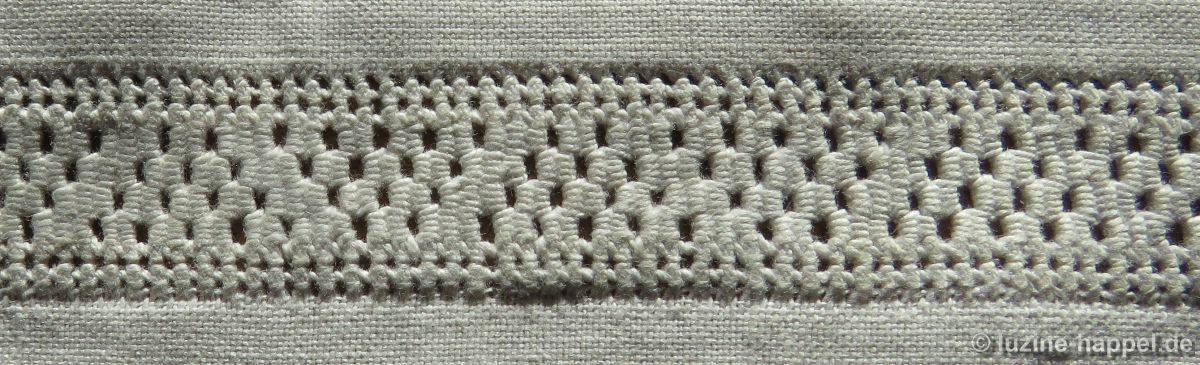 or a needle weaving hem with an additional Peahole hem was worked.
 Between both, a band—the widths varying—was fully,
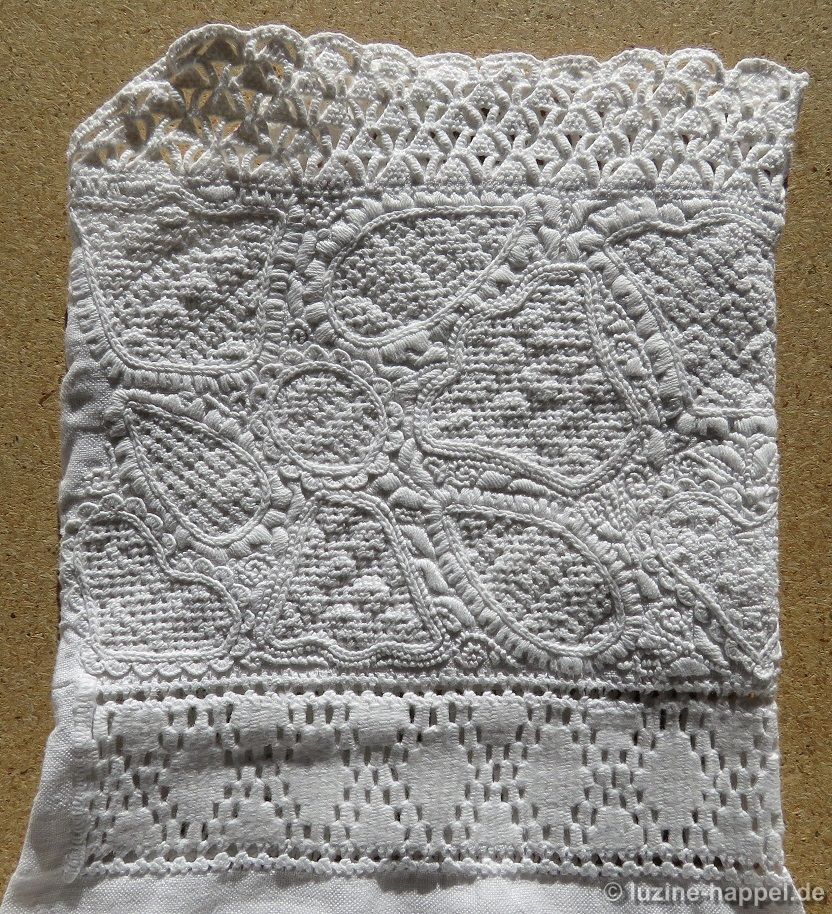 or even partially, filled with Schwalm whitework.
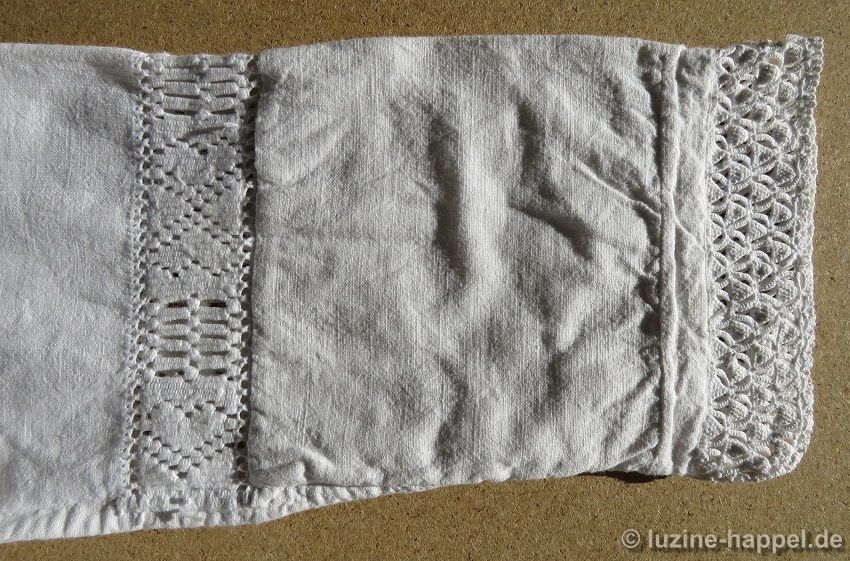
 The most extensive cuff decoration I have at my disposal has a total width of 22 cm, and the whitework border has a width of 14 cm. The width of other cuff decorations measured between 10 and 20 cm. Only the decorations for children´s bodice sleeve cuffs were smaller.
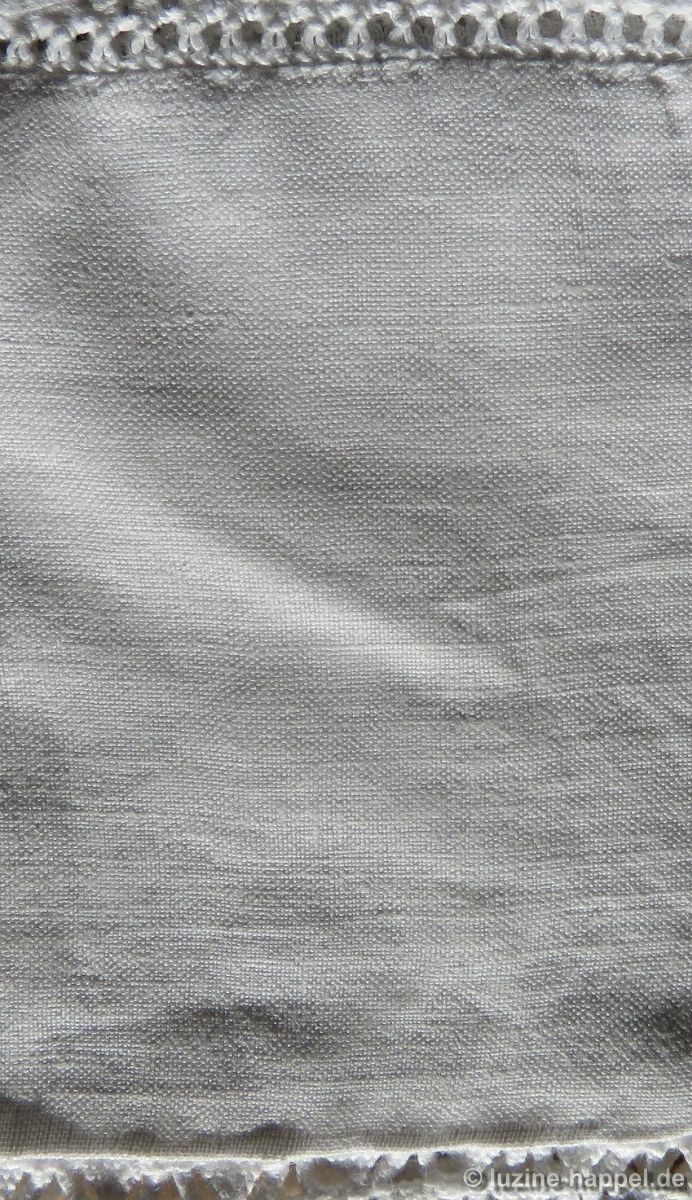
The whitework borders of the Schwalm bodice cuffs were always lined. There were two methods of lining:
1. The sleeve was cut to length so that an extra deep seam and an additional seam allowance were already included.
 Here the problem was that the sleeves, from the shoulder, were tapered down to the cuff. So, when folding back the lining, the width was not adequate to cover all the embroidery.
 2. The sleeve was cut to size with a bottom seam allowance of about 2–3 cm. An additional linen strip the width of the sleeve cuff was put on the seam allowance to line the section between the needlelace and the bottom edge of the hem decoration.
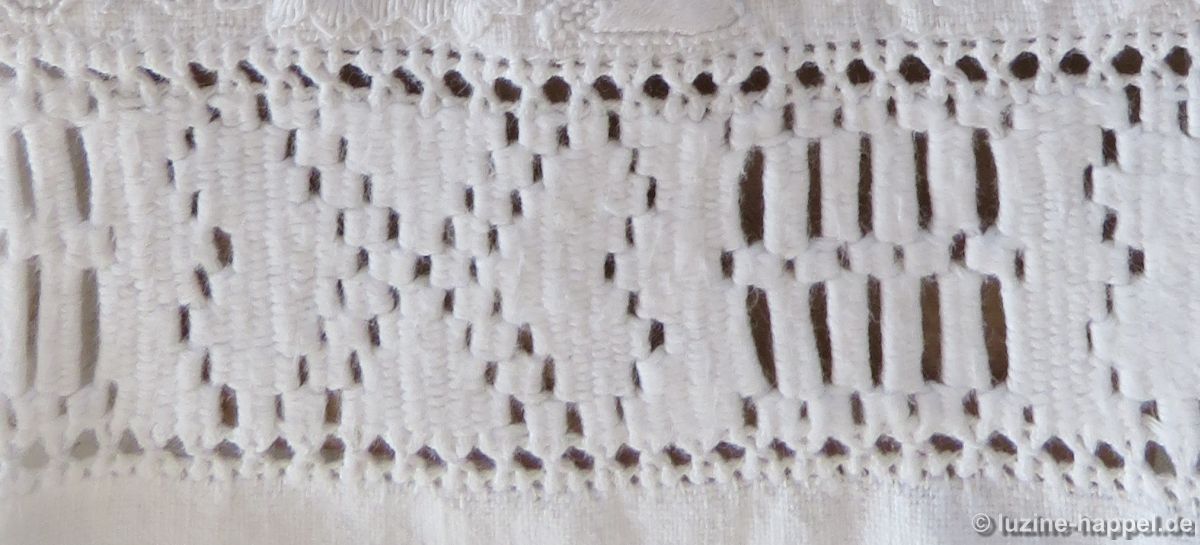
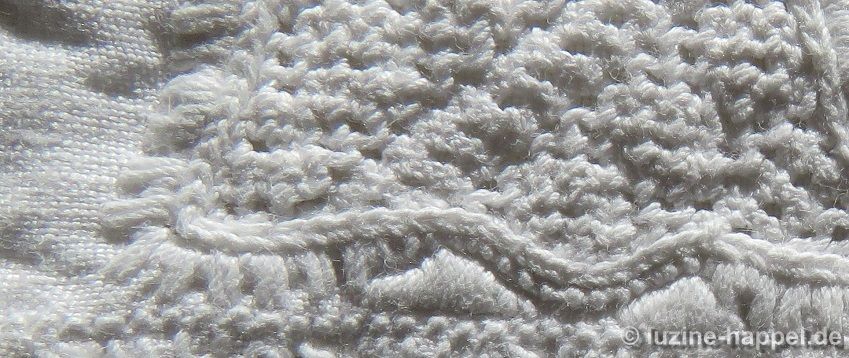
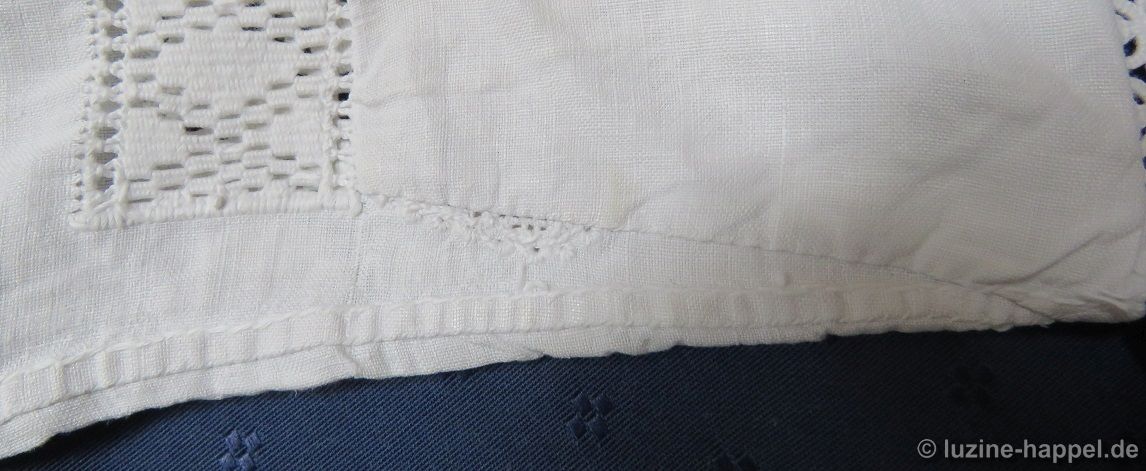
 One started with withdrawing a thread at both the top and the bottom edges of the border. Between these lines the chosen design was embroidered. Sometimes, as seen in the example below, some more threads were withdrawn to work curved lines between. (More curved line patterns can be found in my publication Schwalm Curved Lines, Narrow Borders, and Ornamental stitches.) The withdrawn thread lines were covered with Back stitches.
 Then the hems were worked; they usually reached from side to side of the sleeve.
 In only a few cases did they end before reaching the side edges.
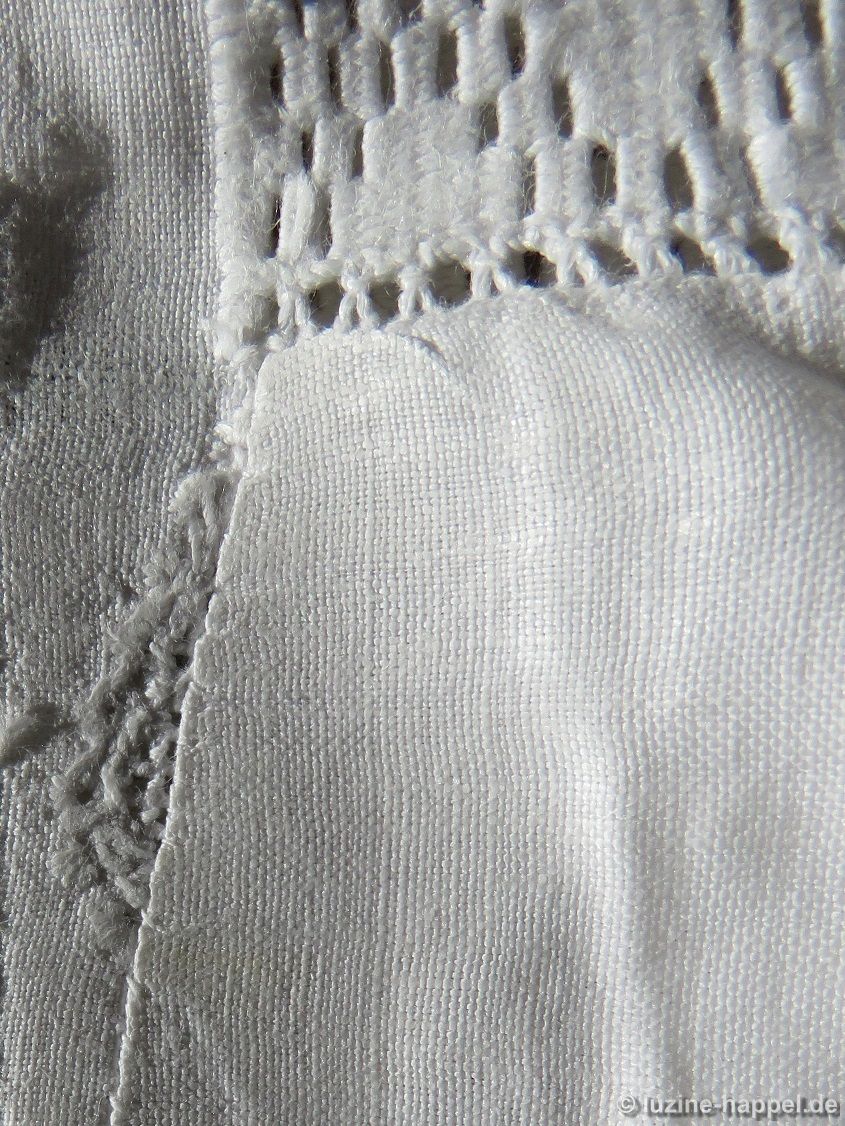
 At the bottom of the sleeve, the seam was folded and held in place with a row of Back stitches along the initial withdrawn thread line.
 t a short seam allowance a strip was added. The top edge of the strip was folded along a seam allowance and then fastened with Antique Hem stitches at the bottom edge of the hem.
 At the bottom edge of the cuff, needlelace was worked. It usually did not run across the entire width of the sleeve cuff, but started and ended about 1 cm from the side edges.
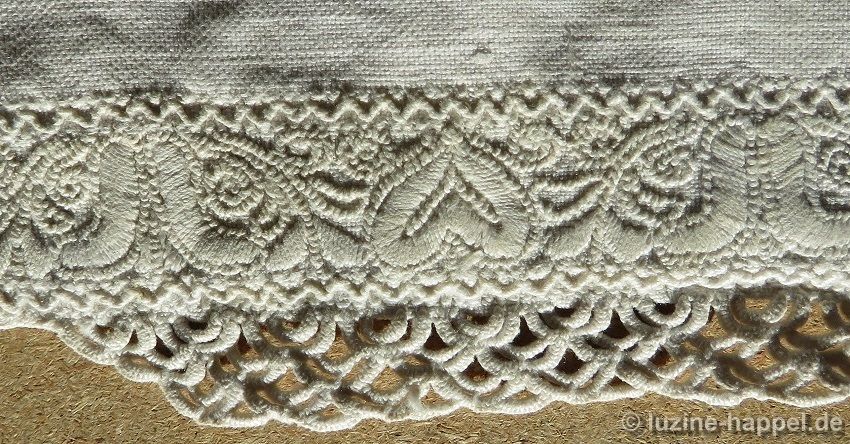 A wider needlelace was tapered down.
 The sleeves were closed. If lining did not reach to the sides, the edges were folded under and the lining was secured with fine stitches.
 The sleeves were turned inside out
 and then inserted in the armscyes.
 Folded up nearly reaching the shoulders, the genteel adornment developed its full magnificence.

Leave a Reply