
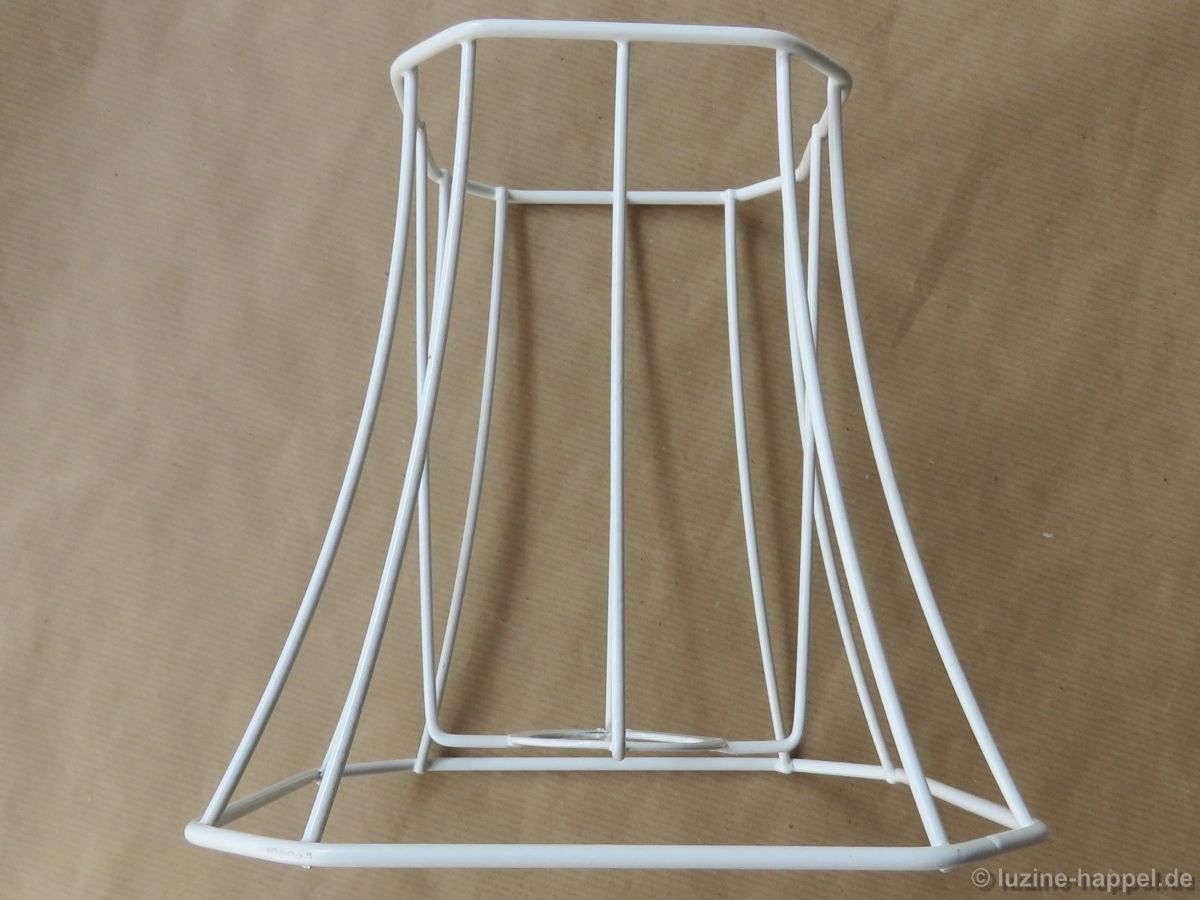
To make a small lampshade, as shown in the previous post, you will need a frame. The wire frame should have a simple shape. Octagonal frames are especially suited; they look beautiful, are solid, and the wires can be covered later by the seams of the lampshade.
The wire frame must be encased in some kind of coating. The coating has to be pristine without any damage; any blemish that exposes metal can get rusty, and any tiny sharp bits will damage the linen.
These kinds of damages are irreparable.
Also, you will want a matching lamp base.
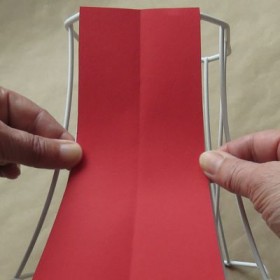
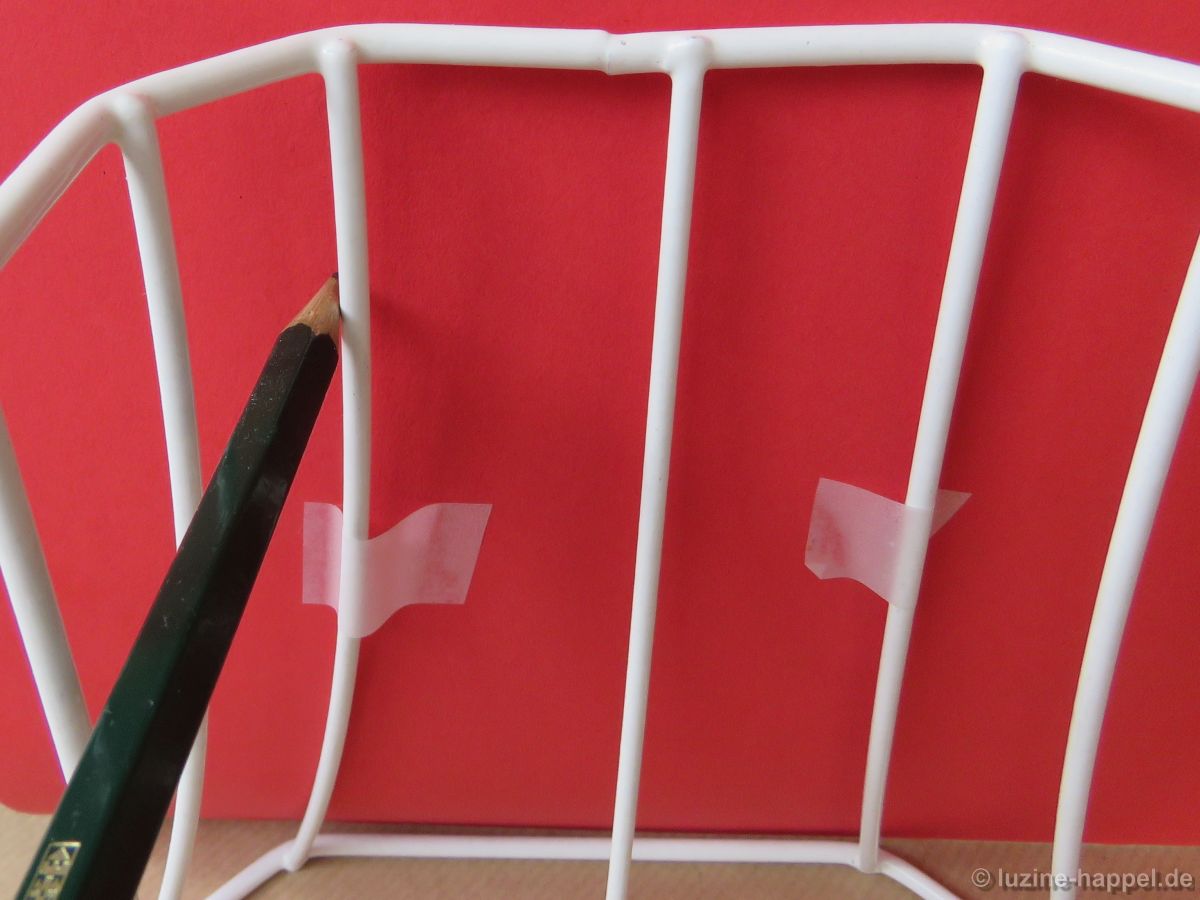
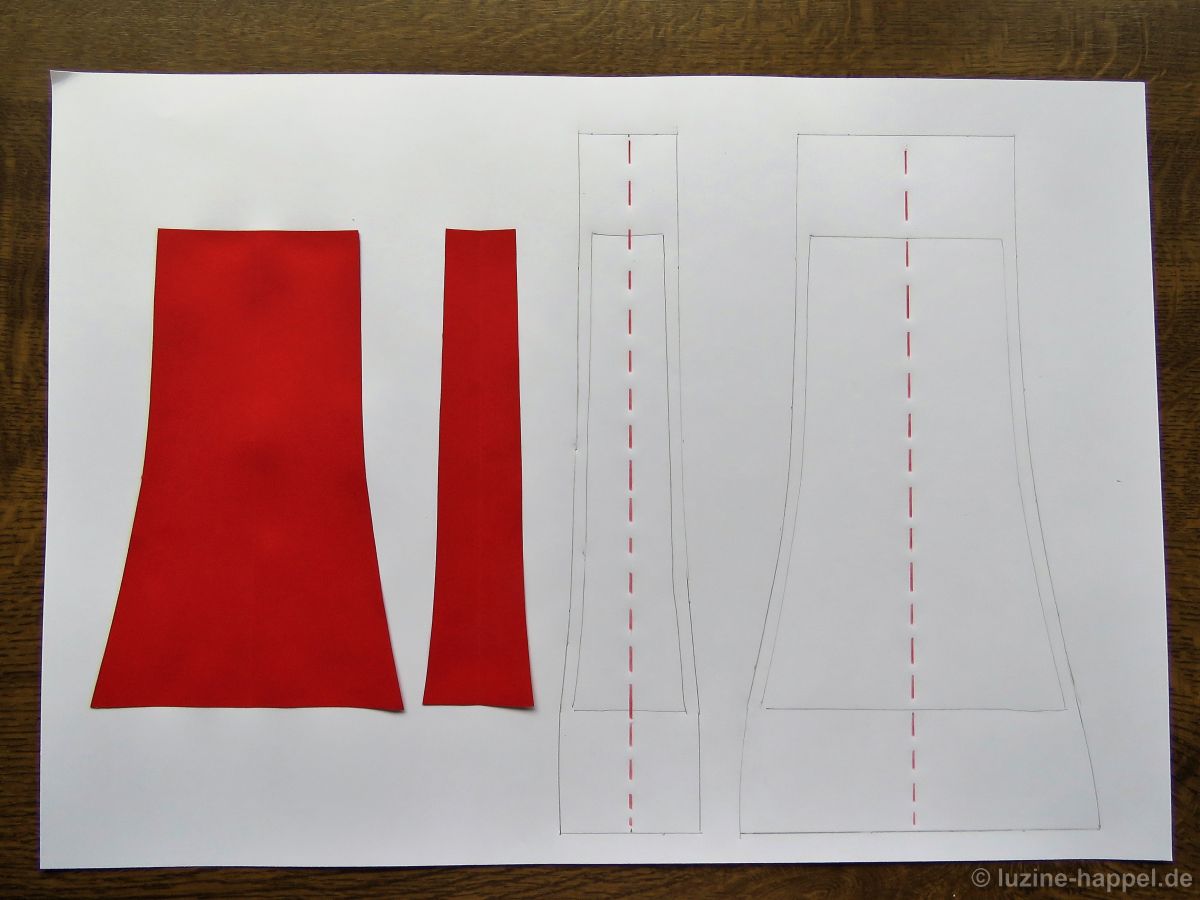
 The first step is to make a pattern for the lampshade. Because the shape is slightly concaved, it is best to lay a sheet of paper along the frame, to tape it, and then to mark the outside lines along the wires of the respective sections.
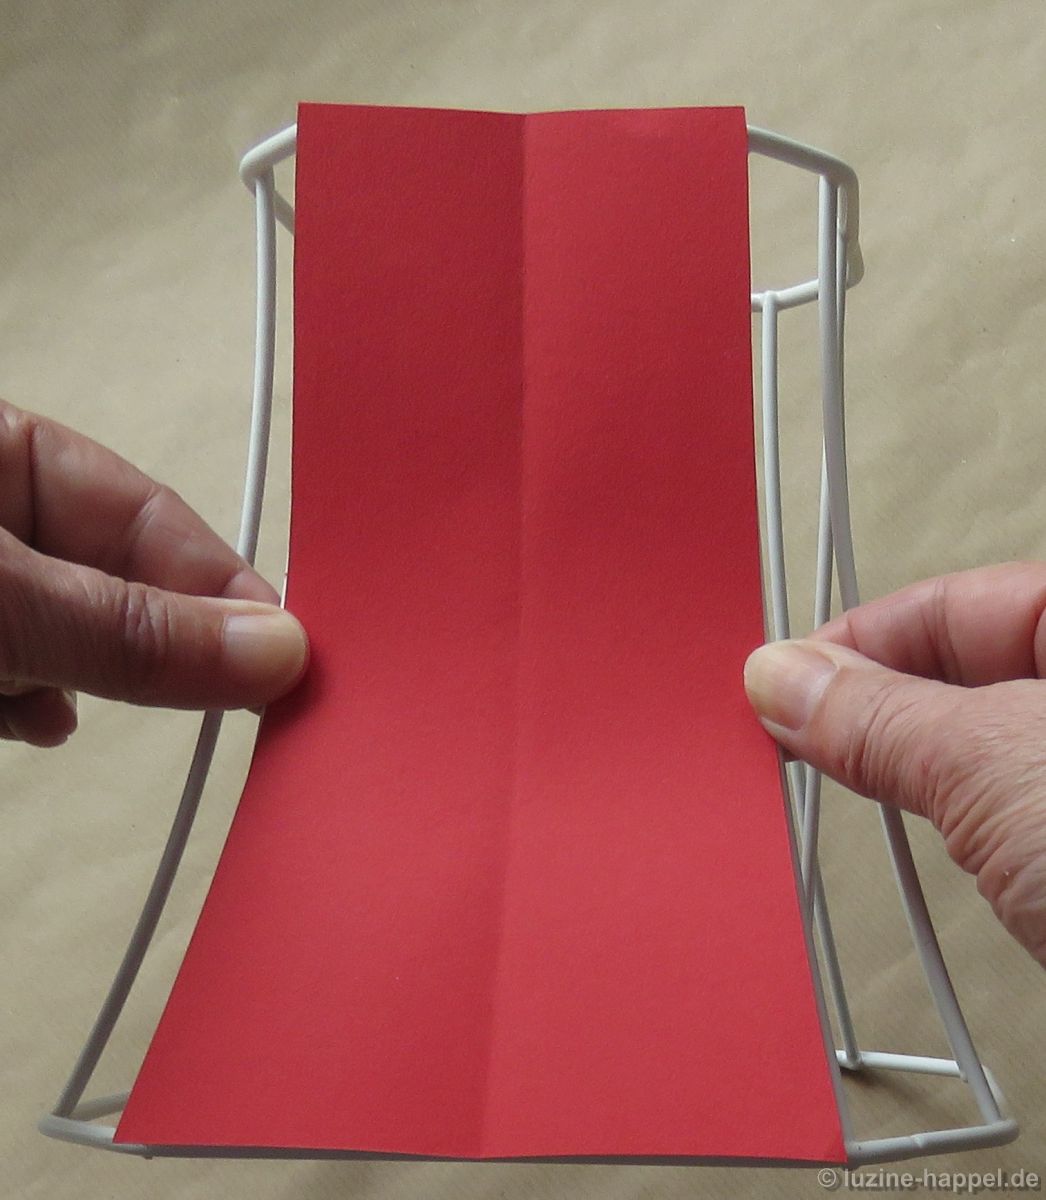
 The marked sections are cut and held against the respective sections of the frame to ascertain they really fit.
 Linen for lampshades should be densely woven. Weddigen linen,16/cm thread count, is suitable, but old handwoven linen is better.
It is absolutely necessary to shrink the linen by boiling before cutting to size. If you were to do this step after finishing the lampshade, it would hardly fit around the frame.
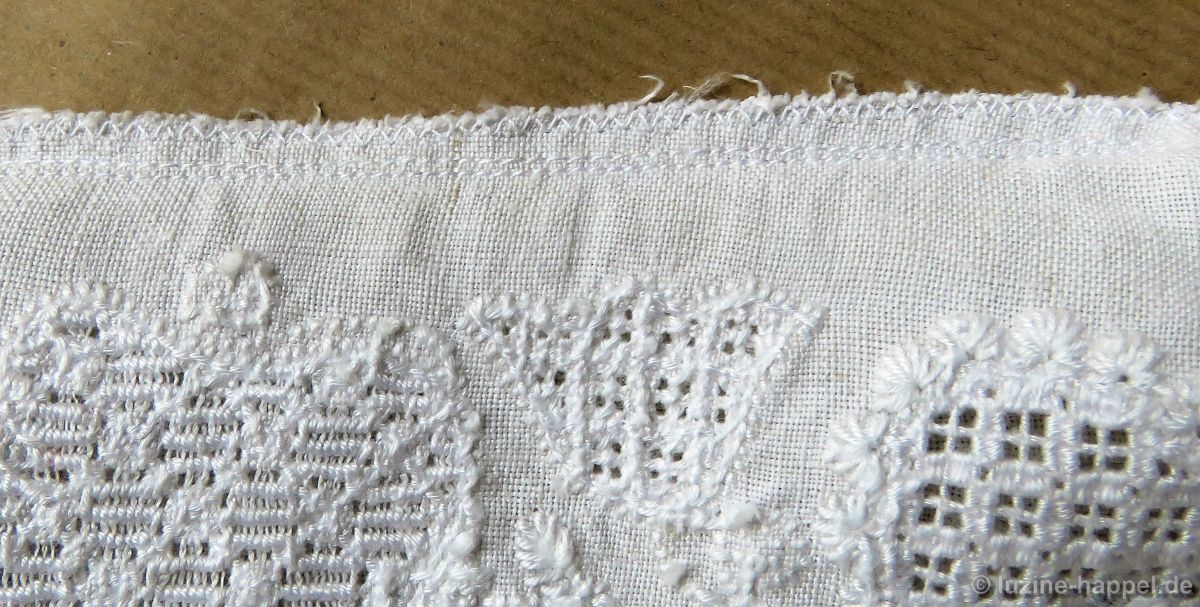
Because the single parts are small, it would not be possible to stretch each section in a hoop without wasting a lot of fabric—so, all eight sections are marked on the linen. A 0.5 cm seam allowance should be added to the side edges of each section. At the top edges, a 4 cm allowance is added: this includes a 2 cm fold with a 1.5 cm hem + 0.5 cm fold. At the bottom edges, a 4.5 cm allowance is added: this includes 2.5 cm fold with a 1.5 cm hem + 0.5 cm fold). Place the single sections close to one another. Leave a large enough fabric margin around the group of sections to be able to easily stretch the embroidery in a hoop.
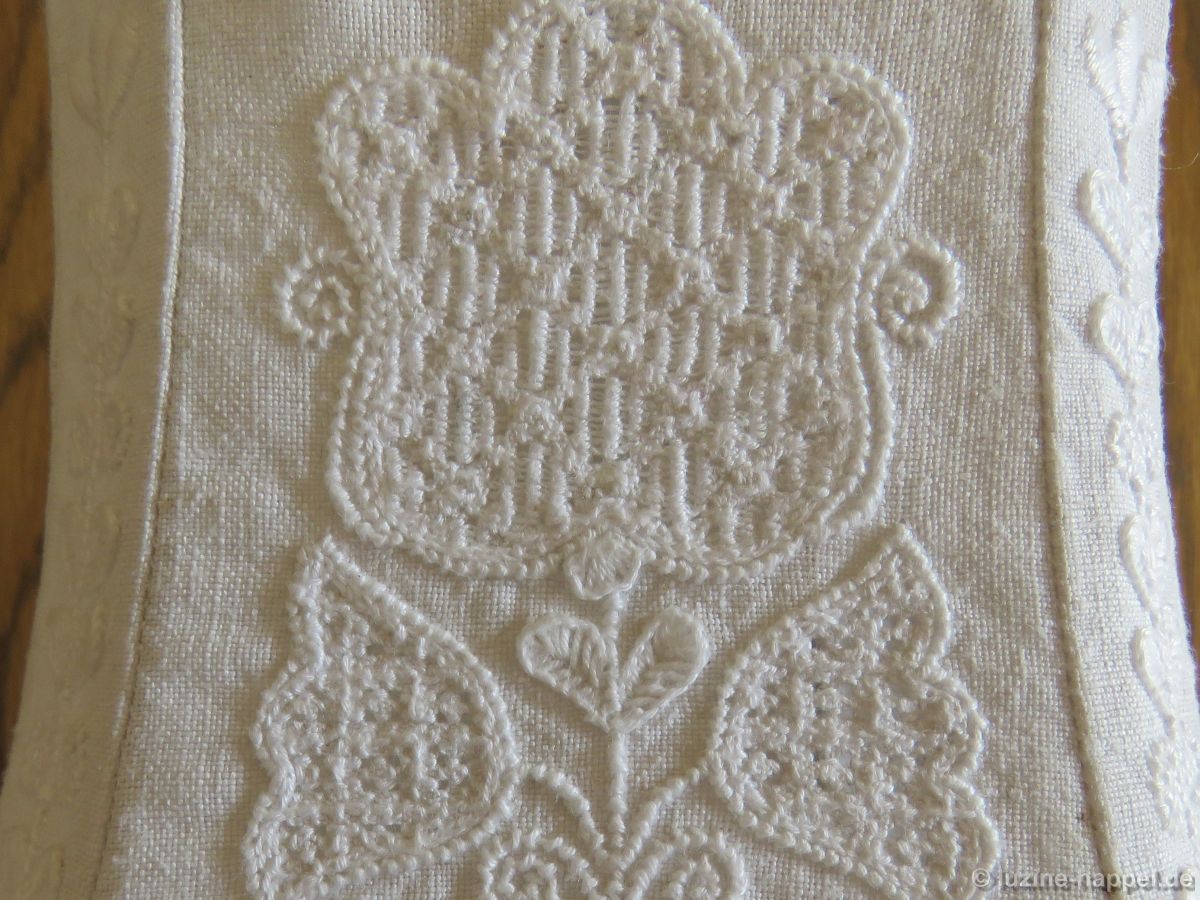
 Also the longitudinal axes are marked. Suitable designs are transferred onto the sections and embroidered as required.
After finishing the embroidery, the pieces are cut out. Either zigzag with a sewing machine or serge the side edges to prevent fraying. The sections are sewn together. Because the lampshade cover should be tightly stretched later, I recommend stitching a double seam for reinforcement.
 The seam allowance should be opened and smoothed. Later, the seam allowances will be arranged around the wires.
Then the top edge and the bottom edge are hemmed (here: 0.5 cm fold and 1.5 cm hem). An opening of about 2 cm is needed to insert a piece of elastic in the hems.
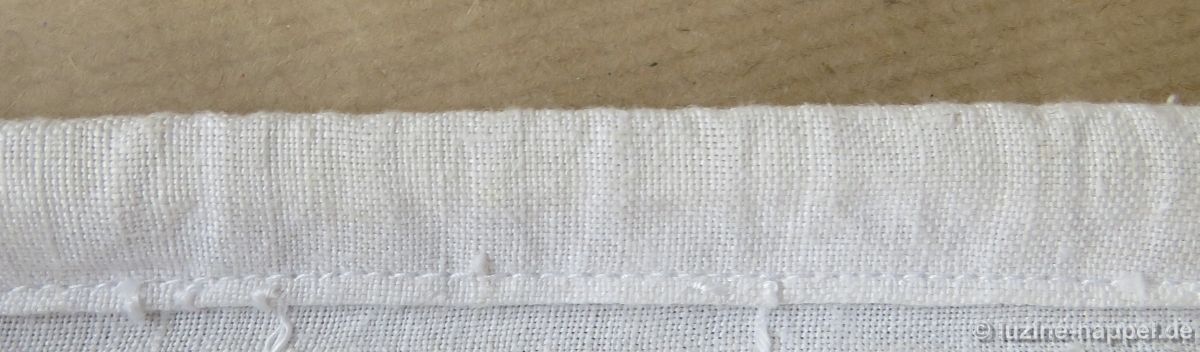 The bottom edge is folded inwards along the marked line and stitched close to the edge of the fold.
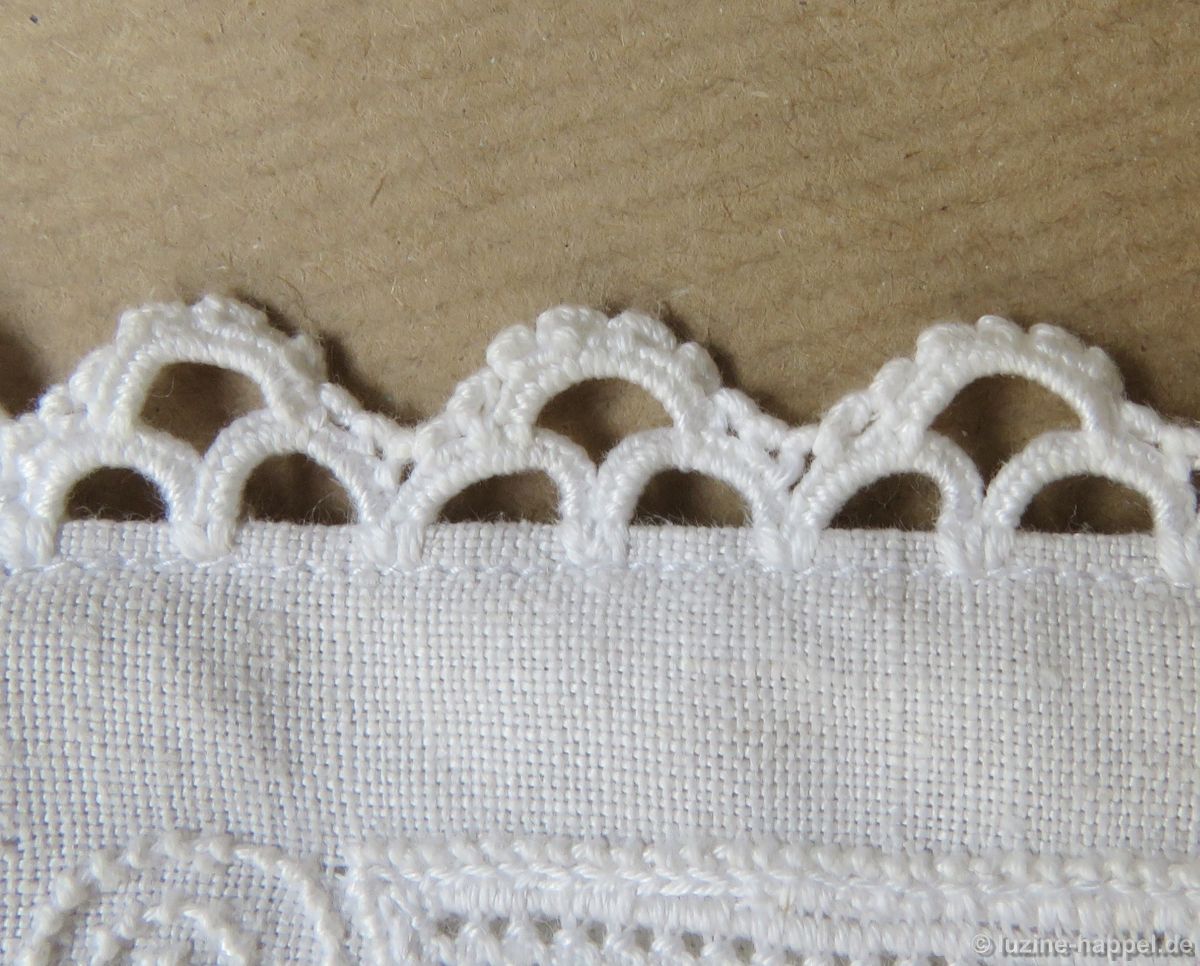
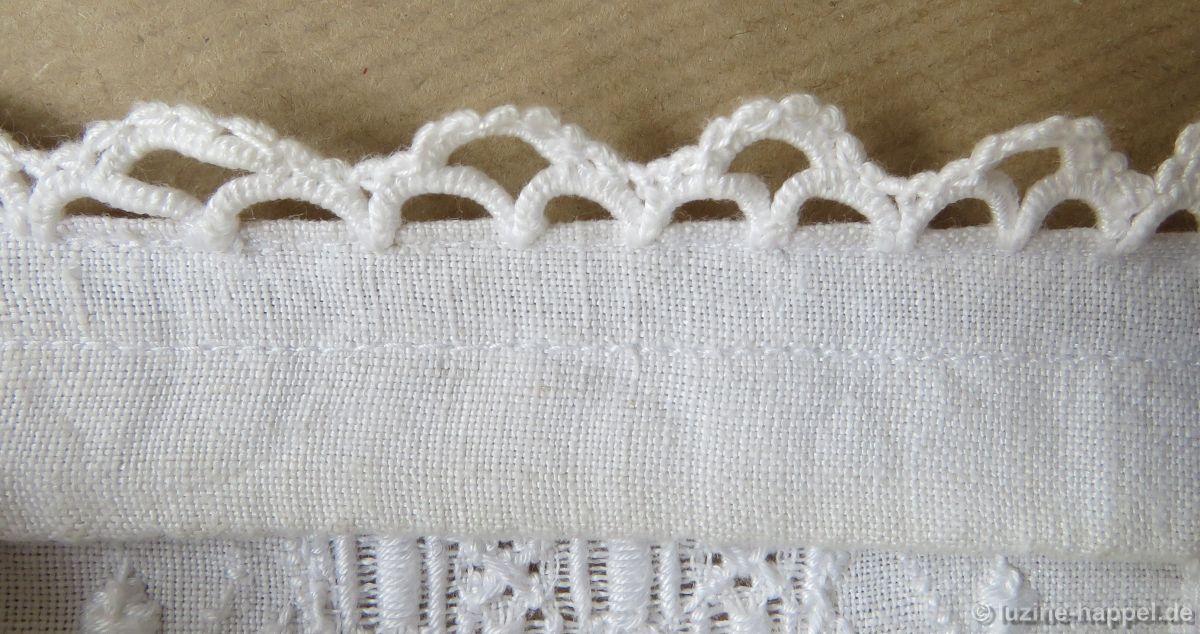 Along the closely stitched edge, needlelace is worked.
 A piece of elastic or lightweight curtain cord is inserted into the hems. The finished cover is – if needed – washed and ironed and then, from top down, placed over the frame.
The elastic causes the top
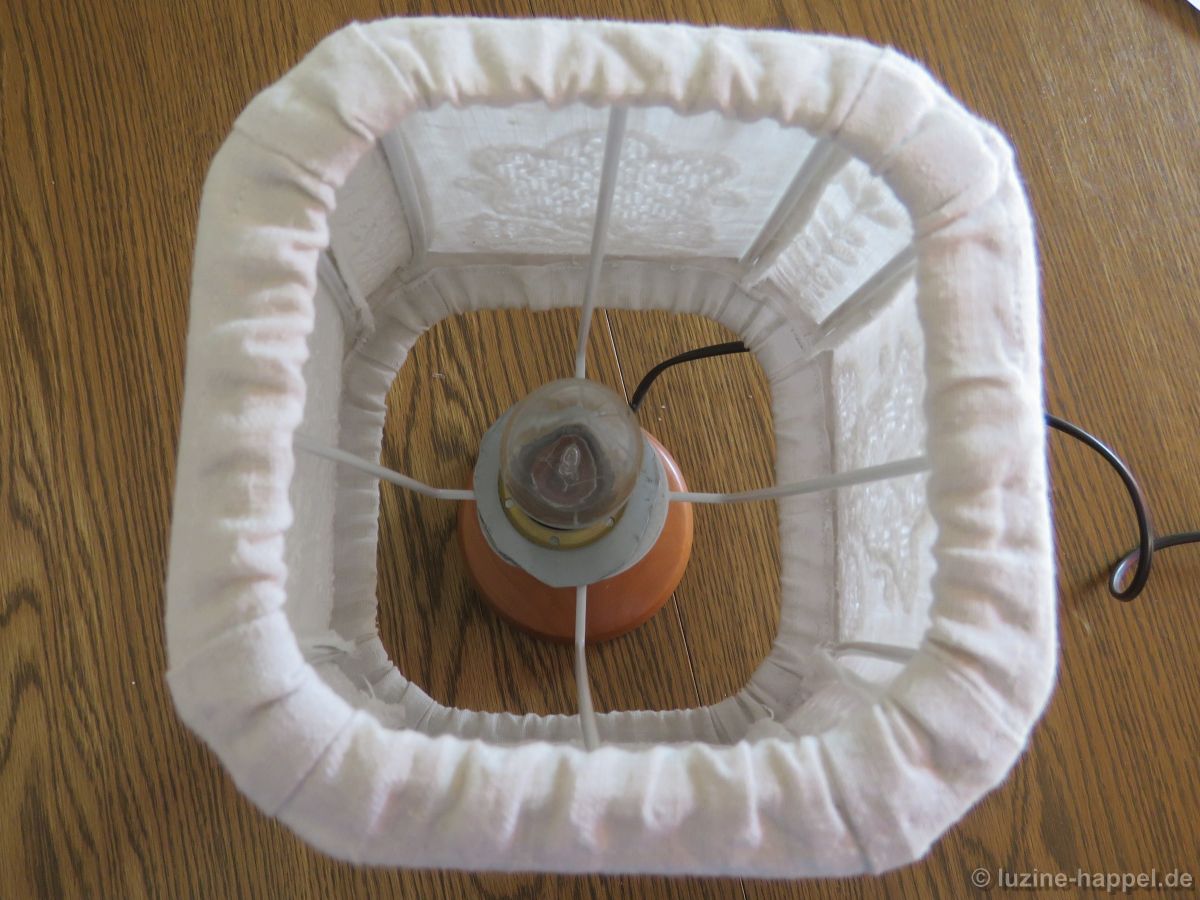 and bottom allowances to fold to the inside of the lampshade frame.
 The seams are adjusted at the wires
 the needlelace is groomed.
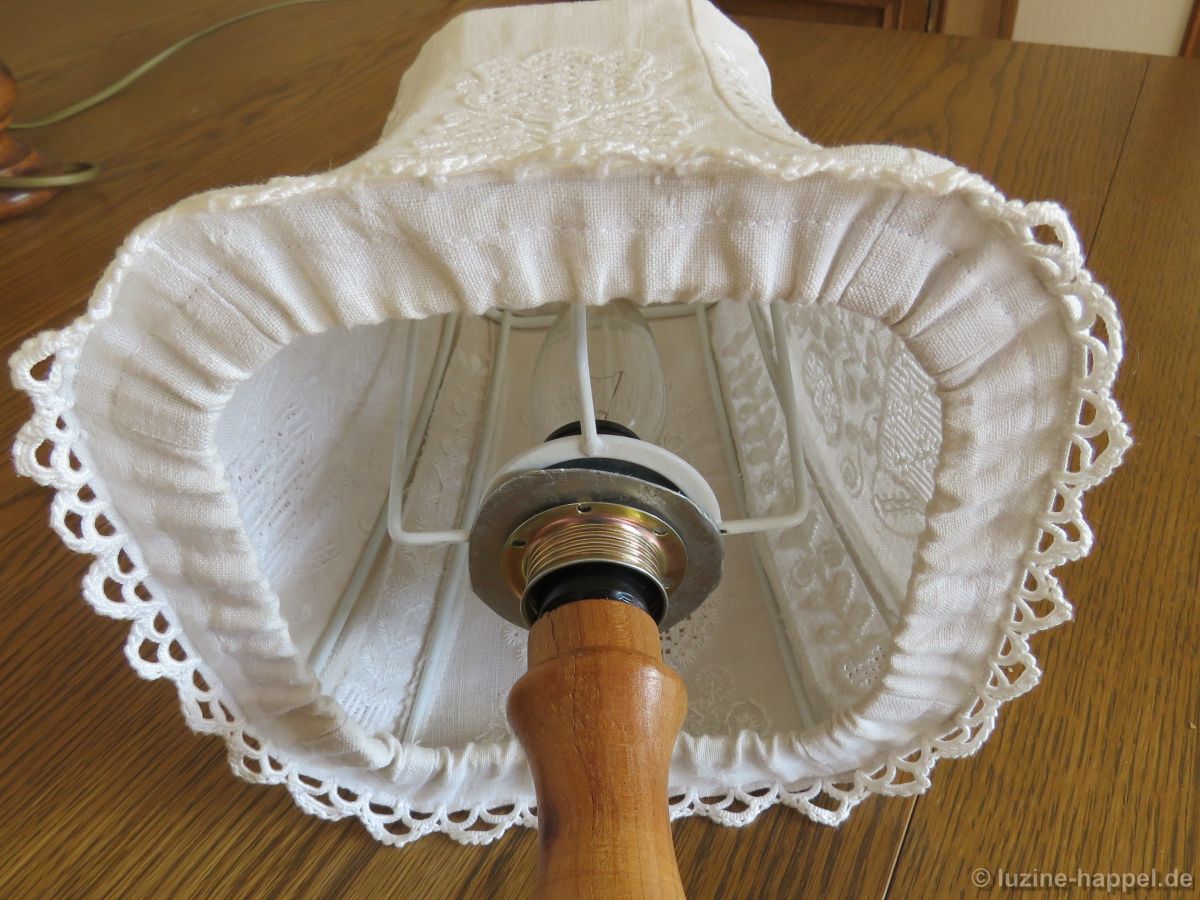
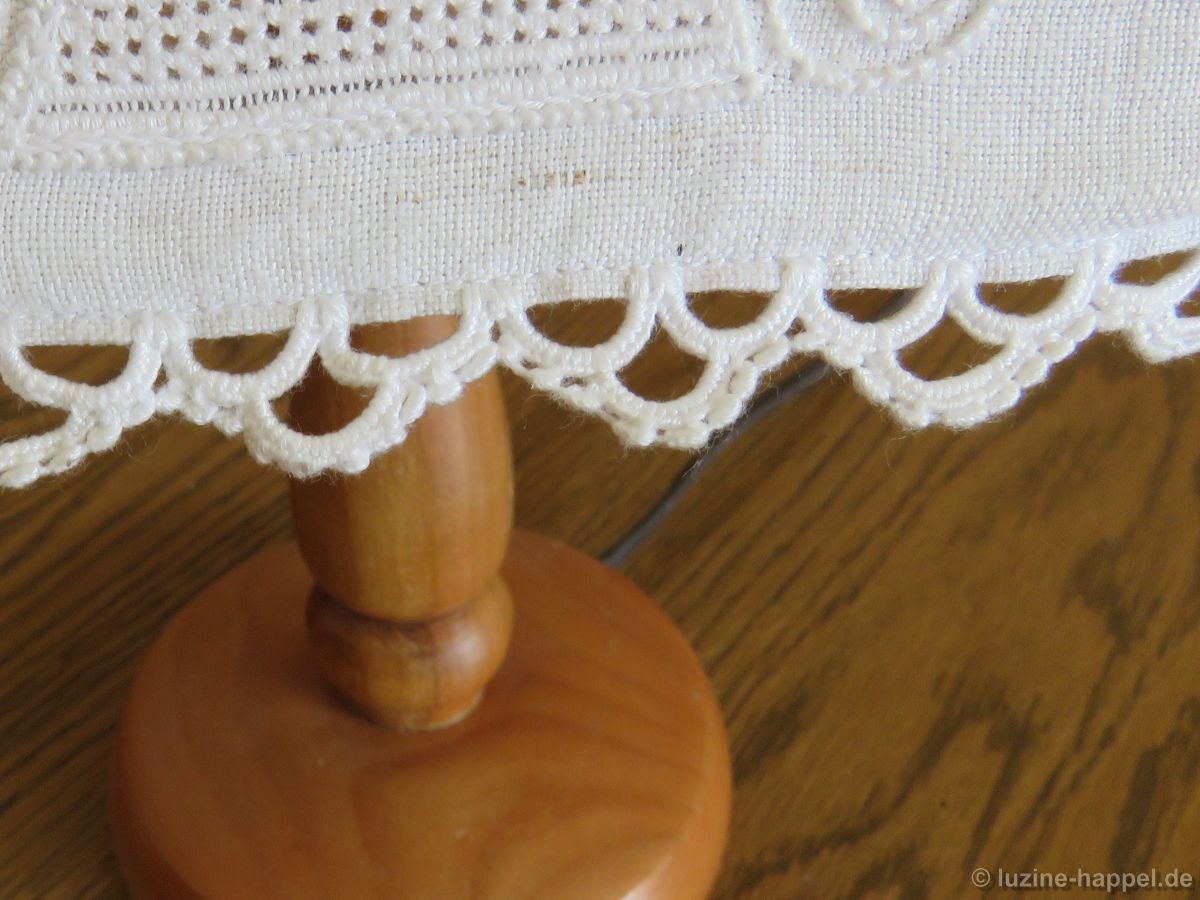 The lampshade is mounted onto a matching base.
 Whether very small or a little bit bigger, lamps with shapes embroidered with Schwalm whitework are always special – individual and attractive!

What a special lamp to have near a bed!