“Practice make perfect” when it comes to stitching tendrils. Presented here are two similar designs to make two different projects – perfect for learning to stitch tendrils.
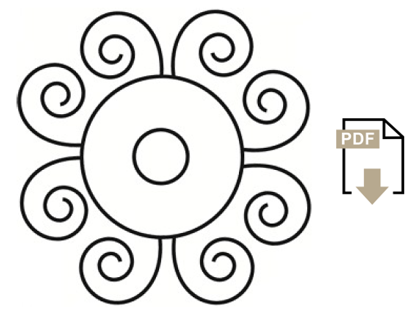
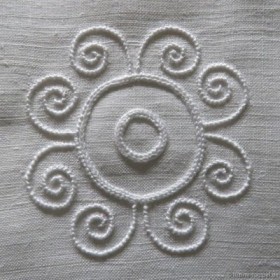
The first design measures 7.5 cm X 7.5 cm. The design is transferred to a piece of linen measuring 14 cm X 26 cm. A pincushion will be worked. The first steps can be found here, and the finishing steps can be found here. (One can also work such a pincushion using two pieces of fabric each measuring 14 cm X 14 cm.)
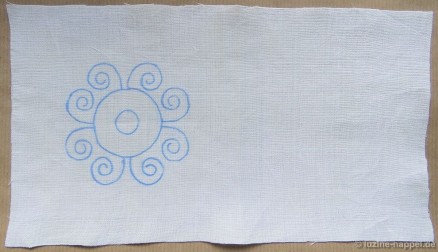 For my example, I used a fine handwoven linen and coton à broder No. 16 for all the Coral knot stitches.
(You will notice that a circle design on a piece of fabric stretched in a hoop will be no longer be a true circle. This doesn`t matter because it will return to a circle in the end.)
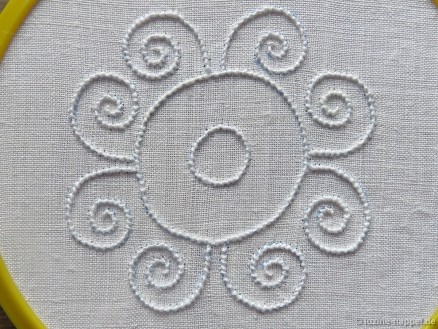 Since the focus is to practice stitching tendrils, a filling pattern for the shape in the center or for the ring is not absolutely necessary. However, the ring with only Coral Knot lines is not prominent enough. So, using coton à broder No. 20, Chain stitches are worked next to the Coral Knot lines.
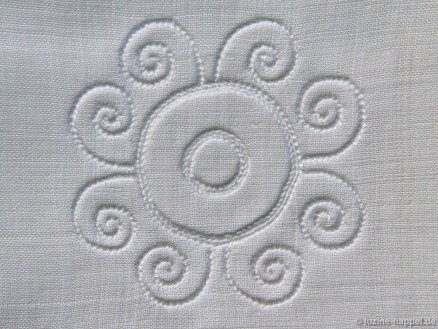 The piece is washed – please wash gently so that the fabric edges will not fray – starched, and ironed.
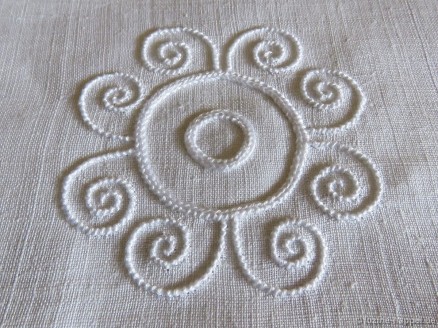 Then, the piece is sewn, filled, and secured.
A nice little pincushion is finished.
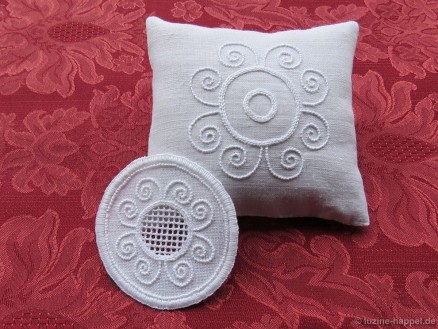 For the second project – an ornament – the design is shrunk so that it fits into a ring with a diameter of about 7.5 cm. The inner circle is deleted so that the center can accommodate a filling pattern.
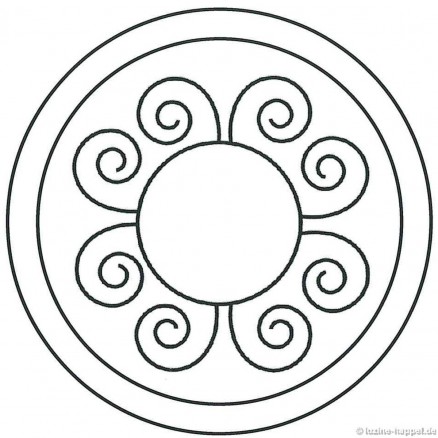 Coton à broder No. 16 is used for Coral Knot stitches, No. 20 for Blanket stitches and for Chain stitches. At the outside edge, Coral Knot stitches are worked along the inner line. Chain stitches are worked a small distance outside these Coral Knot stitches. The outside Chain stitches are covered with densely worked Blanket stitches between the outline and the Coral Knot line.
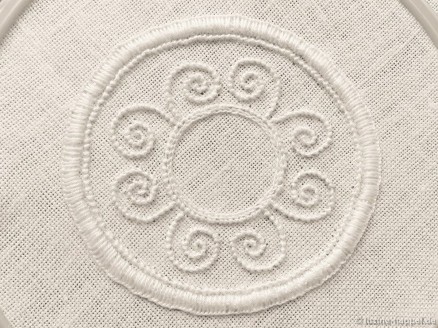 Using coton à broder No. 16 all remaining Coral Knot stitches are worked, and using coton à broder
No. 30 Chain stitches are worked directly inside the Coral Knot stitches of the center circle. The shape is filled with an openwork Cable stitch grid. For detailed descriptions please refer to my books Basic Principles of Schwalm Whitework, Openwork Pattern Samplers or Ornaments (lesson #3). Openwork is nice for an ornament and pleasantly contrasts with the outside ring with the tendrils.
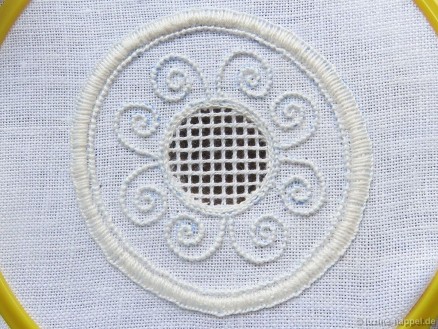 After finishing, the embroidered piece is washed (boiled), starched, and ironed.
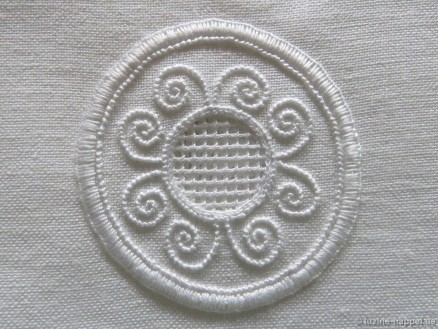 Then, the circle is cut.
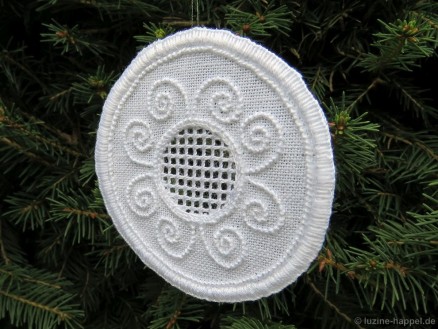
The result is one more nice ornament for trimming the tree.
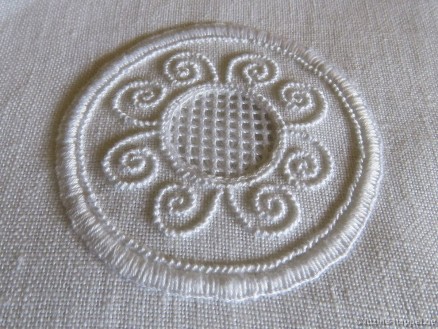
 This design is also nice for decorating a long, small pattern band with a couple of similar patterns.
 I hope you enjoy these practice exercises!


Leave a Reply