Embroidered Poppy Wreath (2)

As promised, here are more pictures of the lovely, extraordinary, and striking poppy wreath.

To explain the details, all the blossoms are shown moving clockwise around the circle.

From right to left
1. without thread withdrawing; Wave stitches over 4 threads in height and 6 threads in width
2. Limet thread withdrawing 3:1; filling pattern No. 543
3. Bud: simple thread withdrawing 3:1 ; Wave stitches over 4 threads in width
4. Openwork thread withdrawing 2:2; Diagonal Cross stitch

from bottom to top
5. Limet thread withdrawing 4:1; filling pattern No. 571
6. Bud: simple thread withdrawing 3:1; Wave stitches over a width of 4 threads
7. Limet thread withdrawing 3:1; Rose stitch
8. simple thread withdrawimg 3:1; Honeycomb Darning stitches over a width of 4 threads

from left to right
9. Limet thread withdrawing 3:1; “Diagonal step over one plot” pattern using Satin stitches (Wickelstiche: page 22)
10. Bud: simple thread withdrawing 3:1; Wave stitches over 4 threads in width
11. Openwork thread withdrawing 2:2; alternating rows of Diagonal Cross stitch and Cable stitch
12. Bud: simple thread withdrawing 3:1; Wave stitches over 4 threads in width

from left to right:
13. Limet thread withdrawing 3:1; Satin stitch “Two-Pattern” (Wickelstiche, page 16)
14. Openwork thread withdrawing 2:2; double Diagonal Cross stitch (Openwork Pattern Samplers)
15. Simple thread withdrawing 3:1; alternating rows of Satin stitch bars and Wave stitches
16. Limet thread withdrawing 3:1; filling pattern No. 572

from left to right:
17. Openwork thread withdrawing 2:2; French stitch – half-stitch with gap (Openwork Pattern Samplers)
18. Bud: simple thread withdrawing 3:1; Wave stitches over a width of 2 threads
19. Limet thread withdrawing 3:1; filling pattern No. 549

from left to right:
20. Limet thread withdrawing 3:1; Rose stitch variation
21. Simple thread withdrawing 4:2; filling pattern No. 567
22. Limet thread withdrawing 3:1; Diagonal Cross stitches
23. Bud: simple thread withdrawing 3:1; Wave stitches over 2 threads in width
24. Openwork thread withdrawing 2:2; alternating rows of double Diagonal Cross stitch and Singe Faggot stitch

from right to left
25. Bud: simple thread withdrawing 3:1; Wave stitches over a width of 2 threads
26. Limet thread withdrawing 3:1; “Grid” Satin stitch pattern (Wickelstiche, page 37)
27. Openwork thread withdrawing 2:2; Rose stitches without a Cable stitch grid

So the wreath was circled once

Here are a few more impressions:

You can download the pattern as a PDF file here:
Shop

Embroidered Poppy Wreath (1)

More than two years ago, I presented a very special wreath design in the post Poppy.

I have since stitched the design. I really like the result, even though it deviates from typical Schwalm patterns.

The wreath consists of four identical sections, each containing four wide-open poppy blossoms, three buds, three seed pods, and some leaves.

The petals of the open blossoms were embroidered with blanket stitches along the upper edges and with wrapped chain stitches along the remaining outlines.

The pistils were rendered using satin stitches, the filaments with straight stitches, and the anthers with thick French knots.

Initially, I had the idea of ​​embroidering only the petals—those without stamens—with area-filling patterns. However, that looked unfinished. A different solution was needed.

At an exhibition, I saw the completed piece by Ms. Waldmann, who had started translating her design into embroidery at the same time. She had executed several elements differently: coral knots outlining all the shapes, the loops of the chain stitches turned inward, eyelet stitches for the pistils, and bullion stitches for the stamens worked over the pattern filling the shapes.

A different solution had to be found for my project. So, I delineated the area of ​​the stamens

and embroidered only the remaining part of the petals with filling patterns.

All the petals of a single flower were embroidered with the same filling pattern, but each flower was given a different pattern.

The stems were worked using crossed chain stitch.

The petals bursting from the buds were embroidered with satin stitches.

the sepals using wave stitches (simple thread withdrawing 3:1).

The next challenge was the design of the poppy capsules, and especially their lids.

Ms. Waldmann has embroidered the lids as satin-stitch blossoms and the capsules with alternating rows of coral knots and serpentine lines of herringbone stitch.

I first traced the edge of the capsule lid in a zigzag pattern using daisy stitches.

and then, working outwards from the center, arranged wide stem stitches in a star pattern, extending them to the points of the edge.

The seed pods were worked using coral knots—sometimes also wrapped chain stitches.

The edges of the leaves were embroidered with satin stitches.

The result is an unusual and attractive piece of embroidery.

You will find detailed images of the poppy wreath in a future blog post.

If you would like to embroider such a wreath, you can purchase the outline pattern here. The document contains the outline pattern in its original size, divided into 6 sections.


You can download this document.

Poppy Wreath
Outline Design
6 pages
Text: English
2,87 MB file size
19,00 €

Shop

6. The Wave Stitch

The 13 basic stitches of Schwalm whitework

B. The filling stitches


6. The Wave stitch

Wave stitches are decorative elements used as simple withdrawn thread patterns. In simple withdrawn thread patterns, (usually) every fourth thread of the fabric is pulled out in one direction—either horizontally or vertically.
thread weight: depending on the fineness of the linen, coton à broder thread No. 20 or No. 25
building the rows: from right to left
direction of needle movement: from right to left
way of working: Bring needle up in a bottom withdrawn thread line, cross over two fabric threads to the right and three fabric threads to top und insert the needle. Cross under four fabric threads to the left and bring needle up. Pull the needle through and the thread to the left. Cross over two fabric threads to the right and three fabric threads to bottom and insert the needle (emerging point of the previous stitch).

At the end of the row, pass the needle vertically downwards under six fabric threads and rotate the work 180°
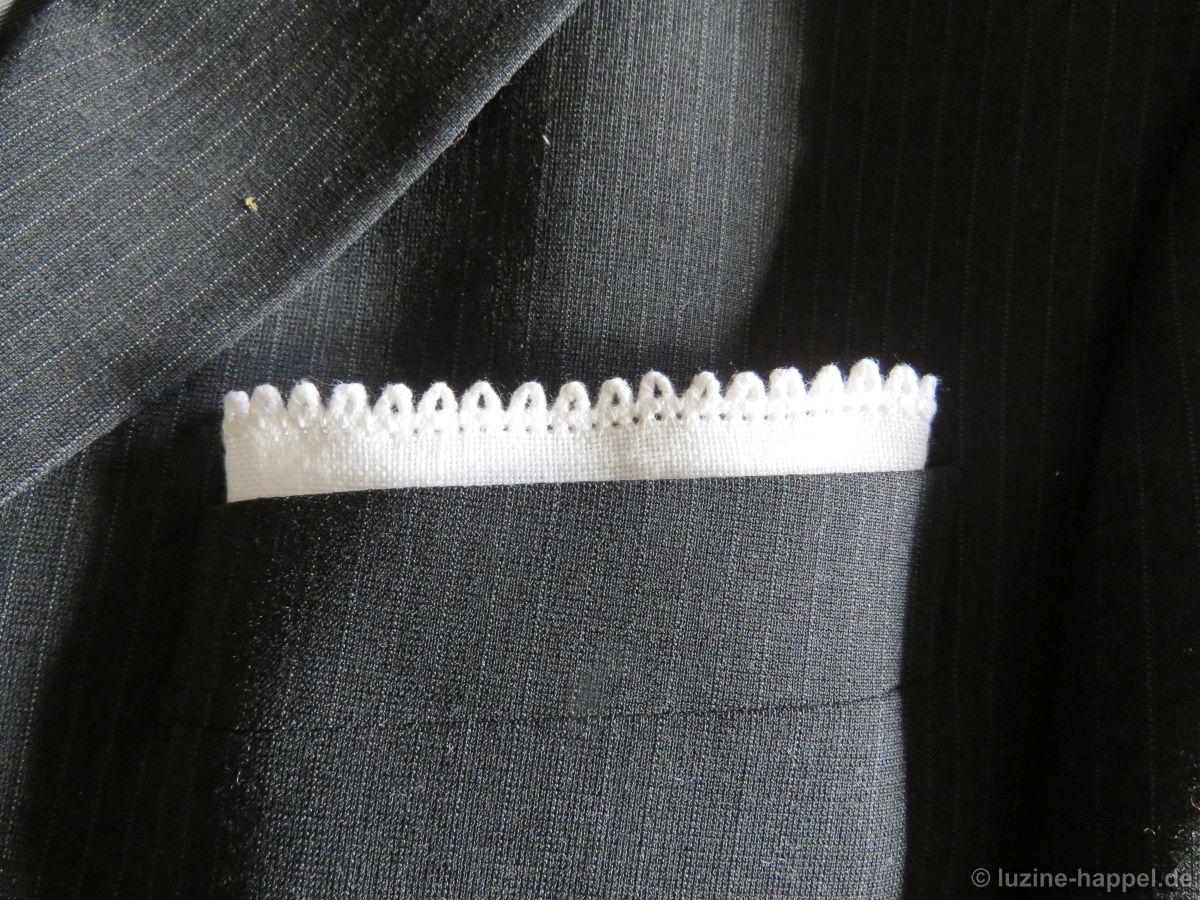
and work the next row as a mirror image.
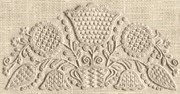
In this way, you join row after row.

If a row does not end with the upward stitch, the working thread must be pulled under the edge fastening on the back

so that you can bring the needle out again at the last insertion point.

Wave stitches are popular patterns for filling small areas.
Combined with other stitches, they create beautiful striped patterns. Wave stitches can be varied in height and width, as was done with area-filling pattern No. 583.

Tea Cloth MJ2 (6)

The embroidery on the tea cloth is nearly complete. The “sunflowers” ​​were given a border of 2-short-2-long stitches and—just like the small circles—varied fillings. The details can be seen in the following images.
The hem was secured with a simple hemstitch, its simplicity contrasting with the elaborate embroidery. Then, the required number of working hours was determined and recorded on the cloth with a few stitches.

The cloth was soaked in clear water overnight to soften the blue printing ink. (Printed lines are often easier to wash out of hand-woven linen than out of industrially manufactured linen, but the blue traces are clearly visible on the wet fabric.)

With solid curd soap—I used to use liquid soap often—

I thoroughly lathered the embroidery on both sides. The cloth was then left to sit for another two nights.

Then it was placed in a large pot containing water and heavy-duty laundry detergent. The liquid was brought to a boil, and the fabric was boiled in it for approximately 5 minutes while being constantly agitated.

After that, the blue color had completely disappeared—without much effort and without scrubbing!

The tablecloth was rinsed, dried, and ironed. The embroidery appears in all its beauty.

It was possible to embroider nearly 50 patterns on a relatively small cloth. However, the linen used was very fine, with 20 threads per centimeter.

The design, with its many small areas, is therefore particularly well-suited for working in the style of Early Schwalm Whitework, which does not require thread withdrawal.

Mitteldecke MJ2 (2)
Mitteldecke MJ2 (3)
Mitteldecke MJ2 (4)
Mitteldecke MJ2 (5)

Tea Cloth MJ2 (5)

The design of the table cloth features twelve tulips in two different styles. Four of them are arranged diagonally to the grain of the fabric, while the others are positioned at an angle and mirror-image to one another. All the tulip motifs are relatively small-scale. Consequently, finding suitable, varied patterns to fill the areas proved to be a challenging task.

For all tulips positioned diagonally to the grain of the fabric, the double outline at the tip was embellished with thick French knots. The patterns on the side petals were worked as mirror images of one another. Since the areas are small and narrow, a simple 2:1 thread-withdrawal was used throughout.
For Tulip 1, wave stitches were worked from the back. The center remains free.

For Tulip 2, honeycomb darning stitches were embroidered as a pattern on the side petals. The center features a 3:1 Limet grid and diagonal cross stitches.

For Tulip 3, honeycomb darning stitches were also embroidered as a pattern on the side petals—this time worked from the back. The center features a 3:1 Limetgrid and a cross stitch patterning.

For Tulip 4, a wave stitrch pattern was embroidered onto the side petals. The center featured an openwork 2:2 thread withdrawing and a new pattern.

The slanting arranged tulips were finished at their tips with a row of blanket stitches. The areas beneath were subsequently filled with French knots.
The outer petals were outlined with interlaced chain stitches. All drawn-thread sections were worked as 3:1 Limet grids.

Tulip 5 was worked with filling pattern 554 in the center. The side petals were embroidered using the “Narrow Pearl pattern” (Wickelstiche, page 43).

The center of Tulip 6 was worked with a filling pattern consisting of a rose-stitch grid interspersed with double back stitches; Openwork Pattern Samplers, pp. 48–52). The side petals were embroidered using the “Narrow Honeycomb pattern” (Wickelstiche, p. 87).

Tulip 7 features the “double diagonal cross stitch” (Openwork Pattern Samplers, pp. 42–44) as a pattern to fill the center area. The side petals were embroidered with rows of wave stitches placed between bars of satin stitches.

Tulip 8 was filled with filling pattern 569 in the center. The side petals were embroidered using the “One pattern” (Wickelstiche, page 15).

The next blog post shows the remaining design elements and the final result.

See also
Schwalm Tulip Motifs through the Ages (1)
Schwalm Tulip Motifs through the Ages (2)
Schwalm Tulip Motifs through the Ages (3)
Tulip Motifs