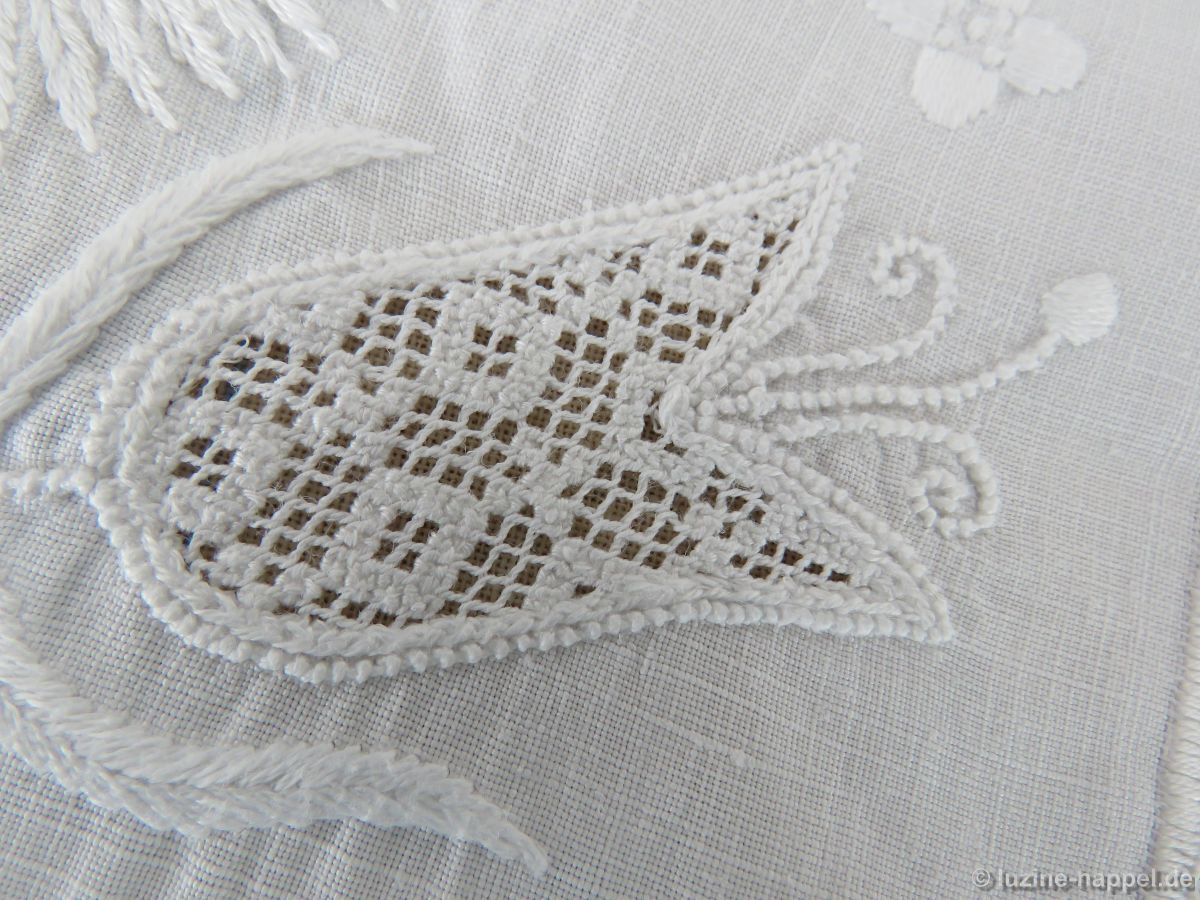
Filling Pattern – No. 581
category: openwork filling pattern with Cable stitch grid
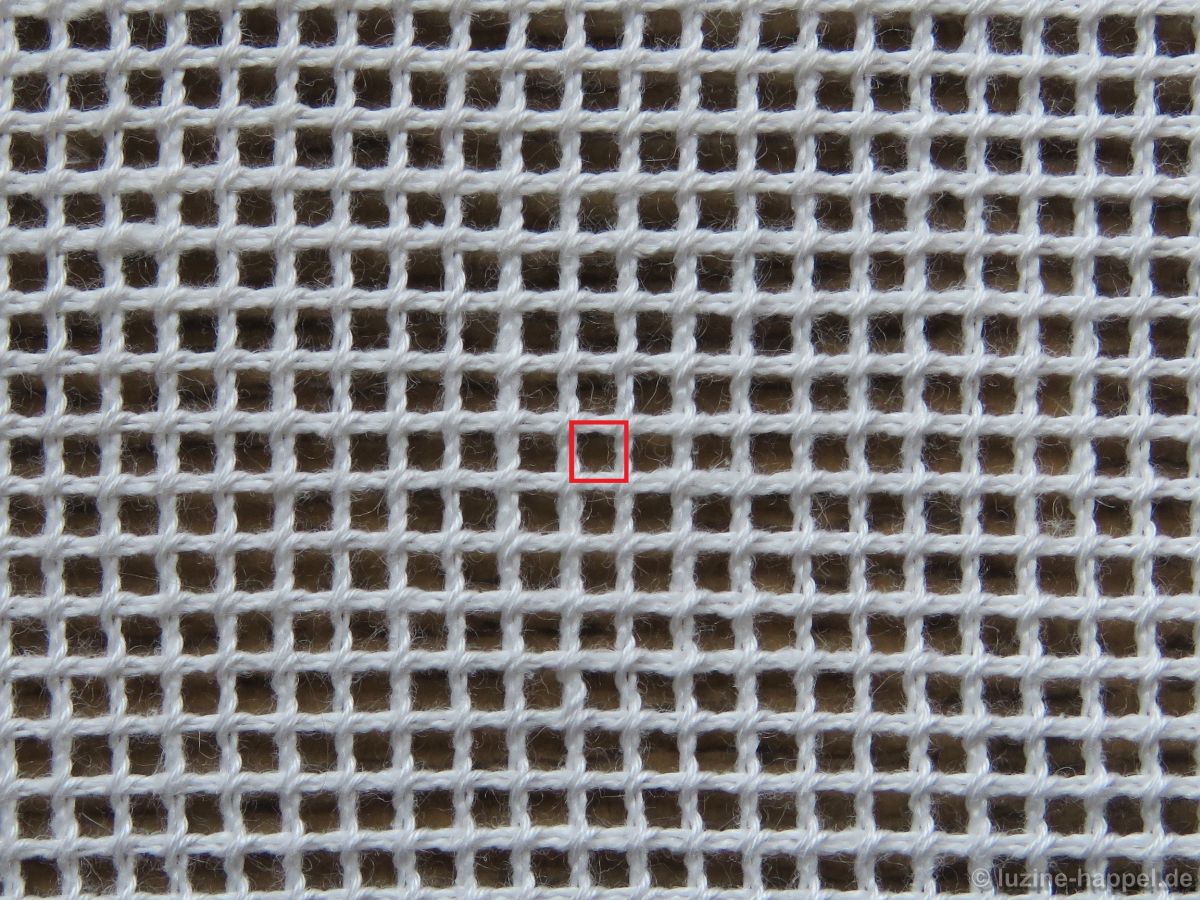
linen used: 13.5/cm thread count
threads used: coton à broder No. 30 for the Cable stitches and No. 20 for the Rose stitches
stitches used: Cable and Rose stitches
center: intersection of withdrawn thread lines (square)
one pattern segment: 34 threads
The filling pattern shown here is a practice exercise only. You can see it used in a shape at the end of this article.
First, establish an openwork grid with a square (an intersection of withdrawn thread lines) in the center by cutting 2, leaving 2 both vertically and horizontally.
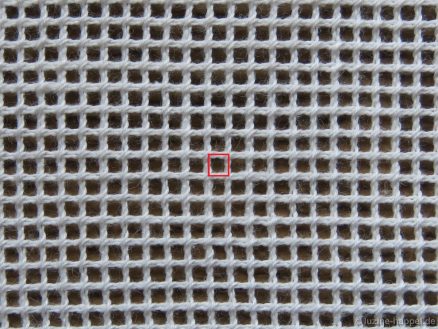
Stabilize the established grid with Single Faggot stitches worked from the back side of the fabric. Please remember that Single Faggot stitch worked on the back side will look like Cable stitch viewed from the front.
Bring the needle up in the second square below the center. The end of the working thread remains on the front side for now.

Work a Rose stitch into this square. It’s a good idea to place the first part of the Rose stitch in the direction you want to continue stitching later—i.e., the first partial stitch upwards if you want to work additional Rose stitches above; the first partial stitch to the left if you want to work additional Rose stitches to the left, and so on. This ensures that the square’s area is well covered.

After completing the first Rose stitch, move the needle diagonally one square to the top right

and from there work three Rose stitches to the left.

In the square above the third Rose stitch and the one to the left of it, embroider two more Rose stitches, then emerge one square diagonally to the top right

and from there, work three Rose stitches to the right. After completing the third Rose stitch, emerge one square diagonally to the top left.

In this square work one Rose stitch and then move the needle diagonally one square to the right and two squares down.

From there, work two Rose stitches to the right and then move the needle one square up and two squares to the right.

To ensure that the surrounding squares remain well defined and open, the working thread is slided through a Cable stitch on the back.

The first element of the pattern is complete. From the new starting point, stitch Rose stitches diagonally to the top left.

four in total.

A second,

a third and

a fourth row of four Rose stitches each follows. This completes the second element of the pattern.

Move the needle diagonally one square to the right and two squares down and start embroidering the first element from there.

On the diagonal, element 1 and element 2 alternate constantly. If the first thread is too short and is secured, the starting thread can also be pulled to the back and secured there.

A very beautiful pattern is created,


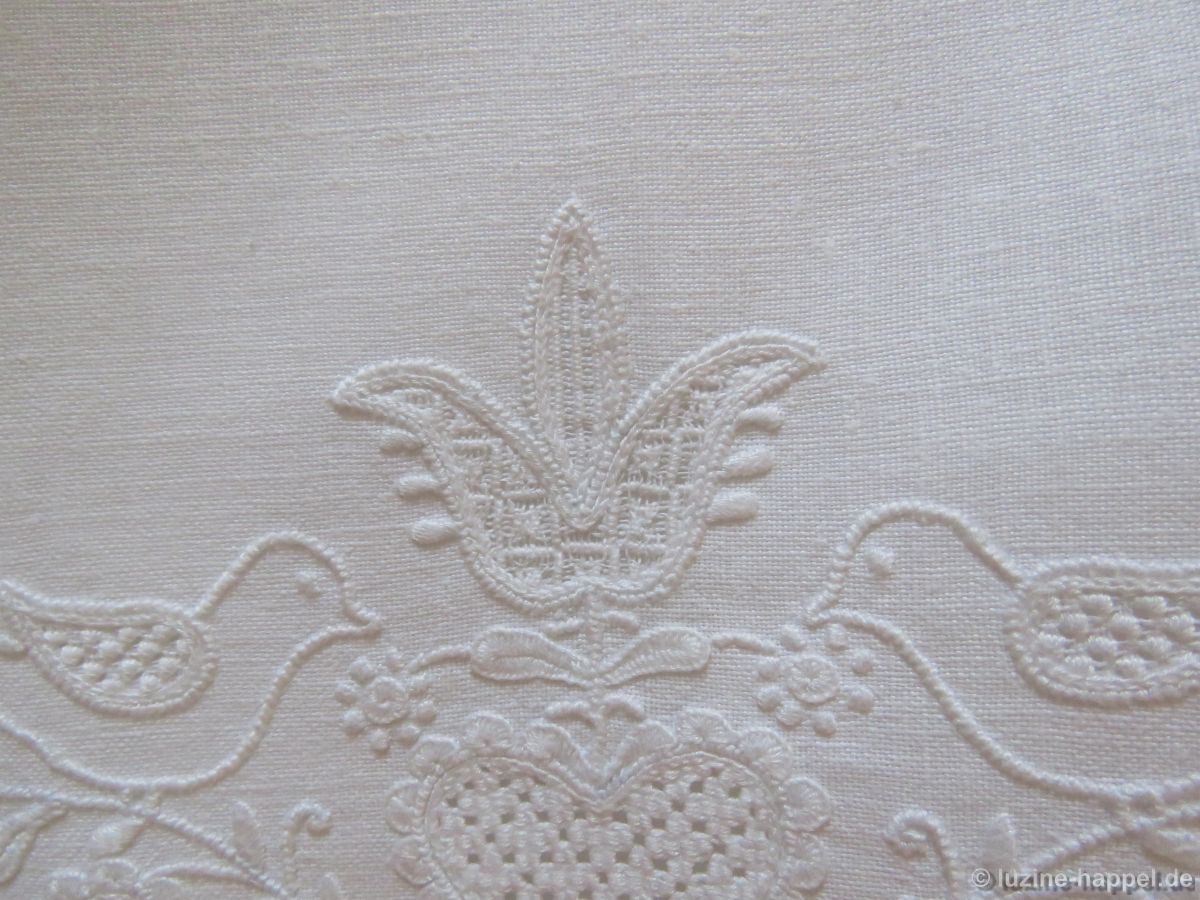
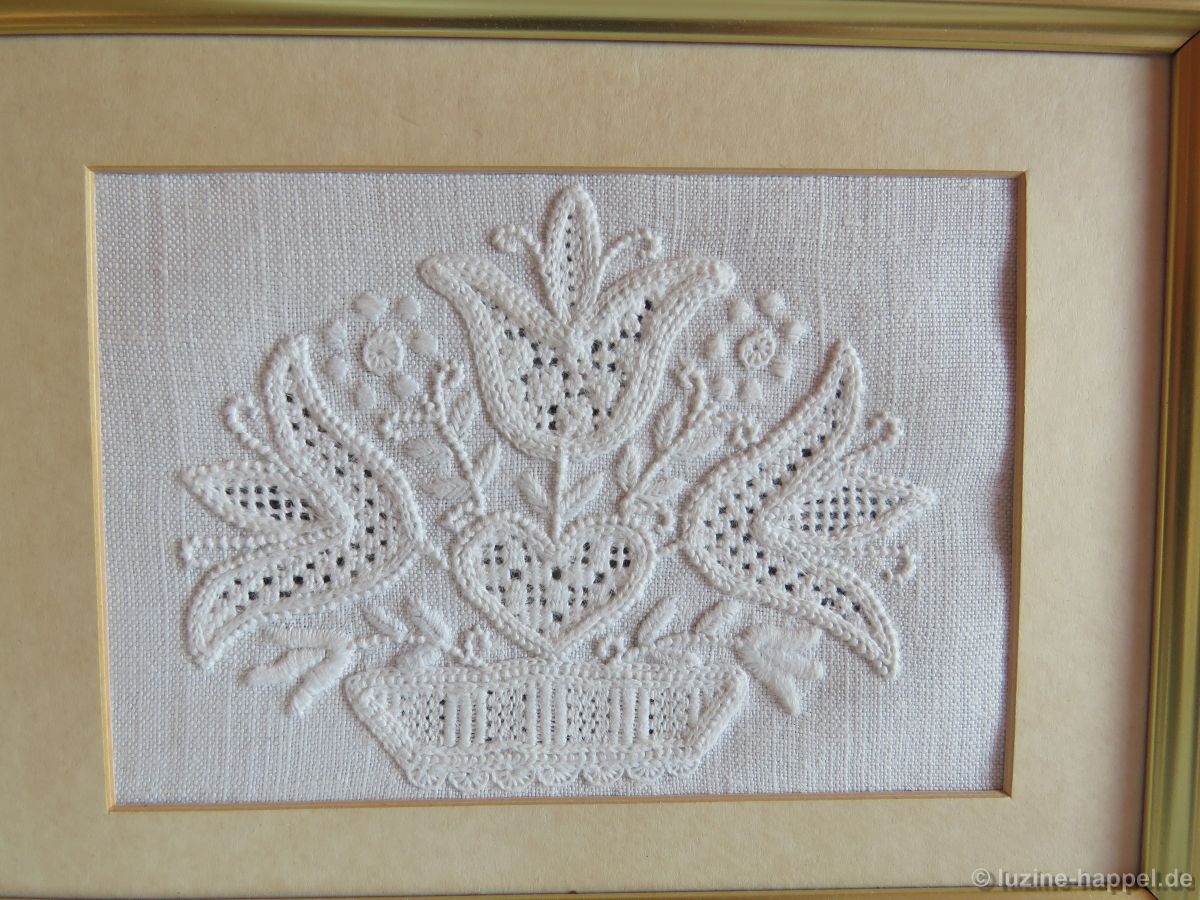
which appears particularly effective in large areas, as here on a tablecloth from 1927.