Filling Patterns of Section 4 a I
With the cloverleaf, the central axes are first withdrawn so that the patterns can be arranged in mirror images on the opposite surfaces.

Based on this, a Limet grid is withdrawn 3:1.

The square eyelet filling pattern “Divided Hearts” (Limetrosen I, page 53) is embroidered with coton à broder No. 25.

The bird’s wings receive a thread withdrawing of 3:1.

Embroidered into the Limet grid is a variation of Rose stiches (coton à broder No. 30)- please see picture 3-6 here.

Satin stitches are worked into the mini hearts with 2 strands of 6-ply stranded cotton from the center line outwards and rising to the tip.


The petals of the small bellflowers are initially only given a border with Chain stitches (coton à broder No. 30). It could stay that way.

But I added a row of Chain stitches with coton à broder No 16 in the middle.

I didn’t like that, so I wrapped these Chain stitches using coton à broder No. 16.

This means that section 4 a I has also received its filling pattern.

Schwalm Band – Outline Design
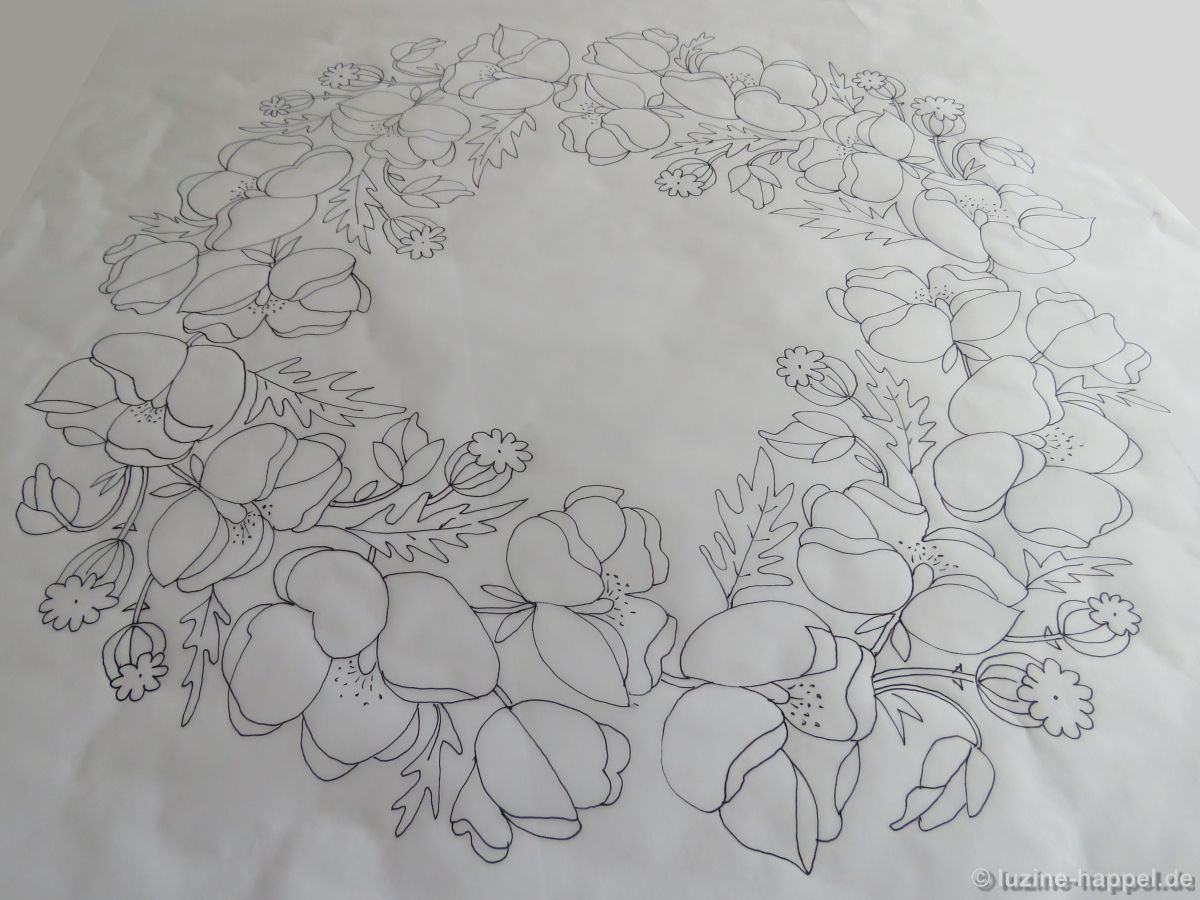
Schwalm Band (1) Design Transfer
Schwalm Band (2) – Preparatory work of section 5
Schwalm Band (3) – Preparatory work of section 4
Schwalm Band (4) – Preparatory work of the sections 3 – 1
Schwalm Band (5) – Filling Patterns of Section 5 II
Schwalm Band (6) – Filling Patterns of Section 5 I
Schwalm Band (7) – Filling Patterns of Section 4 b II
Schwalm Band (8) – Filling Patterns of Section 4 b I
Schwalm Band (9) – Filling Patterns of Section 4 a II