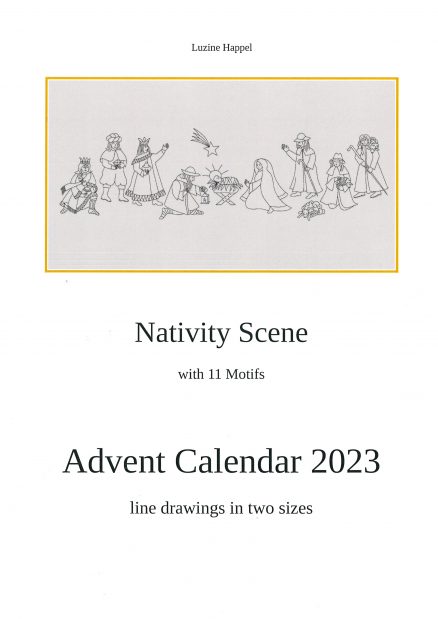
Advent Calendar 2023 – Nativity Scene
Prep Work
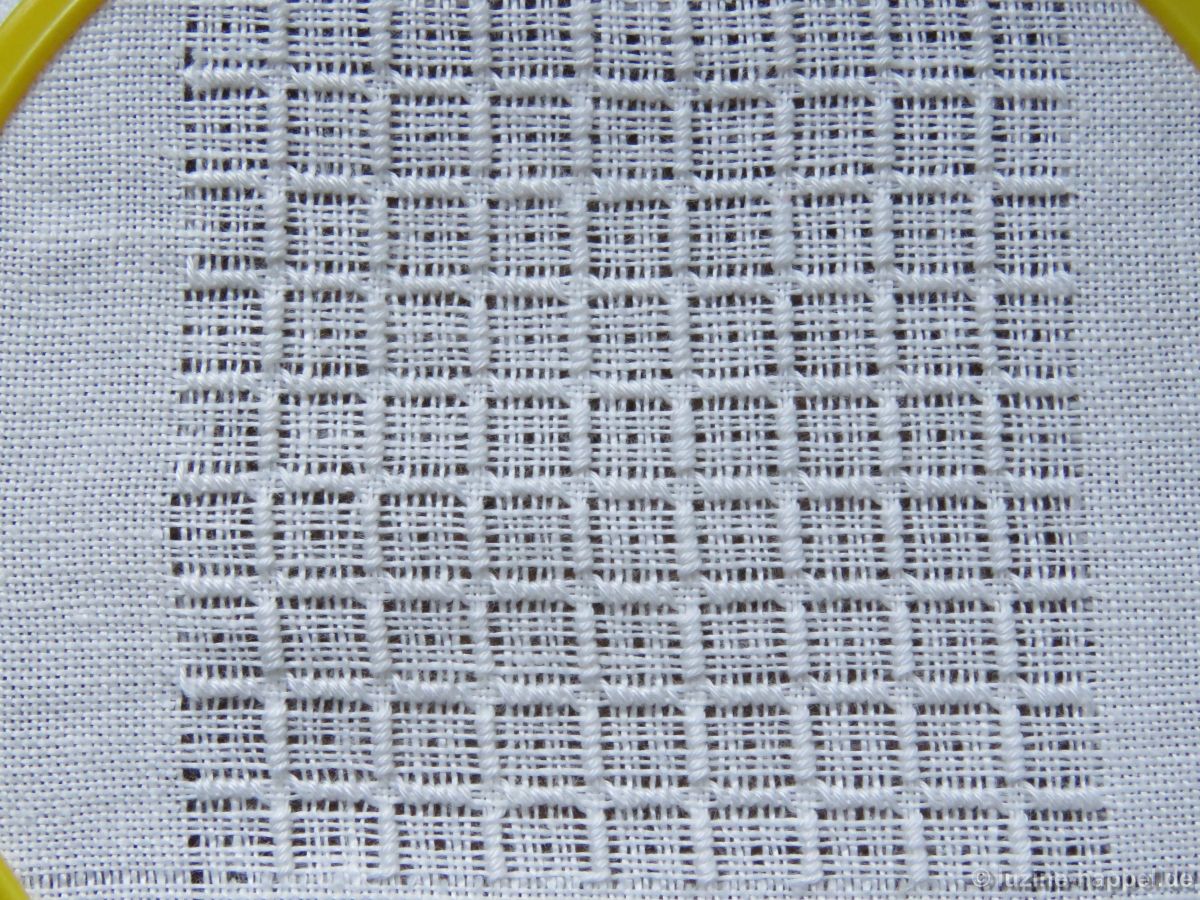
My project should be used as a window picture/curtain. Therefore, the fabric must not be too tightly woven. 20 tpcm linen would work well, but I’m late with the realization of my plan and for the processing of very fine linen I need more time. That’s why I opt for the 13.5 tpcm linen (Weddigen #160). In order to be able to use filling patterns effectively in the detailed figures, I choose the larger motifs. The entire pattern strip measures 103cm X 30cm. My window is 128cm wide.
The curtain should span the entire width. A circumferential hem of 4cm width + 1cm fold is provided. Since there should be about the same distance between the embroidery and the hem on all sides, I cut the fabric to 137cm X 64cm.
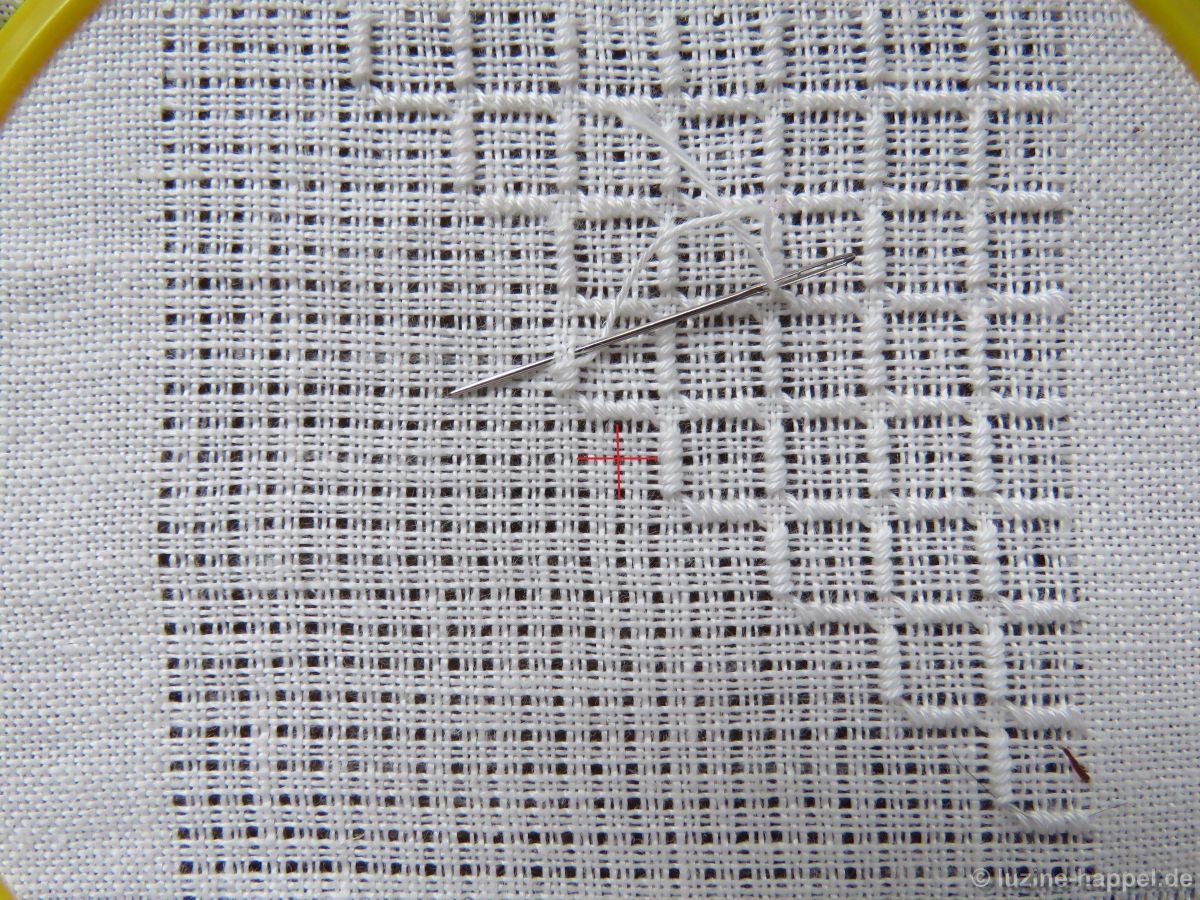
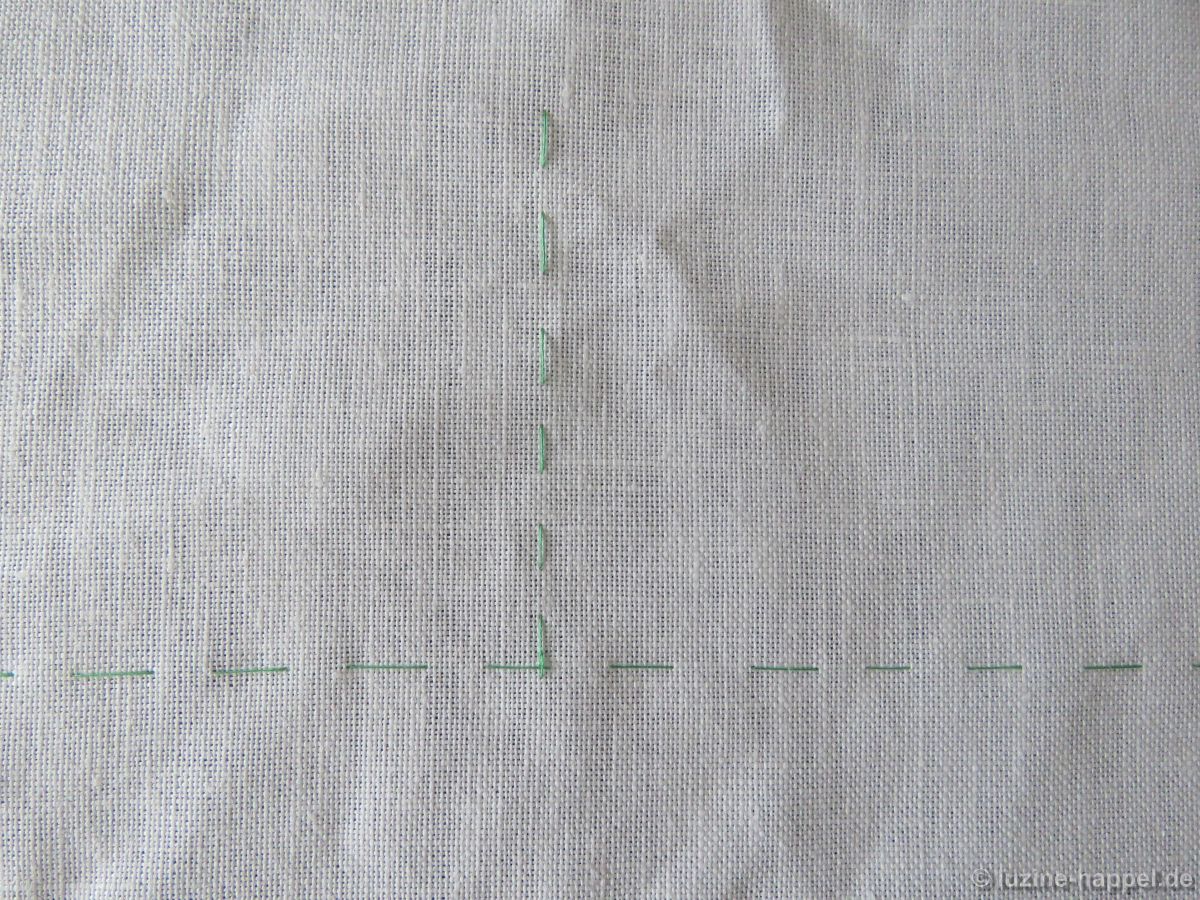
The basic line and the longitudinal centre axis are marked with short Running stitches.
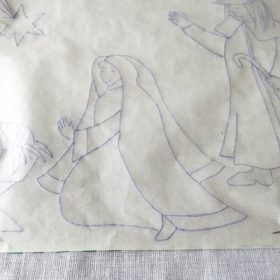
Since I transfer the drawing with an iron-on pattern pen, it must be arranged in a mirror image.
Of course, you can also use pens with water-soluble or heat-soluble ink.
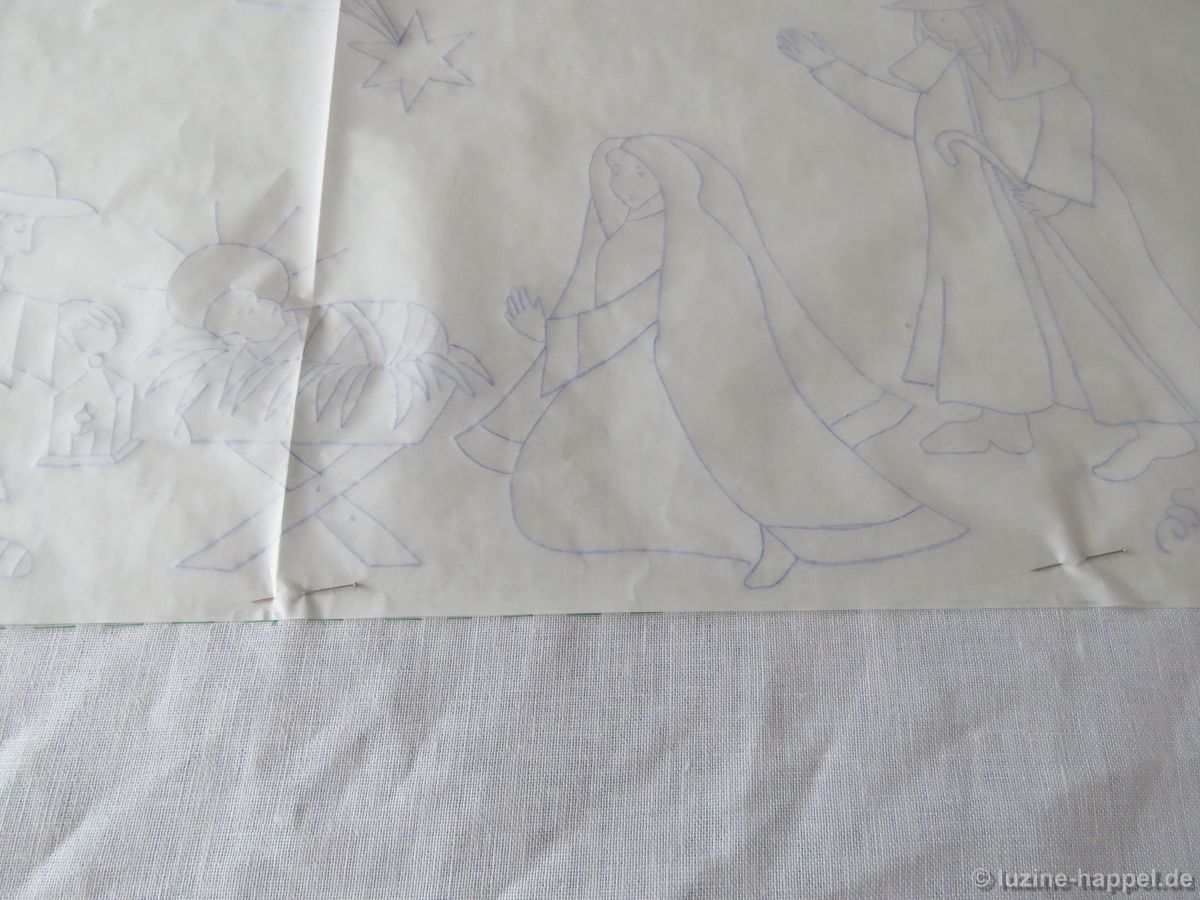
I transferred the overall pattern in one go.
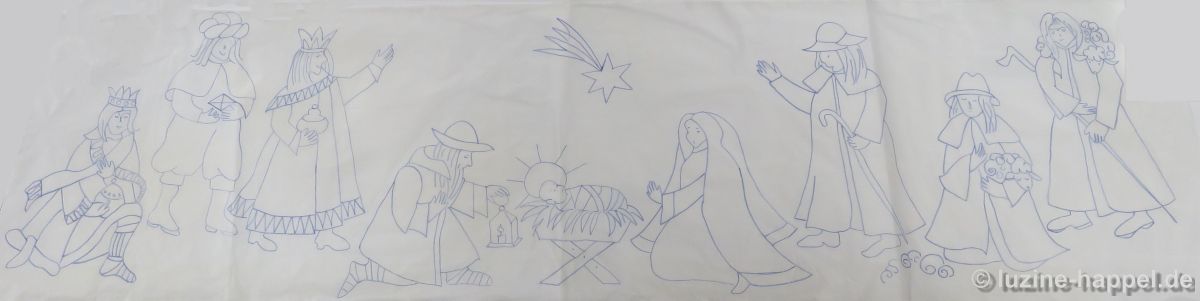
You could also transfer and embroider the motifs singly and build up the design gradually. Then it is advisable to start in the middle and work the way up to the edges. Thus, while working, you can decide whether you want to embroider just one or two wise men or just one or two shepherds.
Advent Calendar 2016
Advent Calendar 2017
Advent Calendar 2018
Advent Calendar 2019