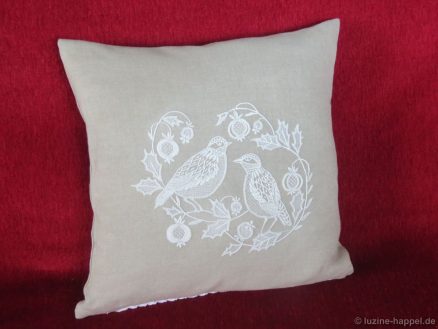
Sofa Cushion Cover 1 (A)

The finished pillow case should measure 40cm X 40cm. It should be worked from one piece (finished 40 cm x 80 cm). I choose 16/cm thread count natural coloured and durable pressed linen of the Übelhör linen mill. The linen will shrink about 4,9% in the warp and about 3% in the woof.
That would be about 2.40cm in width and about 2 cm in length for the desired size.
Seam allowance on both sides is 1 cm each.
The closure is made on the bottom with a 2cm wide hem with 1cm fold.
That would be:
in width 40cm + 2.4cm + 2 X 1cm = 44.4cm
in length: 80cm + 2cm + 2 X 3cm = 88cm
To be on the safe side, I add a few centimeters and cut the linen into the size of 46cm x 93cm.

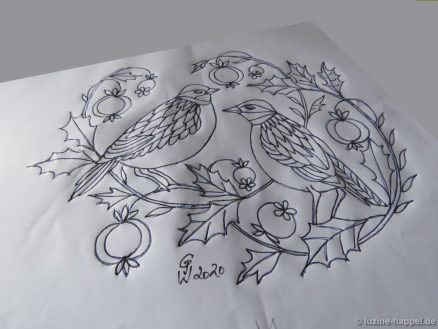
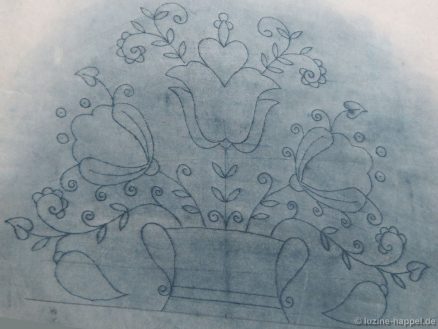
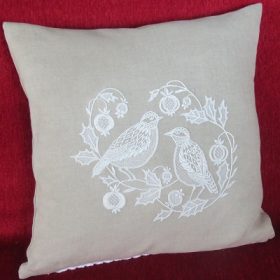
Since I find both pomegranate and bird motifs interesting in Schwalm whitework, I asked various designers to make me appropriate designs. The design used here comes from Christa Waldmann and has a size of approx. 26.5cm (W) x 20cm (H). With a 40cm high cushion and central pattern positioning, about 10cm each remain free at the top and bottom. The shrink of the fabric (each about 1cm) must be added.

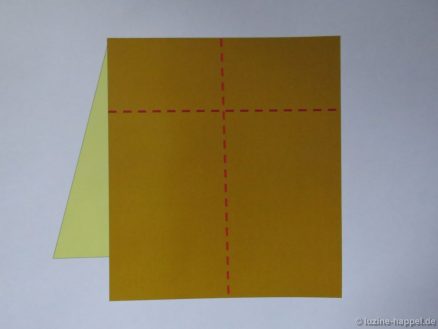
The linen is fold short side to short side.
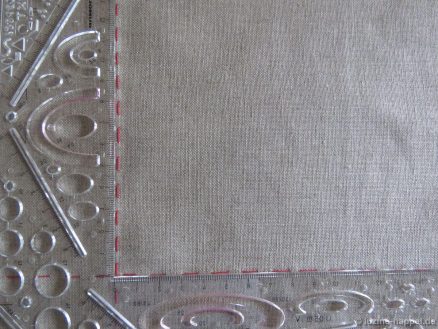
For positioning the design centered, measure down from the fold 11cm. Using a coloured sewing thread, mark the top line of the design by tacking along the horizontal fabric thread there. Mark too the vertical center of the front half.

Lay the unfolded linen on a table covered with a not slipping plain material (not too soft) – for example a cotton fabric cloth. Scratch out the linen to be plain. Be careful to position the marked lines straight and to be in a right angle. Best check it using a tool. Fasten the linen using pins or removable tape.

The design transfer is made using blue print paper.

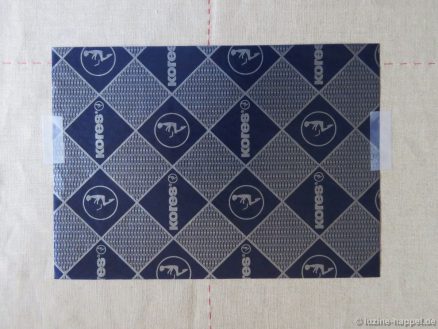
Cover the design area with blue print paper – colour side face down. Fasten the sheet using removable tape.

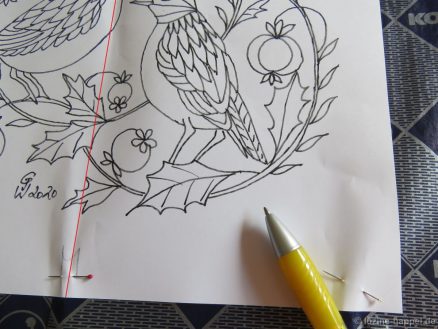
Position the design over the blue print paper lining up the thread markings on the linen to the guideline markings on the design paper. Secure the design using removable tape or pins.

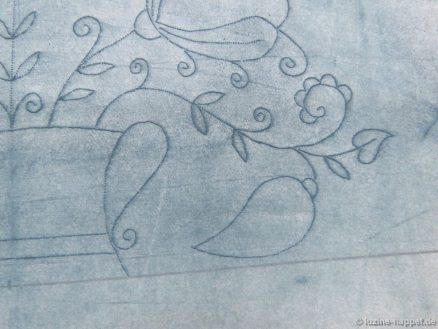
Using a special tracing tool or a fine empty ball point pen, trace the design. Test the needed pressure before.

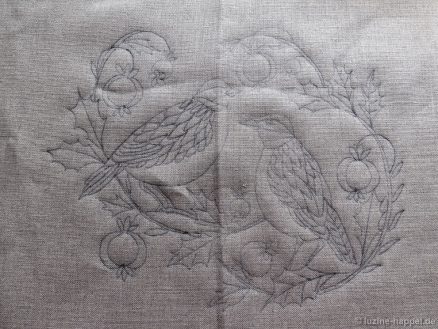
The first step has been taken, the pattern has been transferred to the linen.

You can find out what happens next in the upcoming article.
Design Transfer – Test 6

As previously reported, Joanna Jakuszewska offers iron-on pattern sheets as well as patterns already ironed onto linen. Her´s pattern are for Richelieu embroidery, but the technique could also be used for Schwalm whitework.

Thankfully, Joanna promptly sent me both some ironing pattern sheets and some linen cuts with already ironed patterns. So I could start testing.

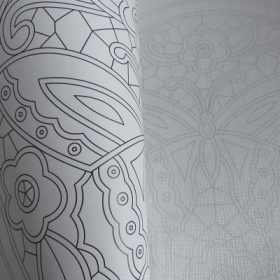
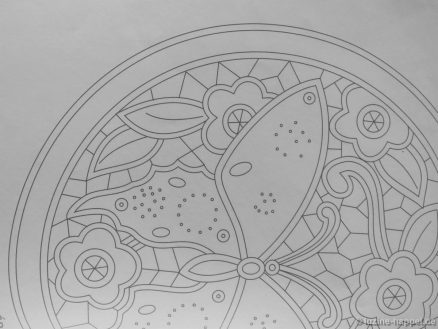
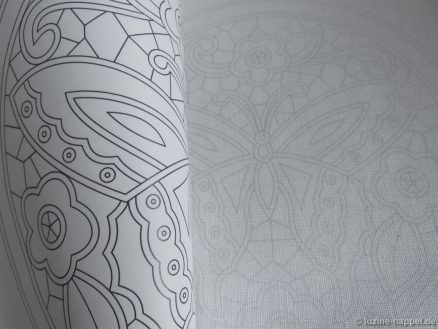
The patterns are printed on large (59,4 cmX 84,1 cm) sheets of stable, smooth paper with thin, dark grey-blue lines.

Once ironed on, the lines appear gray.

The aim was to find out whether the lines fade during the work or remain visible for a long time and whether they can be easily washed out after the embroidery is finished.

First I tried ironing a small pattern on linen. With a very hot iron – but no steam at first – I tried for quite a while with no visible lines on the linen. Then I used steam as told in the instructions. My fear that the transfer paper would curl was not confirmed. The paper remained smooth and after a while the colour also came off the paper and transferred to the linen.

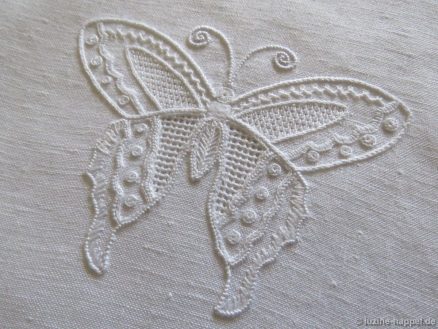
For the test, I only embroidered the butterfly motif – in a slightly modified form.

The lines remained visible until the embroidery work was completed.

Washing out the lines – in lukewarm soapy water – took quite a while, but in the end all traces of colour were completely gone.

Such ironing pattern sheets would also be an option for Schwalm whitework, because typical Schwalm motifs could also be printed on the paper. However, this is not possible with a standard printer. You have to use the services of a specialist printer. Unfortunately, there are difficulties in obtaining the ink – it is made in India. It is also only printed on large sheets and in large numbers. Given the currently low demand, this makes single patterns too expensive. This type of pattern transfer is therefore unrealistic.

Filling Pattern – No. 562

category: simple drawn thread filling pattern
linen used: 13.5/cm thread-count
threads used: coton à broder No. 20
stitches used: Wrap stitches
horizontal center axis: quadruple withdrawn thread line

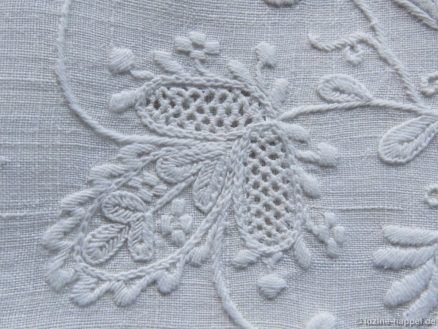
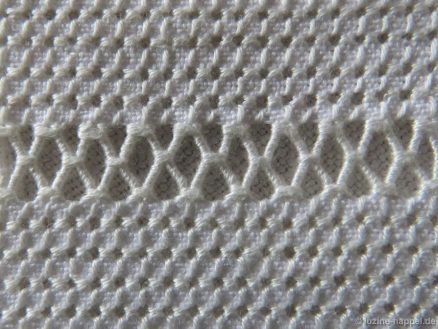
The flower motif with the openwork leaves is found on the Schwalm Parade Cushion Border (B).

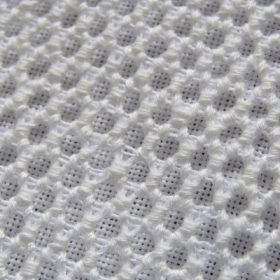
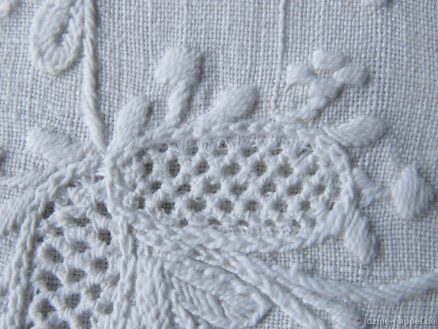
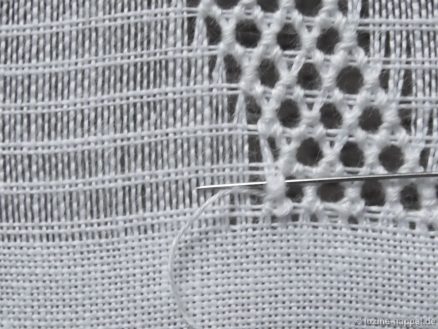
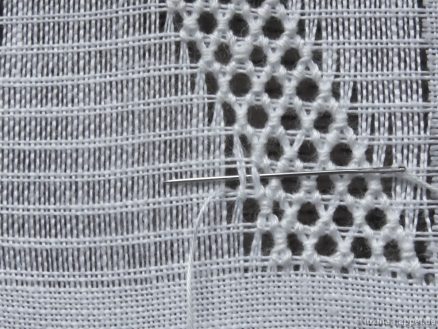
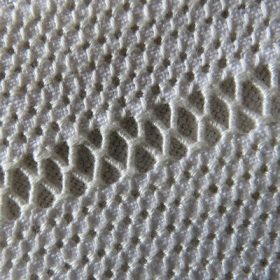
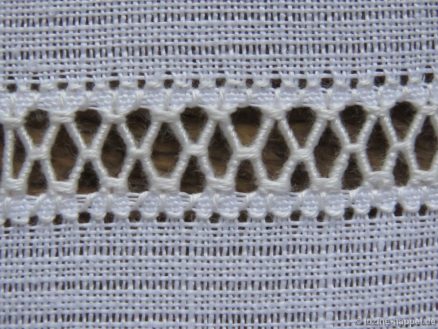
As you can see from the detail of the original embroidery, it is a kind of staggered pea holes, which do not have Four-Sided stitches as a basis, but consist exclusively of wrap stitches.

I have tried different ways and recommend embroidering the pattern as described below.

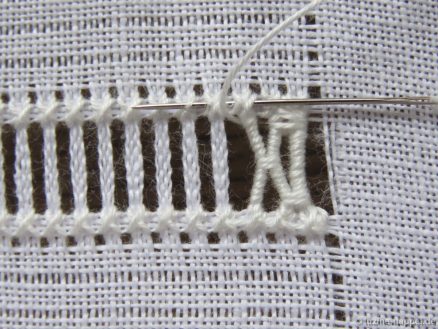
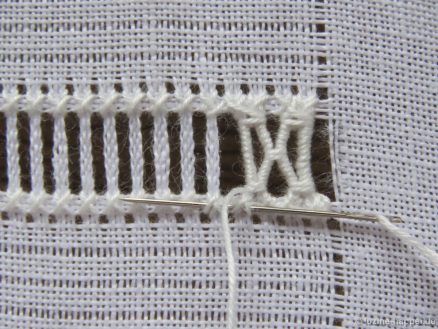
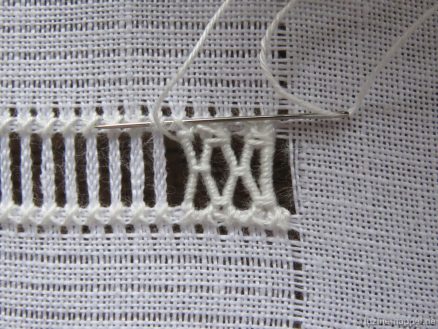
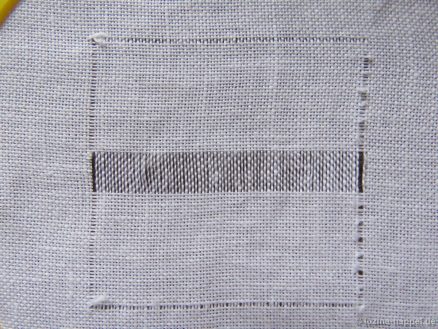
Alternate withdrawing 4 fabric threads in one direction and leaving 2 in between. The pattern builds up from the bottom right to the top left.

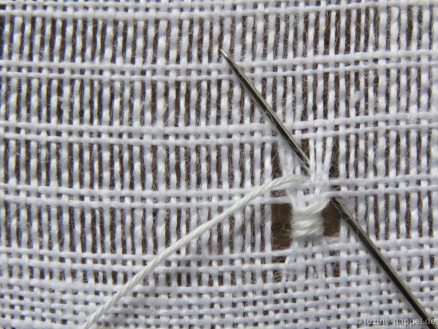
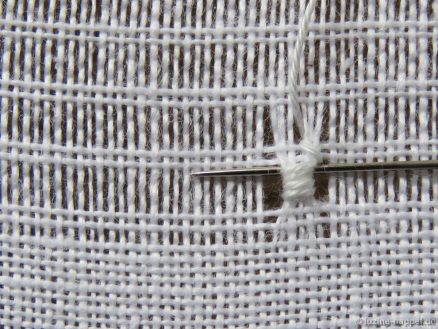
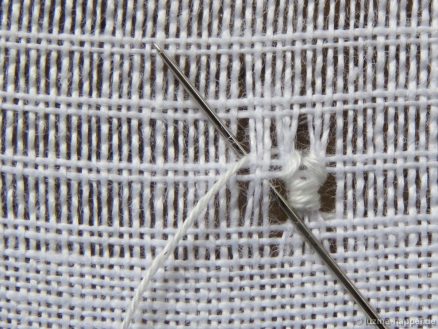
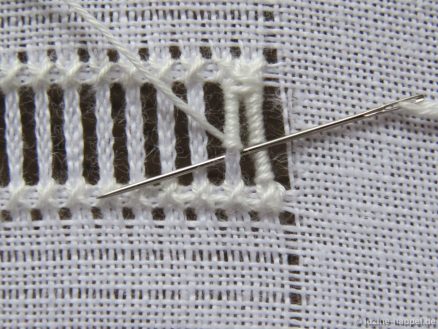
To do this, wrap around 6 fabric threads of the lowest wide withdrawn thread line 3-4 times.

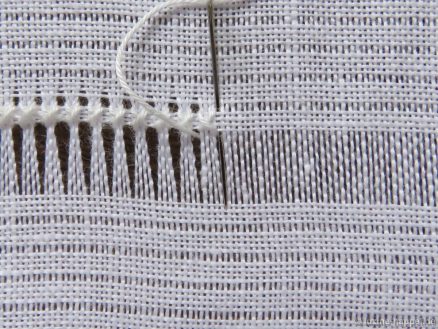
*Then slide the needle diagonally to the top left under the horizontal pair of fabric threads to the next withdrawn thread line and bring it up between the third and fourth thread of the bundle.
Repeat the stitch once,

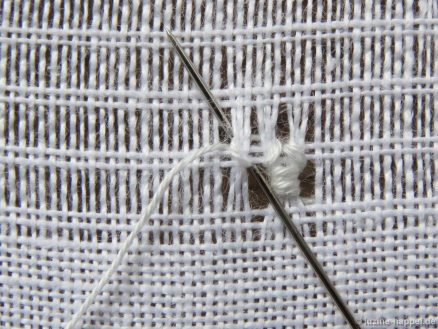
return to the starting point and slide the needle under the wrapped bundle of threads to the opposite side.
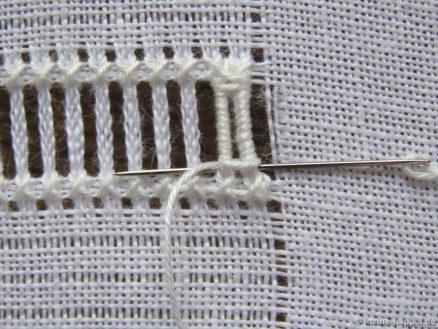
From there, the needle is led diagonally to the top right crossing over the horizontal pair of threads, inserted again between the third and fourth thread of the bundle and emerges again at the starting point.
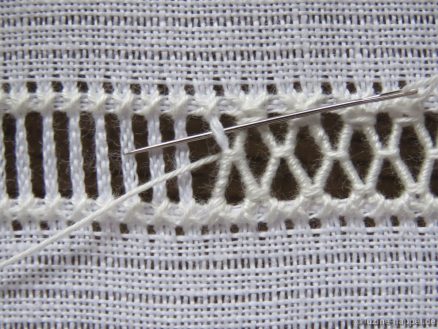
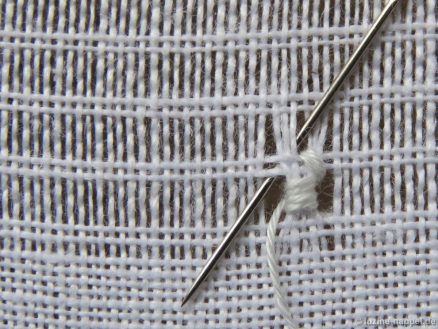
Once again, the needle is led diagonally to the top right crossing over the horizontal pair of threads, inserted again between the third and fourth threads of the bundle. This time bring the needle up 6 fabric threads to the left.

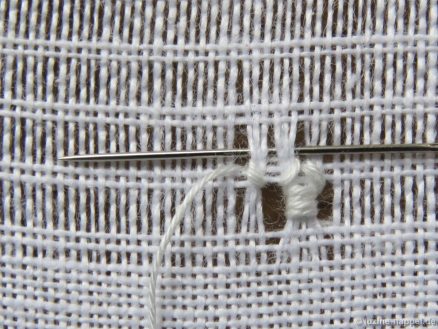
The 6 fabric threads lying on the needle form the next bundle. But before you can wrap it, you have to connect the left 3 threads to the underlying pair of threads.
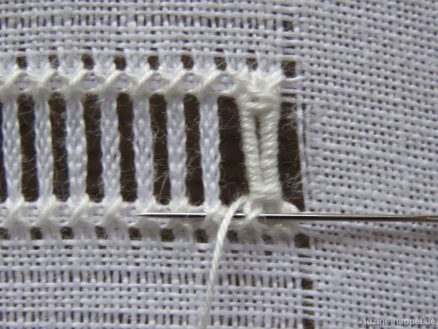
To do this, the needle is led diagonally over the pair of threads to the bottom right, inserted next to the wrapped bundle and brought up again at the starting point.

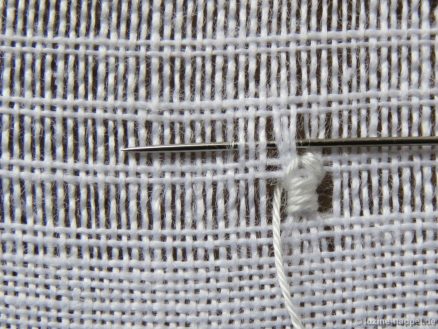
This stitch is also repeated once,

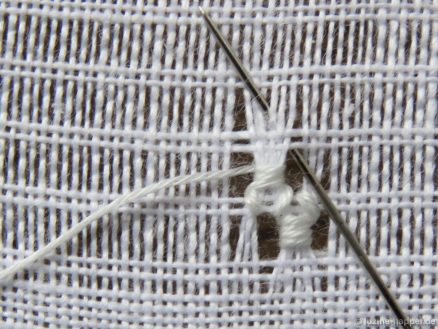
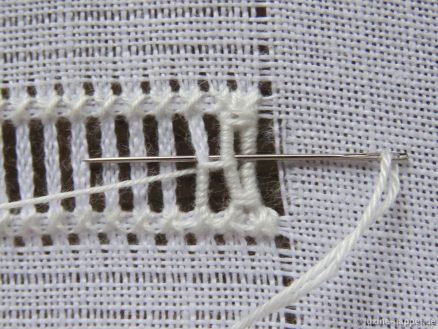
to then wrap the two bundles of 3 threads together.*

Repeat the steps of working(*).

Reaching the top edge, turn the work 180° and embroider the next row next to the first.

In the places where the thread pairs are already wrapped, these steps can be omitted.
Some rows – not all – move close to the previous one. You can move the bundles slightly with the needle tip to achieve even distances.

In this way, an airy pattern is created that is suitable for filling not too large areas.

Filling Pattern – No. 561

category: simple drawn thread filling pattern
linen used: 13.5/cm thread-count
threads used: coton à broder No. 20 for the Four-Sided and No. 16 for the Peaholes
stitches used: Four-Sided stitches and a variation of wrapped Peaholes
horizontal center axis: double withdrawn thread line

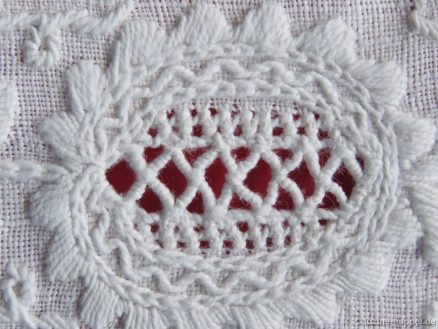
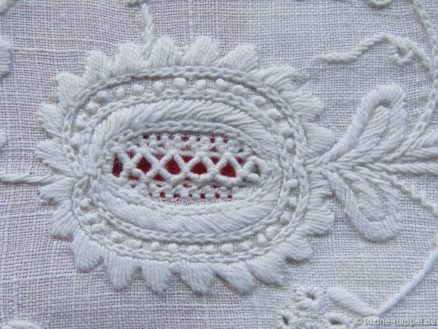
The pomegranate motifs come from the Schwalm parade cushion border (B).

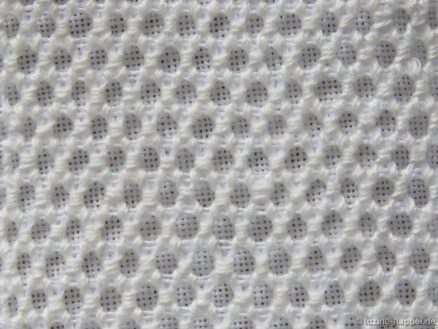
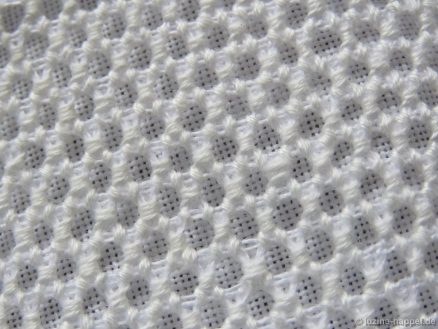
As you can see from the two pictures with the original embroidery, the pattern has been worked slightly differently.

Actually it is a variation of the wrapped Peahole,
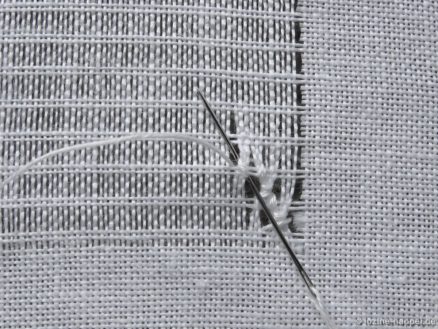
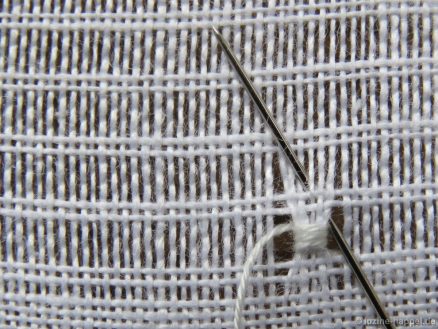
which can be seen here from the front

and back.

Erbslochkante_7

The main difference is the use of thicker thread and additional wrapping of the ends of adjacent bundles of threads.
From this I derived a variation that does not fully correspond to the original, but comes very close.

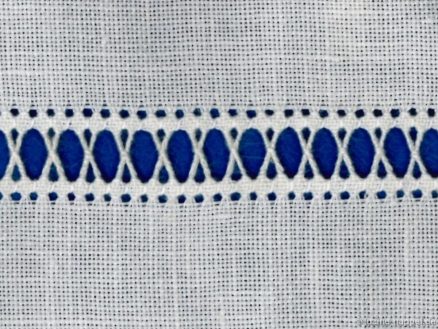
The pattern shown below is a practice exercise only.

It makes sense to start thread withdrawing in the middle. Here I first have withdrawn the middle pair of threads and then removed 5 more fabric threads on each side, so a total of 12 threads.

Four threads are now alternately left on both sides of the withdrawn thread line and another is withdrawn.

Four-Sided stitches (coton à broder No. 20) are embroidered from the back over the four remaining threads, each bundling 4 fabric threads.

Using coton à broder No. 16 the resulting bundles of threads are wrapped and joined together into Peaholes.

Start with the right bundle of threads and wrap – from bottom to top – around it 12-14 times. The wrapping thread should lie evenly next to each other and should be the same in number across all thread bundles.

*The thread is slide under the crosses of the Four-Sided stitches to the next bundle of threads.

Now wrap from top to bottom. First, the unprocessed bundle and the one to the right of it are joined together by two wrappings.

Then continue to wrap the left bundle of threads until you reach the bottom edge.

There the two thread bundles are pulled together again by two wrappings

and the thread is slide under the crosses of the Four-Sided stitches to the next bundle of threads.

Again wrap from bottom to top, but this time only up to the middle. There, the partially unprocessed bundle of threads and the bundle of threads to the right of it are tightly pulled together with two wrappings.

Then the left thread bundle is wrapped until reaching the upper edge.*

The steps (*) are repeated, on the way down the bundles of threads are joined together at the edges

and on the way up in the middle.

From the front, it looks like this:

Then the remaining area is filled with Four-Sided stitches.

A pretty pattern – particularly suitable for long, narrow motifs – is established.

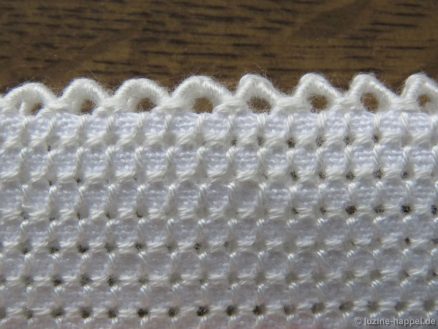
I have noticed that the variant of the peaholes, which are also wrapped together at the edges, makes working the folded peahole edging much easier.

How is a Pattern Printed Using a Stencil?

The formation of Schwalm outline designs has already been described in the article The Arduous Work of Designers.

There are several ways to transfer such patterns to linen, such as direct drawing with non-permanent pens and a light source, tracing with blue carbon paper, or ironing on with an iron-on pen. Another option is to transfer using a stencil and powdered paint. The necessary, very time-consuming preparatory work is worthwhile if the pattern is to be duplicated.

Here now the steps from the pattern on paper to the printed design on linen are reported.

The final drawing of the pattern is done on thin transparent paper with a grammage of 35/40. Special transparent 90 g architect’s paper serves as a carrier for the resulting stencil.

The final drawing is placed on a firm but not entirely rigid base (e.g. desk pad). If the pattern is not axisymmetric, the drawing must be placed back side up. The architect’s paper is laid over the drawing and secured against slipping.

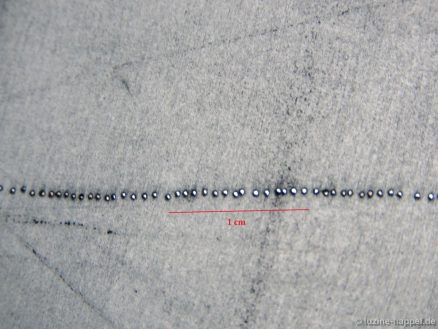
Using a pointed, very thin needle, carefully prick hole next to hole along the lines with a steady hand. Up to 15 stitches per centimeter are necessary to achieve even lines in the end. If the needle is too thick, the edges of the backing paper will fray and the spaces between the holes could tear open.

With larger patterns, you have to take breaks from time to time in order not to strain your eyes and hands.

Pricking the foil with a sewing machine is not advisable. The sewing machine needles are usually too thick, larger paper would buckle.

When the stencil is finished (shown here after several uses), the linen can be prepared. It is cut to the desired size. For some patterns, threads have to be drawn in with colored sewing thread for marking in order to be able to set the pattern exactly. For other patterns, small pencil marks will suffice.

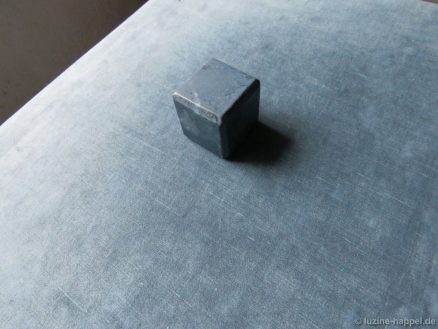
A large table top is fit up with two layers of smoothly ironed bed linen. These absorb a lot of the blue colour after a short time. Heavy weights – here blocks of marble – are laid out ready.

The linen is spread out on the table, aligned and smoothed out.

The stencil is placed – with the back side up – on the prepared linen and secured with the weights to prevent it from slipping. Here you can clearly see the raised edges of the pricked holes.

A mineral powder, the composition of which I do not know exactly, is in a flat container. (In any case, the powder contains talc and mineral, non-chemical laundry blue.)

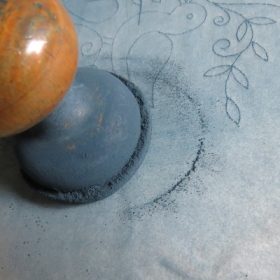
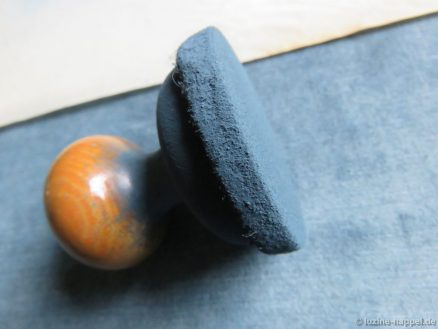
A stamp with a thick layer of felt is dipped into the powder. Excess powder is shaken off.

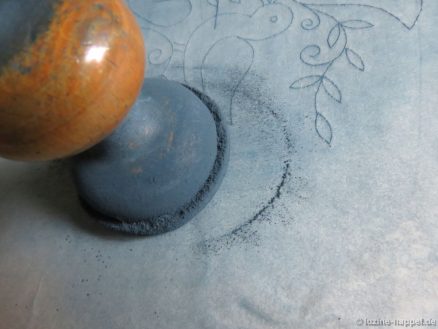
The stamp is moved over the lines with light pressure. Since you cannot check the result in between, it takes some experience to know how often to rub over the lines.

The stencil is carefully removed, excess powder is poured back into the container.

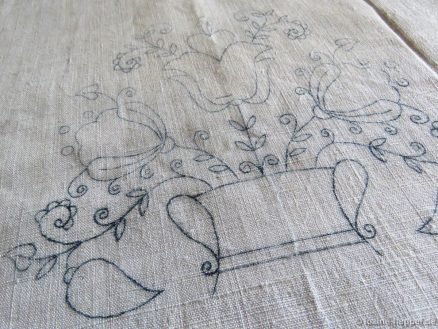
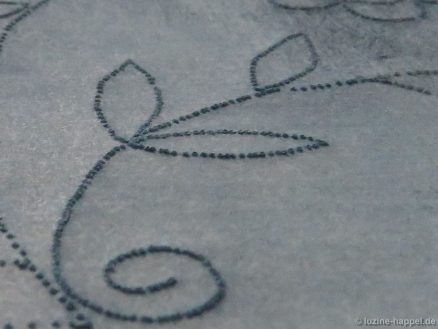
The fine powder that was pressed through the pricked holes now lies in a line on the linen.

These powder lines are sprayed with alcohol to fix them. The piece of linen stays in place until dry.

The densely perforated lines of the template resulted in fine, even and long-lasting outlines that are easy to embroider with.

Unfortunately, the composition of the colour powder has changed, making it lately difficult to wash out the lines. If another recipe were found, one could fall back on the huge existing treasure trove of templates. Stencils that have been the result of decades of painstaking work – large and small, densely arranged and loose patterns, strict or more fancy arrangements – there is something for every use and every taste.