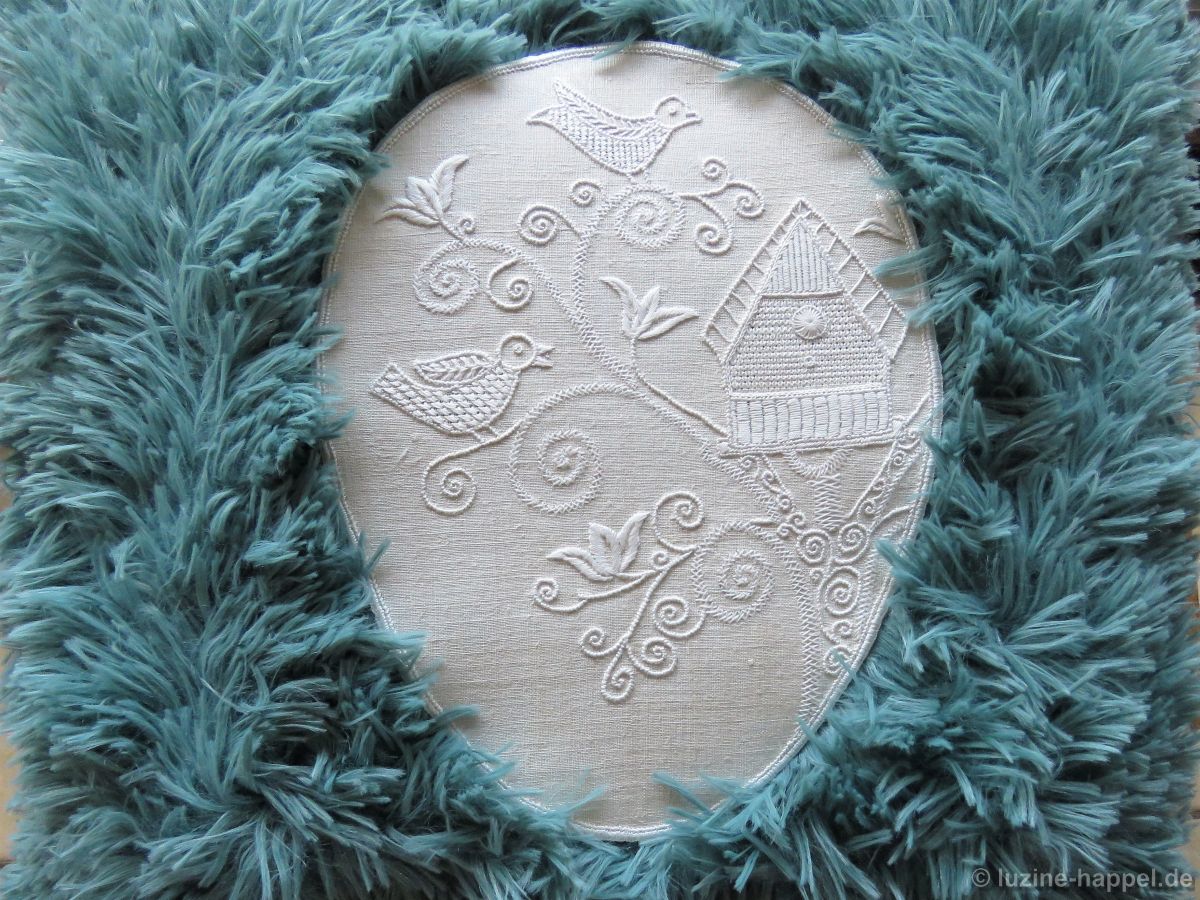
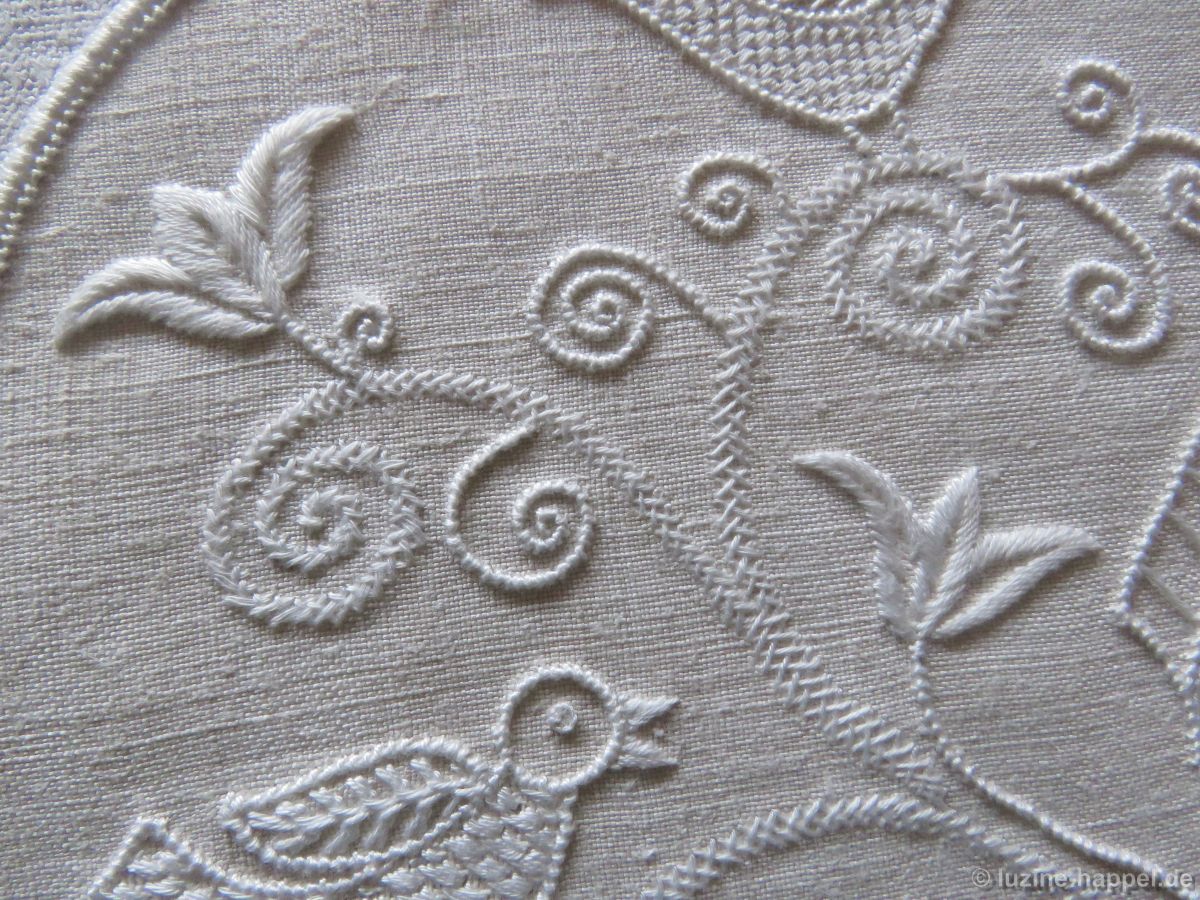
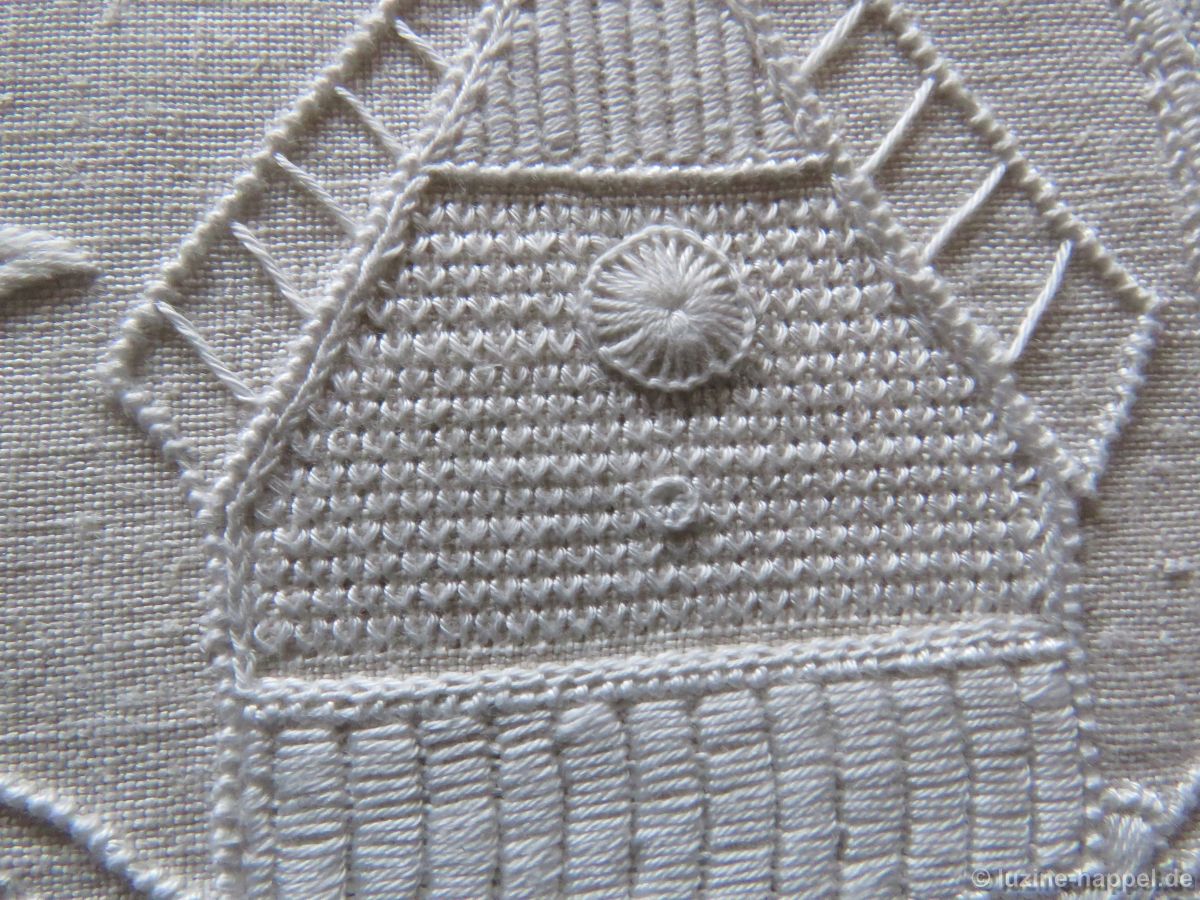
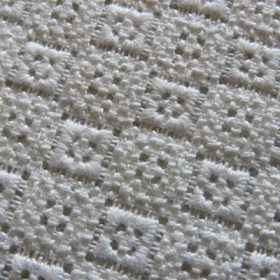
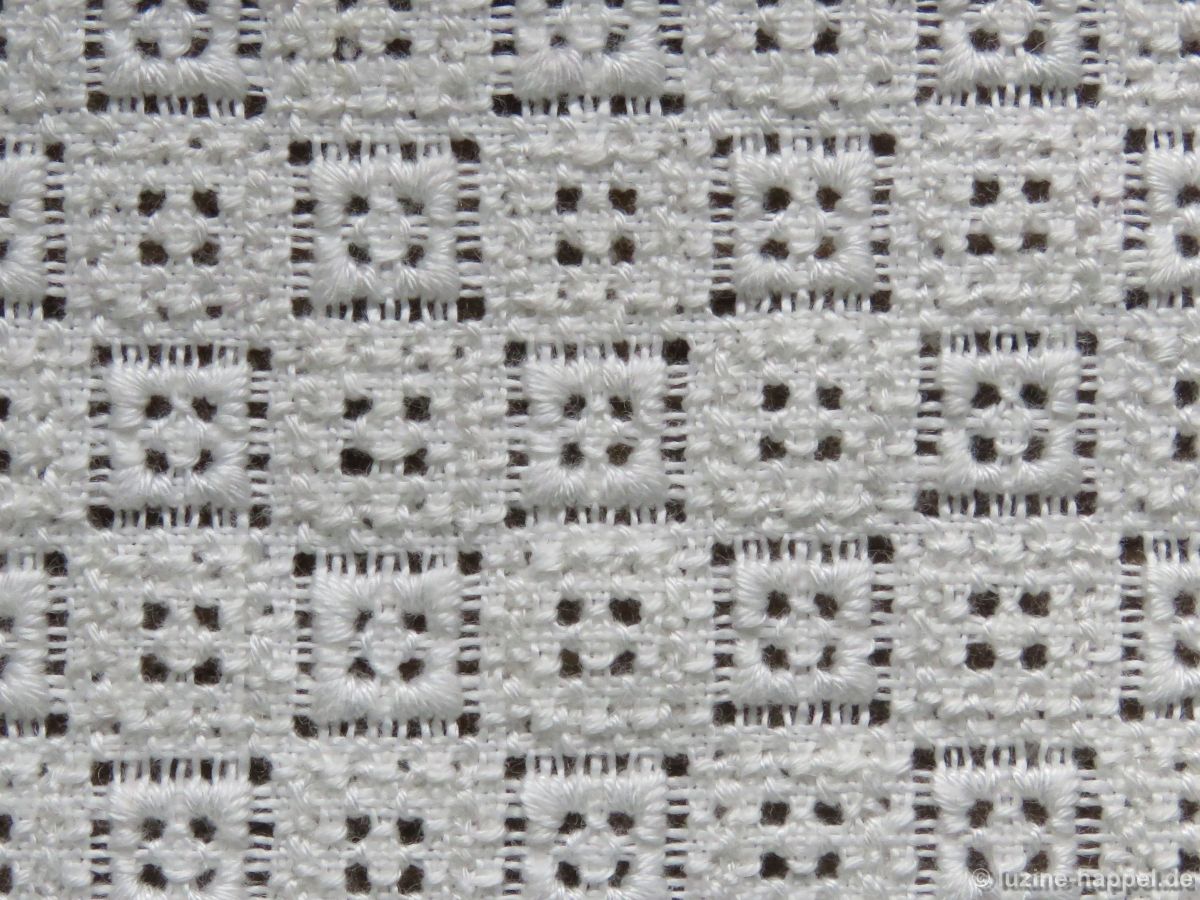
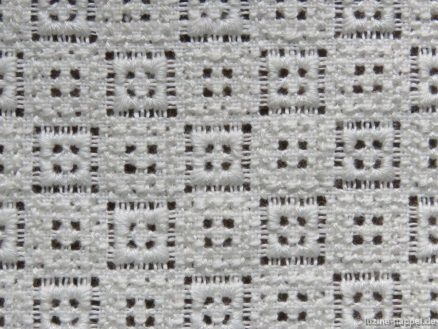
category: Limet-Filling pattern
stitches used: nine-stitch sections of the simple Square Eyelet, Four-Sided, and Rose
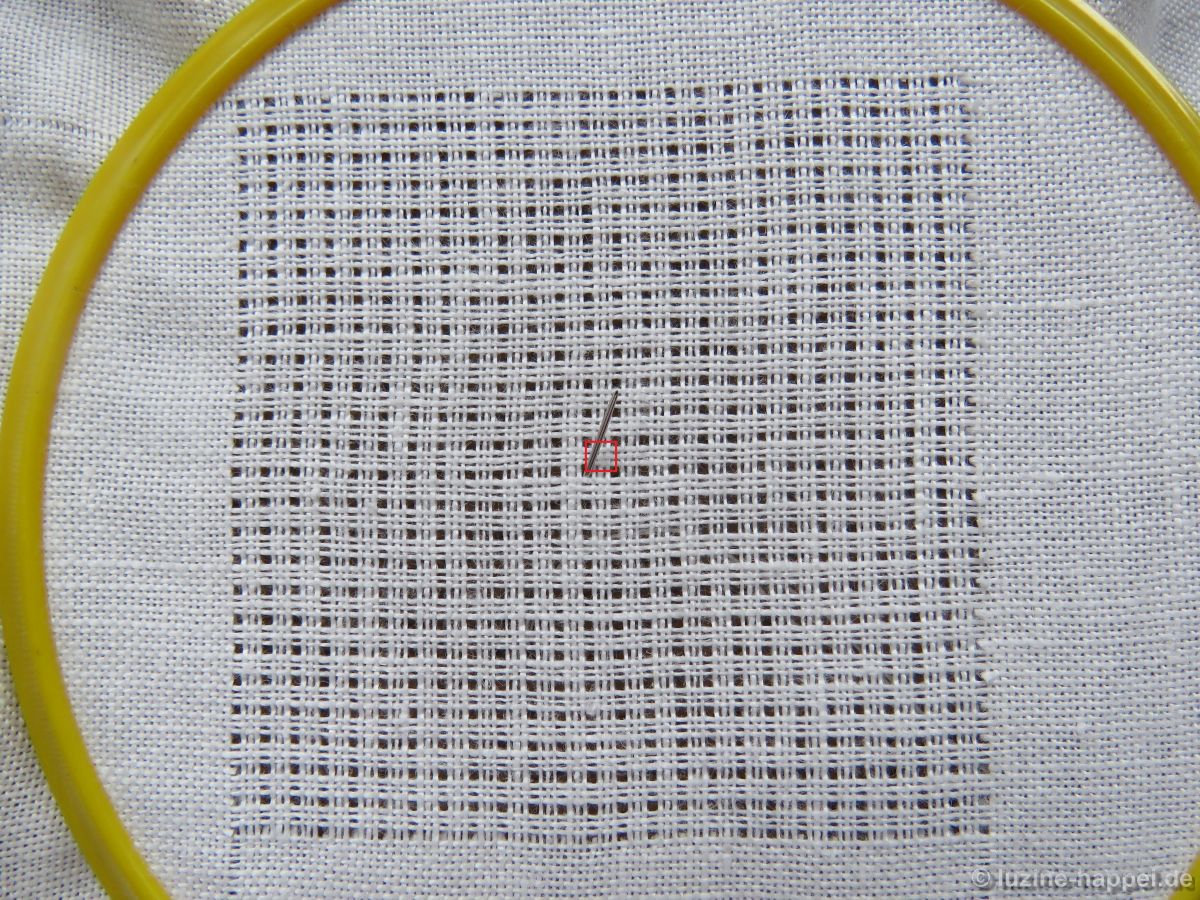
center: square (in other shapes, longitudinal axis: group of three threads)
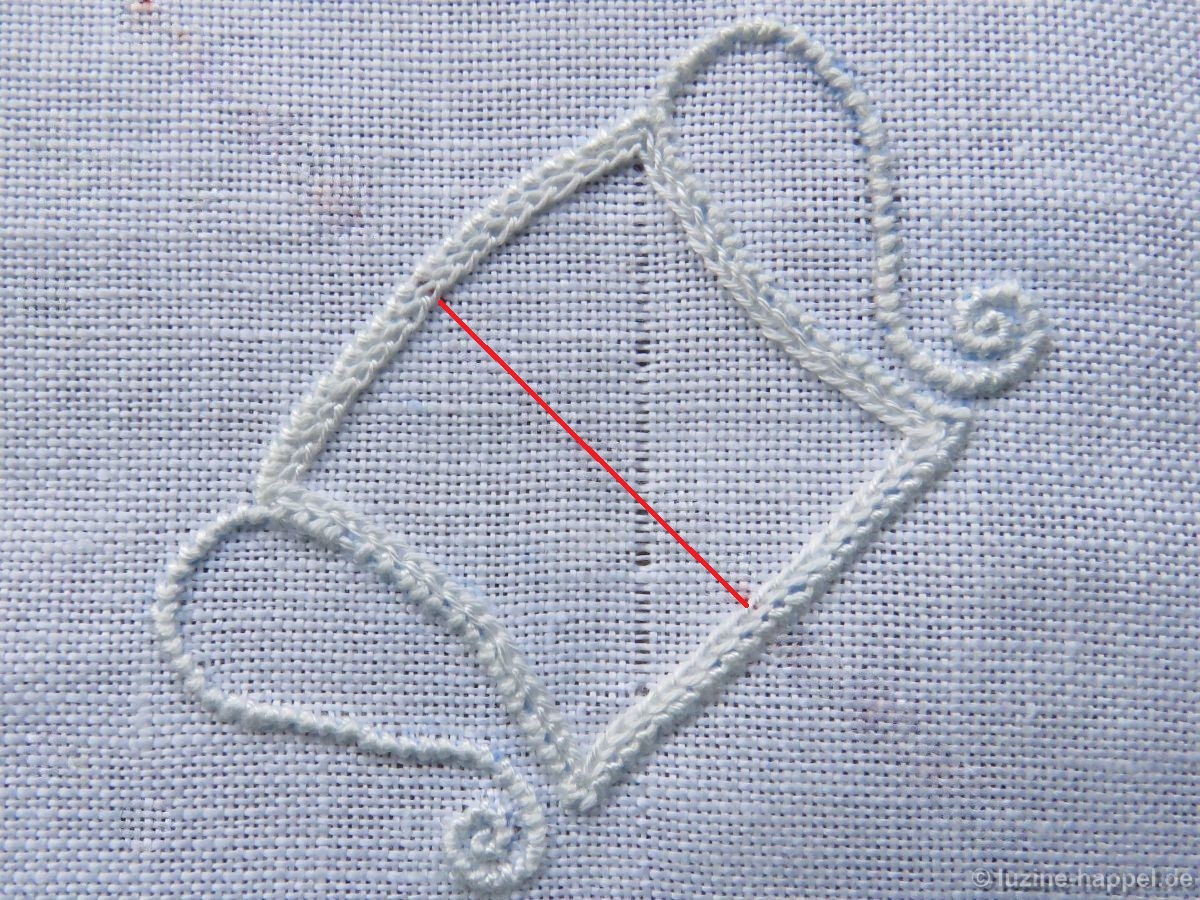
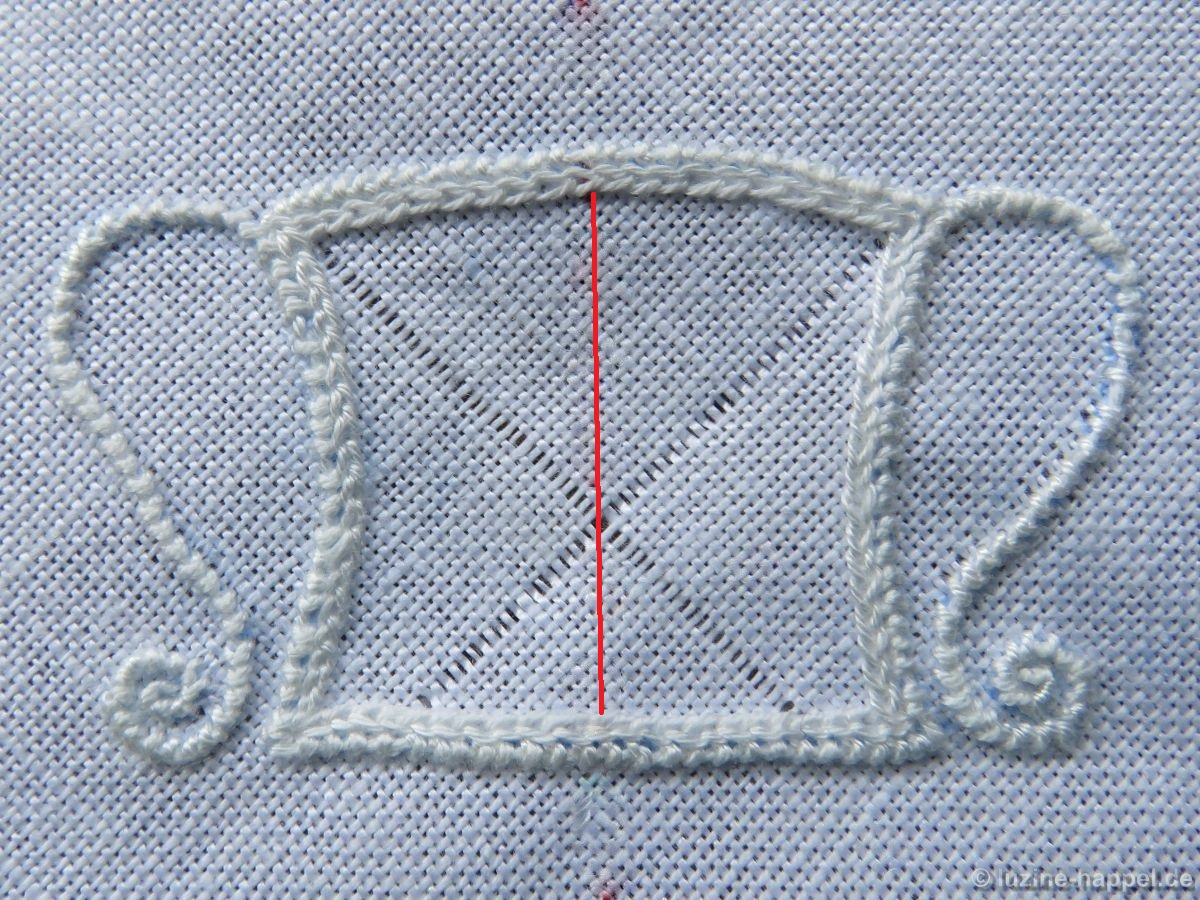
one pattern segment = 24 threads
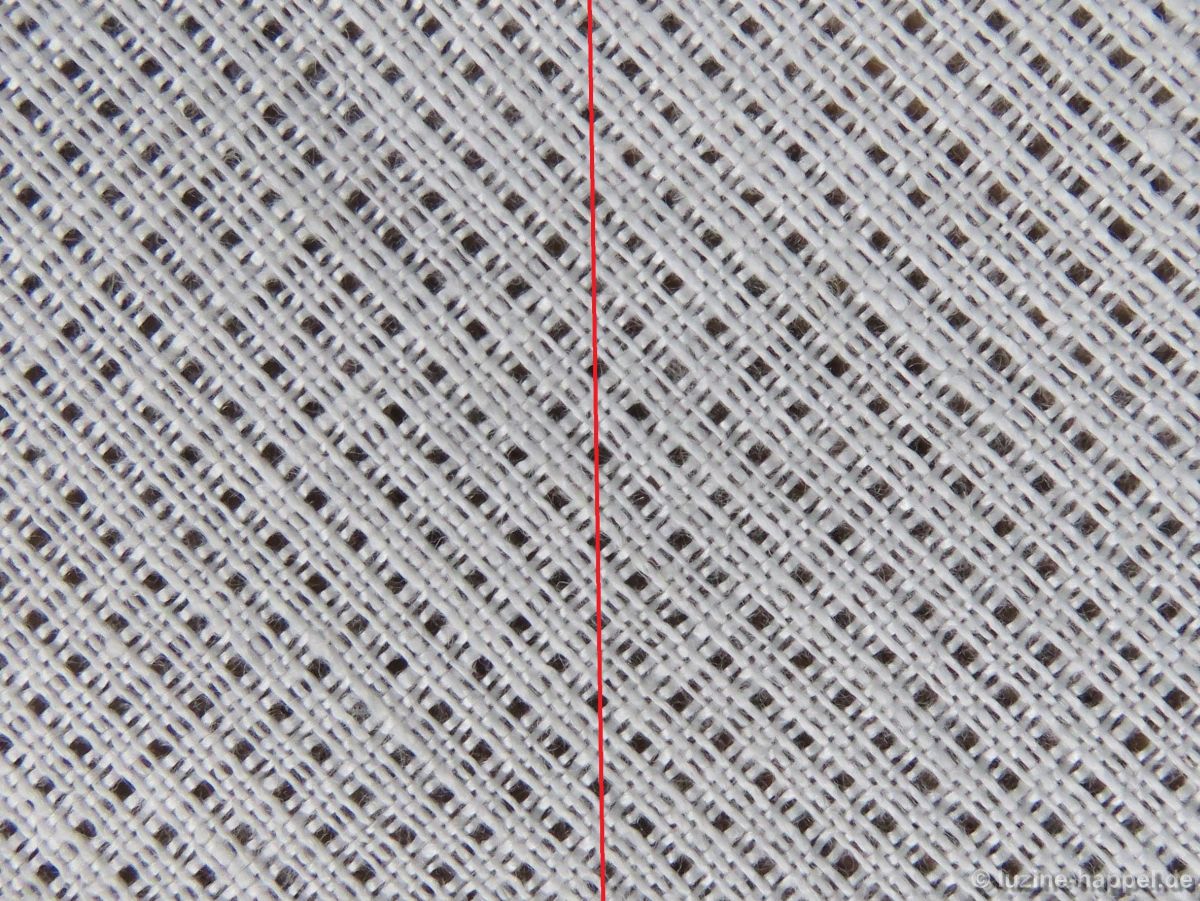
used here: linen with 13.5/cm threads and coton à broder No. 25 for the small shirt buttons and No. 20 for the Rose stitches
Instructions for left-handers can be found at the end of this article.
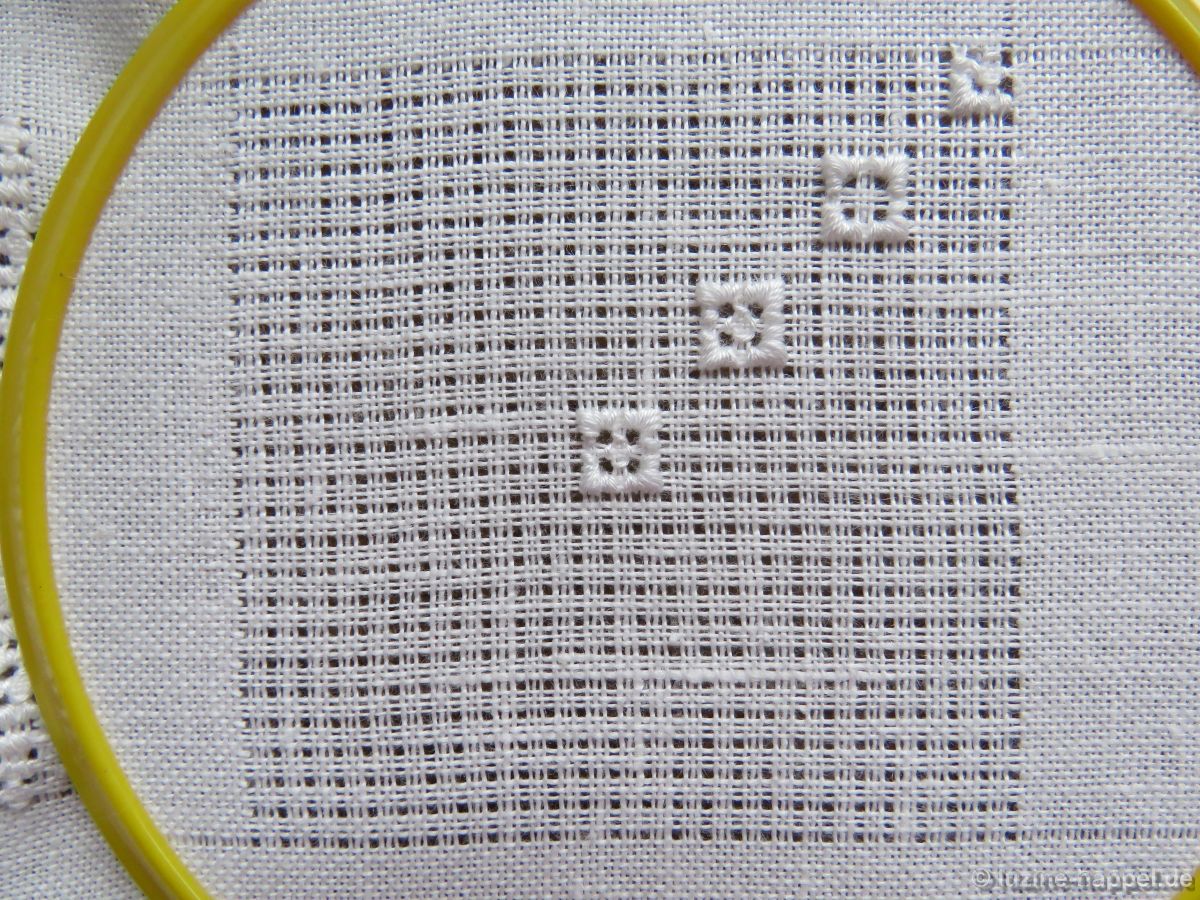
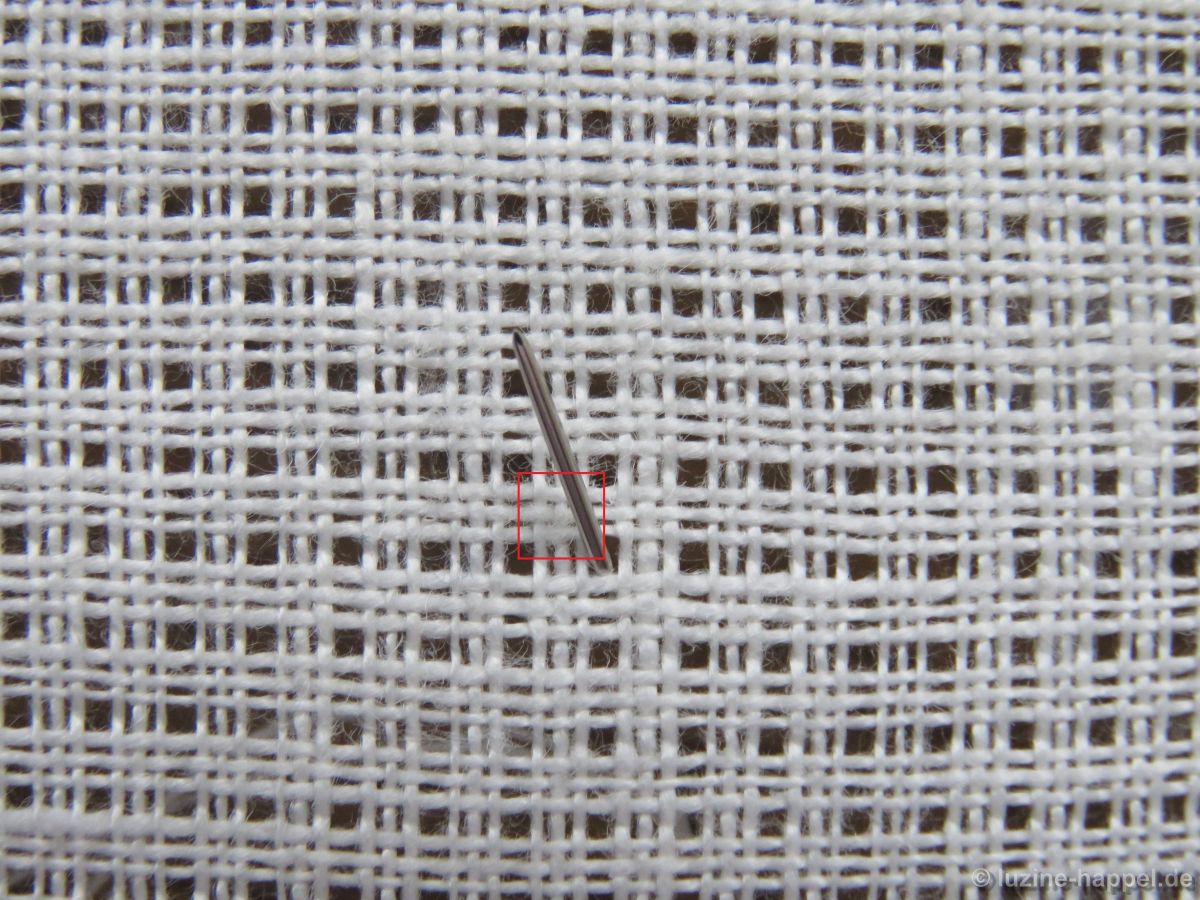
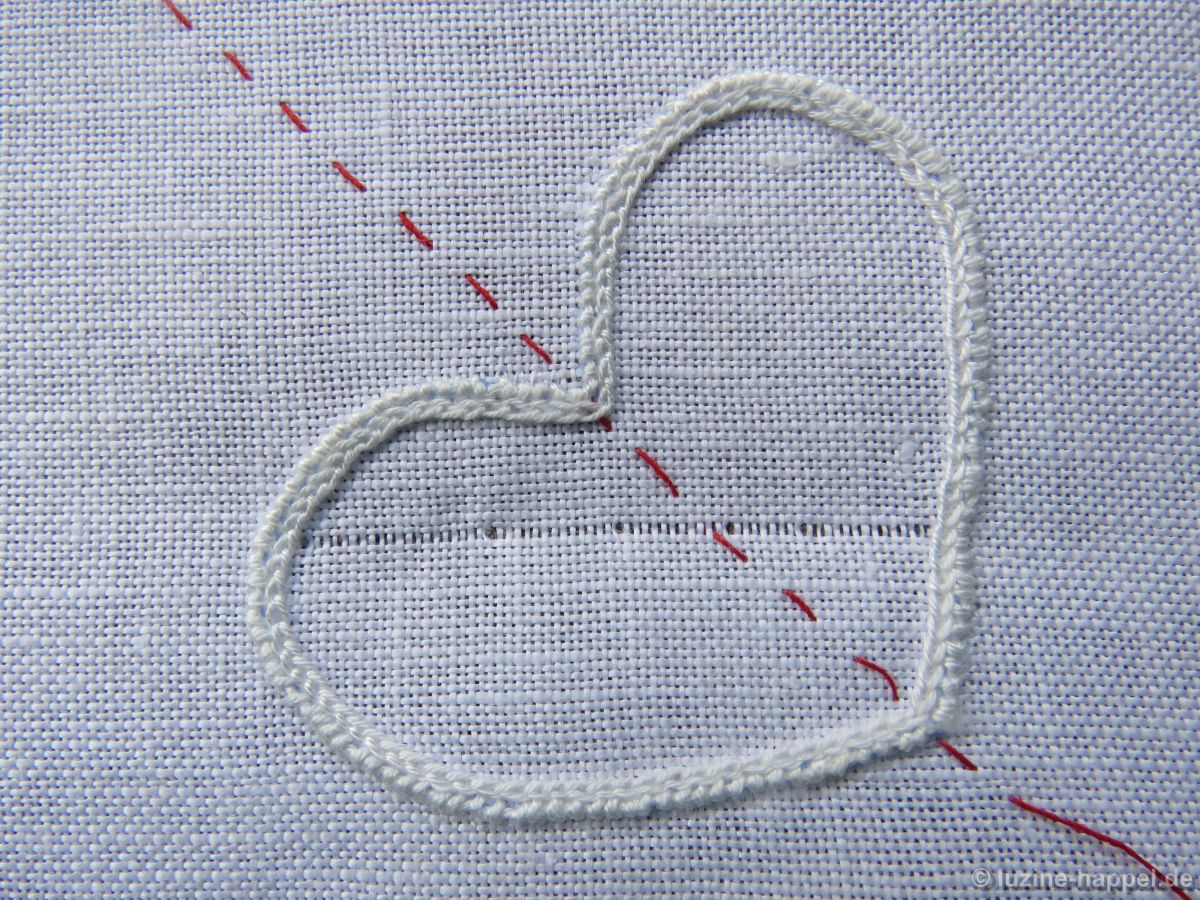
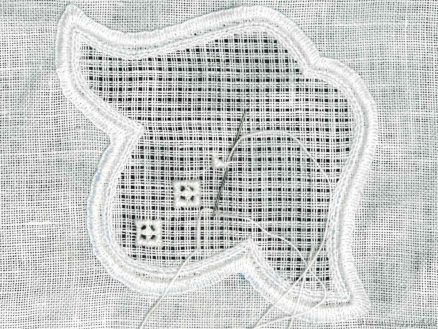
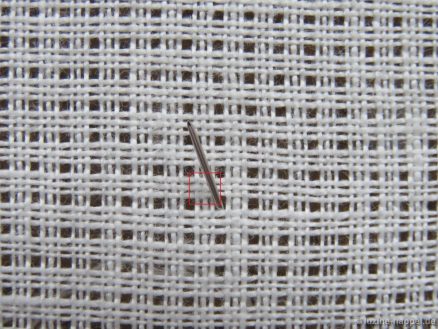
First, establish a Limet grid with a square in the center by cutting 1, leaving 3 both vertically and horizontally.

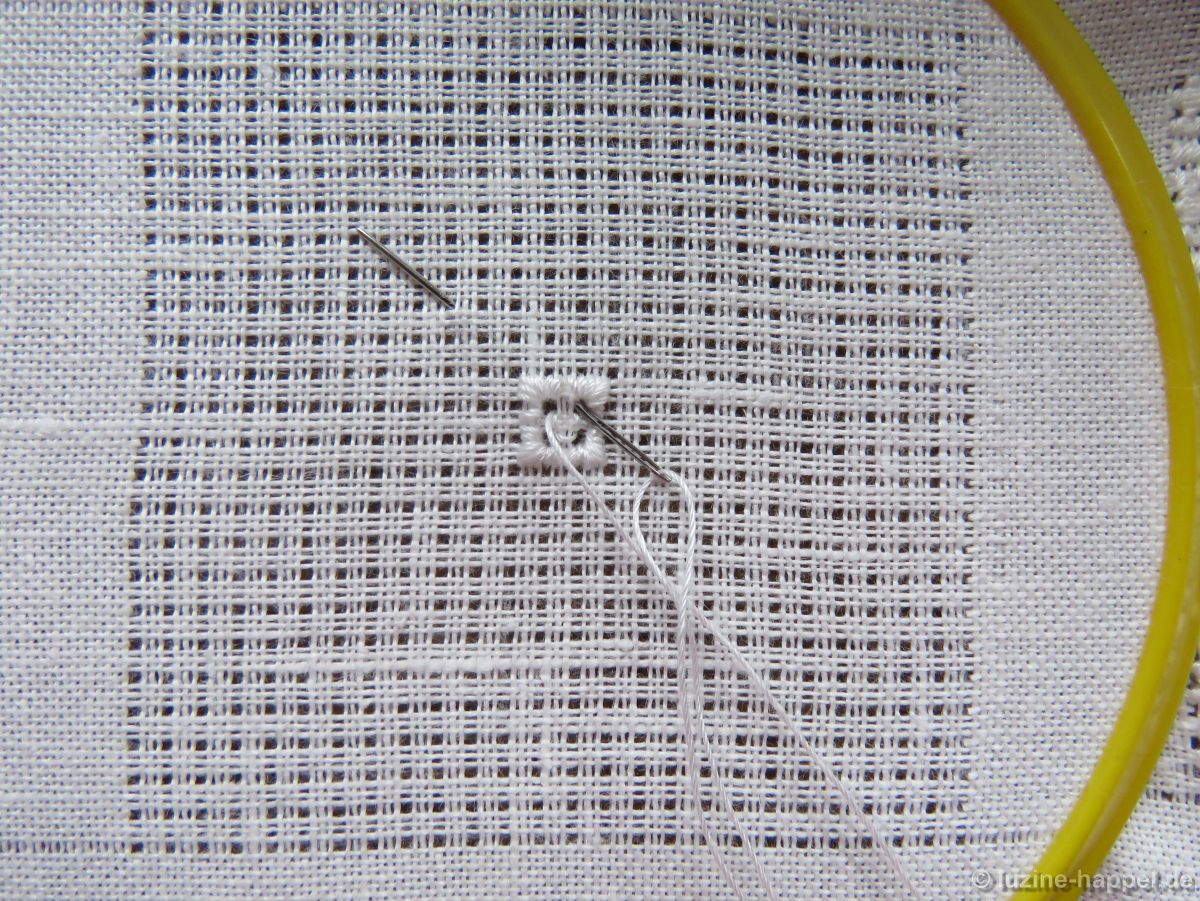
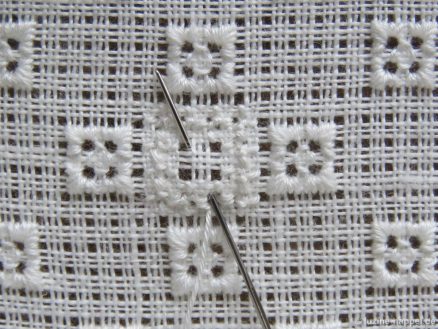
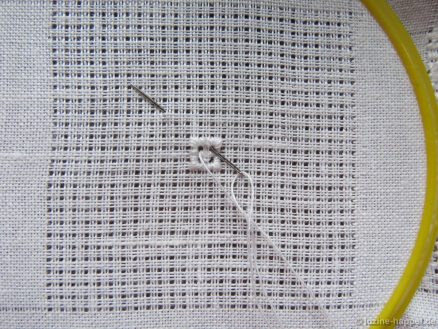
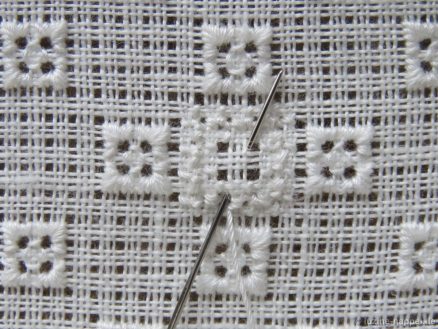
Work one small shirt button around the center square. After completing the Four-Sided stitch, bring the needle up in the next center – three squares (nine fabric threads) up and four squares (twelve fabric threads) to the right. The travelling working thread on the back is covered later by subsequent stitches.

From there work a second small shirt button. Continue working small shirt buttons in the established way.
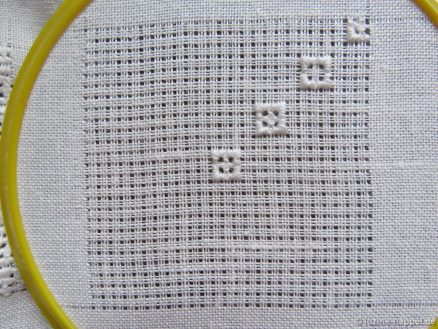
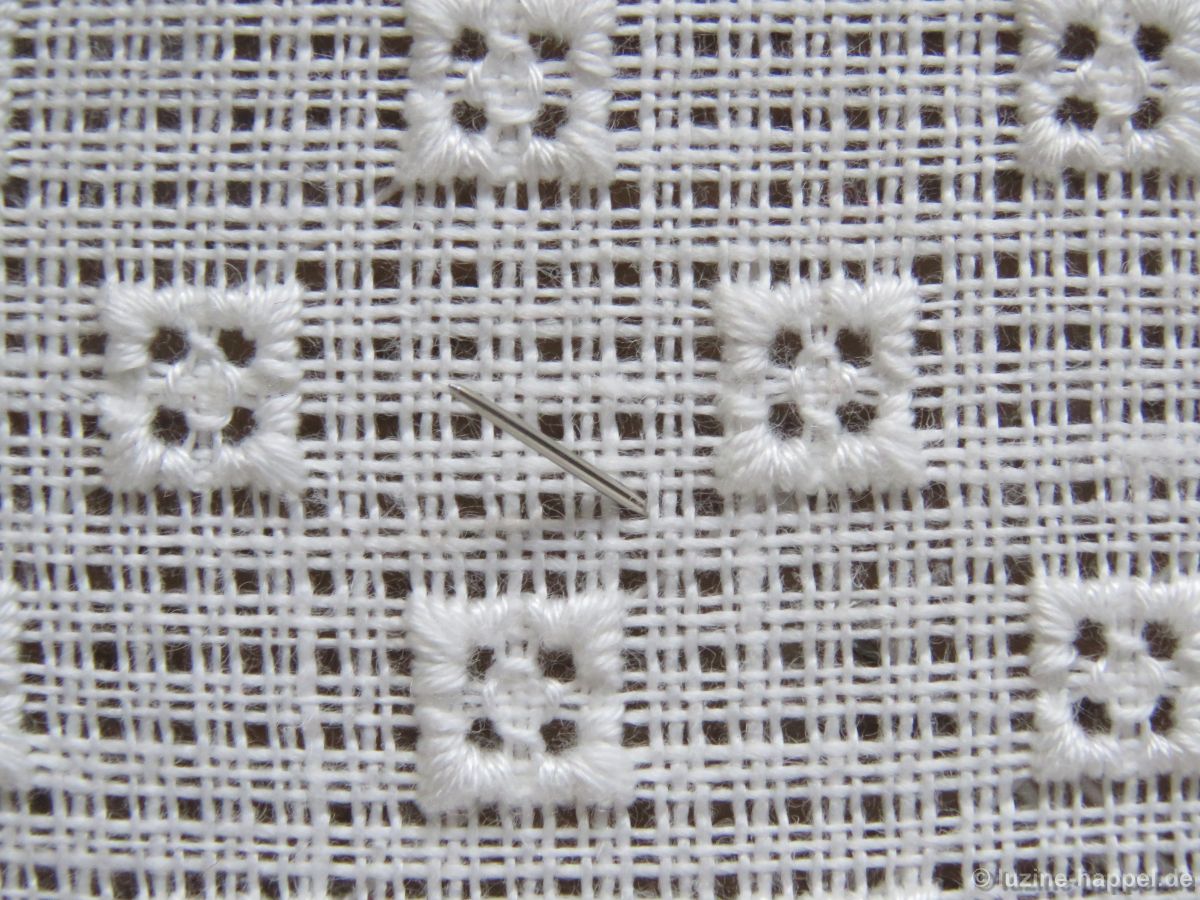
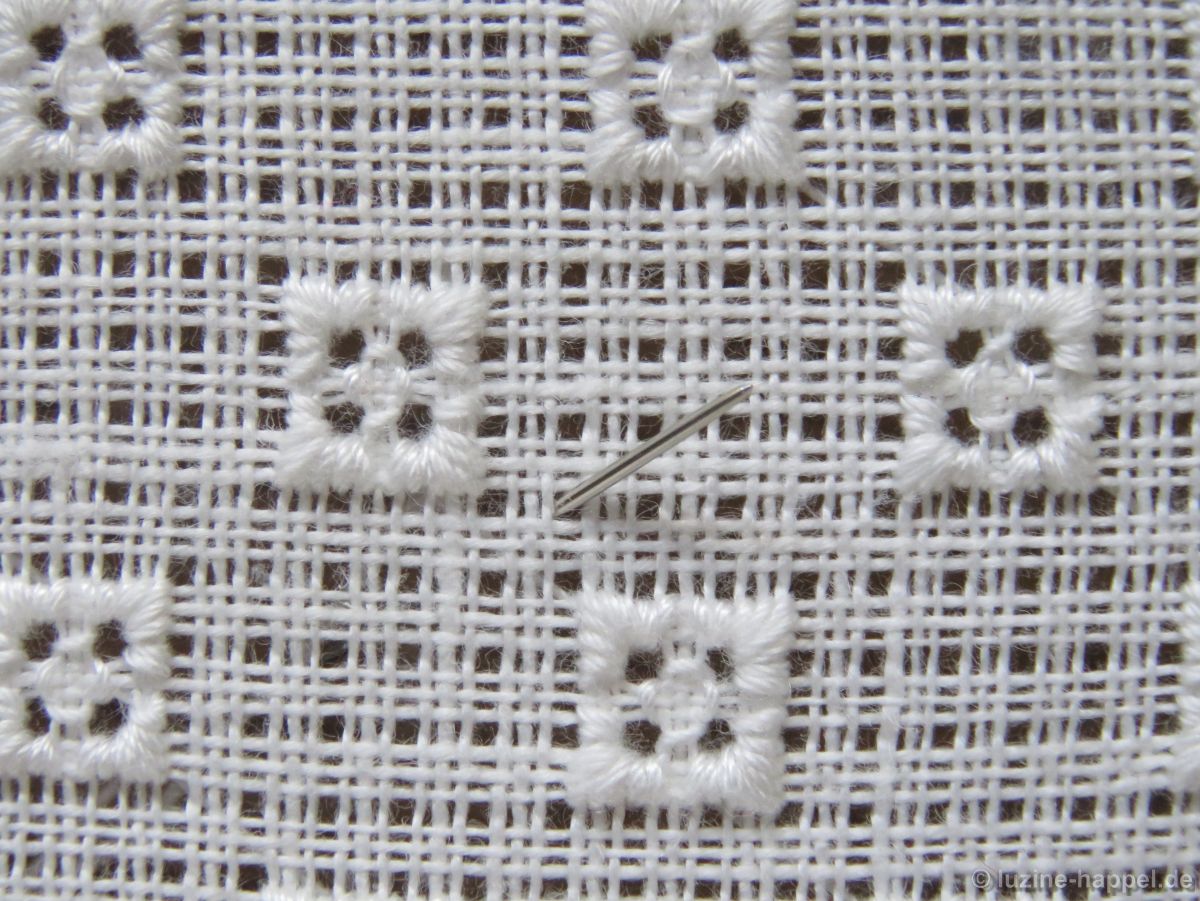
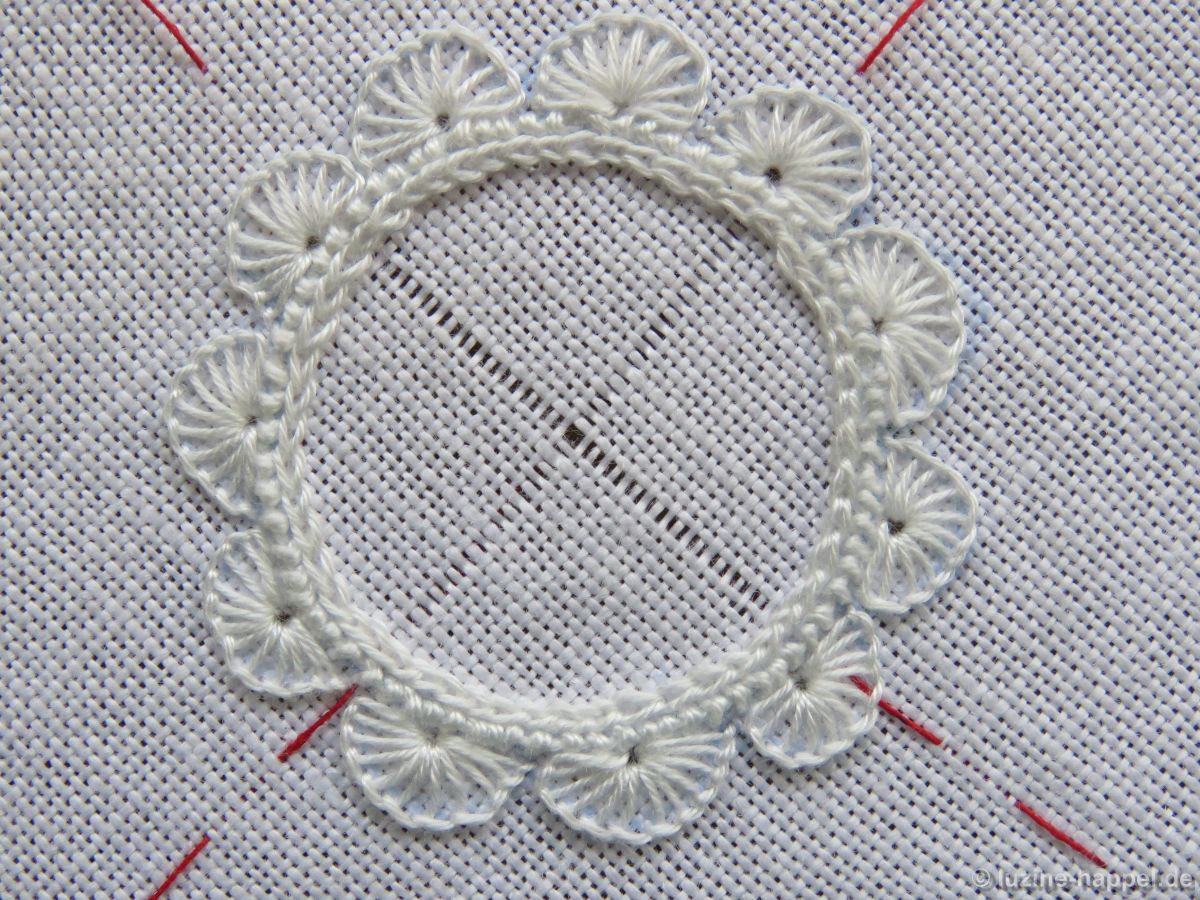
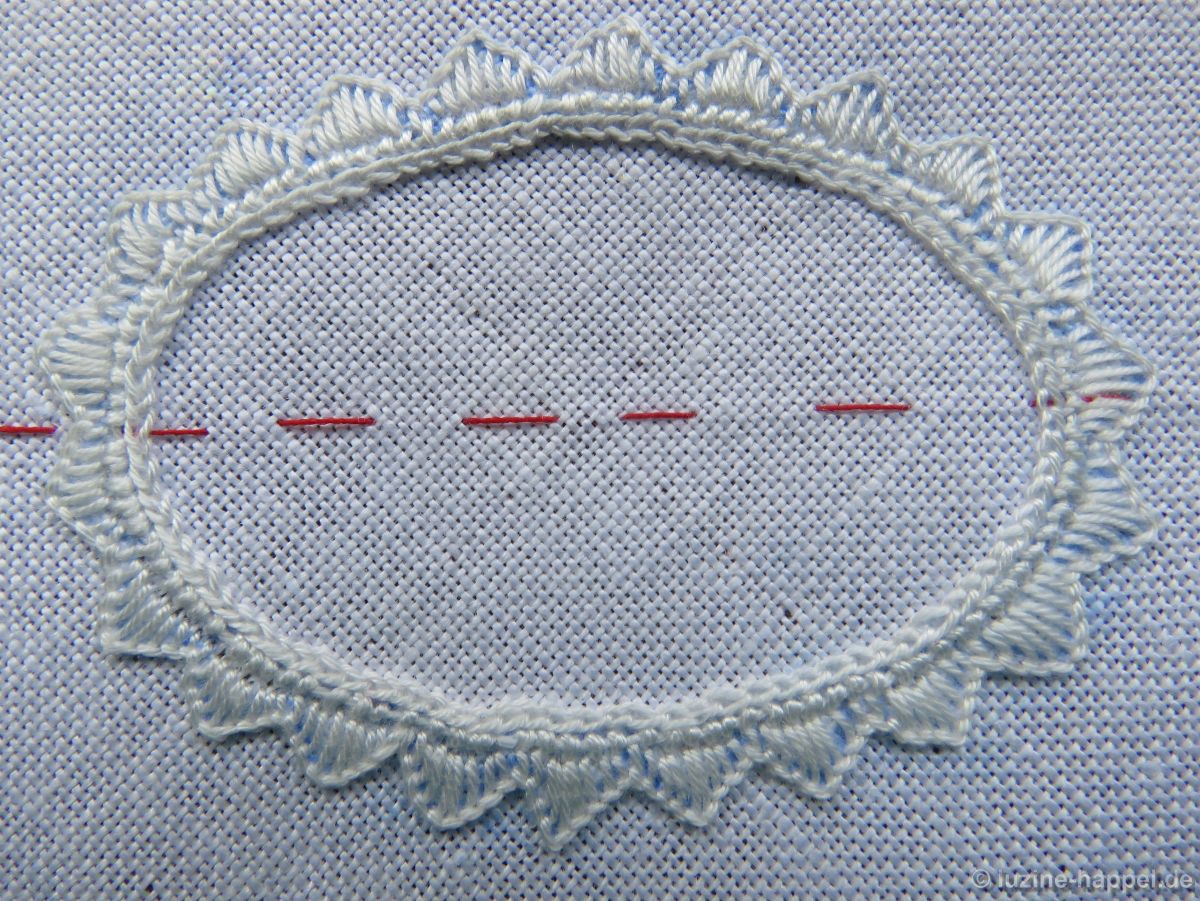
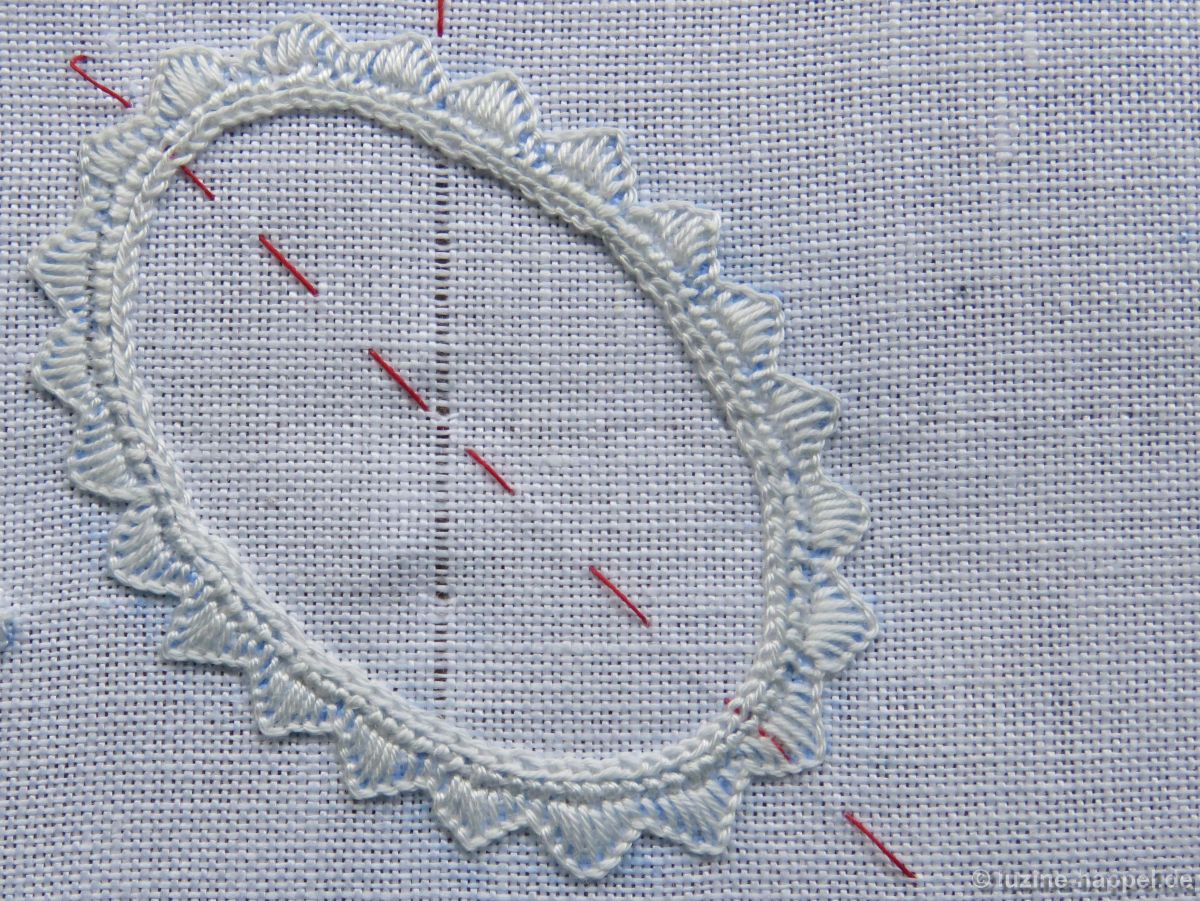
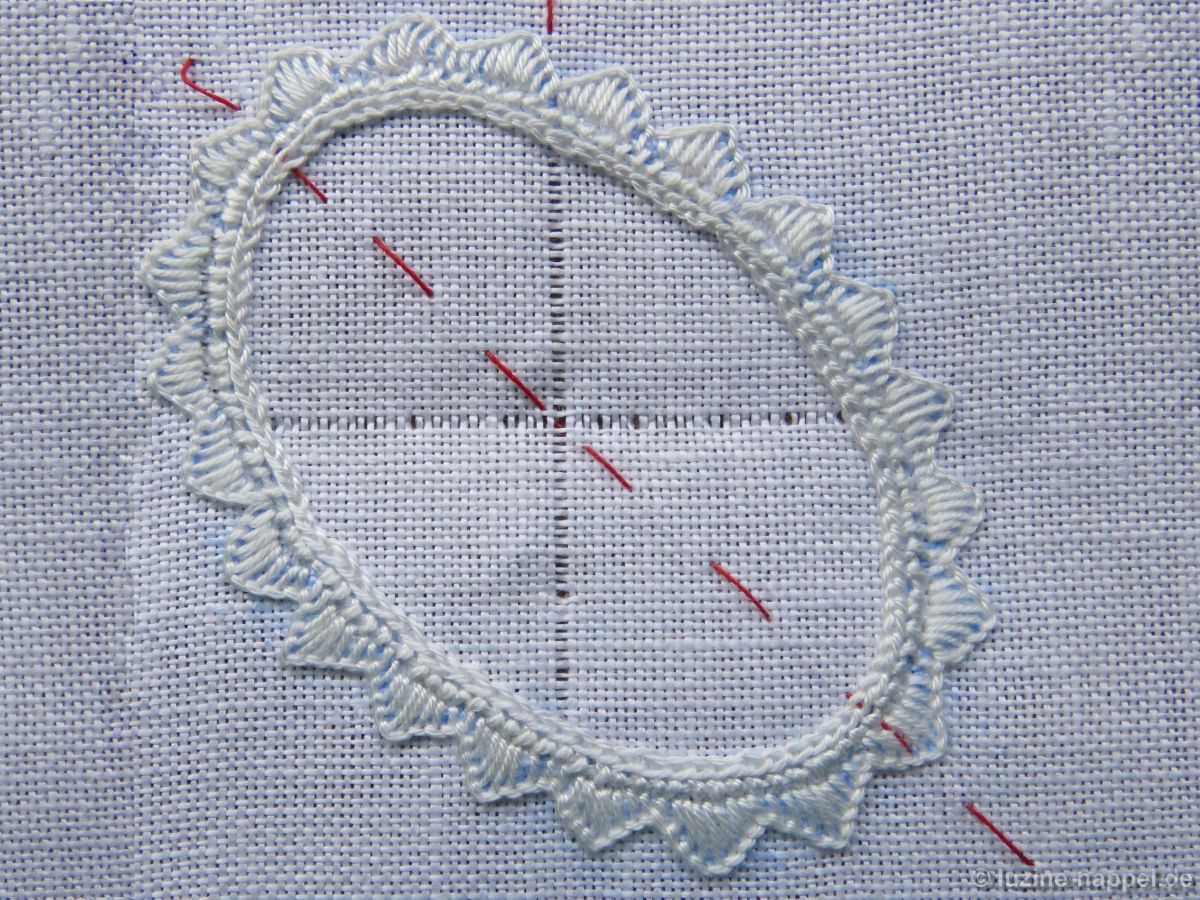
Work small shirt buttons over the entire shape.
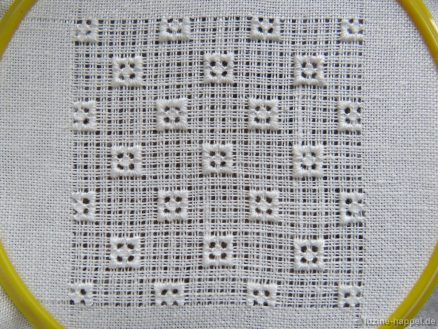
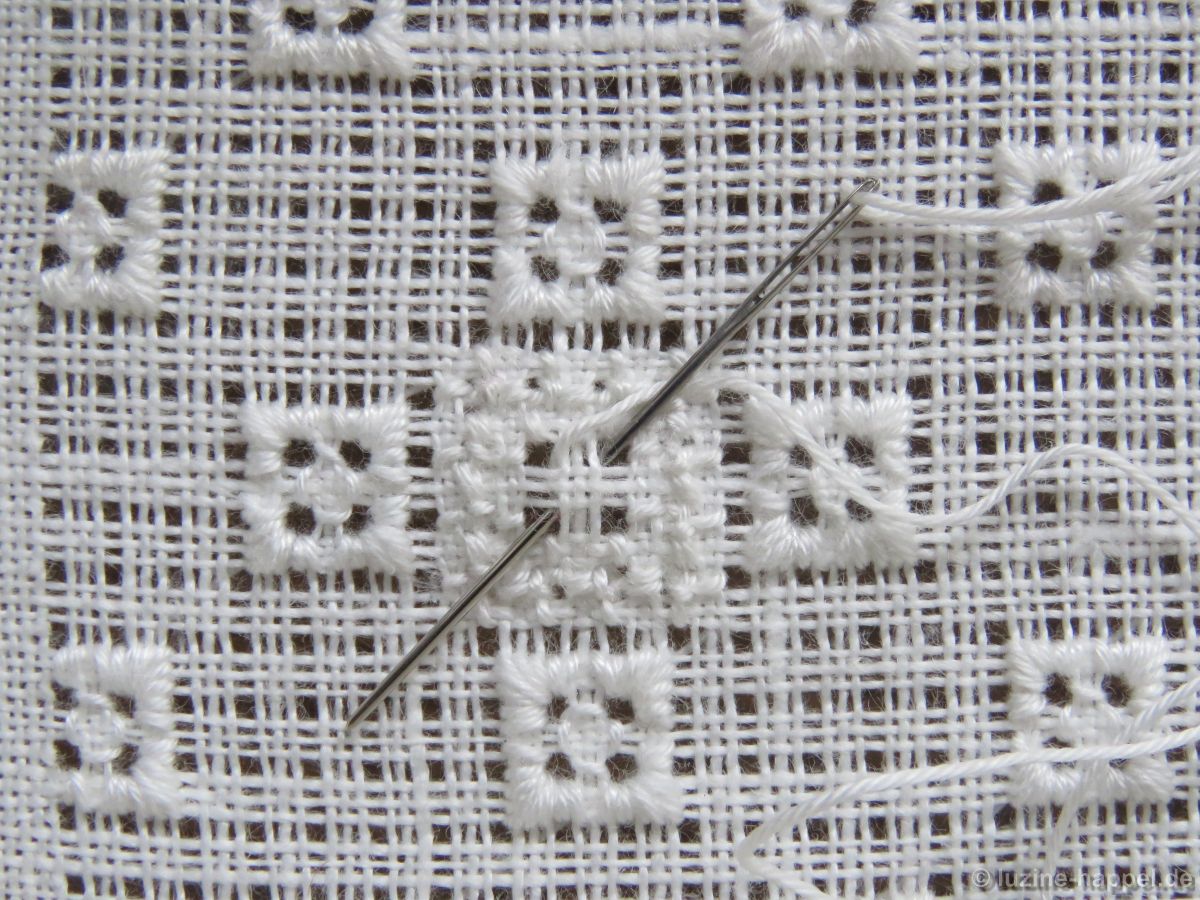
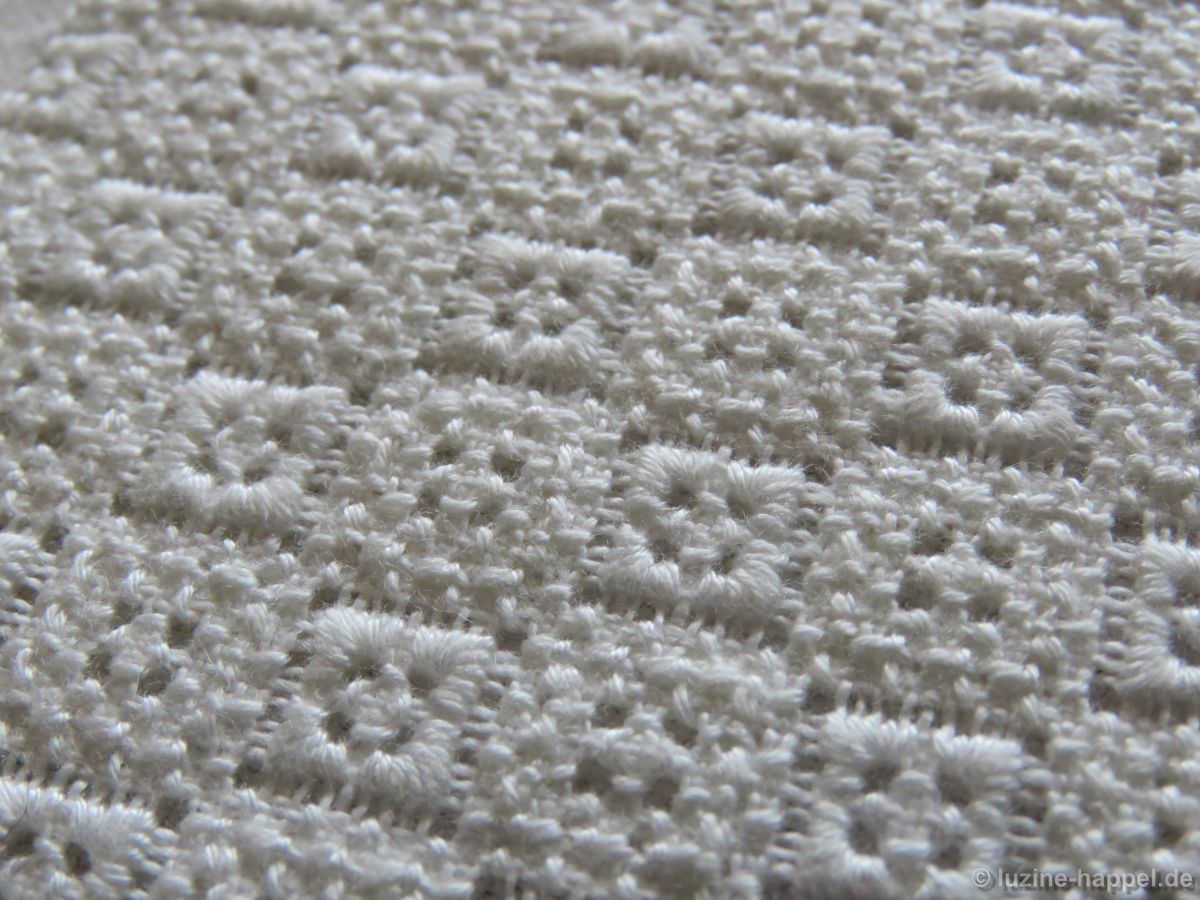
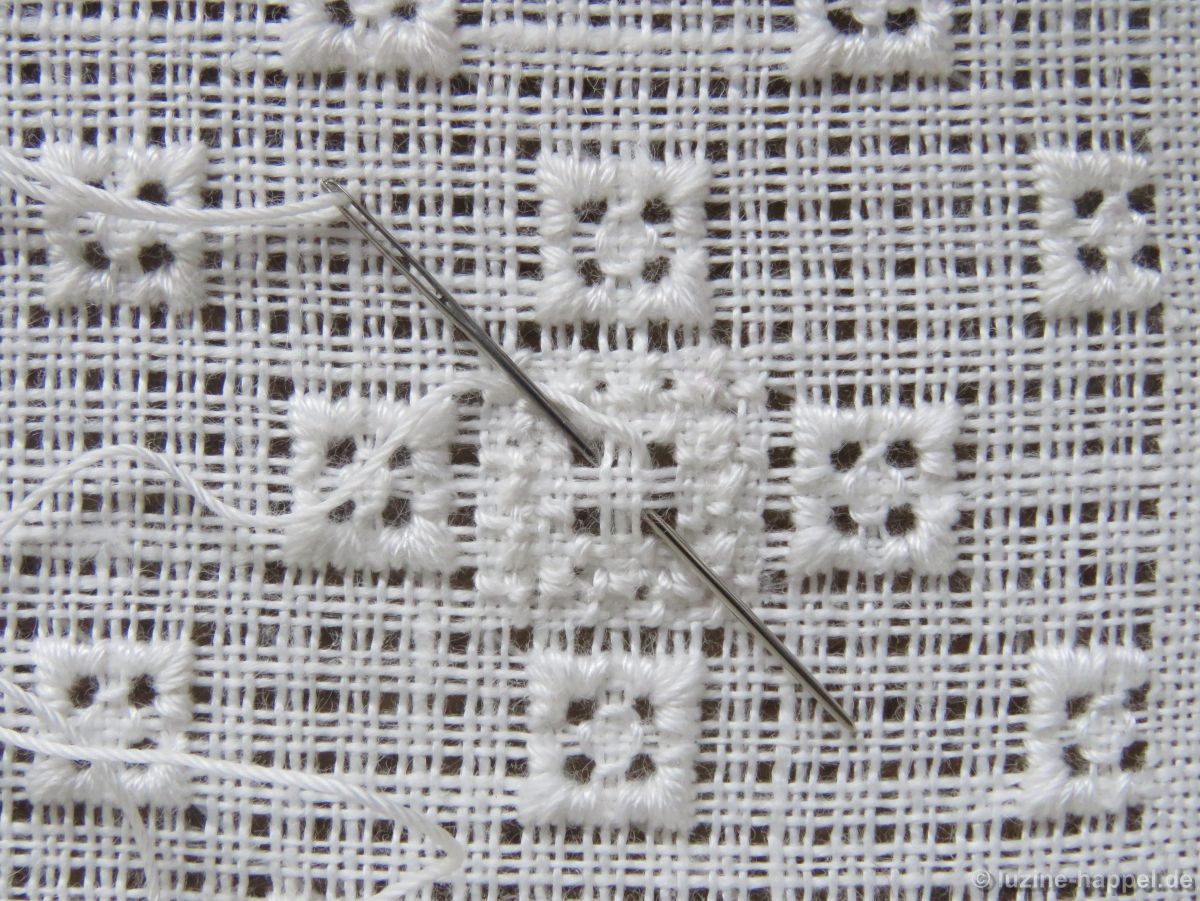
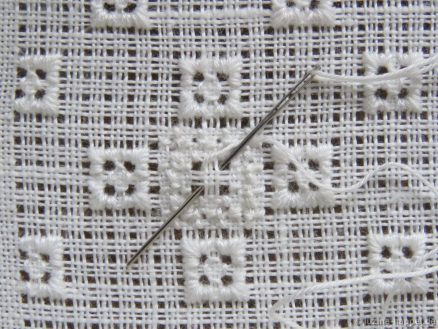
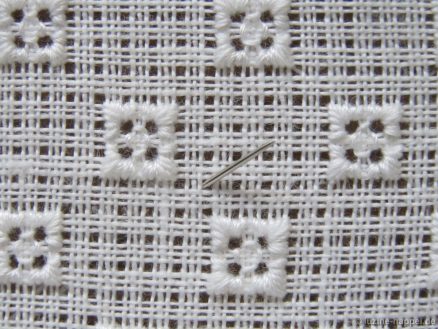
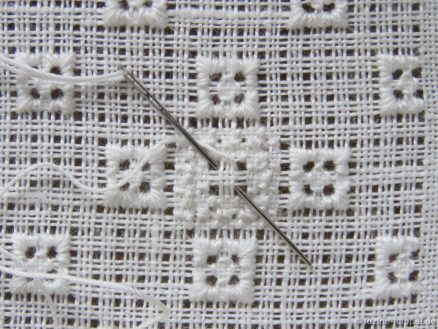
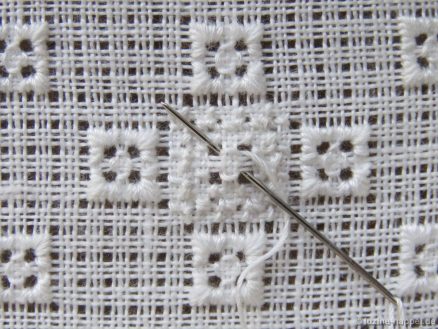
Start working a square of 4 X 4 Rose stitches one square (three fabric threads) up from the top right corner of a small shirt button.
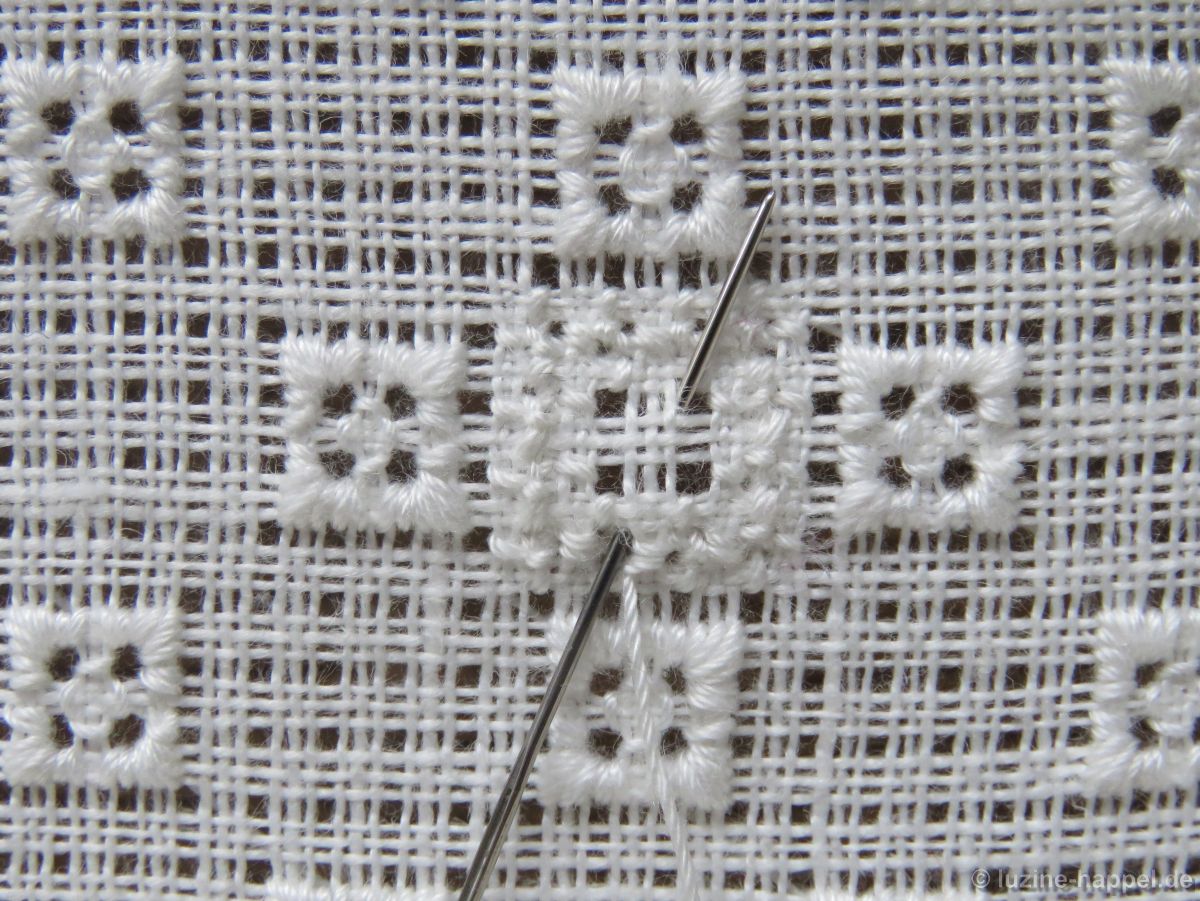
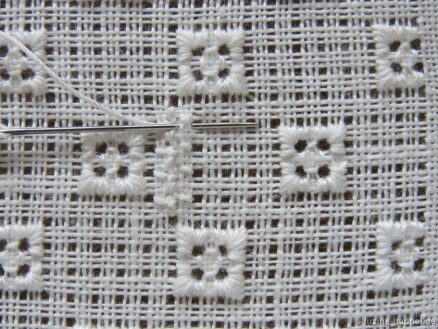
Work four Rose stitches in a straight row up,

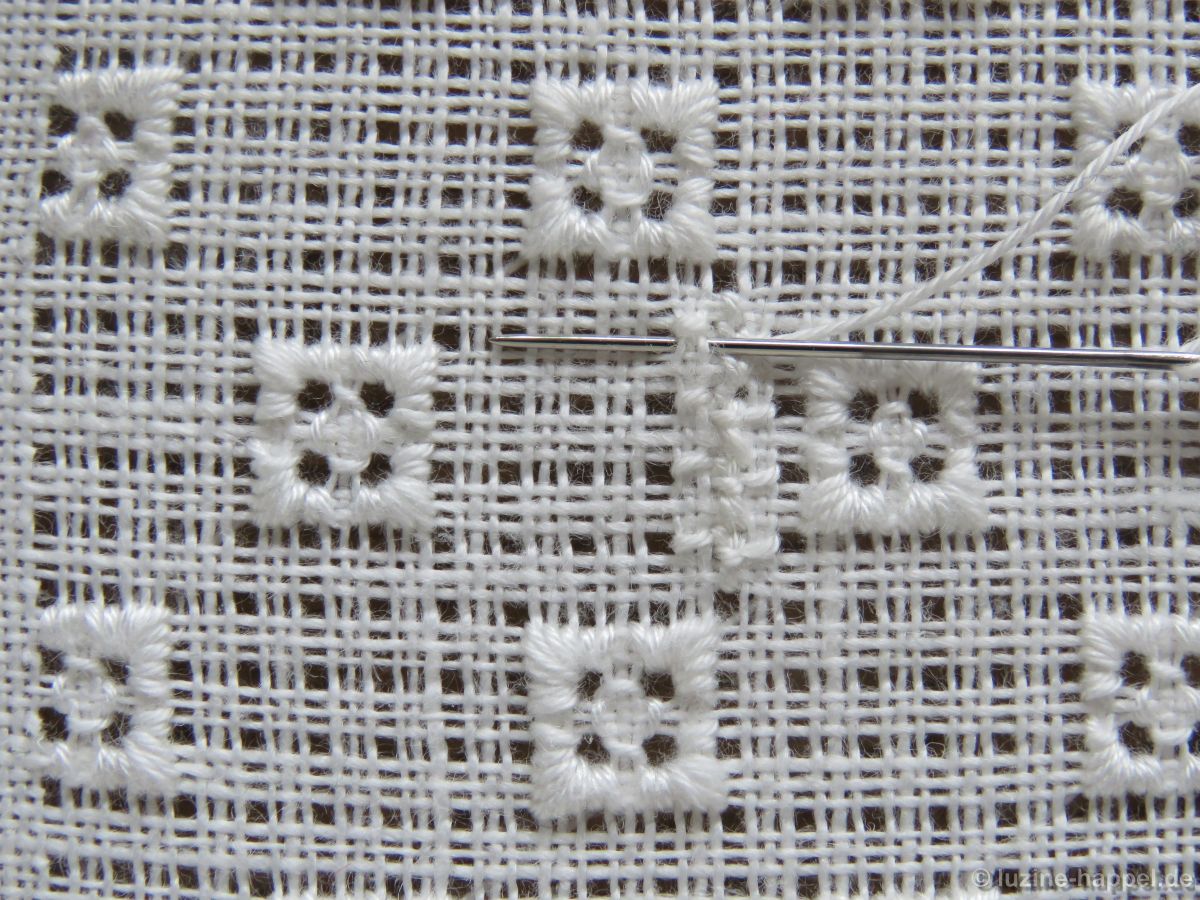
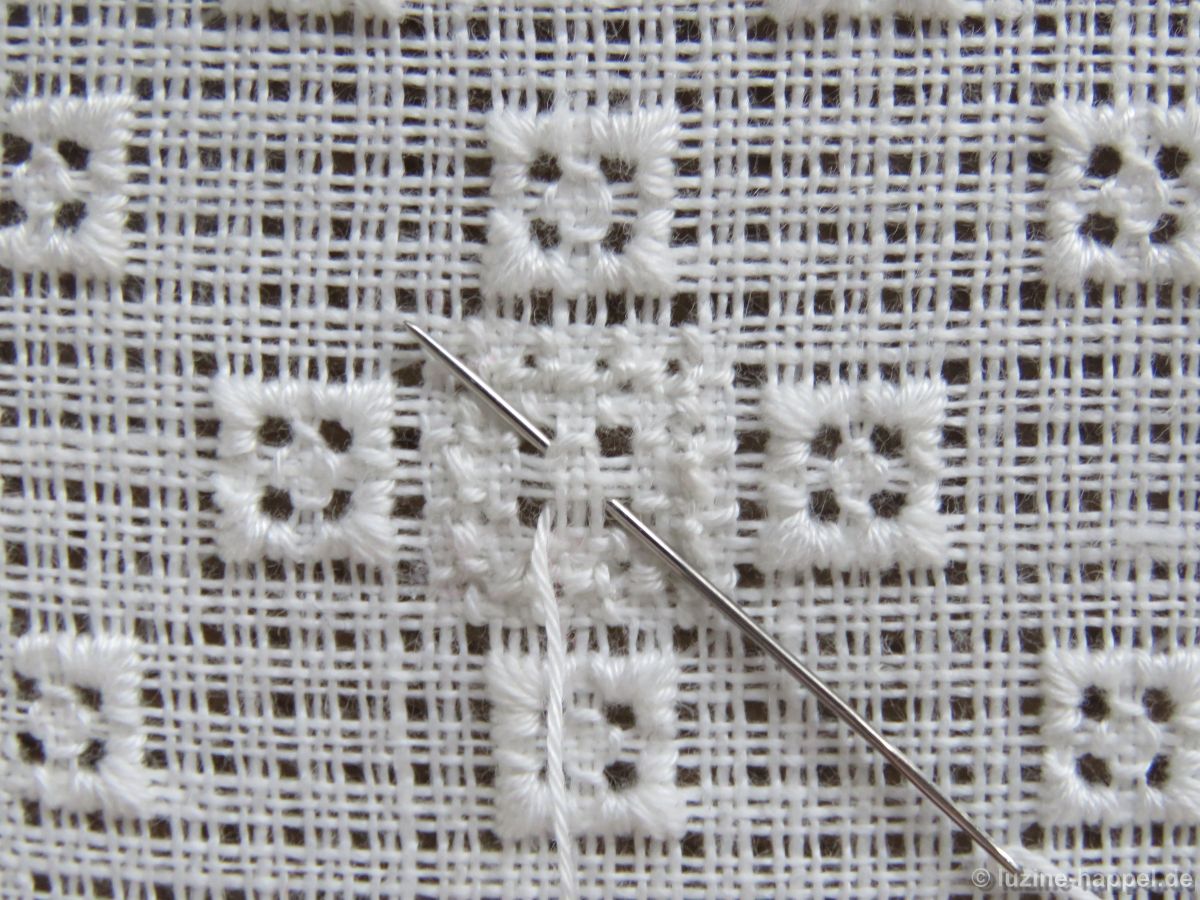
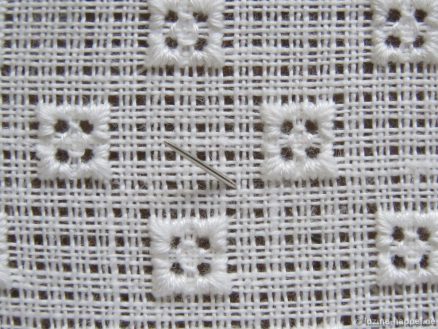
three more Rose stitches each across the top of the square to the left, down the left side, and along the bottom to the right. From the last Rose stitch start working a Four-Sided stitch in the center.
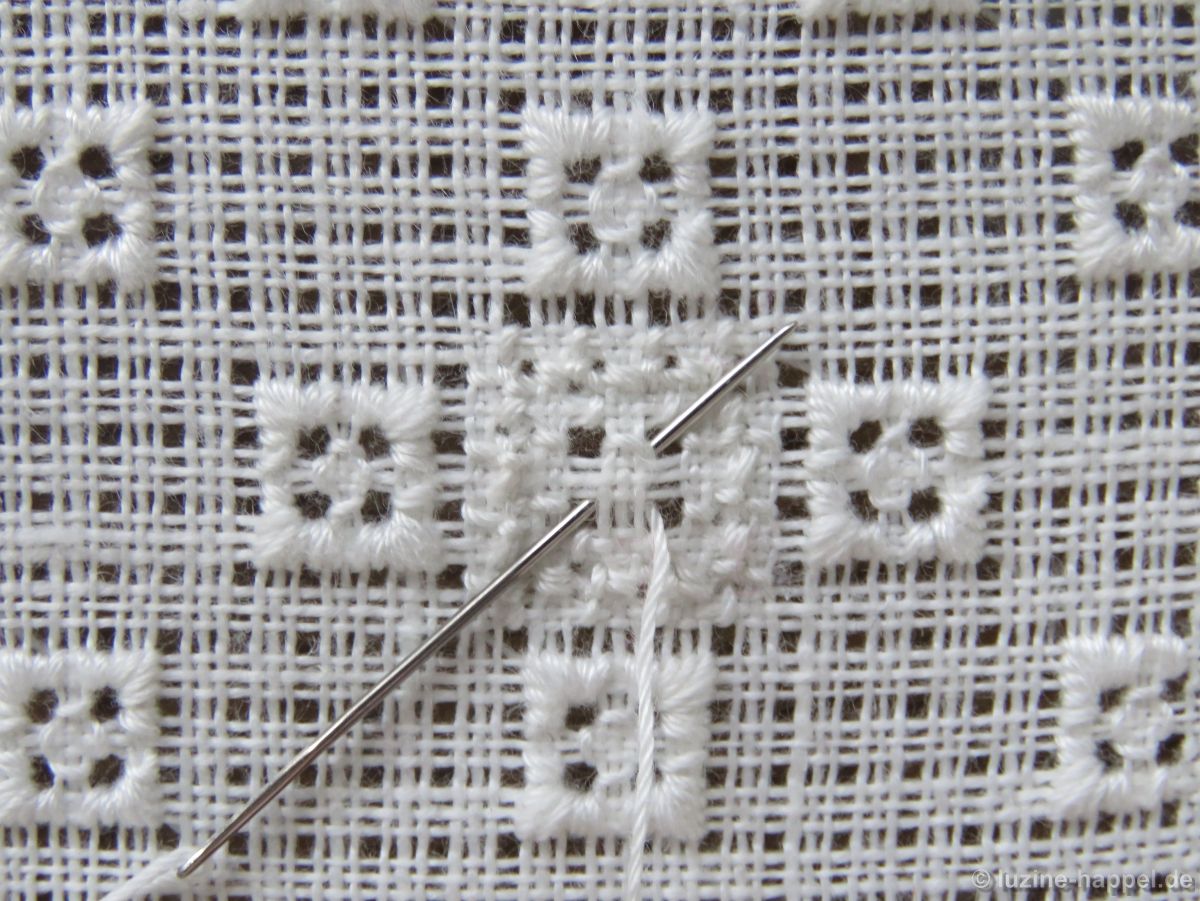
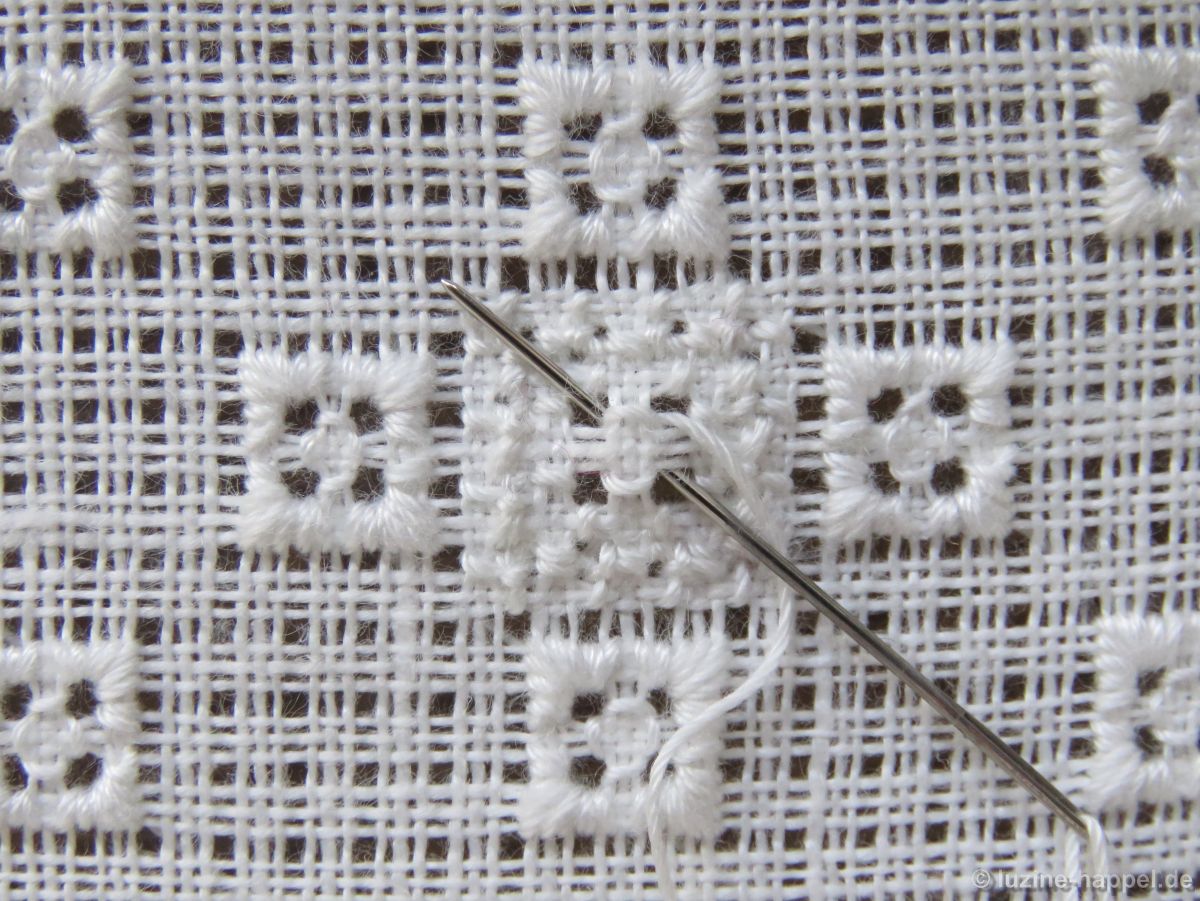
Work the first stitch on top from left to right,
the second stitch on bottom from left to right;
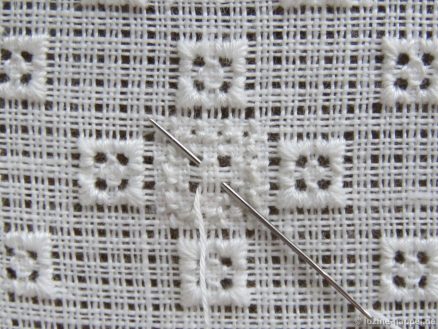
the third stitch is taken on the left downward from the top.
And the fourth stitch is taken on the right downward from the top.

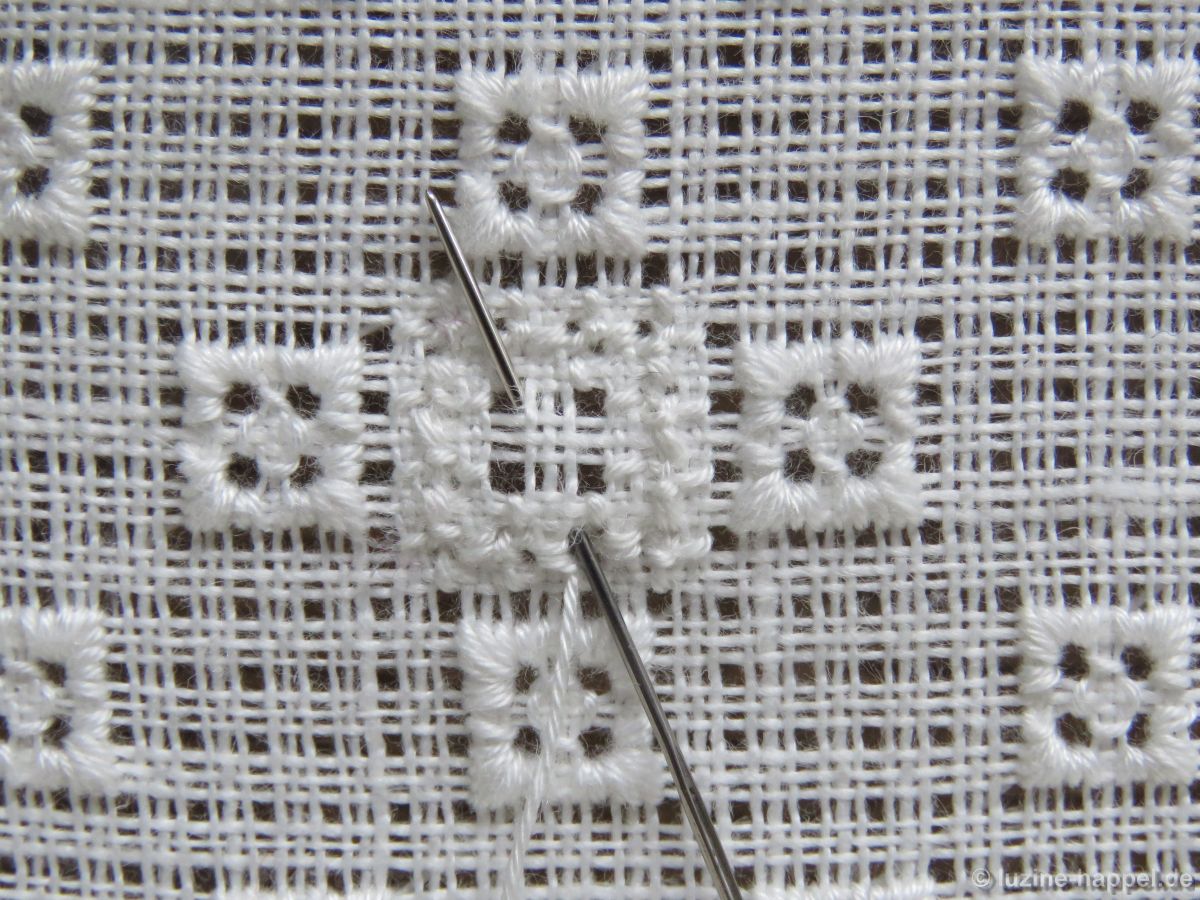
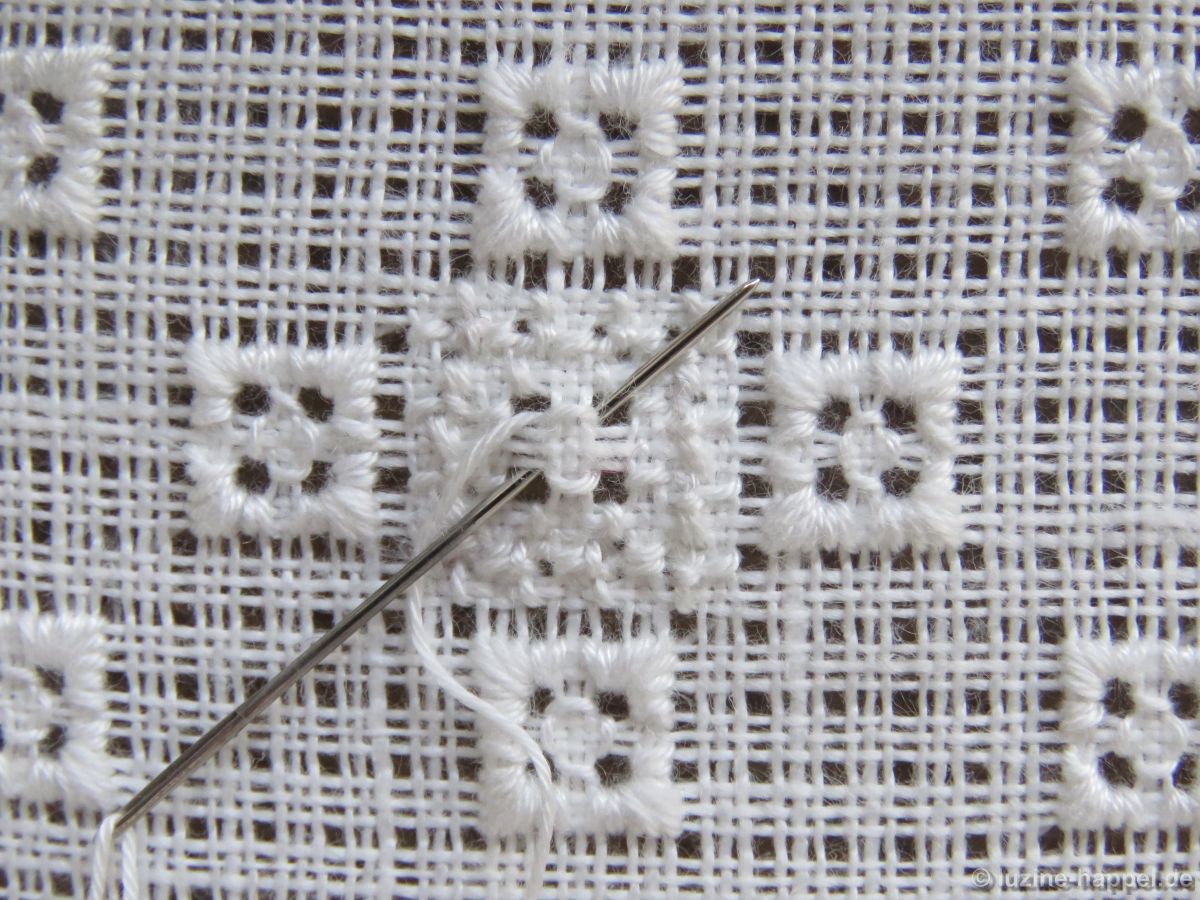
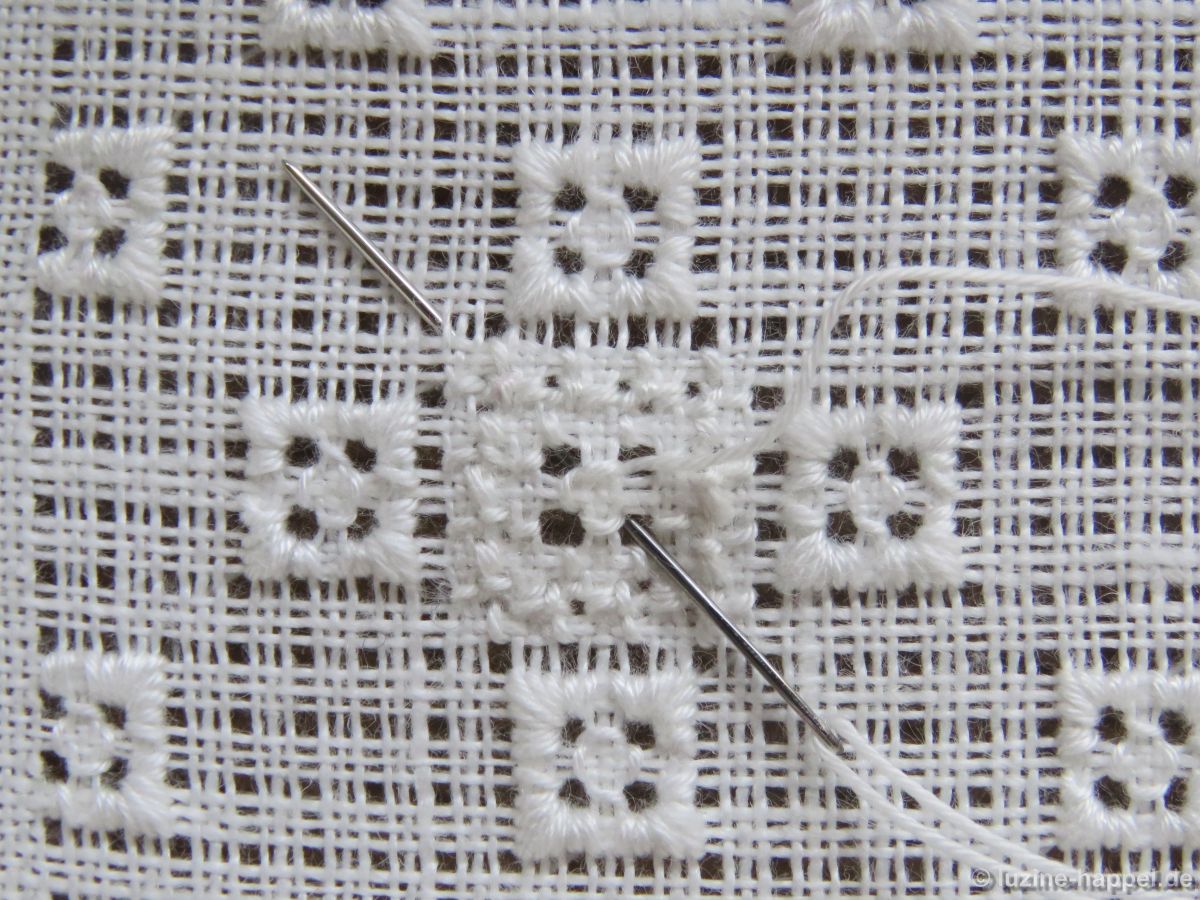
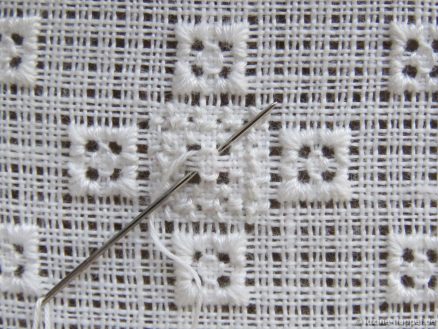
From there bring the needle up in the next center of a Rose stitch – one square (three fabric threads) up from the top right corner of the small shirt button to the left. Work Rose stitch squares with Four-Sided stitches in the centers in the established way until the entire shape is filled.
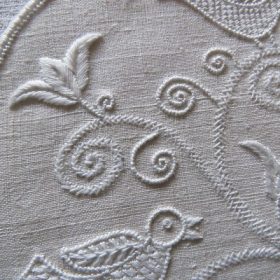
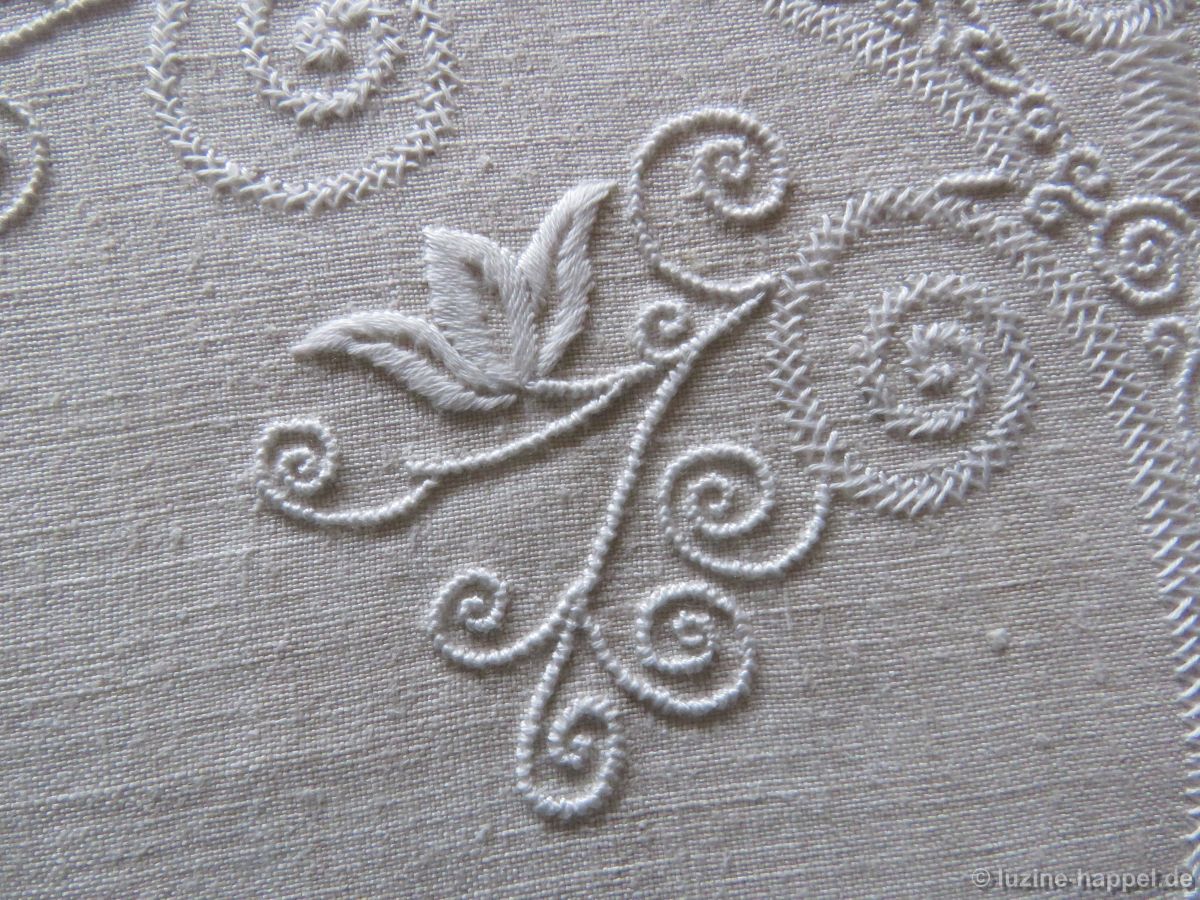
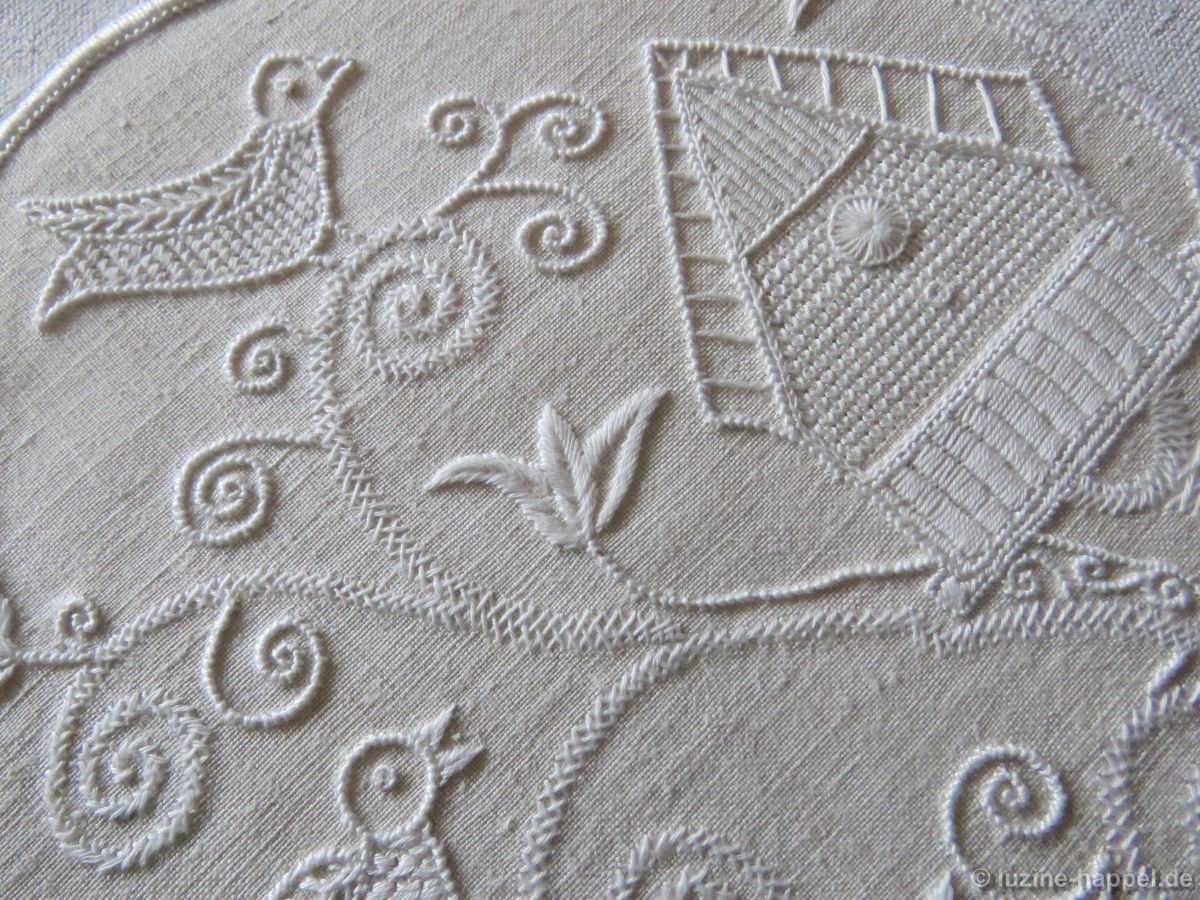
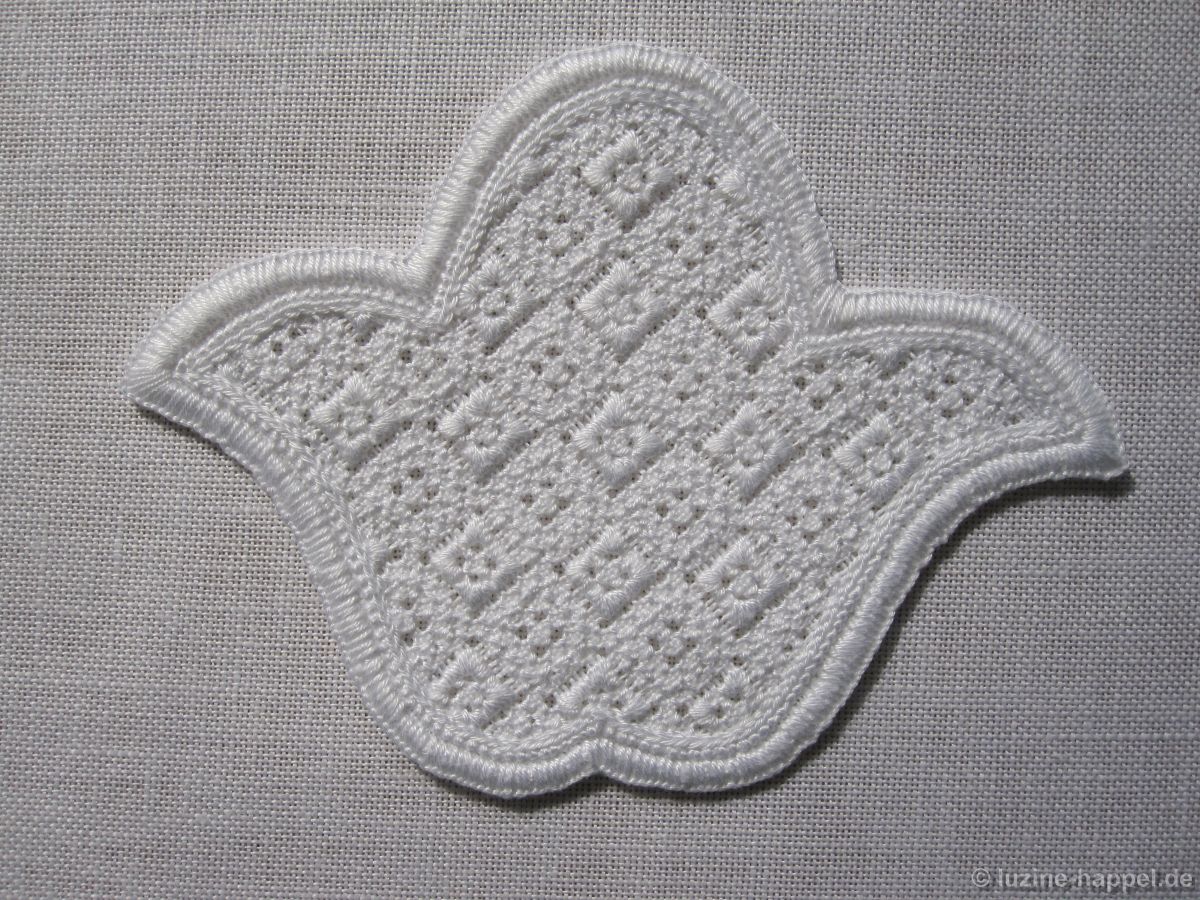
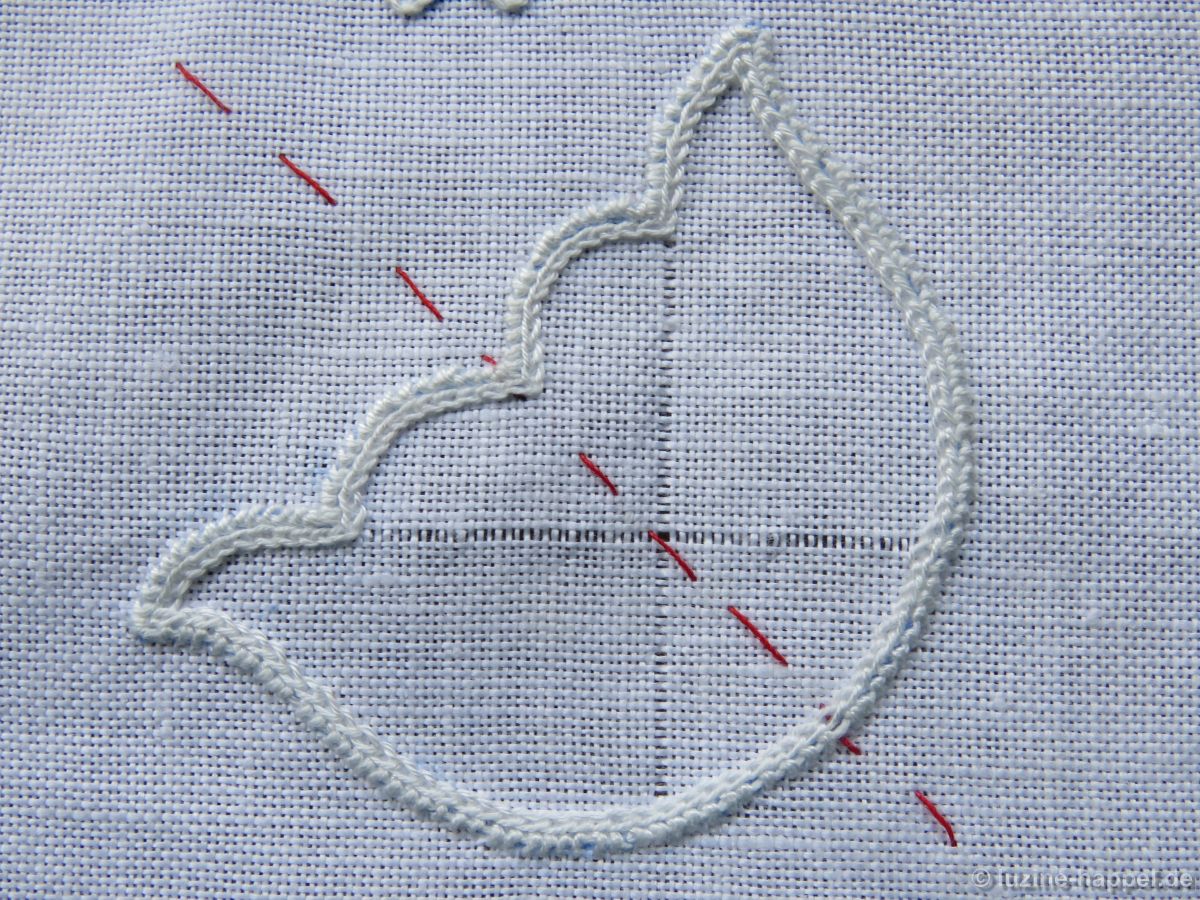
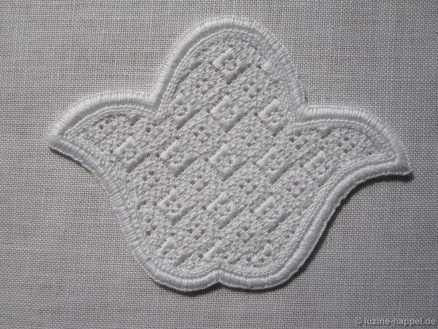
This nice pattern can also be worked in shapes on the bias,

as seen here in the tulip shape.
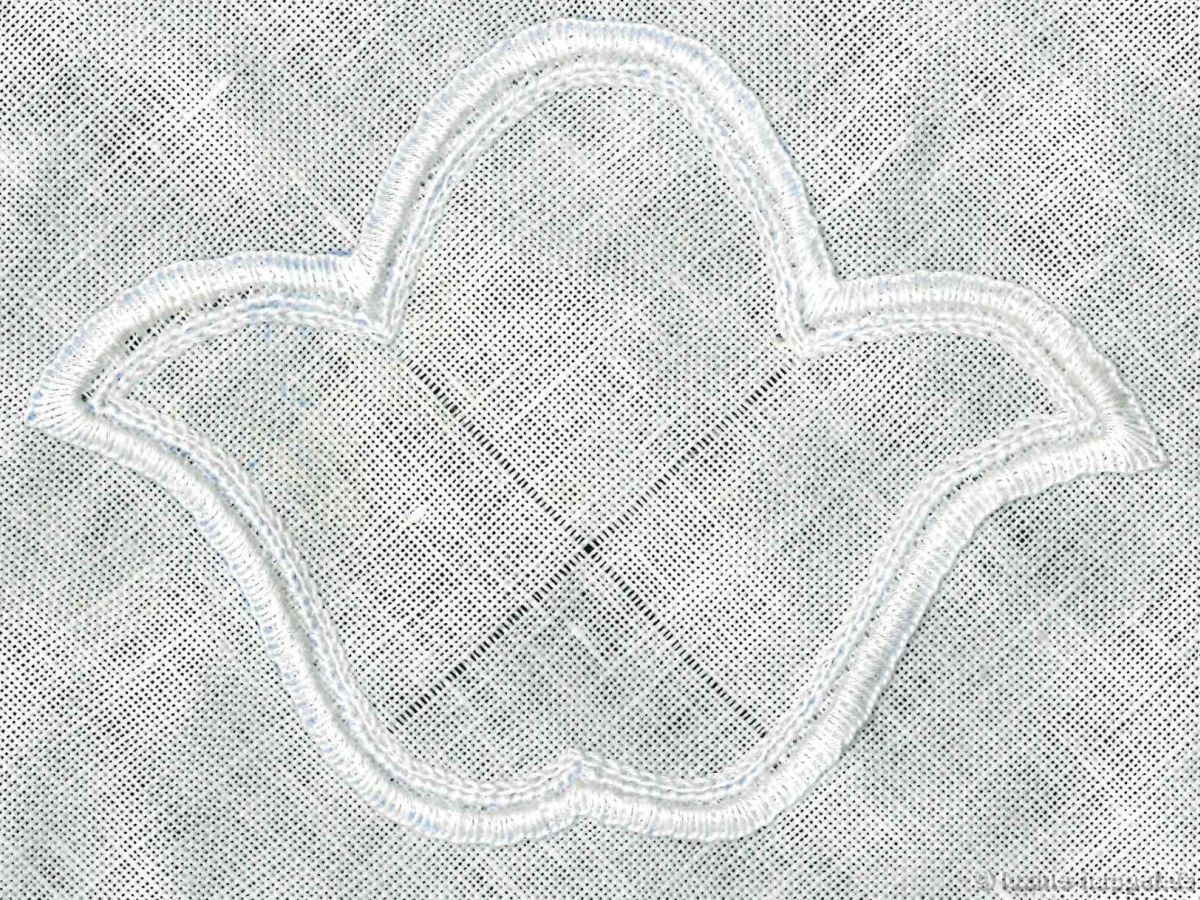
But remember that the Limet grid is prepared differently for shapes positioned on the bias. Please refer to this article
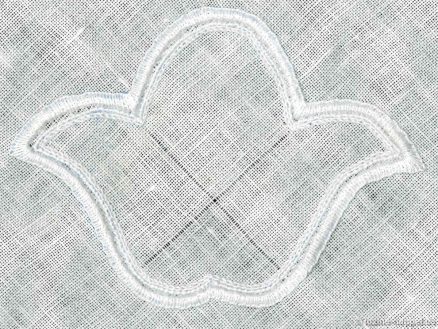
and then continue in the established way.
Instructions for the left-hander:
Work one small shirt button around the center square. After completing the fourth Four-Sided stitch, bring the needle up in the next center – three squares (nine fabric threads) up and four squares (twelve fabric threads) to the left. The travelling working thread in the back is covered later by subsequent stitches.
From there work a second small shirt button. Continue working small shirt buttons in the established way.
Work small shirt buttons over the entire shape.
Start working a square of 4 X 4 Rose stitches one square (three fabric threads) up from the top left corner of a small shirt button.
Work four Rose stitches in a straight row up,
three more Rose stitches each across the top of the square to the right, down the right side, and along the bottom to the left. From the last Rose stitch start working a Four-Sided stitch in the center.
Work the first stitch on top from right to left,
the second stitch on bottom from right to left;

the third stitch is taken on the right downward from the top.
And the fourth stitch on the left downward from the top.

From there bring the needle up in the next center of a Rose stitch – one square (three fabric threads) up from the top left corner of the small shirt button to the right. Work Rose stitch squares with Four-Sided stitches in the centers in the established way until the entire shape is filled.