Schwalm Designs (7) – Designing a Project (2)

So that later on the withdrawn thread patterns are effective in the respective motifs, one should place motifs symmetrically on an axis of the fabric weave – always on the straight of grain or on the bias.

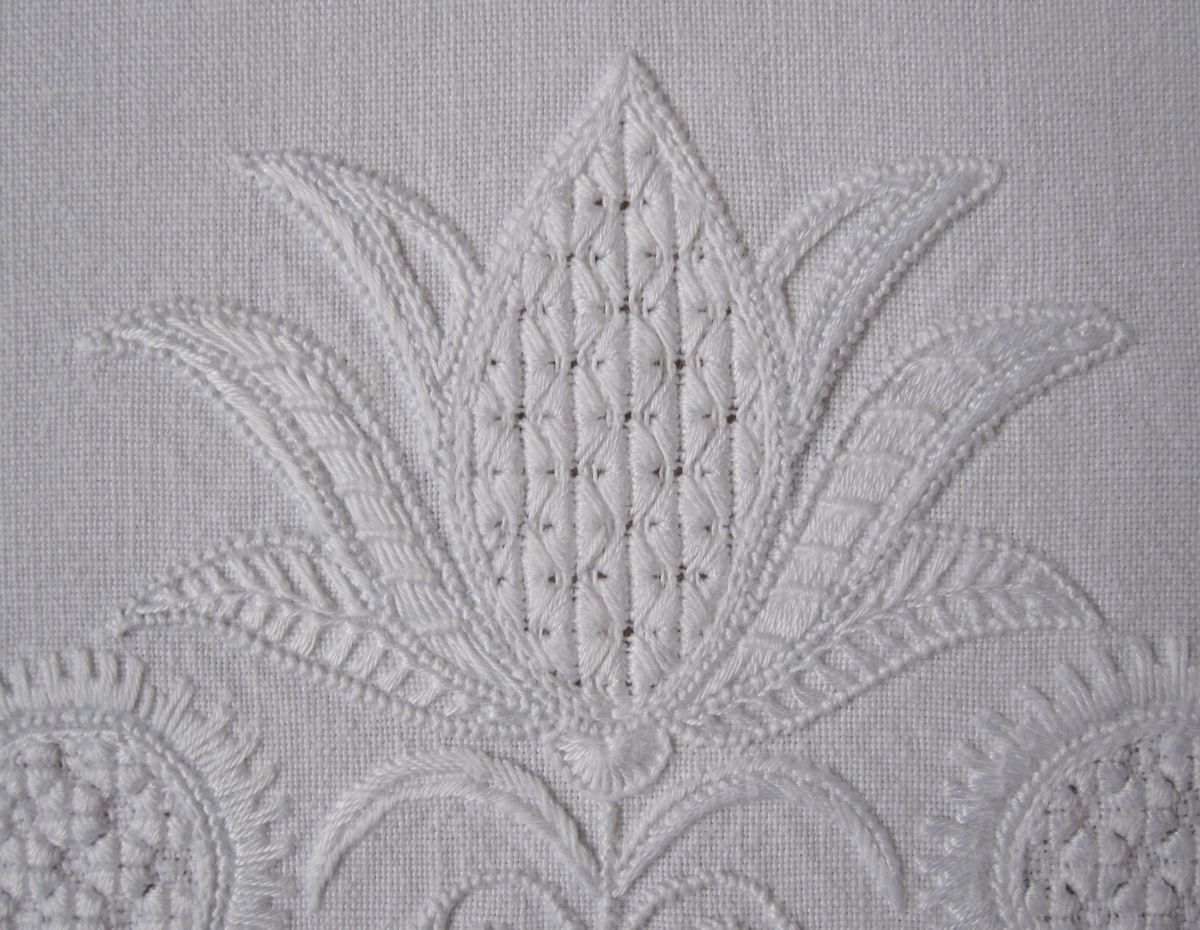
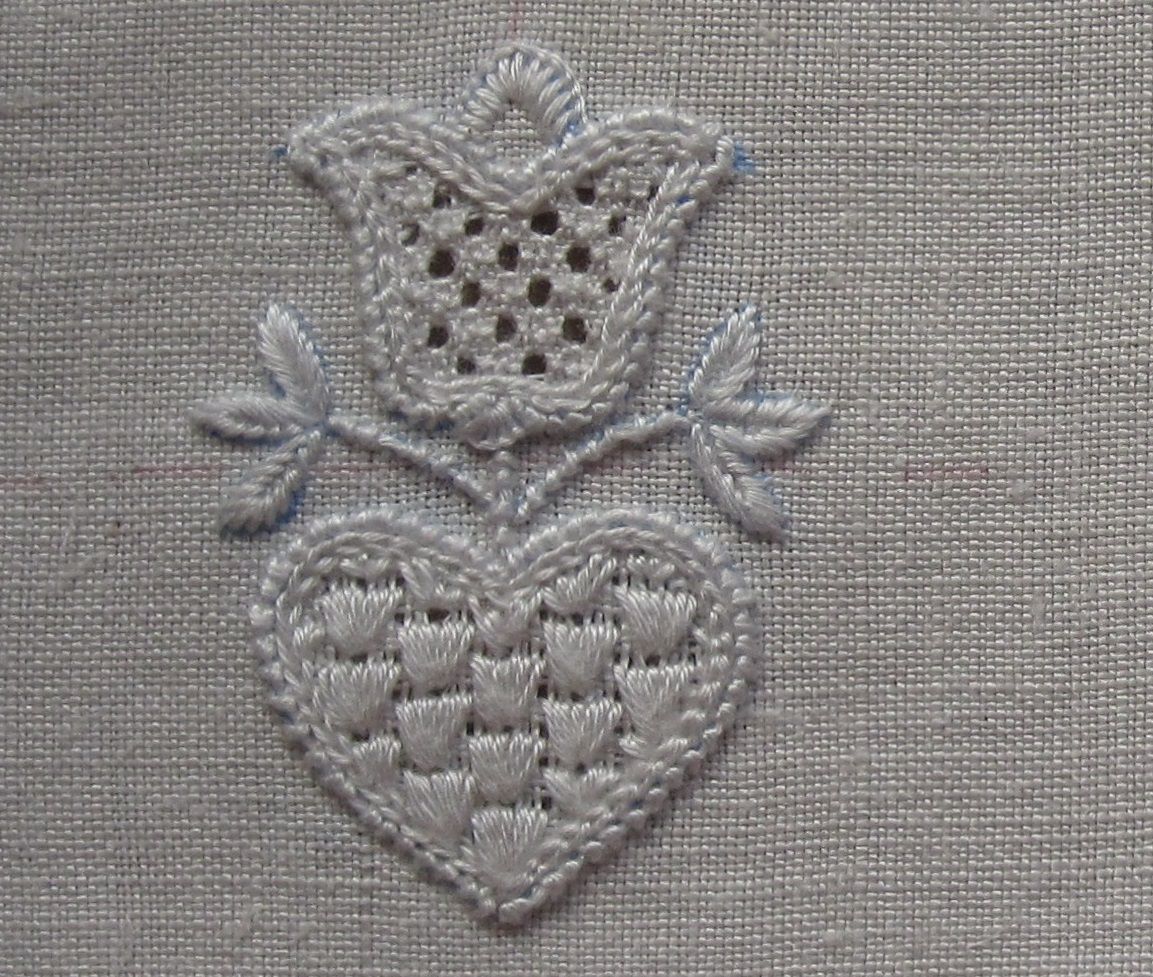
An embroidery becomes superb when the chosen filling pattern harmoniously matches the shape of the motif, as the picture below shows.
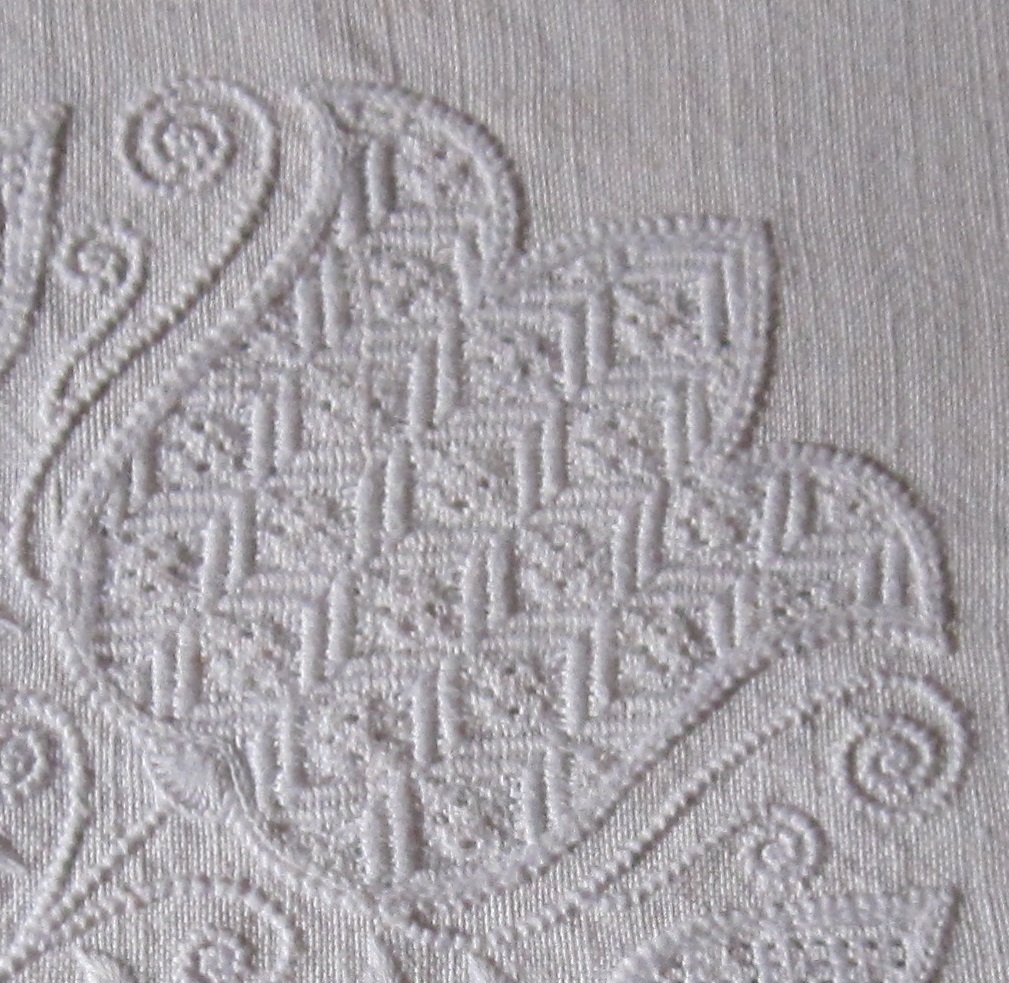
Bild_1_SK_7
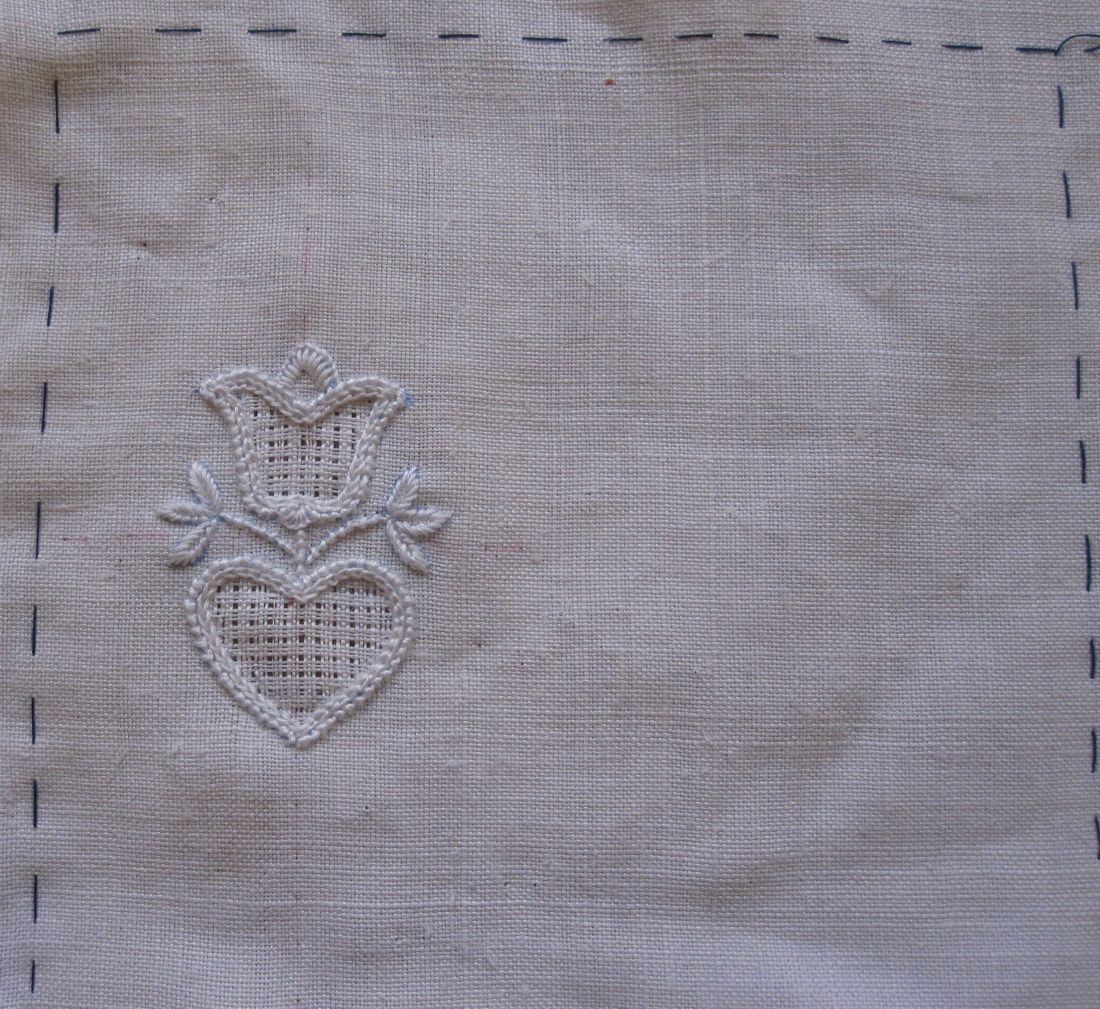
When the embroiderer does not take care to match filling patterns to the motif shape, the results are not pleasing, as the tulip below demonstrates.
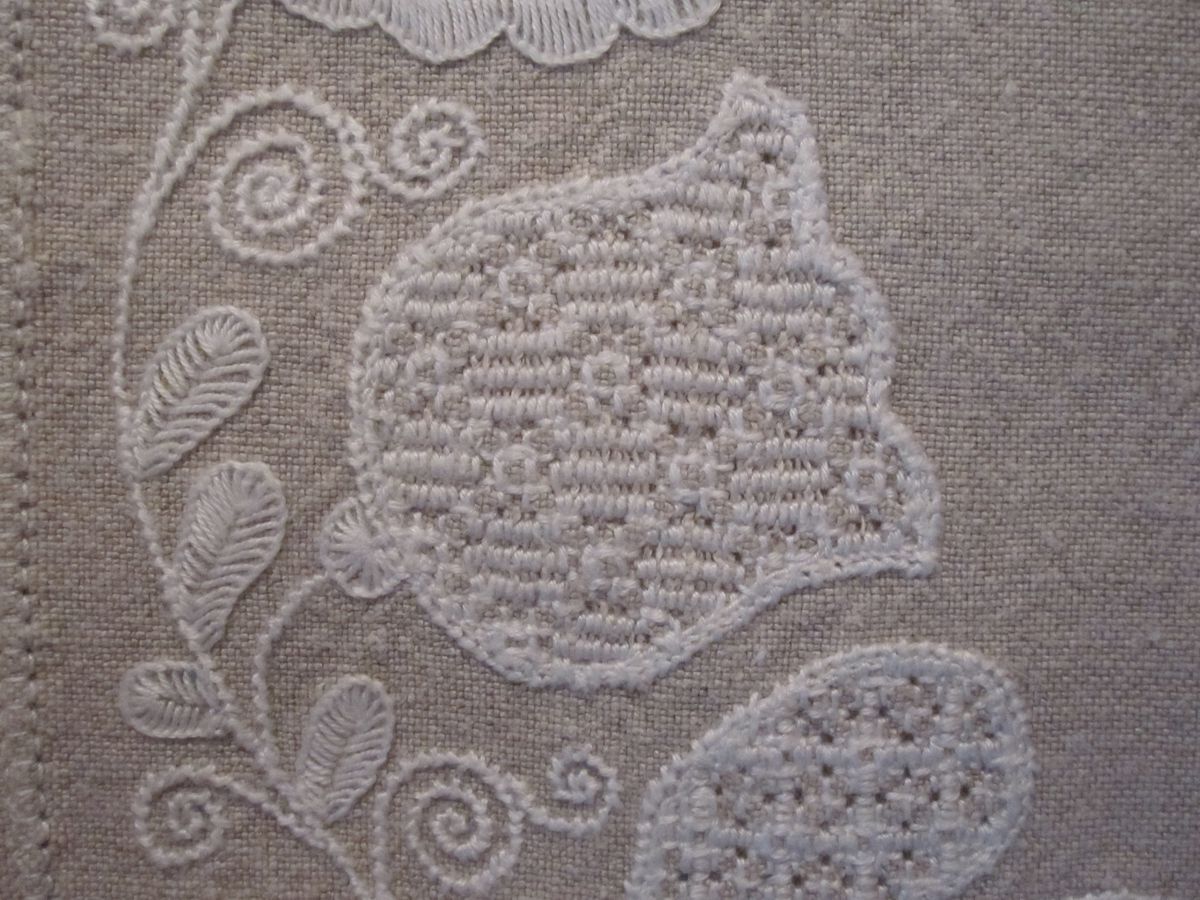
Bild_2_SK_7
For areas where it is not possible to place the motifs on the straight of grain or on the bias, it is best to use circles or asymmetrical shapes.

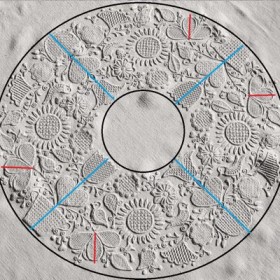
To further illustrate the point, please look again at the designs already presented. The blue lines mark the straight of grain, the red lines mark the bias.
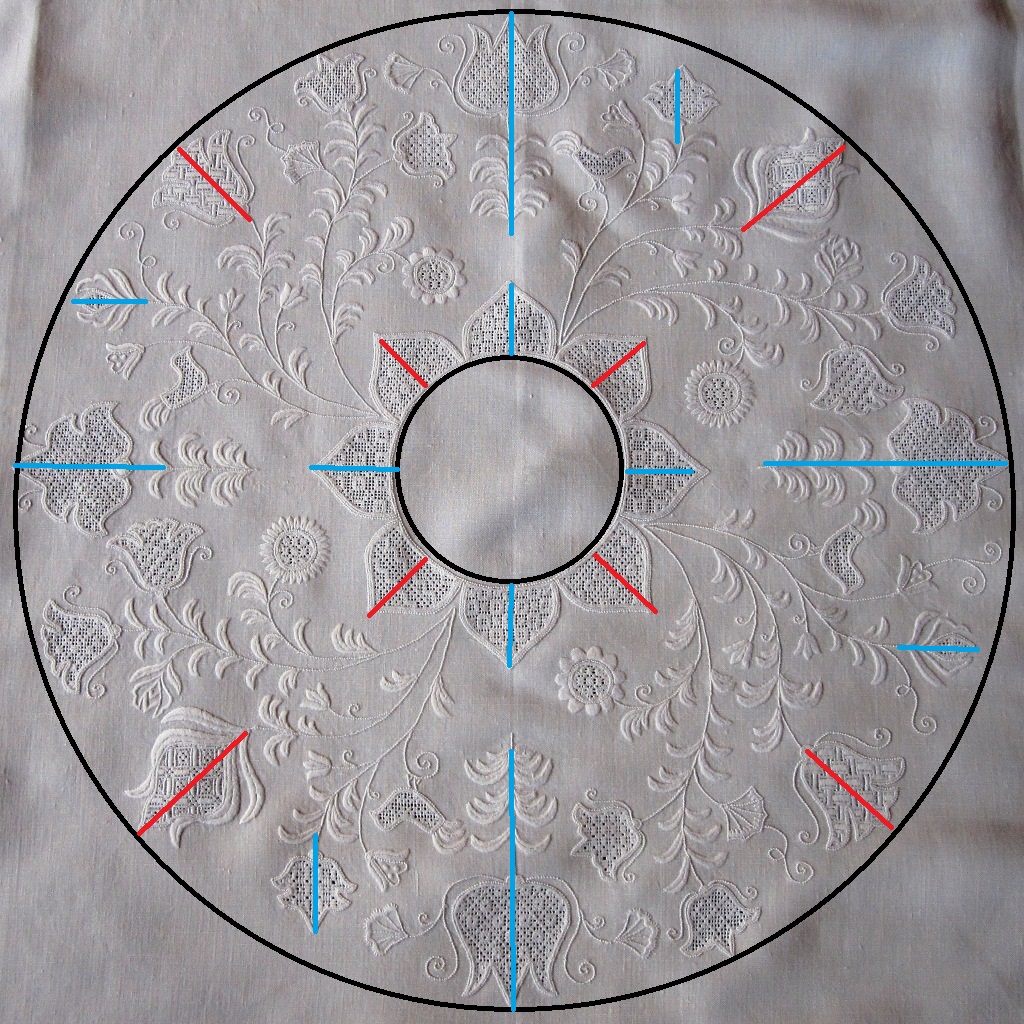
Bild_3_SK_7
Mrs. Thielmann respected this designing rule for all elements – only two tulips each quarter did not fit this rule exactly (but even they are very nearly placed on the straight of grain).
Bild_4_SK_7
Mrs. Schneider respected this designing rule for the main figures, and very skillfully a large part of the remaining area is filled with different circles and asymmetrical figures. (Regarding the few symmetrical shapes not placed on the straight of grain or on the bias, it is not noticeable because the motifs were filled with patterns of the early Schwalm whitework which are surface embellishment and are not restricted by the grain of the fabric threads.)

to be continued

previous part
A Prize-Winning Easter Egg

In March 2013 I posted an article about Easter Eggs embroidered with Schwalm Whitework motifs. At the same time, I published the leaflet “Embroidered Easter Eggs” which contains a more detailed description, and the download-item “24 small designs” which contains additional designs.
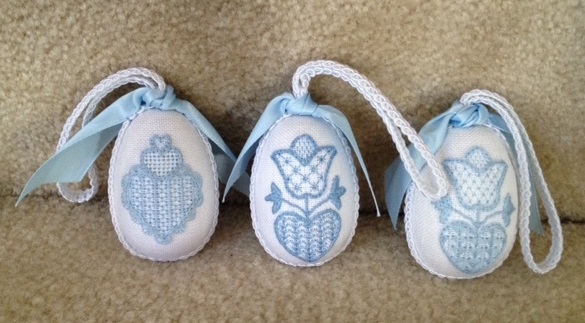
Based on this material many beautifully embroidered and excellently finished Easter eggs have been worked in the meantime.
Osterei_DF_1
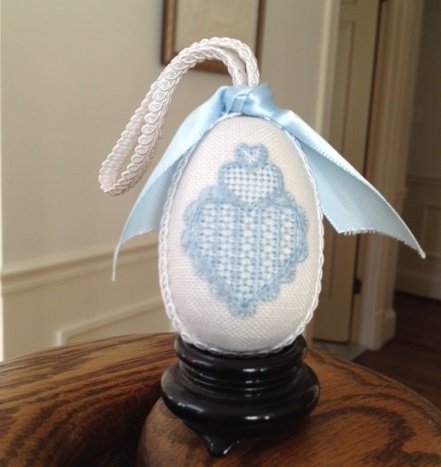
Osterei_DF_2
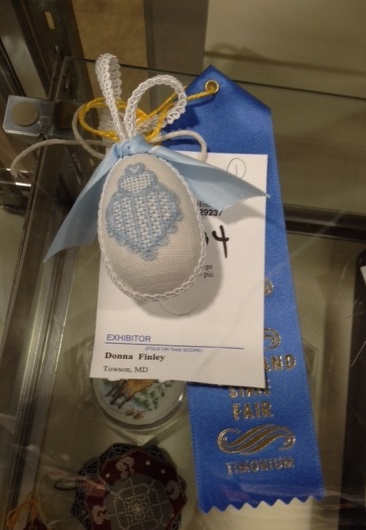
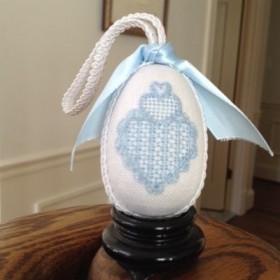
I wish to share with you special Easter Eggs made by Donna Finley from the U.S. One of her perfectly worked Schwalm eggs won a Blue Ribbon at the Marlyand State Fair.

Congratulations, Donna!


Osterei_DF_3
She wrote to me:
“I thought you might be interested to know that my adaption of your Schwalm Easter egg idea won a blue ribbon at the Maryland (USA) State Fair this month [August 2014]. It was my first time entering anything in any fair, so I am especially grateful for your inspirations and instructions.

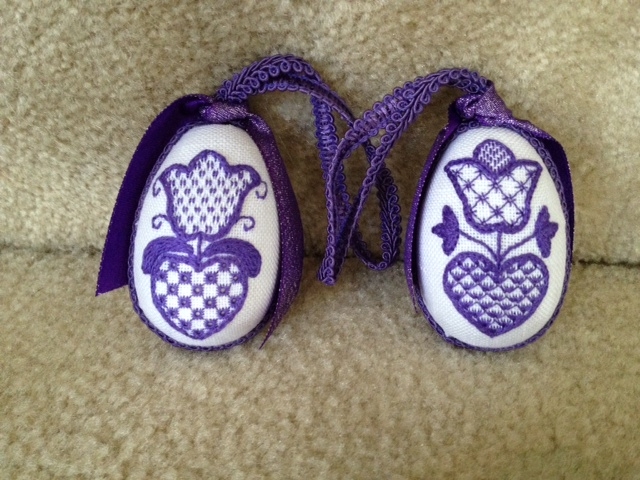
I originally made a set of five eggs, most using the pretty heart-and-tulip design from your blog. I did purchase more designs from you, however, and it was one of those that won. …. I used wooden eggs from a general crafts store, which gave the finished pieces a lovely heft, and ¼” gimp when I failed to find readily available velvet ribbon… .”
Osterei_DF_4
Osterei_DF_5
May these brilliant results motivate you to try this technique.

Thanks for sharing, Donna!

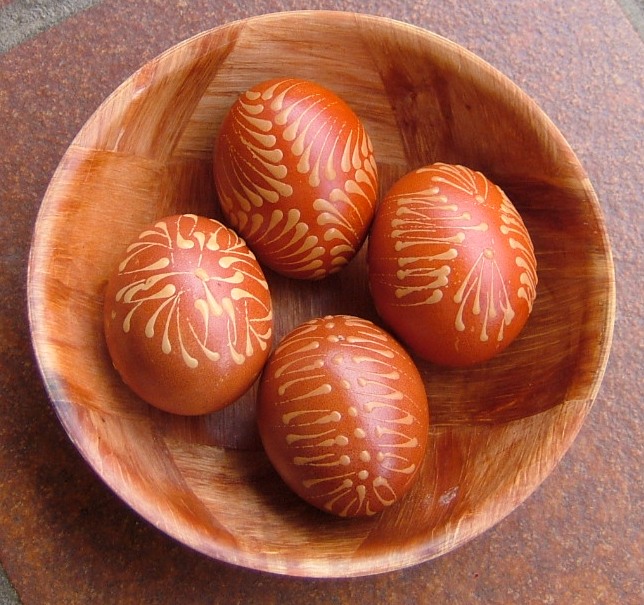
Easter Eggs using a wax-resist method

To create Easter eggs with intricate wax-resist designs as worked in the region surrounding Marburg in Hessia requires a lot of practice and an exacting attention to detail. These elaborate Easter eggs are not meant to be eaten, instead they become precious keepsakes.

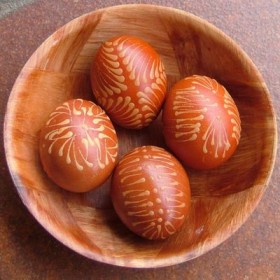
Nevertheless we like to decorate our Easter eggs, which will be eaten after the hunt, using a traditional wax-resist method.
OsterWRT1
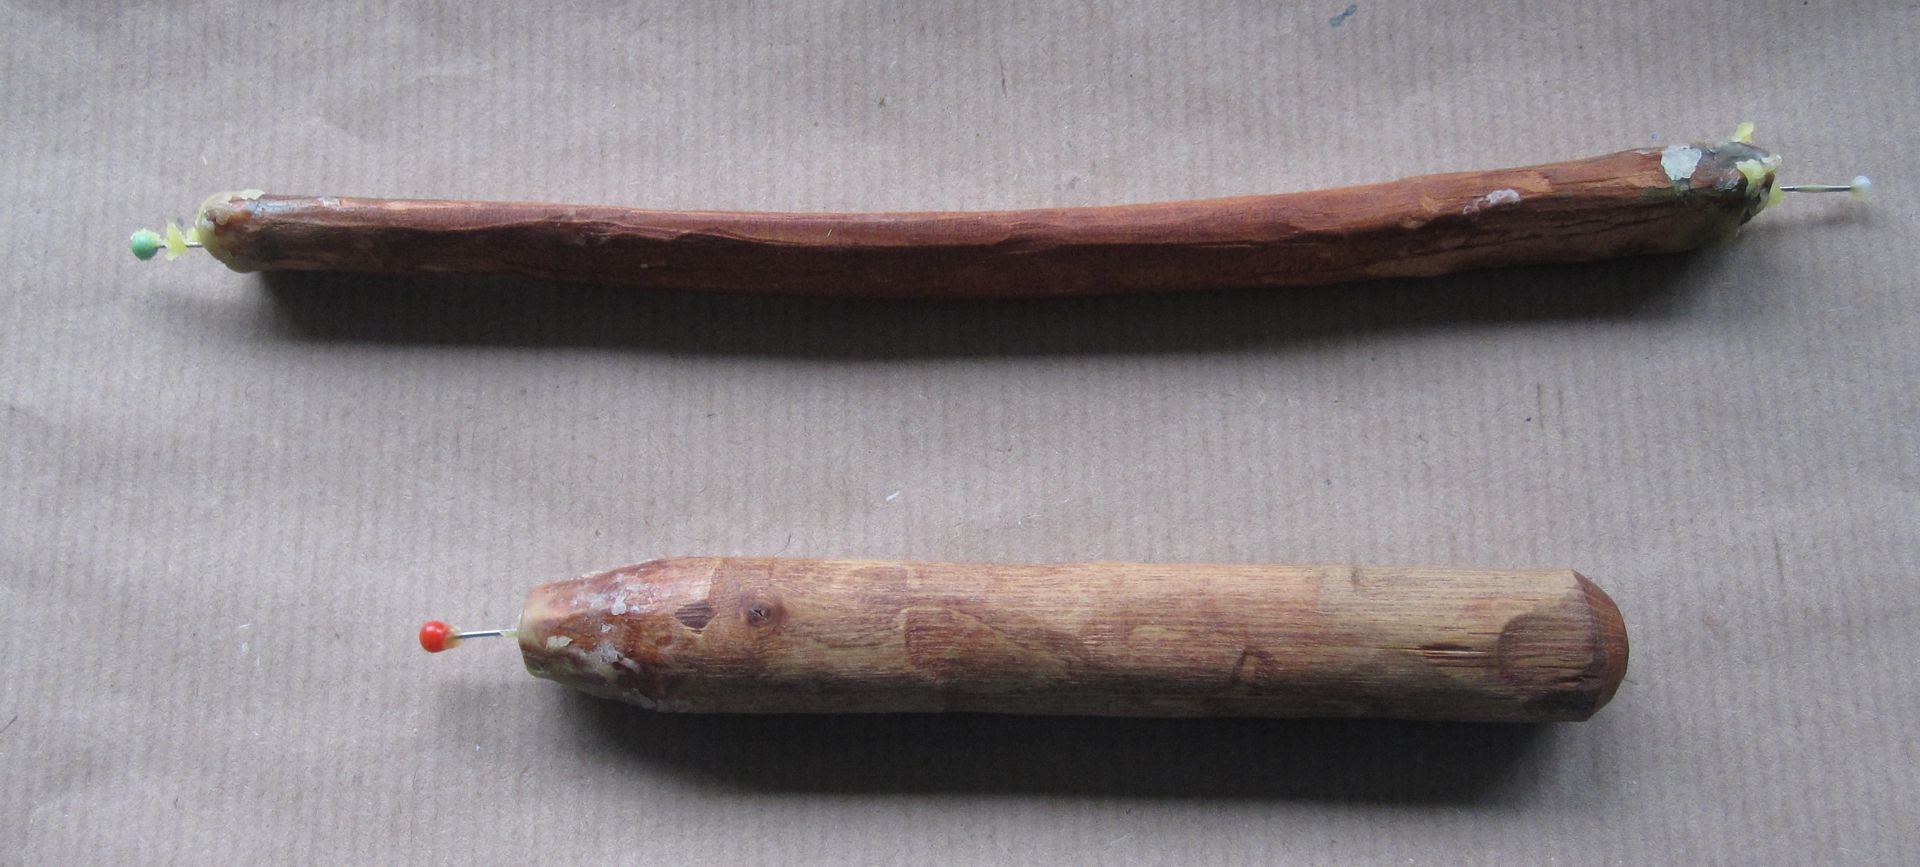
Therefore pure beeswax is needed as well as a tool to apply the melted wax. Well-known Ukrainian Easter eggs use a tool called a “kitska”. Also a “tjanting” could be used, but to handle these tools (kitska or tjanting) needs much more practice than the simple pin-tool. We improvise with equipment we have at hand. We simply use a pin with a largish head and stick it into any handle such as a wooden stick or something else.
OsterWRT2
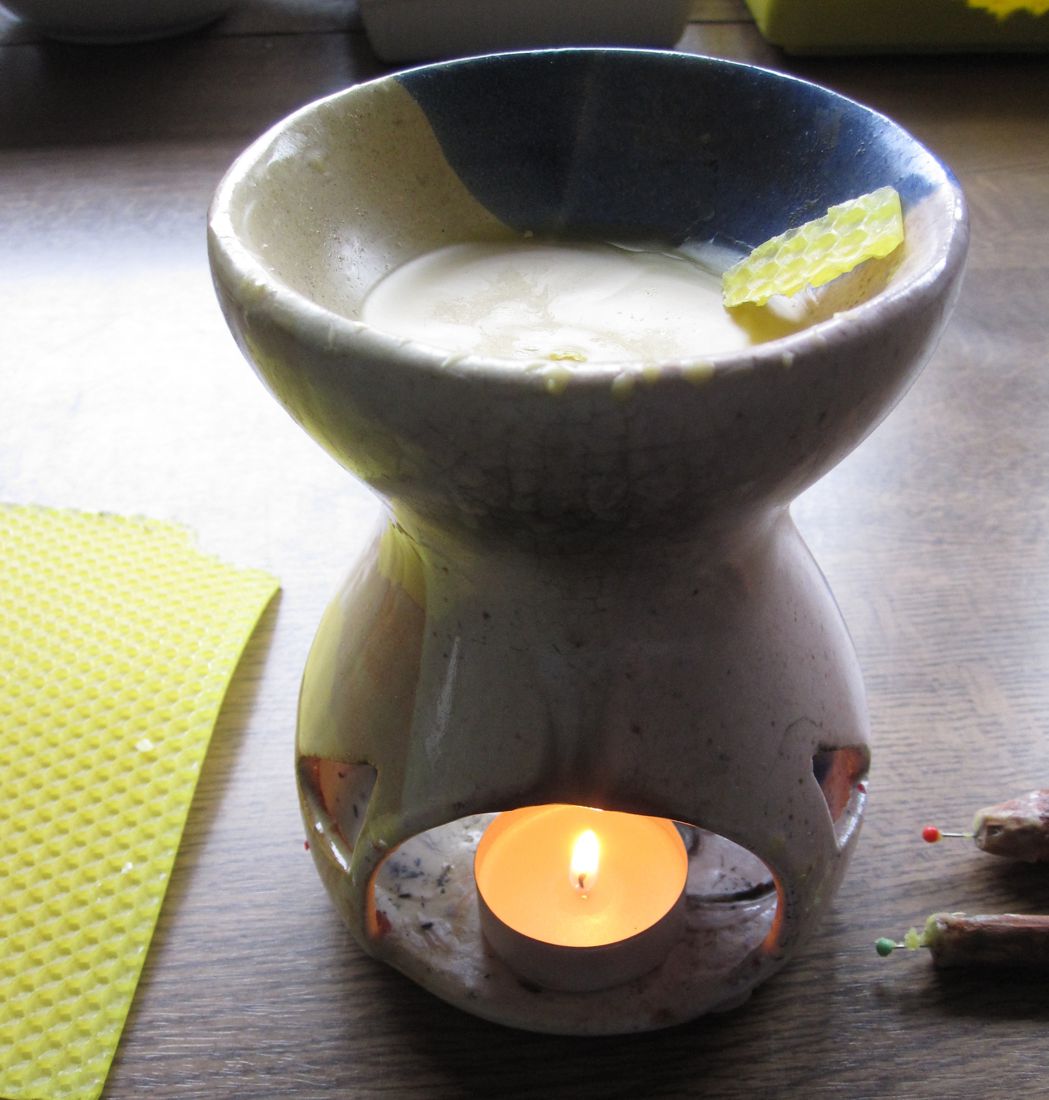
For melting the wax we use an old fragrance oil burner – a small tin can is also suitable.
OsterWRT3
Because the eggs are for eating, they have to be boiled. Burst eggs are sorted out. Patterns will be more pronounced on white eggshells, and more subdued on brown eggshells.

The eggs should cool after boiling. A warm-to-the-touch condition is best for working with this material.

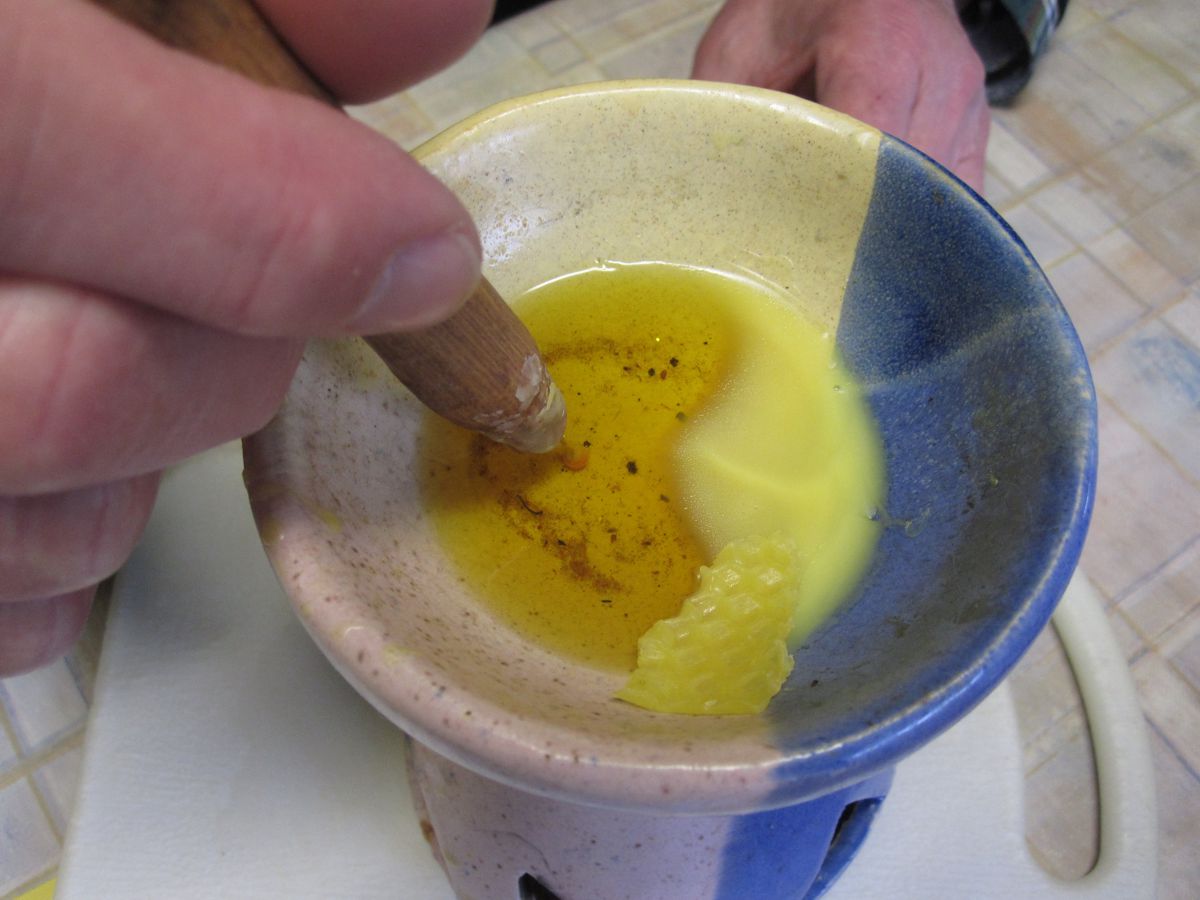
We melt the beeswax and dip the drawing tool into the melted wax.
OsterWRT4
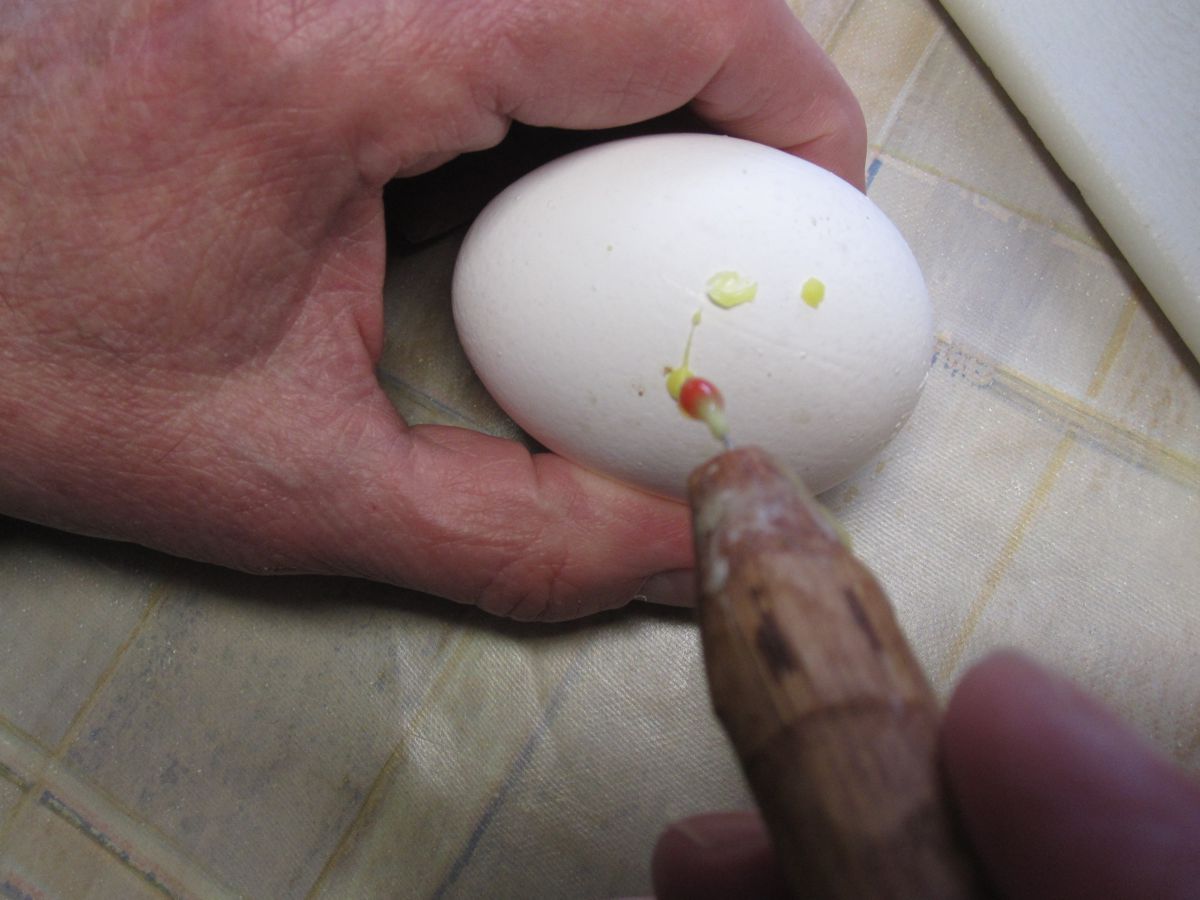
The egg is held in the left hand (for right-handed people). Working with quick movements, a dot or a drop-shaped line is drawn onto the egg.
OsterWRT5
For every new dot or line, the drawing tool needs to be dipped into the wax again.

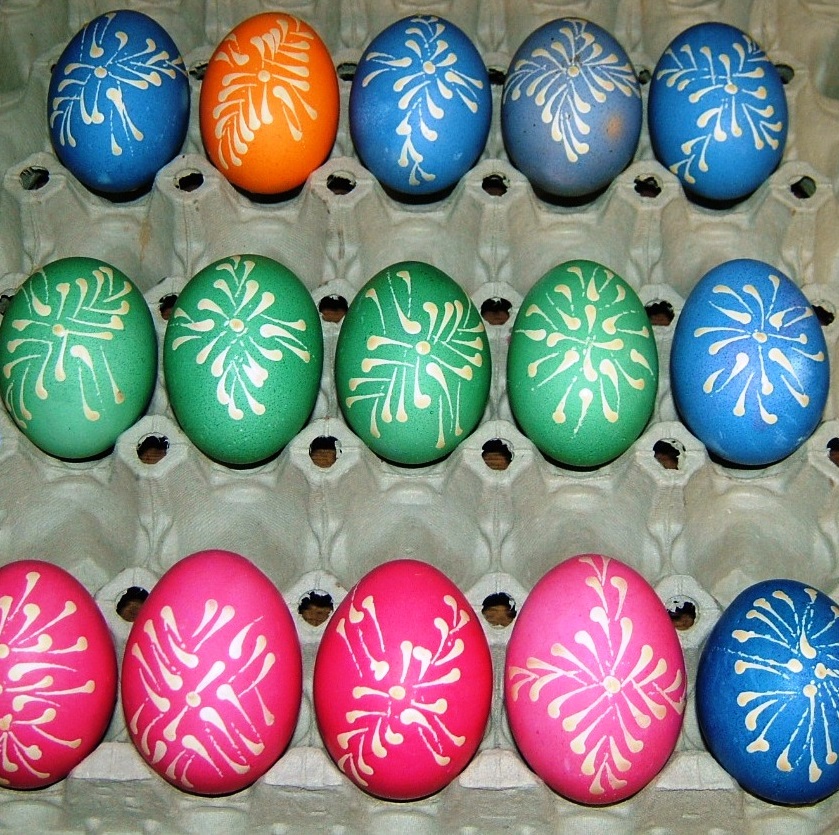
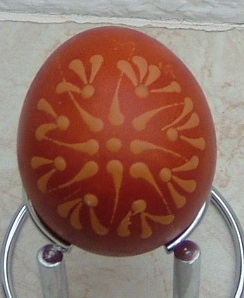
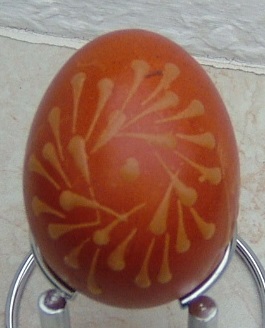
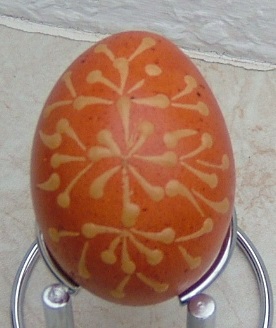
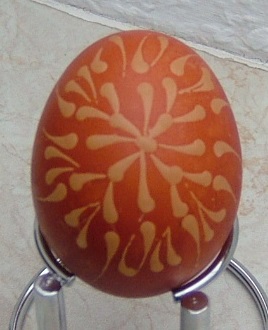
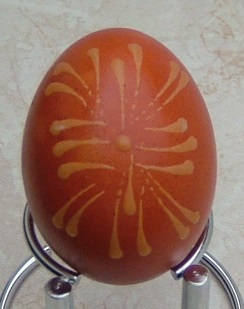
The variety of patterns made by dots and drop-shaped lines only, is enormous. Here is a small selection.
OsterWRT6
OsterWRT7
OsterWRT8
OsterWRT9
After decorating the egg, it is laid in a cold or up to moderate warm dye bath. A too warm dye bath allows the wax to melt.
OsterWRT10
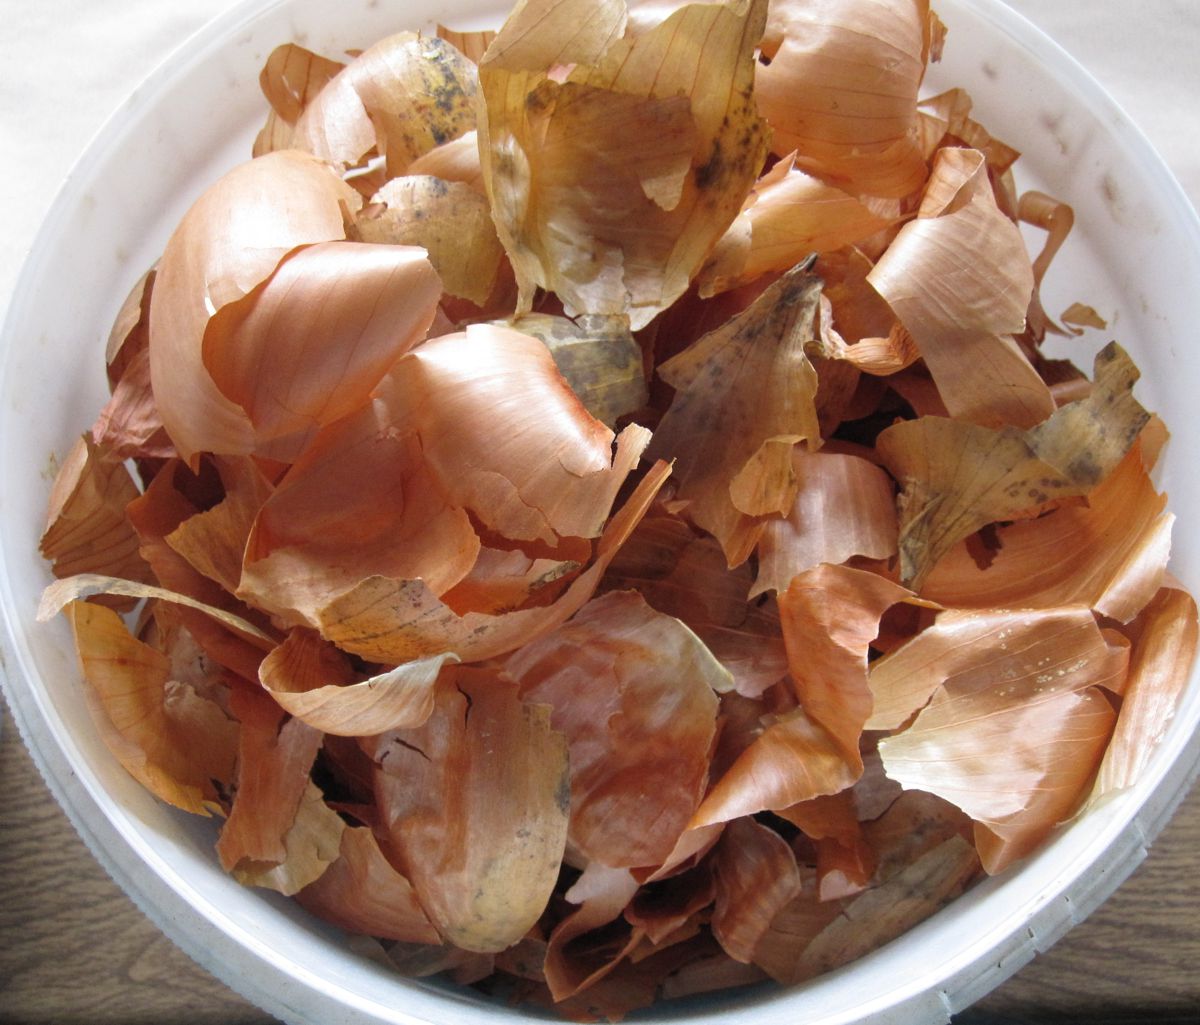
We like to use onion skins for dying.
OsterWRT11
A large amount of onion skins are put in a pot and boiled until the dye bath becomes dark brown; it must cool before proceeding. The decorated eggs are placed in the moderately warm or cold dye bath and remains there until the desired color intensity is achieved. The dyed eggs are dried. The wax can remain on the eggshell or it can be removed carefully by holding the egg over a candle flame until the wax glistens and then wiping the melted wax quickly with a paper towel.

The egg is rubbed with bacon to bring it to shine.
OsterWRT12

Have fun decorating and hunting for Easter eggs!

One Schwalm Design – Two Interpretations (2)

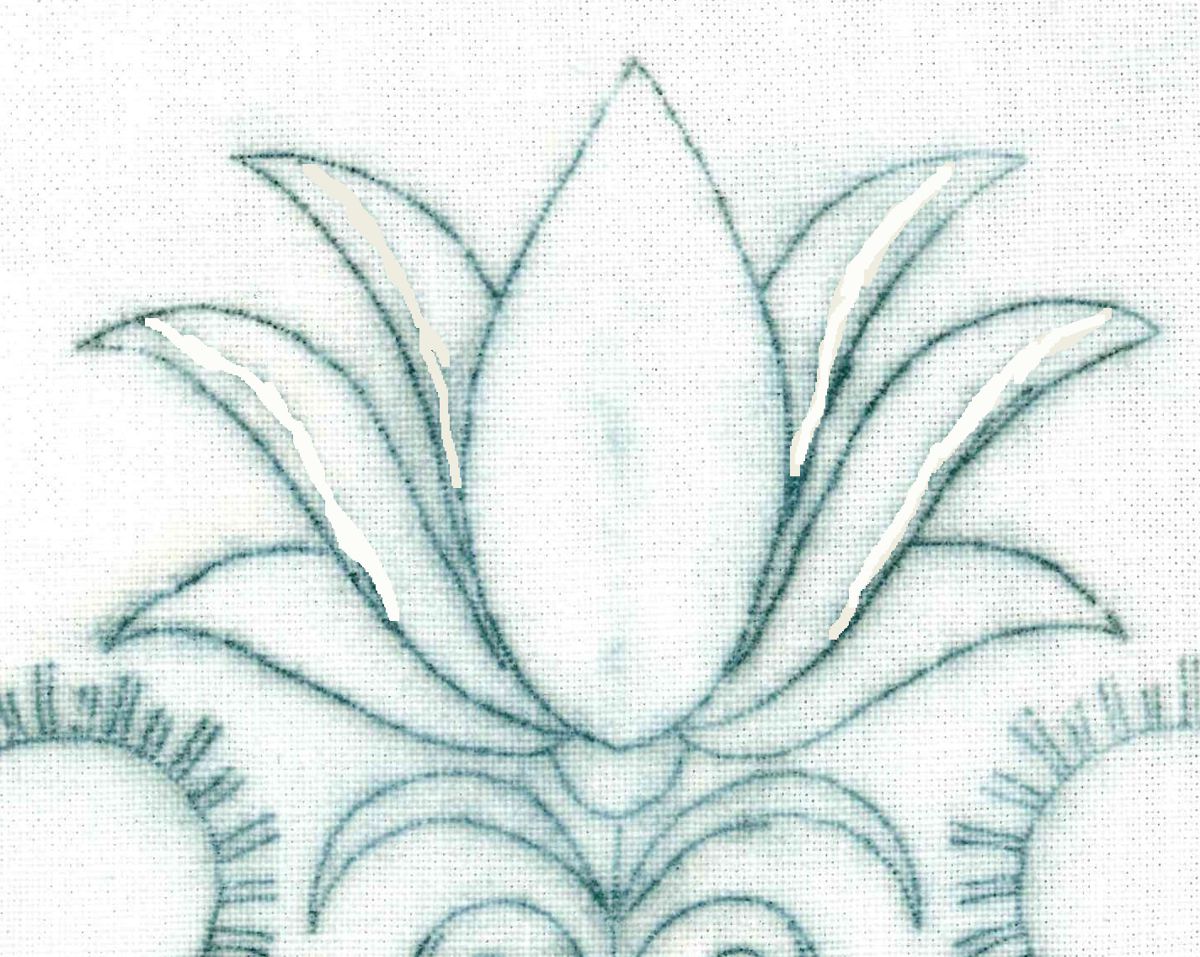
At the narrow ends of the design, there are single tulips (here a little bit narrowed):
Bild_16
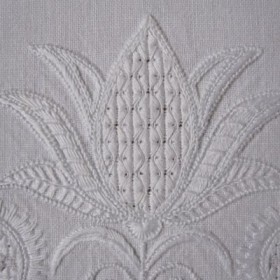
The center part of the tulip is well suited for a filling pattern. The center is flanked by 3 narrow, long and pointed petals. Two of these petals have an additional division. How to stitch those forms?
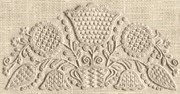
It would be possible to delete the additional lines to get more space.
Bild_17
Regardless, the shapes of the outside petals are too narrow to embellish them with withdrawn thread patterns. One must consider other ways to embroider them.
Bild_18
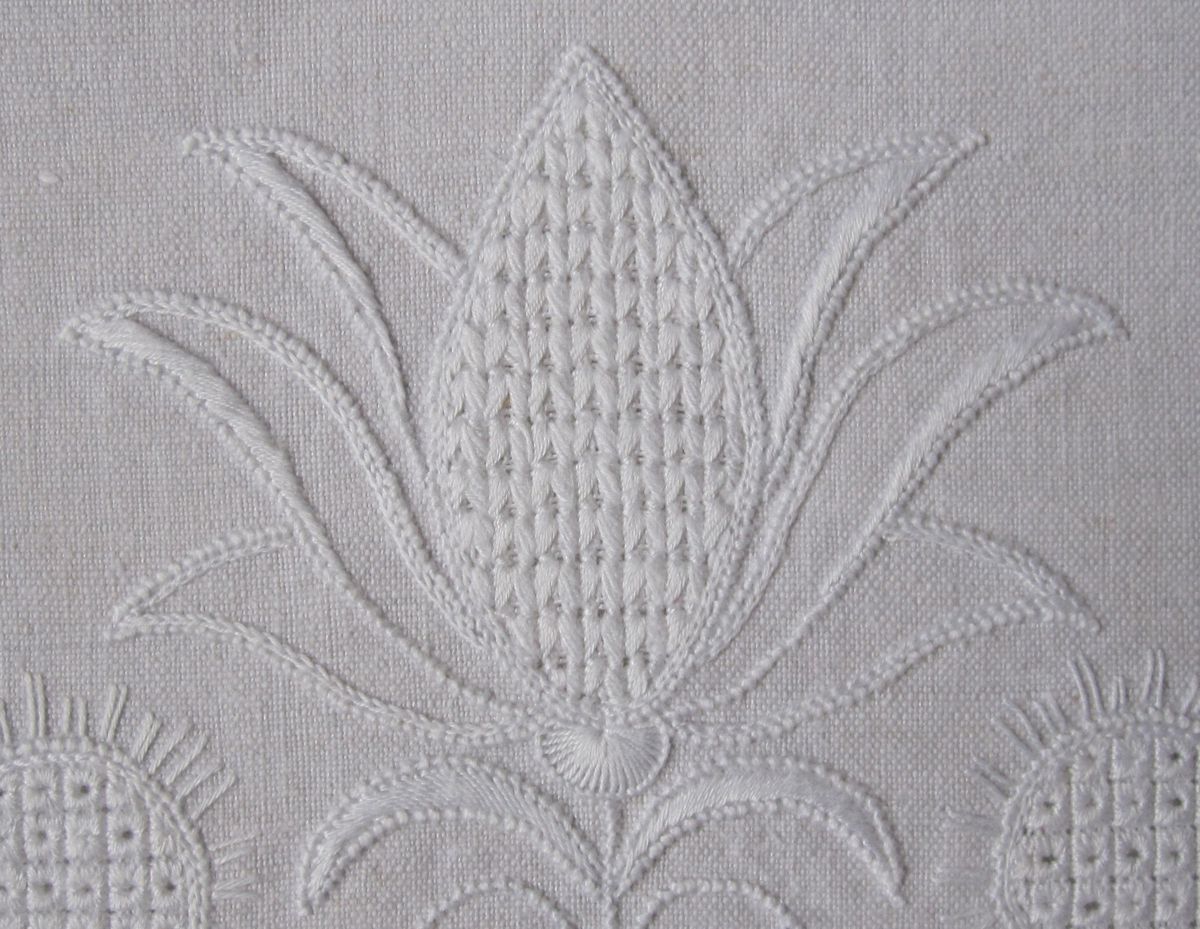
On the oval runner the outlines of the petals were stitched with Coral Knots. Inside some – not all – of these lines, Chain stitches were worked. The small areas of the additional division were filled with Satin stitches. The middle area of the petals remain free of further embellishment.

In the center of the tulip the Limet pattern “Hasenohren” (Limetrosen I, page 44) was worked.

The small pointed leaves below the tulip were outlined with Coral Knot stitches and filled with Satin stitches.

Coton à broder in the following sizes was used: No. 20 for the Coral Knot stitches, No. 25 for the Satin stitches, No. 30 for the Chain stitches and the filling pattern.
Bild_19
On the rectangular runner the outlines of all petals were stitched with Coral Knots. The small parts of the additional division were filled with Satin stitches.

In early Schwalm whitework there are many patterns suitable for long, narrow shapes. So, I used the opportunity to mix both techniques. For the two pairs of lower petals, I used elements of the early Schwalm whitework. The middle petals were embellished with Reverse Raised Band Stem stitch (Early Schwalm Whitework, page 59), the bottom petals were embroidered with Wing stitch (Early Schwalm Whitework, page 47).

In the center of the tulip the Limet pattern “Jugendstilstreifen – ohne Lücke” (Limetrosen I, page 39) was worked. This pattern matches the form of the shape very well, I think.

The small pointed leaves below the tulip were worked divided and with Satin stitches. (Detailed instructions for working these leaves can be found in Basic Principles of Schwalm Whitework, pages 29 and 30.)
Coton à broder in the following sizes was used: No. 16 for the Coral Knot stitches, No. 20 for the Satin stitches, the Reverse Raised Band Stem stitches and the Wing stitch, No. 25 for the Chain stitches and the filling pattern.

Part (1) of this series can be found here.

Ideas Workshop – Pincushion (1)

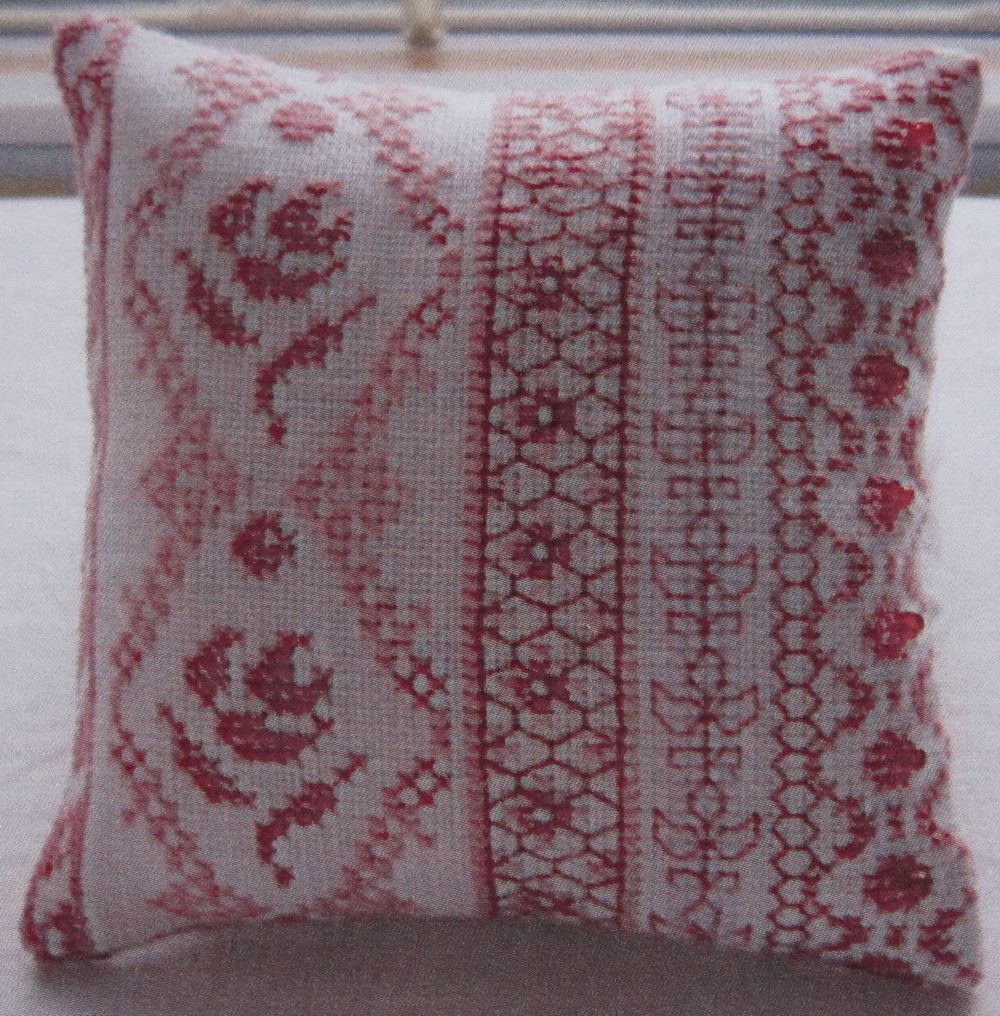
Ideas do not fall out of the sky – one gets inspiration from many different places. Some time ago I saw a pincushion embroidered with Cross stitches and Back stitches along a French pattern.
NA1_1
I thought that such a pincushion could also be worked in the style of Schwalm whitework.
Perhaps a small Schwalm design at the left?
In the center area a nice Needleweaving hem, a Peahole hem or an Openwork patterned band? At the right small schwalm-typical borders or decorative stitches?

I can very well envision this; what do you think? Won’t you please stitch along with me on this small and creatively fun project?

Let’s get started!

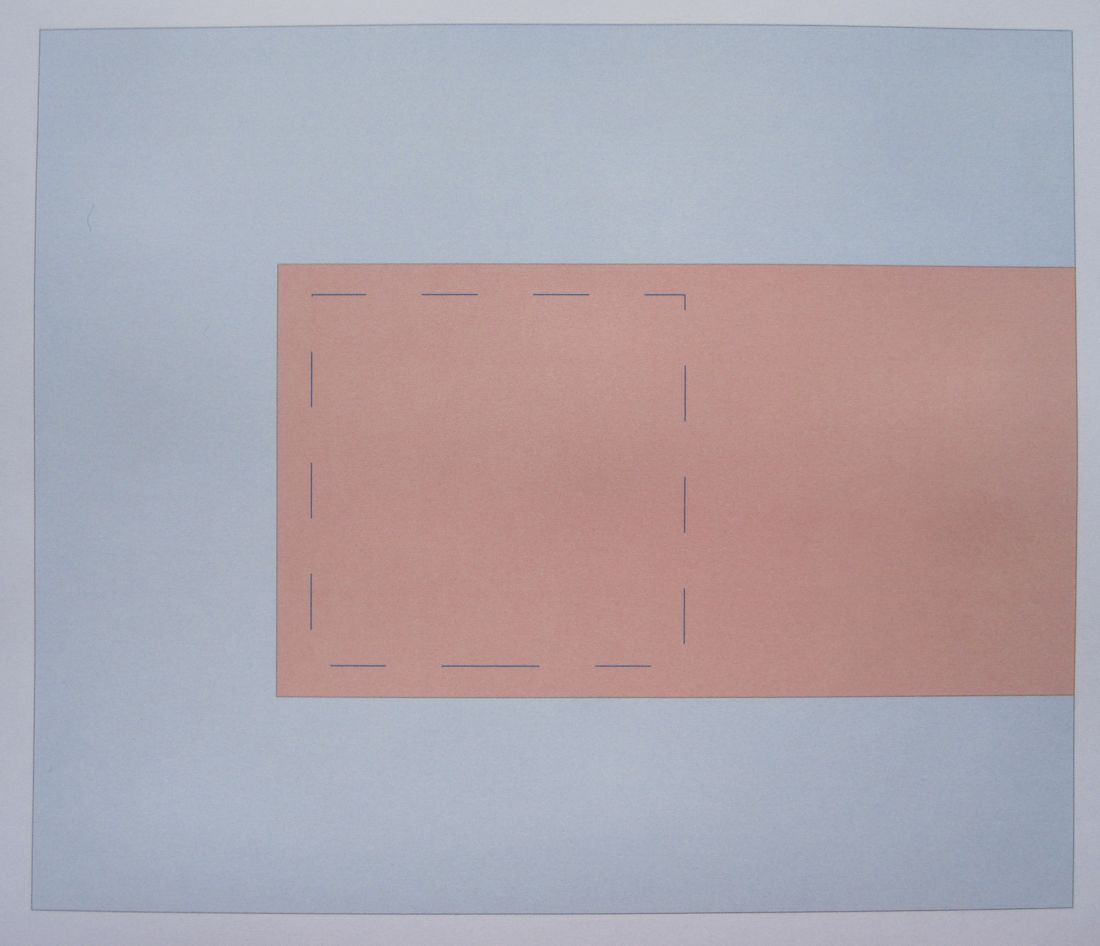
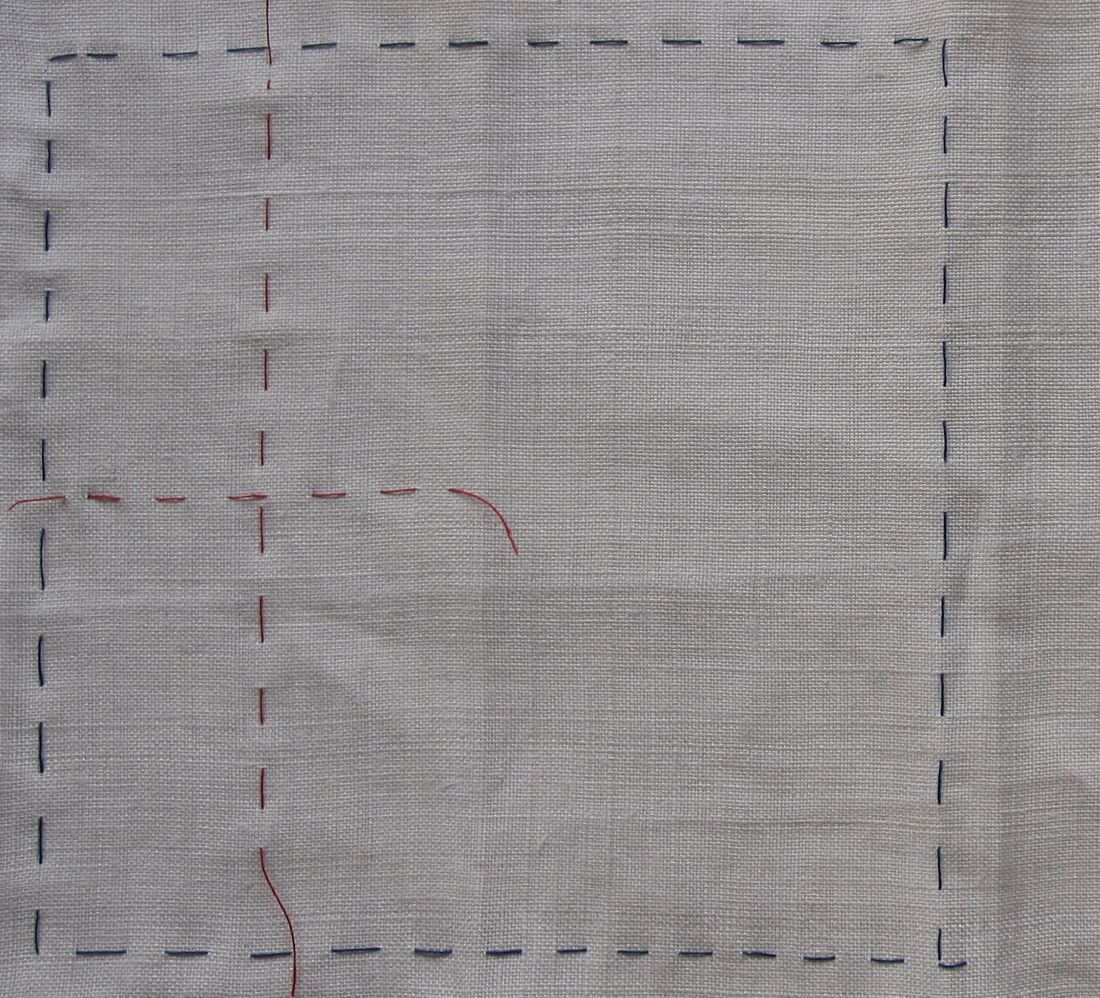
The finished pincushion will measure 12 cm X 12 cm. So, after the embroidery is finished, the linen will be cut (for the front and back) in the size of 14 cm X 26 cm (beige-coloured section); the measurements include a 1 cm seam allowance along three sides (after the rectangle is folded). The reason why one does not cut the linen to size beforehand is that the linen must be stretched in a hoop while working. The blue area represents the area that will be cut away after the embroidery is finished, and the size of excess linen depends on the size of the hoop one is using.
NA1_2
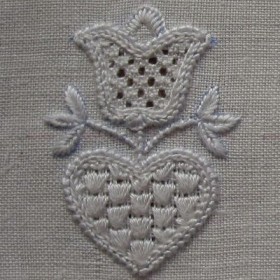
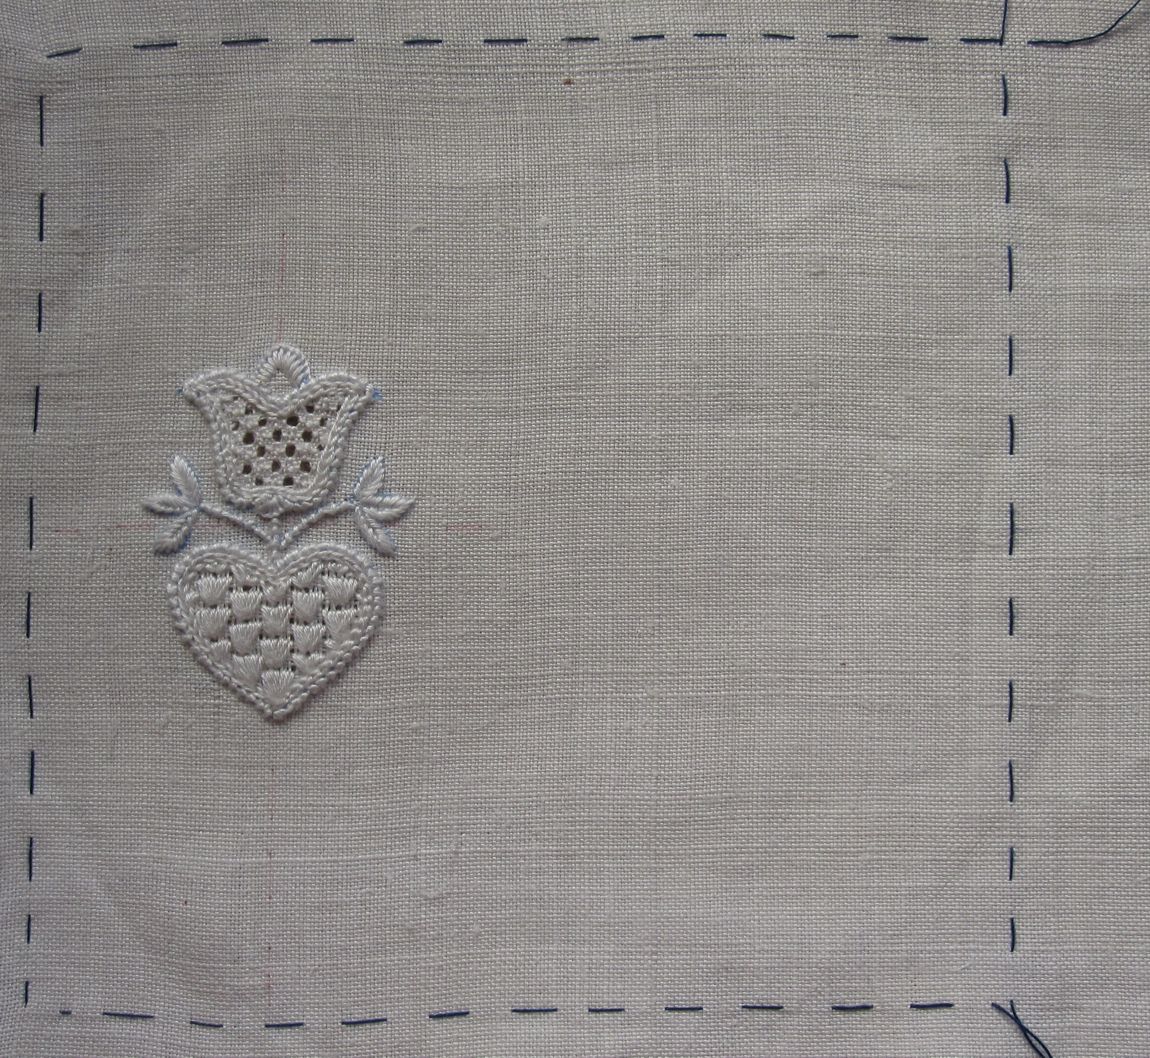
For my project I chose a very fine handwoven linen. With Running stitches (blue) I outlined a 12 cm X 12 cm area, which will be decorated with embroidery later. Inside this space I marked the horizontal and vertical axes to aid in the precise placement of a small motif which I had chosen to work at the left. Additional small designs can be found in the downloadable document 24 small designs
NA1_3
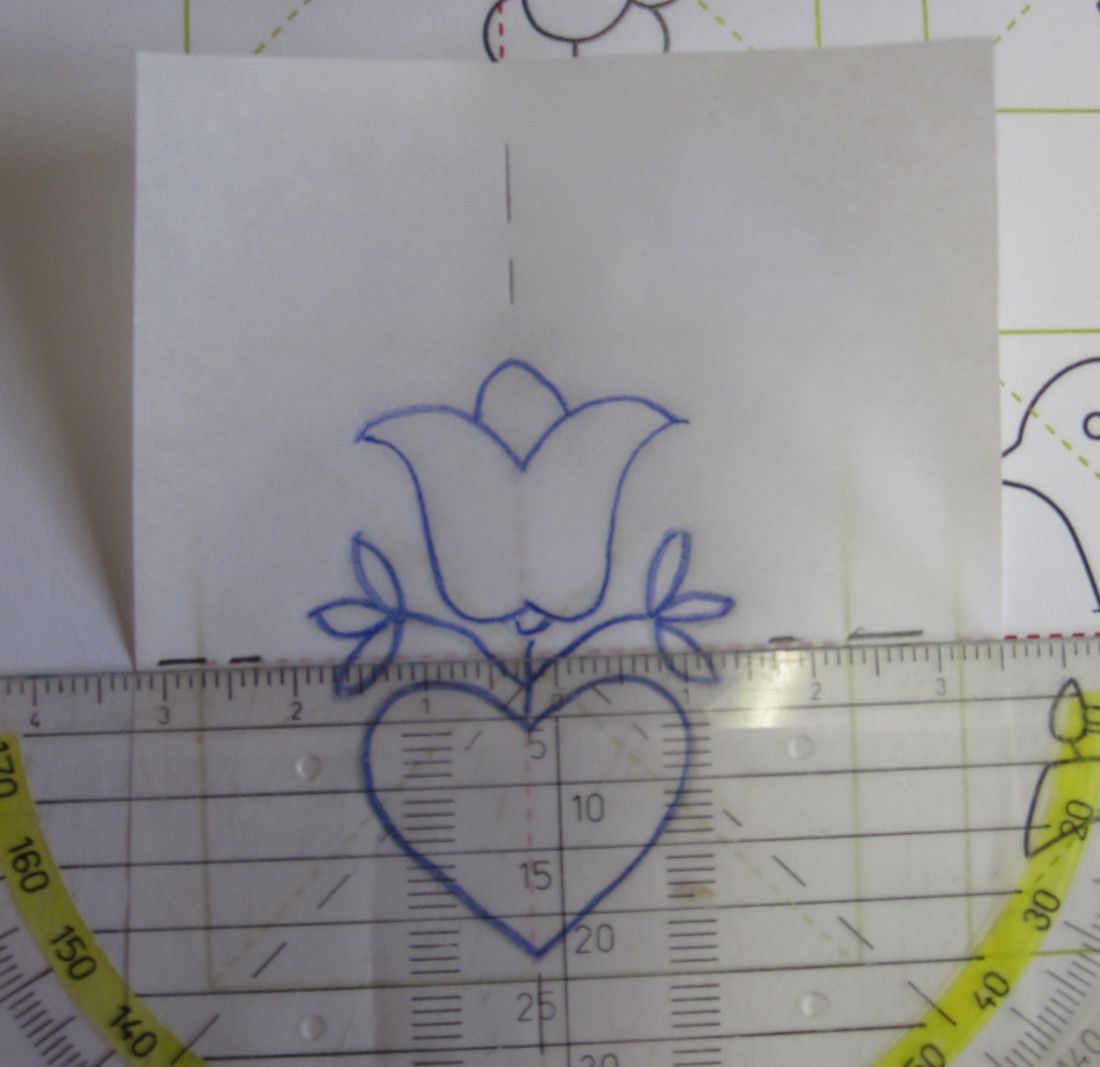
I transferred the chosen motif to tracing paper using a DEKA iron transfer pencil. With a pen I marked the straight of grain.
NA1_4
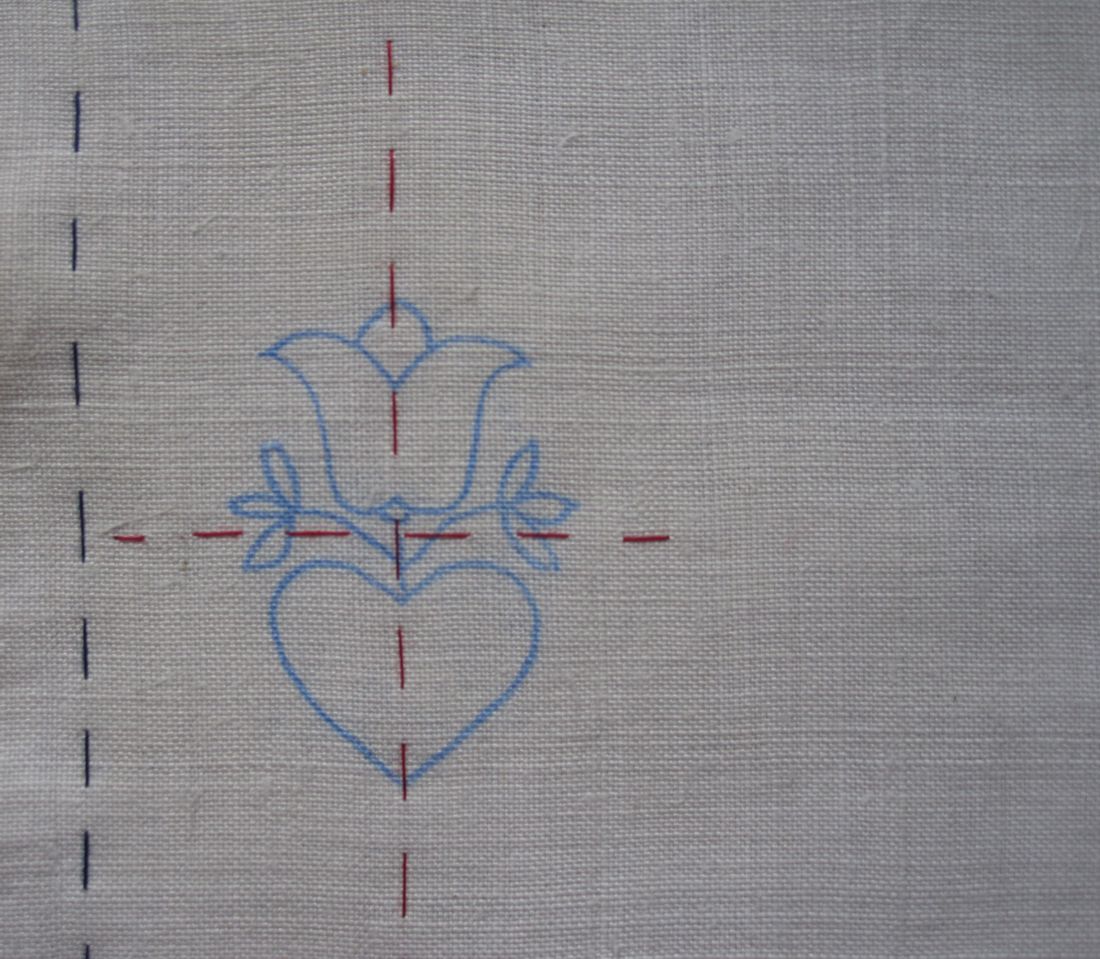
The motif was then transferred to the linen.
NA1_5
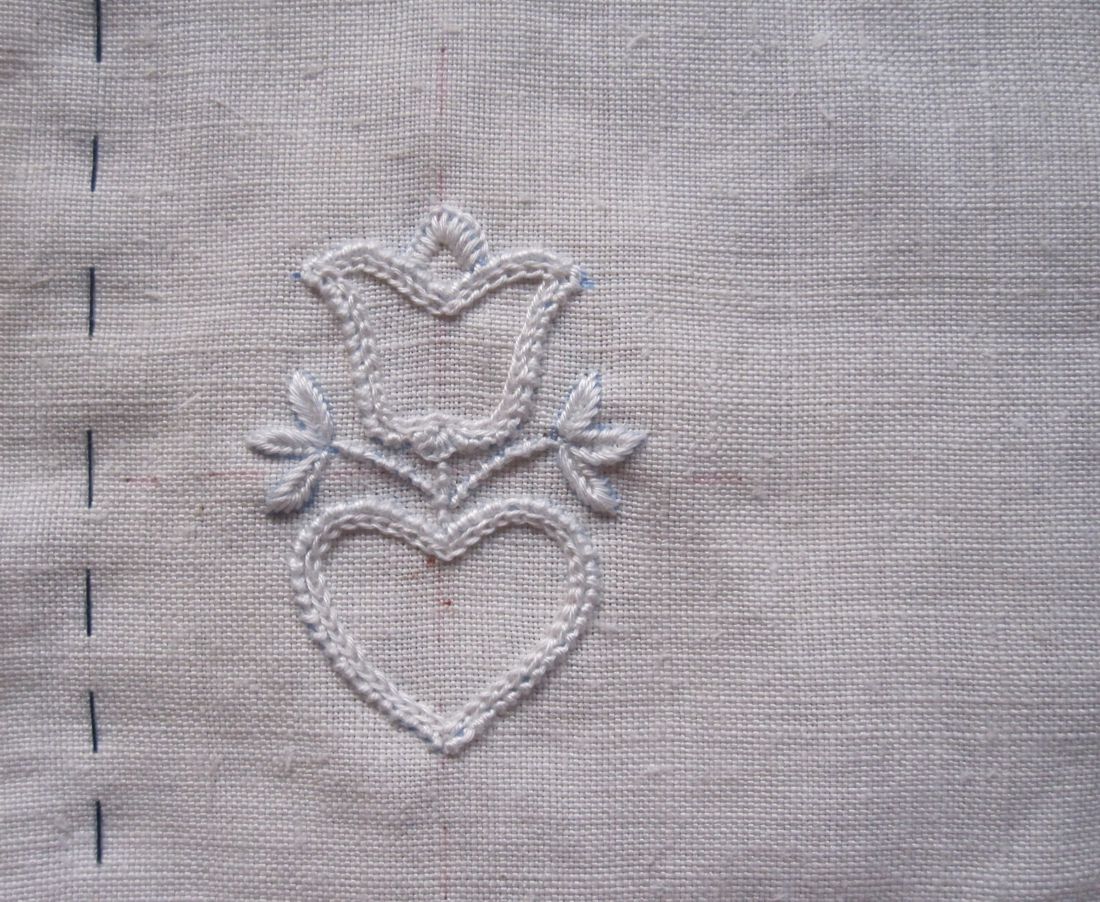
Coral Knot stitches, Chain stitches, Satin stitches and Blanket stitches were worked.
NA1_6
I decided to fill both motif areas with Limet patterns. So I withdrew the threads cutting 1 – leaving 3
NA1_7
and embroidered the chosen patterns.
NA1_8
The heart was filled with the pattern “Netzpatent” (“magic net”) (Limetrosen I, page 64). The tulip was decorated with Rose stitches (Basic Principles of Schwalm Whitework, pages 50–52).
NA1_9
The first section is finished. Now it is time to consider how to embroider the next section:
Needleweaving hem? Peahole hem? Openwork pattern band? Or….?
What have you decided?
I would really enjoy receiving emails with pictures of your ideas realized!