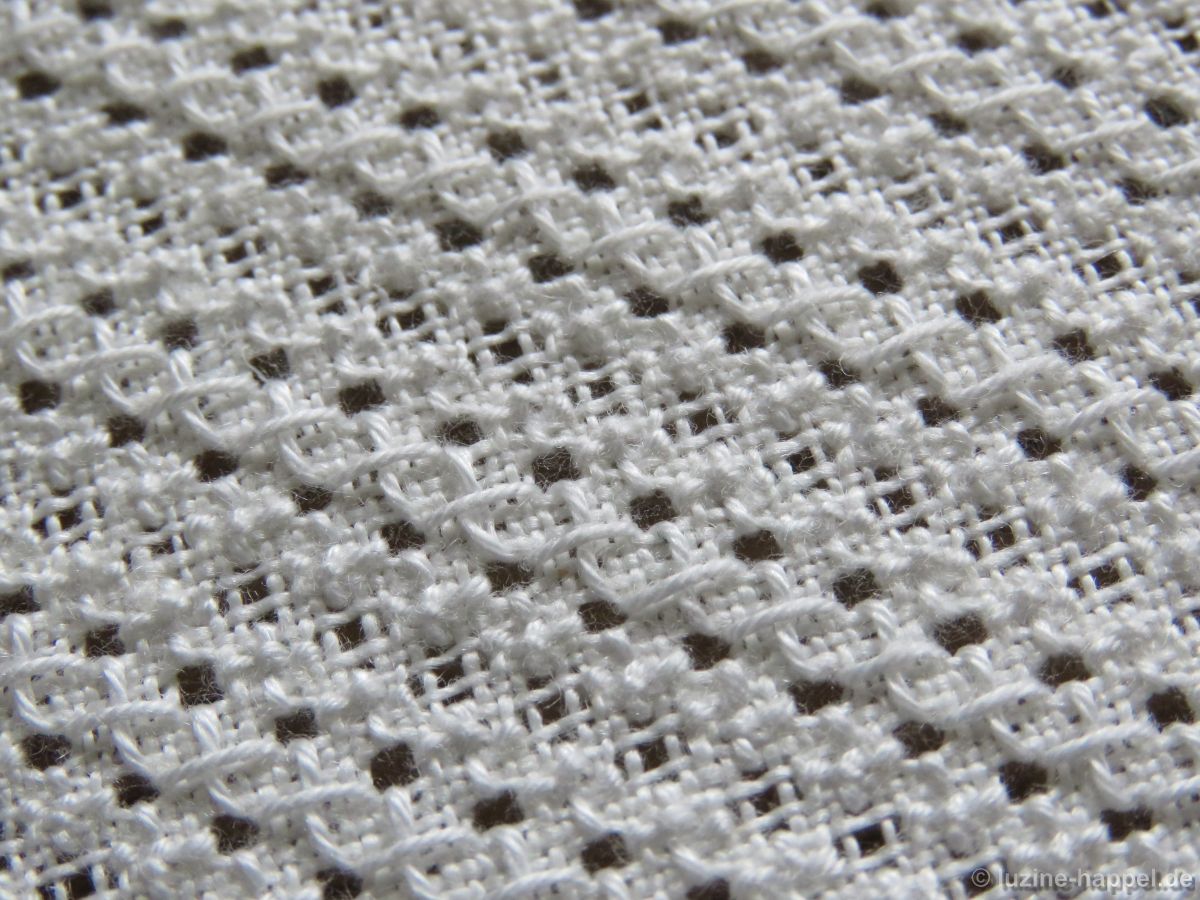
Filling Pattern – No. 555
category: Limet-Filling pattern
linen used: 13.5/cm thread count
threads used: coton à broder No. 20
stitches used: Diagonal Four-Sided stitches and Cable stitches
center: intersection of withdrawn thread lines (in other shapes or motifs: longitudinal axis = withdrawn thread line)
one pattern segment = 16 threads
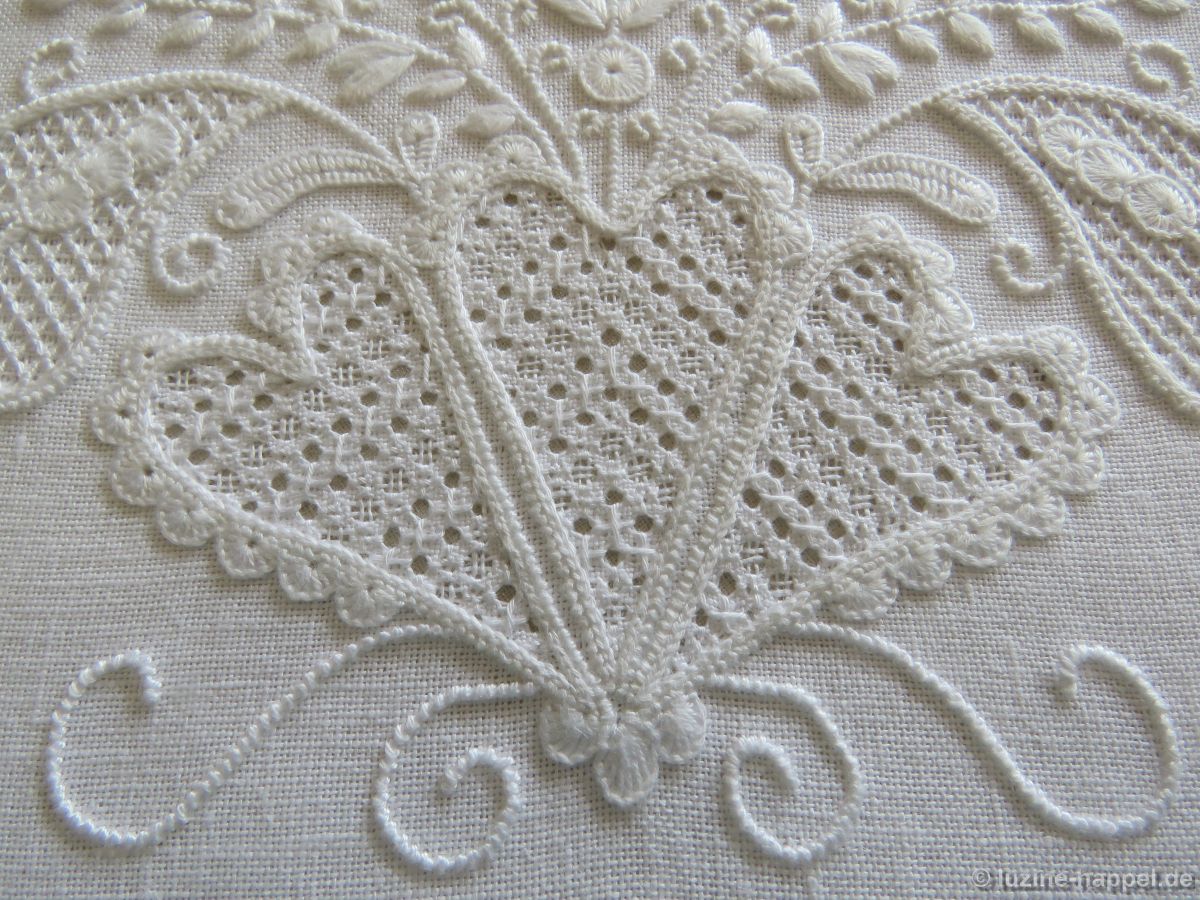
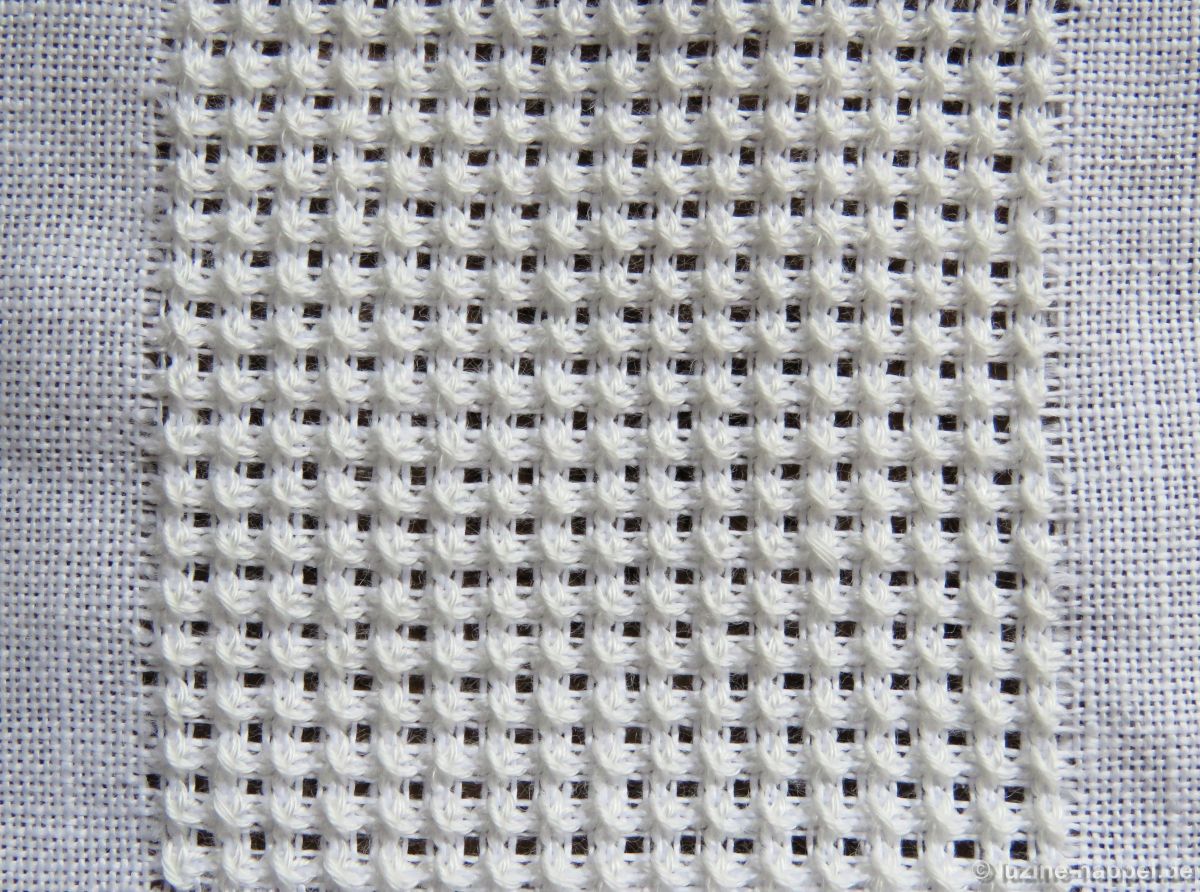
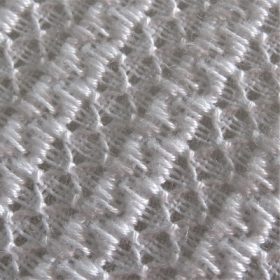
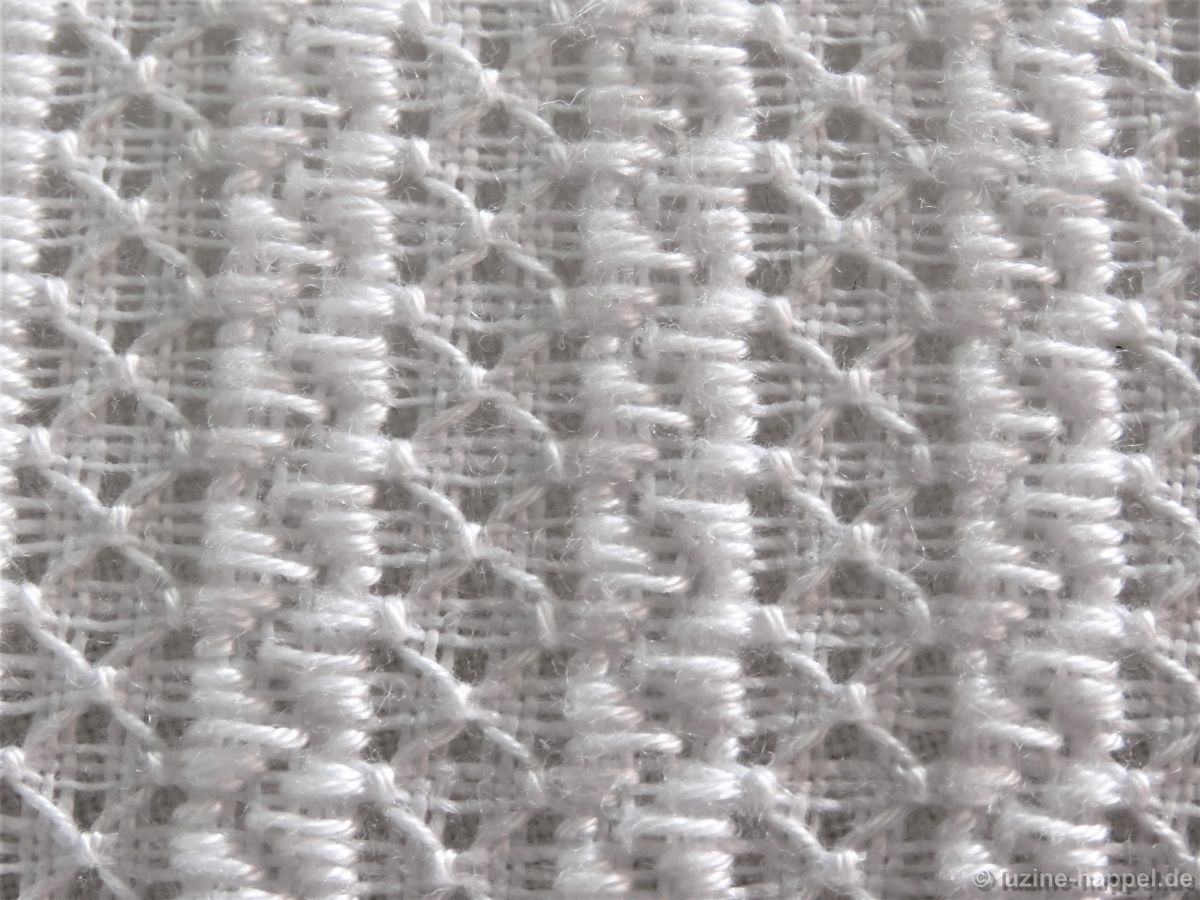
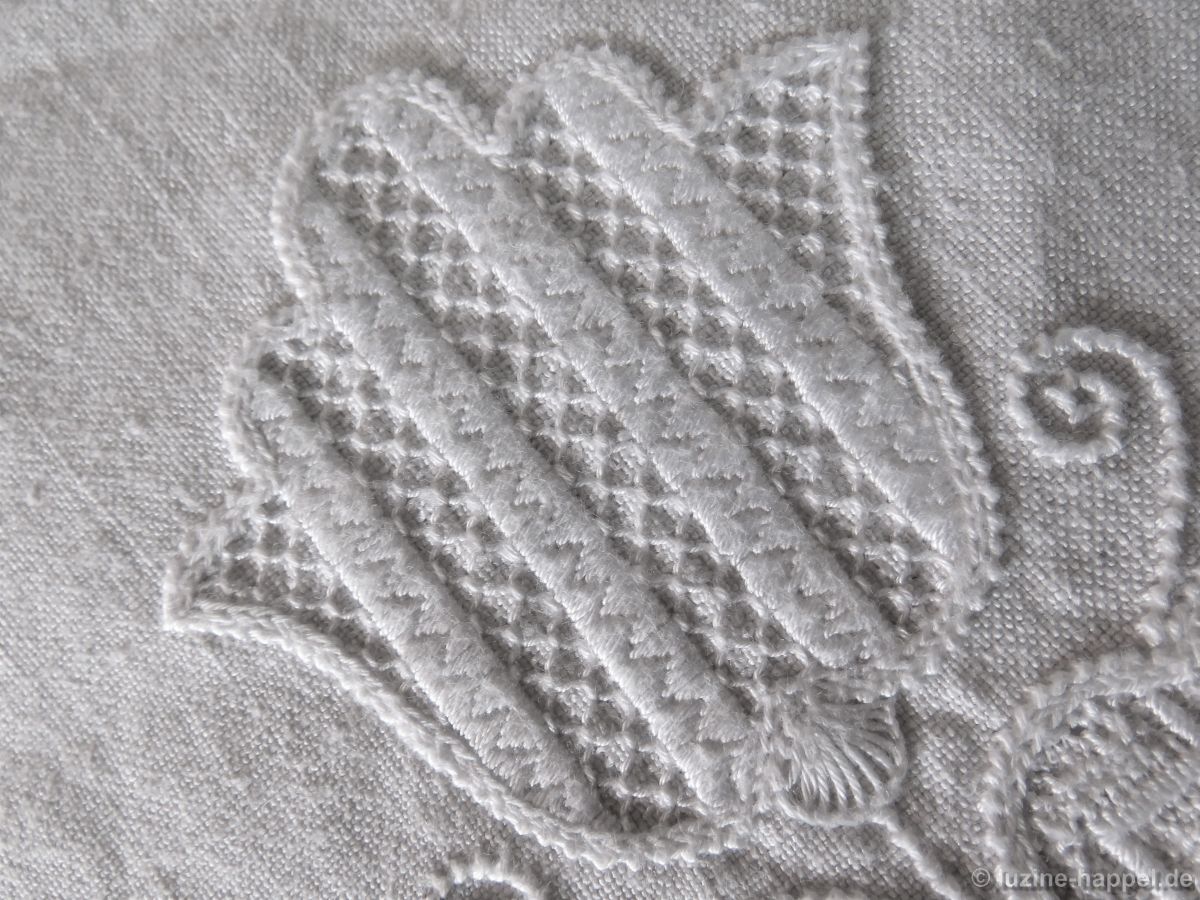
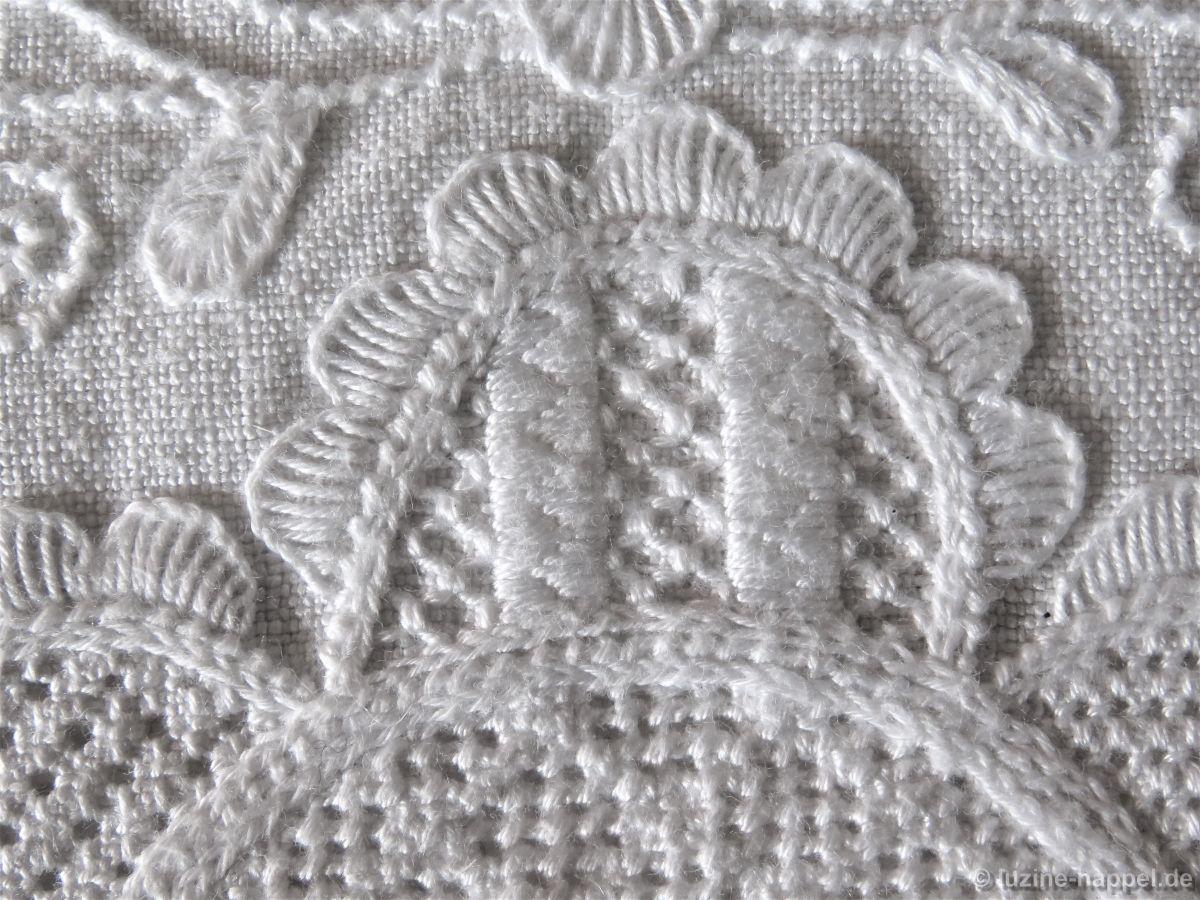
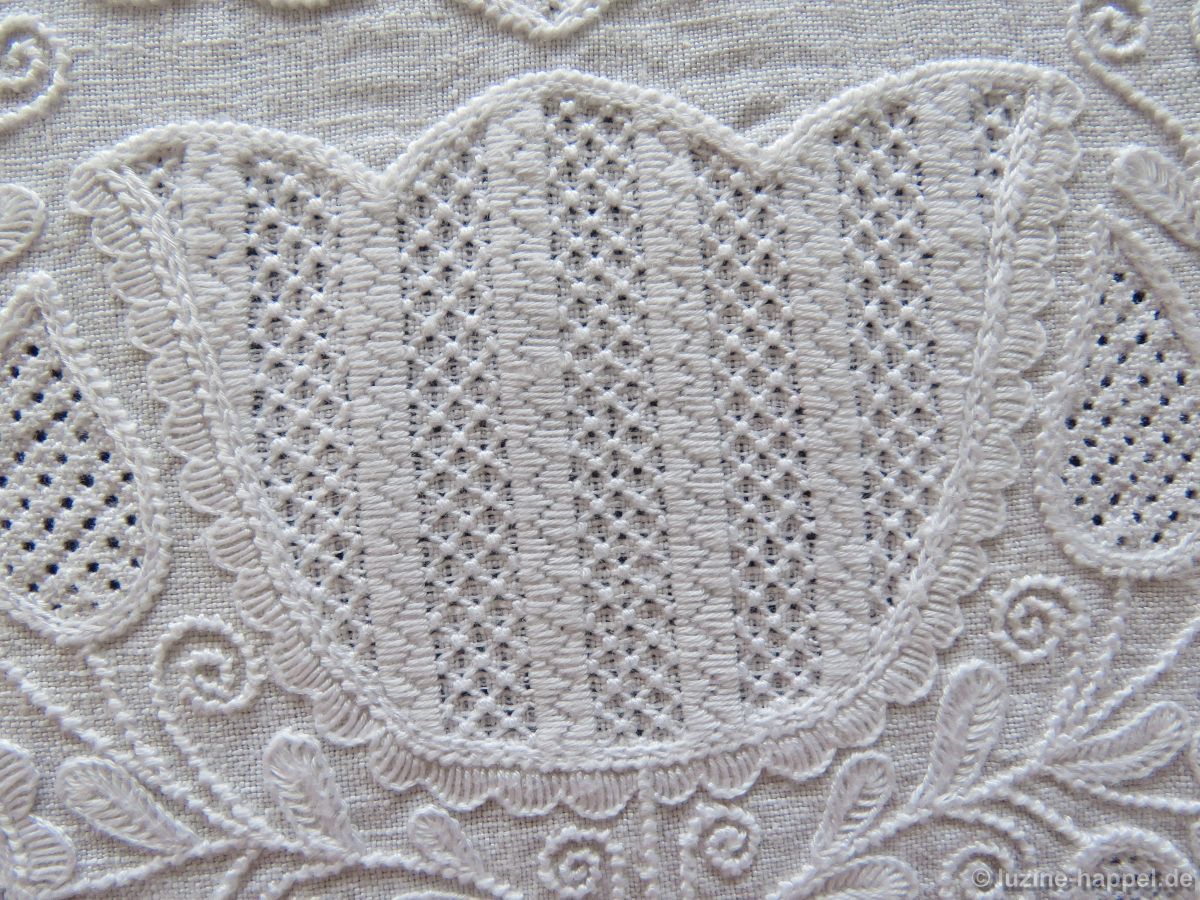
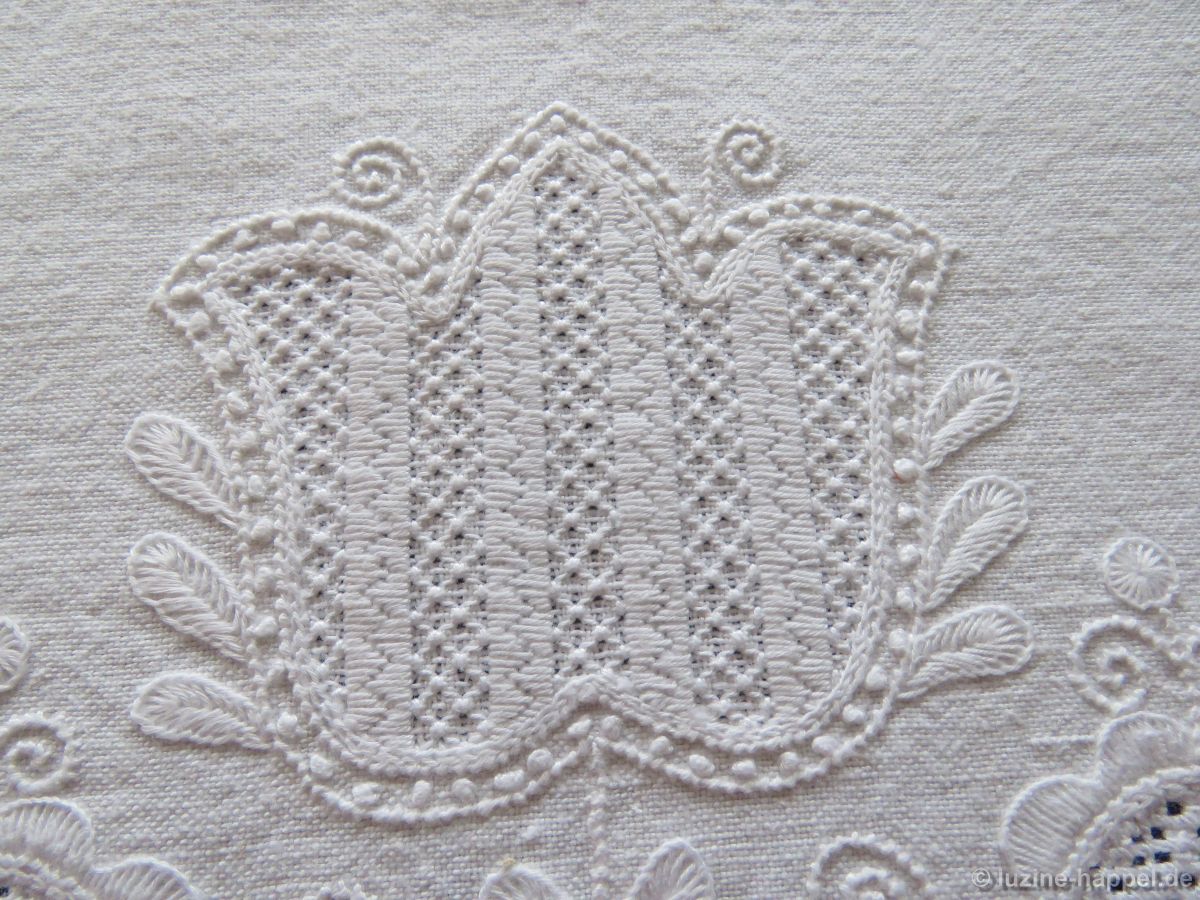
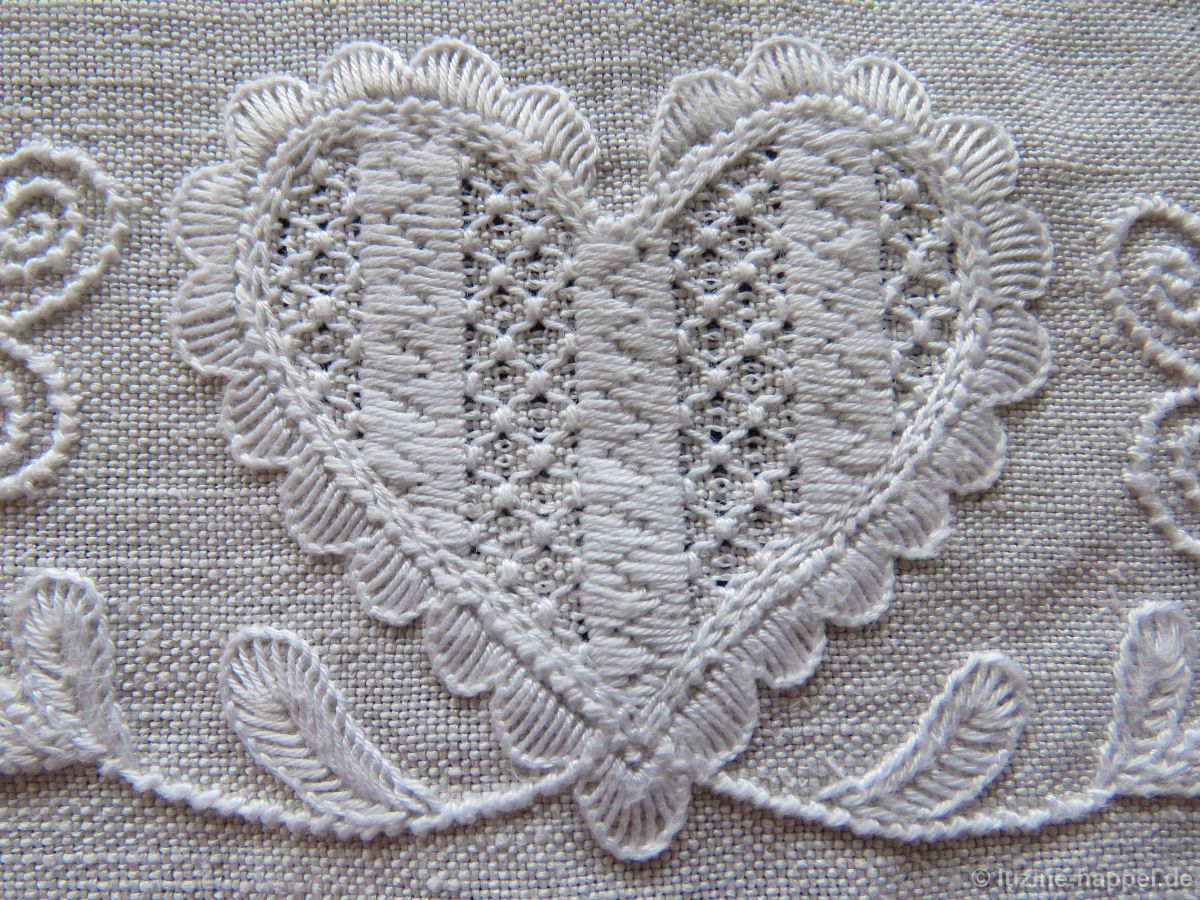
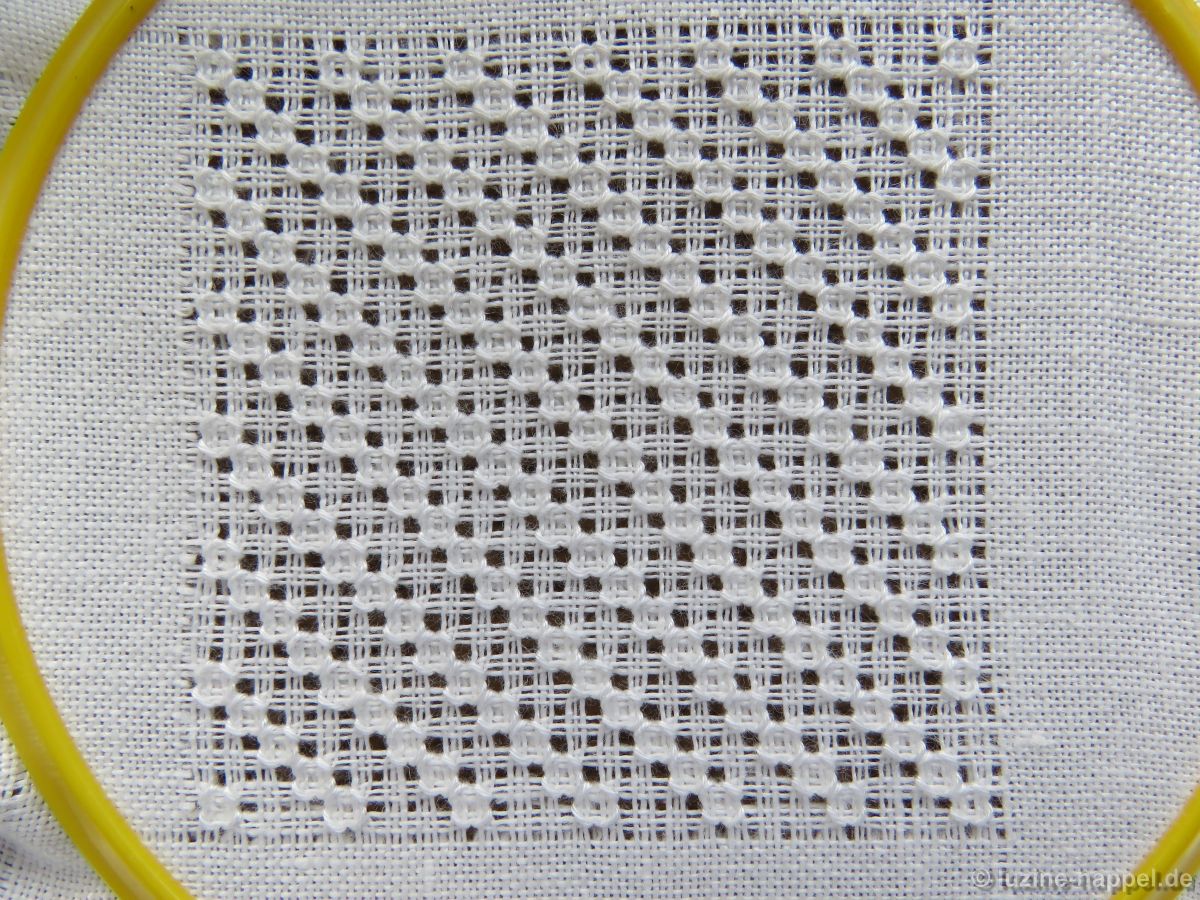
The filling pattern shown here is a practice exercise only. You can see it used in a shape at the end of this article.
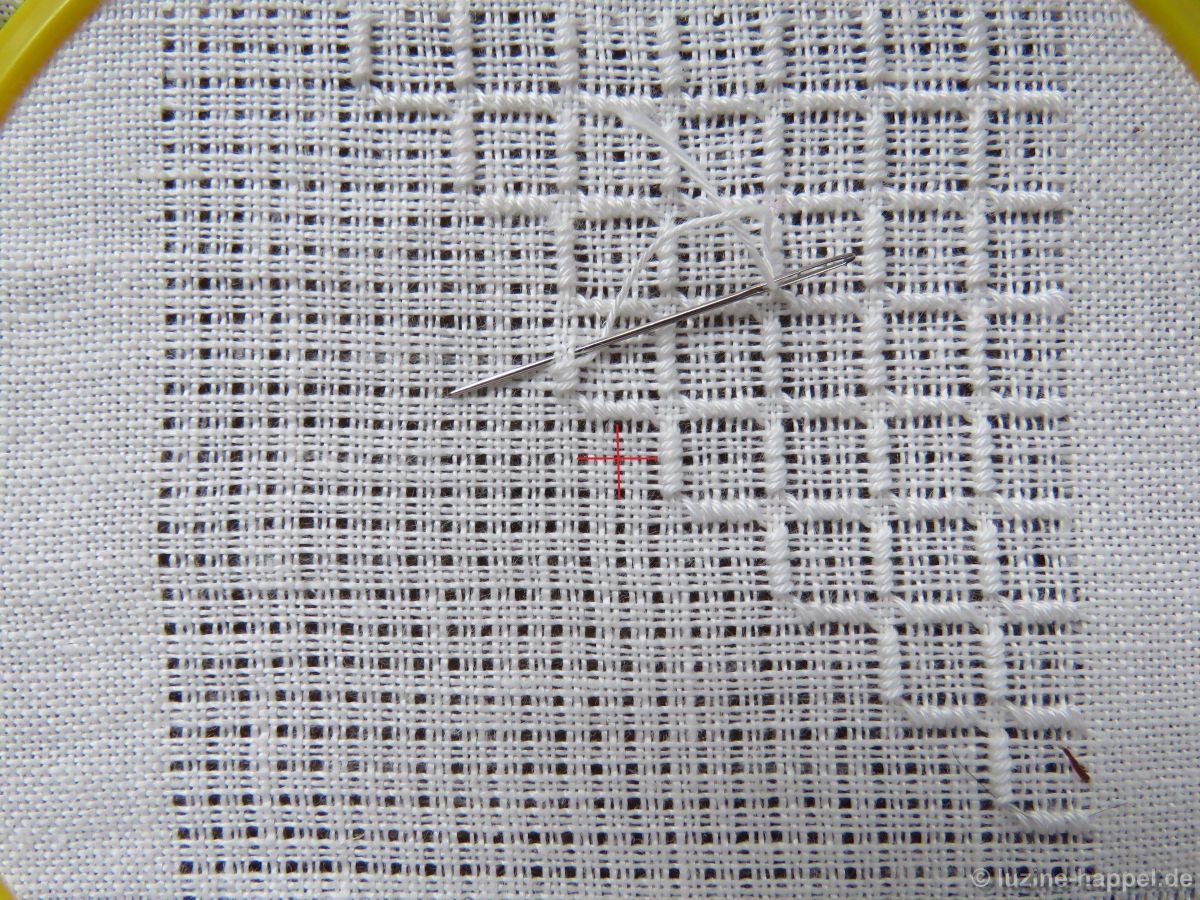
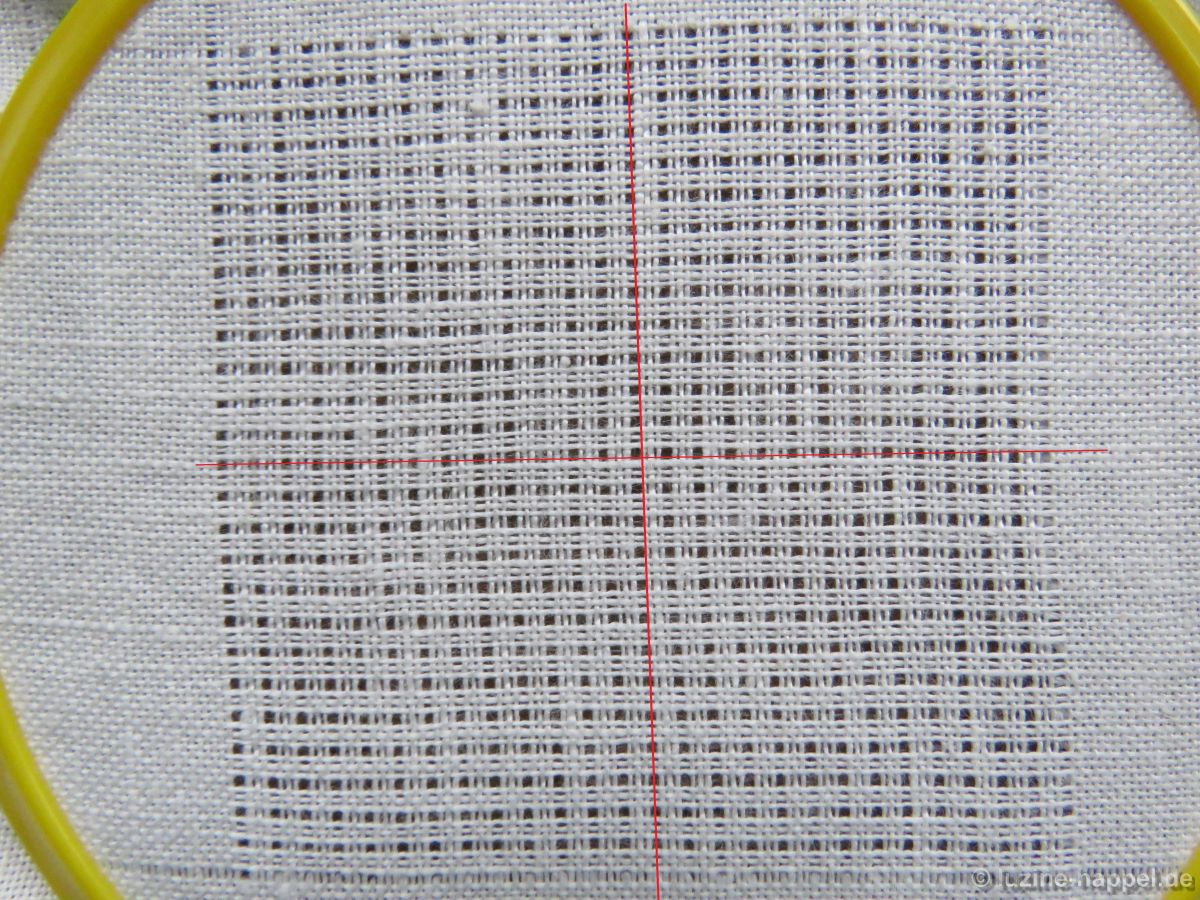
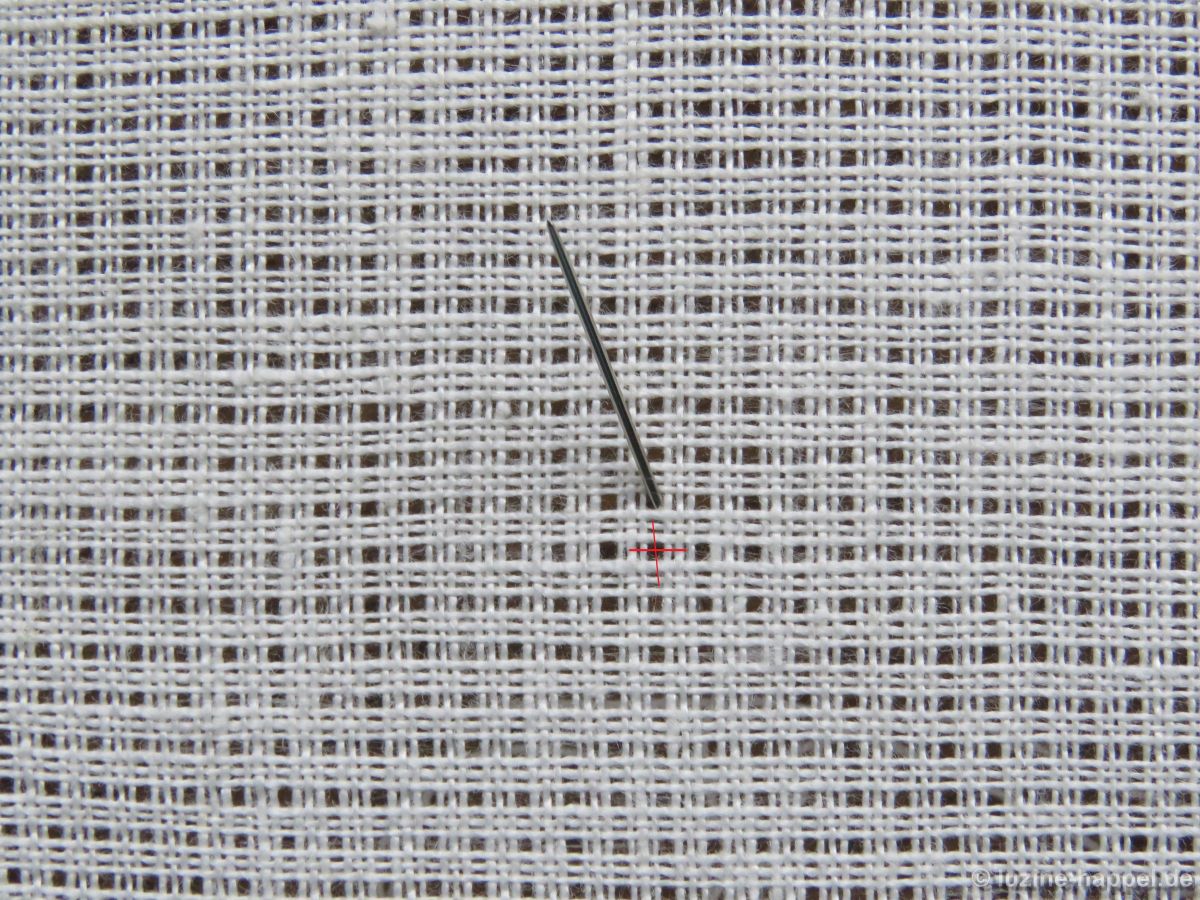
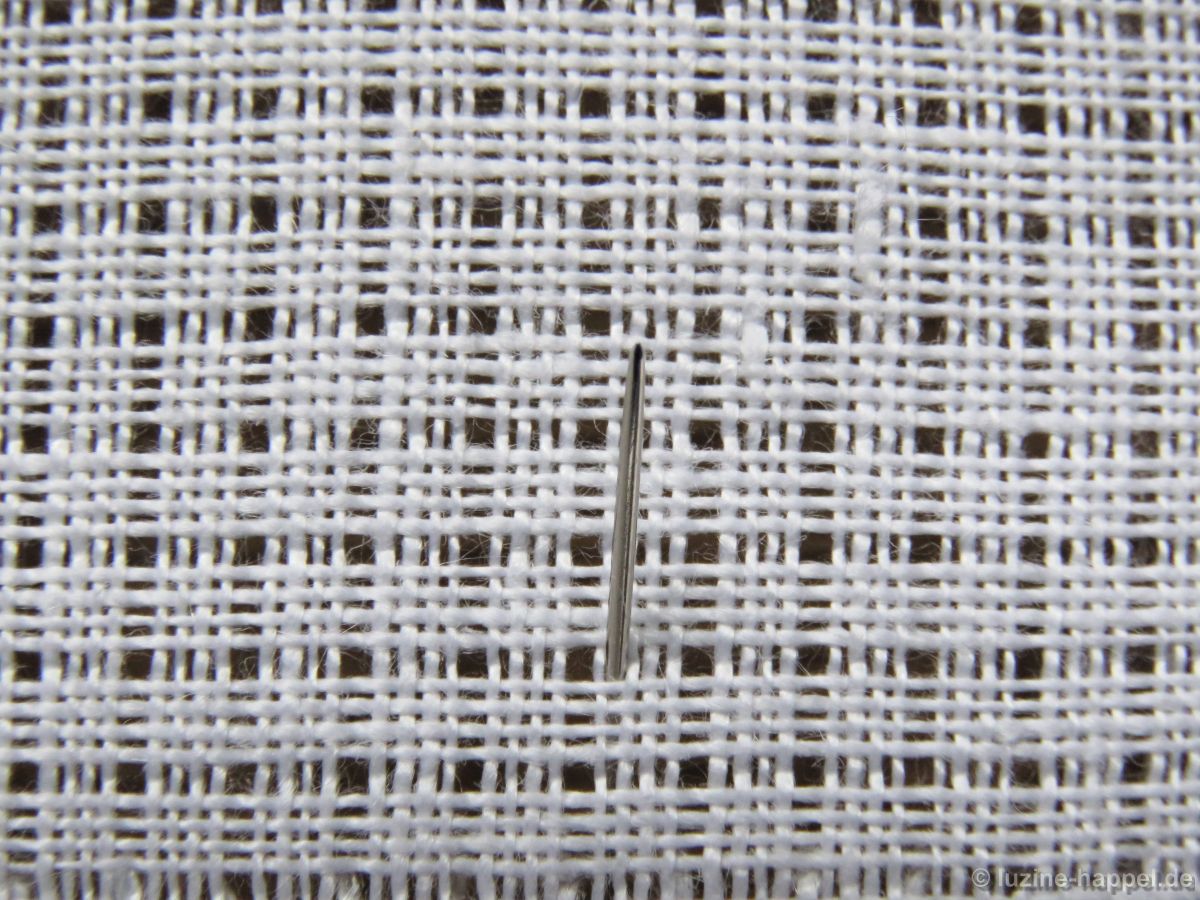
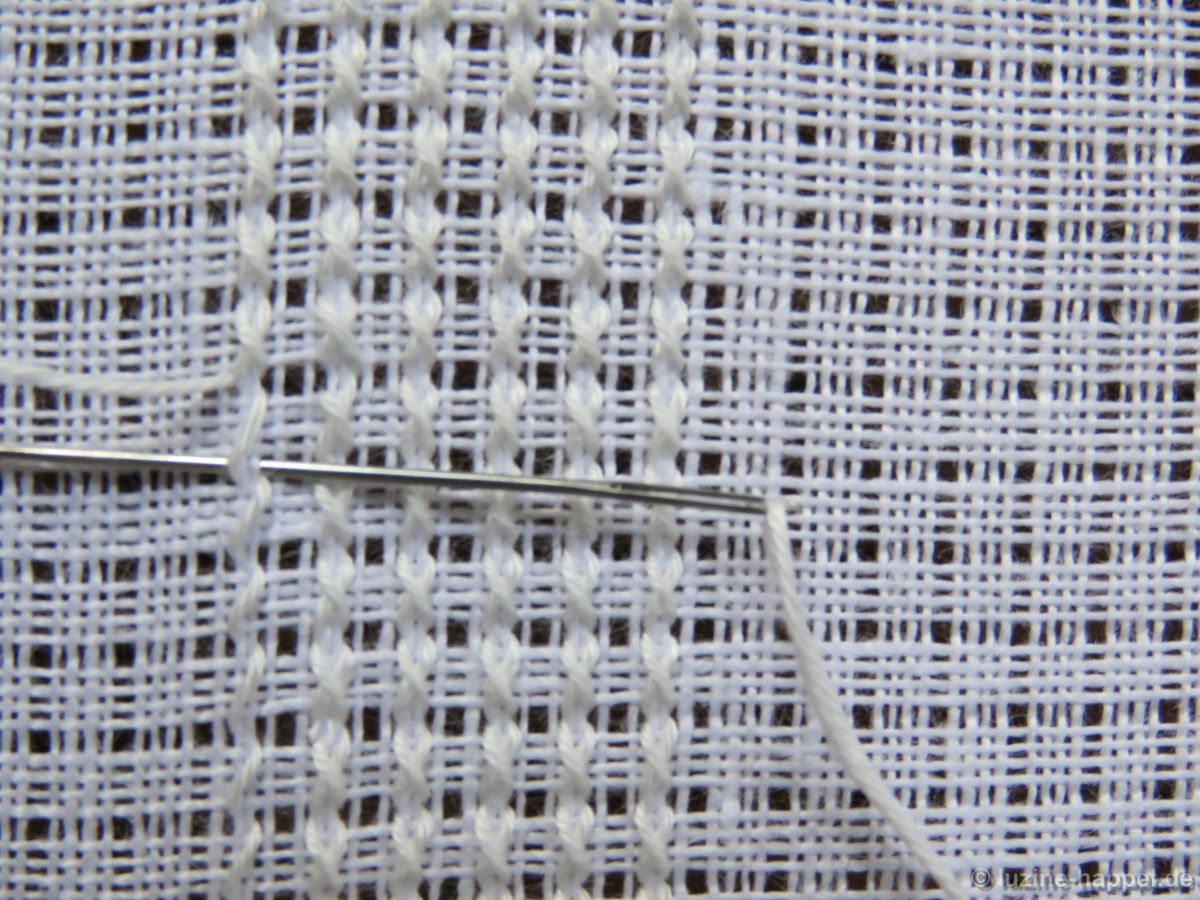
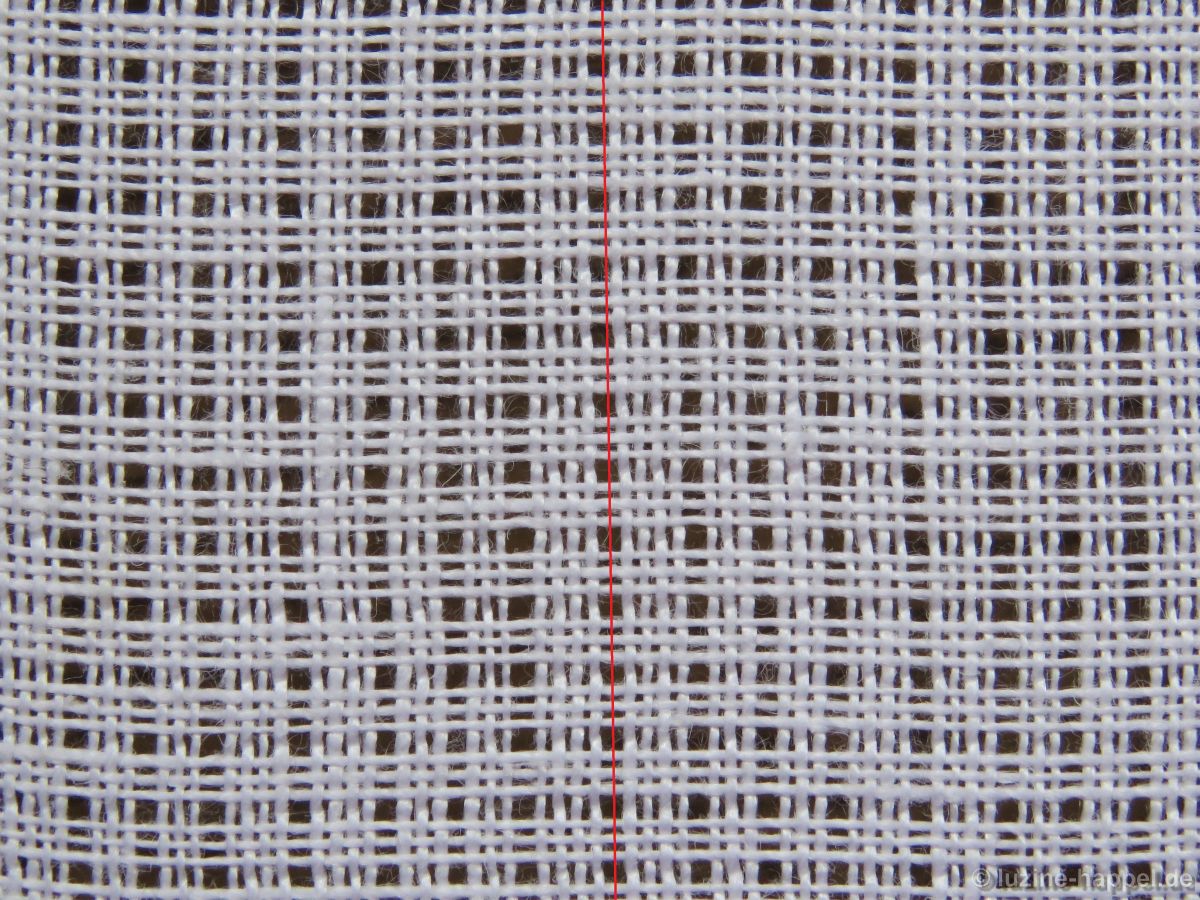
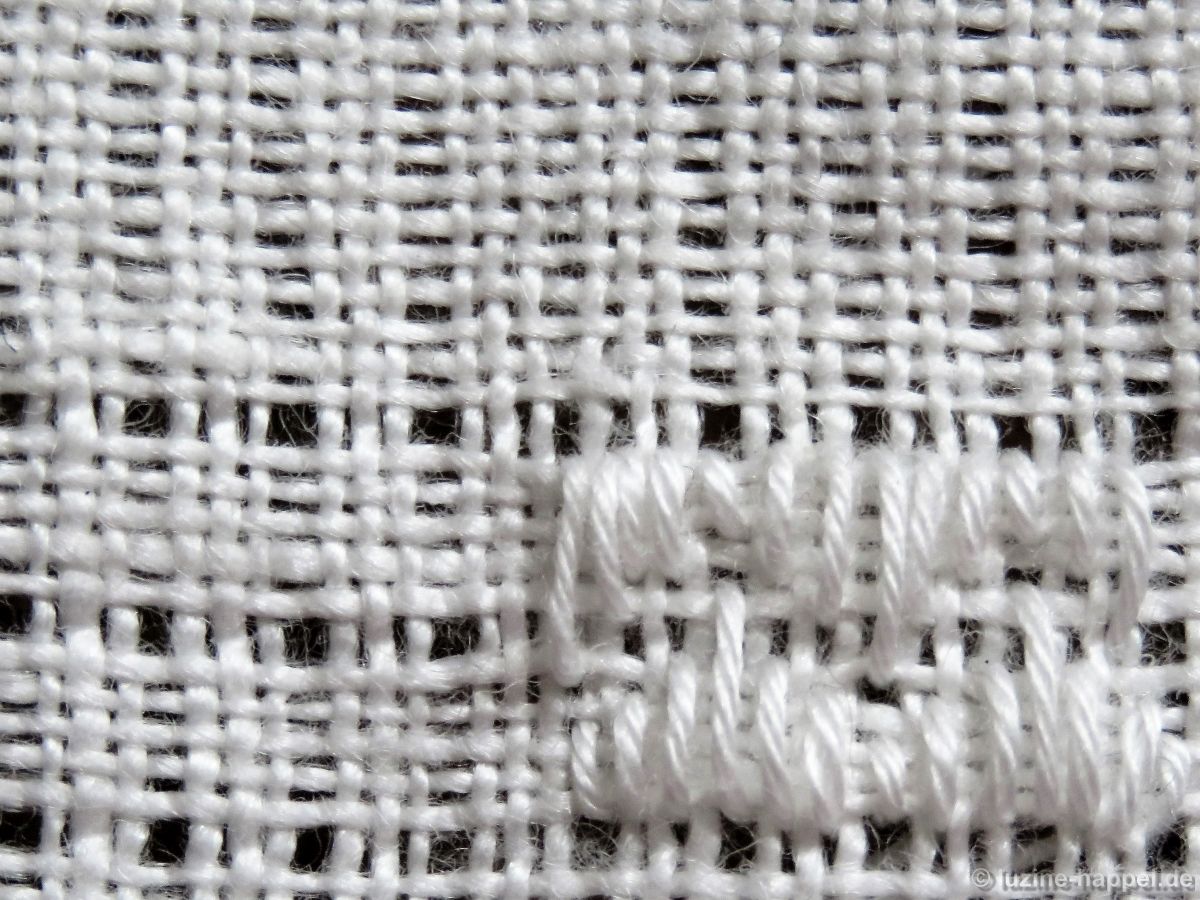
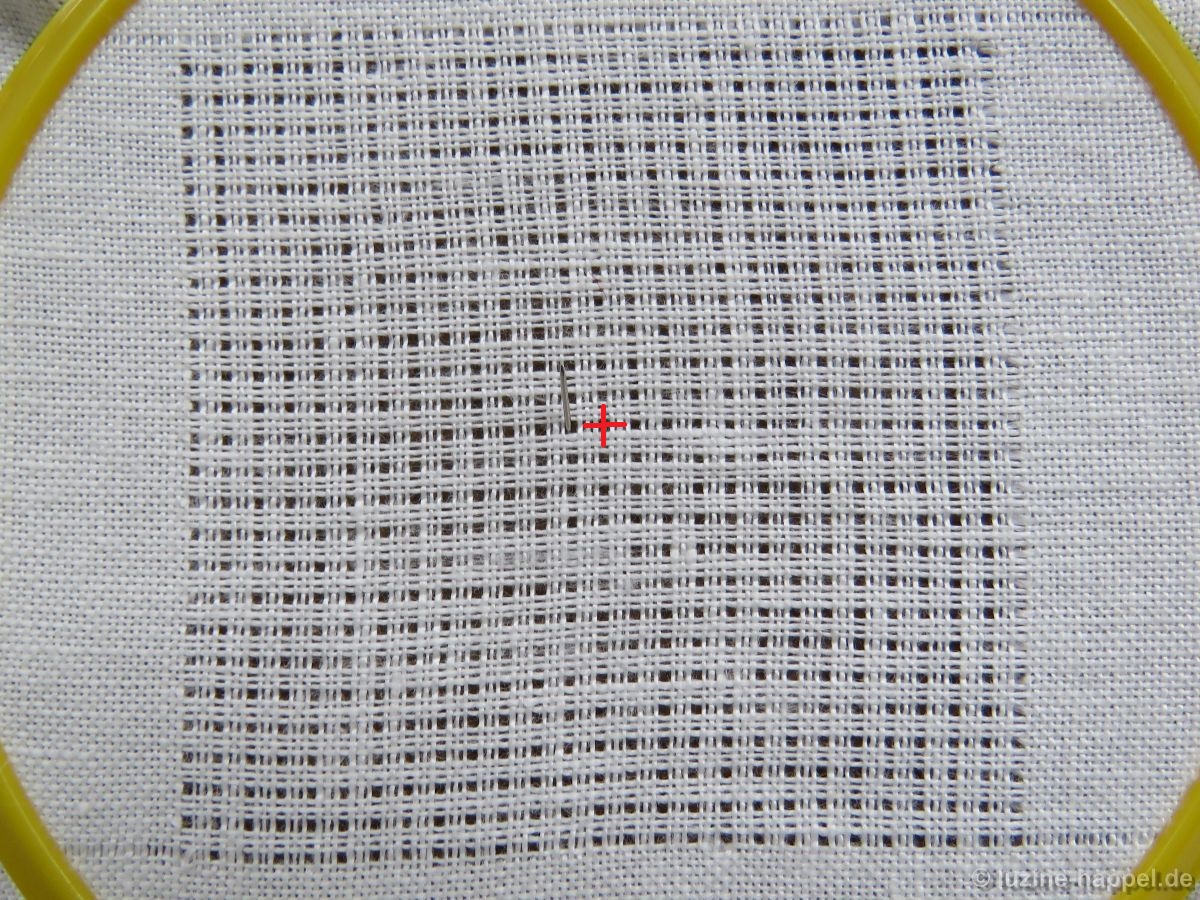
First, establish a Limet grid with an intersection of withdrawn thread lines at the center by alternately cutting 1, leaving 3, vertically and horizontally.
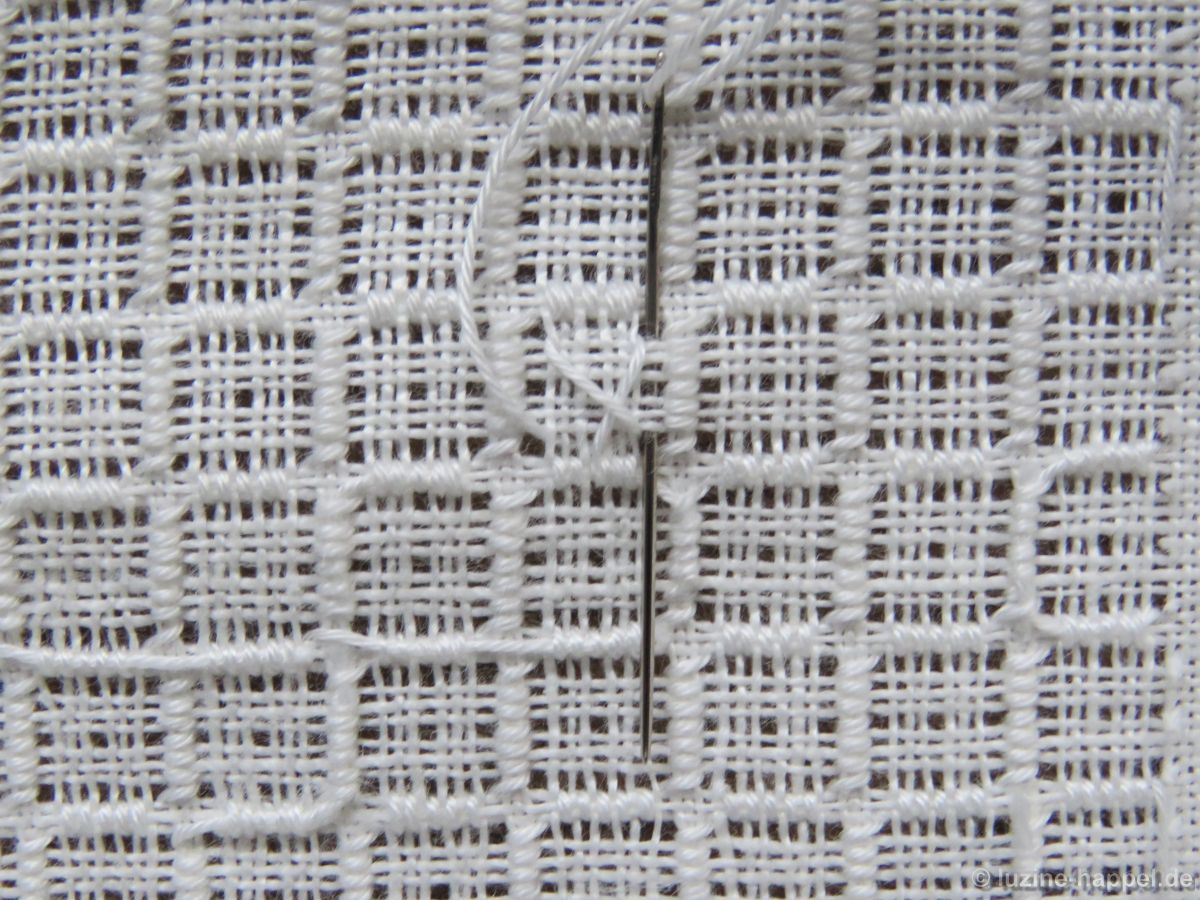
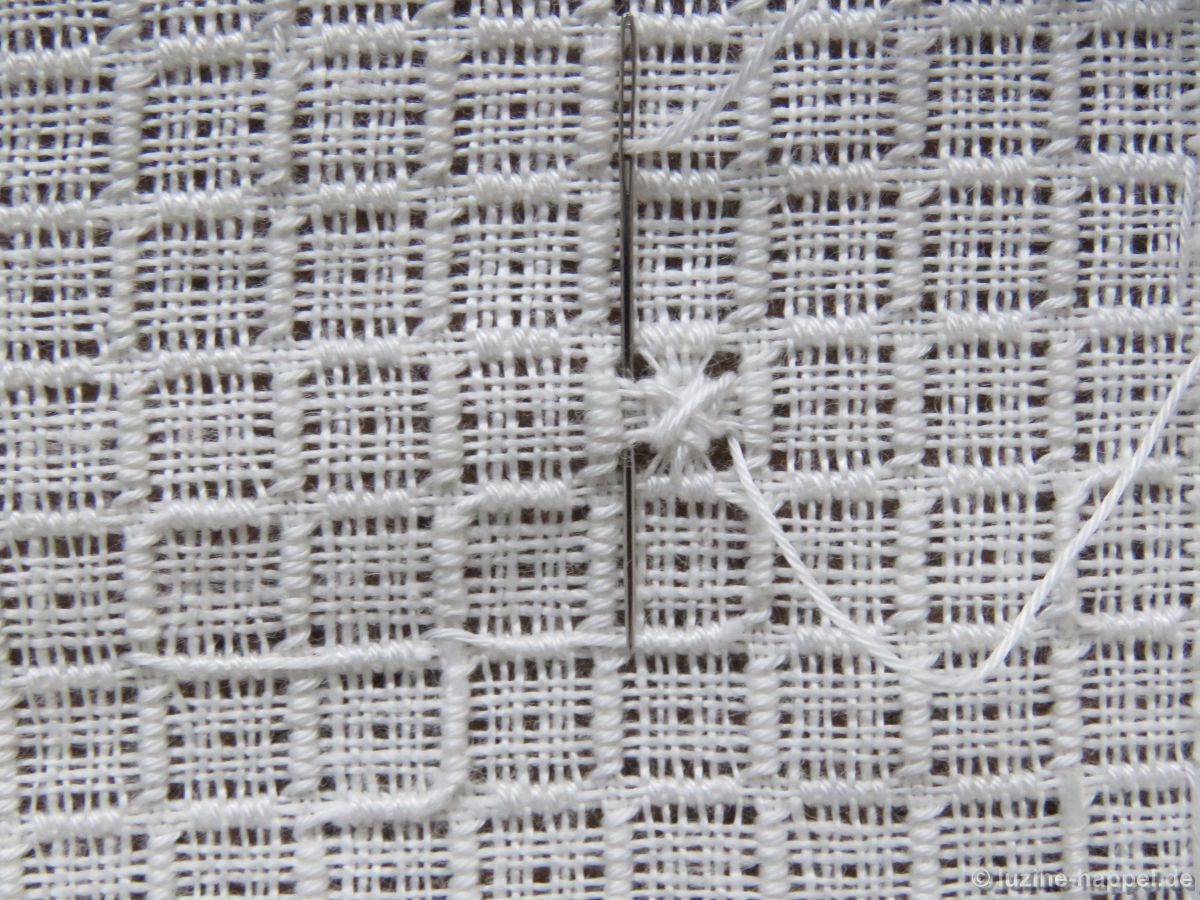
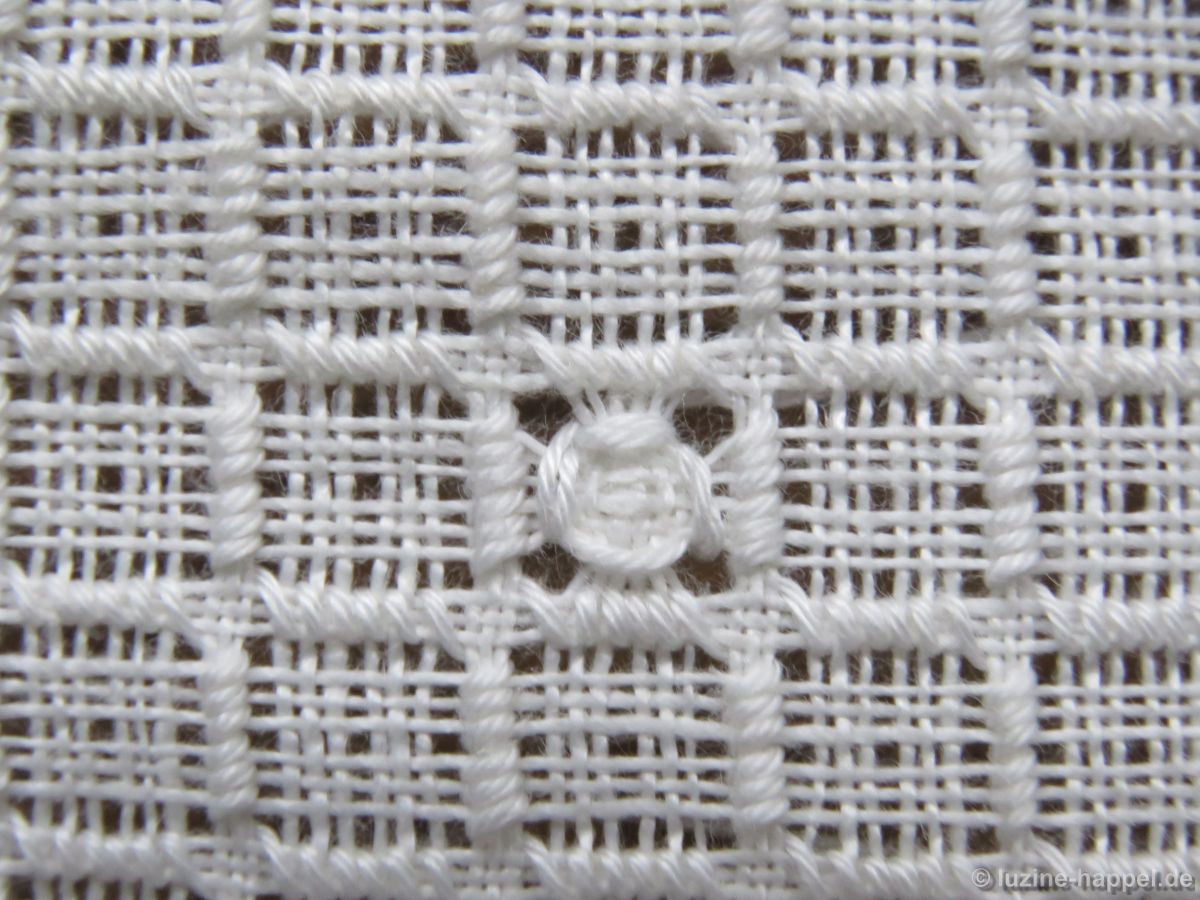
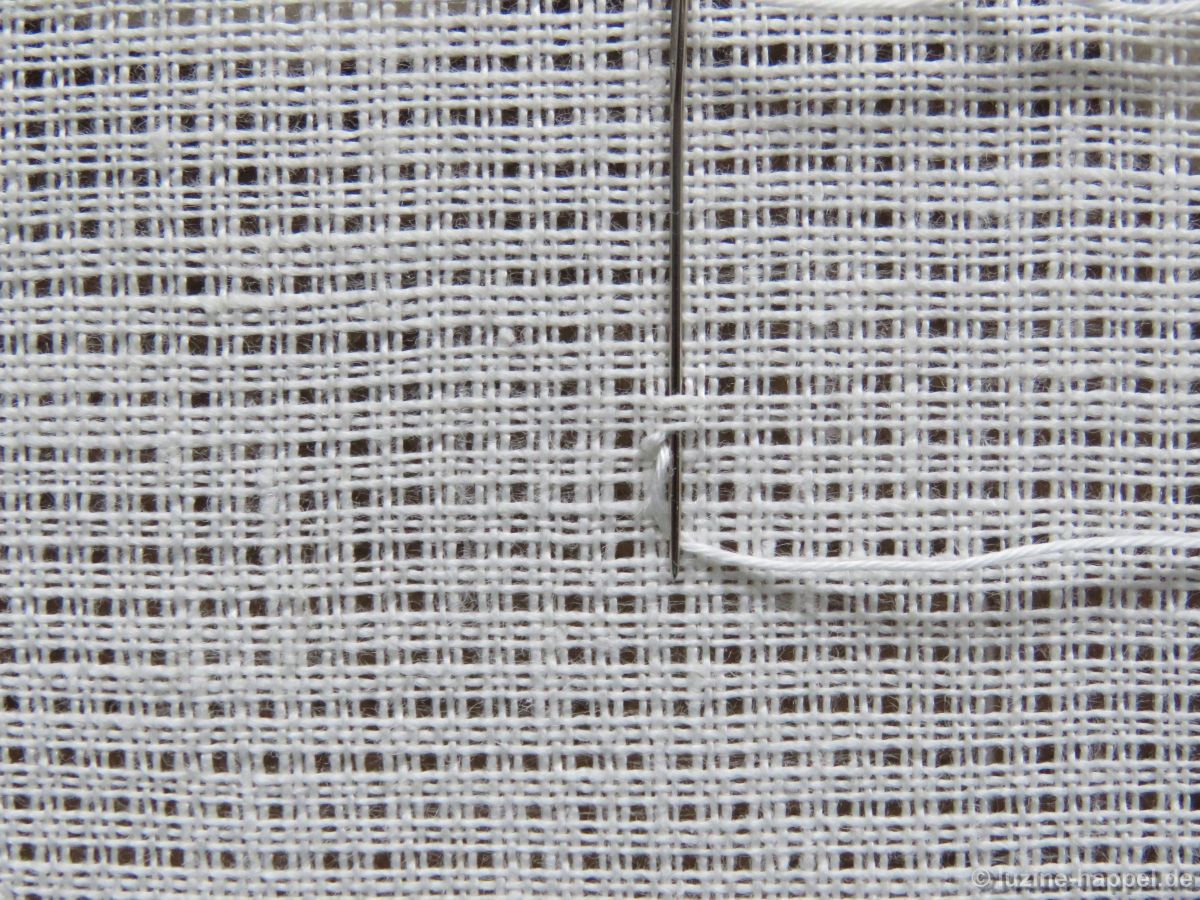
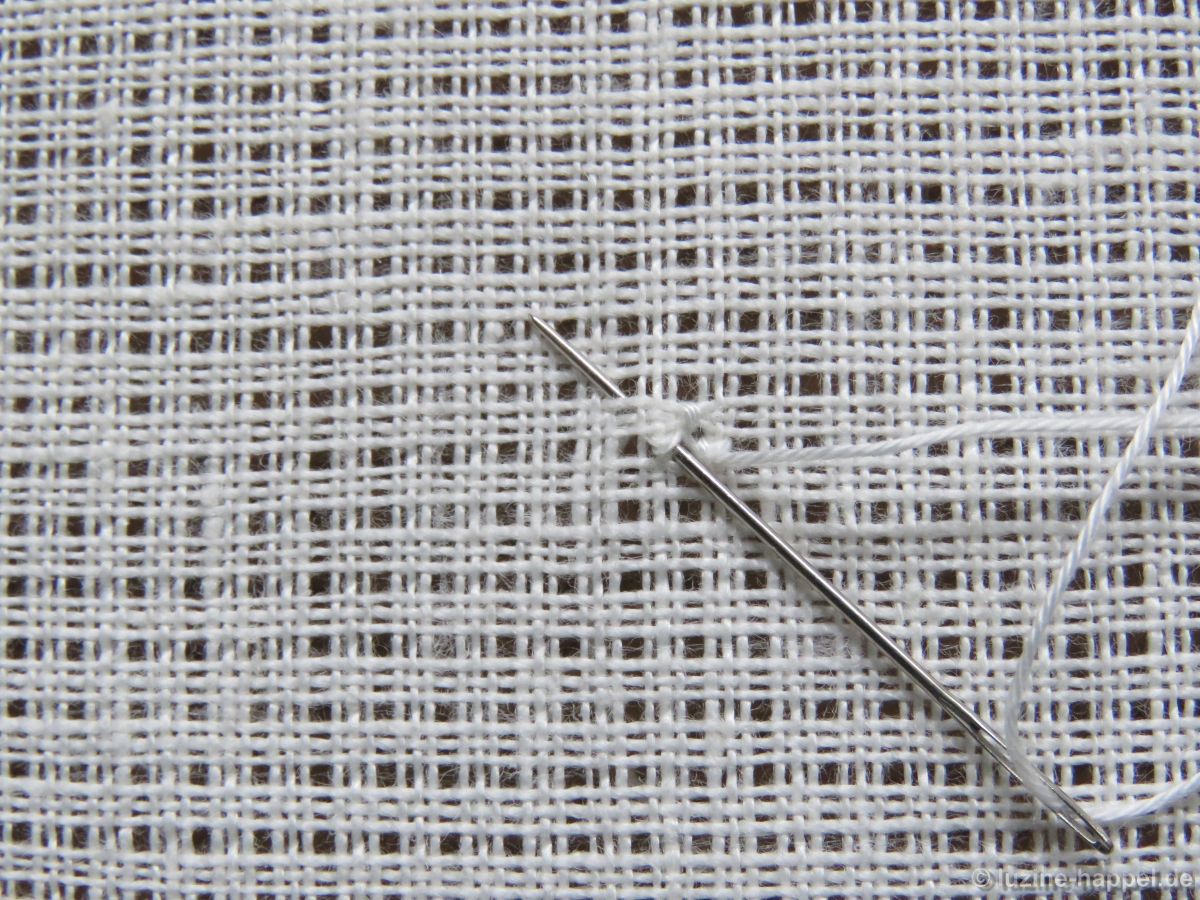
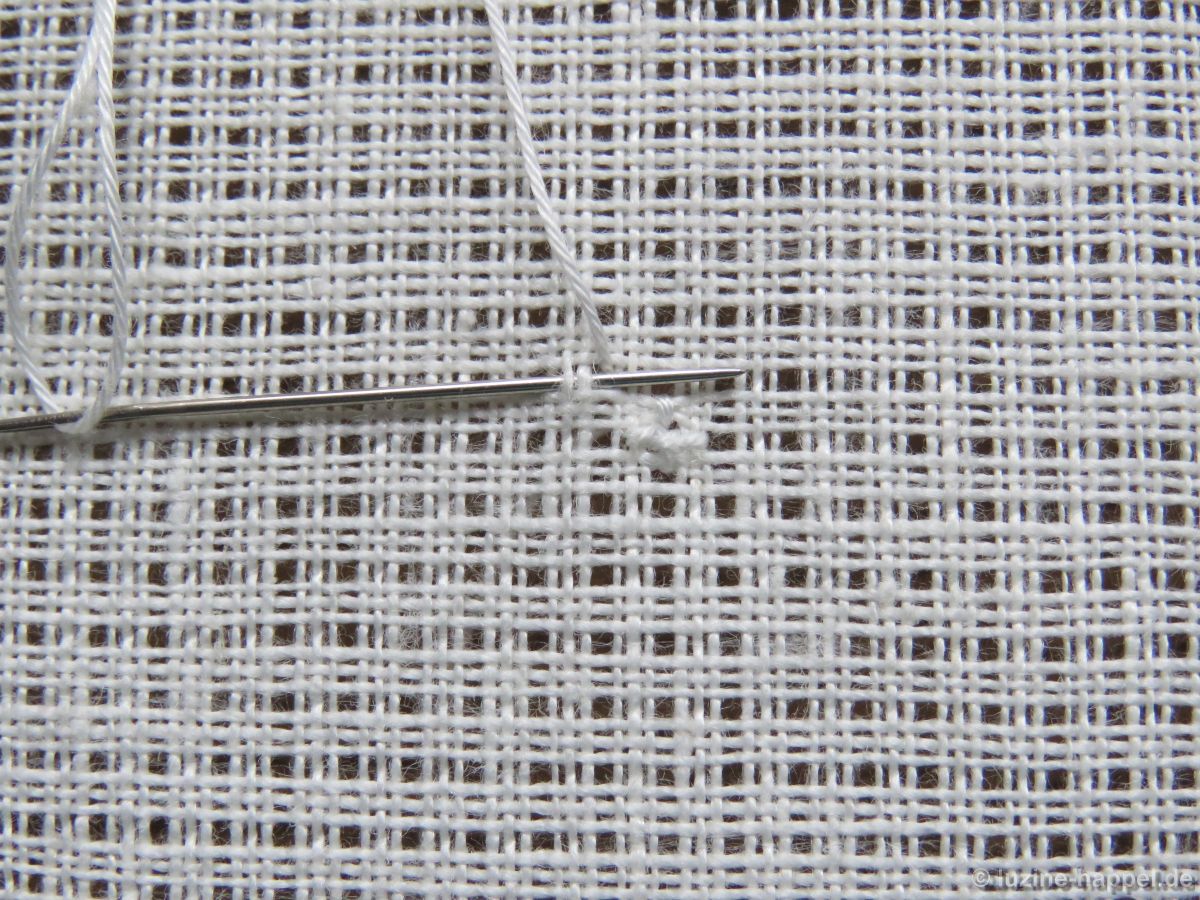
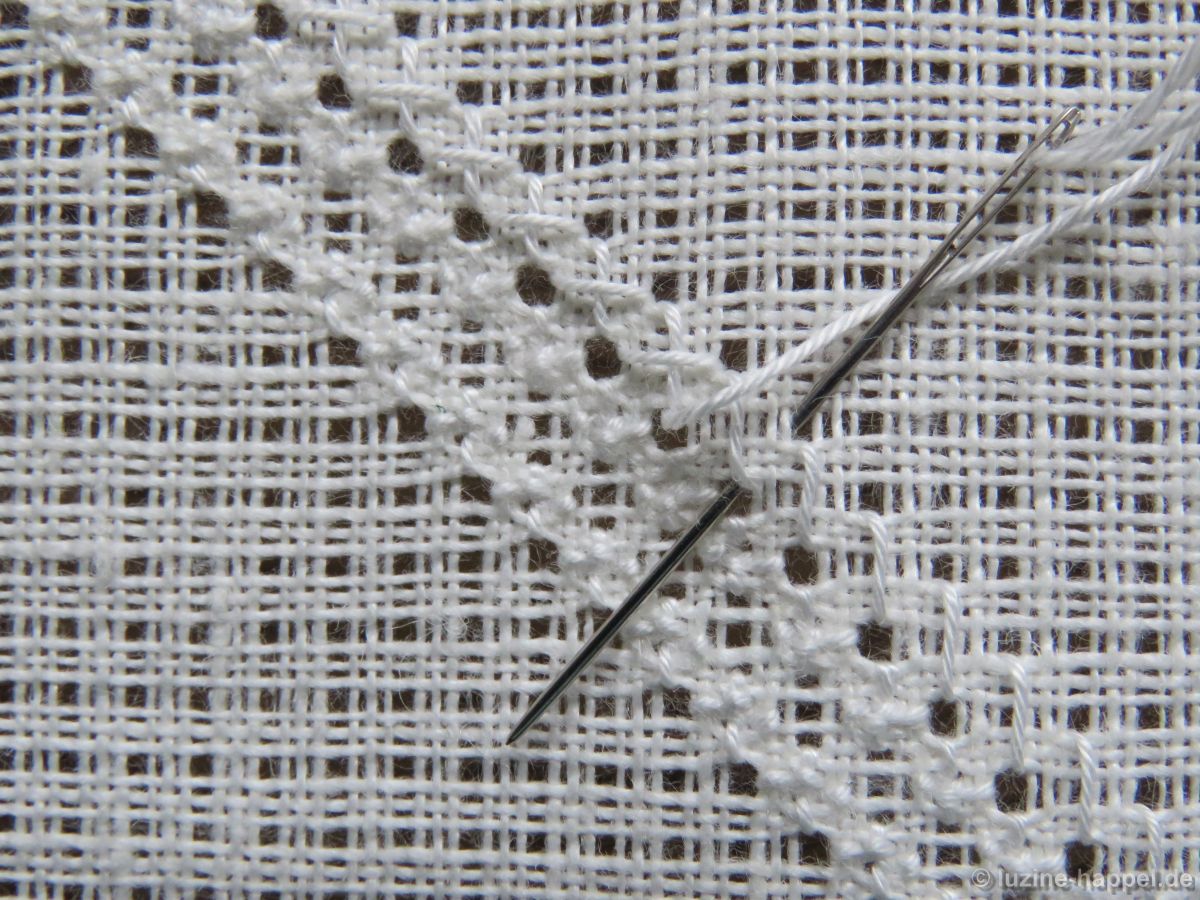
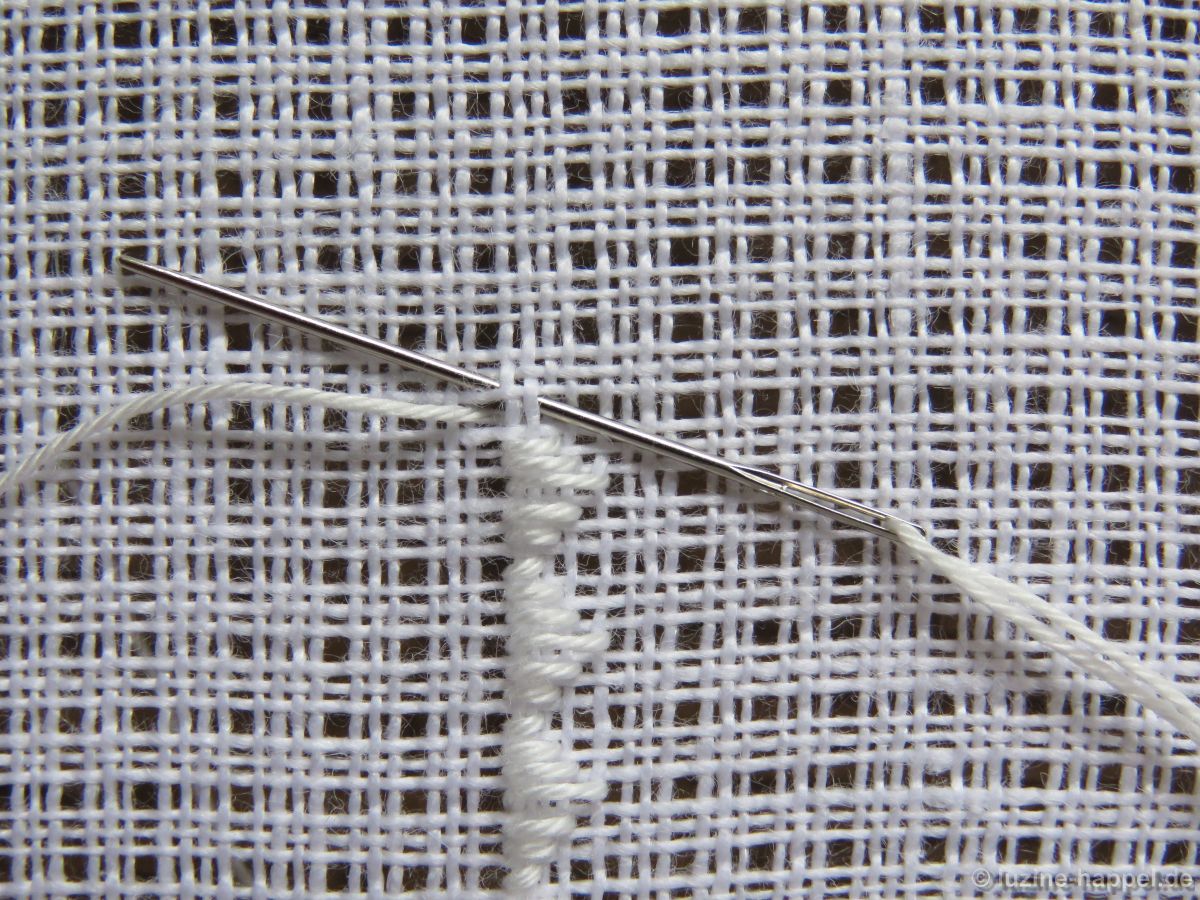
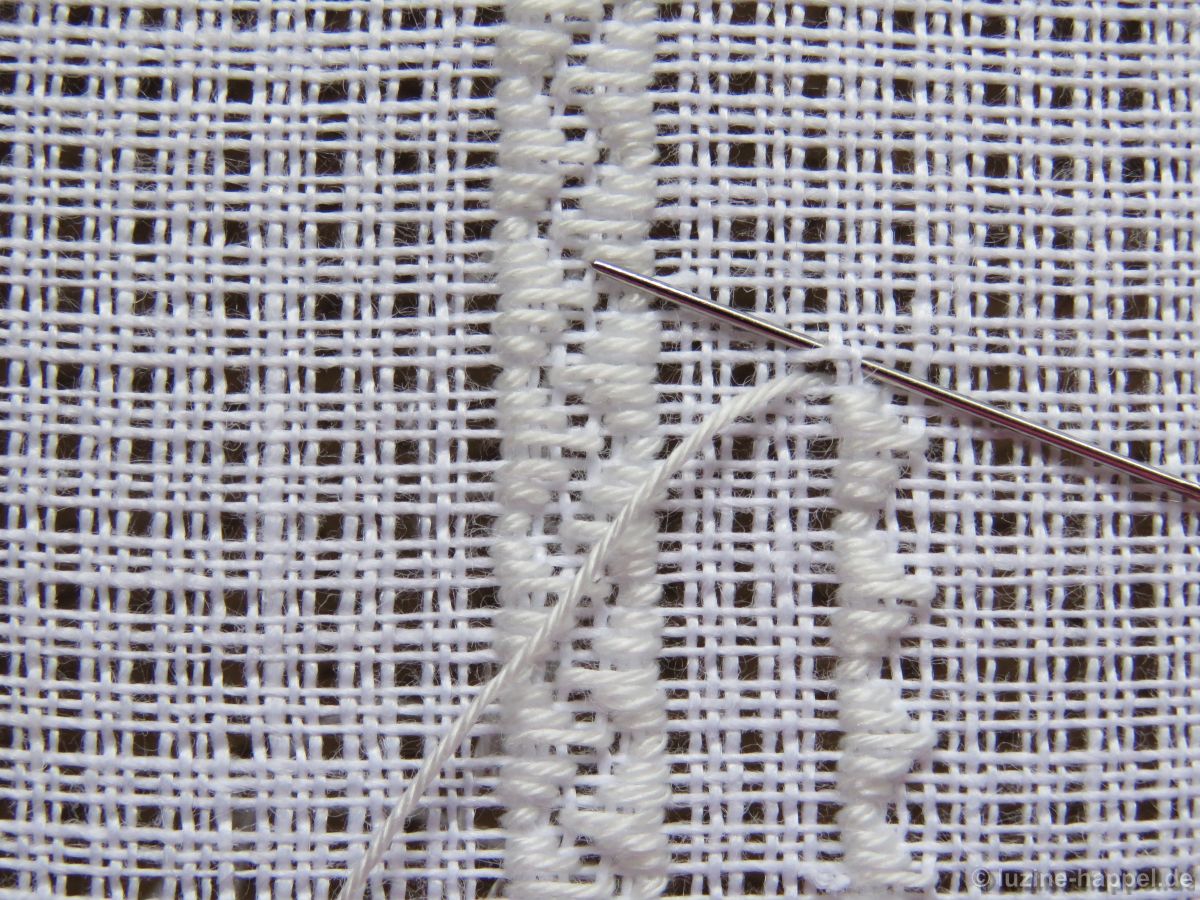
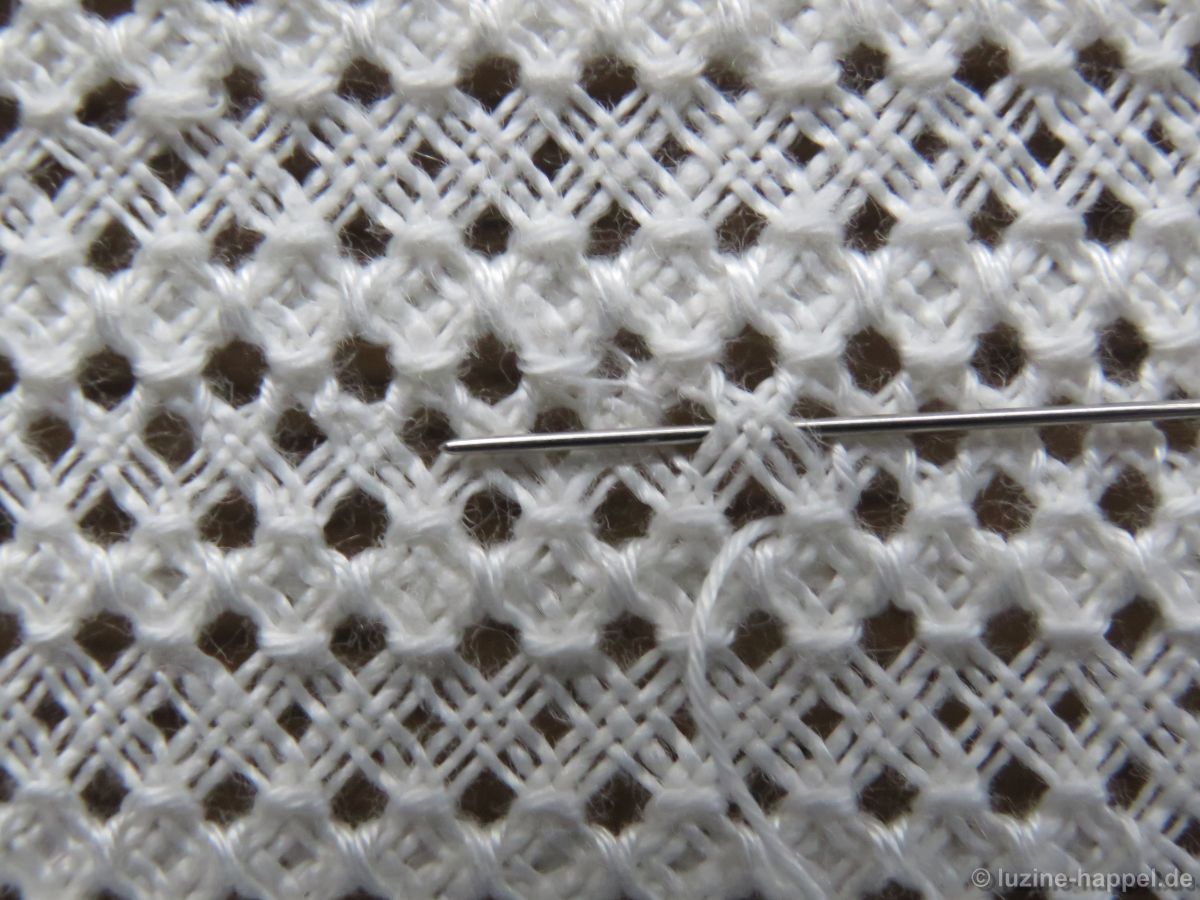
Mark the center point. Bring the needle up in the next hole left of the center. From there start to work a Four-Sided stitch in a diagonal row – as a rhombus around the center point as shown in Filling Pattern – No. 555 and continue to work the diagonal row.
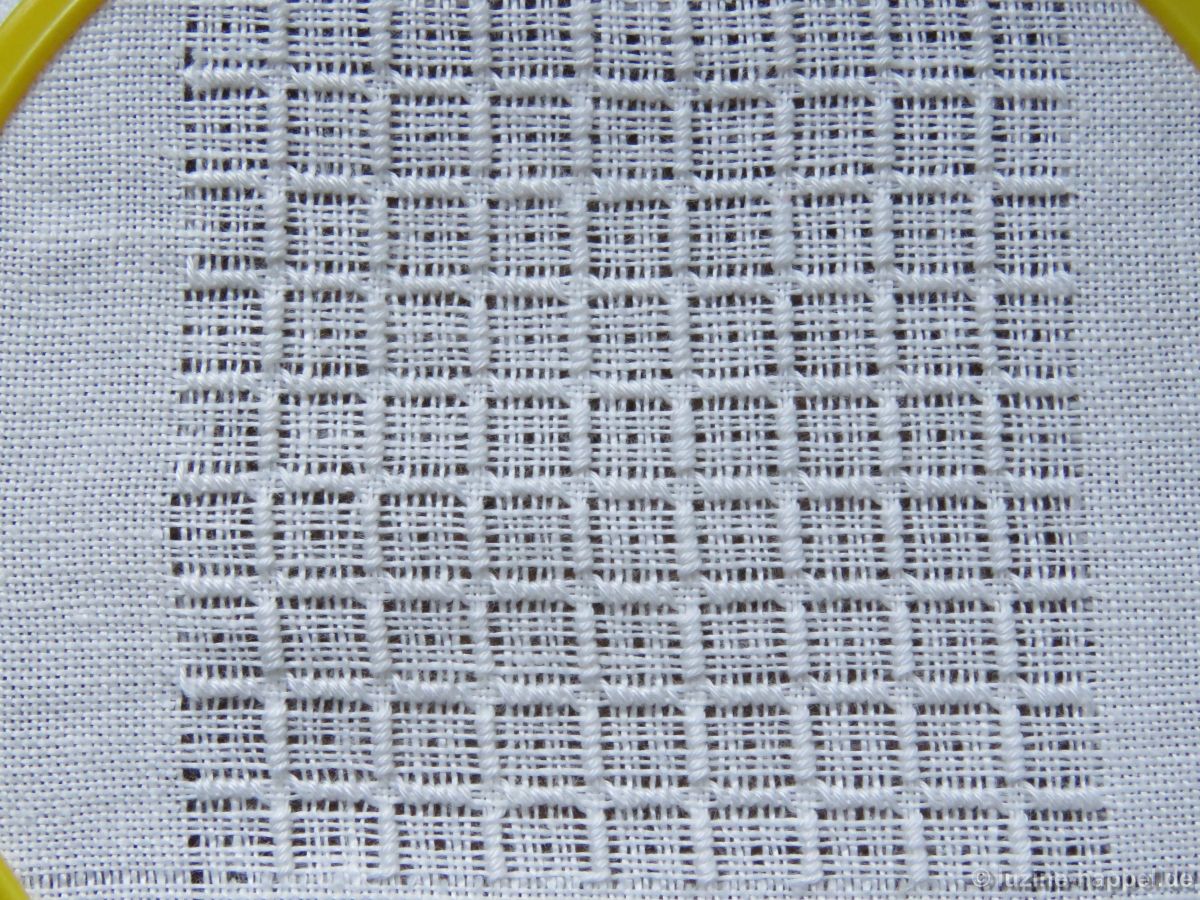
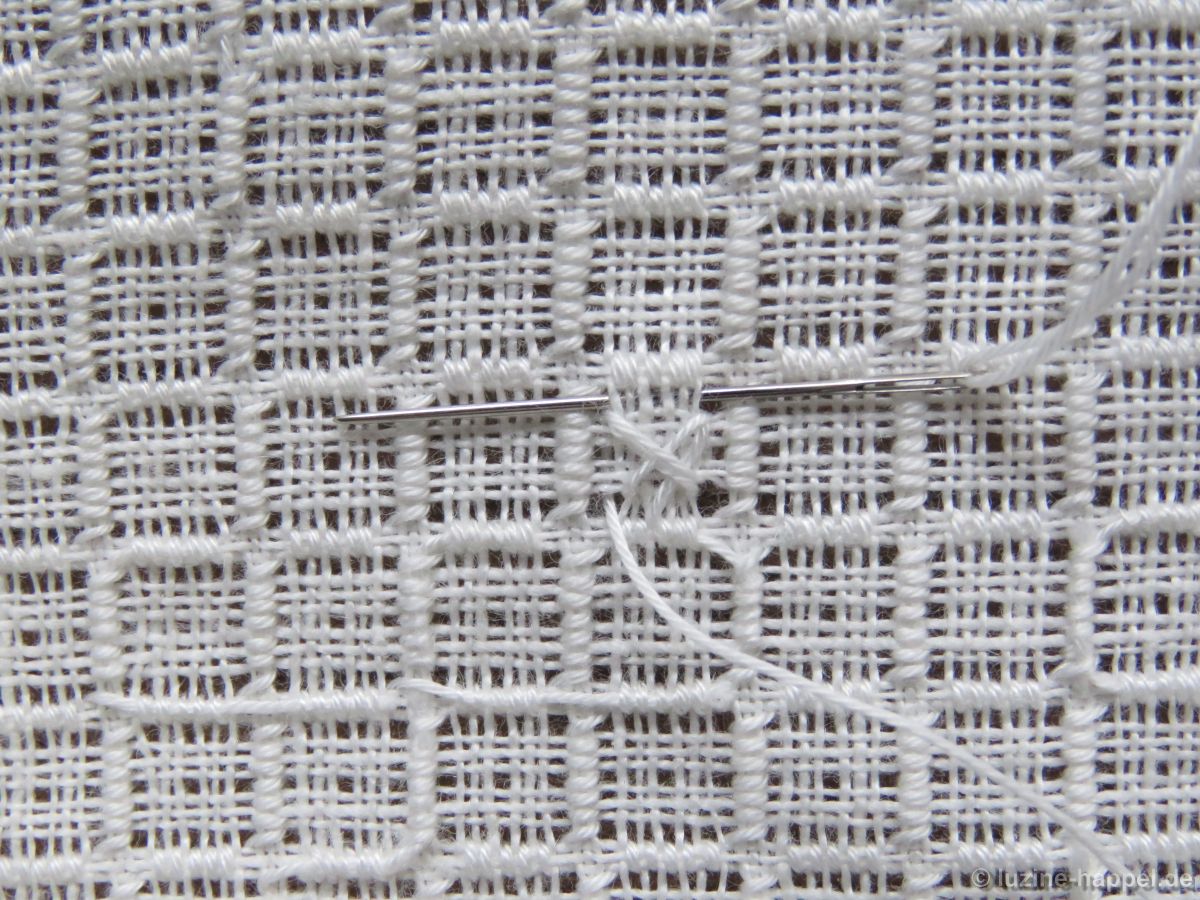
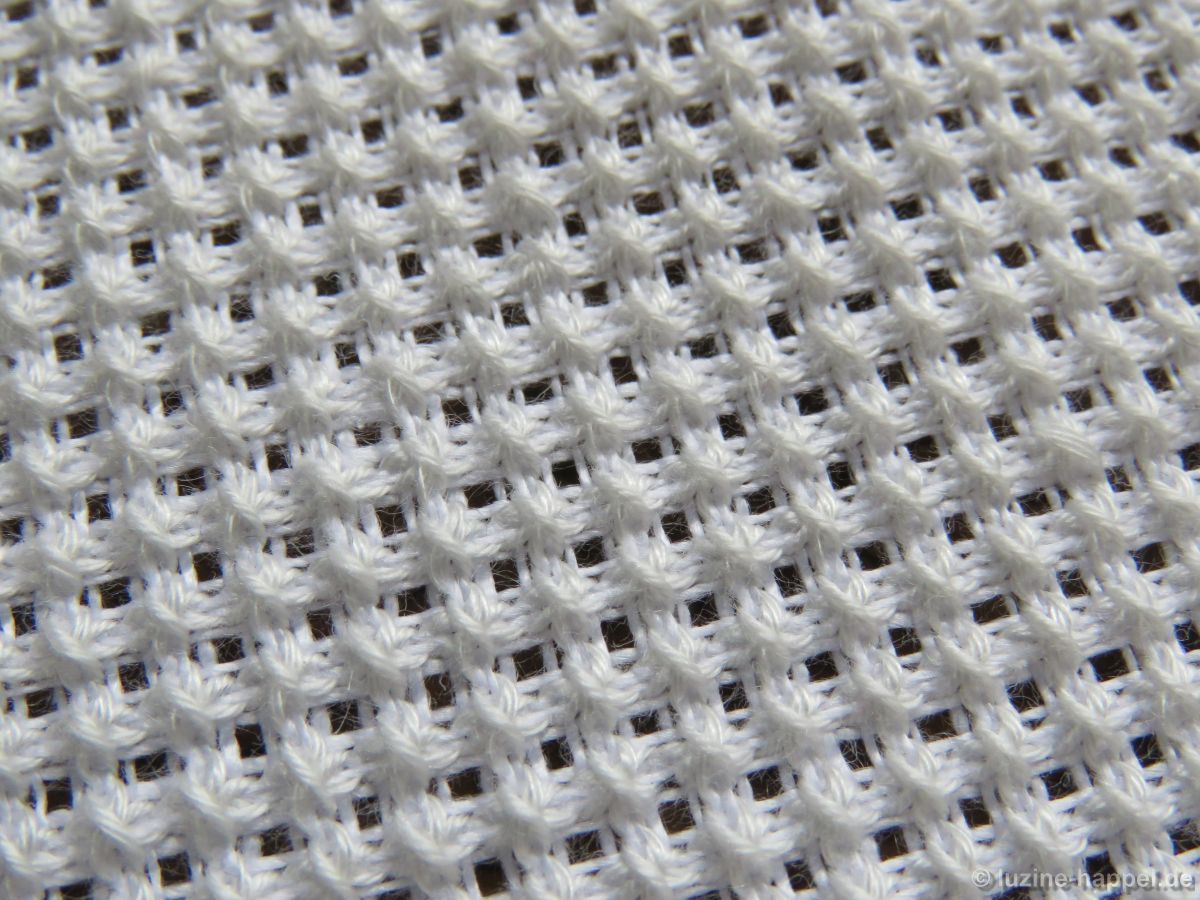
Work a second row of diagonal Four-sided stitches parallel to the first and at a distance of two free bundles of 3 threads (counted in a horizontal line between the center of a four-Sided stitch in the first row and one in the second row).
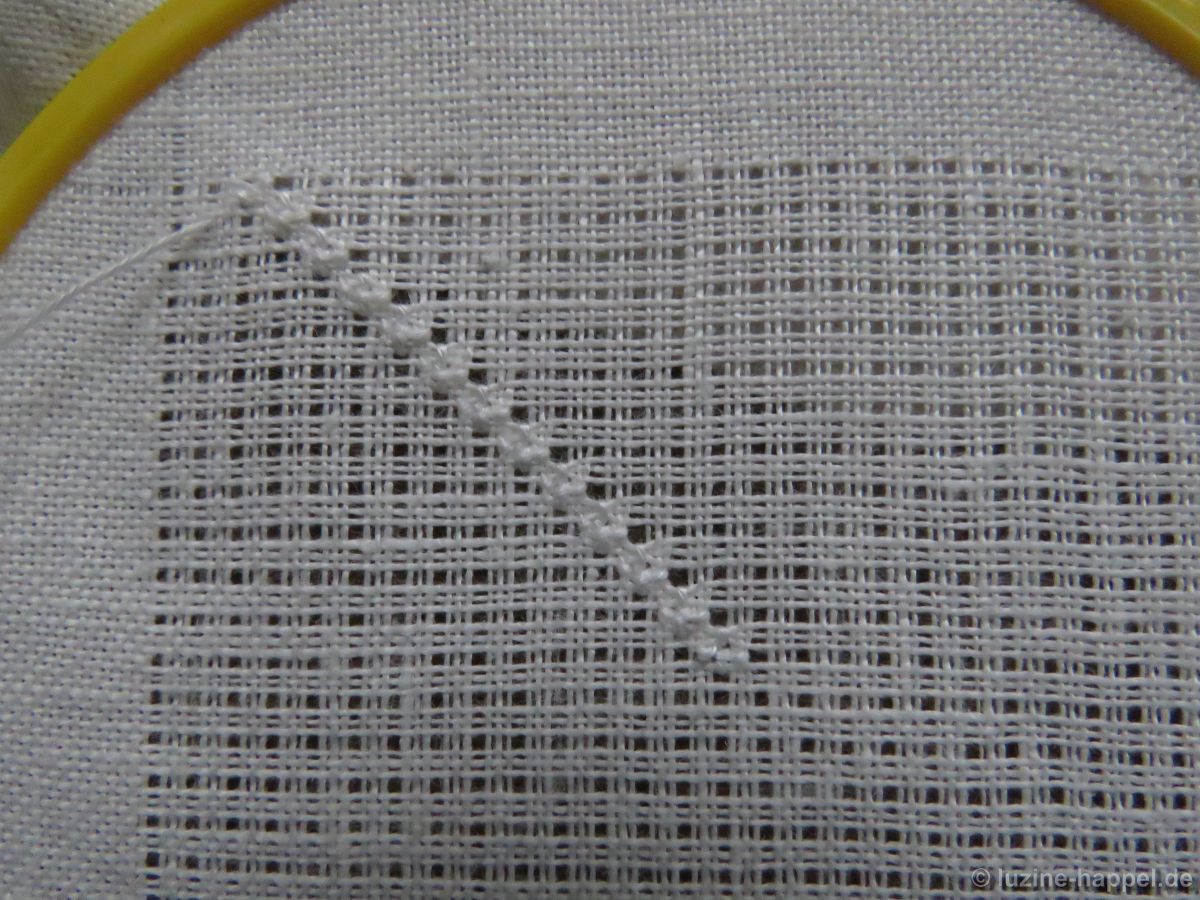
Embroider row after row until the entire area is filled. It is important that you always turn the work so that the rows are created from the bottom right to the top left.
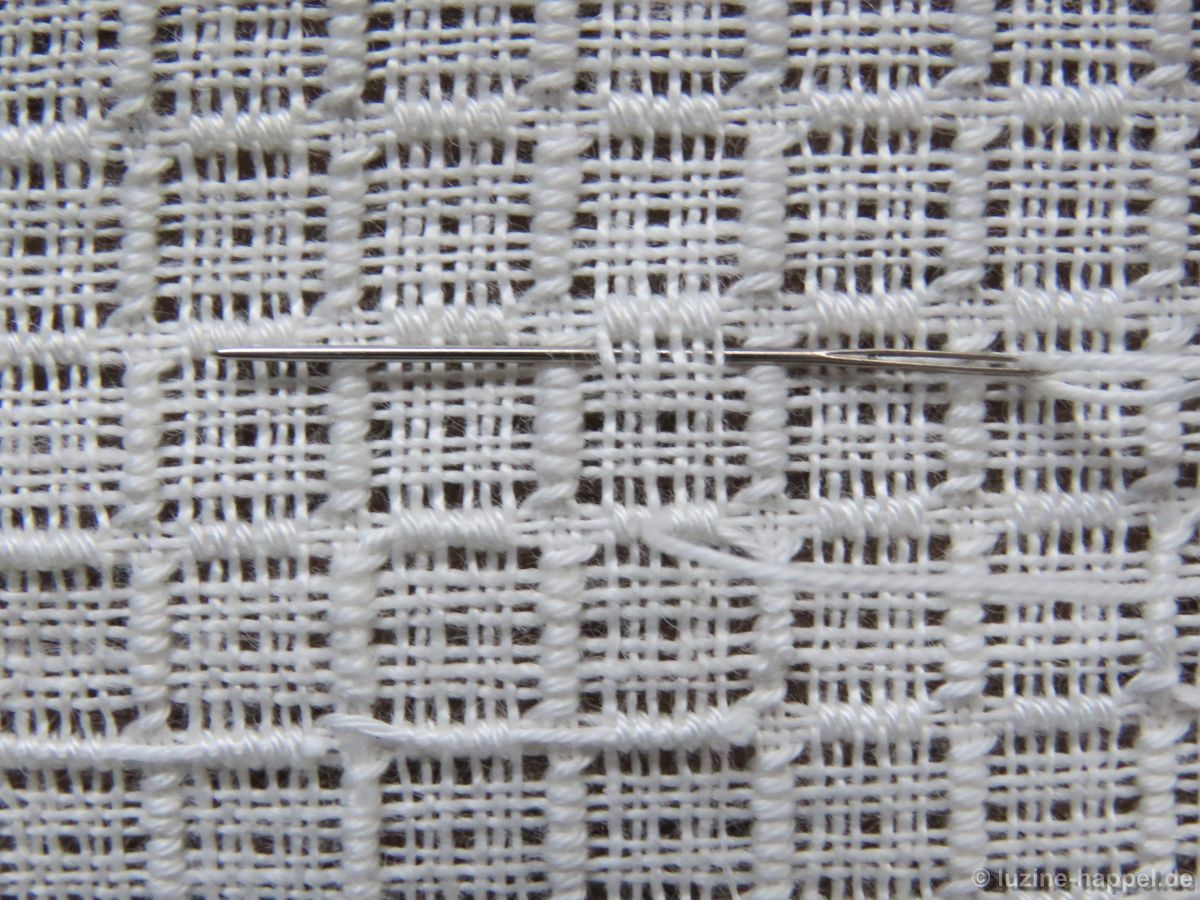
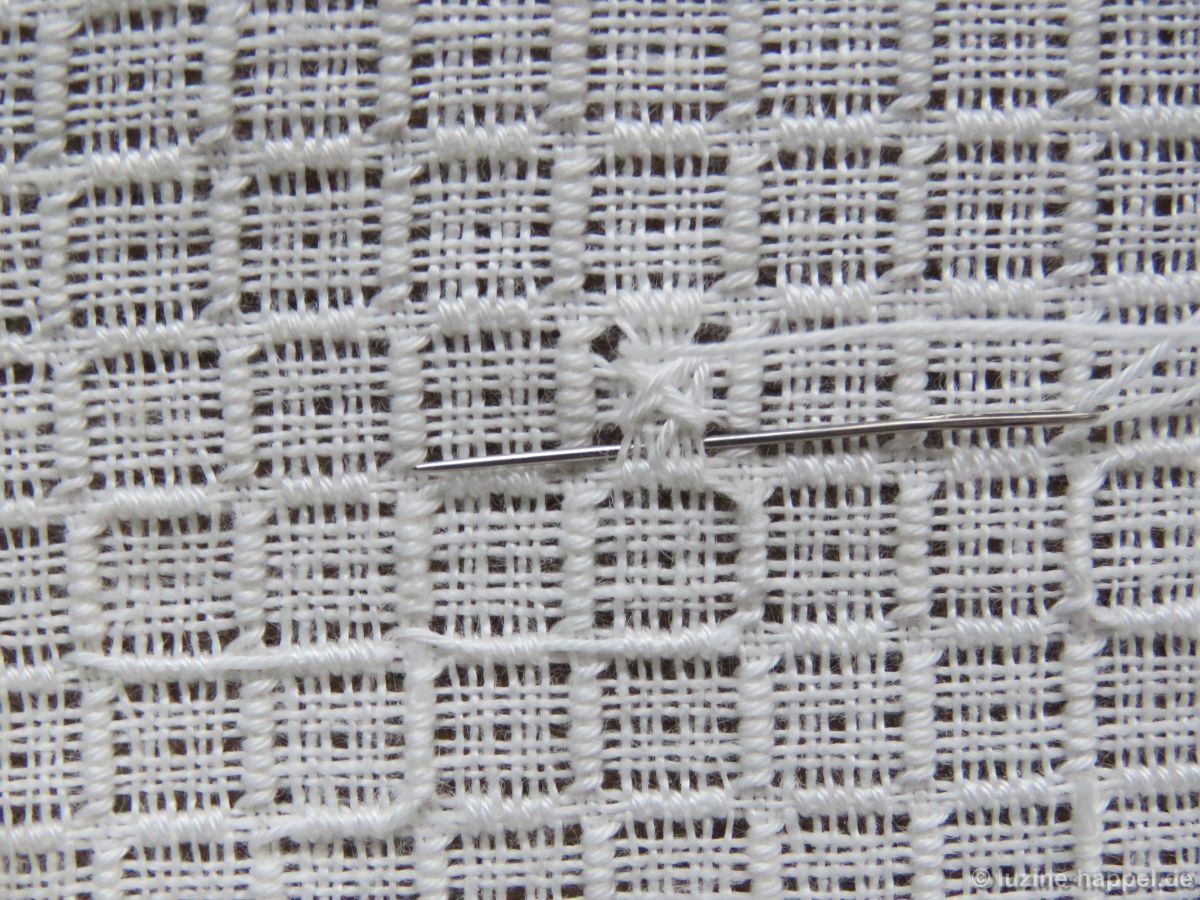
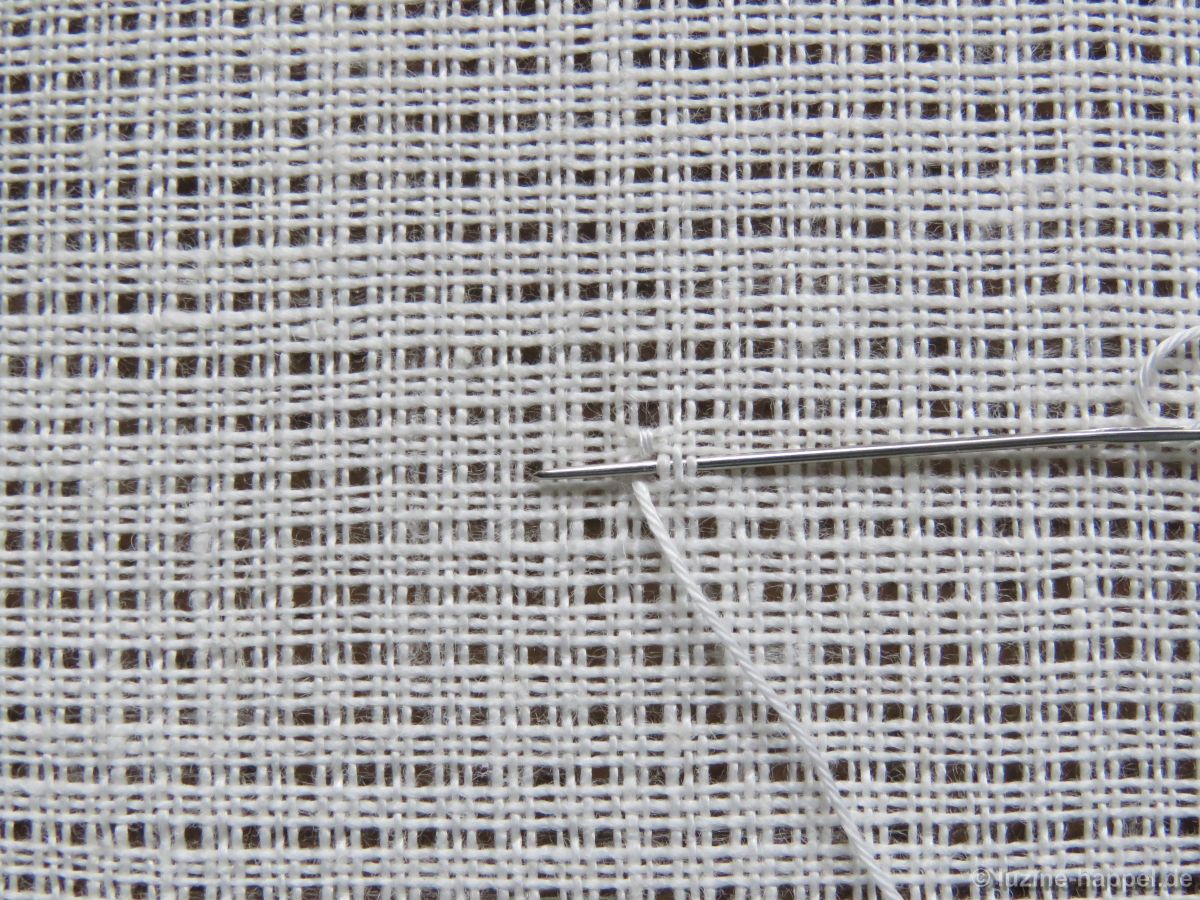
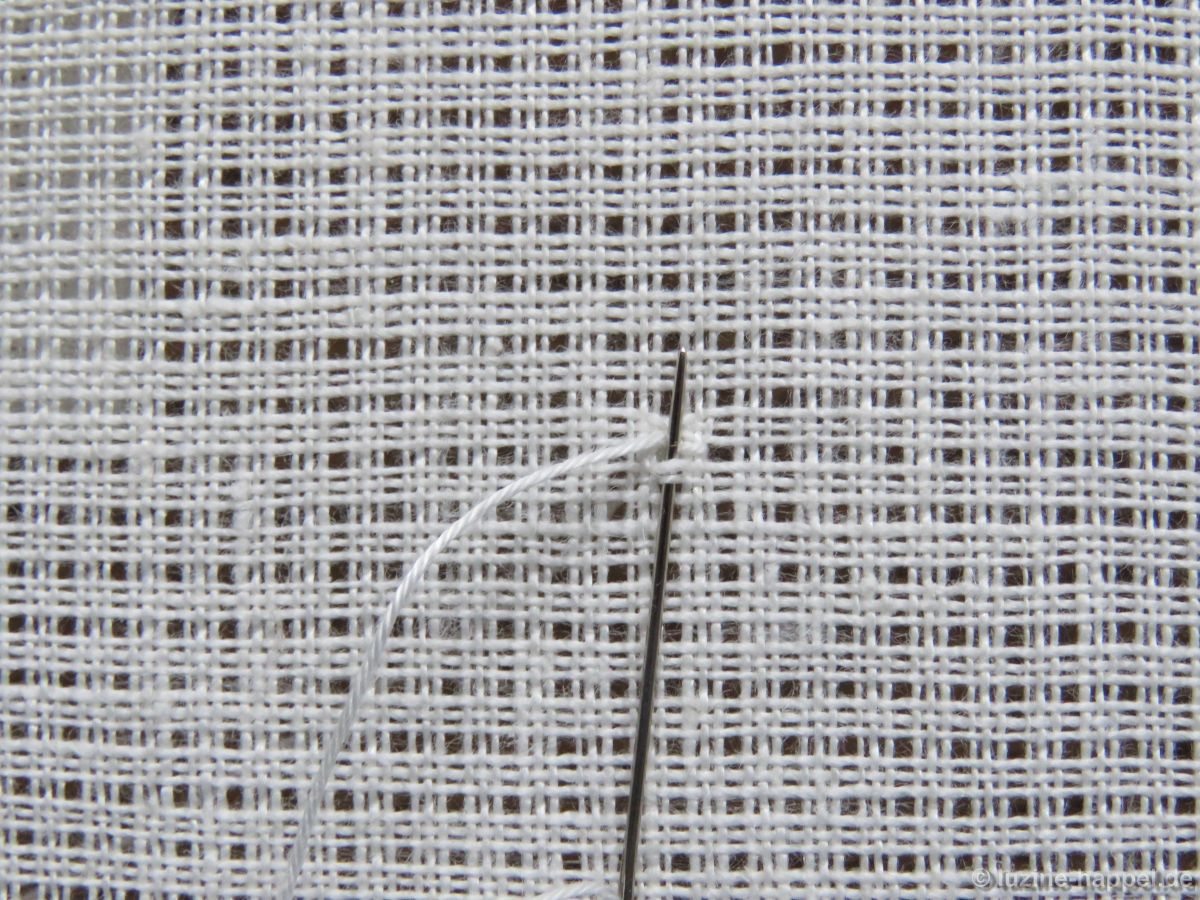
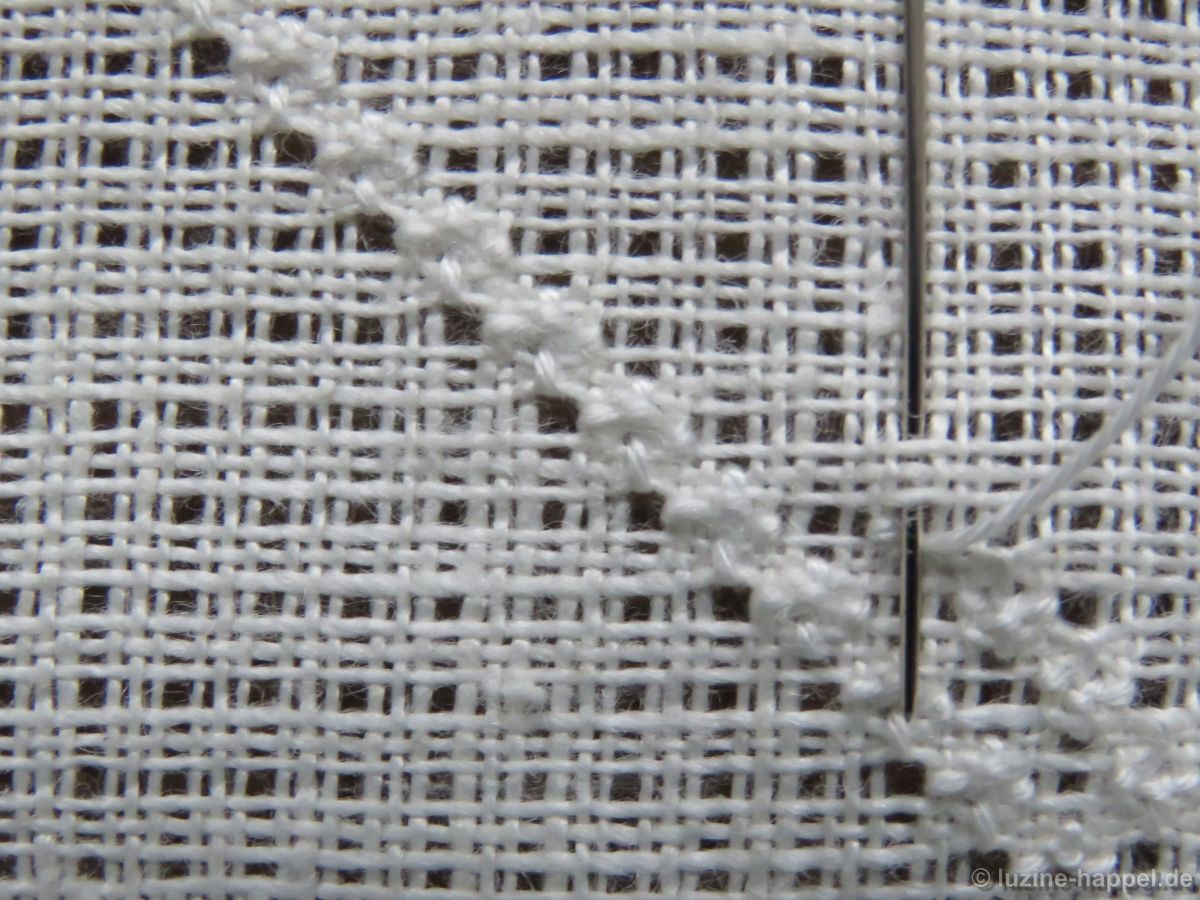
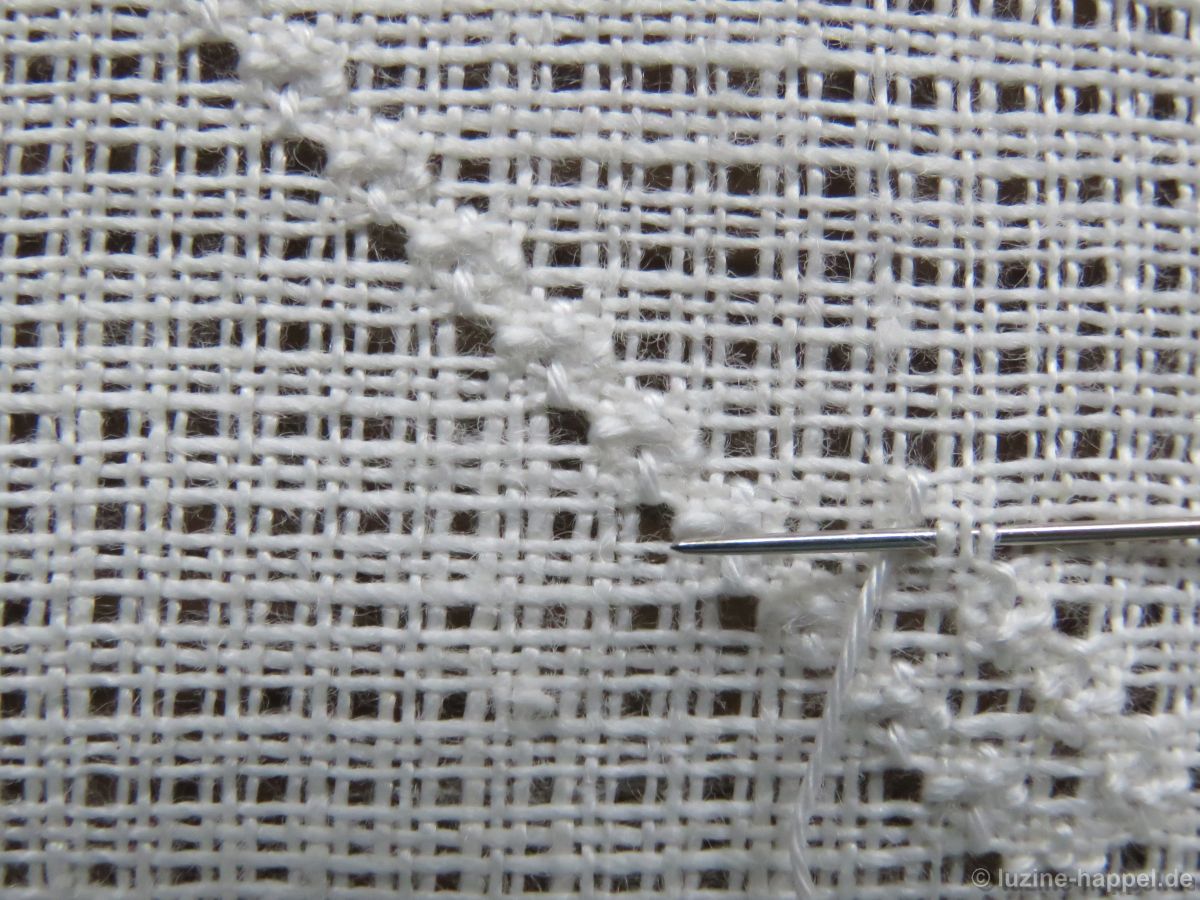
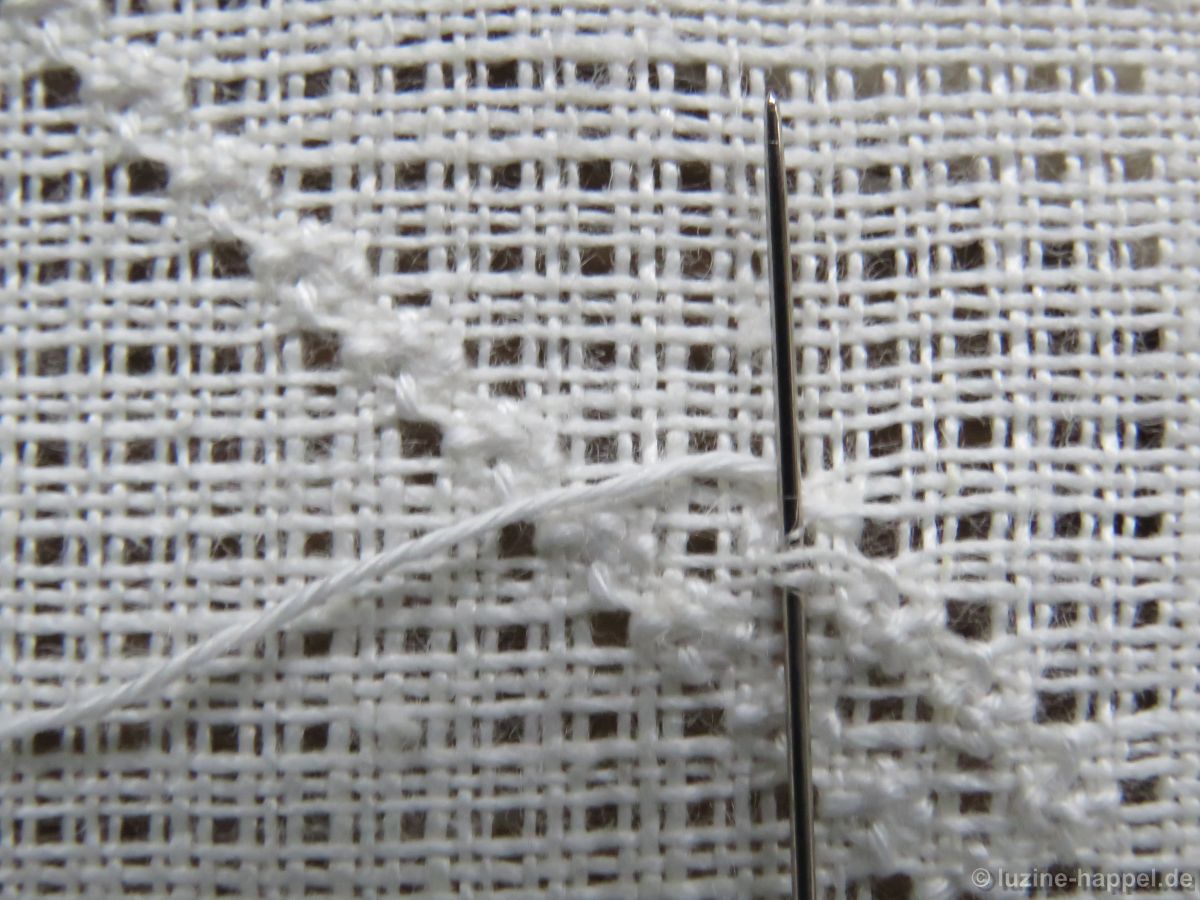
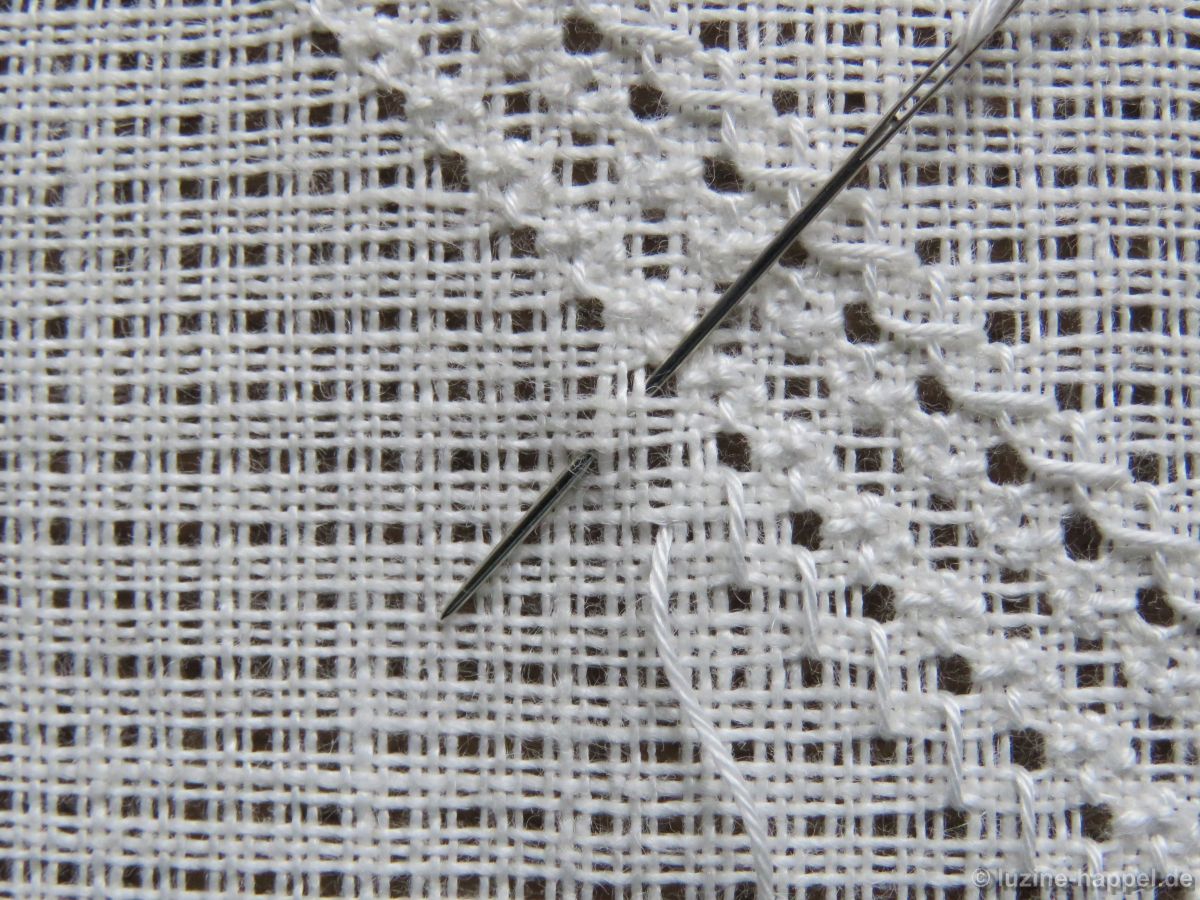
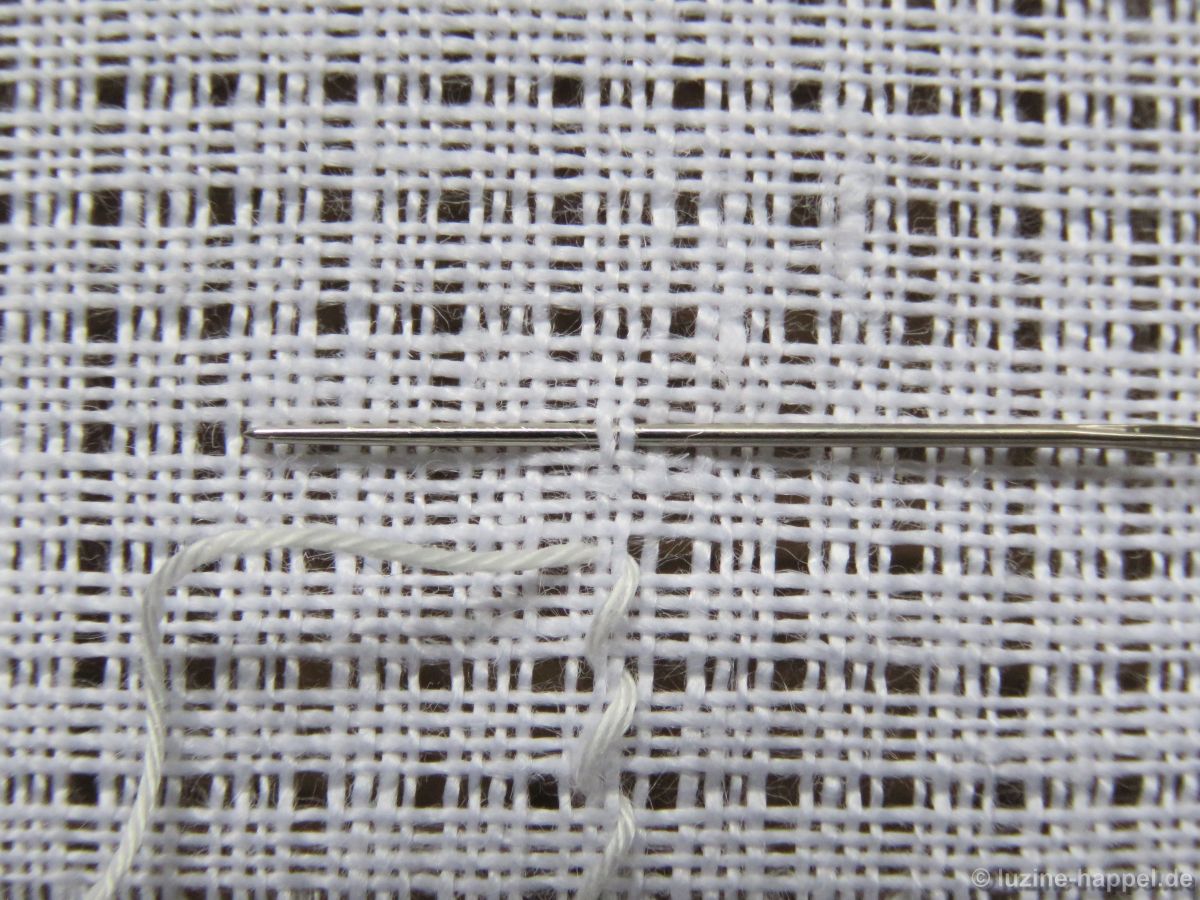
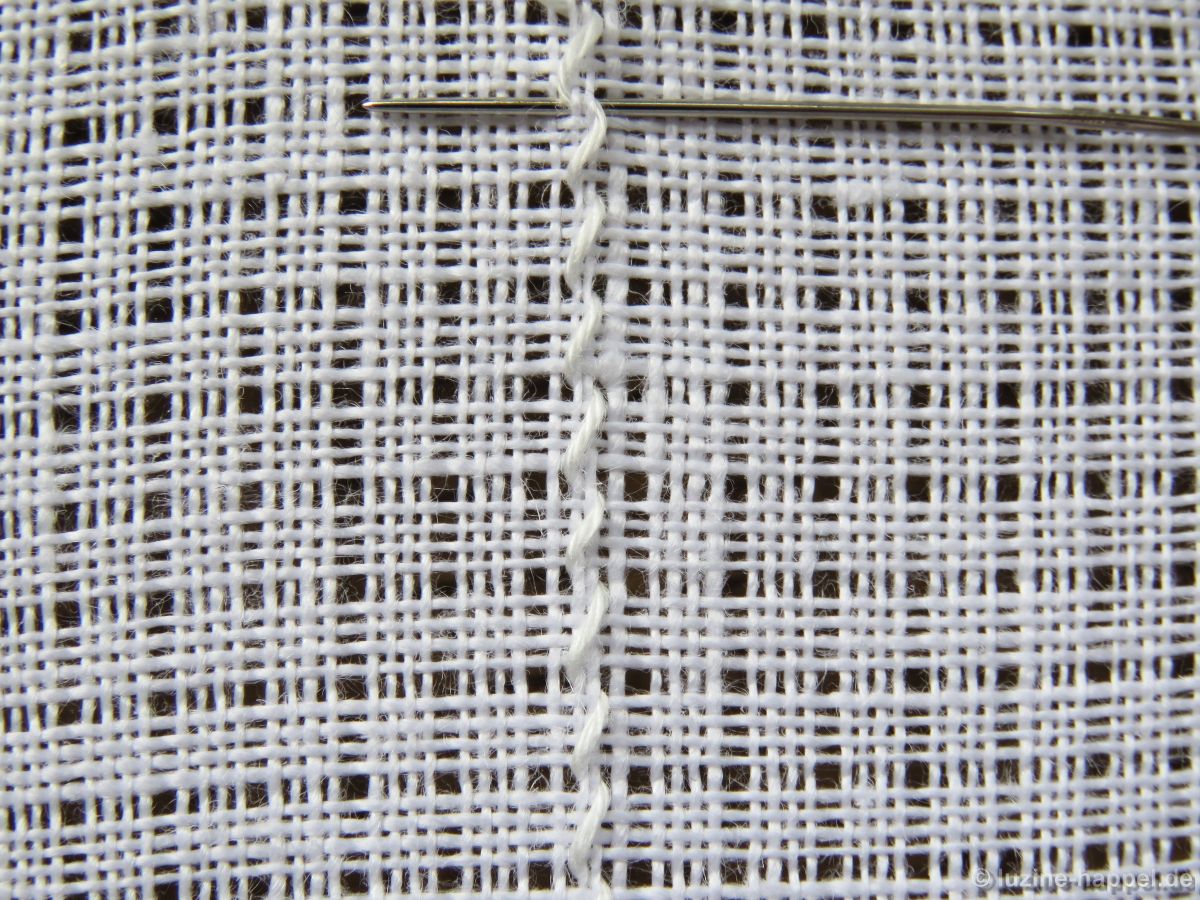
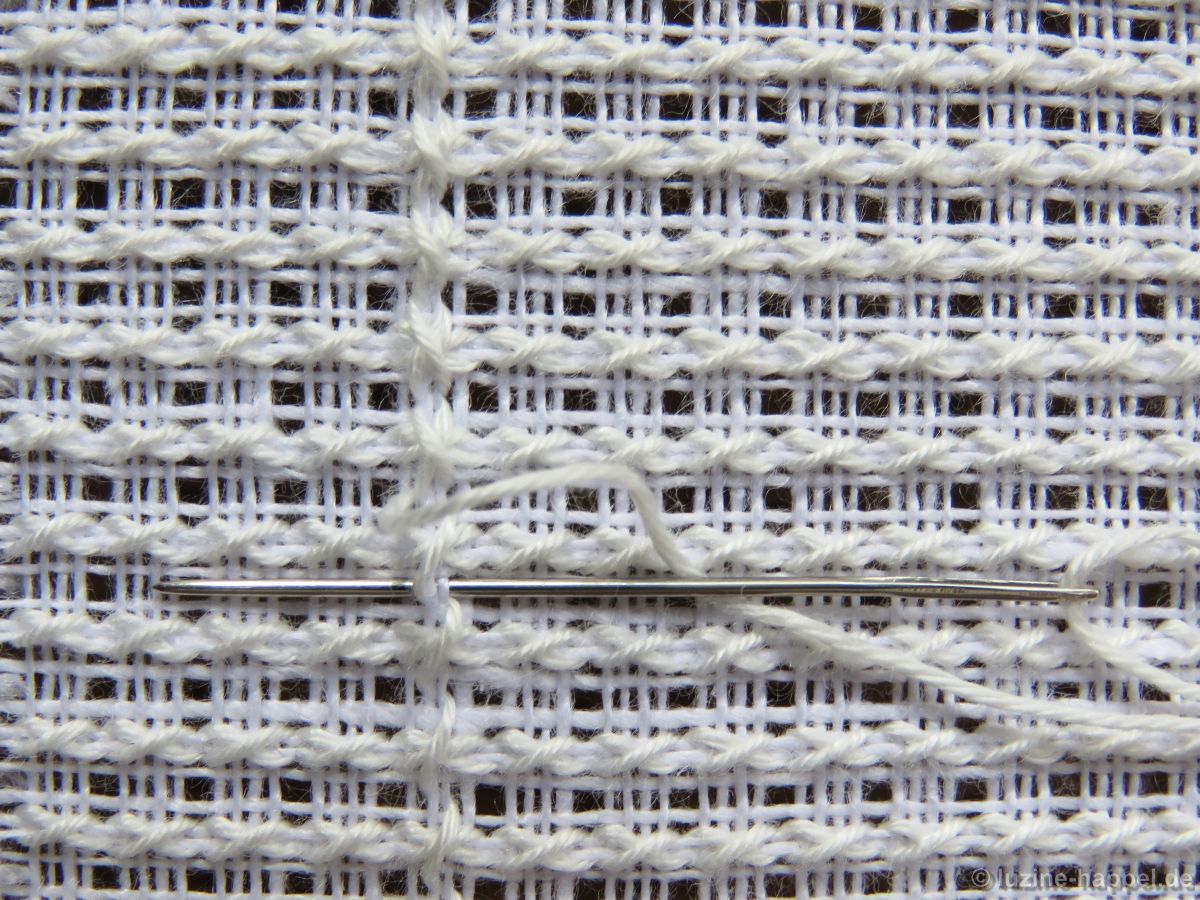
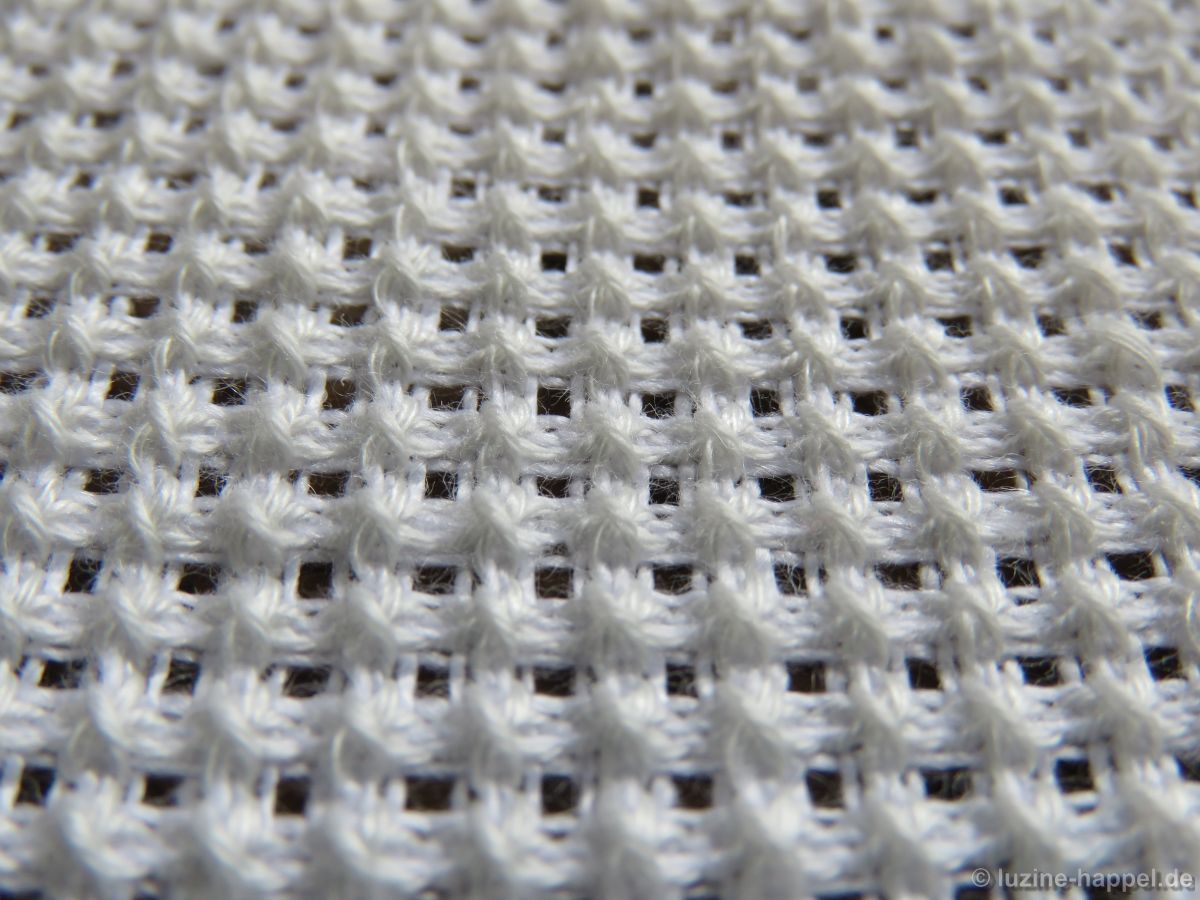
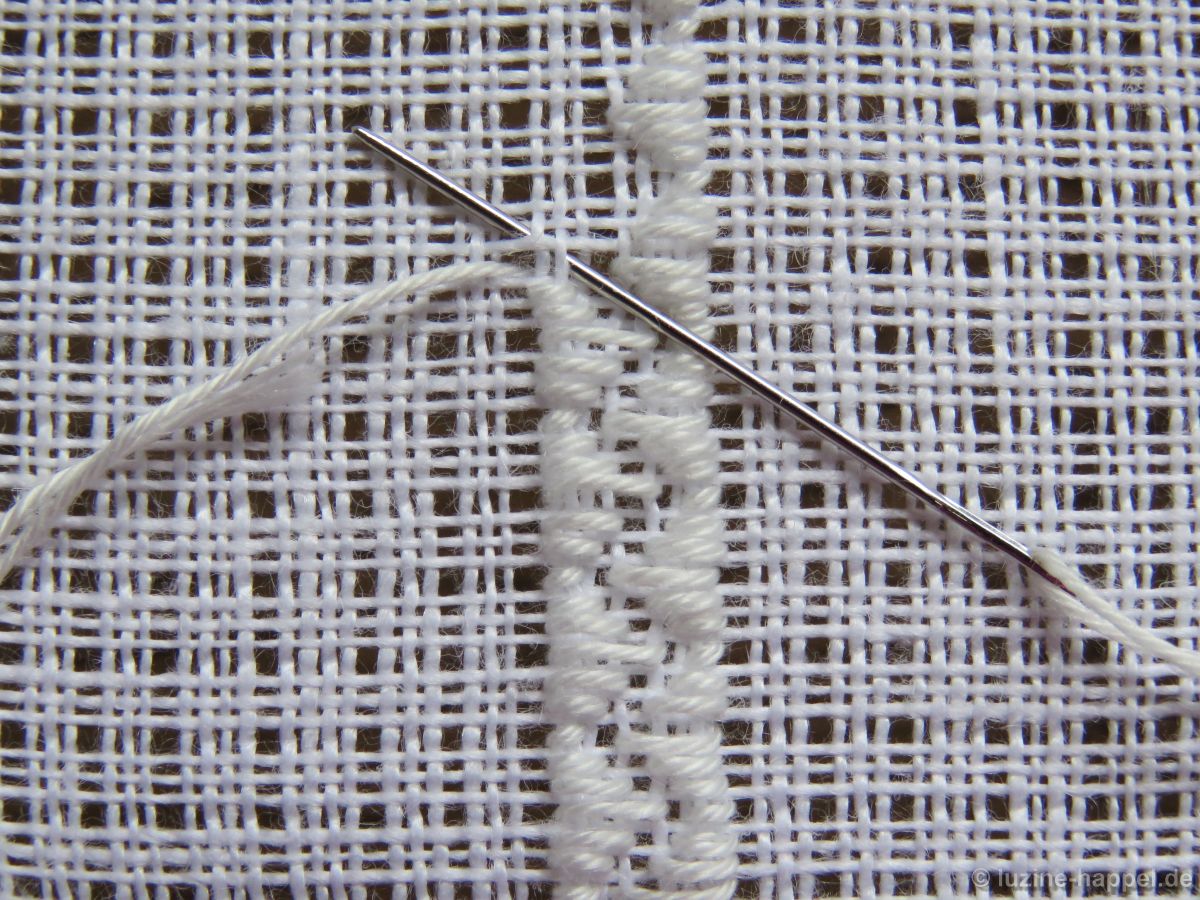
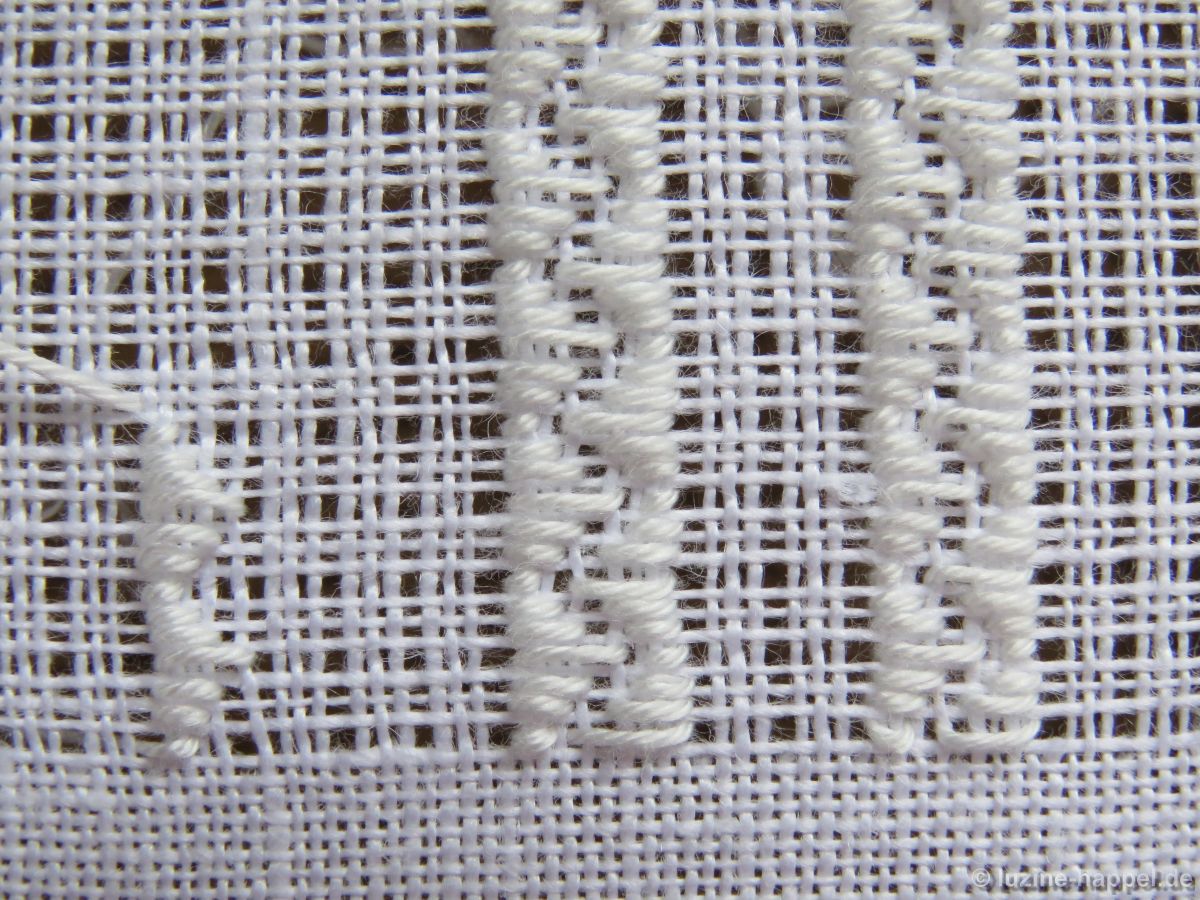
From the front, embroider two rows of Cable stitches between the diagonal Four-Sided stitches, as shown in the pictures, first one row alternating between the middle row of holes
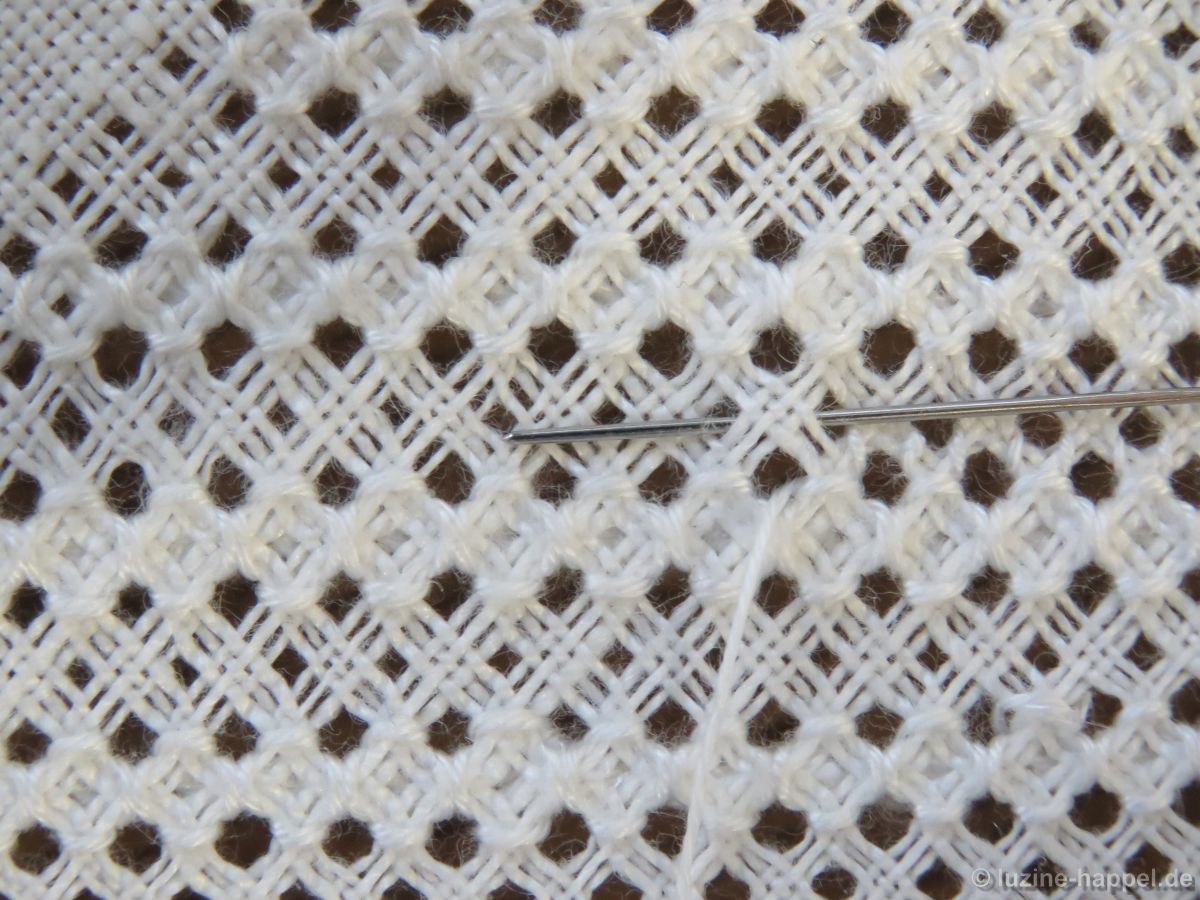
and row of holes adjacent to the lower Four-Sided stitches.
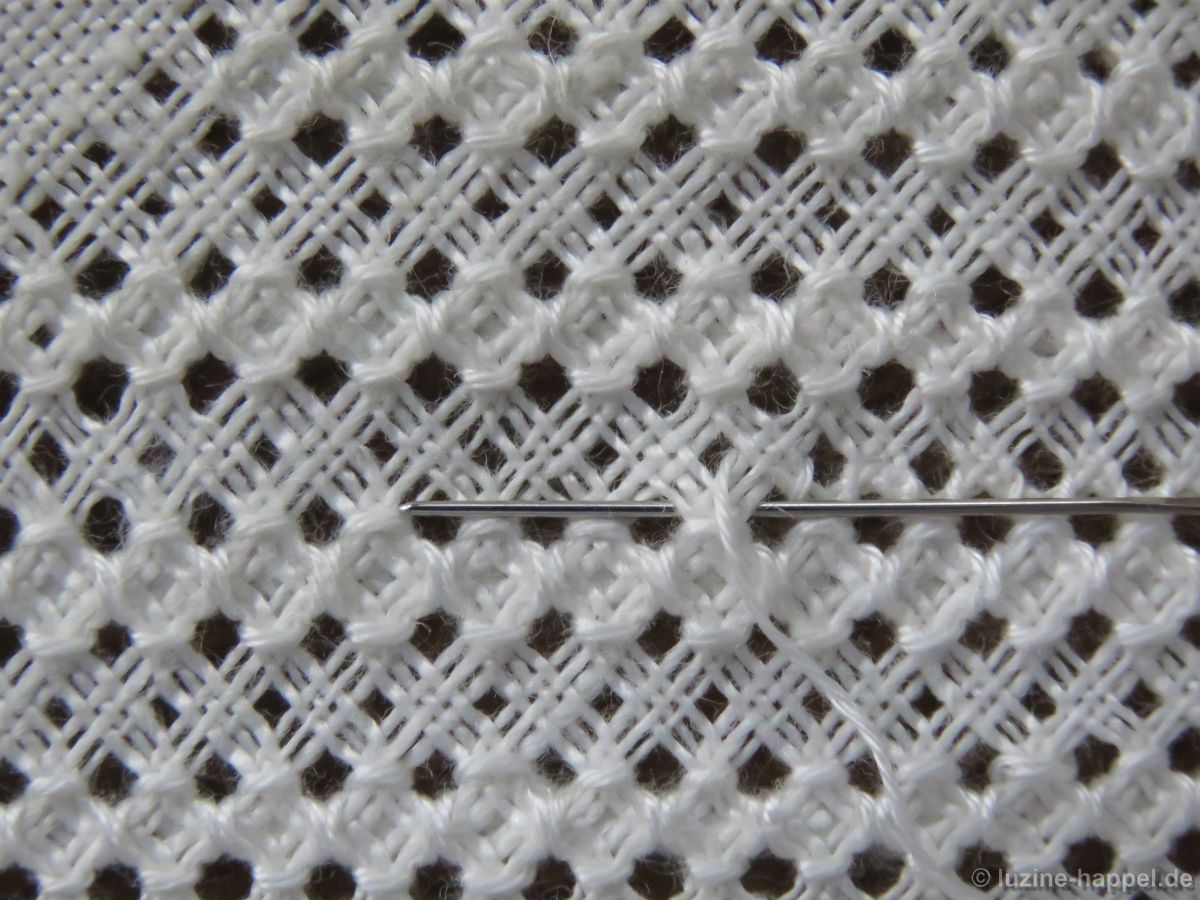
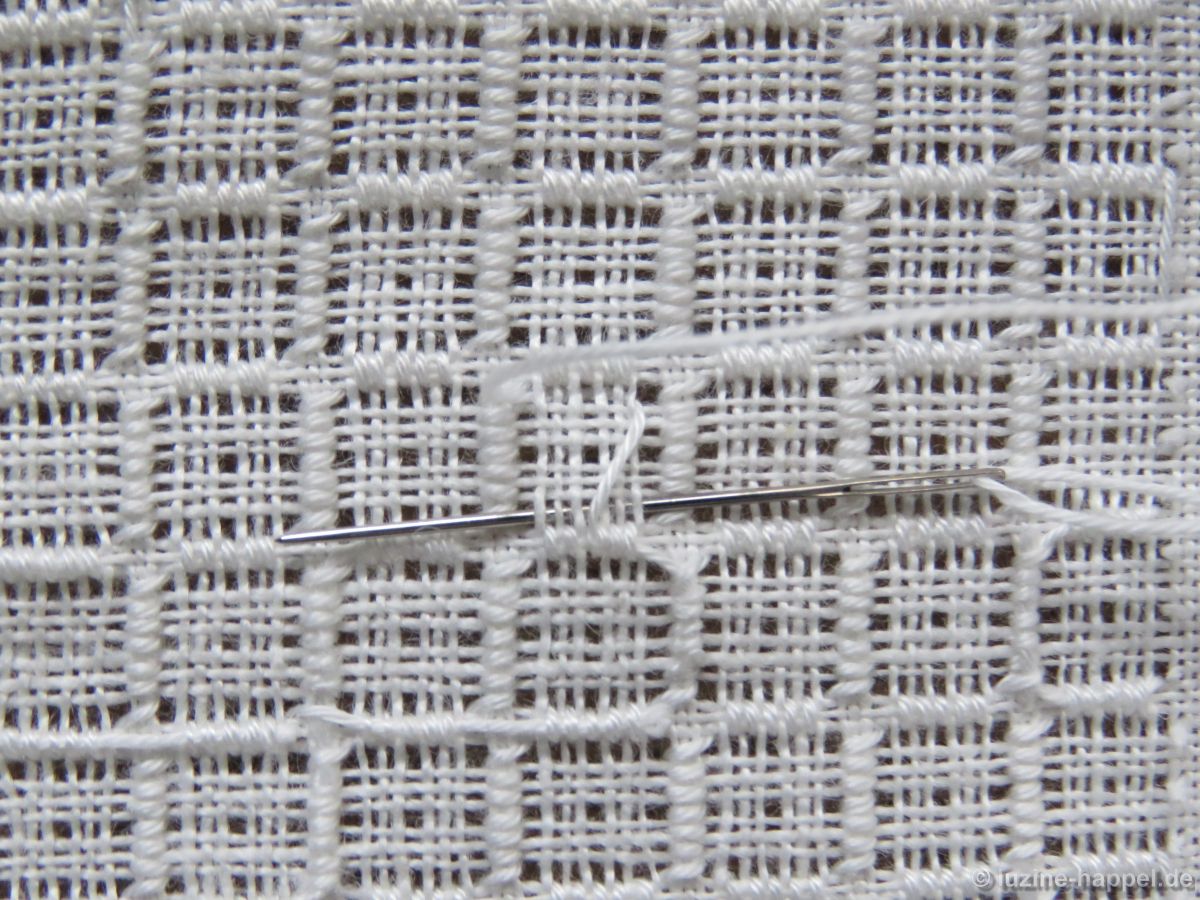
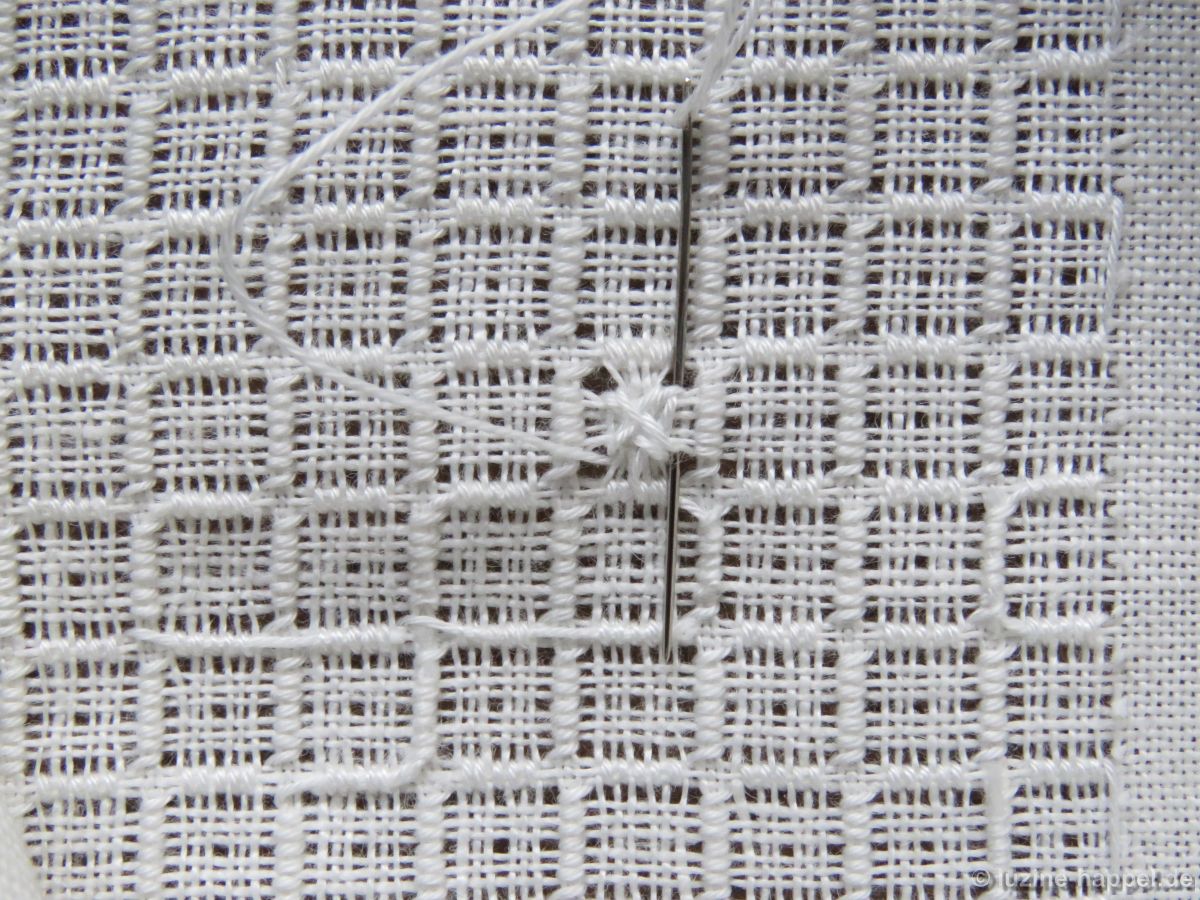
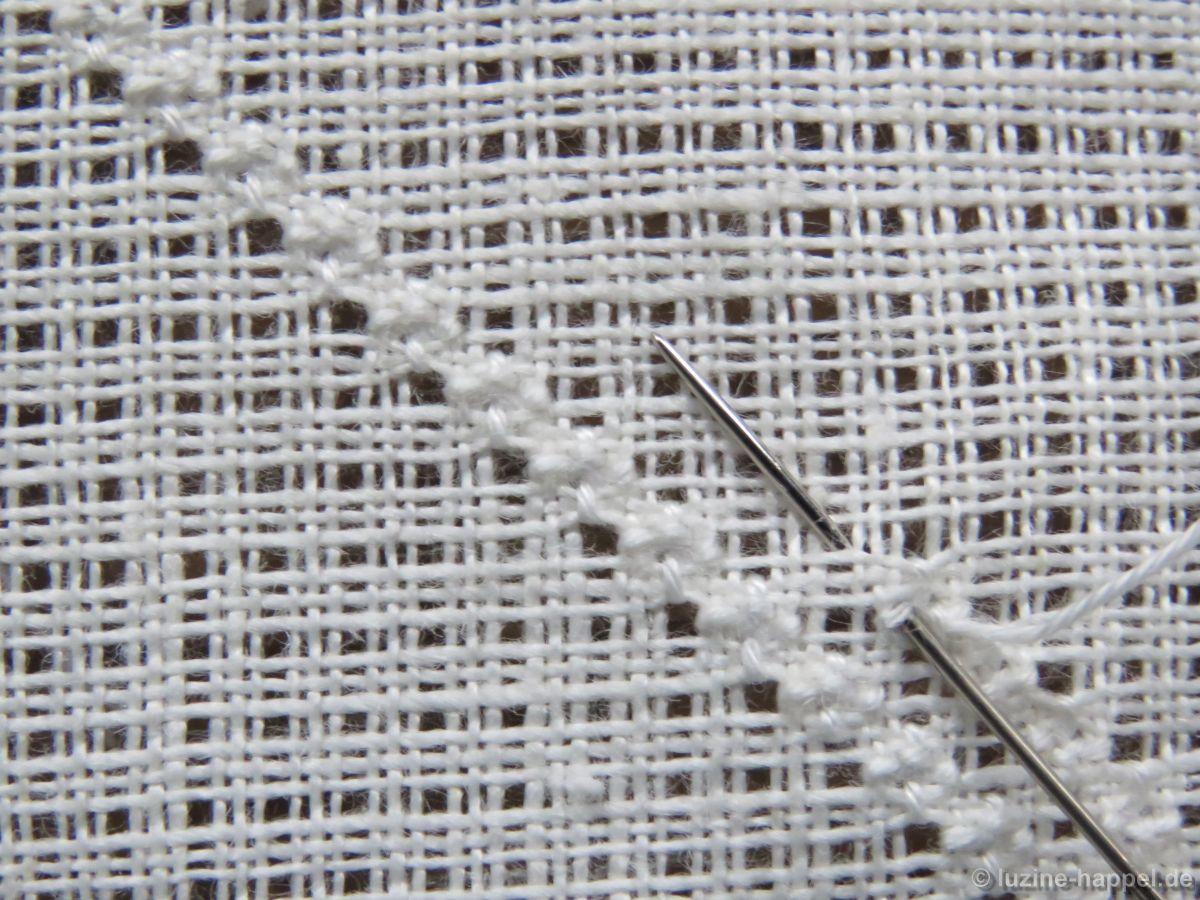
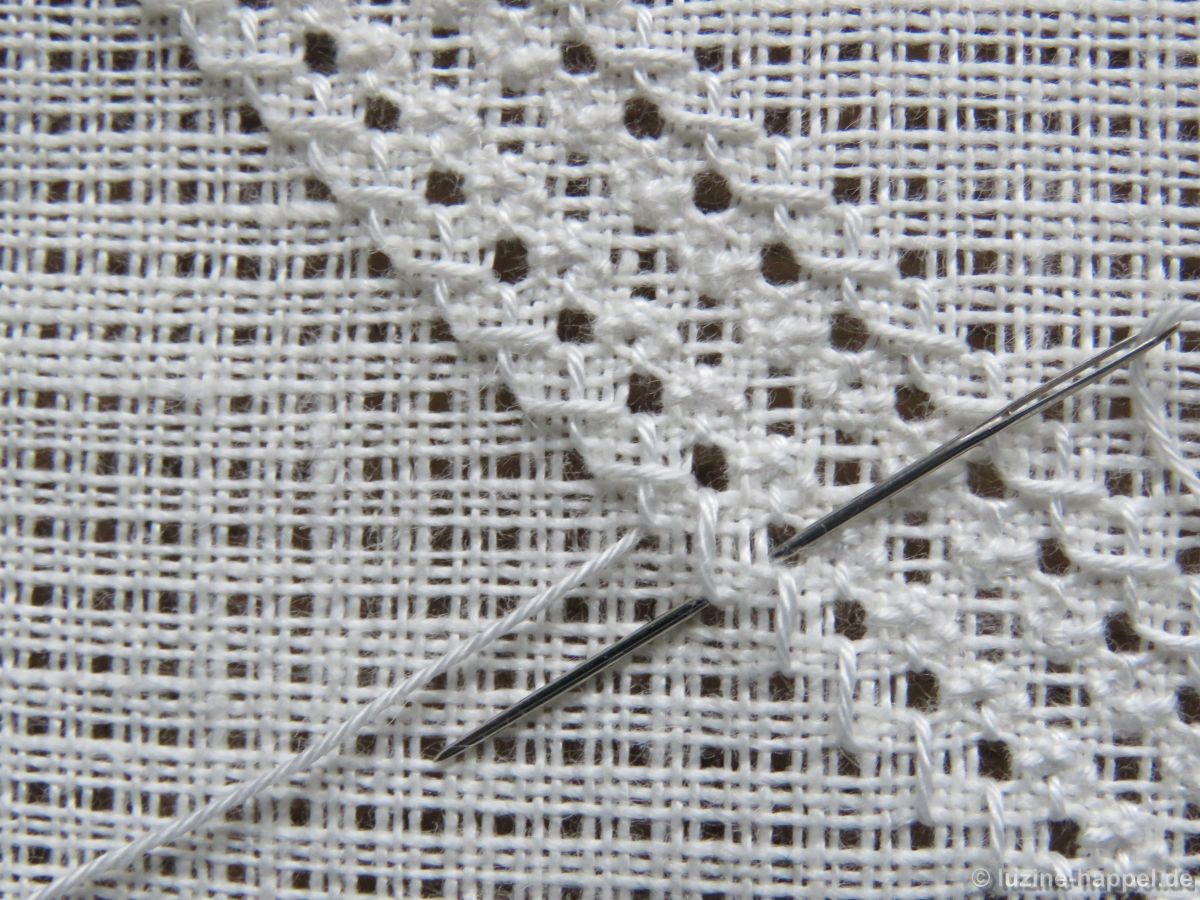
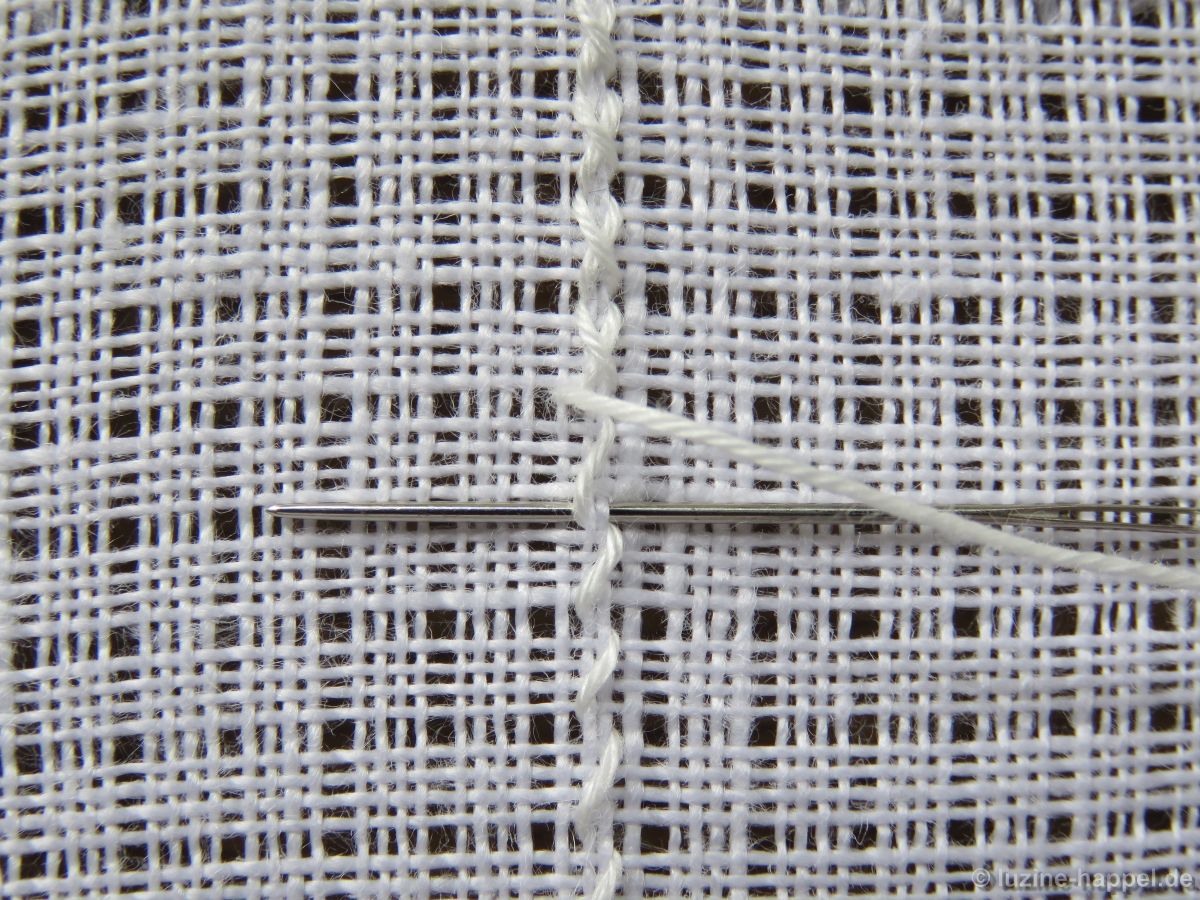
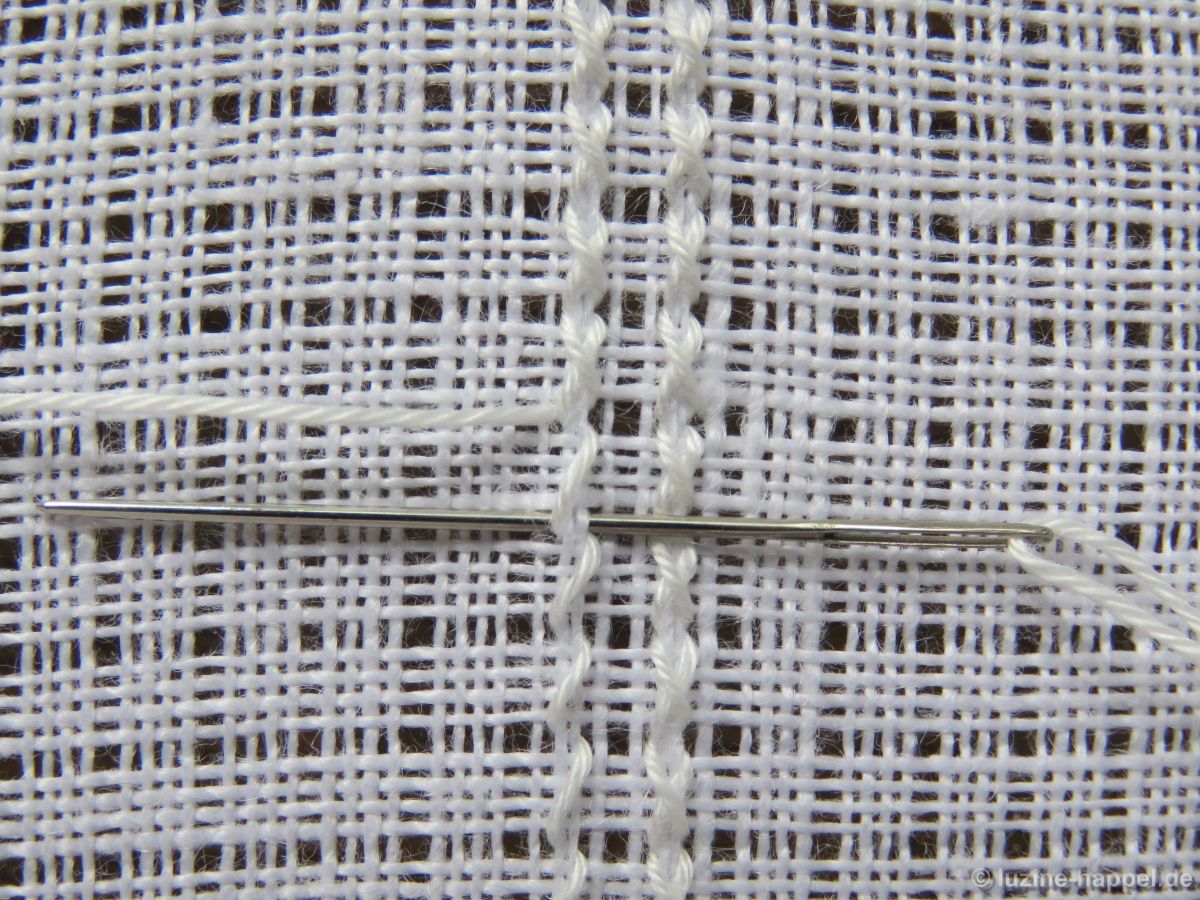
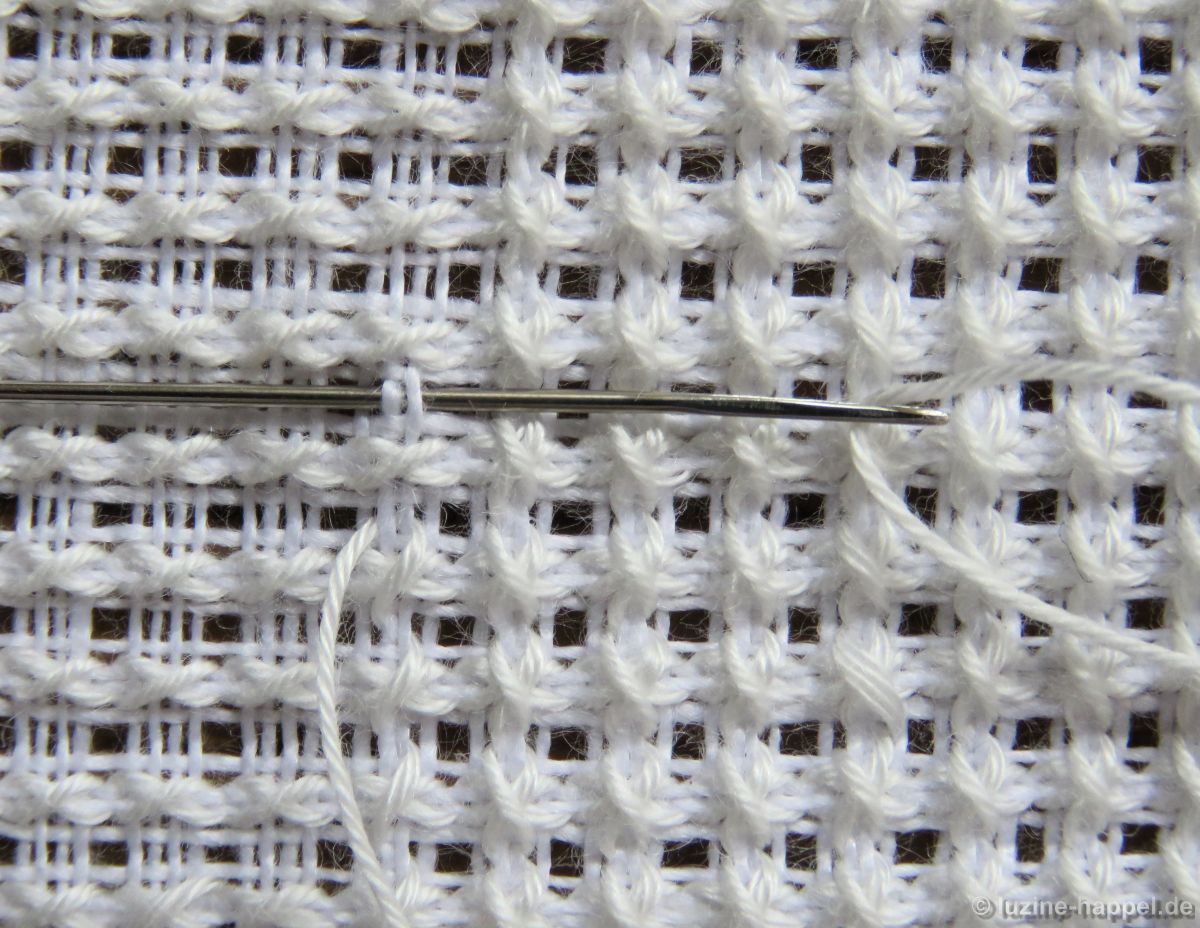
Then turn the work 180° and embroider over the unprocessed thread bundles in the same way.
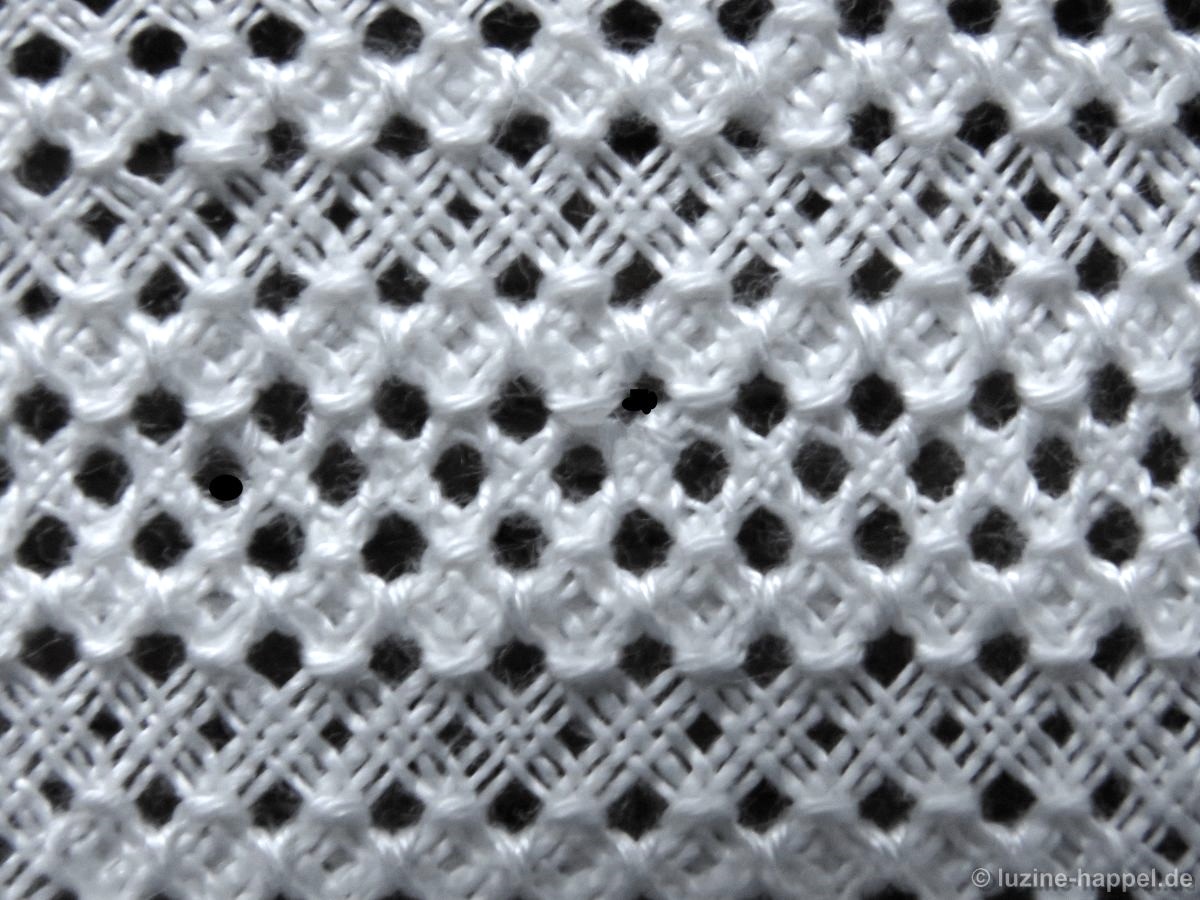
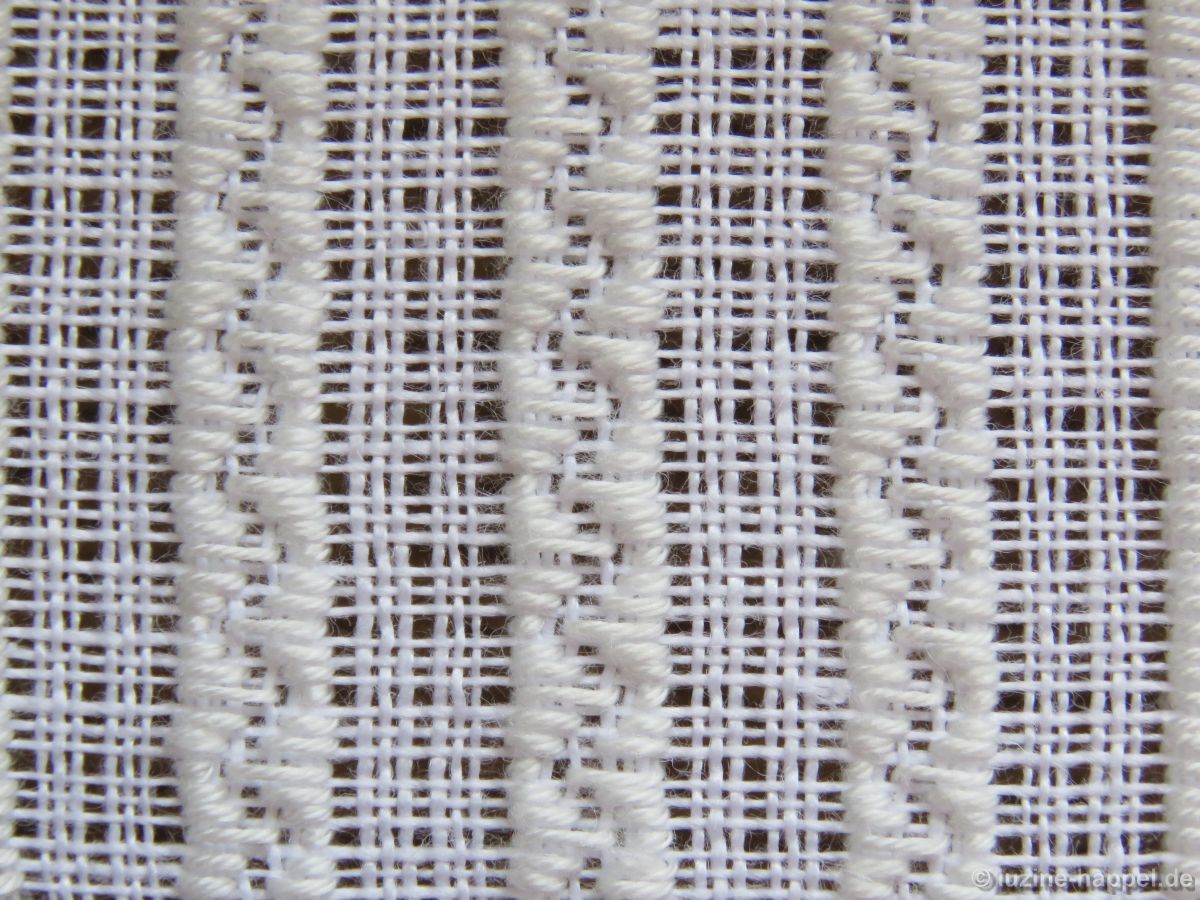
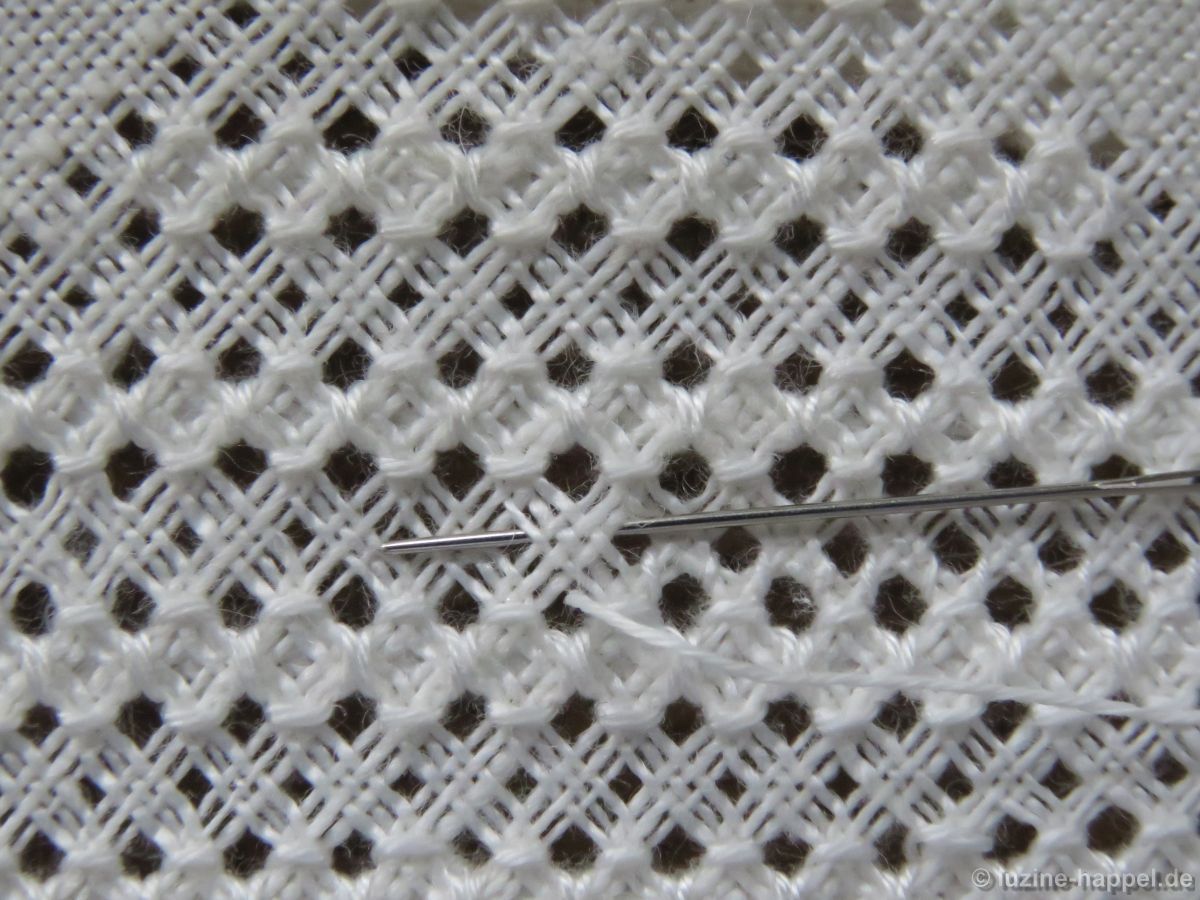
The remaining unfinished rows are embroidered in the same way.
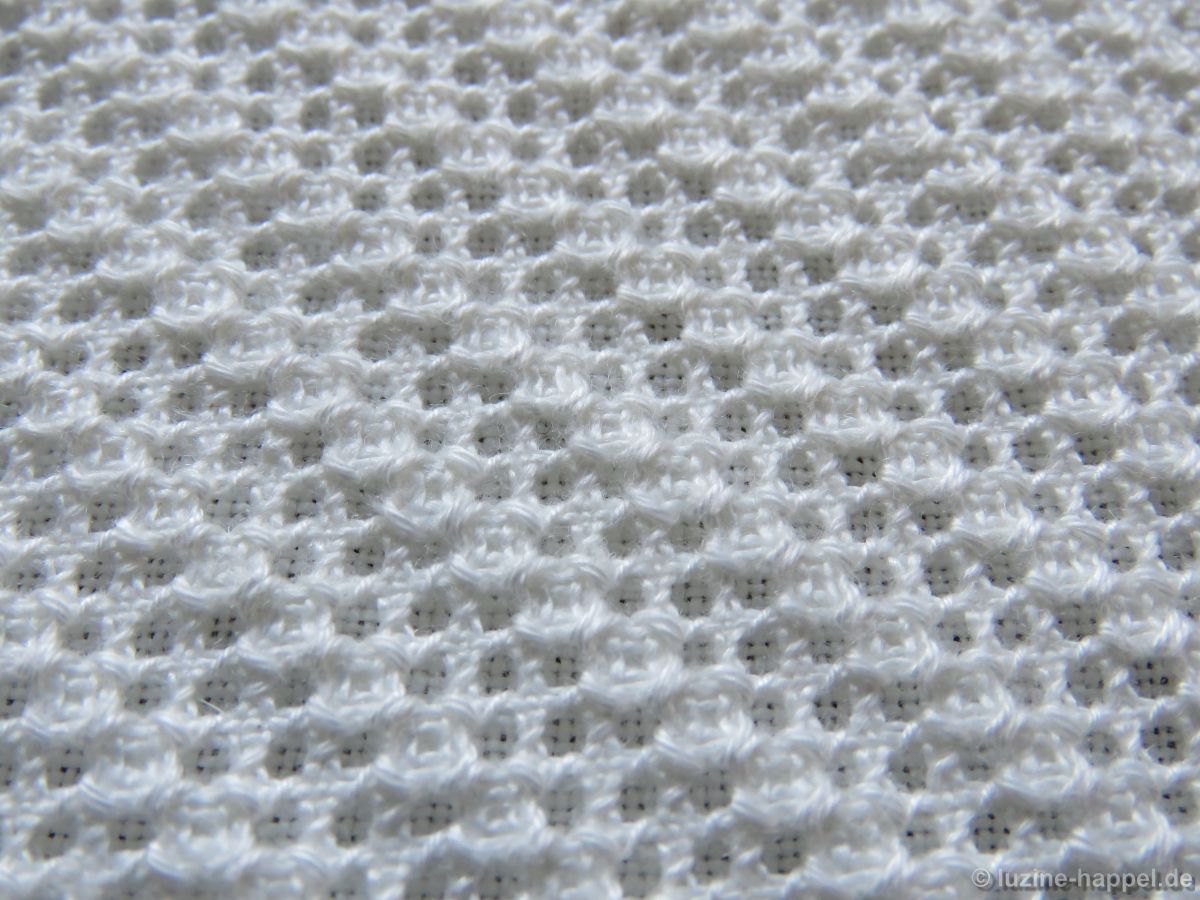
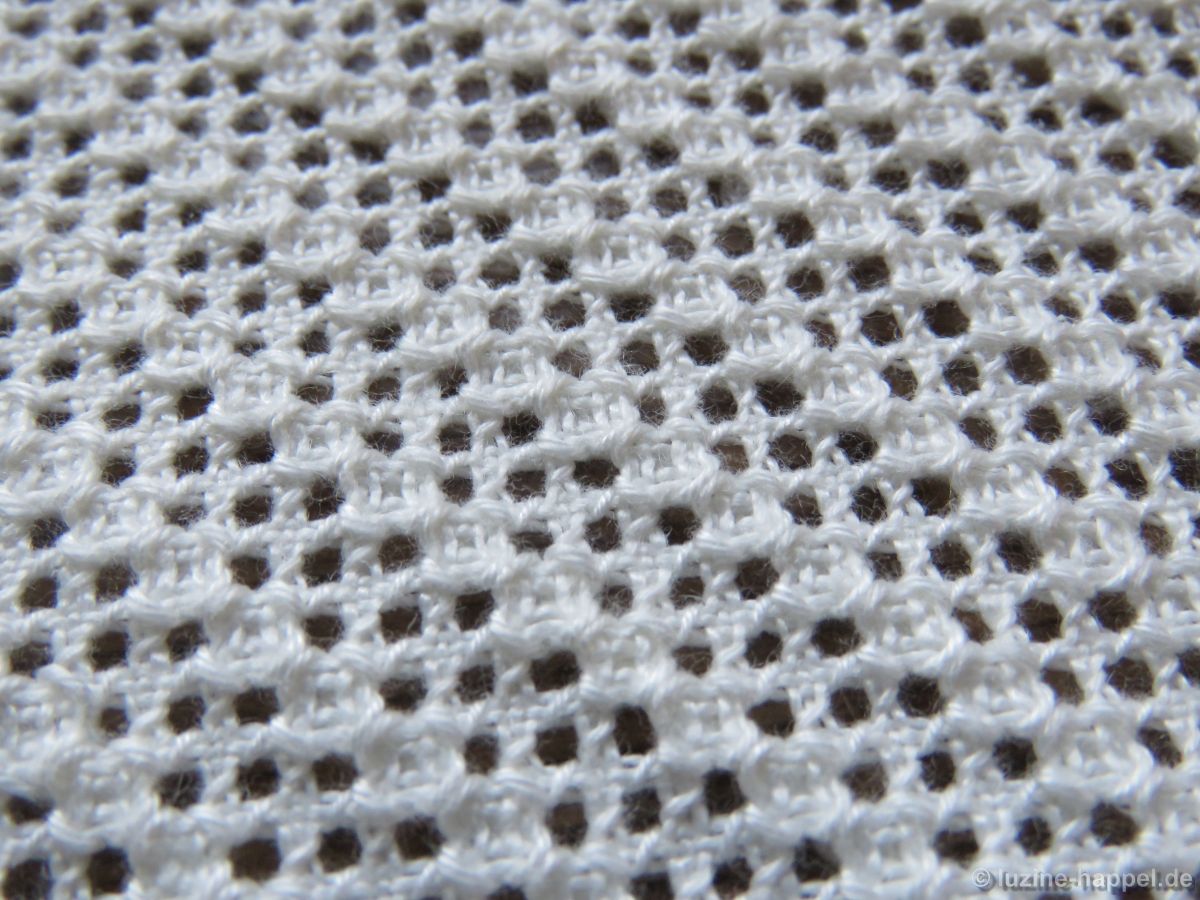

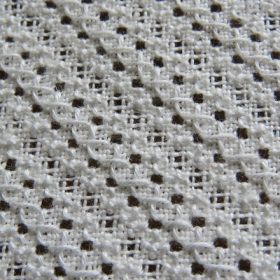
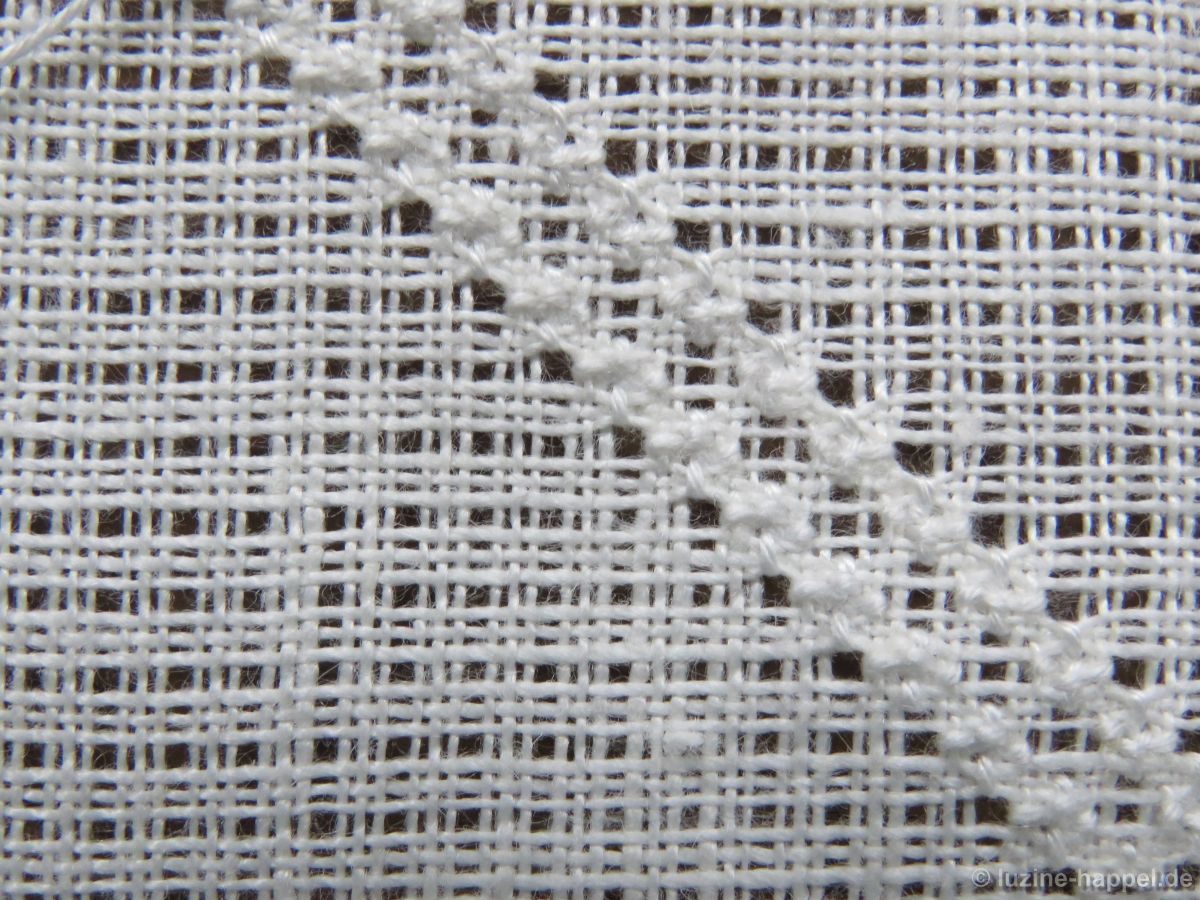
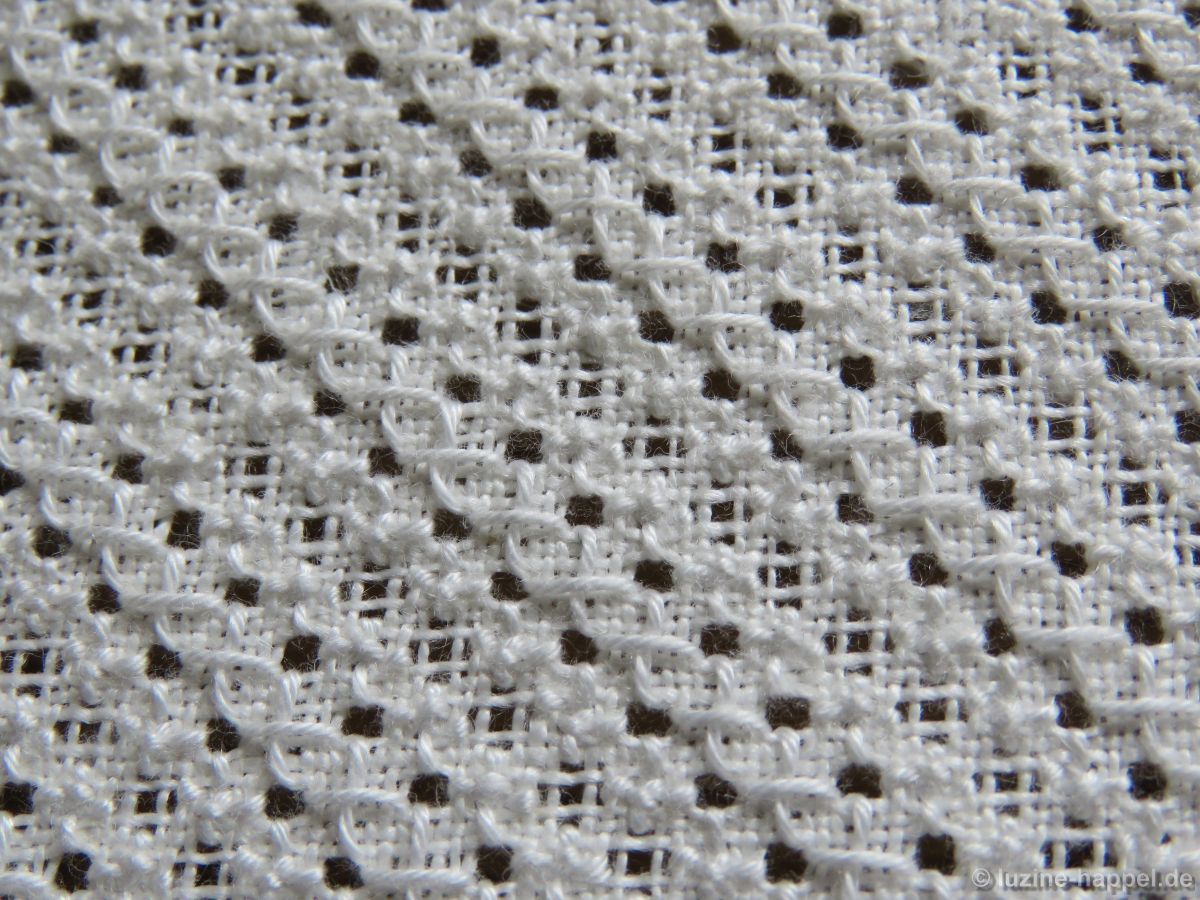
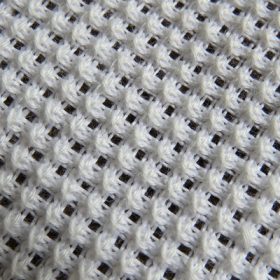
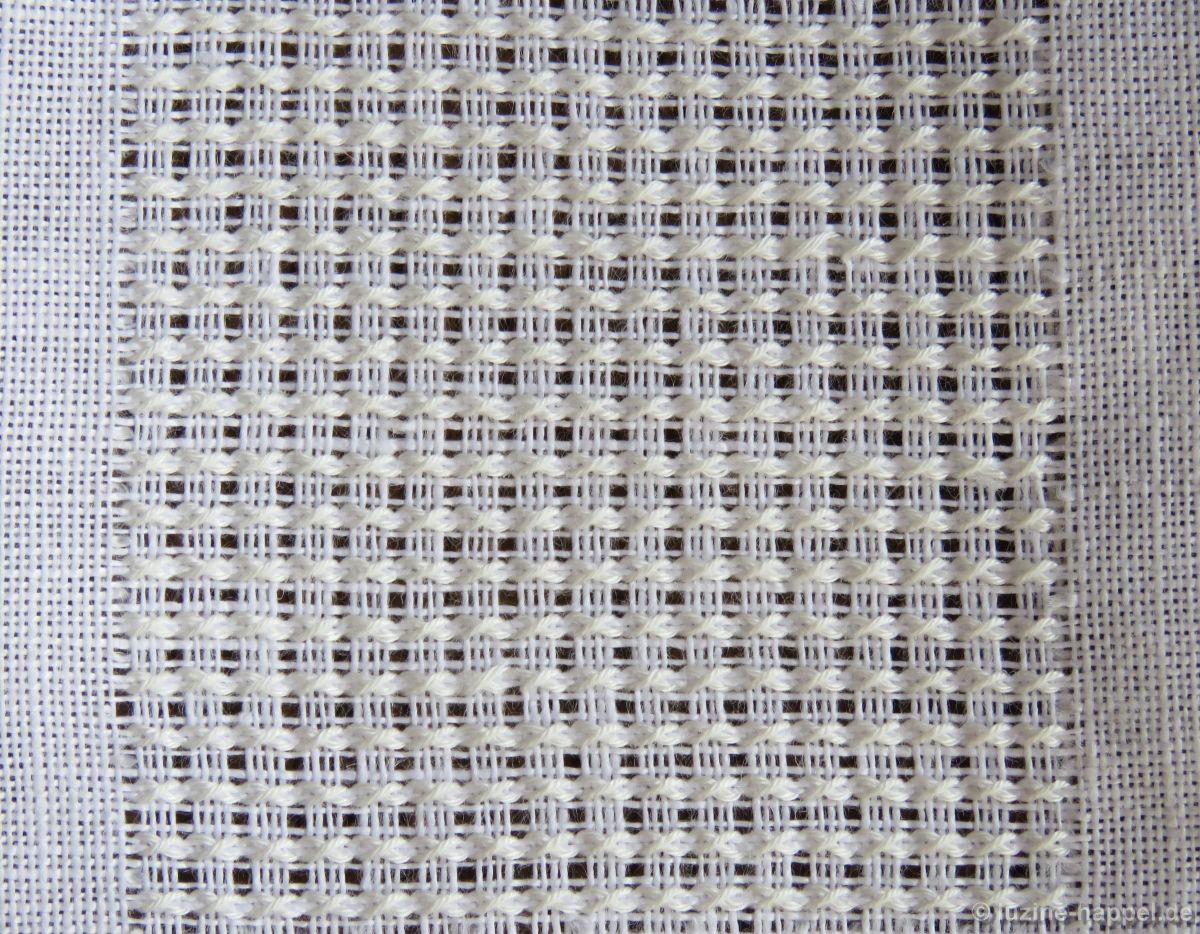
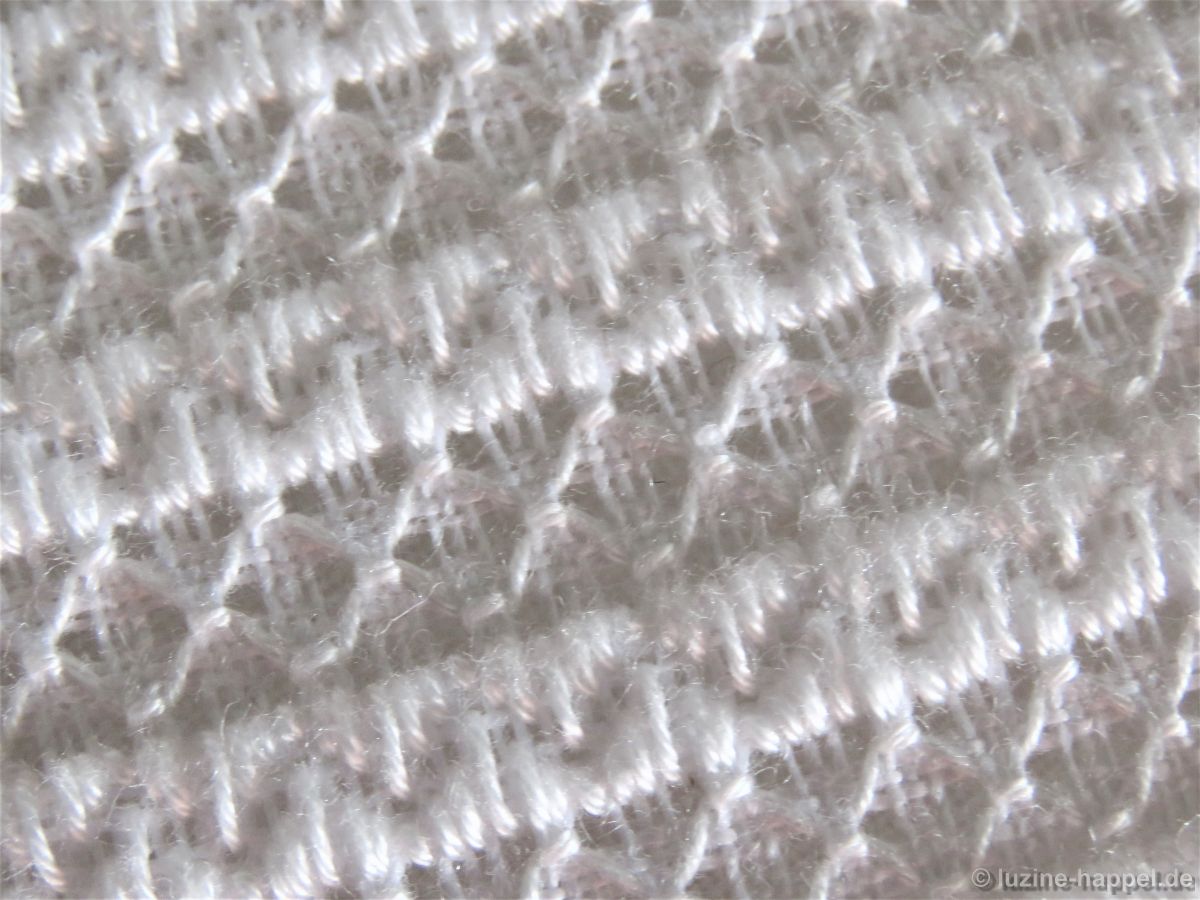
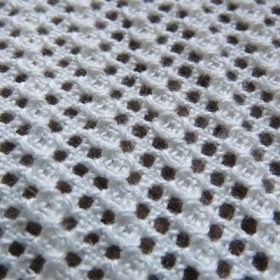
This creates a pattern with a diagonal wave structure.