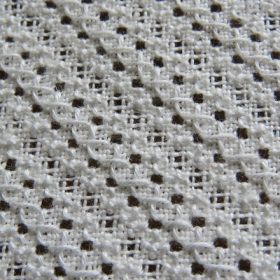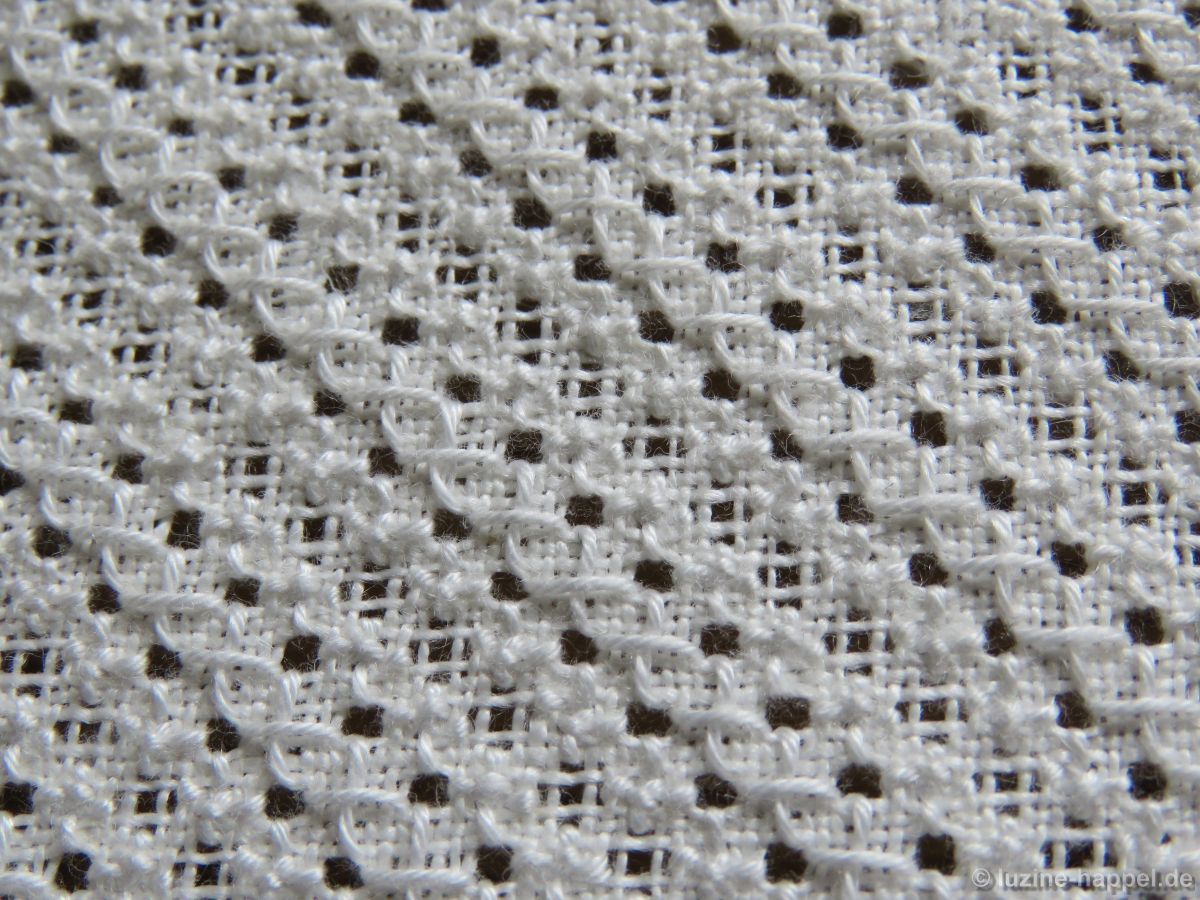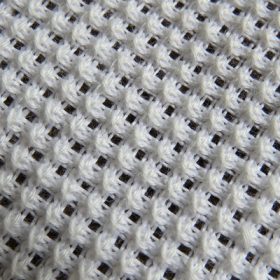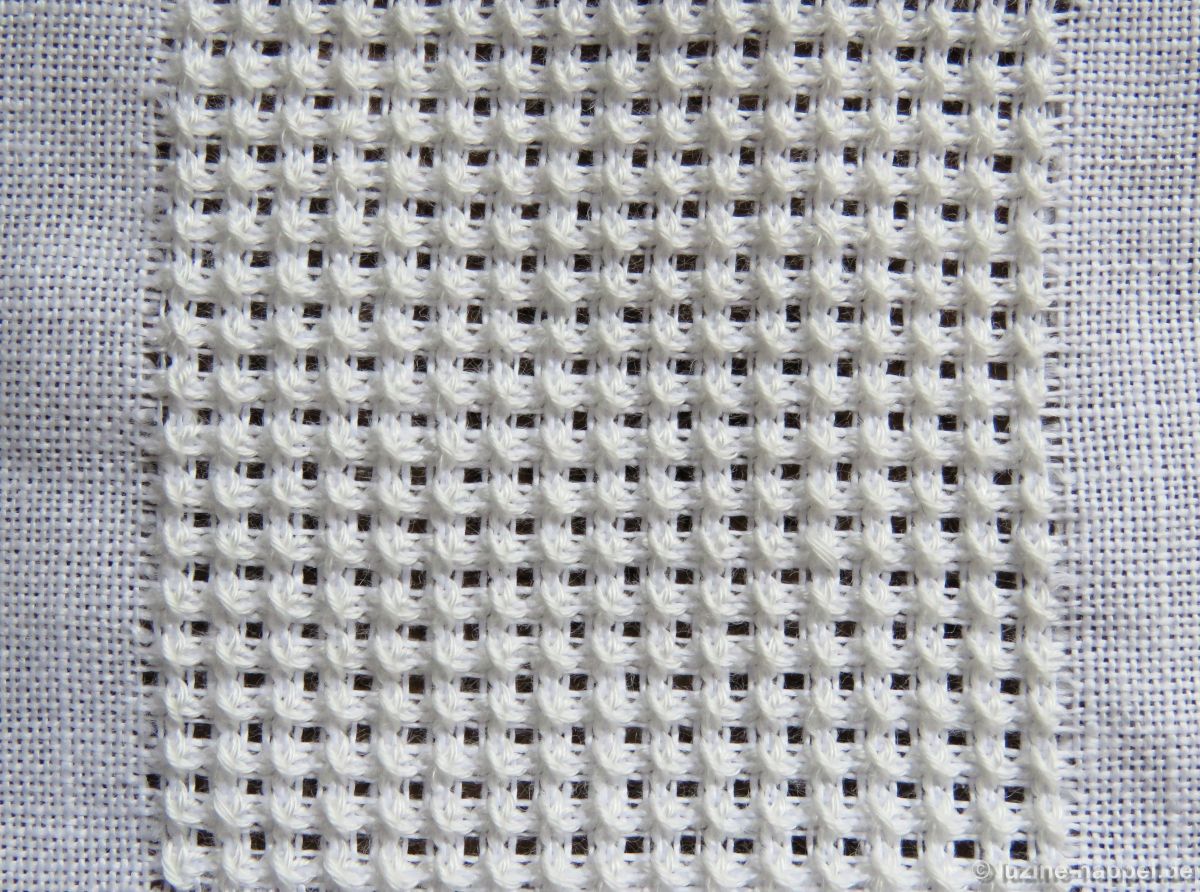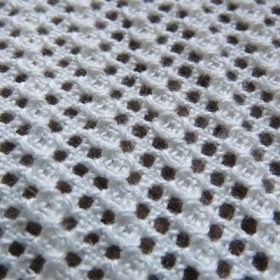
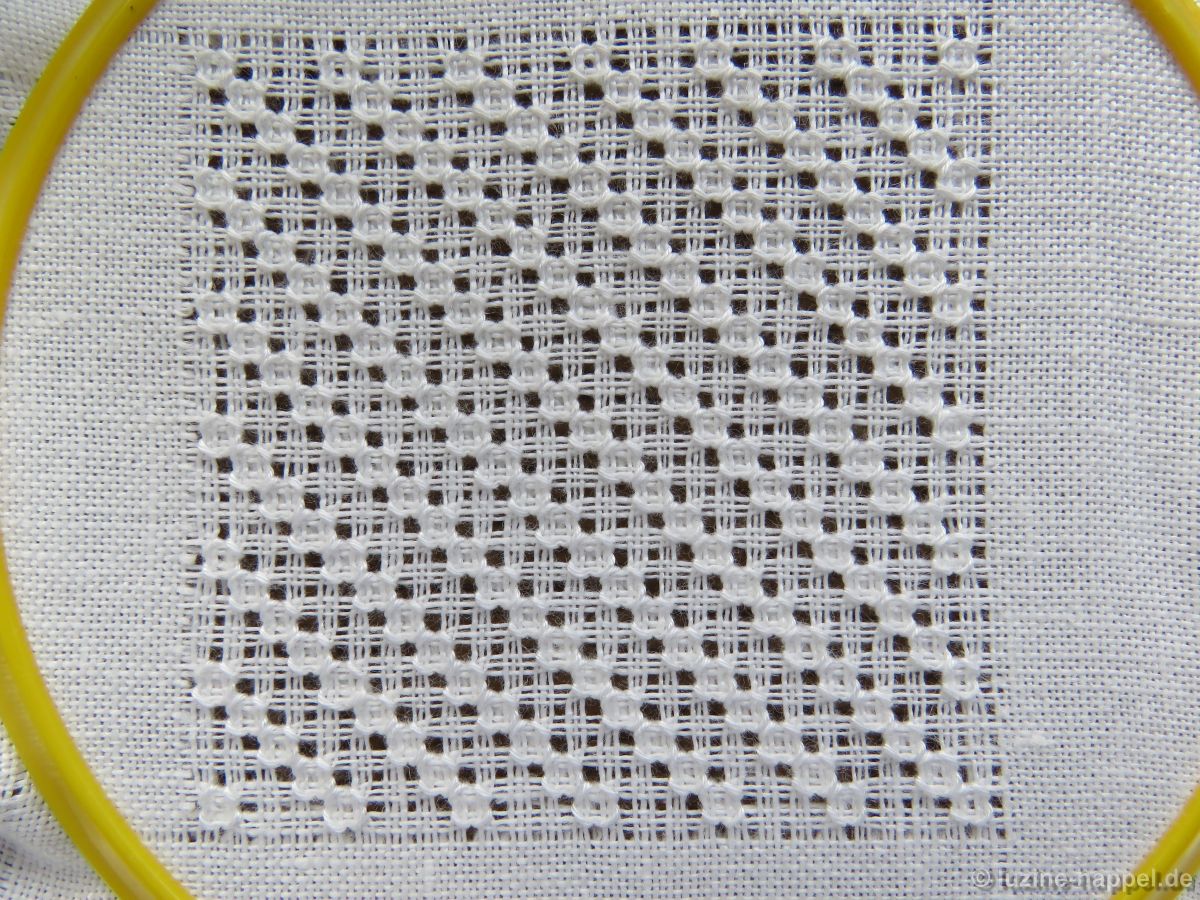
Flächenfüllmuster Nr. 574
Kategorie: Limet-Muster
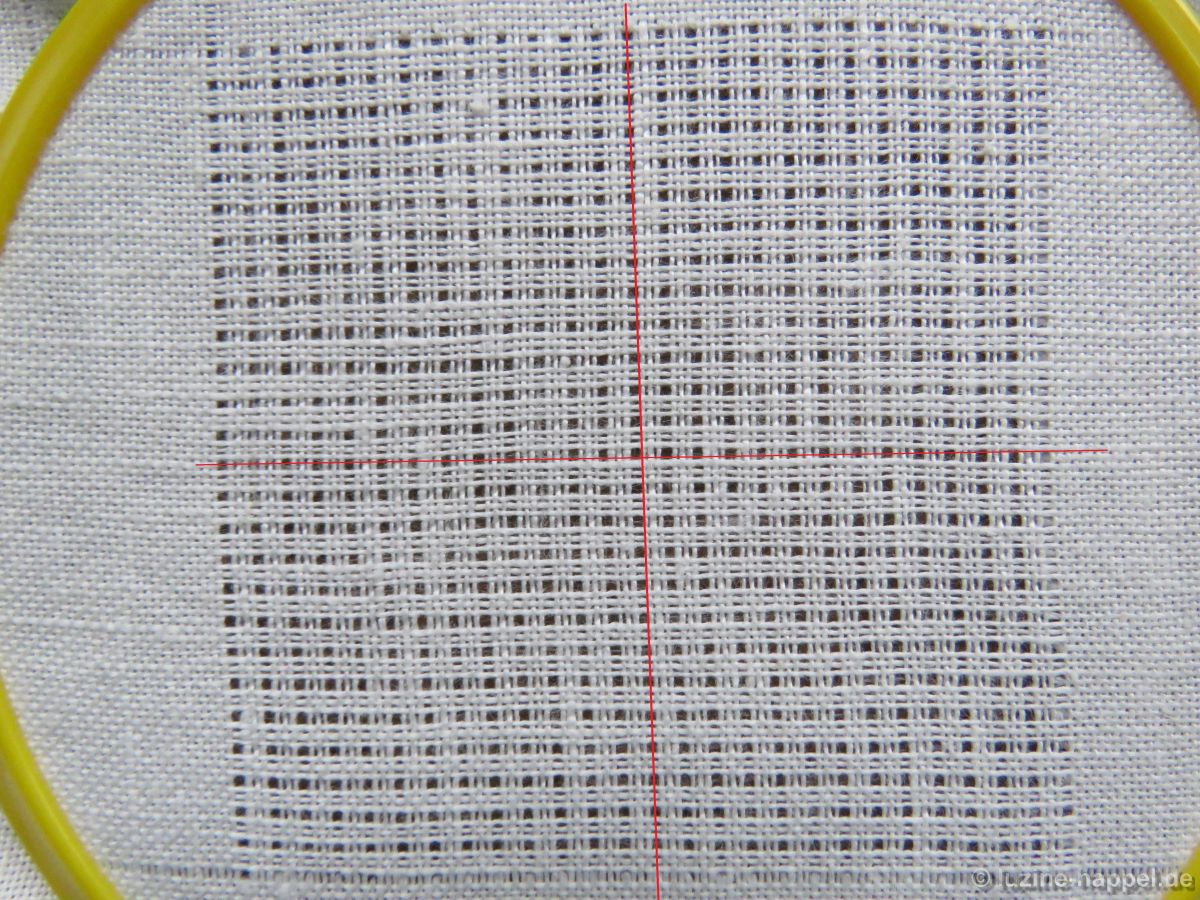
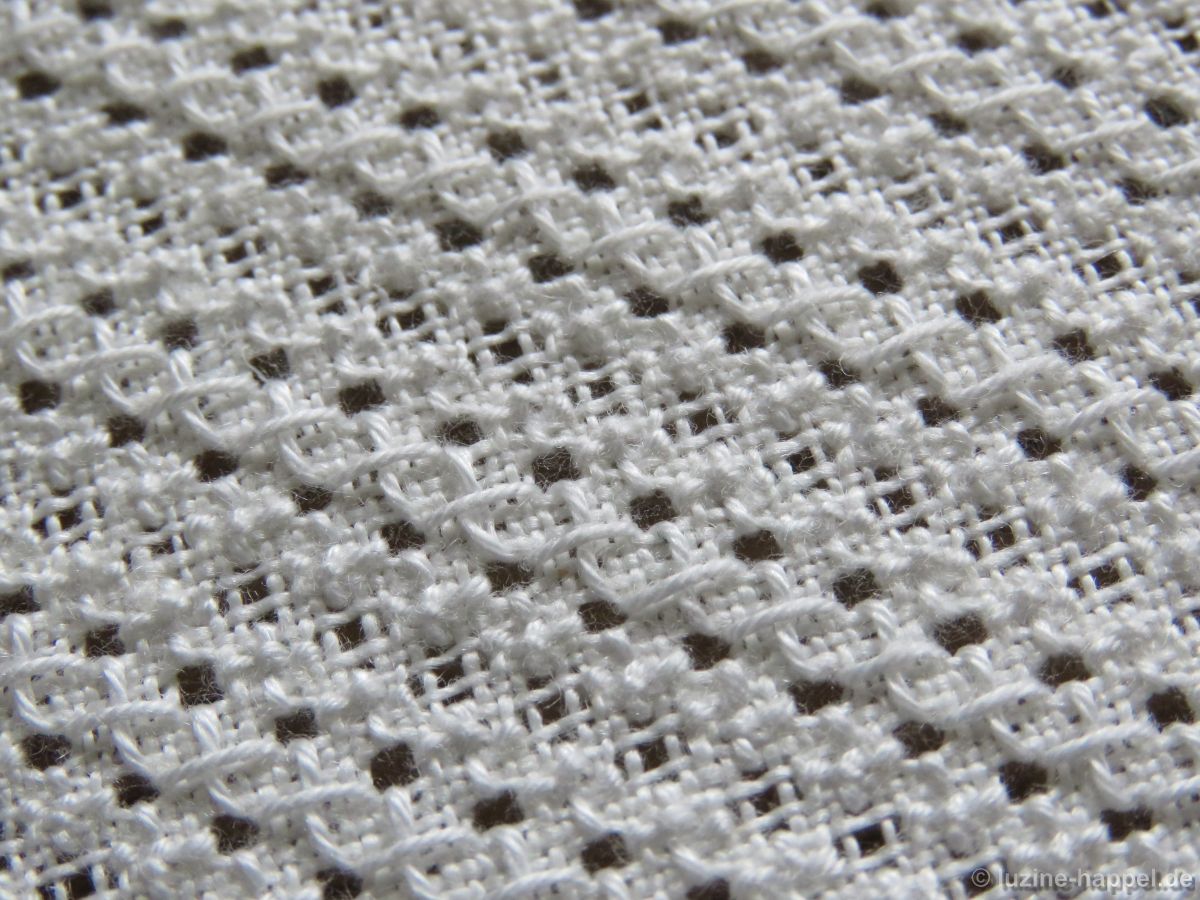
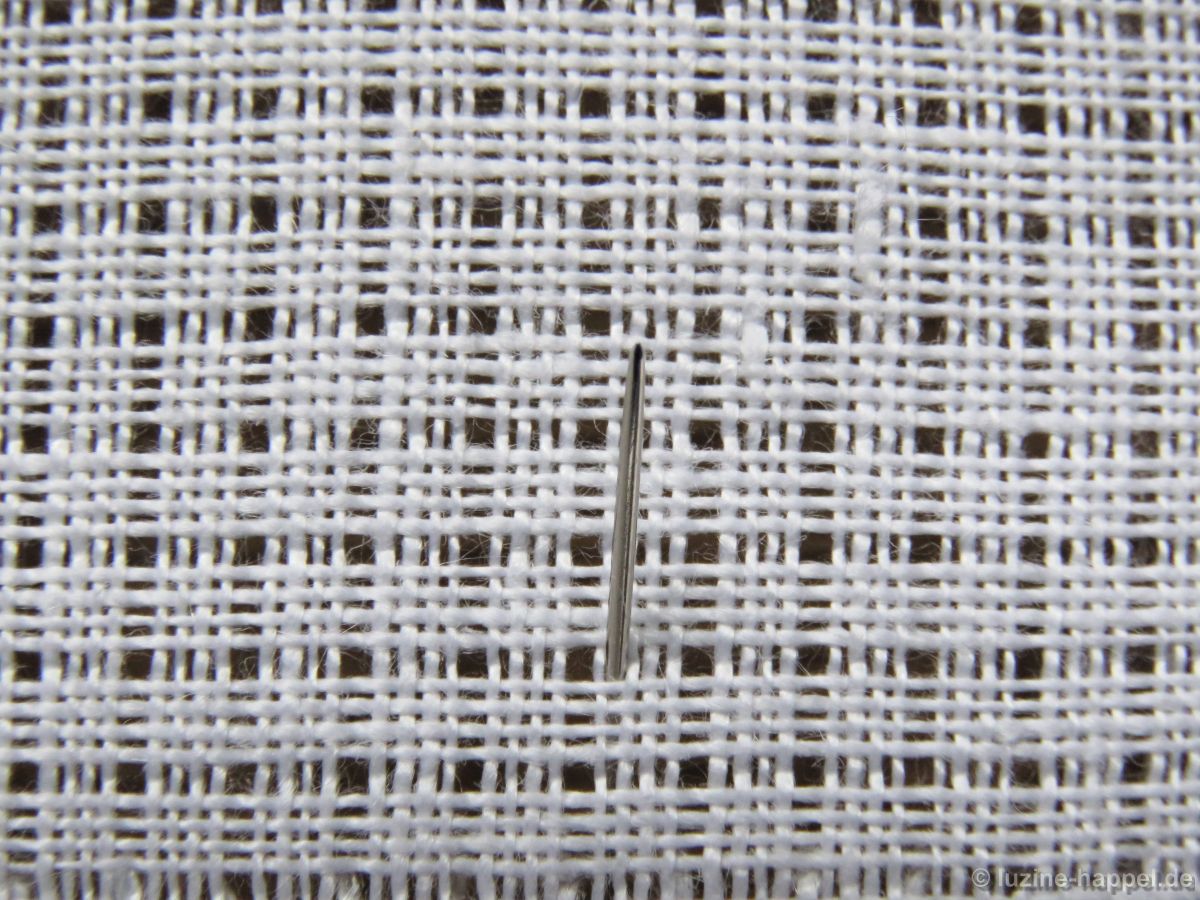
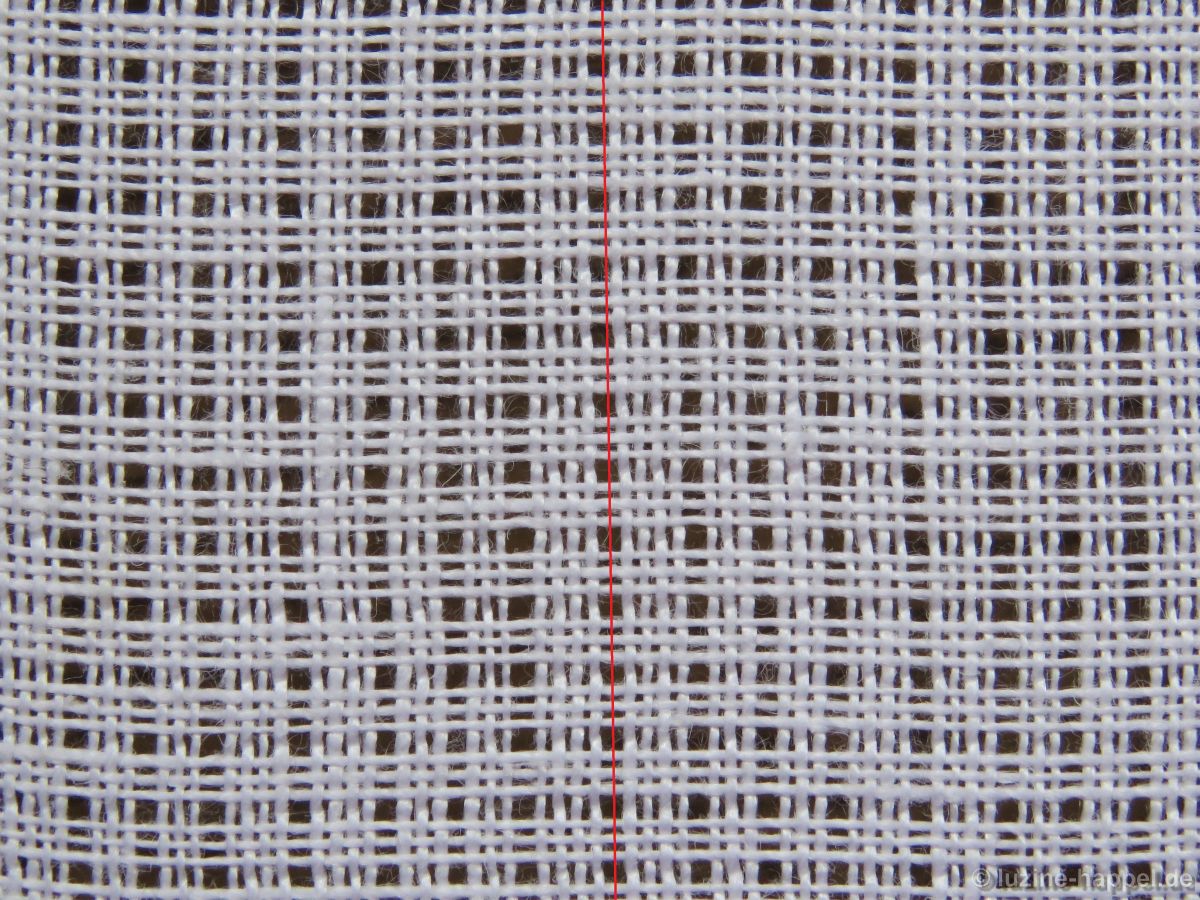
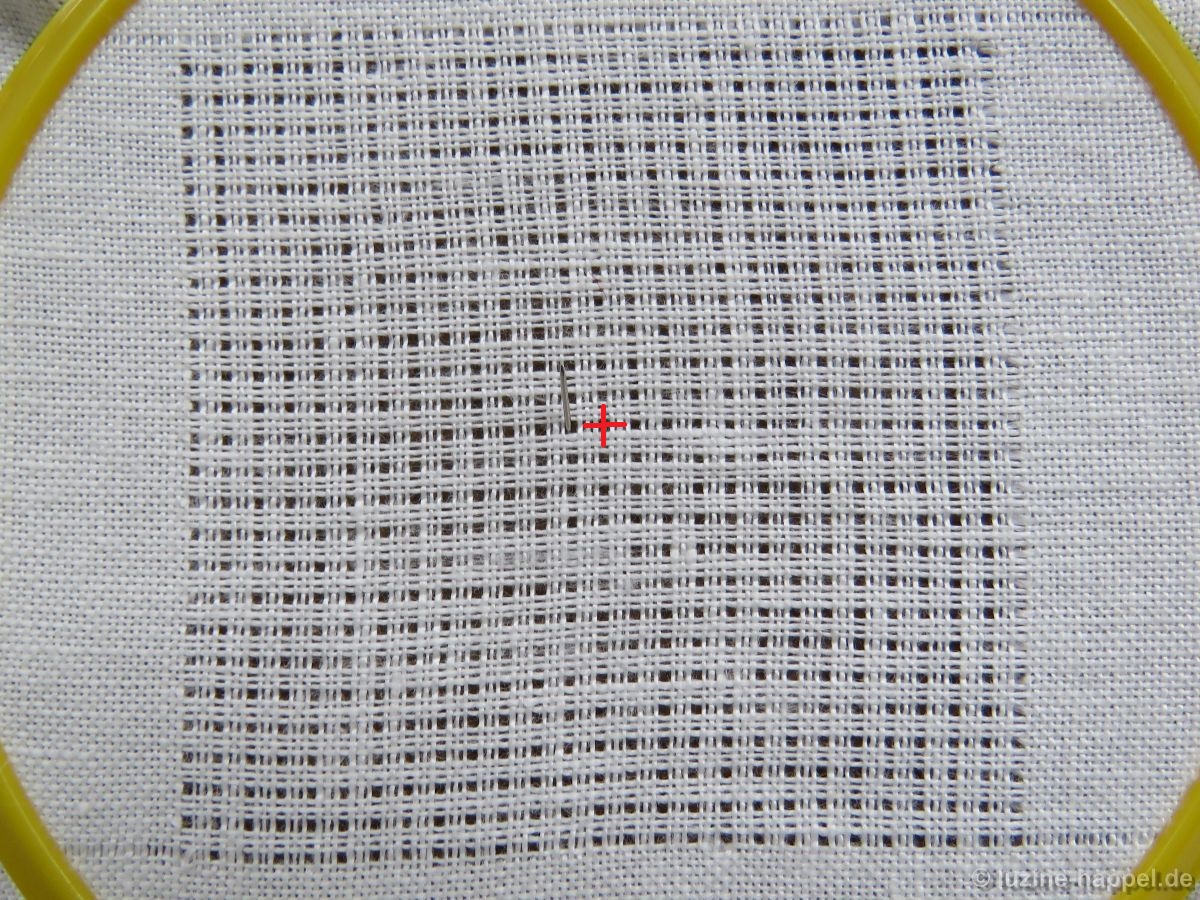
verwendetes Leinen: 13.5-fädig
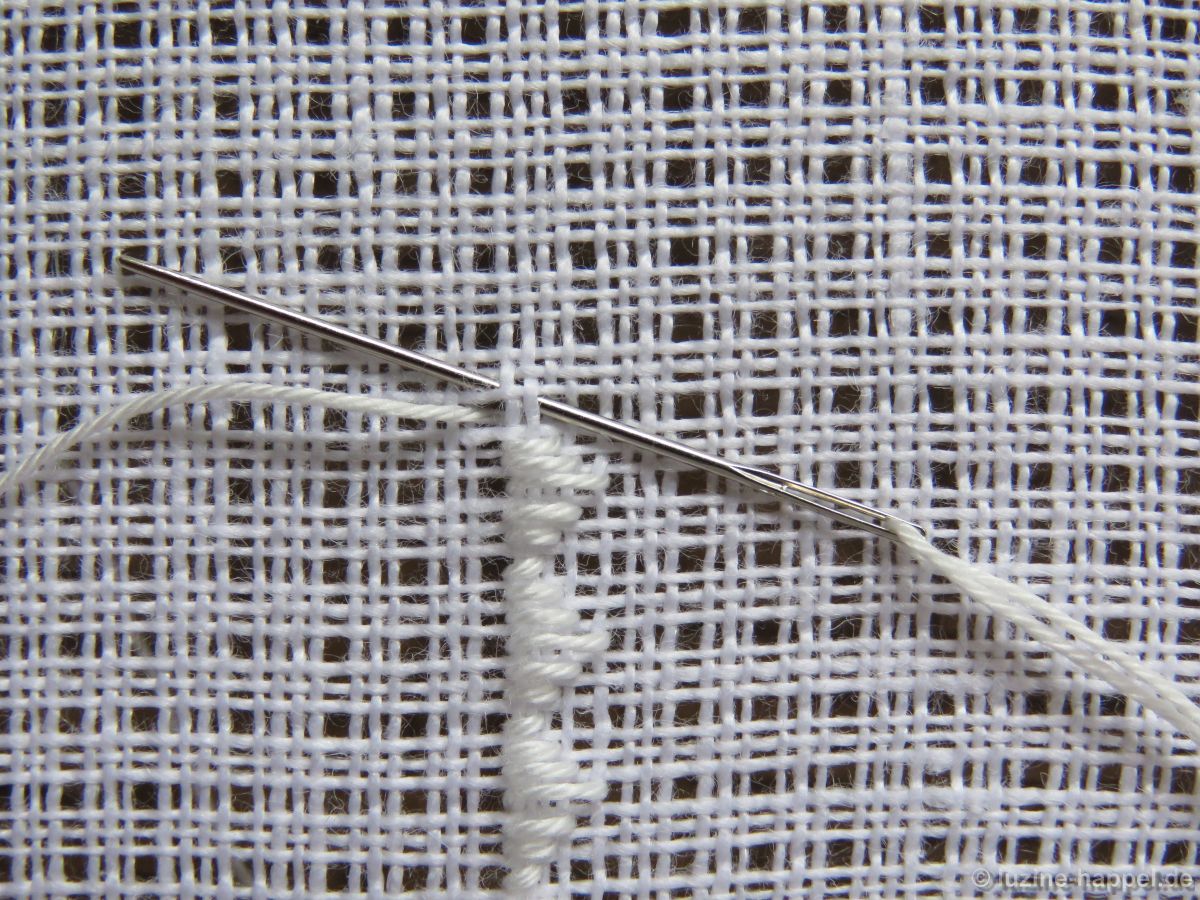
verwendetes Garn: Vierfachstickgarn Nr. 20
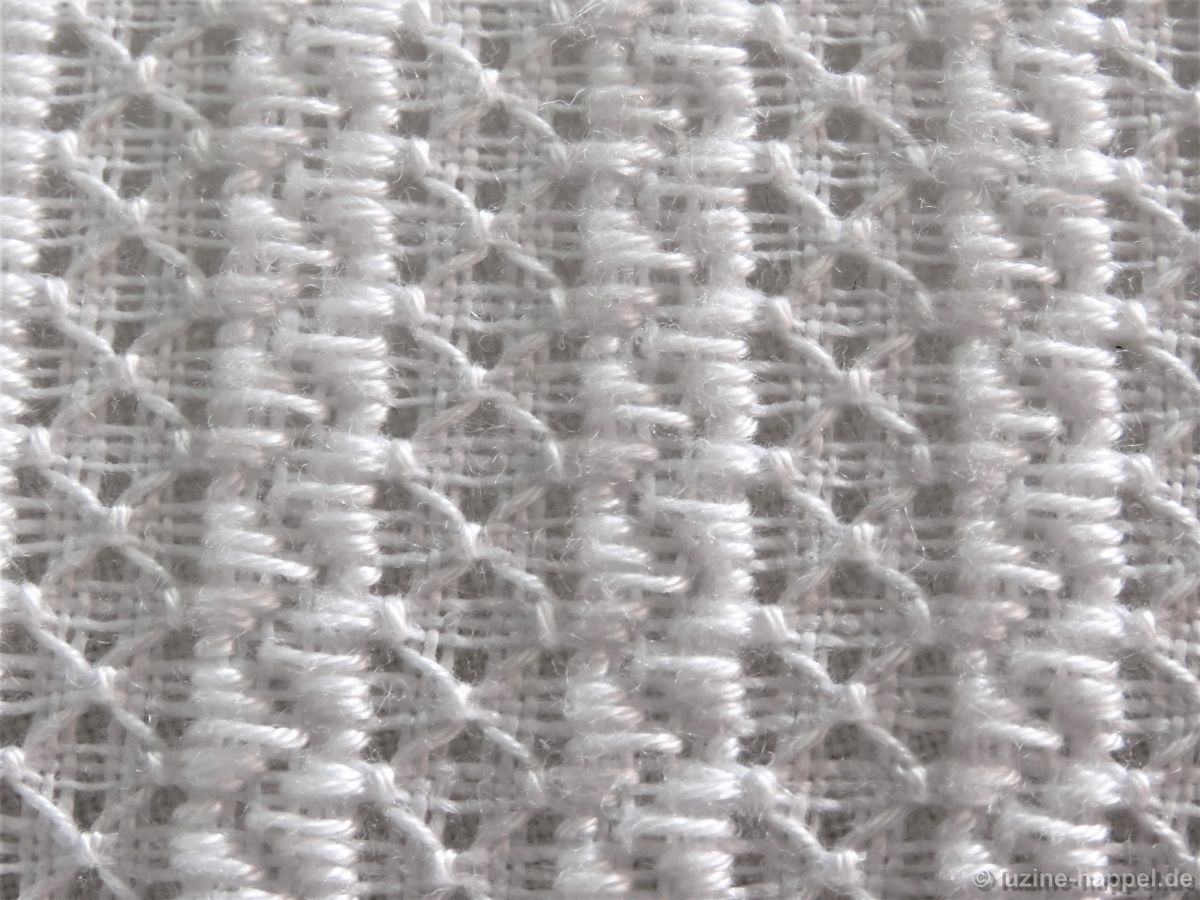
angewandte Stiche: Diagonale Kästchenstiche und rückwärtige Grundstiche
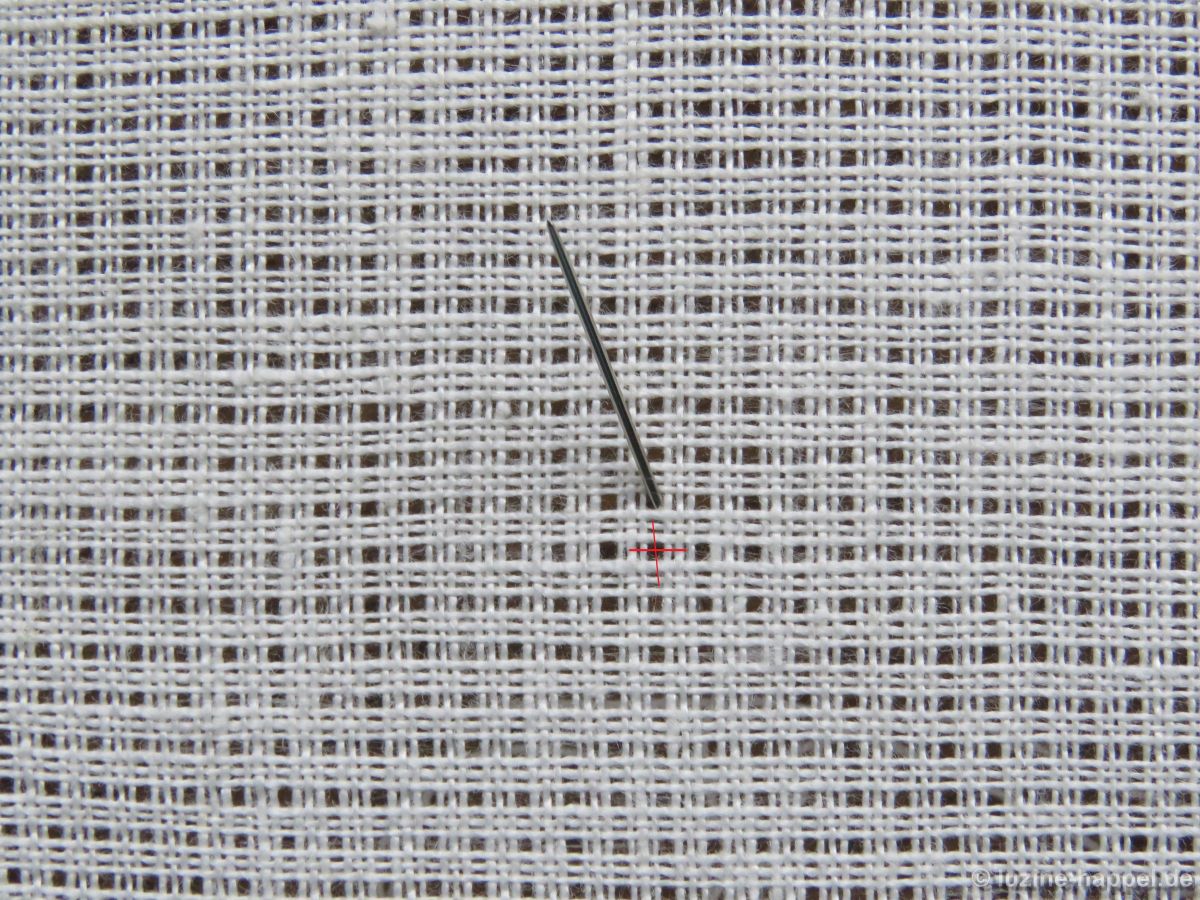
Mitte: Kreuzung zweier Fadenrinnen (in anderen Konturformen: mittlere Längsachse = Fadenrinne)
Breite eines Mustersegmentes = 16 Gewebefäden
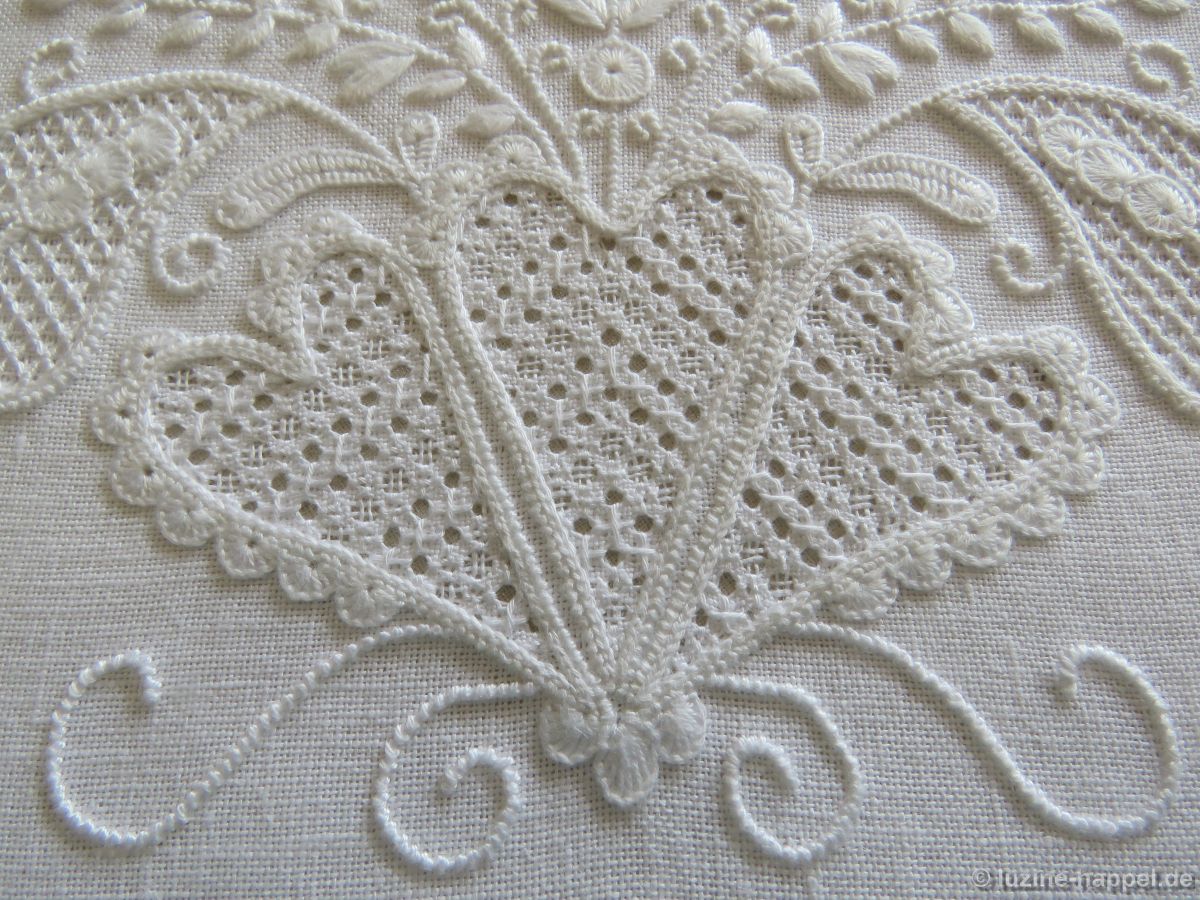
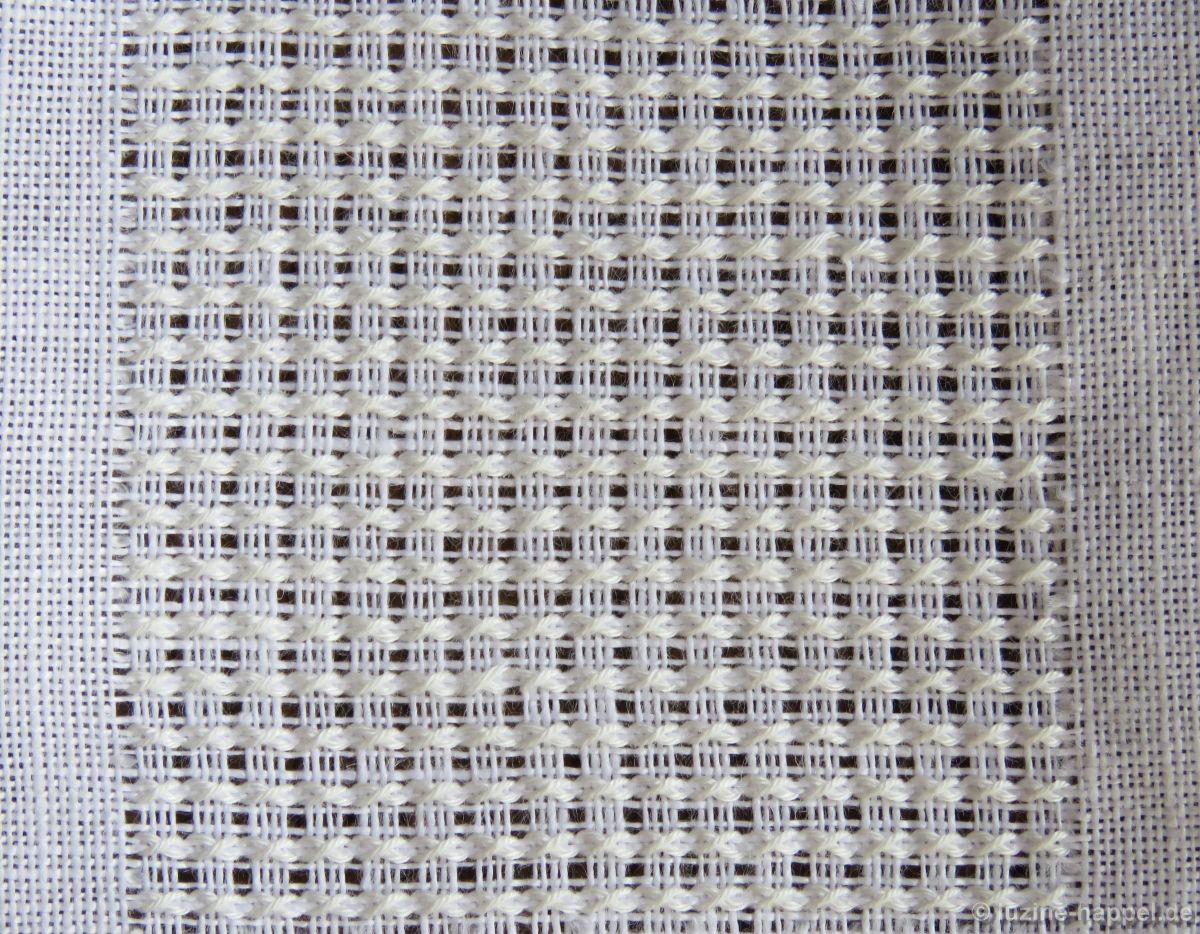
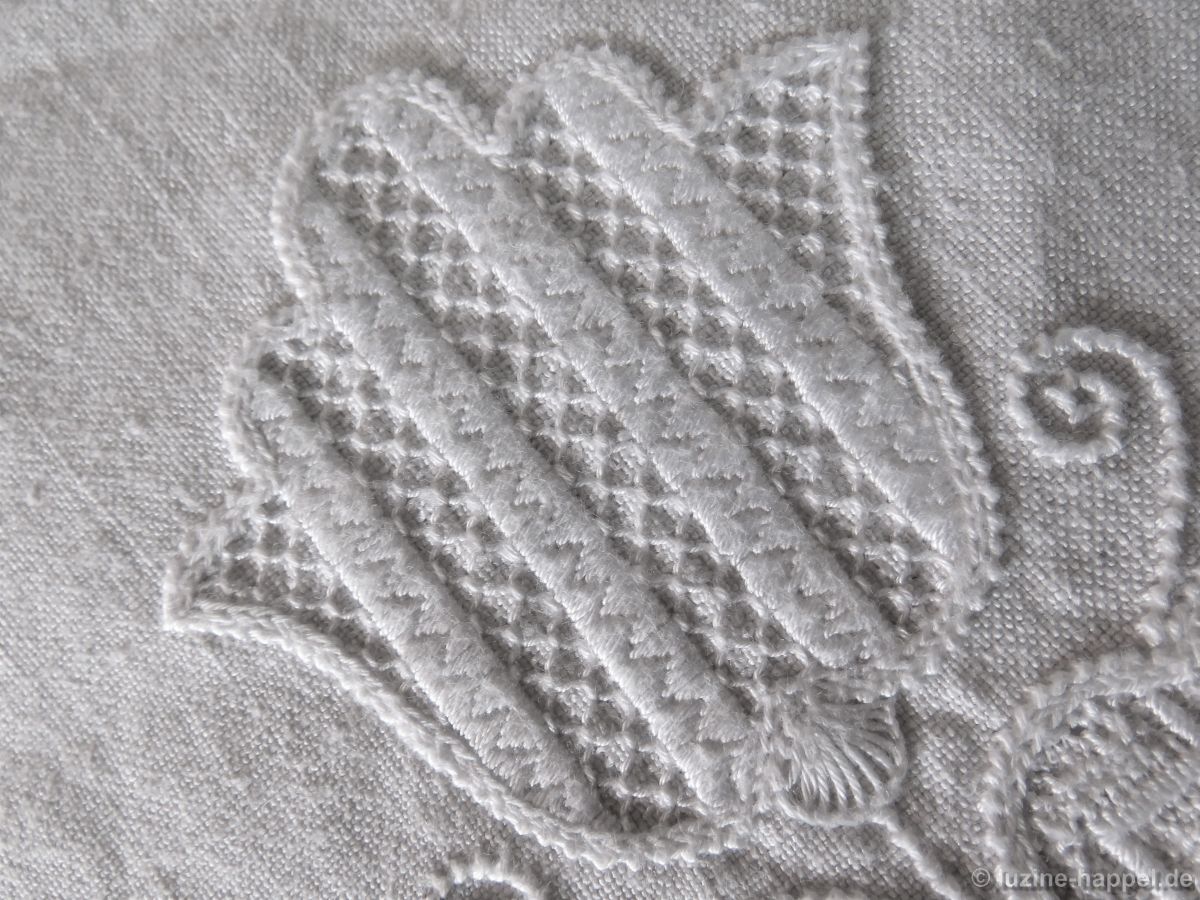
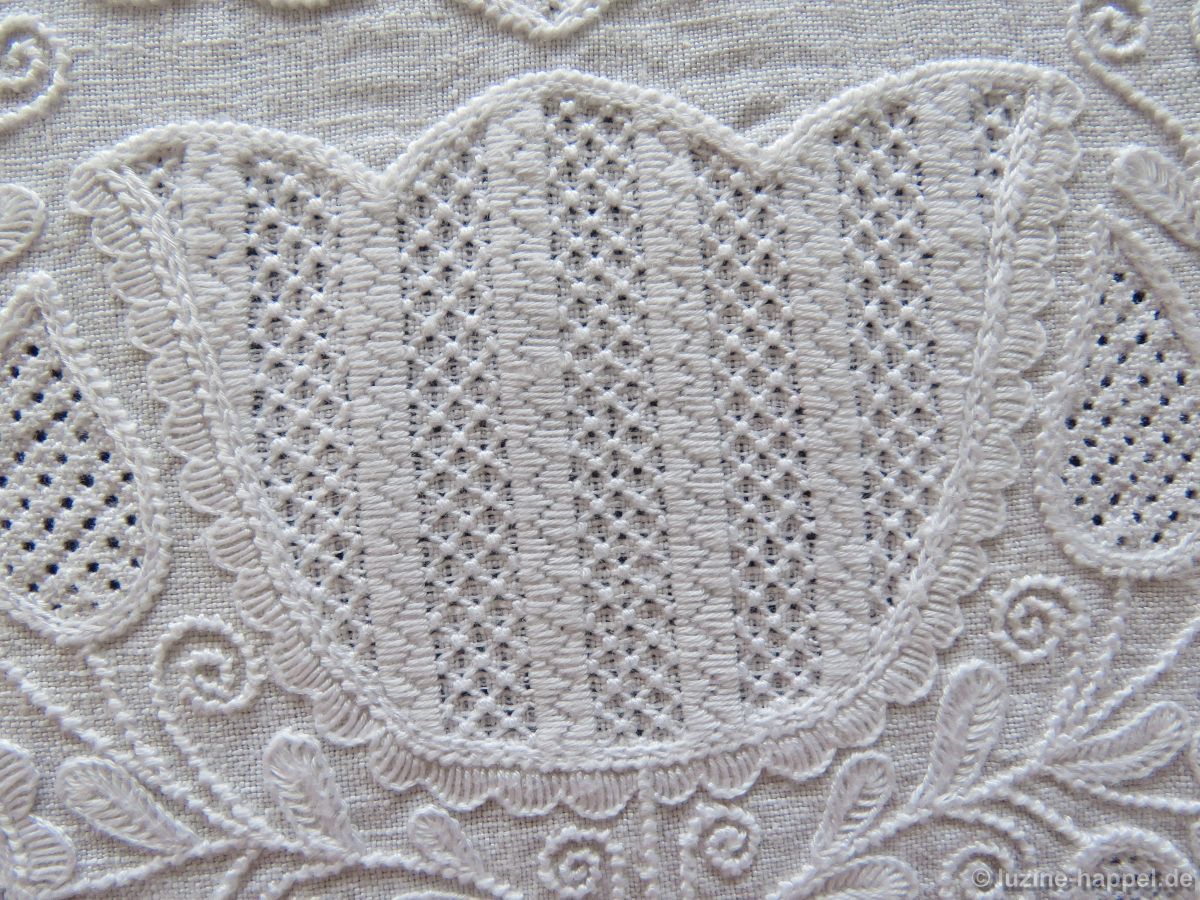
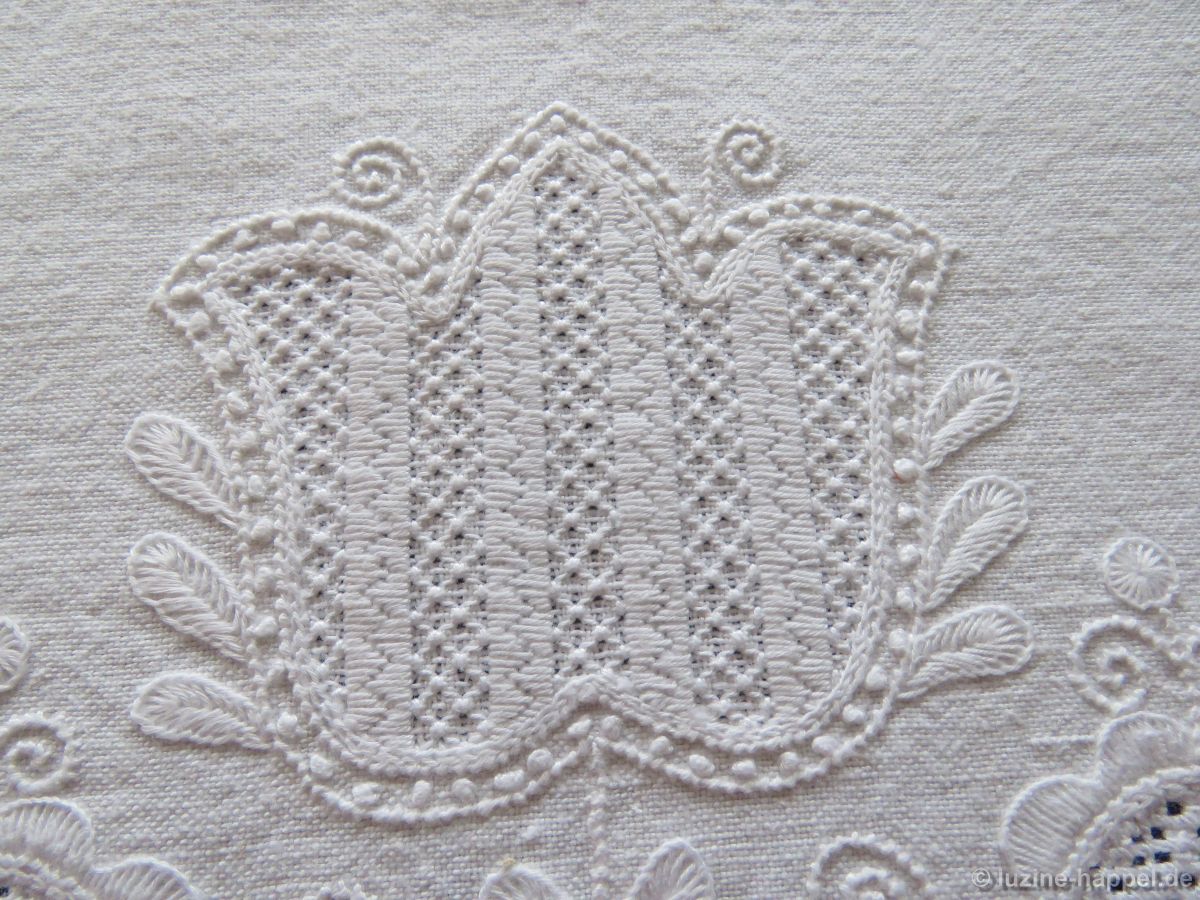
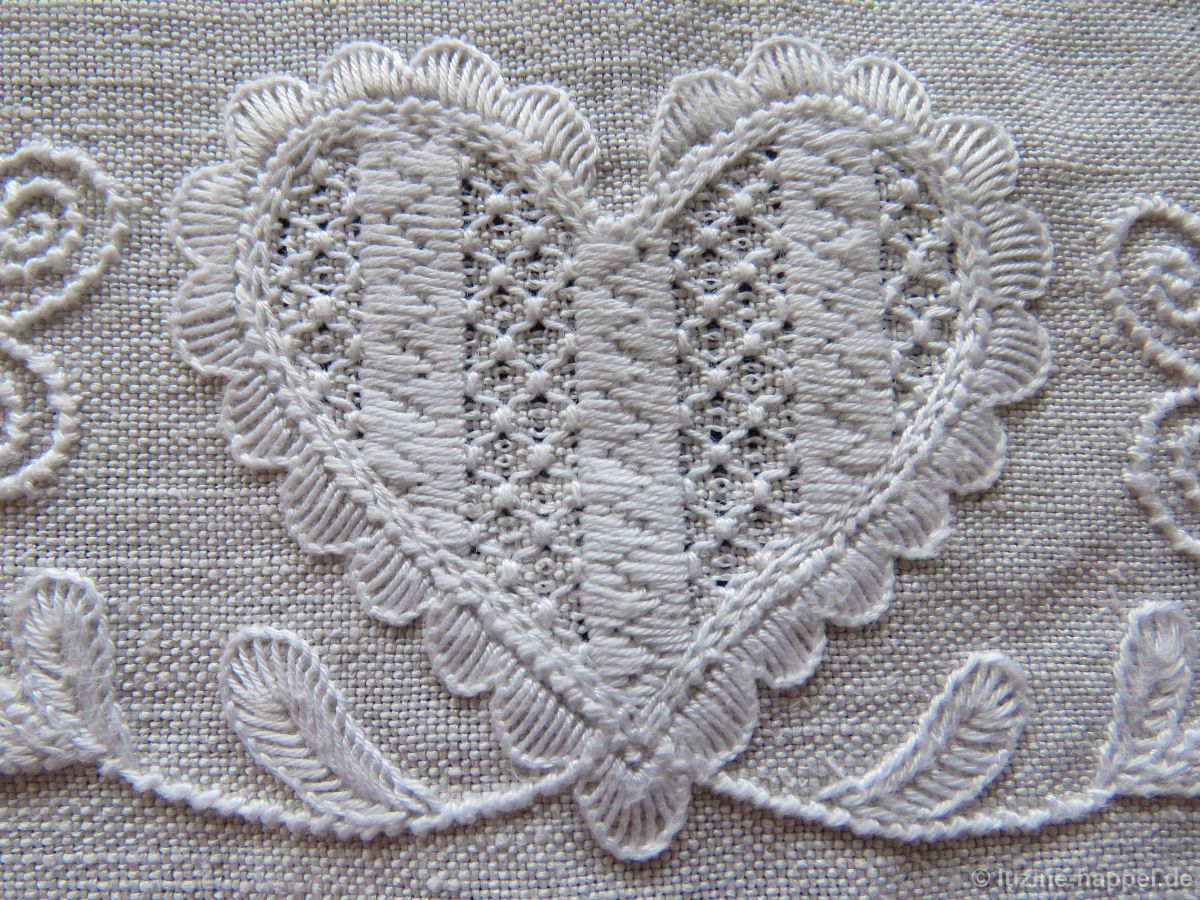
Das hier zuerst gezeigte Muster ist nur eine Arbeitsprobe. Eingebettet in eine Motivfläche findet man es am Ende dieses Beitrages.
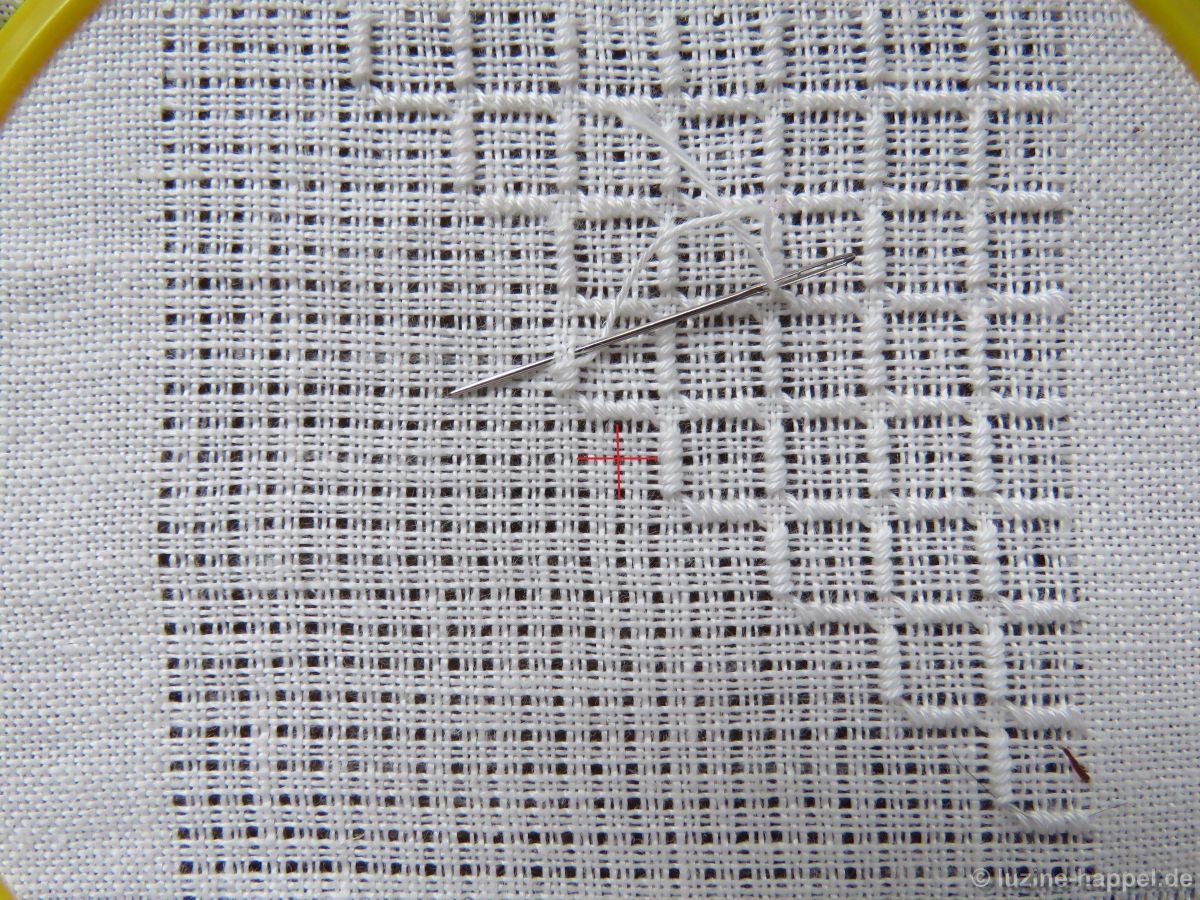
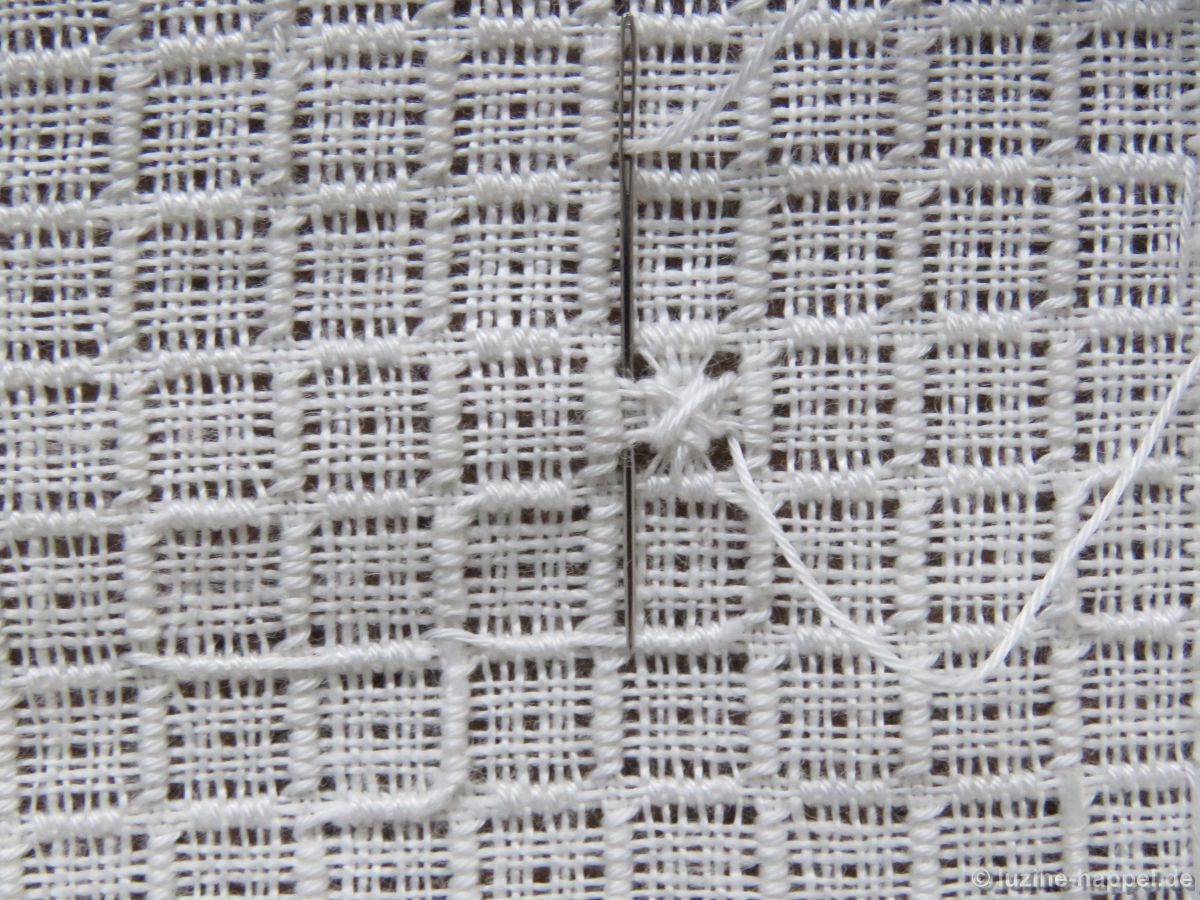
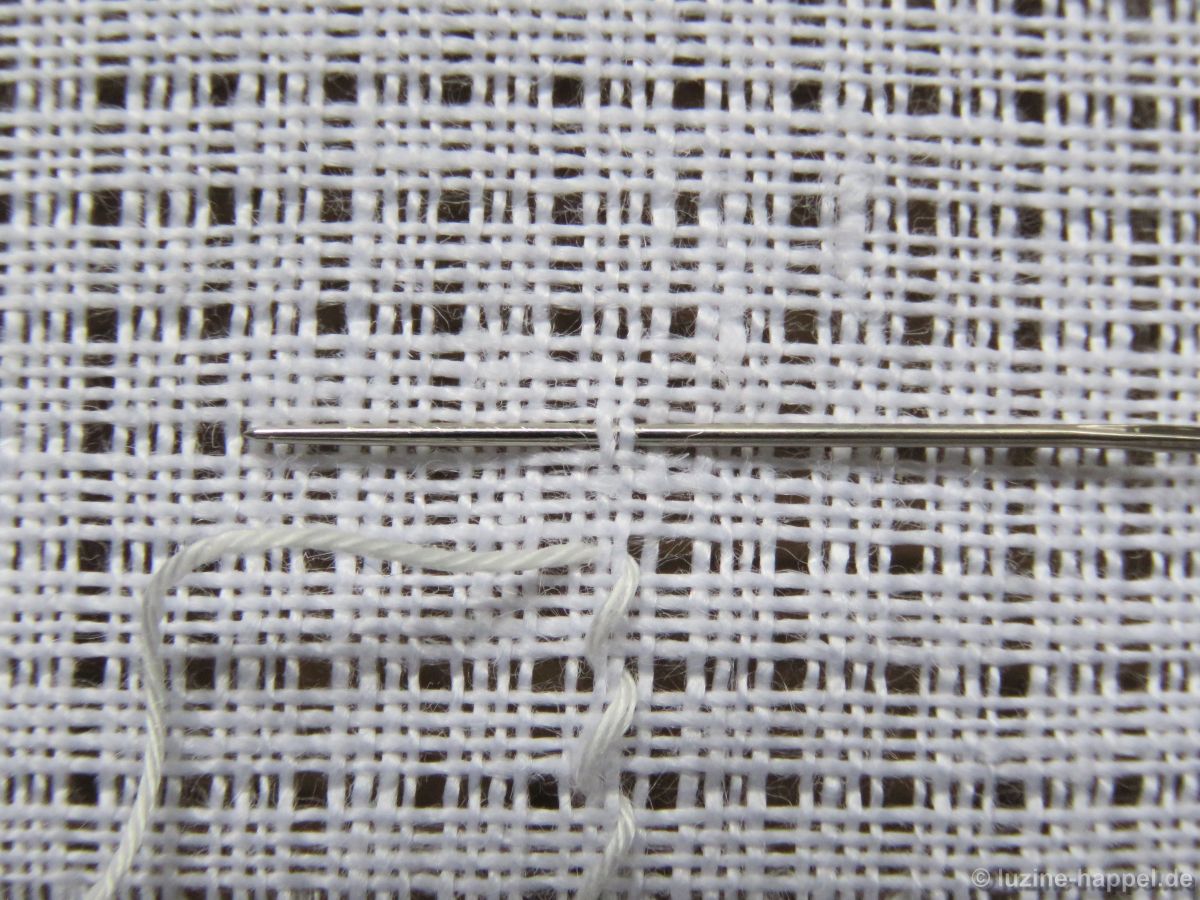
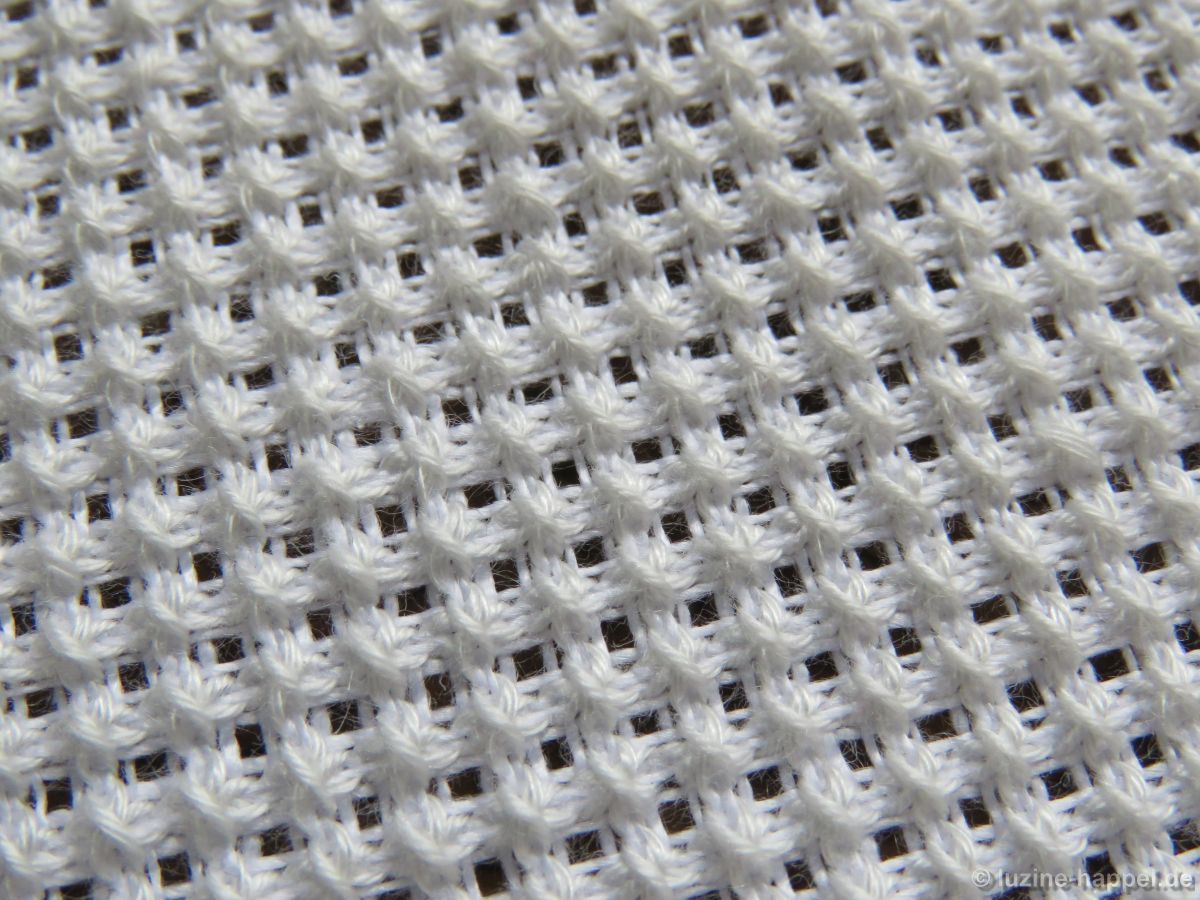
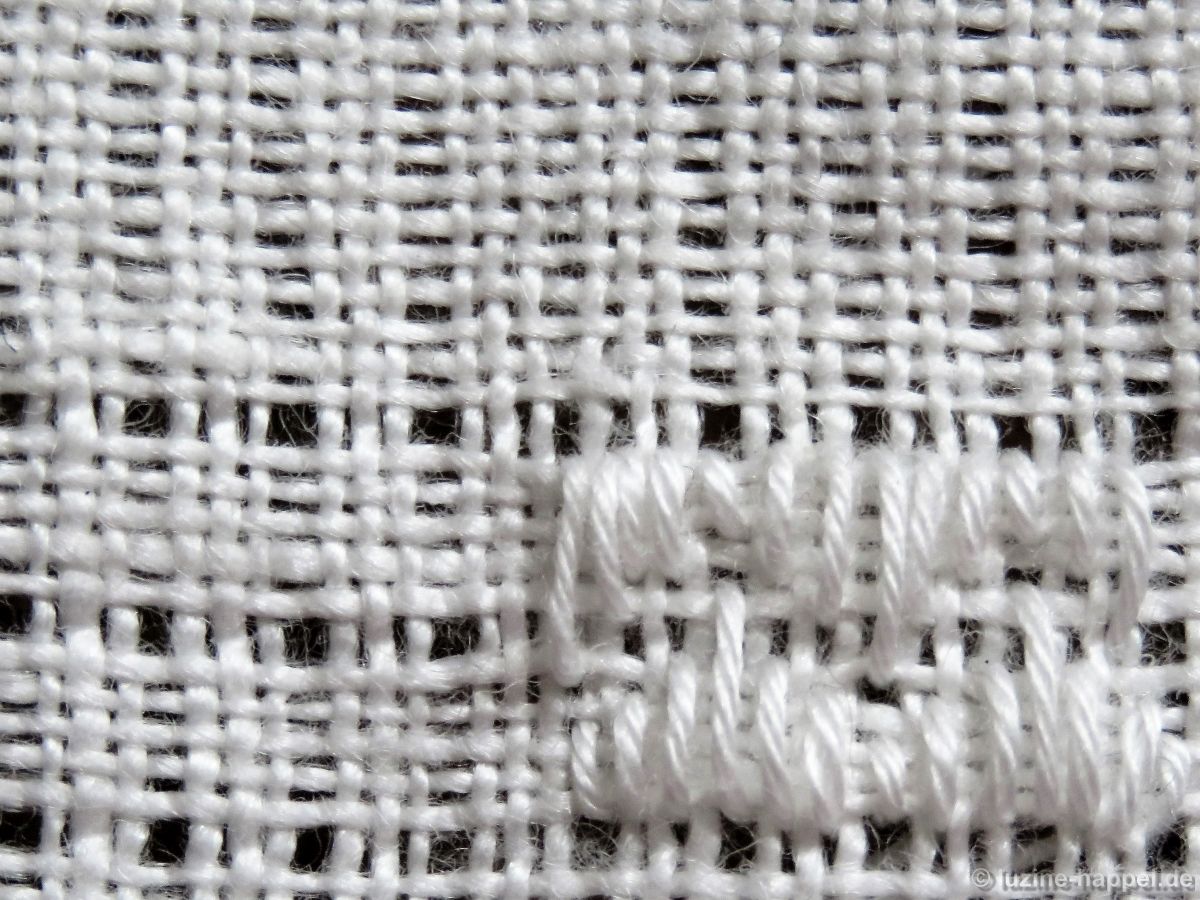
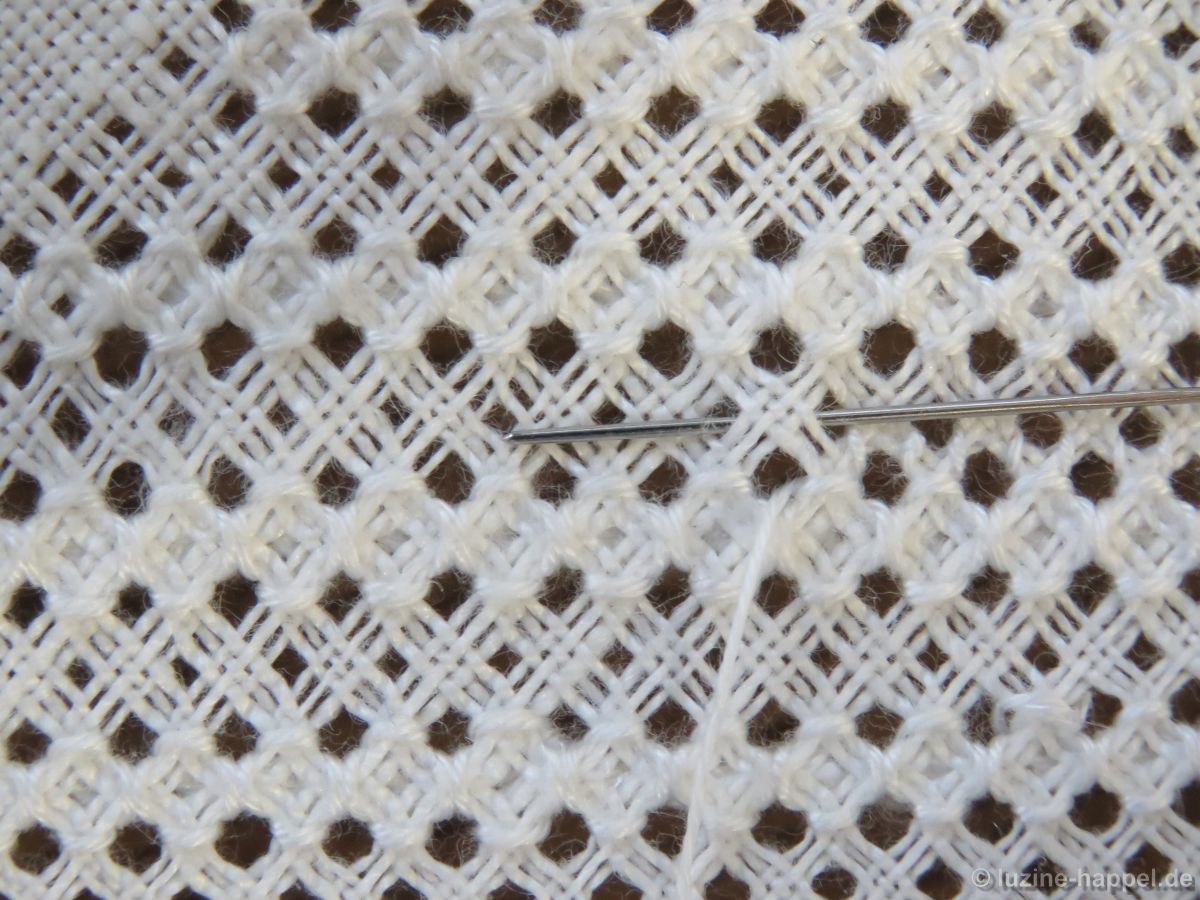
Zuerst erstellt man ein Limet-Fadengitter mit einer Kreuzung zweier Fadenrinnen im Zentrum, indem man sowohl horizontal als auch vertikal jeden vierten Faden auszieht.
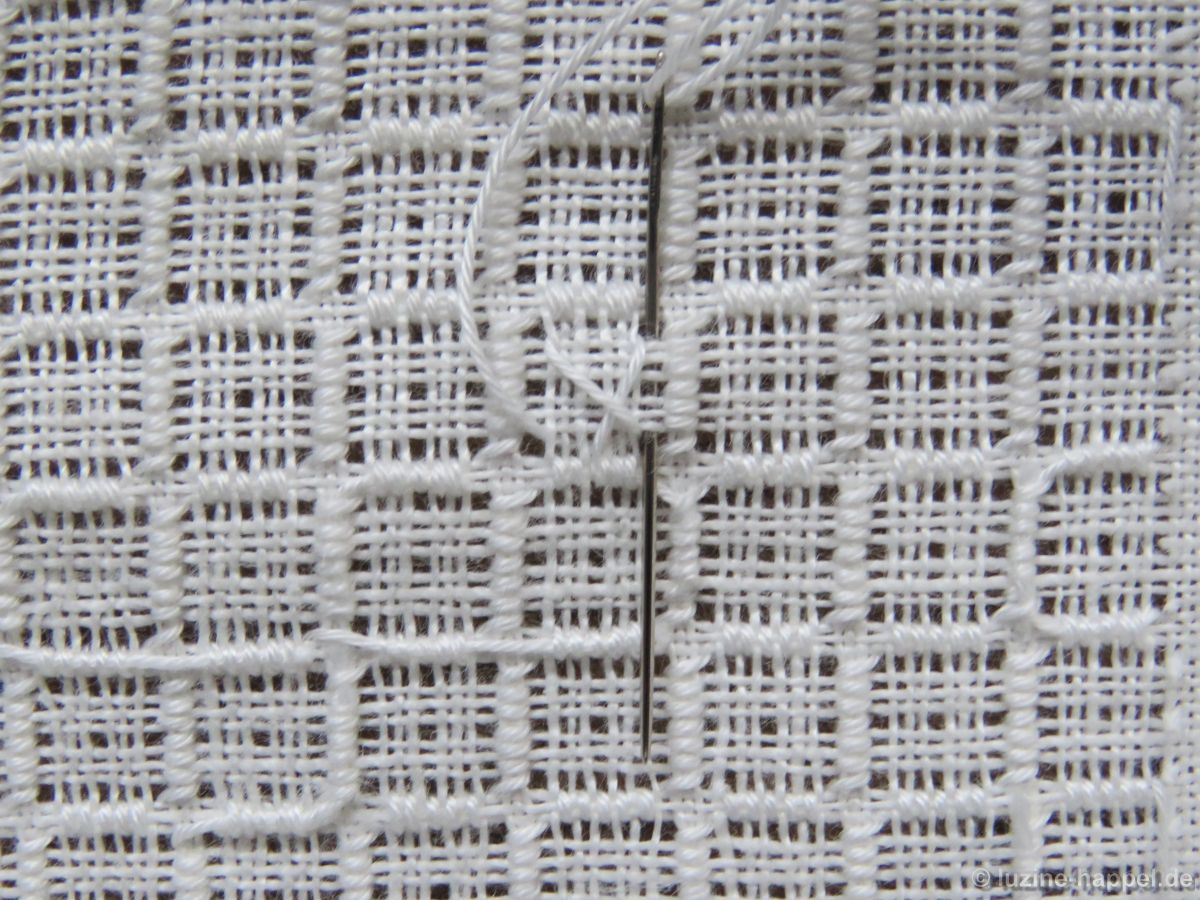
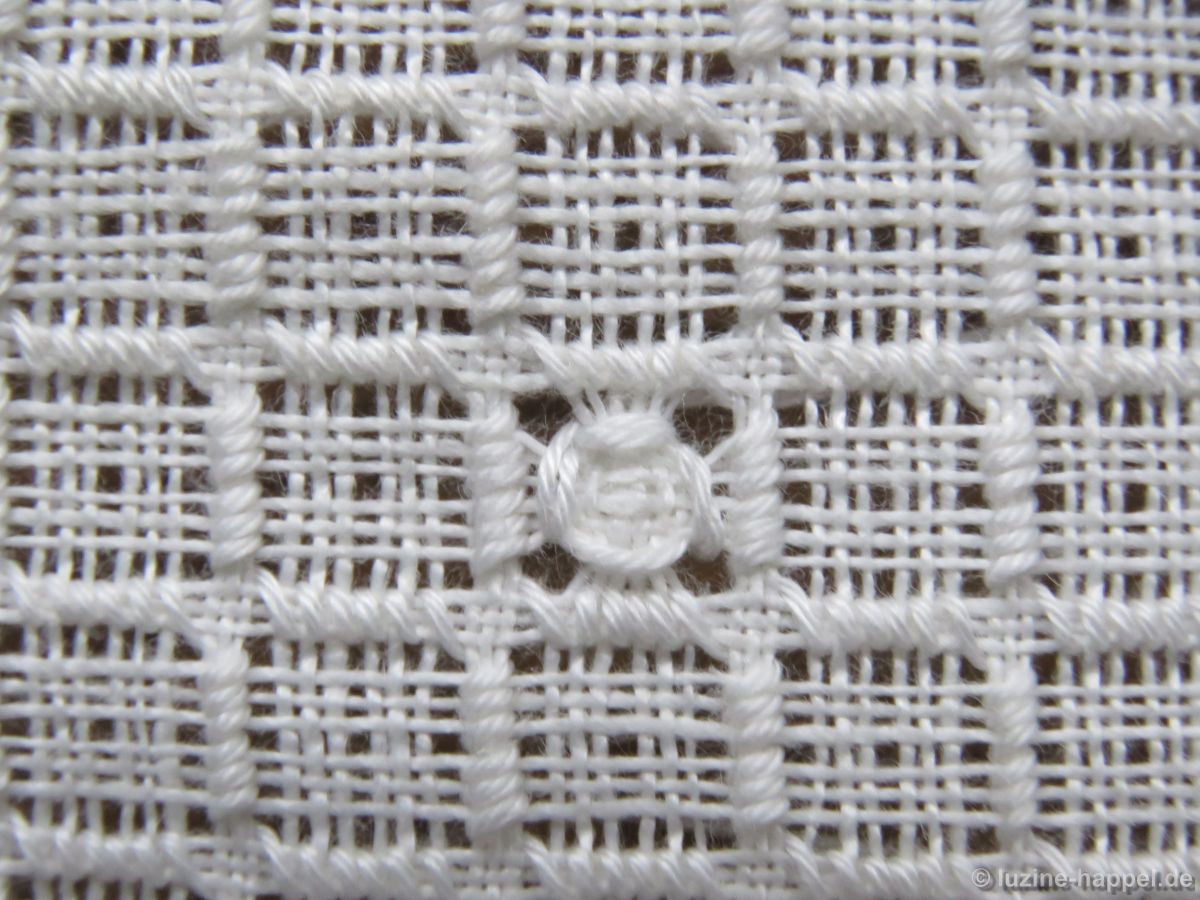
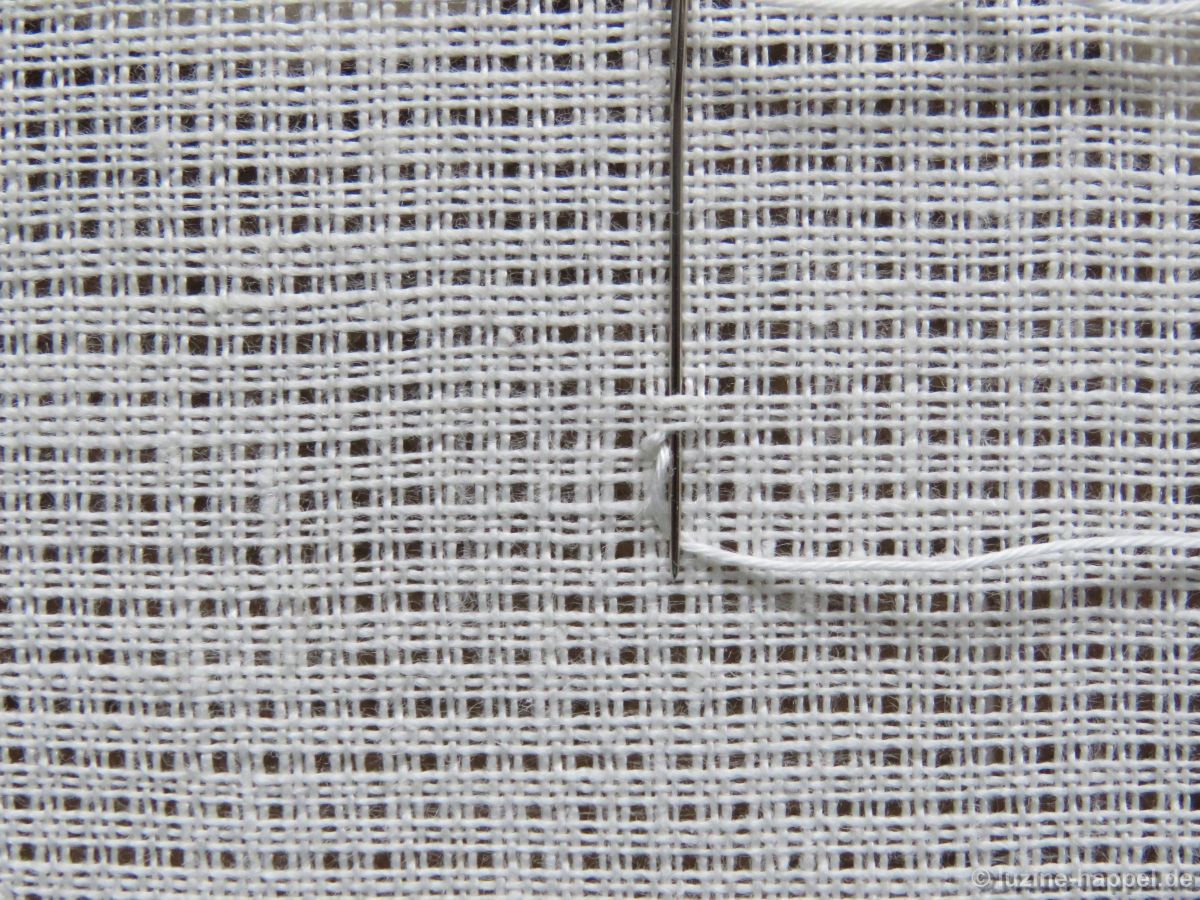
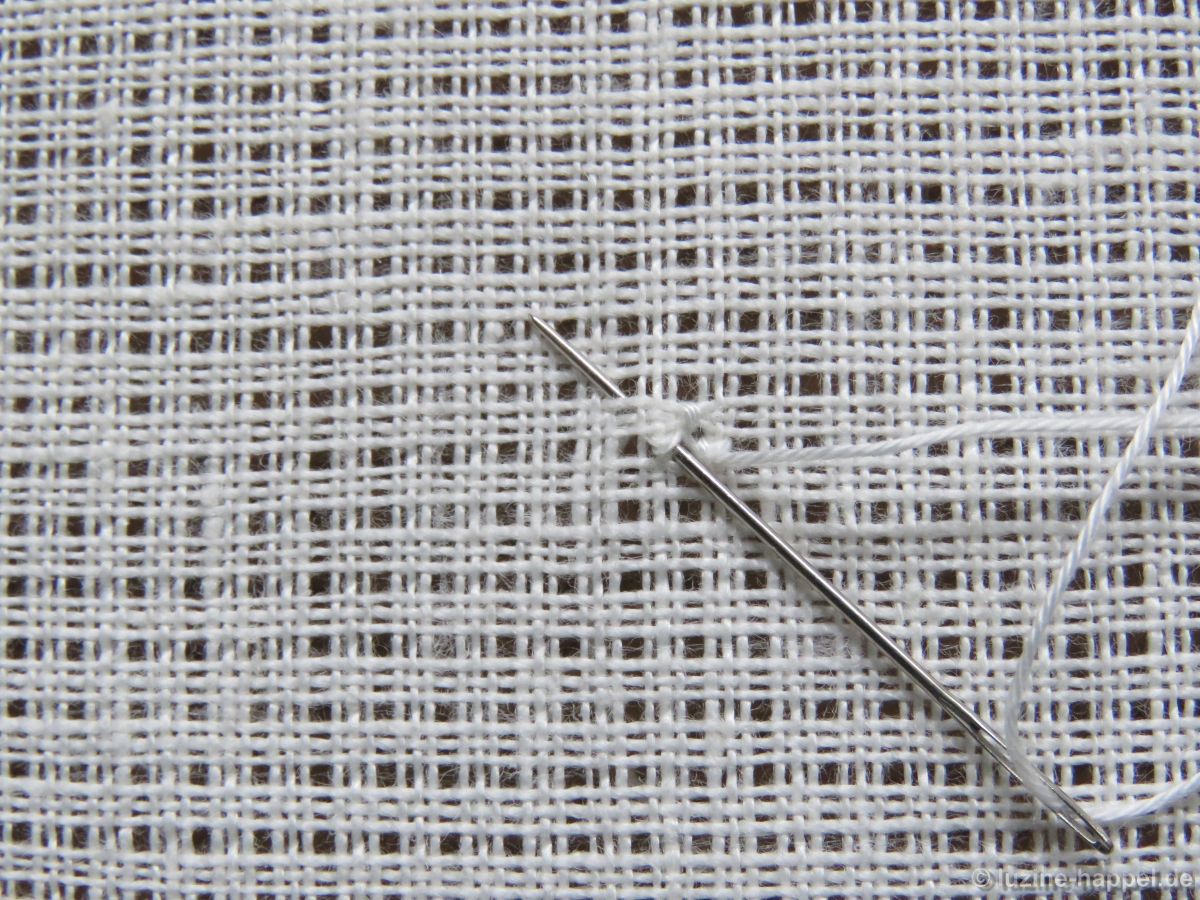
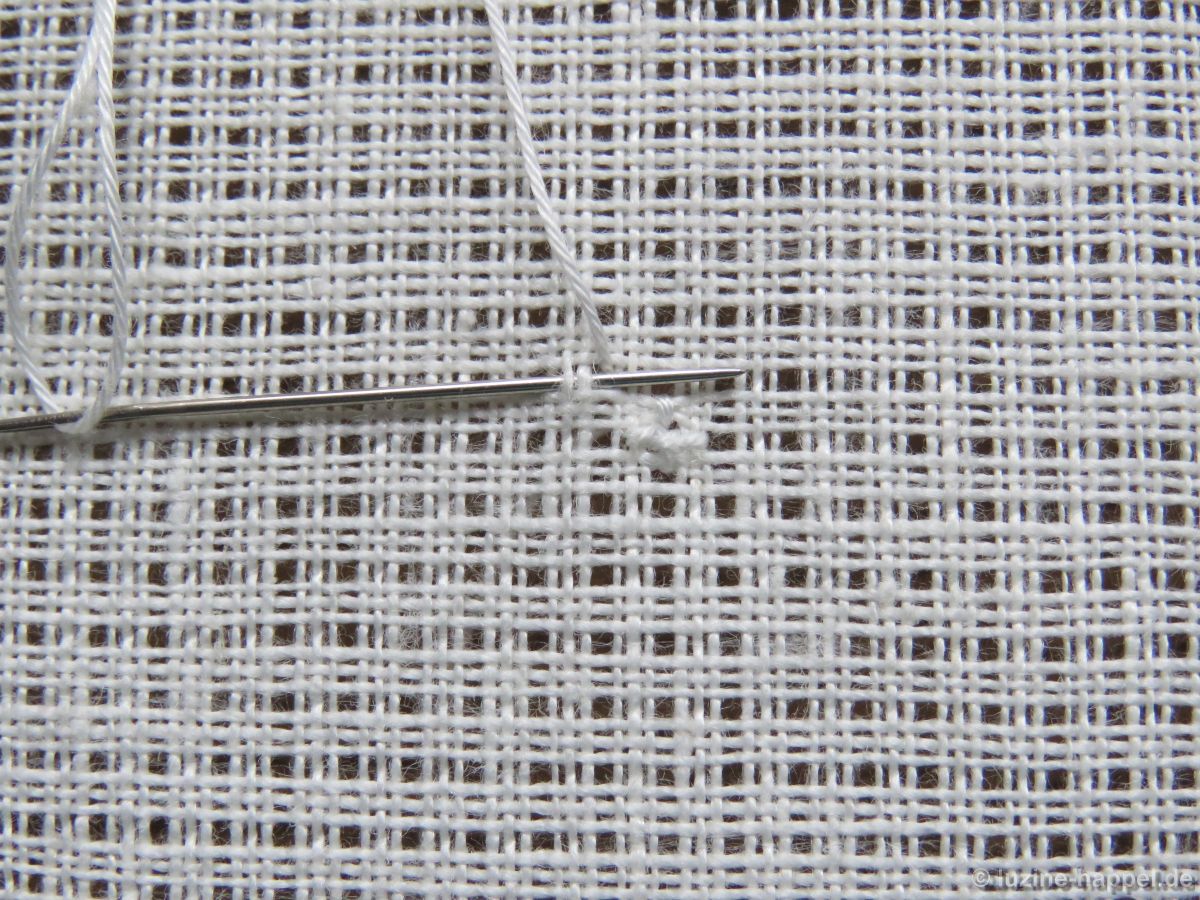
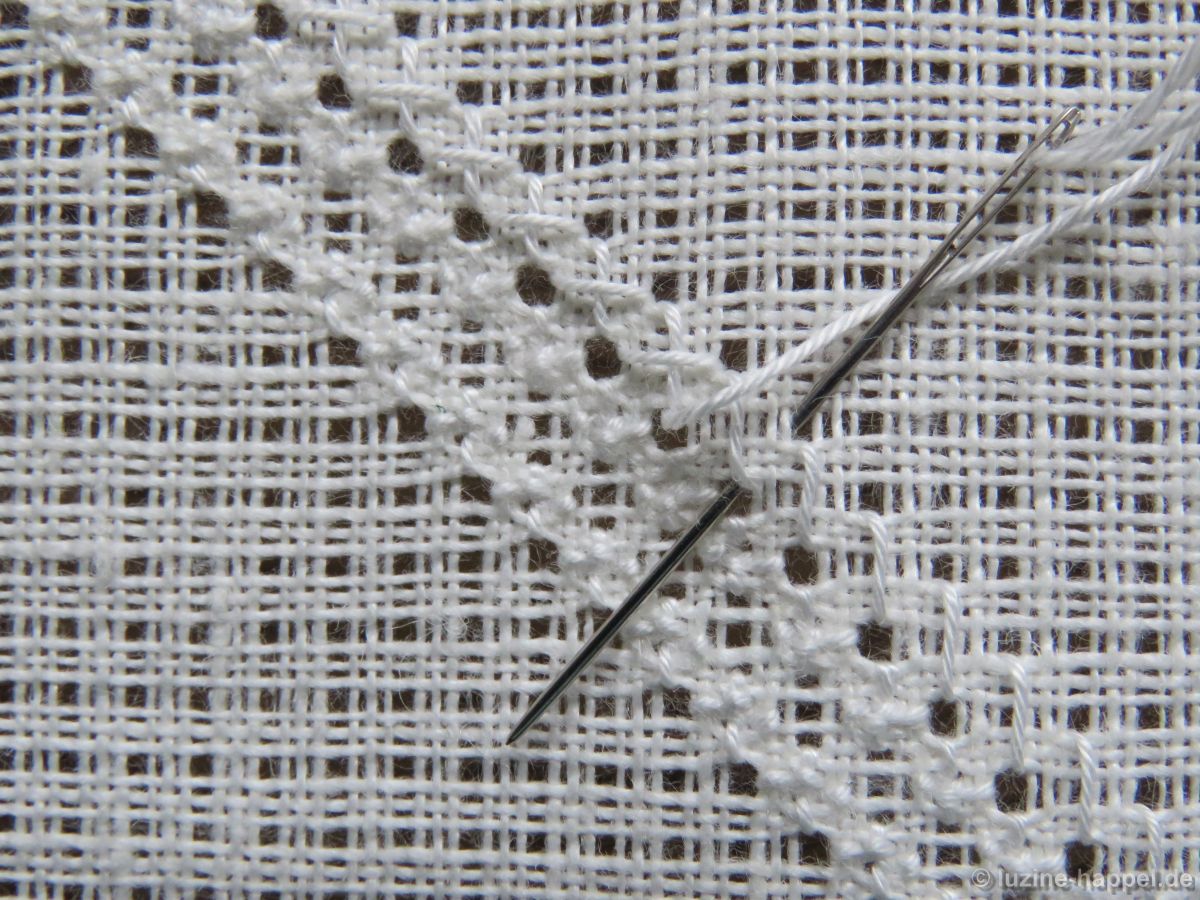
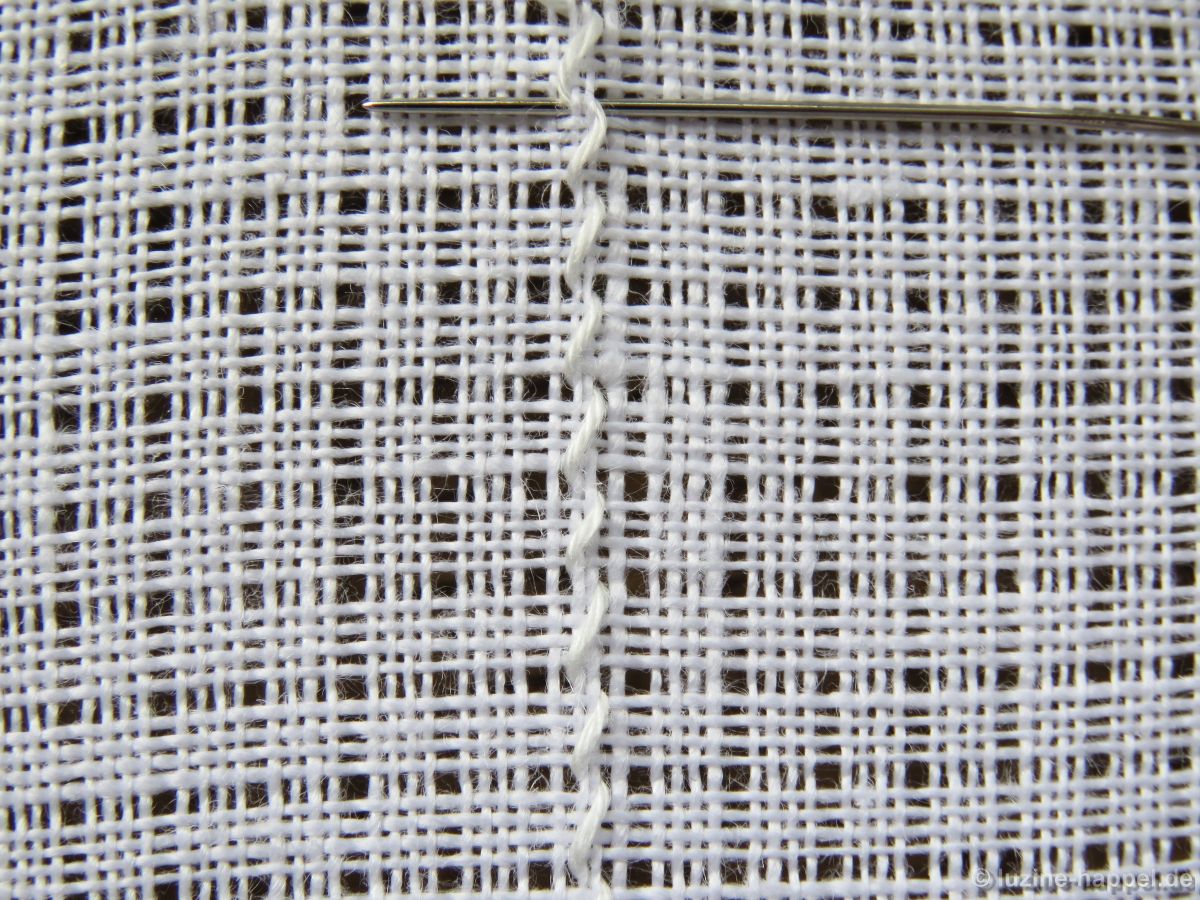
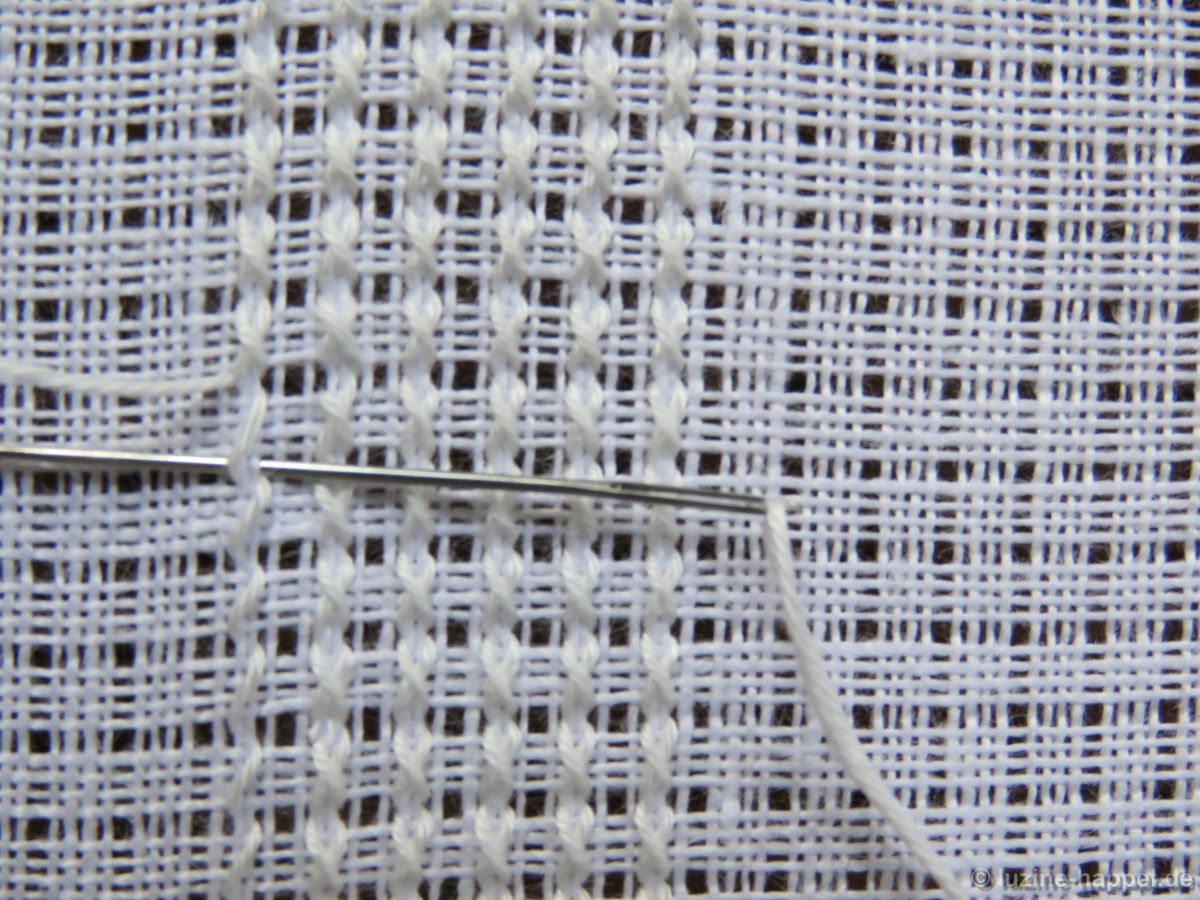
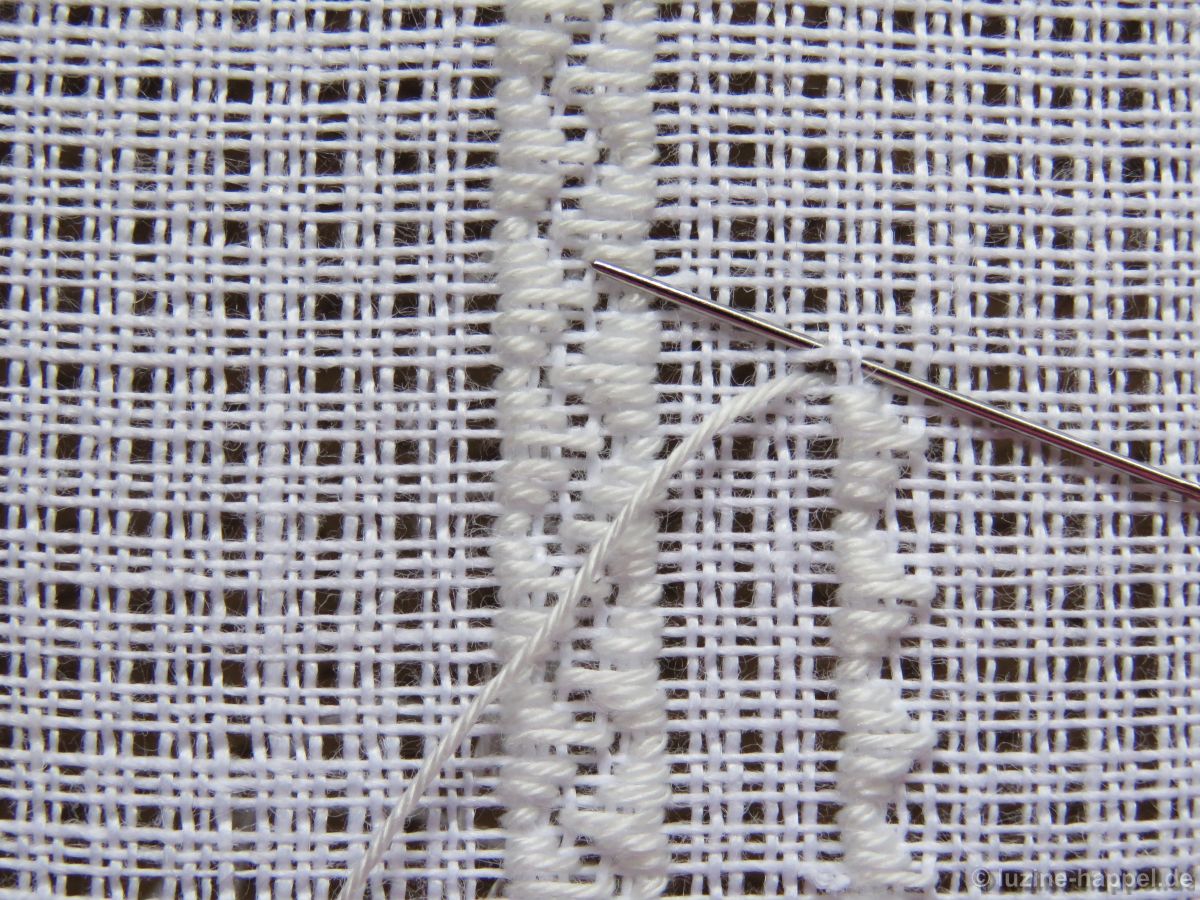
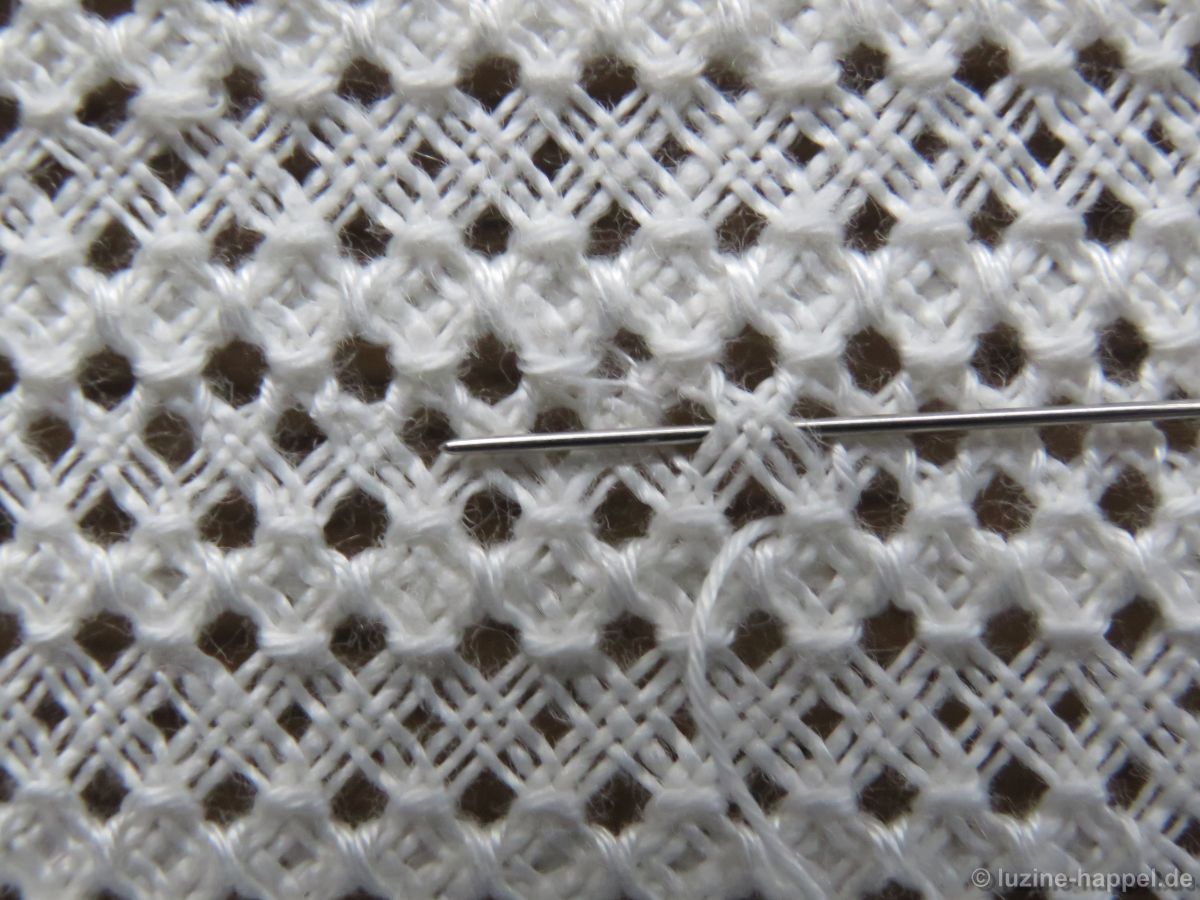
Man markiert den Mittelpunkt und sticht im Loch links neben dem Mittelpunkt aus. Von hier beginnt man einen diagonalen Kästchenstich zu arbeiten – als Rhombus um den Mittelpunkt herum wie bei Flächenfüllmuster 555 zu sehen und setzt die diagonale Reihe fort.
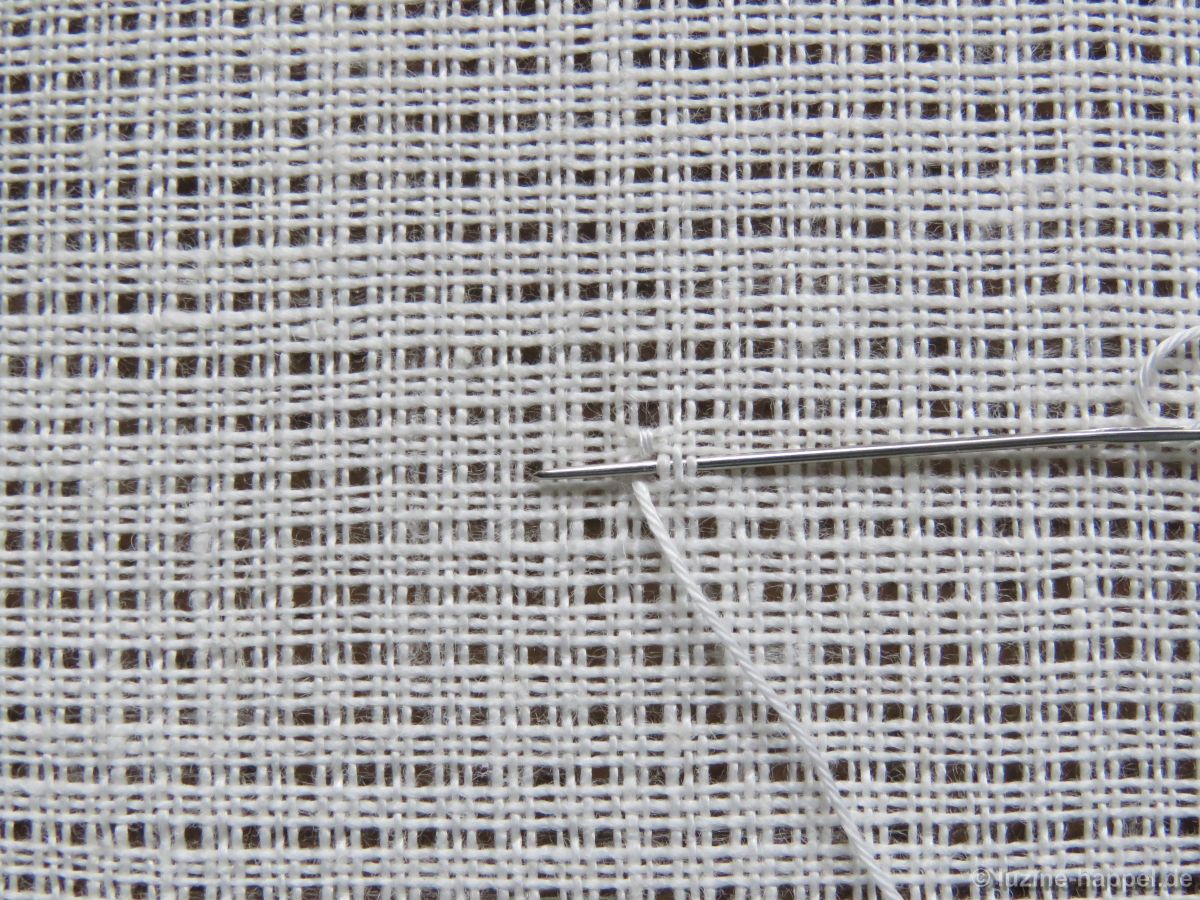
Man arbeitet eine zweite Reihe diagonaler Kästchenstiche parallel zur ersten und in einem Abstand von zwei freibleibenden 3-er Fadenbündel (gezählt in einer horizontalen Linie zwischen dem Mittelpunkt eines Kästchenstiches der ersten und einem der zweiten Reihe).
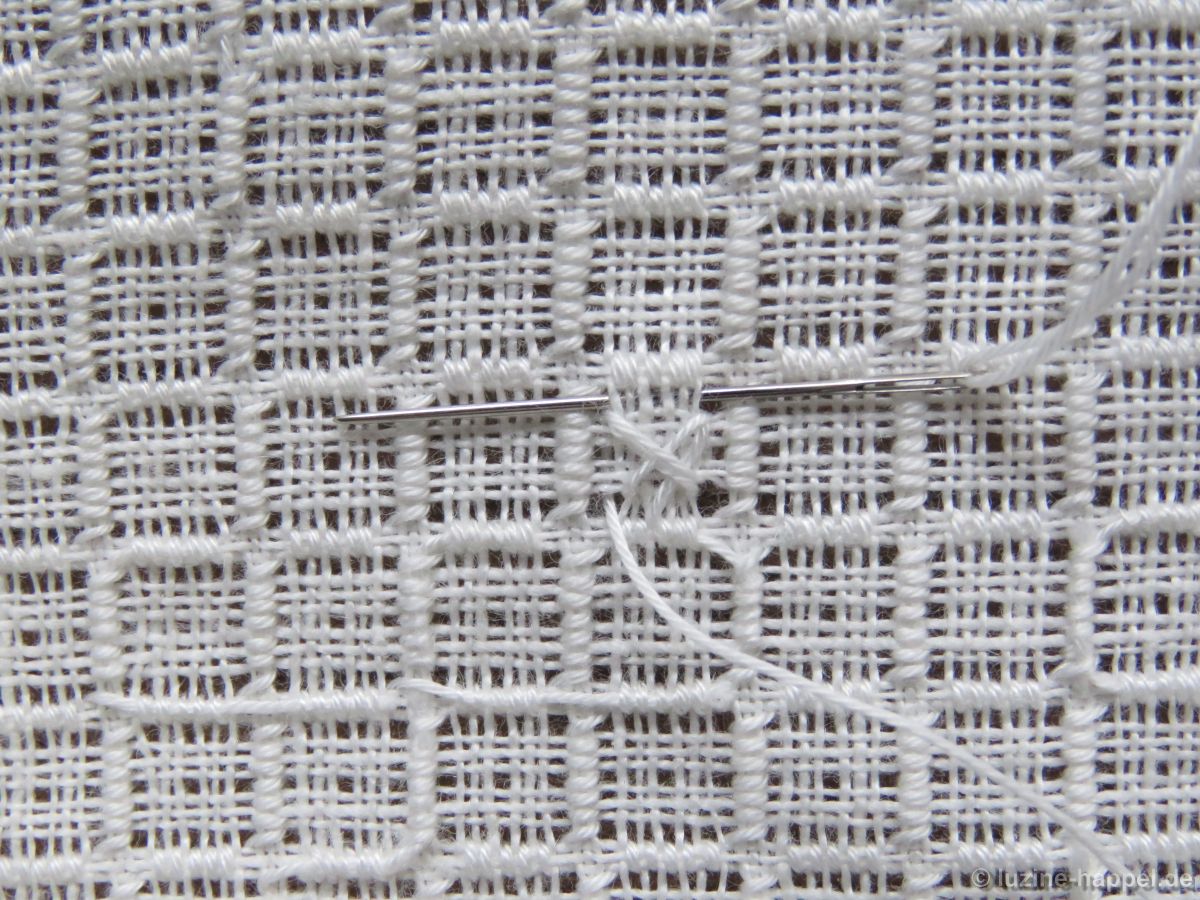
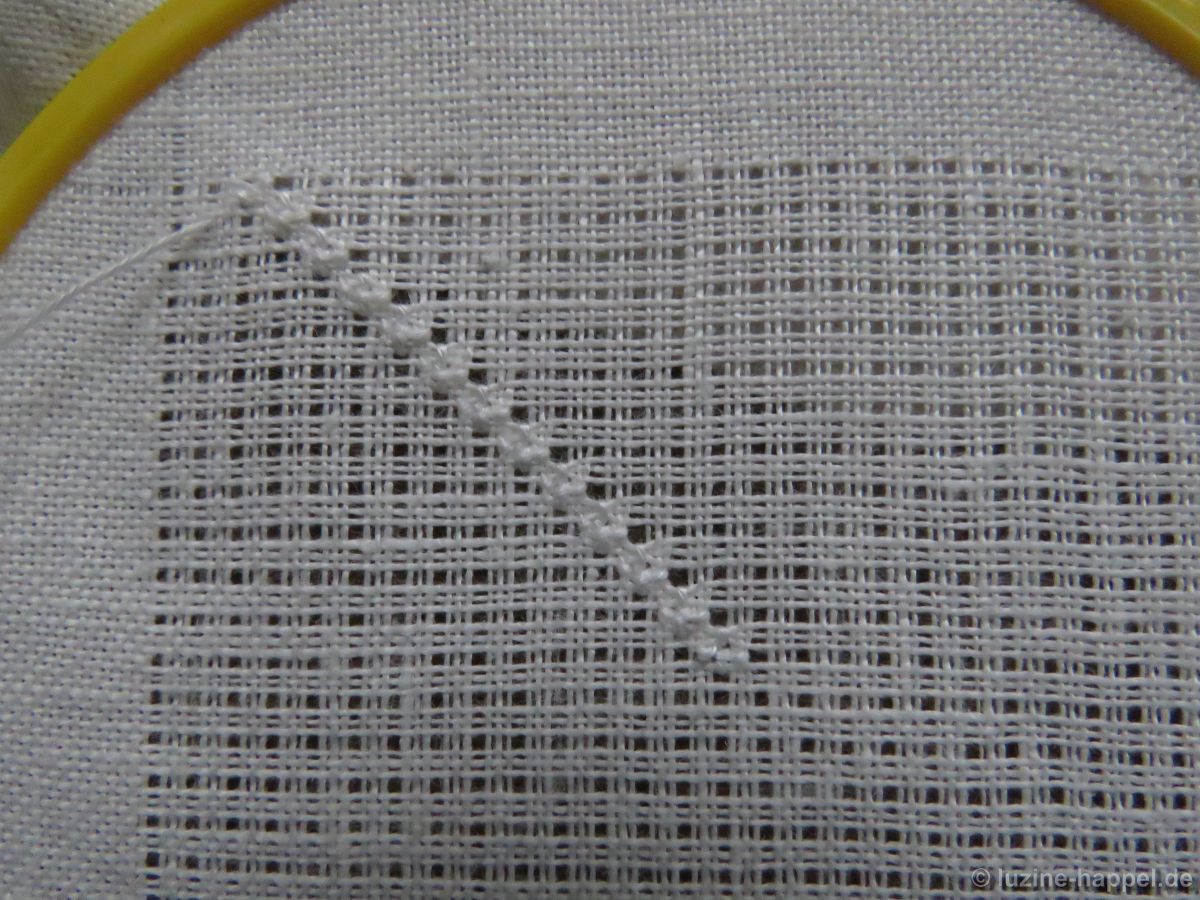
So stickt man Reihe neben Reihe, bis die gesamte Fläche gefüllt ist. Es ist wichtig, dass man die Arbeit immer so dreht, dass die Reihen von unten rechts nach oben links entstehen.
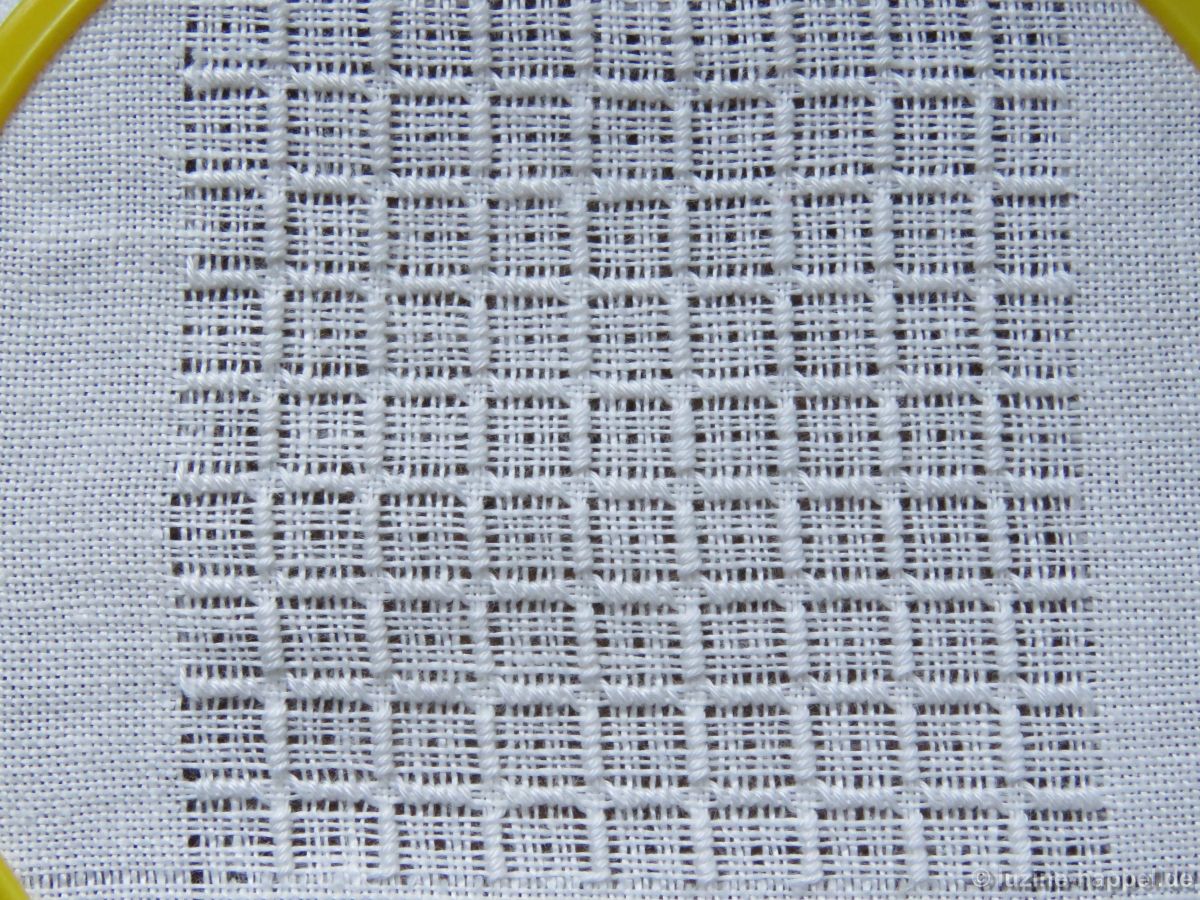
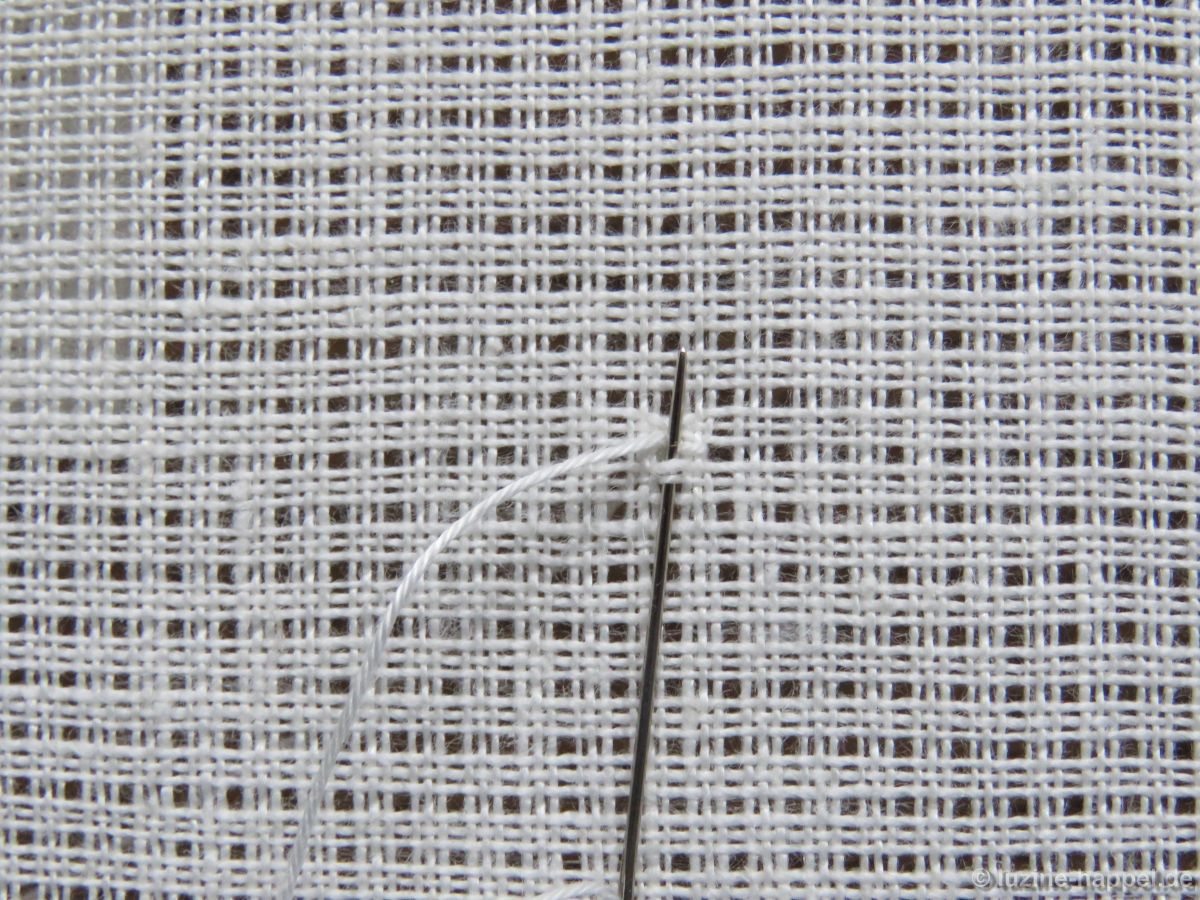
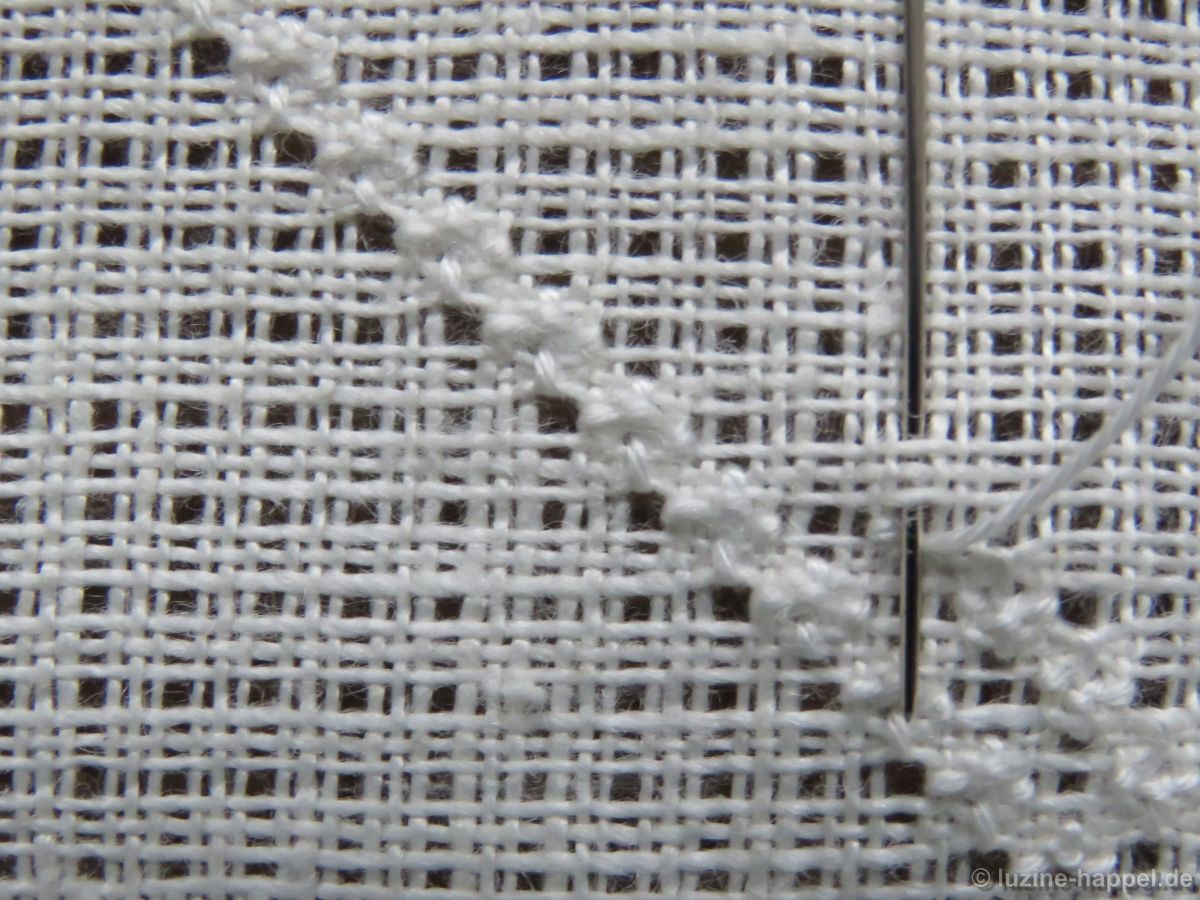
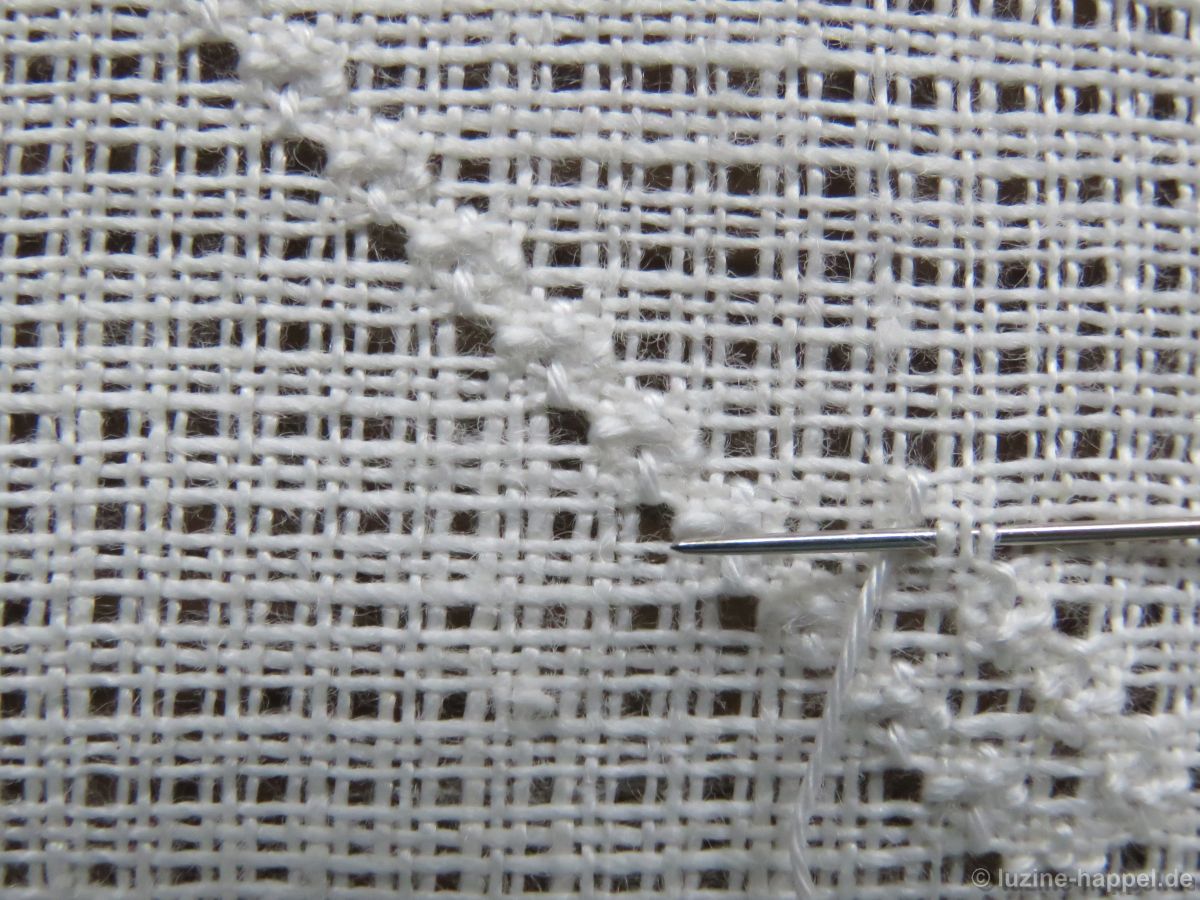
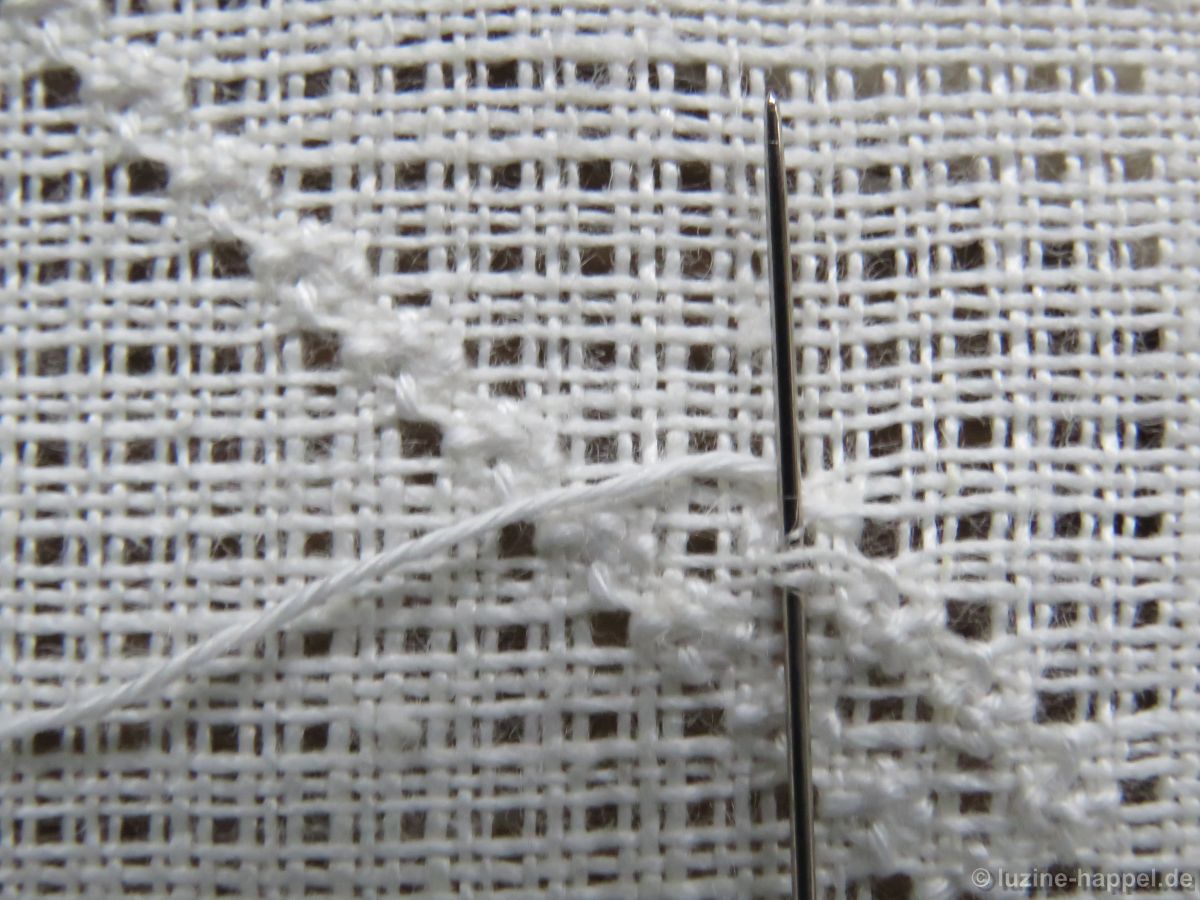
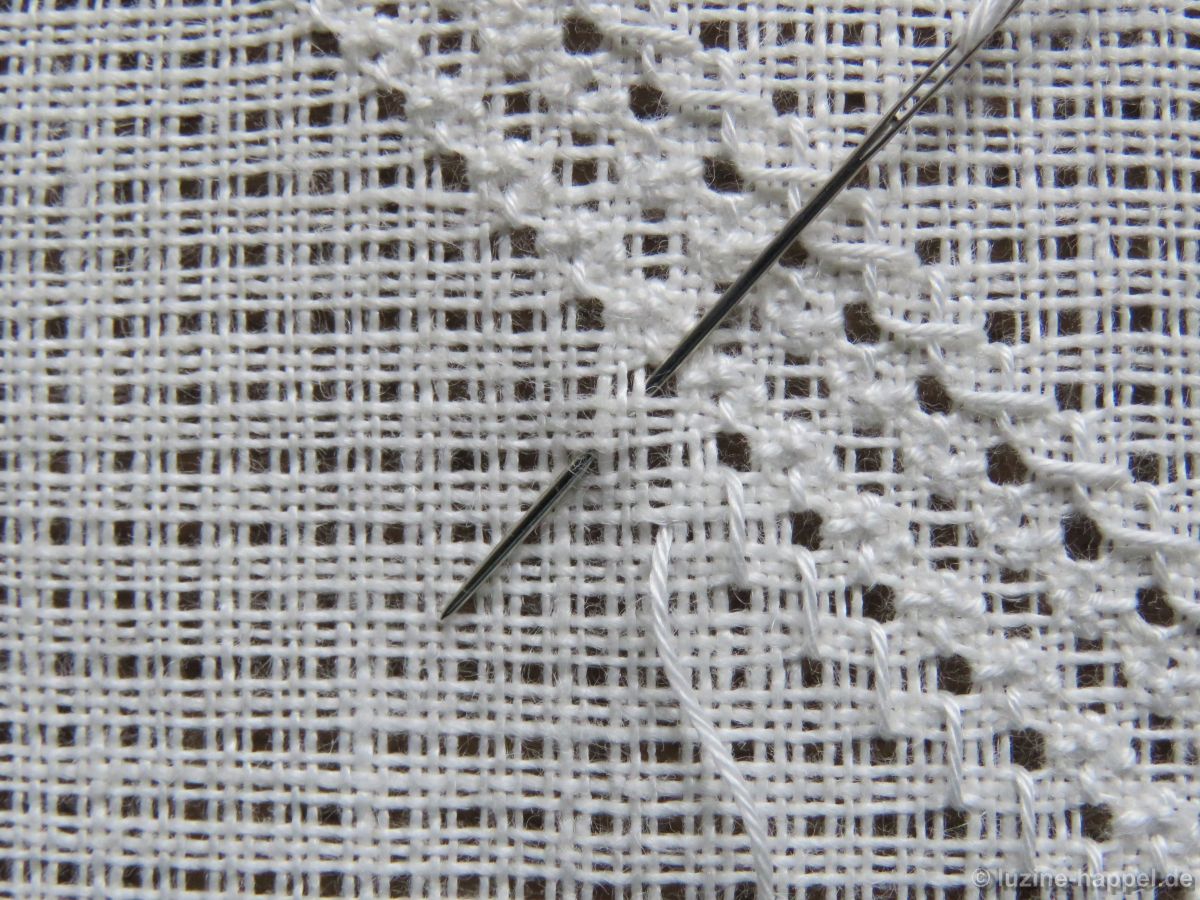
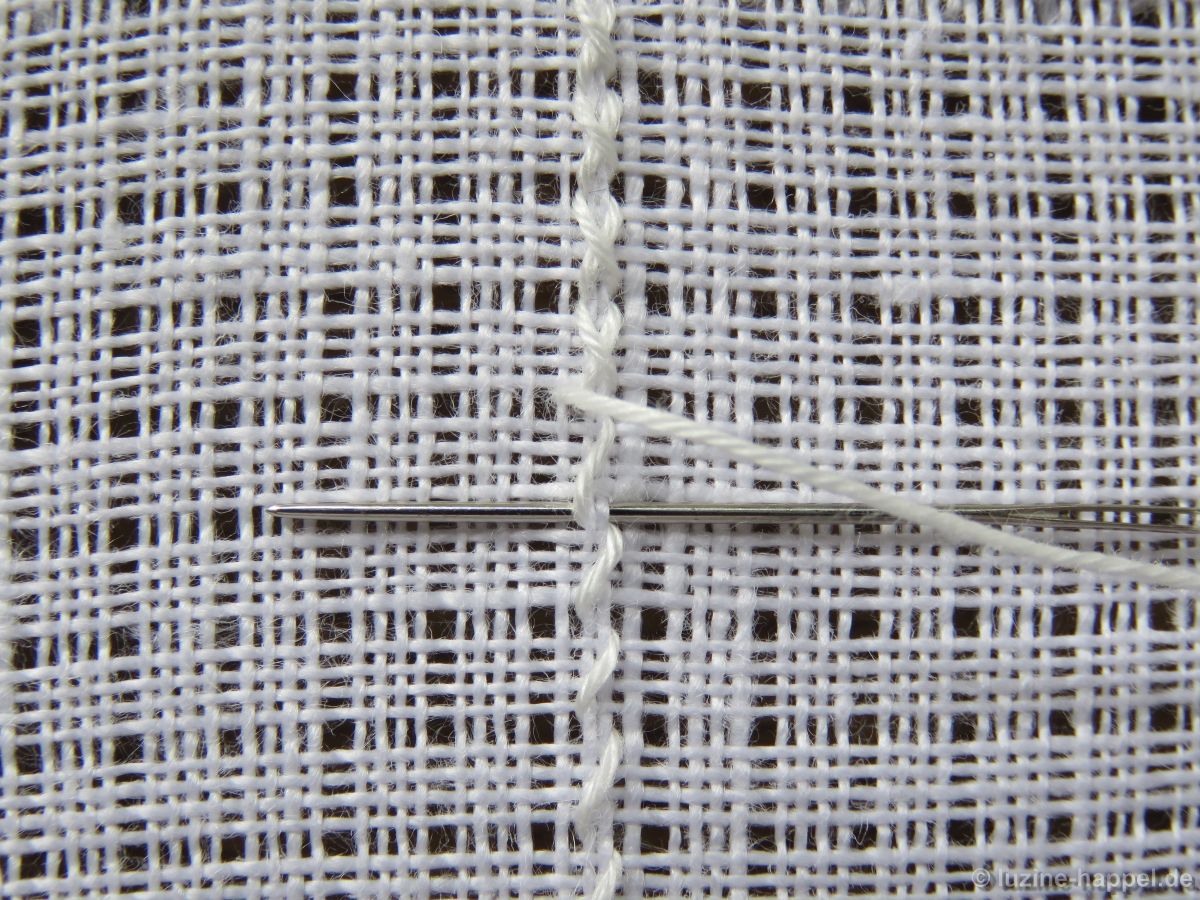
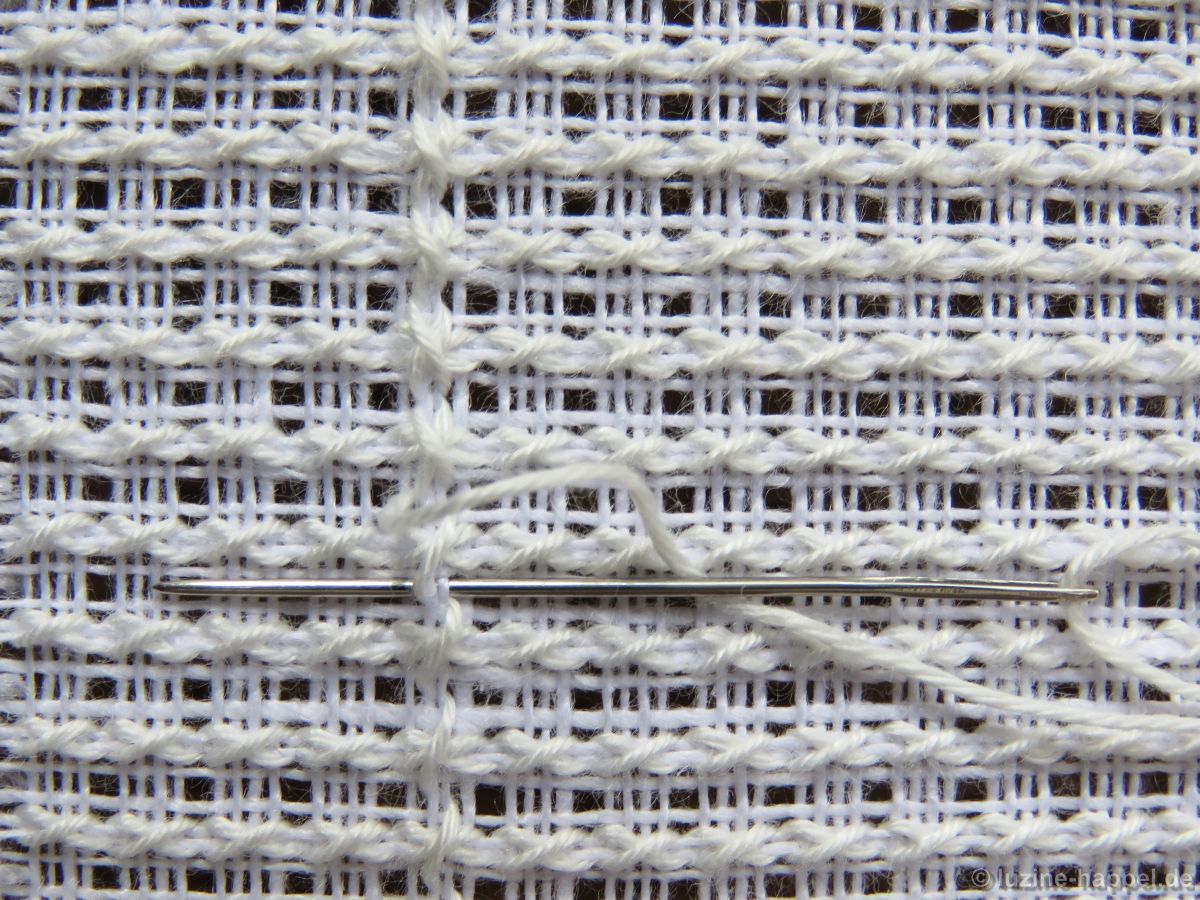
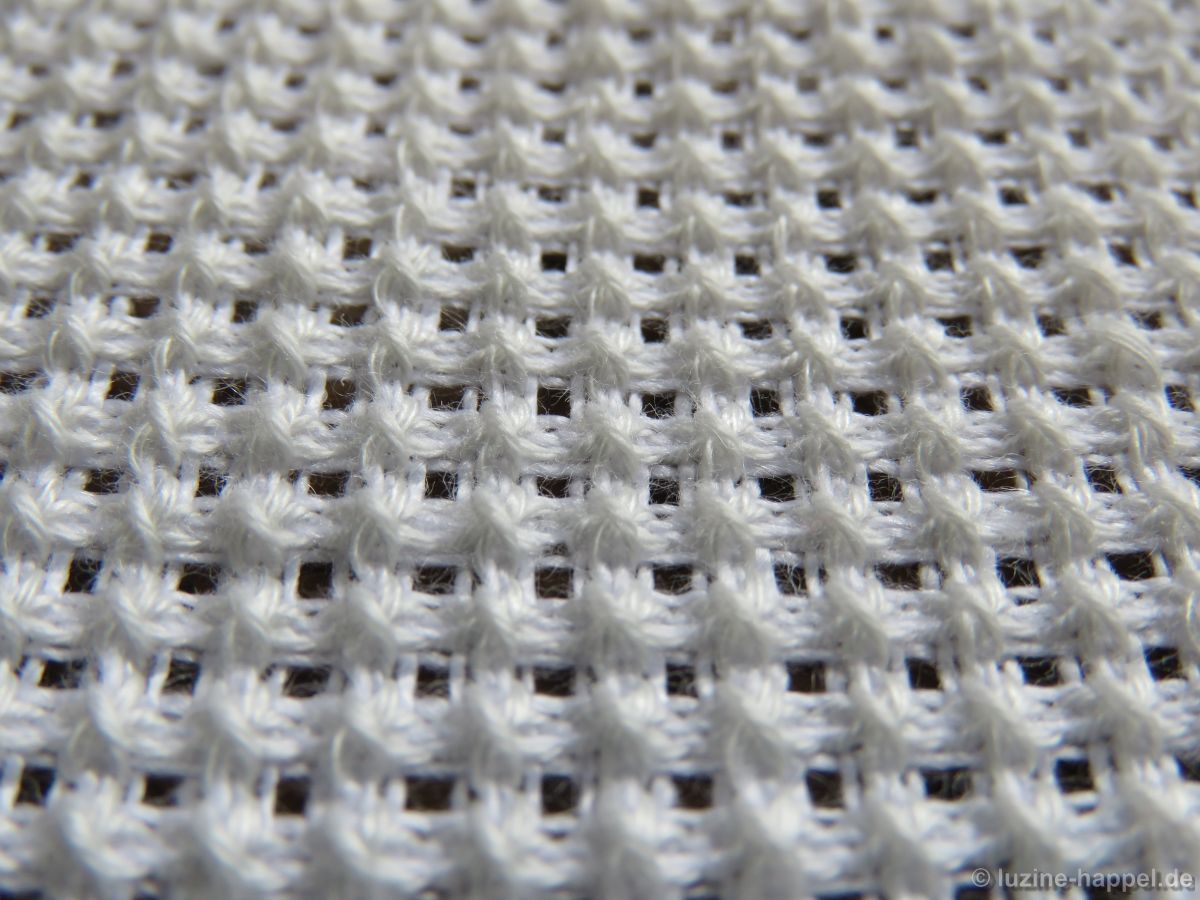
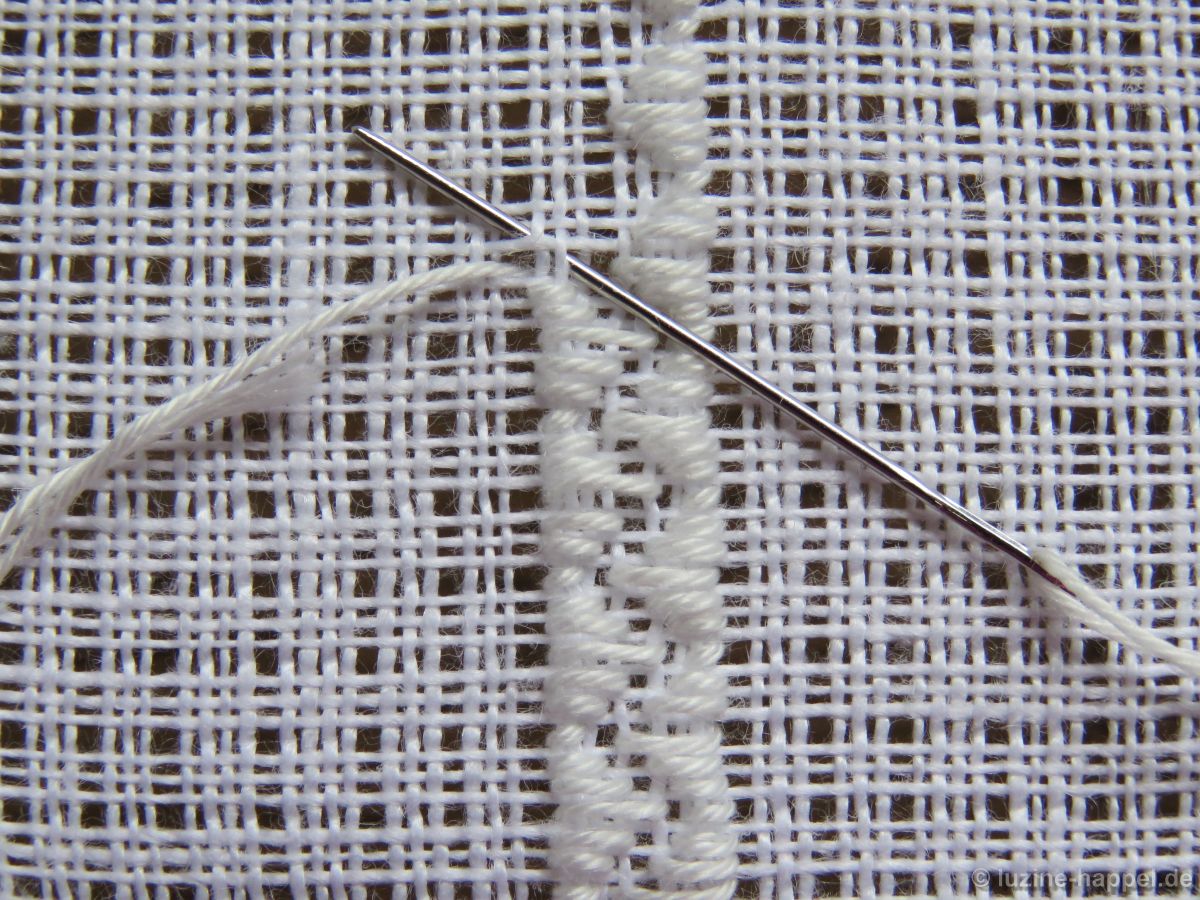
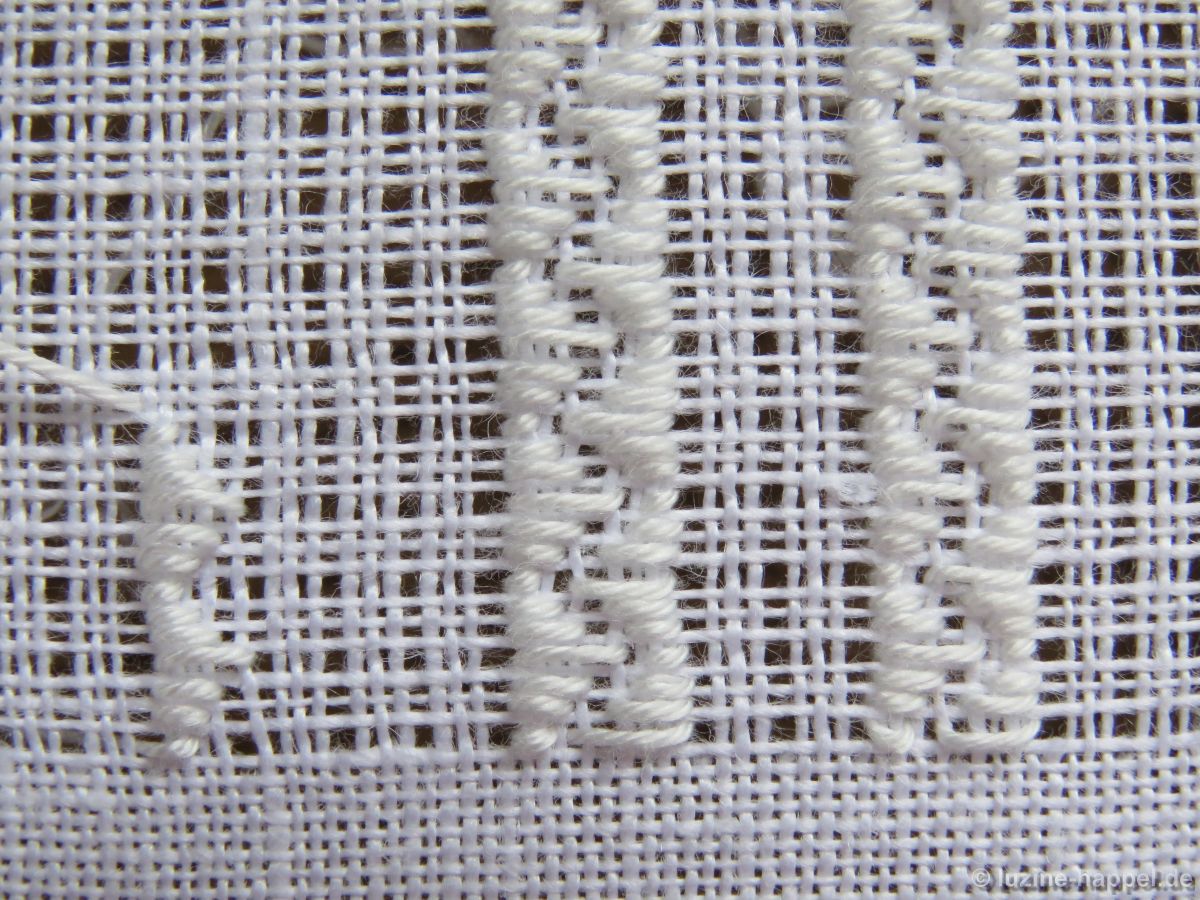
Von der Vorderseite aus stickt man Grundstiche zwischen die diagonalen Kästchenstiche, wie in den Bildern zu sehen, zuerst eine Reihe im Wechsel zwischen mittlerer Lochreihe
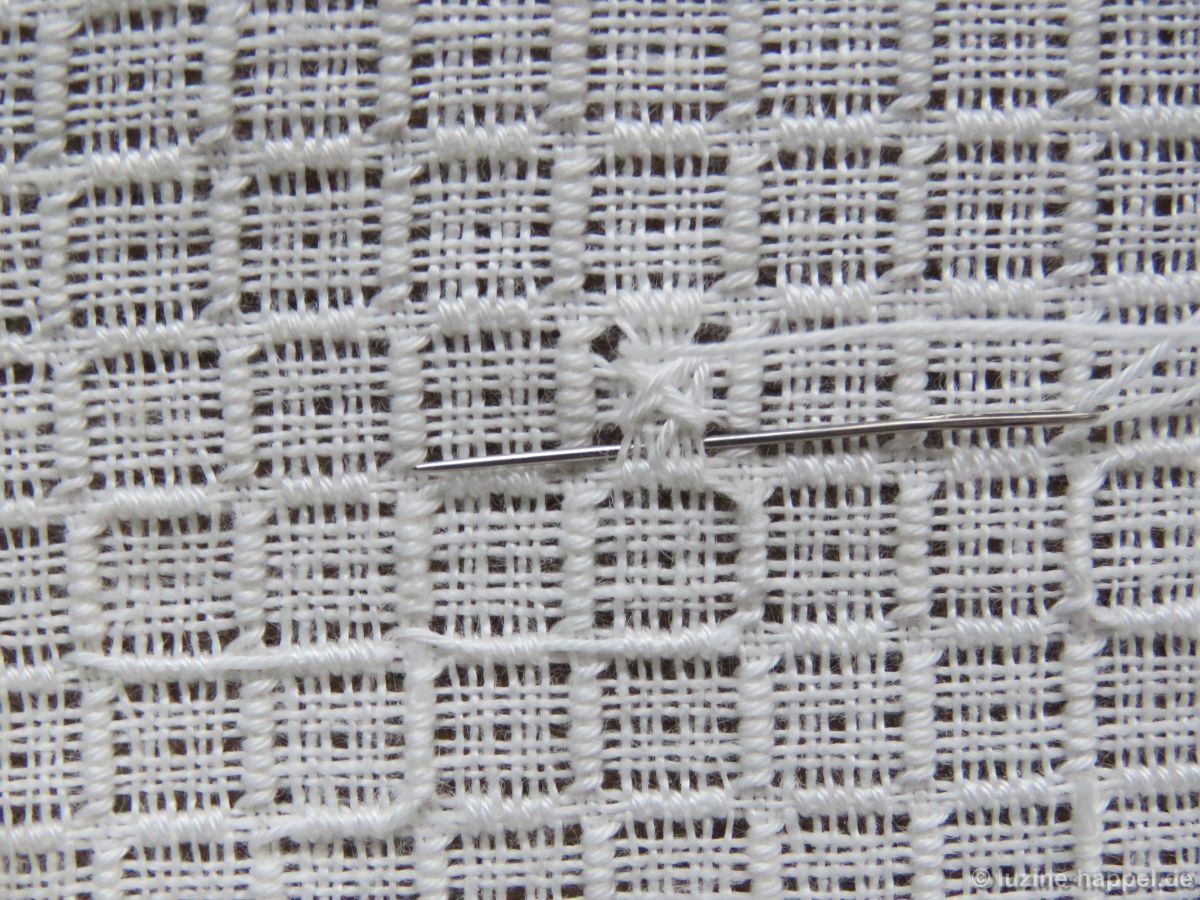
und an die unteren Kästchenstiche angrenzende Lochreihe.
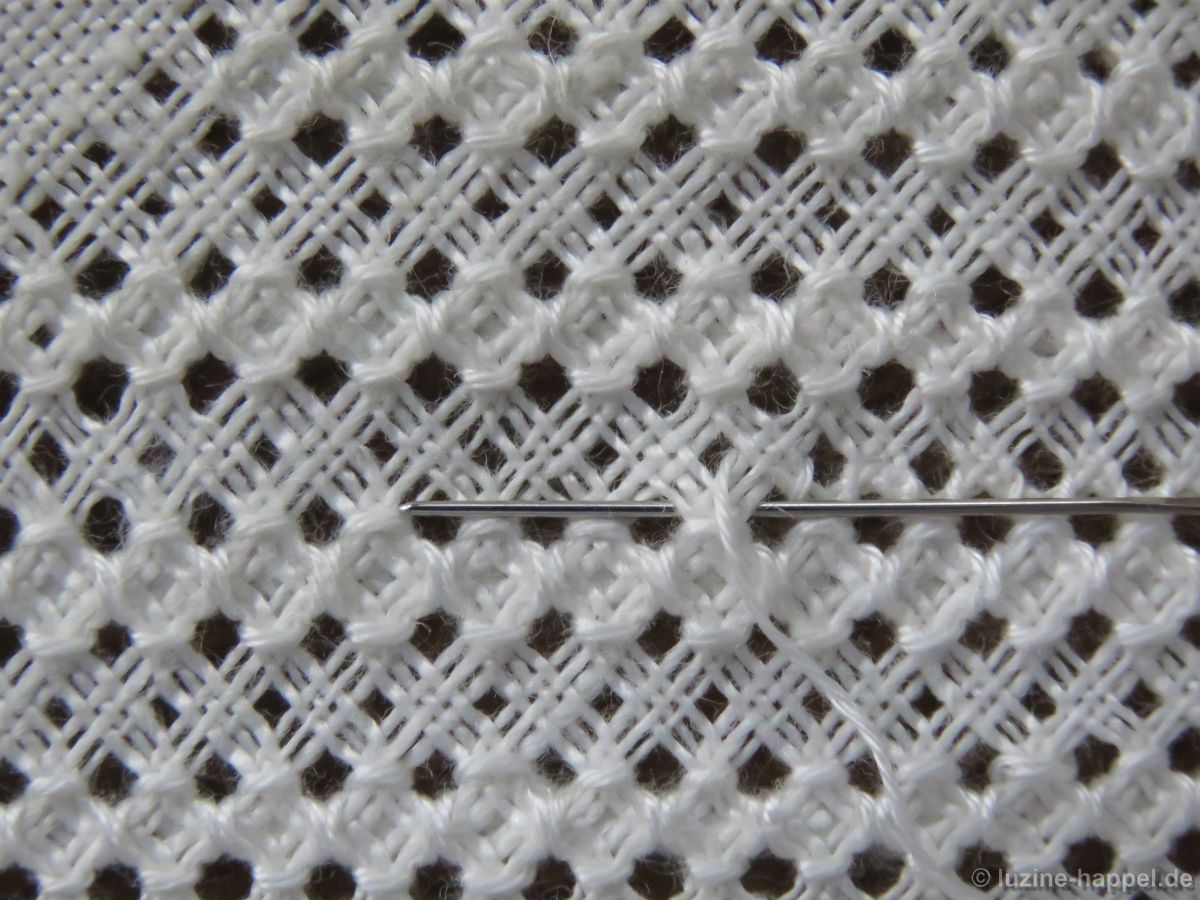
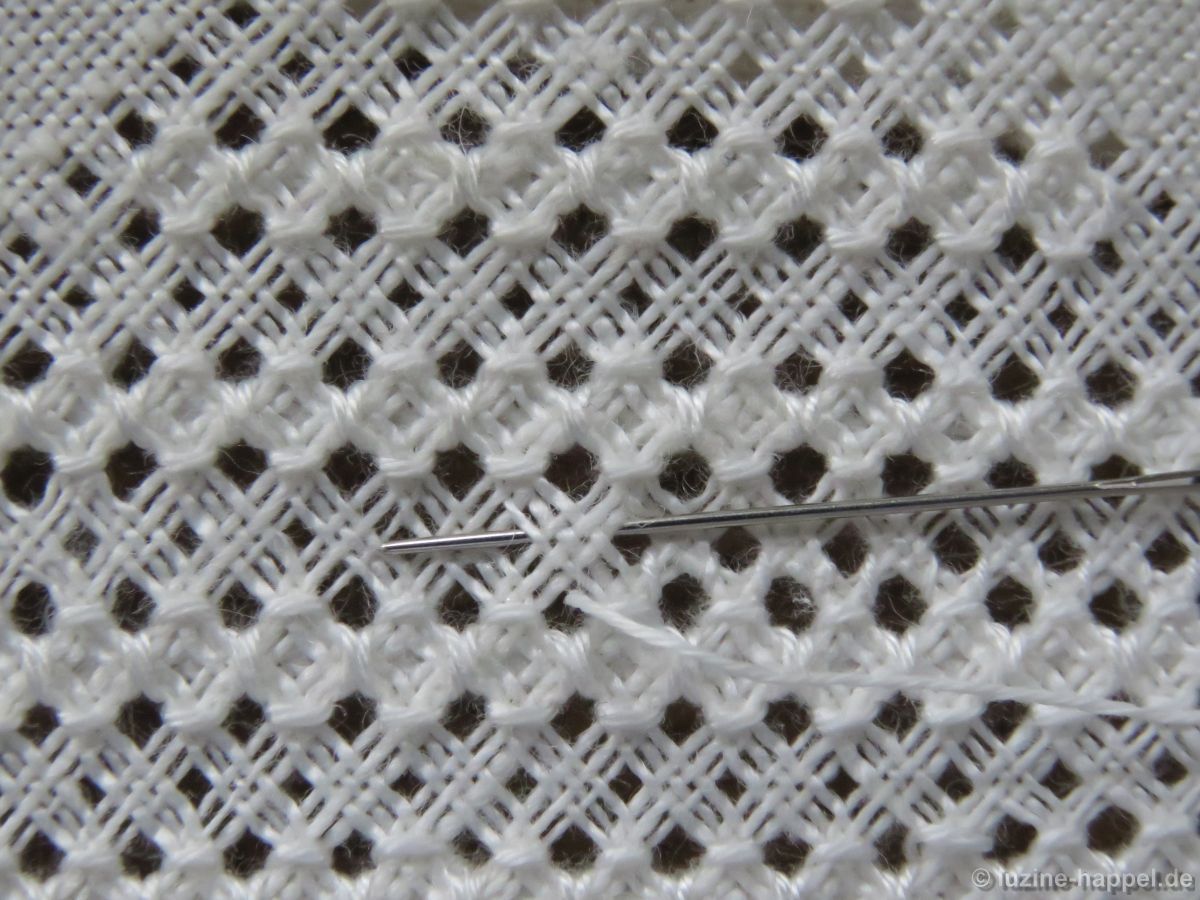
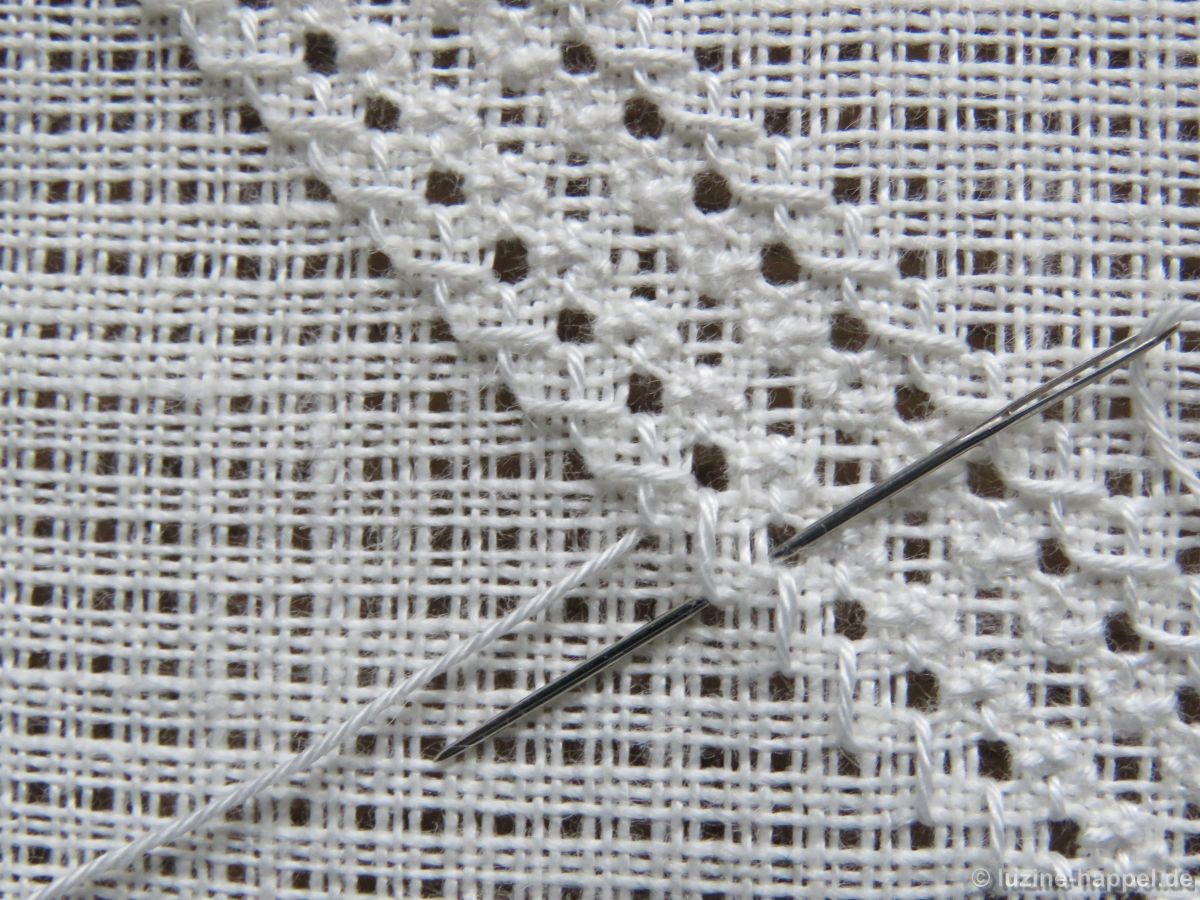
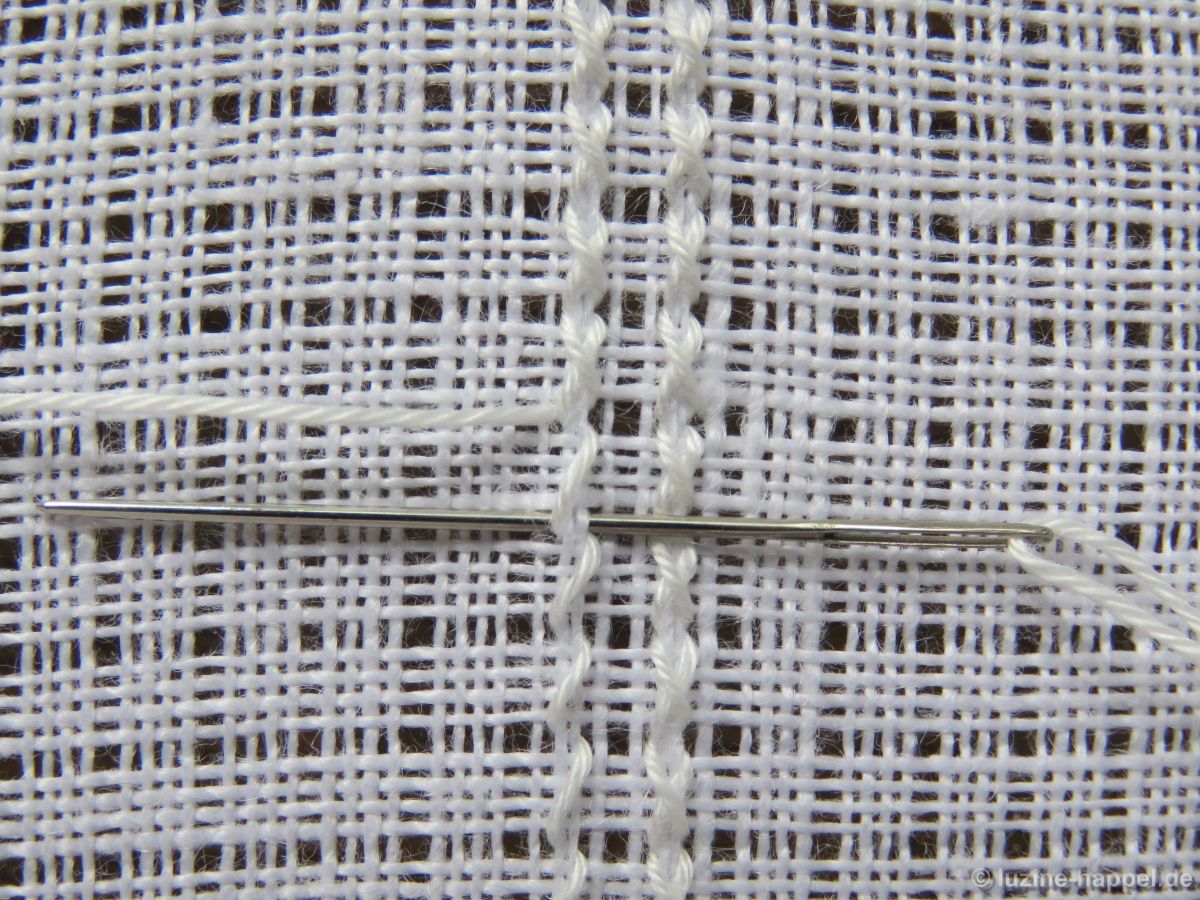
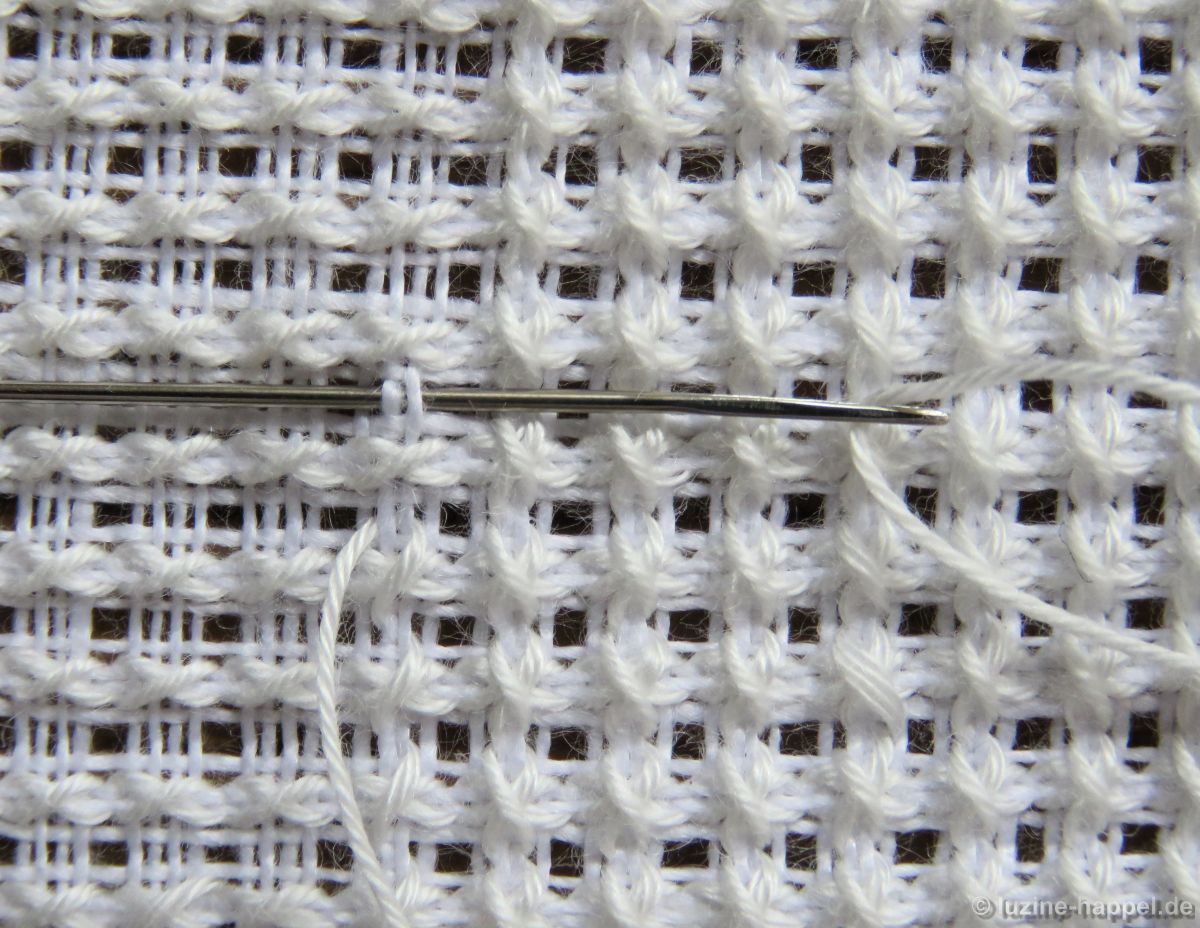
Dann dreht man die Arbeit um 180° und stickt in gleicher Weise über die unbearbeiteten Fadenbündel.
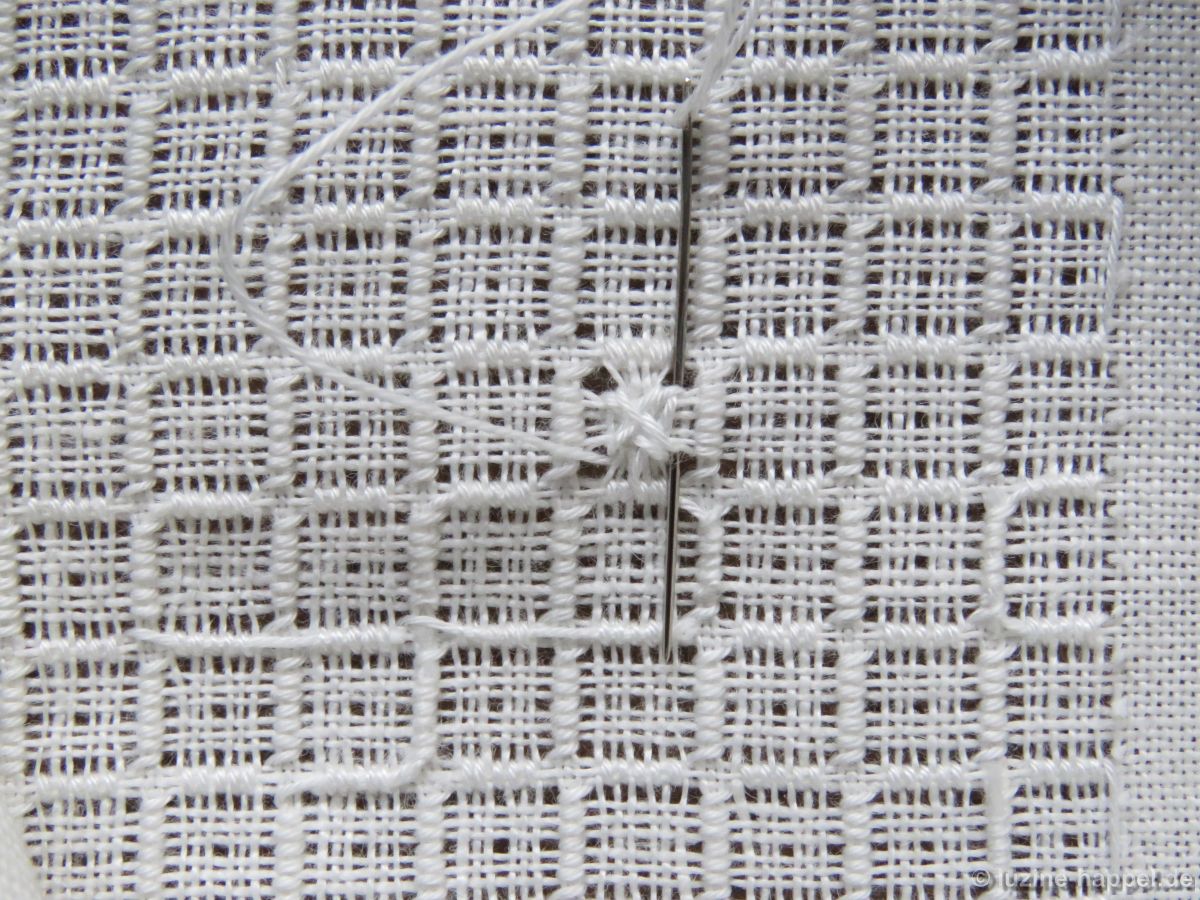
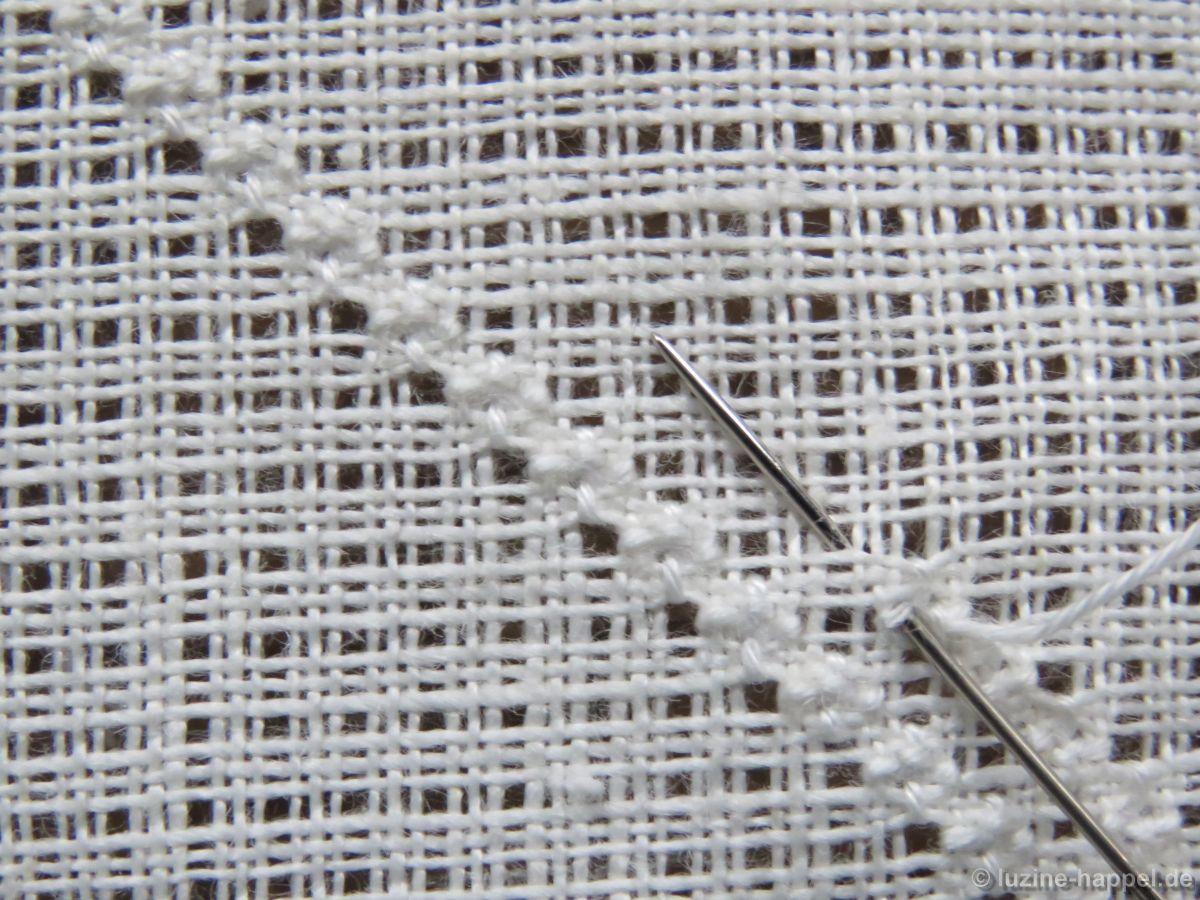
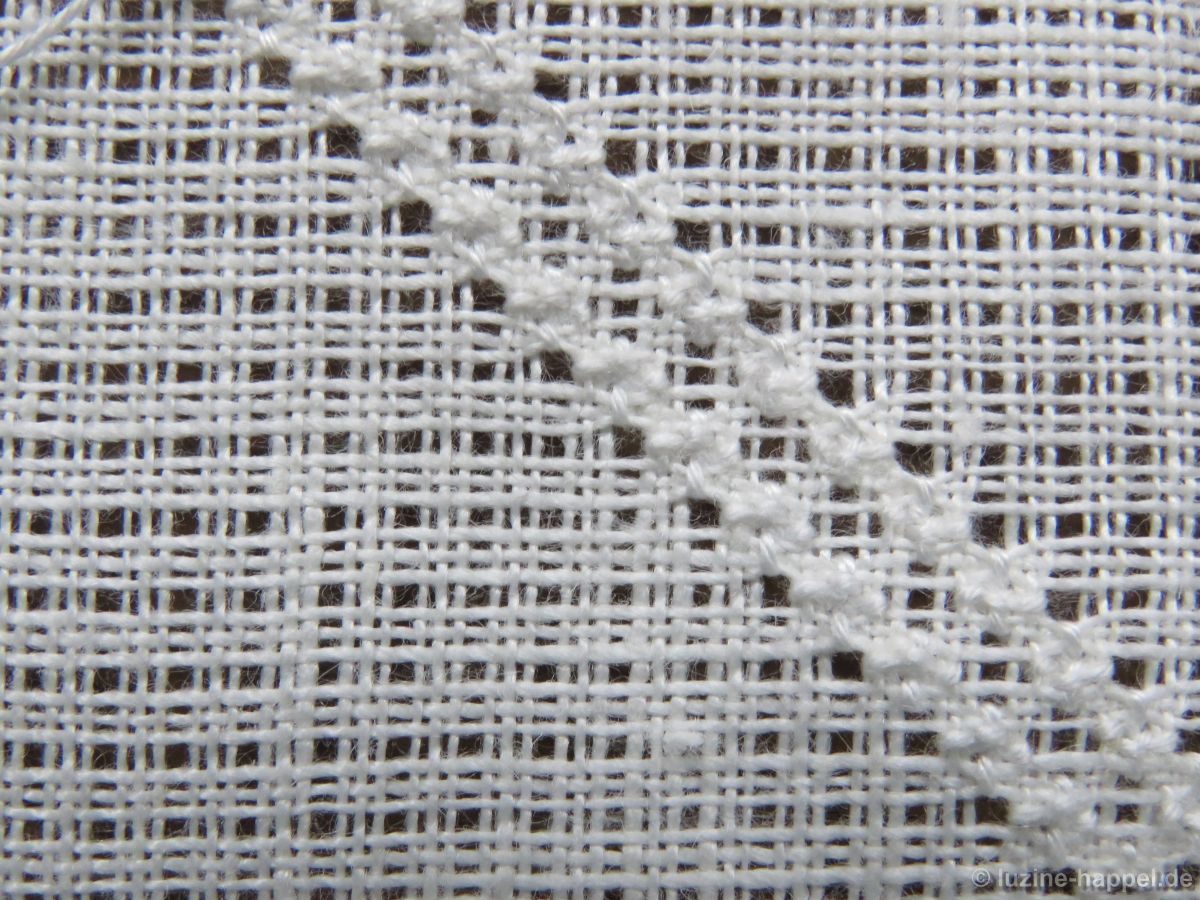
In gleicher Weise werden die restlichen unbearbeiteten Reihen bestickt.
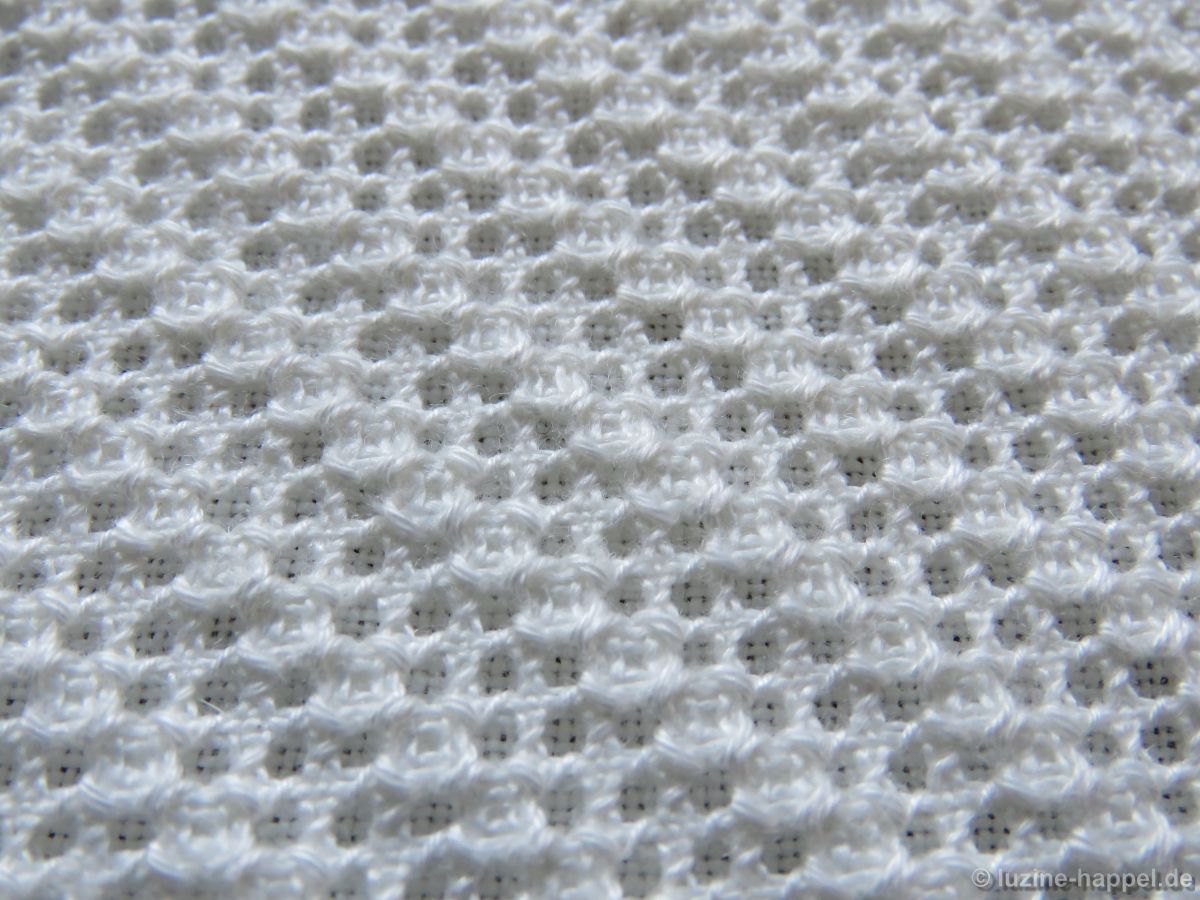
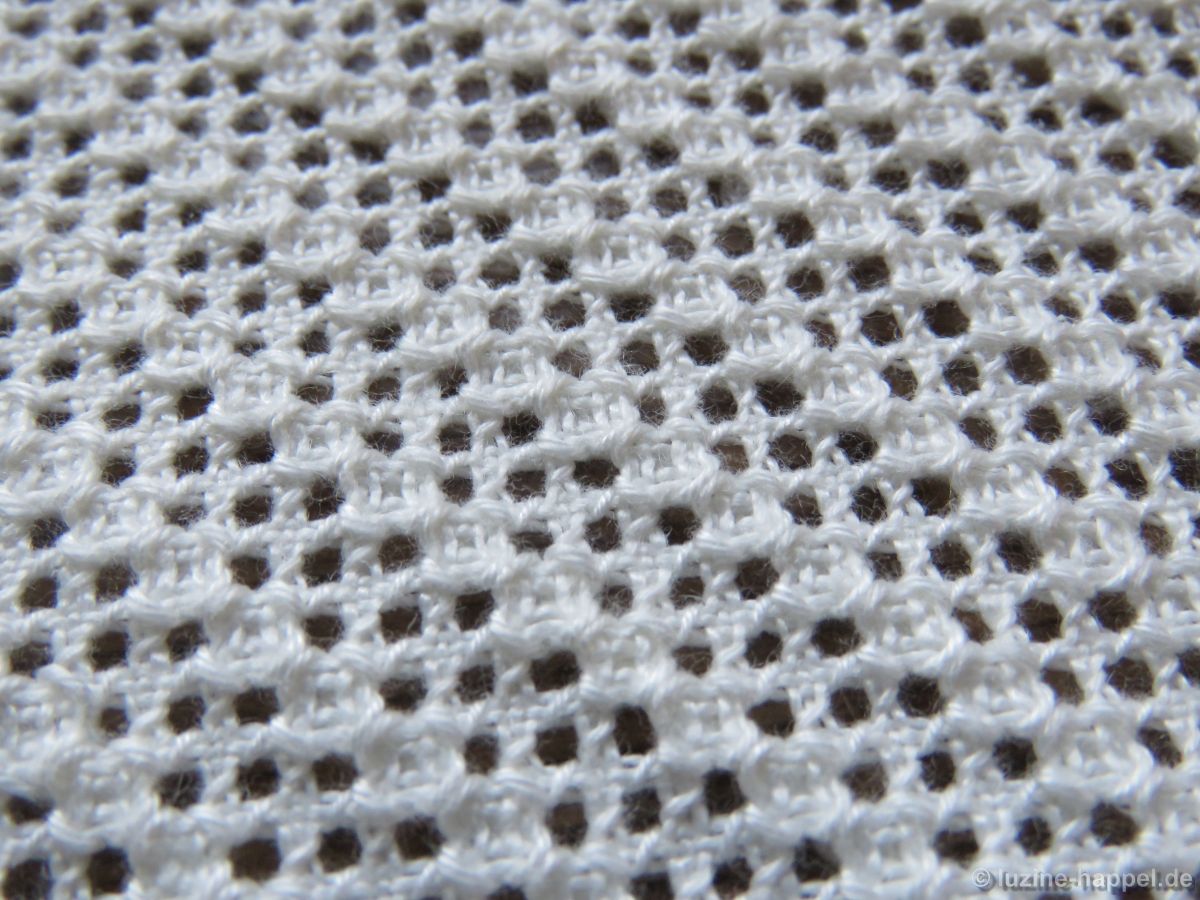

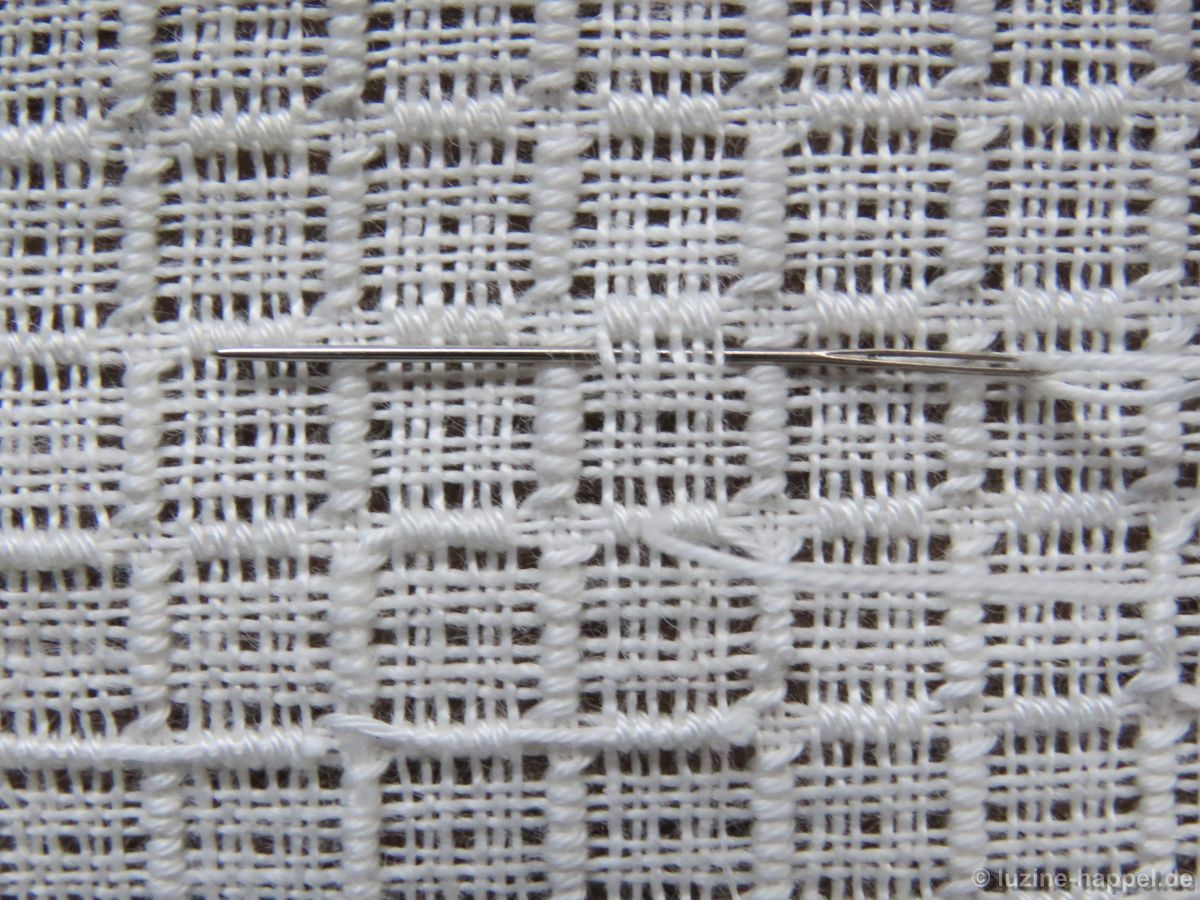
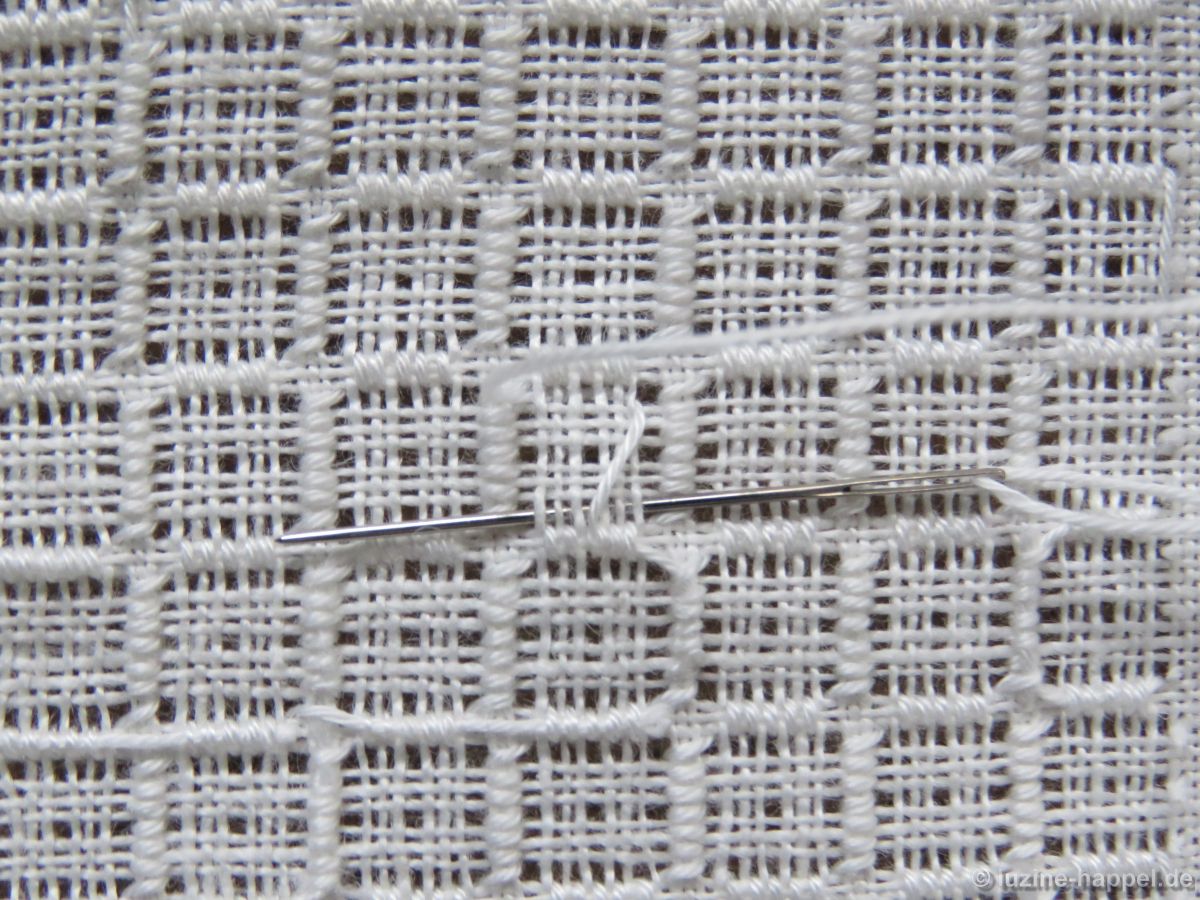
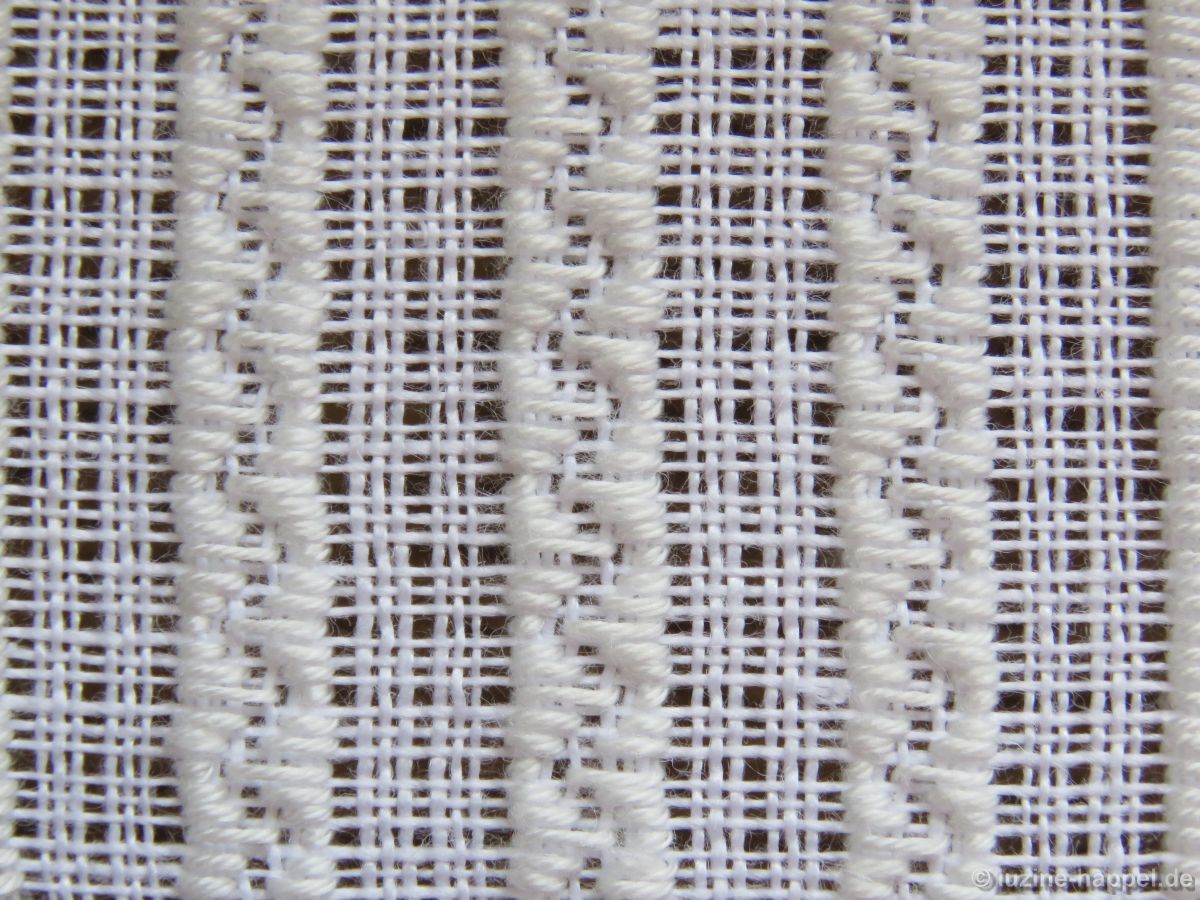
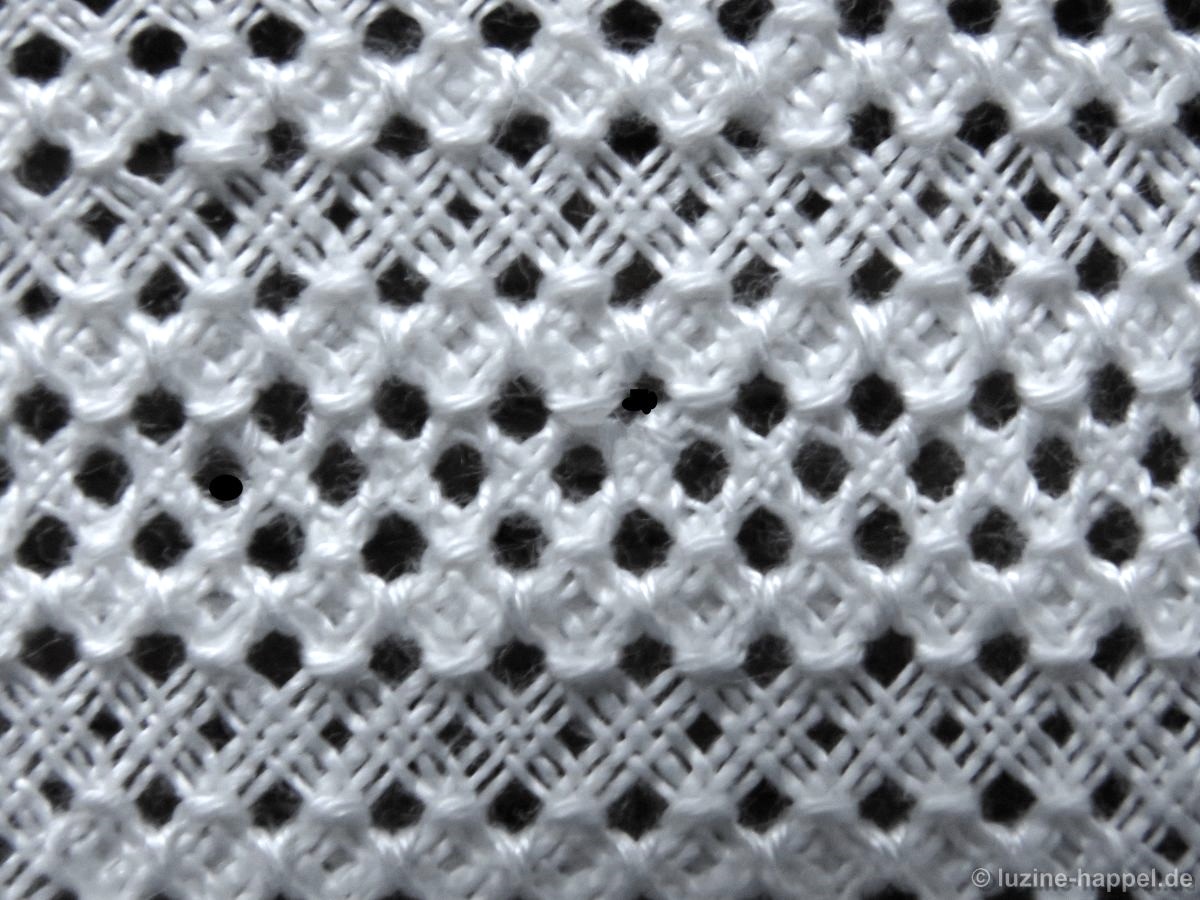
Auf diese Weise entsteht ein Muster mit einer diagonalen Wellenstruktur.