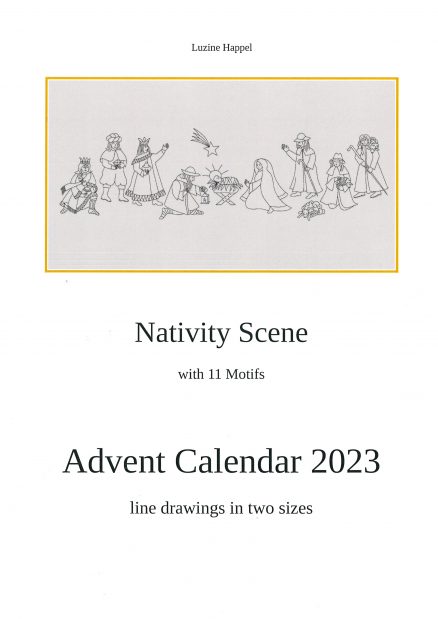
Advent Calendar 2023 – Nativity Scene
After a few years’ break, I would like to present an Advent calendar again. This time I’m showing a nativity scene.
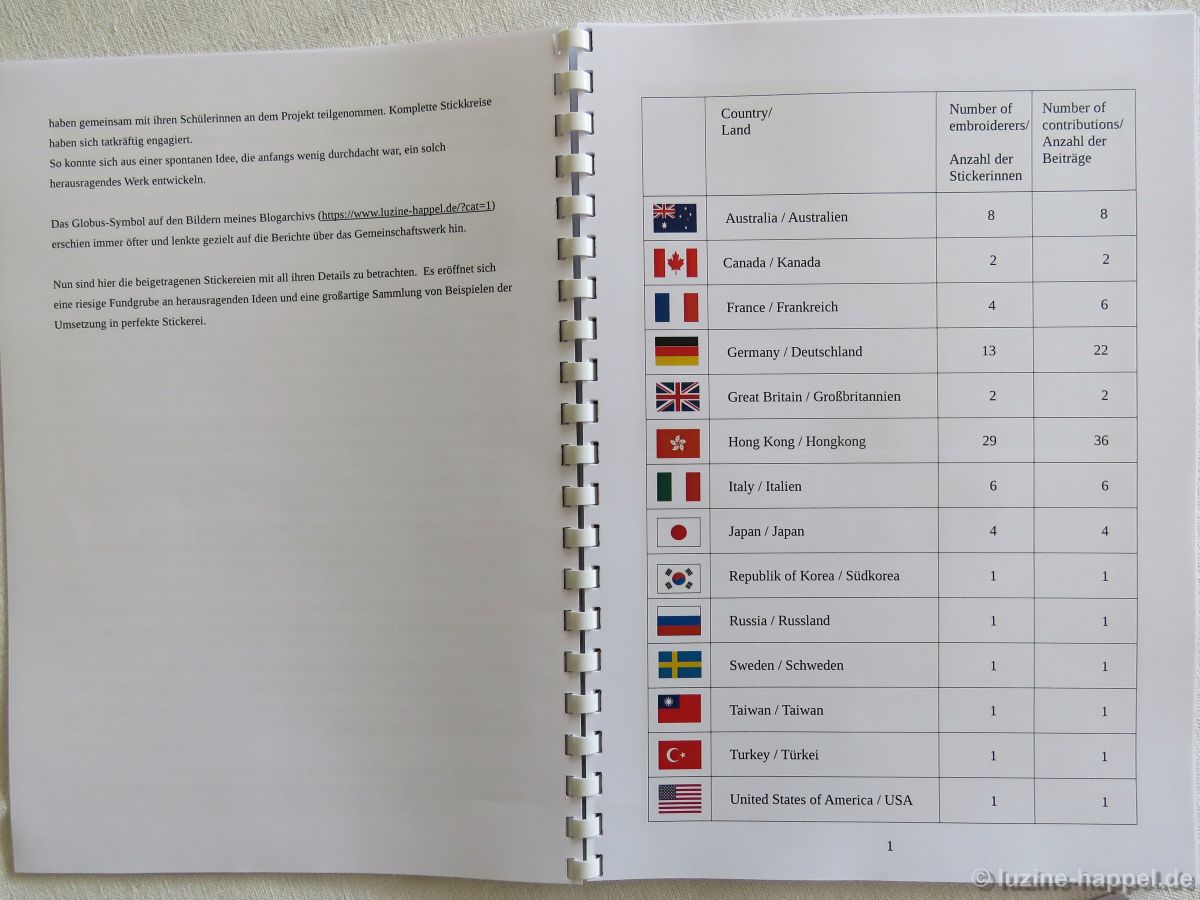
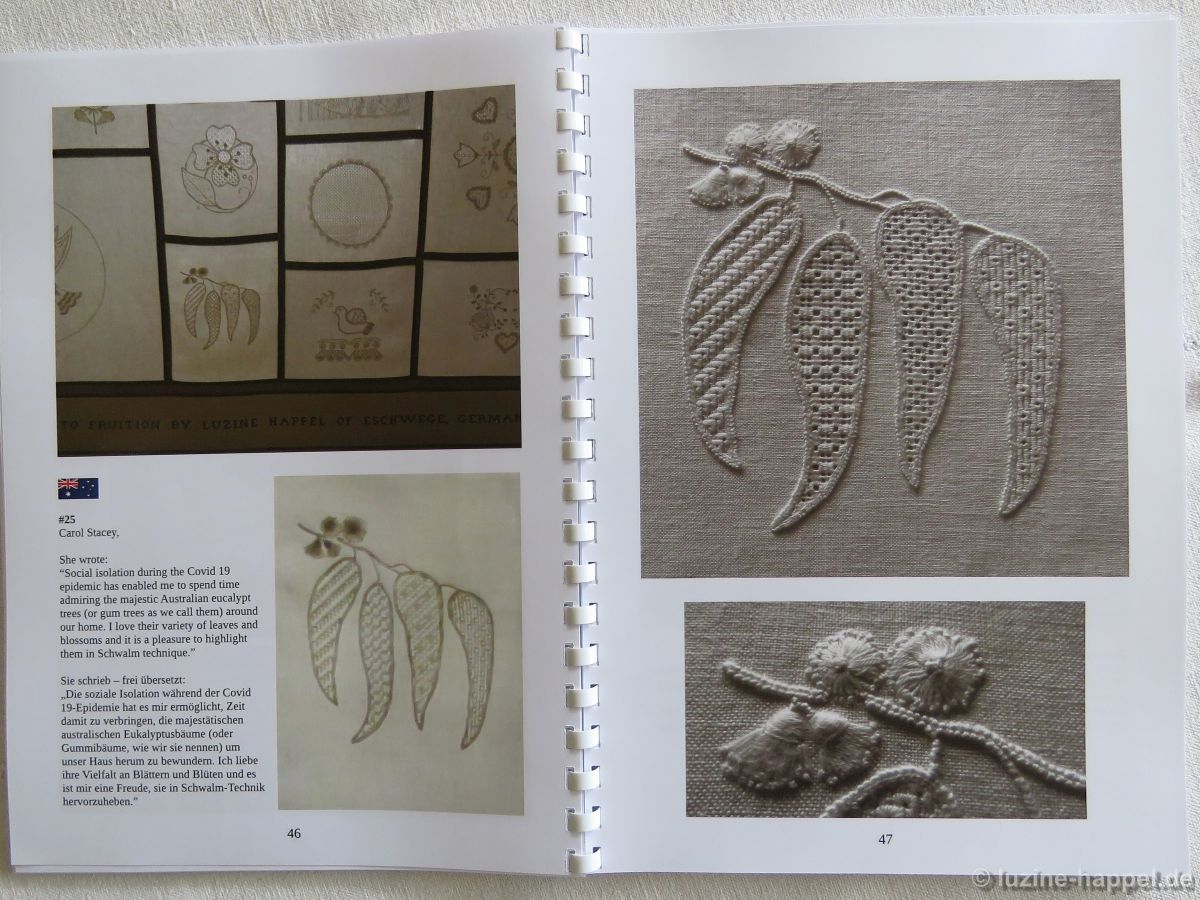
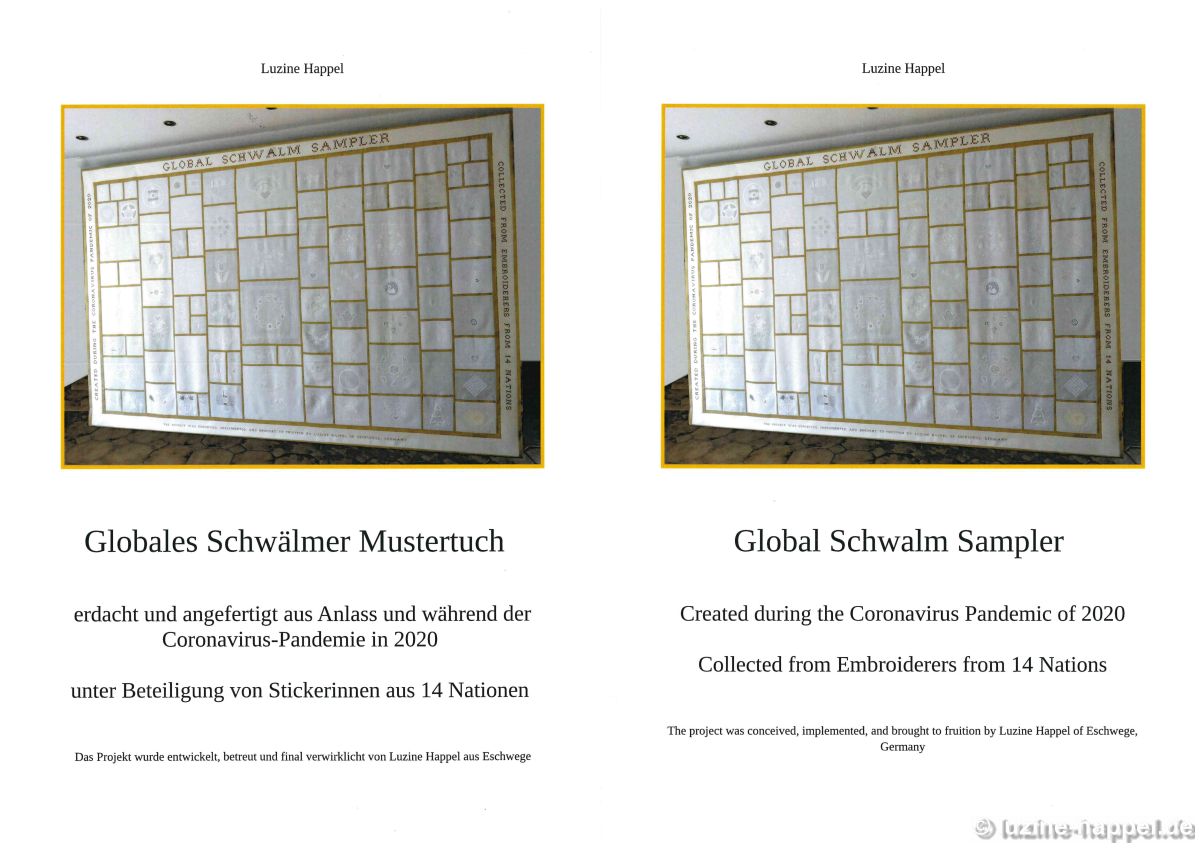
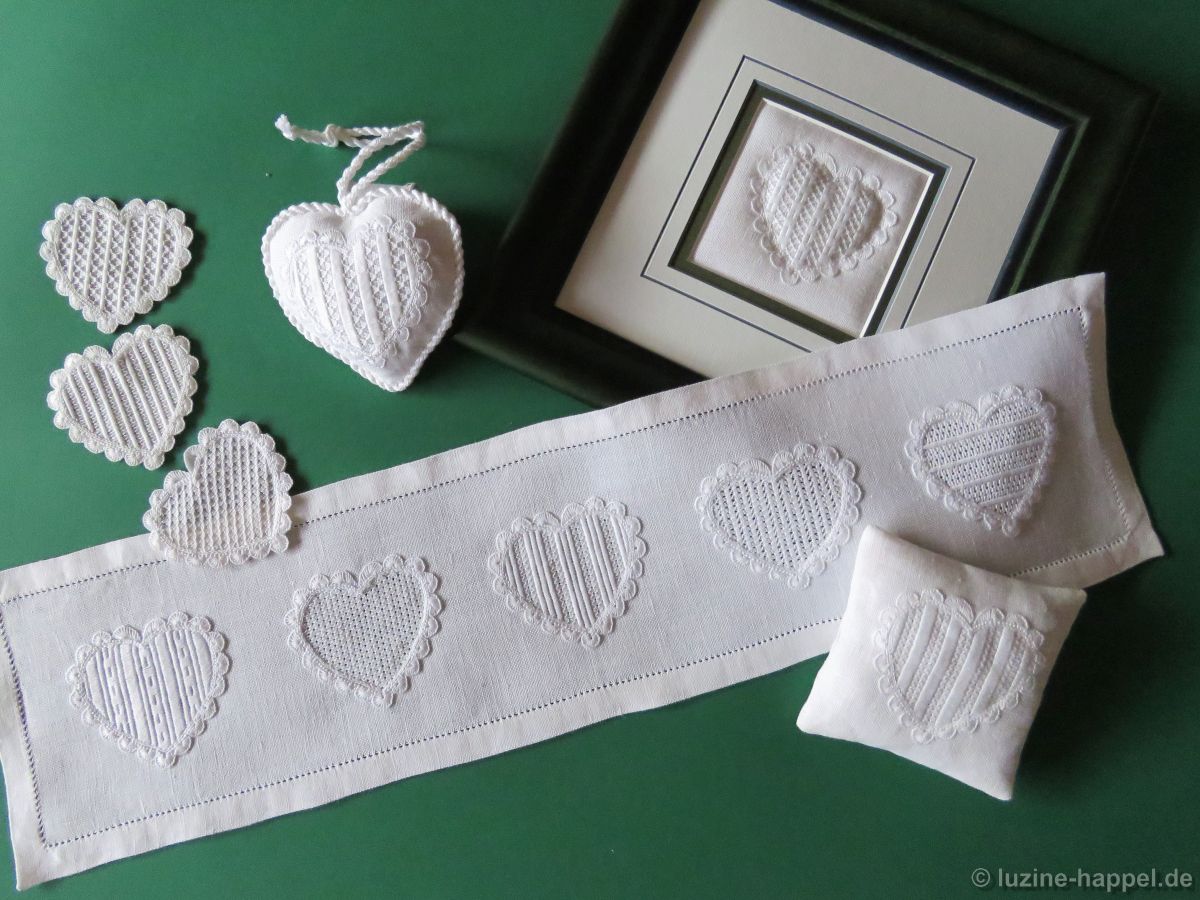
It is a compilation of figures of the holy family, shepherds with sheep and wise men. The eleven motifs are arranged linearly in my embroidery.

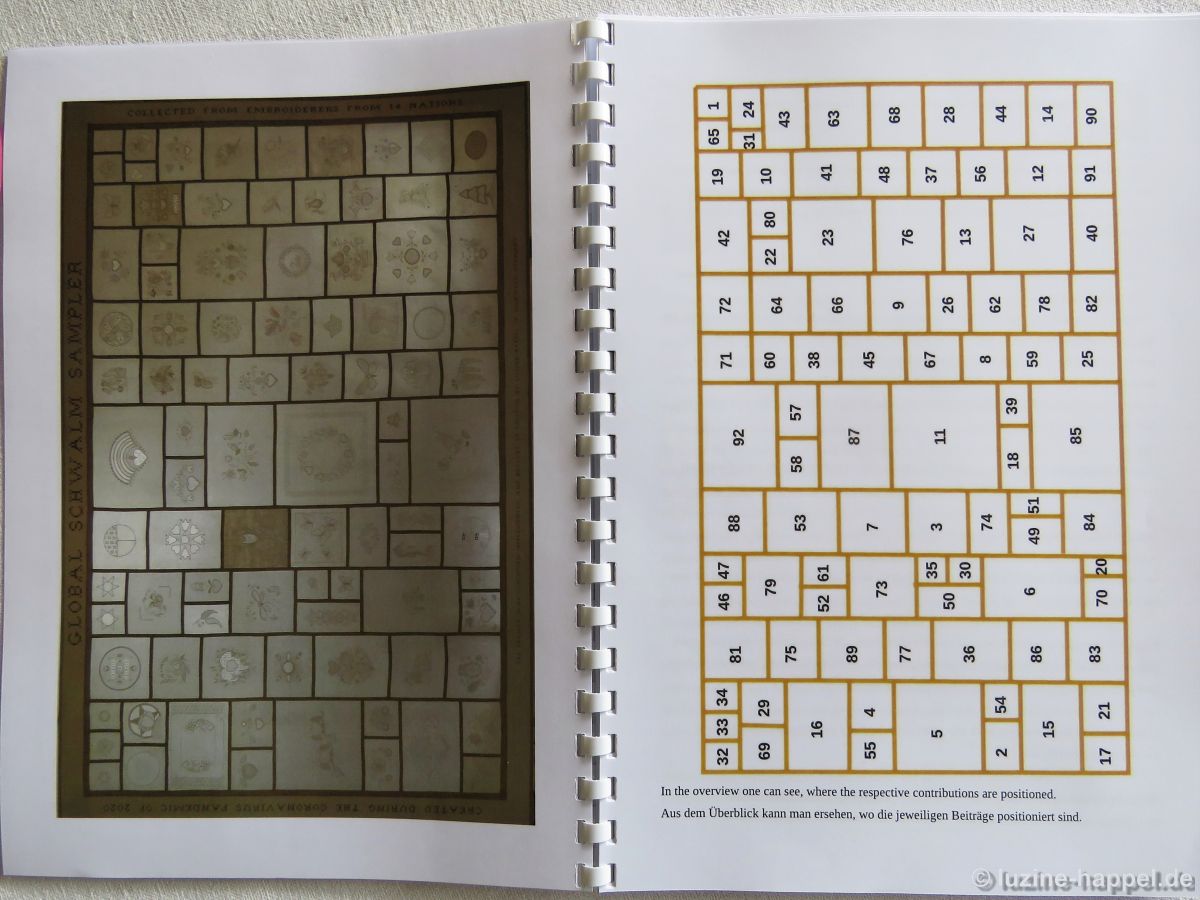
The layout is shown below, with which you can put the individual figures together to form an overall pattern similar to my embroidery. The cutting frames and the intersection points are included with each motif.
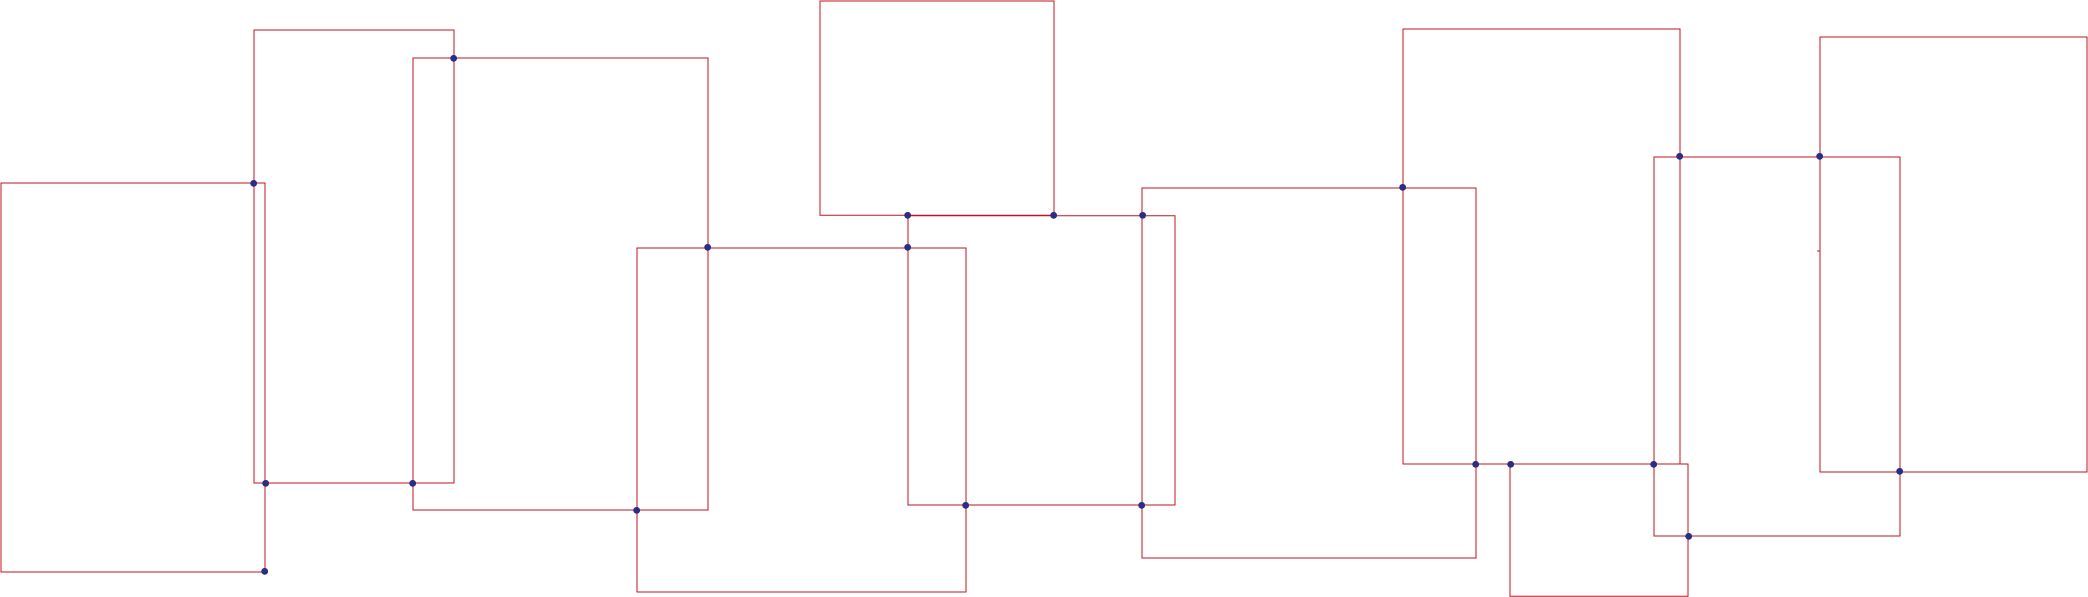
Since each figure is drawn separately, one can arrange the scene individually.
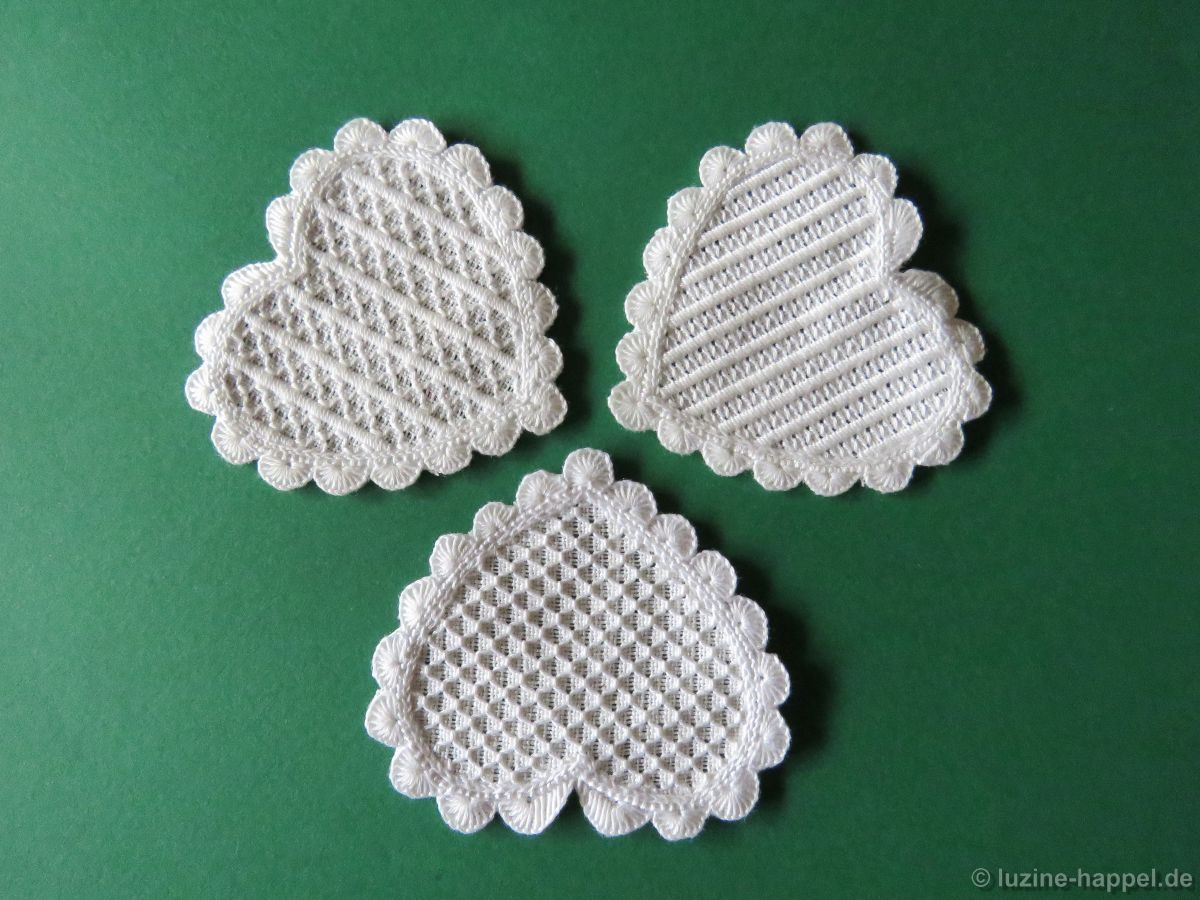
Each motif is given as an outline in two different sizes.
Size I
The combination shown above results in a pattern of approx. 73.5cm X approx. 21cm.
Size II
The combination shown above results in a pattern of approx. 103cm X approx. 30cm. The embroidery seen here was done in size II.

A designer’s draft for Schwalm whitework was modified by a graphic designer to perfect the overall composition. This is how a beautiful, sophisticated and coherent design was created.
The varied embroidery leaves room for your own creativity. It’s fun to work out the individual characters. If you have any difficulties in some details, I will help you with suggestions, instructions and lots of pictures. The Advent calendar awaits you from December 1st with detailed descriptions.
So that you too can embroider this unique project, I offer a document. It contains the reduced pattern that fits on one page, a reduced plan for putting the individual motifs together to form the overall pattern and the individual figures in two original sizes on 19 pages.
Advent Calendar 2023
line drawings
19 pages
Text: English
3.35 MB file size
€19
(incl. 7% sales tax)
(€17,76 for customers outside the EU.)
Shop
or order as aprint version.
In the print version, the individual figures are printed on high-quality tracing paper. The cutting frames and the intersection points are included with each motif. This makes putting the groups of motifs together very easy.
Advent Calendar 2023
line drawings
19 pages
Text: English
€24
(incl. 7% sales tax)
(€ 22,43for customers outside the EU.)
Shop