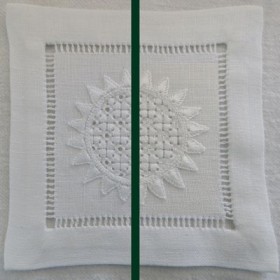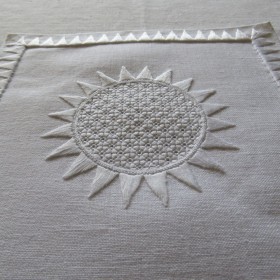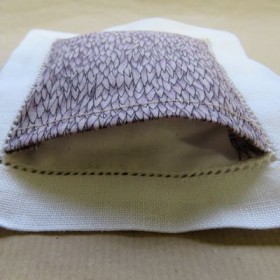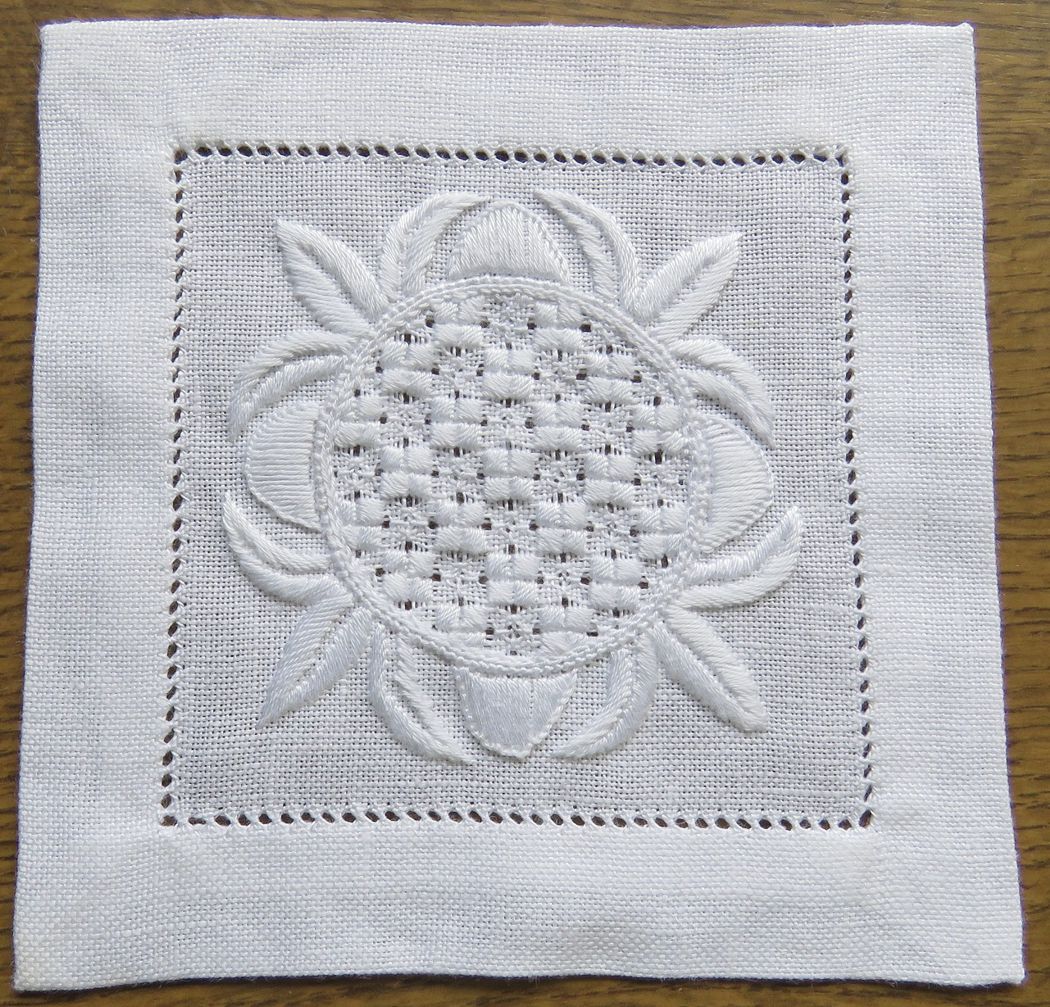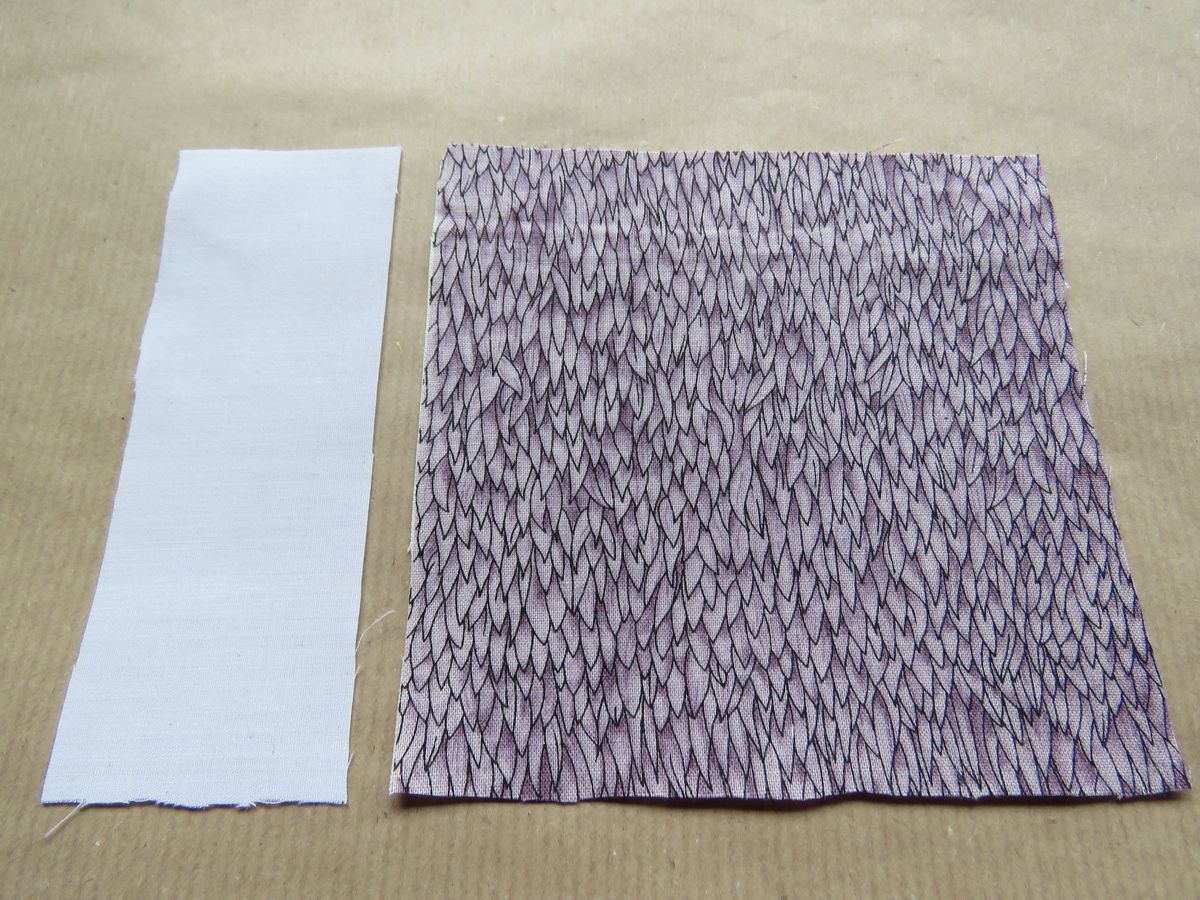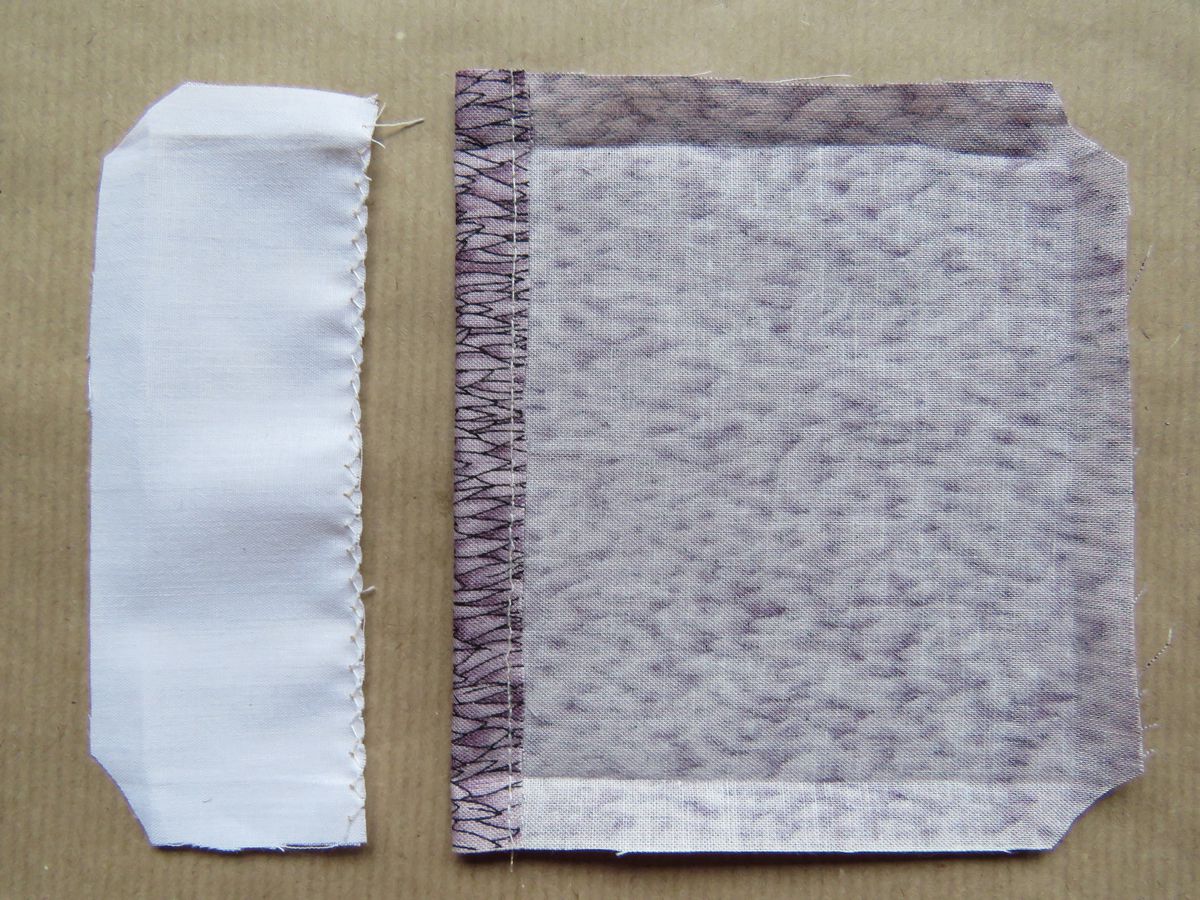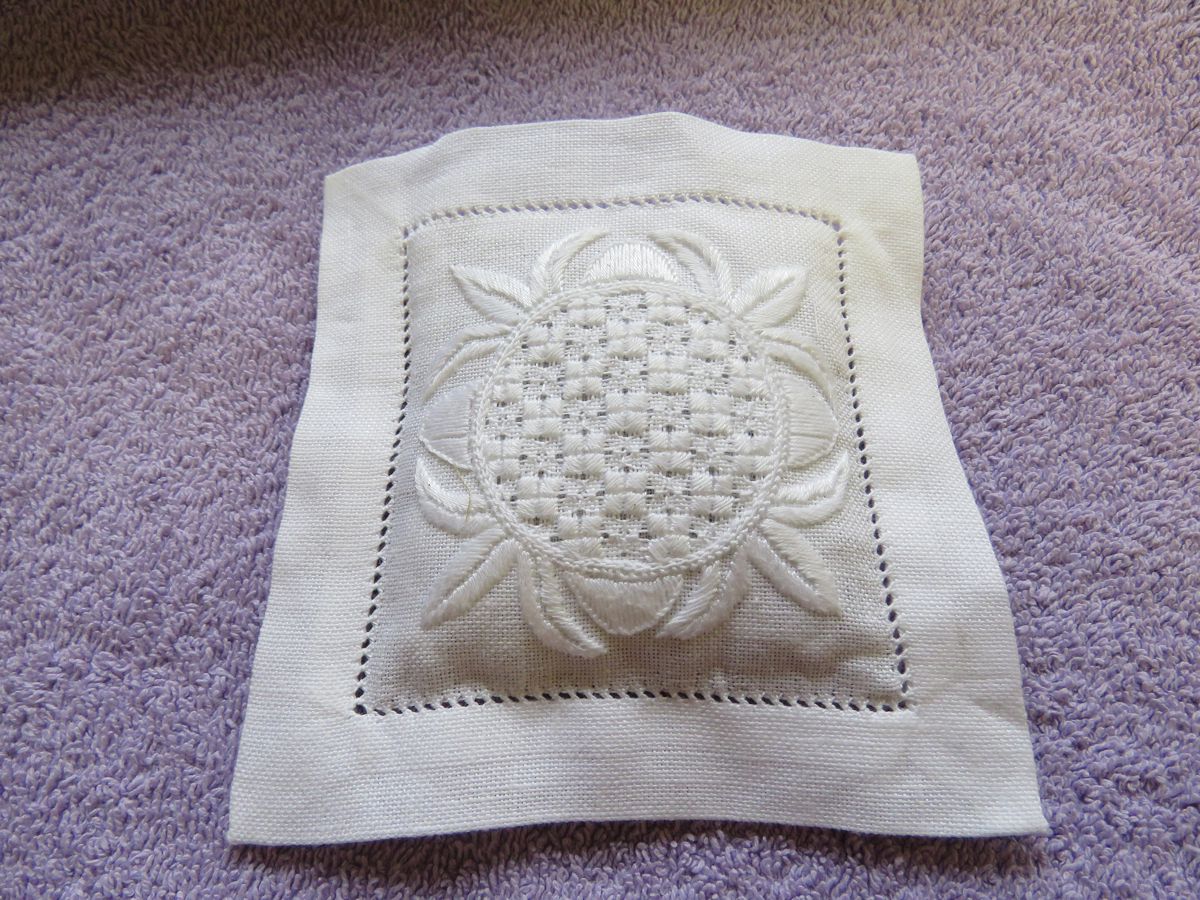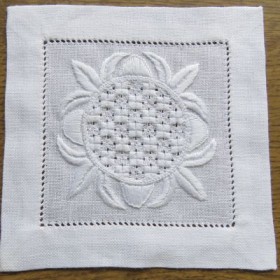
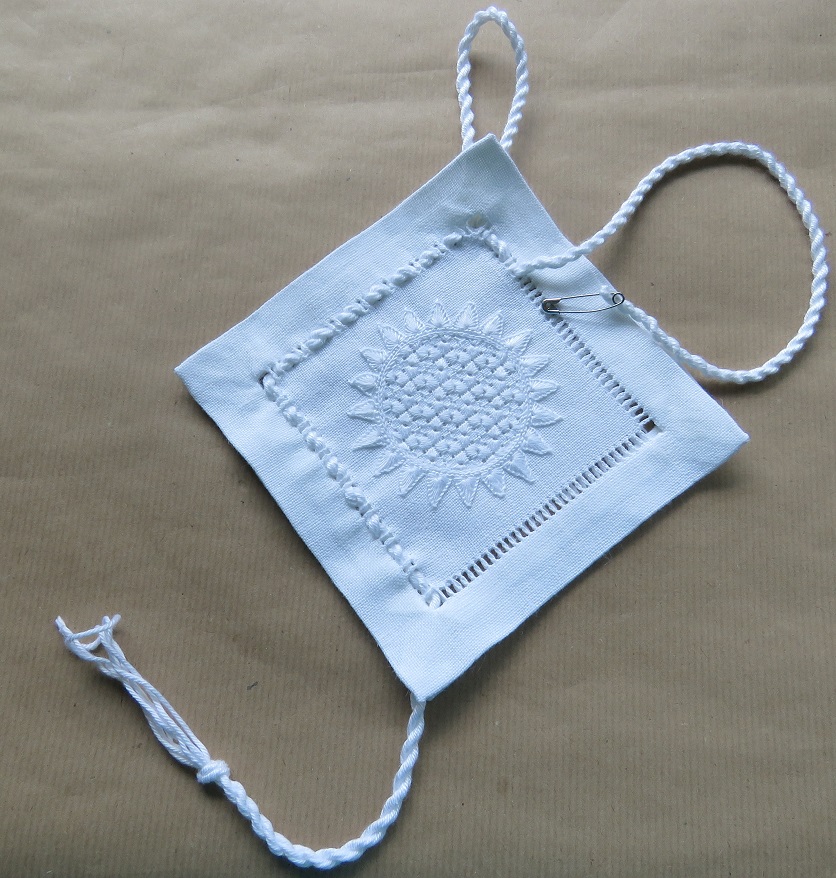
Place one small doily with a design and one without a design together back to back (repeat with second ornament).
Choosing appealing colours, two cords are twisted to the same length.
Using a small safety pin
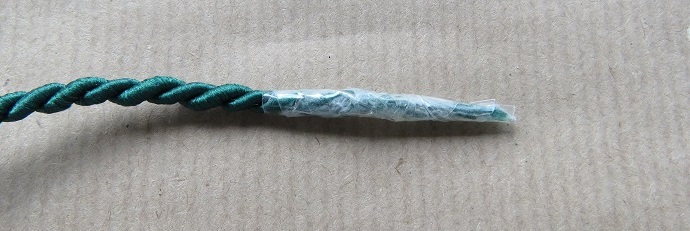
 or better, wrapping one end of the cord with tape (the end of the tape should create a tip to facilitate weaving the cord through the holes of the hems)
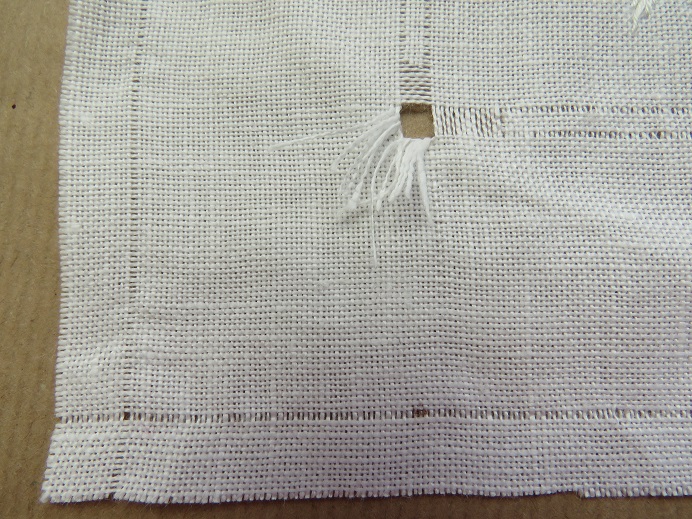
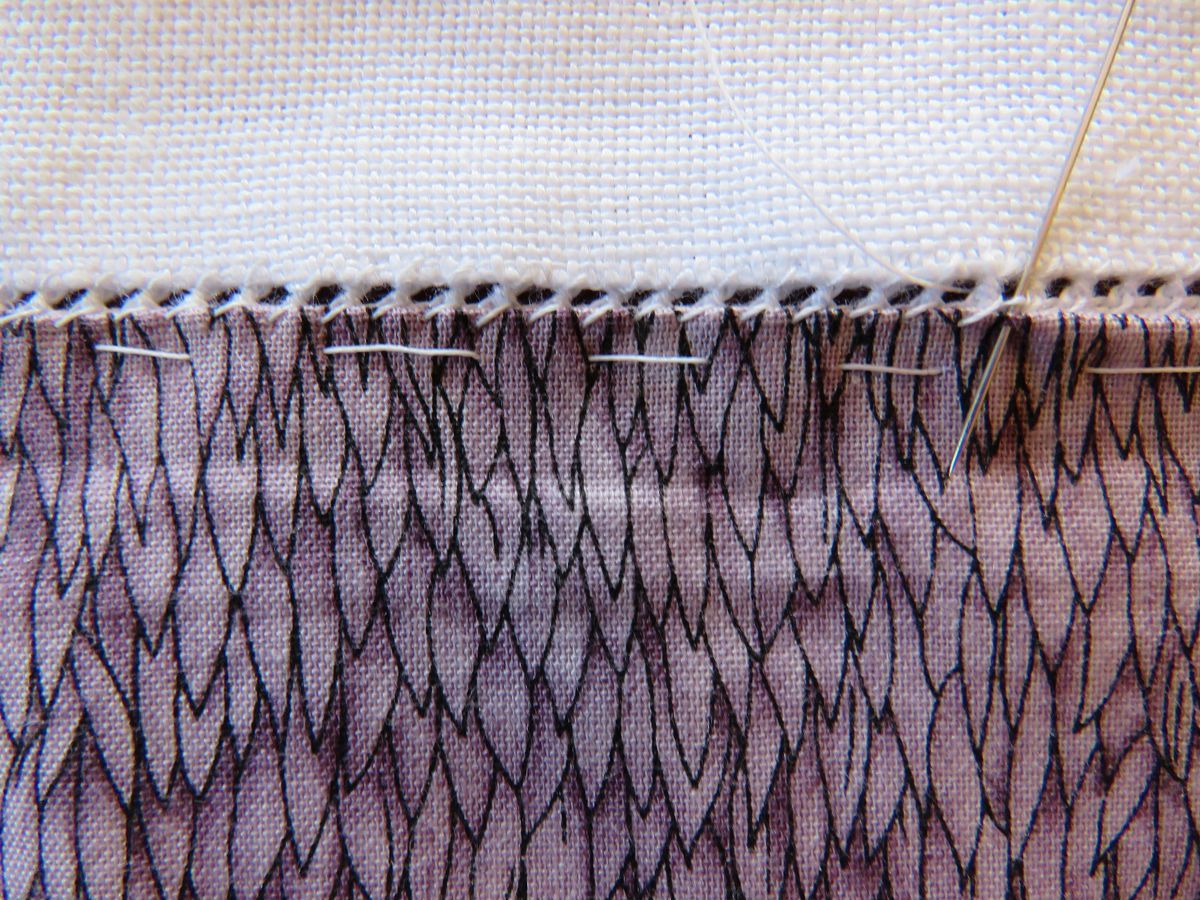
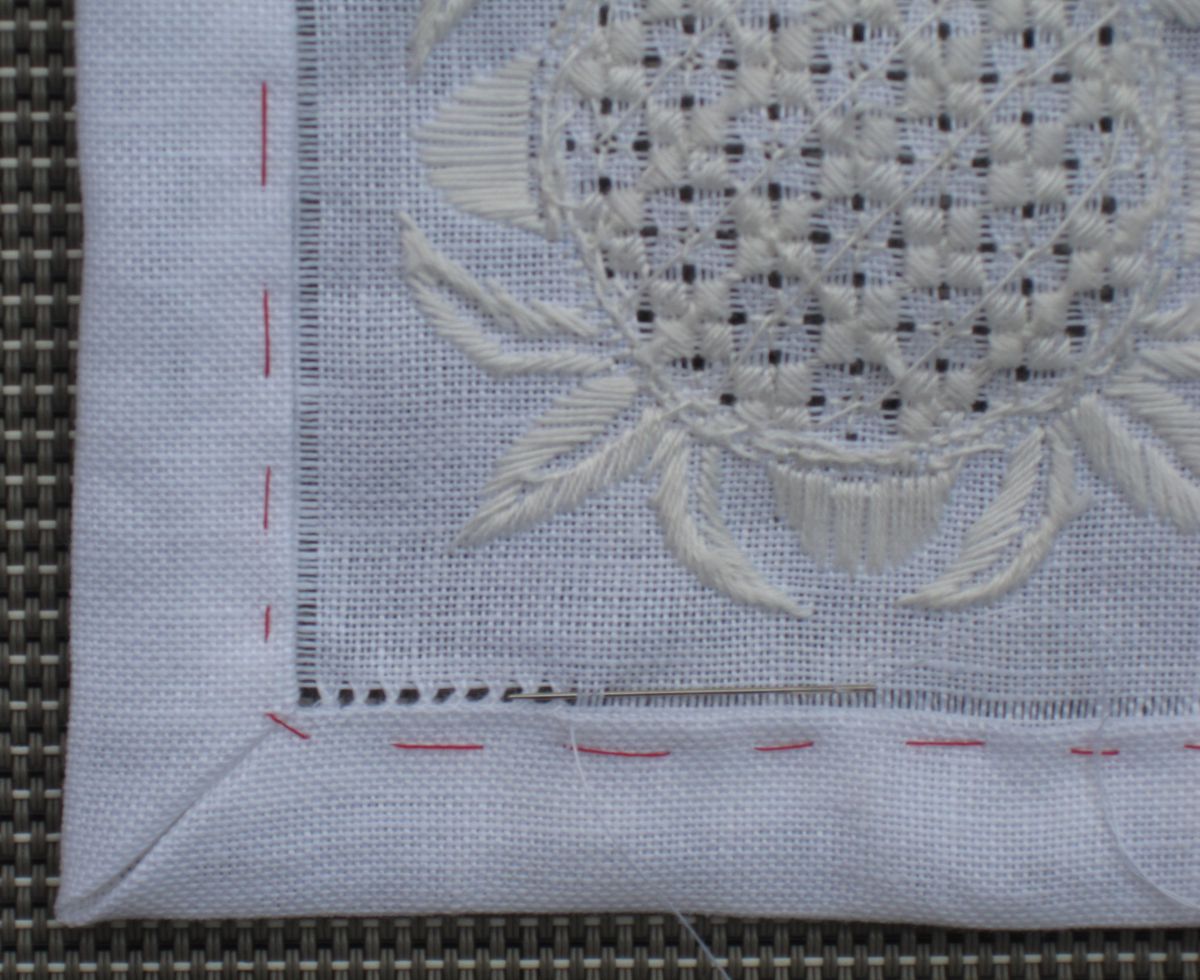
 weave the cord in and out of the holes of the hems catching both layers. Always alternate crossing over and crossing under two thread bundles. Start at any corner and between the layers. Work along two adjacent sides. Let a cord tail remaining at the starting point. It may happen that there is only one thread bundle remaining reaching the next corner. So please make a smaller step over one bundle only.
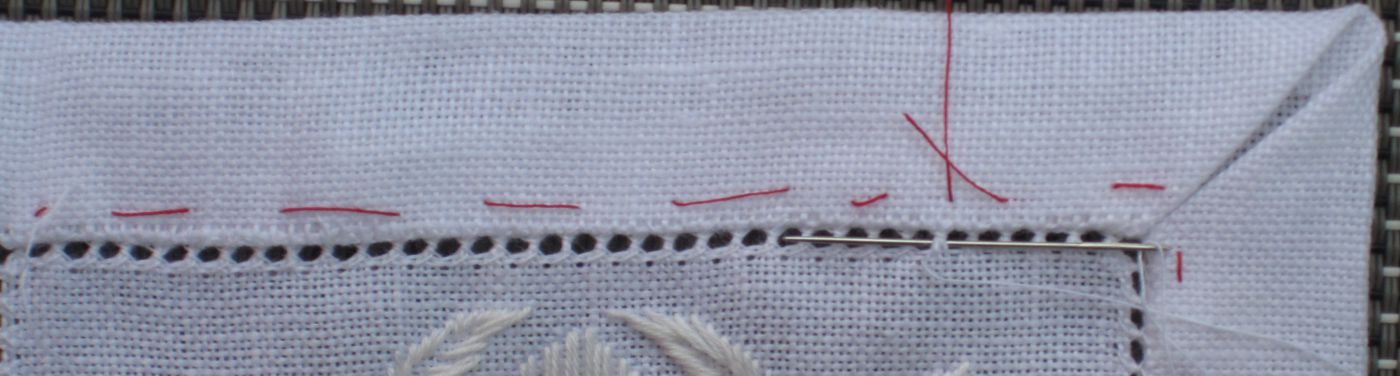
Reaching the third corner, let a part of the cord remain between the two layers to create a hanging loop and continue weaving the cord through the holes up to the fourth corner.
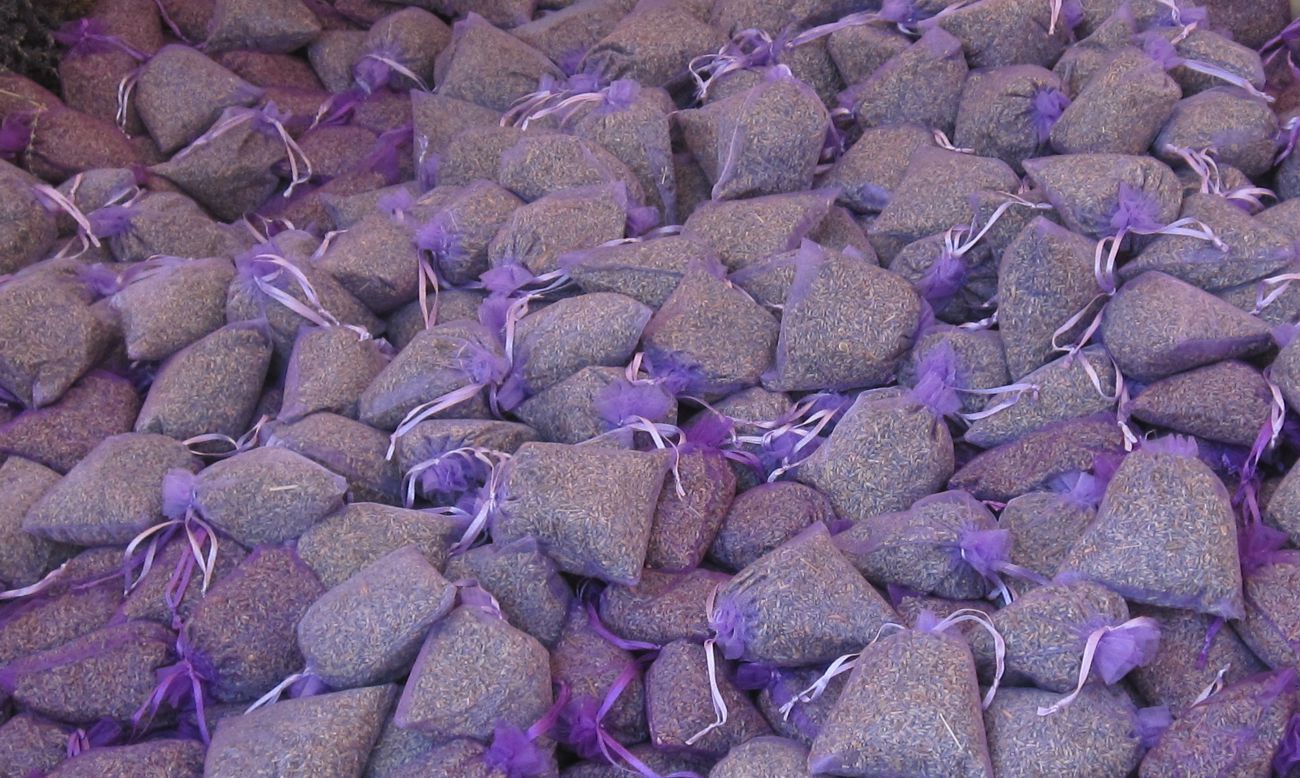
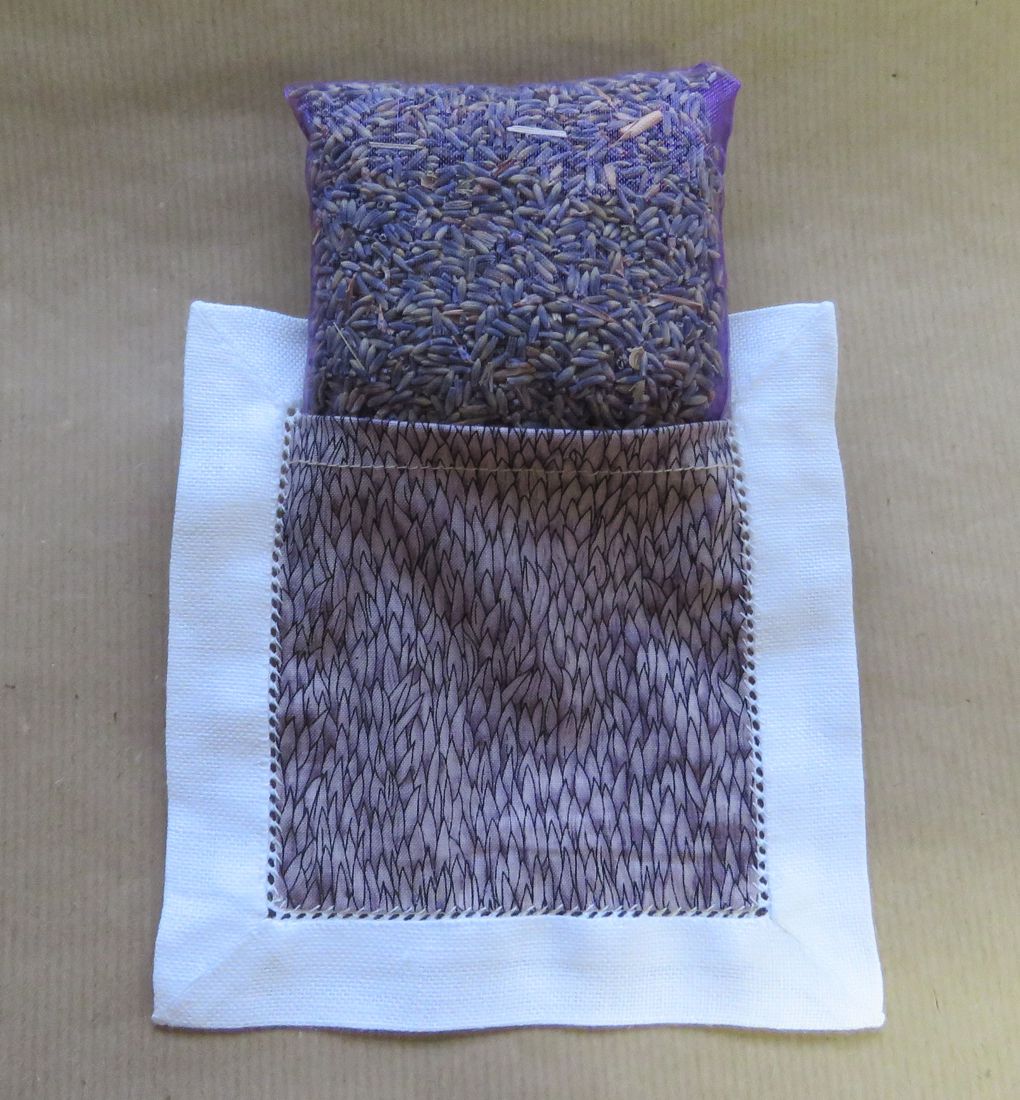
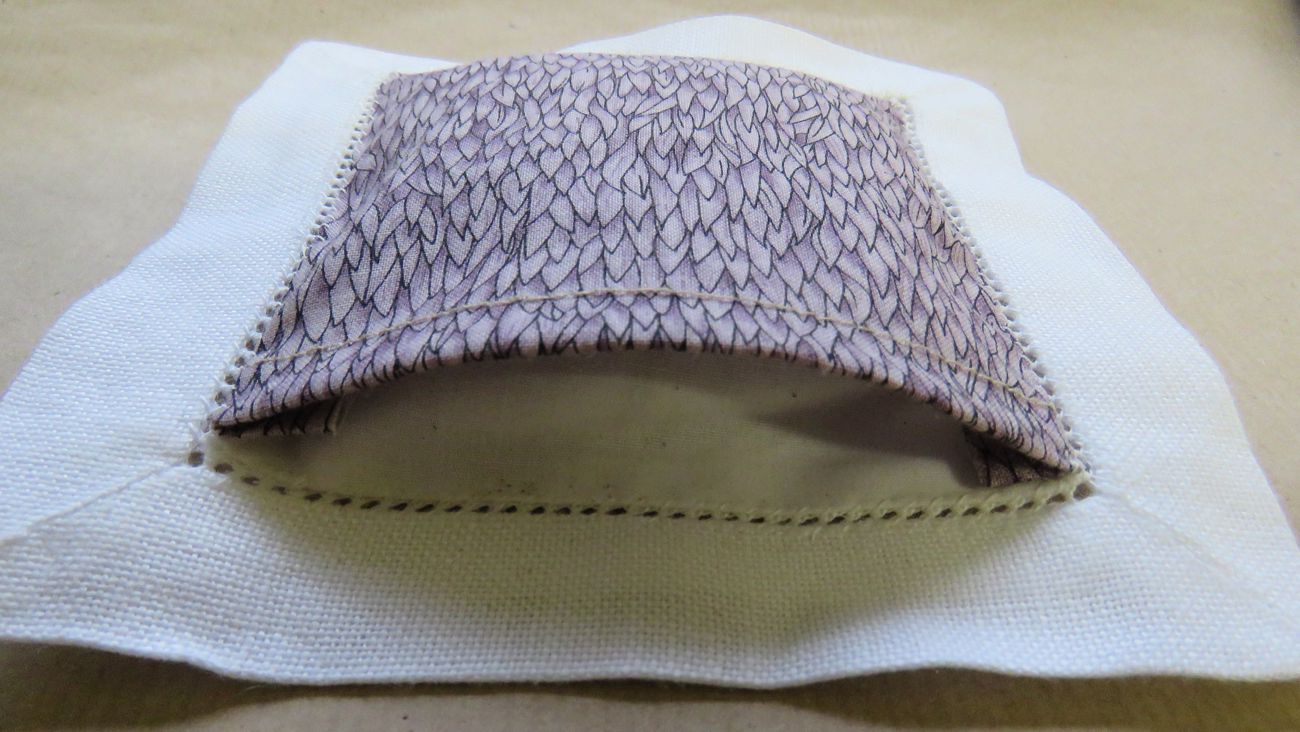
 An appropriately sized pillow lightly stuffed with Poly-Fil or wadding is put into the ornament
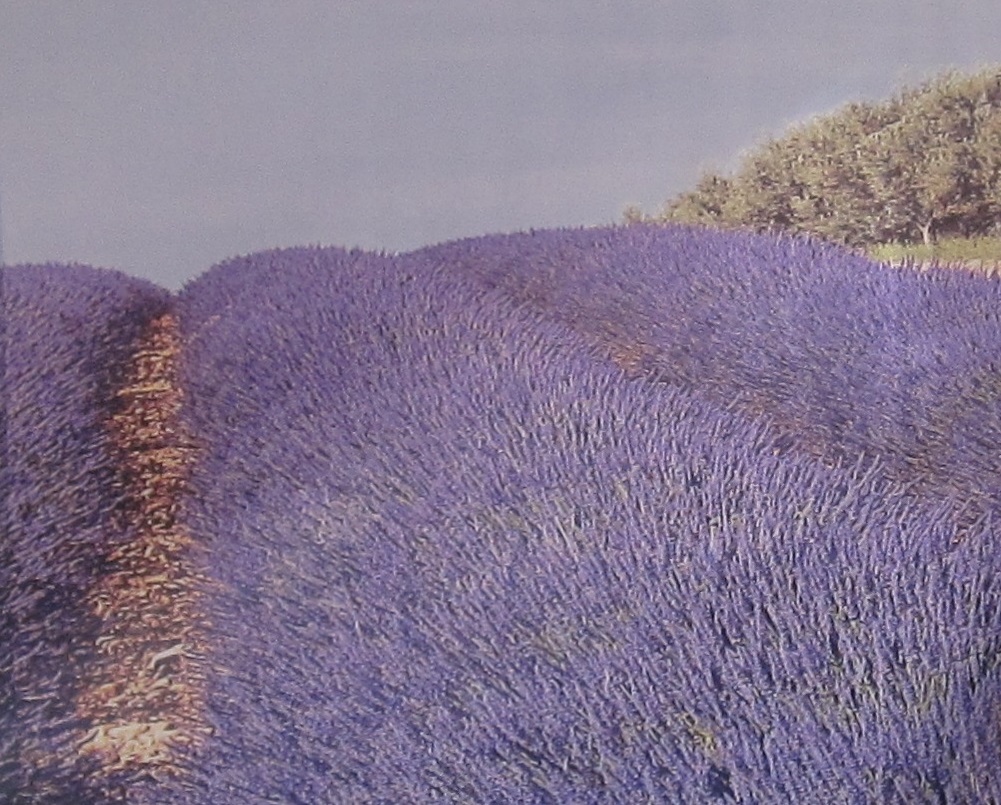
cover. (If desired, a fragrance oil can be dropped on the wadding.)
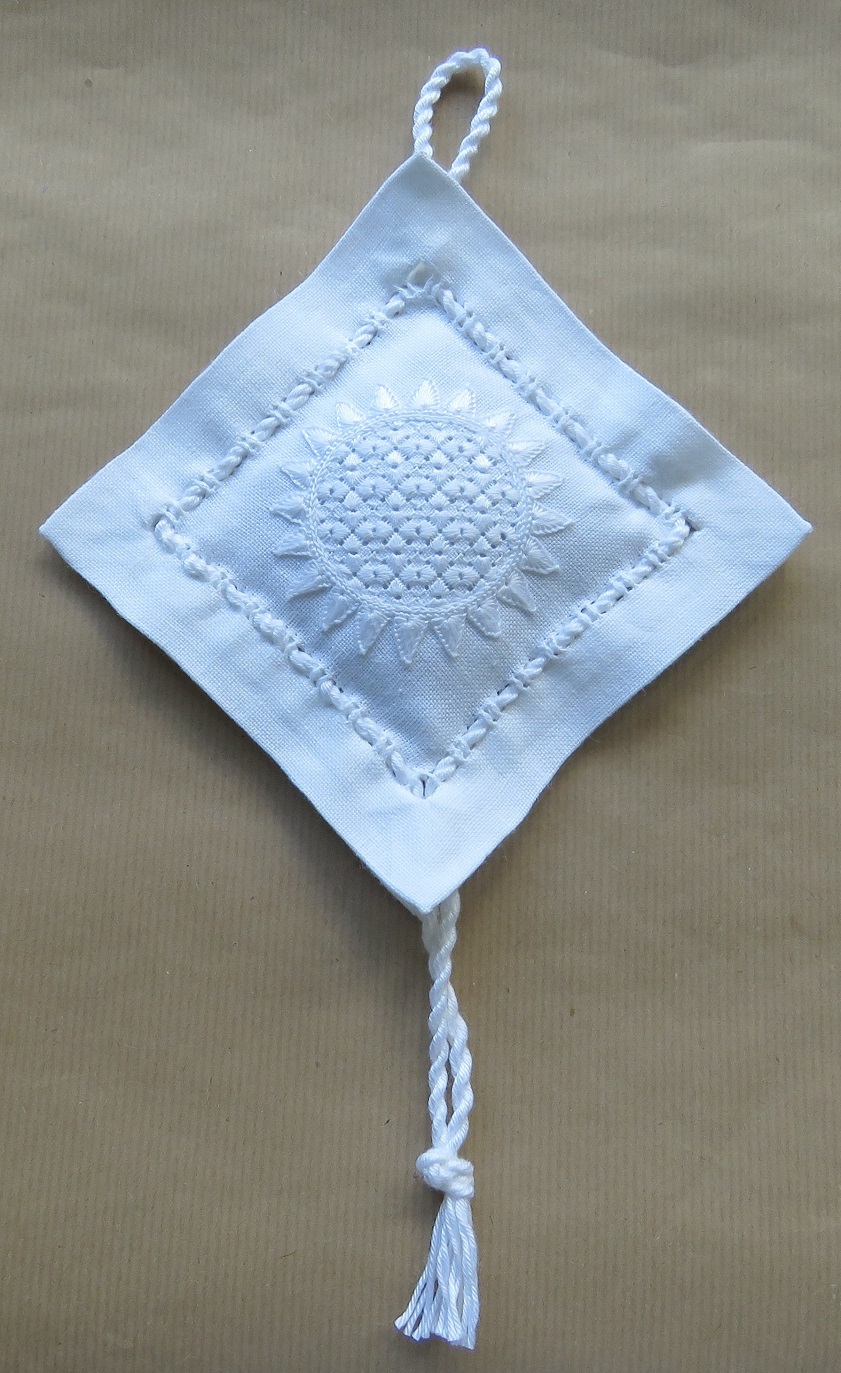 The fourth side is closed, and the ends of the cord are knotted together and trimmed. The cord is untwisted to create a tassel.
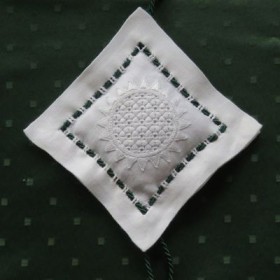
A white cord makes the ornament look more subdued, whereas a contrasting coloured cord makes the ornament more eye-catching.
 However, both look very elegant and would make lovely gifts.