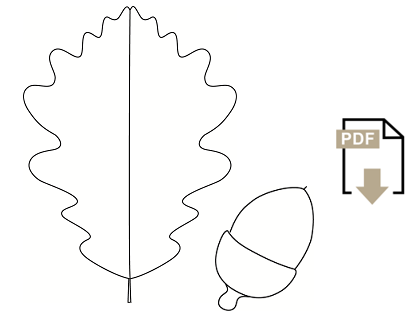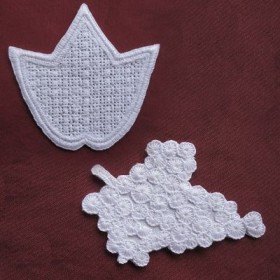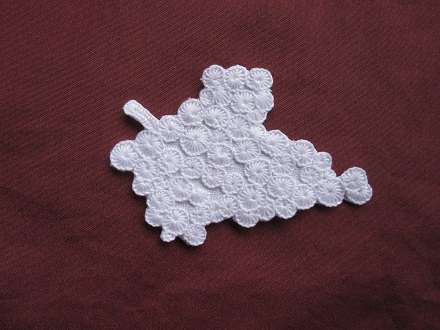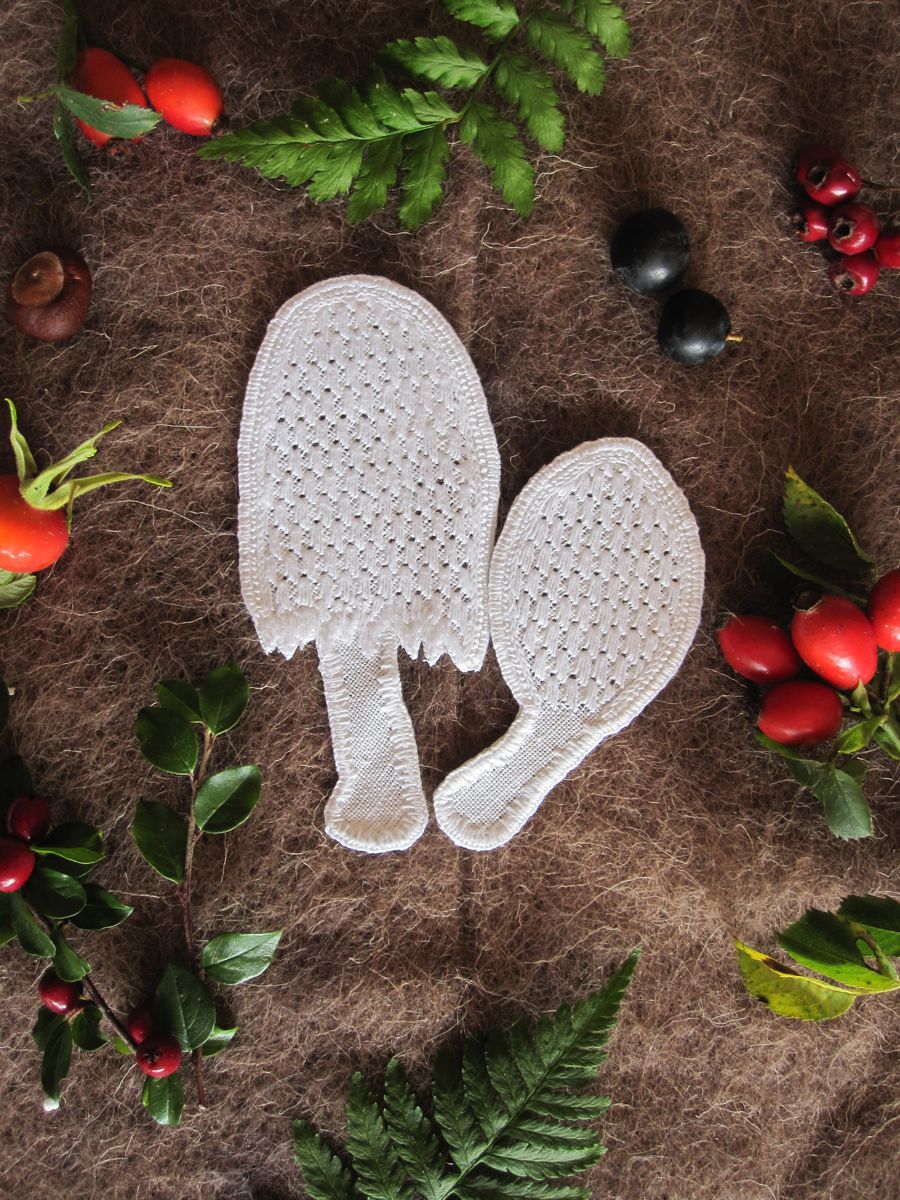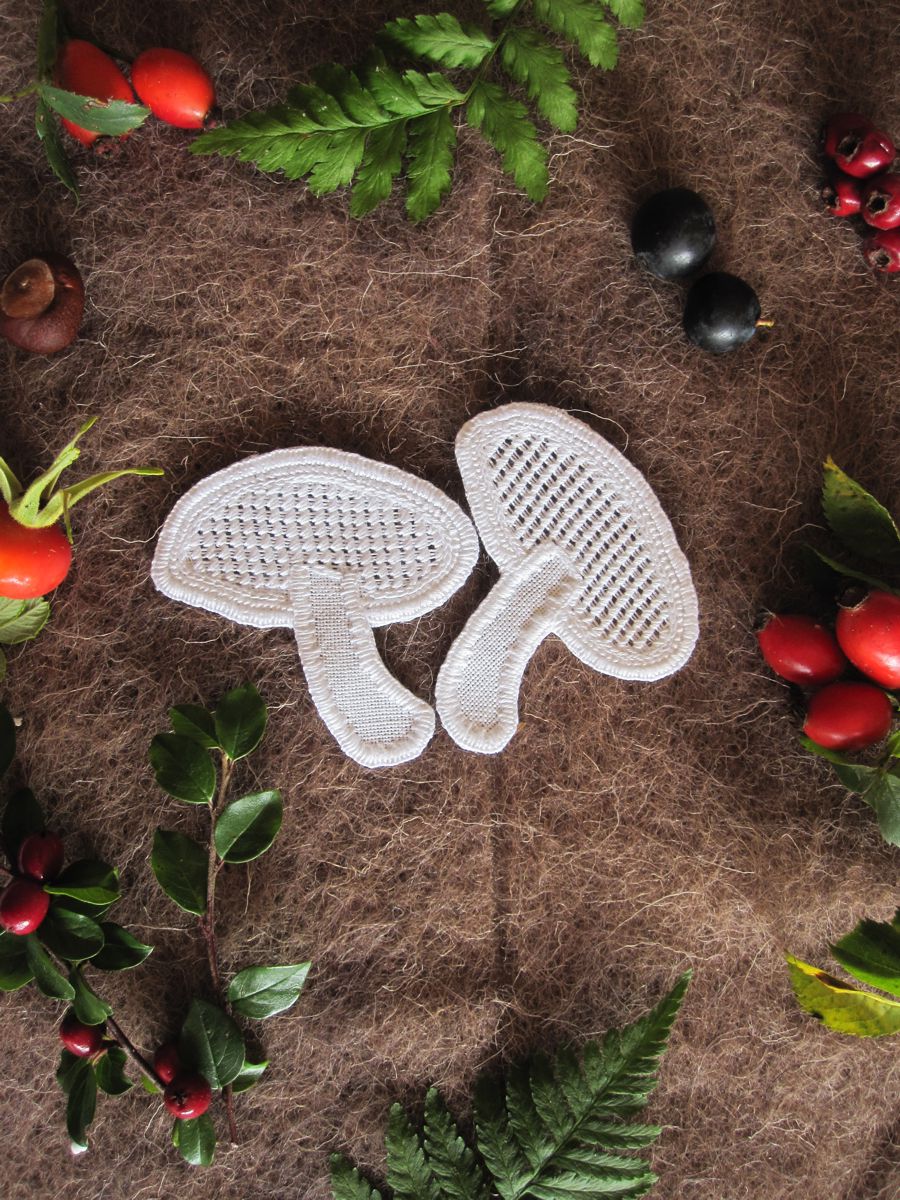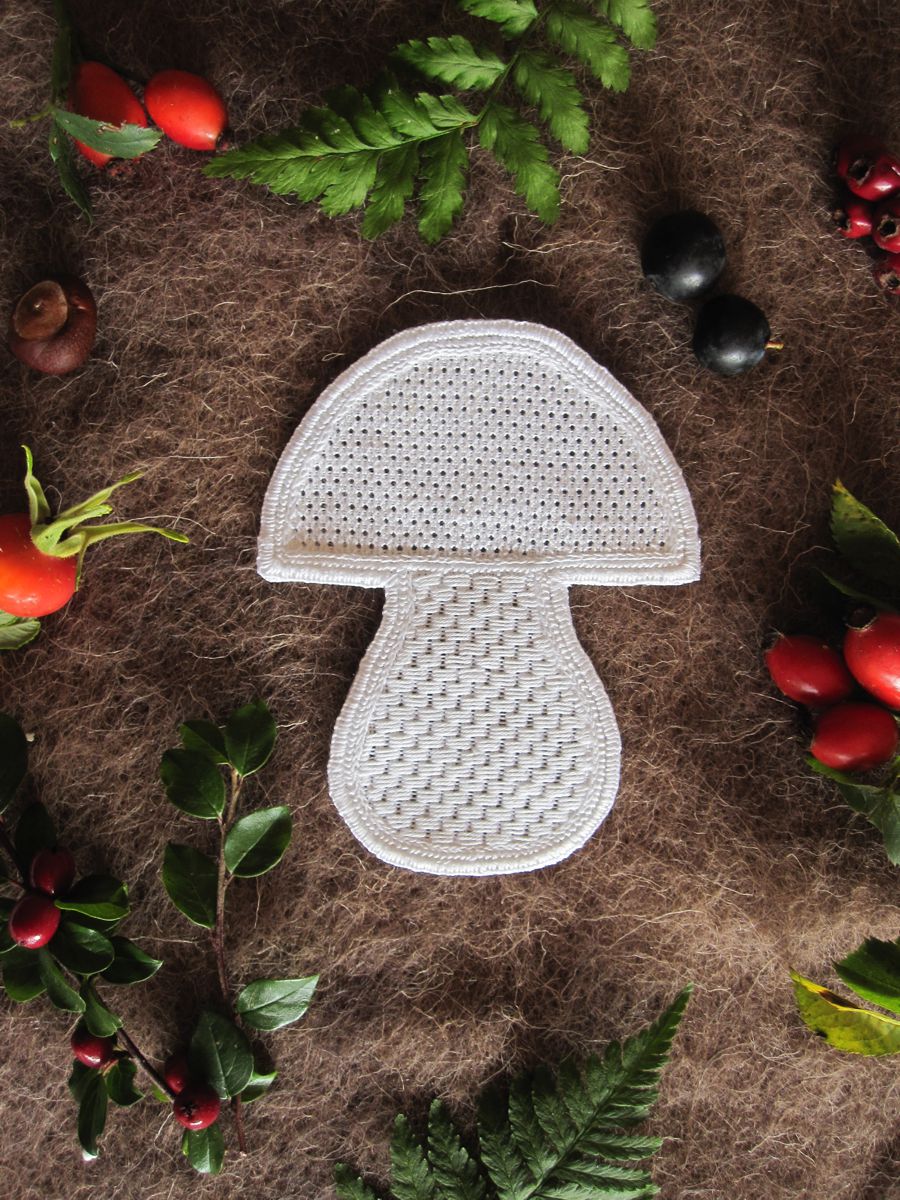
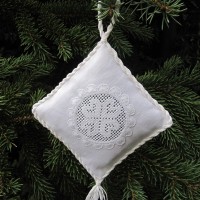
Fir cone and pine cone are the small projects for December.
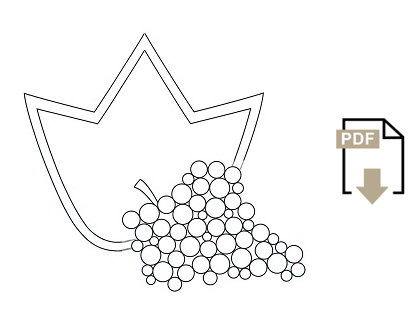
I settled on the following shapes:
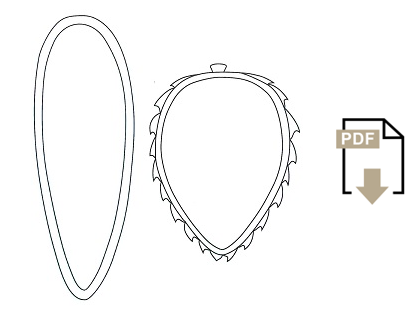
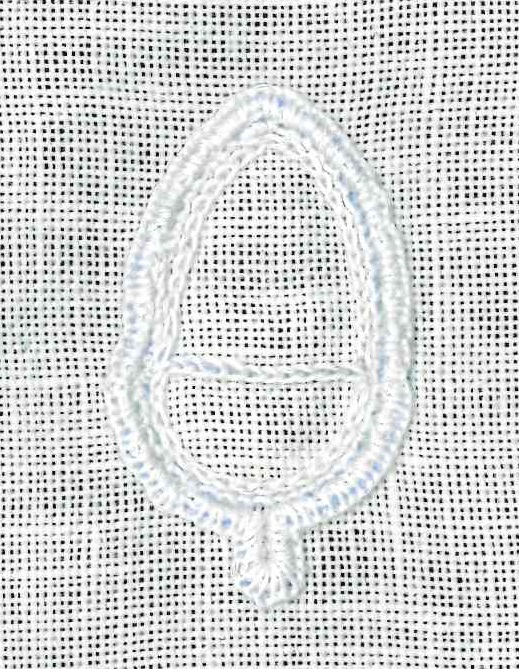
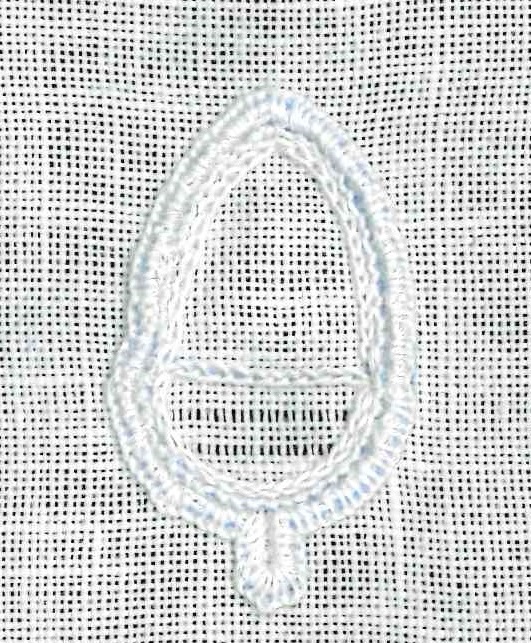
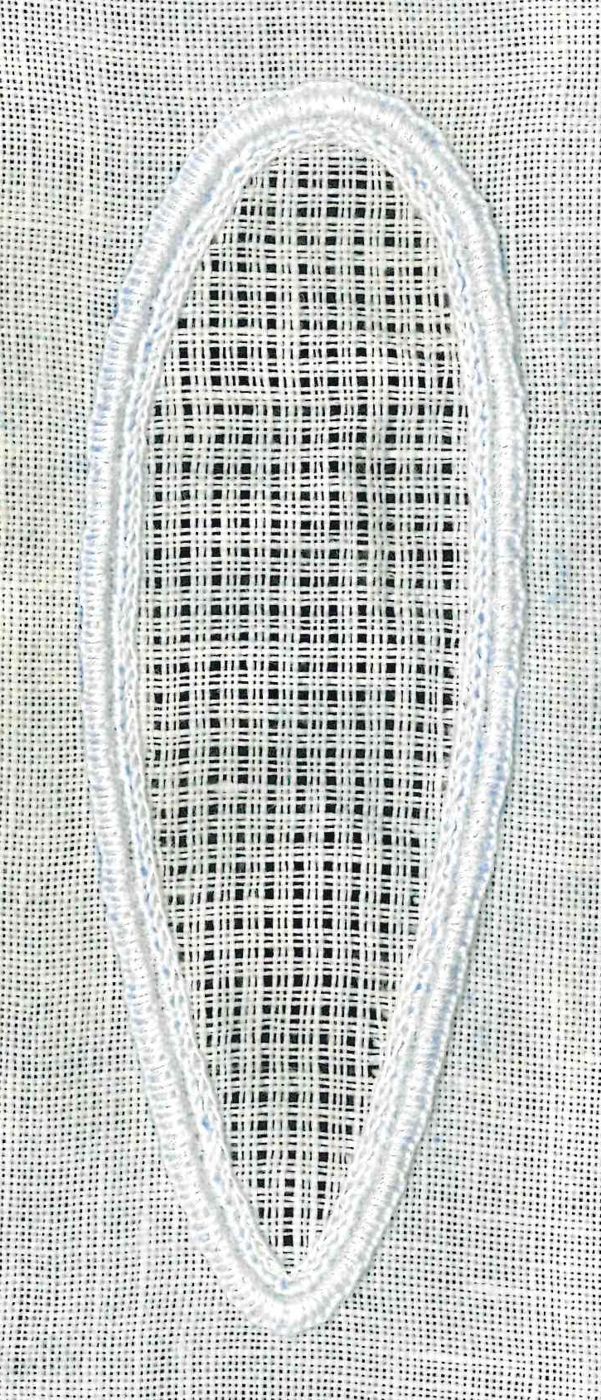
Originally the pine cone shape measures approx. 6.5 cm in the width and 8.5 cm in the height.
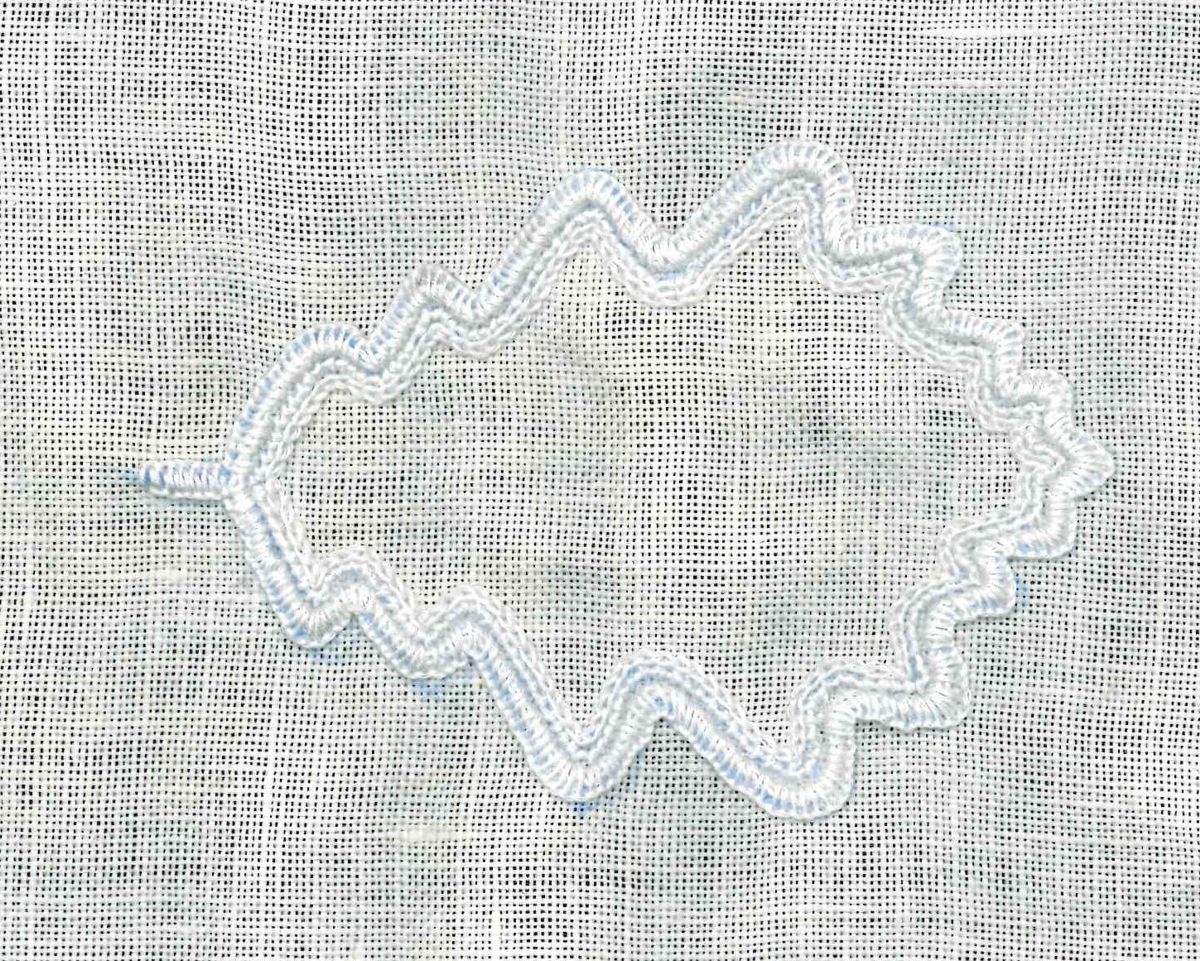
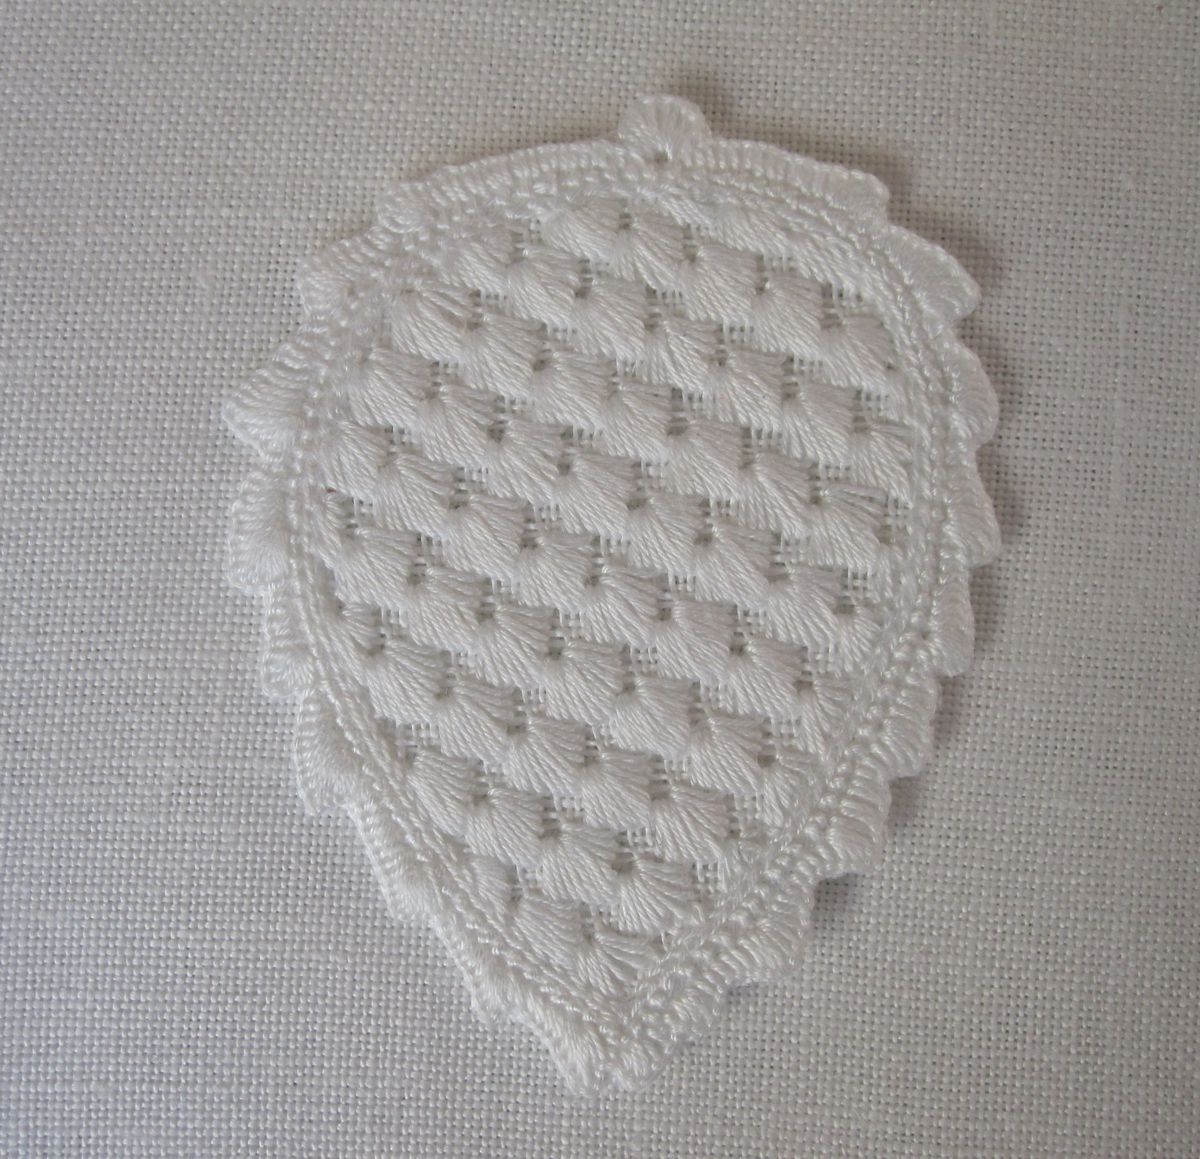
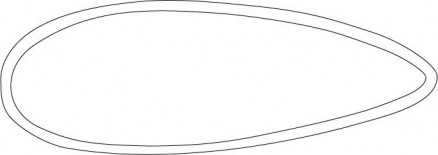 Originally the fir cone shape measures approx. 13 cm in the width and 4.5 cm in the height.
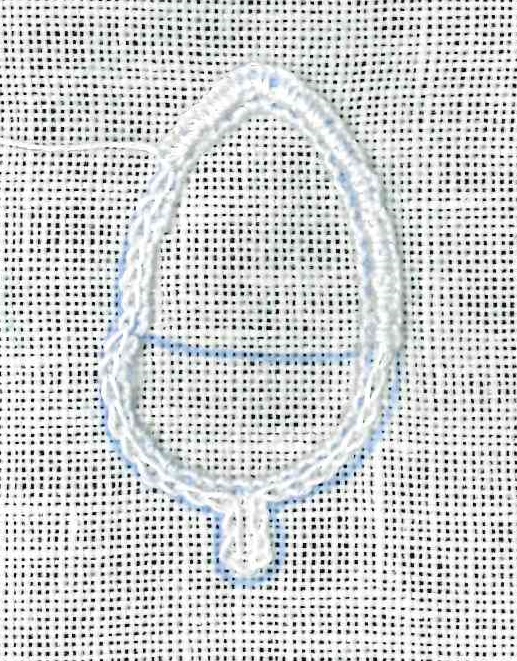
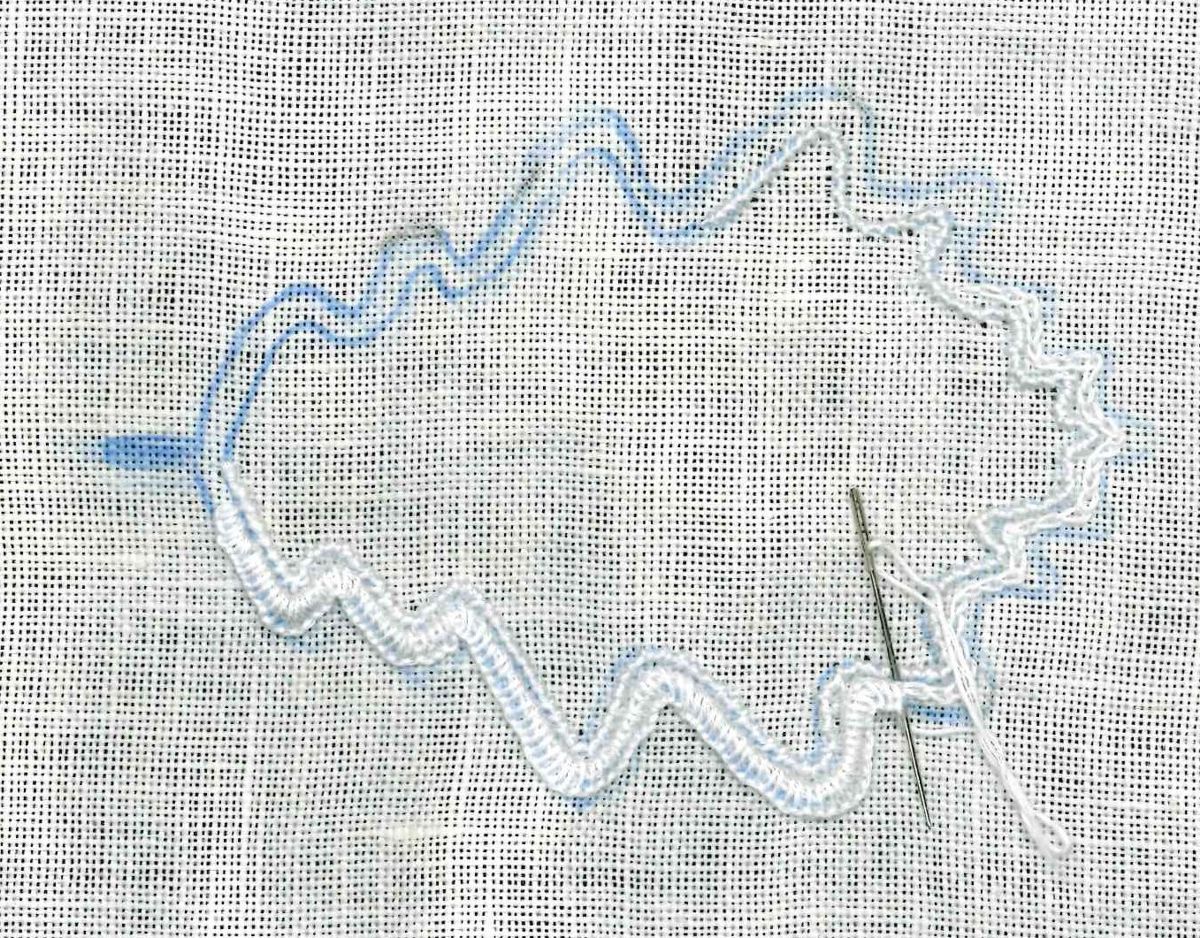
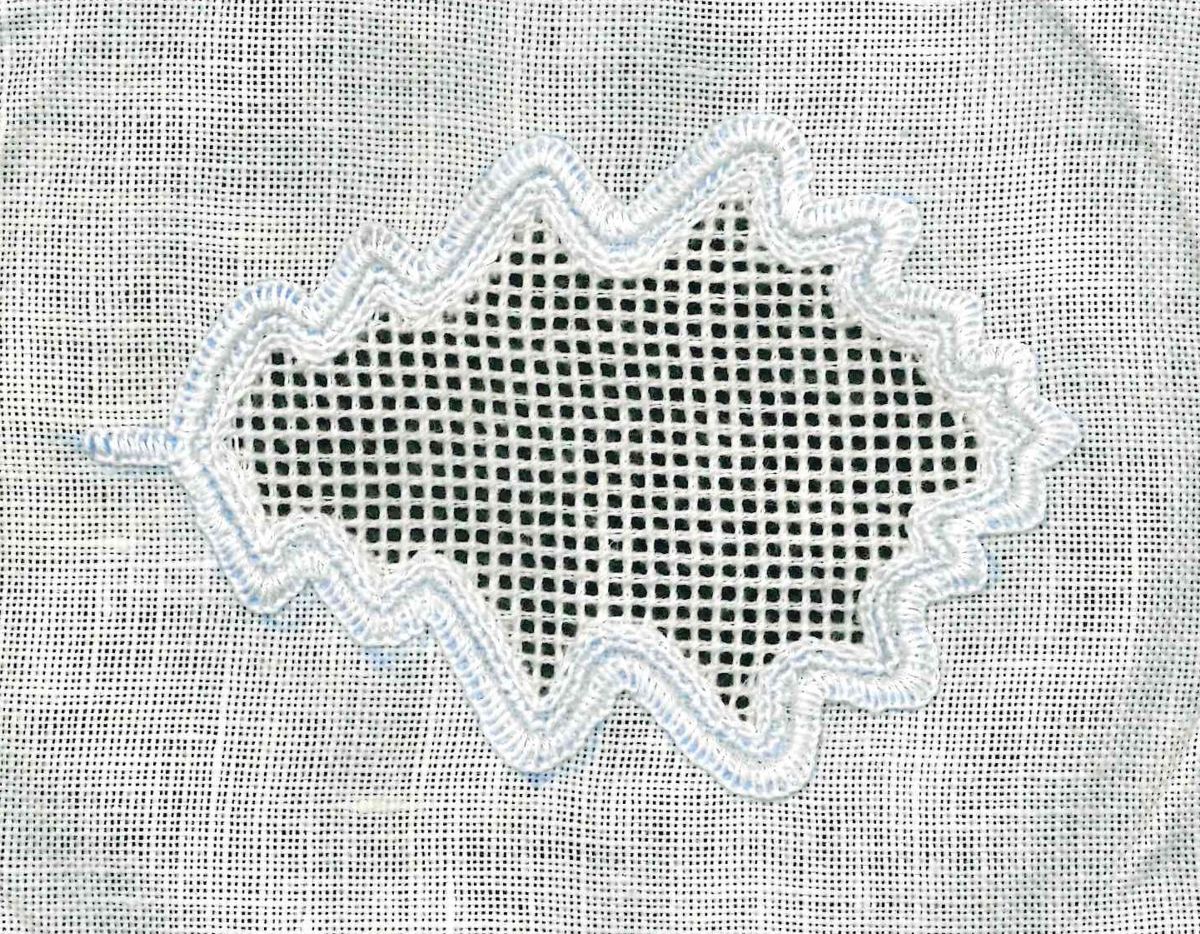
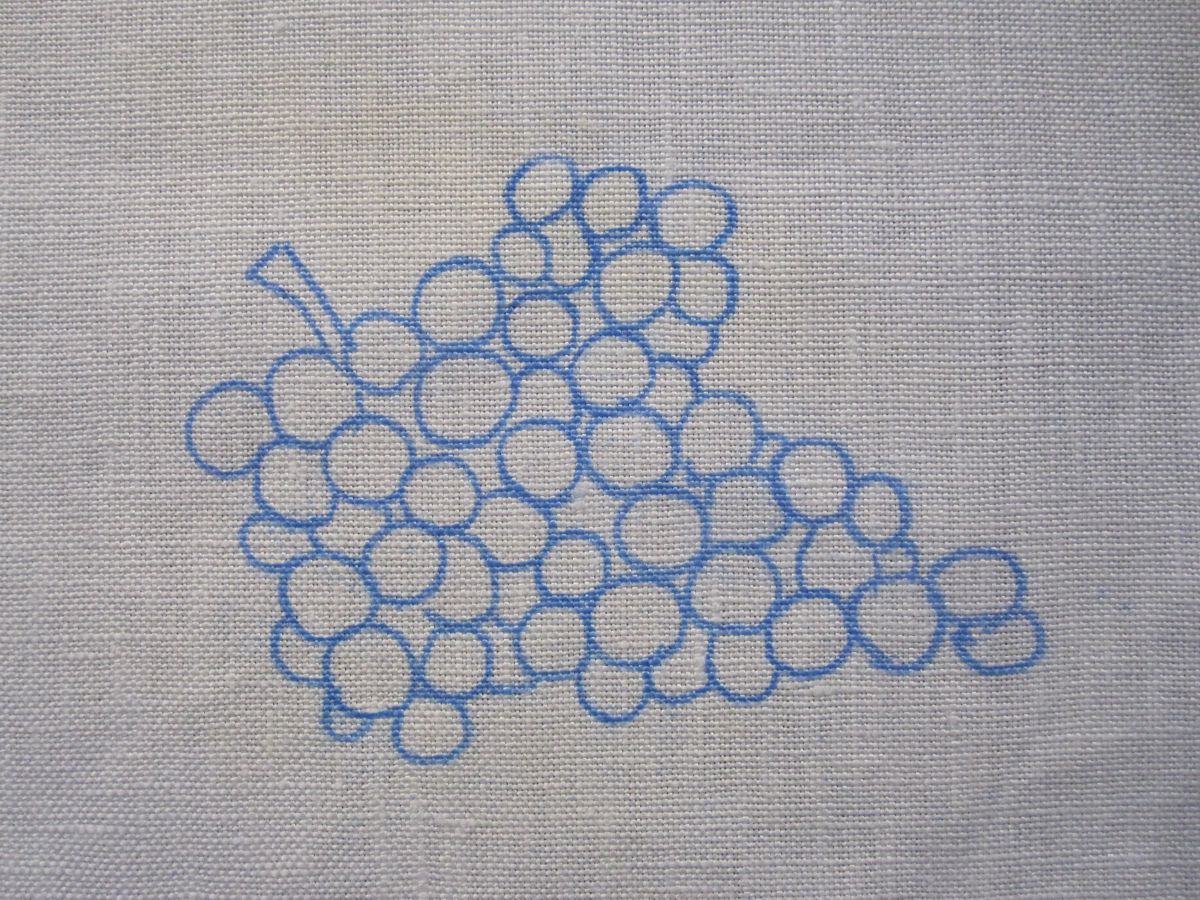
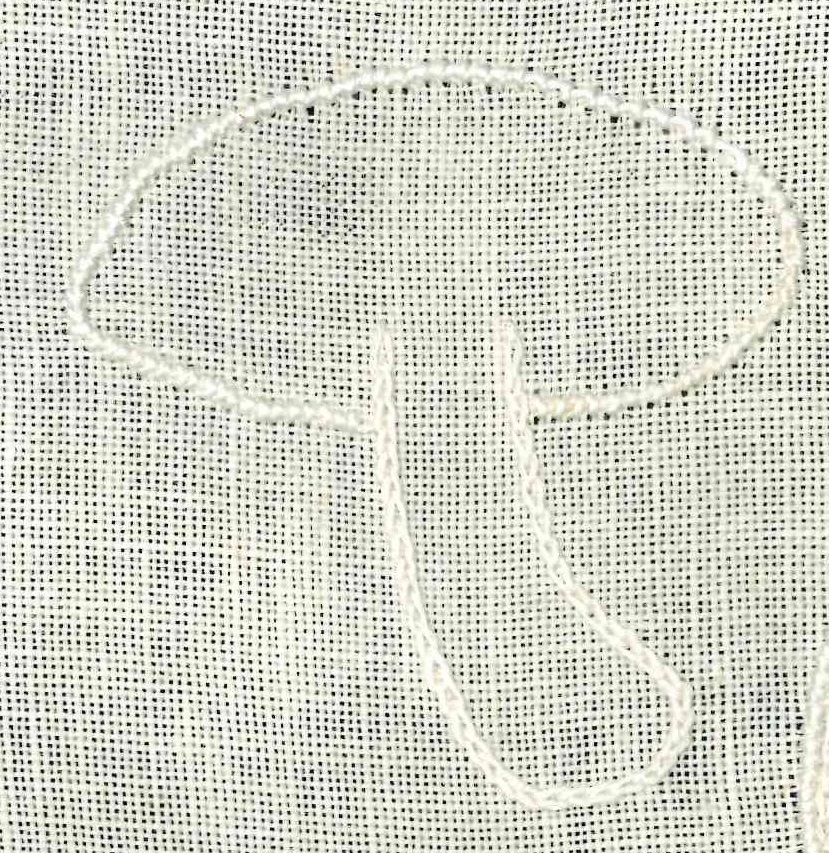
First, the line drawing has to be transferred onto paper using an iron transfer pencil, and then transferred to Weddigen linen, 13.5/cm thread count.
The shapes need a Blanket stitch edge for securing the fabric from fraying.
So, Coral Knot stitches are worked along the innermost lines using Coton à broder No. 20.
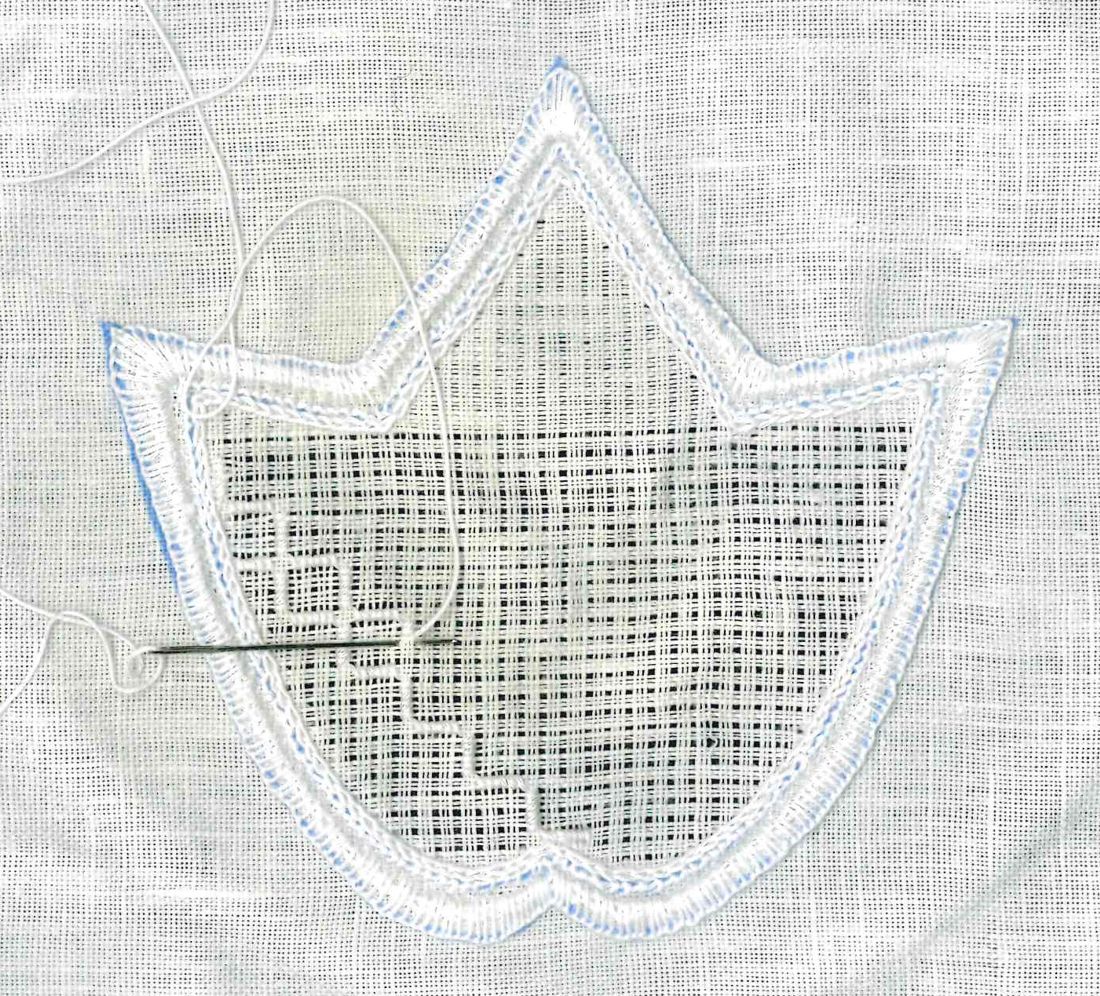
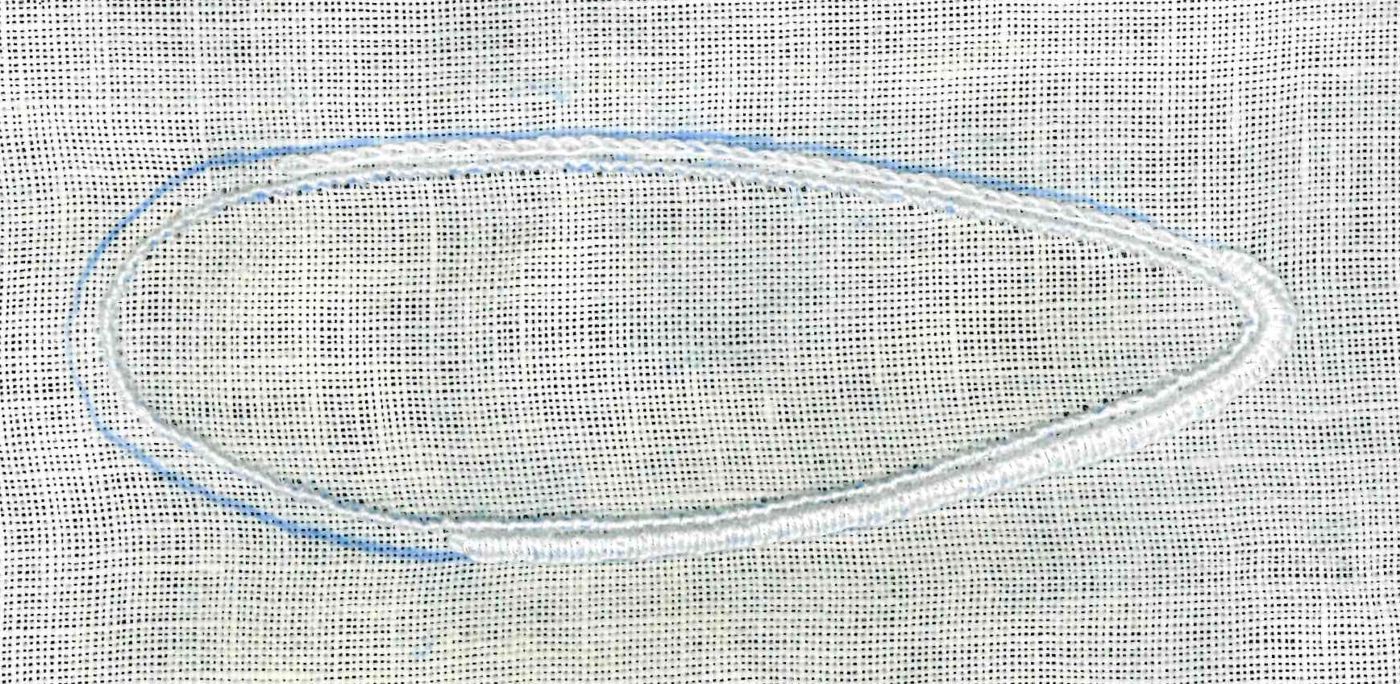 For the fir cone shape, using Coton à broder No. 20 for both, Chain stitches are worked a small distance outside the Coral Knot stitches. The Chain stitches are covered with densely worked Blanket stitches.
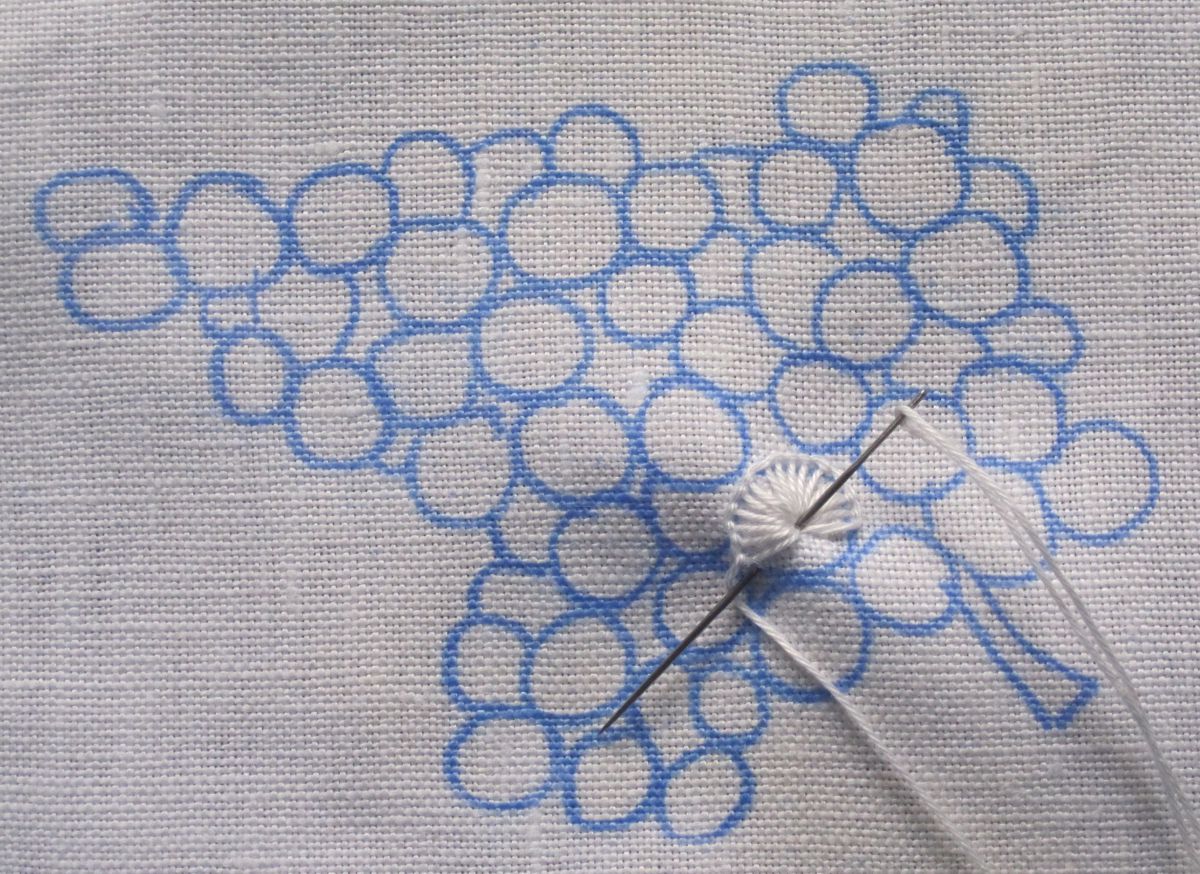
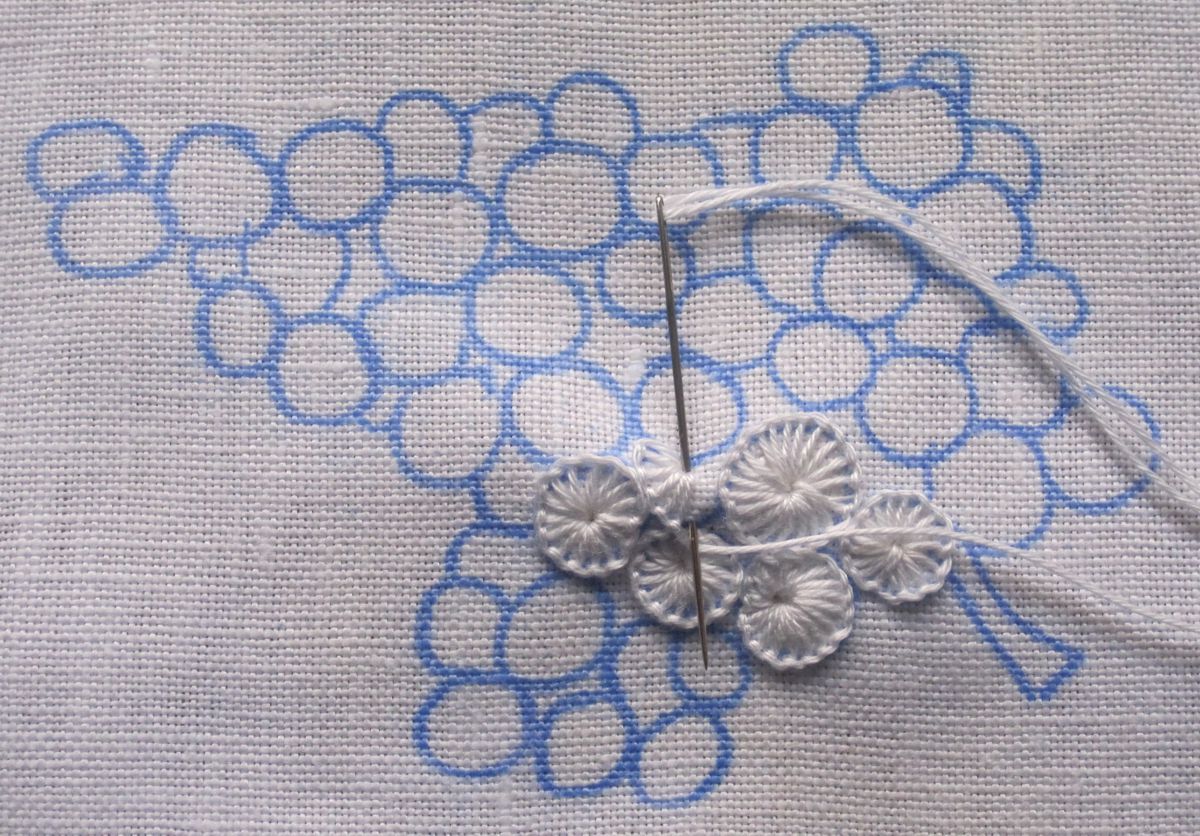
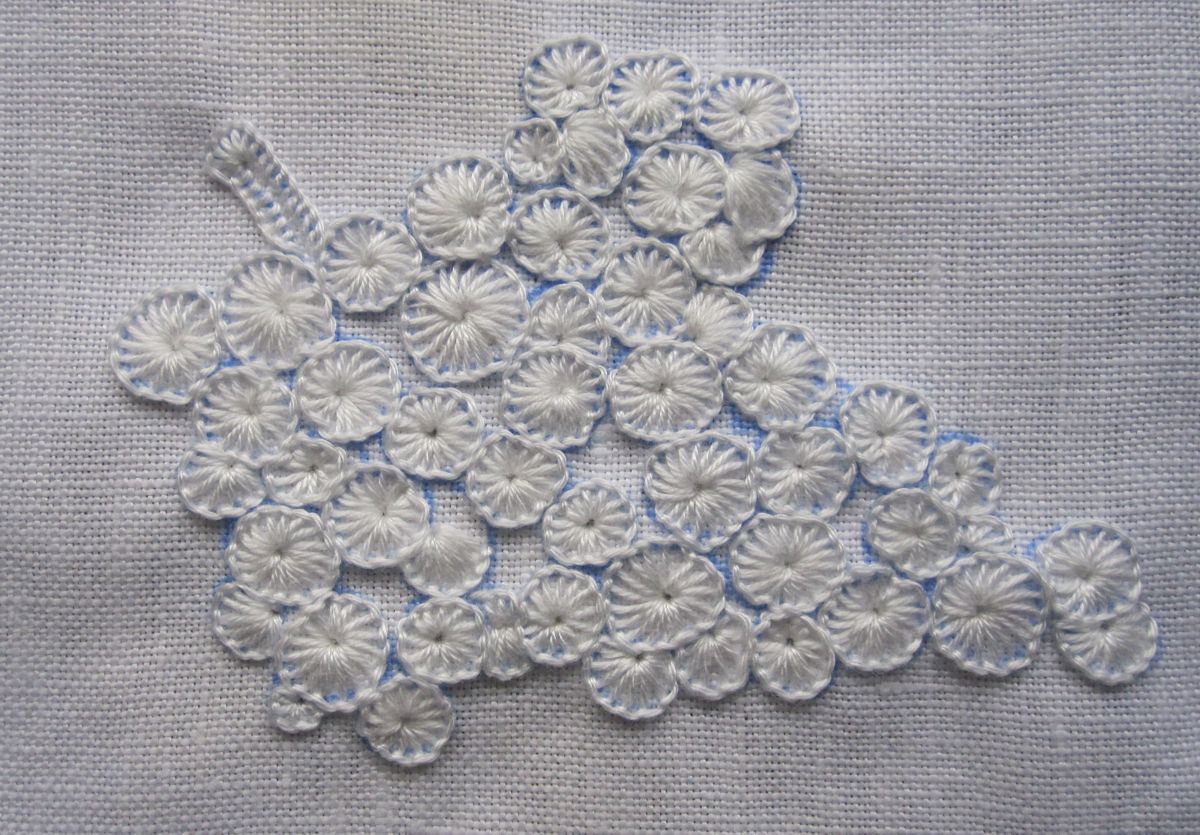
 For the pine cone shape, using Coton à broder No. 20 dense Blanket stitches are worked between the Coral Knot line and the pointed outline. Following the pointed outline, the Blanket stitches are worked as pointed half-eyelet scallops.
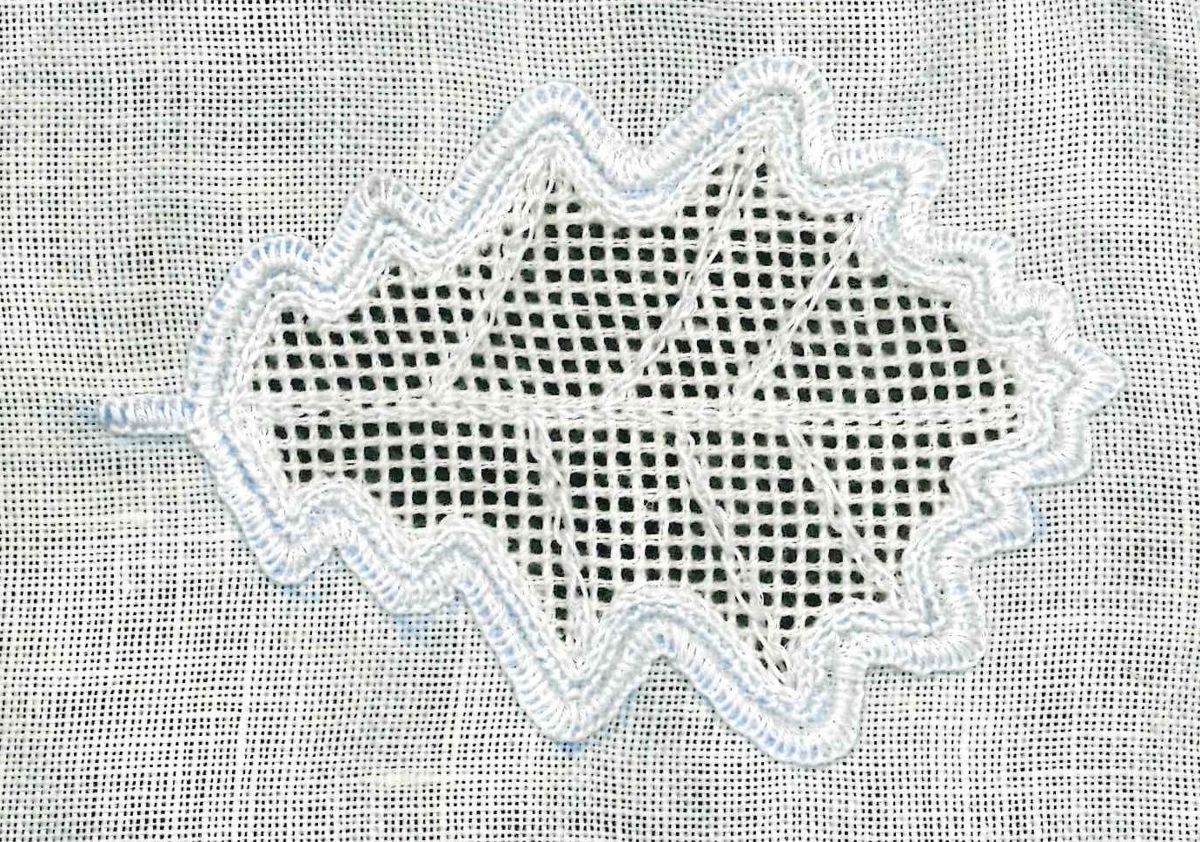
Using Coton à broder No. 30 Chain stitches are worked directly inside the Coral Knot stitches.
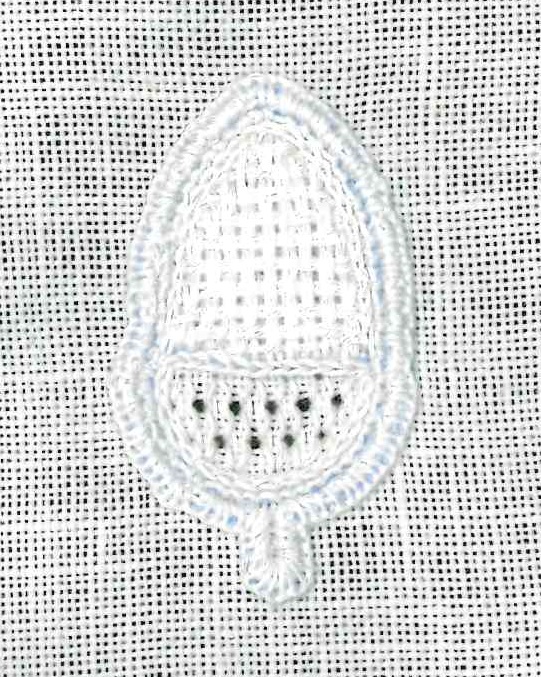
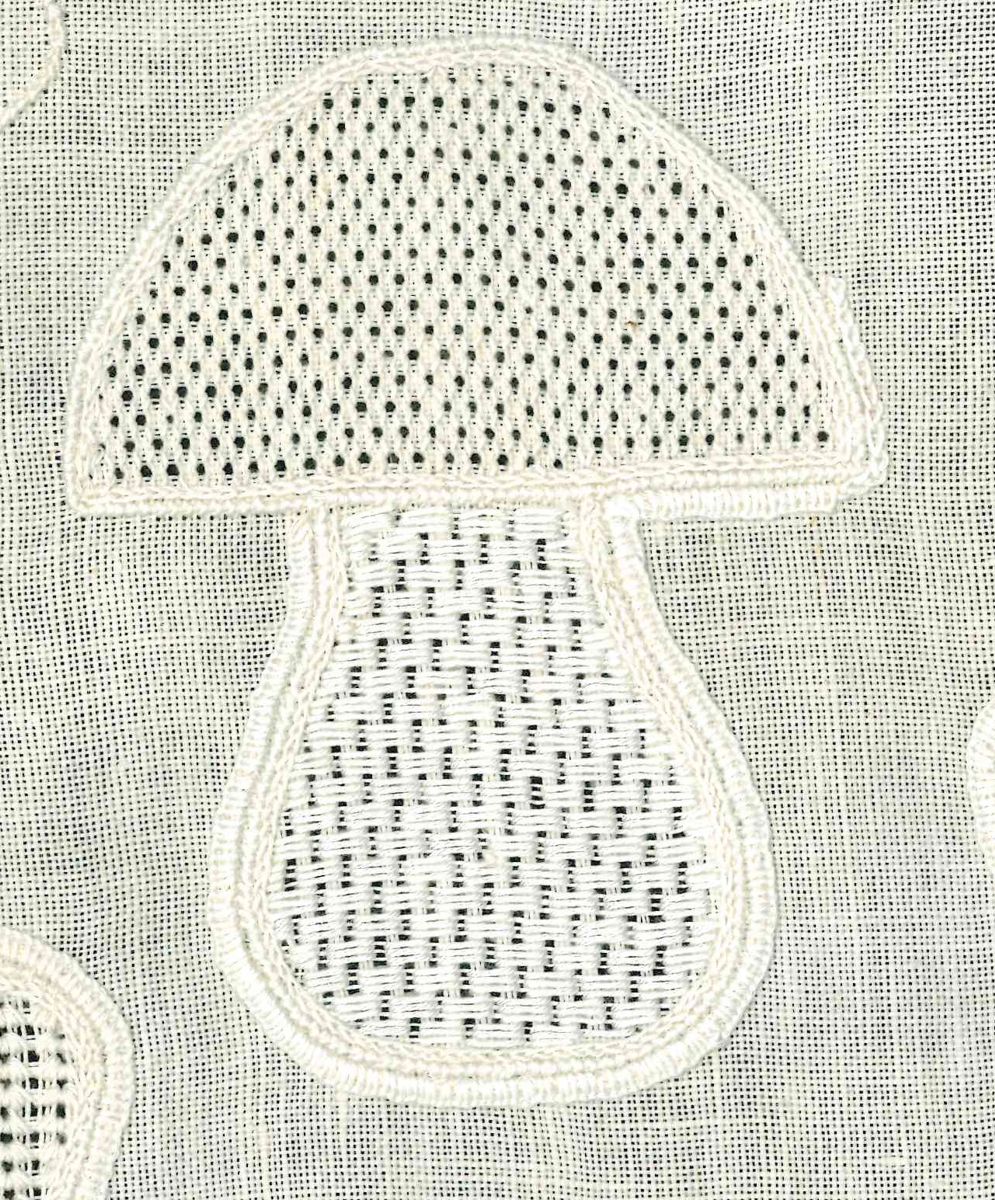
Both shapes were filled with Limet- filling patterns.
For the fir cone I chose pattern “Muscheln” (Limetrosen II, page 21).
 For the pine cone I chose pattern “Zapfen” (Limetrosen I, page 73).
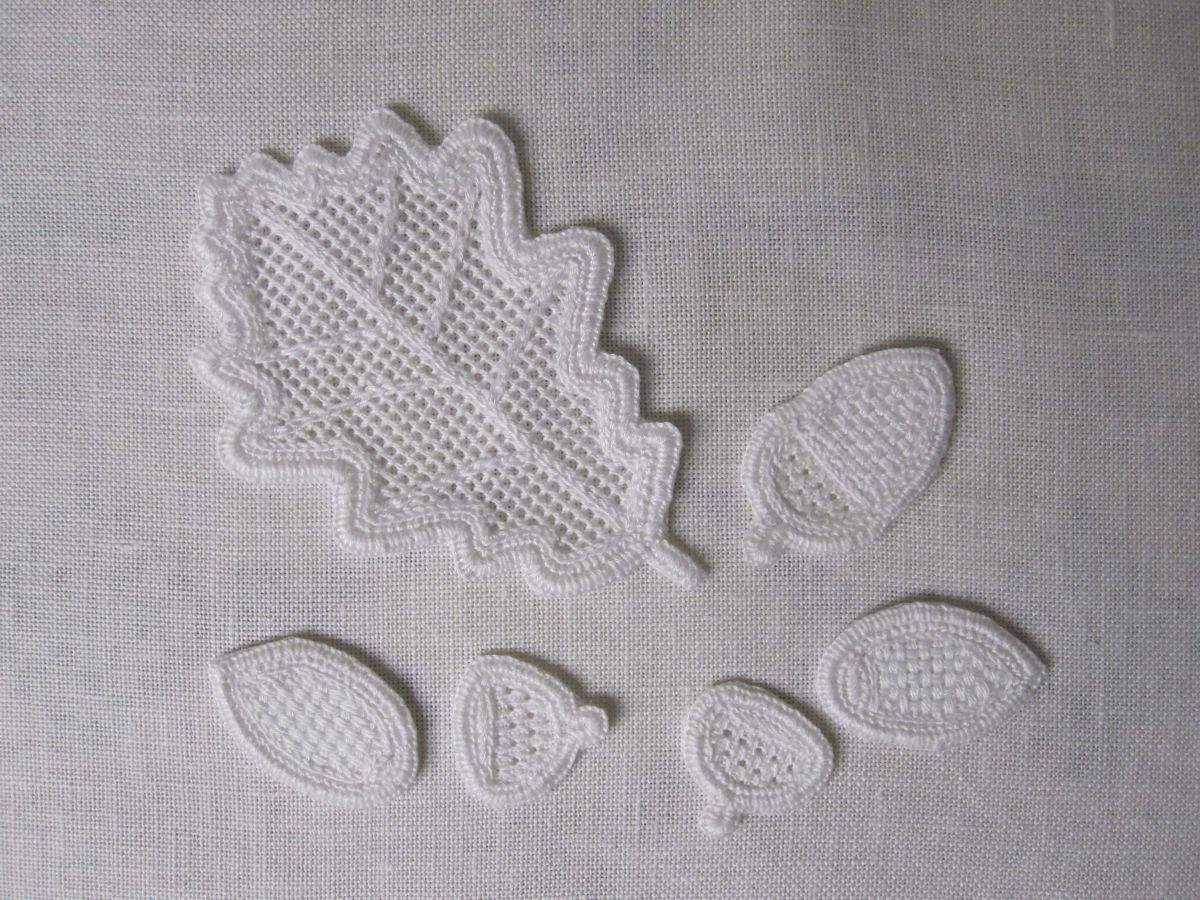
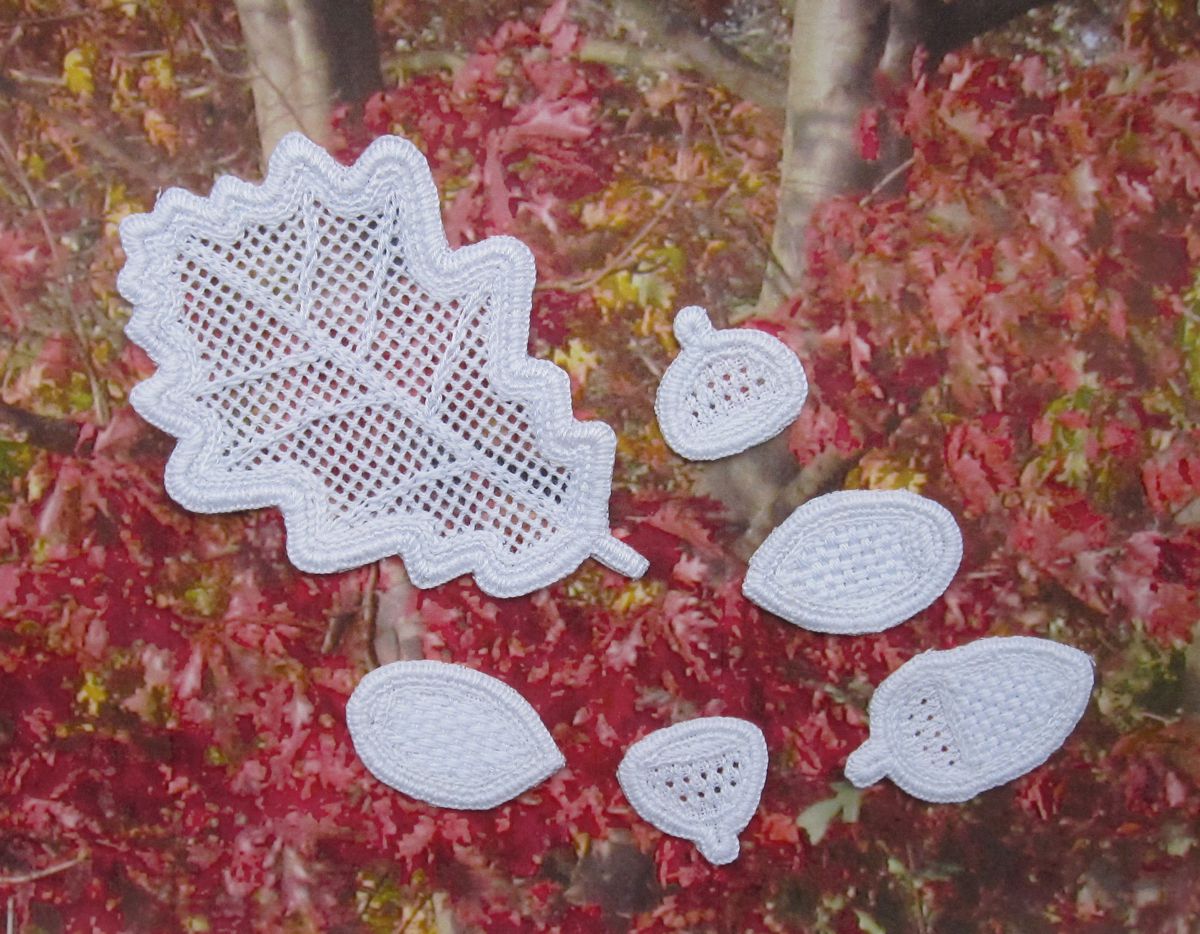
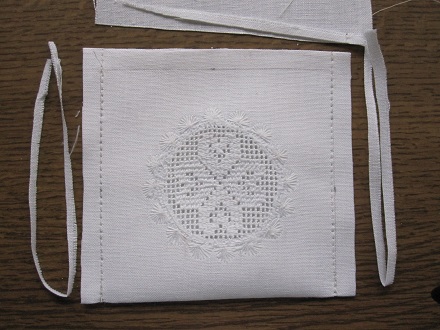
 After finishing, the embroidered pieces were washed (boiled), starched and ironed. Then, the cones were cut. If needed, such closely trimmed embroidery can be washed and ironed – quickly and easily – at any time, but never spun in a washing machine!

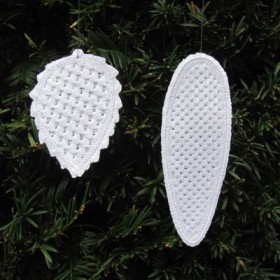
 In addition to adorning a tablecloth, the cones can also be used for autumnal decoration
 or trimming the holiday tree.

 Fold the linen, right sides together, on the marked line.
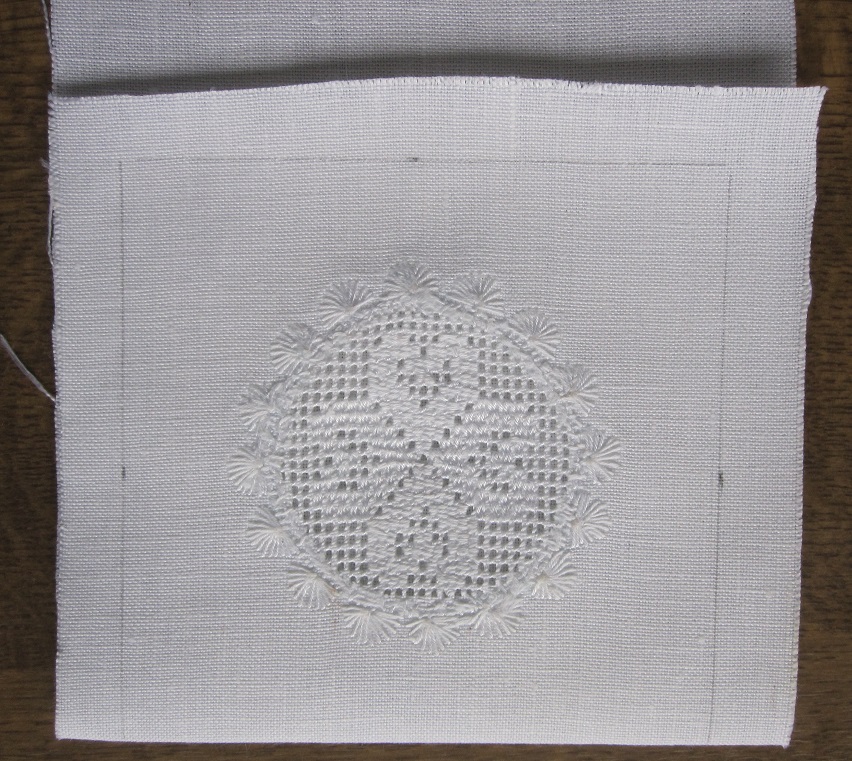
 Seam allowances are opened and pressed.
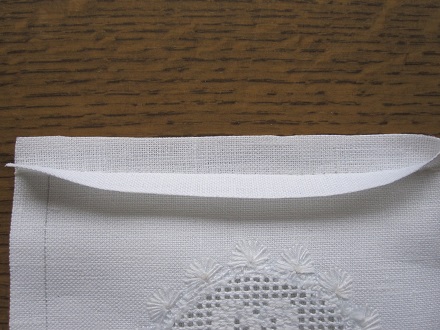 Inside is turned out and the piece is ironed once more.
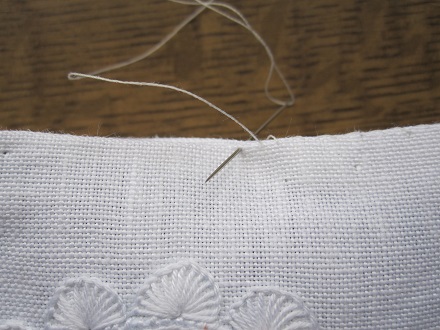
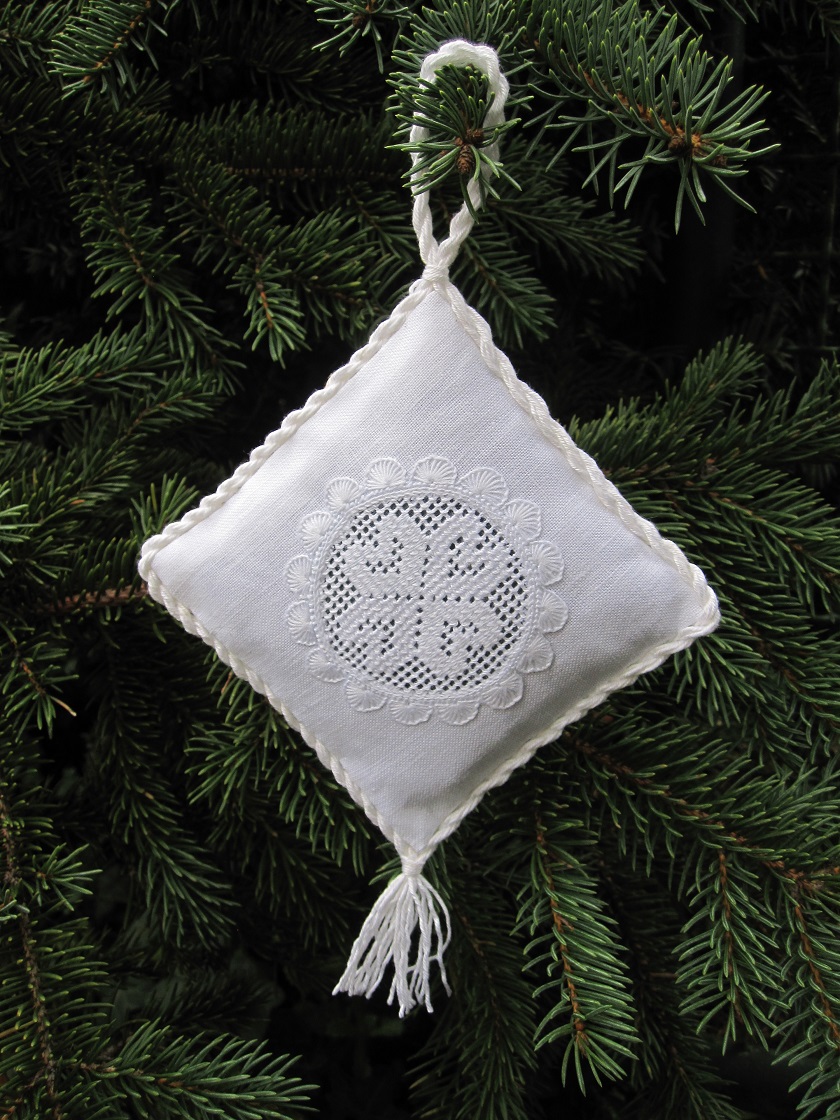
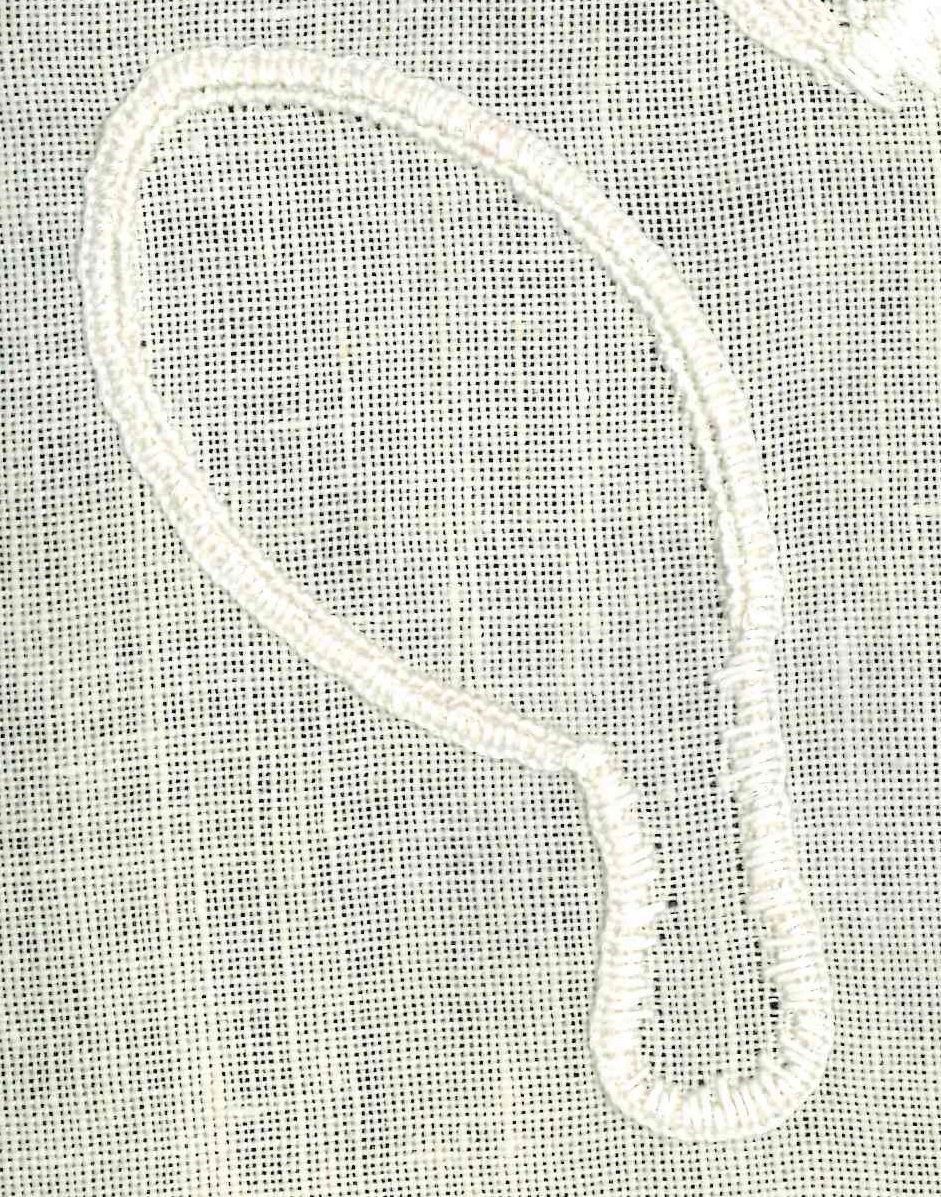
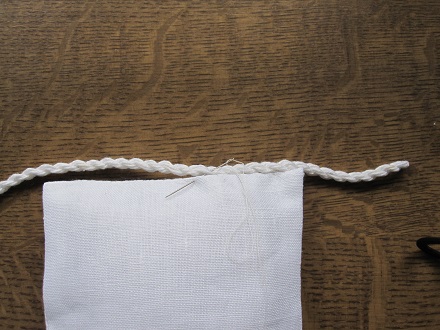 At the corner opposite to the beginning corner, a hanging loop is created. The cord is attached to the two remaining edges.
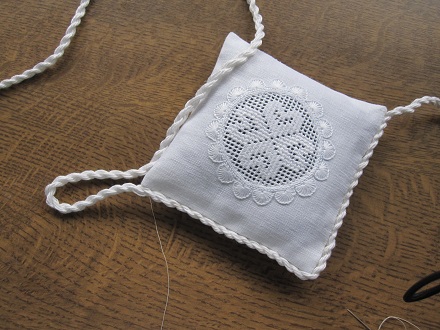 When the starting point is reached, finish by wrapping – using crochet thread – the cord ends a number of times. The thread end is secured.
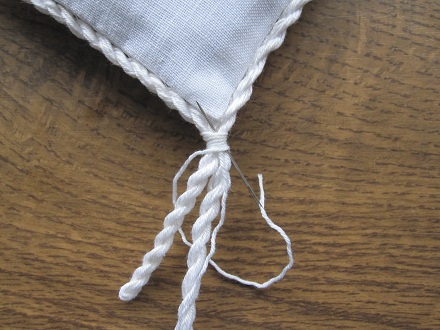 Wrap the loop in the same way.
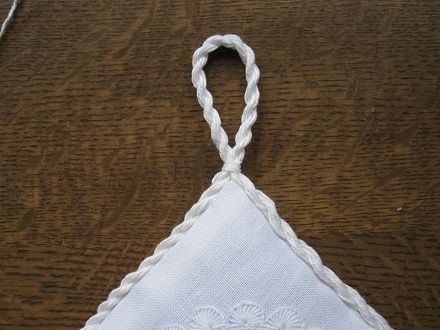 The ends of the cord are trimmed.
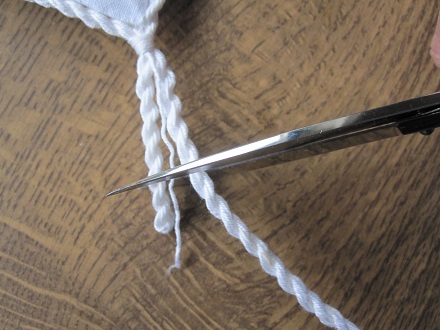 The cord is un-twisted, so that a tassel is created.
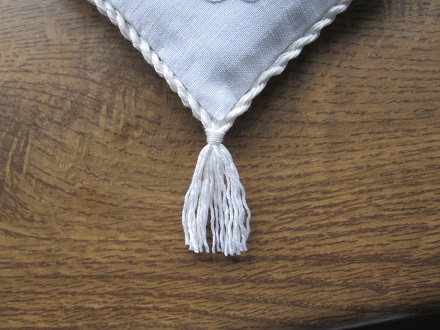 The finished ornament is ready to decorate the tree. It is also a lovely gift.