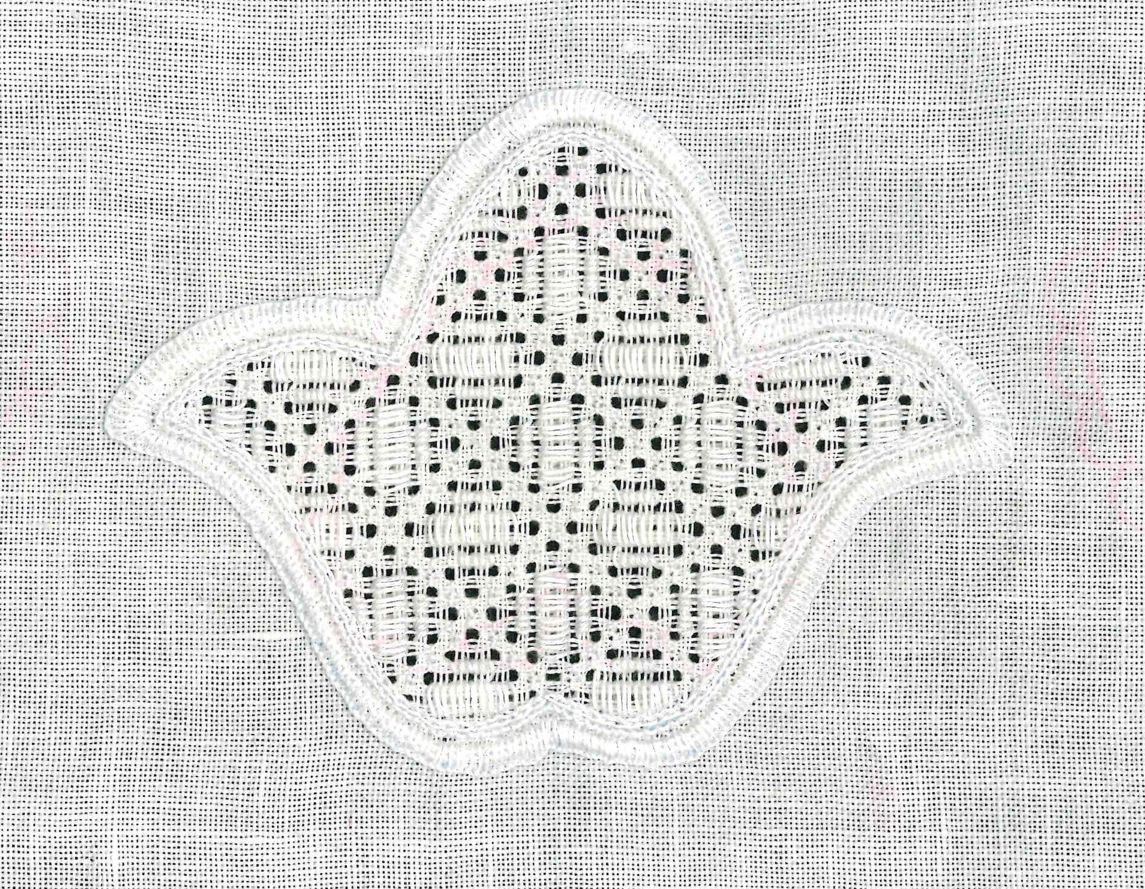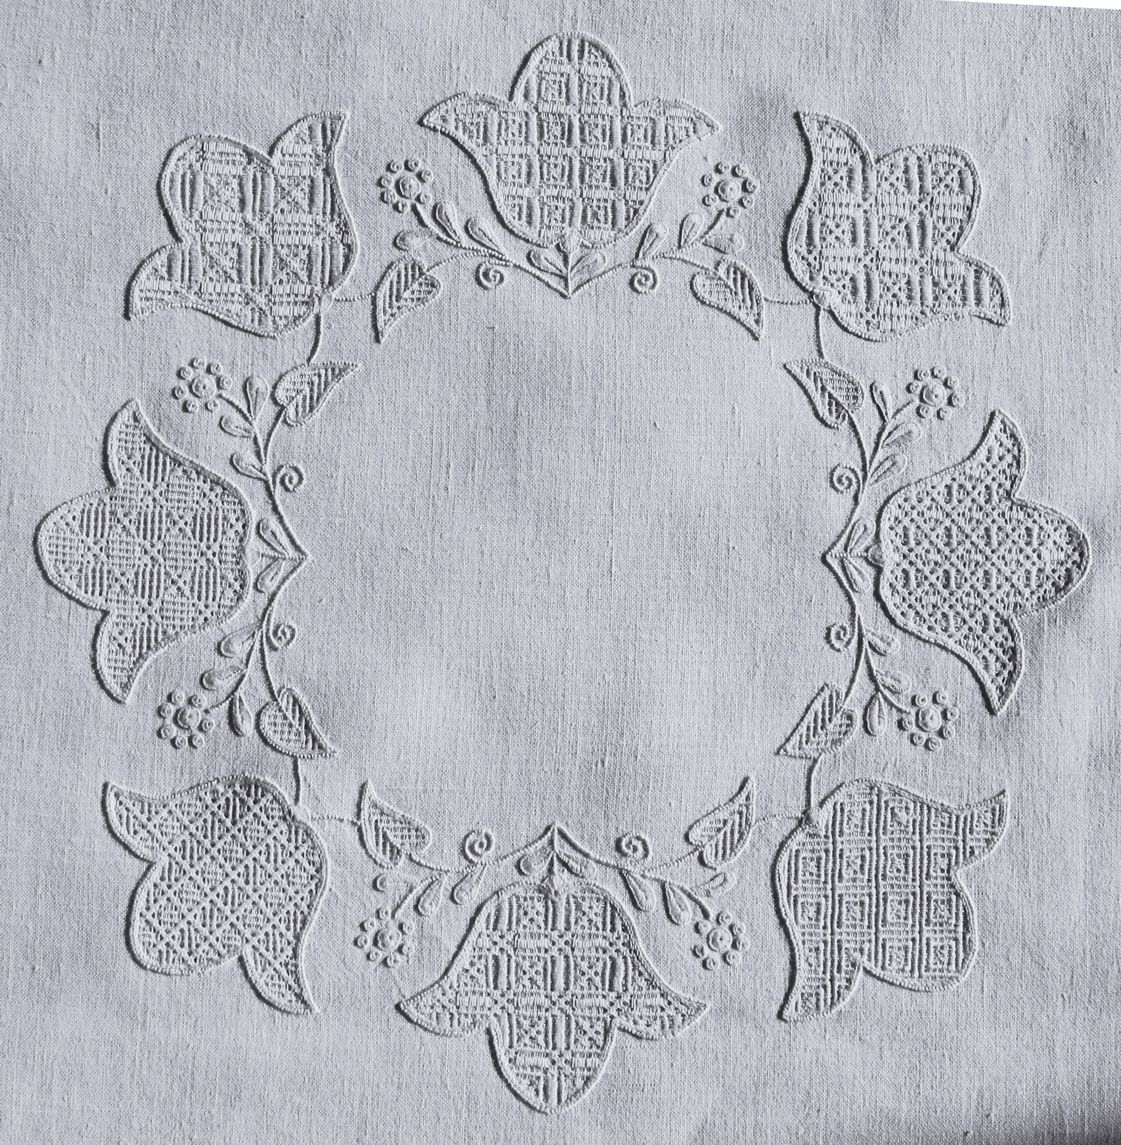
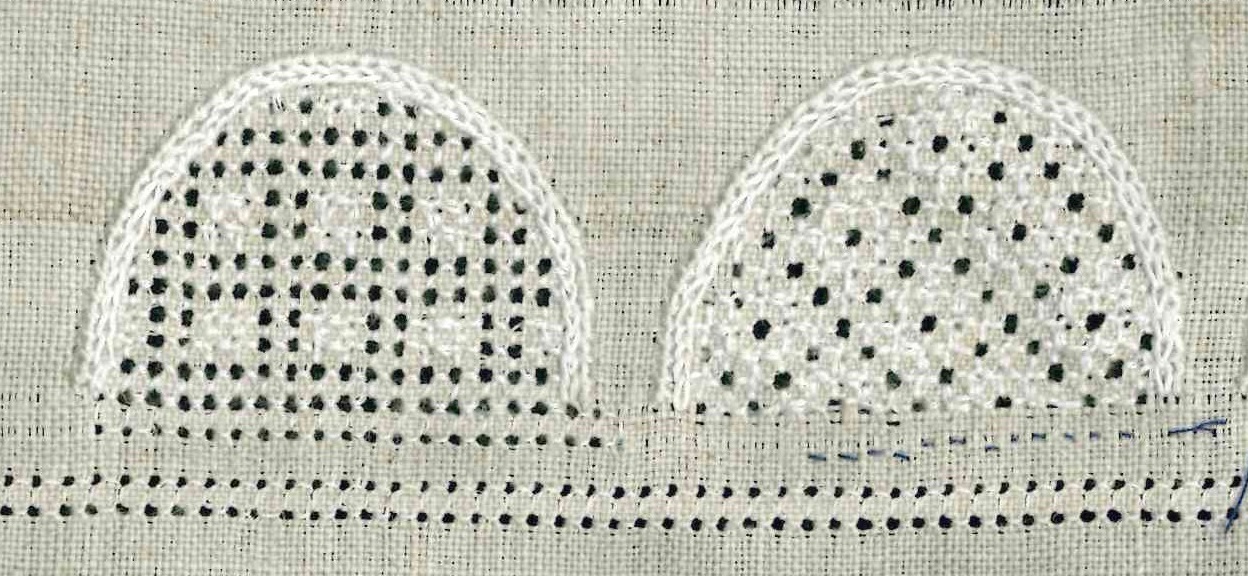
After the preparations the filling patterns can now be worked.
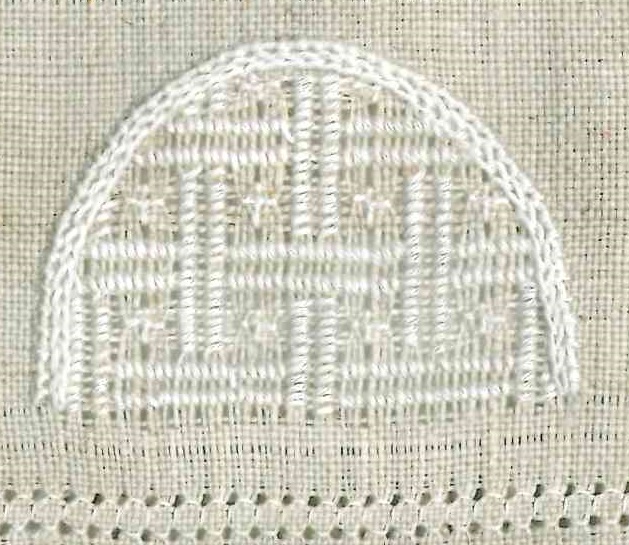
Here I have chosen pattern “447”.
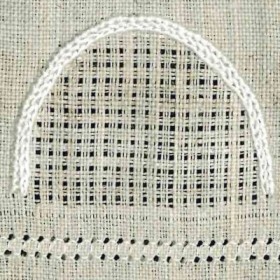
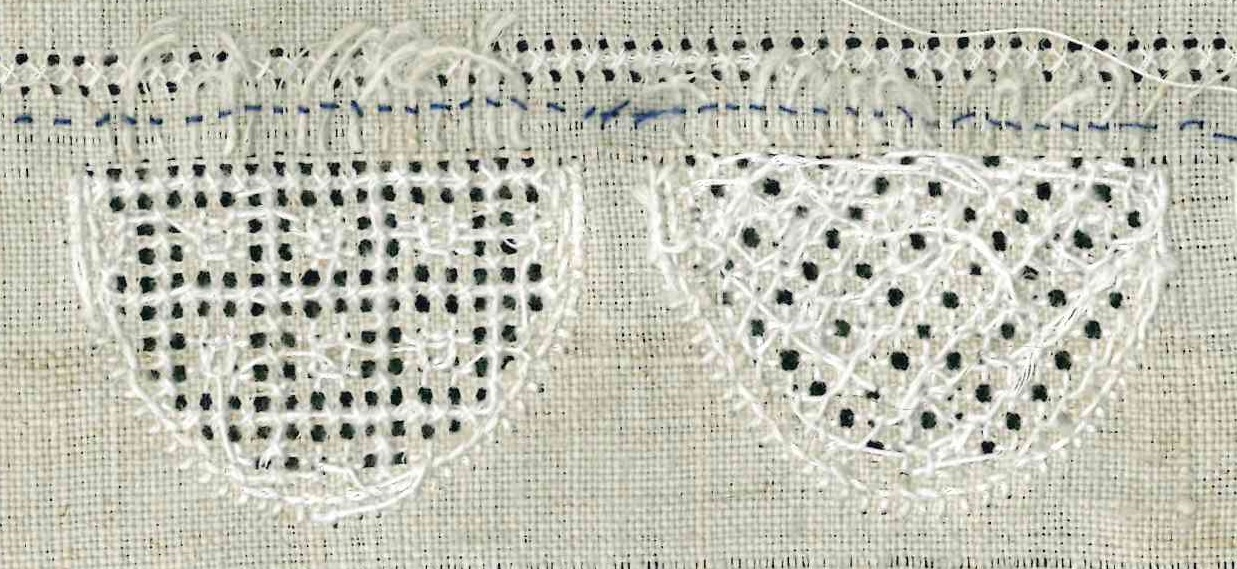
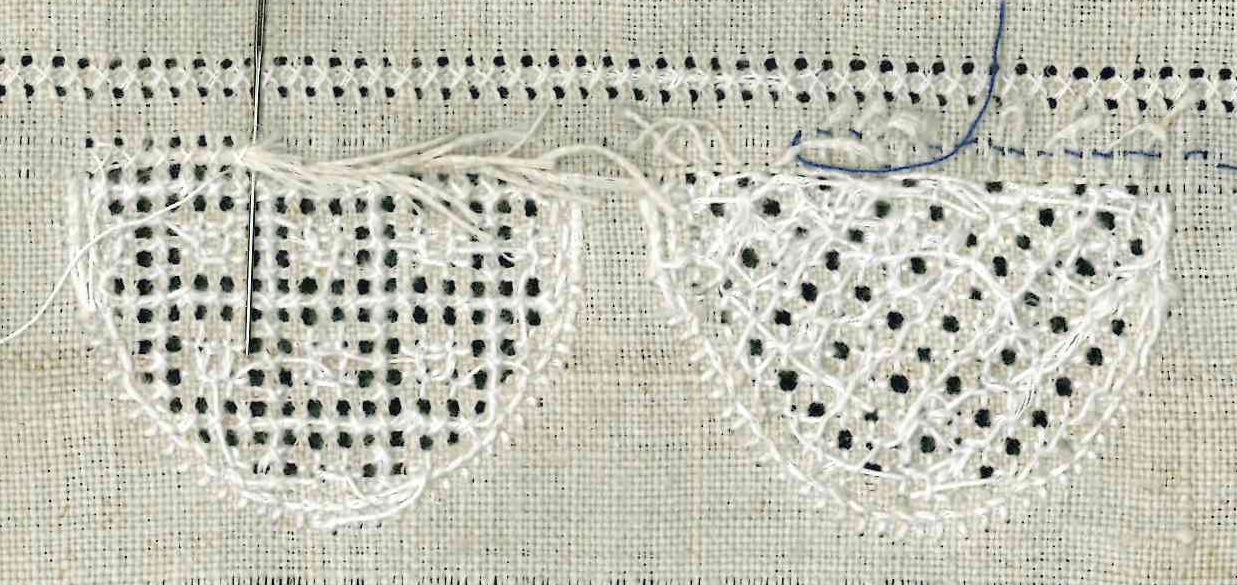
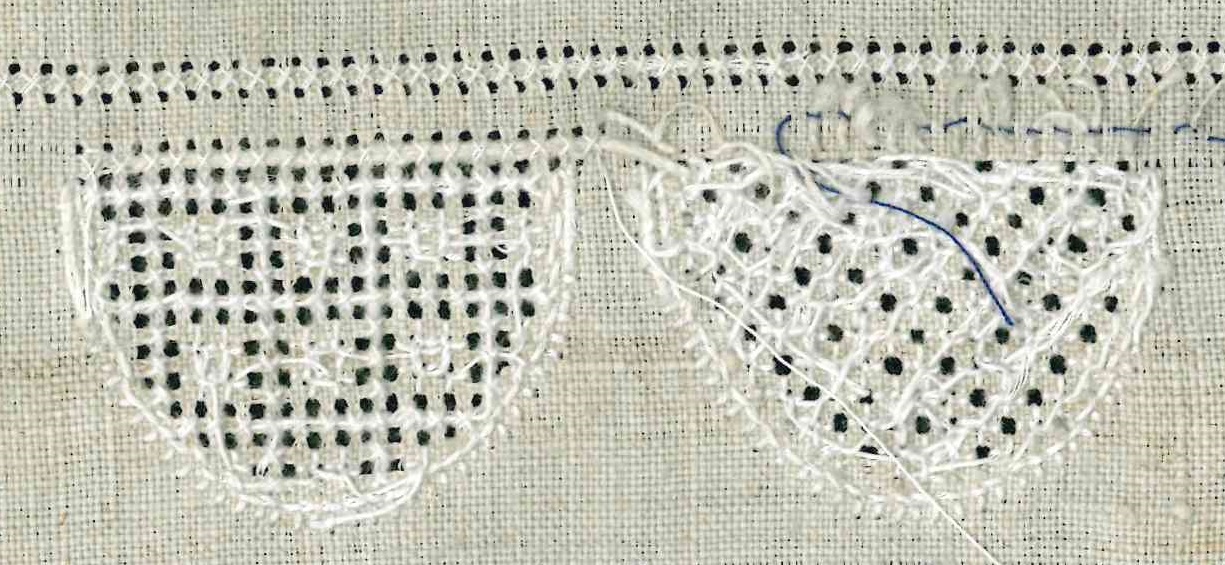
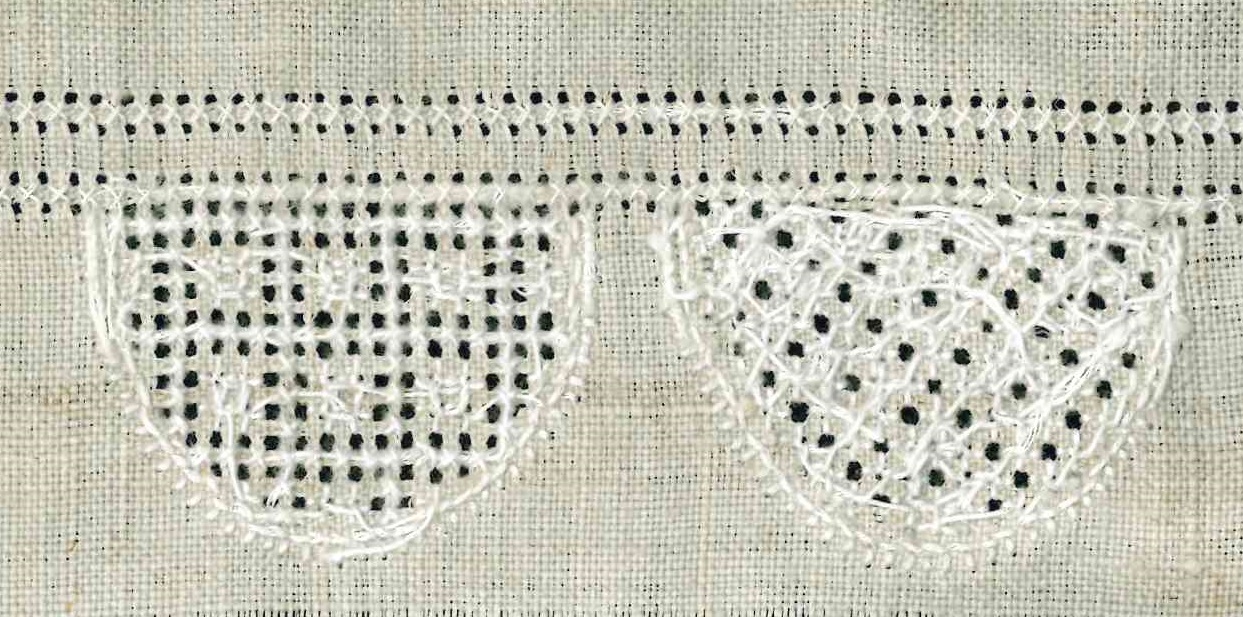
When some of the arch-grids have been embroidered, one can continue the Peahole hem.
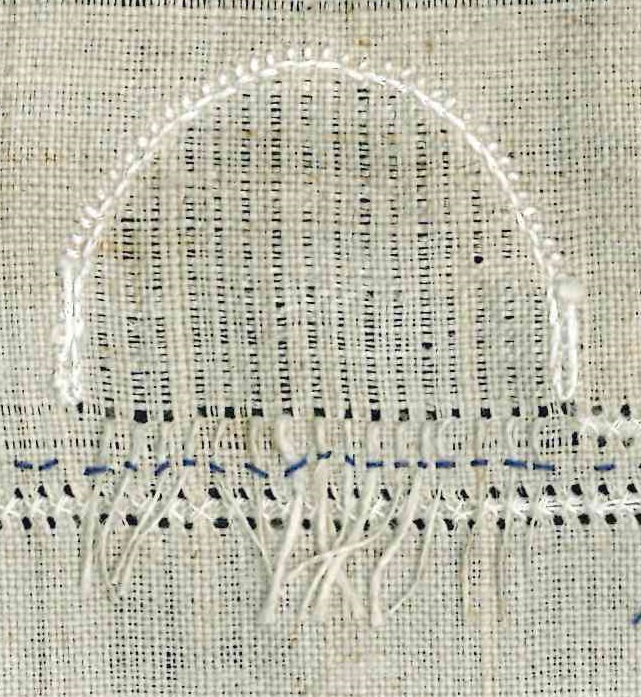
Therefore, withdraw the Running stitches, lay the withdrawn-thread ends to the right – between the two withdrawn-thread lines – and secure them with Four-Sided stitches. The Four-Sided stitches of the first row and those of this row must be perfectly aligned.
To keep it constant, one must look to the front of the fabric every few stitches to ascertain the two rows of Four-Sided stitches are aligned correctly. This is a little bit tedious. In the end, the secured fabric threads are barely visible.
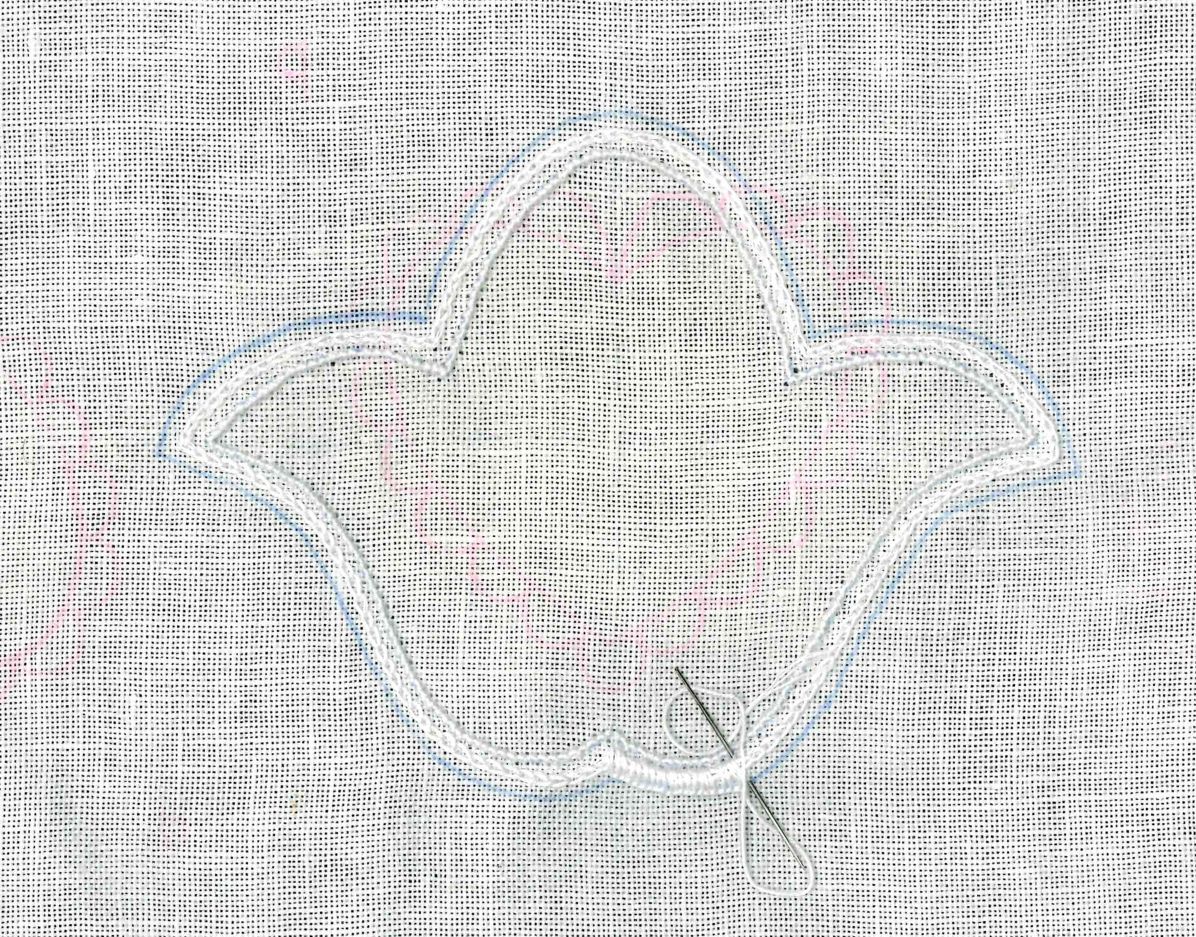
From the front it looks like this:
When one has completed a section of 2 parallel Four-Sided stitch rows,
one can withdraw the threads for the Peahole hem
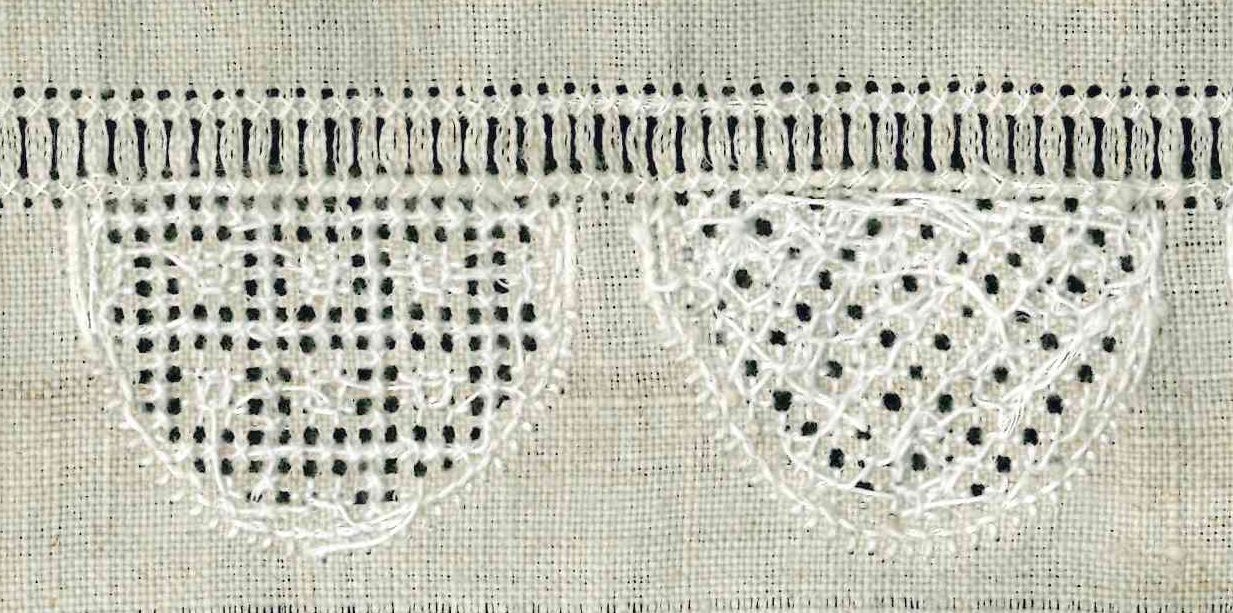
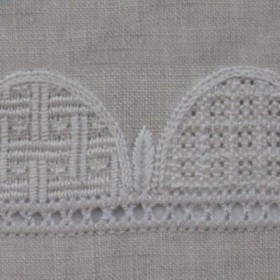
and can work the Peaholes. For exact and very detailed and illustrated step-by-step instructions, please look to my books “Basic Principles of Schwalm Whitework” and “Openwork Pattern Samplers”.

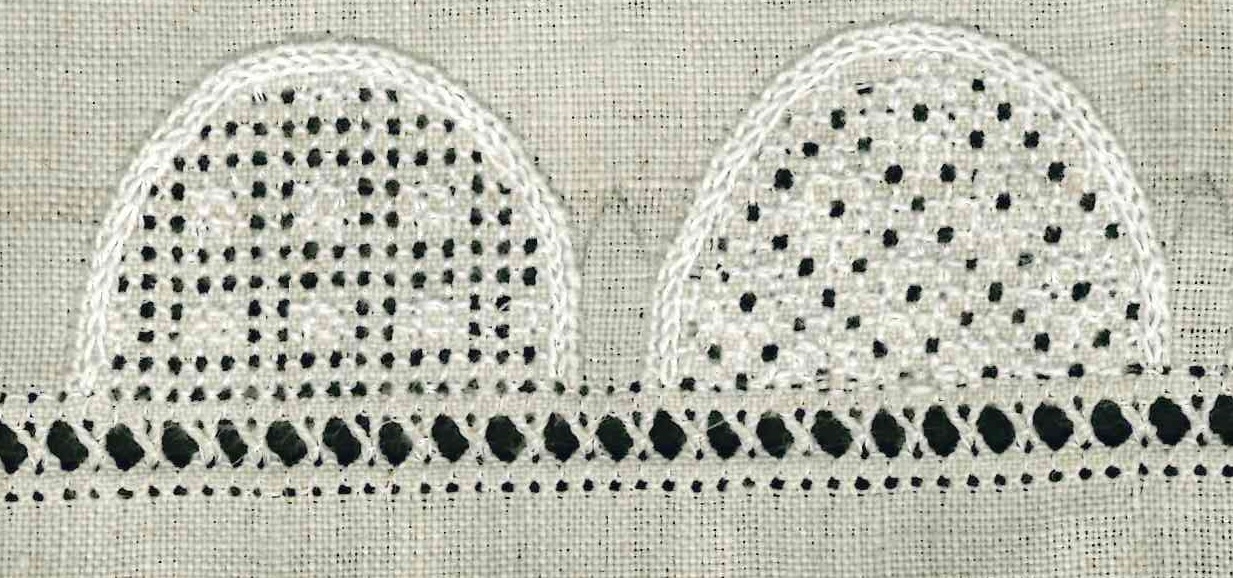
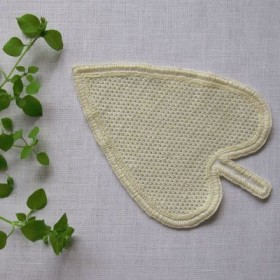
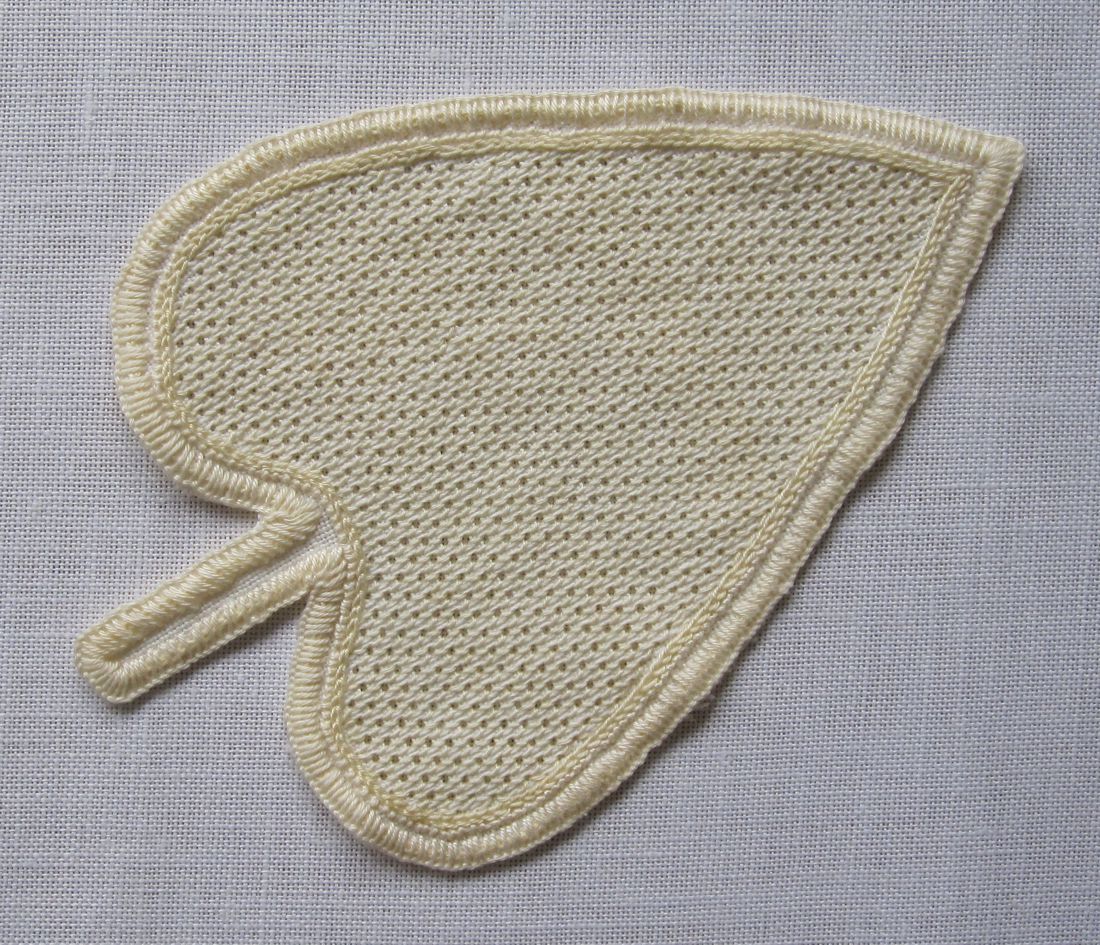
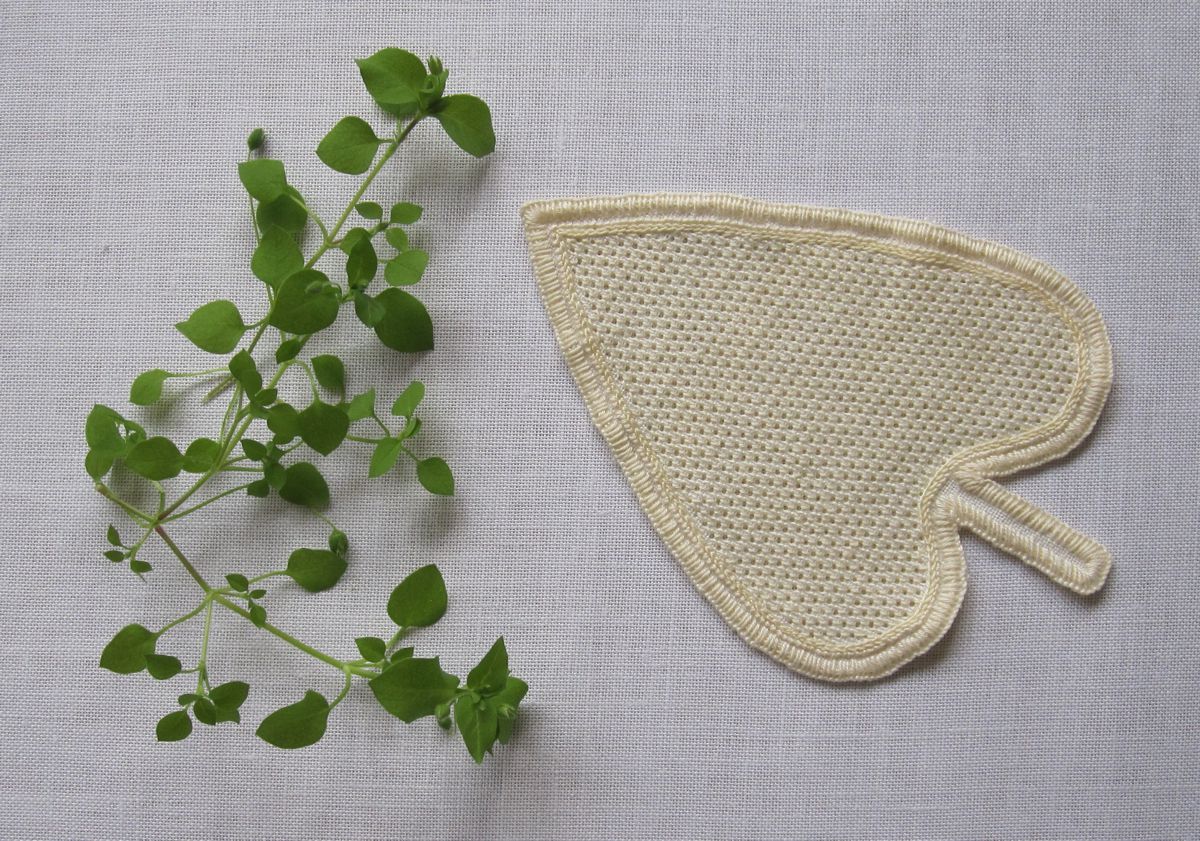
From the front, mark – by hand or using a small stencil – small pointed leaves between the arches and embroider them with densely worked Satin stitches.

Once the desired number of arches have been worked along one side, the opposite is worked mirrored. The description will be the subject of a later post.