The simple motifs in Schwalm whitework are often enhanced with embellishment. The customary form of decorating simple Schwalm motifs is to outline the shapes with scallops; they look nice and they are easy to embroider. But there is another decoration for simple Schwalm motifs called “knife points”. Knife points are less common than scallops because they are more difficult to work.
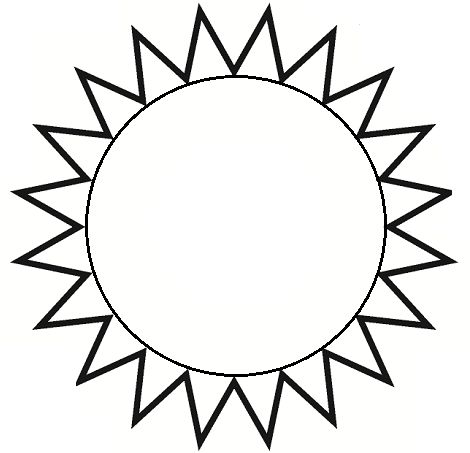
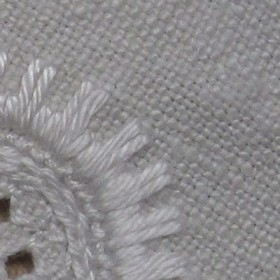
The base of the knife points are placed close together.
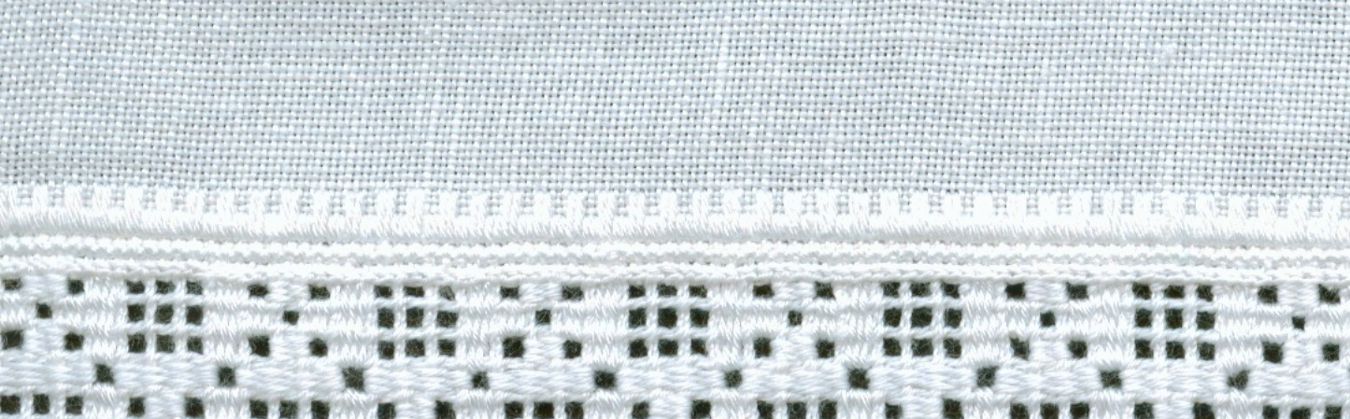
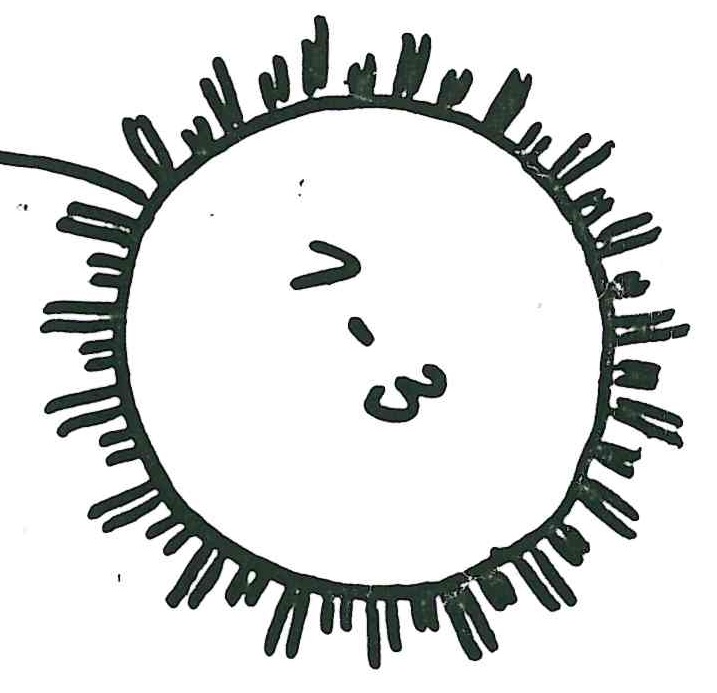
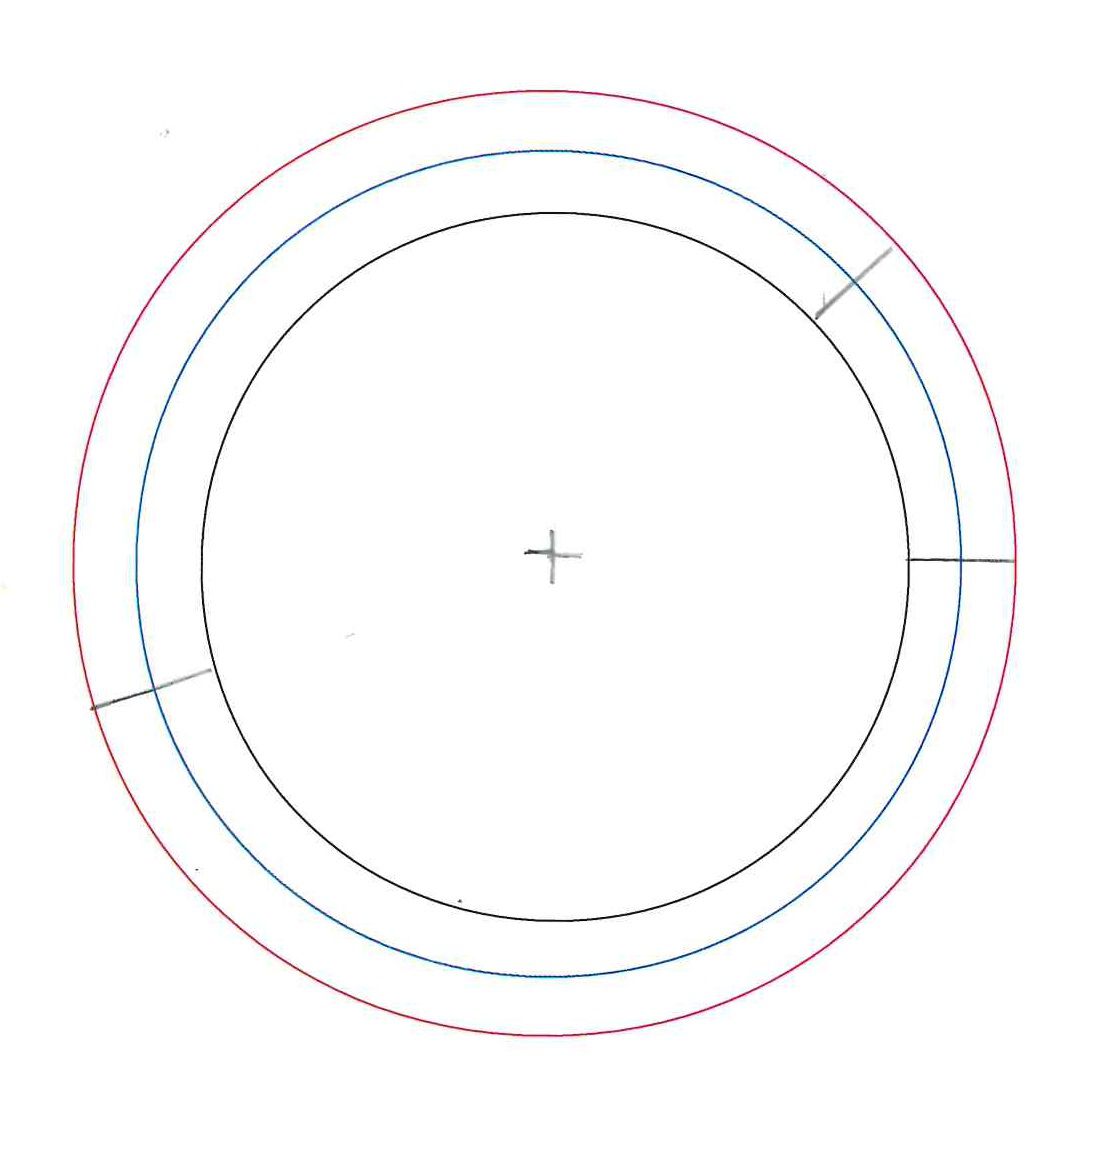
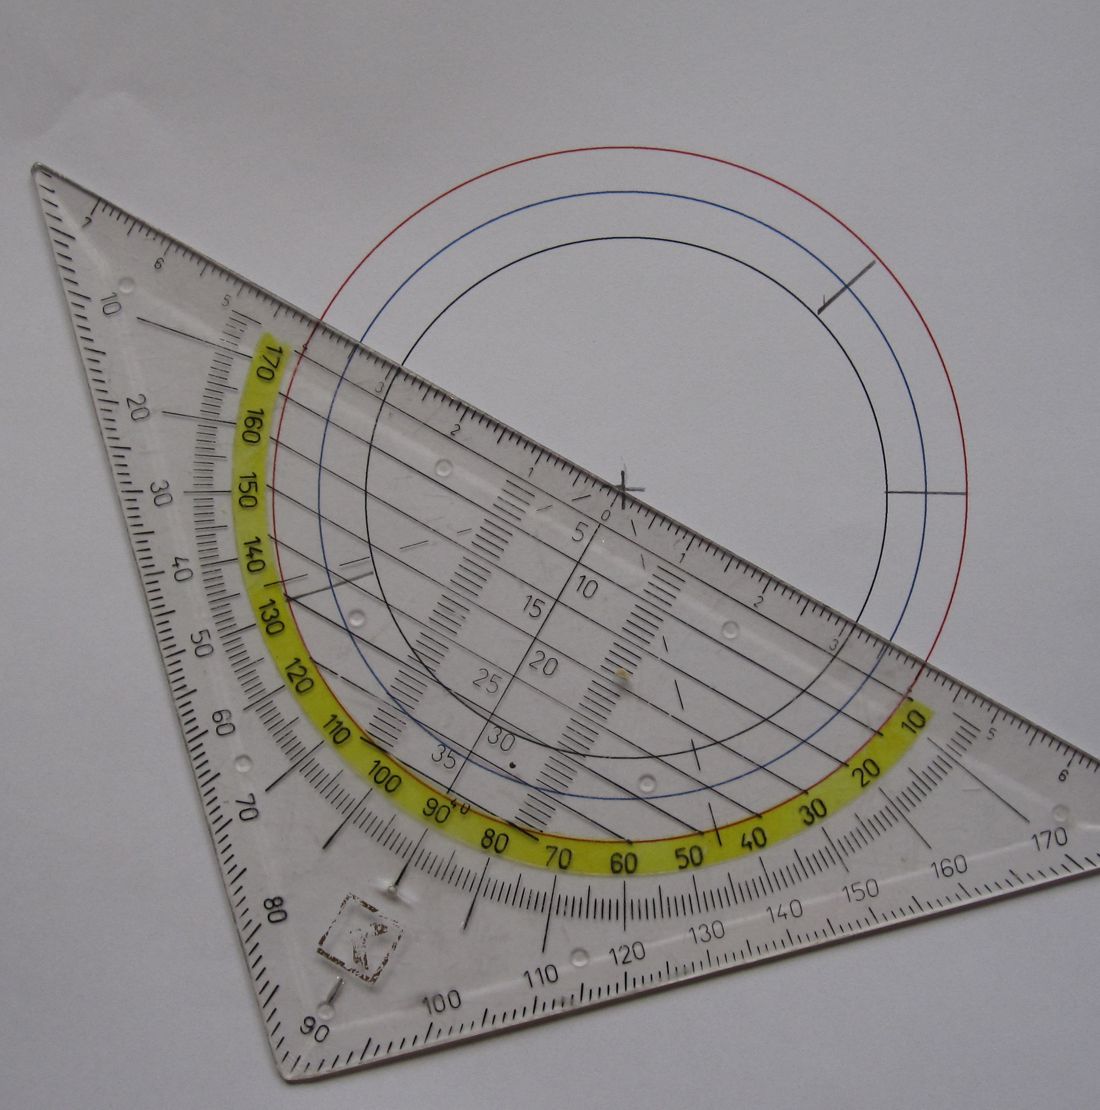
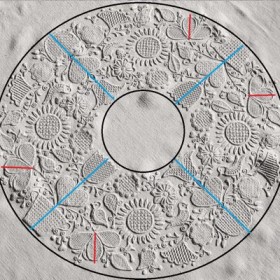
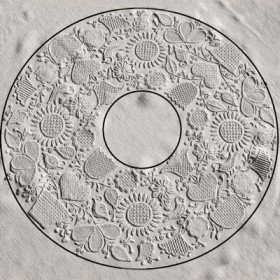
Circles are outlined with uniform knife points evenly distributed around the perimeter of the circle.

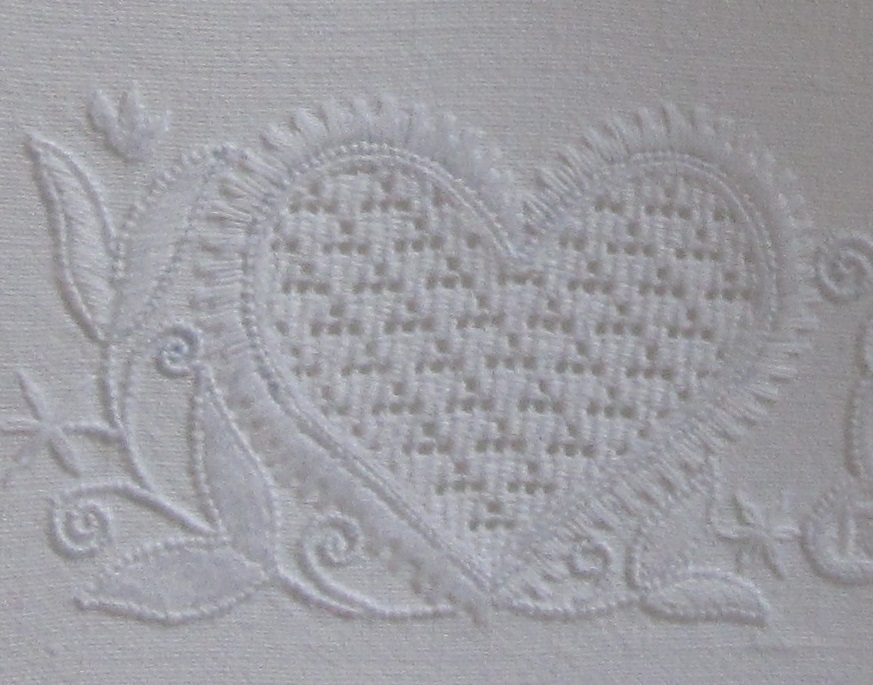
Circle outlined with Satin stitch knife points and hearts outlined with Blanket stitch knife points on a parade cushion from 1821
There are 3 different types of knife points: points made with Satin stitches (Messerspitzen), points made with Blanket stitches (geschnürte Messerspitzen), and points made with Blanket stitches as pointed half-eyelet scallops (Schnürlochspitzen). Pointed half-eyelet scallops are very rare; they have to be stitched absolutely exactly to not end up looking like a half-eyelet scallop.
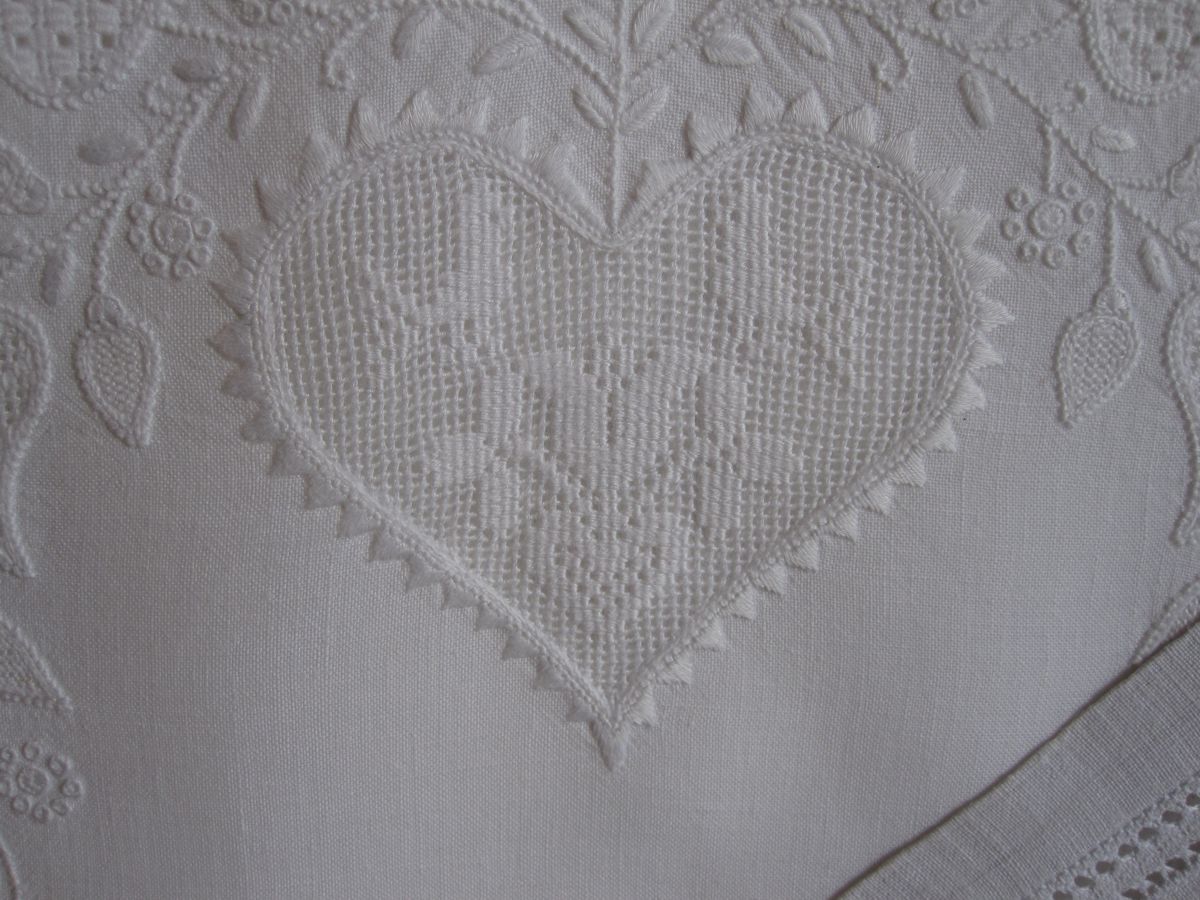
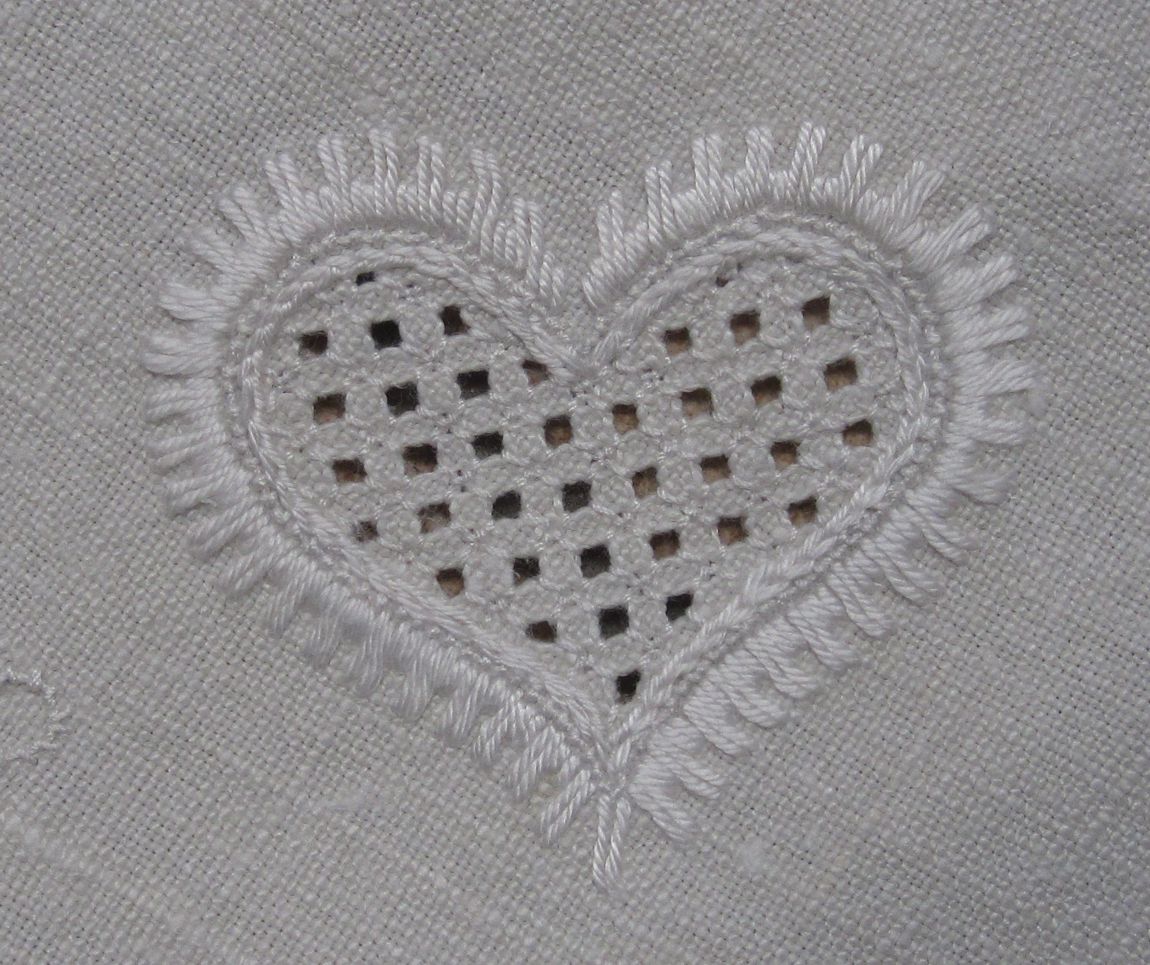
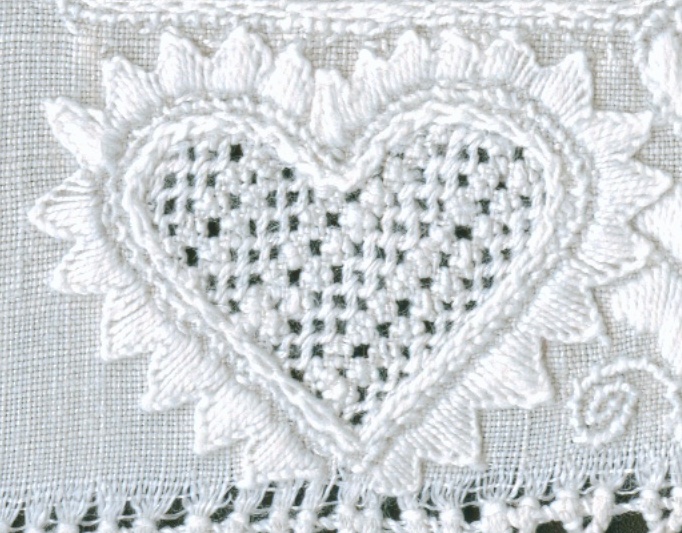
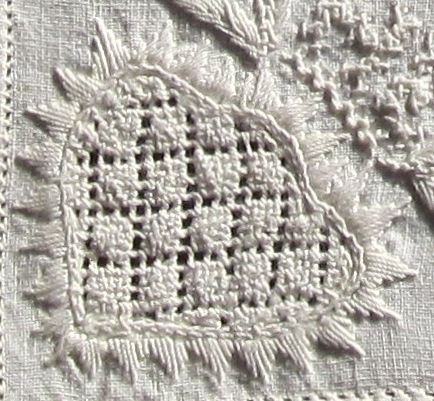
Heart outlined, except for the bottom point and the top concave center, with uniform and evenly distributed points. The thread weight is correct, and the stitches have been worked with the appropriate density.
Also, hearts are outlined with such points. The point at the bottom of the heart should be drawn somewhat longer and sometimes a little bit narrower. It is best to start the line drawing here (at the bottom of the heart) and to work to the top in even steps on the right and on the left side of the heart. Meeting at top of the heart, either the spacing is adjusted or the points are slanted a little bit.
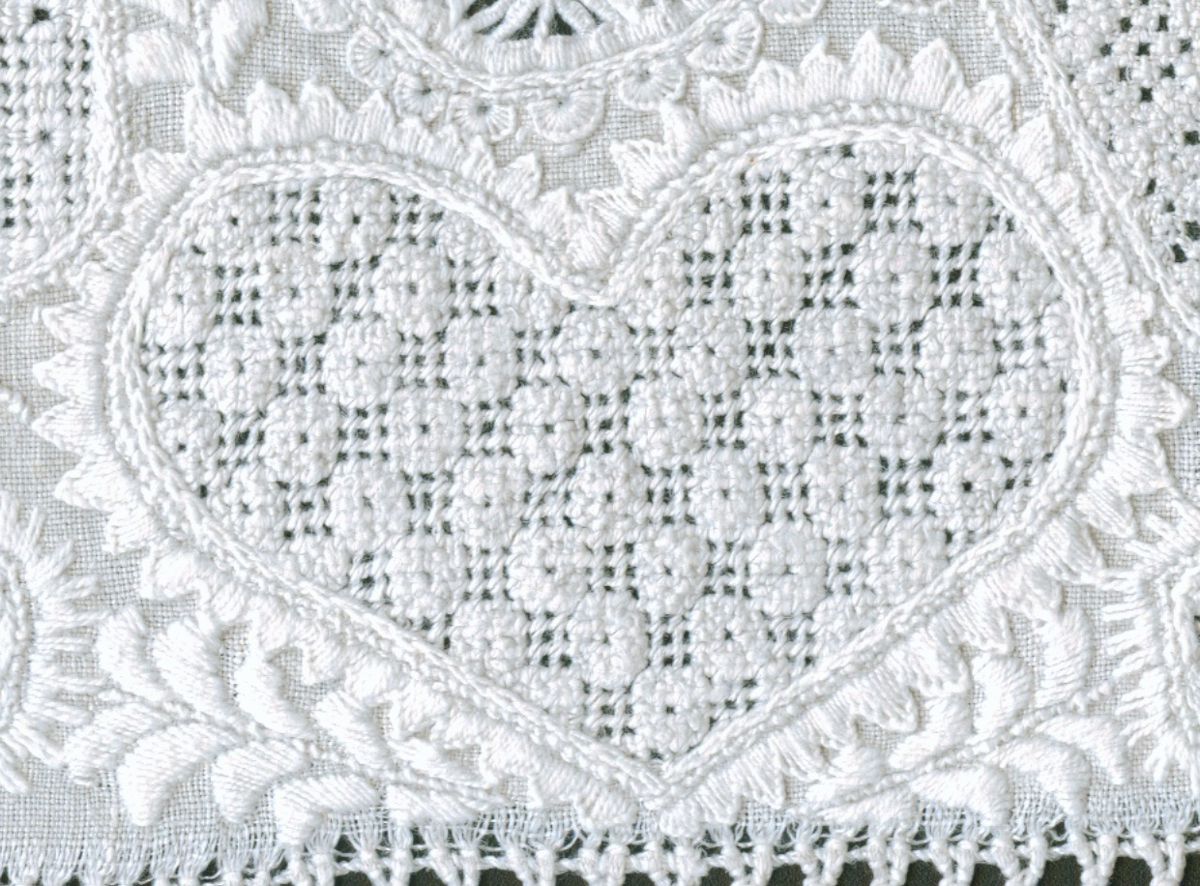
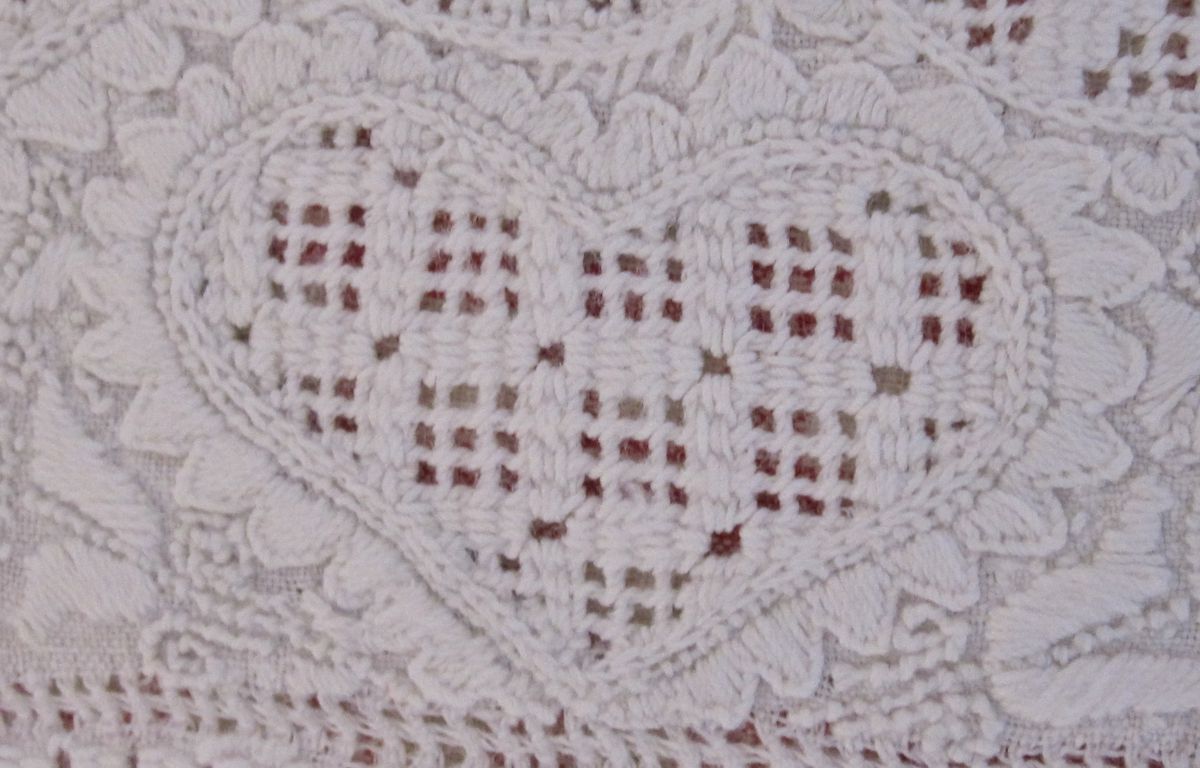
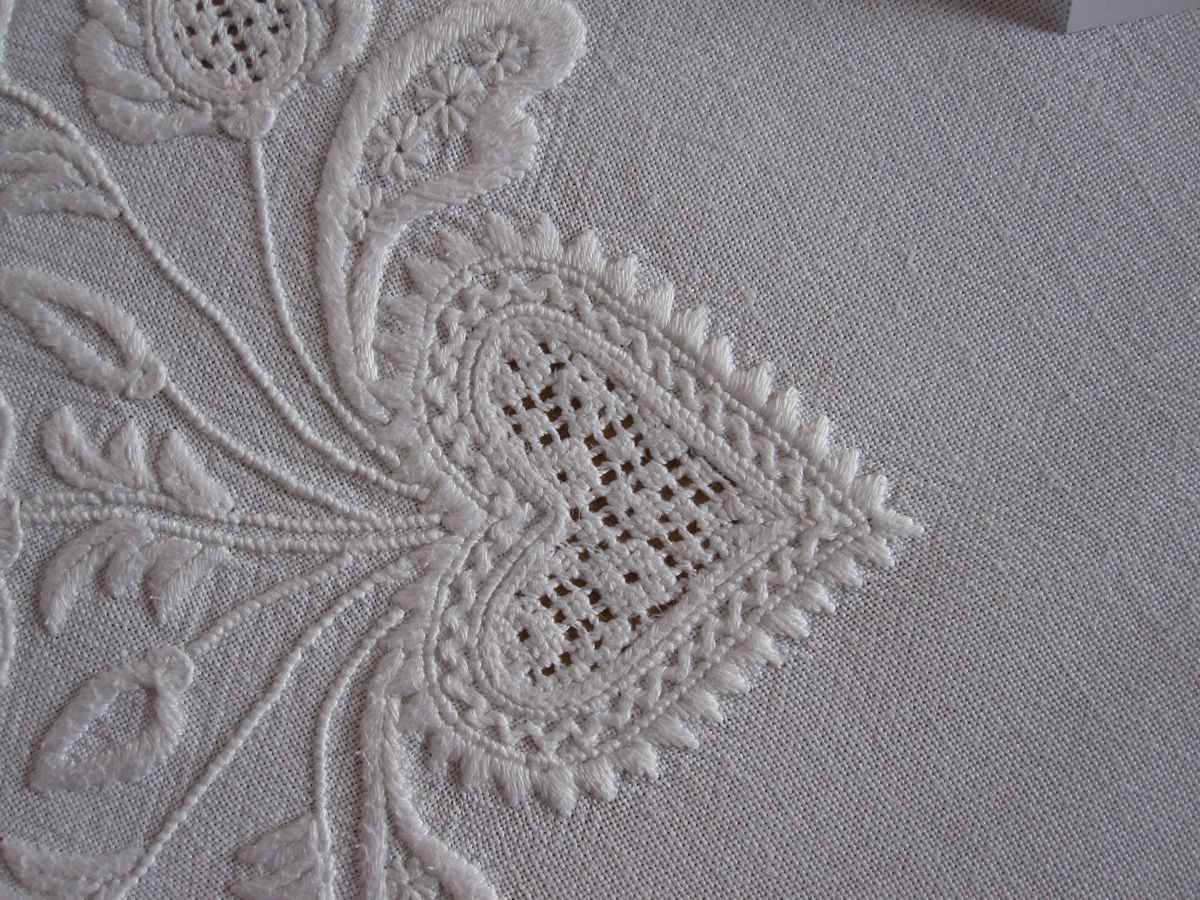
Heart outlined with uneven Blanket stitch points in different sizes. The thread weight is correct with appropriately dense stitches. The bottom part should have an extra point.
It does not look very elegant to have two knife points meet at the lower heart point.
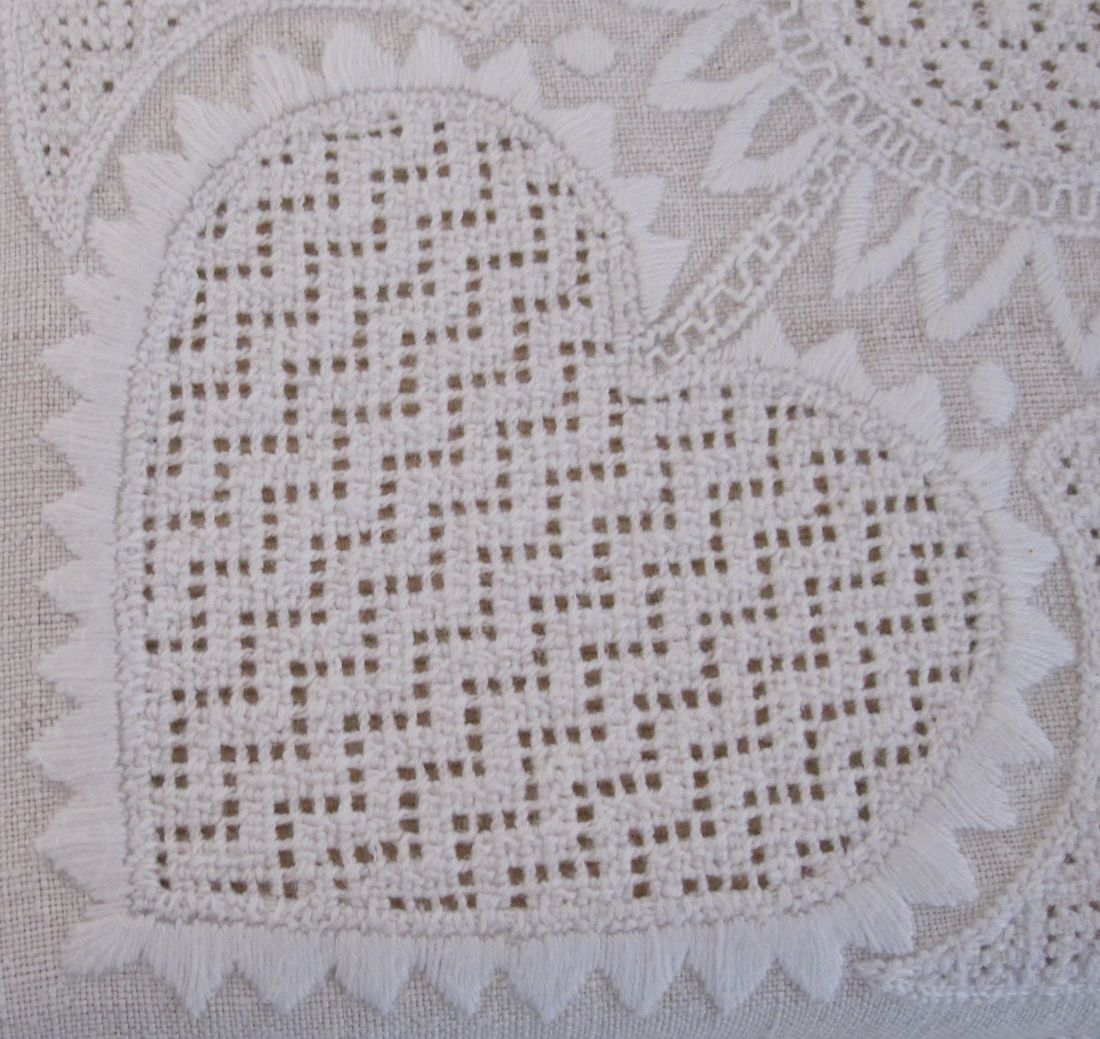
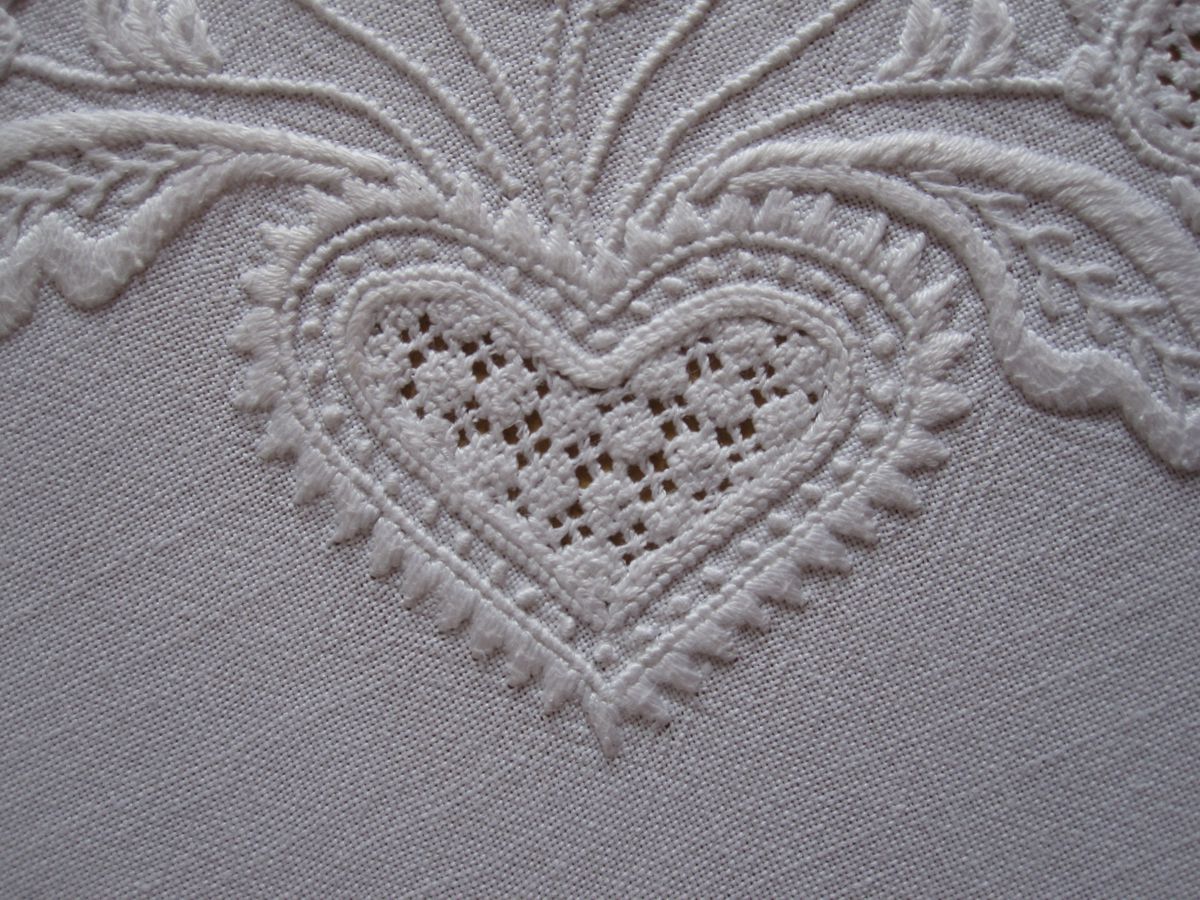
Heart outlined with uneven Blanket stitch points. The thread weight is correct and the density of the stitches is good. However, the treatment of the points at the heart’s lower point is not attractive.
Also, the effect is not harmonious to have knife points becoming smaller at the heart’s lower point.
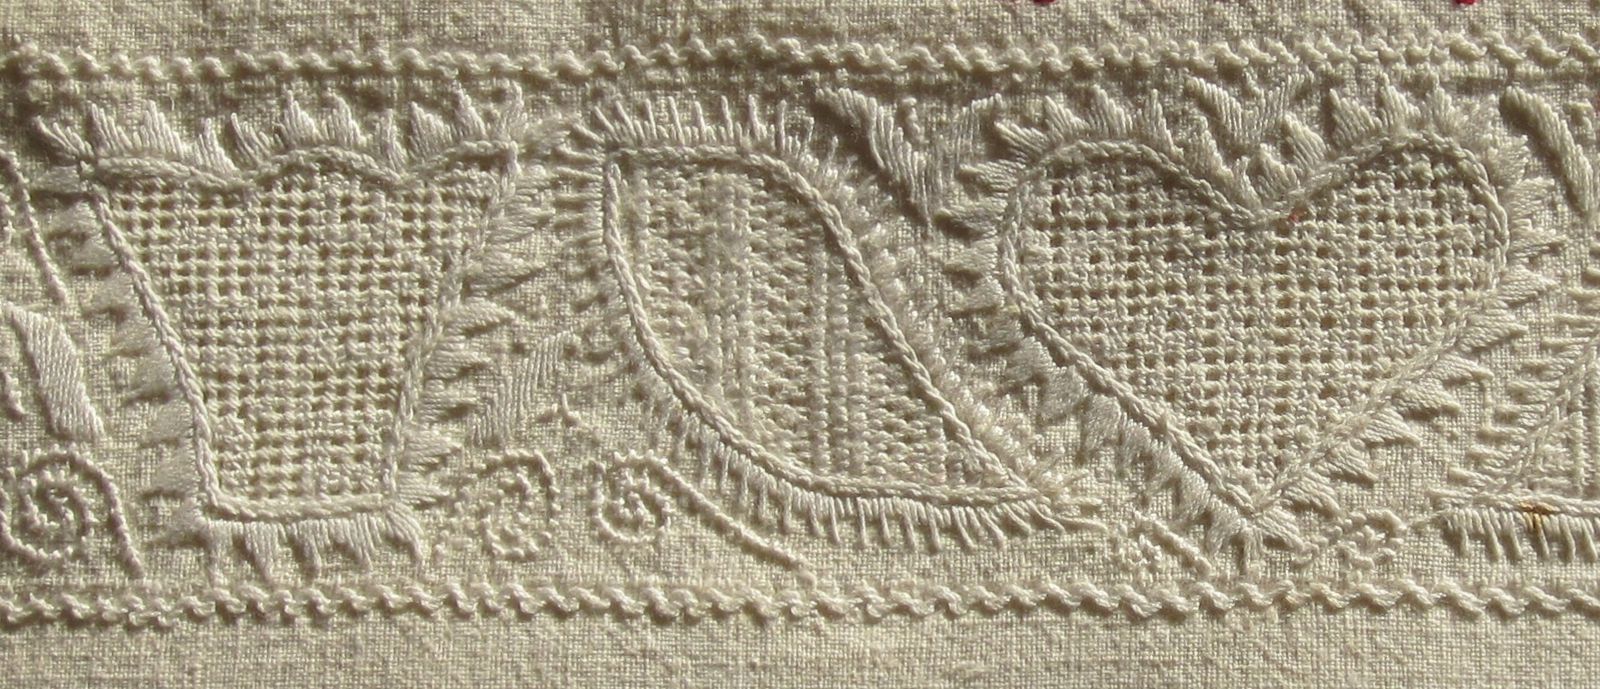
Heart outlined with uneven Blanket stitch points. The thread weight is correct and the density of the stitches is good. However, the treatment of the points at the heart’s lower point is not attractive. In this example, one can see that the embroiderer had difficulty distributing the points evenly.
It is not easy to stitch Blanket stitch points. It is easier to work them with Stain stitches.
Heart outlined with Satin stitch points utilizing the correct thread weight. The density of the stitches is good.
Heart and flowerpot outlined with precise Satin stitch points utilizing the correct thread weight. The density of the stitches is good.
Motif outlined with precise Satin stitch points utilizing the correct thread weight. The density of the stitches is good.
Heart outlined with uniform and evenly distributed Satin stitch points utilizing the correct thread weight. The density of the stitches is good.
Heart outlined with uniform and evenly distributed Satin stitch points utilizing the correct thread weight. The density of the stitches is good.
Different from the scallop embellishment, which sometimes decorated only parts of a motif, I have only found point embellishment outlining the entire shape.

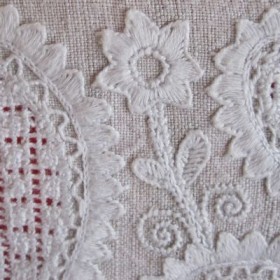
Tri-leaf flower outlined with uniform and evenly distributed Blanket stitch points utilizing the correct thread weight. The density of the stitches is good.
The thread should not be too thin and the stitches should lie densely together.