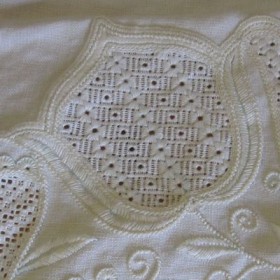
As already mentioned in the Schwalm Designs – Scallops article, in Schwalm whitework the simple motifs are often enhanced with embellishment.
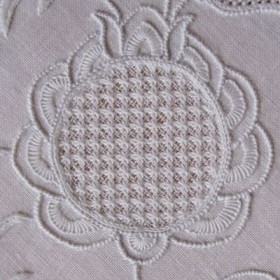
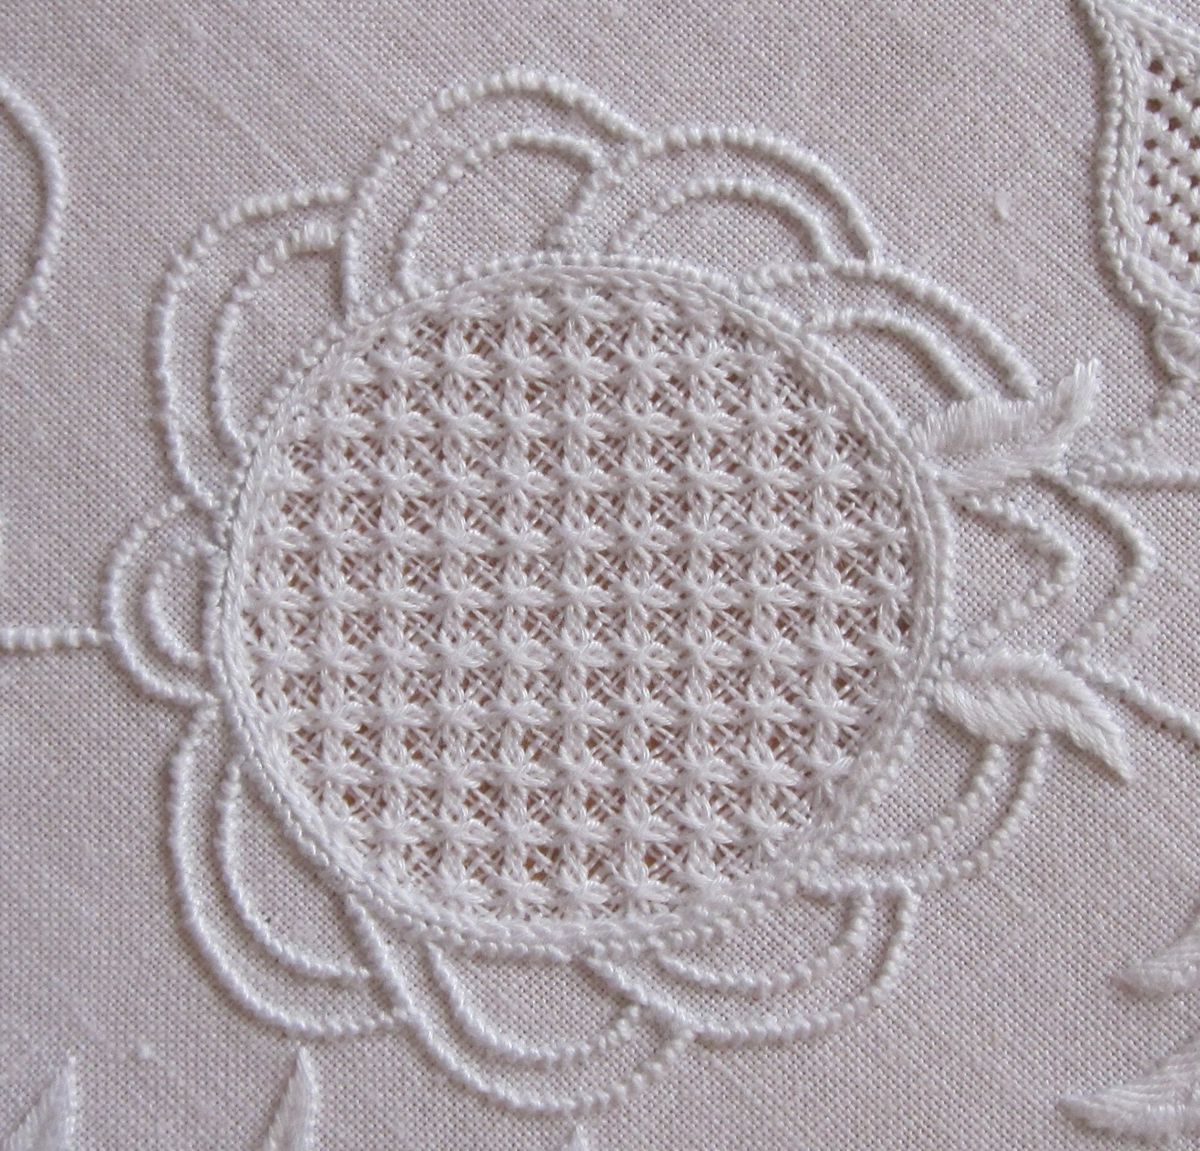
Although scallops are the most common outline embellishment of a simple motif, there are some other ways to decorate the shapes. A pattern called “2 short-2 long” is a common outline decoration in Schwalm whitework. Mostly circles, and often hearts, are decorated with this stitch; it is rarely seen on other shapes.

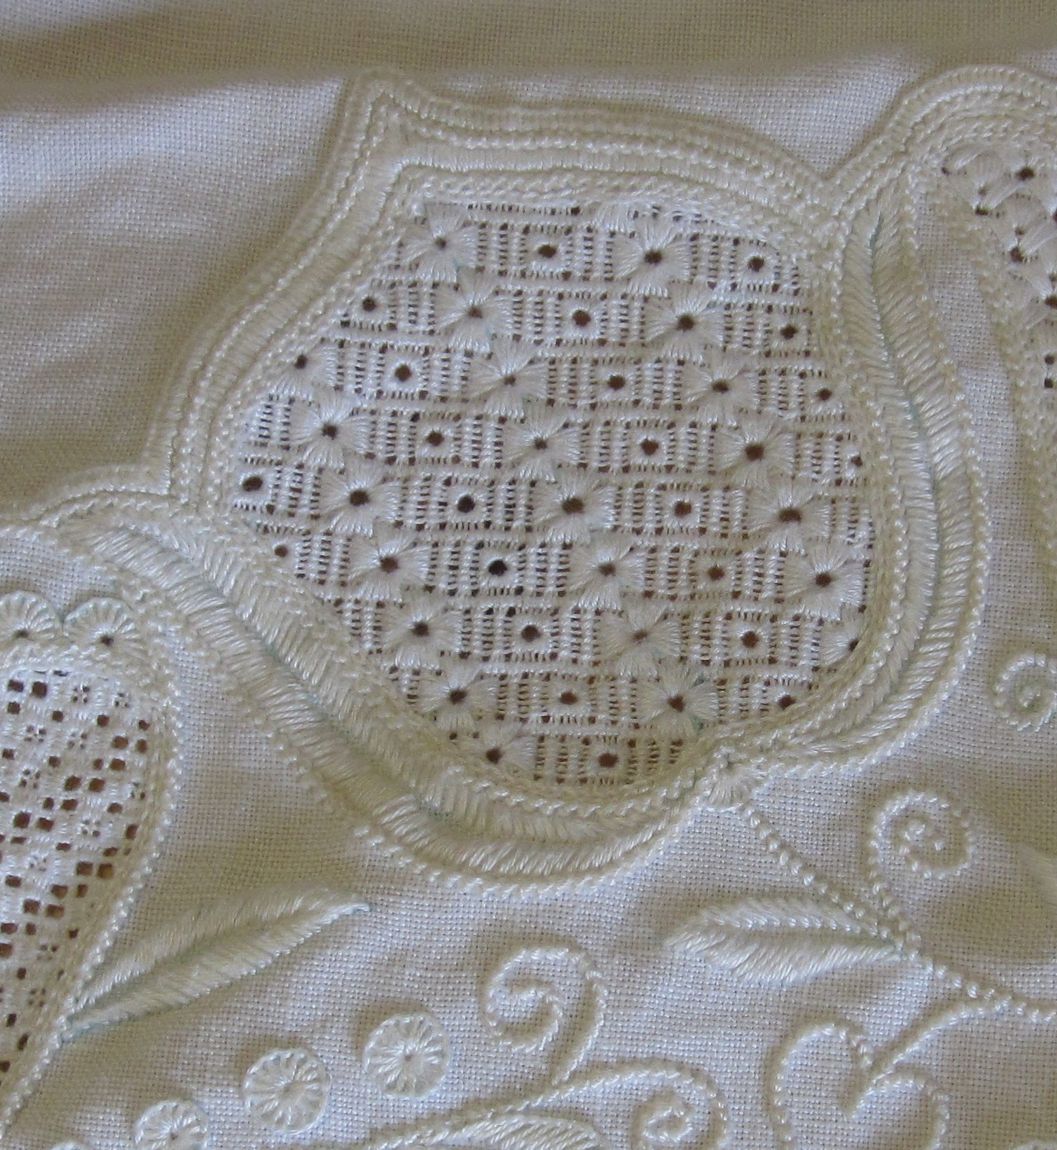
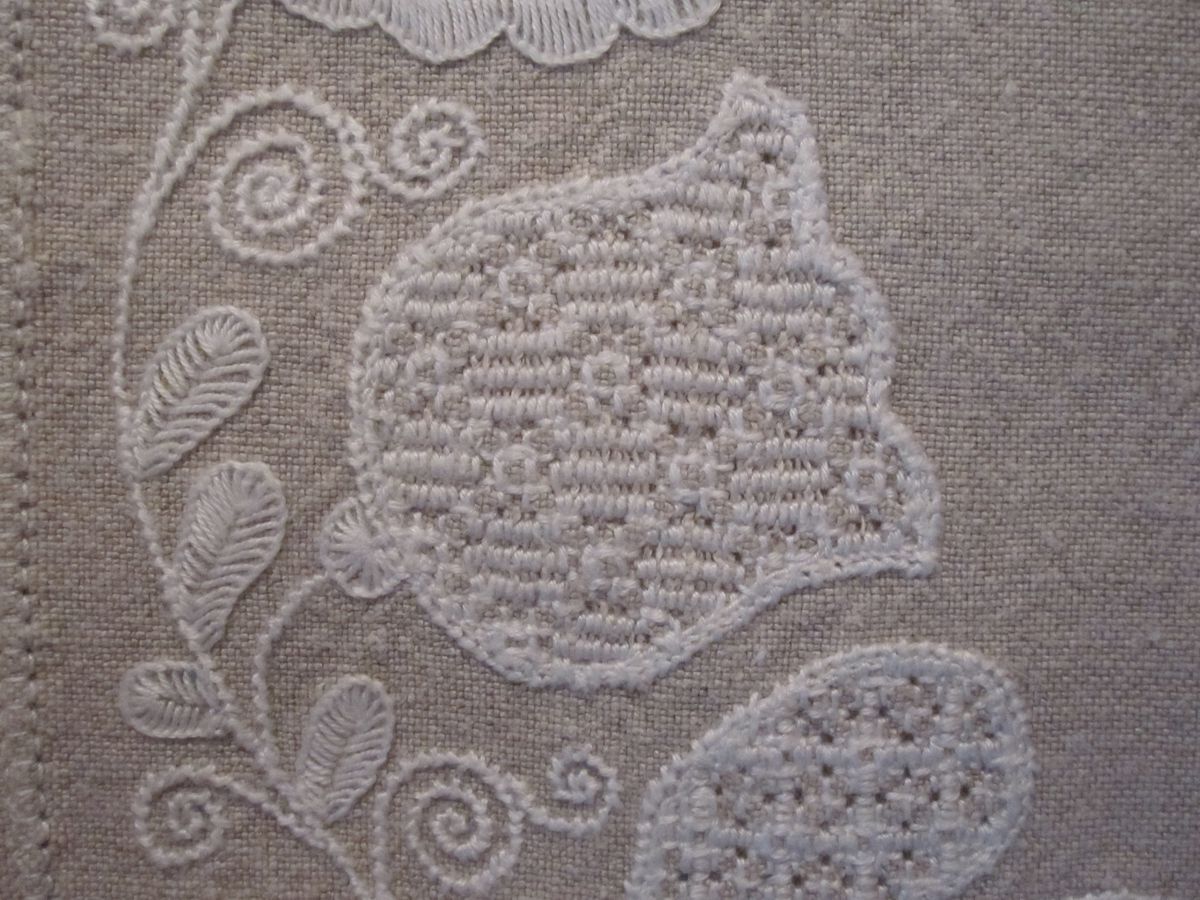
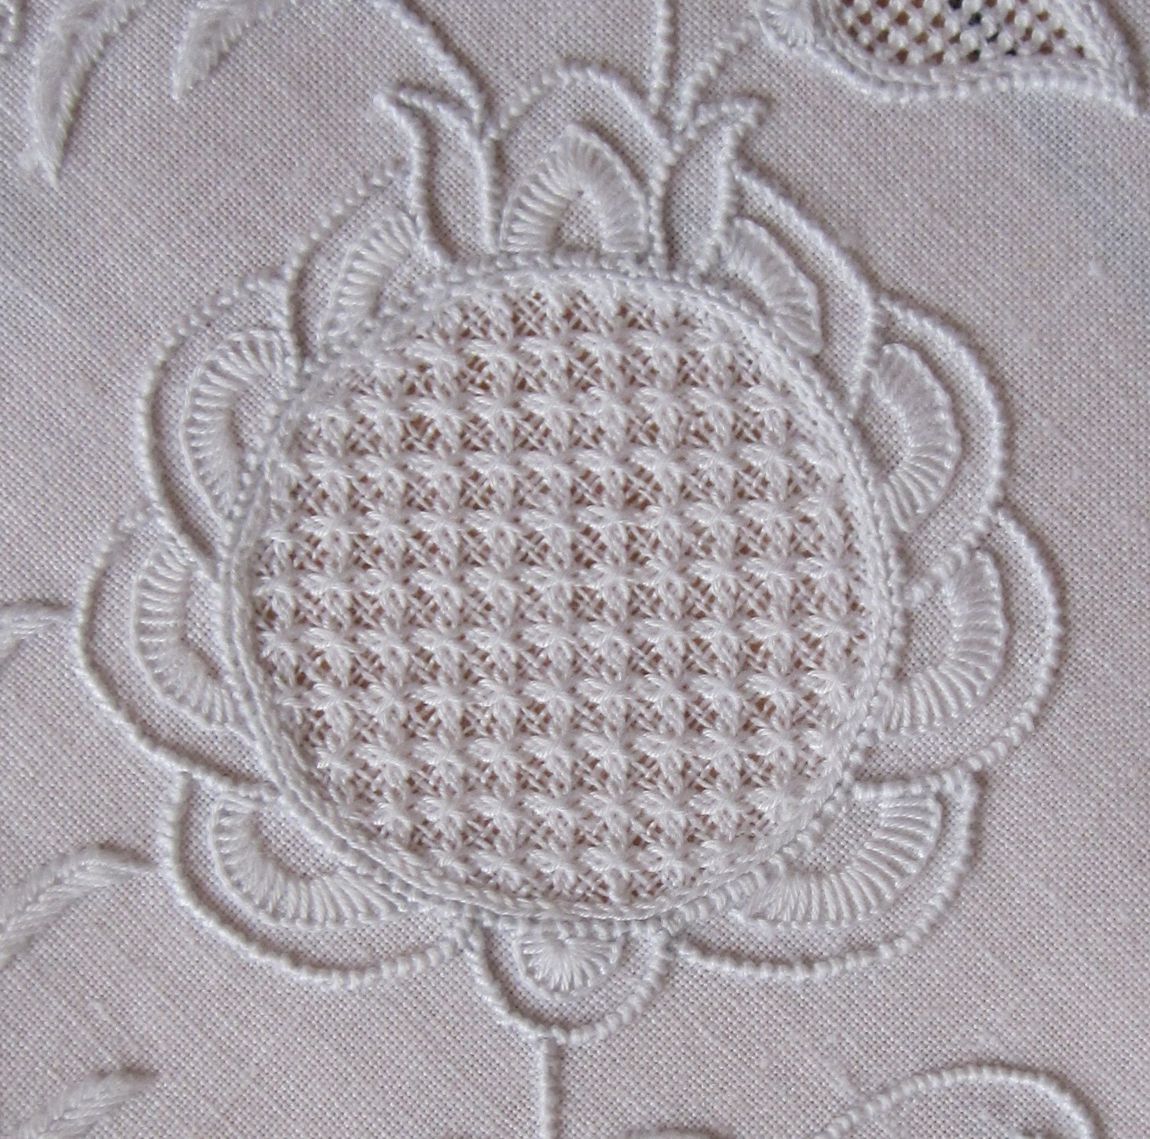
2 short-2 long outlining a circle shape on a parade pincushion from 1821
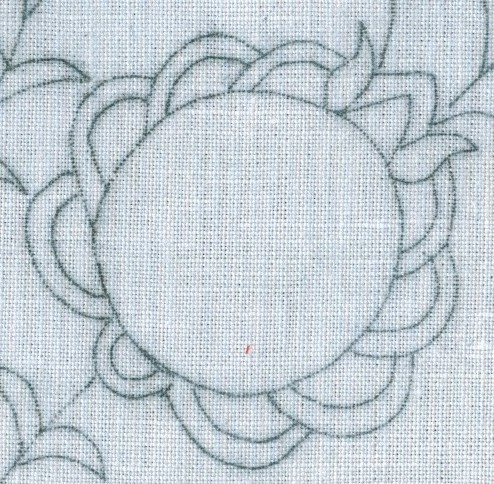
as the enlargement shows.

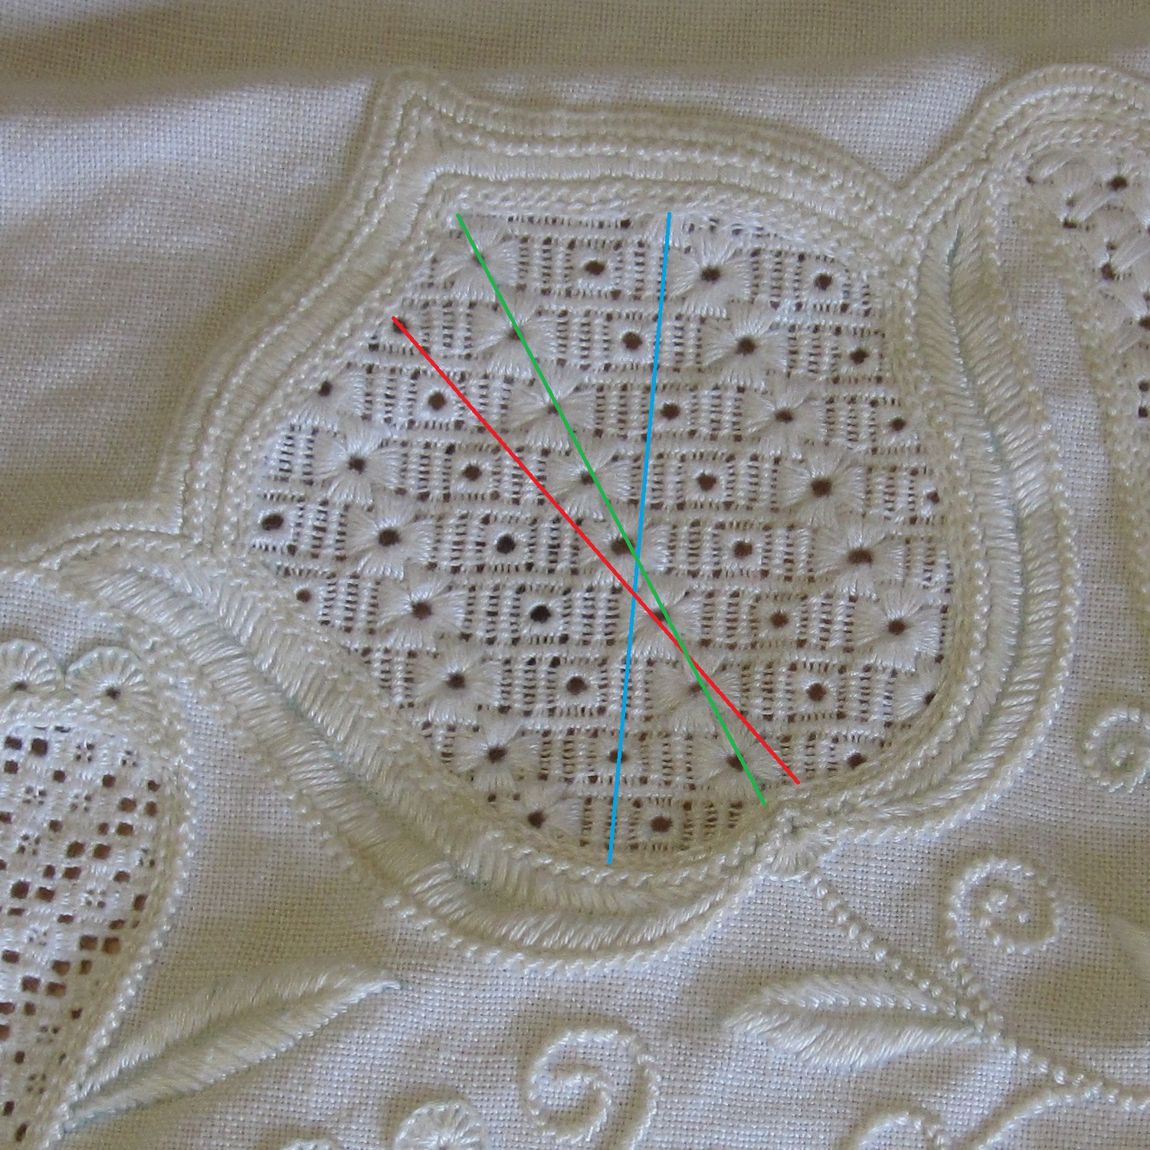
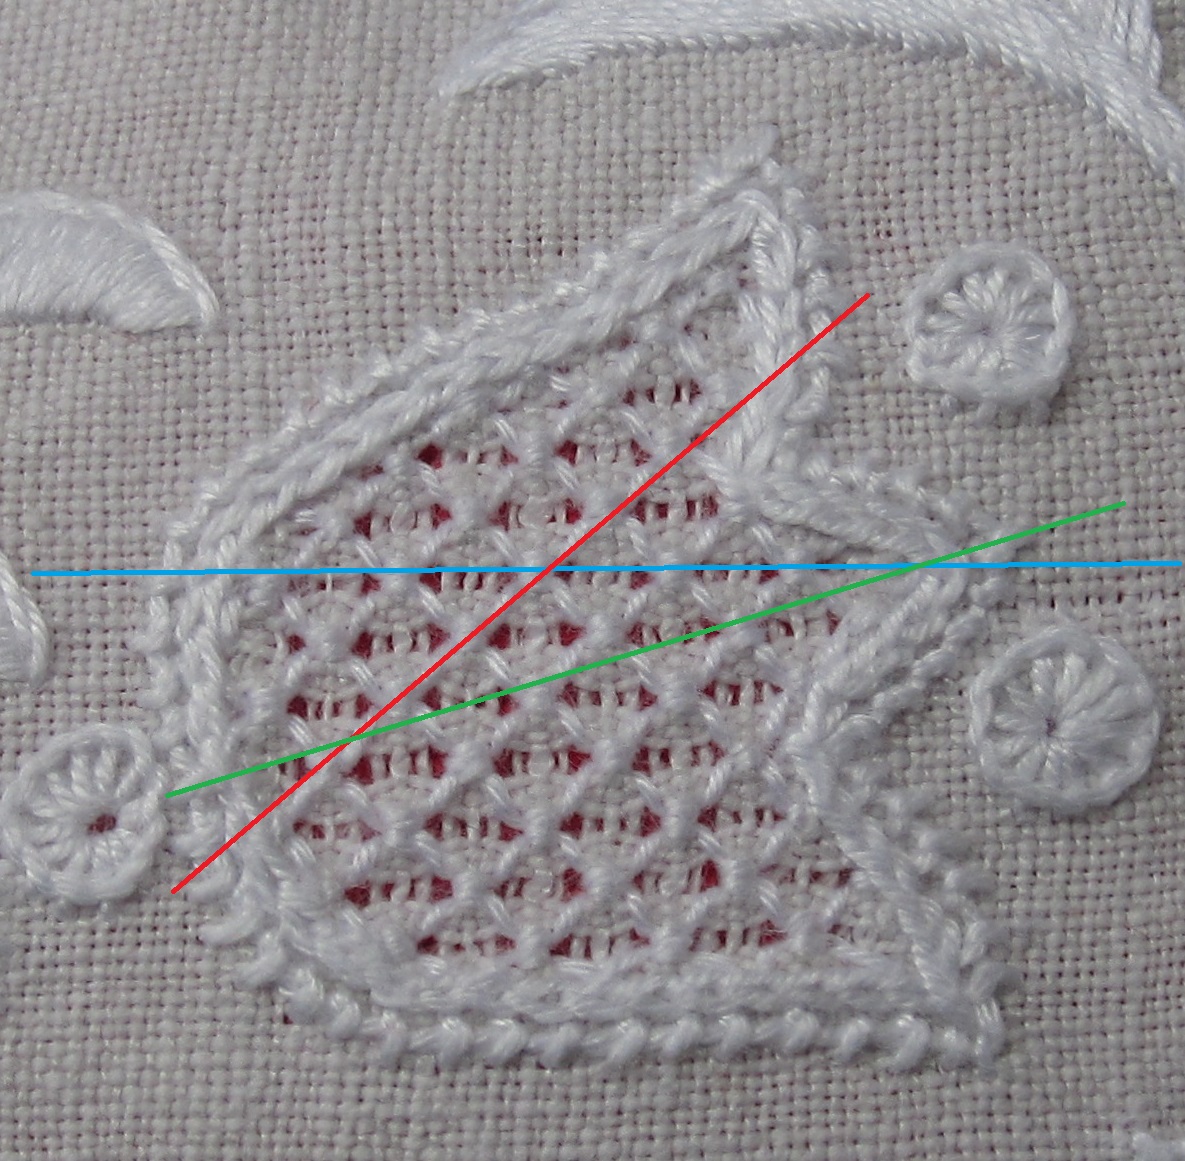
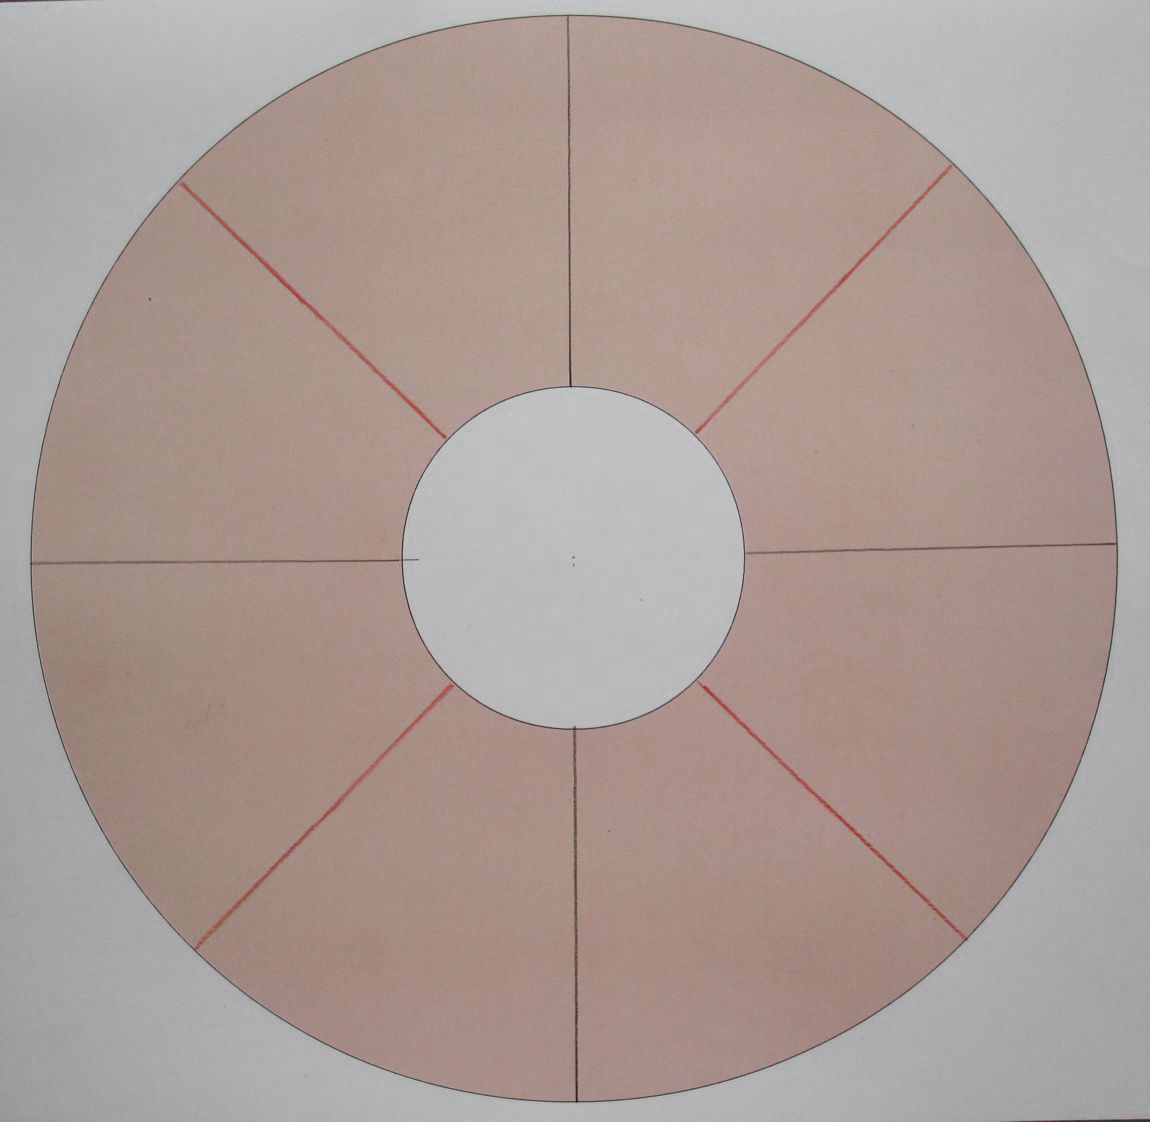
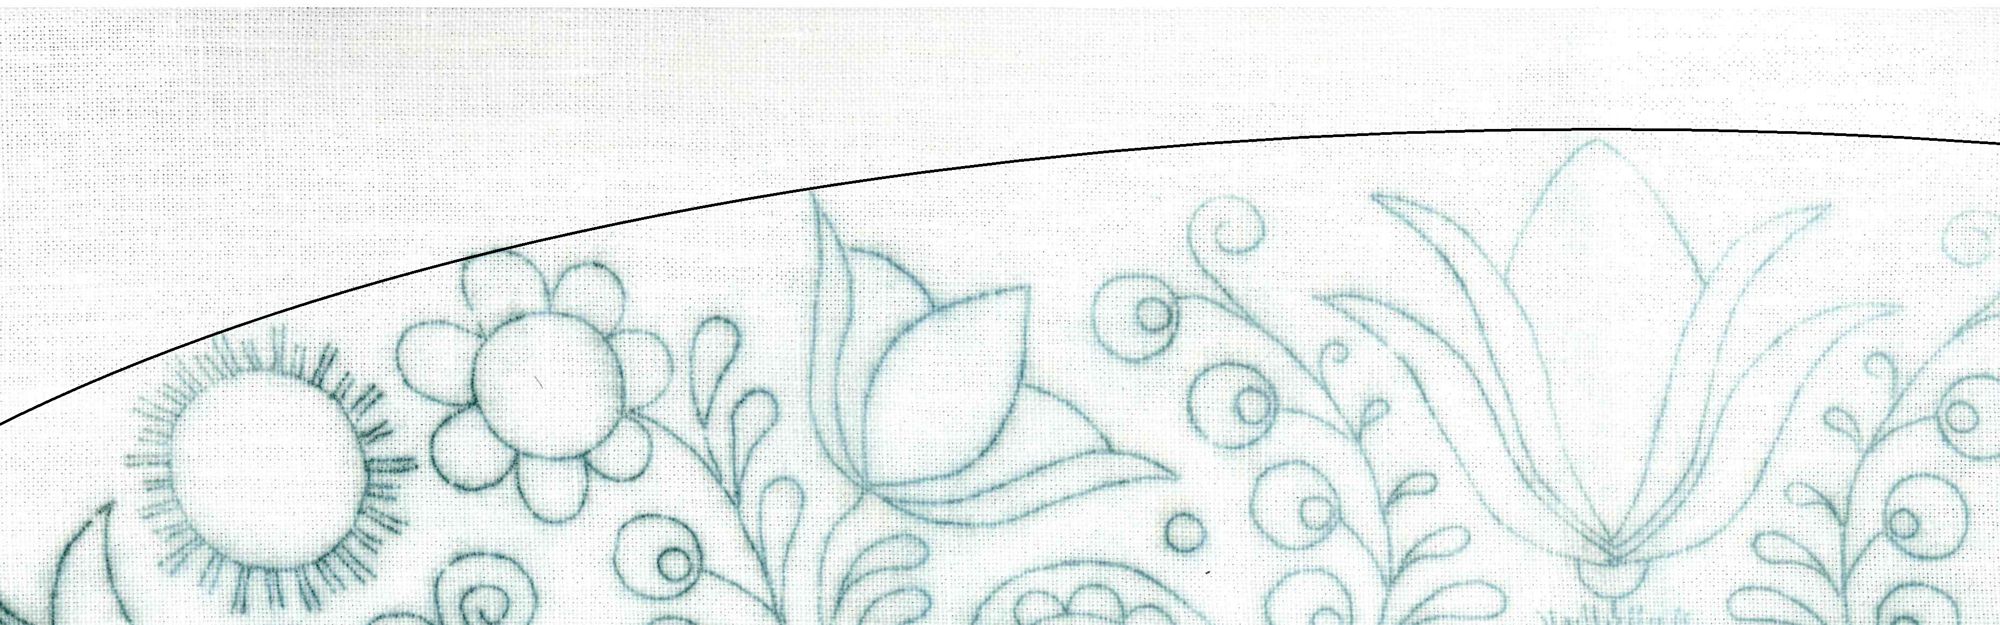
But the shapes of the Schwalm motifs are mostly curved, and working by eye is difficult. Often in Schwalm designs this decoration is pictured with lines as seen in the image below.
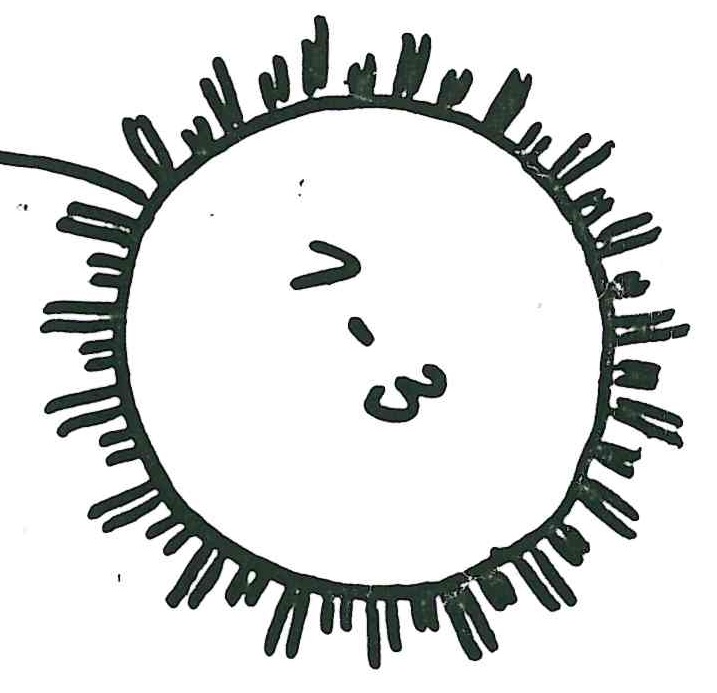
But, when stitching, it is not good to have too many lines printed on the linen – if they are not perfectly drawn, it is distracting and unhelpful. It is good to have at least one additional marking line (for the longer stitches), and better to have two (one for the short and one for the long stitches) for keeping the stitch lengths constant.
And to ensure that the stitches are always kept at a right angle to the outline, it is also helpful to have some additional guide marks – these at a right angle to the outline.
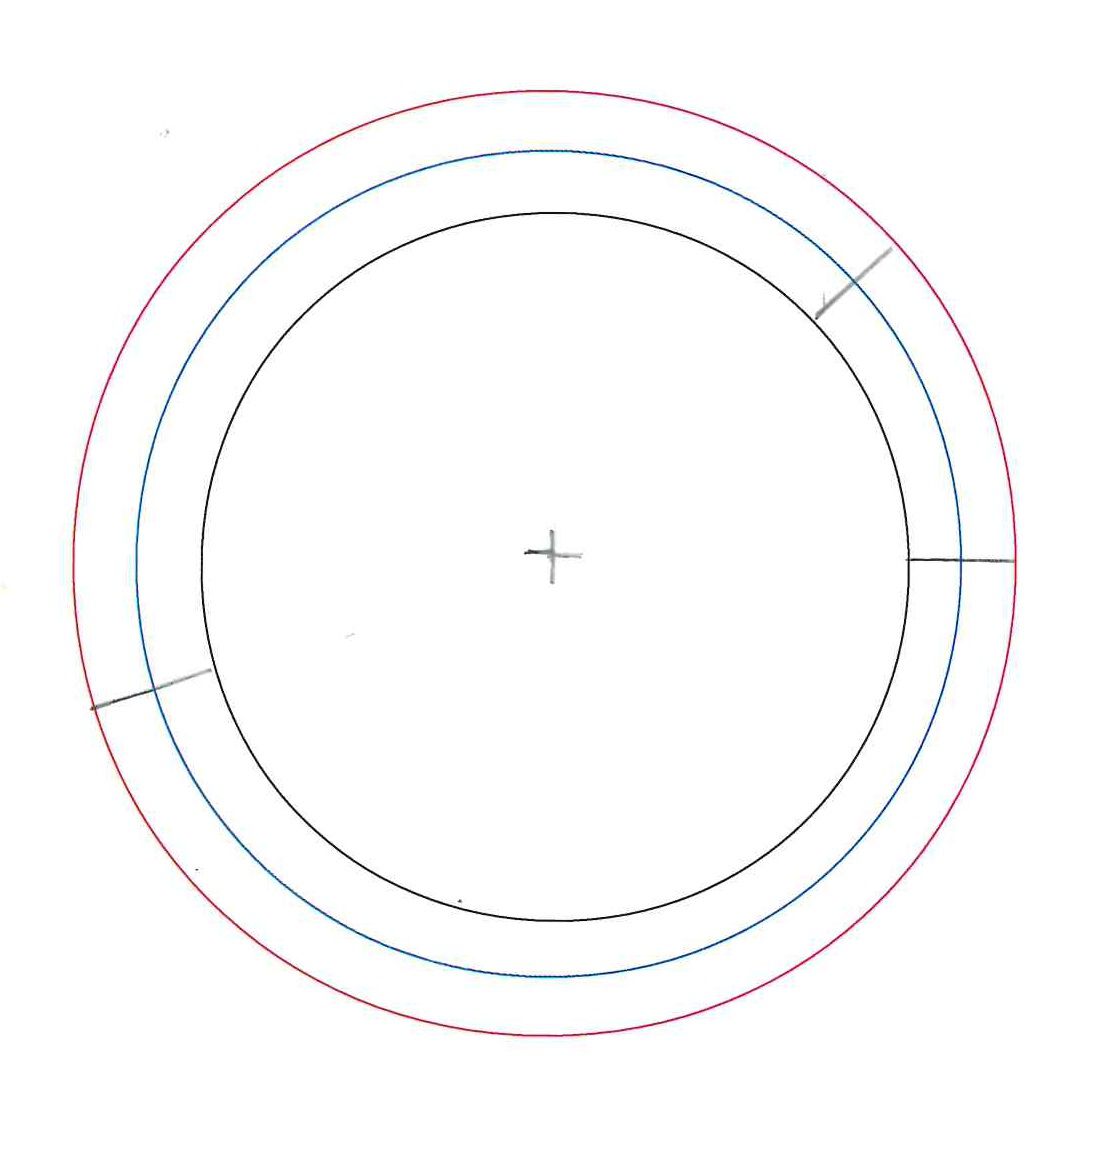
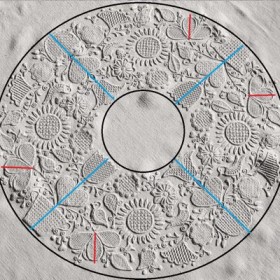
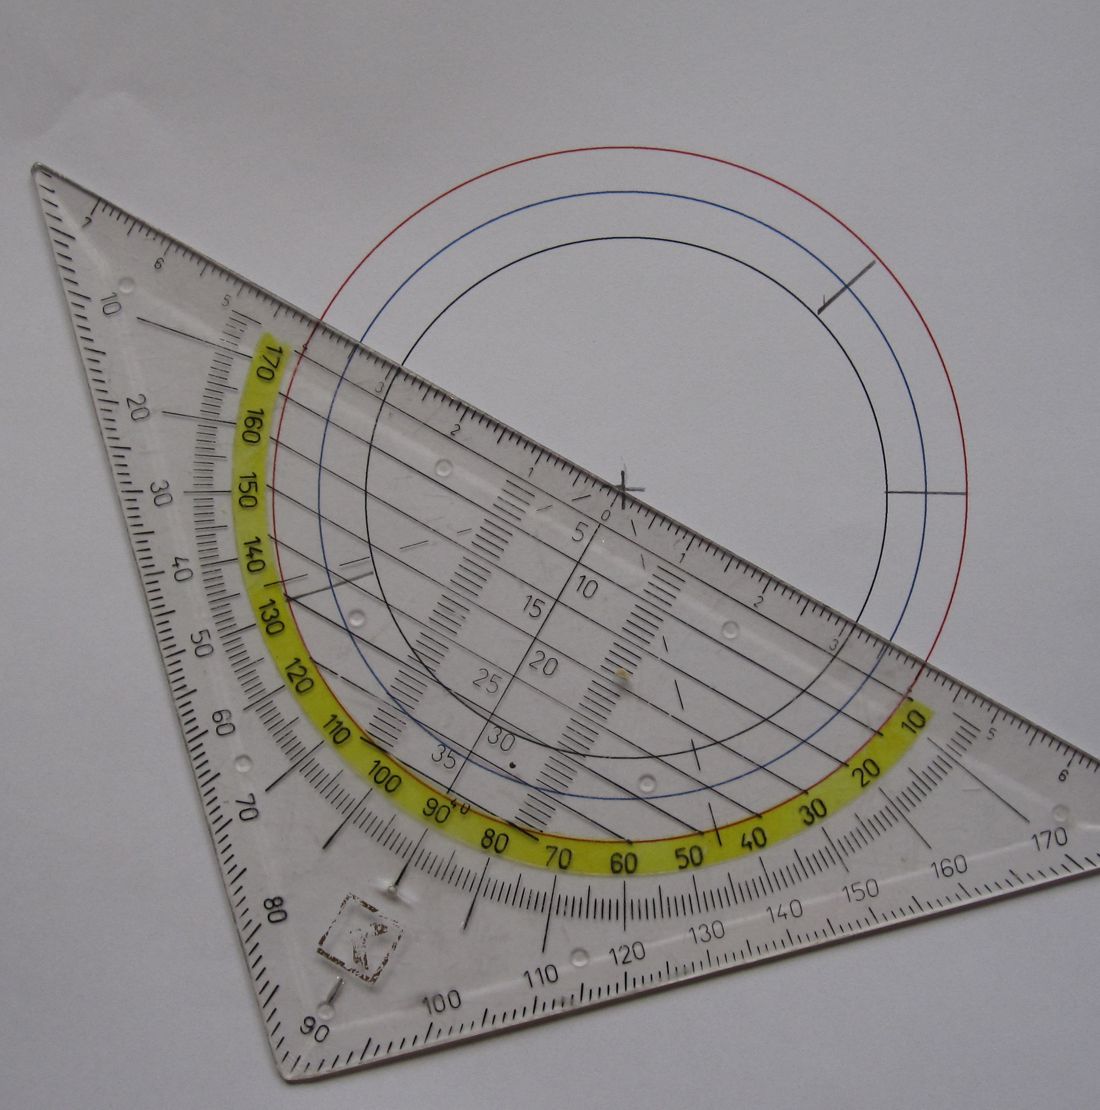
On circles it is easy to place guide marks at a right angle to the outline. If you were to lengthen the guide mark, they would pass through the center point of the circle.
For hearts or other shapes it is a little bit more difficult, but still doable with attention and a little tip.
Most important is to always rotate the piece while working so that the stitch is made horizontally from right to left. This allows greater control in placing the stitches at a right angle to the outline.
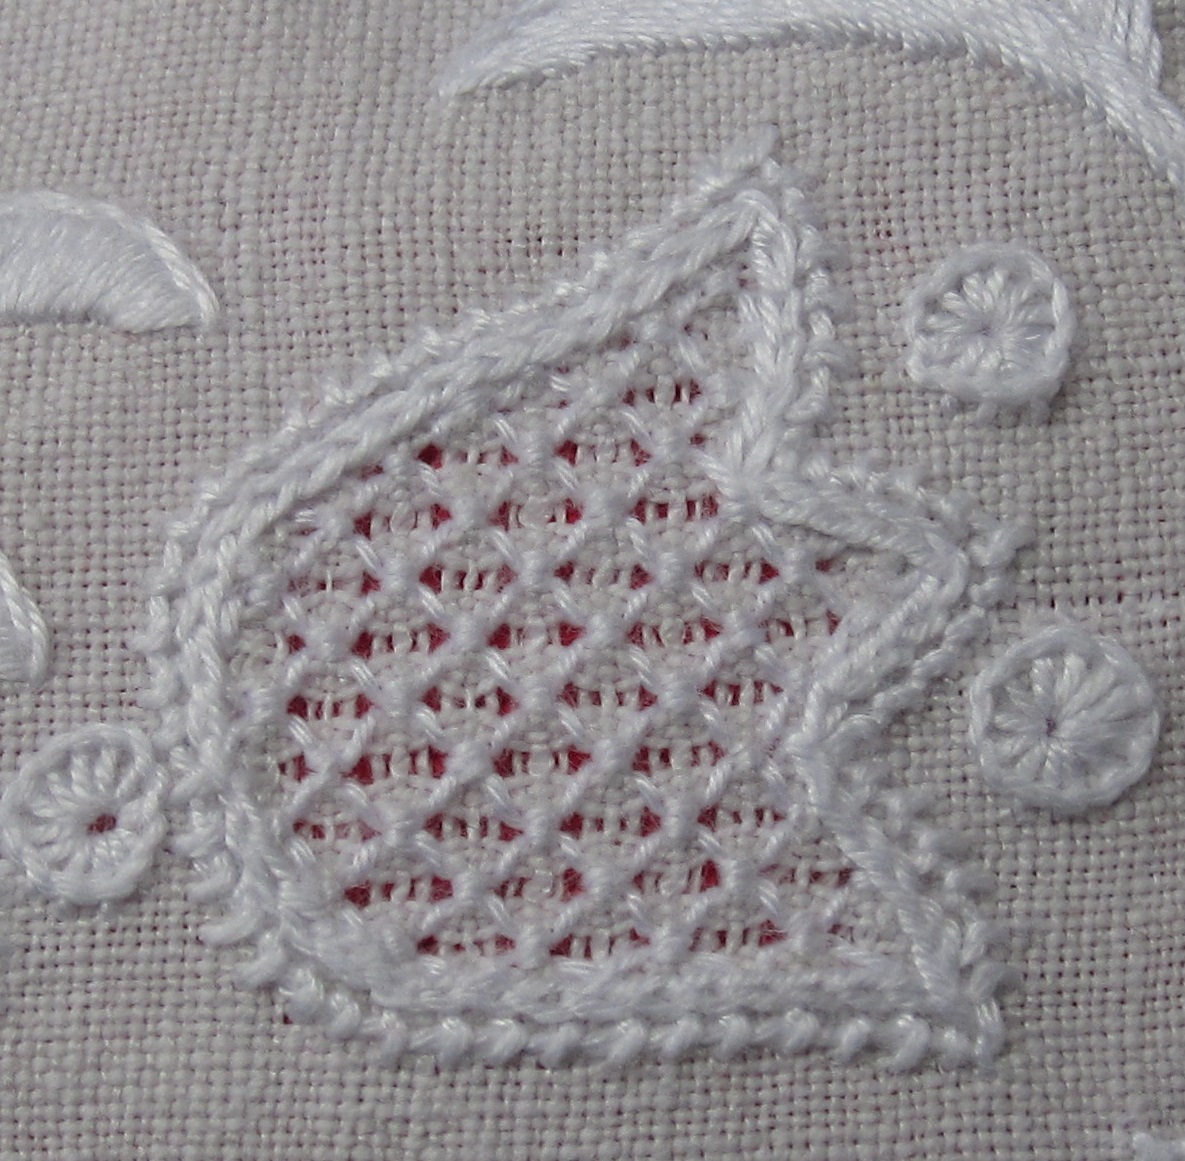
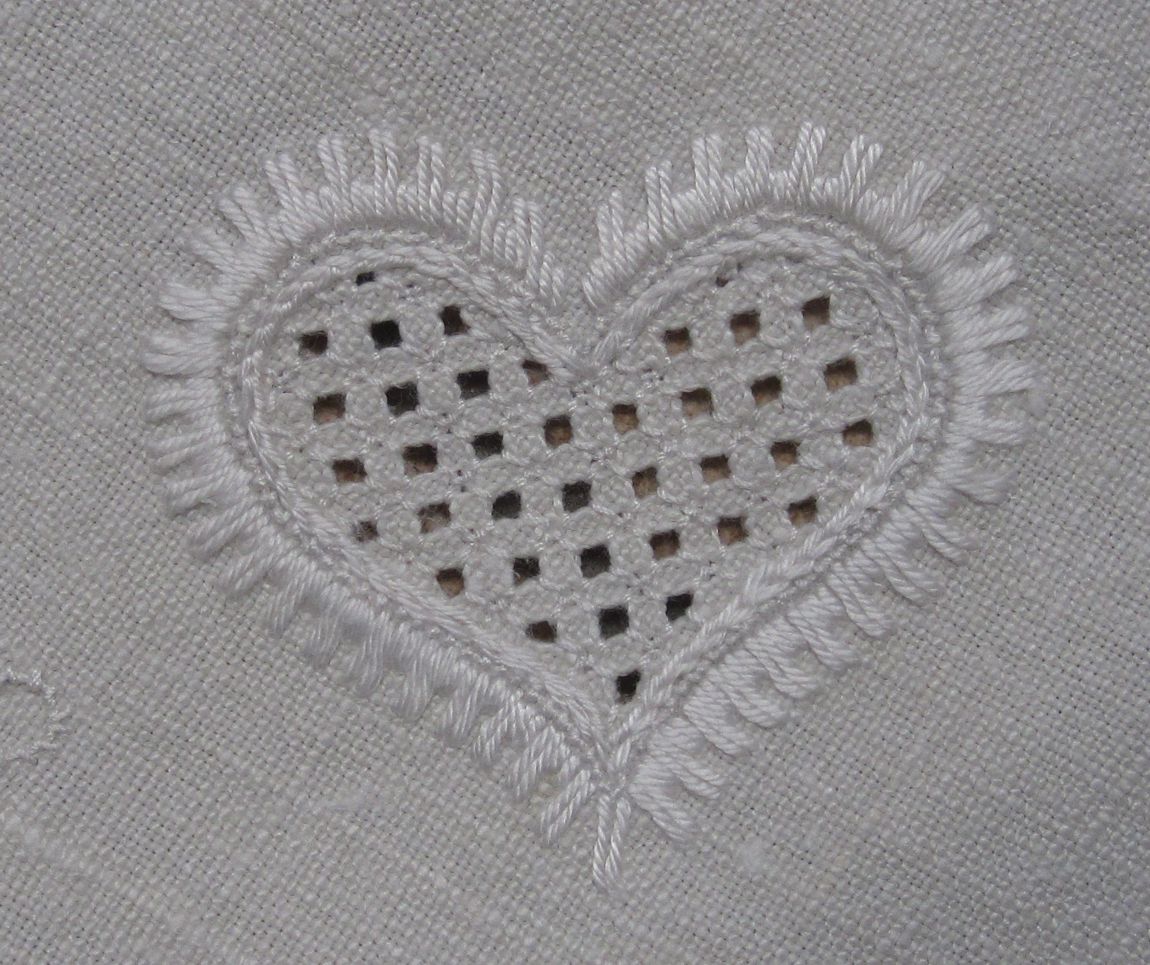
2 short-2 long outlining a heart motif; in the top right the stitches are not completely perpendicular to the outline
nearly perfect 2 short-2 long outlining of a heart motif