previous post: Schwalm Hems – The Arch Border (4)
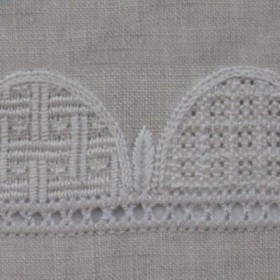
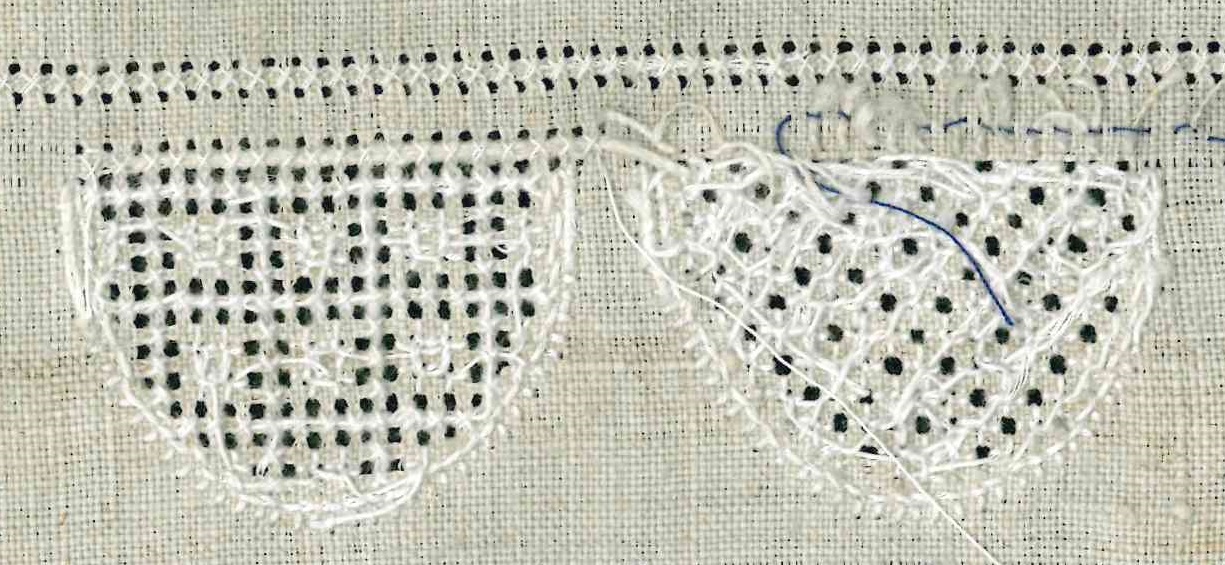
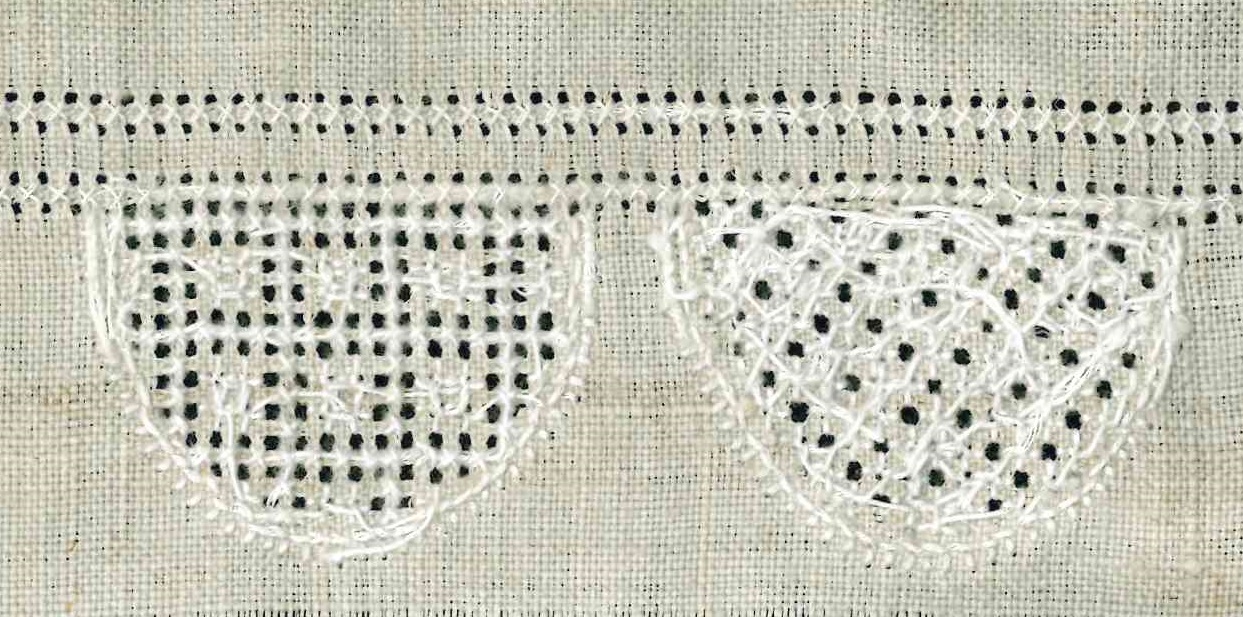
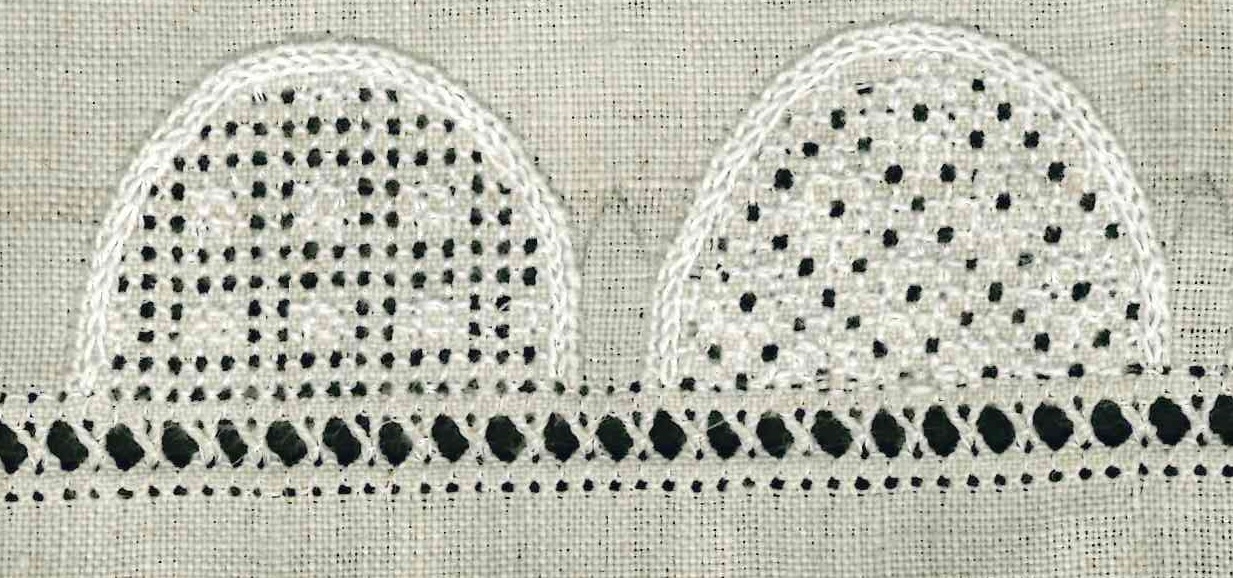
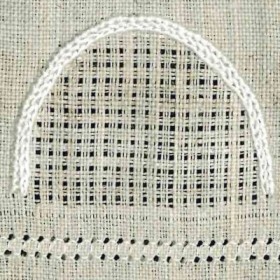
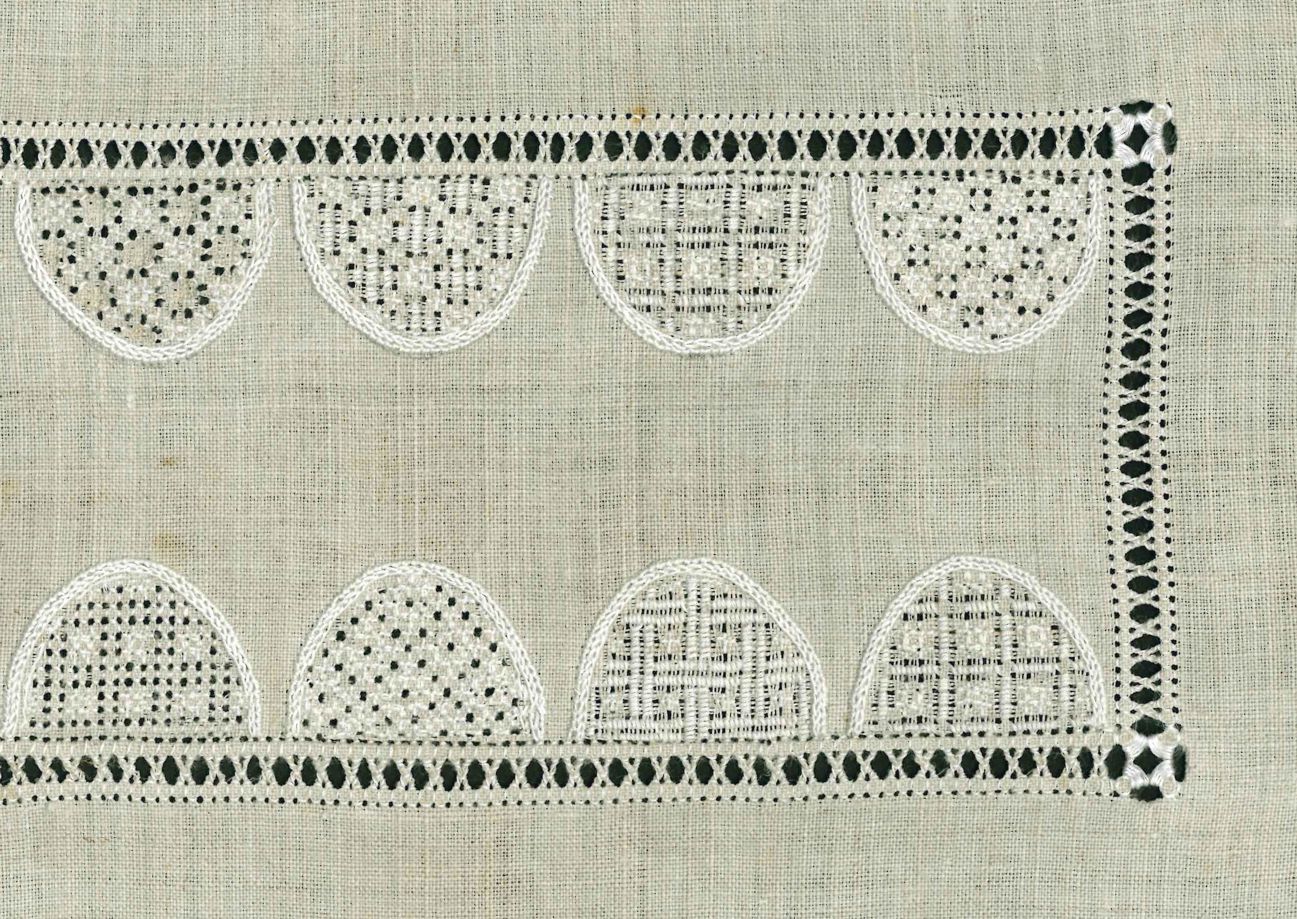
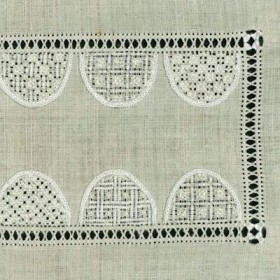
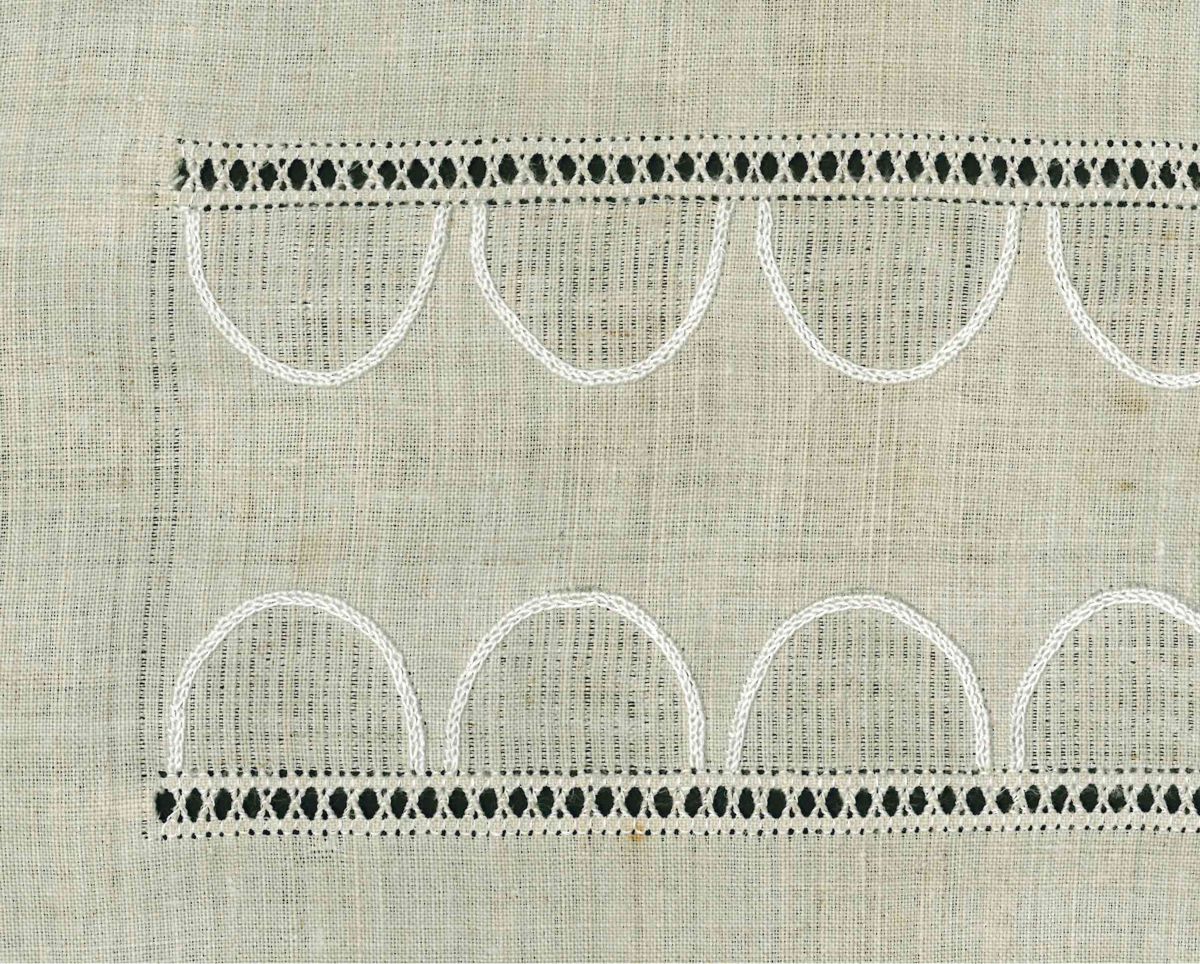
Note: When I embroidered the original arch border, I did not think to take pictures of the steps presented here. So, I made a new sample to illustrate this step. Because the filling patterns under the arches, in this step, are of minor importance I chose not to embroider them at this time.
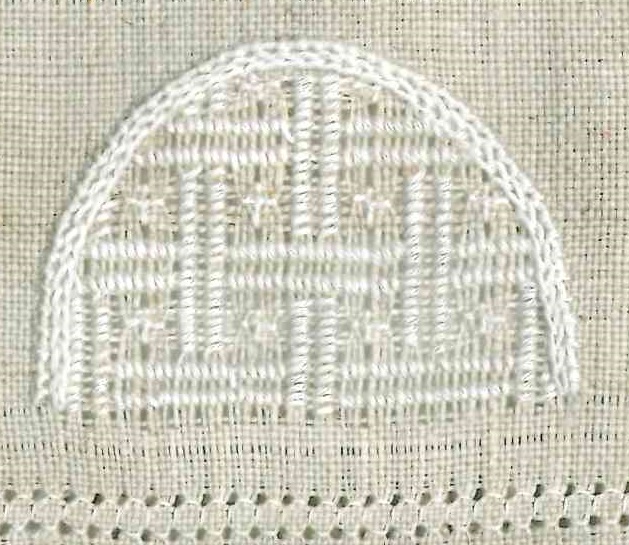
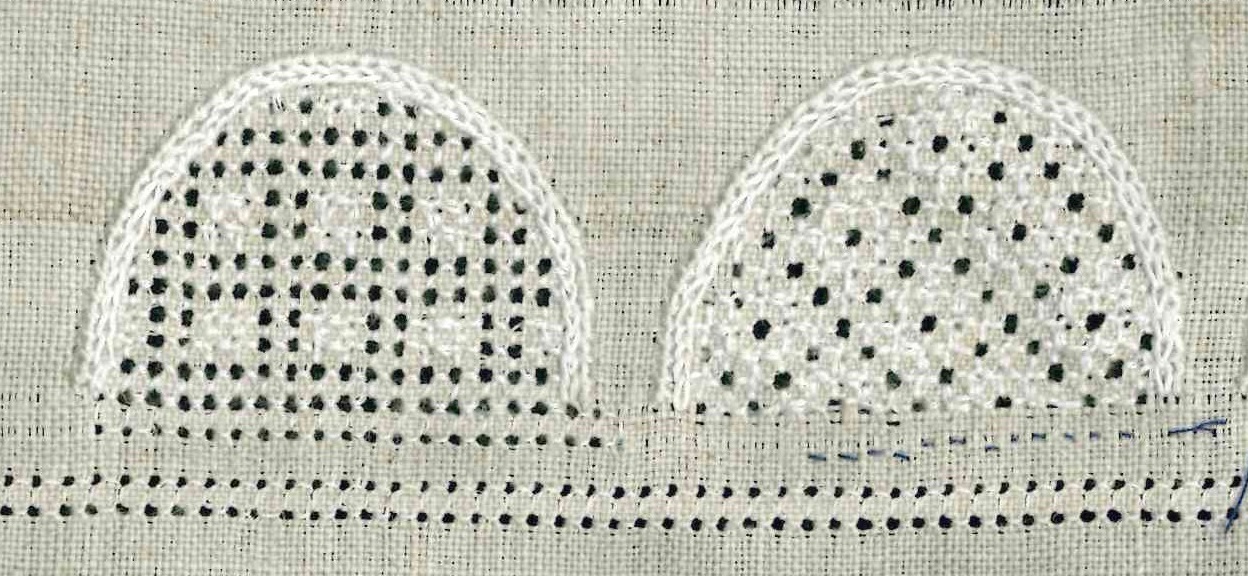
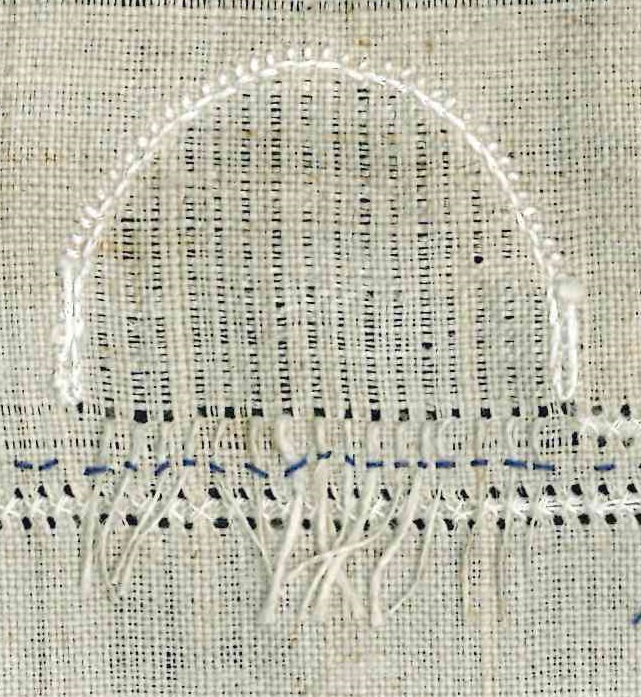
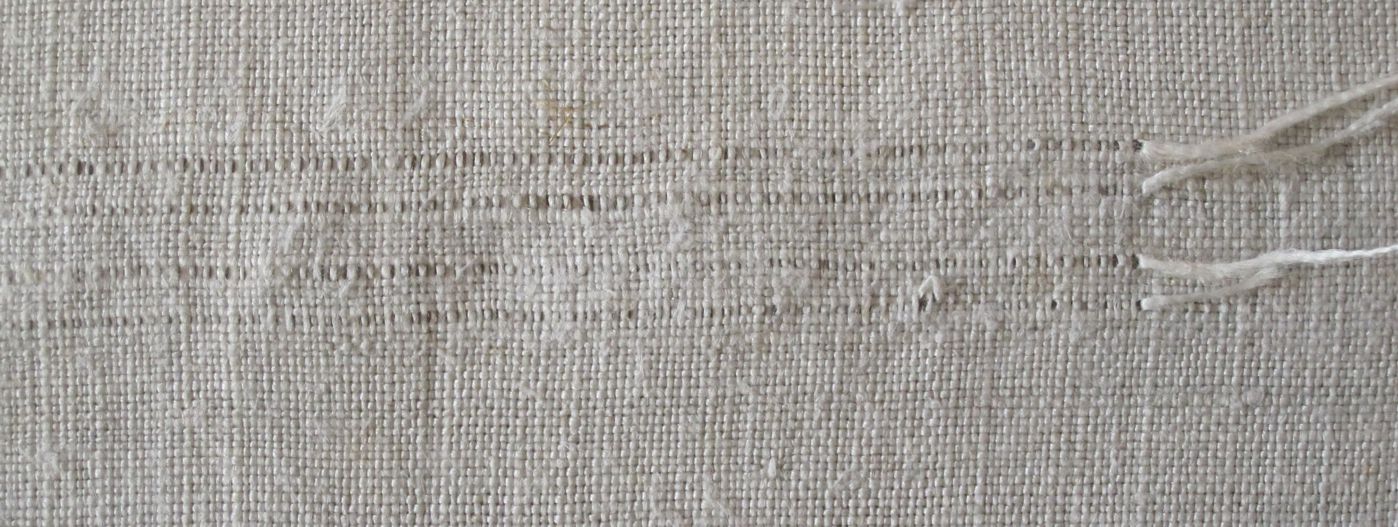
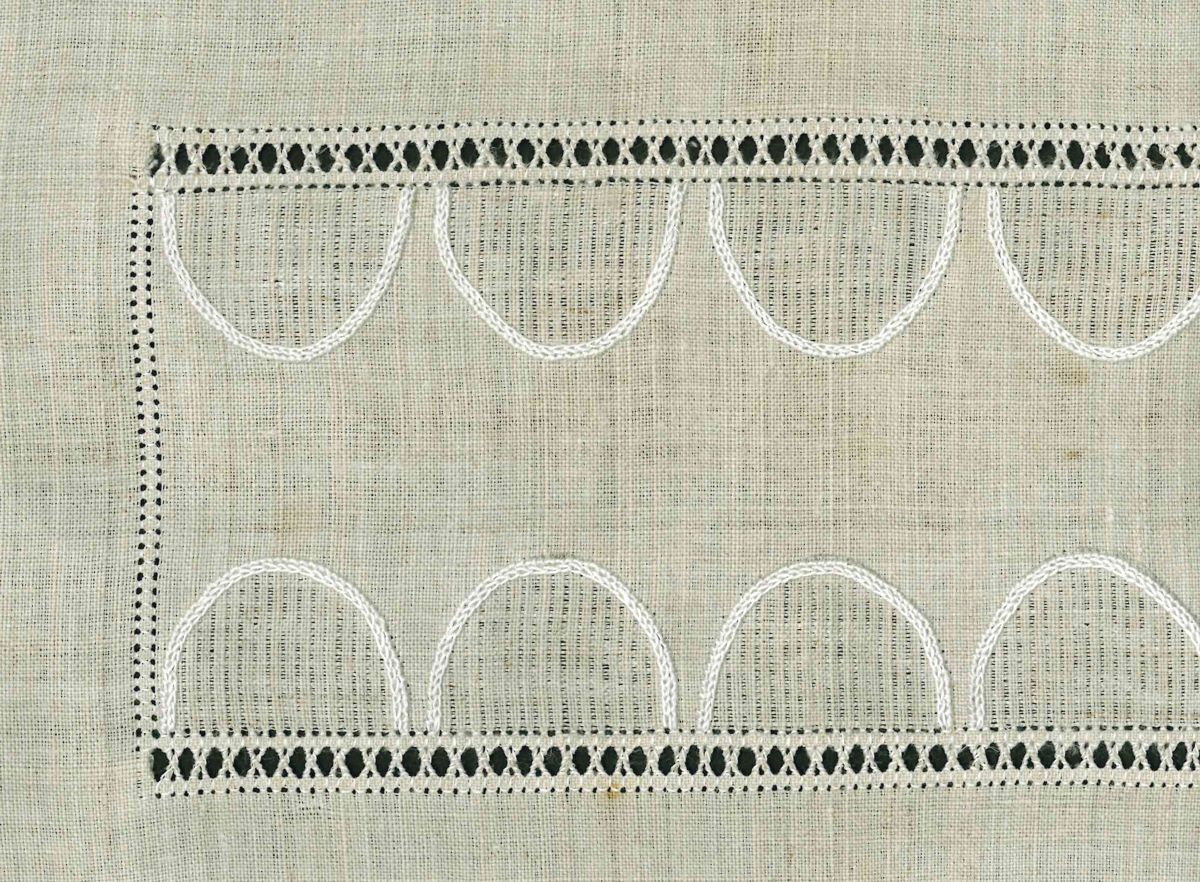
To work the opposite side mirrored, withdraw one vertical thread at the right of the first arch to the desired distance between the two arch border rows.
Up from there withdraw the threads for the Peahole hem.
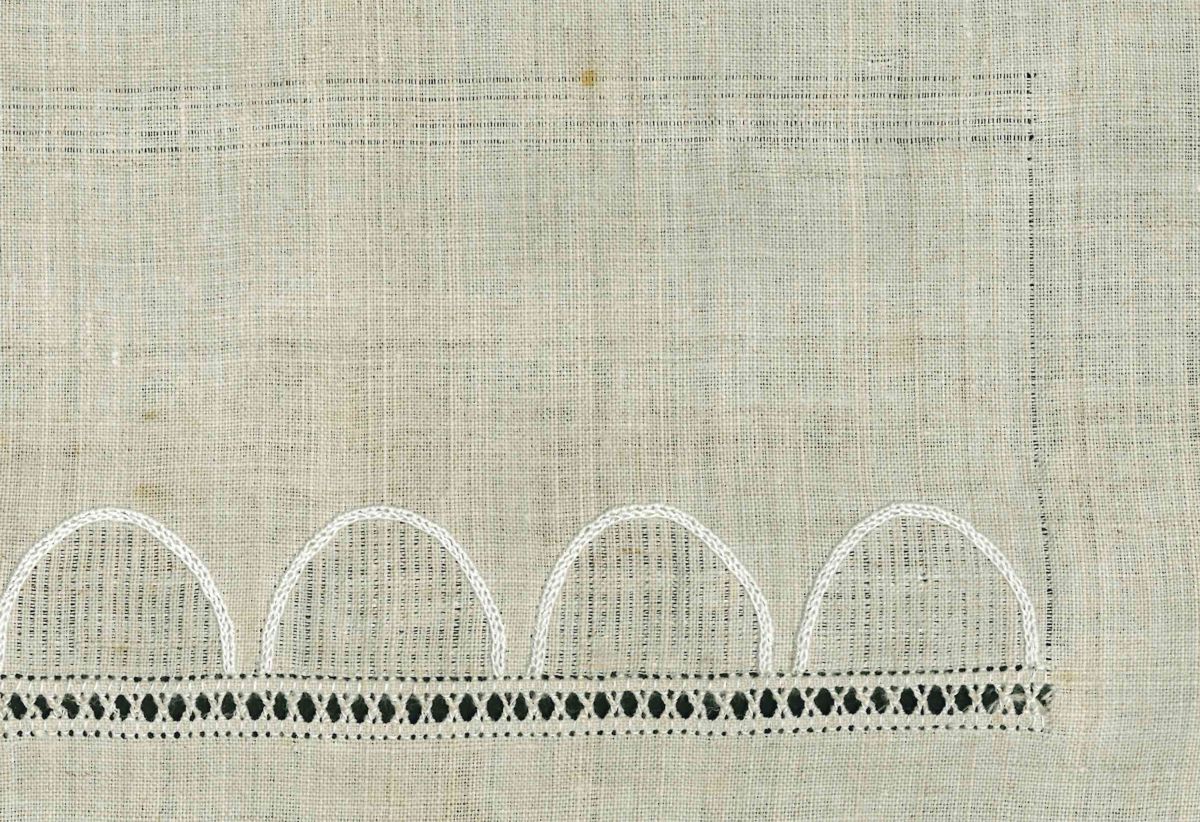
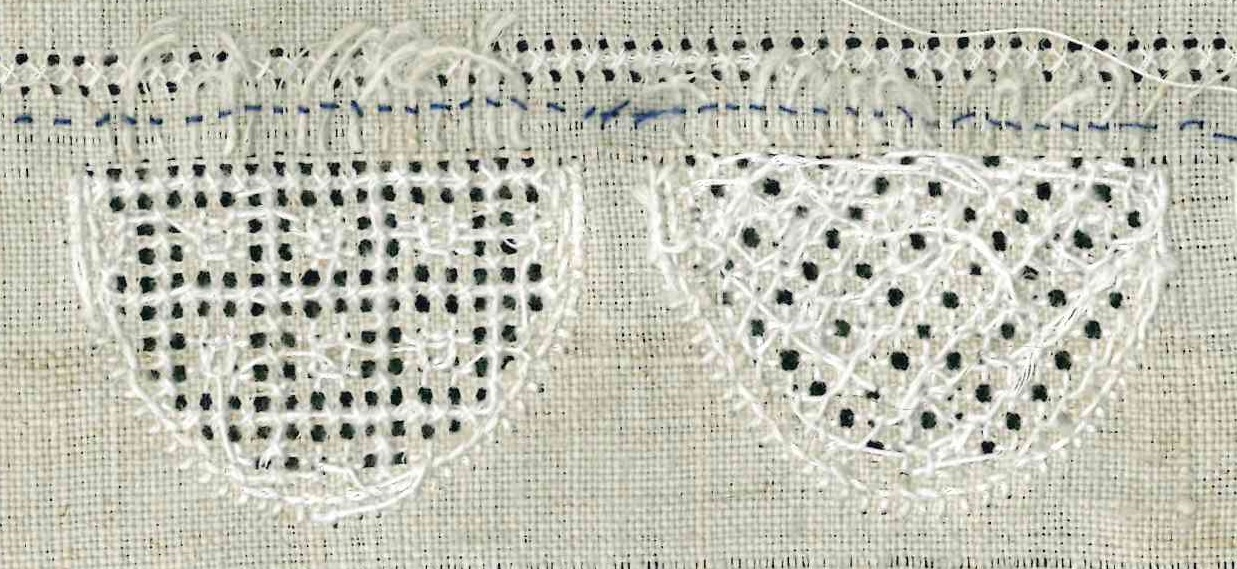
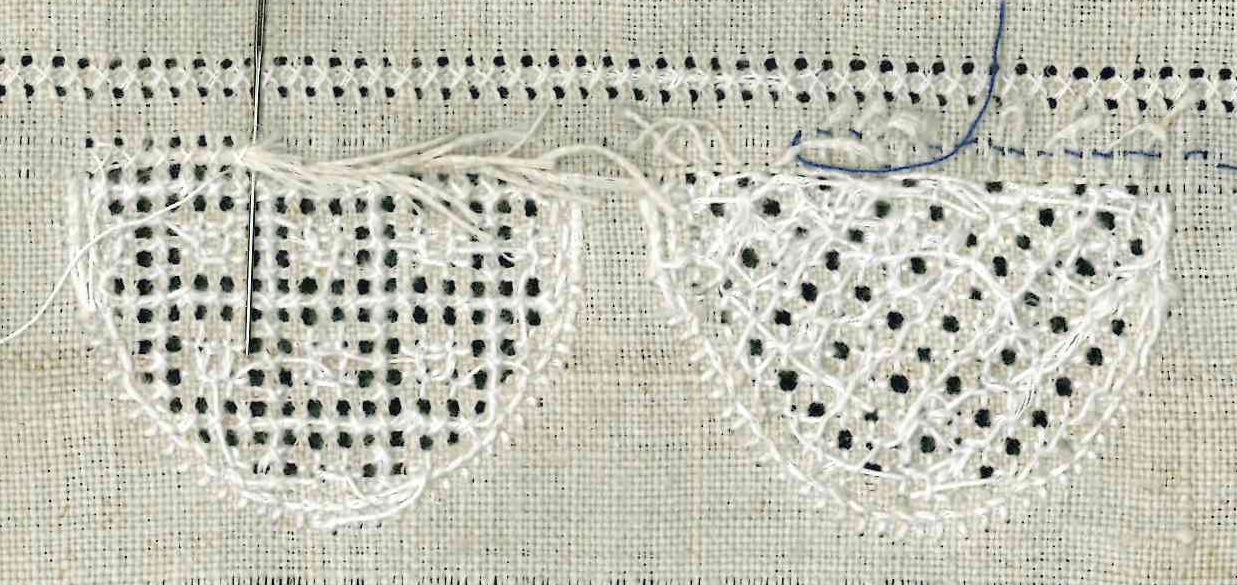
First, work Four-Sided stitches over 4 threads between the two outside withdrawn-thread lines.
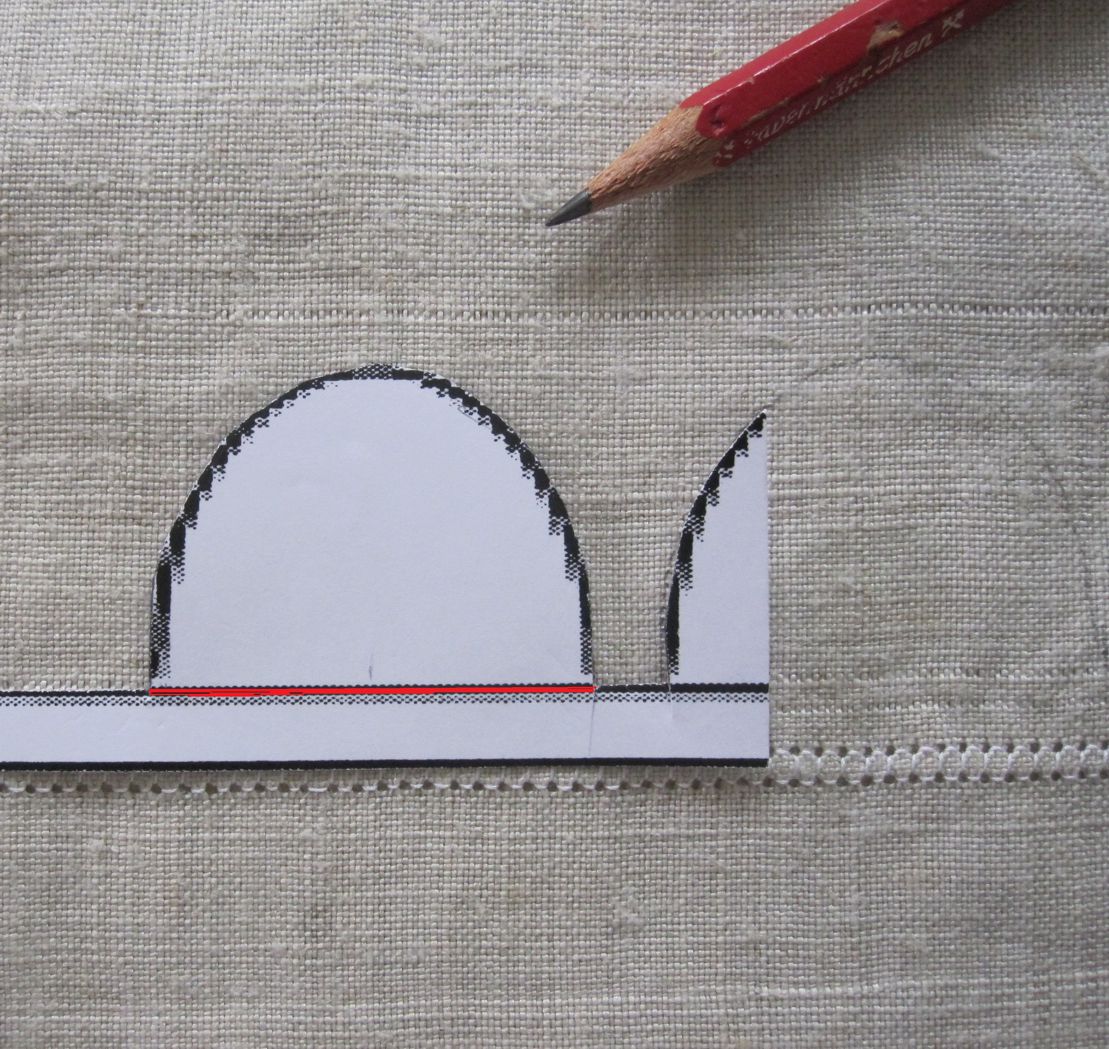
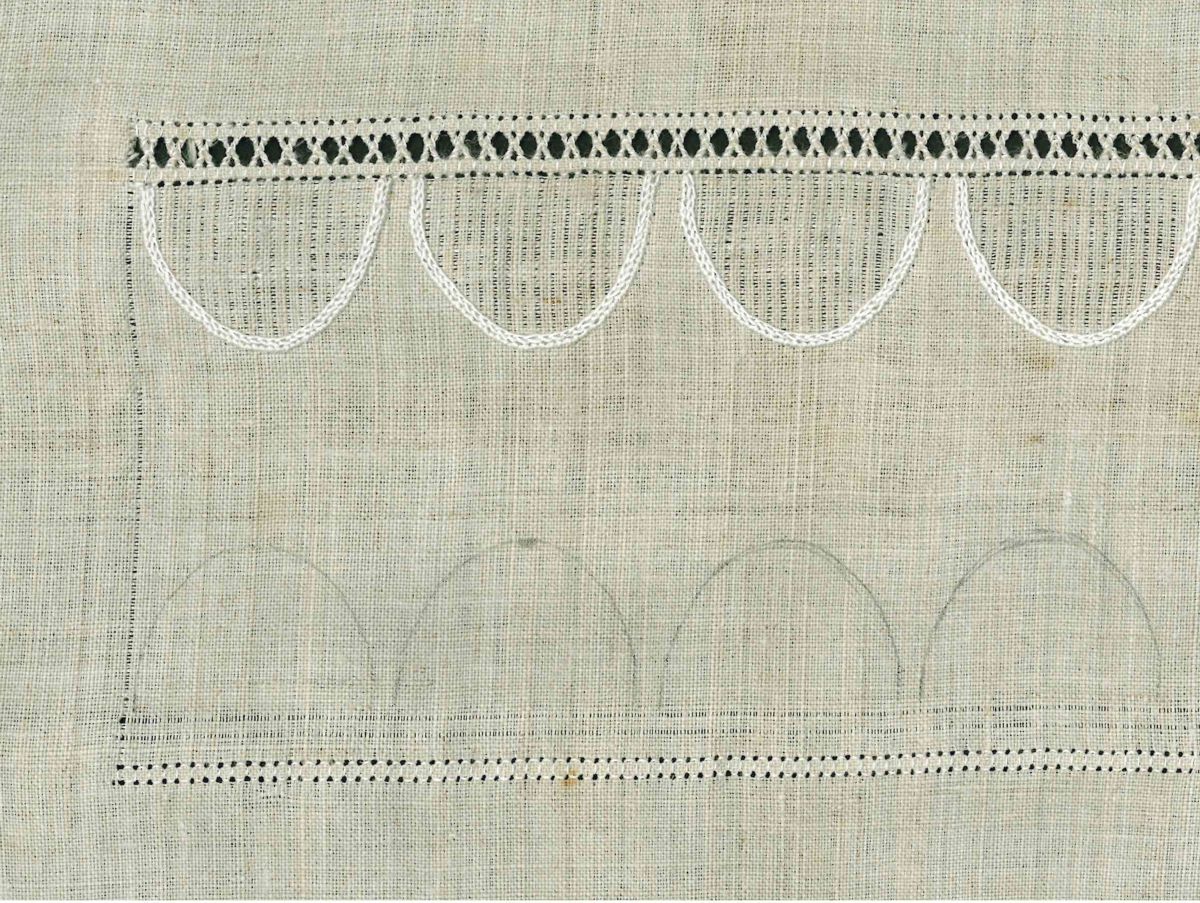
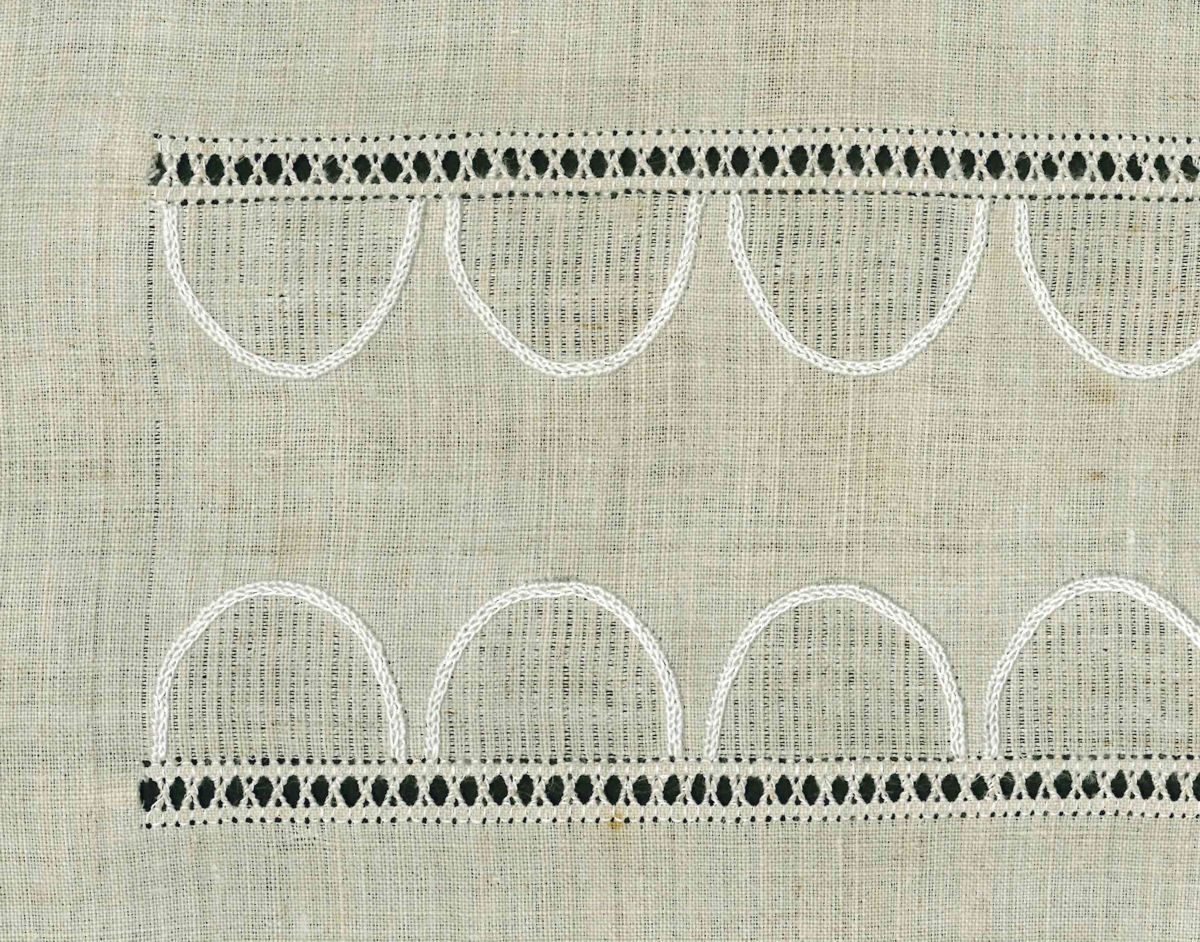
Then start working the arches at the innermost thread-line.
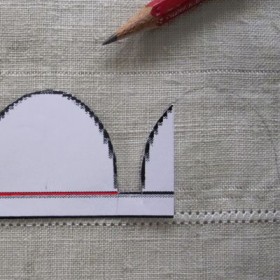
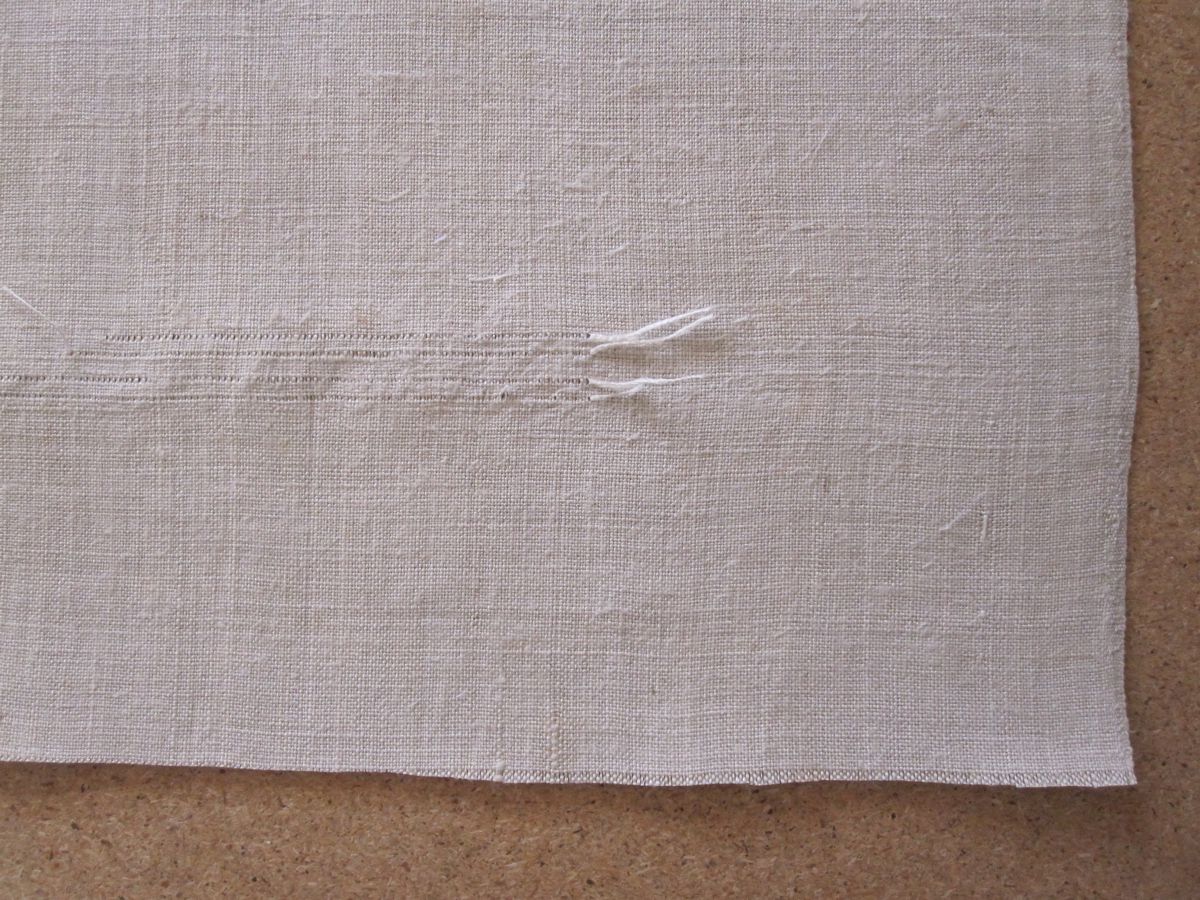
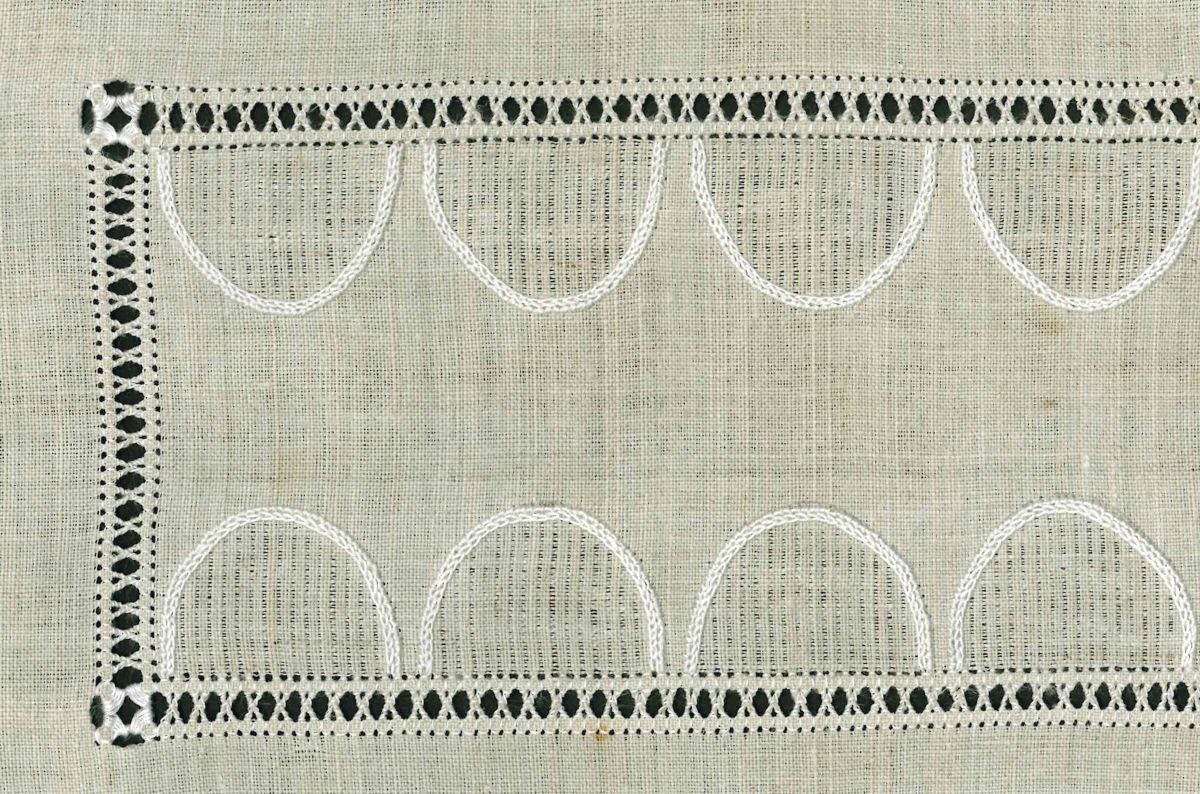
Once all arches and the Peahole hem have been worked, the fabric allowance on the narrow sides is cut to the chosen length. (In my example I have chosen a hem measuring 3 cm plus a 1 cm wide fold; so I need an allowance of 7 cm. The measurement depends on the hem one wants to work.
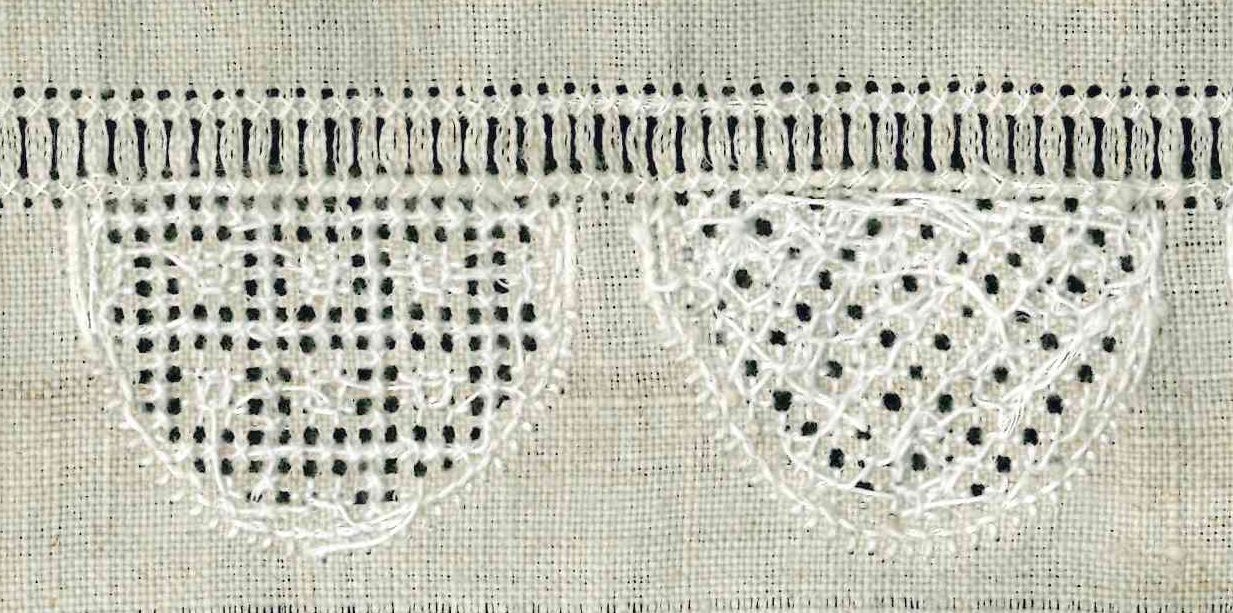
Should the hem be secured with Antique hem stitch, start the measurement at the remaining withdrawn thread-line.
Should the hem get one row of Four-Sided stitches, leave 4 threads outside the withdrawn threadline and cut 1.
Work Four-Sided stitches between the two thread-lines and then start measuring from the outermost thread-line.
Should you desire to also work Peaholes along the narrow sides, make the additional thread withdrawals — leave 6, cut 1, leave 4, cut 1 — and work the Peahole hem. Then start measuring from the outermost thread-line.
Work the opposite side mirrored.
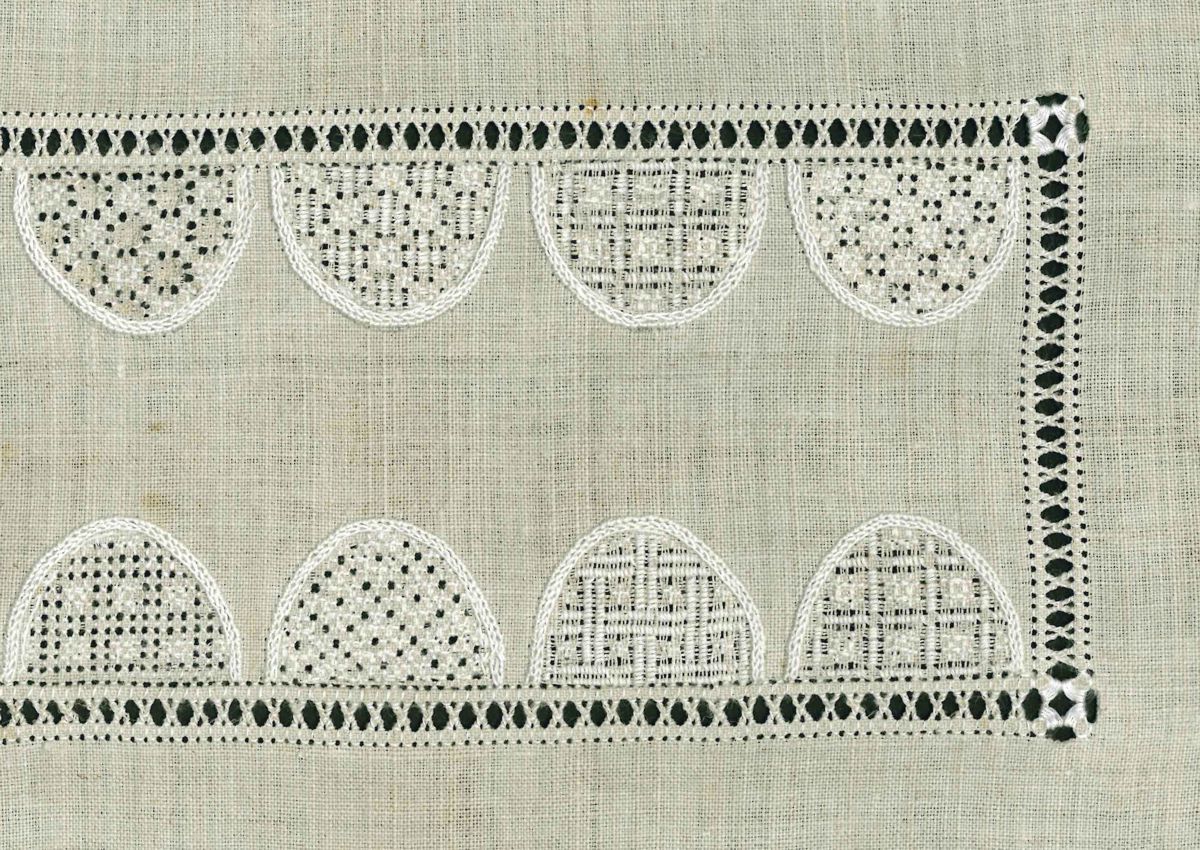
The hem is fasten (BPSW, pages 79-84) and the corners are worked (BPSW, pages 85/86).
In a future article I will show the option to continue the arch border around the corners.