In my post “Linen: Embroidery Fabric from Flax Fibers”, I explained the importance of using pure linen appropriately manufactured for Schwalm whitework.
Recently, one of my customers sent me a small piece of fabric. She got it from her grandmother, and it was originally purchased for making embroidered bed sheets. My customer thought the fabric was linen, but she wondered whether or not the texture would be suitable for embroidering in the Schwalm technique. So, she consulted me.
I share with you here the steps I took to determine whether or not her fabric would be suitable for Schwalm embroidery. I hope it will enable you to analyze your own fabric.
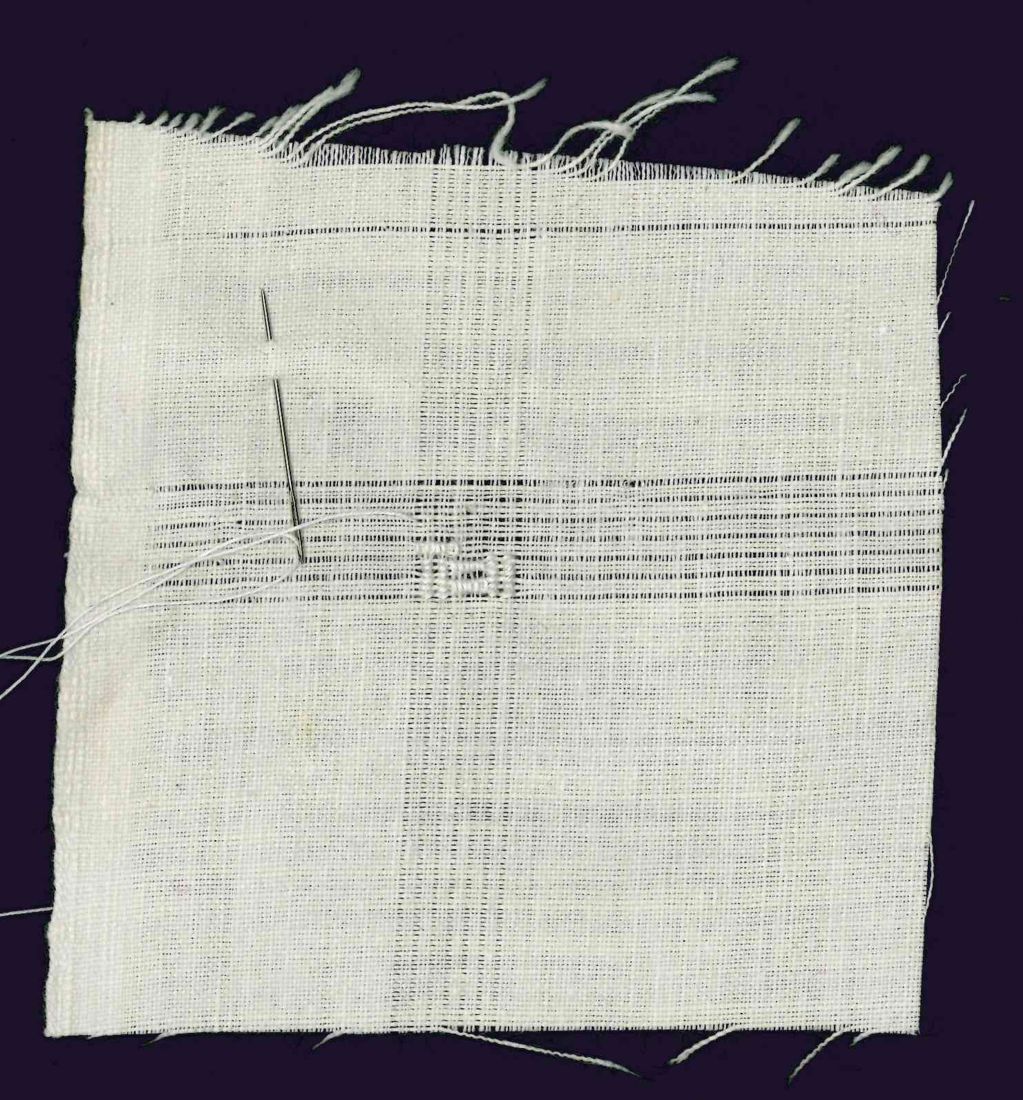
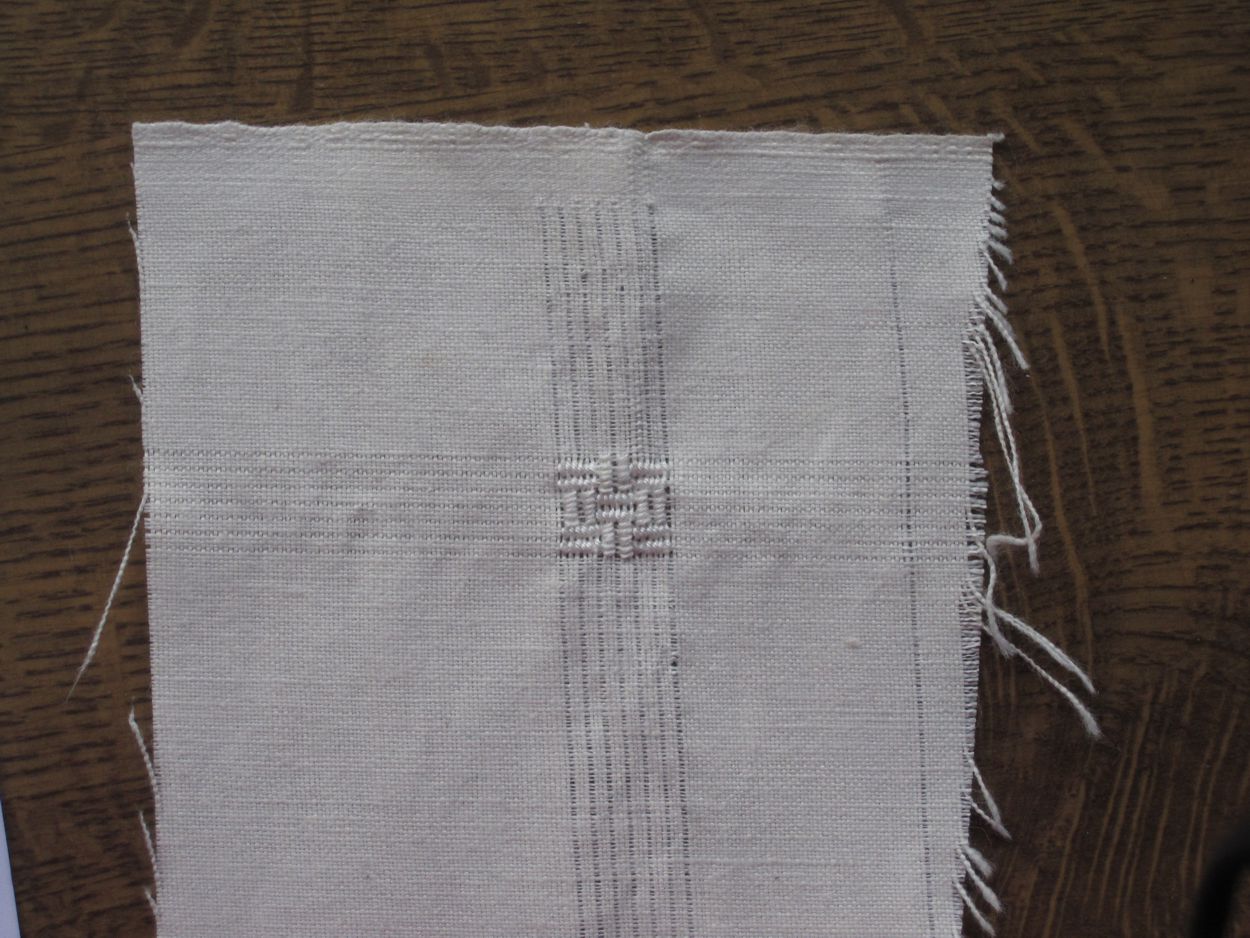
The swatch measures 10.5 cm in the width and (up to the withdrawn thread line) 10 cm in the height. At one side it has a selvage, so I could easily classify warp and woof.
First visual observations:
At first glance, the fabric looks densely woven and, as such, suitable for Schwalm whitework. But observing the fraying at the edges, I could see that the warp threads are much thinner than the woof threads. Also, the fabric does not show the slight sheen typical for linen; this lack of sheen might indicate cotton material.
A burning test makes no sense because both natural fibers burn in the same manner – quickly with a big bright flame, smelling like burned paper and leaving a light and fine fly ash.
A closer look:
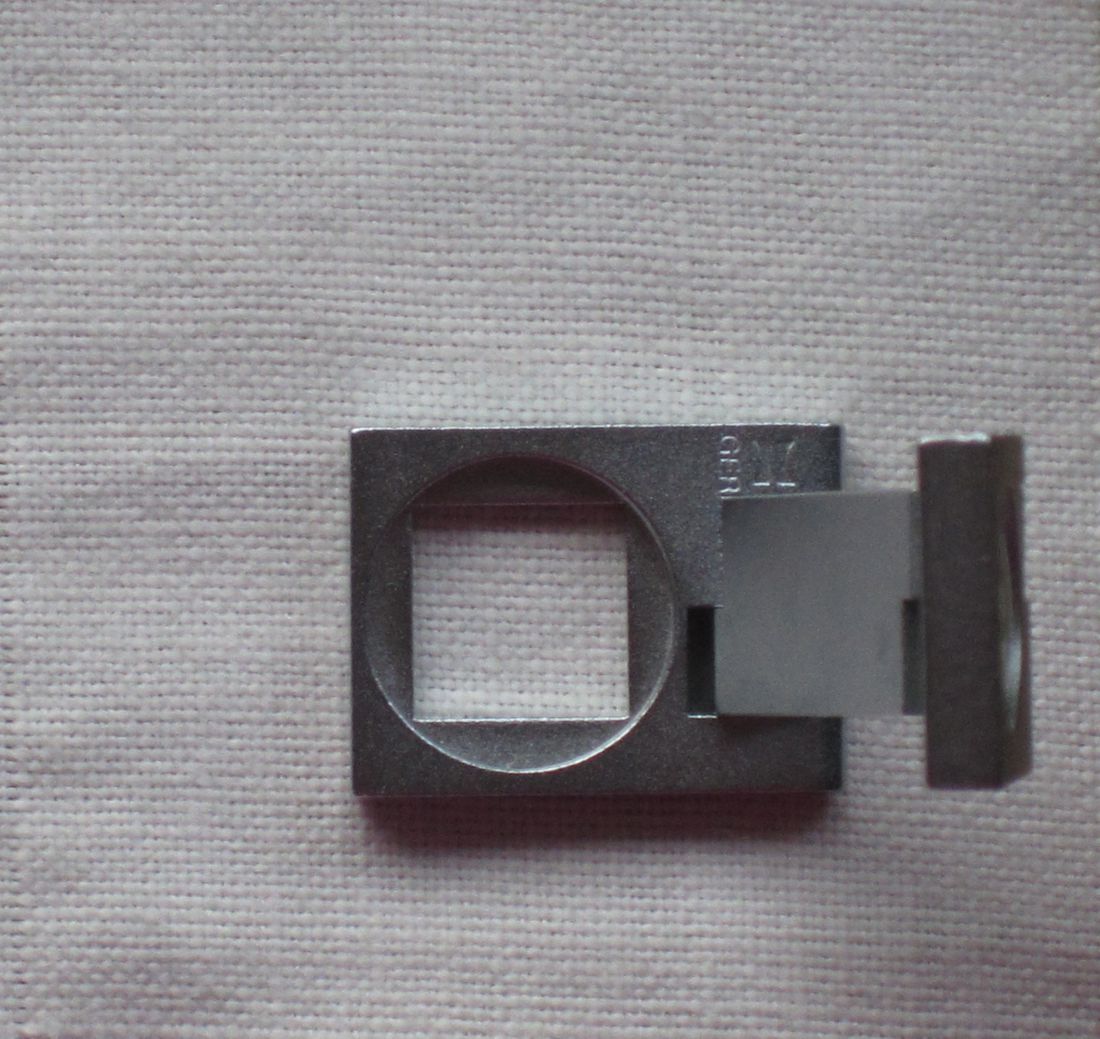
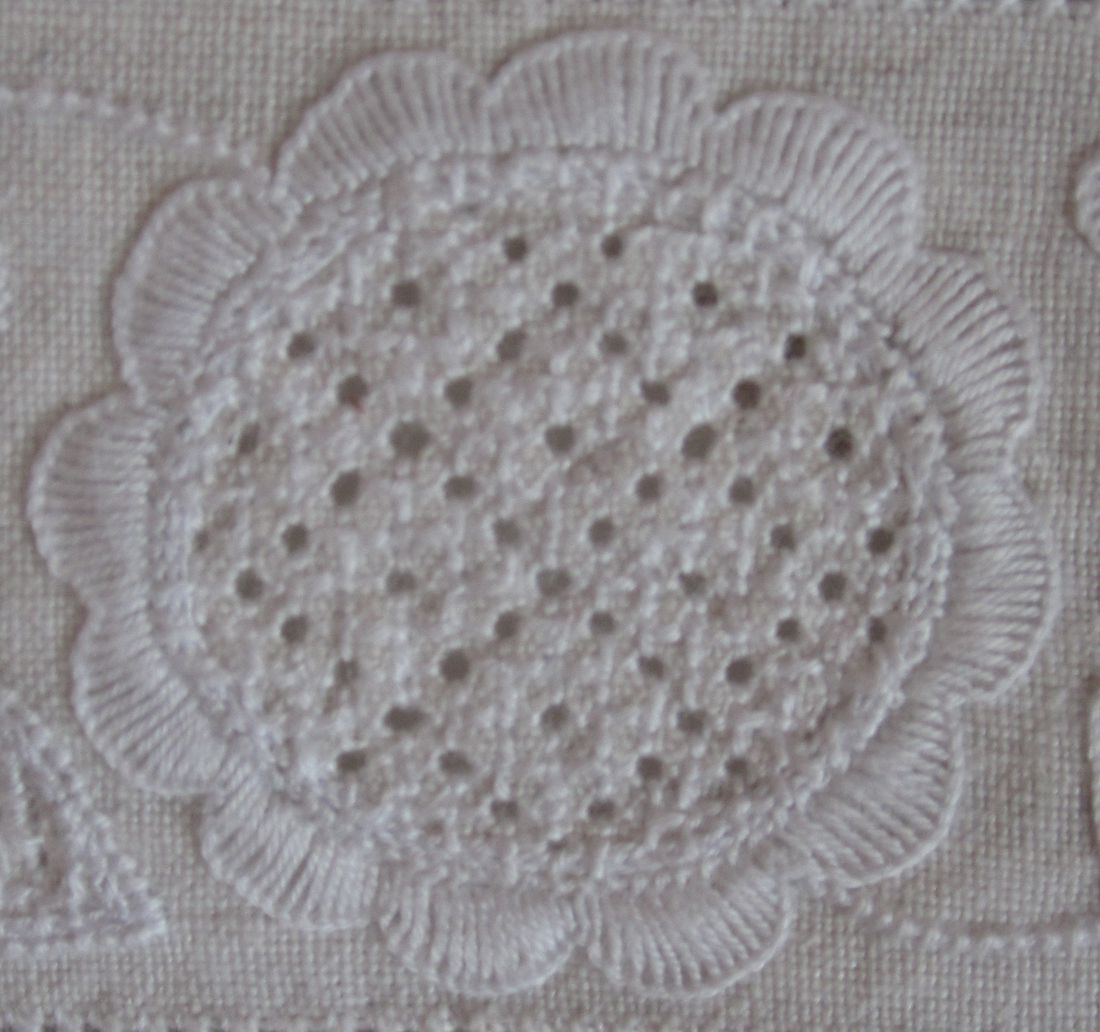
Looking through the thread counter the threads/cm of the fabric are easily determined. I can ascertain that the fabric is not only different in the thread count of warp and woof (this could possibly be adjusted by “refined” thread withdrawing), but there are also differences among the warp threads. While for the woof 18 threads/cm are used, in the warp there are in places 20 threads/cm, in other places 21, or even 22. Such a texture will create an uneven structure of the withdrawn filling patterns. Perhaps, this is appealing for some people, but not for all.
Practice test – thread withdrawing:
Both the horizontal and vertical threads can be easily withdrawn.
At once it is clear that the thinner warp threads are much more strongly twisted than the thicker woof threads. (Warp threads must be more stable so that they will not always break during the weaving process.) The warp threads of this fabric were easily withdrawn in one piece. This indicates both a strong twist and long fiber bundles.
Untwisting (A fabric thread is stretched between thumbs and forefingers of both hands and slowly turned against the original twist direction. As soon as it splits, the thread is slowly pulled apart. Out of the separated thread ends single fibers can be picked.) the threads show that the woof threads more easily strip down into single fibers than the warp threads. The single fibers of the woof threads are longer than those of the warp threads. This hints at cotton material for the woof threads.
(Cotton fibers have a length of 10 mm to 55 mm, flax fibers have a length of 20 mm to 40 mm.) The fineness of both is approximately the same.
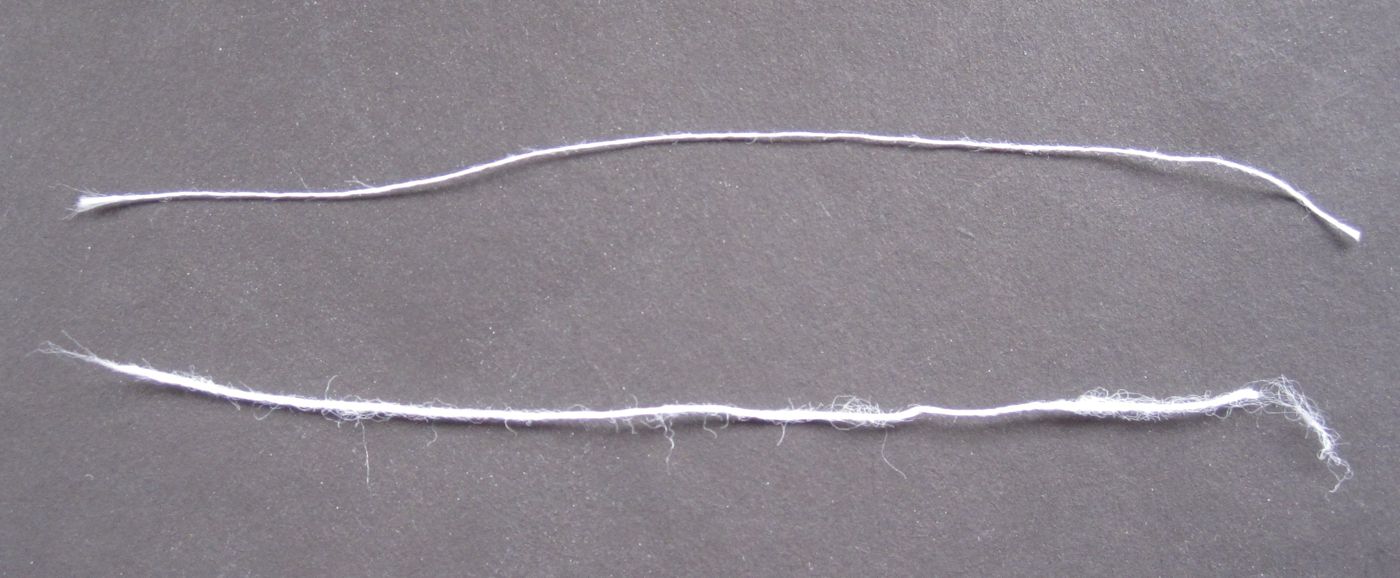
The heckled flax, which is used for spinning, still consists – though hardly heckled – of fiber bundles held together by the glue of the plant. But these fiber bundles are very different in thickness and so for linen threads typical bulges develop. With this in mind, by comparing the warp threads and woof threads experience tells us that the warp thread (image below, upper thread) shows the typ cal linen bulges, however the woof thread (image below, bottom thread) is uniform. This is especial ly easy to see by stretching the respective thread between the hands.

Also, this is a sign of two different materials used for the warp and woof.
(However, I do not have a microscope and an exact material analysis is only possible in a laboratory.)
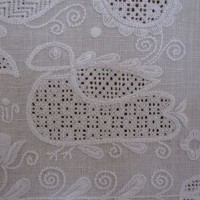
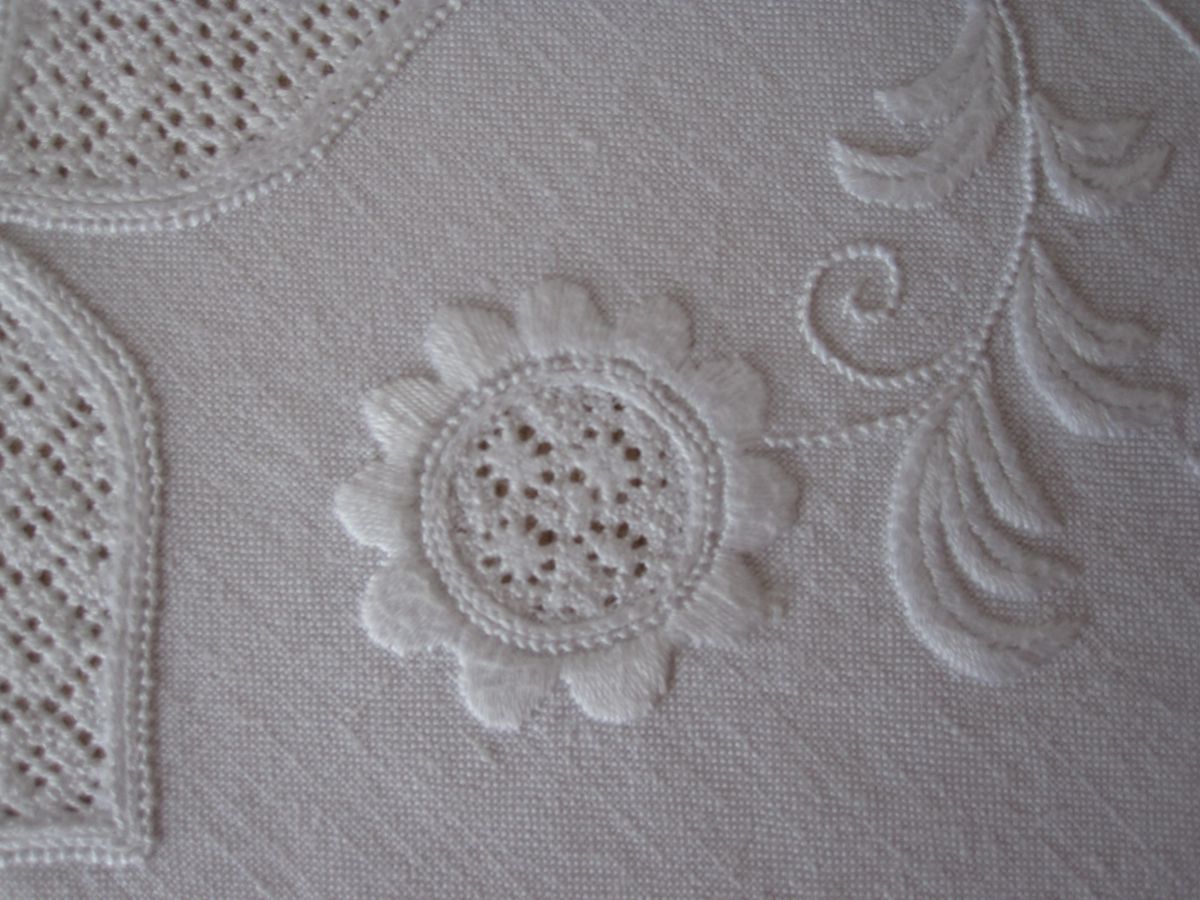
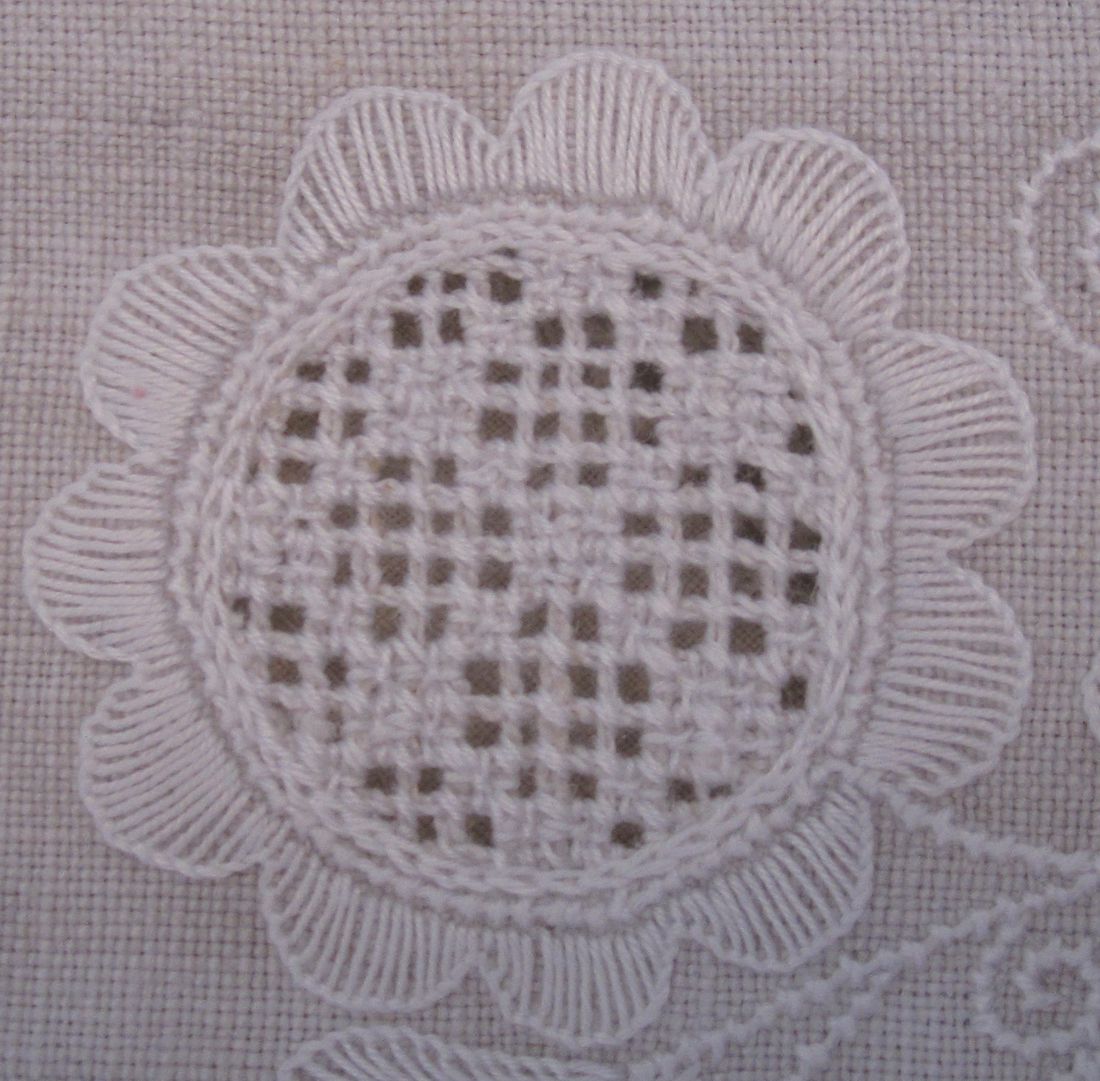
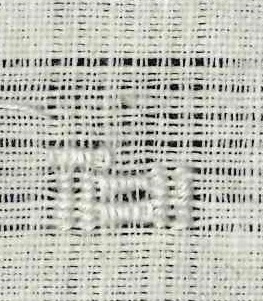
Looking at the withdrawn Limet grid, it is easily observed that – even though the fabric is stretched very well in a hoop – the thicker woof threads have a tendency to shift out of place.
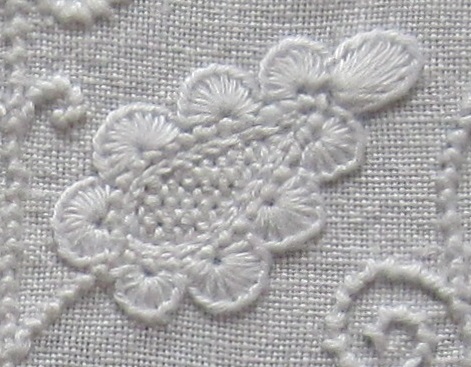
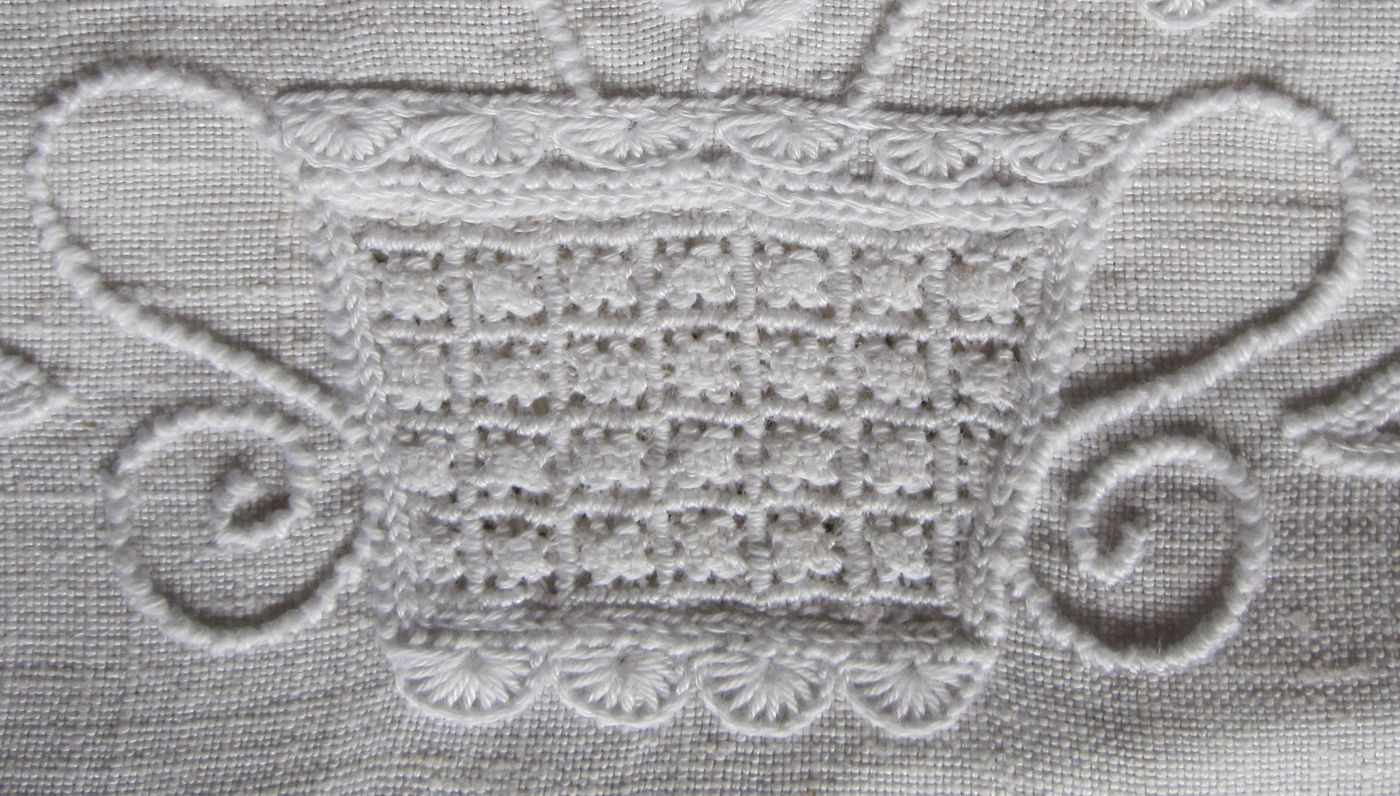
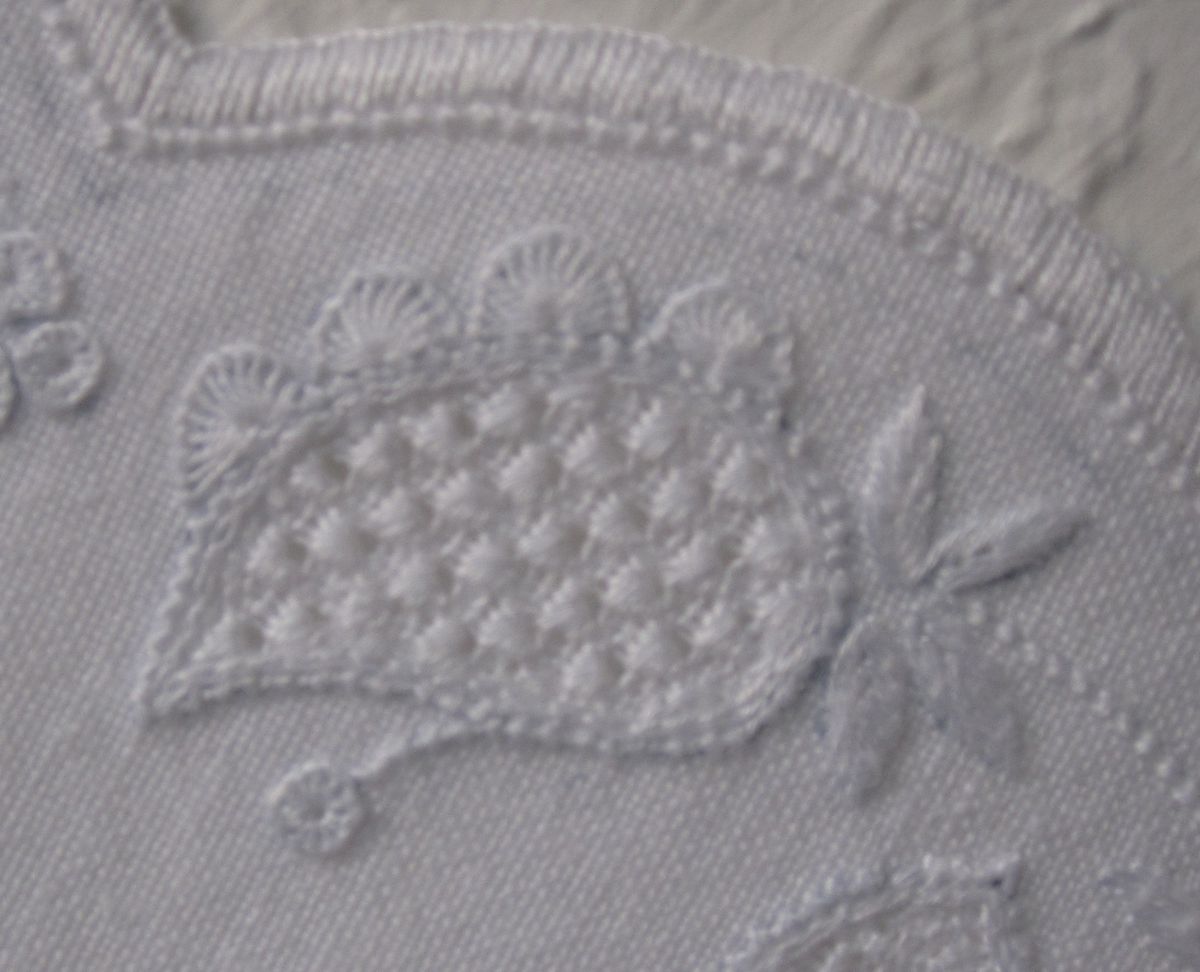
Practice test – embroidering:
Threads easily shifting out of place makes embroidering very difficult. Only with a great deal of effort will it be successful.
After 5 minutes of boiling, the fabric shrunk; 10.5 cm became 10.2 cm and 10 cm became 9.5 cm – a normal percentage.
After drying, the fabric feels soft – another indication of cotton fibers.
Final result:
In consideration of the above observations, using this fabric for embroidering Schwalm whitework is not recommended.
So, if you have a “mystery” fabric that you are considering to use for Schwalm whitework, simply invest some time in examining and experimenting with the fabric as outlined above.
The time spent beforehand can prevent frustration and disappointment later on.
My reference materials were
Kleine Textilkunde
Lisa Adebahr
Verlag Tandwerk und Technik – Dr. Felix Büchner
Hamburg 1964
Von der Faser zum Stoff
Lisa Adebahr-Dörel
Verlag Handwerk und Technik – Dr. Felix Büchner
Hamburg 1964