Design Transfer – Test 3

In the near future, I want to address the different ways in which embroidered pillowcases are made.

Old hand-woven linen is best for embroidering pillowcases because it is not susceptible to creasing. Now I have been looking for an alternative for the embroiderers in countries where one cannot fall back on “household linen”. At the weaving mill Übelhör I found what I was looking for with durable pressed natural coloured linen.

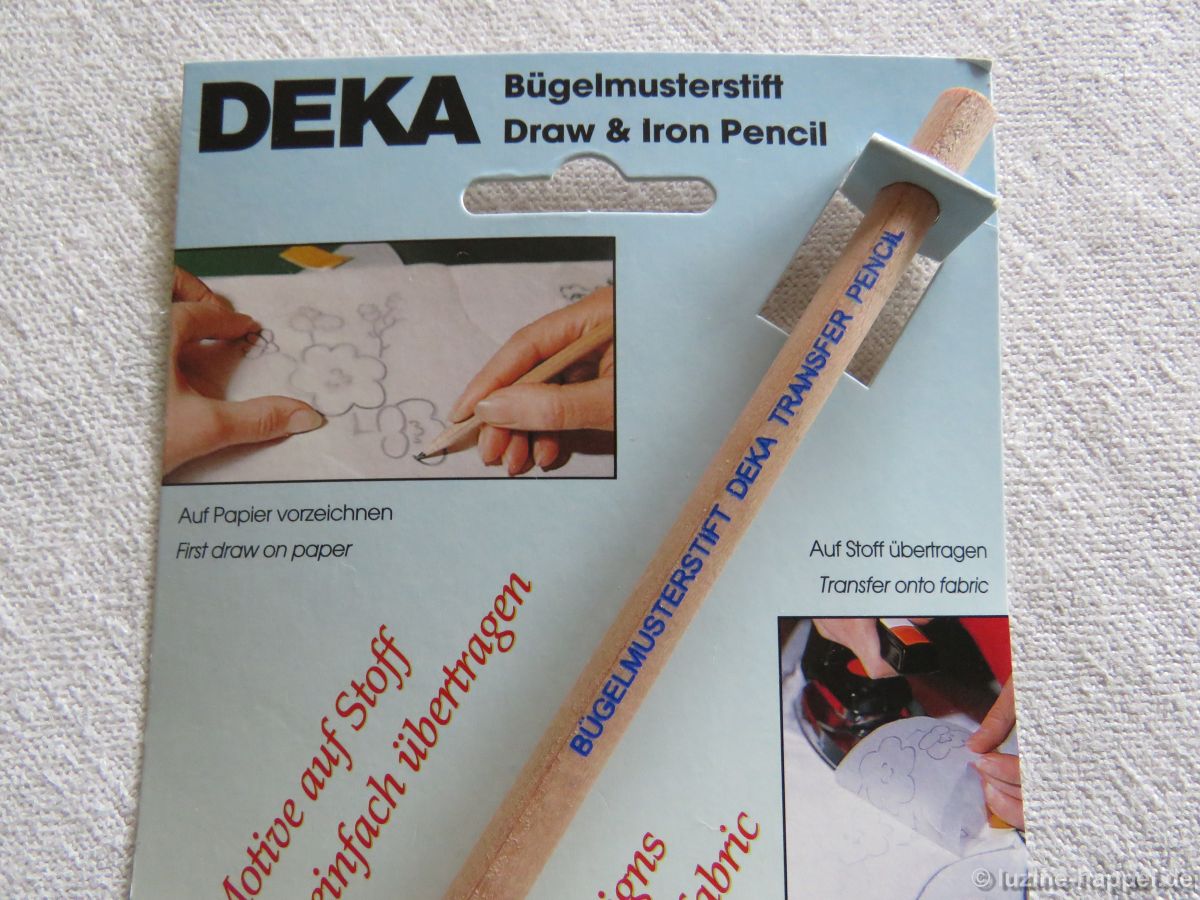
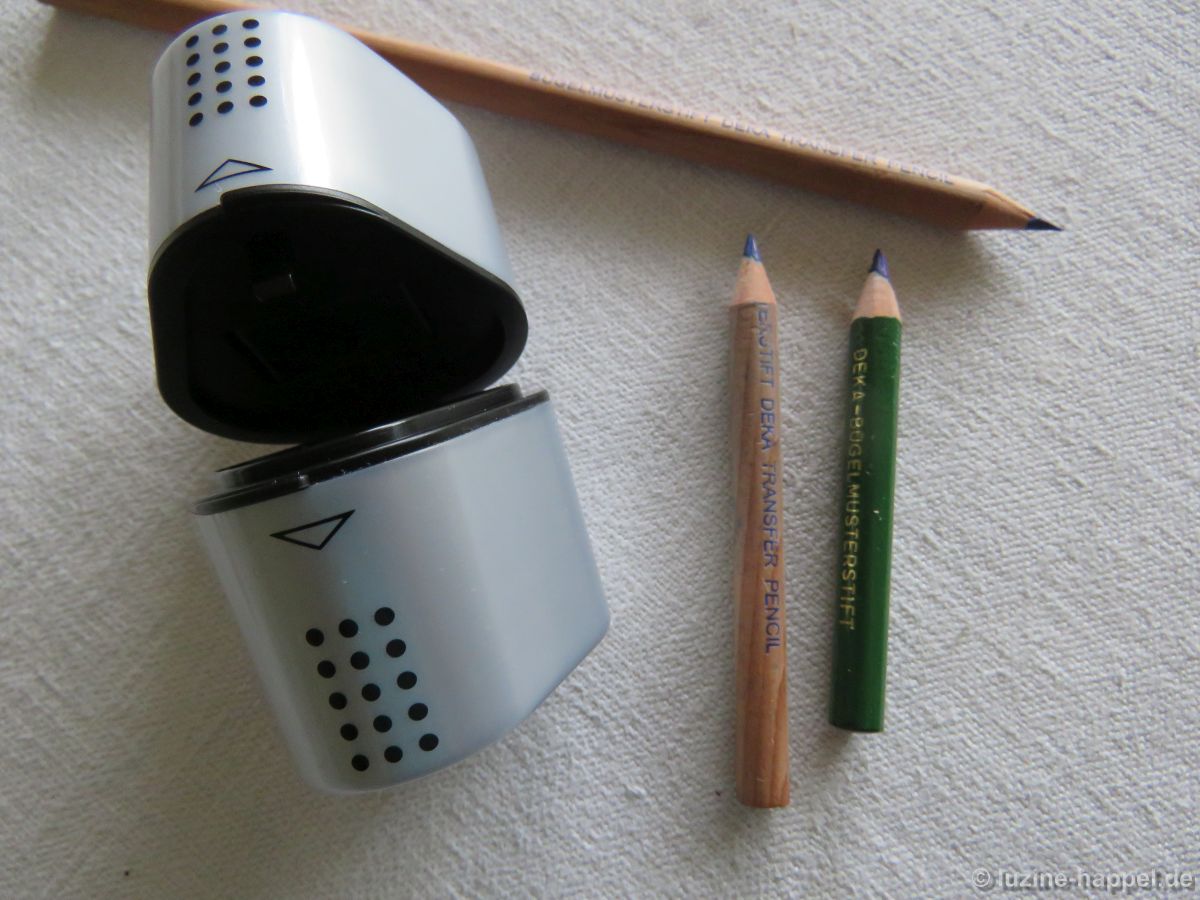
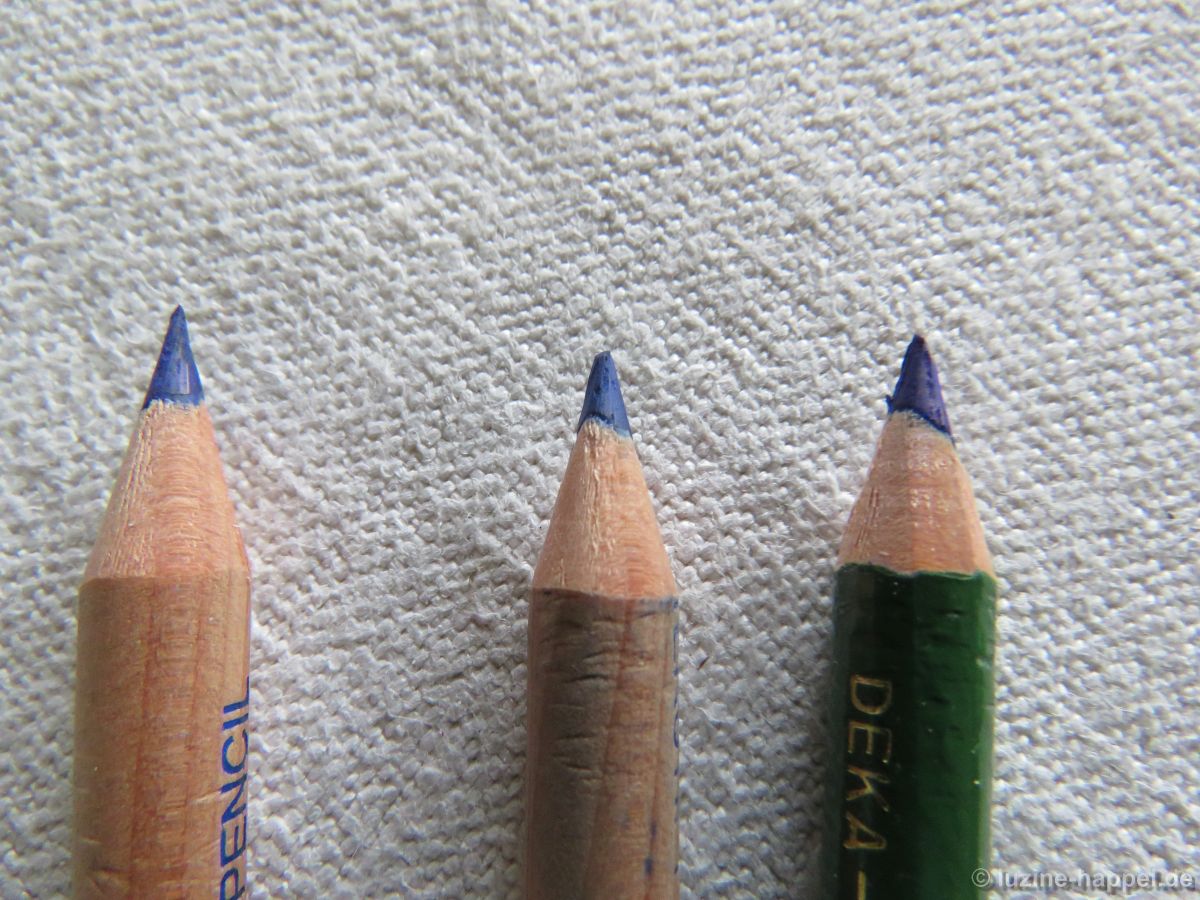
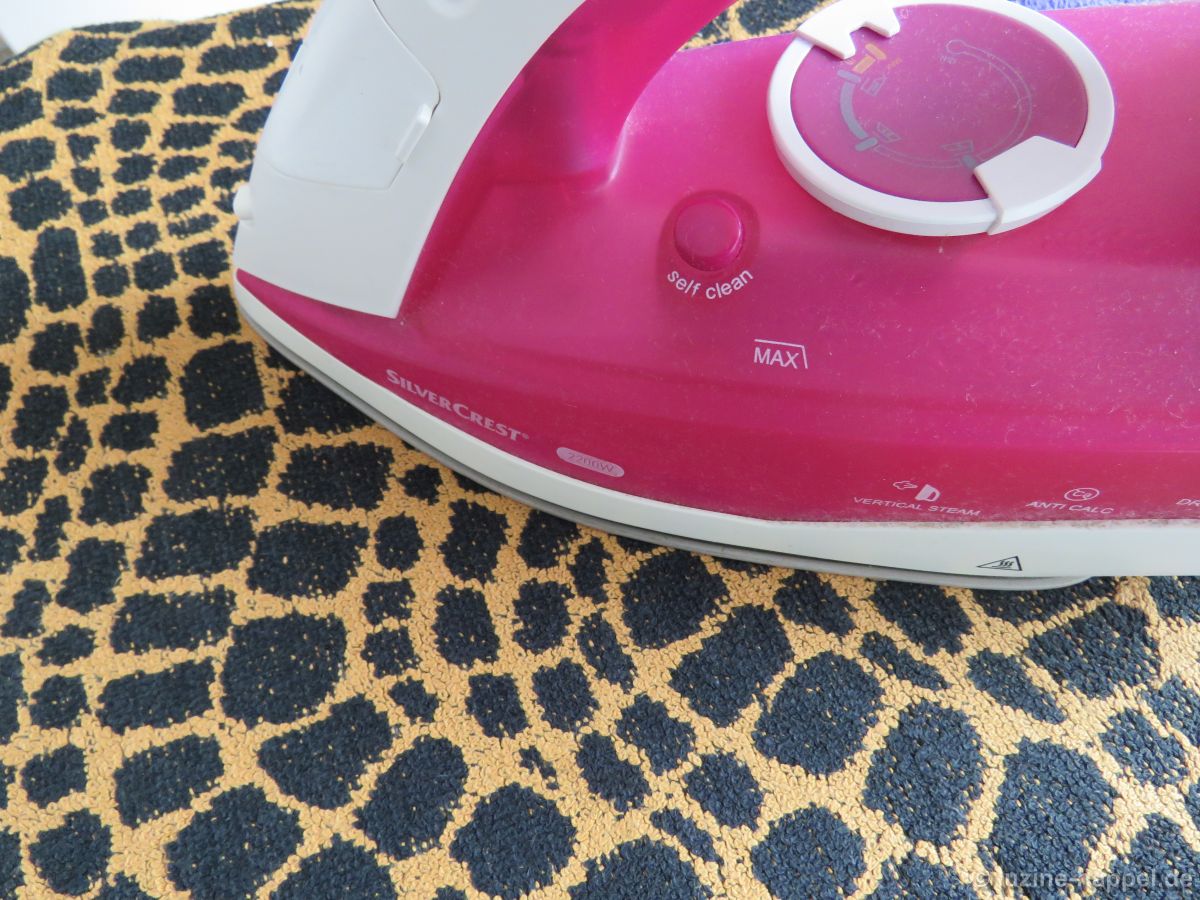
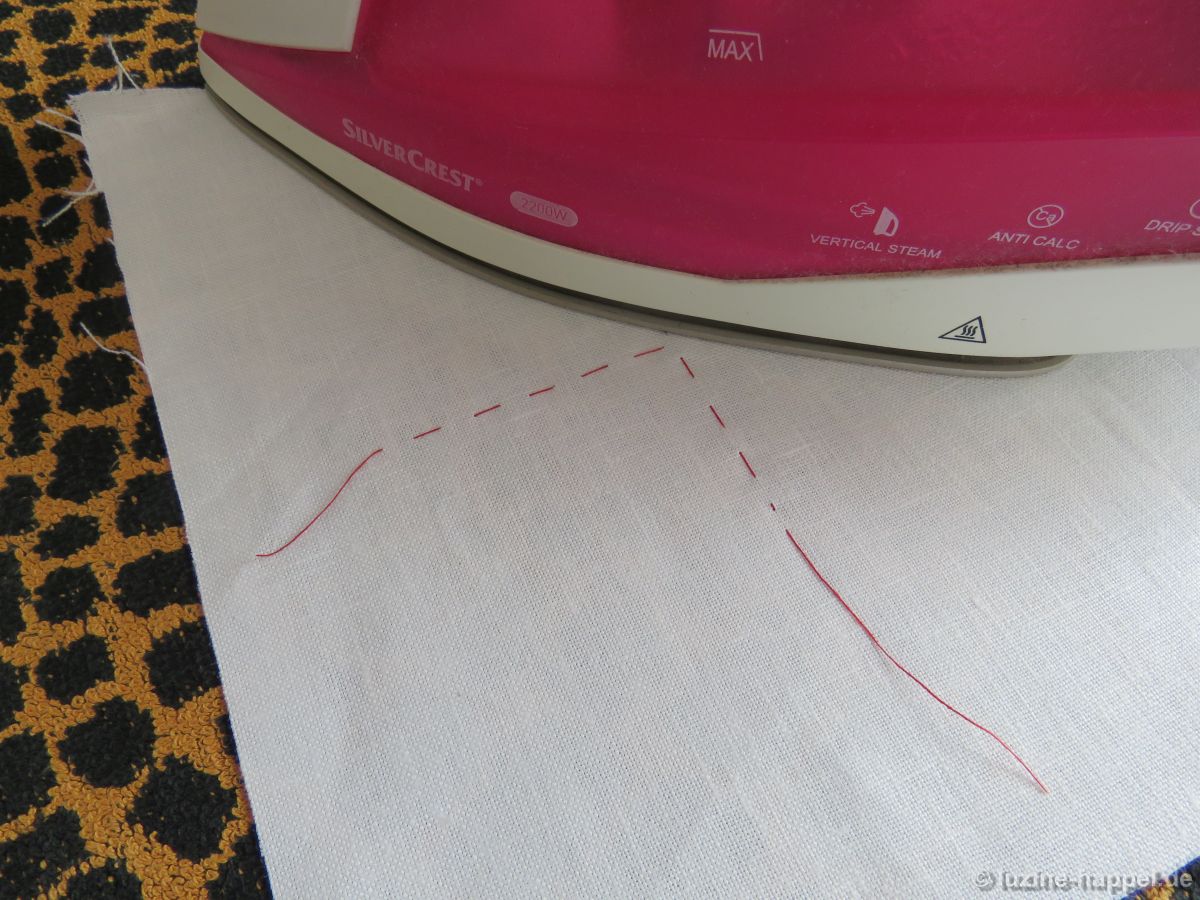
My preferred method of transferring patterns onto the linen is ironing them on with a DEKA iron-on transfer pen. However, it requires heat. The durable pressed linen, however, cannot withstand great heat. So I looked for other transfer solutions.

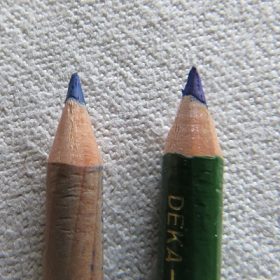
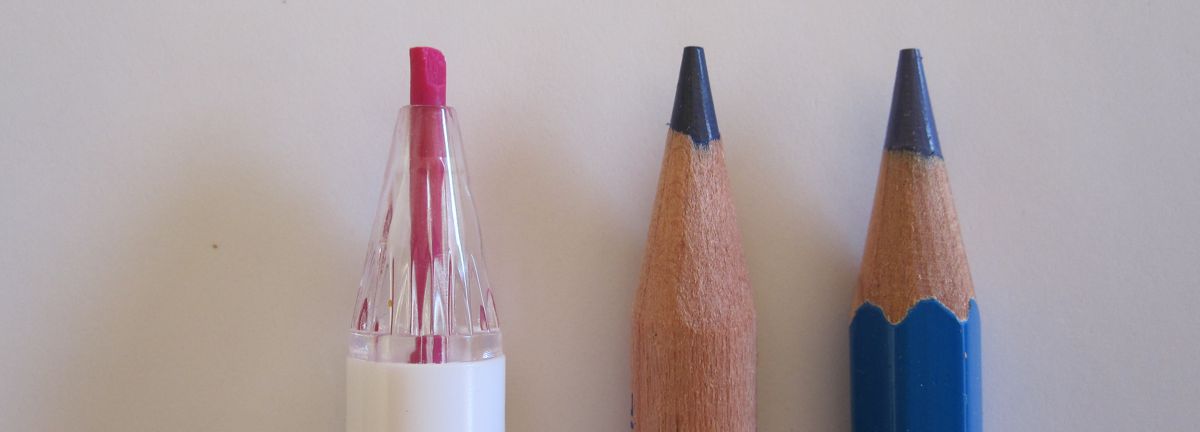
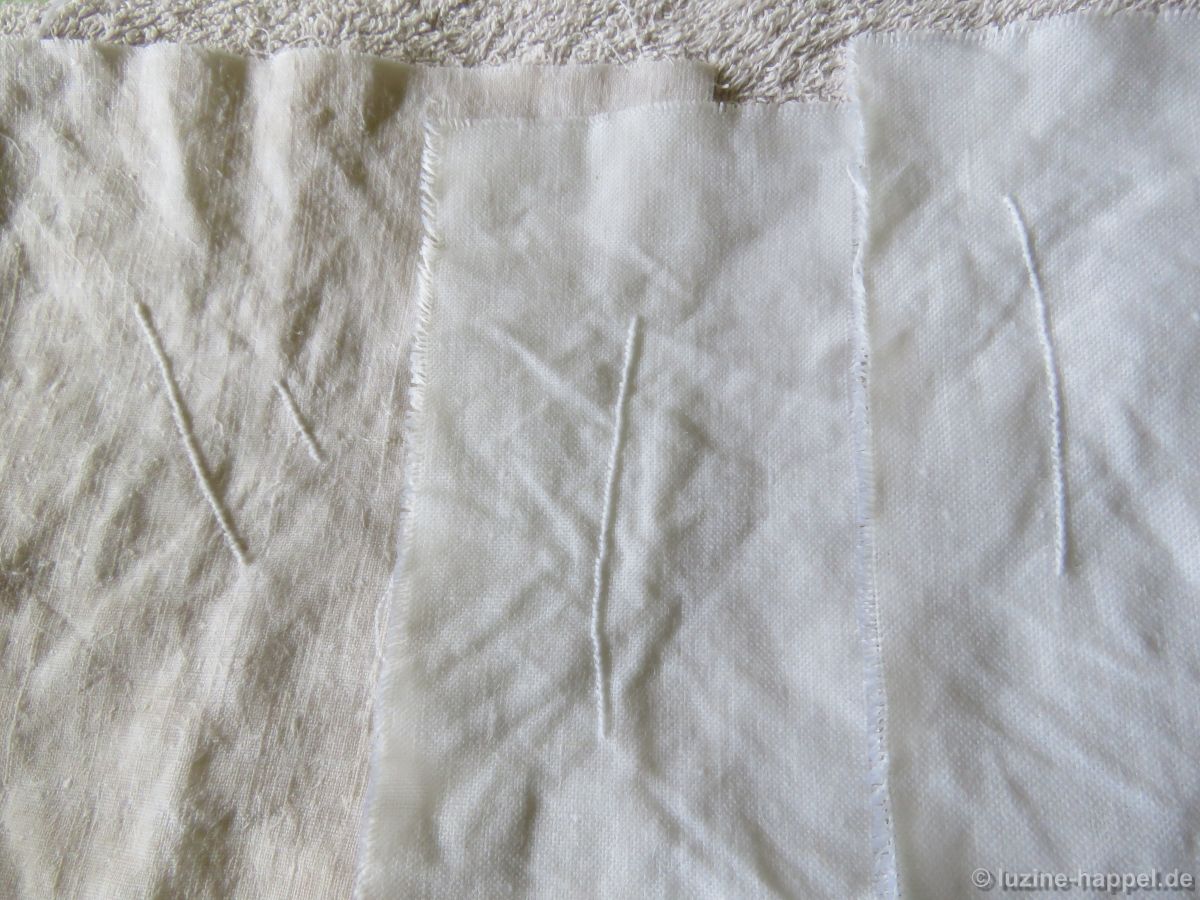
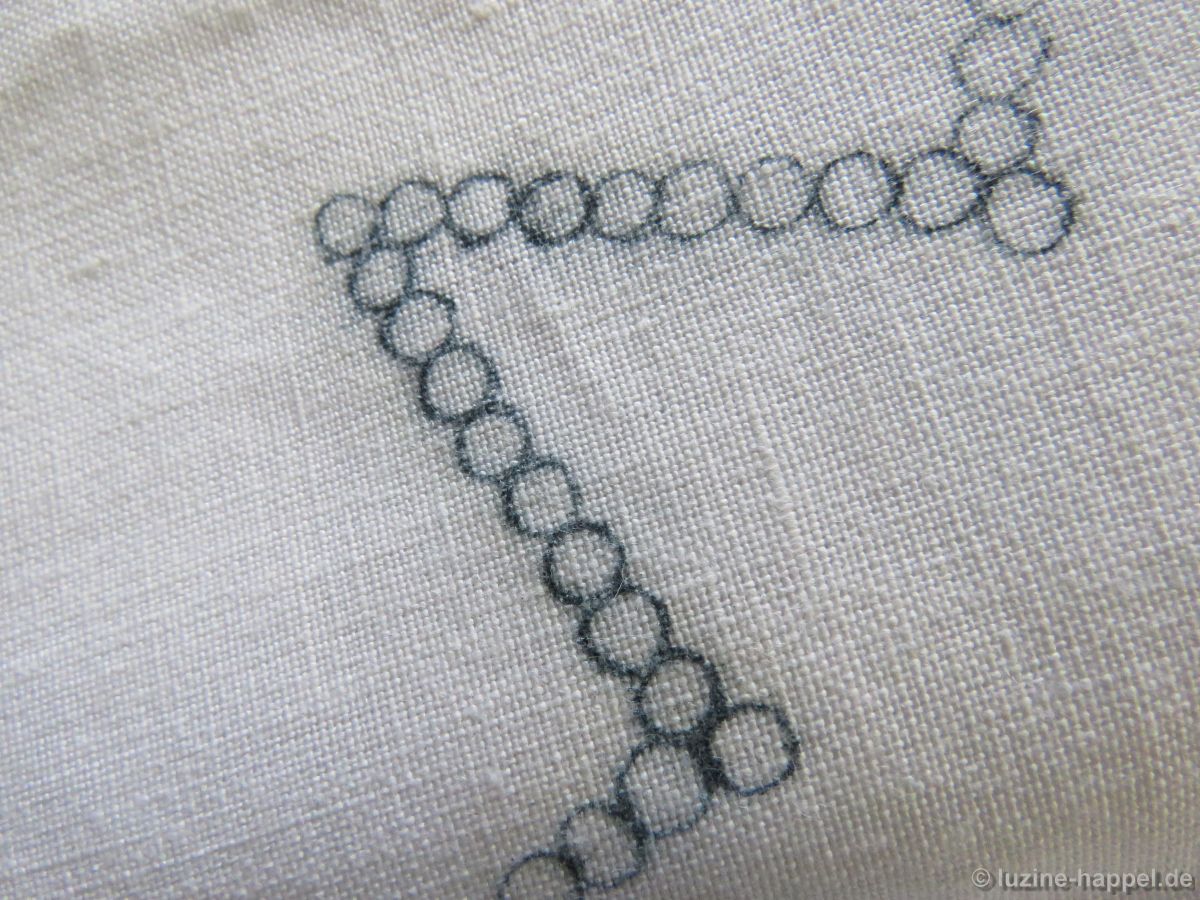
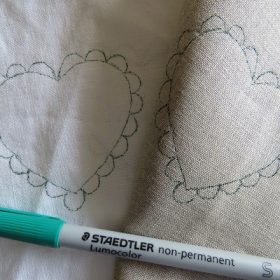
During my exhibition in September there was enough opportunity to exchange ideas about the different transfer methods used by the embroiderers. I’ll test some of them over time. Here is my experiment with a non-permanent pen from Staedtler. In contrast to the FriXion rollerball pen from Pilot, the colour can be completely washed out and does not reappear later.

Caution! I have just received a call from an embroiderer who has worked with the pen several times. She reports that the composition of the ink has been changed and the colour of the newer pens can no longer be washed out. So please check on a small test piece before embroidering whether the colour of your pen can be washed out or not.

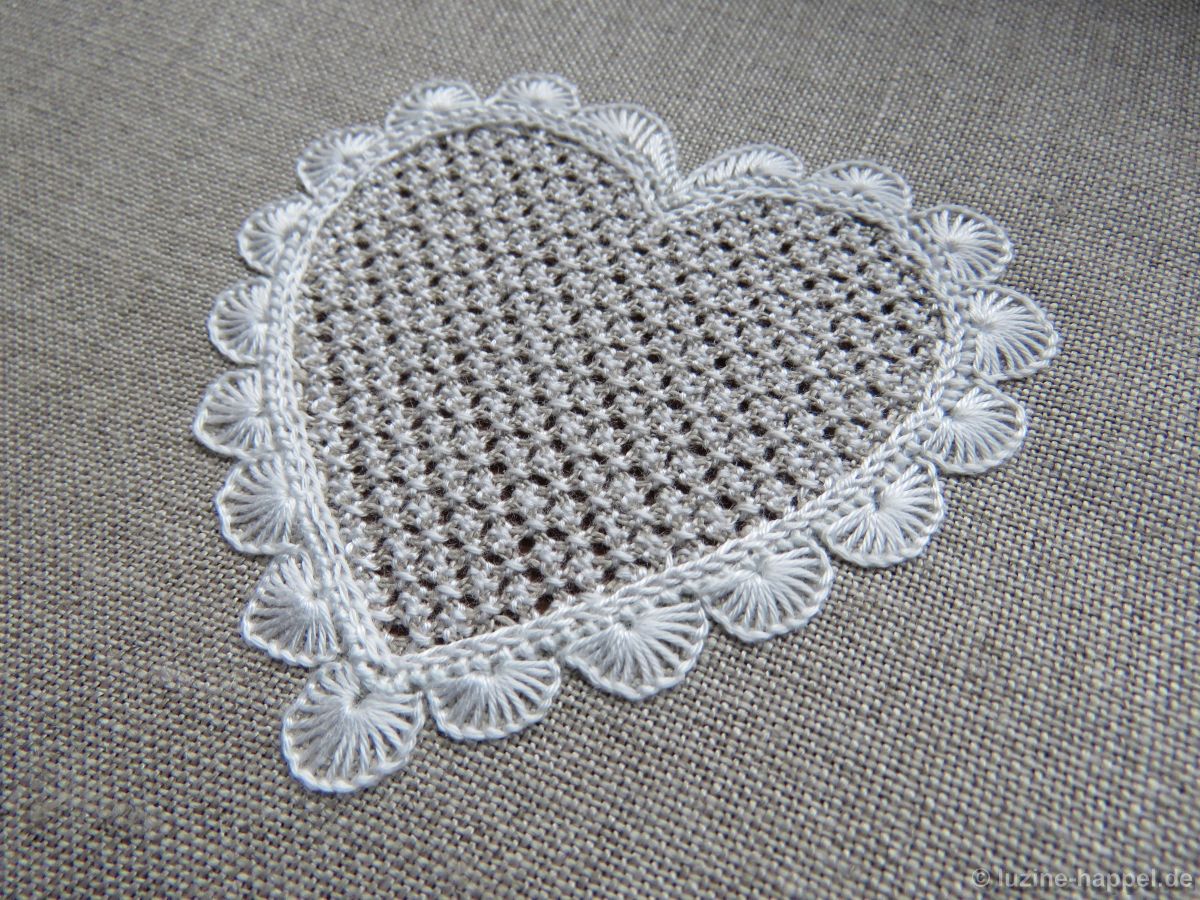
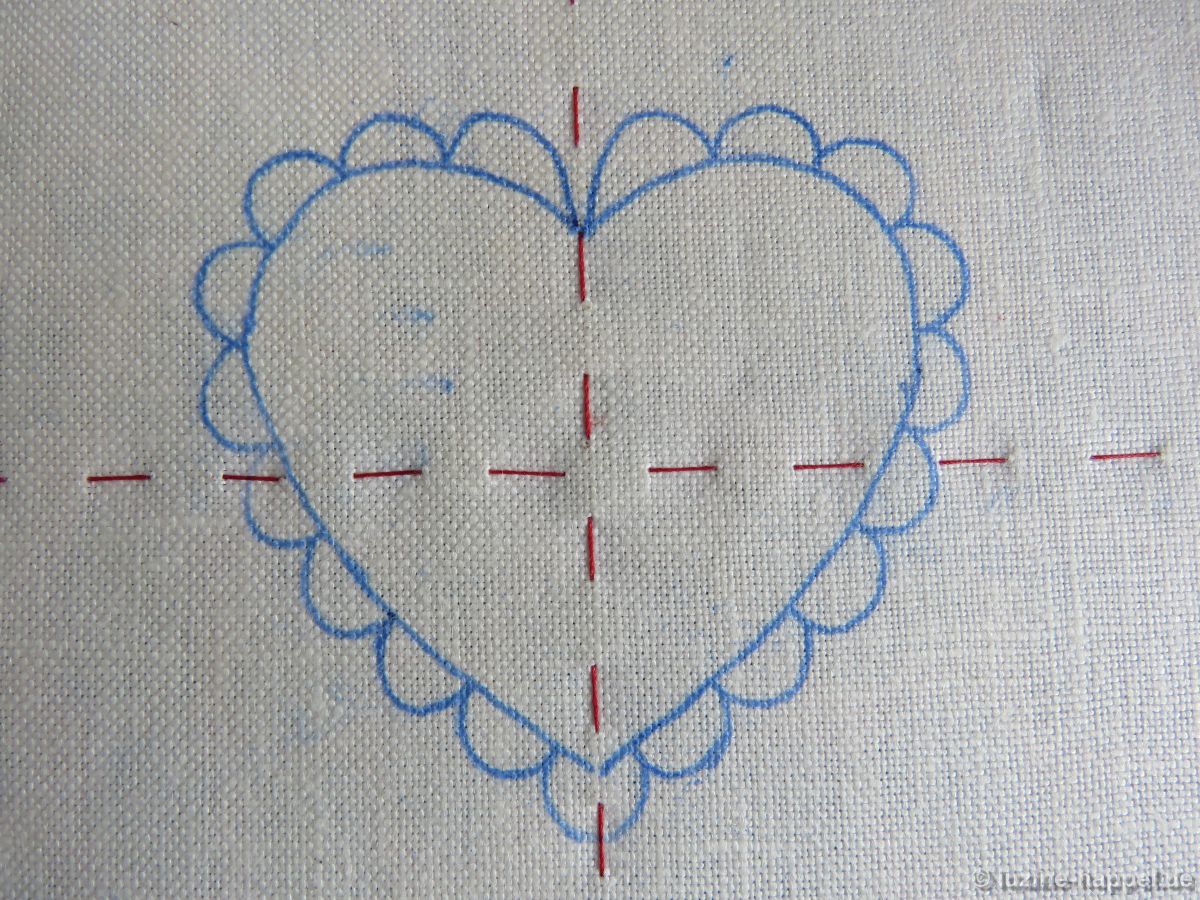
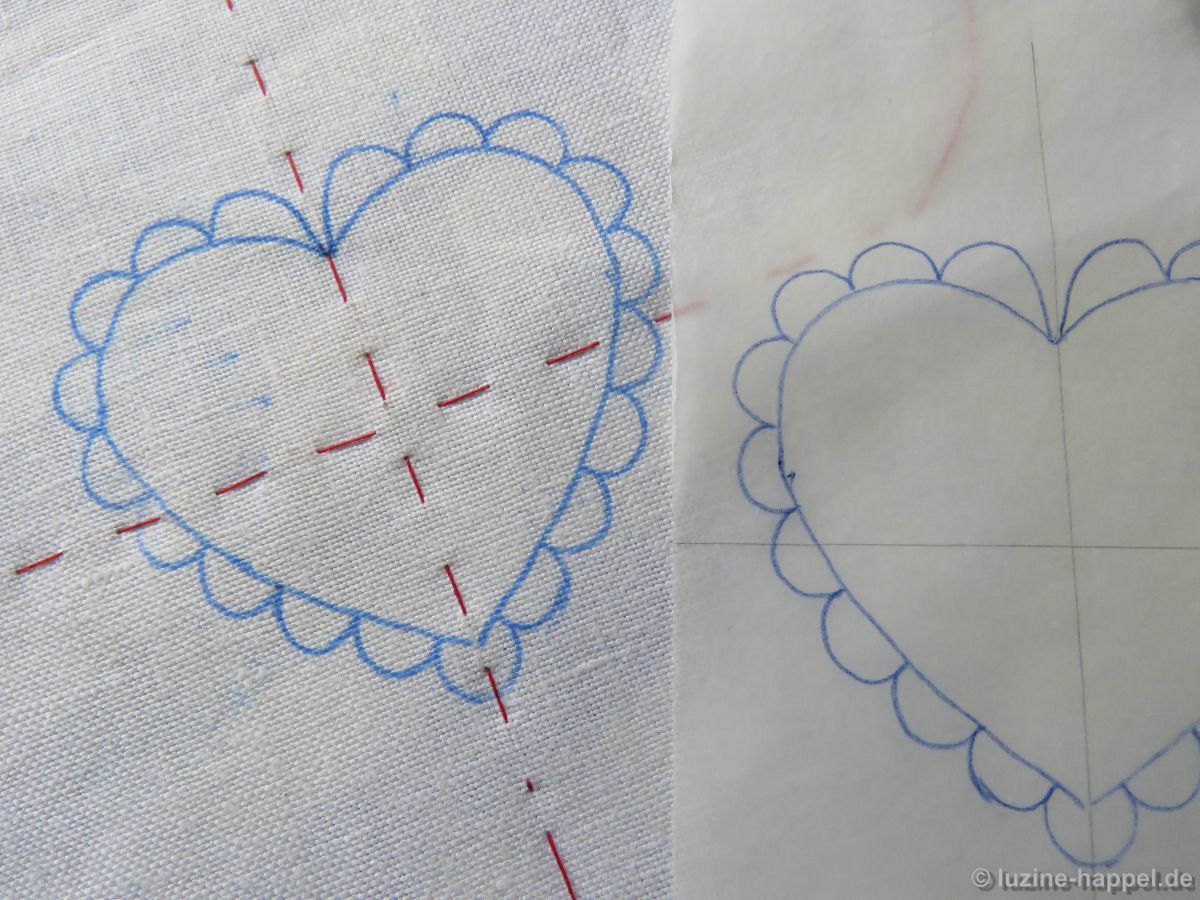
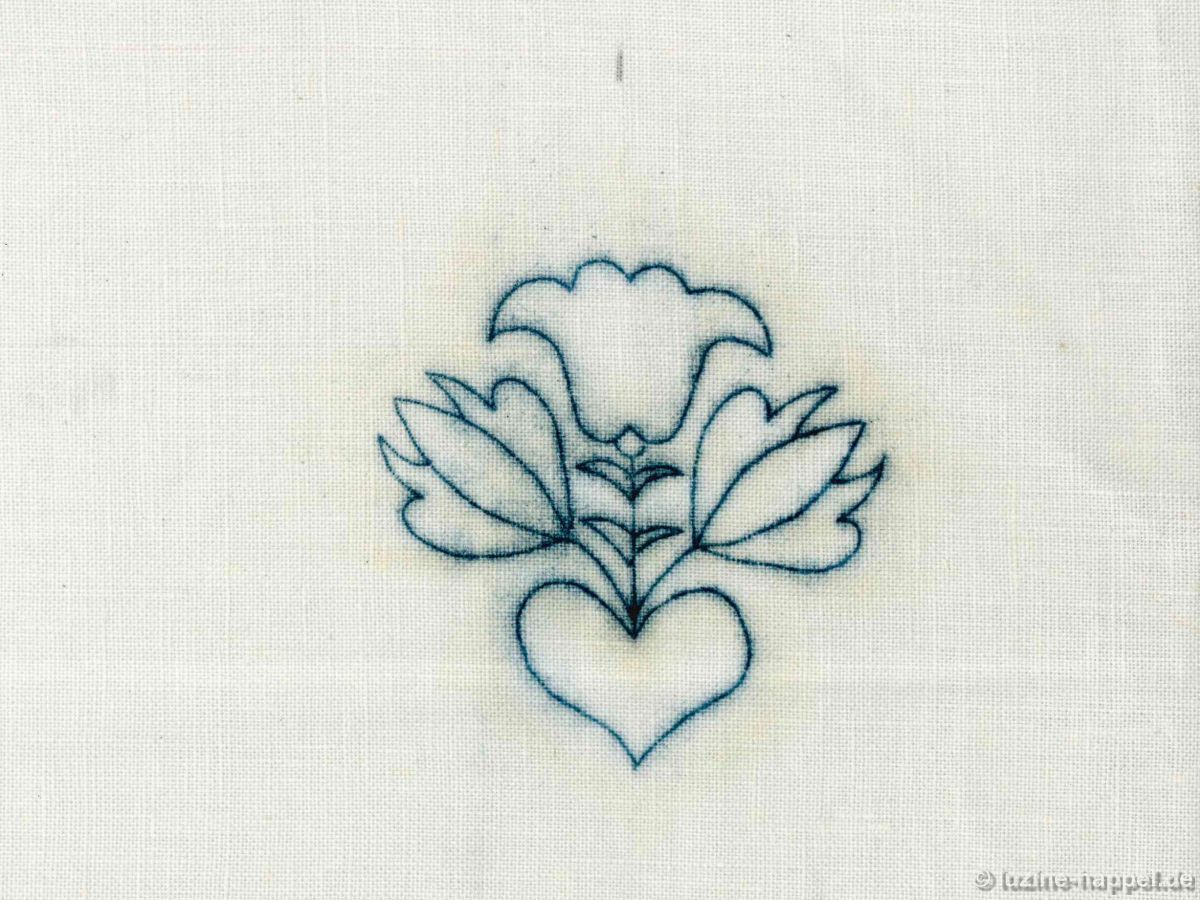
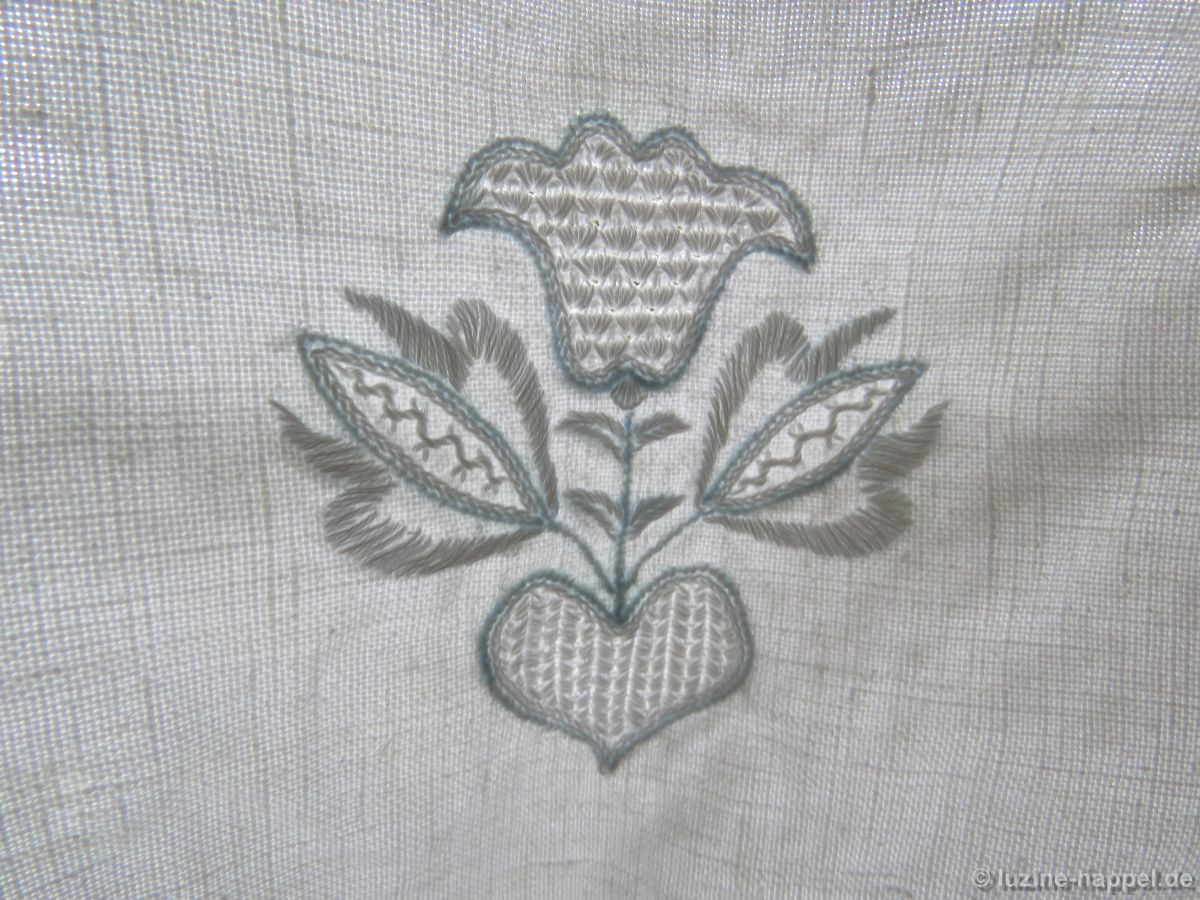
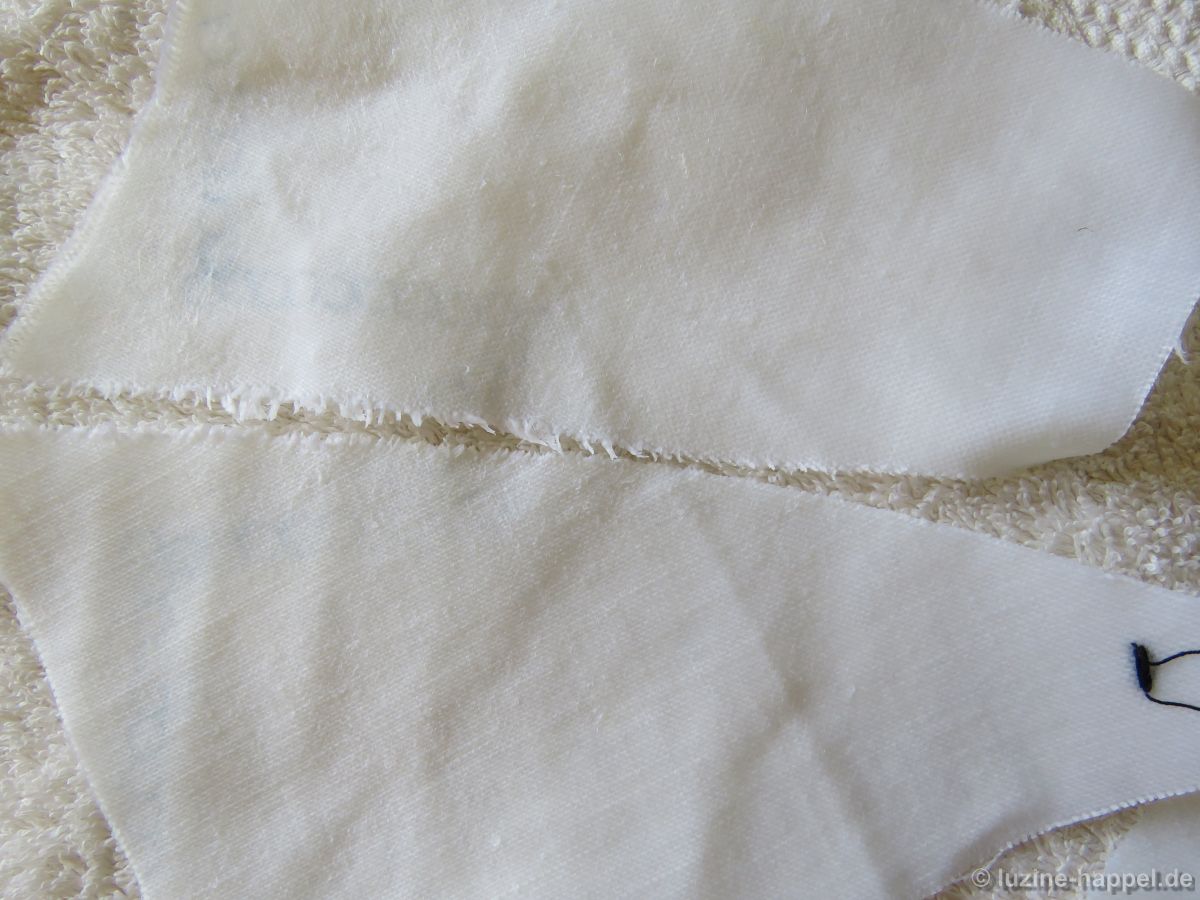
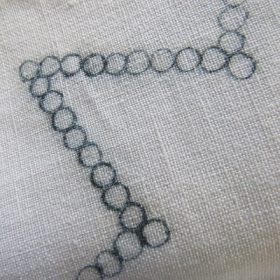
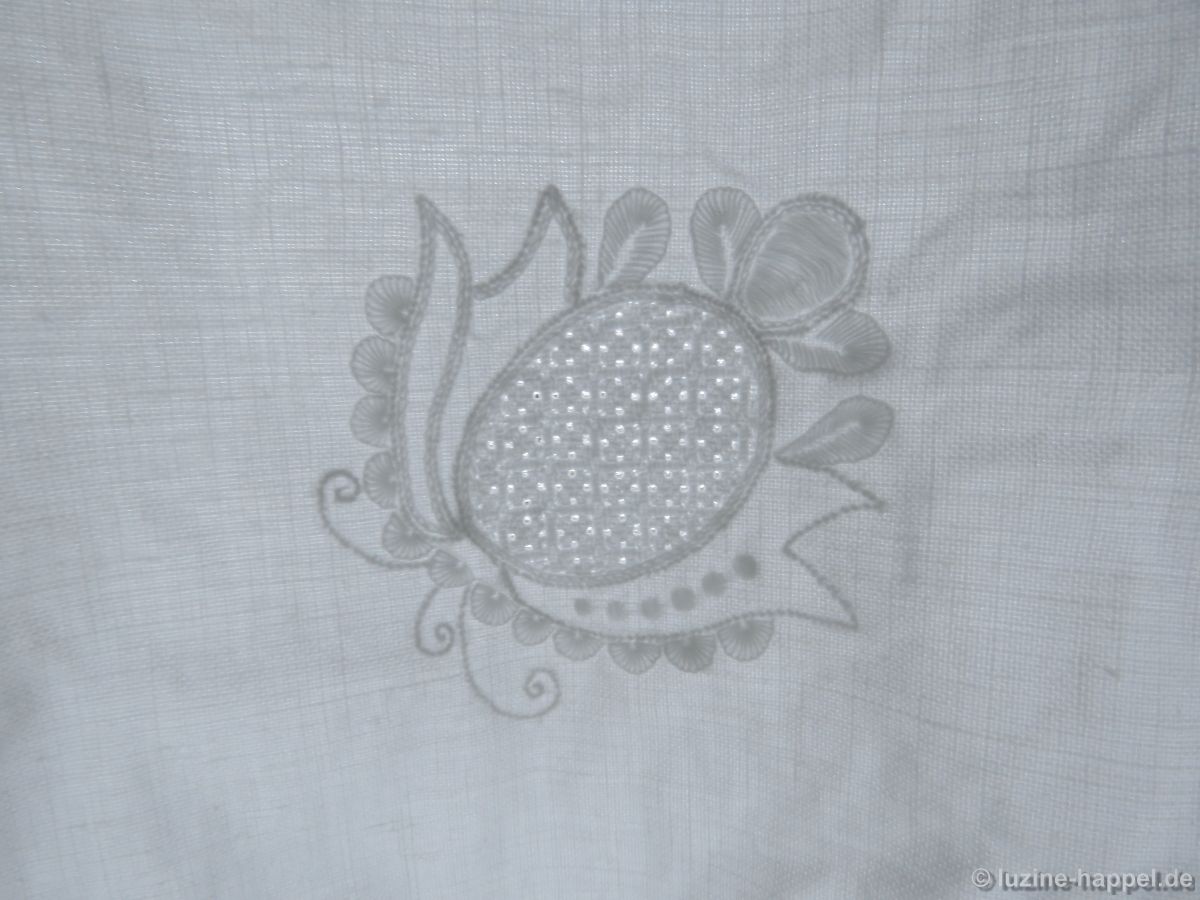
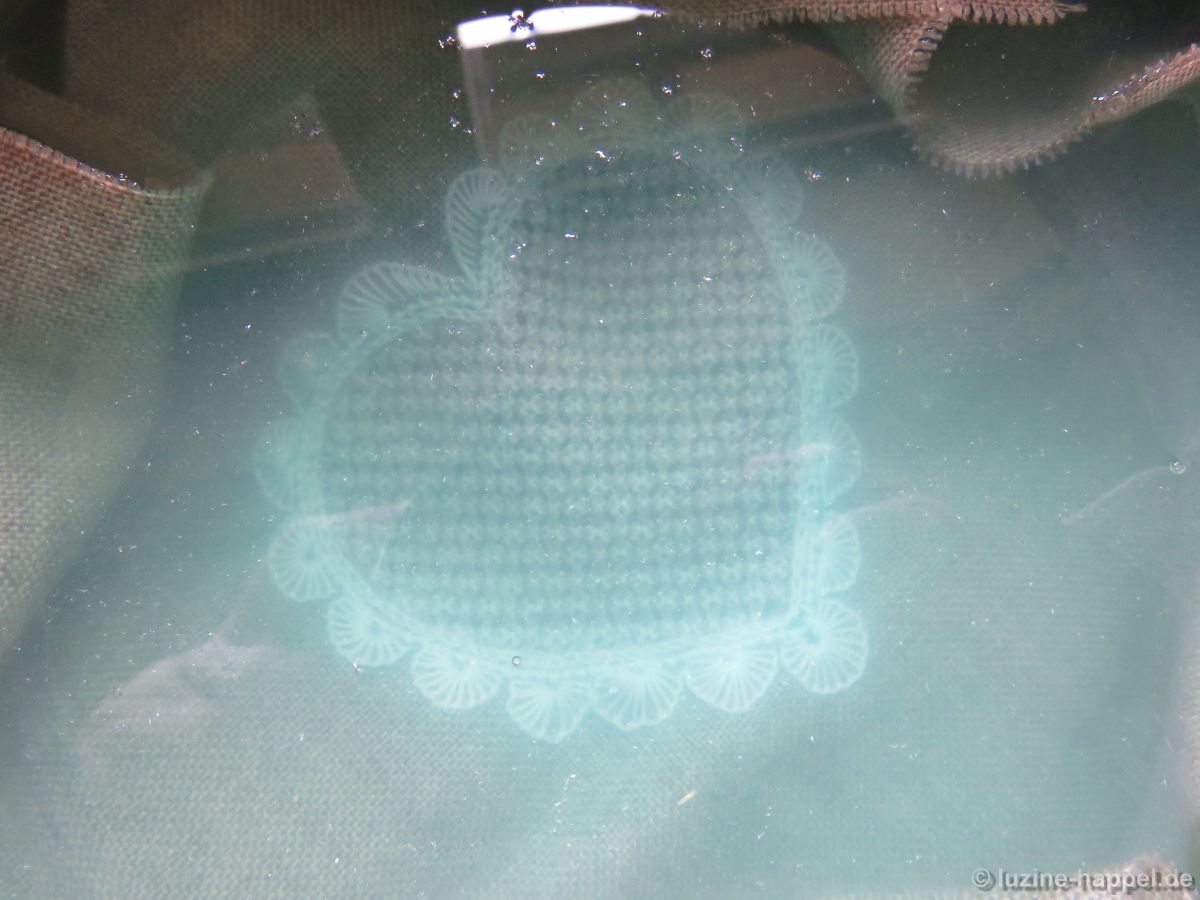
With the help of a light pad, the pattern was transferred to the linen. The natural tone of the linen is swallowing light much more than white linen, and will not allow the design lines to show through without bright lightning.

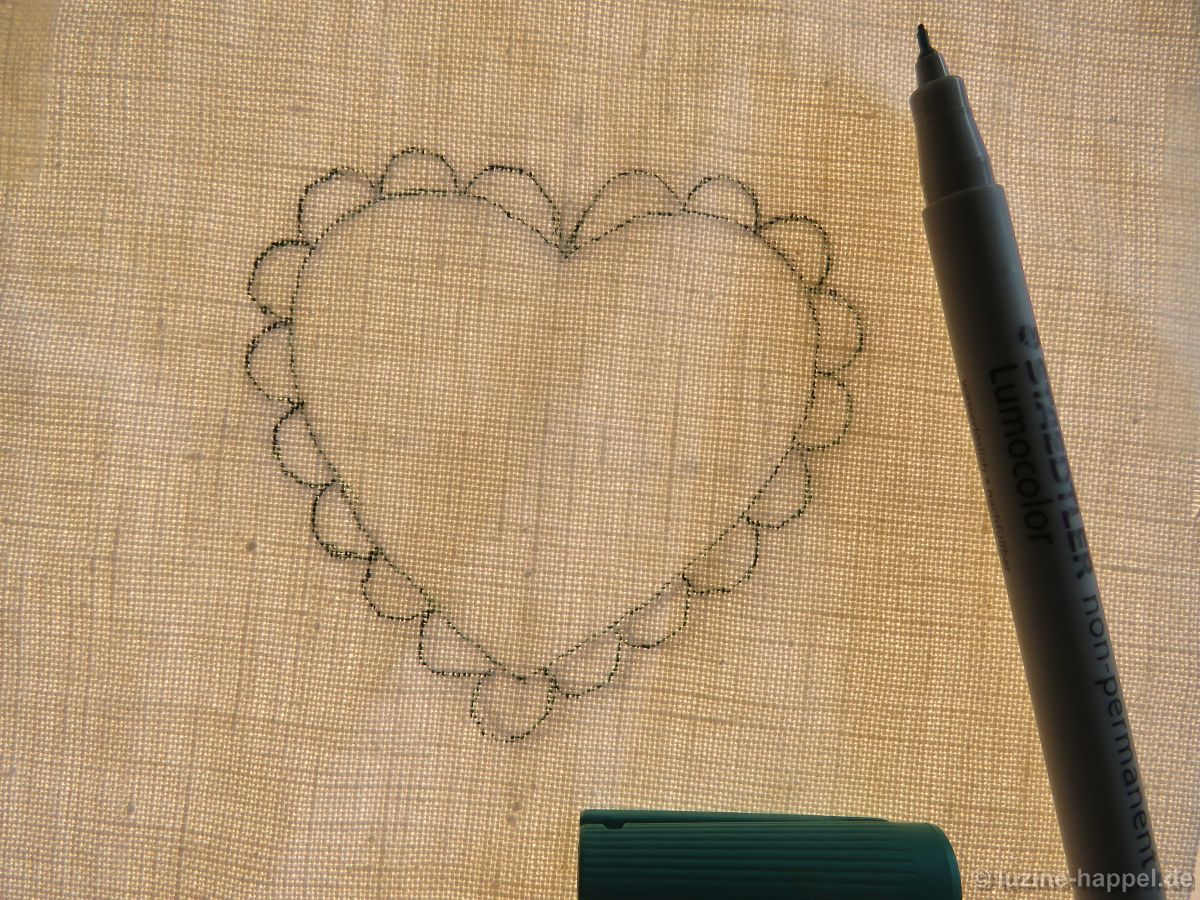
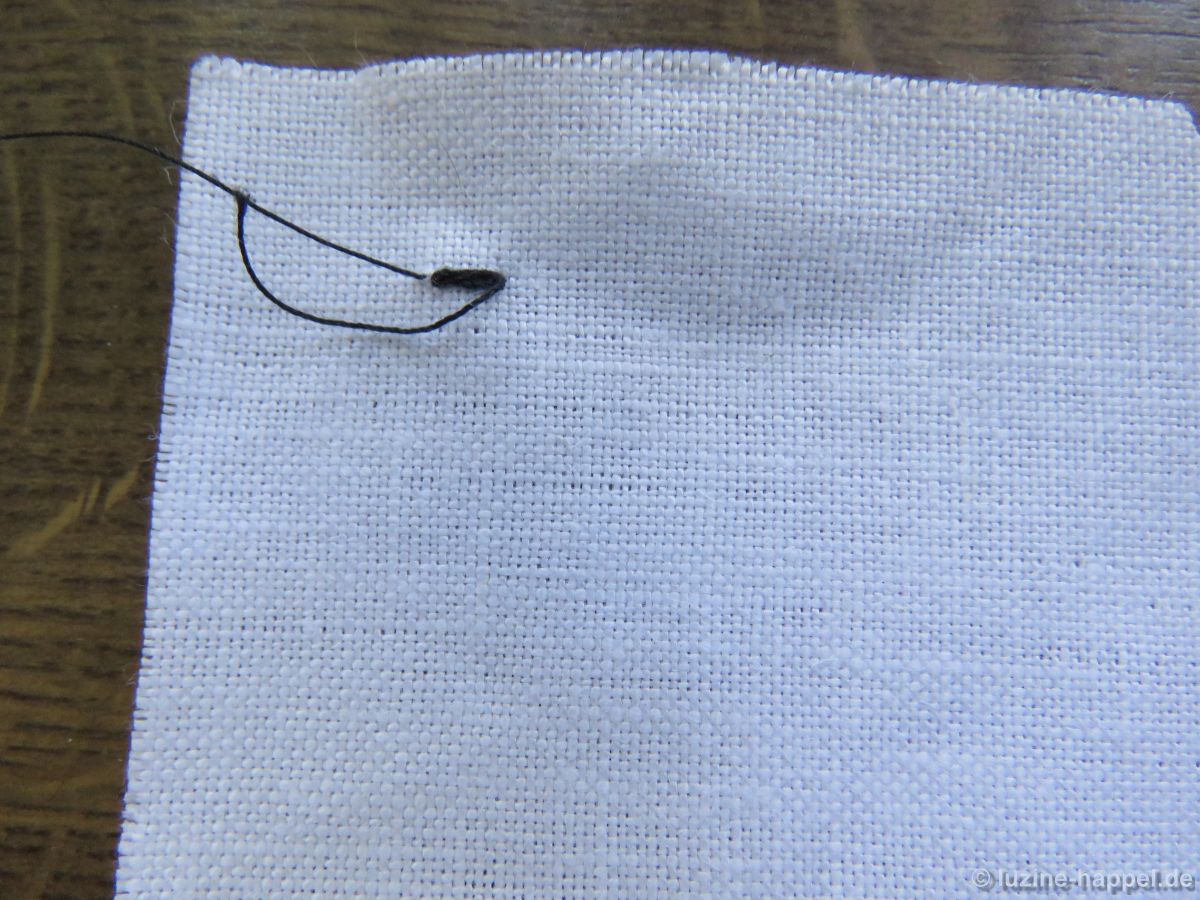
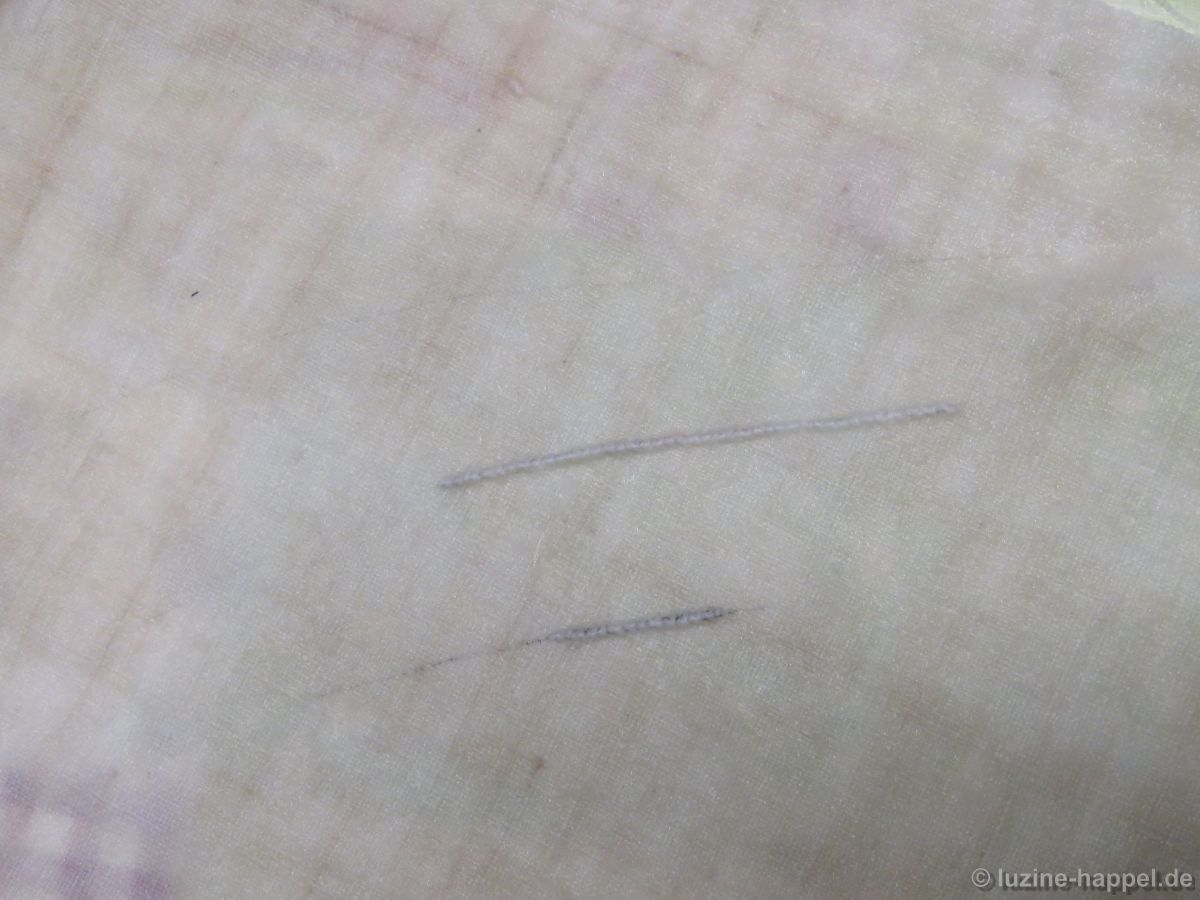
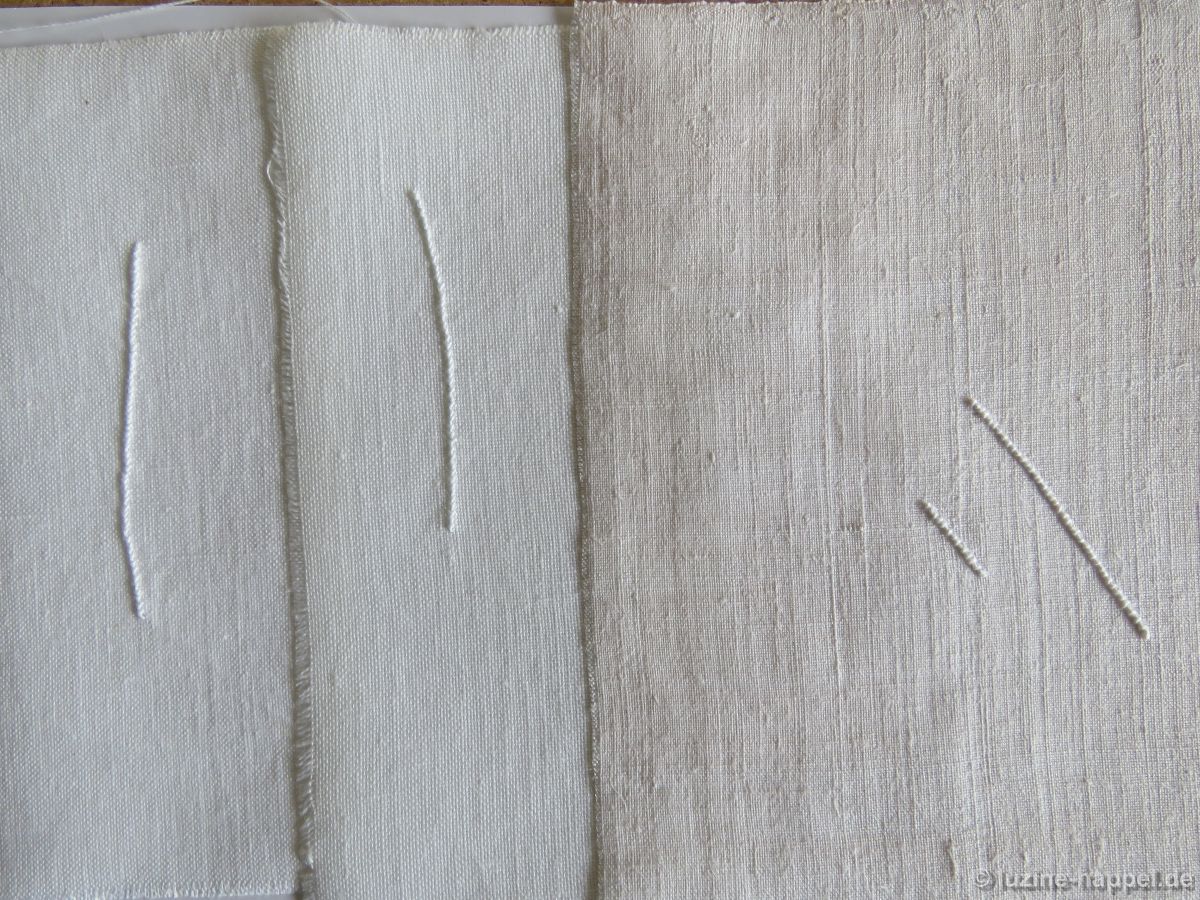
The constant up and down of the pen point crossing the threads made my lines a little bit wobbly. This I found it disturbing.

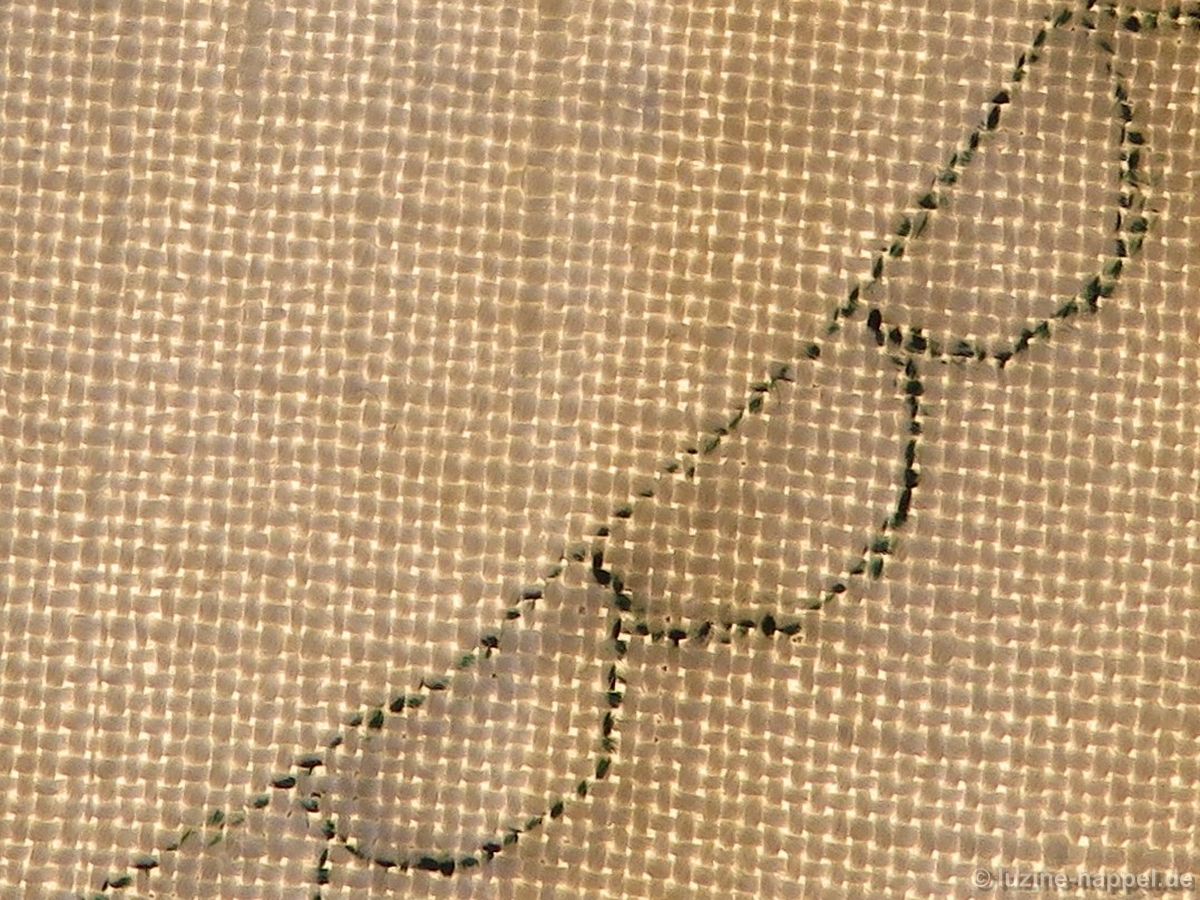
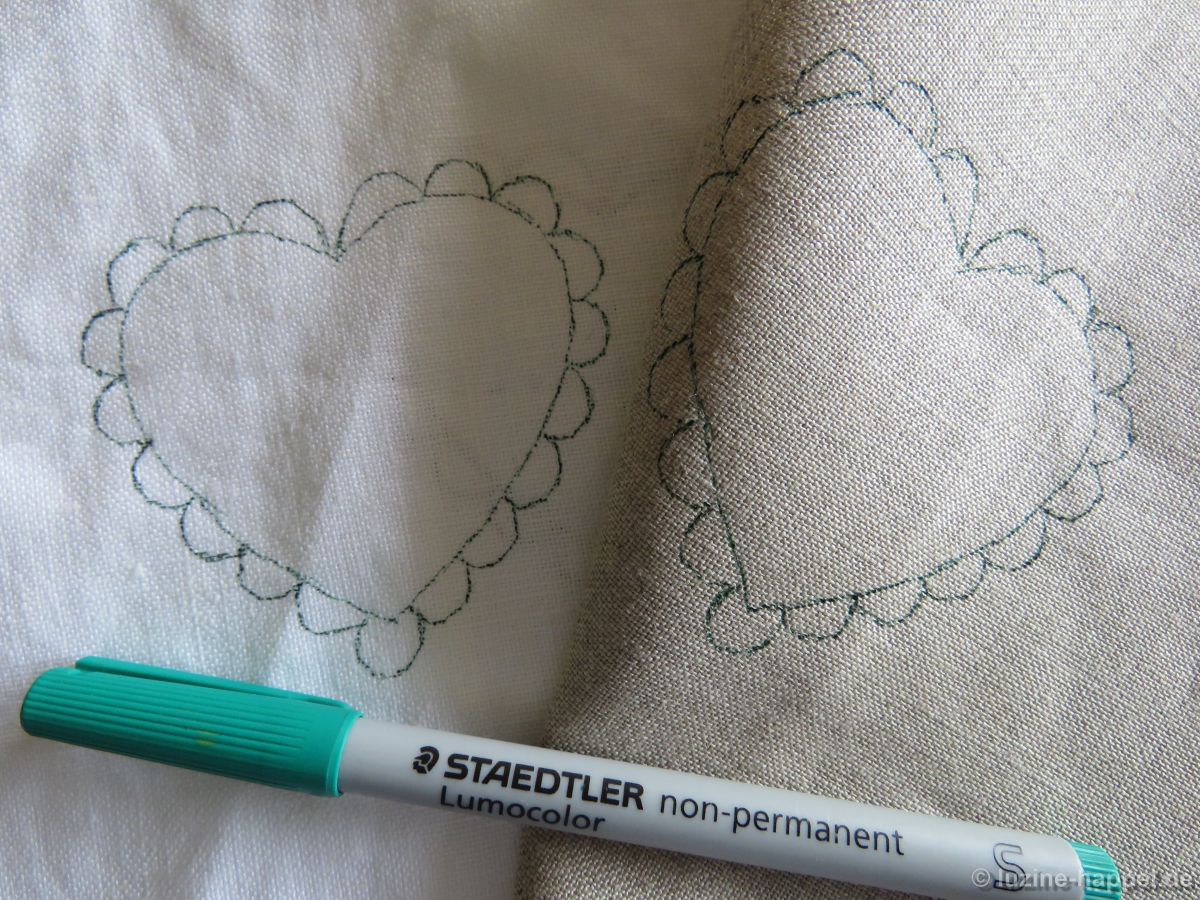
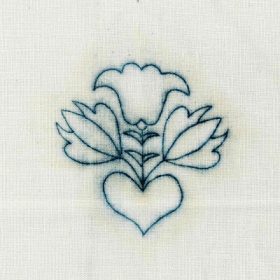
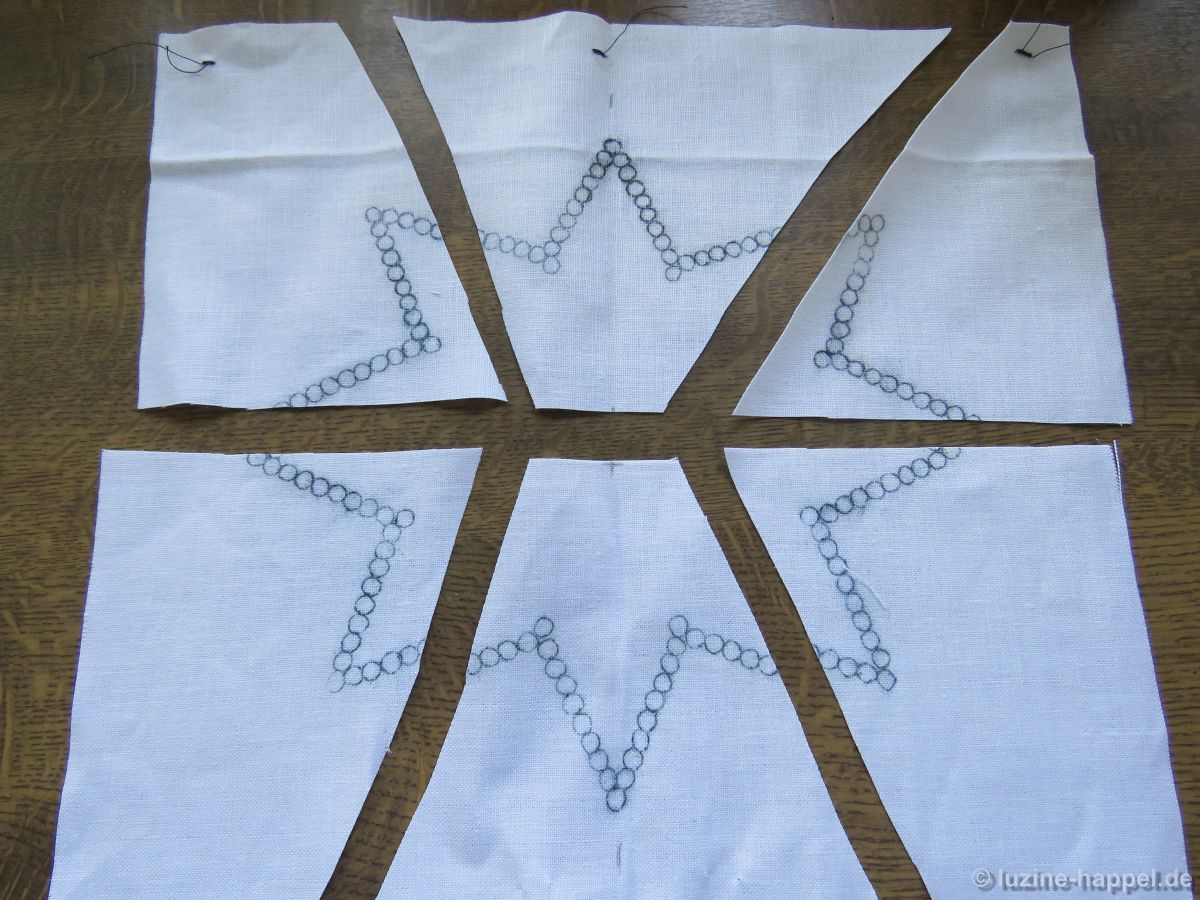
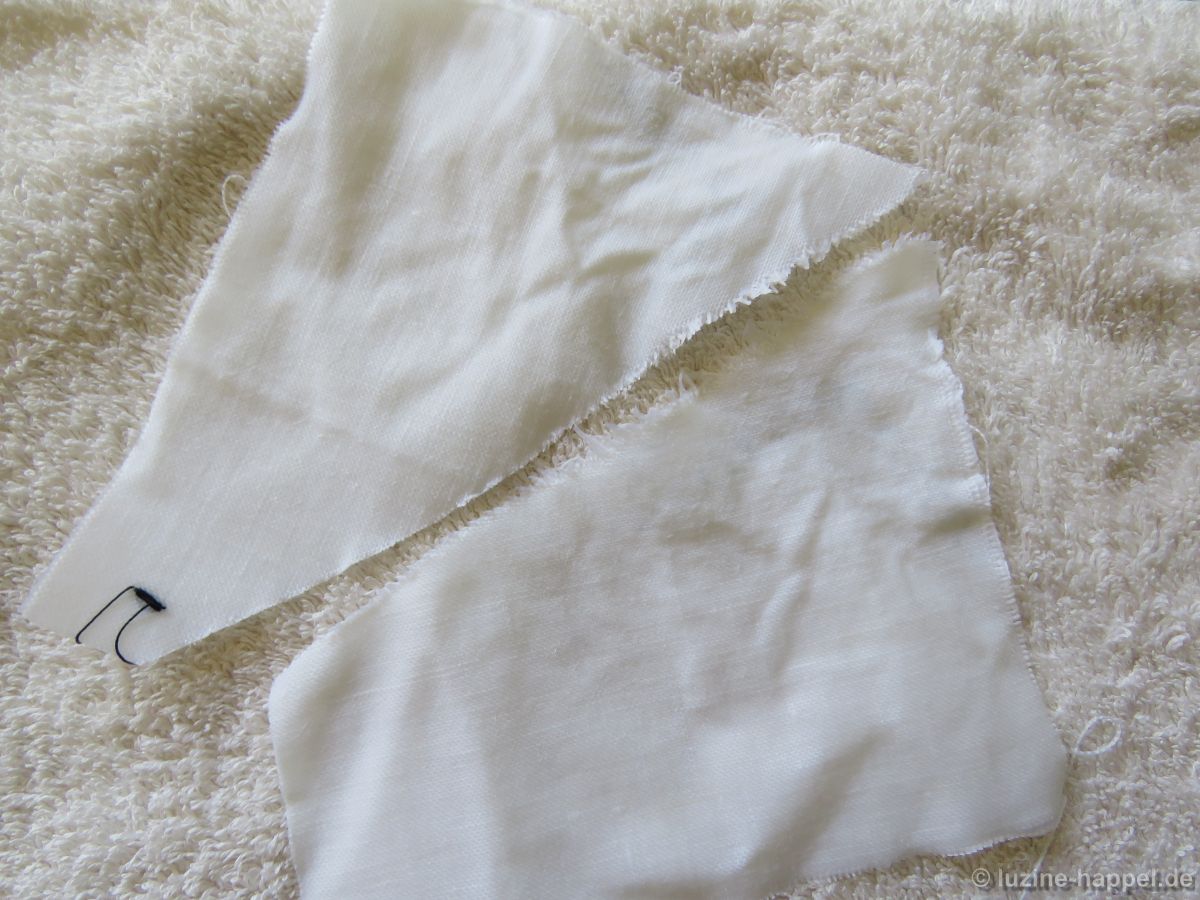
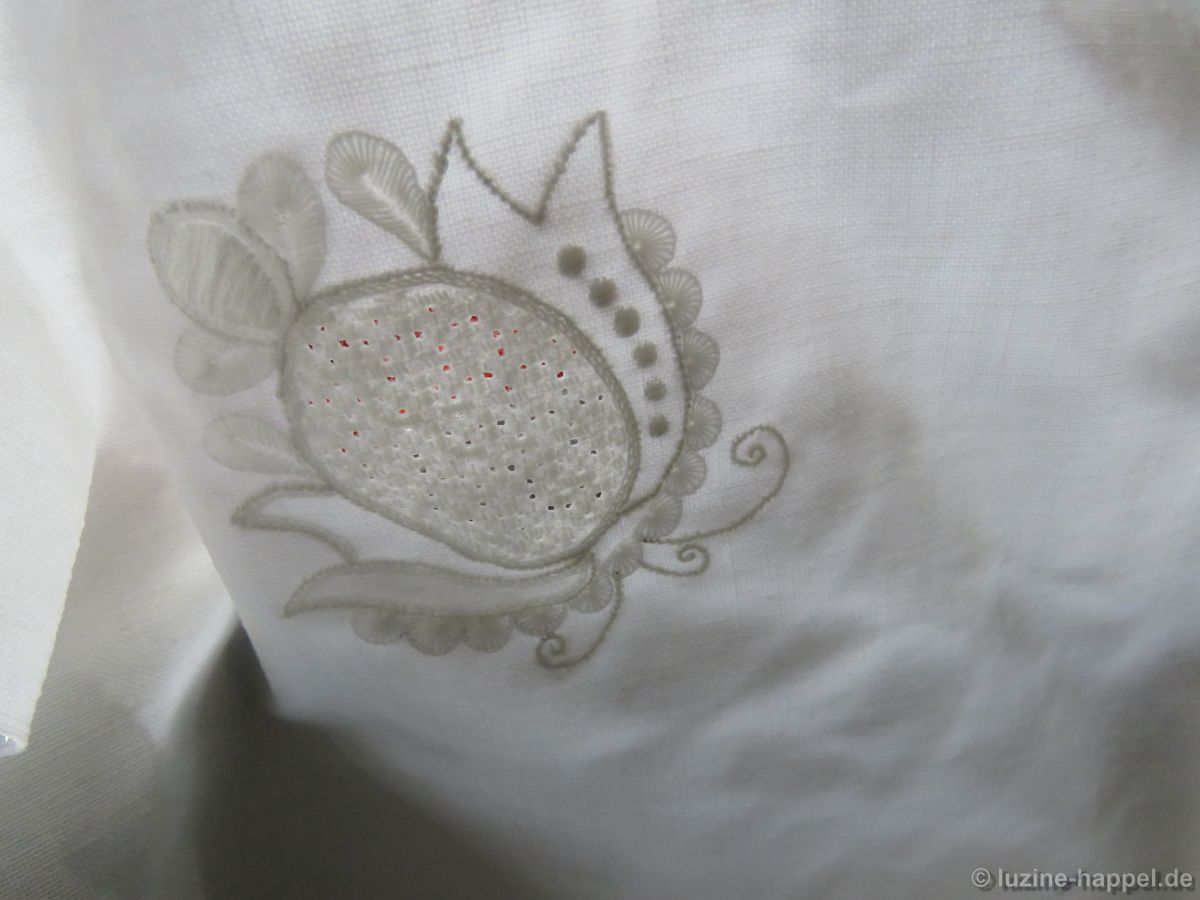
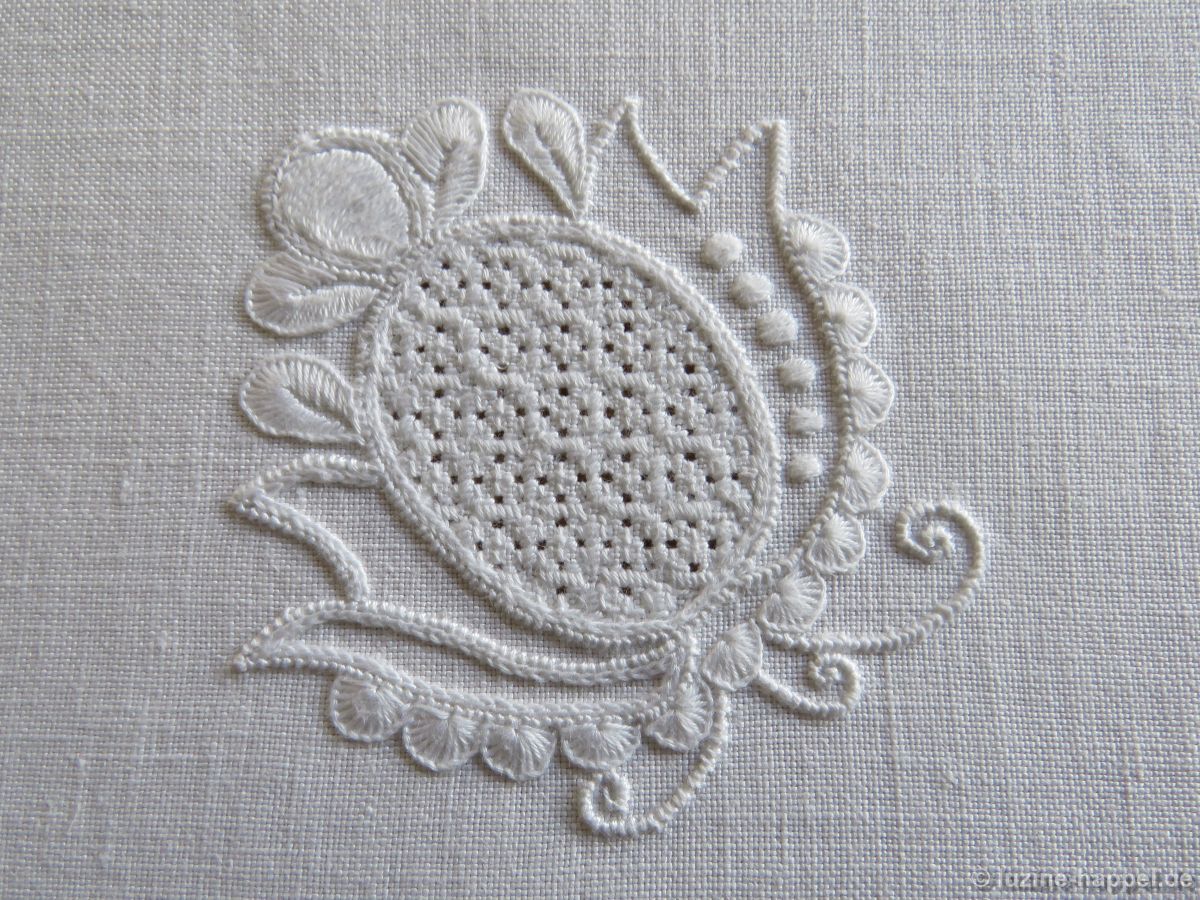
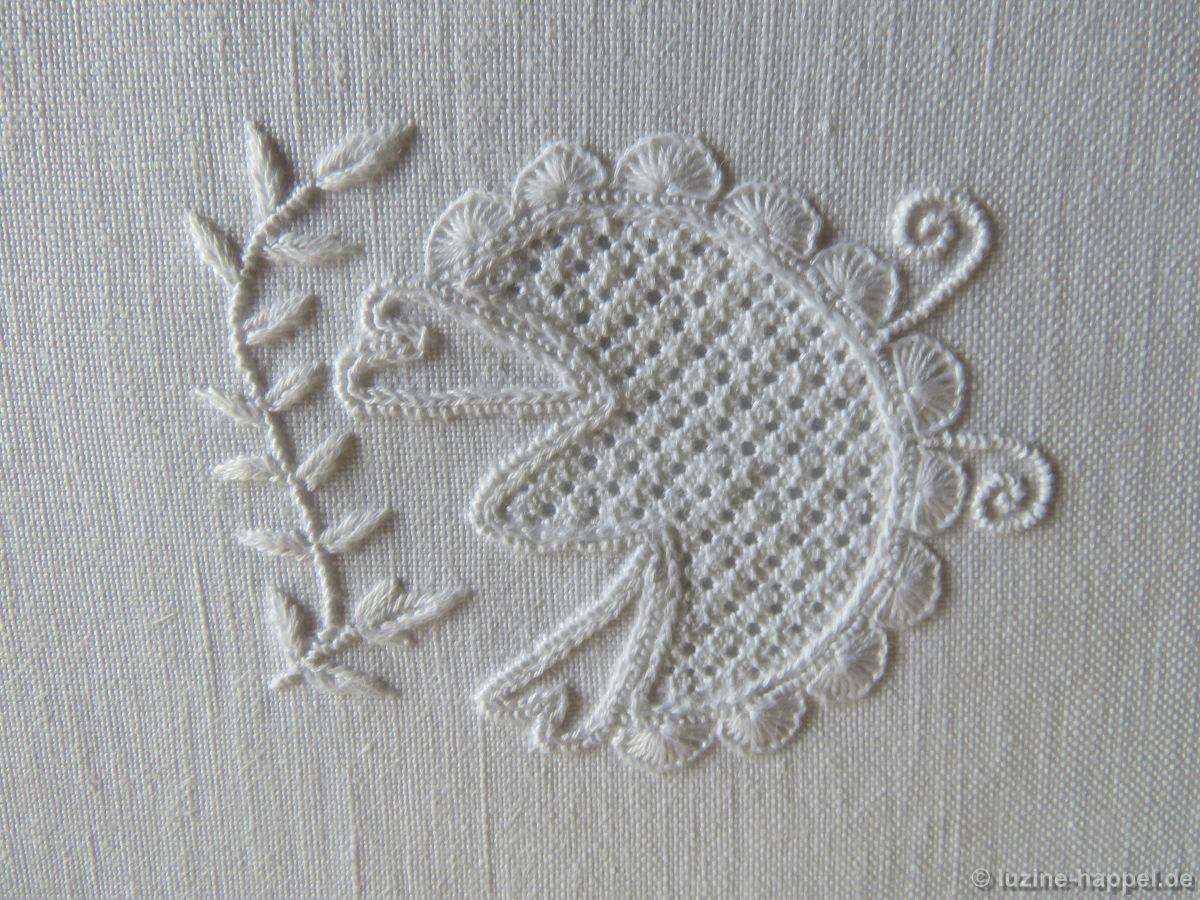
The lines turned out fine and clear, the colour is strong and lasts until the end. The pen is available in many other colours – I just happened to have a green one on hand – and also in different widths. “F” should be the most suitable for the design transfer.

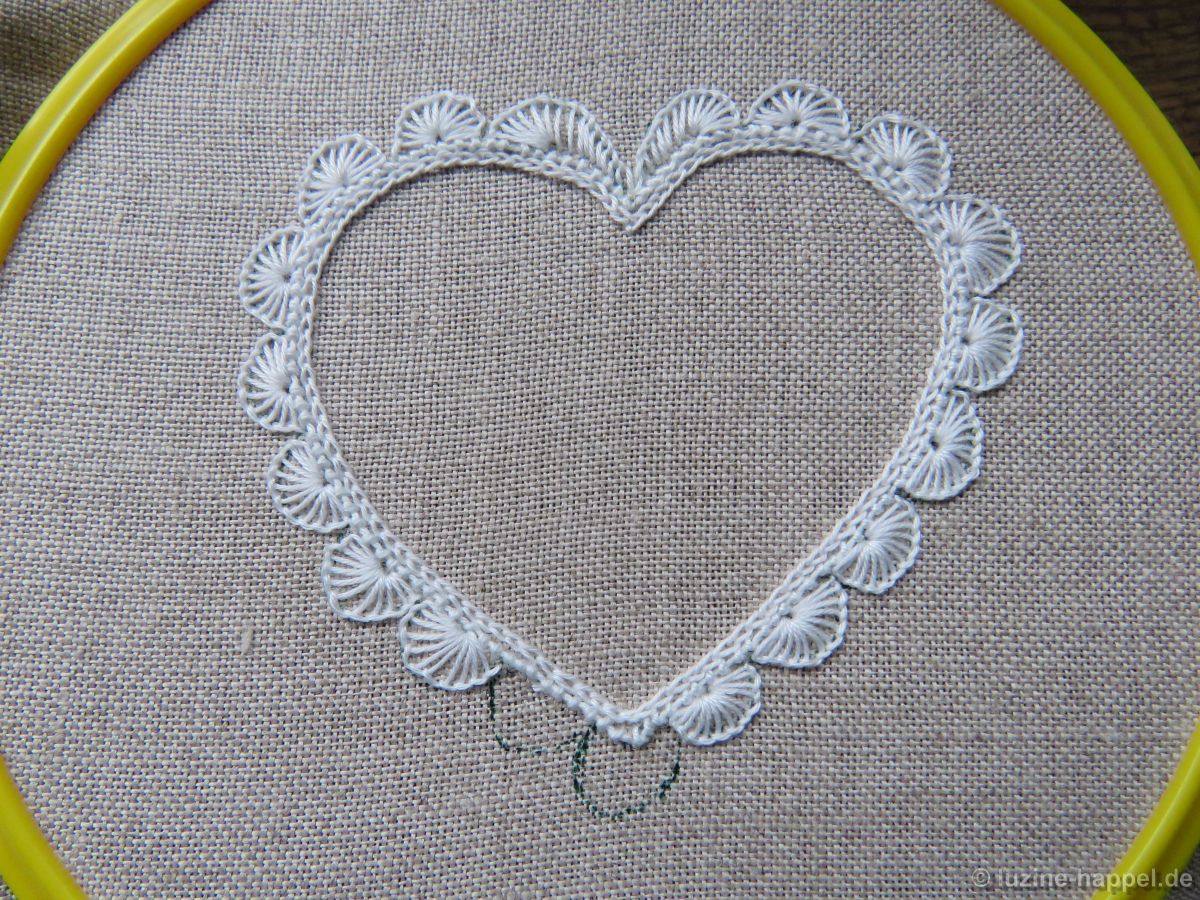
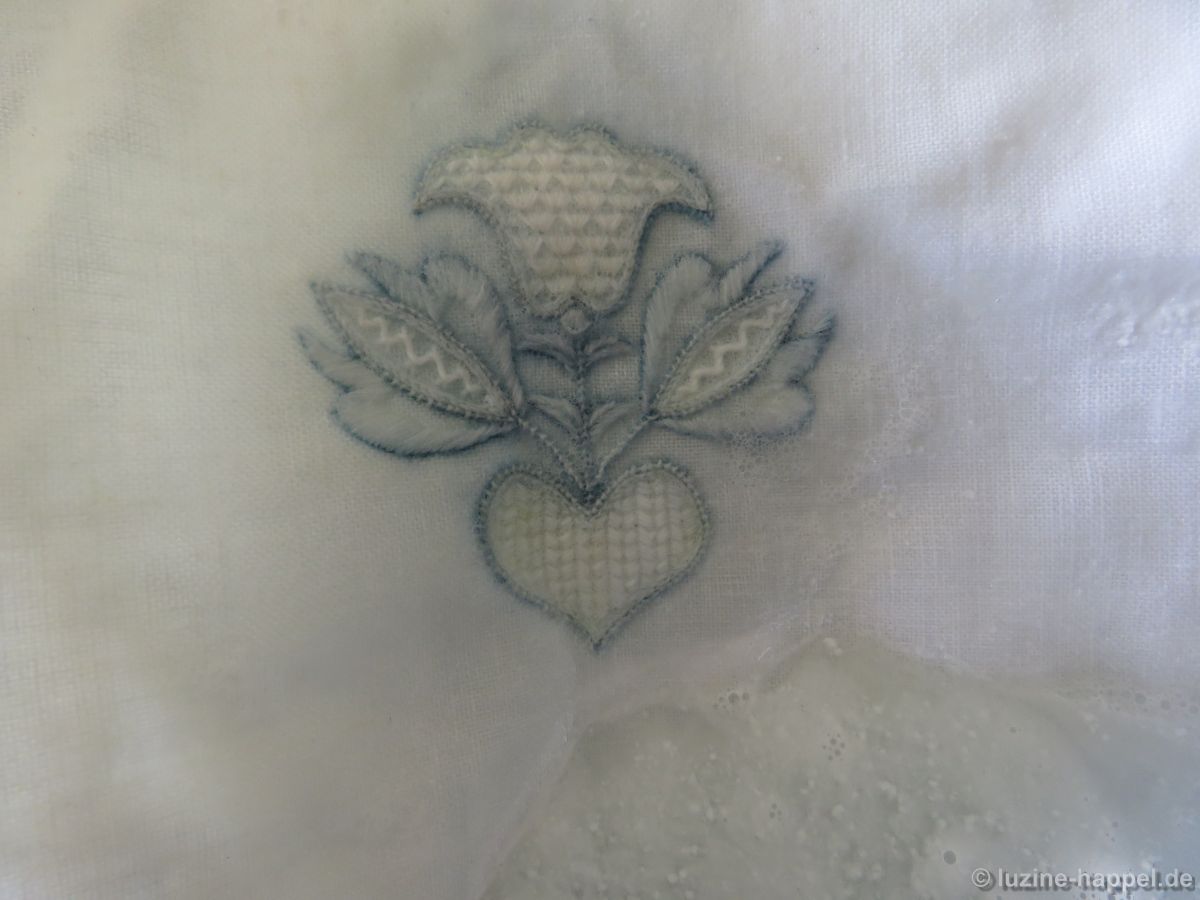
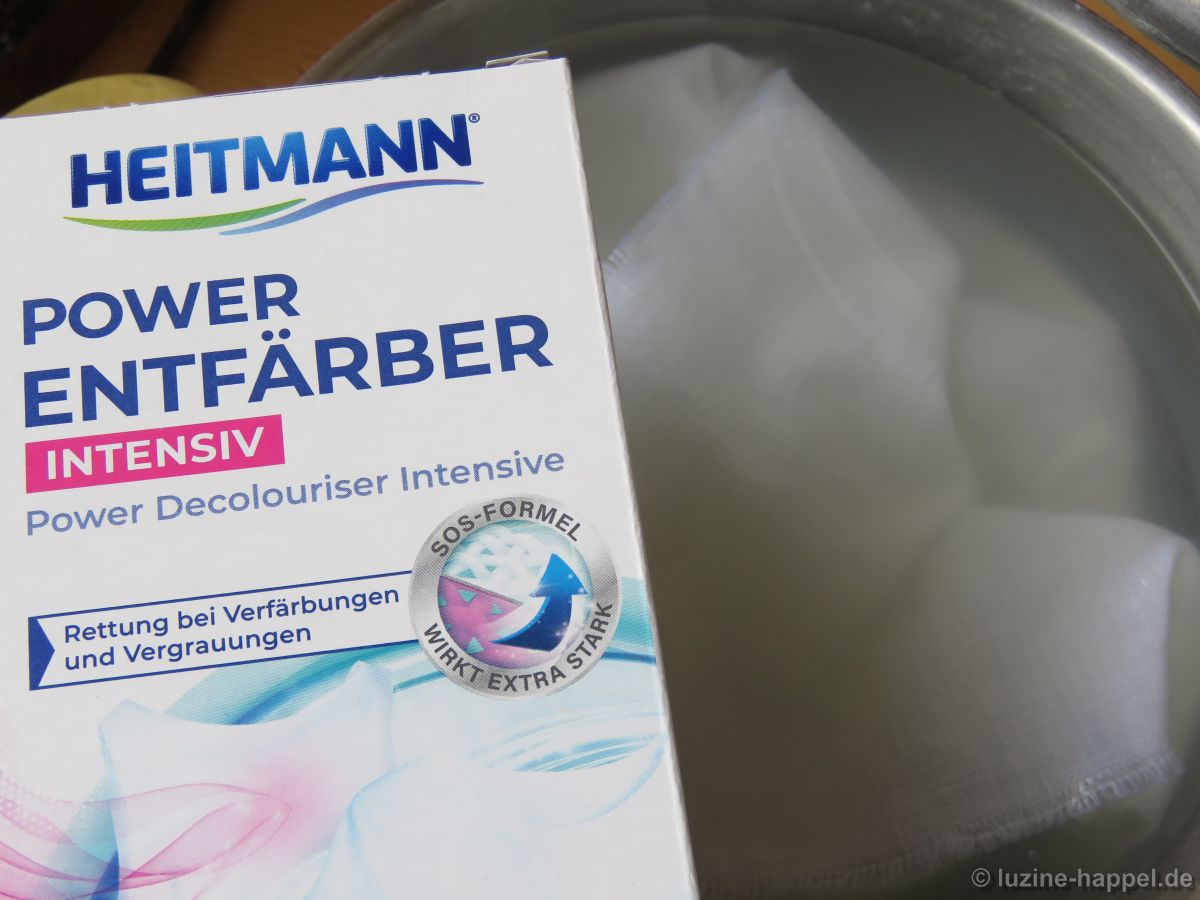
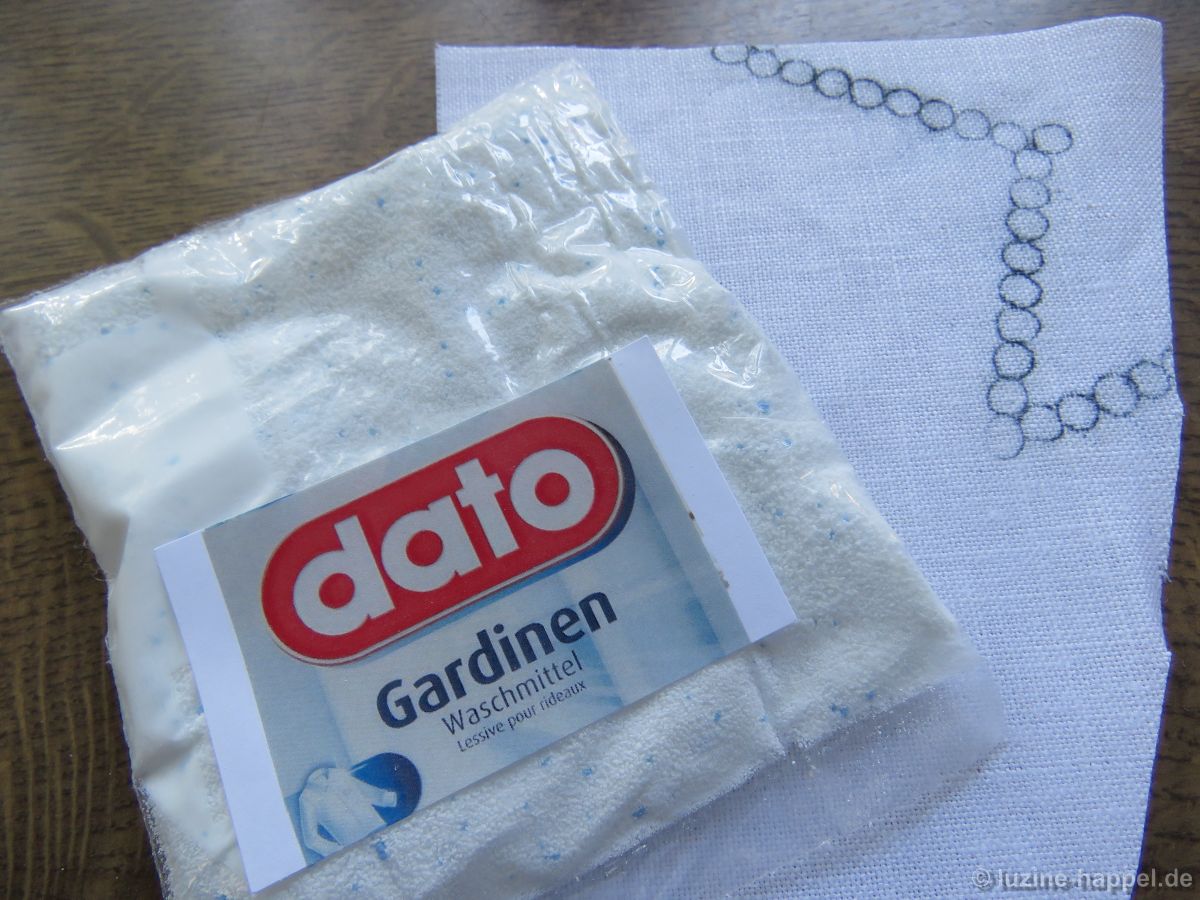
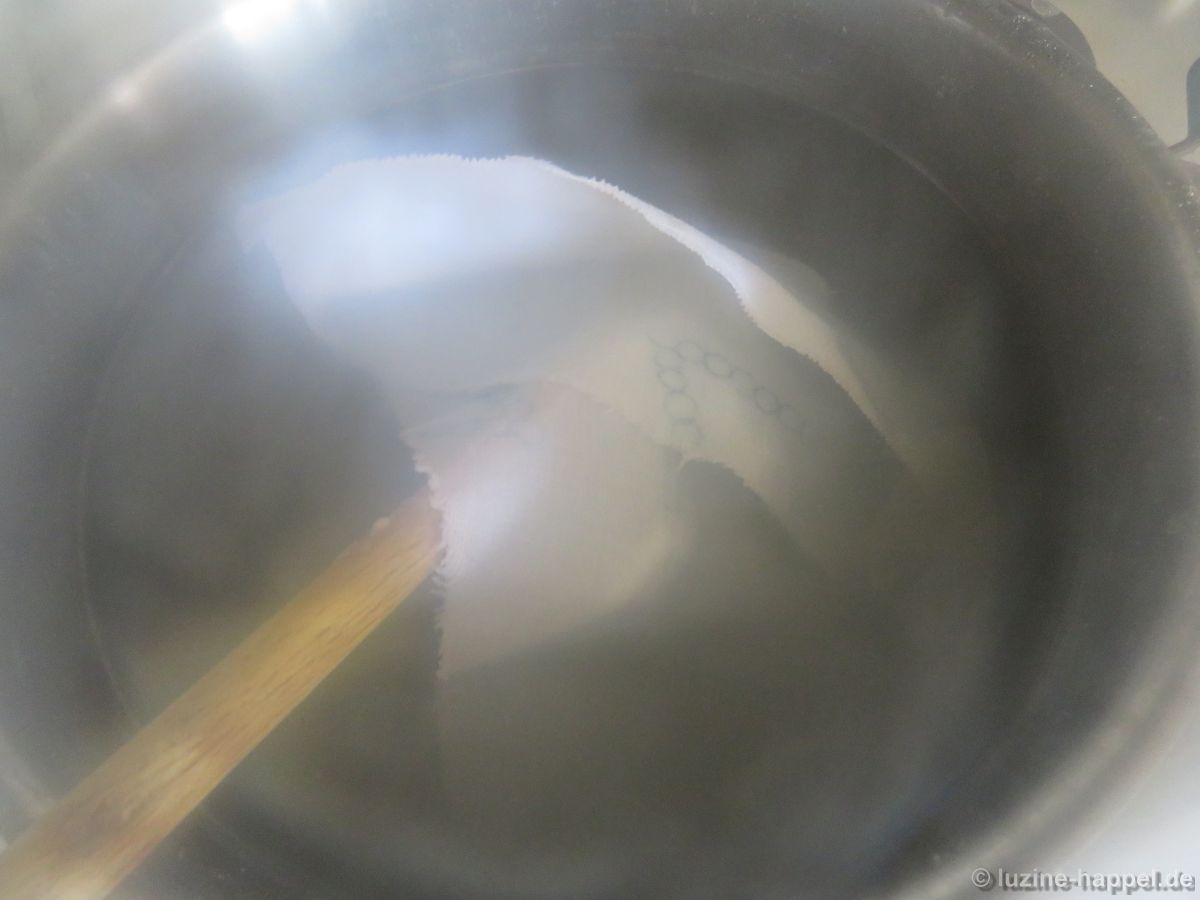
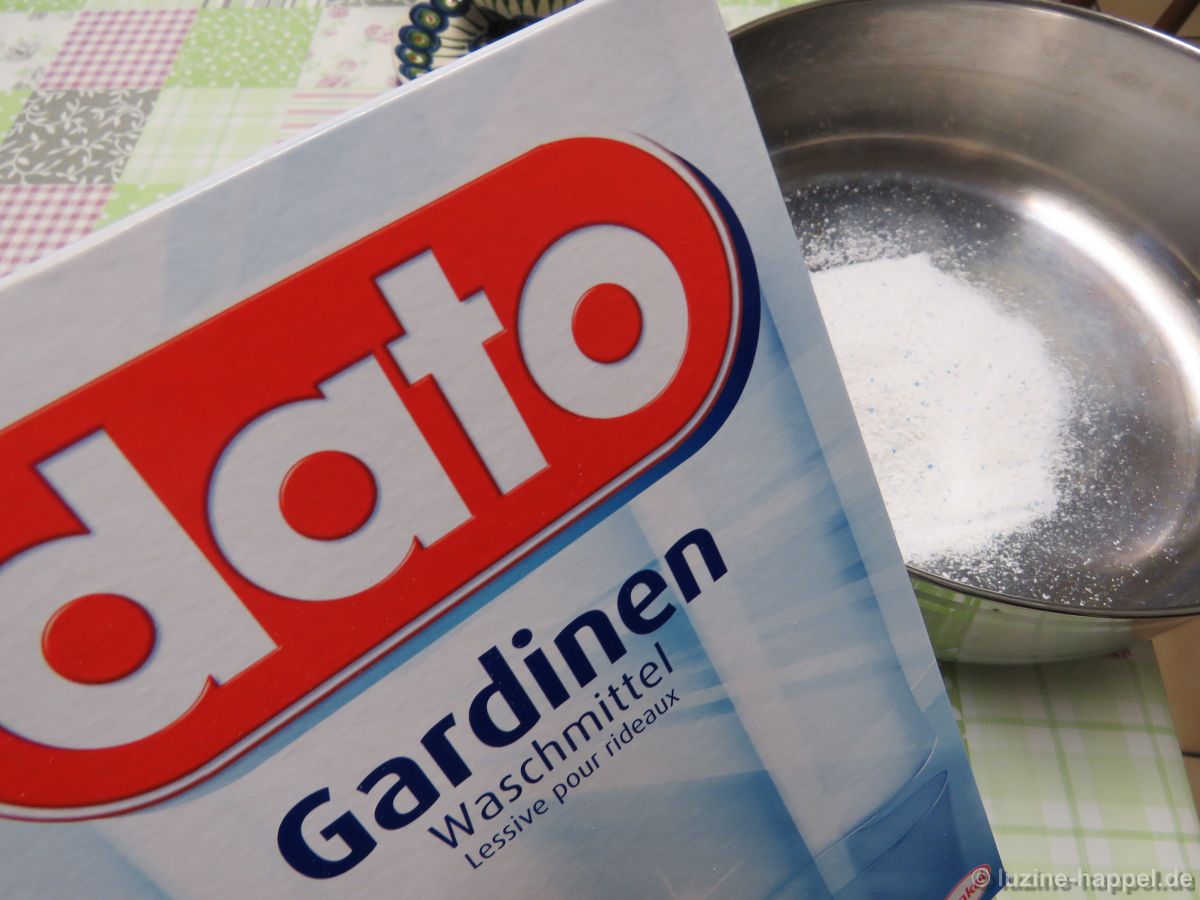
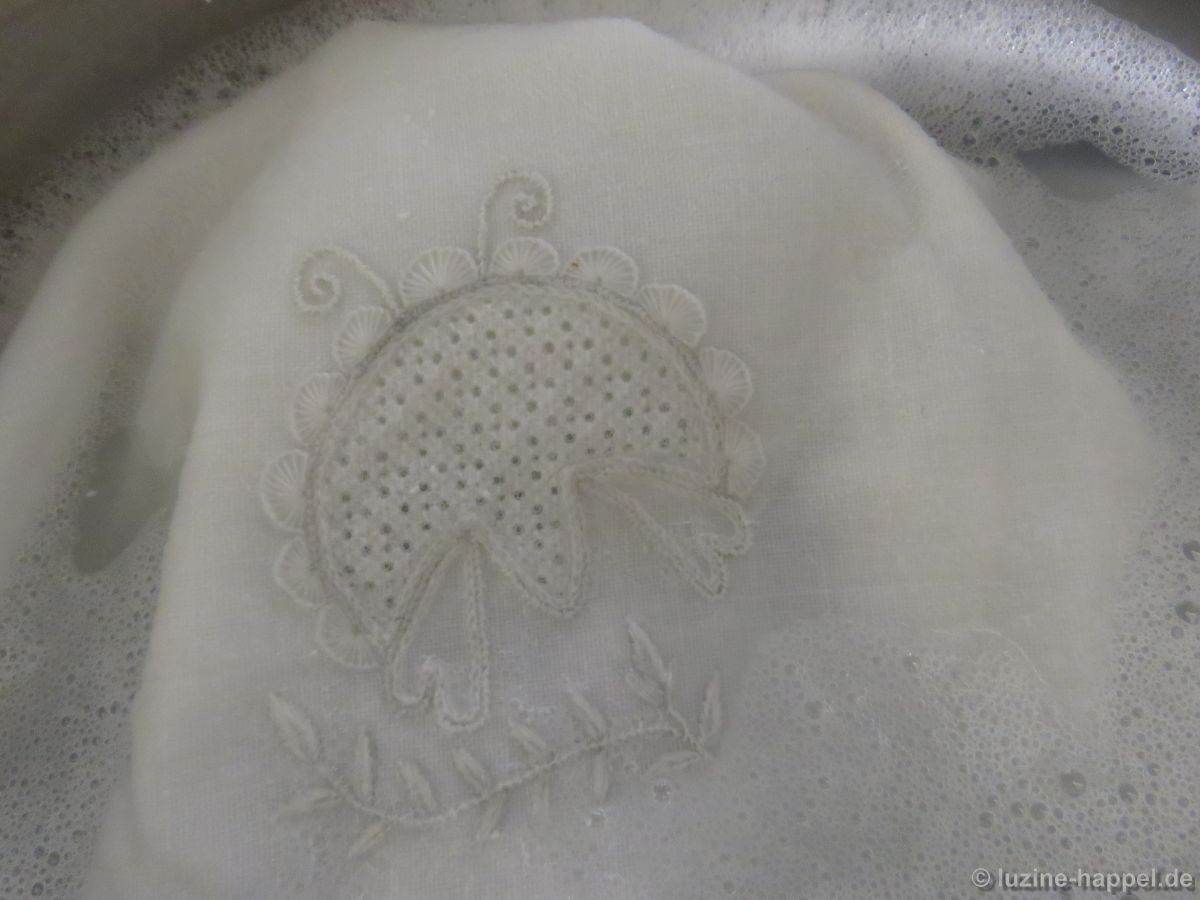
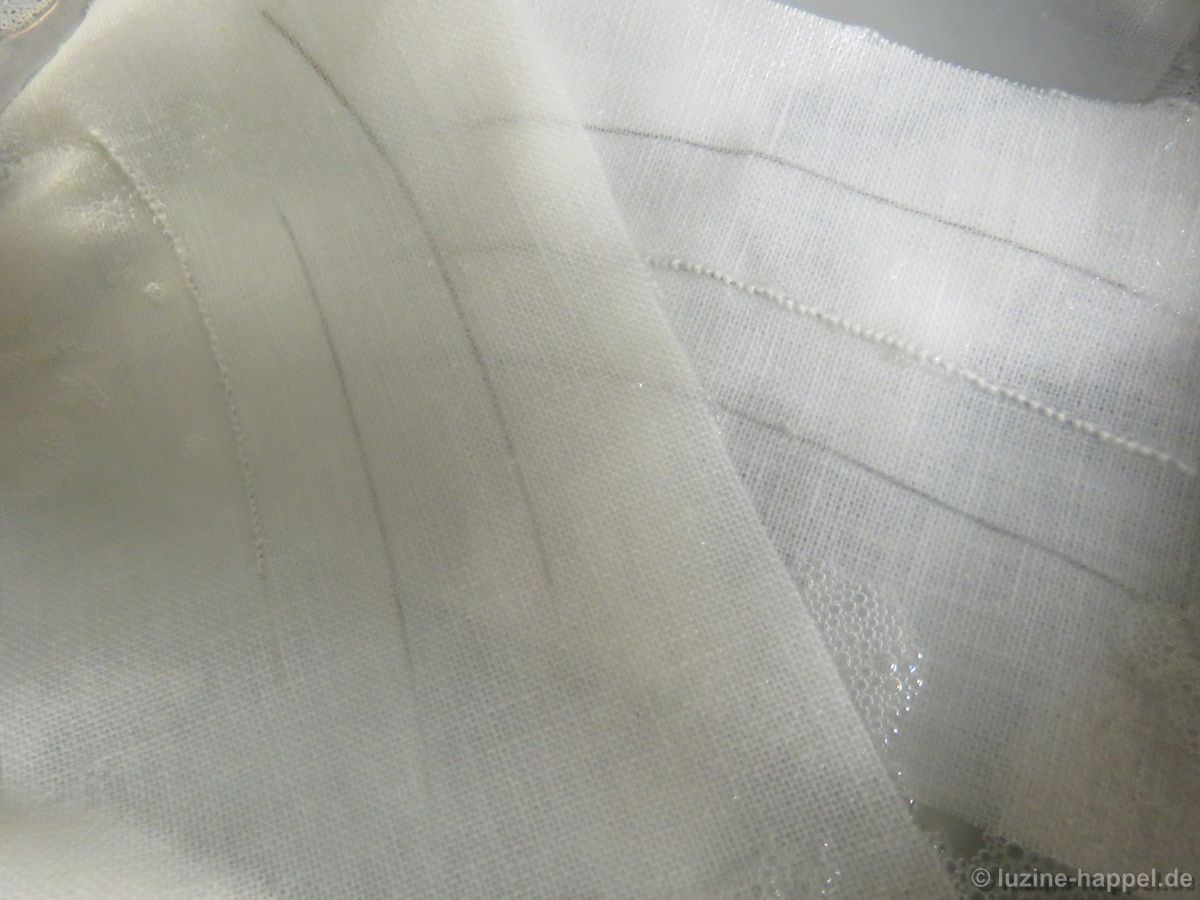
After embroidering, I put the motif in lukewarm water, and the colour immediately dissolved.

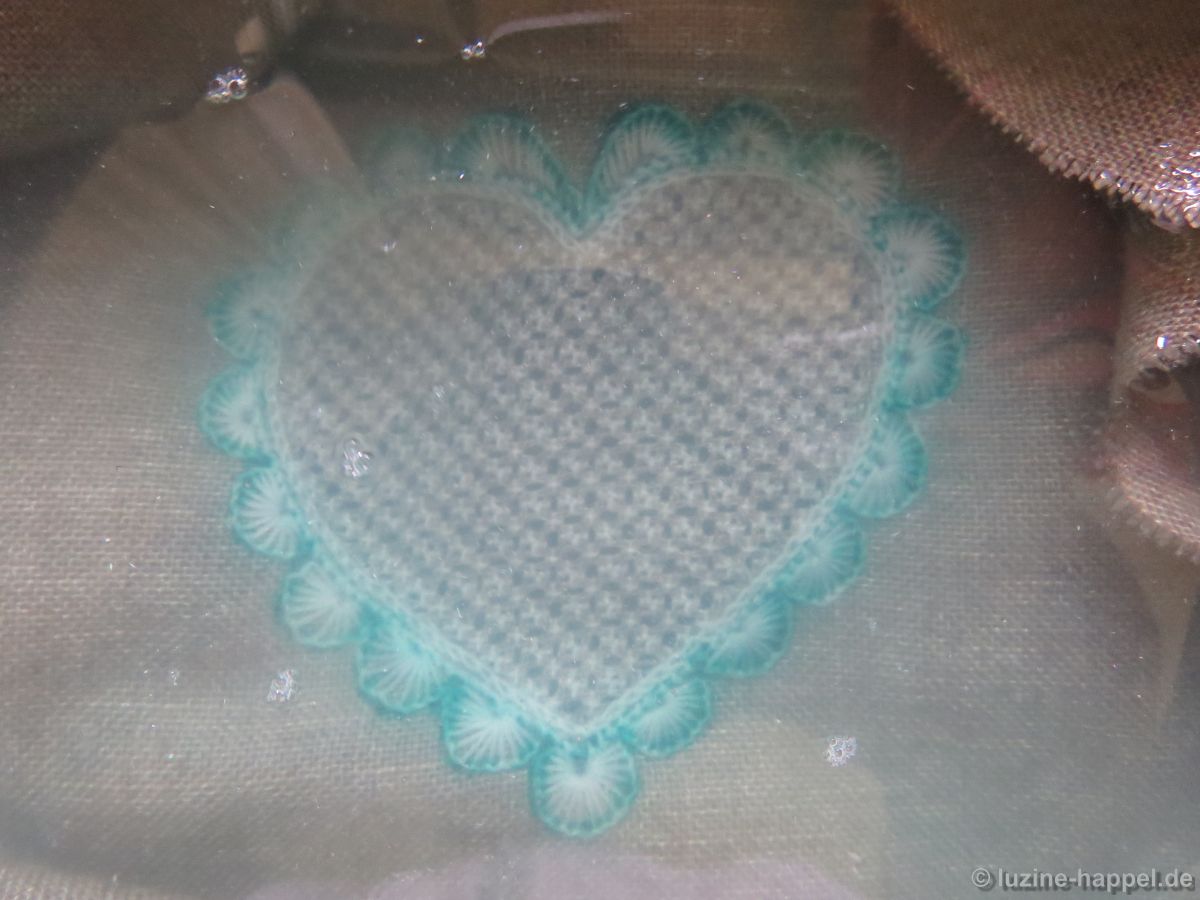
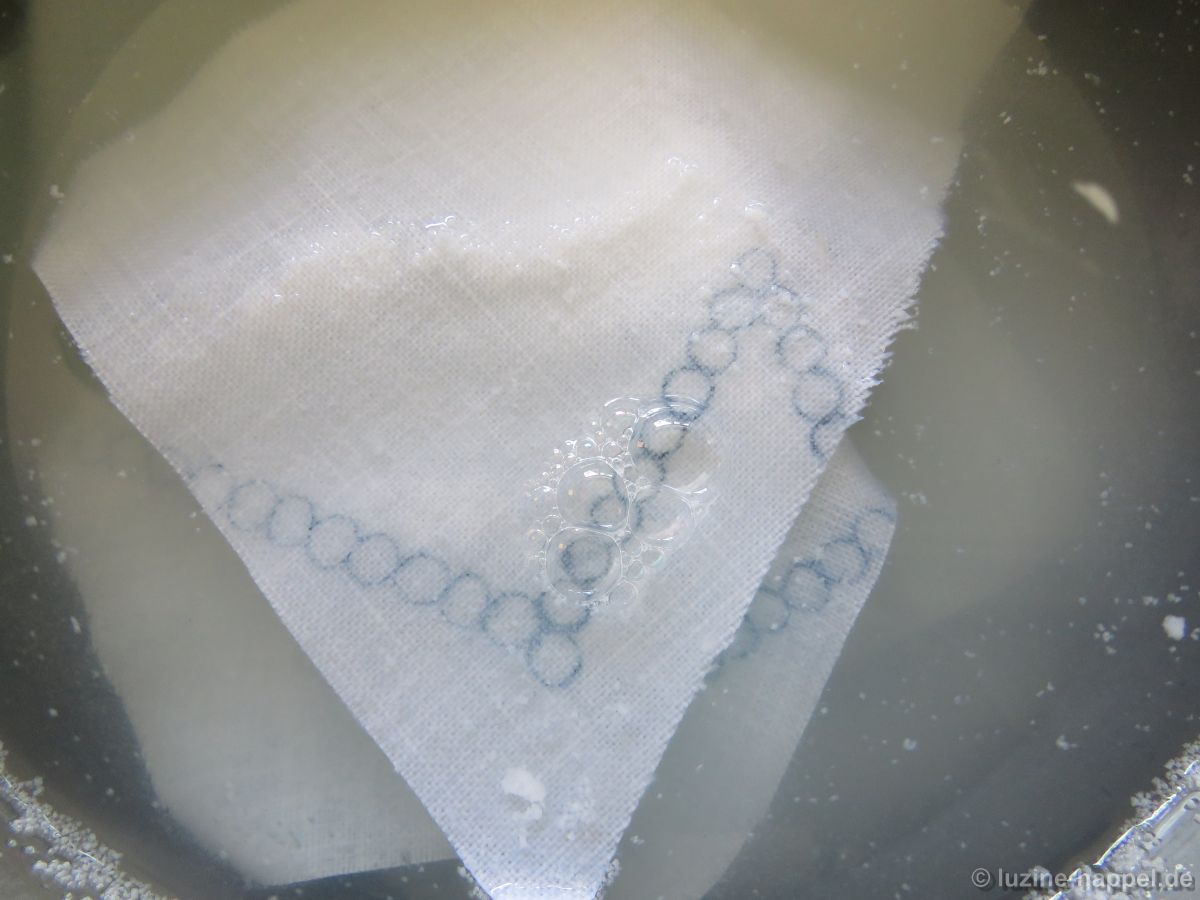
After a short time, the soap suds was coloured green.

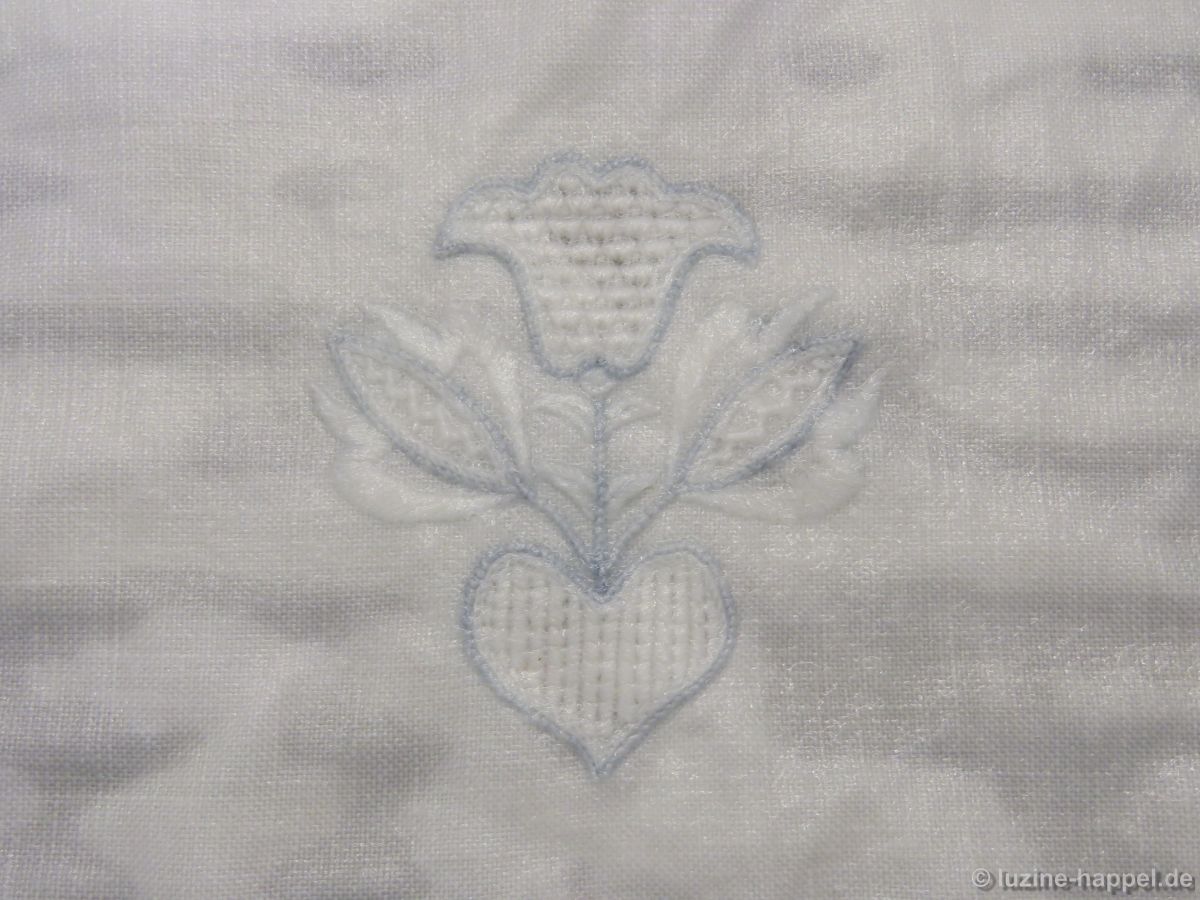
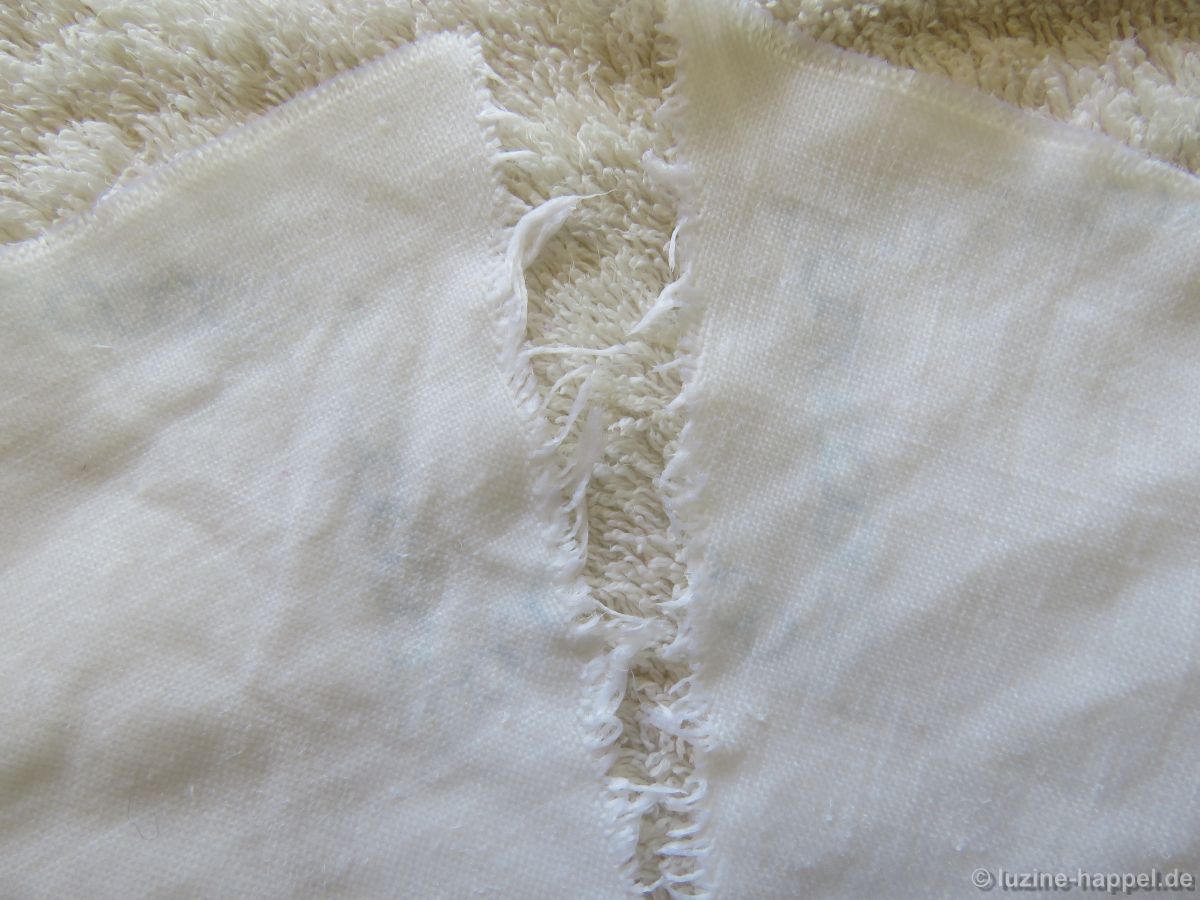
Only a very short rubbing was necessary to wash the last remains of the ink from the linen.

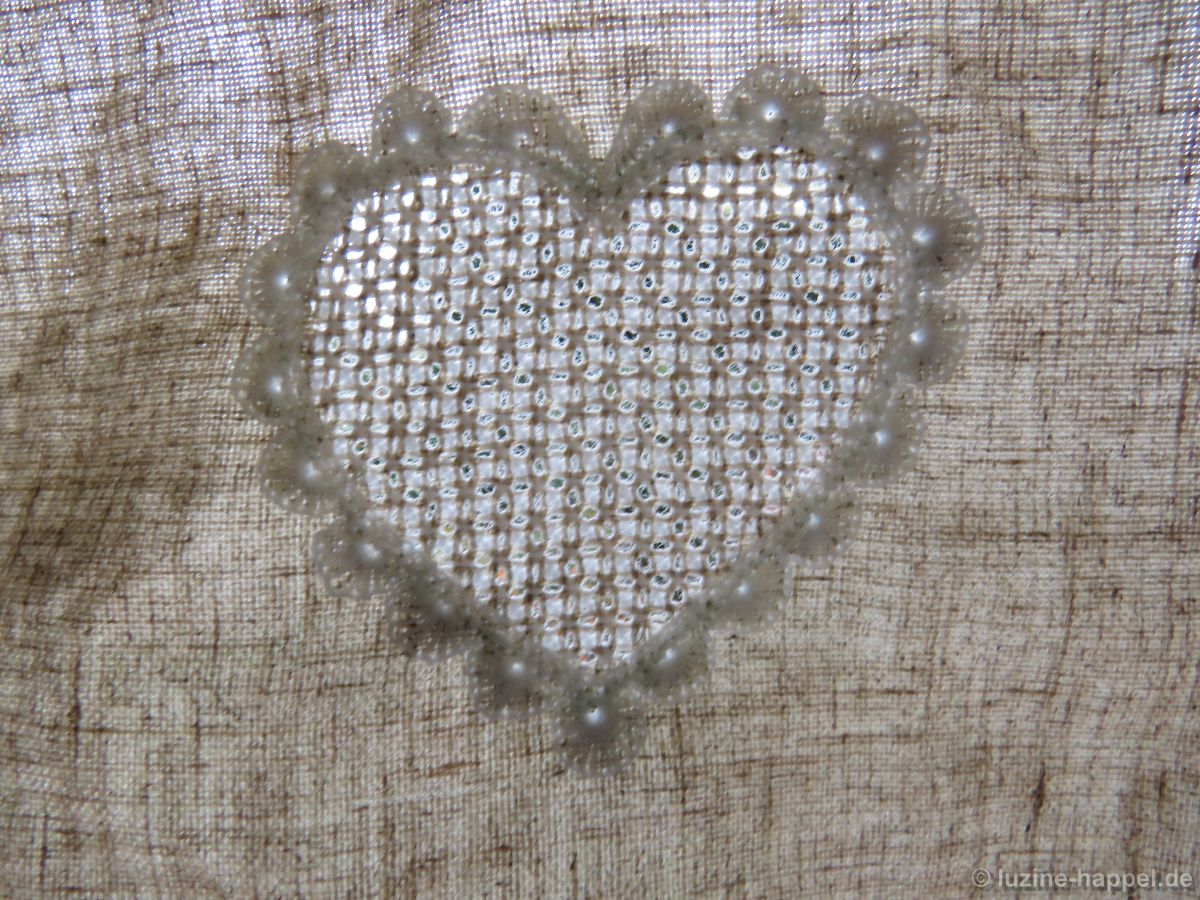
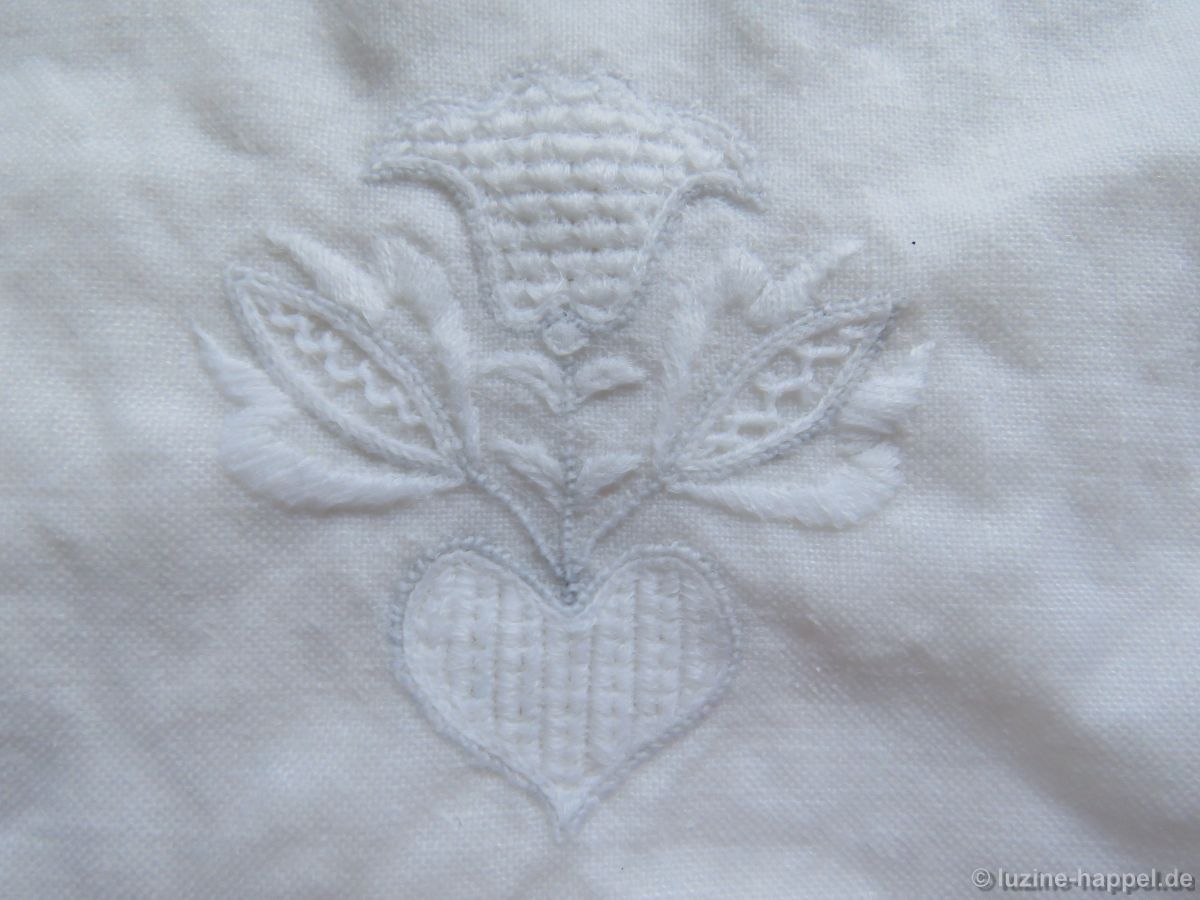
The result was a clean fabric from which the outlines could be completely washed out in a very short time. If the wobbles weren’t created while tracing, this would be a perfect way to transfer designs.

Correct Sharpening of DEKA Transfer Pencils

Since I made a comparison of iron-on transfer pencils, I prefer to use the DEKA Draw & Iron Pencil for transferring my designs onto linen. Now and then I noticed breaking cores. But lately I have received messages from some of my customers being very dissatisfied with their pencils. They report that the cores always break during sharpening, and so the pencils become used up too quickly. I was a little bit stumped until I was told that the sharpener is the reason for the breaks.

I visited the web page of Faber-Castell and found these hints:

Preventing core breakage
Always make sure that your sharpener still has a sharp blade. Blunt blades fray/tear the wood and allow the core to break easily, especially with the more delicate/softer coloured pencils. Very often the dreaded breaking of the tip is due to an old or blunt sharpener and not to the pencil.

Angles of sharpeners

For different pencils with different applications, there are also corresponding sharpeners with partially adapted angles: the harder the core, the sharper the angle. Pencil sharpeners usually have a 21° angle, while the tip of crayons can usually be slightly duller (about 24°).

There are different sharpeners for graphite and for coloured pencils.

I immediately ordered one and tried it out on some of my different DEKA pens – old and new ones.

After only a very few turns, the pencils had nice points.

In comparison to the pencil tips shown in my first article on iron-on transfer pencils, I noticed that the tips were now all shorter and wider.

BGELMUSTERSTIFT Detail

I used a pencil sharpened with the new sharpener to draw my design onto transparent paper and was satisfied. The lines fine and well defined.

The point was scarcely worn down after finishing the line drawing of the small design.

I prepared a piece of linen with marking lines, and using the pre-heated iron I warmed the ironing surface and

then warmed up the linen.

Finally, I ironed the design onto the linen.

After only a short time of heating, I carefully proofed the transfer, and it was good.

So I removed the transfer paper and saw a well transferred design.

In comparison to the drawn lines on the paper, the ironed lines on the linen are somewhat thicker, but still very good to use.

Then I tested this newly sharpened pencil on a larger piece. For a very large (50 cm X 70 cm) and elaborate design, I had to resharpen it only a few times. Unfortunately I did not picture it before ironing. So now I can show only a small detail of it – the remainder is too light to see.

Conclusion: Correct sharpening is absolutely important to get a good result while working with DEKA iron transfer pencils.

Pre-Transferred Designs and Heat (2)

Pre-Transferred Designs and Heat (2)

A few months ago in preparation for a series about small embroideries, I moistened linen with pre-transferred designs and then ironed it so that the linen appeared nice and smooth in the photos.

I had already embroidered some of these patterns.

As explained in Part 1 of this article, the embroidery was initially soaked for two days in lukewarm soapy water.

Then I tried in vain to get the blue colour out of the fabric by rubbing, washing, and rubbing again. After almost an hour of effort, the blue lines under the Coral knot stitches were a bit faded but still clearly visible.

Since I hadn’t invested too much time or effort in this little embroidery, I tried a wide variety of remedies – including harsh agents. Nothing helped. The blue lines seemed to have become permanent.

They can be seen very clearly against the light.

As a last resort, I got a decolouriser, which I dissolved in lukewarm water exactly as instructed.

The embroidery was submersed and completely covered with the mixture. The vessel was covered with a lid, and the embroidered linen soaked there overnight.

The next day the lines were weaker, but still dimly visible in the wet fibers. Repeated washing with rubbing and rubbing did not help.

Conclusion: Damp heat makes pre-transferred designs permanent. So you should avoid steam ironing before starting the embroidery. In any case, you should wash the finished embroidery after soaking in lukewarm water until the blue lines have disappeared and only then boil!

It is comforting that the blue lines can no longer be seen after drying and ironing.

Pre-Transferred Designs and Heat (1)

Pre-Transferred Designs and Heat (1)

I was asked if a cloth with a pre-transferred design could be ironed before embroidering or would the heat set the color permanently.

Since I had no knowledge about this, I decided to do a few tests.

I took a small piece of linen with a pre-transferred design and marked it in three places along one side with a coloured thread.

The iron – but without steam – was set to the highest heat setting. The marked half of the piece of linen was ironed from the back until a slight scorch appeared.

Due to a lack of time, the outlines were not embroidered.
The piece of linen was cut into six parts – three from the marked and ironed half and three from the un-ironed half.

Detergent was completely dissolved in lukewarm water.

The six parts were inserted.

After two days of soaking, the color had already softened a little – about the same amount from all pieces.

I took one of each, a marked and an unmarked piece, and was able to remove the marks by rubbing.

The colour faded significantly with the first rubbing

and disappeared completely after rubbing it again.

Next, I took a marked and an unmarked piece and put them back into the soapy water. This was brought to a boil. The two pieces remained in the boiling broth for a few minutes,

after which they were rubbed in an attempt to remove the lines.

Even after long, heavy rubbing and washing, the blue lines were still clearly visible. They can barely be seen on the dried linen, but as soon as the linen is moistened, they can be seen in shadow.

Also note: In this test, the lines were not embroidered and therefore much easier to reach.

I put the last two pieces back in the cooled wash liquid to soak them for a longer time. However, no other result has been achieved.

Conclusion: The longer duration of the soaking time does not matter.
Dry heat did not appear to affect the durability of the design’s fixation. But damp heat has made the colour permanent.
So if a printed pattern is ironed with a steam iron before embroidering, this can lead to permanent fixation of the colour.

Also, after embroidering, one should first soak the work in lukewarm water and then wash out all the colour. Only after the marking lines are removed should the linen be shrunk by boiling.

Another test will follow in the next post.

Washing Out Persistent Outlines

Washing Out Persistent Outlines

Along the recommendation of my advisor, I dissolved curtains-full detergent in lukewarm water for my washing test

and submerged the prepared embroidery for a pre-wash.

The pencil traces can be clearly seen in the moistened fabric.

The embroidery remained in the soapy water for two days. From time to time I agitated it slightly with a wooden tool.

Then the wash started. It would be a lie to say that all colour disappeared without any intervention.
I first kept the embroidery under a jet of water. As a result, the colour gave way only minimally. I had to rub the coloured areas between my thumbs – but really only lightly and for a short time.

The lines that were not embroidered over disappeared immediately, the others dissolved after a very short time.

Dried and ironed the embroidery turned out bright white.

Encouraged by this success, I looked for a piece of linen with a design transferred in a particular way and with a particularly permanent colour

and embroidered it.

The finished embroidered piece was submerged into the soapy water, the blue colouration appears very clearly due to the outlines.

After two days of soaking, the soapy water was slightly heated, and the embroidery in it was agitated for a short time.

Then the wash started.
I had to rub the coloured areas between my thumbs. The blue colour dissolved very soon by continuing to rub. Nevertheless, I briefly boiled the embroidery in the soapy water to make the linen shrink.

What was left was impeccably pure embroidery, which radiates simple elegance after ironing.

In Germany we have a couple of different curtain detergents. So far I could not test all, but I know that DATO and Hoffmann´s Gardinenwaschmittel work.

Which special curtain detergents are available in your country? Have you performed any experiments in washing out design outlines? Please share your knowledge by leaving a comment.