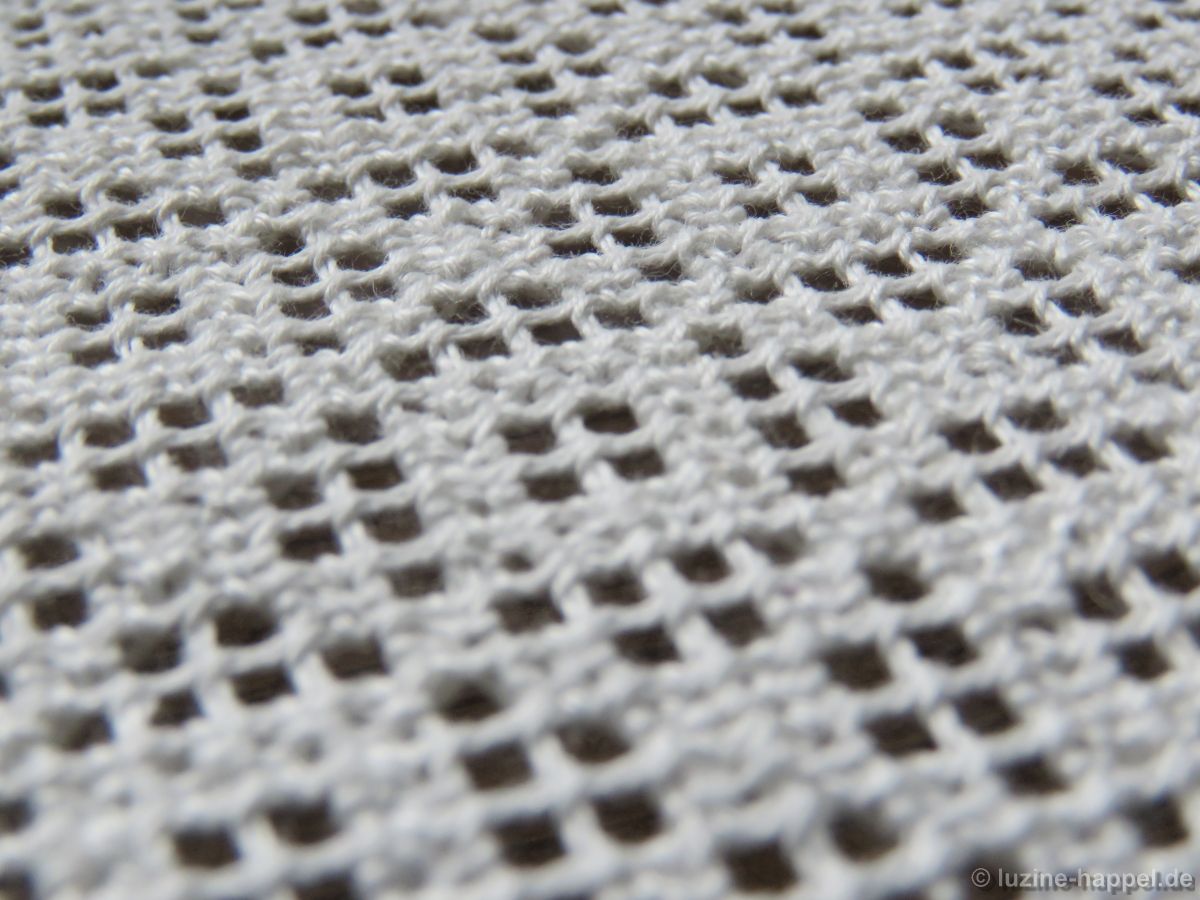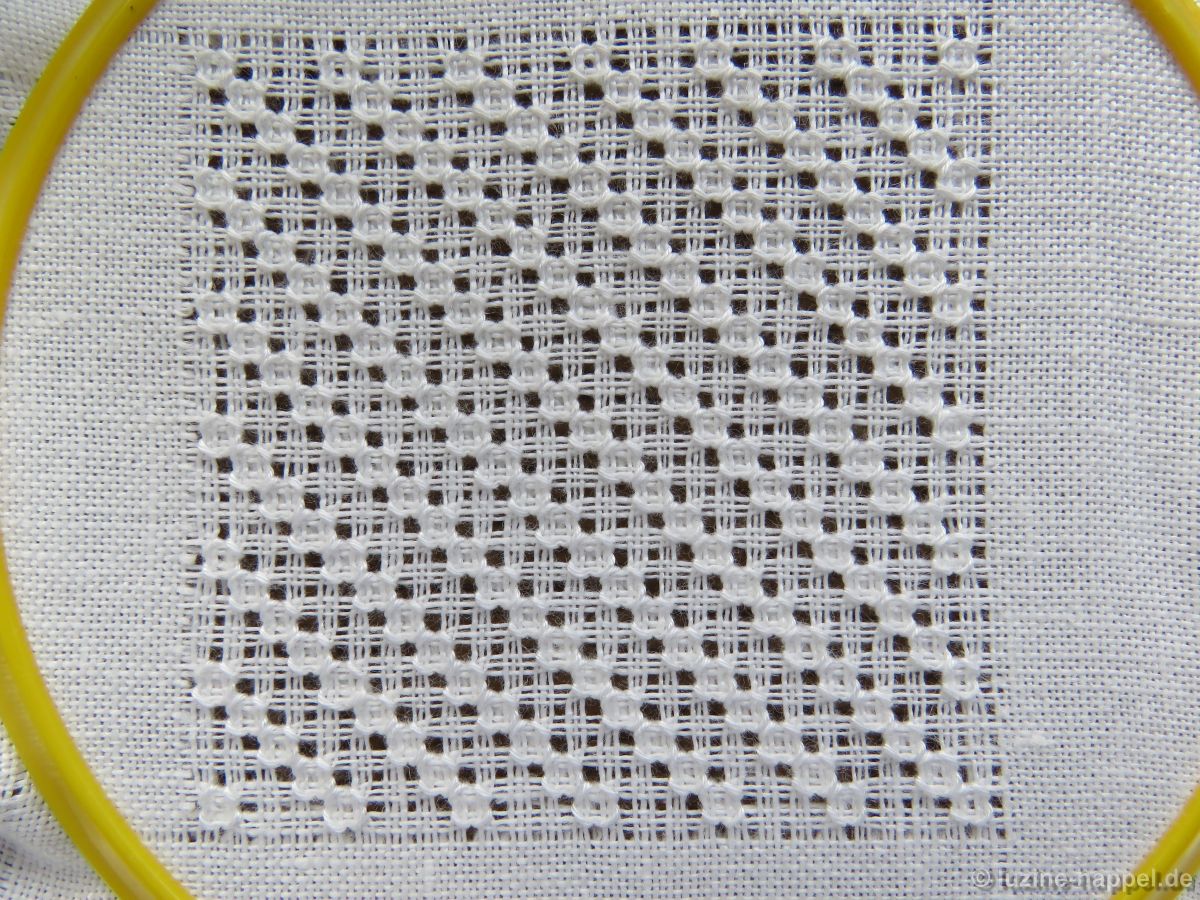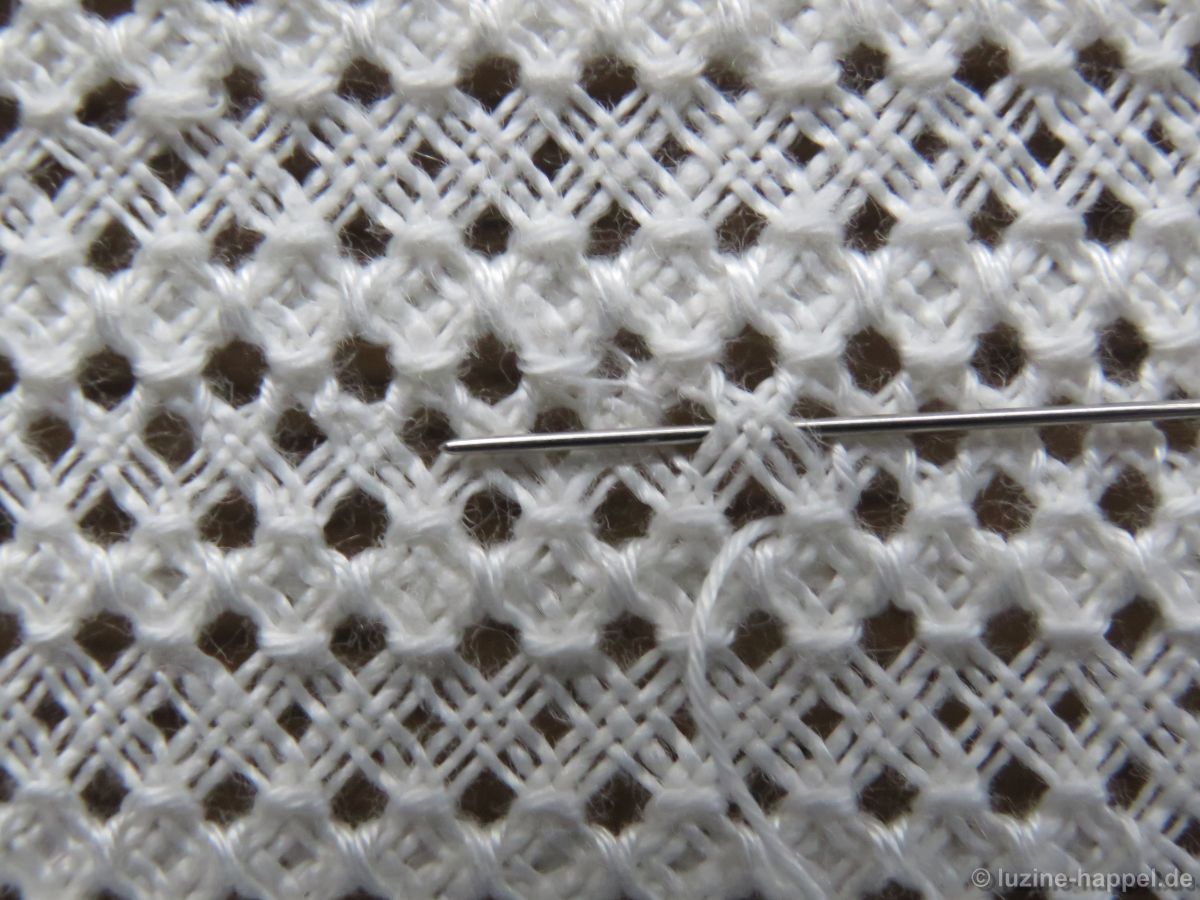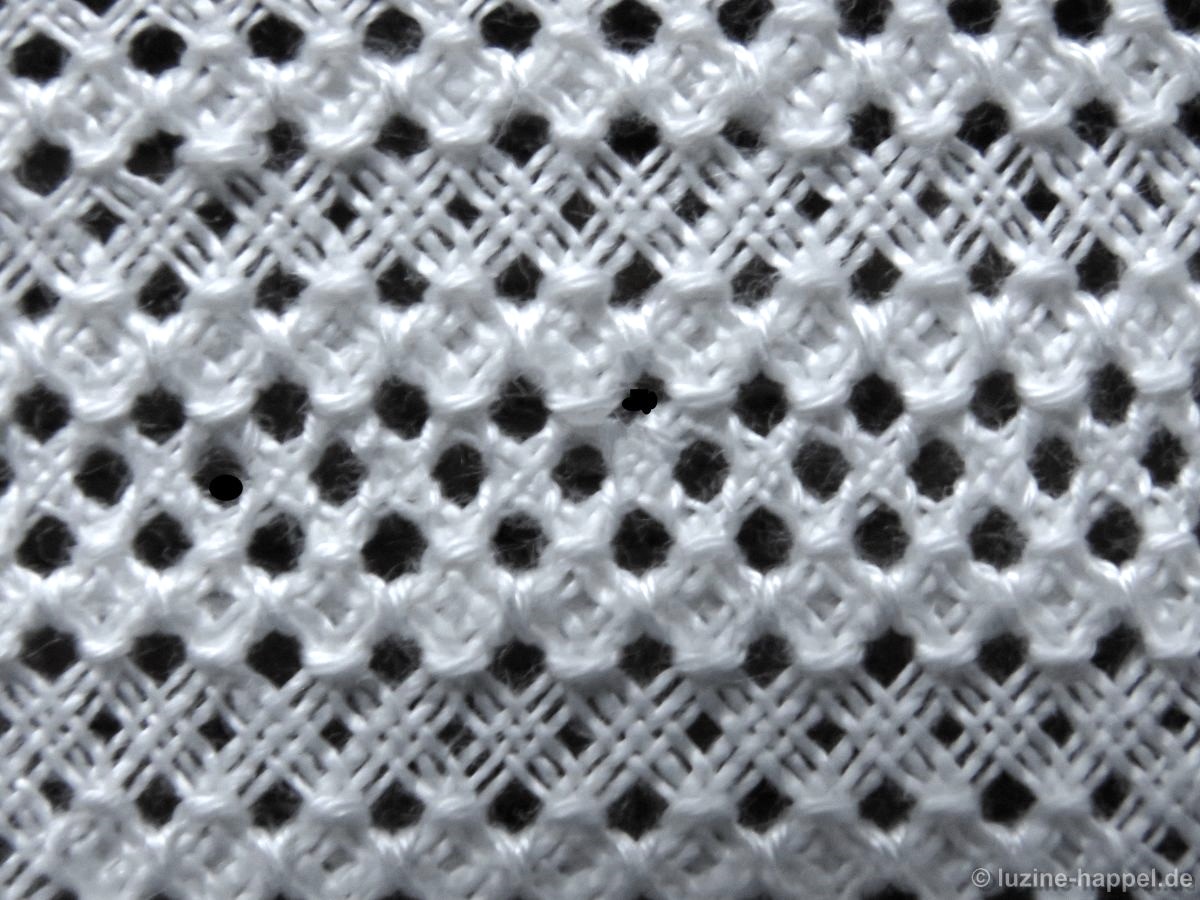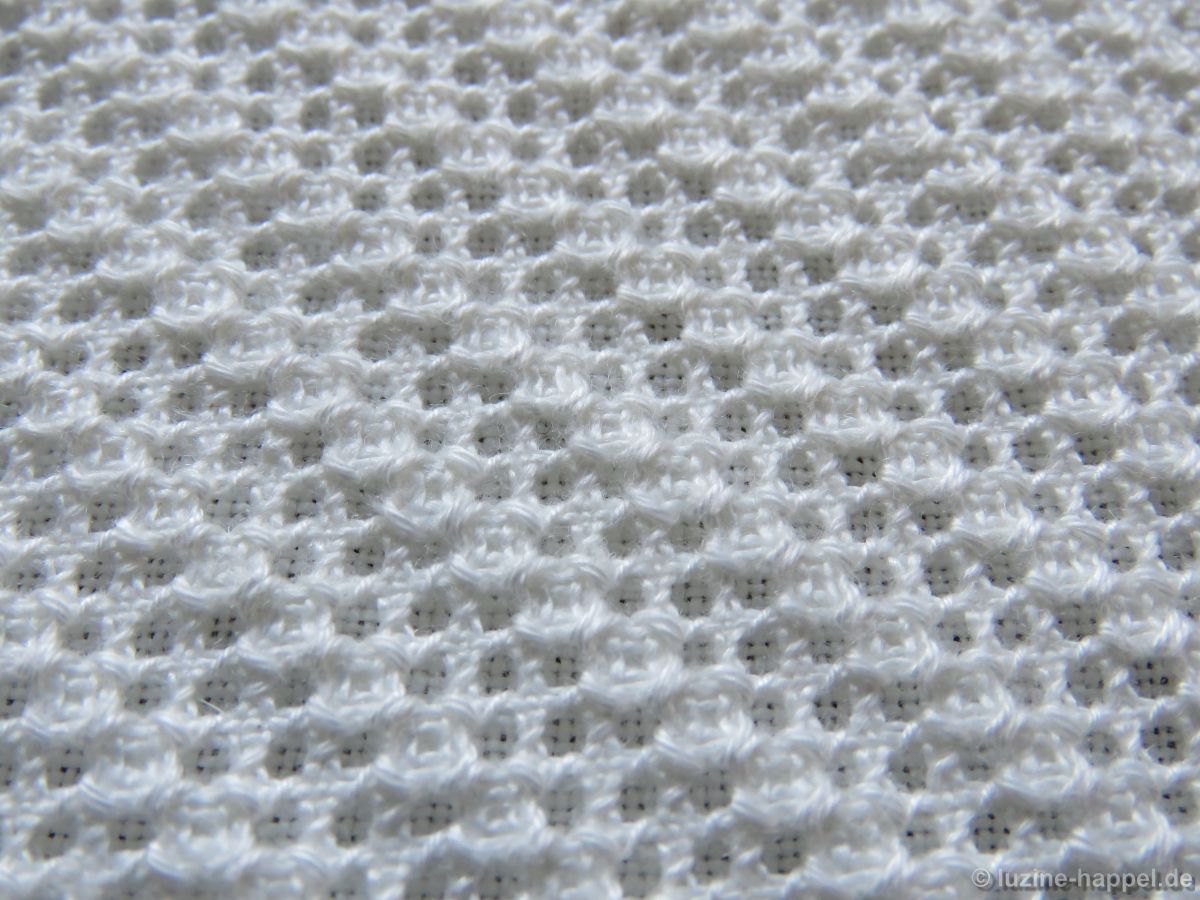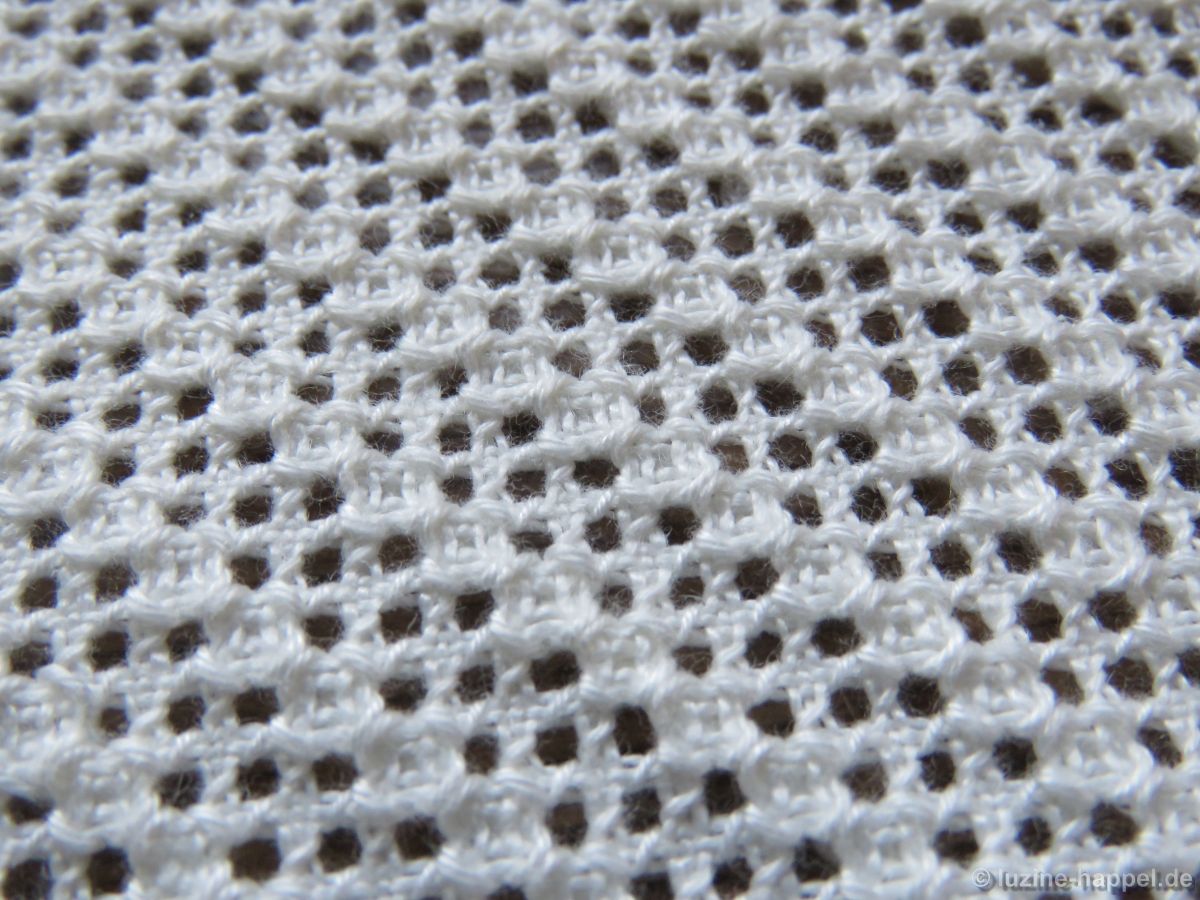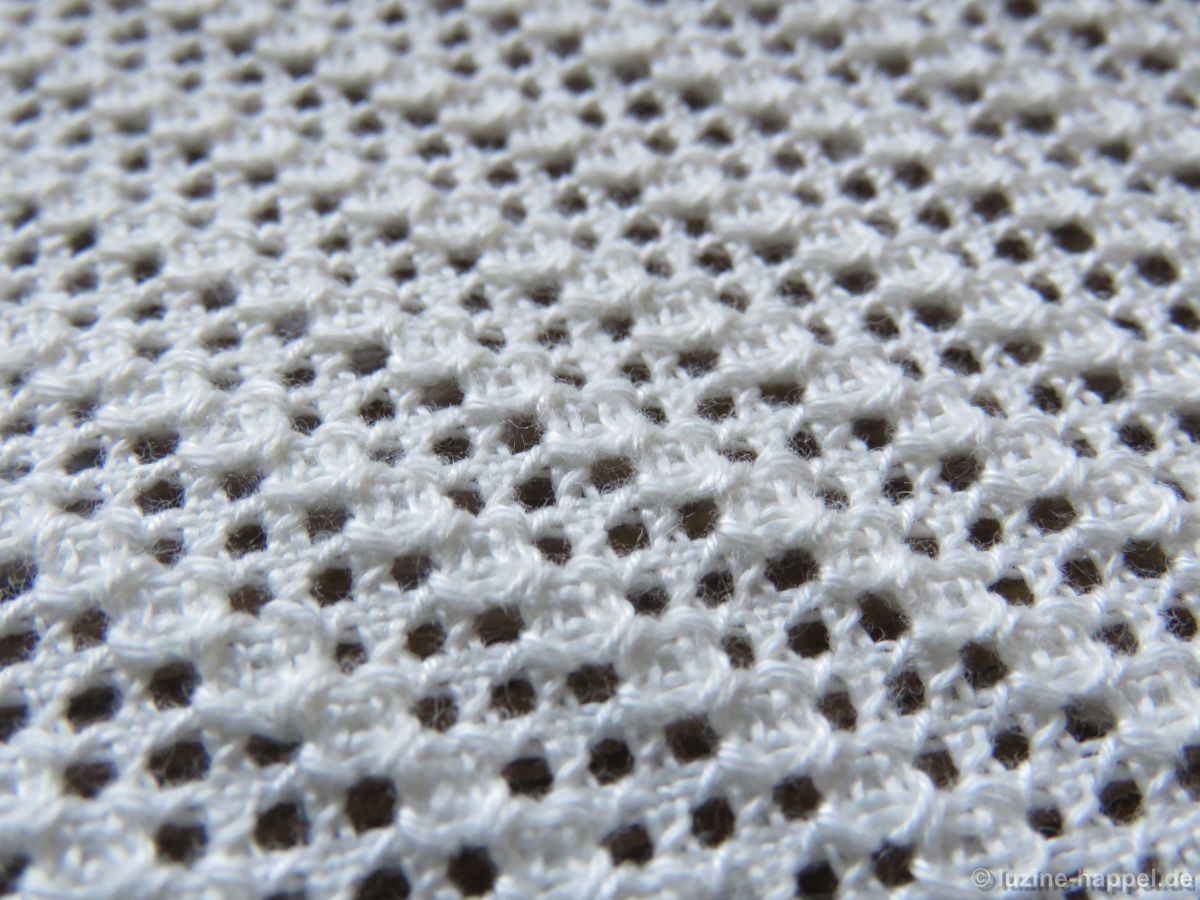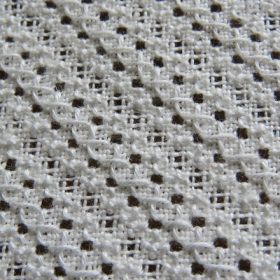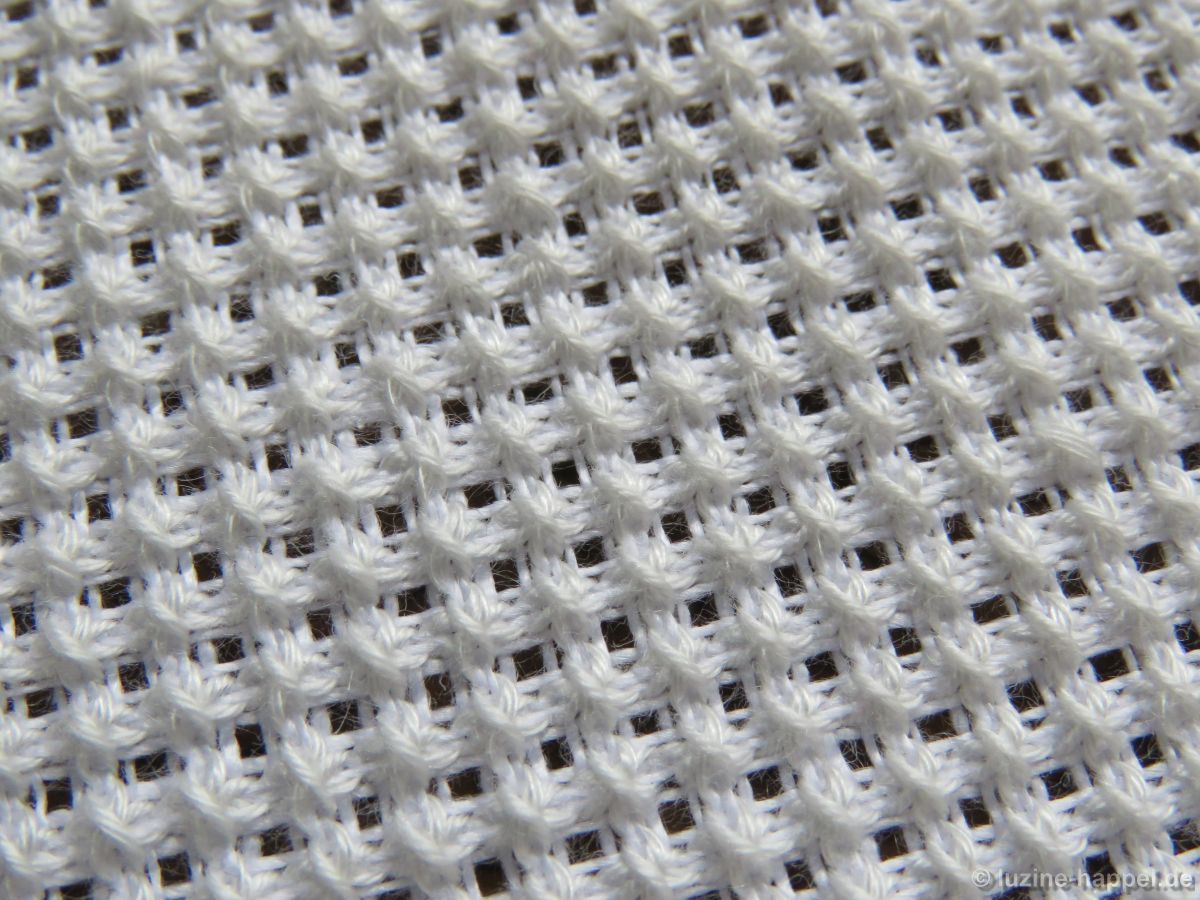
Filling Pattern – No. 575

category: openwork filling pattern with Cable stitch grid
linen used: 13.5/cm thread count
threads used: coton à broder No. 30 for the Cable stitches and No. 20 for the Rose stitches
stitches used: Cable and Rose stitches
center: intersection of pairs of fabric threads
one pattern segment: = 40 threads

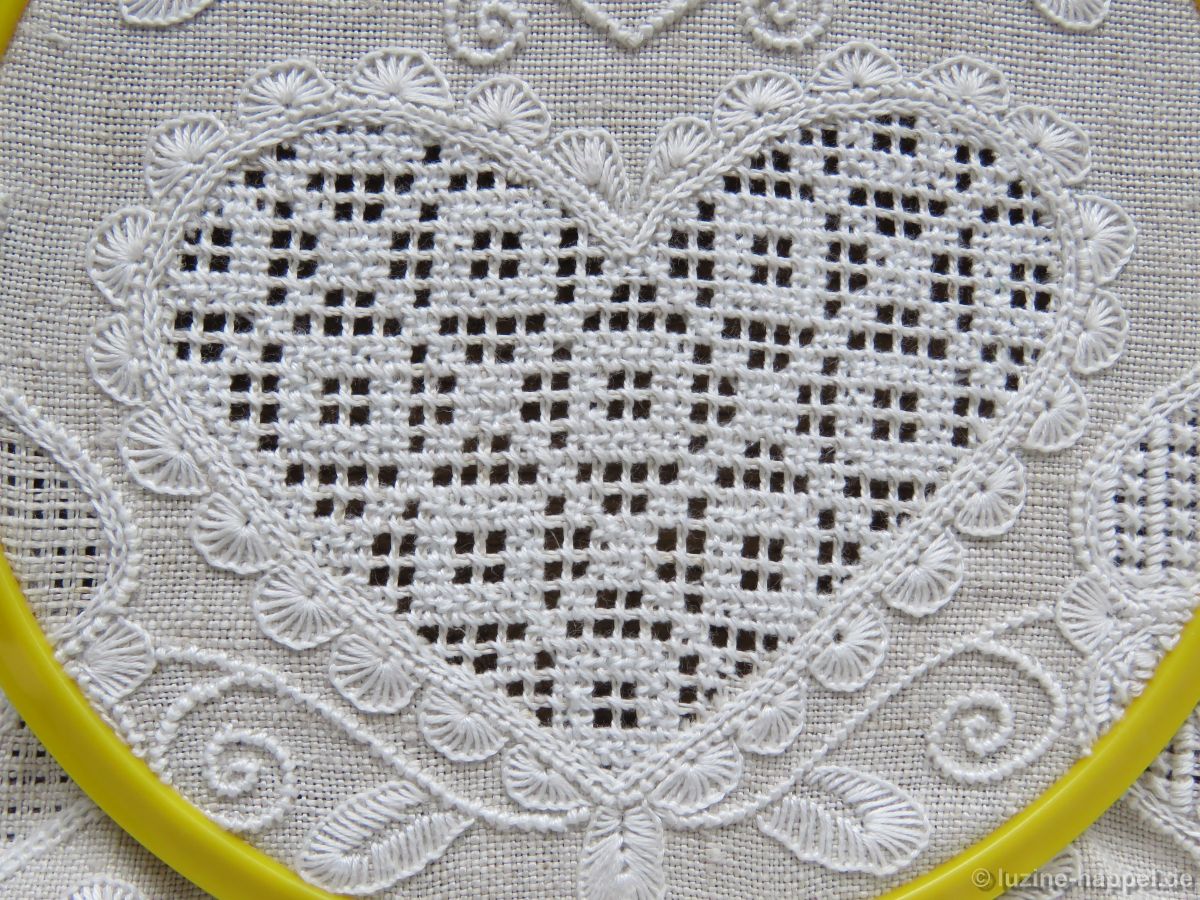
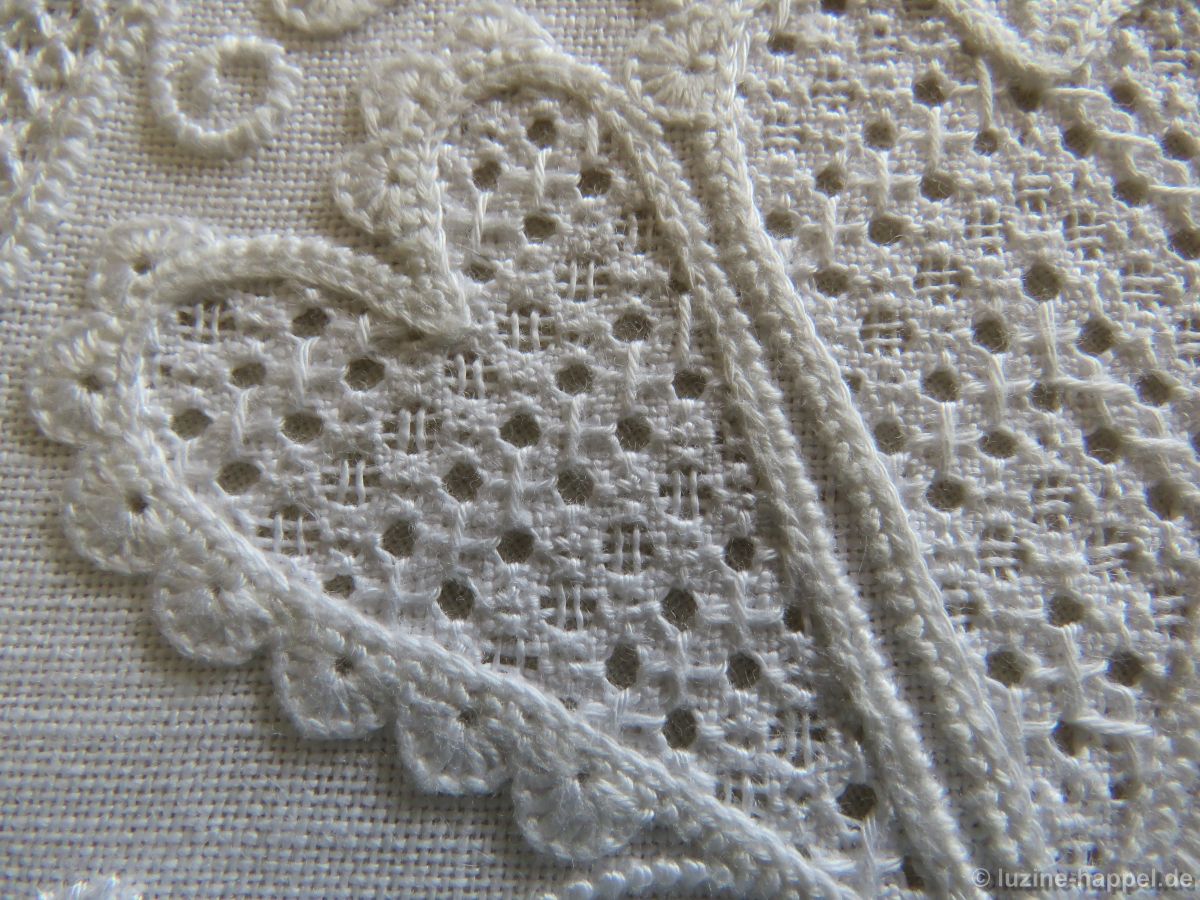
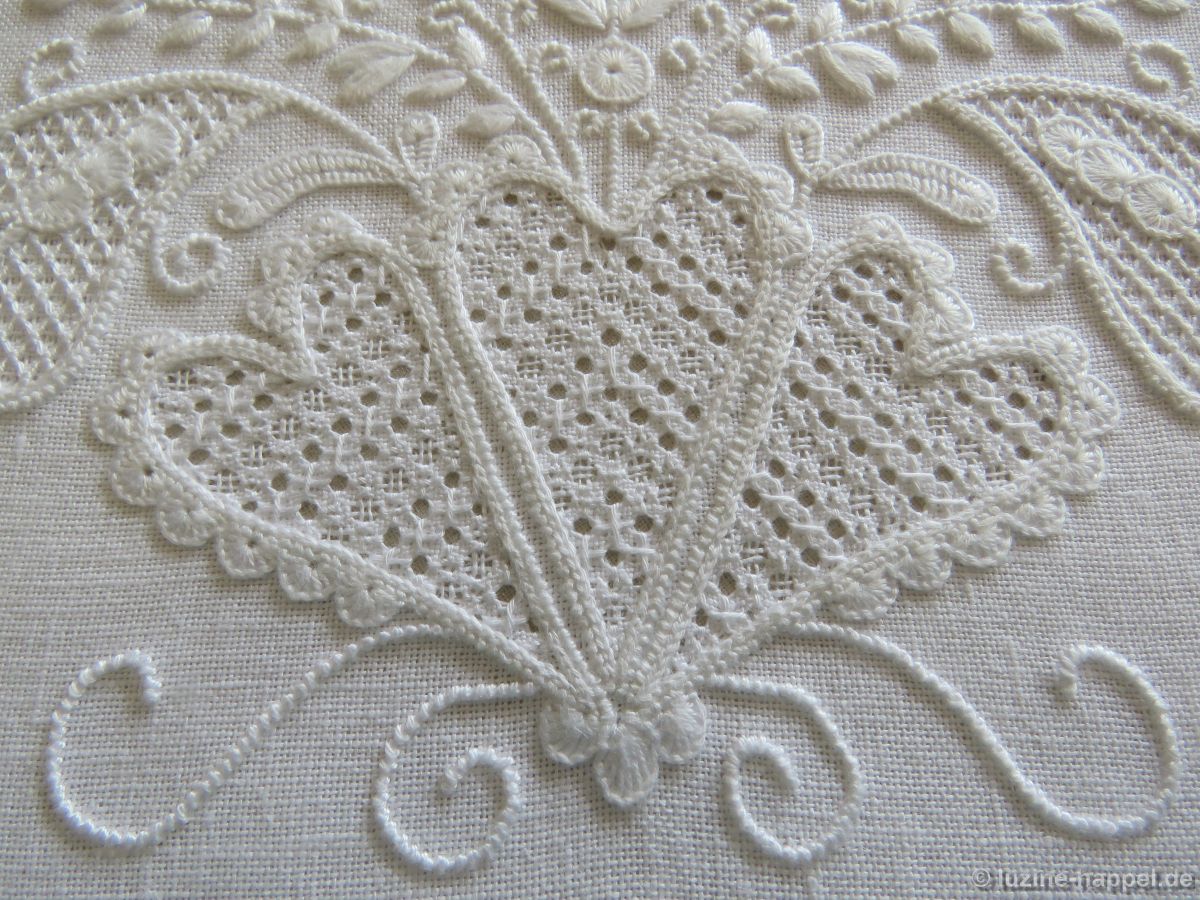
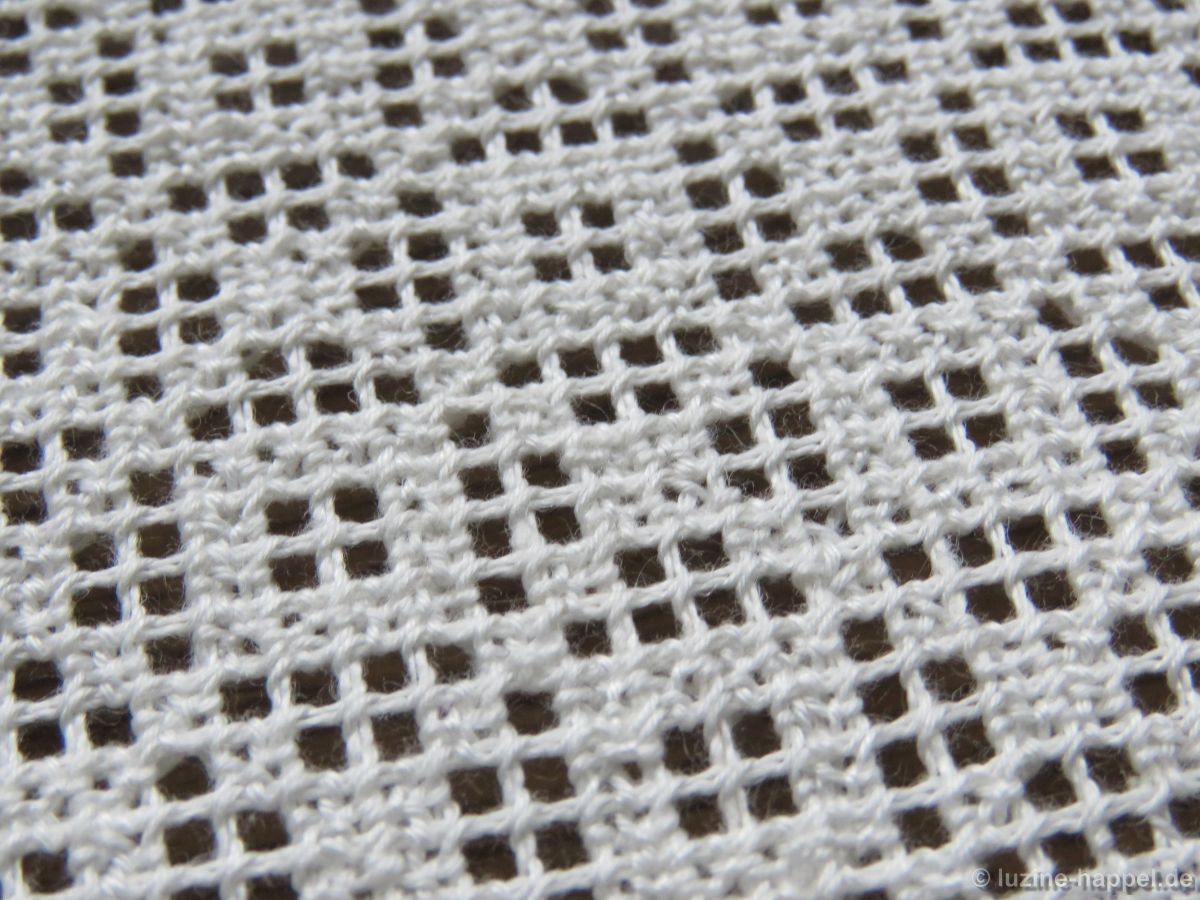
The filling pattern shown here is a practice exercise only. You can see it used in a shape at the end of this article.
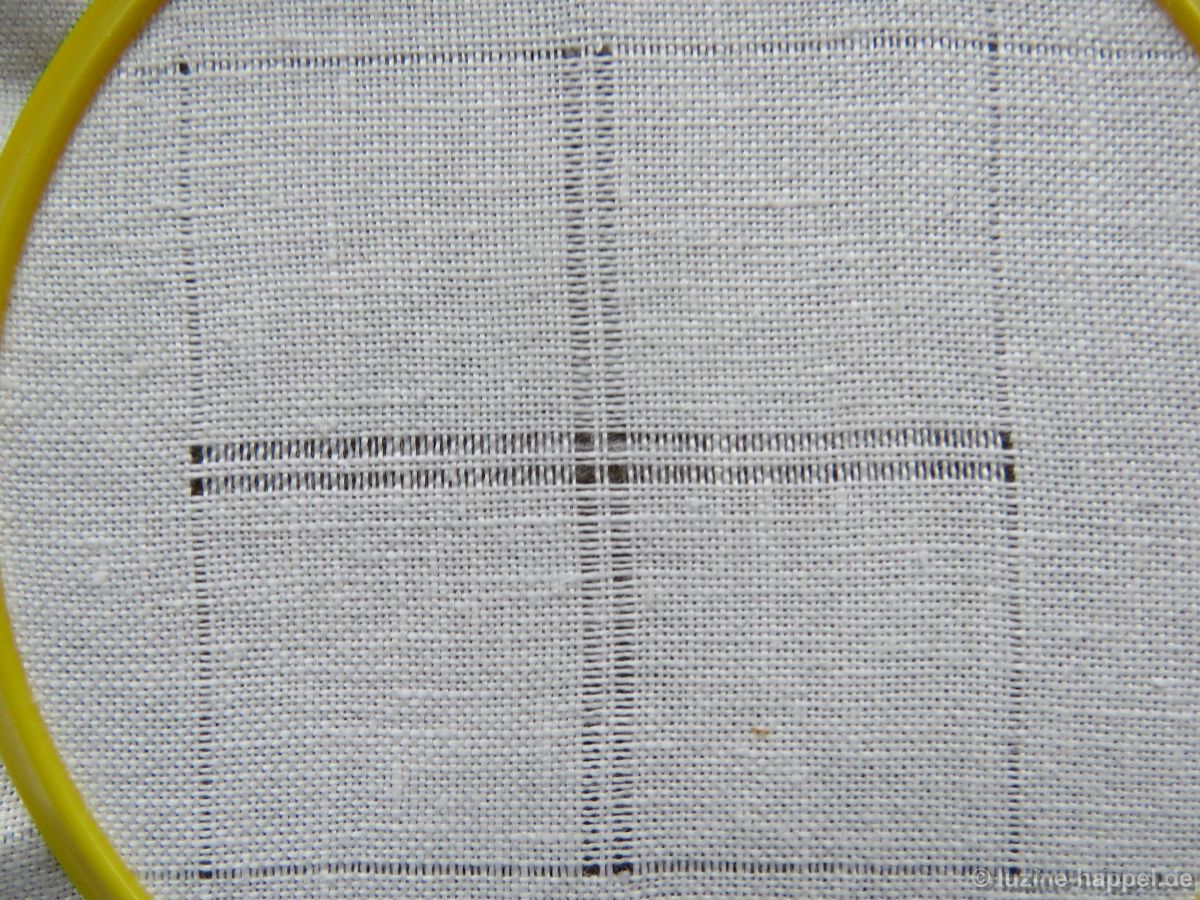
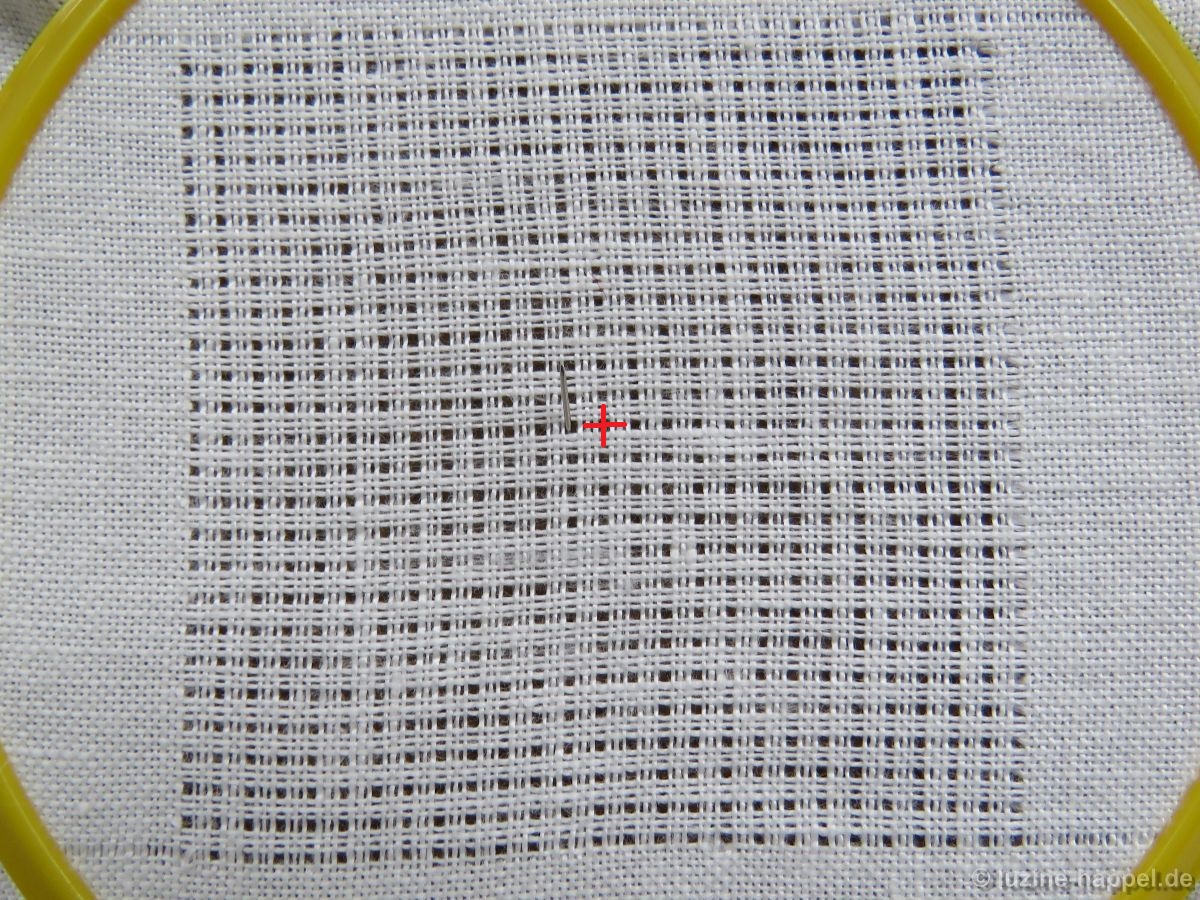
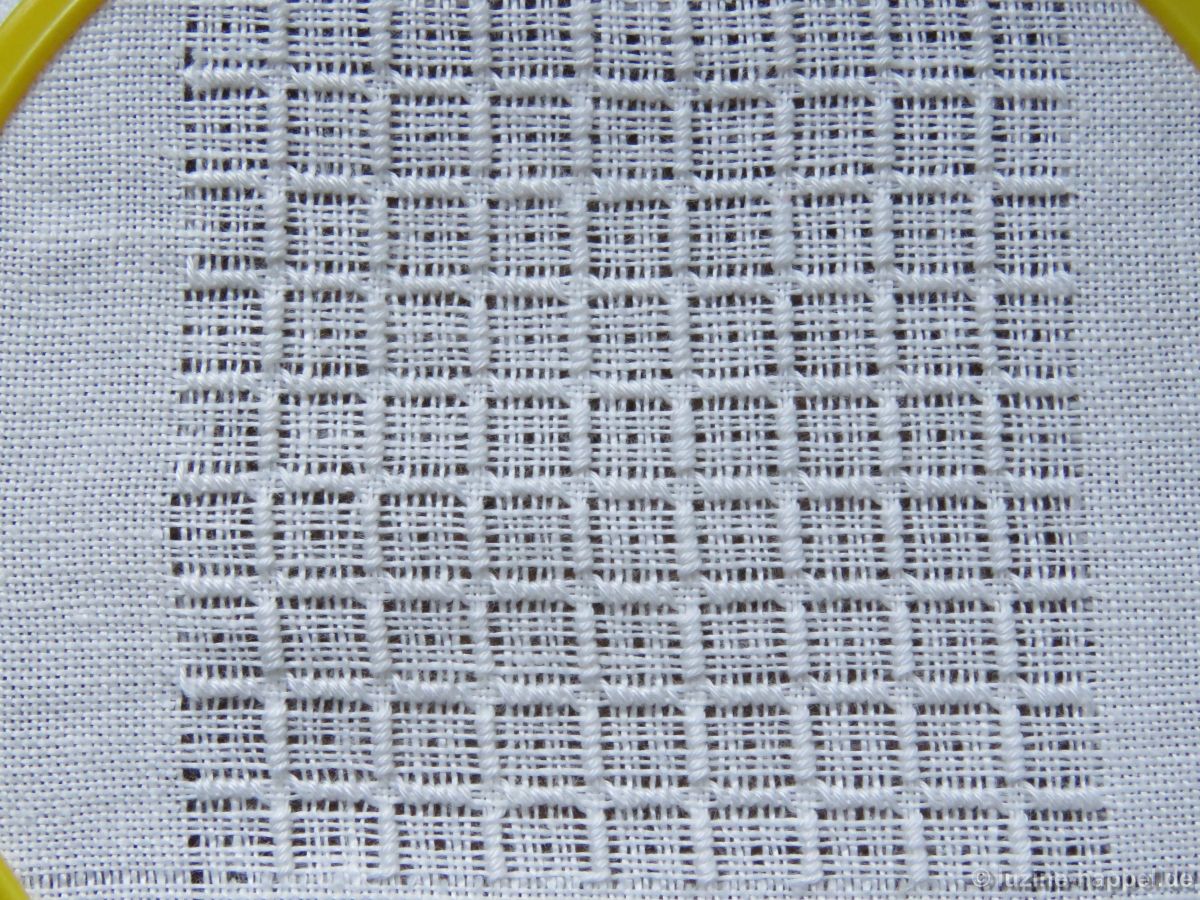
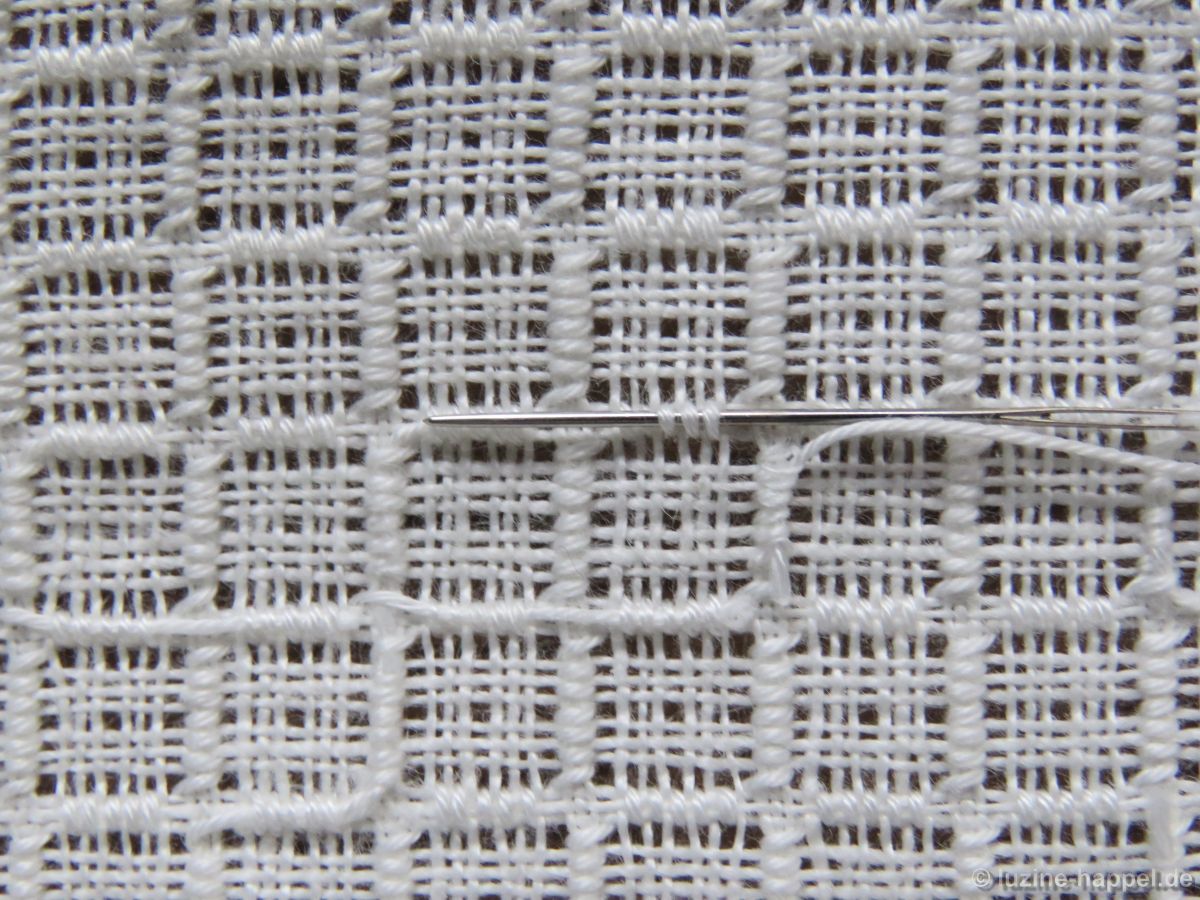
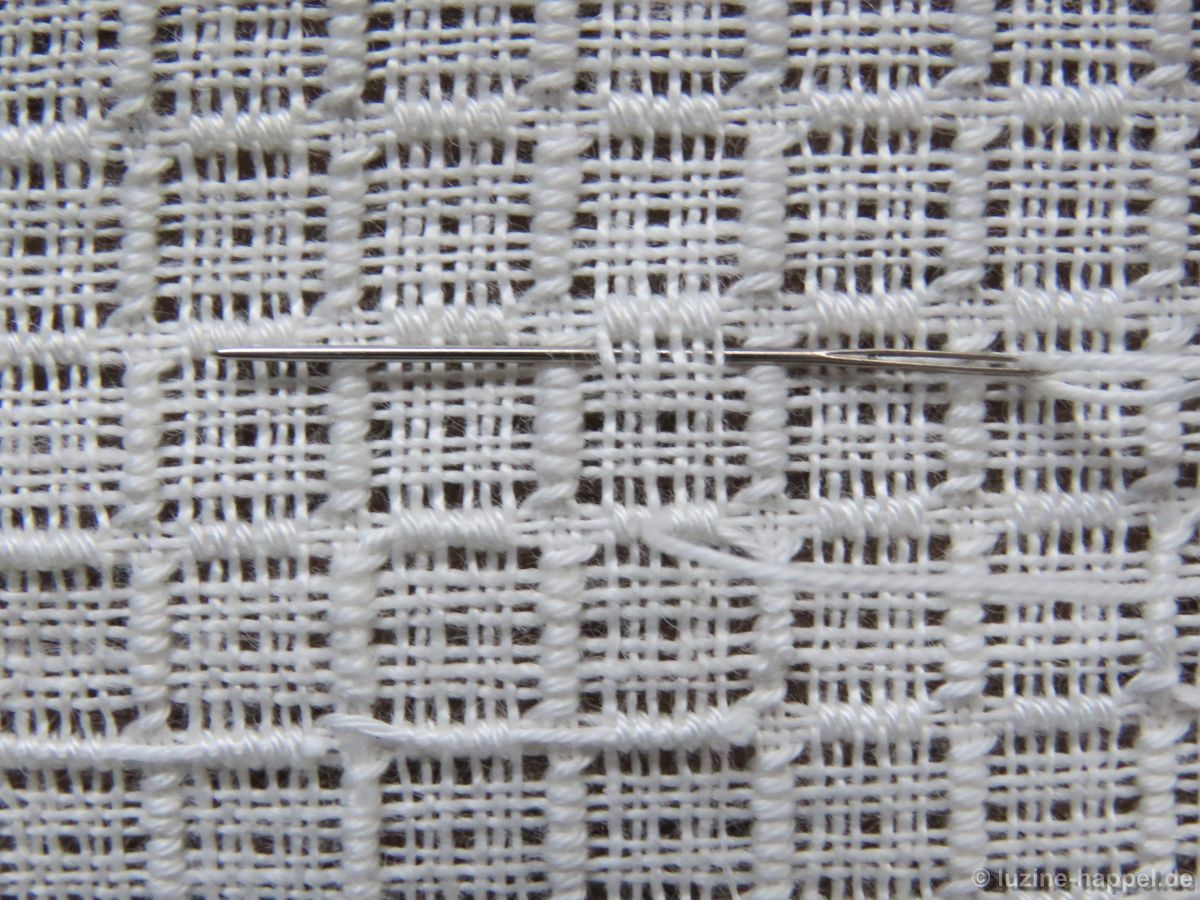
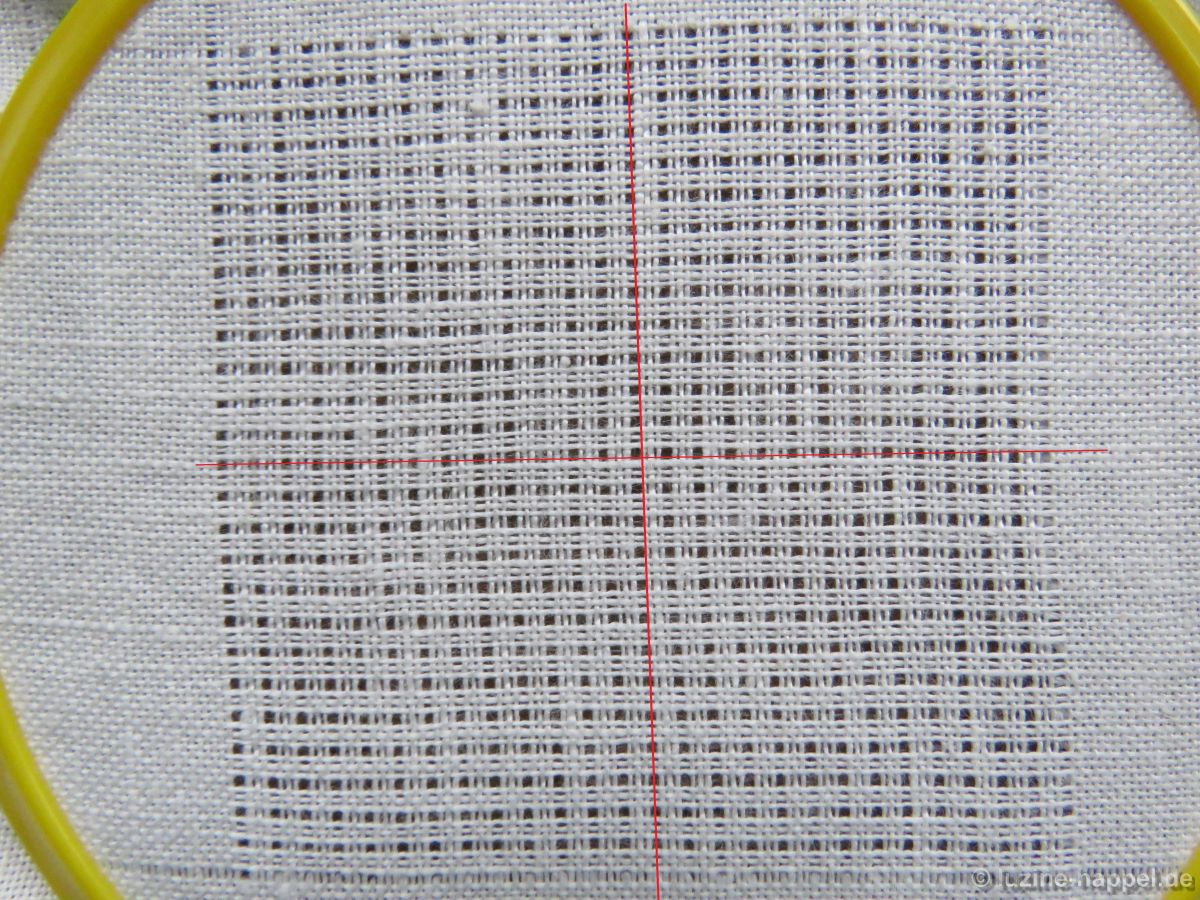
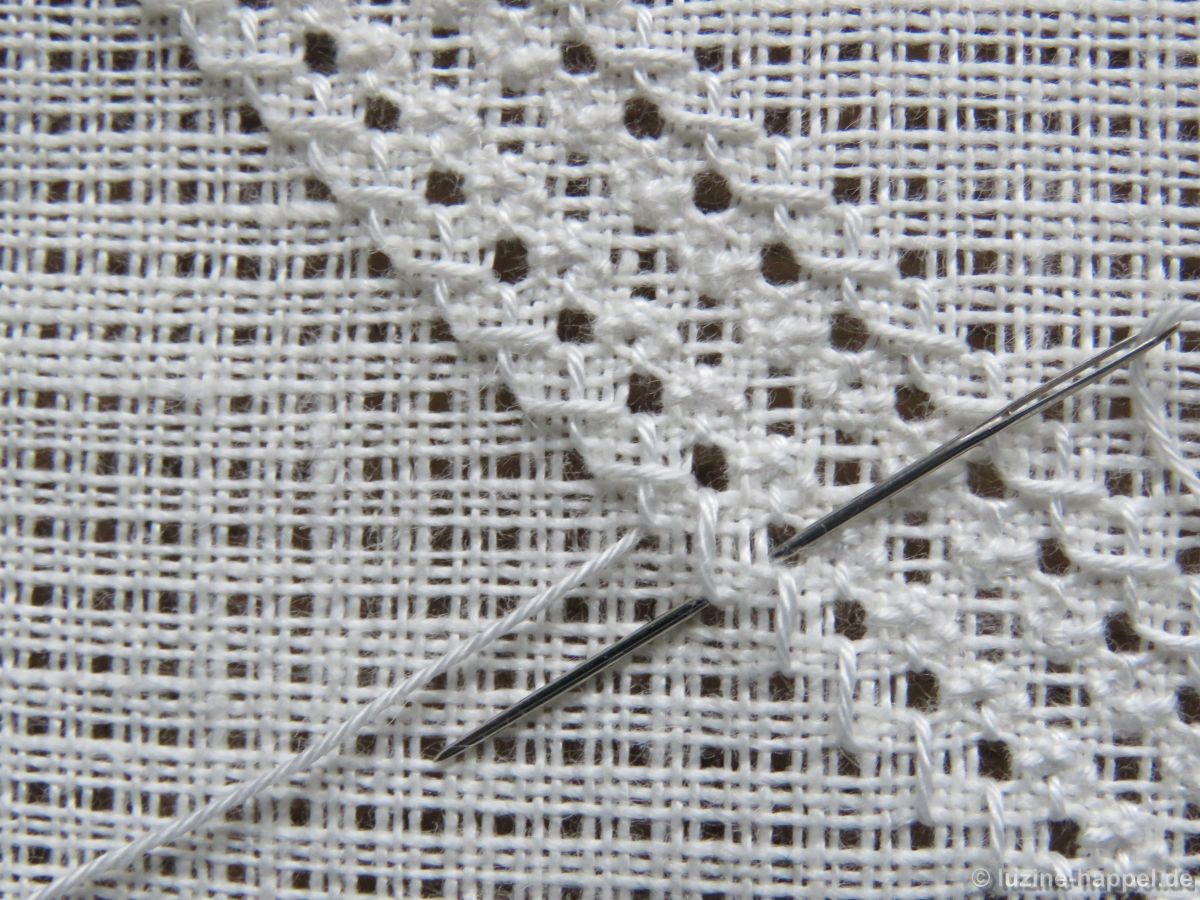
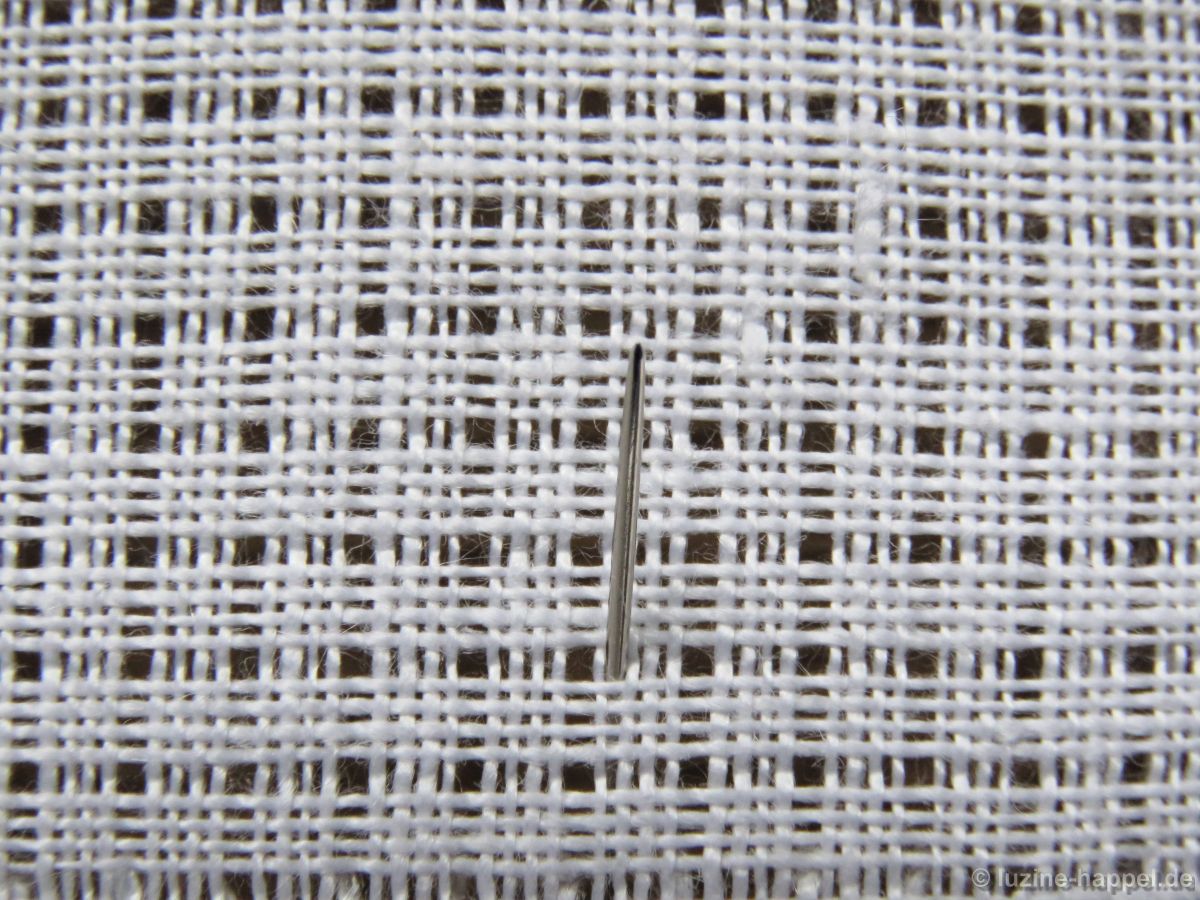
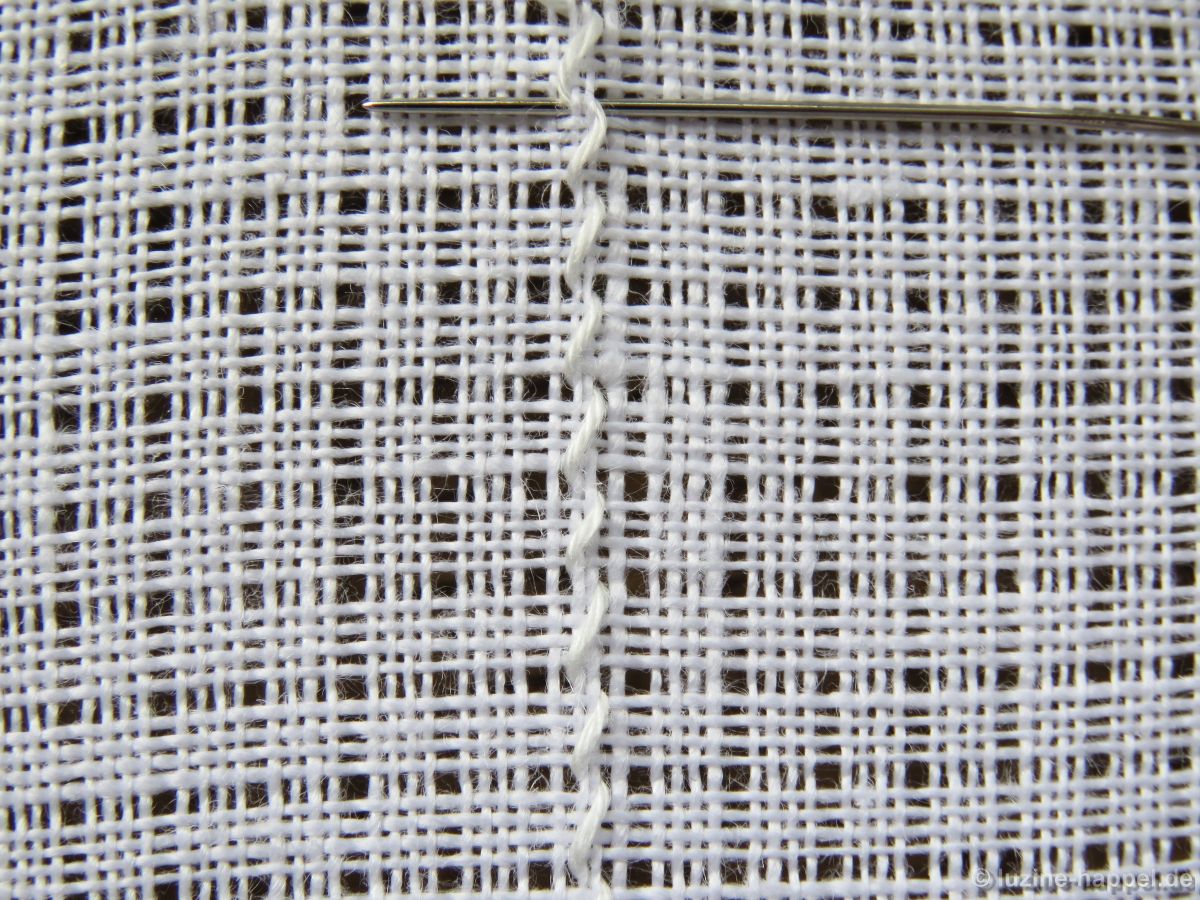
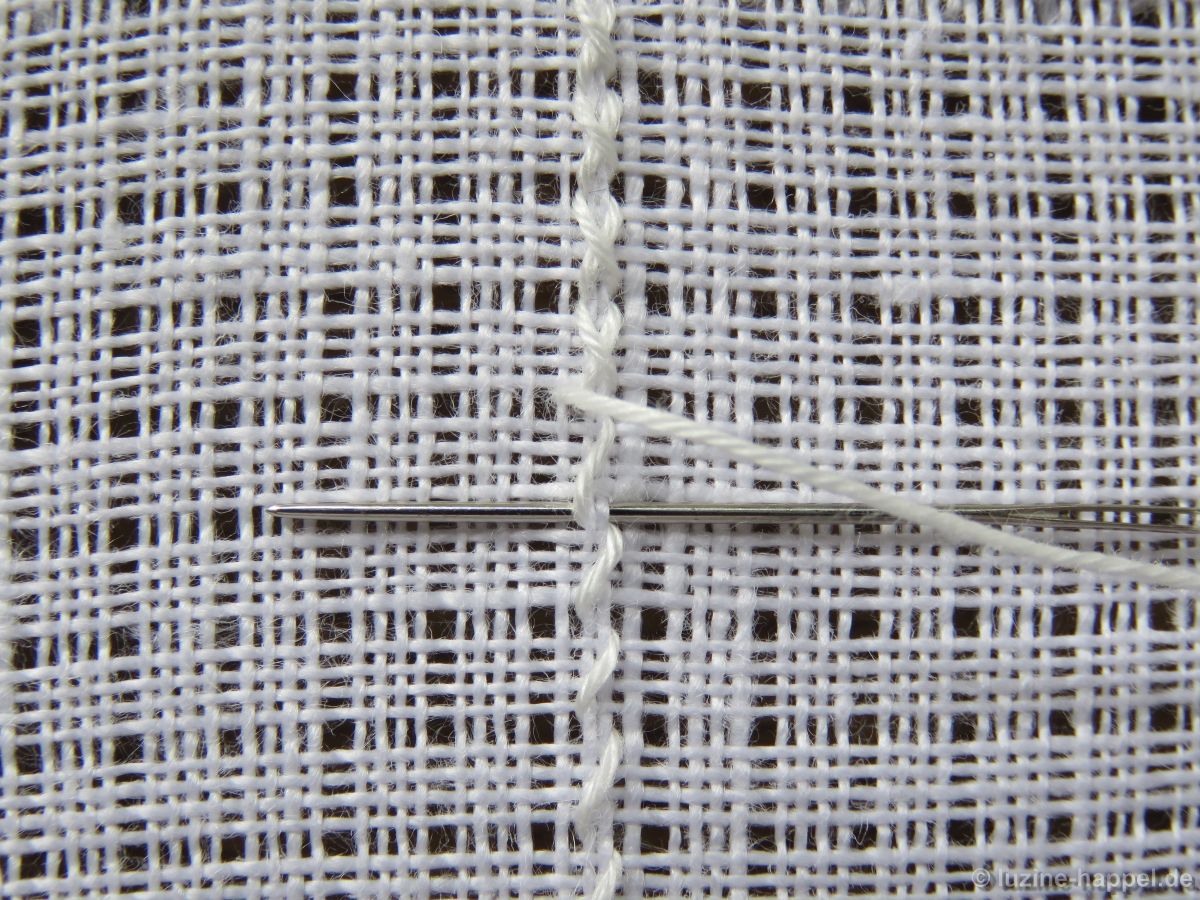
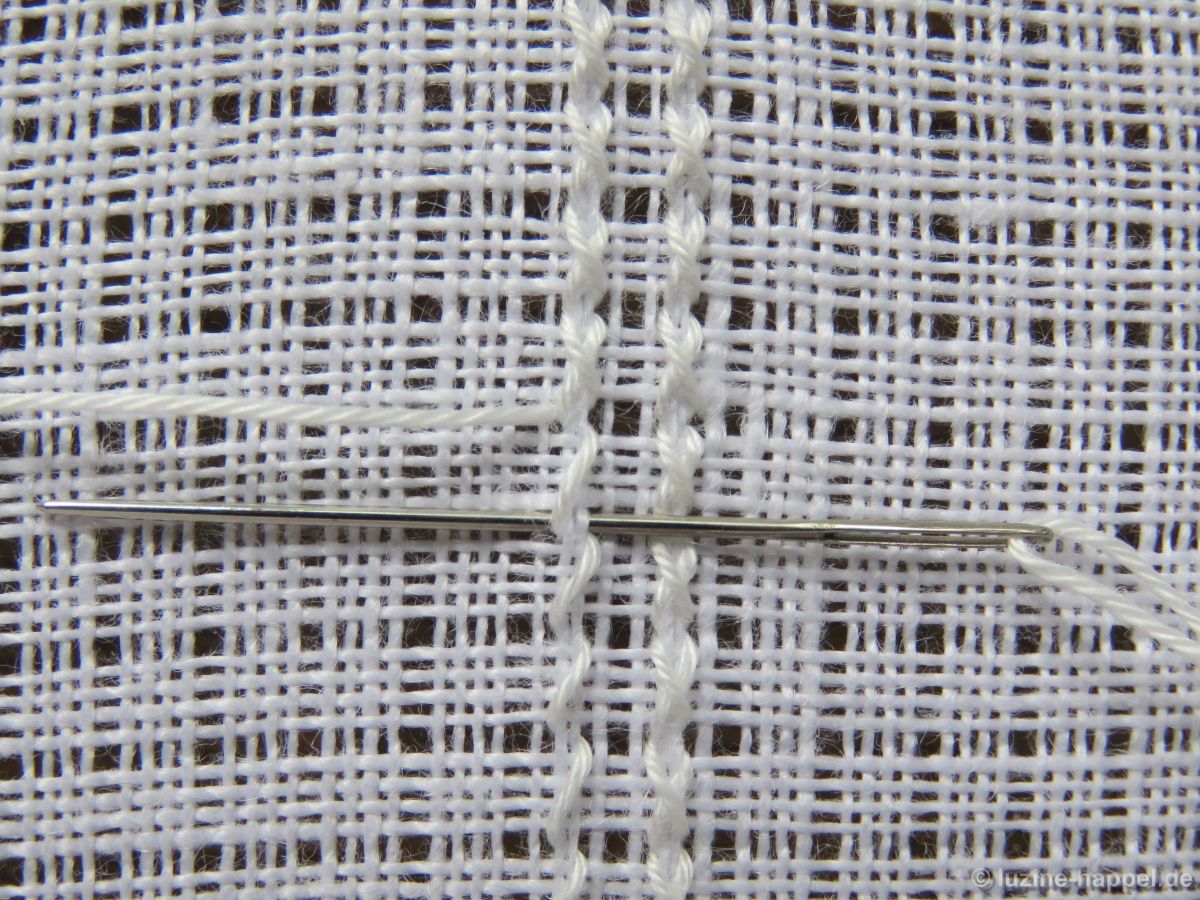
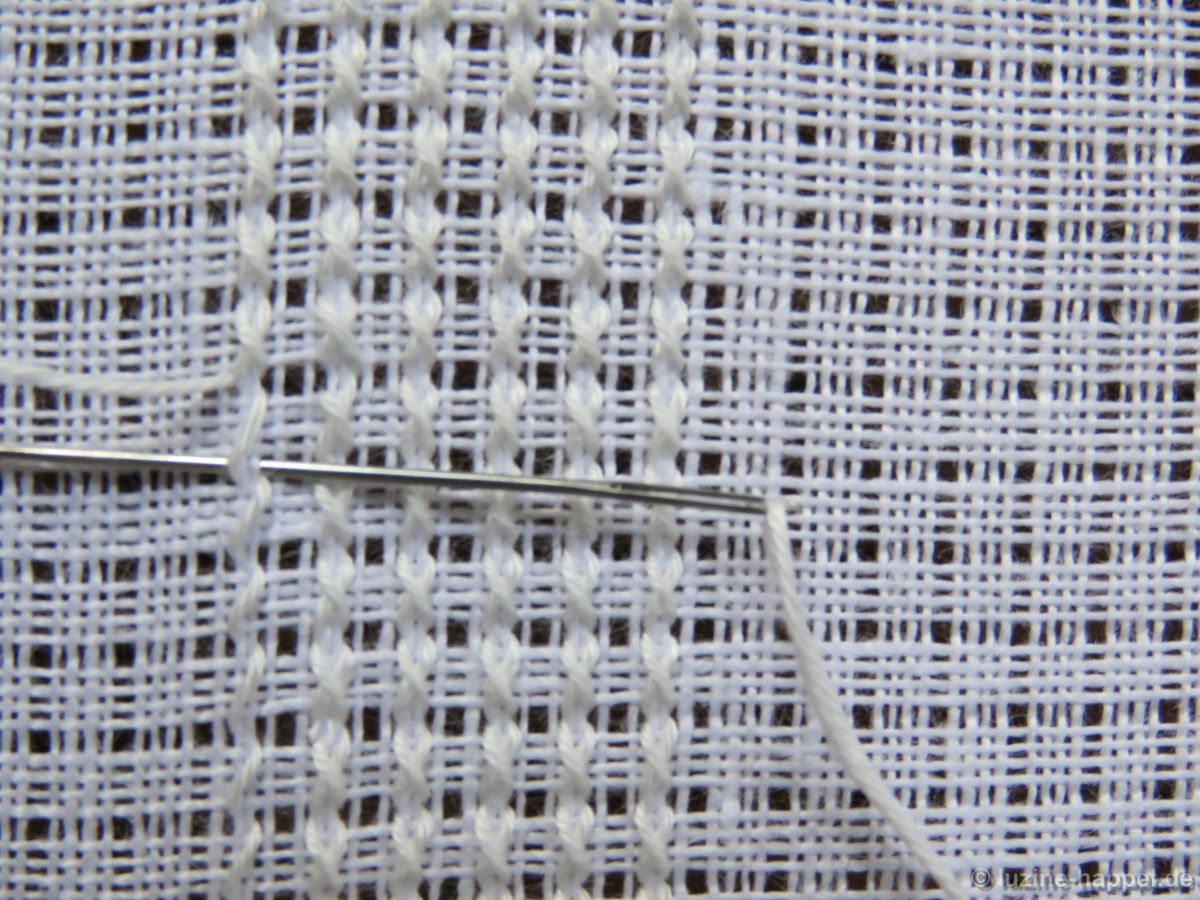
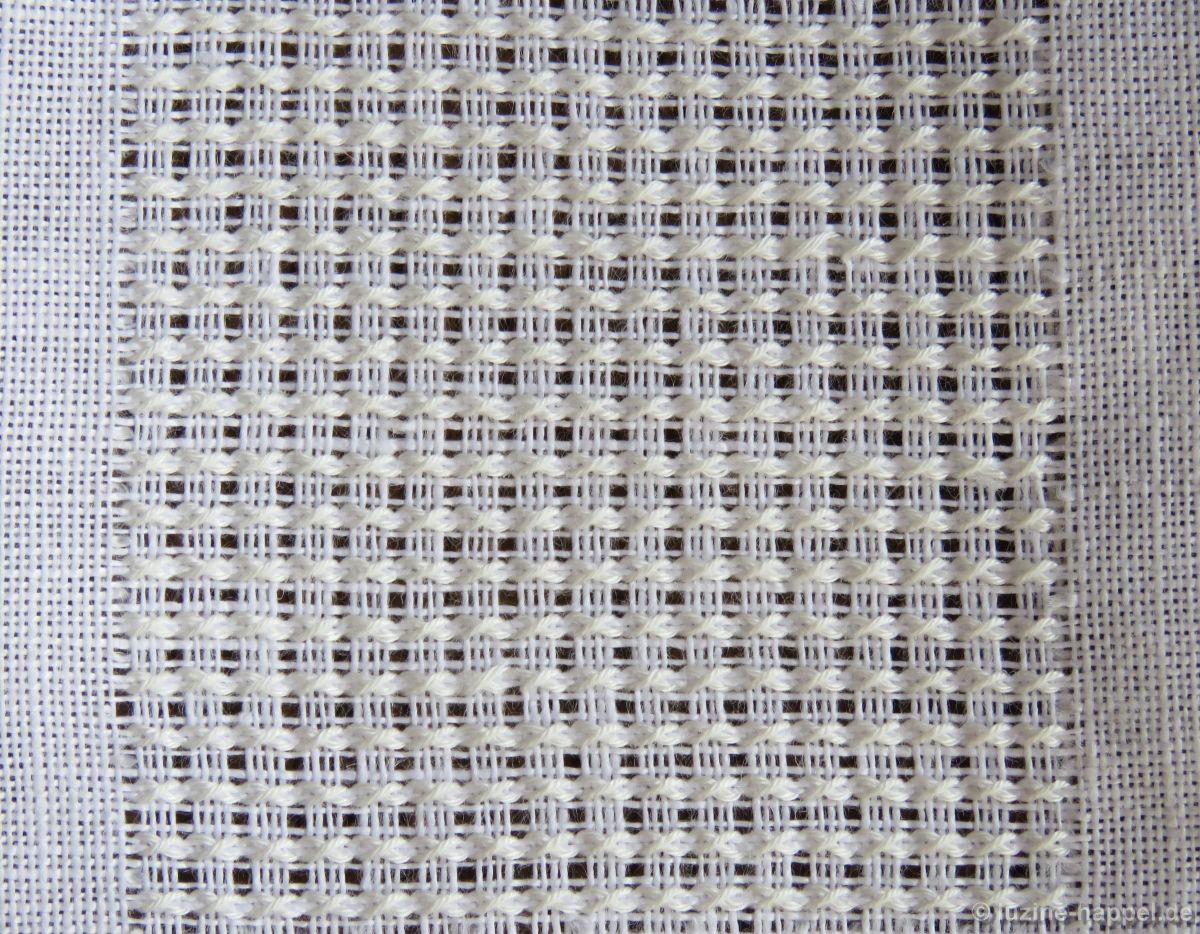
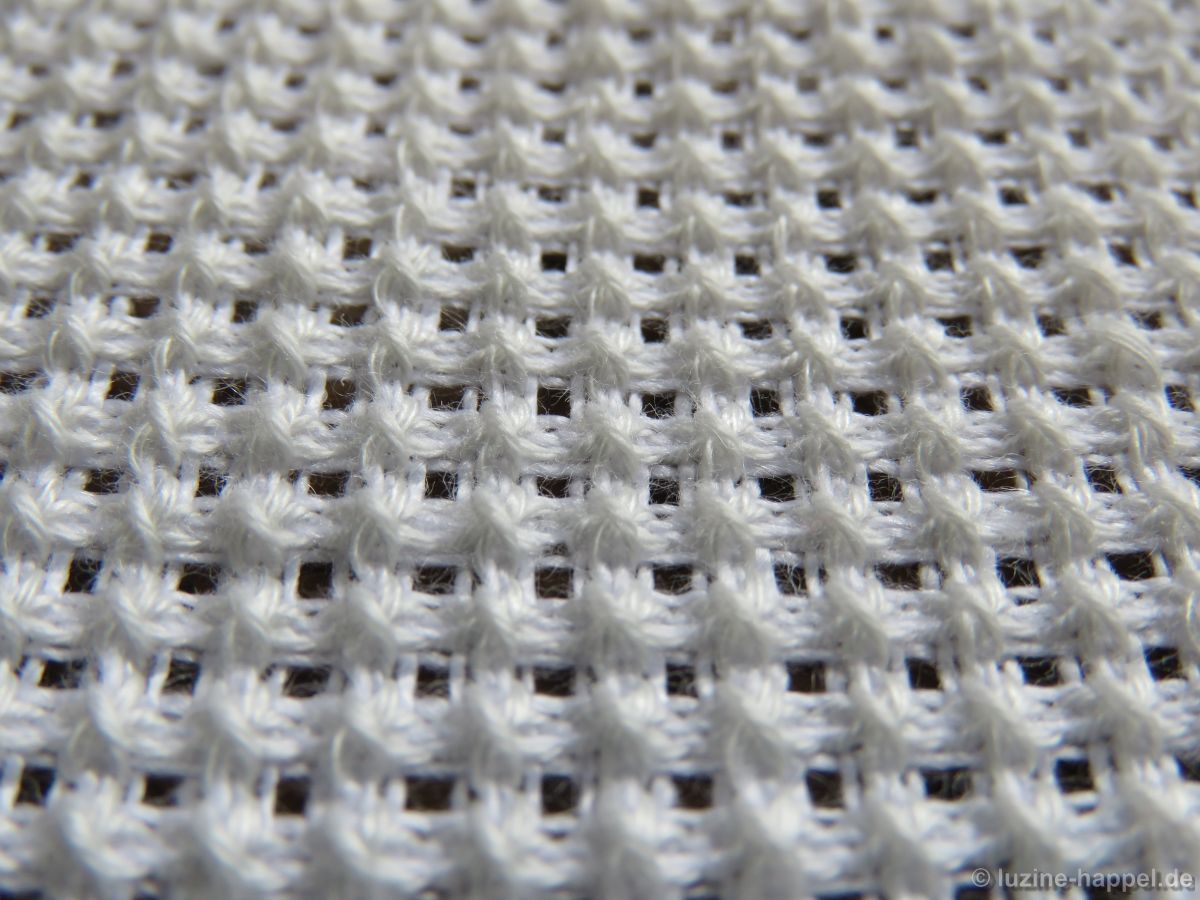
First, establish an openwork grid with an intersection of pairs of threads in the center by cutting 2, leaving 2 both vertically and horizontally.

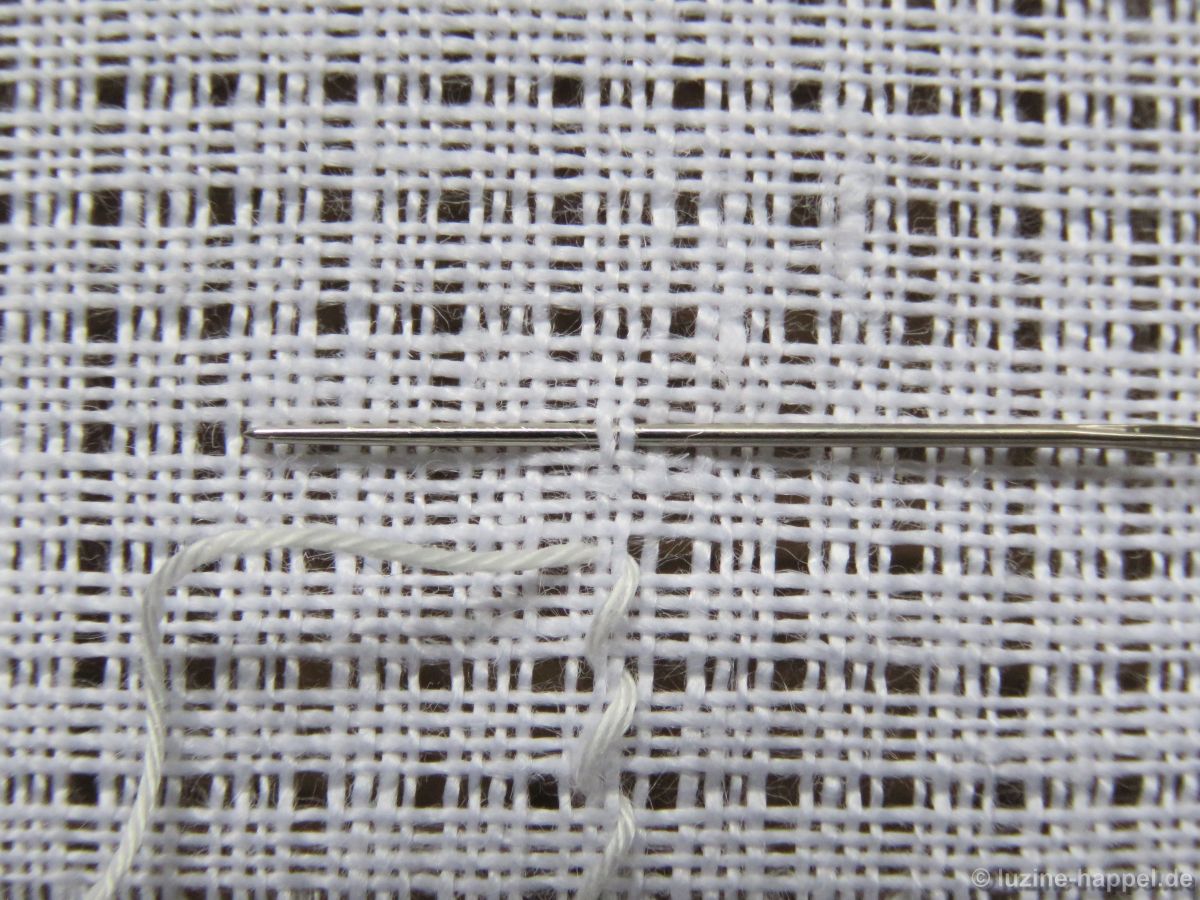
Stabilize the established grid with Single Faggot stitches worked from the back side of the fabric. Please remember that Single Faggot stitch worked on the back side will look like Cable stitch viewed from the front.

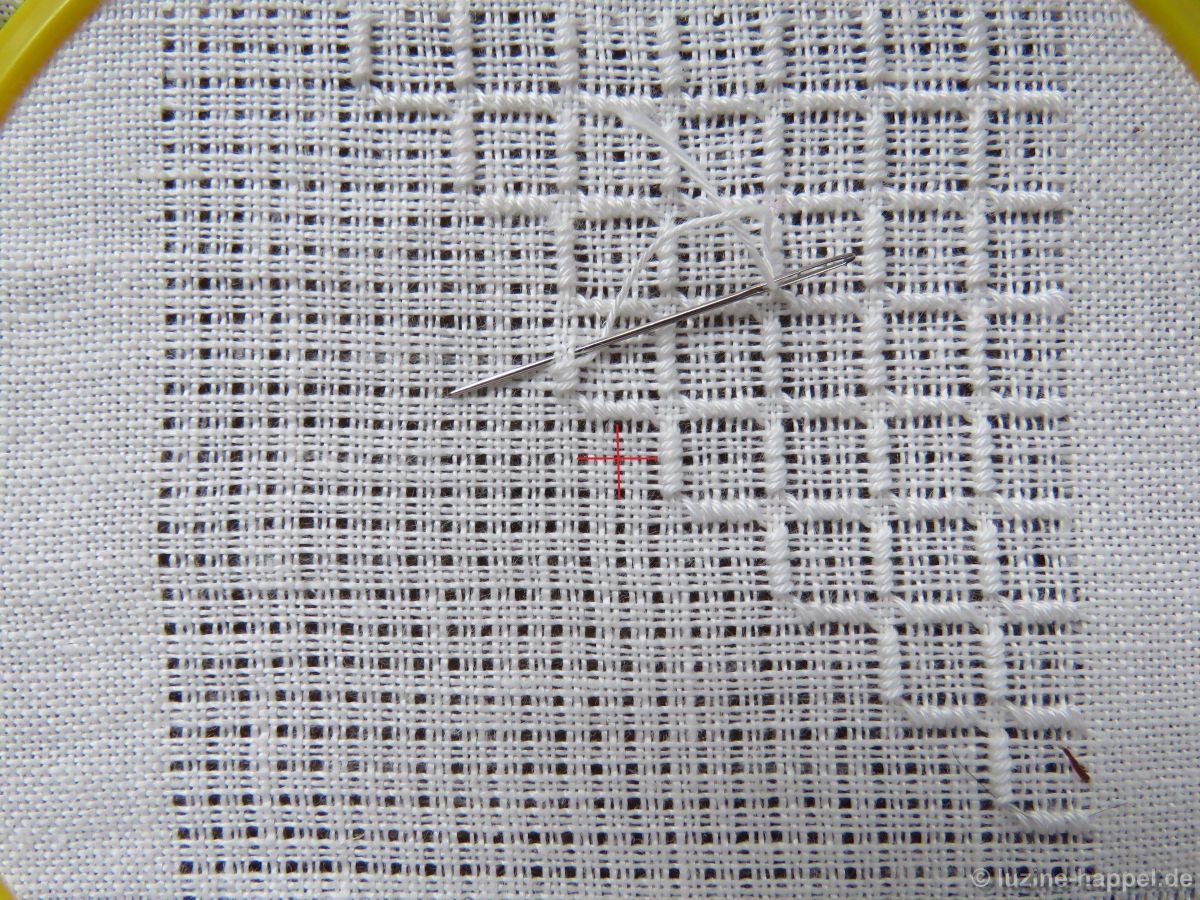
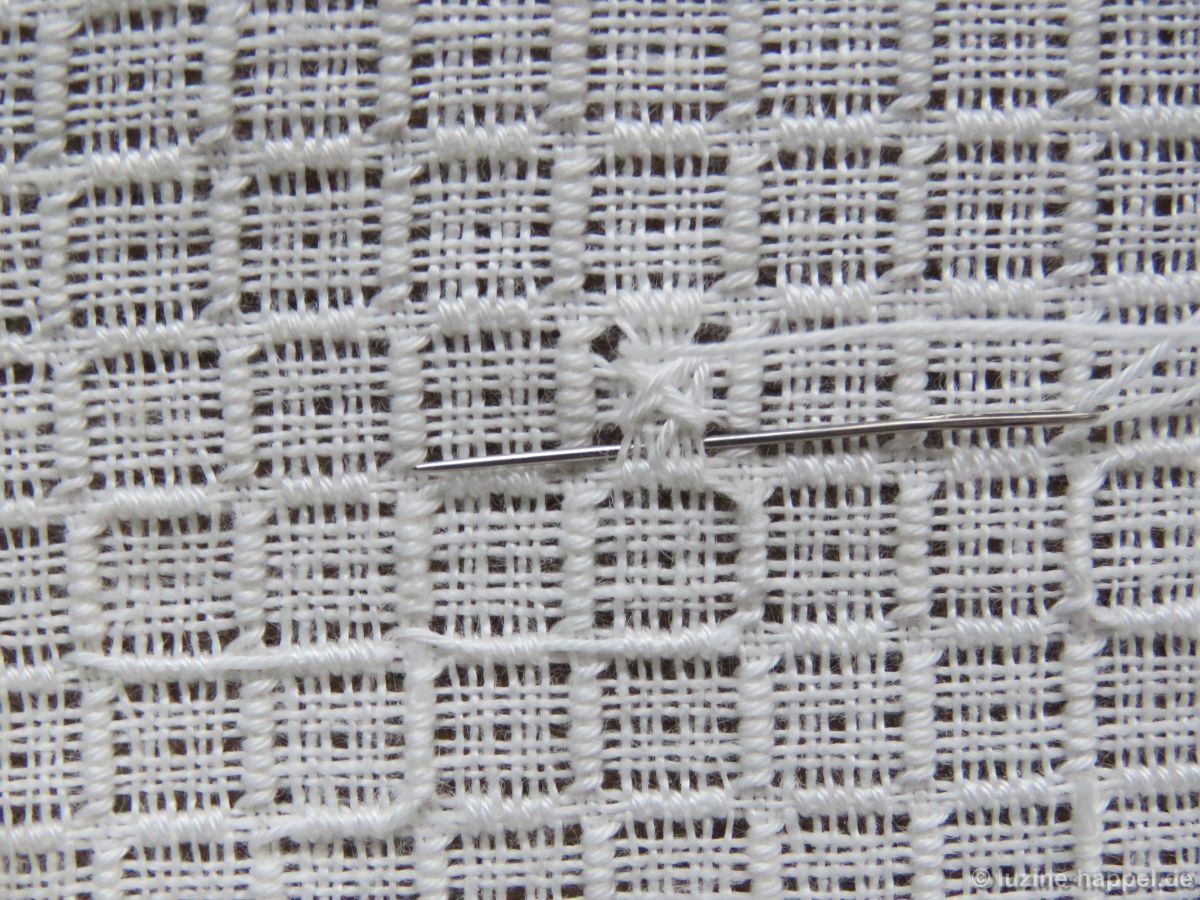
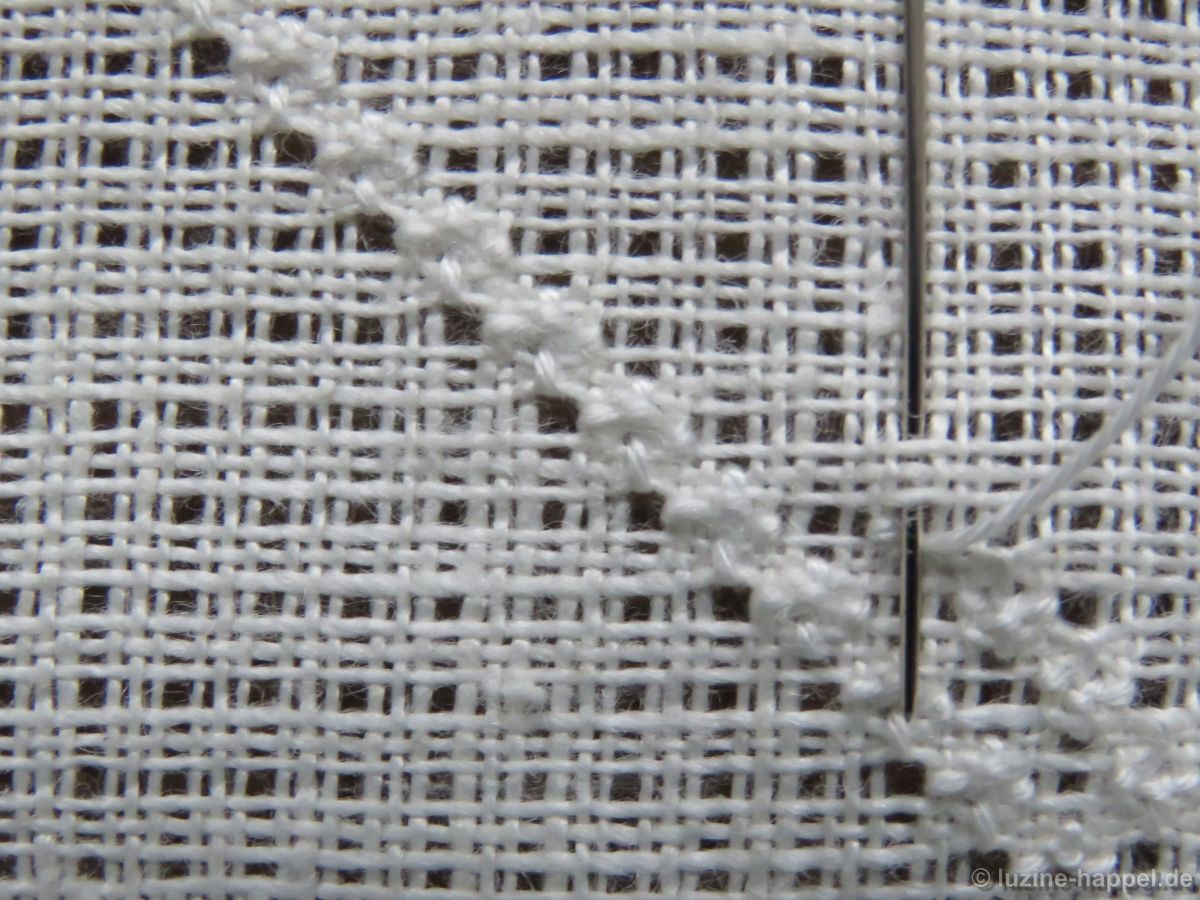
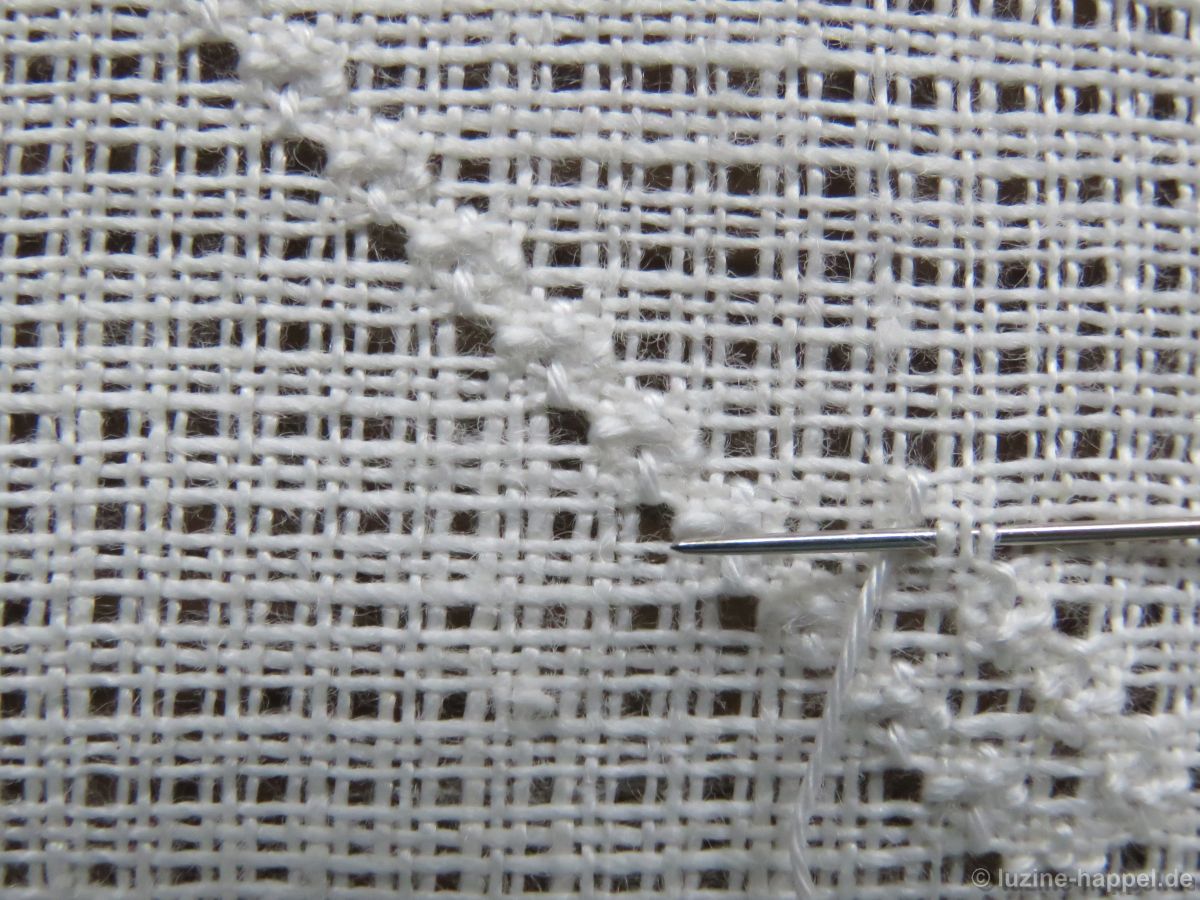
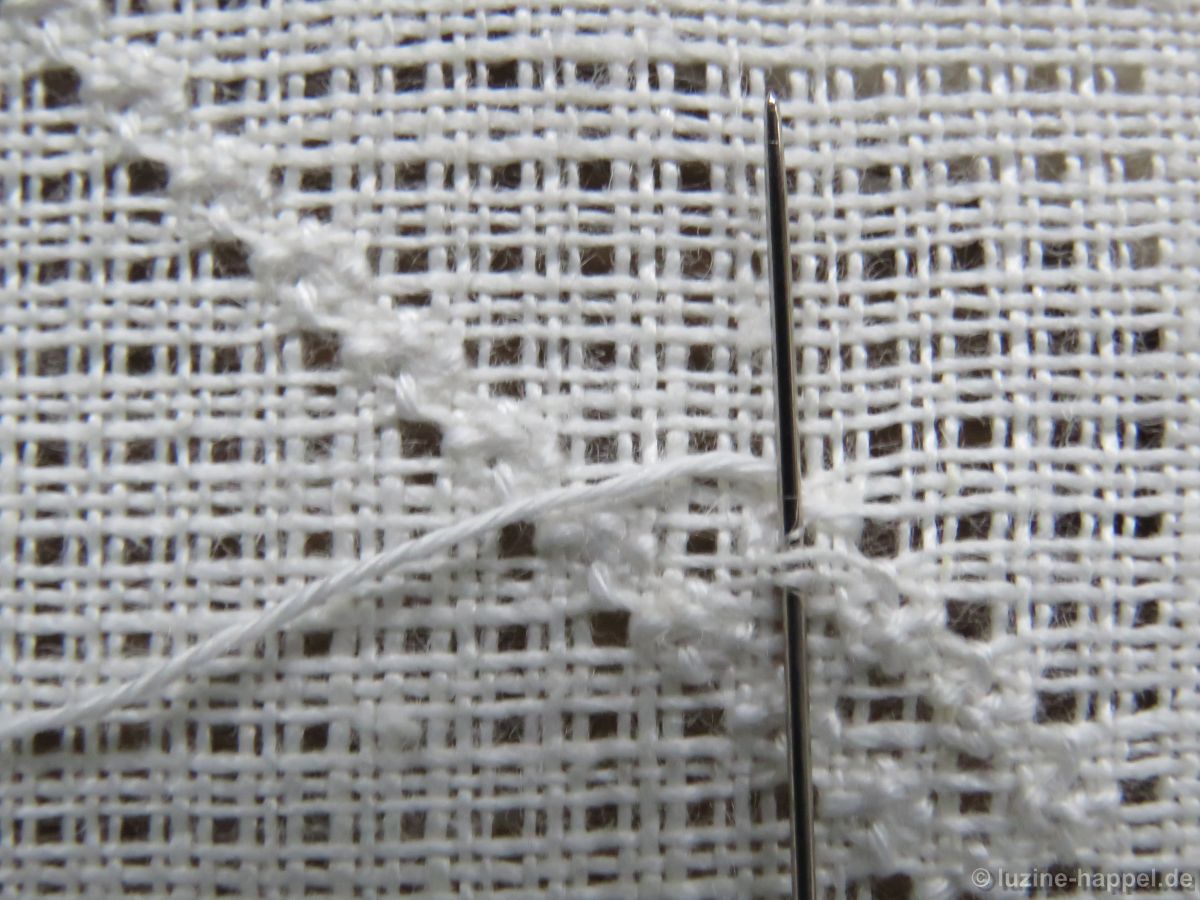
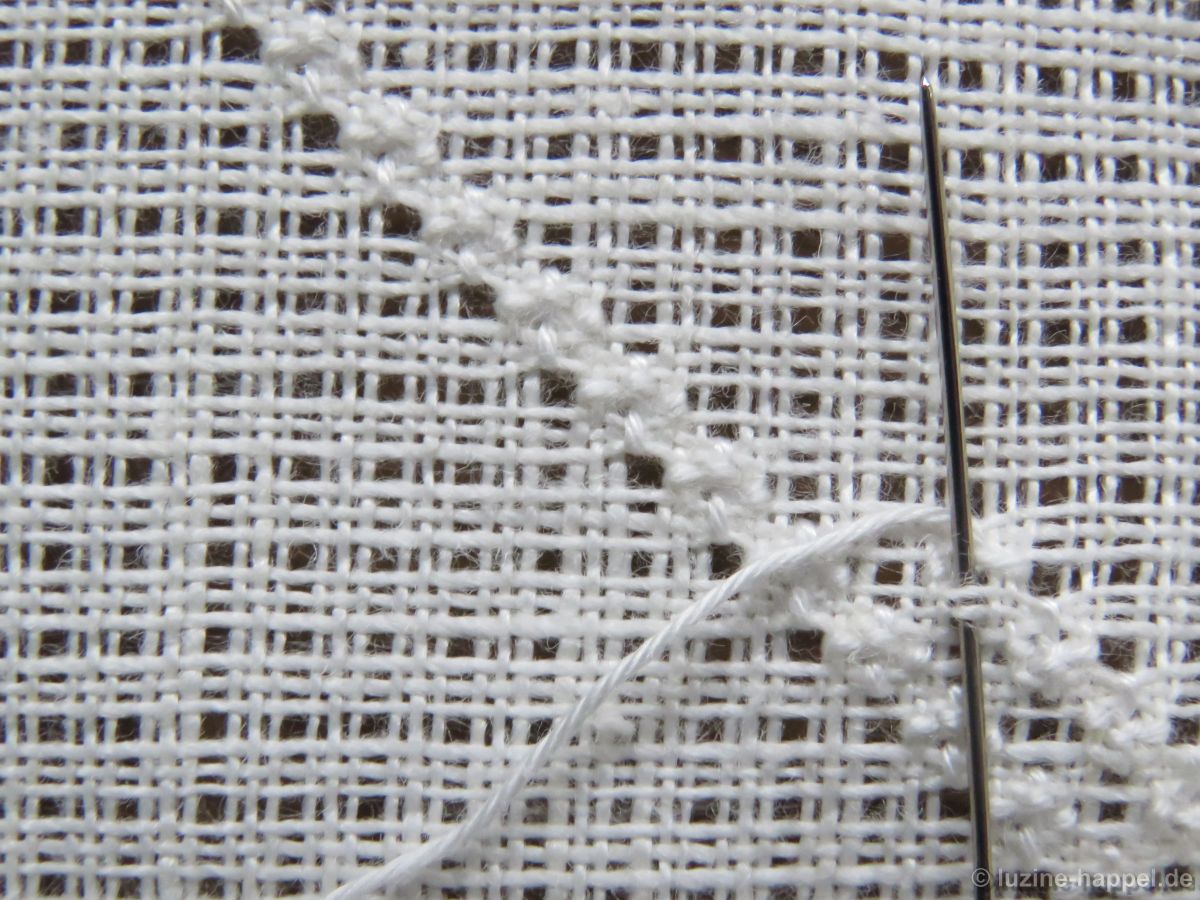
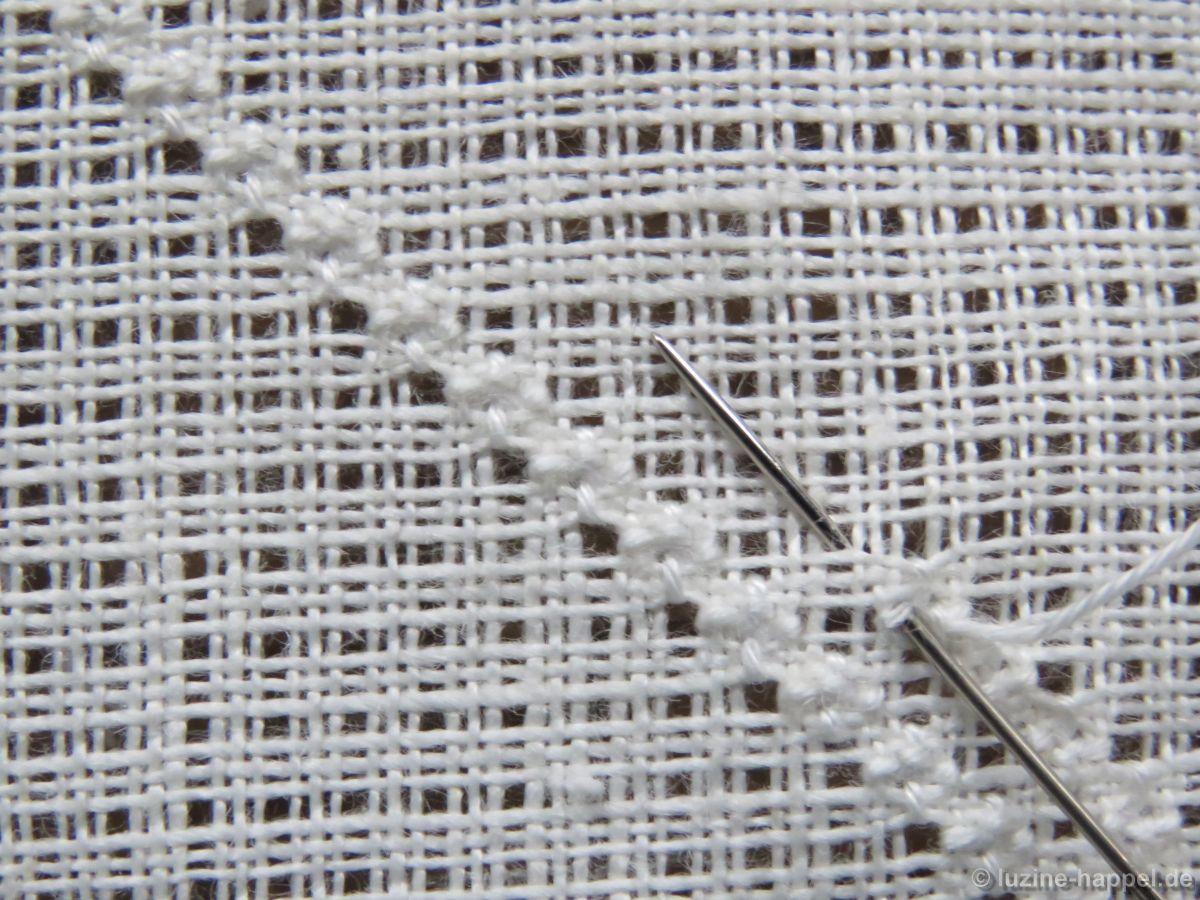
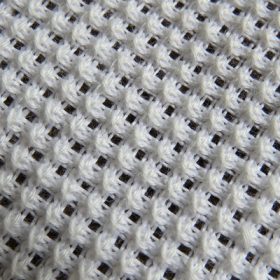
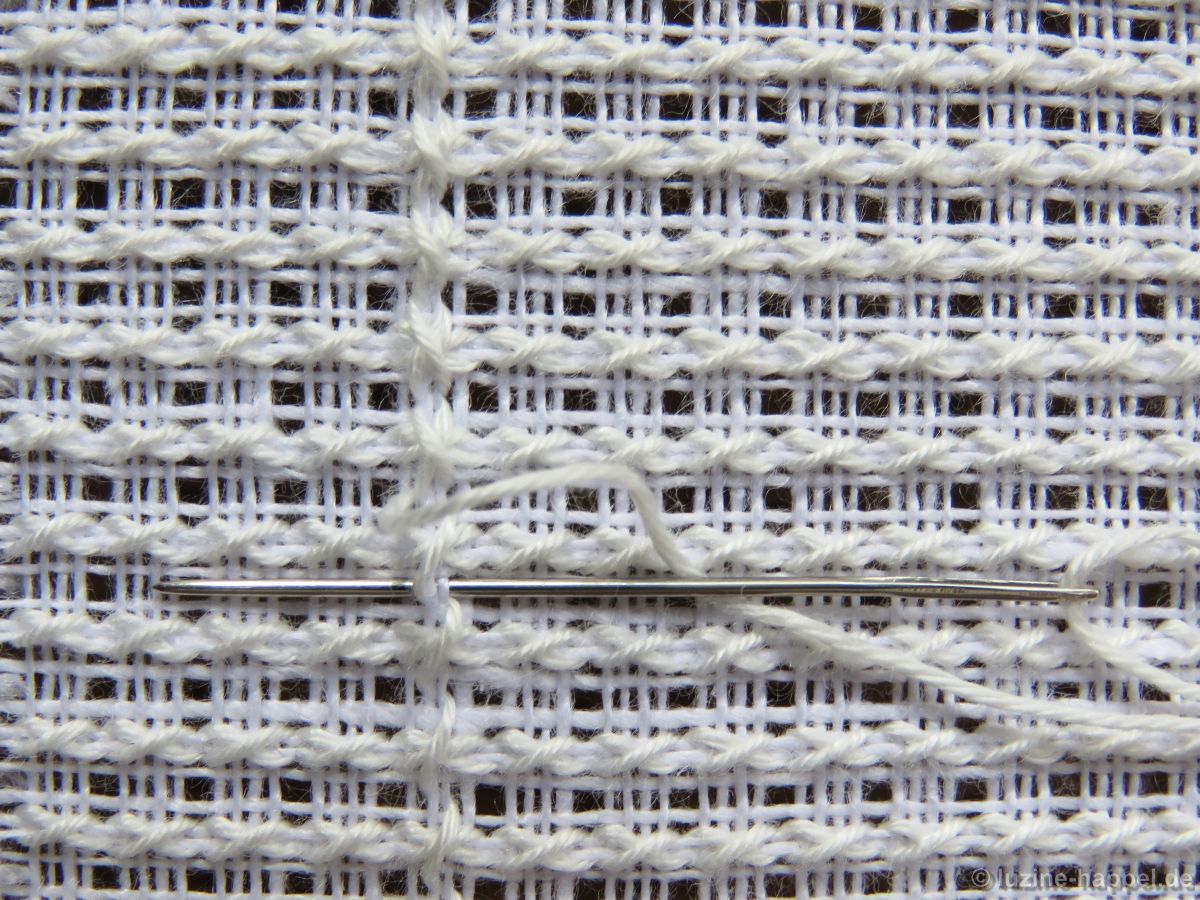
Then the desired pattern – made up of Rose stitches in squares of 4 x 4 stitches in a grid of intersecting diagonal rows of rose stitches – is embroidered into the grid.

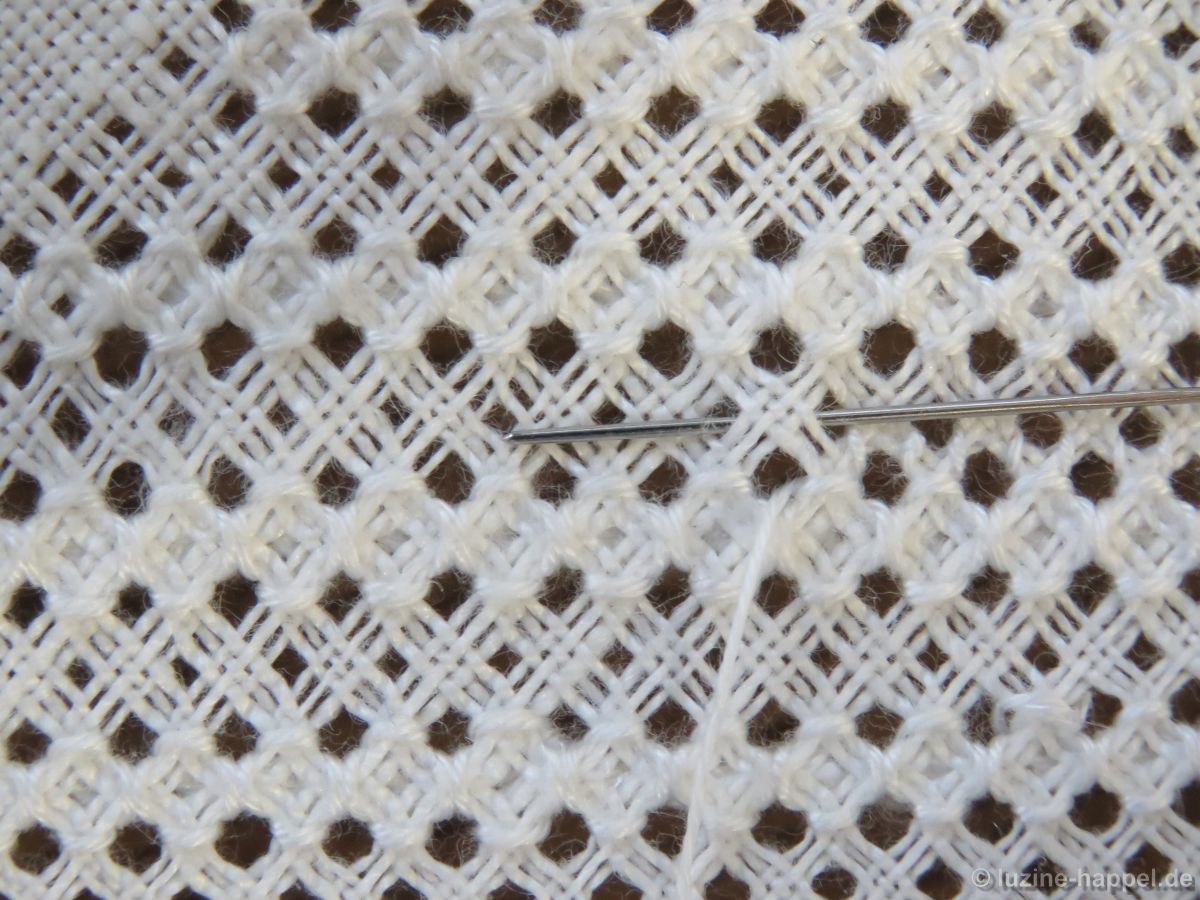
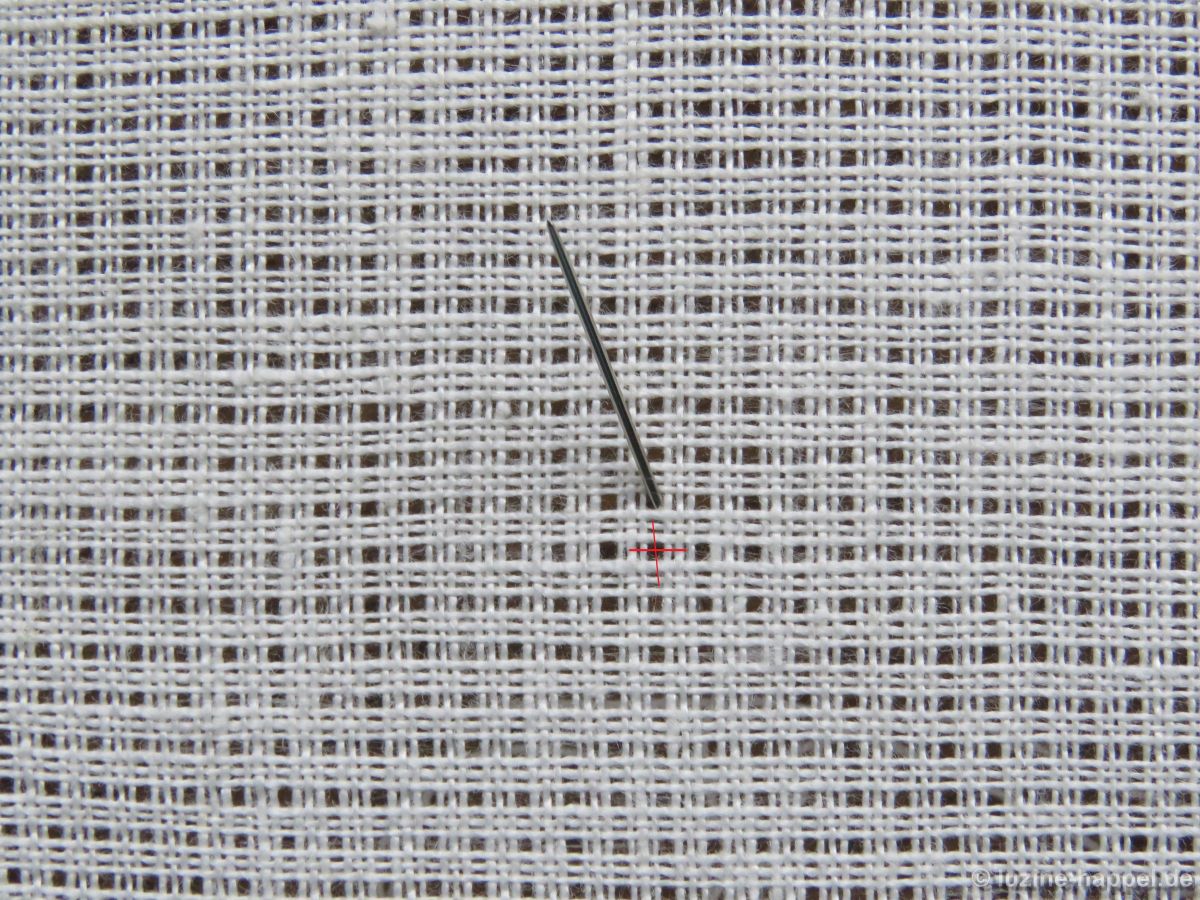
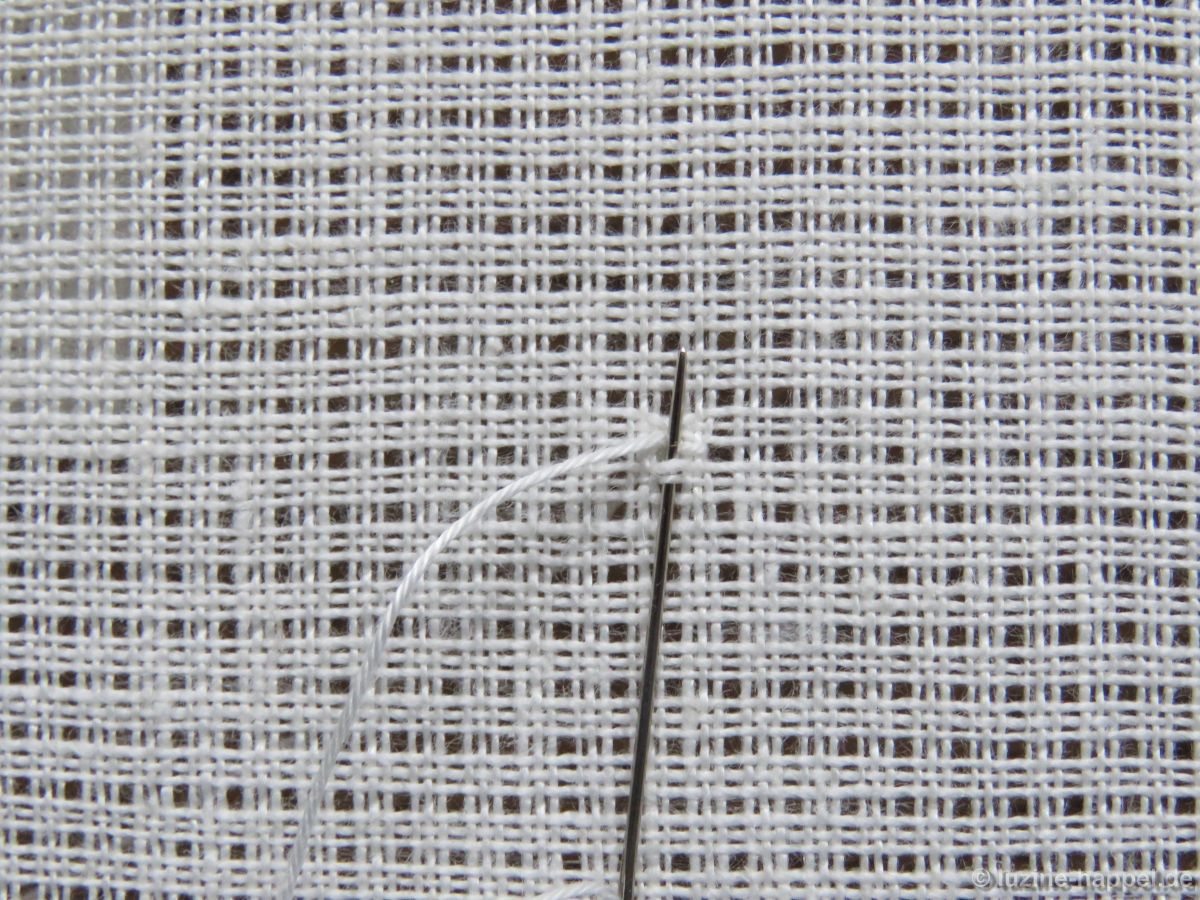
Therefore bring needle up in the second square diagonally from the center
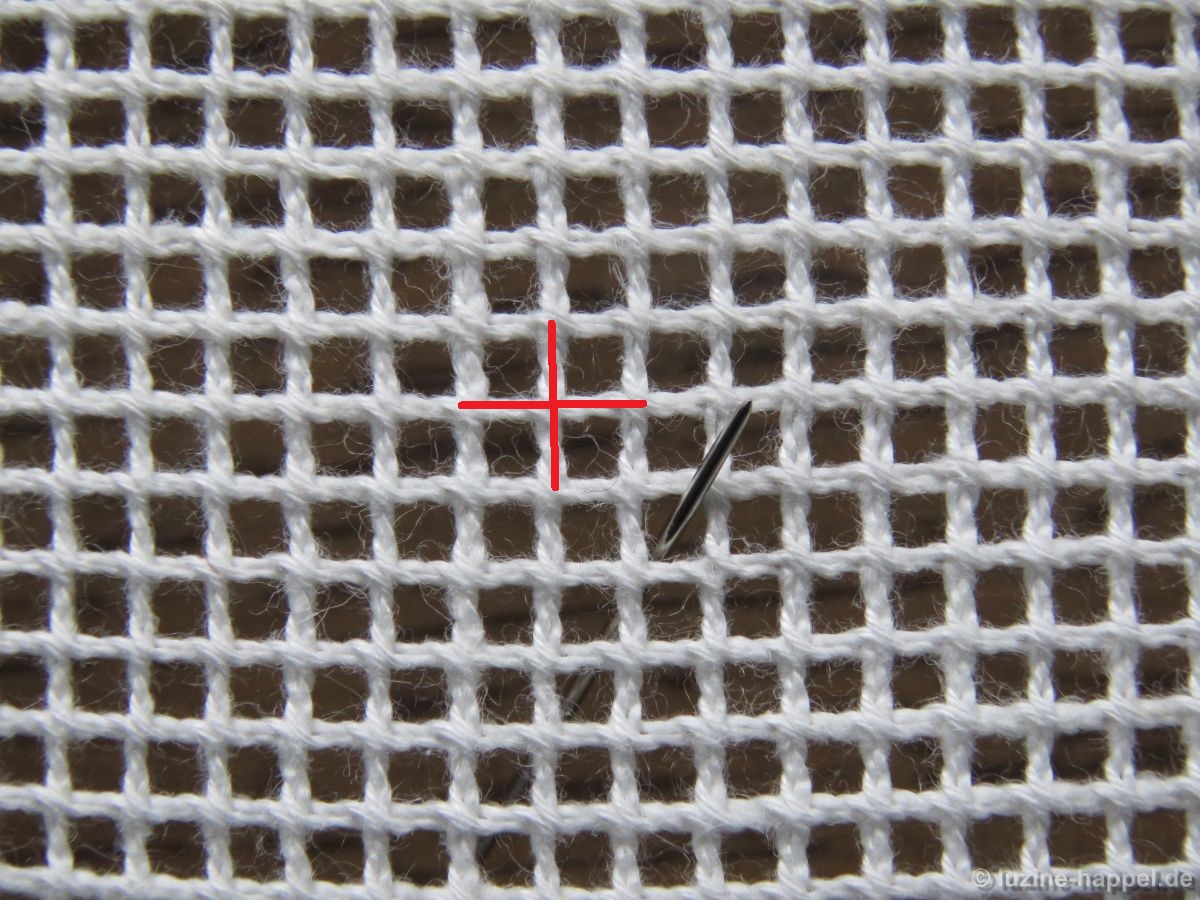
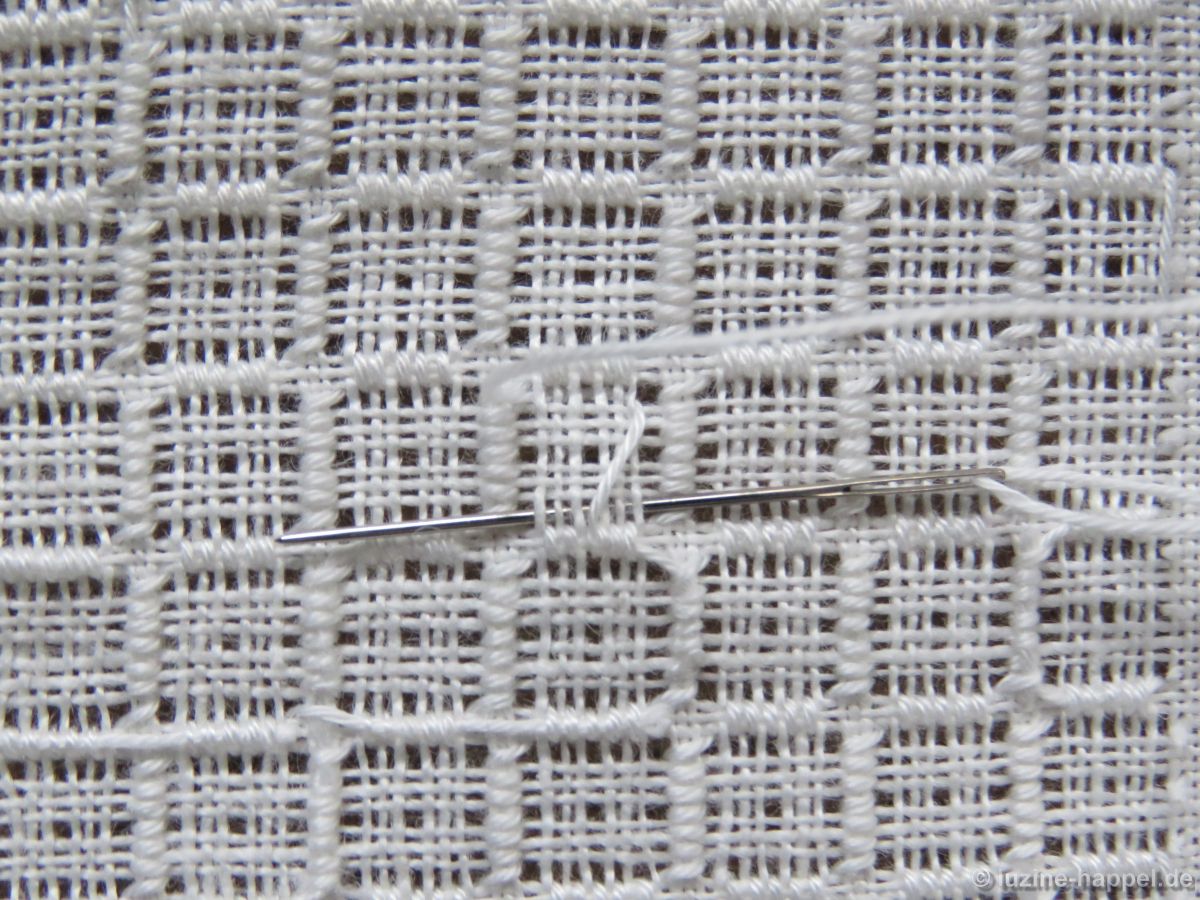
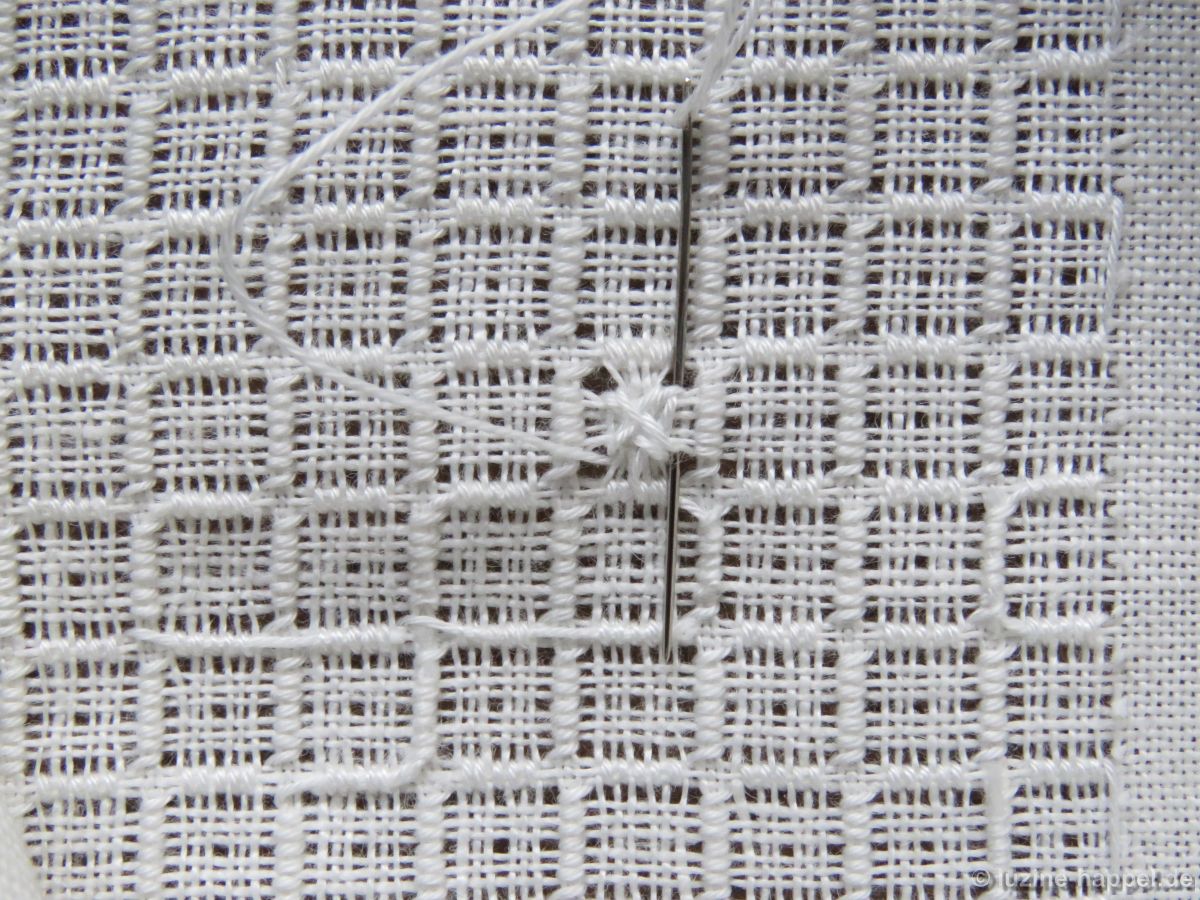
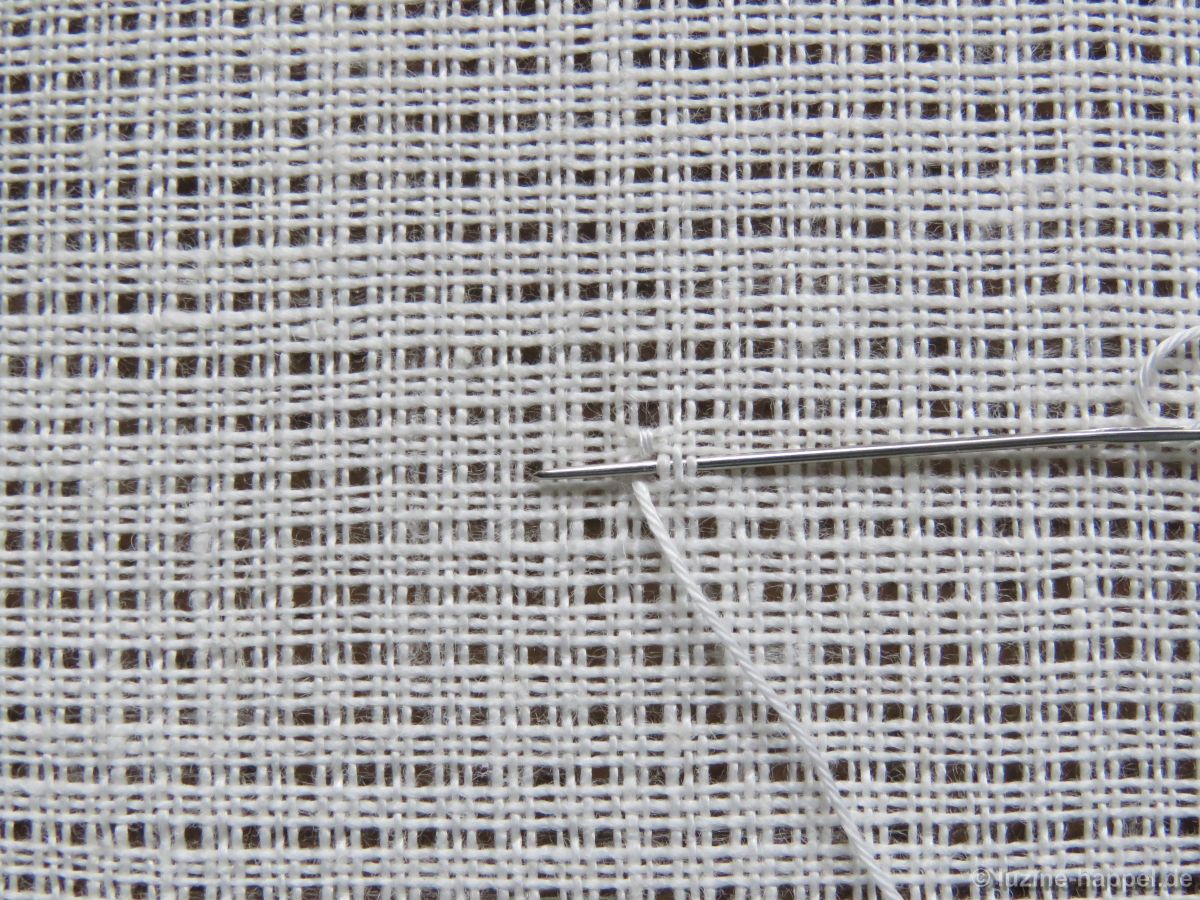
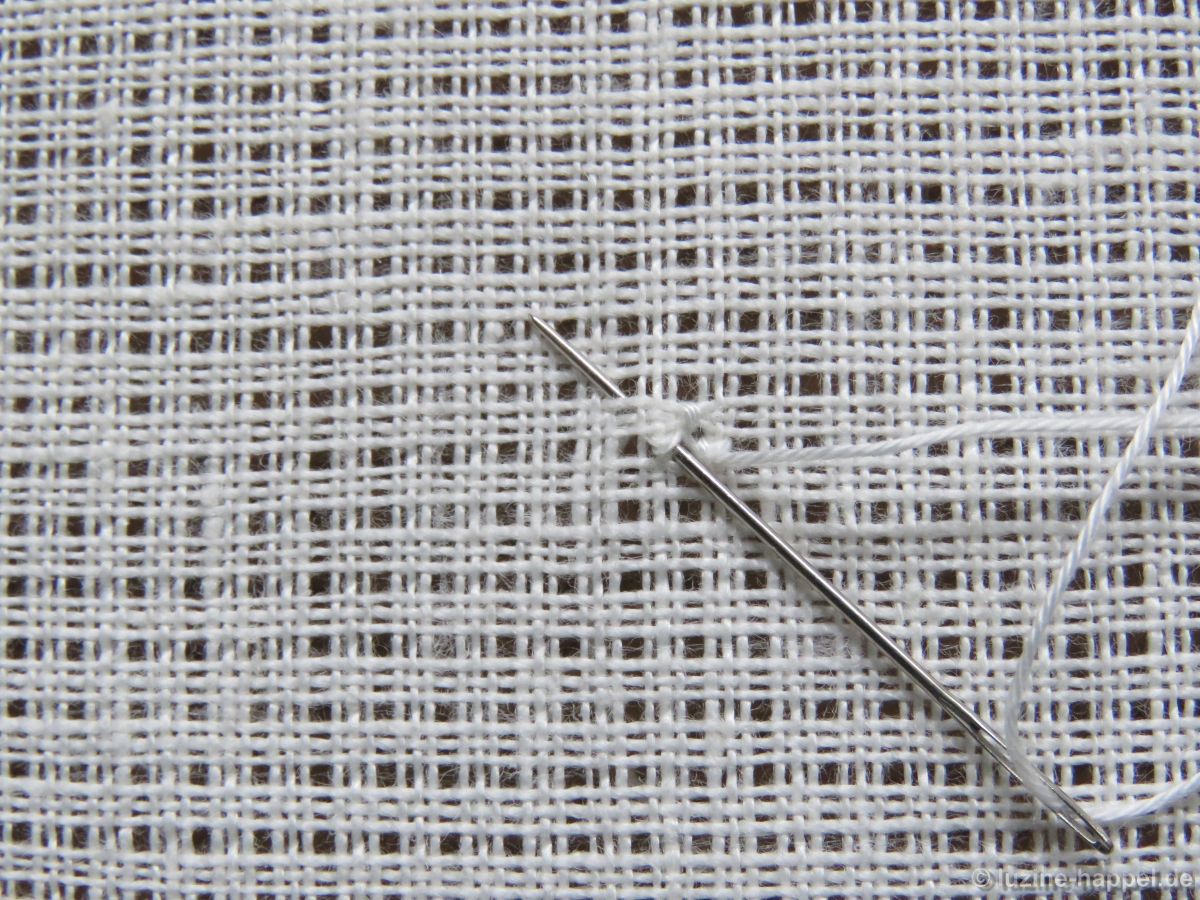
and embroider a square of 4 x 4 Rose stitches around the center square of 2 x 2 remaining free squares.

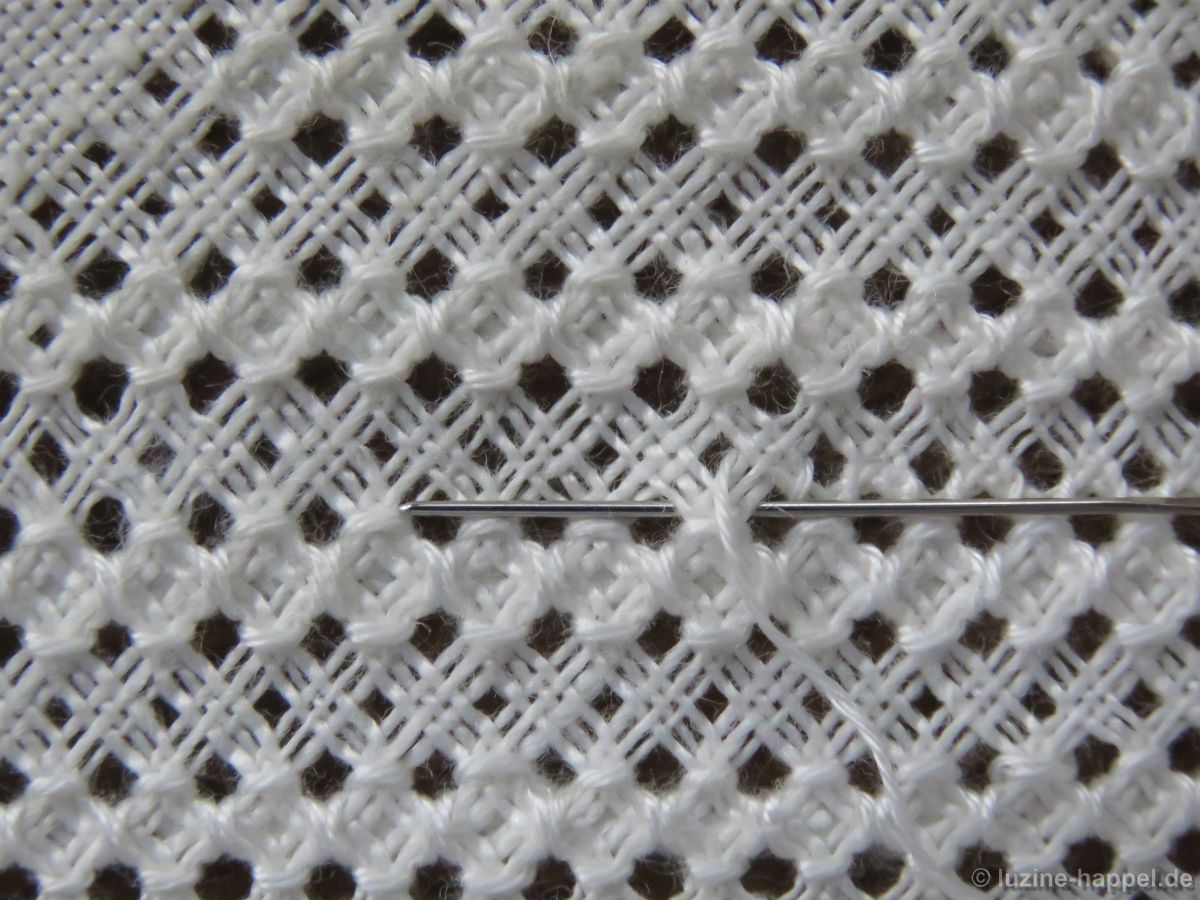
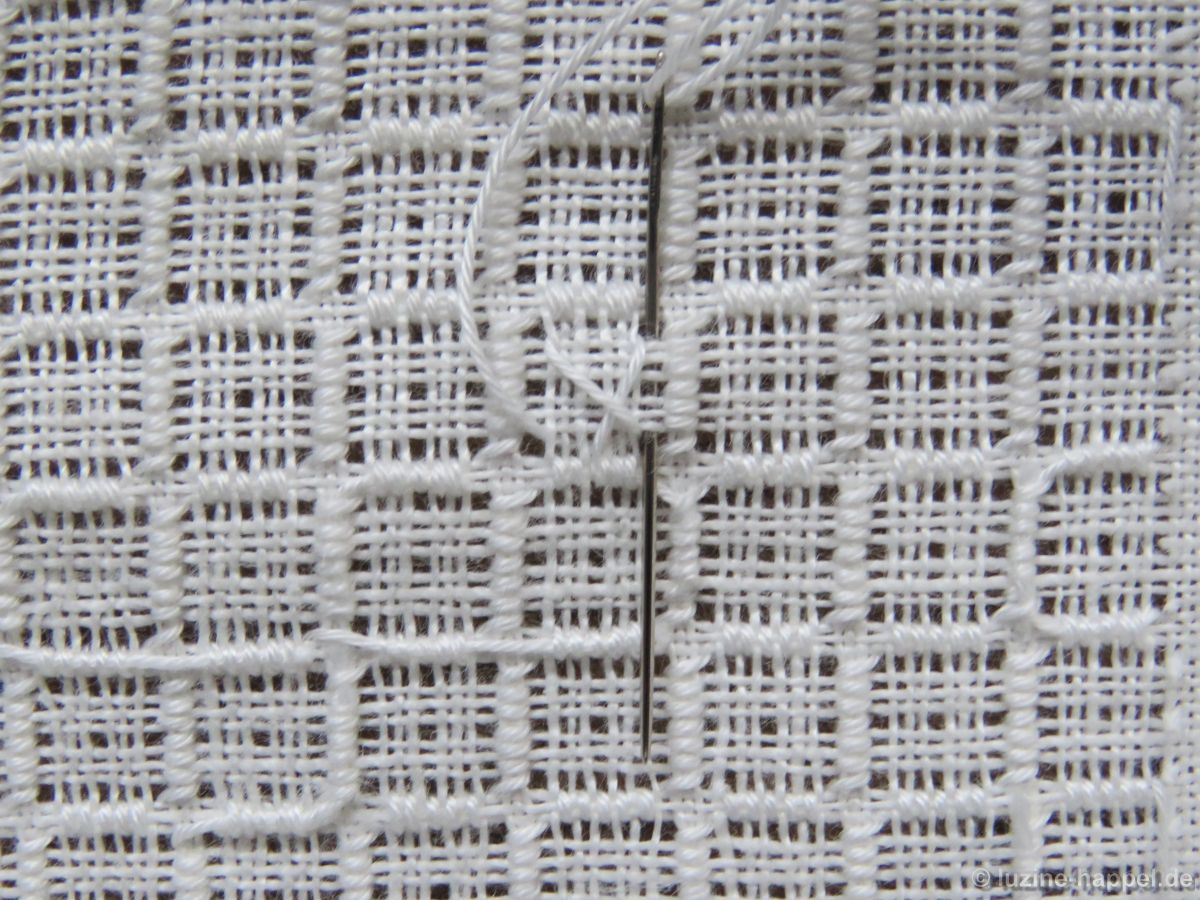
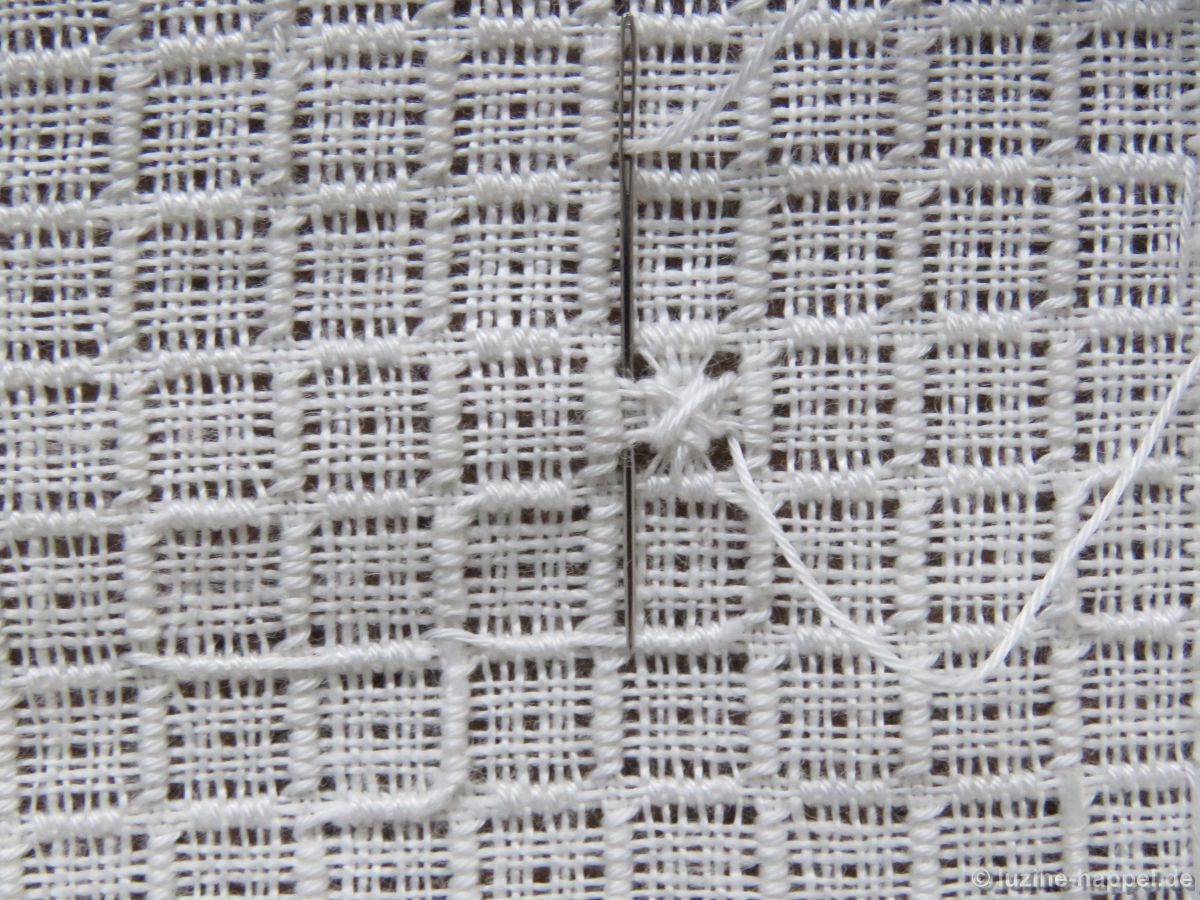
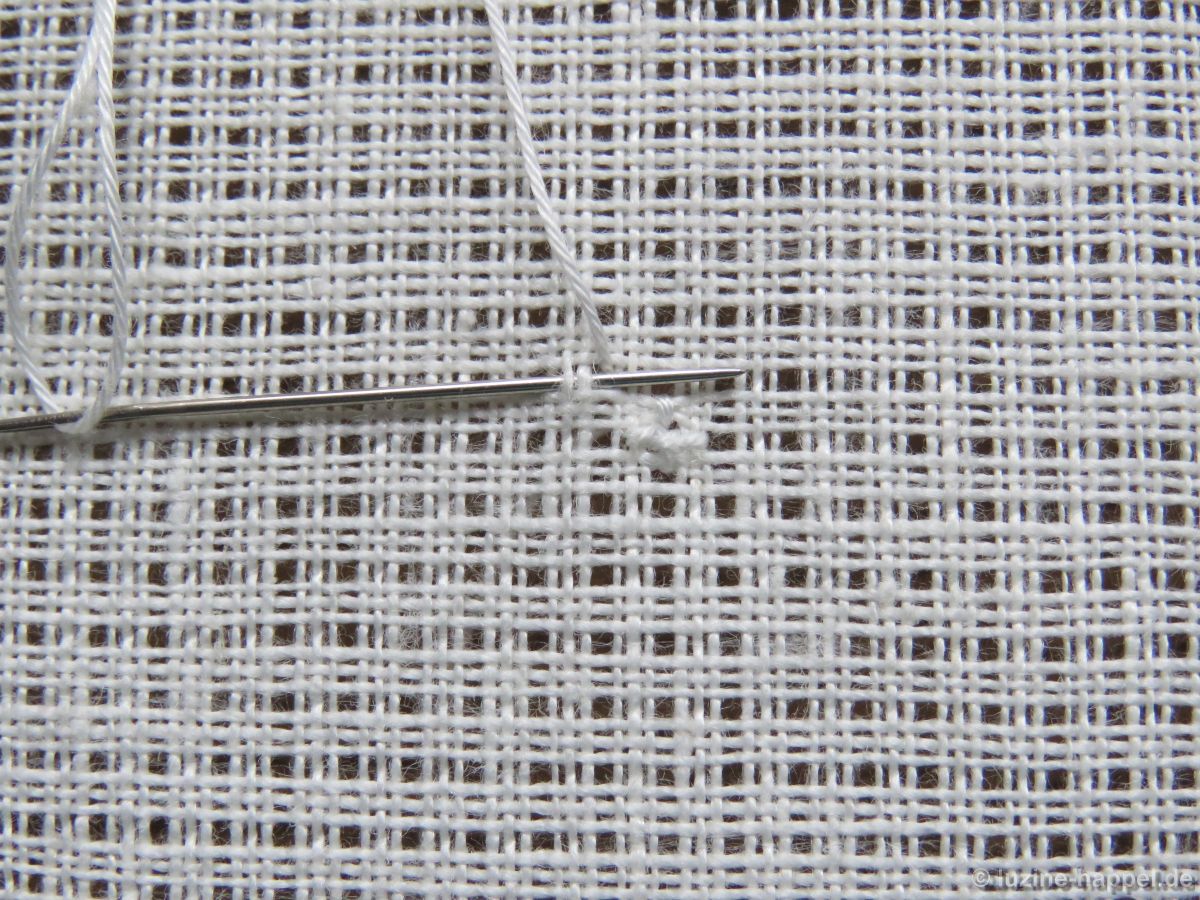
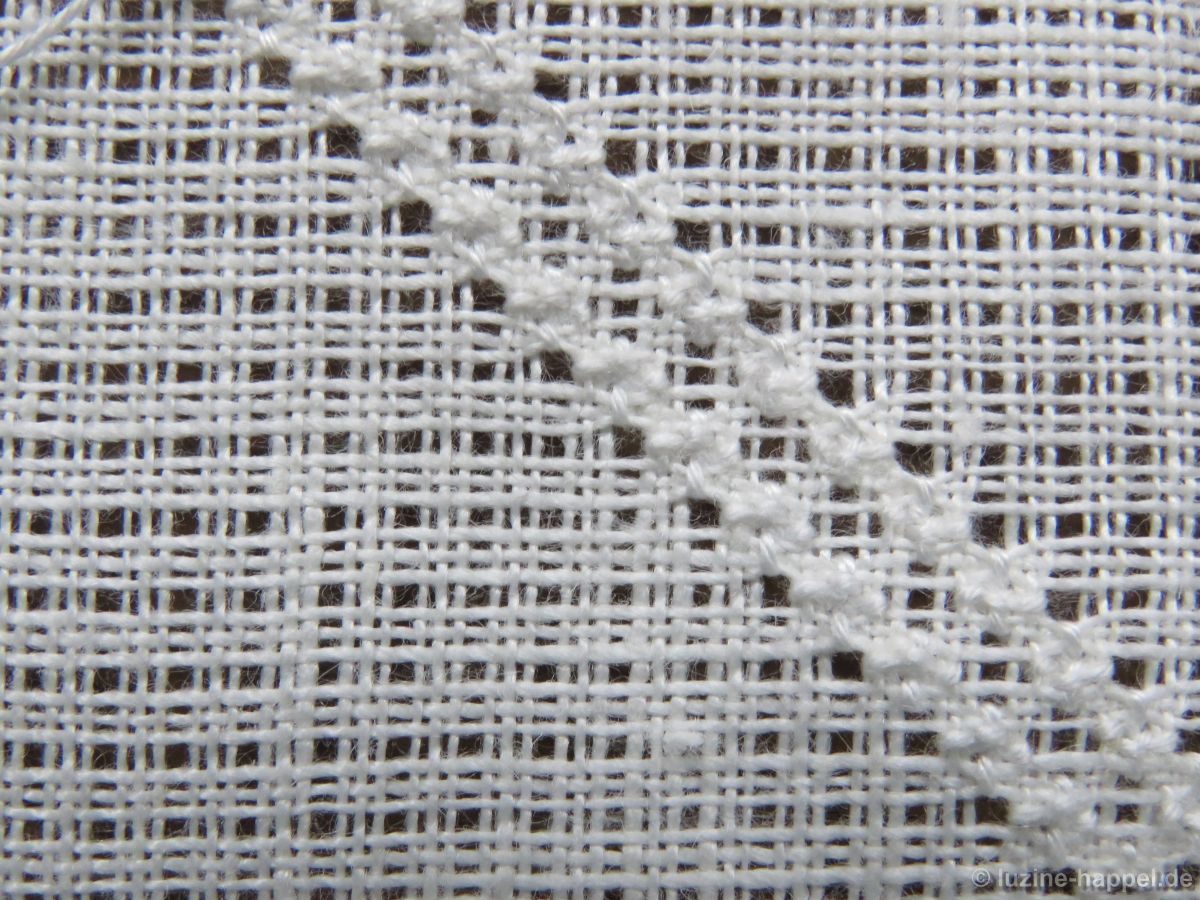
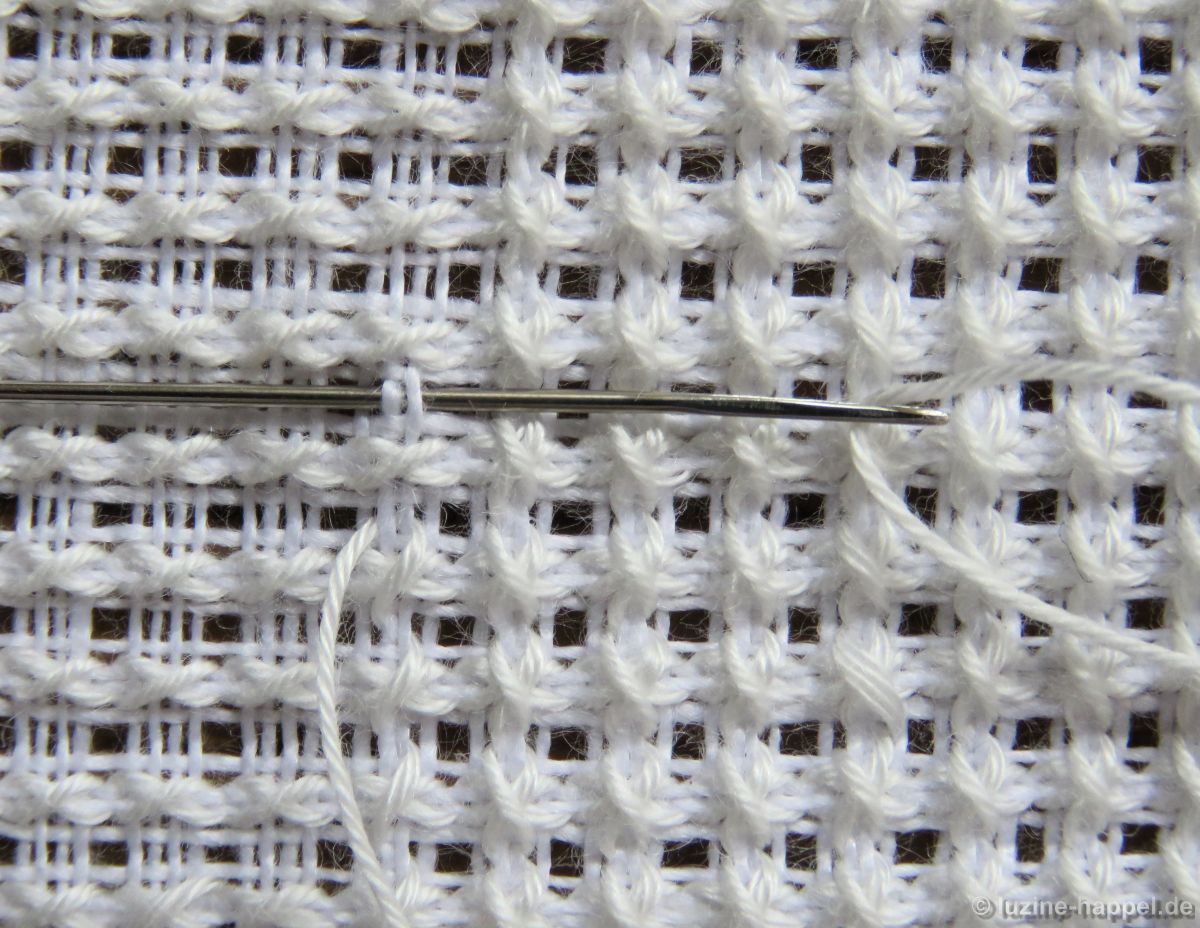
From one corner of the resulting square, embroider one Rose stitch diagonally outwards.
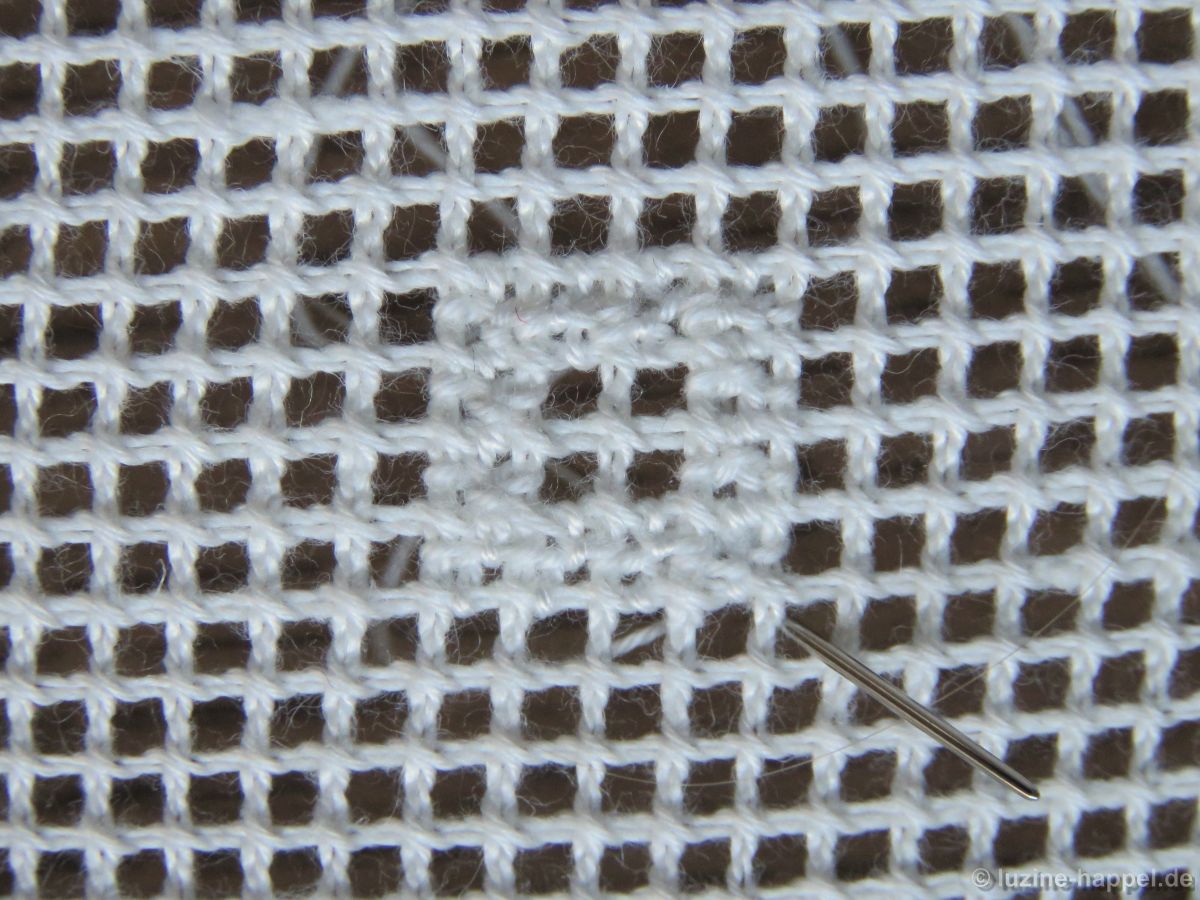
The next Tose stitch on this diagonal is the corner point of the next 4 x 4 Rose stitch square.
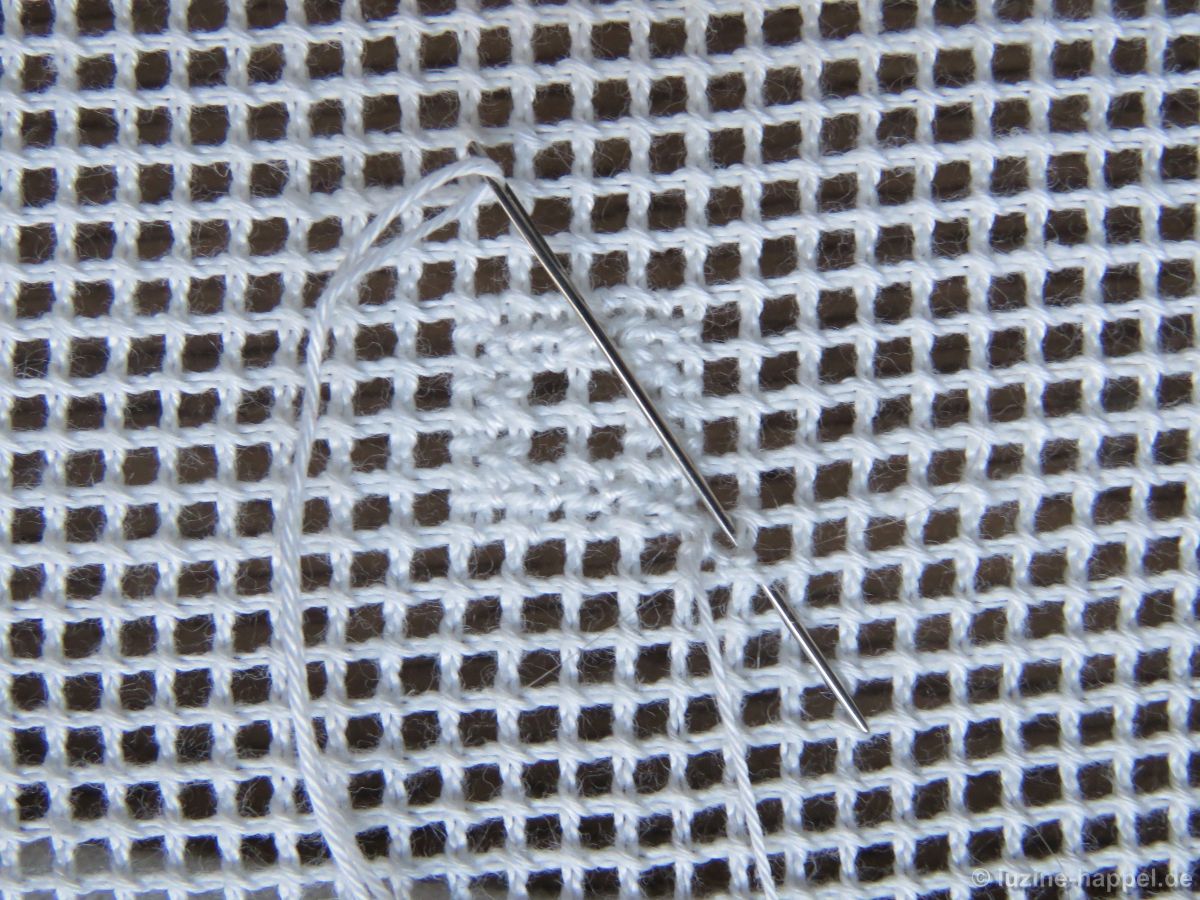
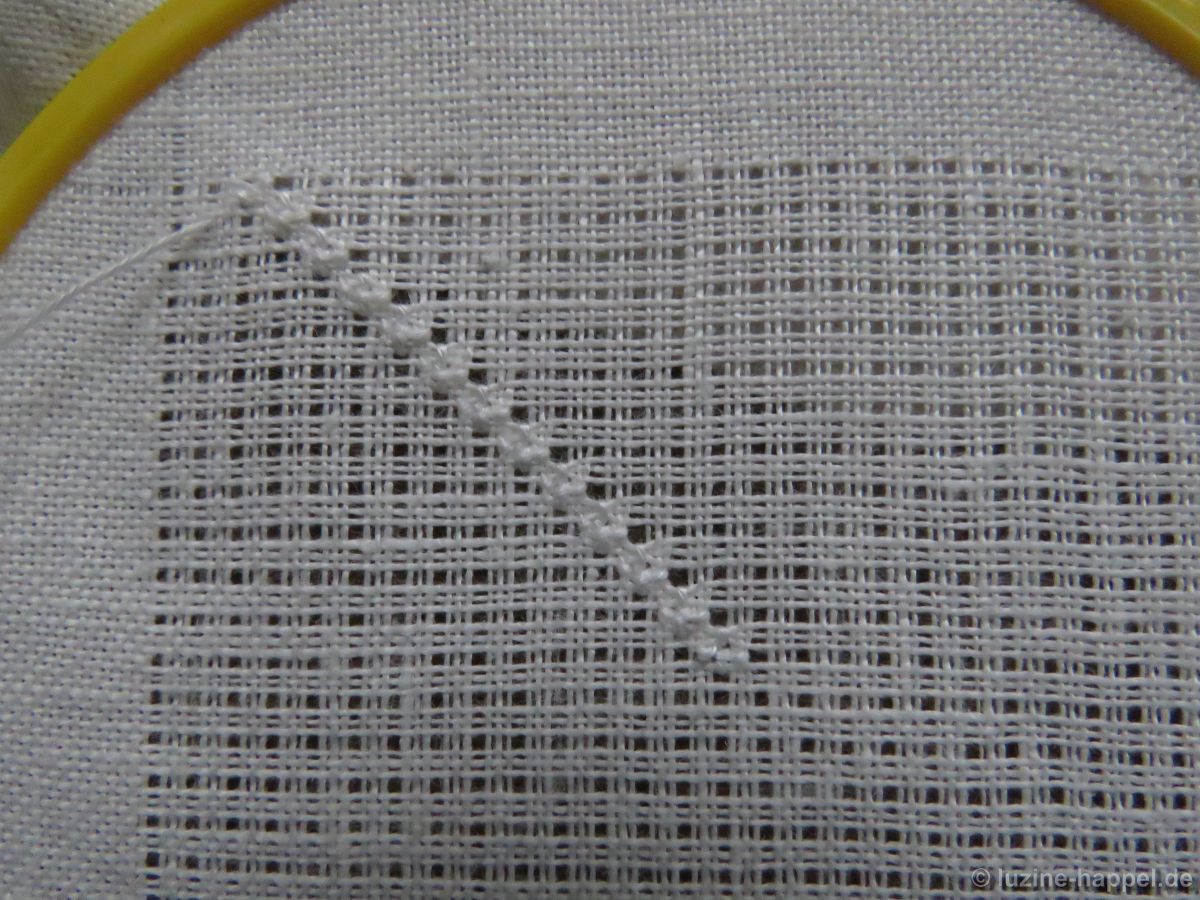
If the working thread is still long enough after completing the square, you could work a diagonal row of Rose stitches starting from the single Rose stitch.
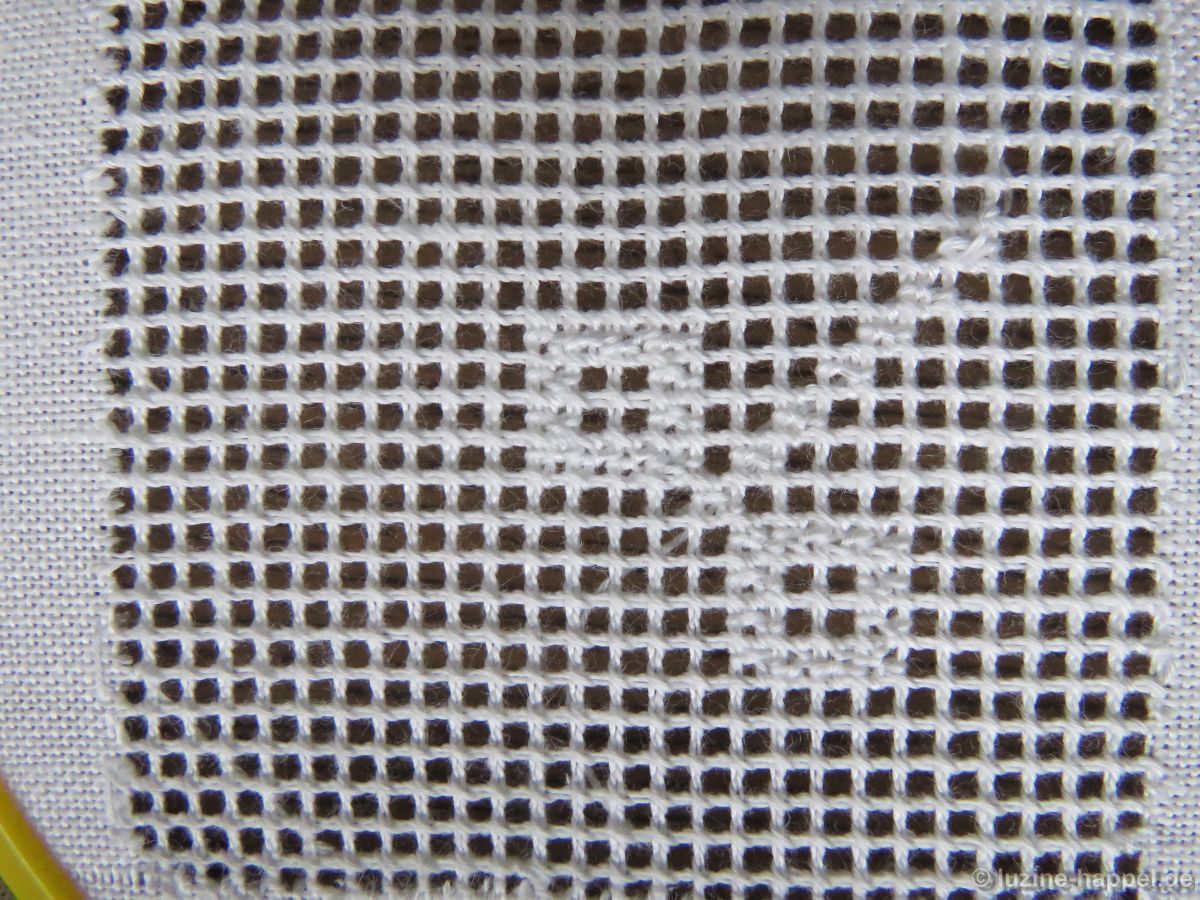
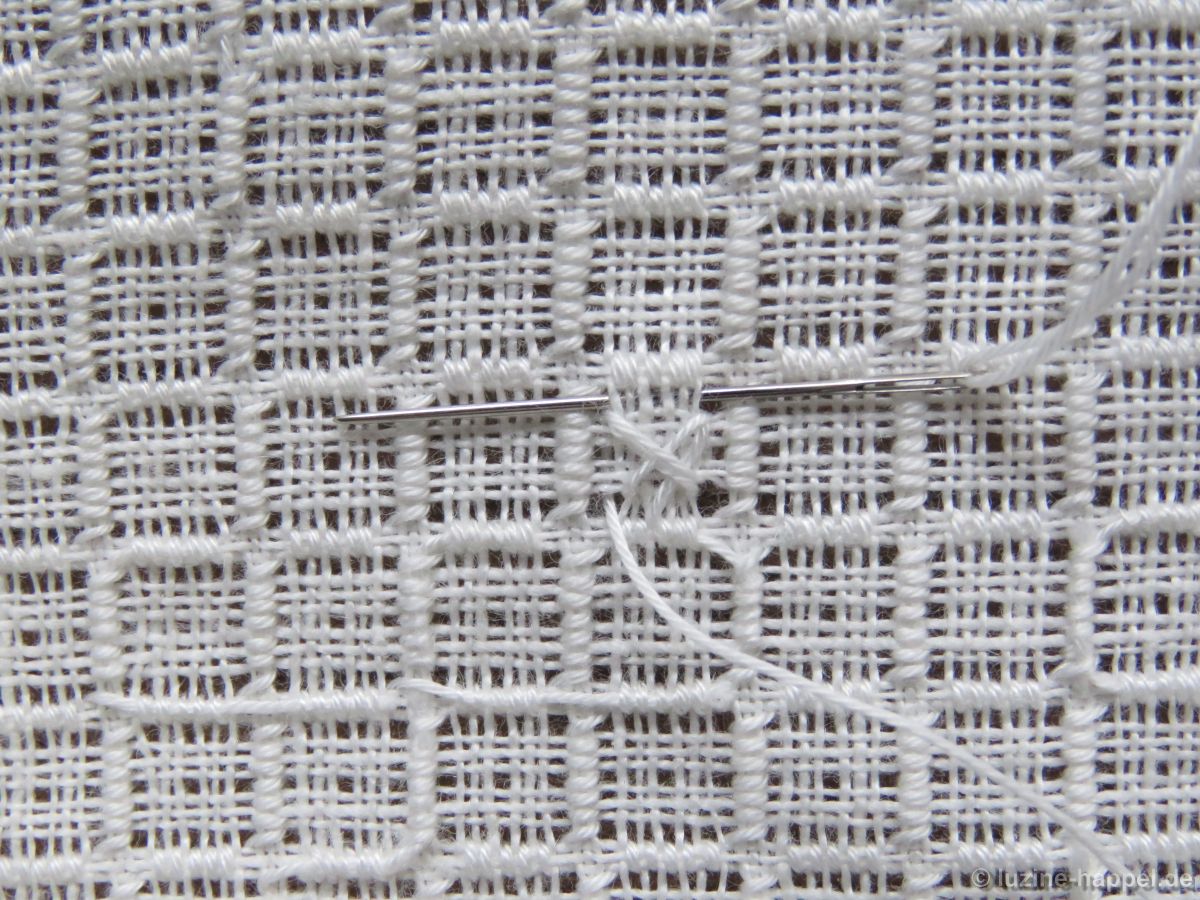
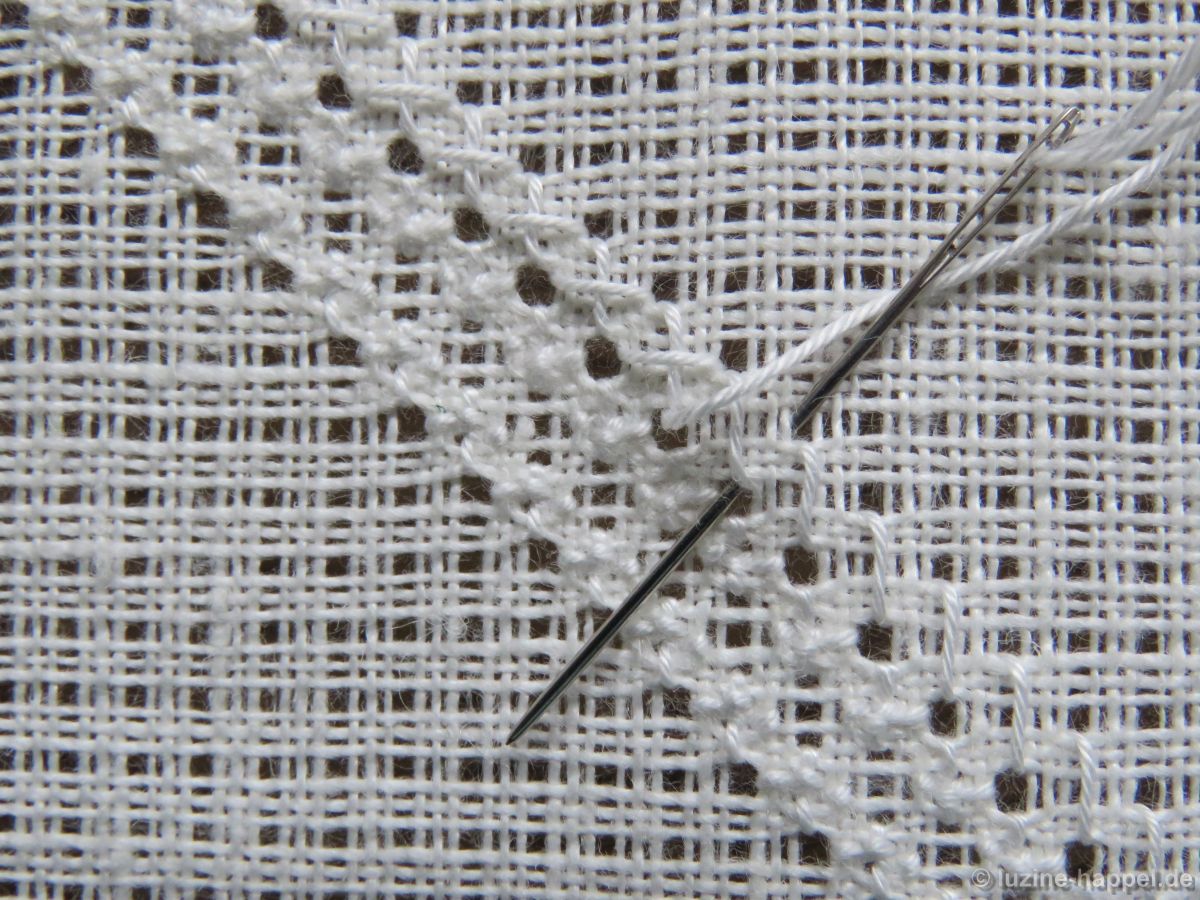
However, you can get a better overview of the pattern run if you connect one Rose stitch diagonally outwards from the 4 x 4 Rose stitch squares at each corner point and then work the next 4 x 4 Rose stitch square. This is the best way to avoid mistakes.
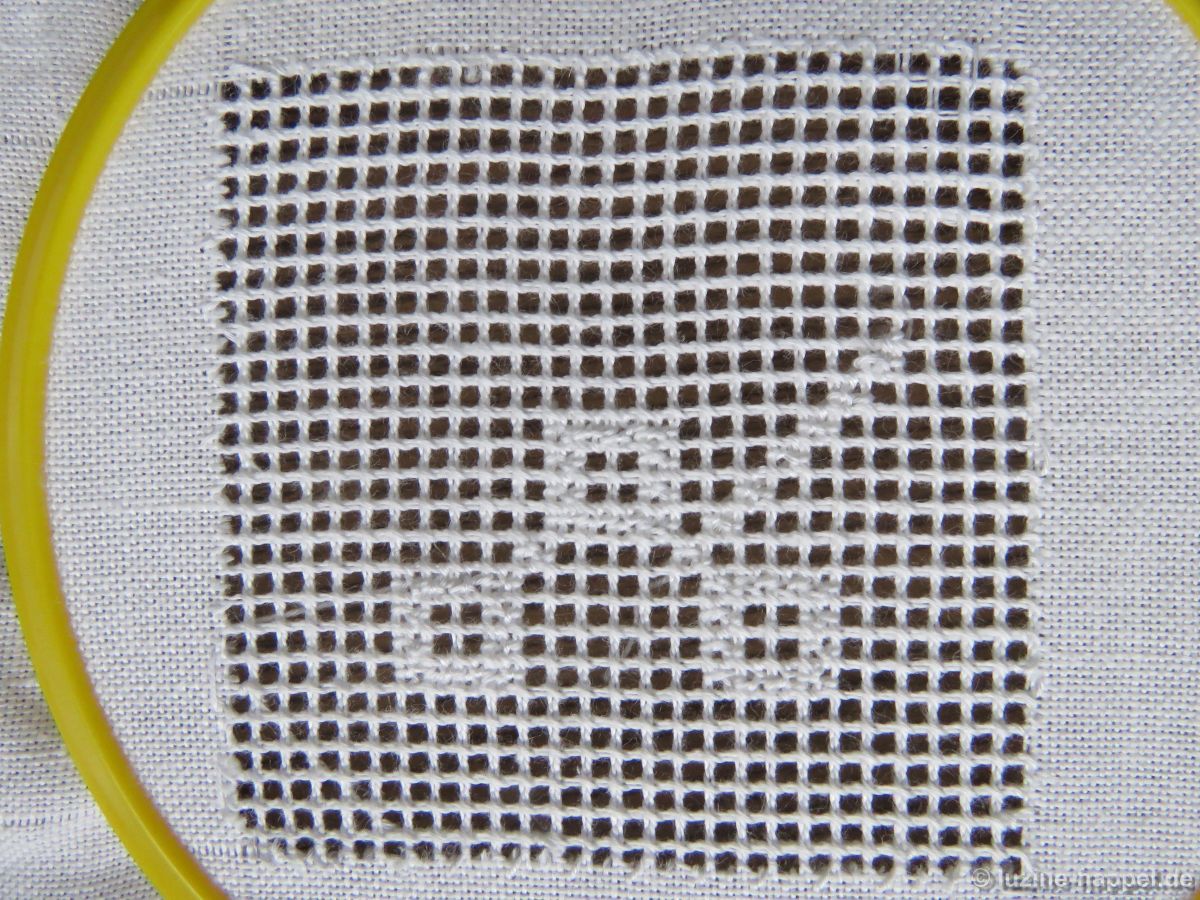
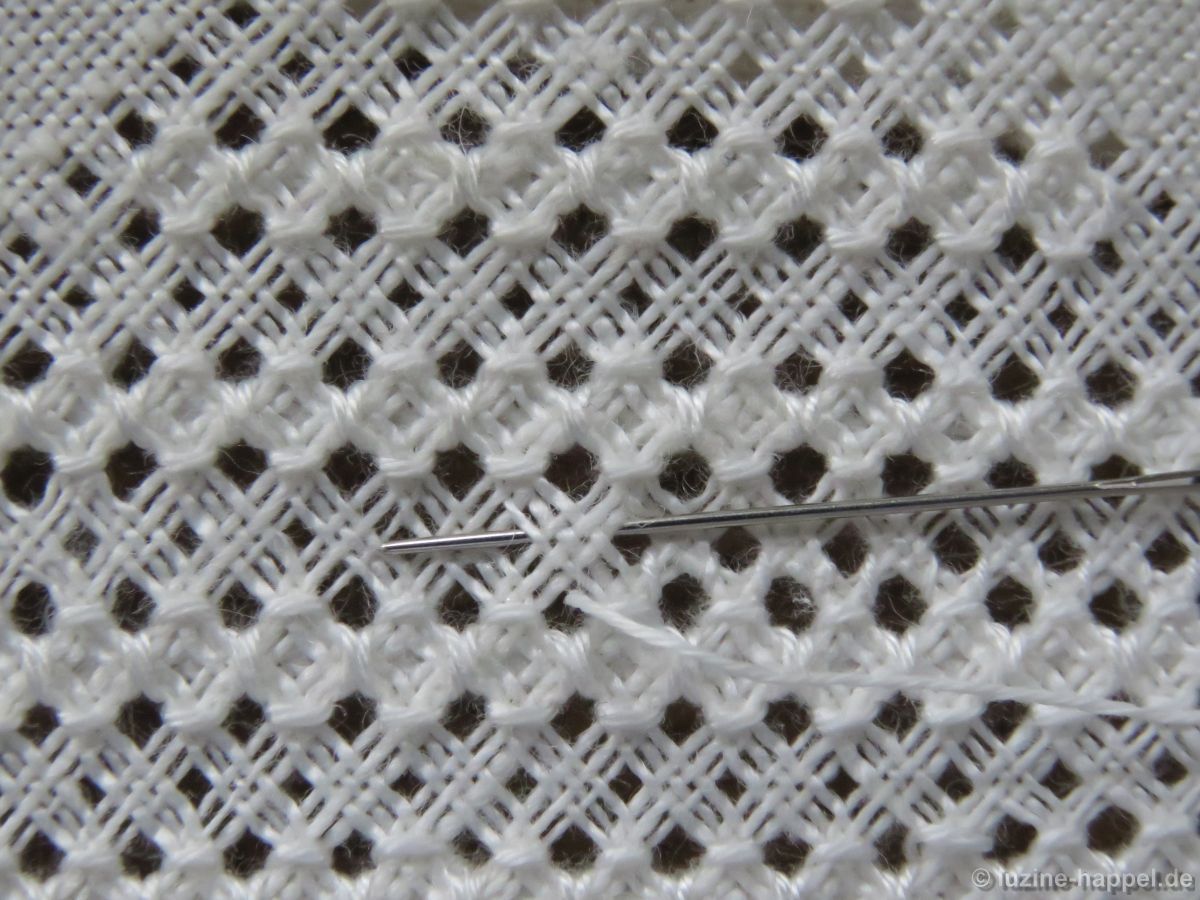
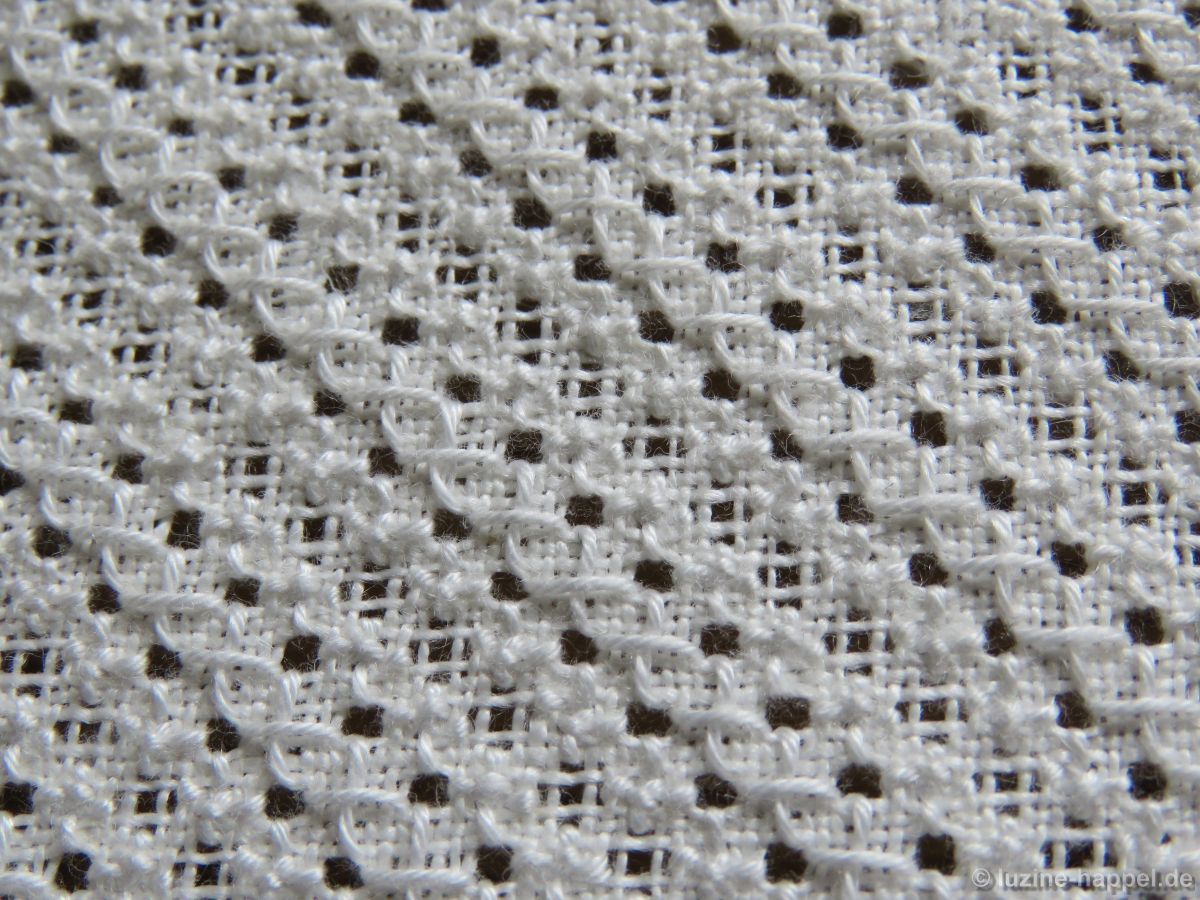
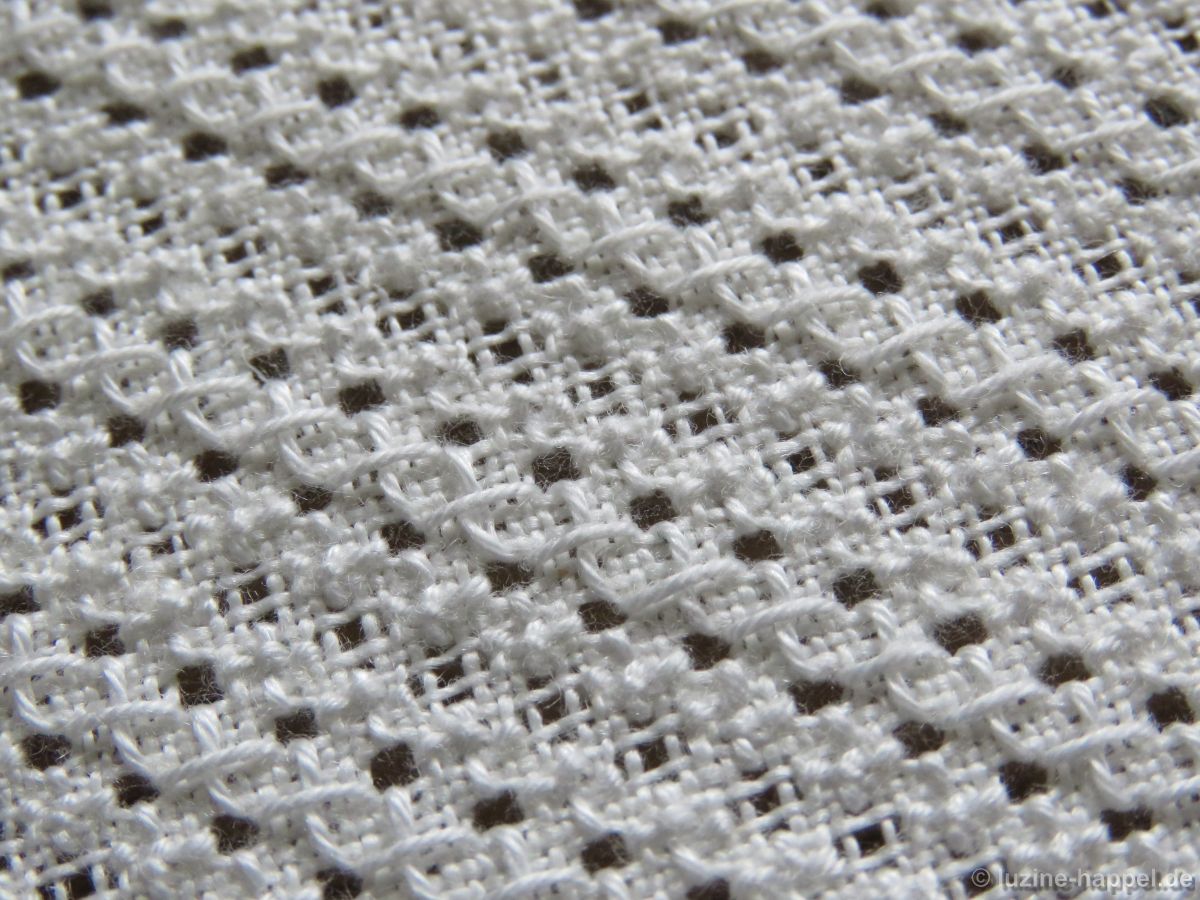
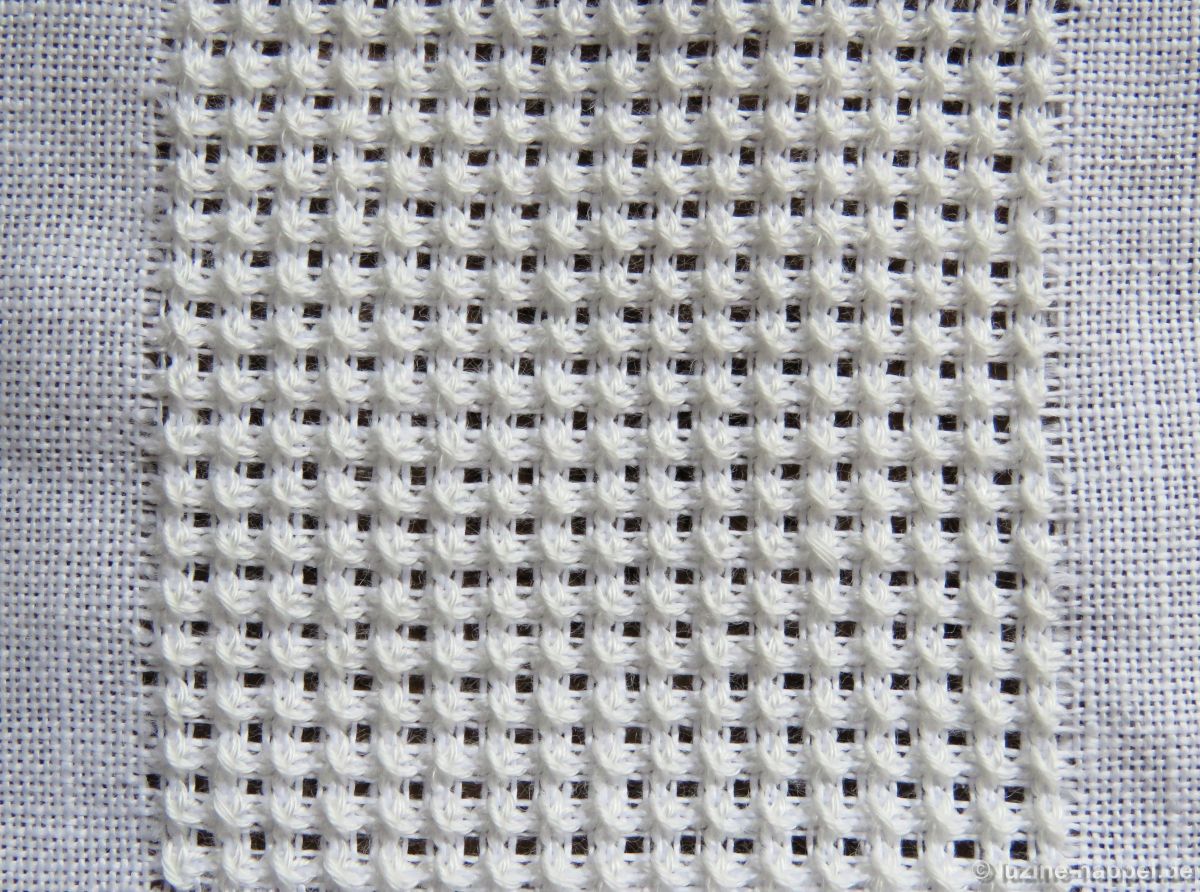
If the Rose stitch squares are embroidered like a checkerboard over the entire area,
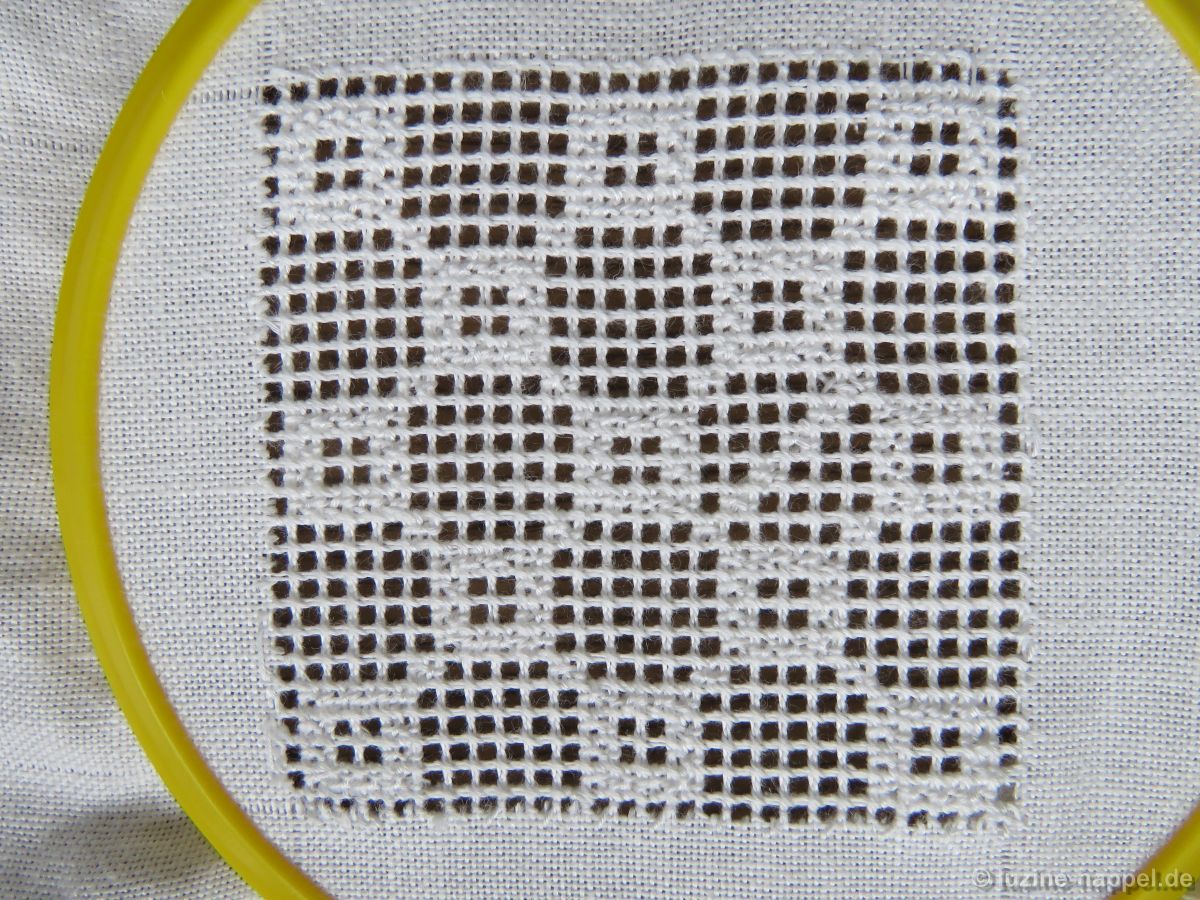
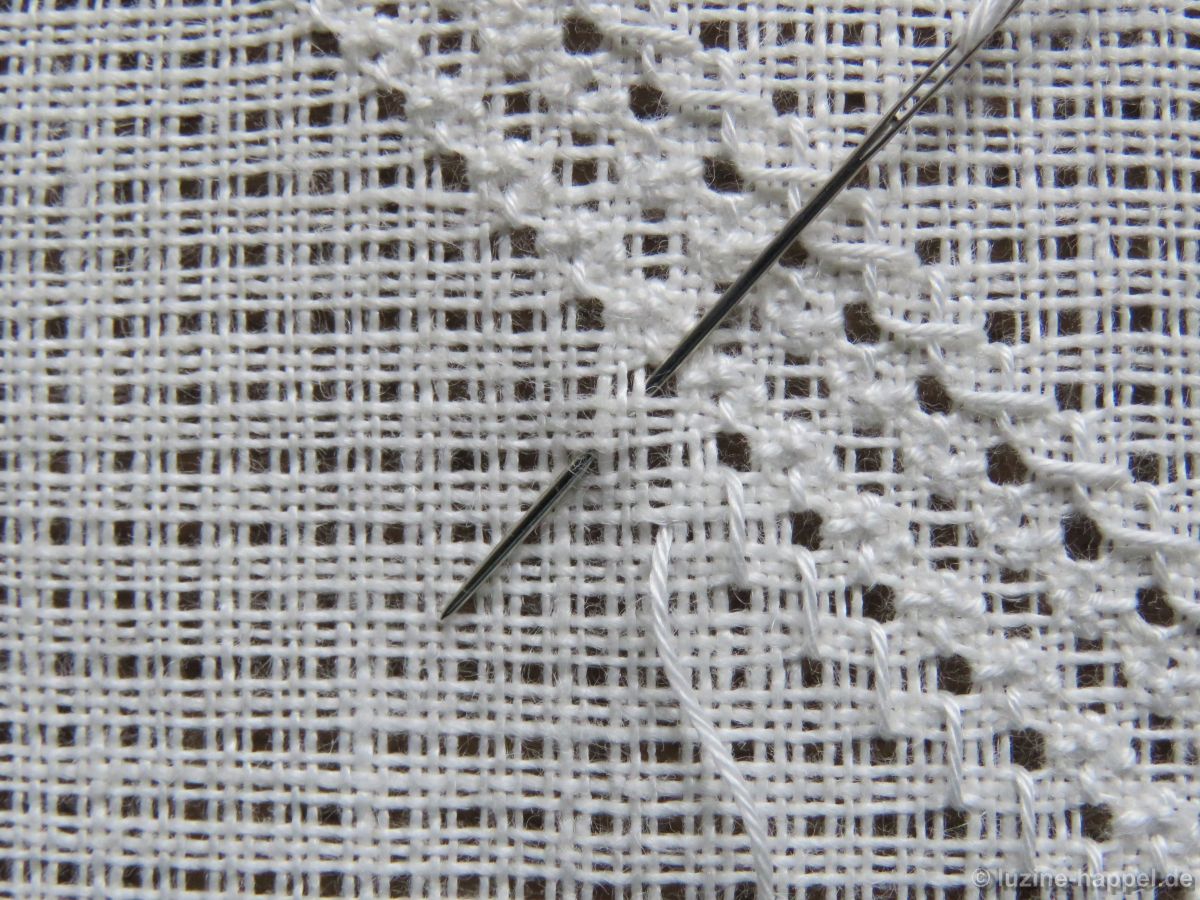
The diagonal rows of Rose stitches – marked by the individual Rose stitches – are worked, initially in one diagonal direction
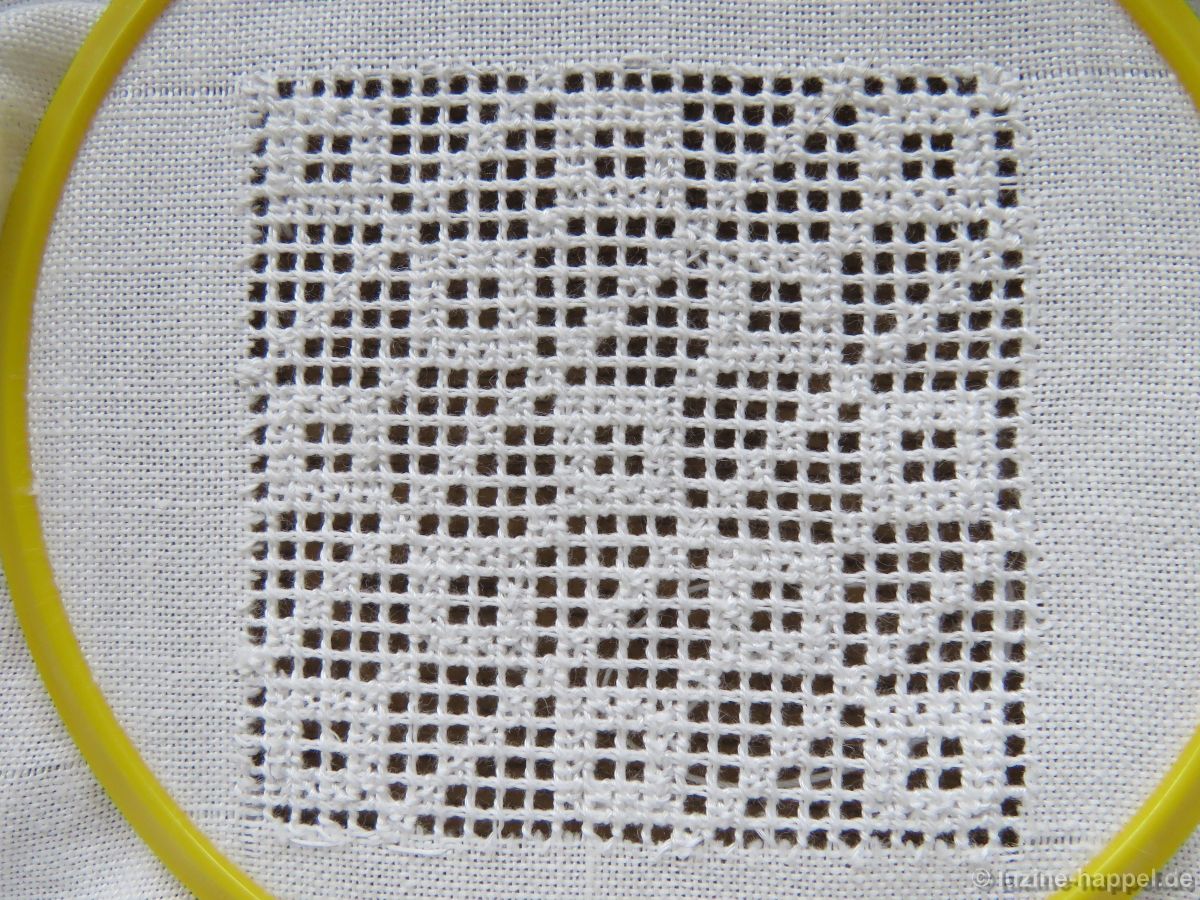
then also in the crossing.

An attractive filling pattern for larger areas has been created, which can be used very well in motifs in the straight of grain as well as those on the bias.

Filling Pattern – No. 574

Filling Pattern – No. 555

category: Limet-Filling pattern
linen used: 13.5/cm thread count
threads used: coton à broder No. 20
stitches used: Diagonal Four-Sided stitches and Cable stitches
center: intersection of withdrawn thread lines (in other shapes or motifs: longitudinal axis = withdrawn thread line)
one pattern segment = 16 threads

The filling pattern shown here is a practice exercise only. You can see it used in a shape at the end of this article.

First, establish a Limet grid with an intersection of withdrawn thread lines at the center by alternately cutting 1, leaving 3, vertically and horizontally.

Mark the center point. Bring the needle up in the next hole left of the center. From there start to work a Four-Sided stitch in a diagonal row – as a rhombus around the center point as shown in Filling Pattern – No. 555 and continue to work the diagonal row.

Work a second row of diagonal Four-sided stitches parallel to the first and at a distance of two free bundles of 3 threads (counted in a horizontal line between the center of a four-Sided stitch in the first row and one in the second row).

Embroider row after row until the entire area is filled. It is important that you always turn the work so that the rows are created from the bottom right to the top left.

From the front, embroider two rows of Cable stitches between the diagonal Four-Sided stitches, as shown in the pictures, first one row alternating between the middle row of holes

and row of holes adjacent to the lower Four-Sided stitches.
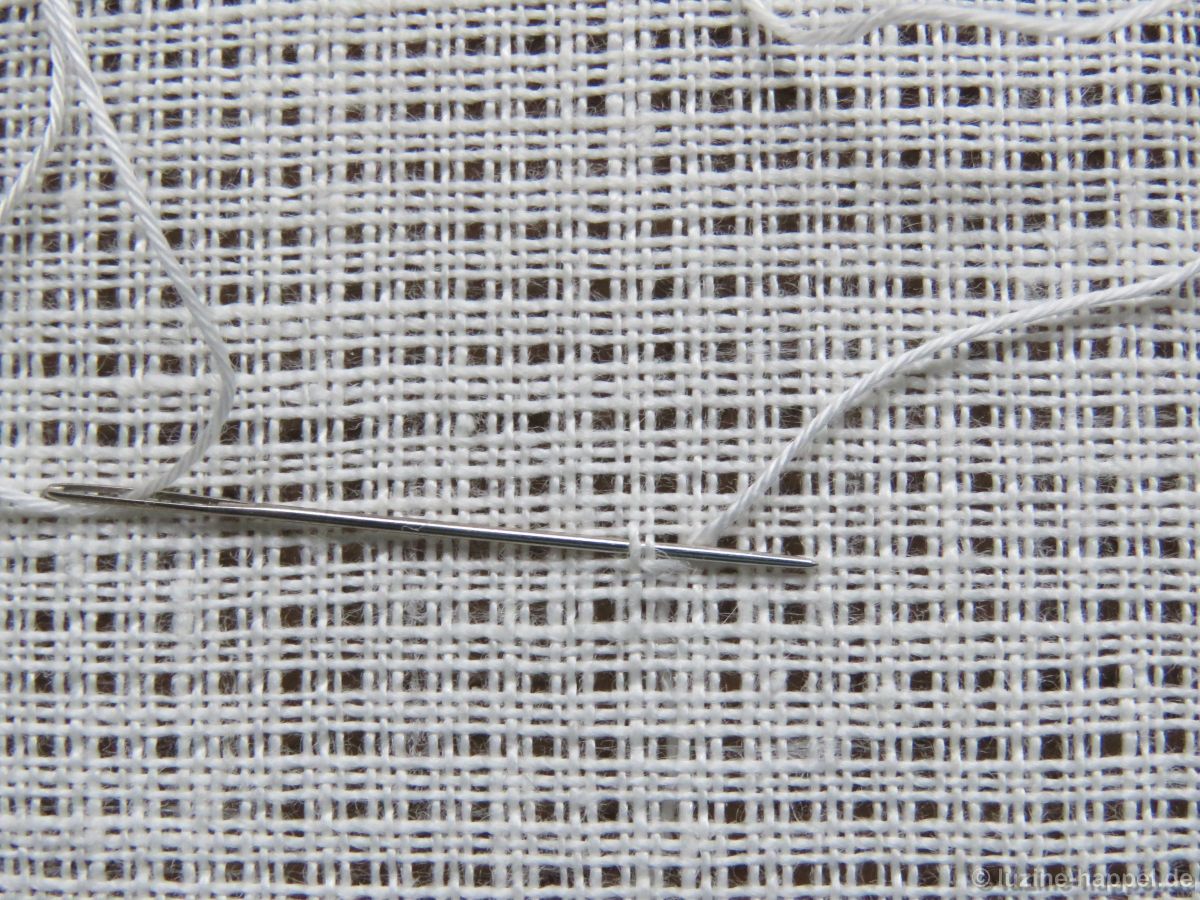
Then turn the work 180° and embroider over the unprocessed thread bundles in the same way.
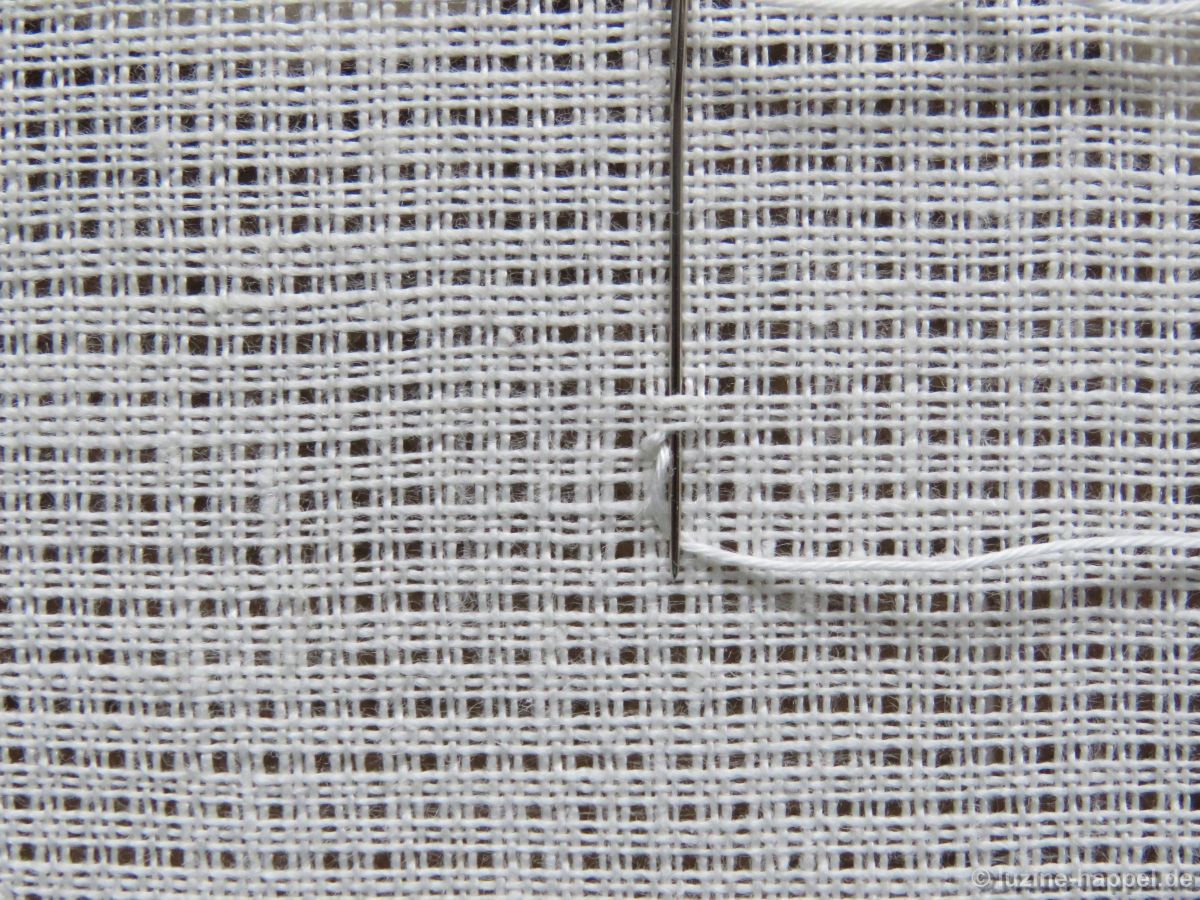
The remaining unfinished rows are embroidered in the same way.

This creates a pattern with a diagonal wave structure.

Filling Pattern No. 573

category: Limet-Filling pattern
linen used: 13.5/cm thread-count
threads used: coton à broder No. 20
stitches used: bars of 6 Satin stitches over 1 square in the width and Four-Sided stitches
center = intersection of withdrawn-thread lines (in other shapes or motifs: longitudinal axis = withdrawn-thread line)
one pattern segment = 12 fabric threads

The filling pattern shown here is a practice exercise only.
First, work a Limet grid by alternately withdrawing 1 and leaving 3 threads both horizontally and vertically.
In the established Limet grid, work a grid of Satin stitches. Work, in a stair-step manner, Satin stitch bars over one square (3 threads) in the width and over 2 squares (6 stitches) in the length. In the center remains a square of 2 X 2 squares.

Work the Satin stitch grid over the entire shape.

Then, from the back of the fabric, work Four-Sided stitches in the remaining squares. Each side stitch bundles 6 fabric threads.

Secure the working thread very well and bring it up in the middle of a bottom edge of a 2 X 2 square.

It is important to choose the opposite side for starting the Four-Sided stitch to get the corner holes clean and open and the stitch centered.

*Start on the top of the square, inserting the needle in the top right hole and bringing it up in the top left hole.

Travel to the bottom, insert the needle in the bottom right hole and bring it up in the bottom left hole. With this stitch the thread can be tightened a little bit more to pull together the threads of the center square.

Insert the needle in the top right hole again, but bring it up in the bottom right hole.

Insert the needle in the top left hole and bring it up in the bottom left hole.* In this way and always tightening the working thread, a prominent center is established on the front.

But this stitch will turn out much more prominent, working the Four-Sided stitch twice. This also enables one to better tighten the working thread and so to establish a more even structure of the complete pattern. So repeat the four steps (*) once.

Then bring the working thread straight up to the next square.

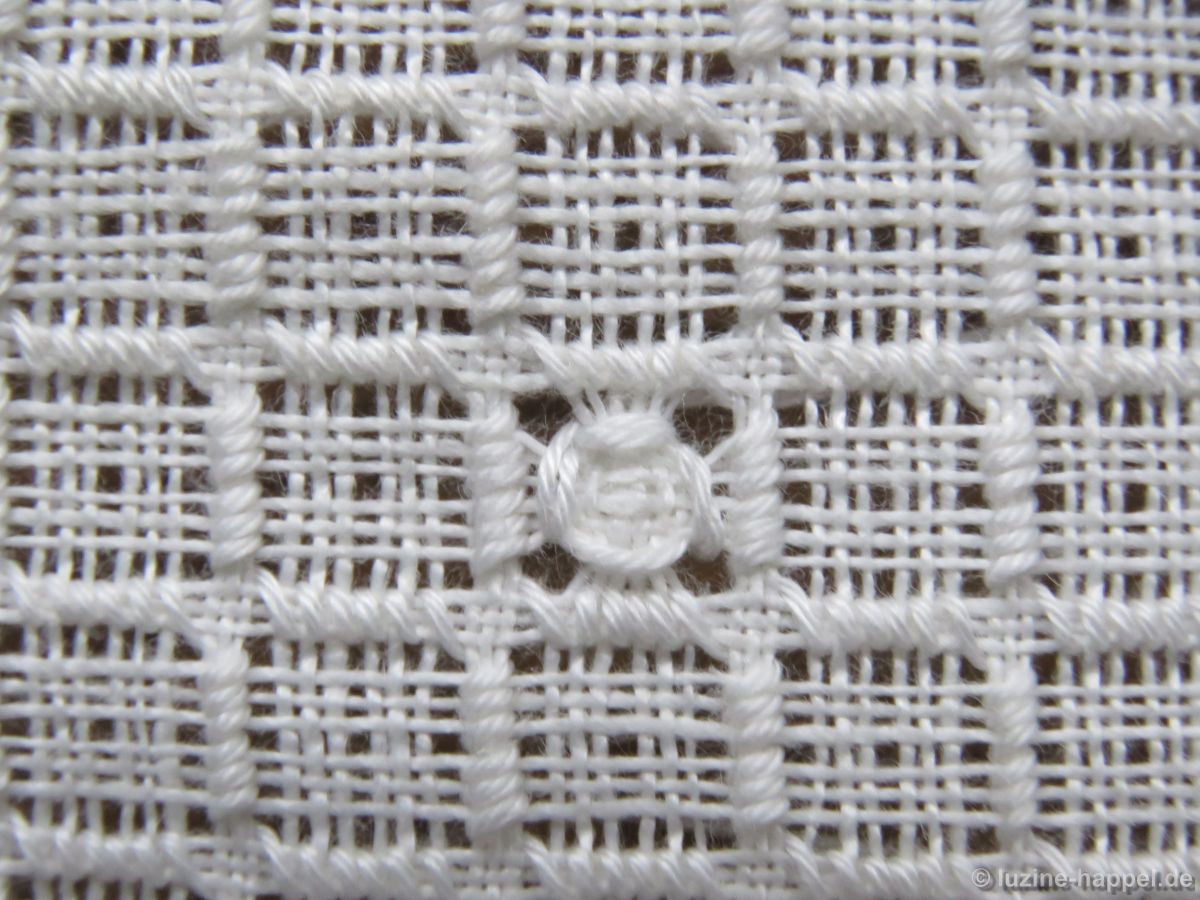
From the front it looks like this:

Work one Four-Sided stitch two times in the established way in each section center of the Satin stitch grid.

After shrinking in the laundry the bundled fabric will look even more prominent.

Filling Pattern – No. 572

category: Limet-Filling pattern
linen used: 13.5/cm thread count
threads used: coton à broder No. 20
stitches used: half Rose stitches/half Rose stitch variation and Diagonal Cross stitches
center: intersecton of withdrawn thread lines
one pattern segment = 25 threads

The filling pattern shown here is a practice exercise only. You can see it used in a shape at the end of this article.

First, establish a Limet grid by alternately cutting 1, leaving 3, vertically and horizontally.

Bring needle up one square above the center,

*cross over 2 (!) fabric threads to the left, insert needle there and bring it up again in the first hole.

Cross over 3 fabric threads to top, insert needle there and bring it up again in the first hole.

Cross over 3 fabric threads to the right, insert needle there and bring it up again in the first hole.

Cross over 2 (!) fabric threads to bottom, insert needle there and bring it up again in the first hole.
The first half Rose stitch with a half Rose stitch variation has formed.

Cross over the last stitch, insert needle and bring it up one square diagonally up to the left.*

This is the center of the next half Rose stitch with a half Rose stitch variation. From here always repeat the steps (*)

until the end of the row.

Turn the work 180° and embroider a row next to it in the established way,

so that the four remaining threads form a square.

Without turning the work, embroider Diagonal Cross stitches from bottom to top and

back from top to bottom next to the Rose stitches. First on one side, then also

on the opposite side.

By constantly alternating double rows of half Rose stitches with half Rose stitch variations and Diagonal Cross stitches, a diagonal striped pattern is formed.

I discovered this pattern in Fumie Suzuki’s contribution to the Global Schwalm Sampler.

Here it was worked on 16 tpc linen.

Filling Pattern – No. 571

category: Limet-Filling pattern
linen used: 13.5/cm thread count
threads used: coton à broder No. 20
stitches used: Cross stitches
center axises: four thread columns
one pattern segment = 5 threads

The filling pattern shown here is a practice exercise only. You can see it used in a shape at the end of this article.

First, establish a Limet grid by alternately cutting 1, leaving 4, vertically and horizontally.

Bring needle up at the bottom of a square between the third and fourth threads from the right,

crosses the square upwards and pick up the two middle fabric threads there.

Always repeat this step up to the top of the row.

Once there, don’t turn the work, but

embroider downwards in the same way. Rectangular crosses are formed.

Further rows are embroidered in the established way next to it, always starting with the stitches leading upwards and

with the downward leading finishing the rows.

This way embroider row by row

until the entire area is filled.

Now turn the work by 90° and embroider crossing stitches in the established way

first again from bottom to top,

then from top to bottom.

This creates double crosses

that seem very prominent.

I discovered this filling pattern on the Schwalm tablecloth from “brubi”.

Here it was embroidered on 16/cm thread count linen.