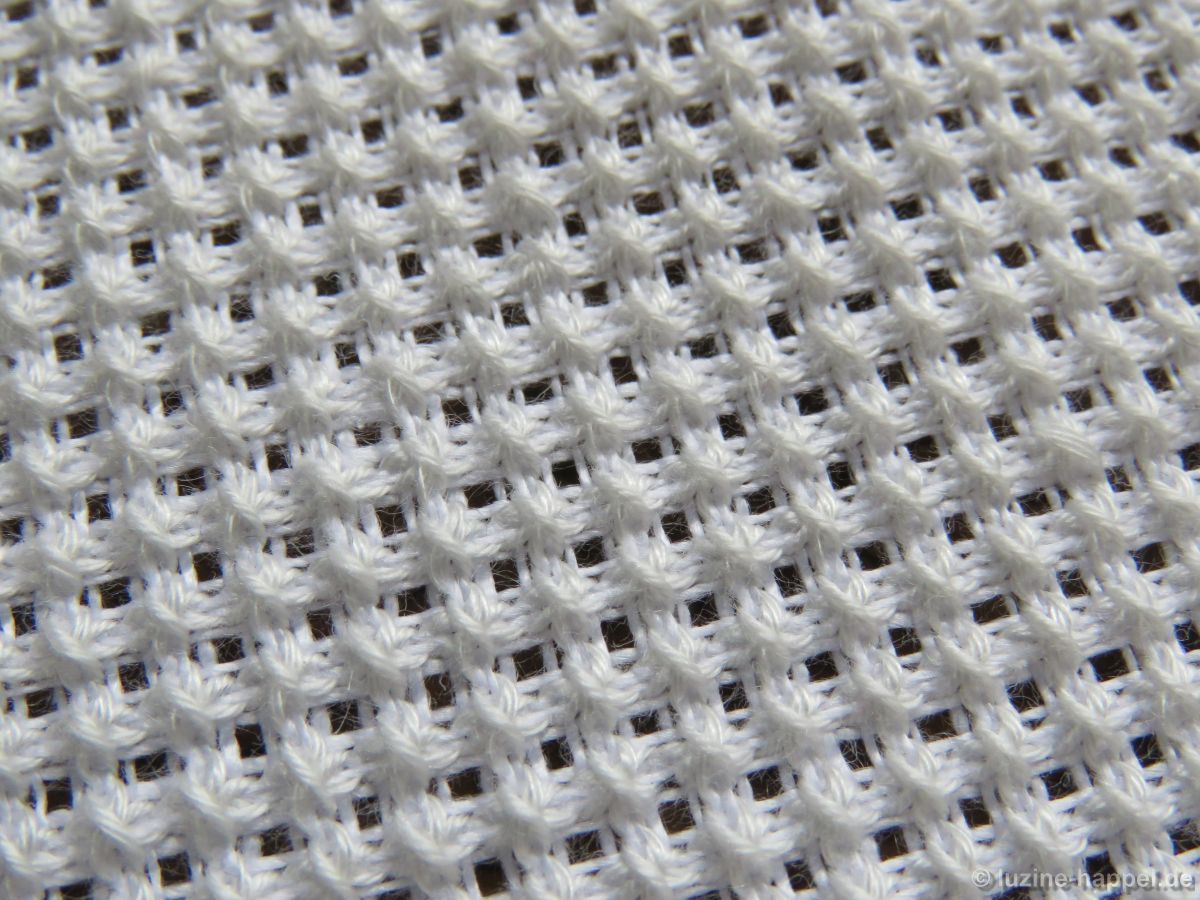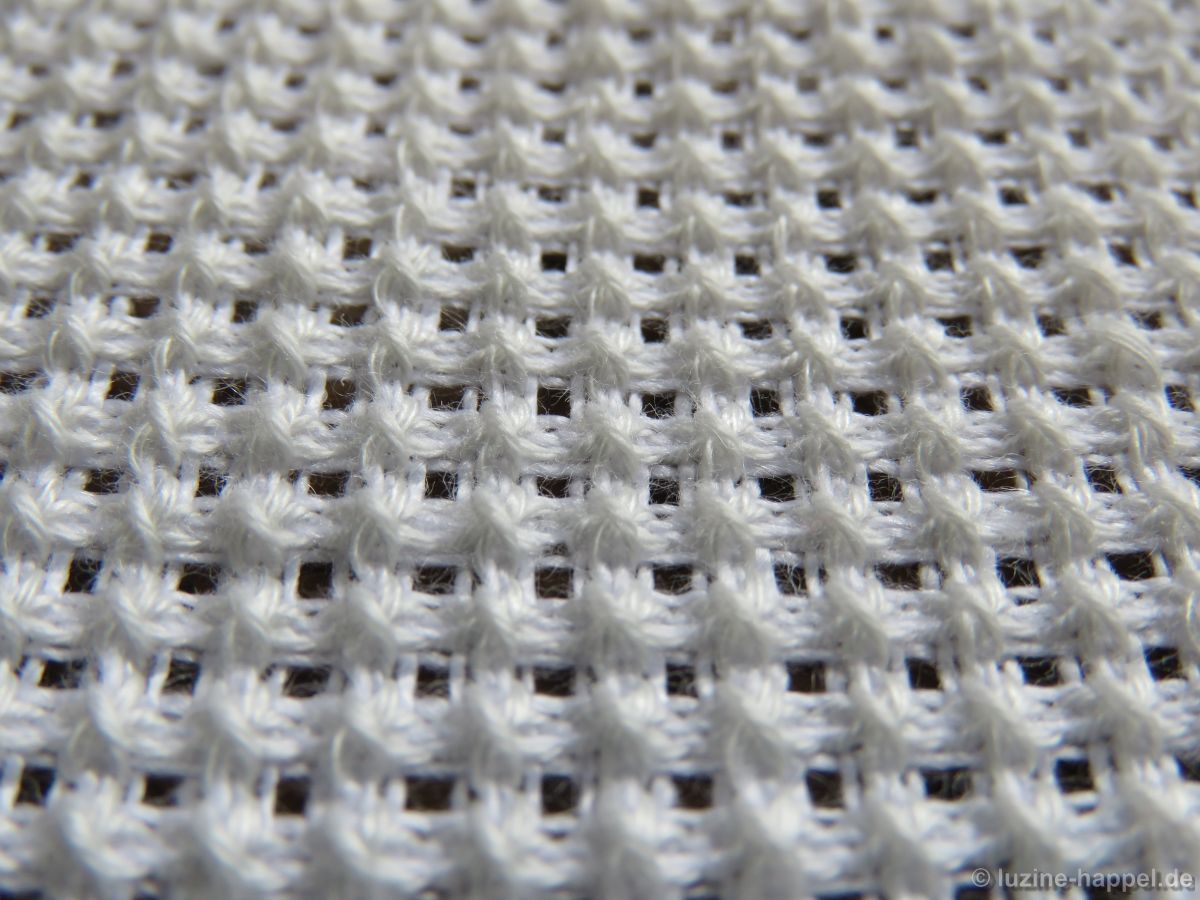
category: Limet-Filling pattern
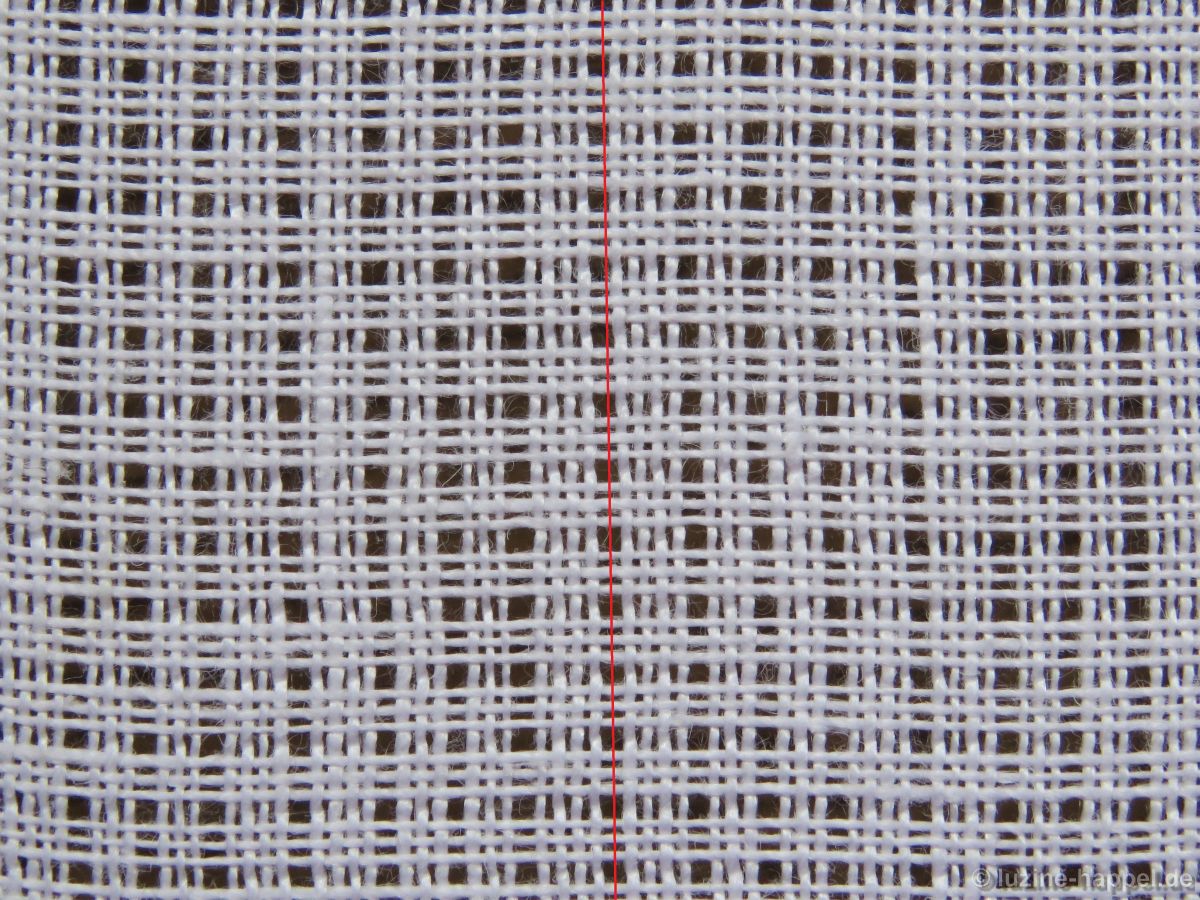
linen used: 13.5/cm thread count
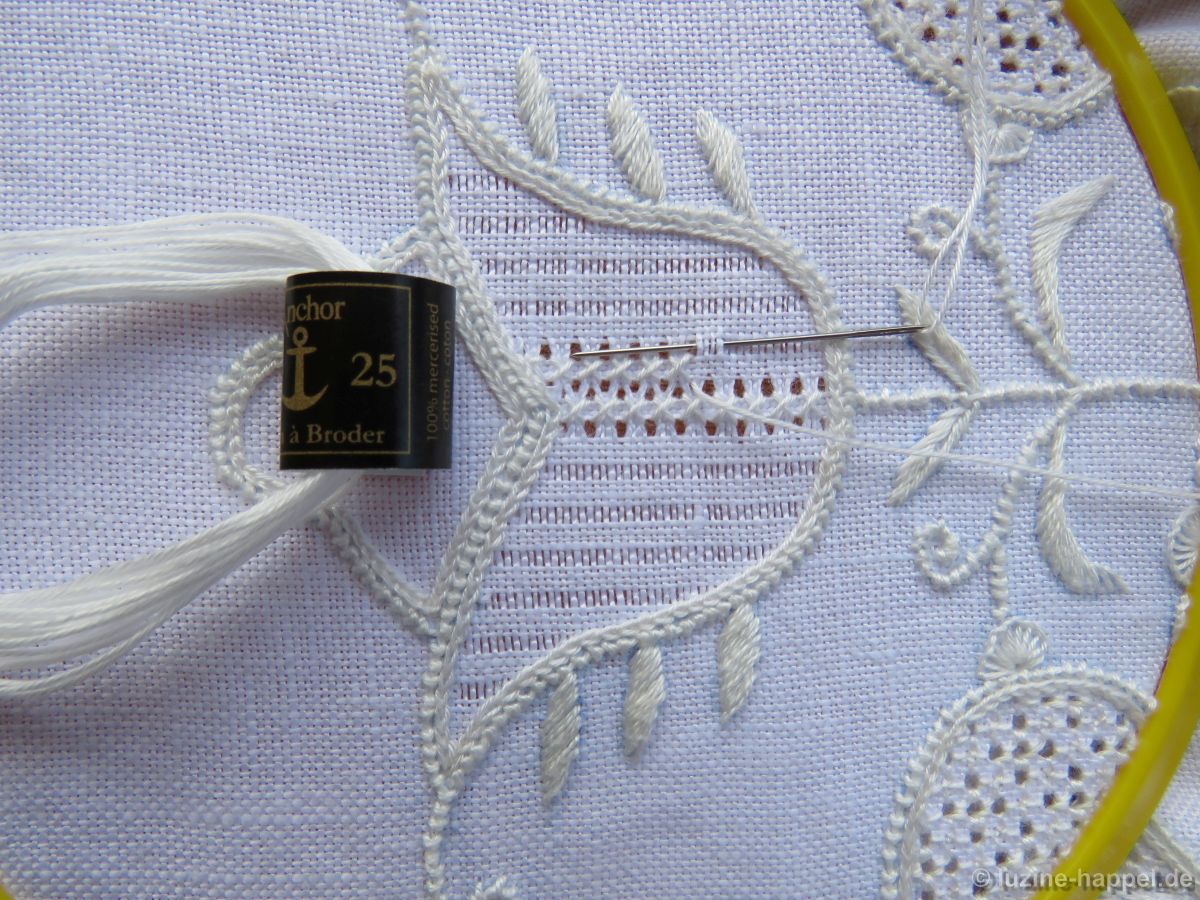
threads used: coton à broder No. 20
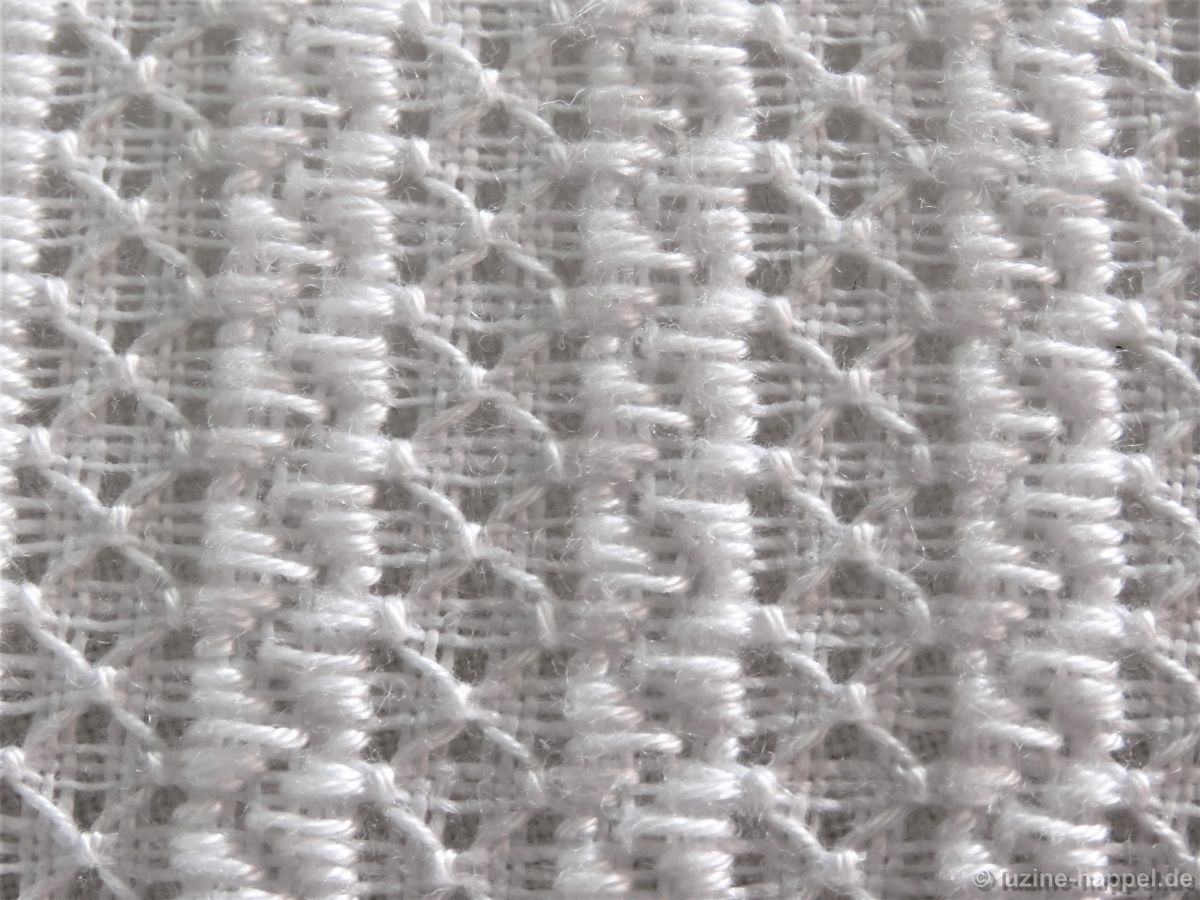
stitches used: half Rose stitches/half Rose stitch variation and Diagonal Cross stitches
center: intersecton of withdrawn thread lines
one pattern segment = 25 threads
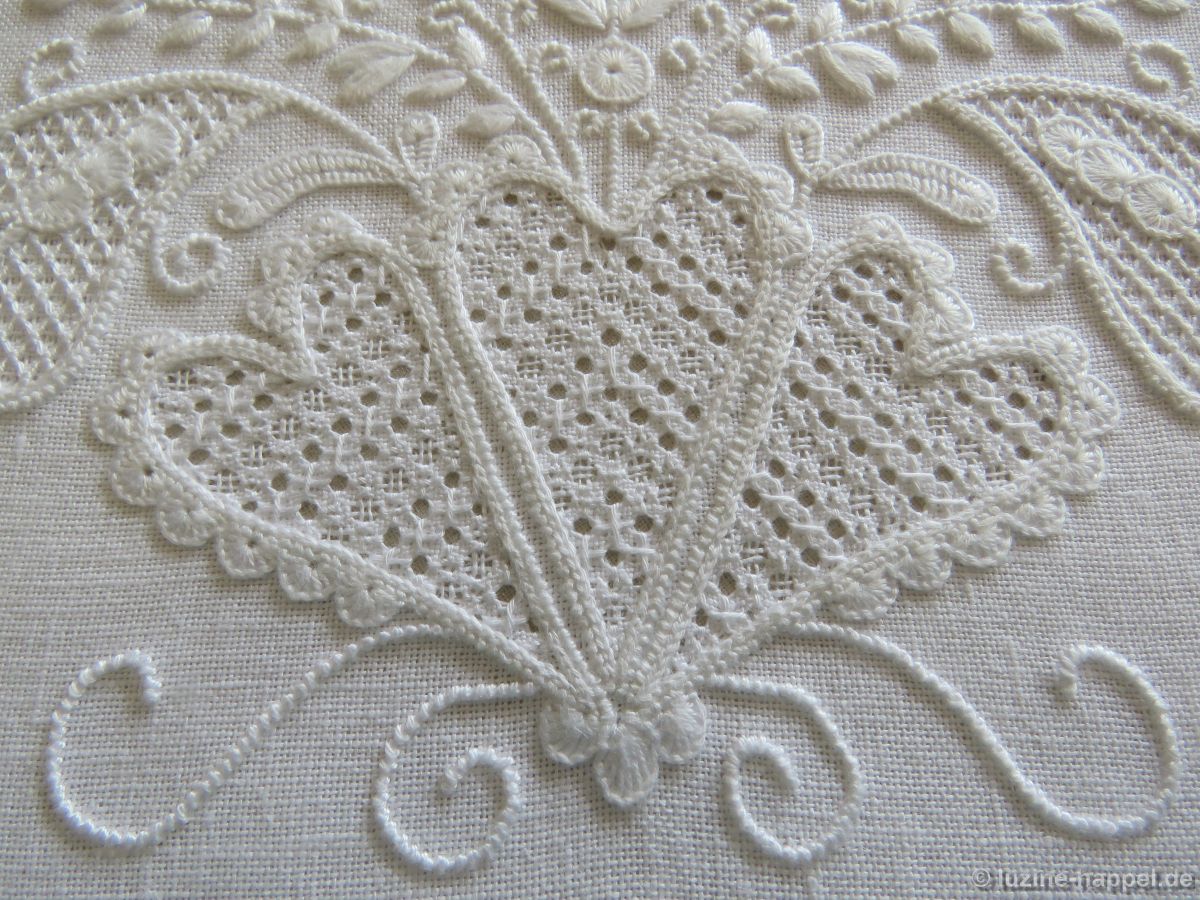
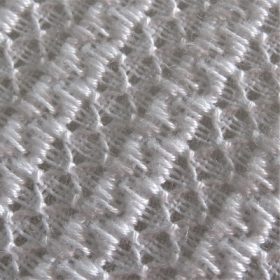
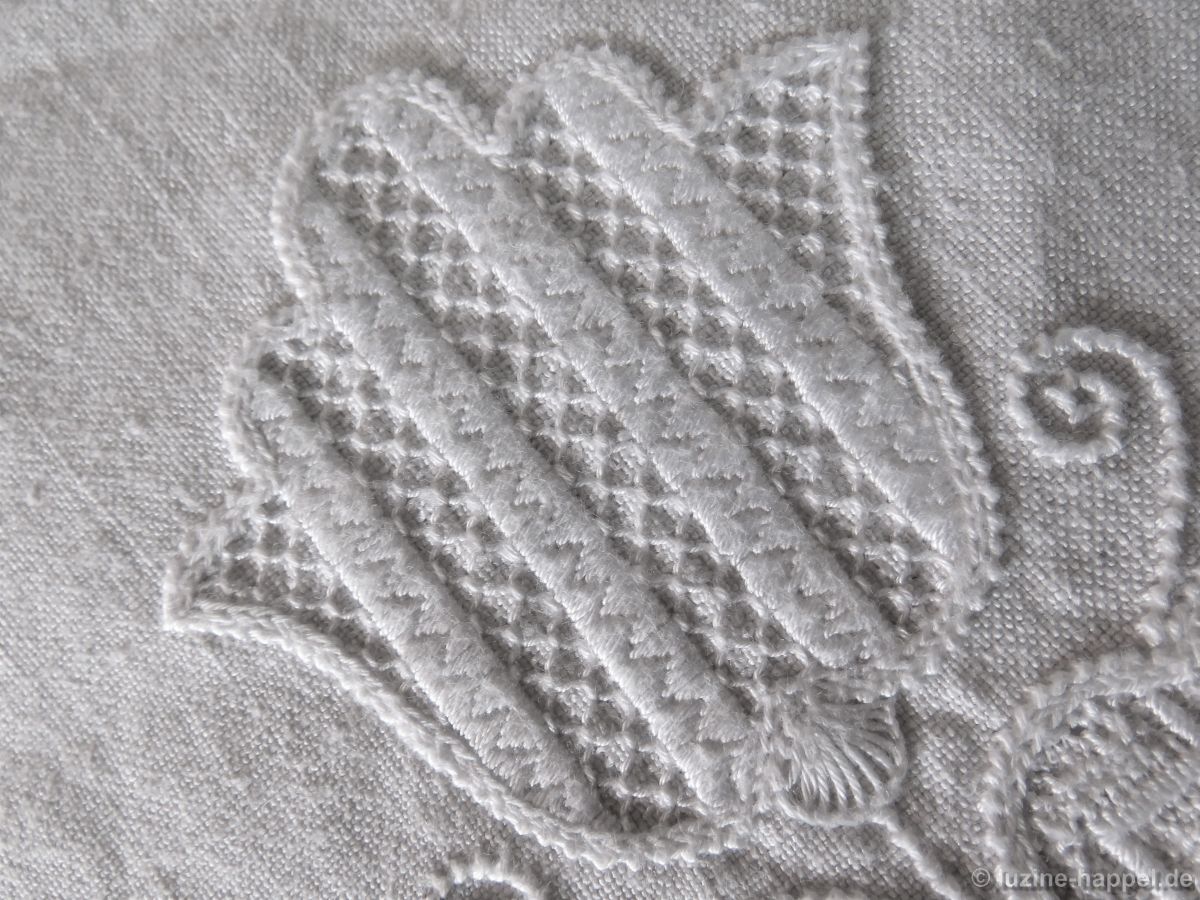
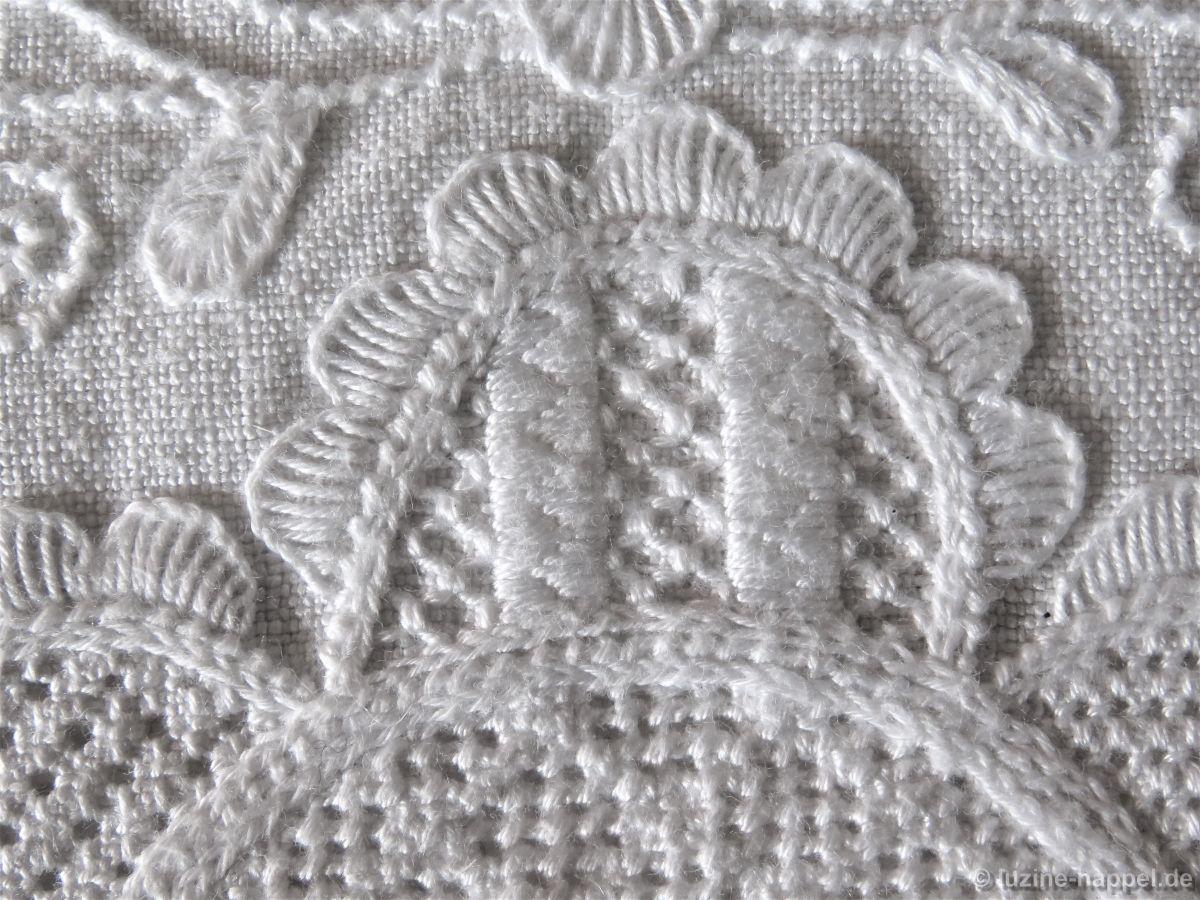
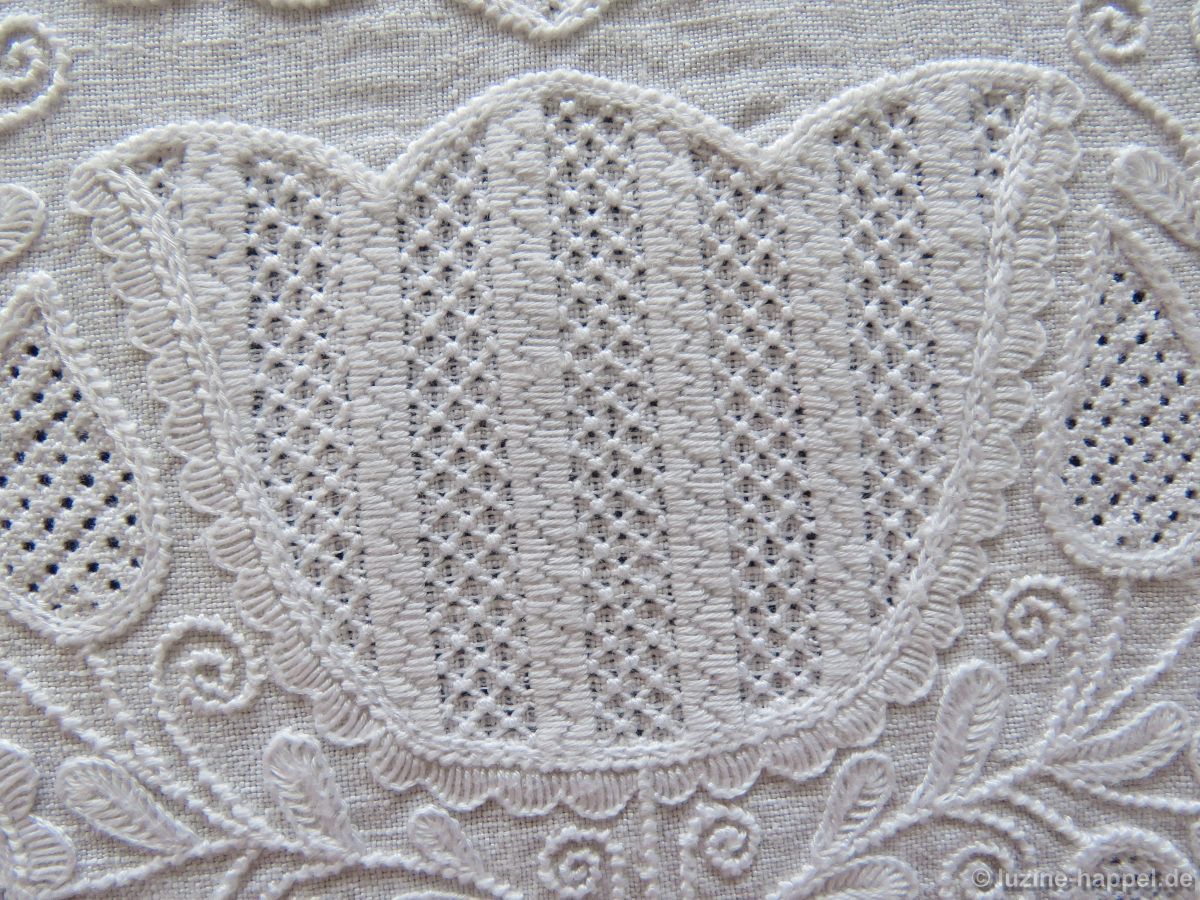
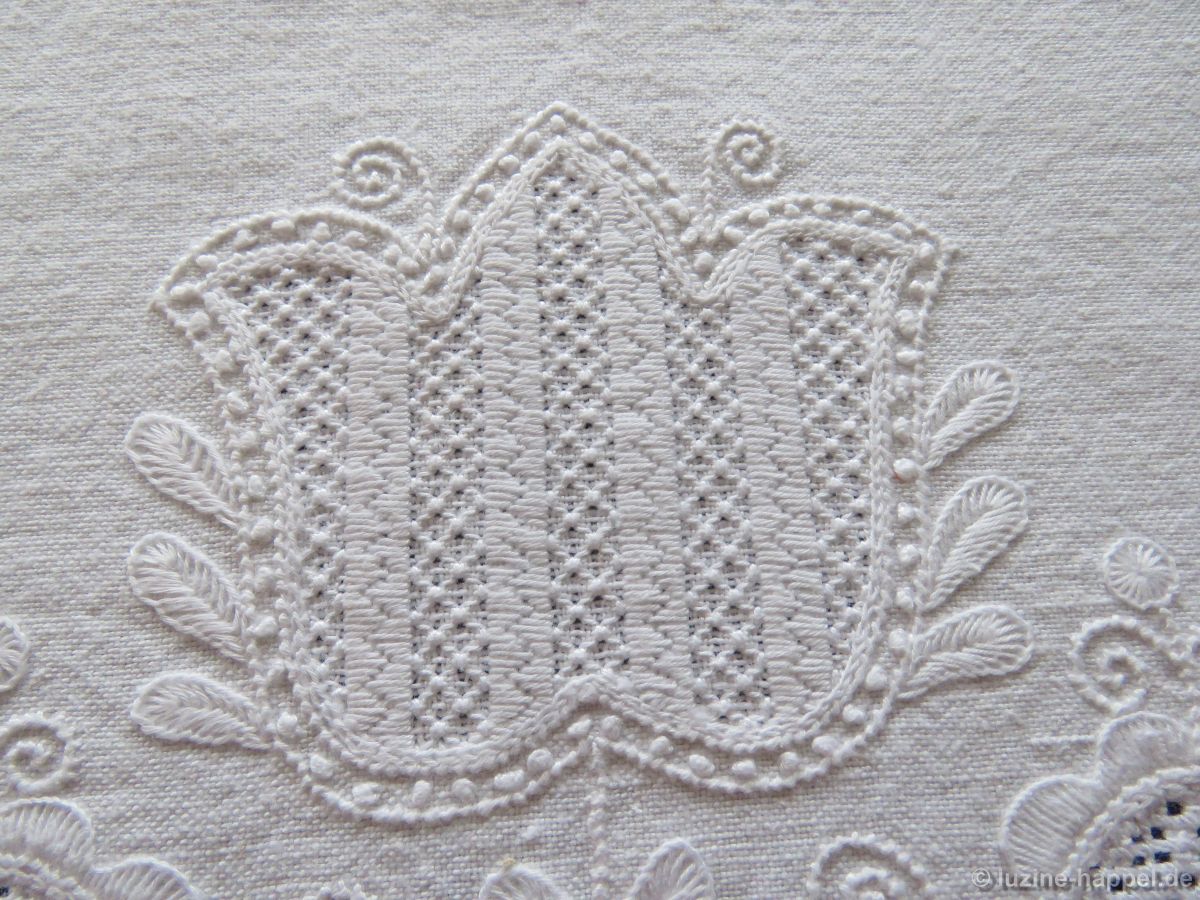
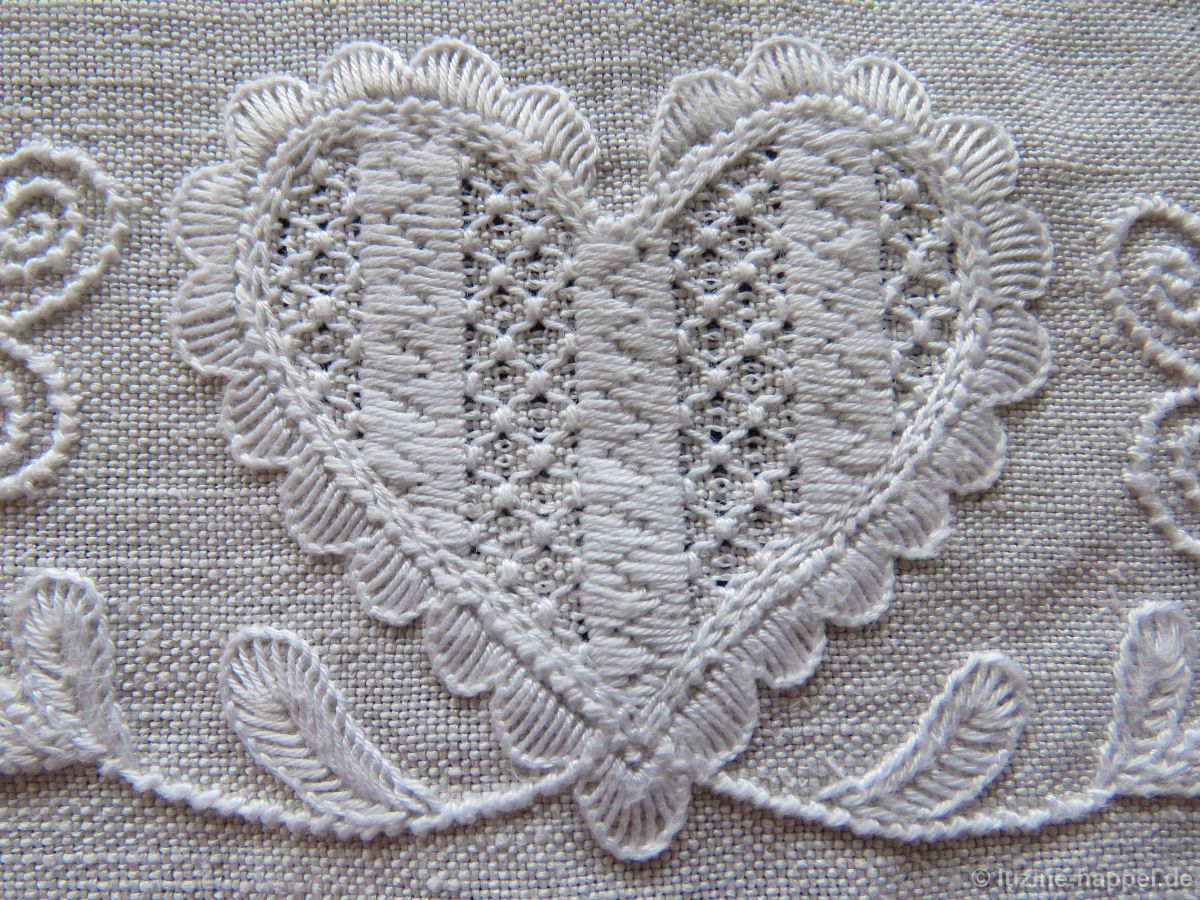
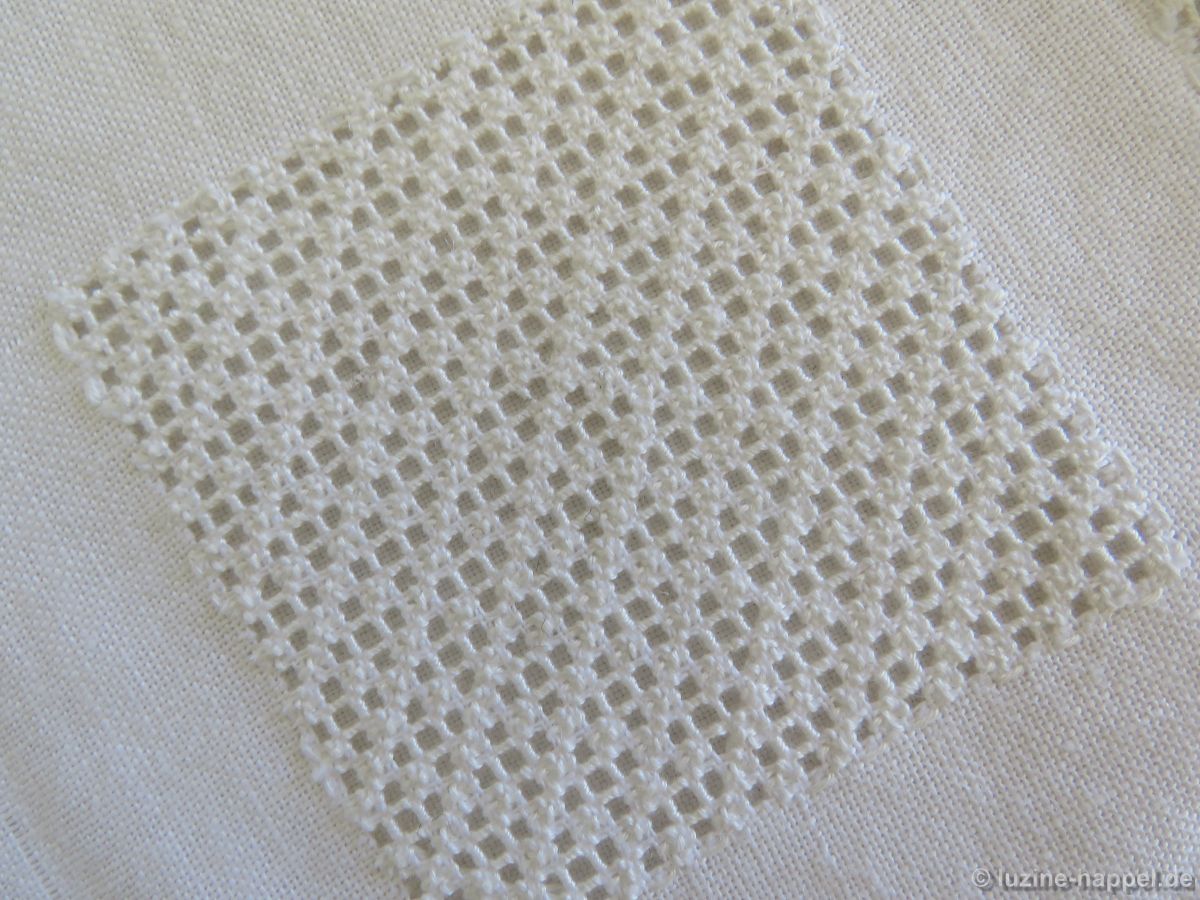
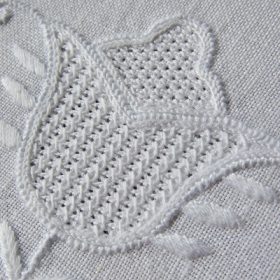
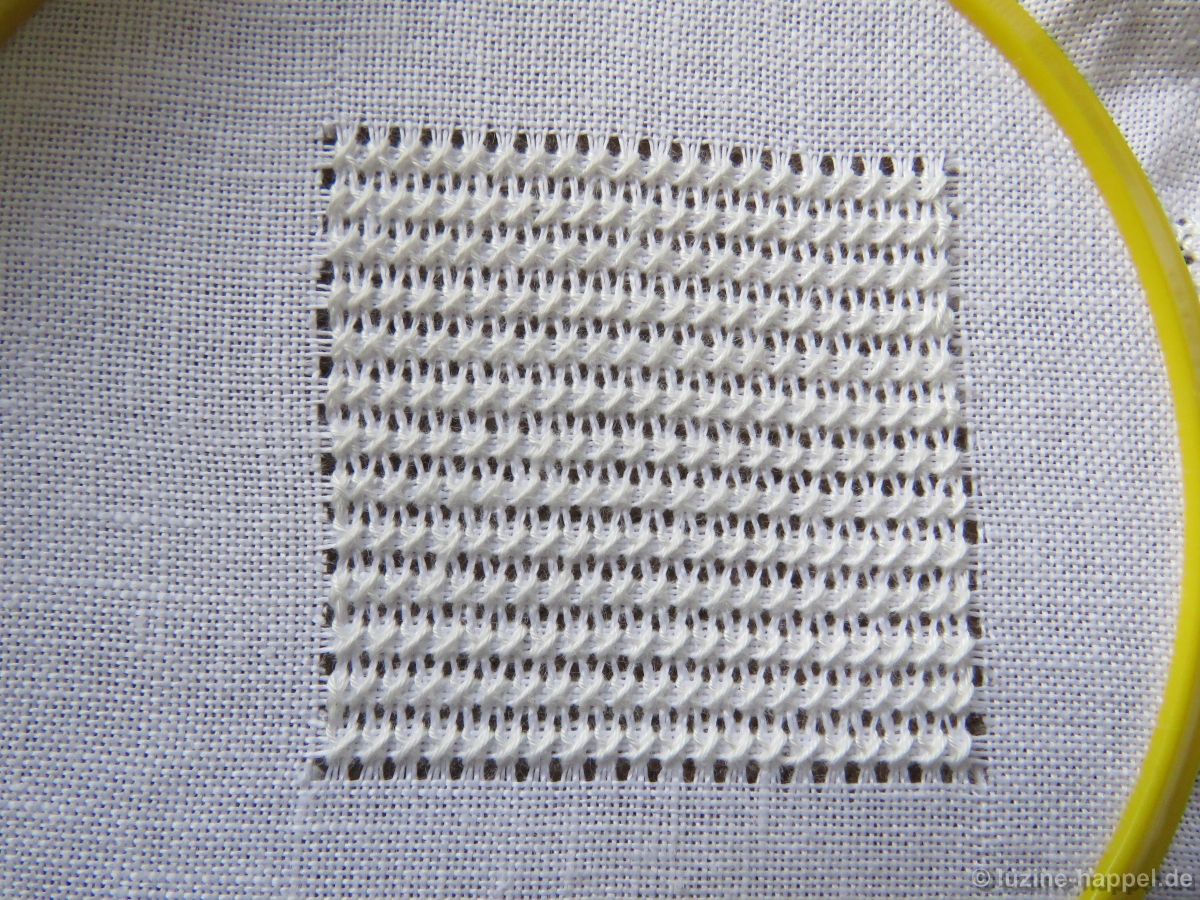
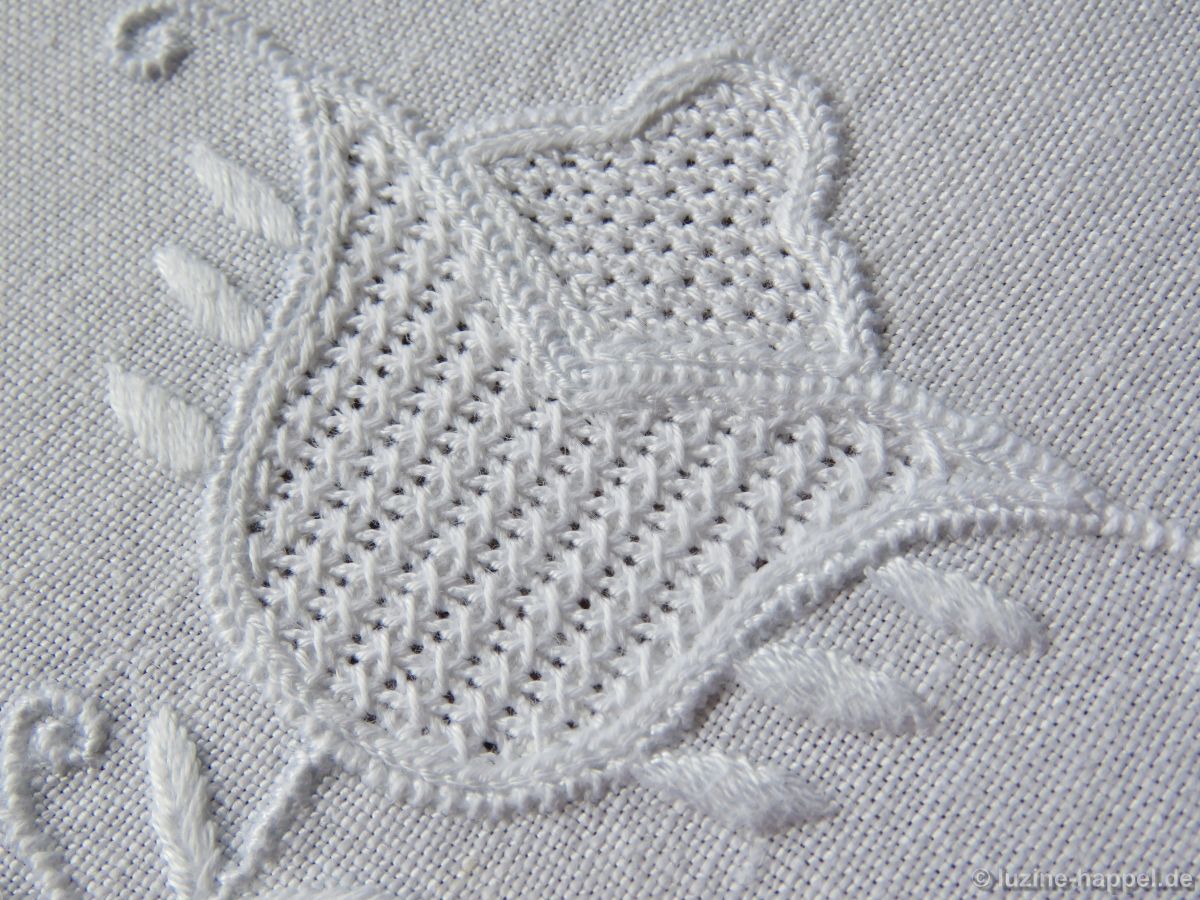
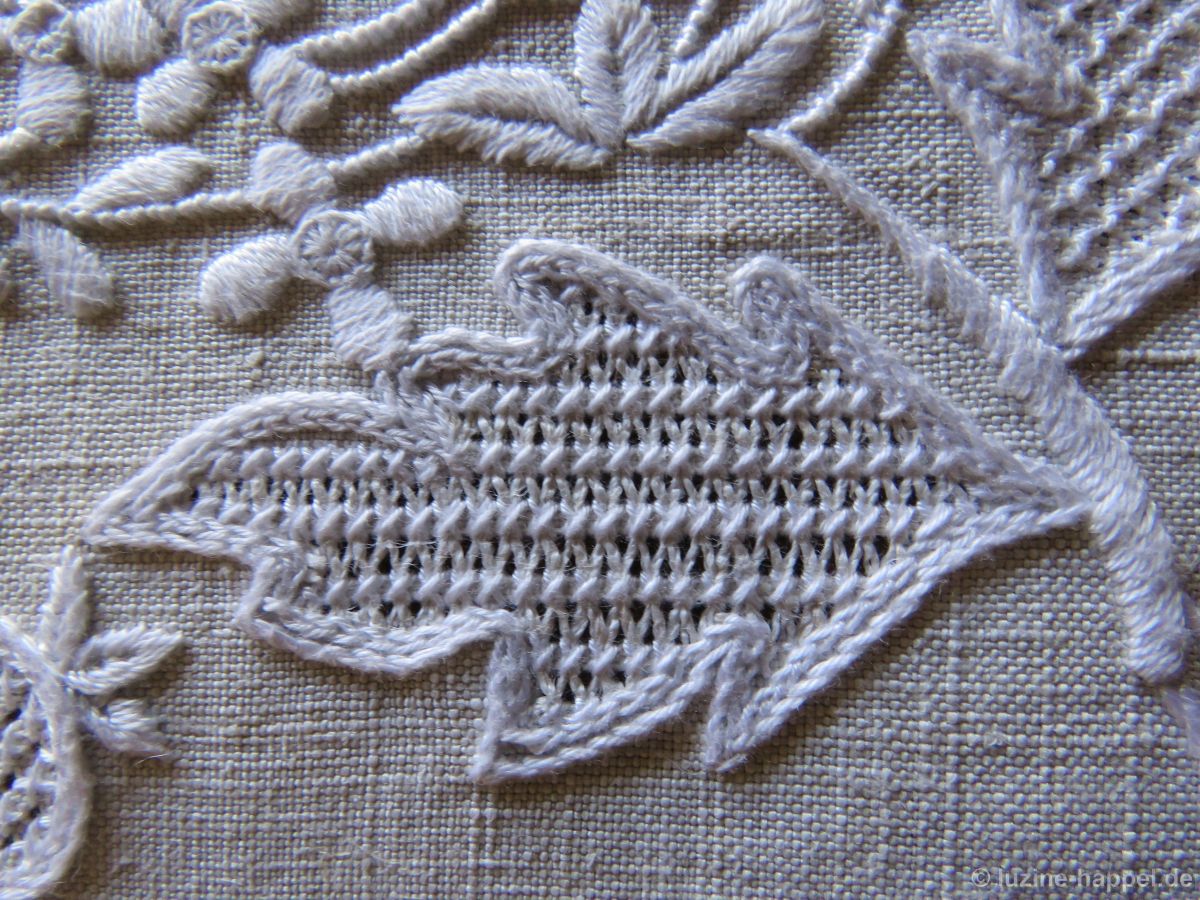
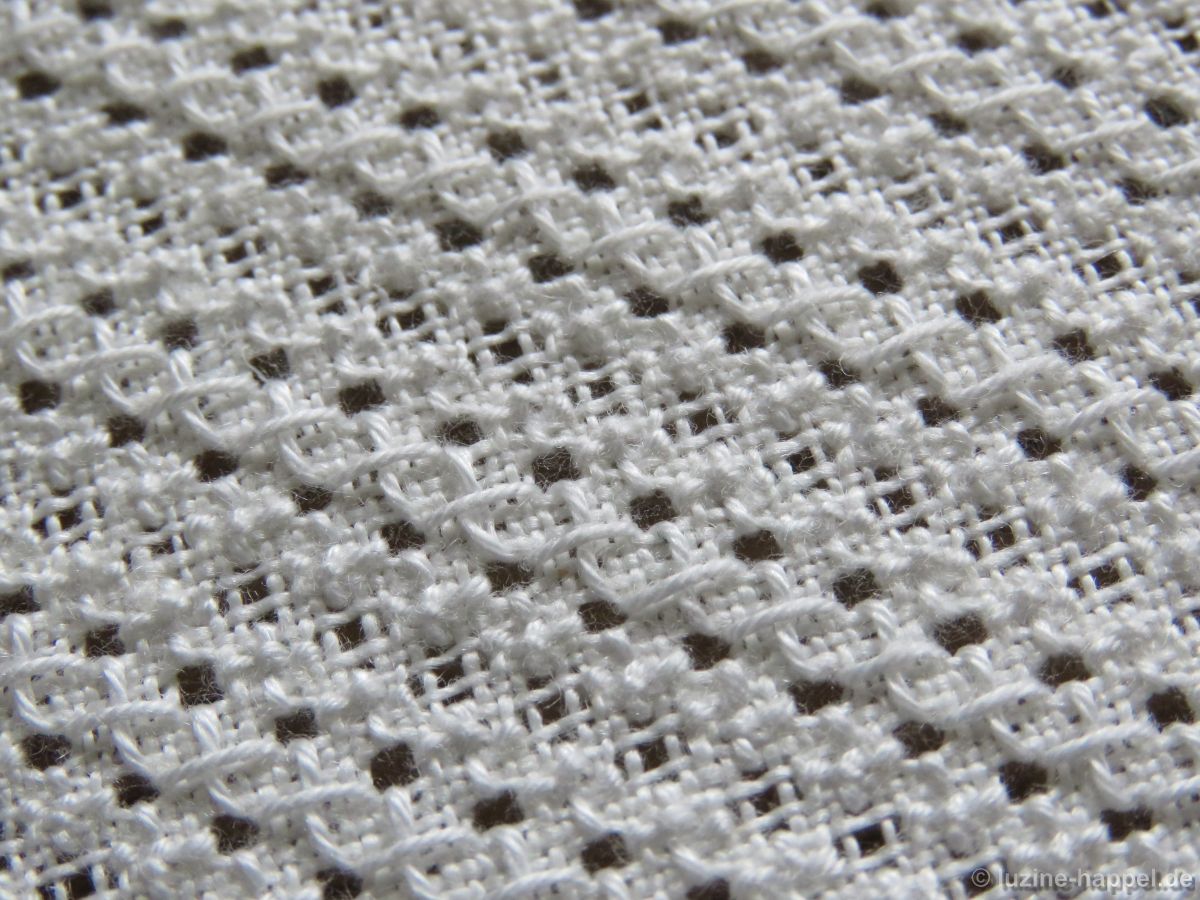
The filling pattern shown here is a practice exercise only. You can see it used in a shape at the end of this article.
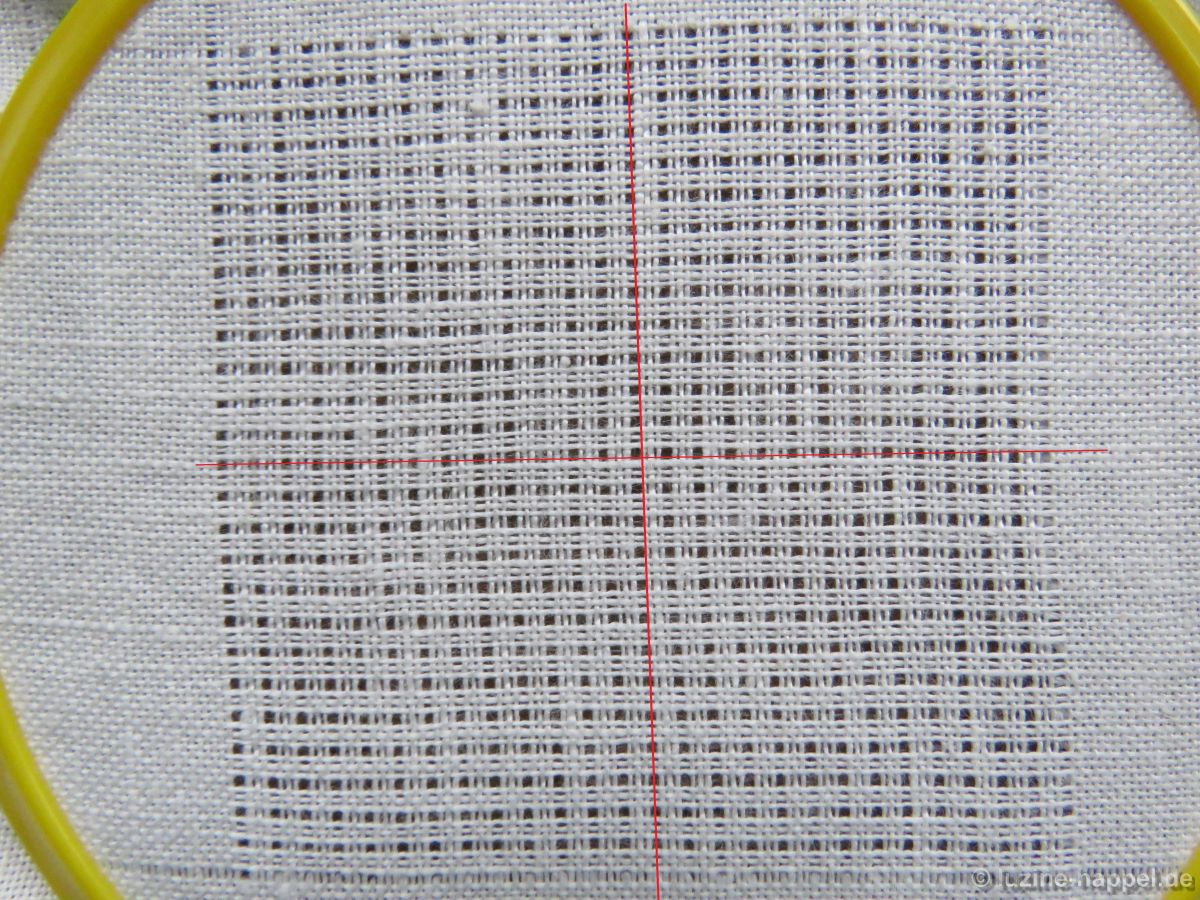
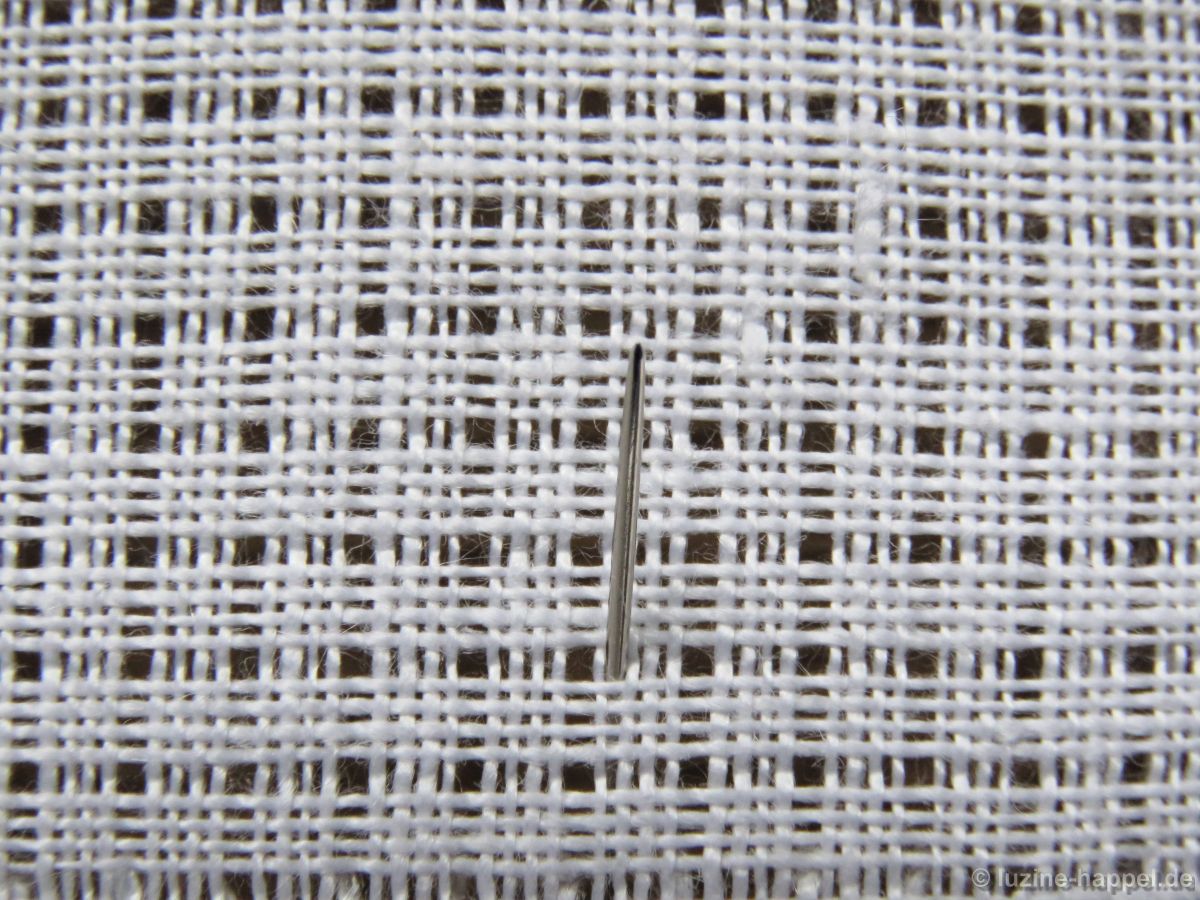
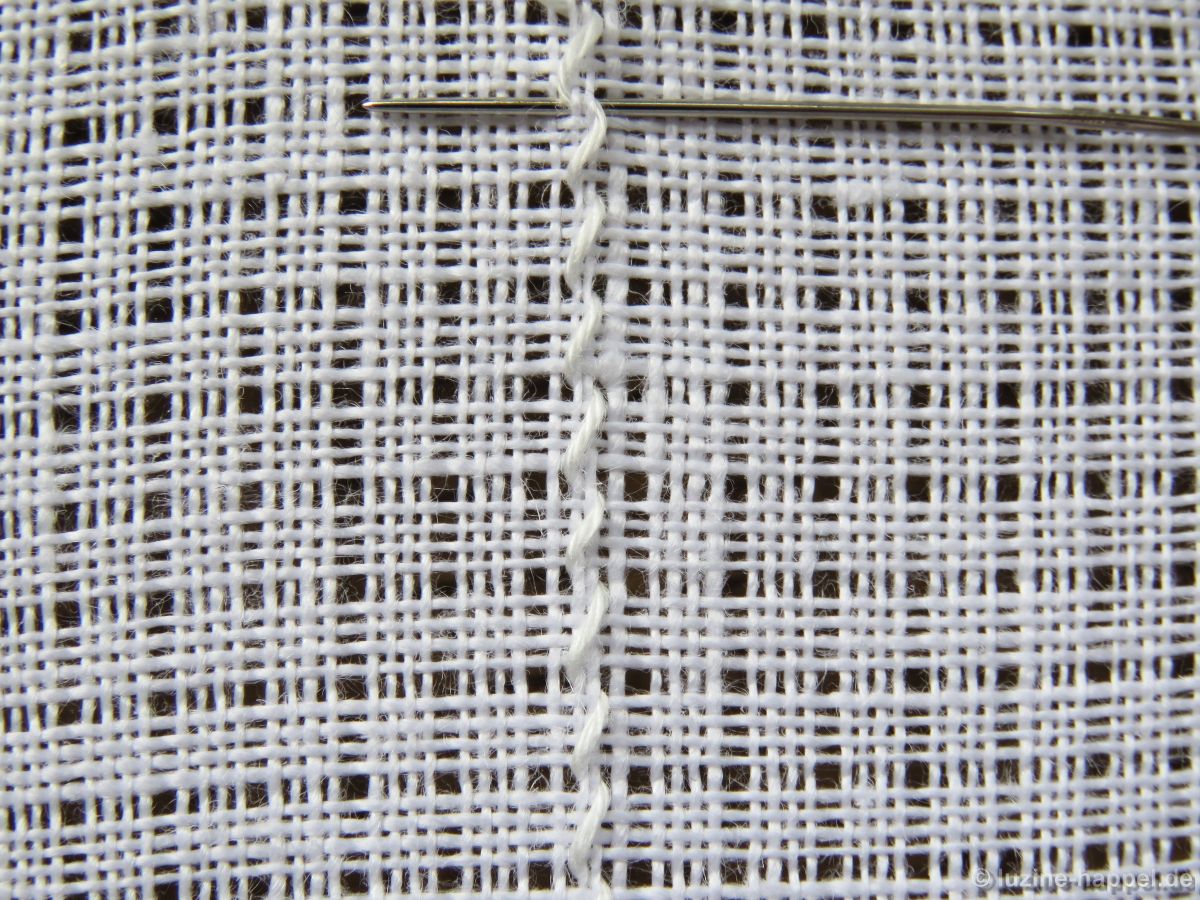
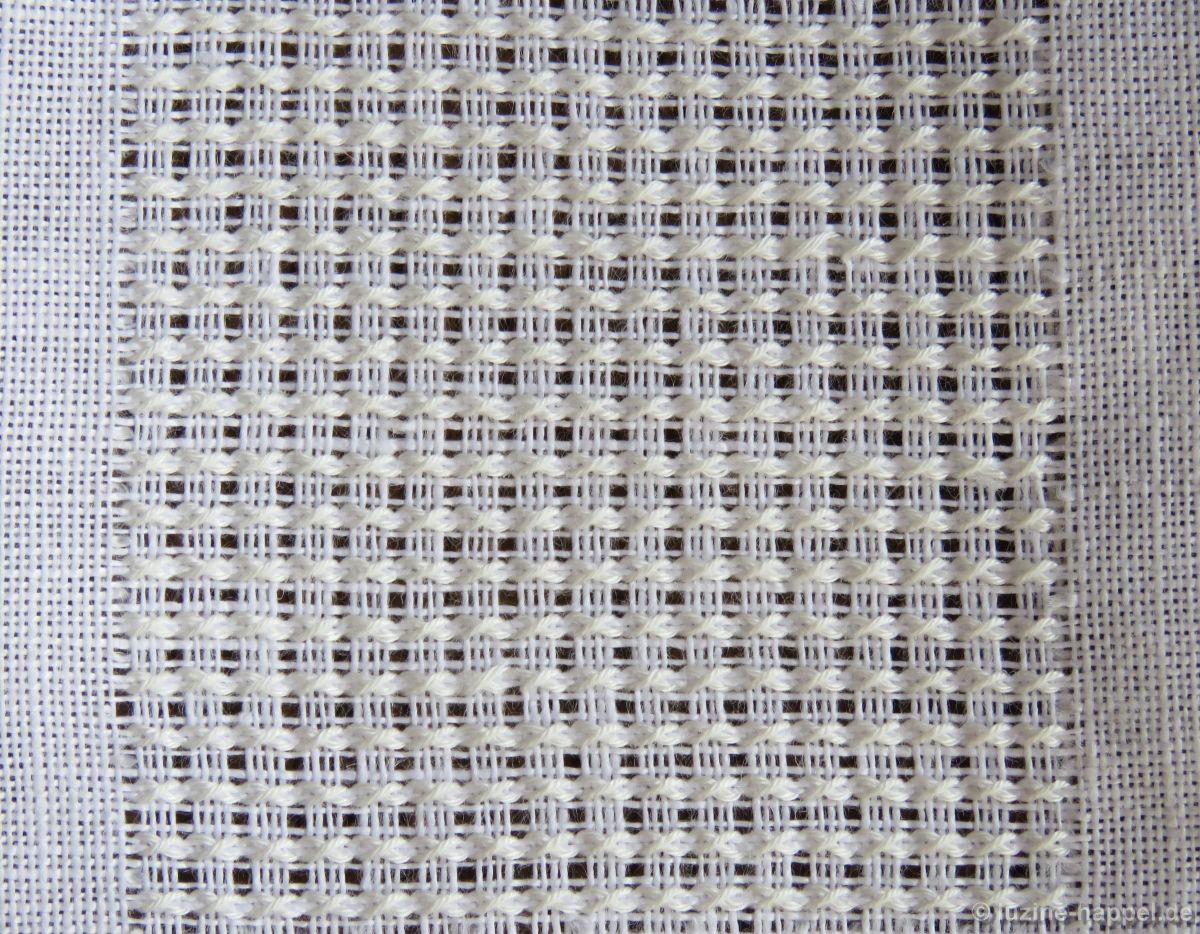
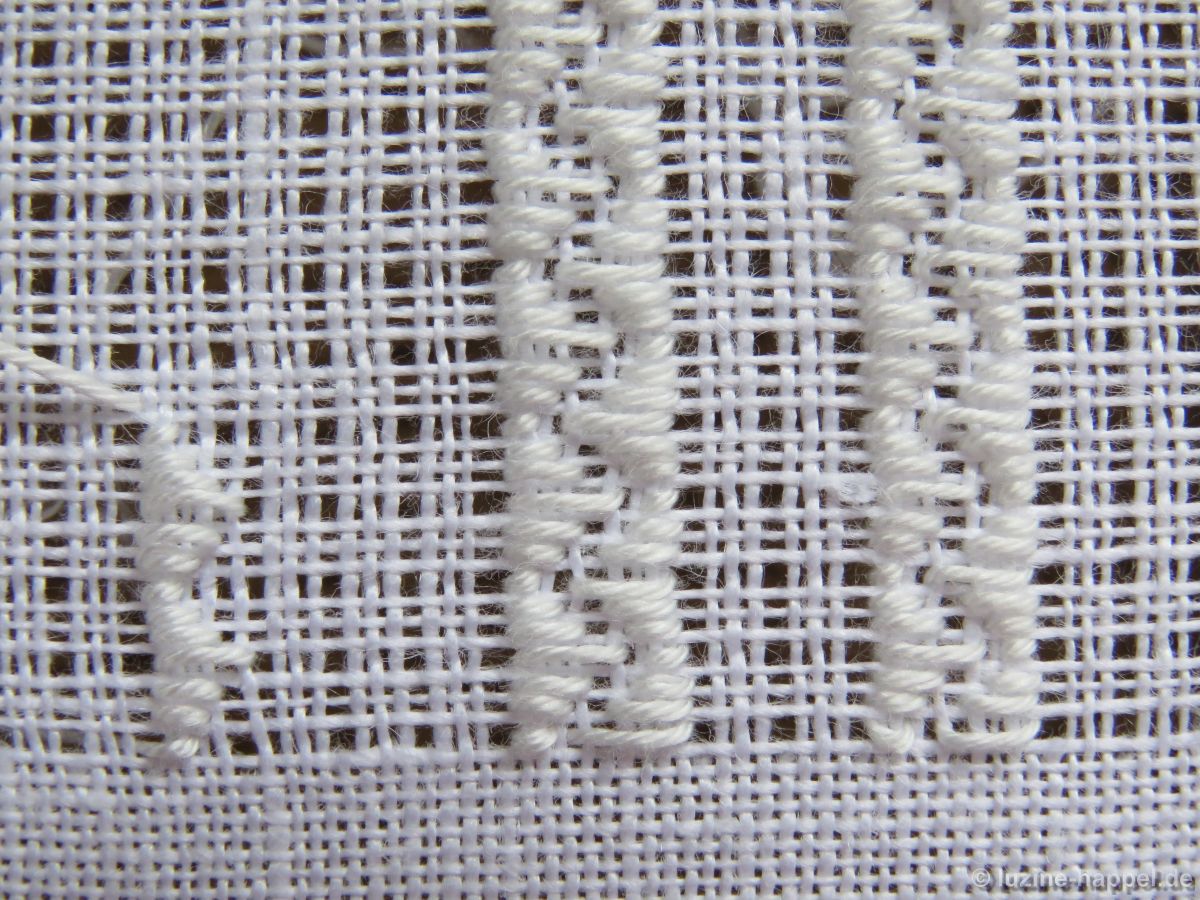
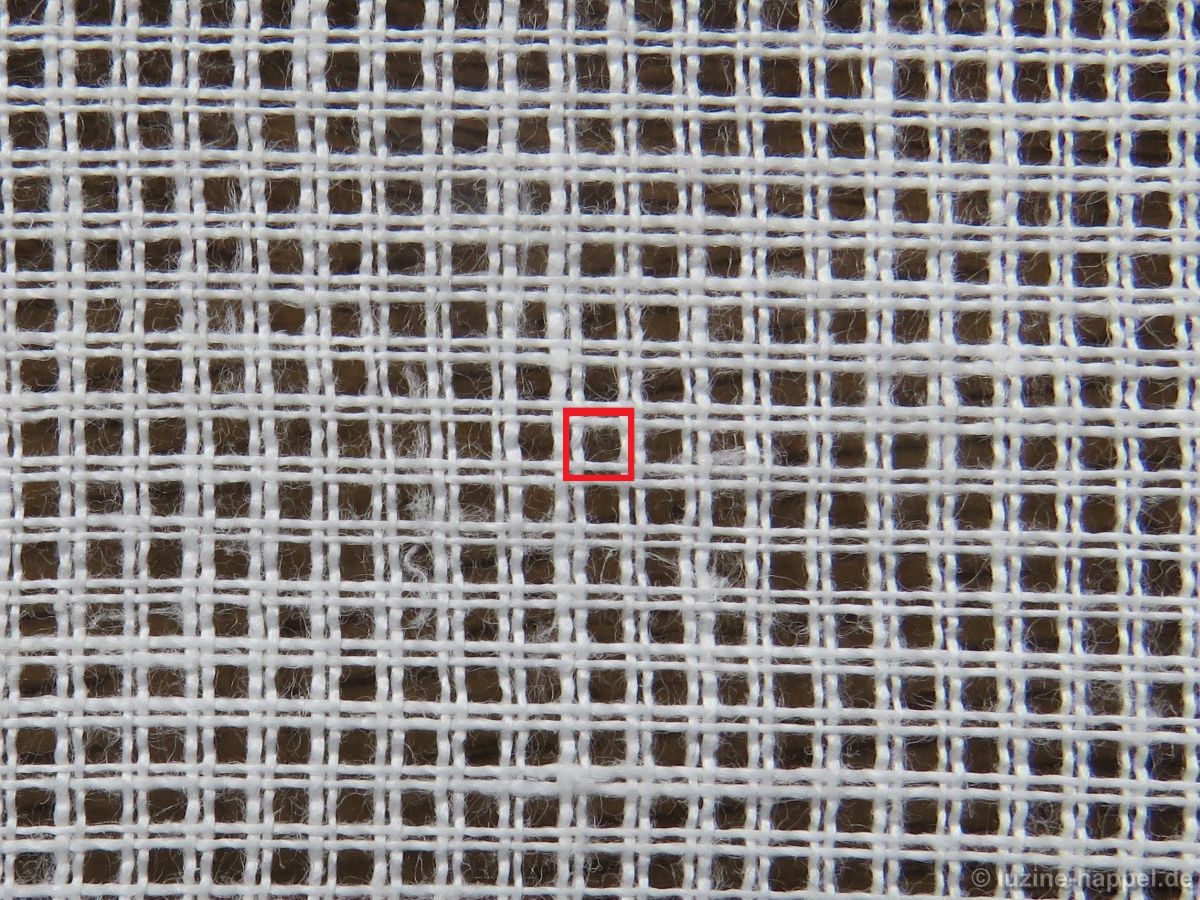
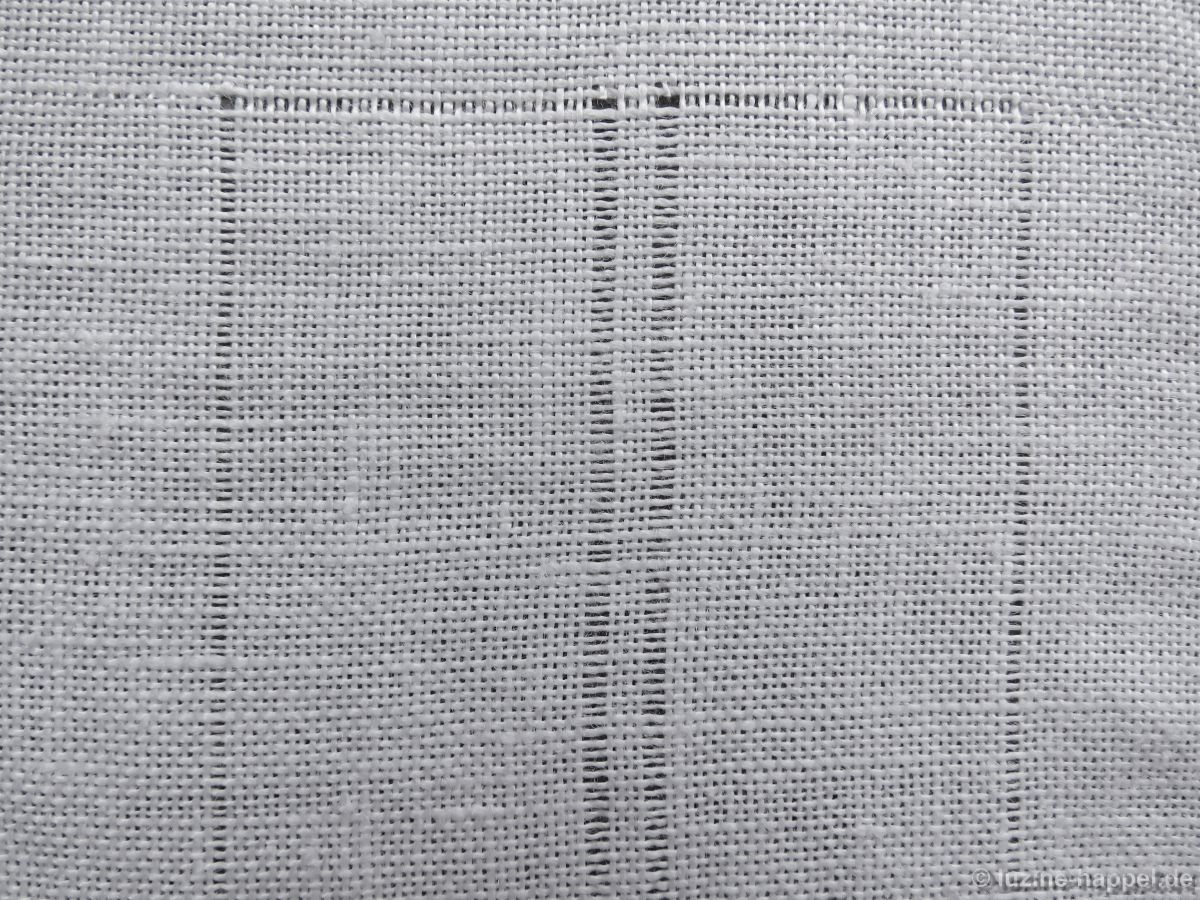
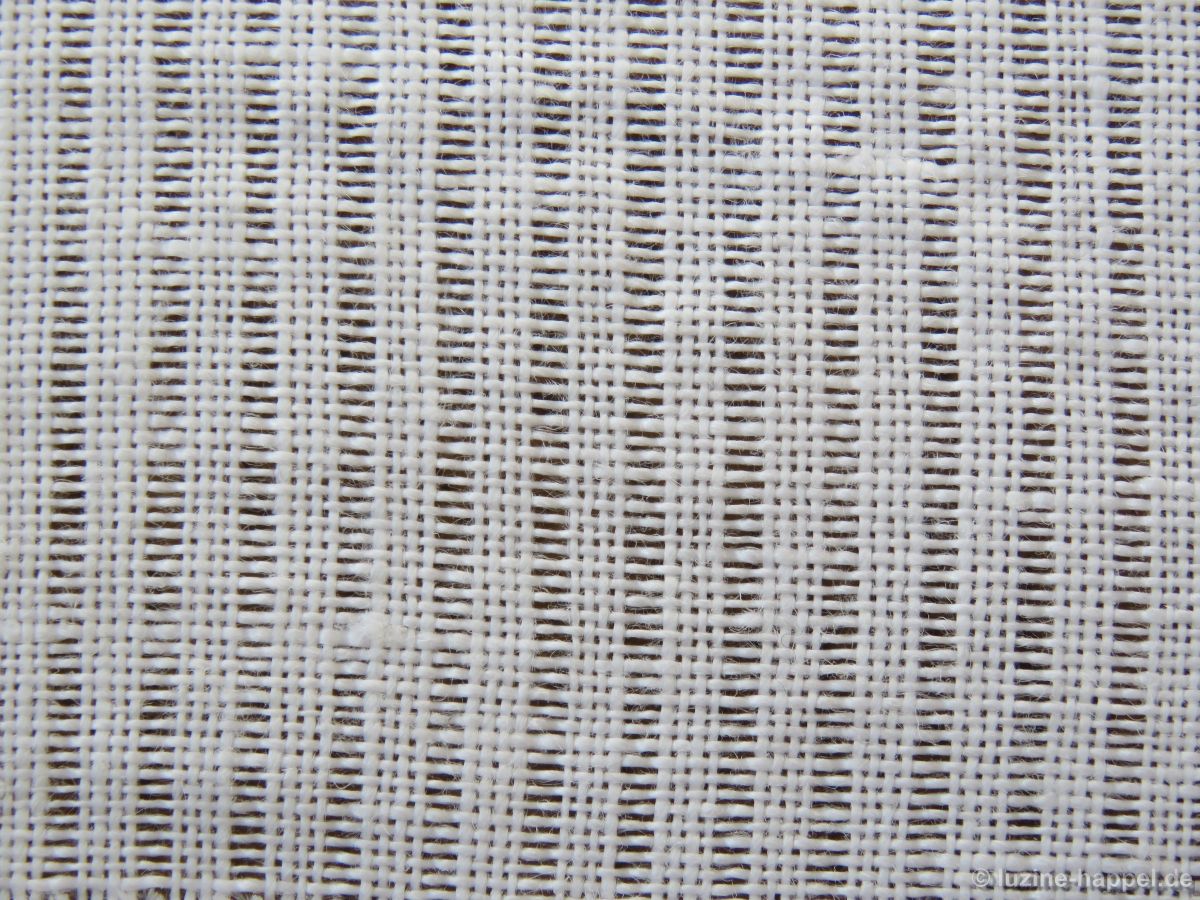
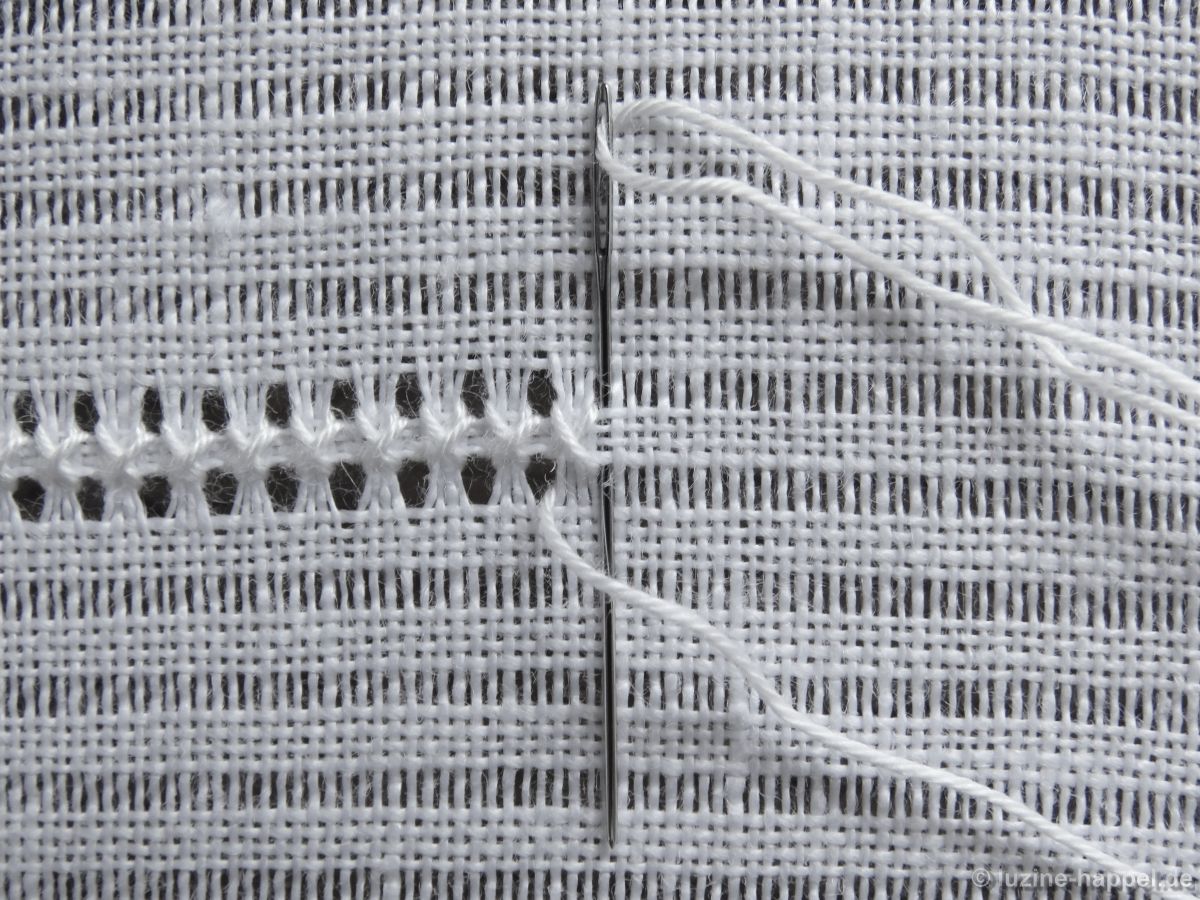
First, establish a Limet grid by alternately cutting 1, leaving 3, vertically and horizontally.
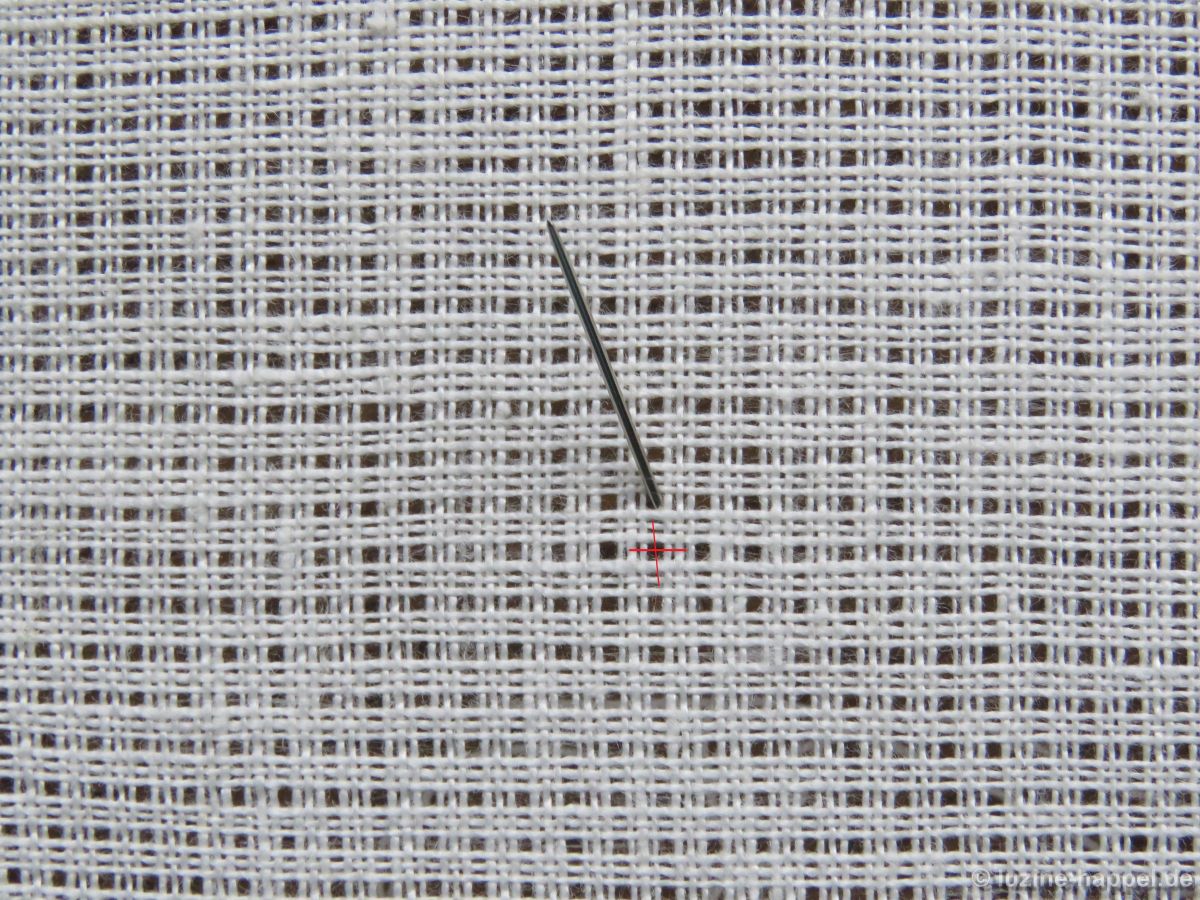
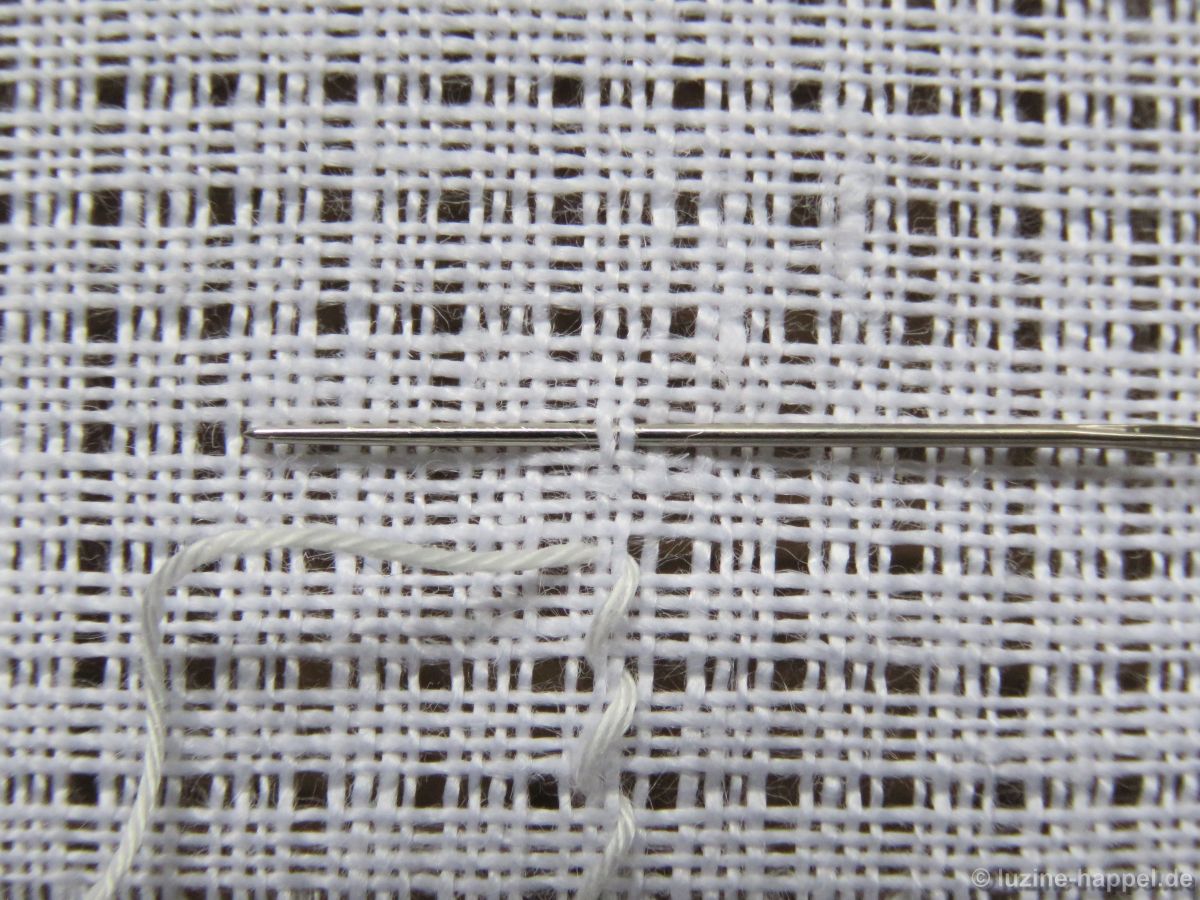
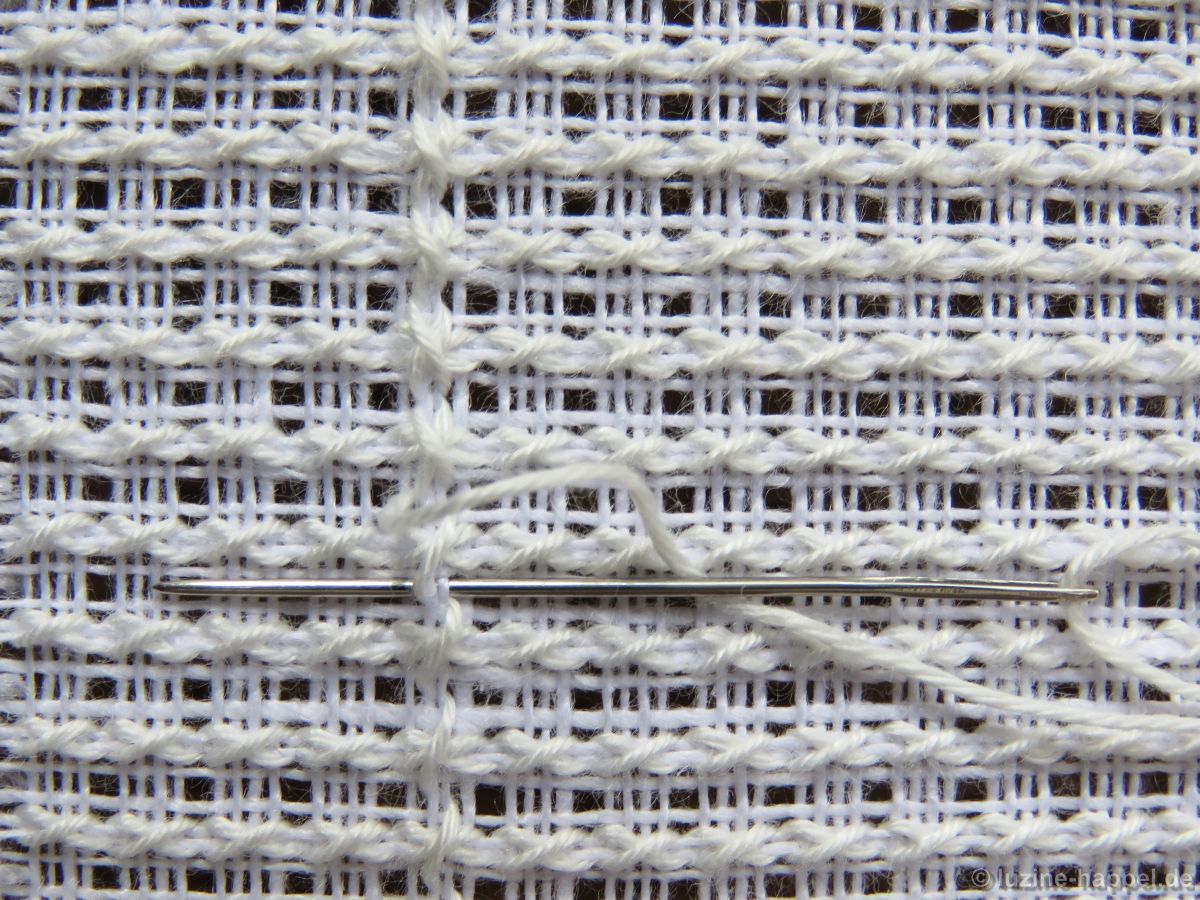
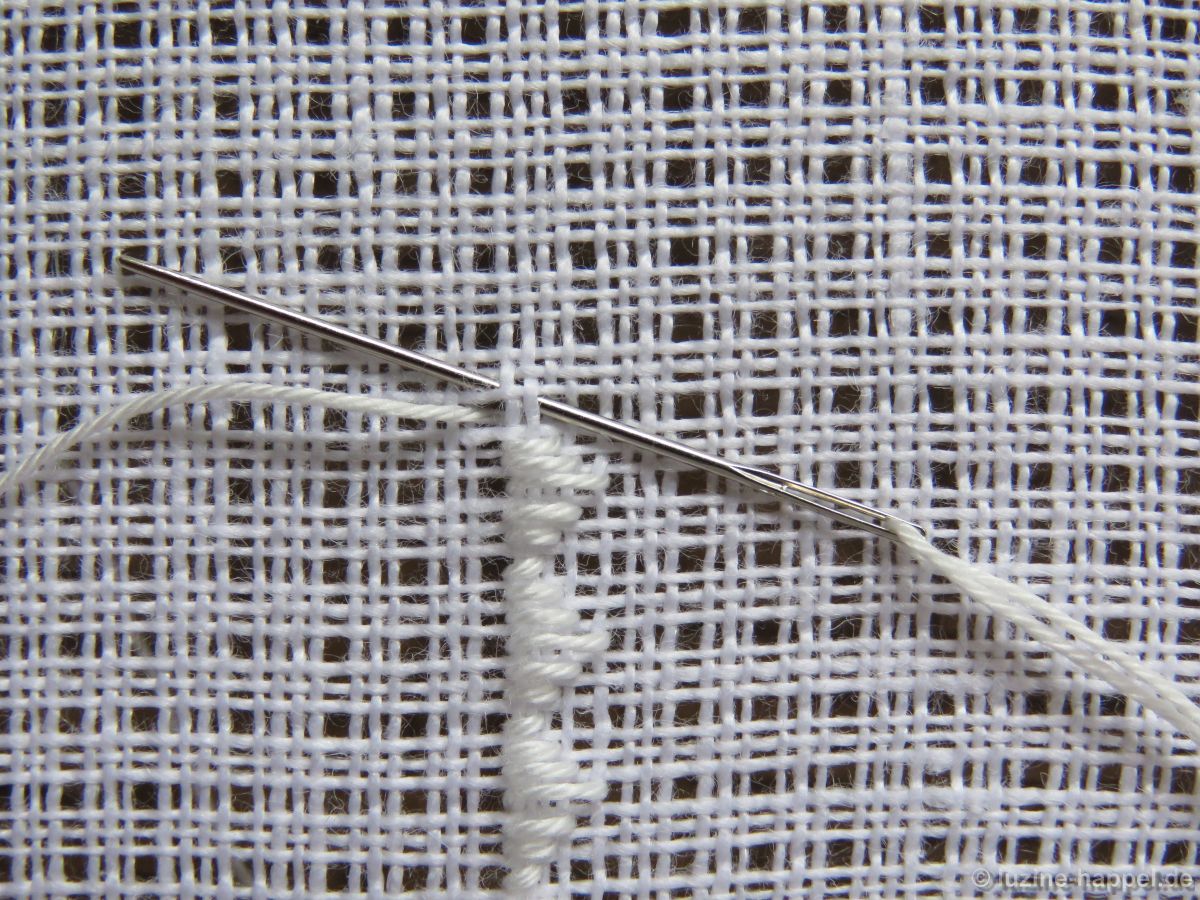
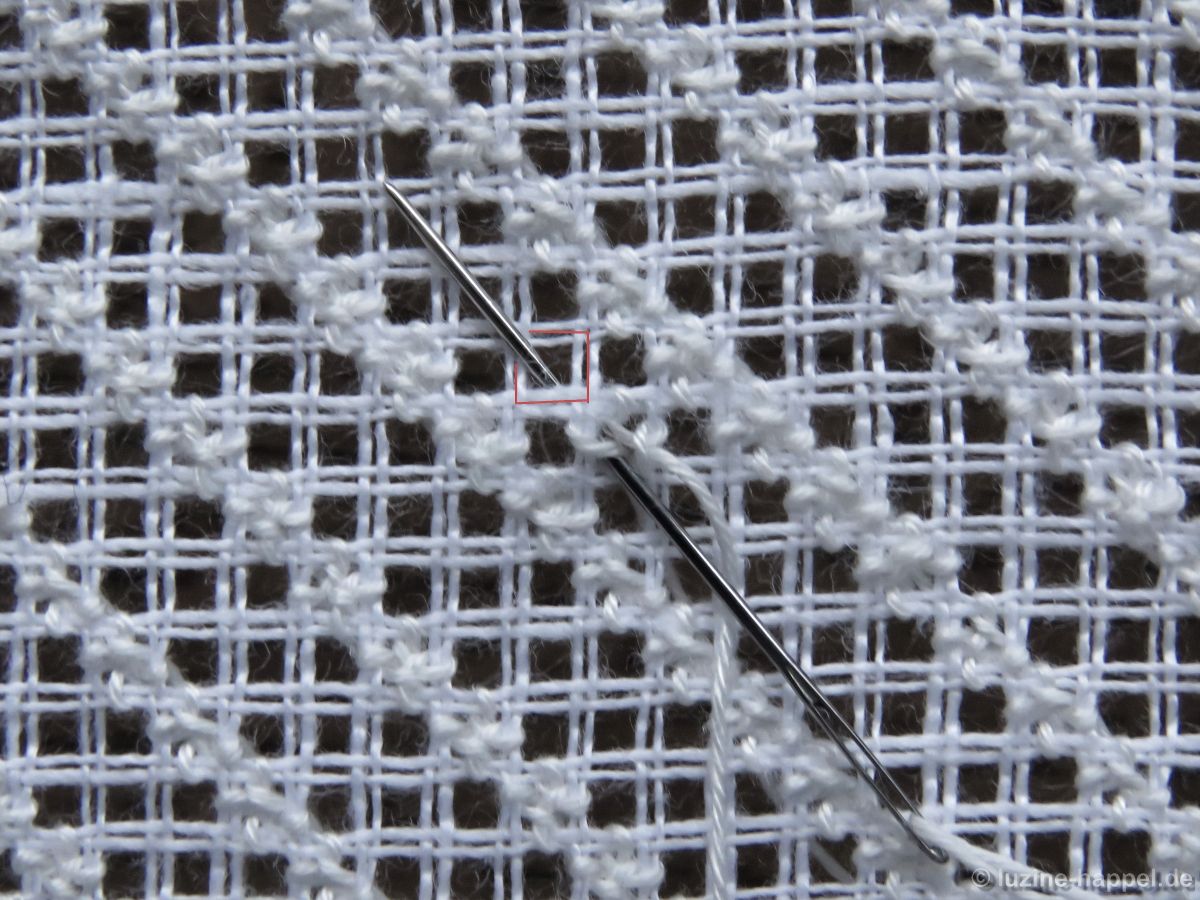
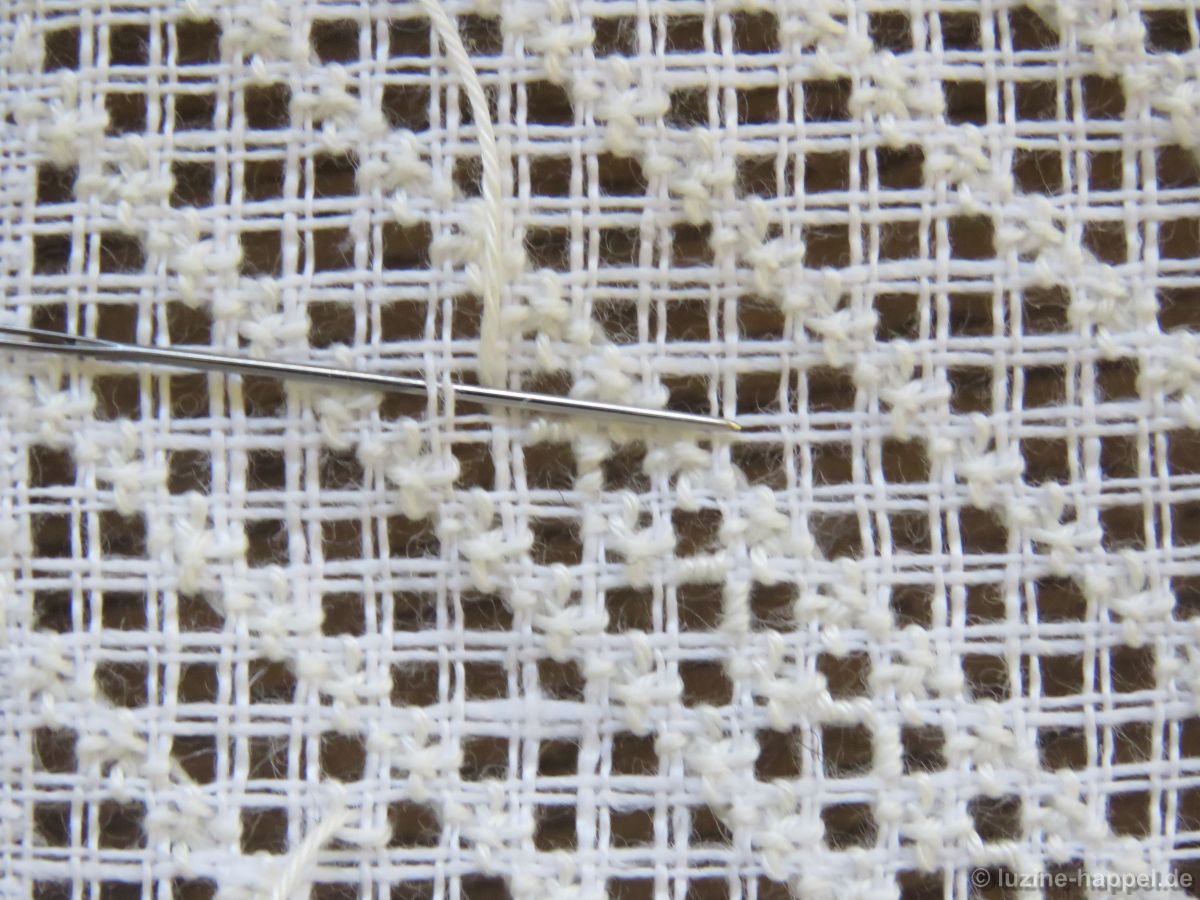
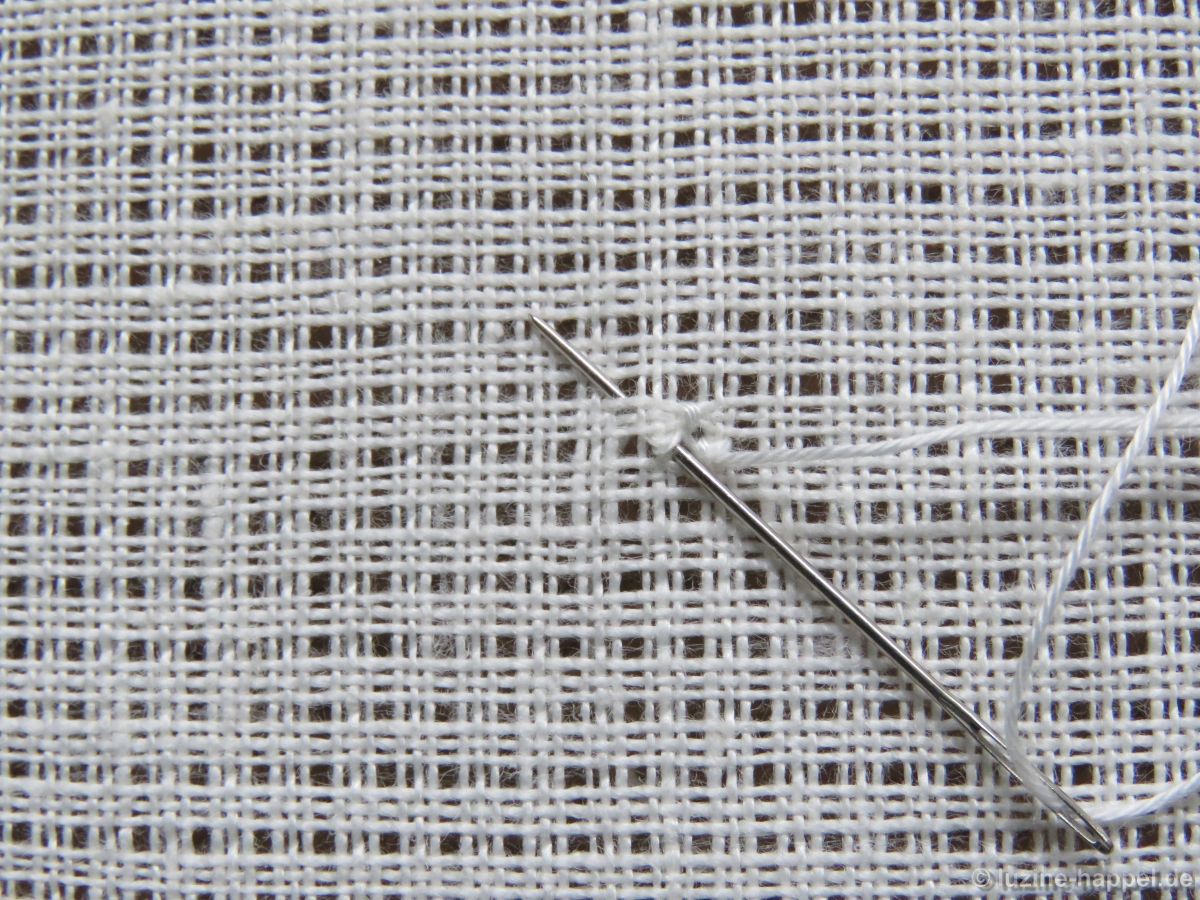
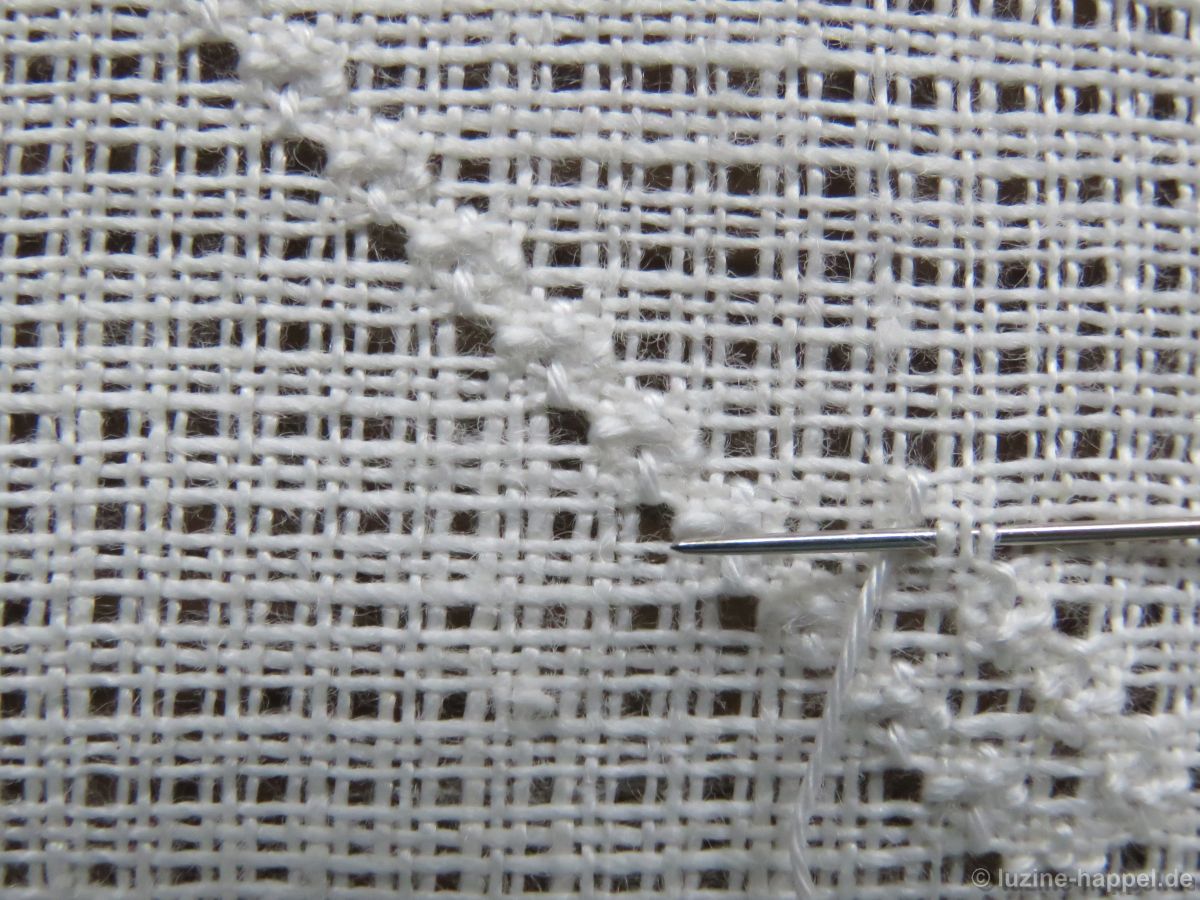
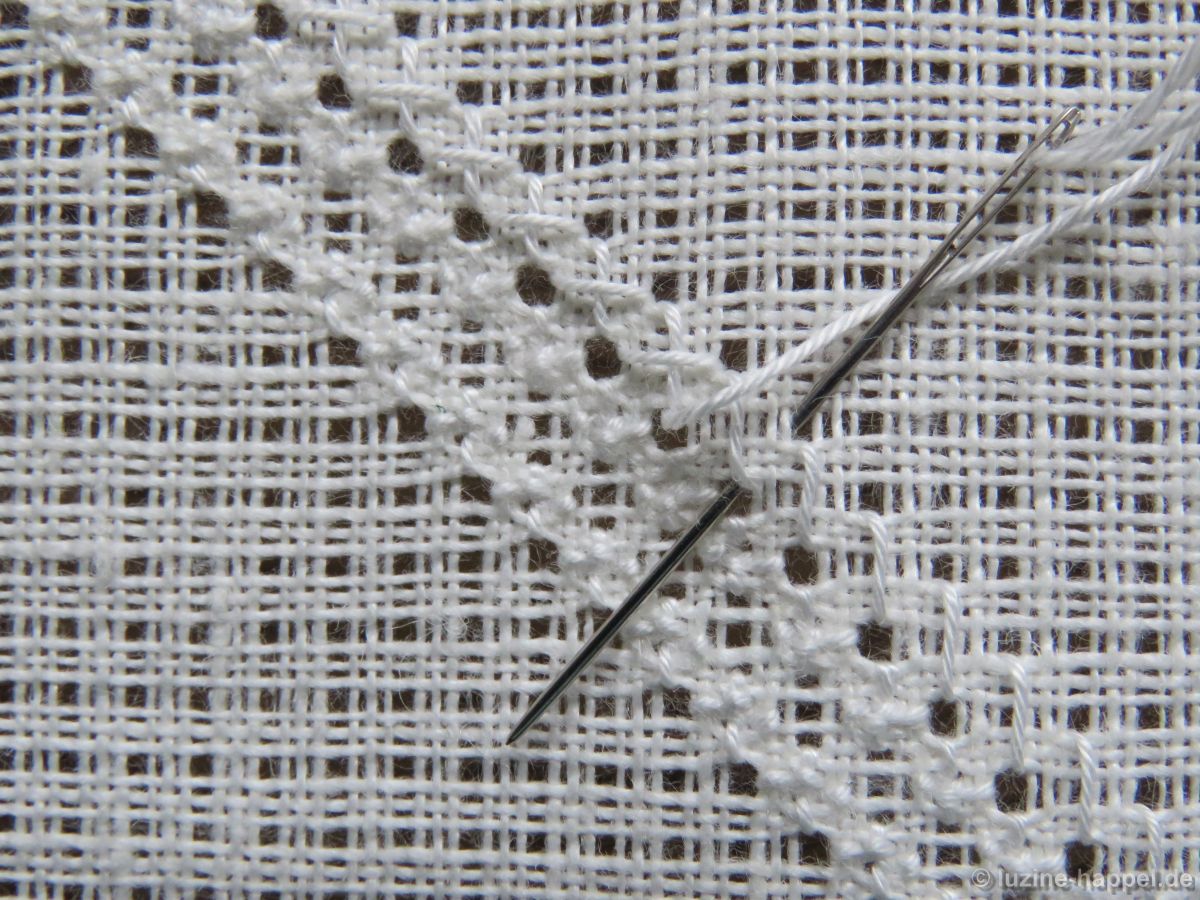
Bring needle up one square above the center,

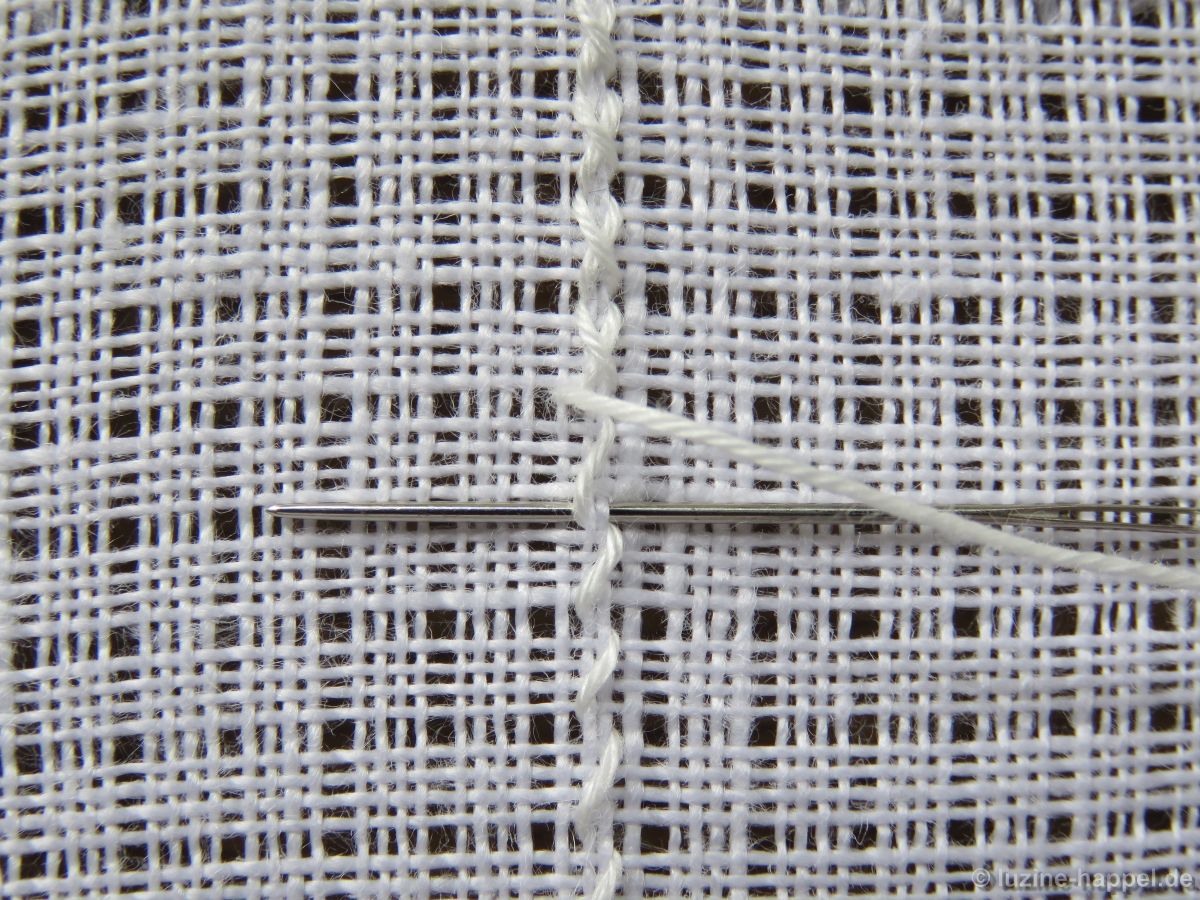
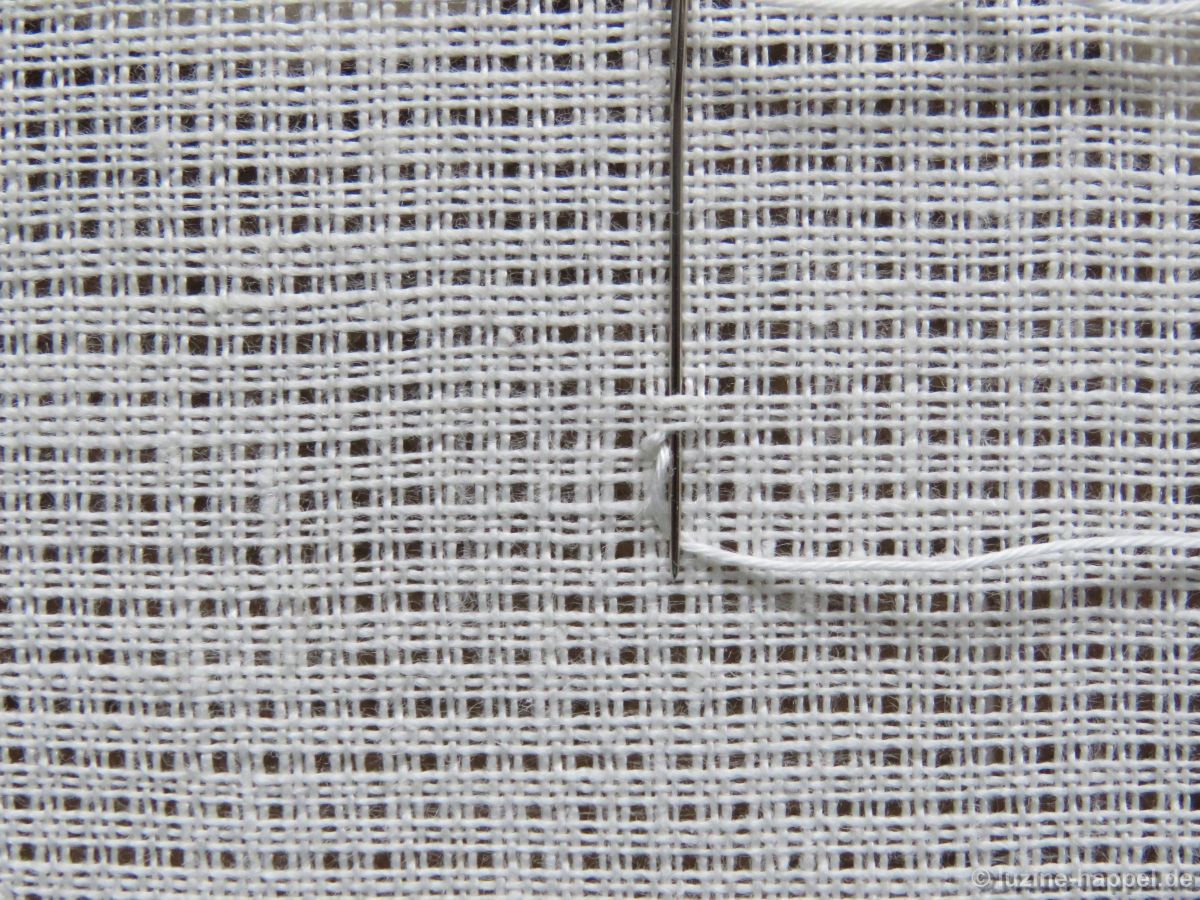
*cross over 2 (!) fabric threads to the left, insert needle there and bring it up again in the first hole.
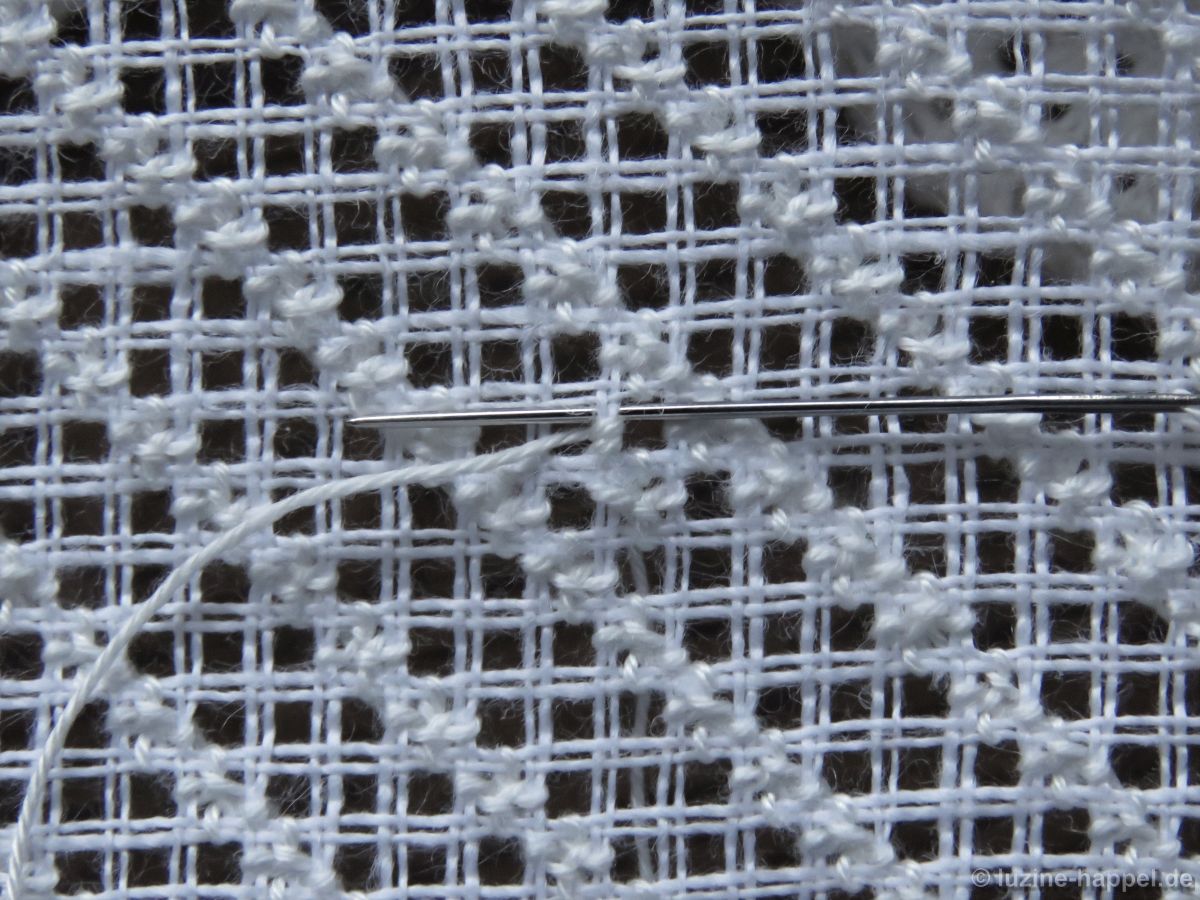
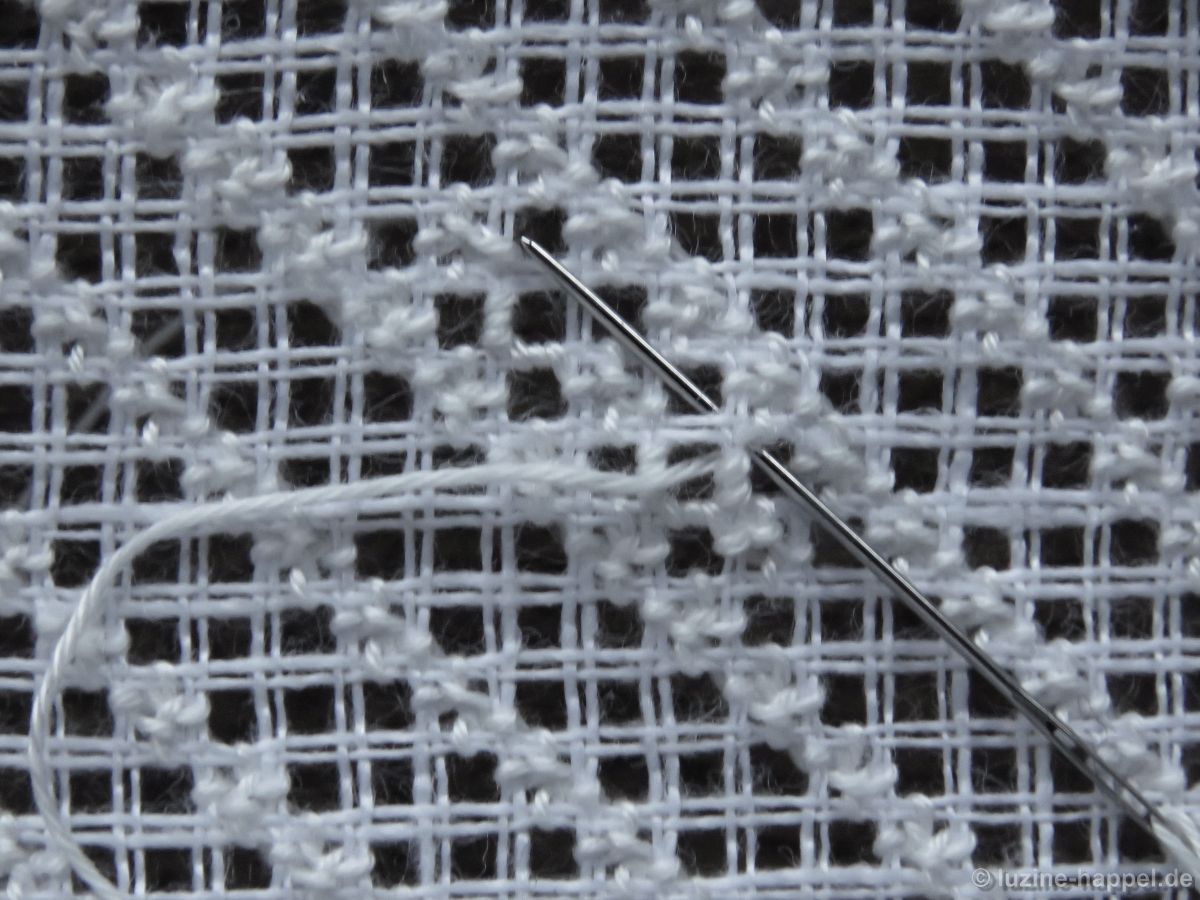
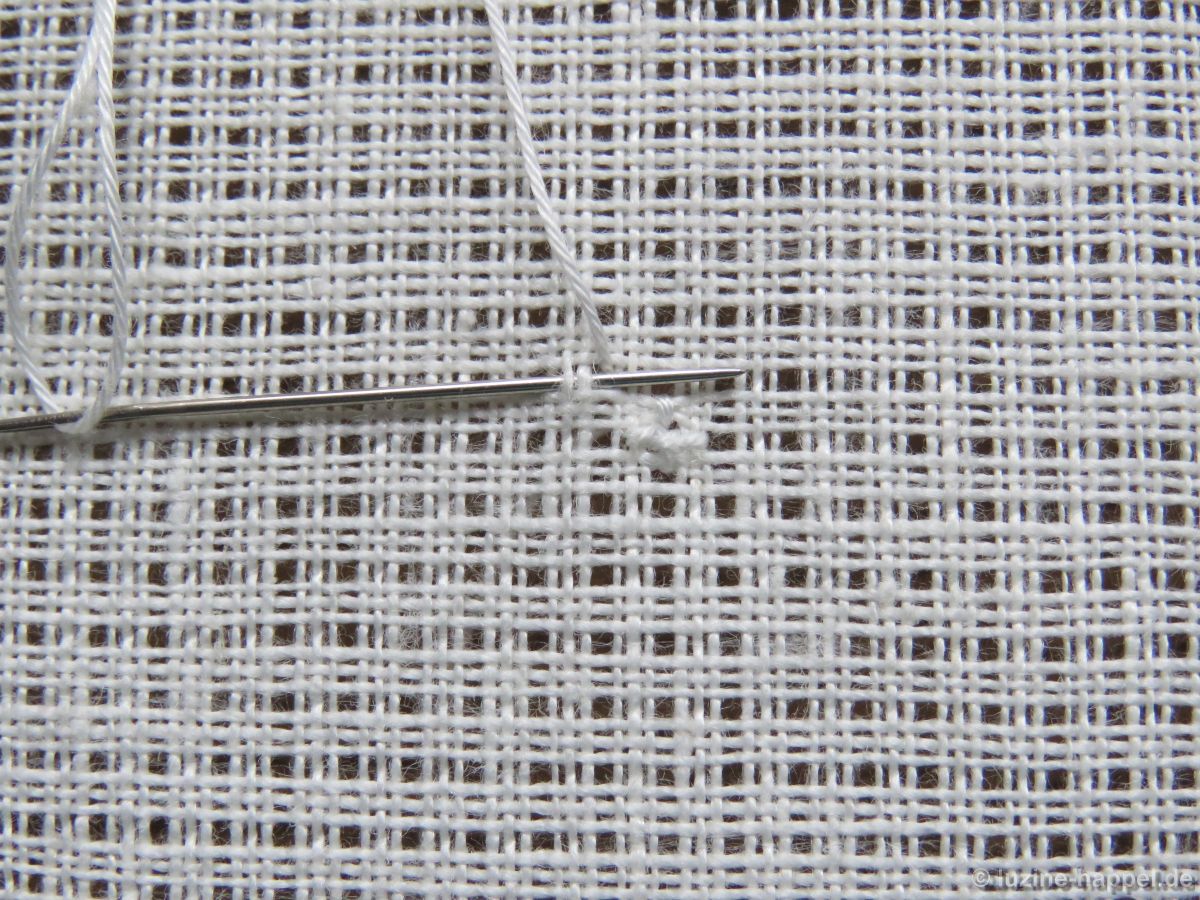
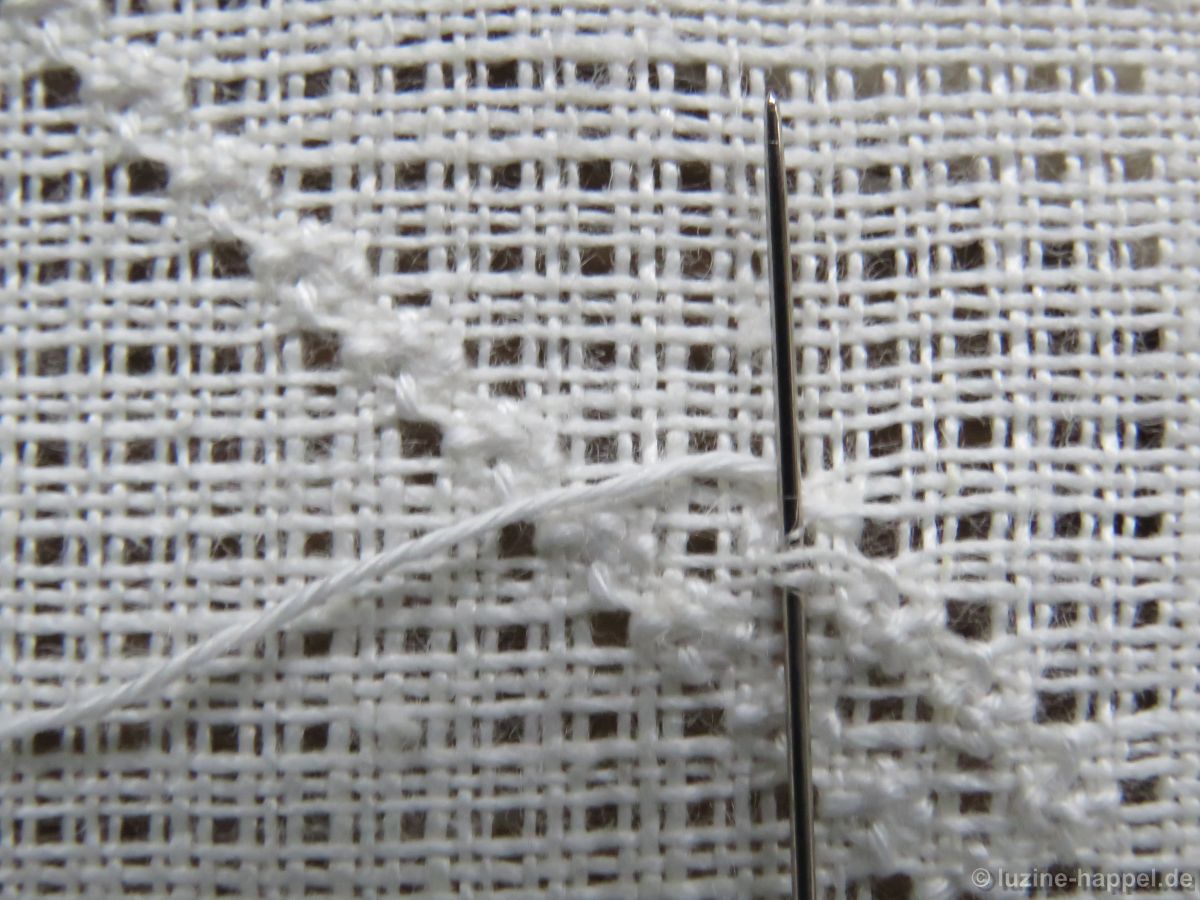
Cross over 3 fabric threads to top, insert needle there and bring it up again in the first hole.
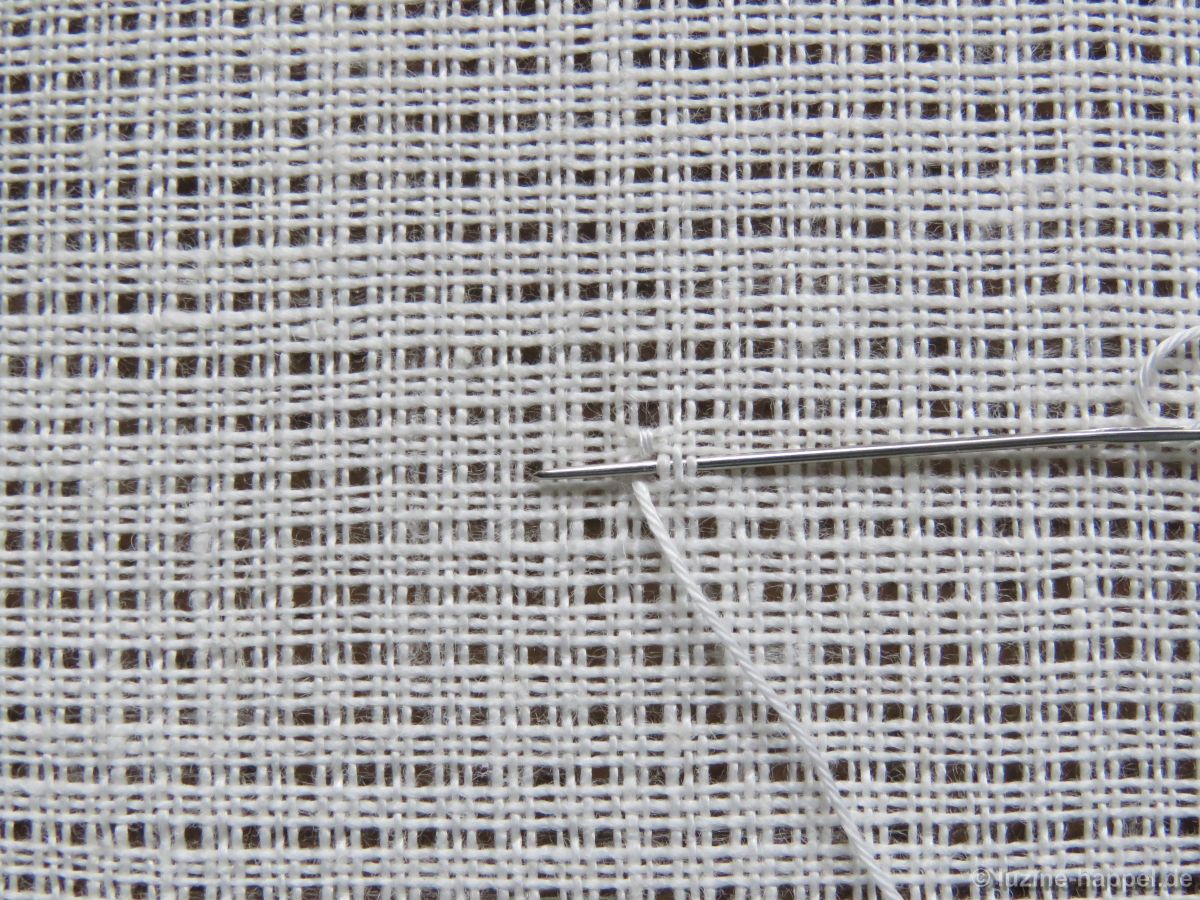
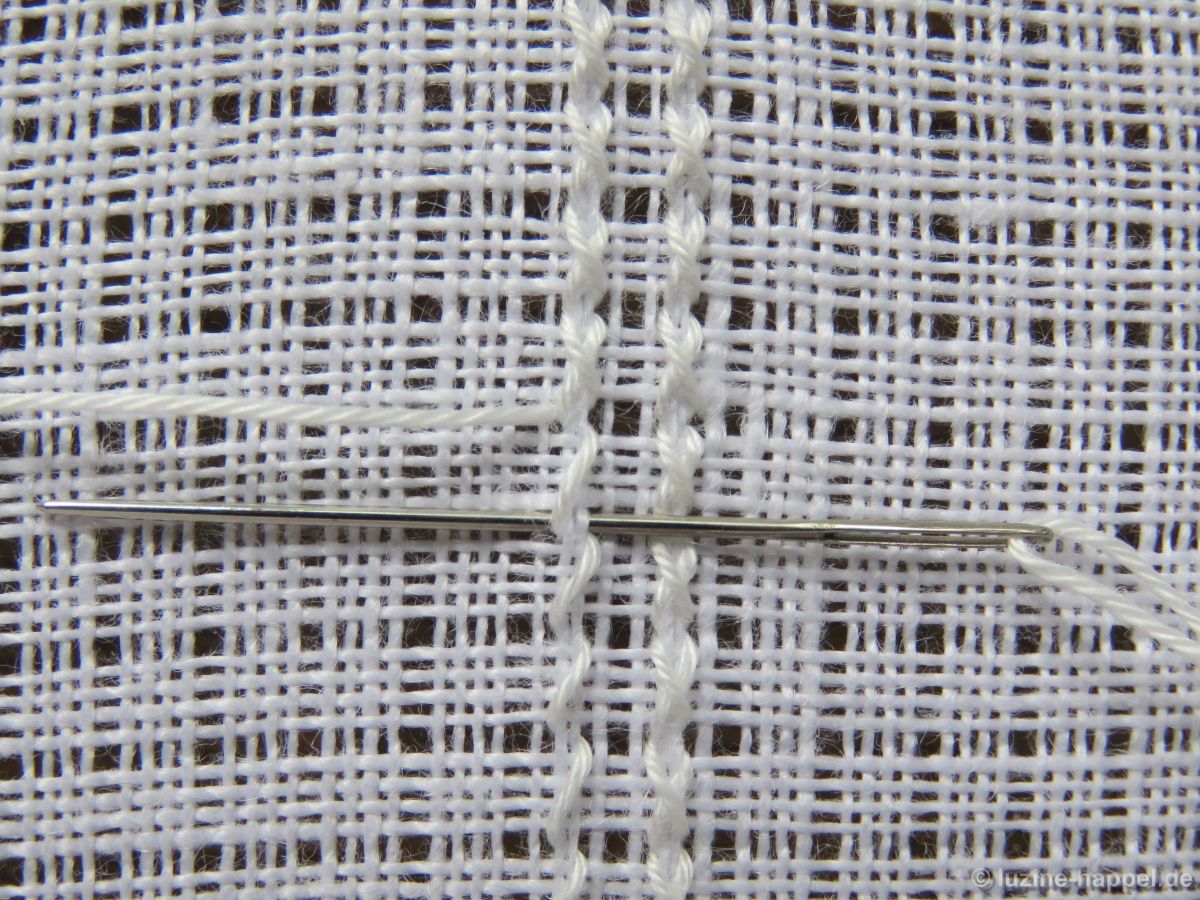
Cross over 3 fabric threads to the right, insert needle there and bring it up again in the first hole.
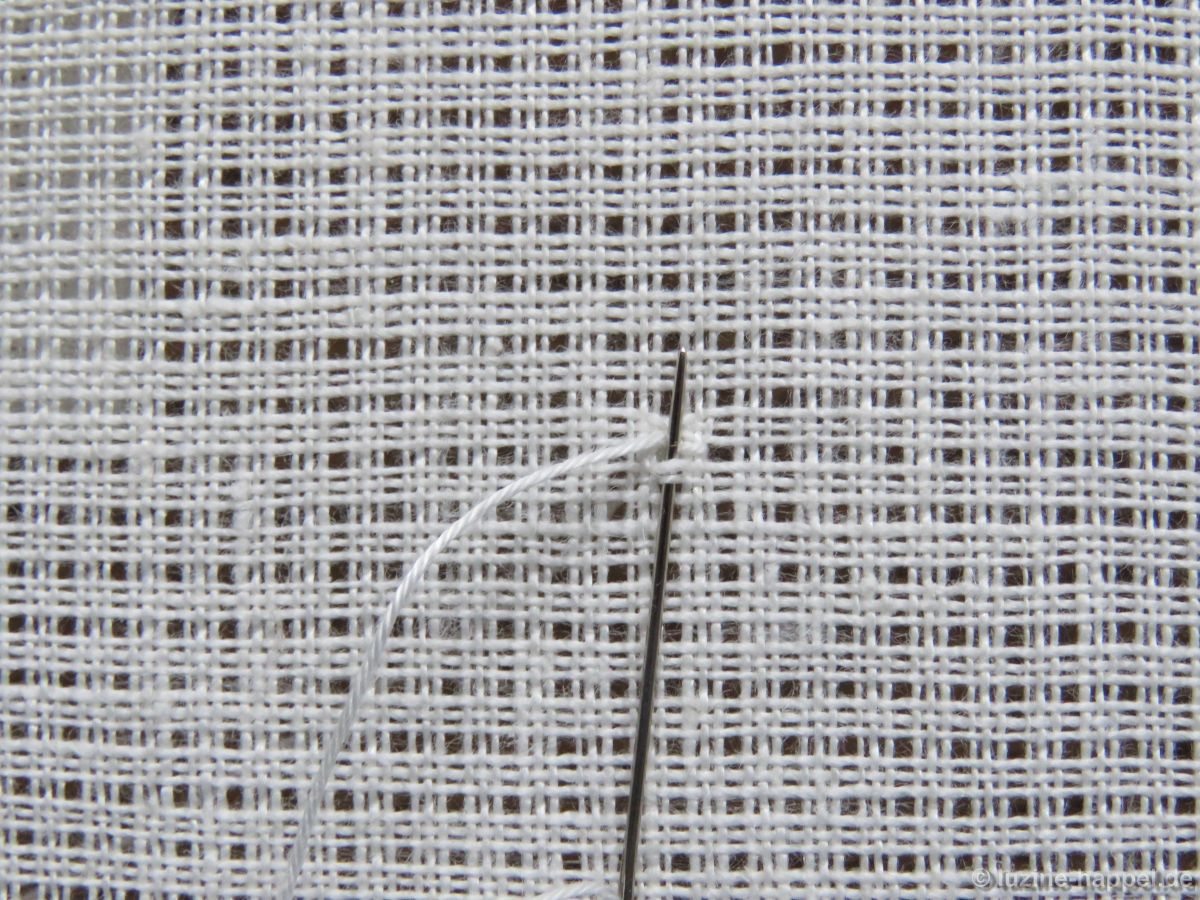
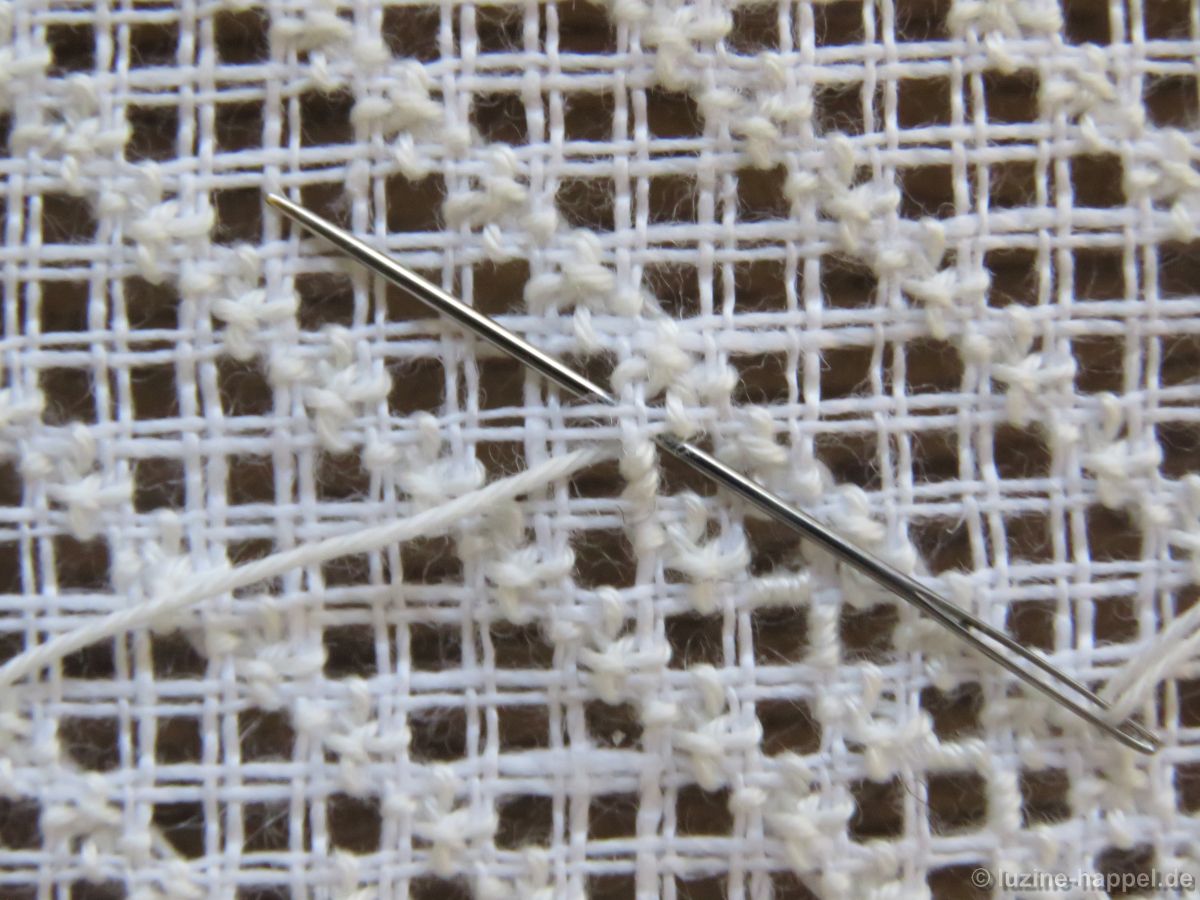
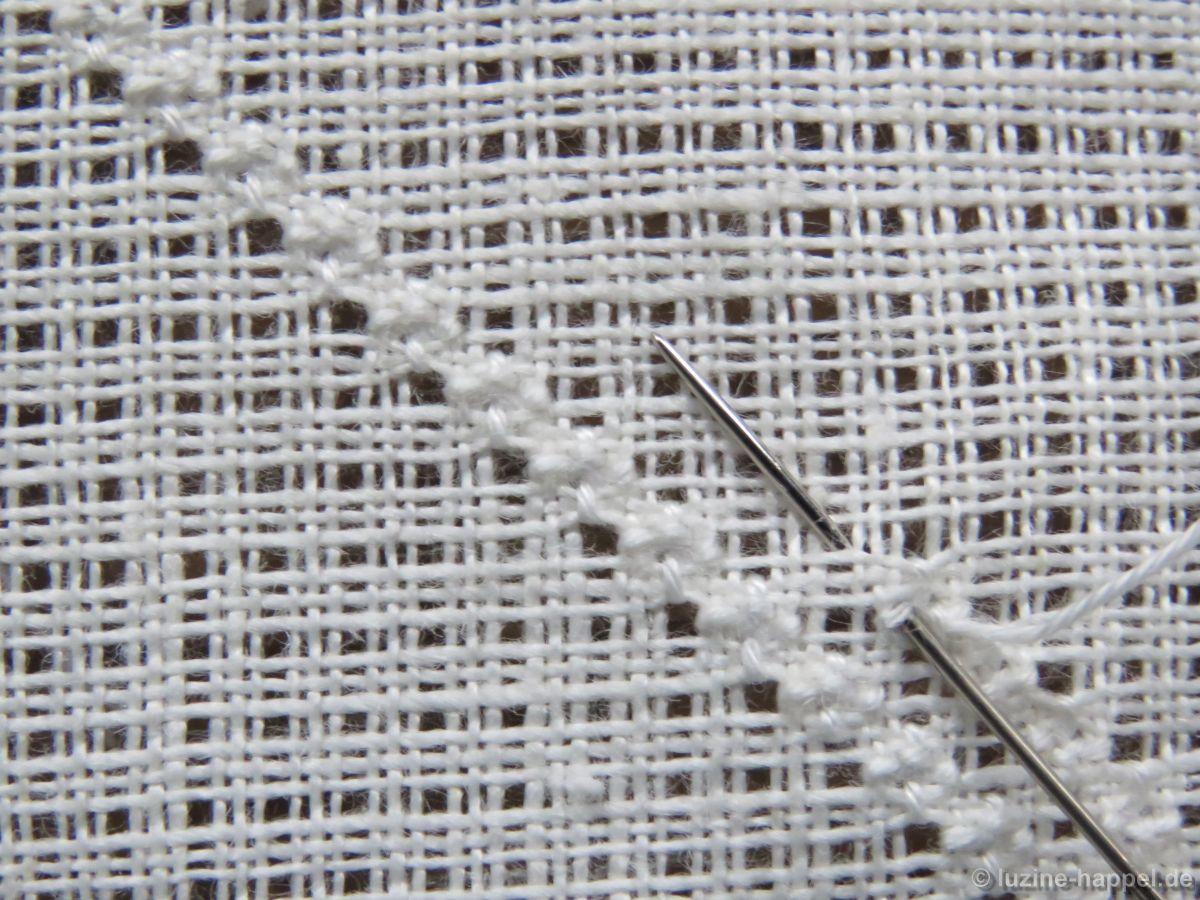
Cross over 2 (!) fabric threads to bottom, insert needle there and bring it up again in the first hole.
The first half Rose stitch with a half Rose stitch variation has formed.
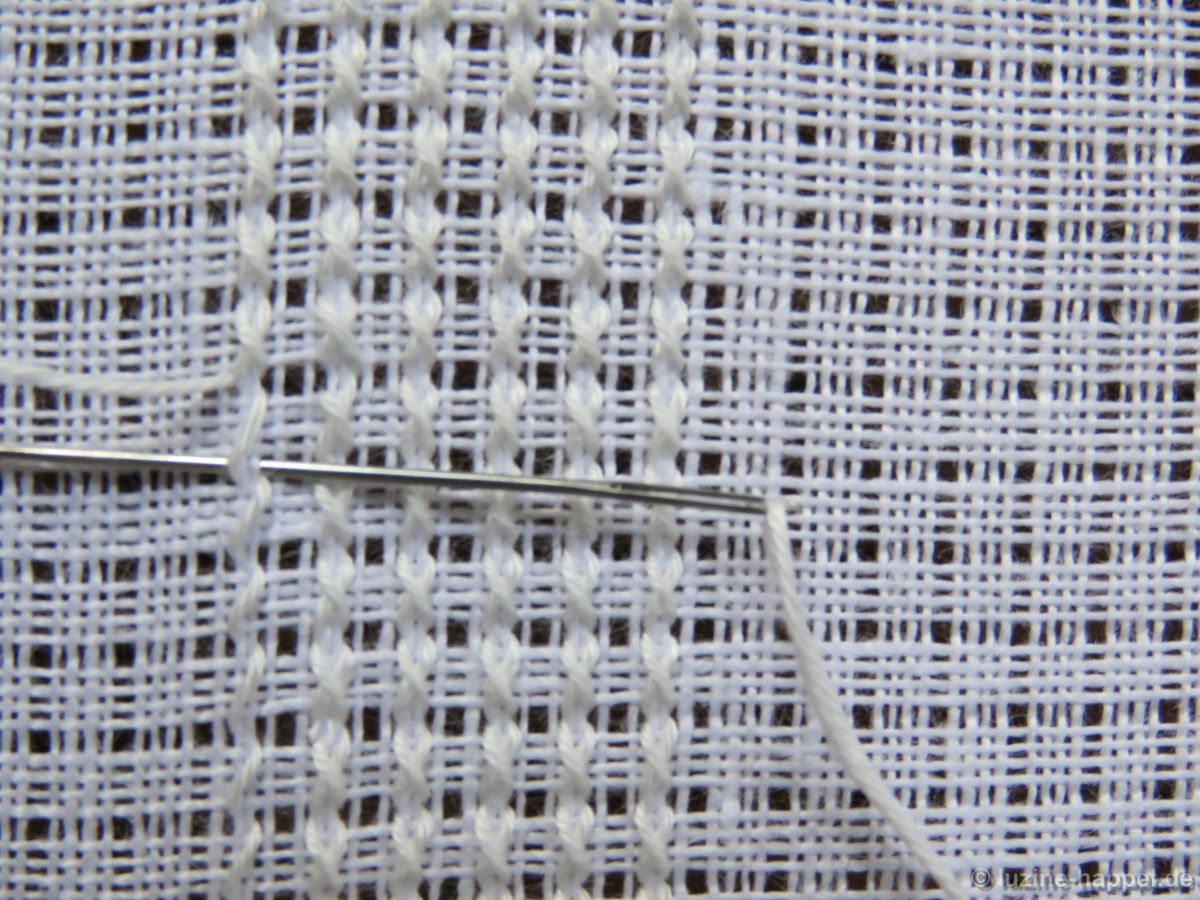
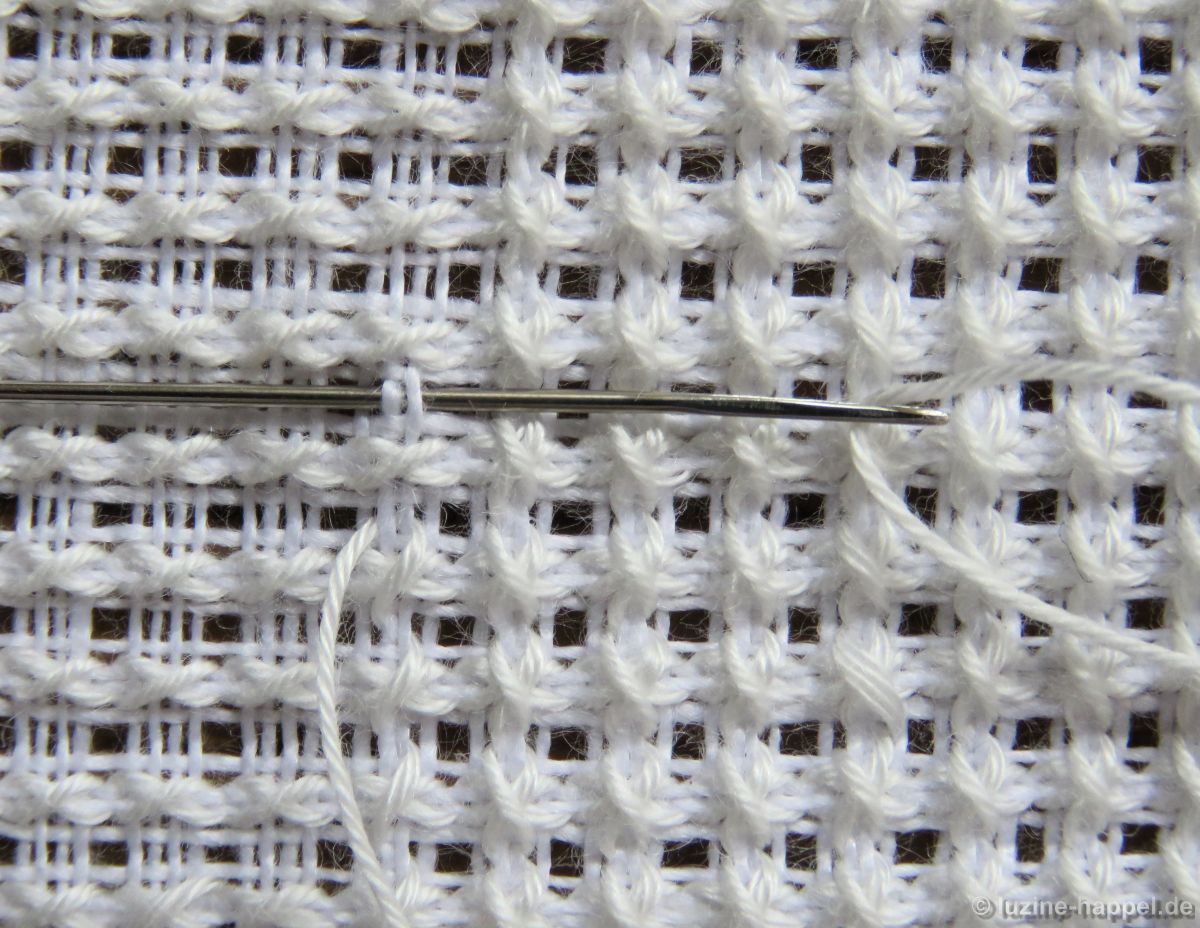
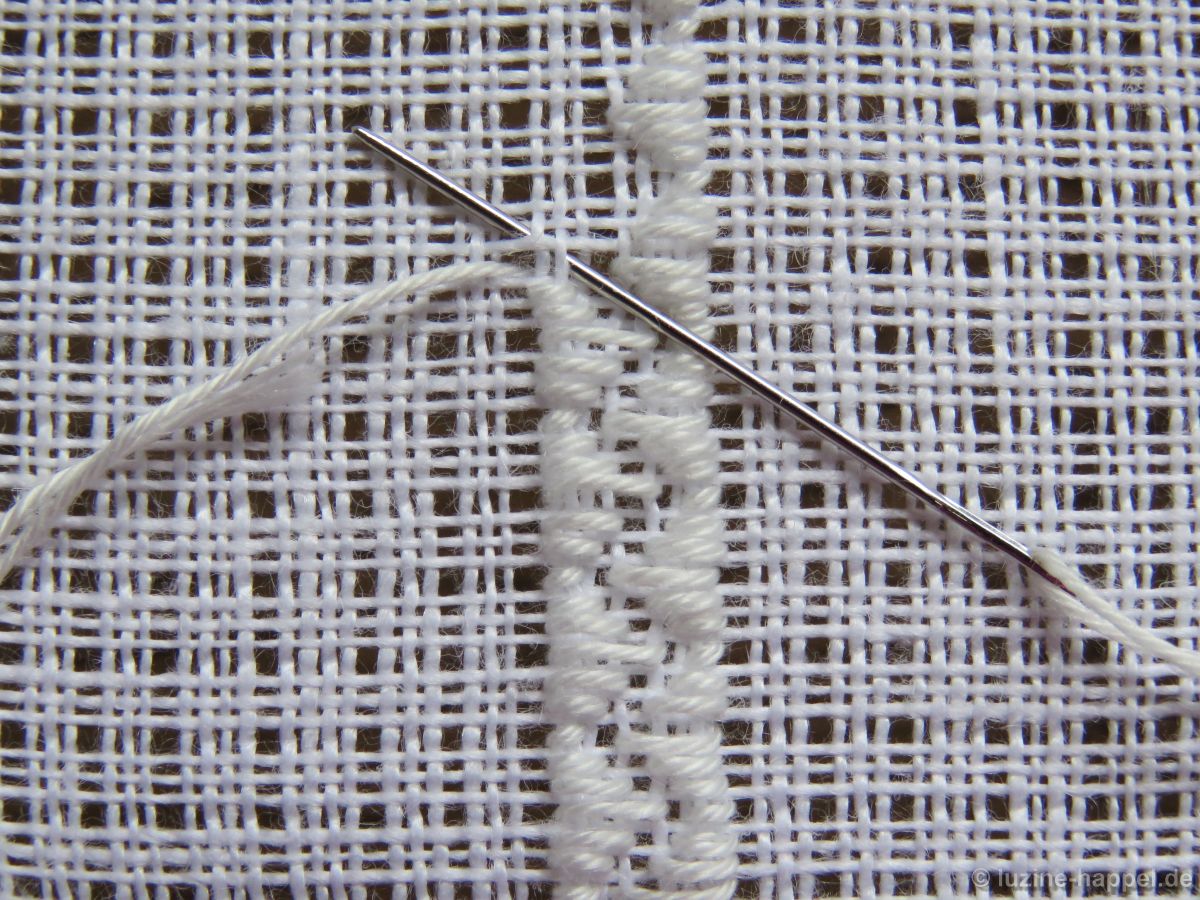
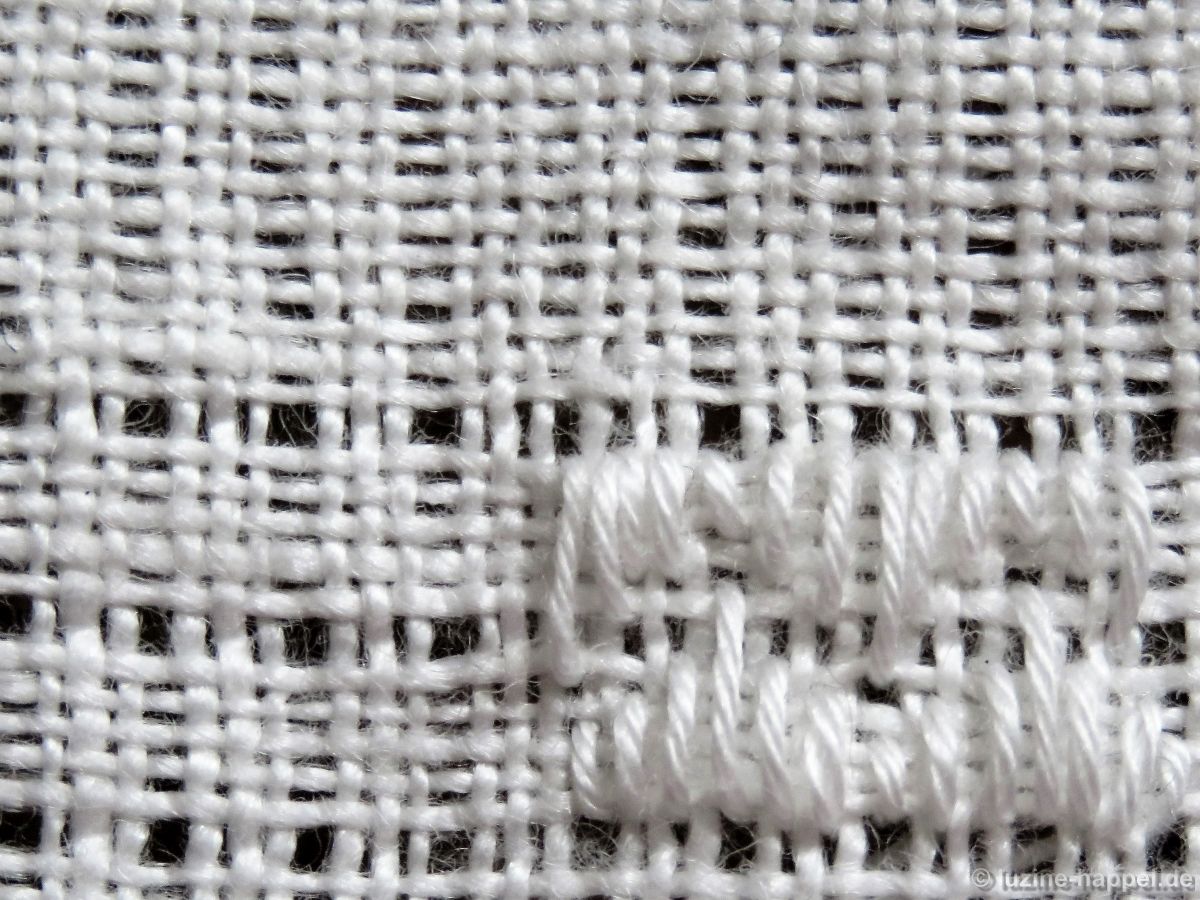
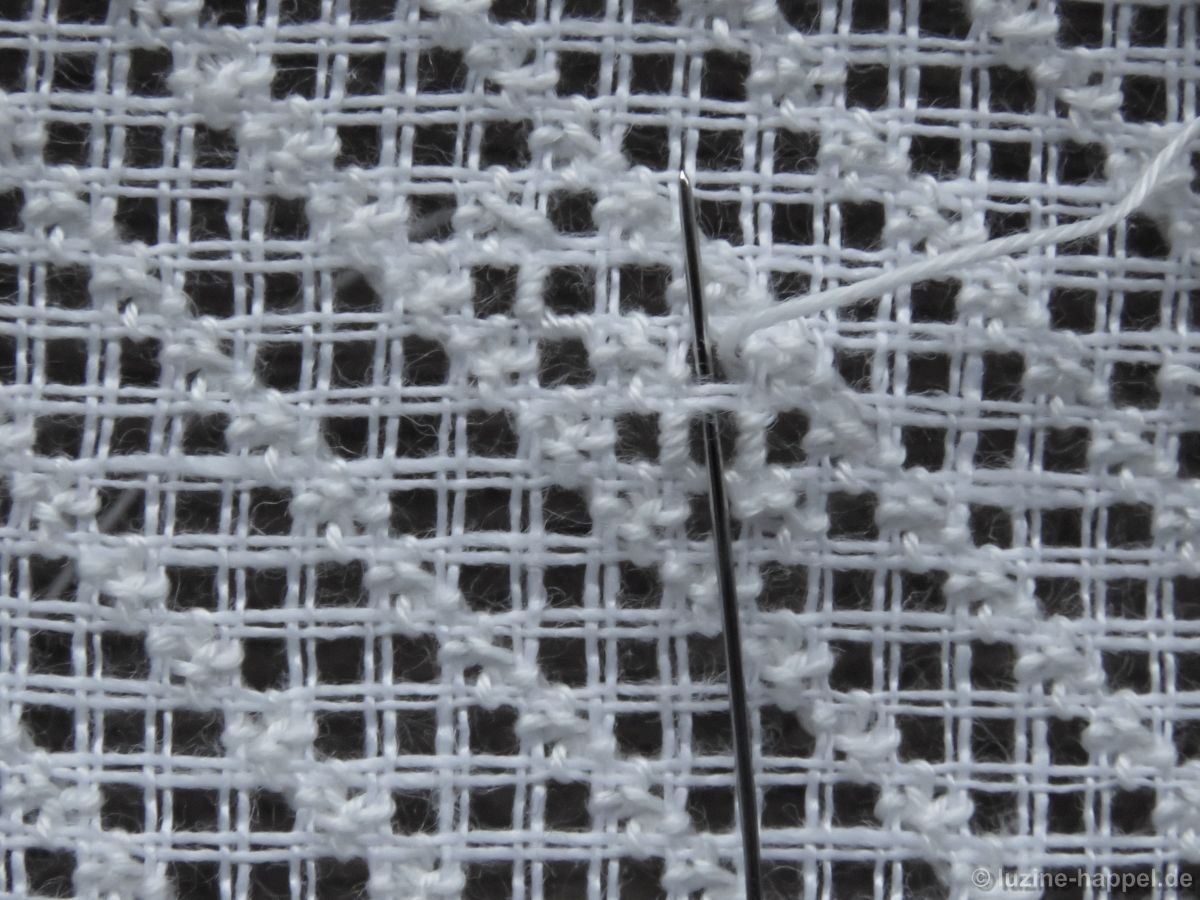
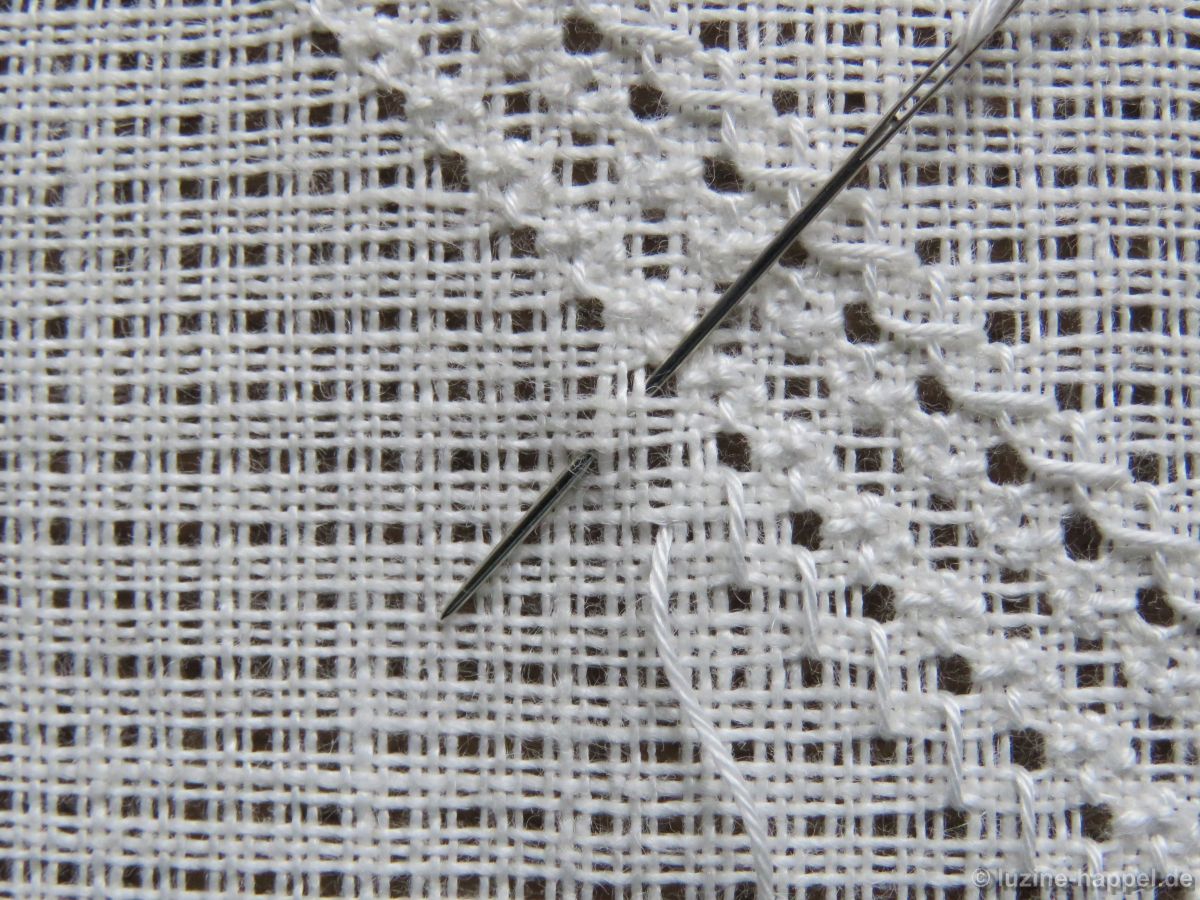
Cross over the last stitch, insert needle and bring it up one square diagonally up to the left.*
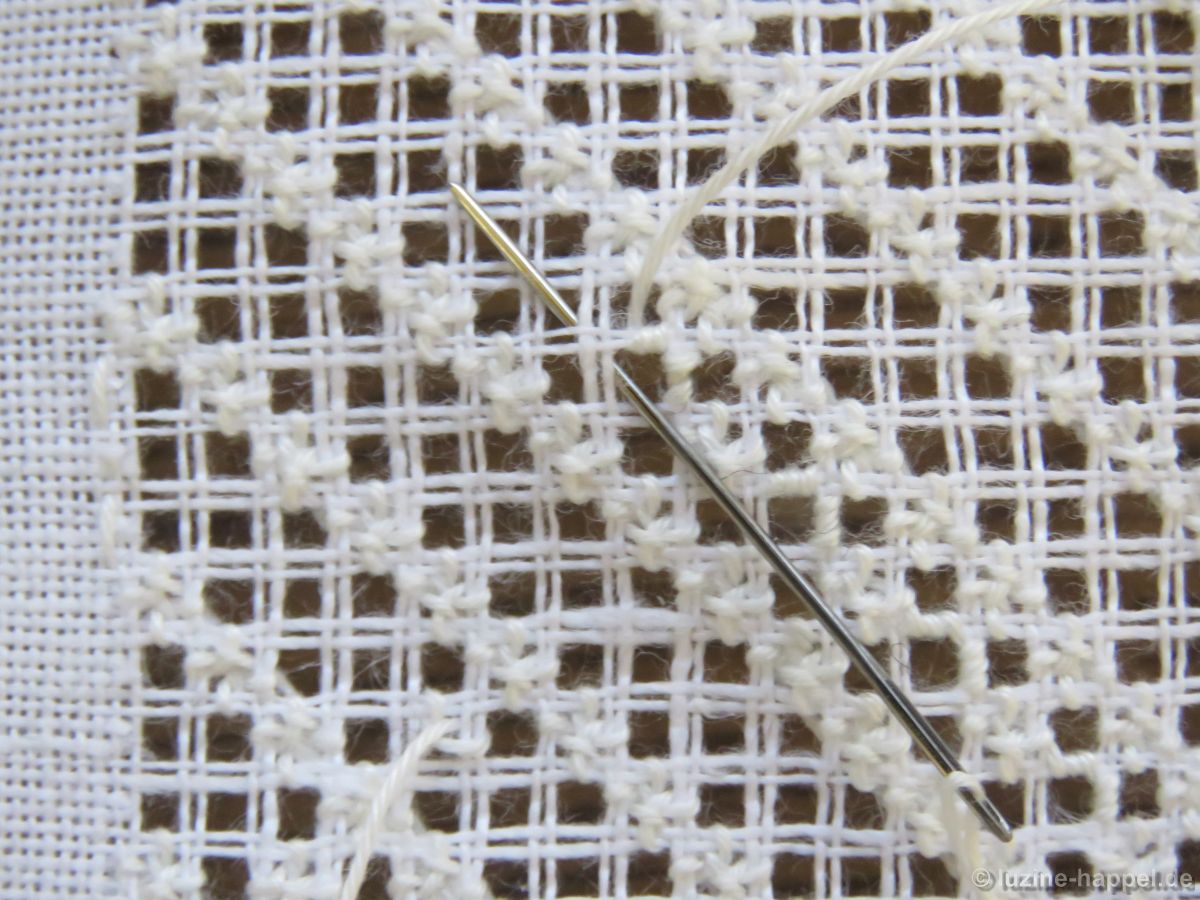
This is the center of the next half Rose stitch with a half Rose stitch variation. From here always repeat the steps (*)
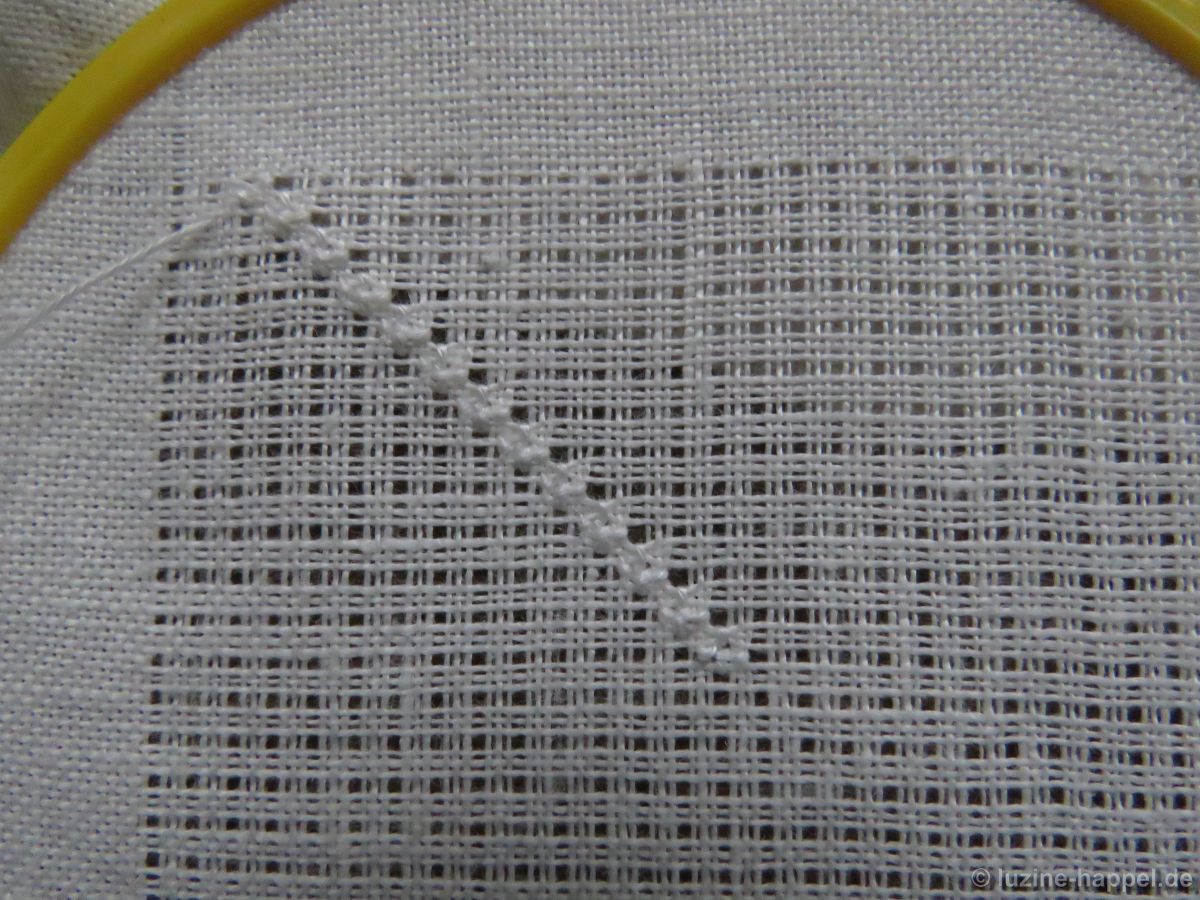
until the end of the row.

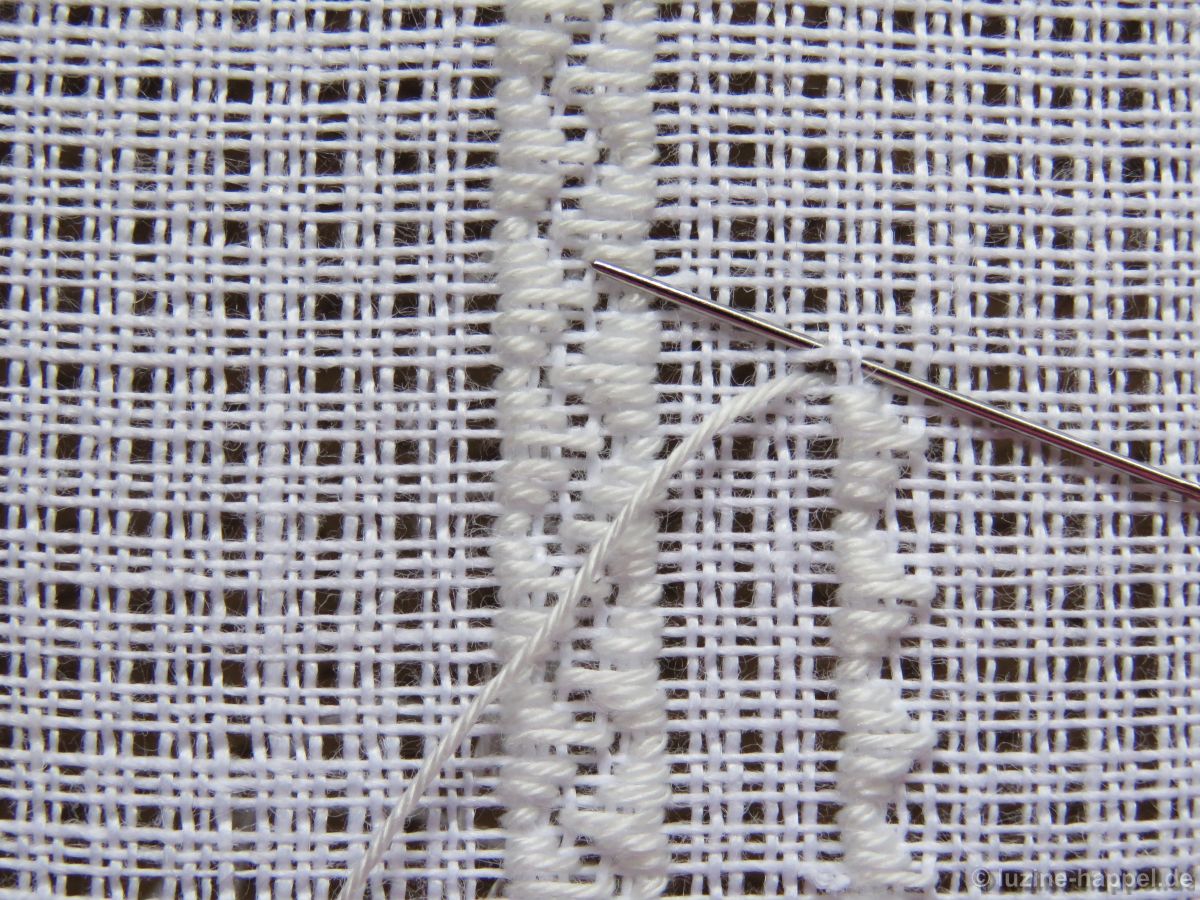
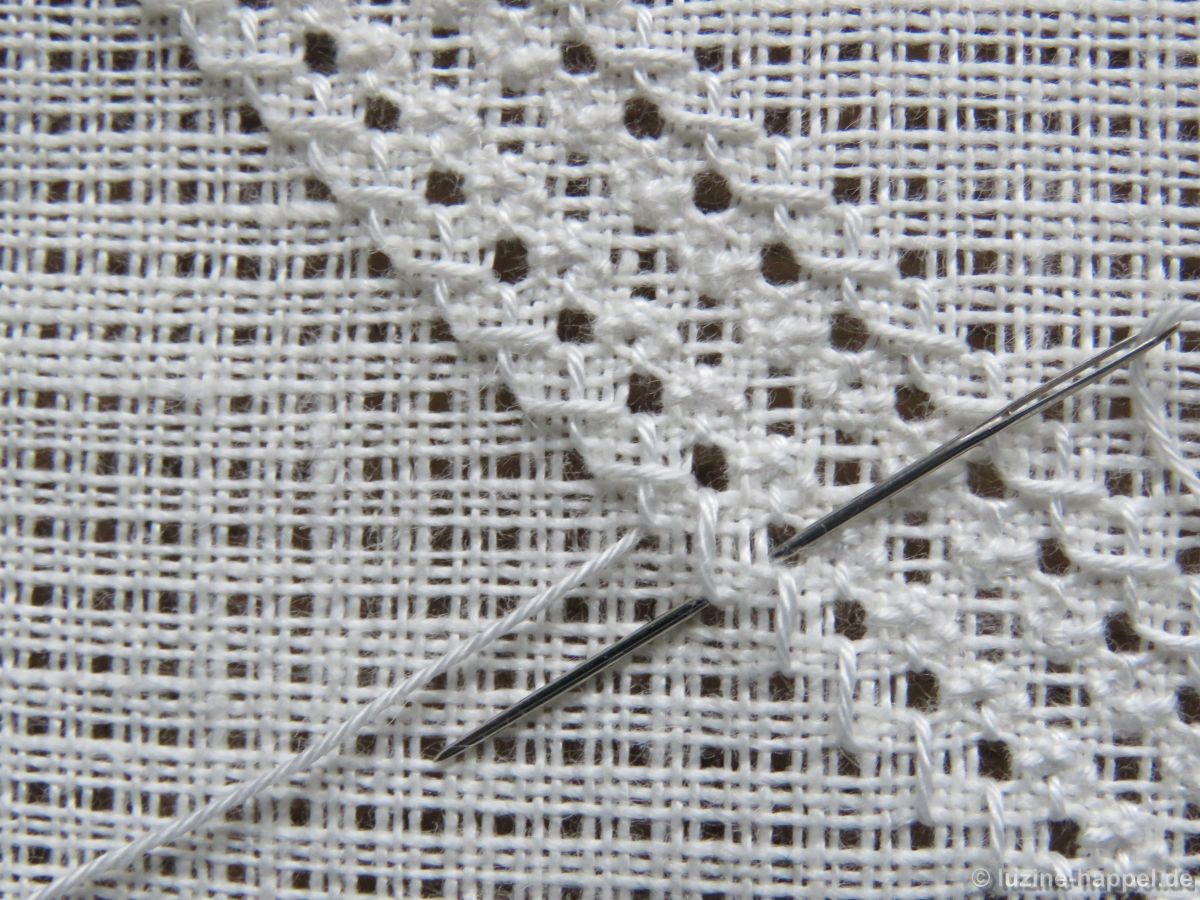
Turn the work 180° and embroider a row next to it in the established way,
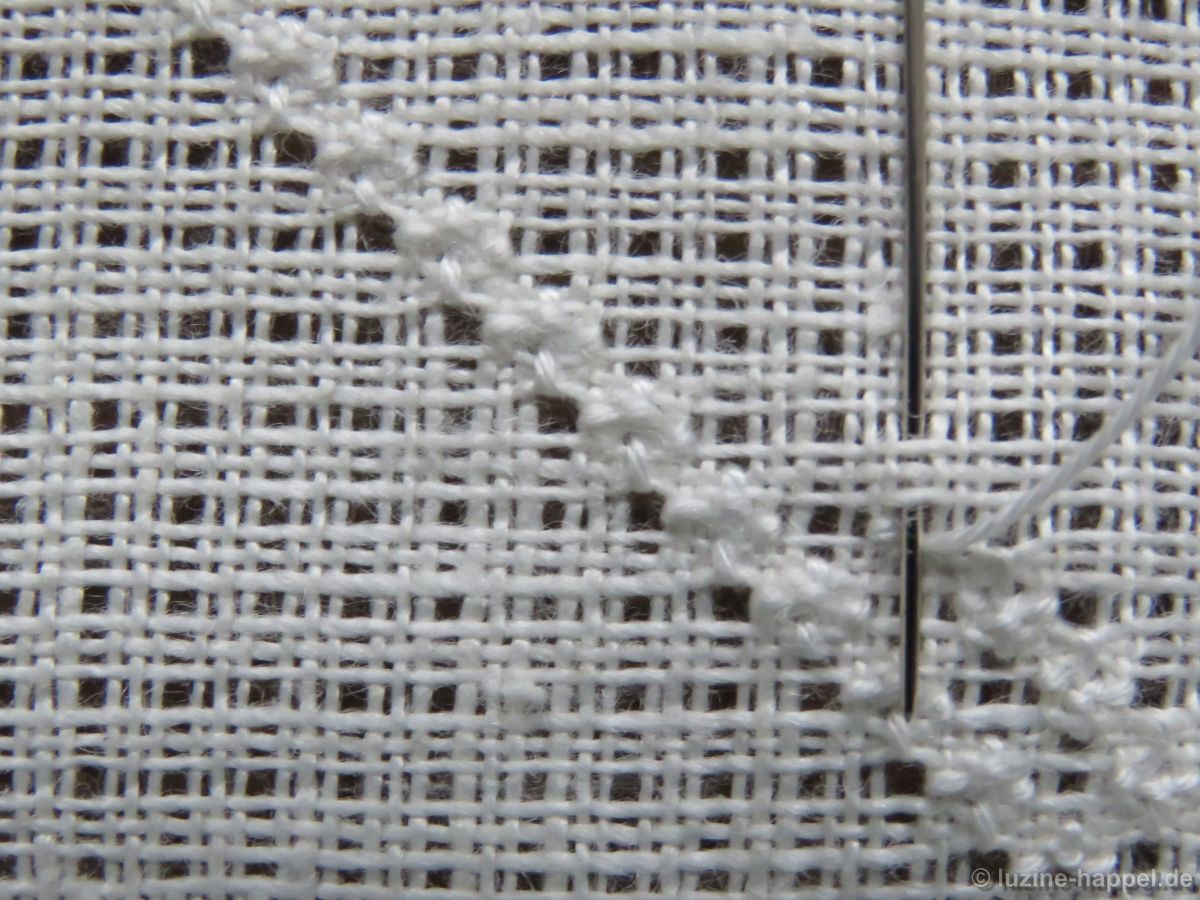

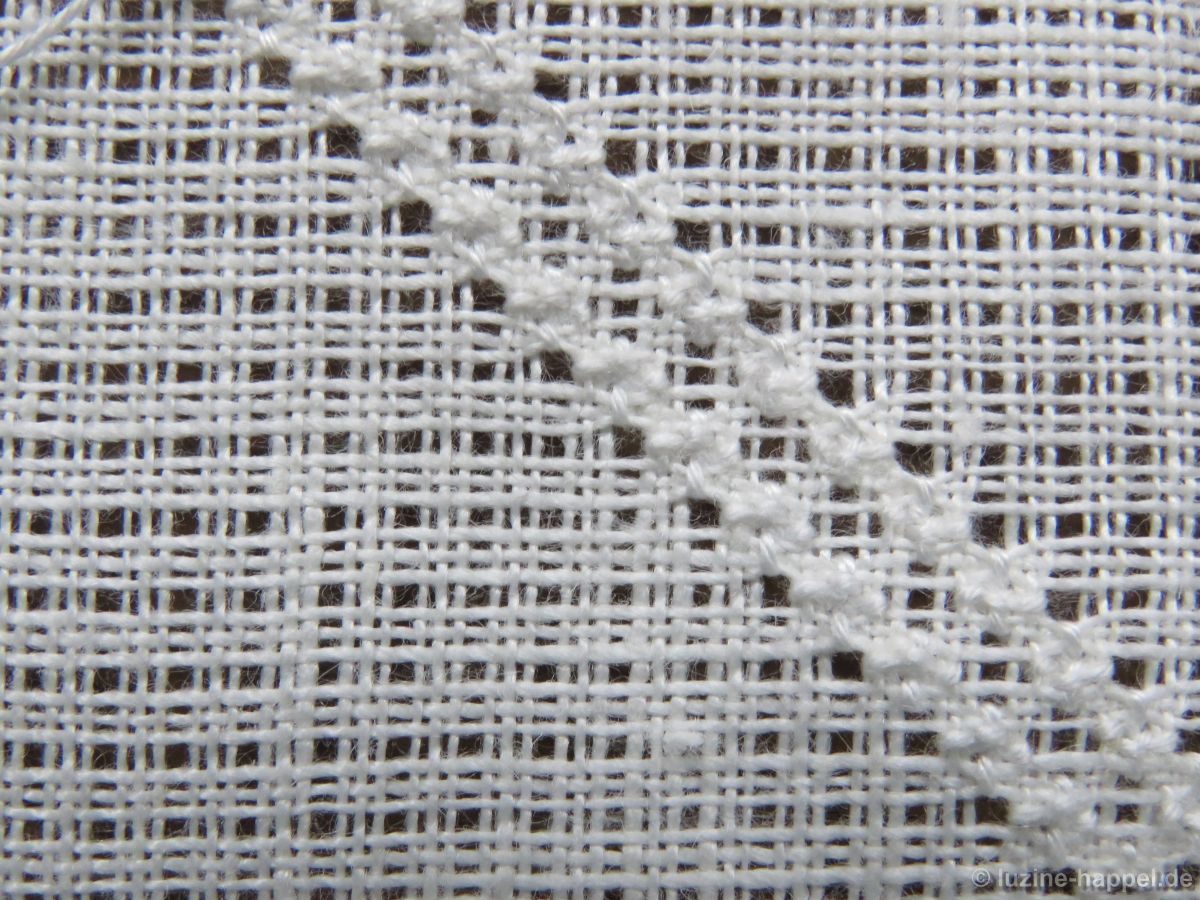
so that the four remaining threads form a square.

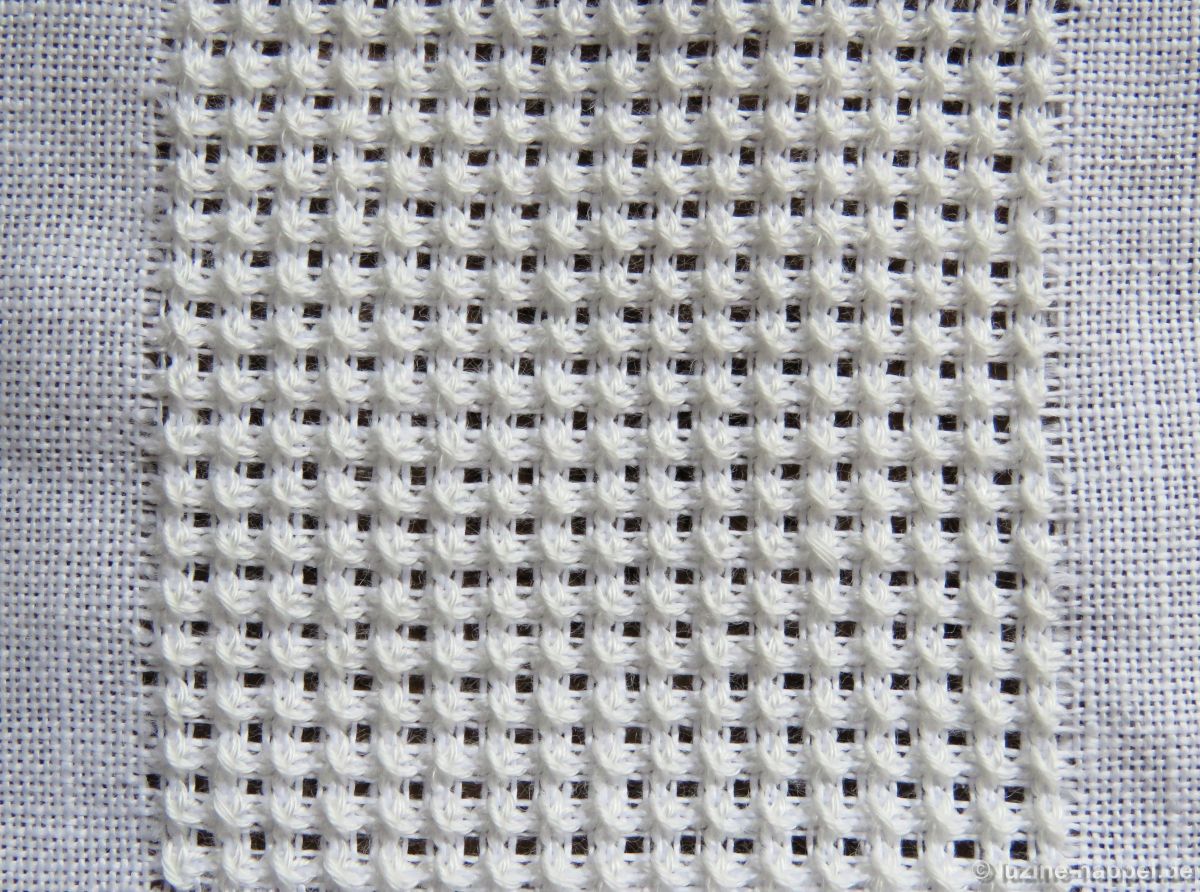
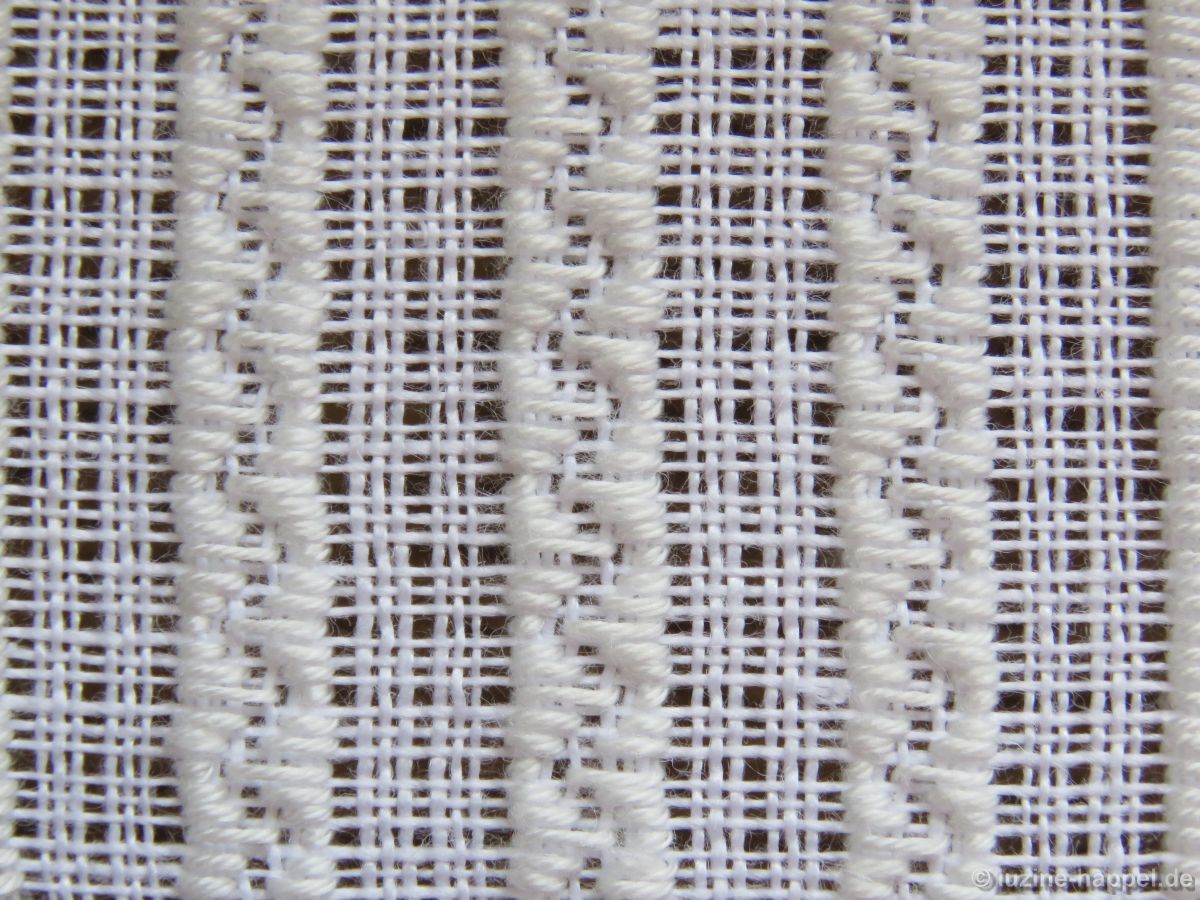
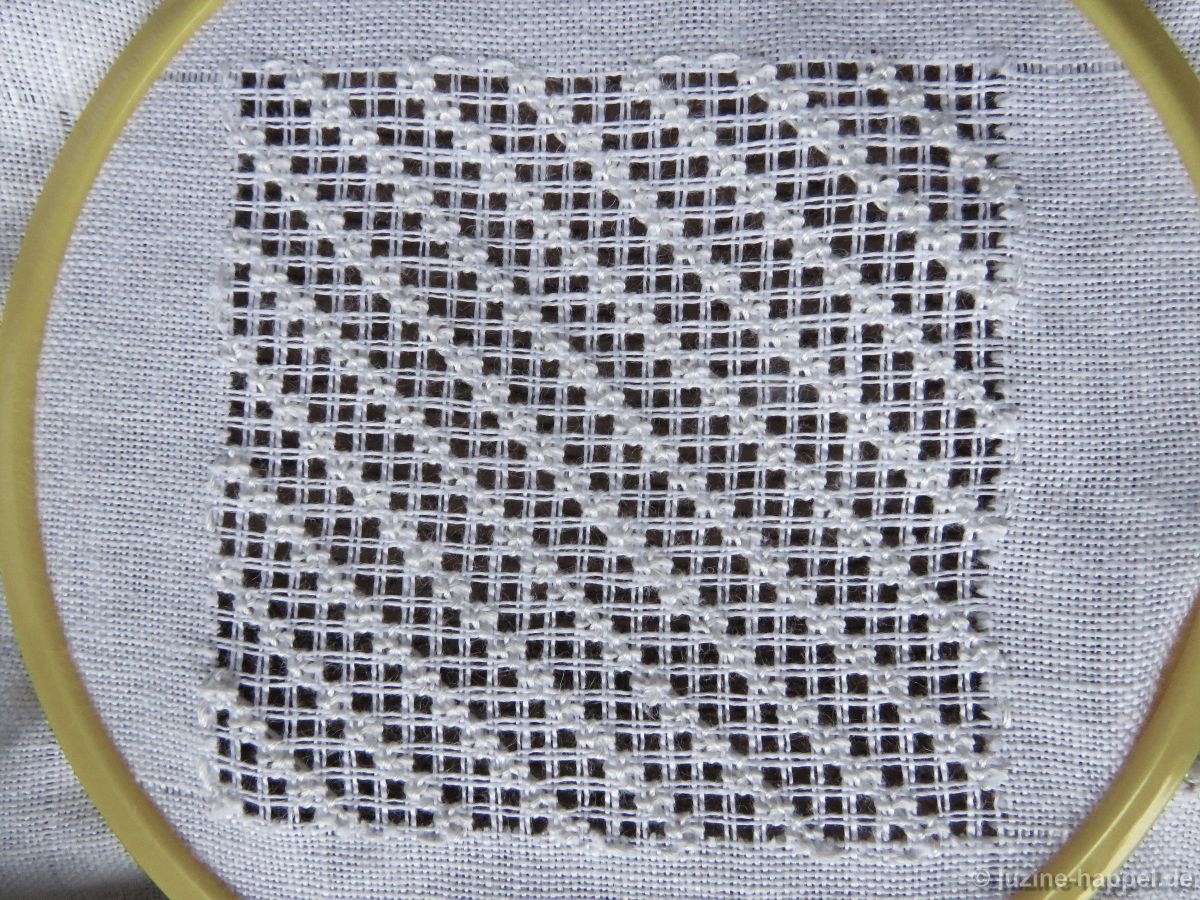
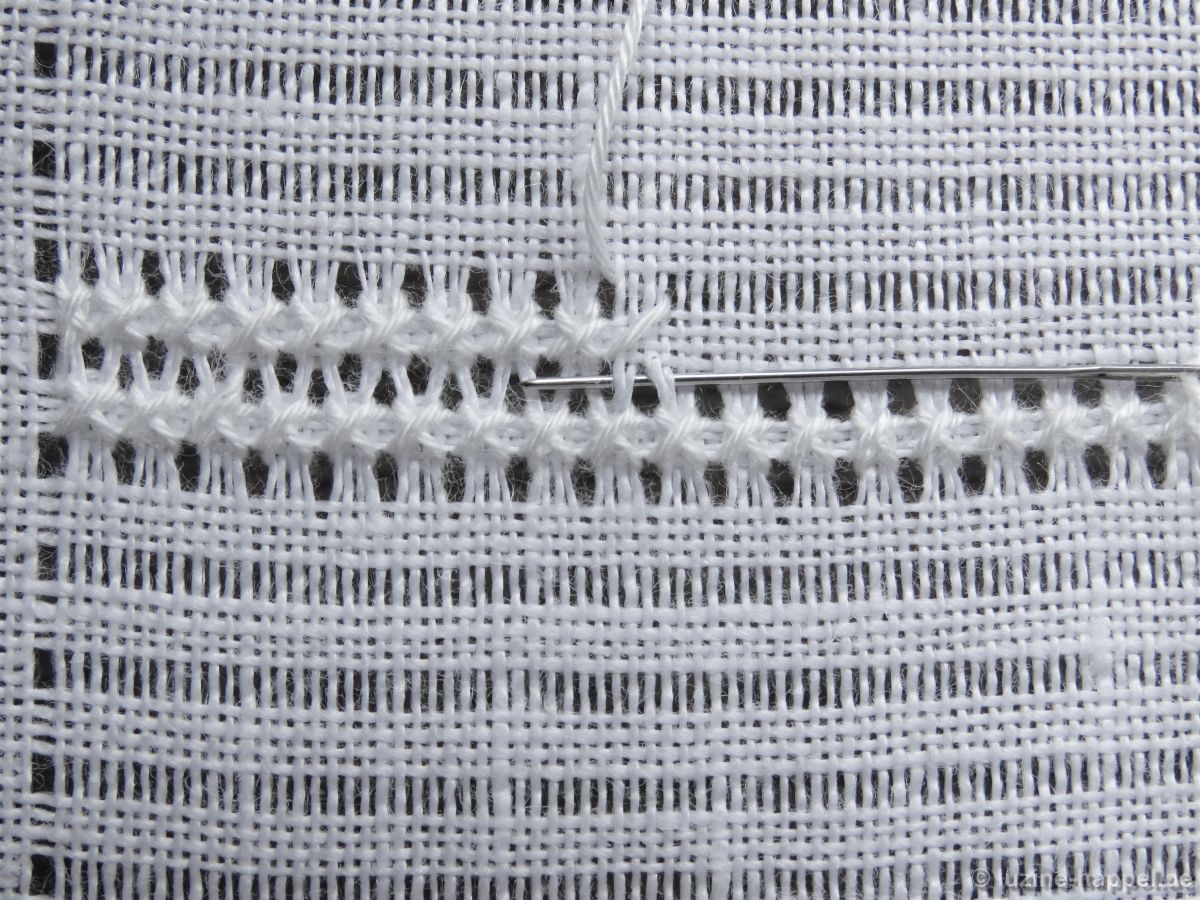
Without turning the work, embroider Diagonal Cross stitches from bottom to top and
back from top to bottom next to the Rose stitches. First on one side, then also
on the opposite side.
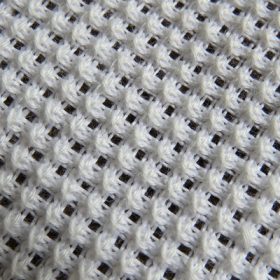
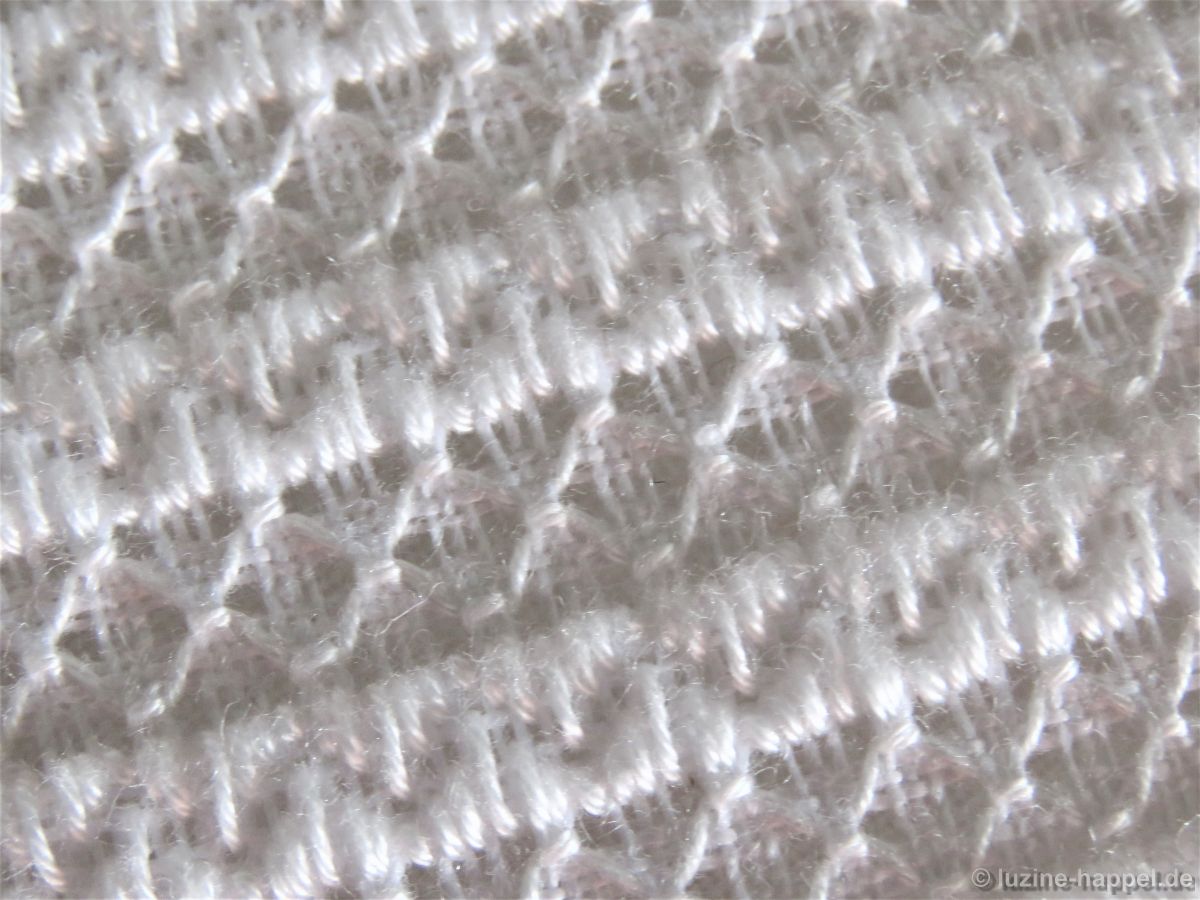
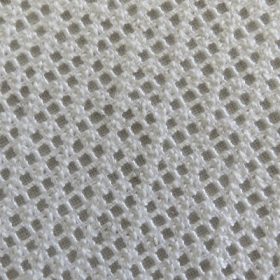
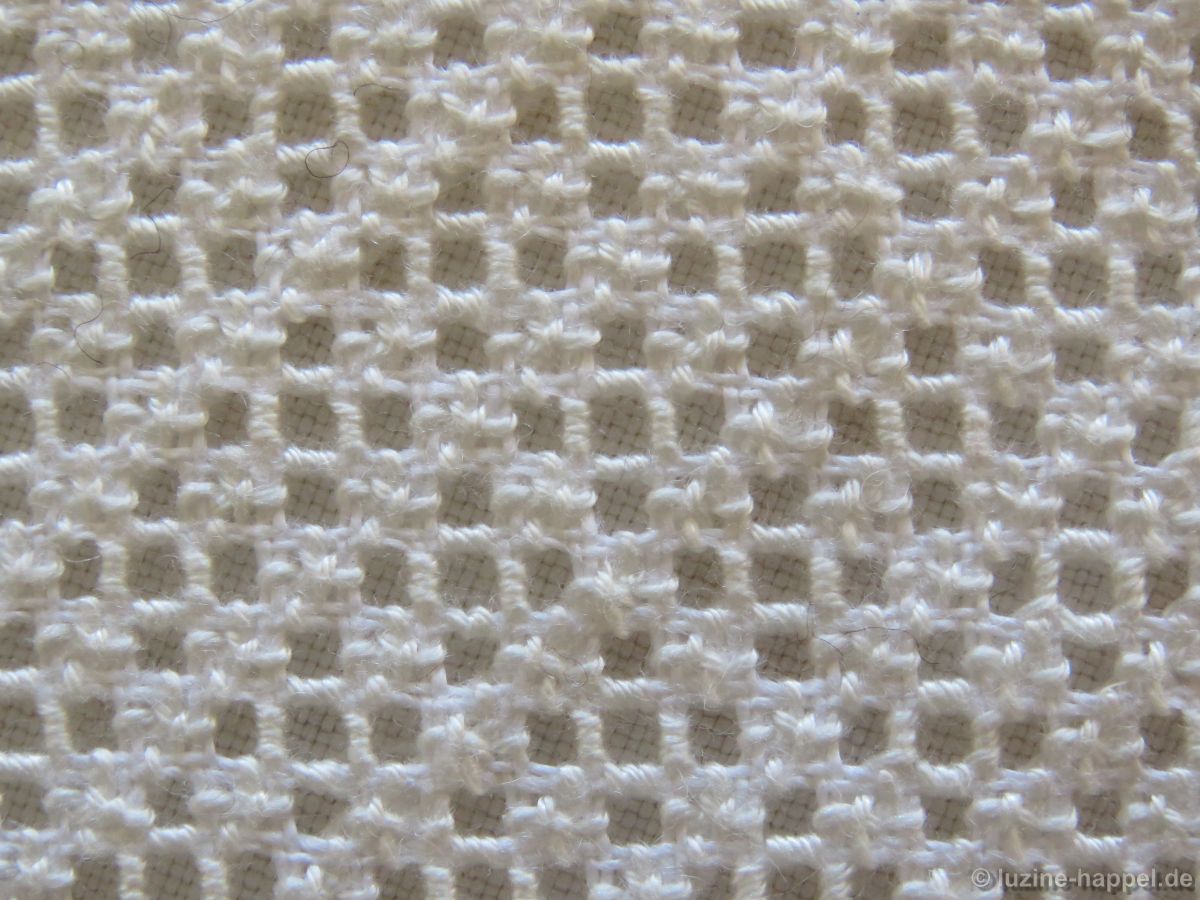
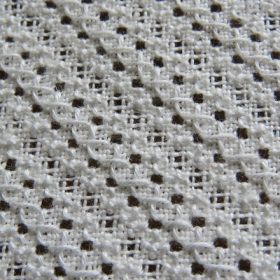
By constantly alternating double rows of half Rose stitches with half Rose stitch variations and Diagonal Cross stitches, a diagonal striped pattern is formed.
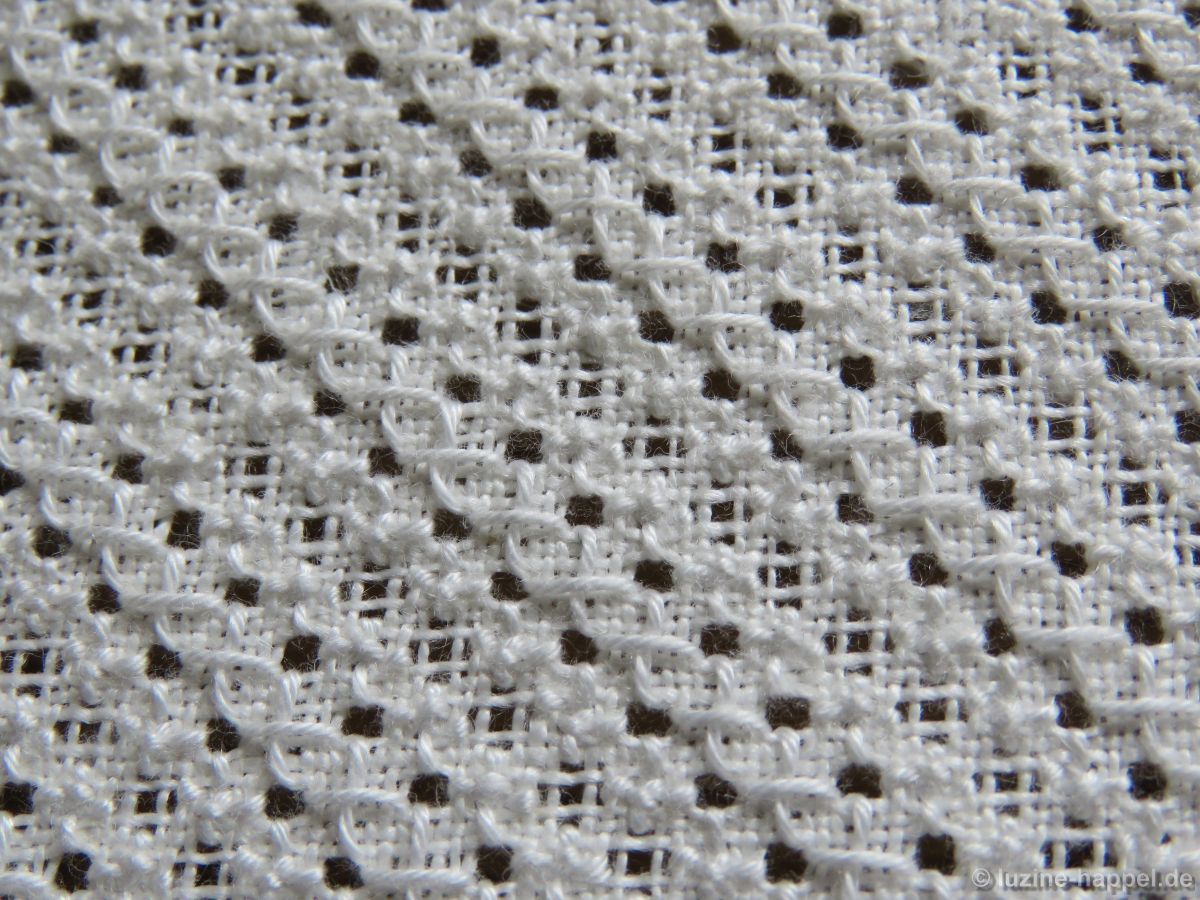
I discovered this pattern in Fumie Suzuki’s contribution to the Global Schwalm Sampler.

Here it was worked on 16 tpc linen.