
In addition to being used for inserting lace or joining lengths of linen, the Plaited Insertion stitch can also be used as a decorative surface stitch. Out of curiosity I wanted to know how a corner might be turned when using this stitch.
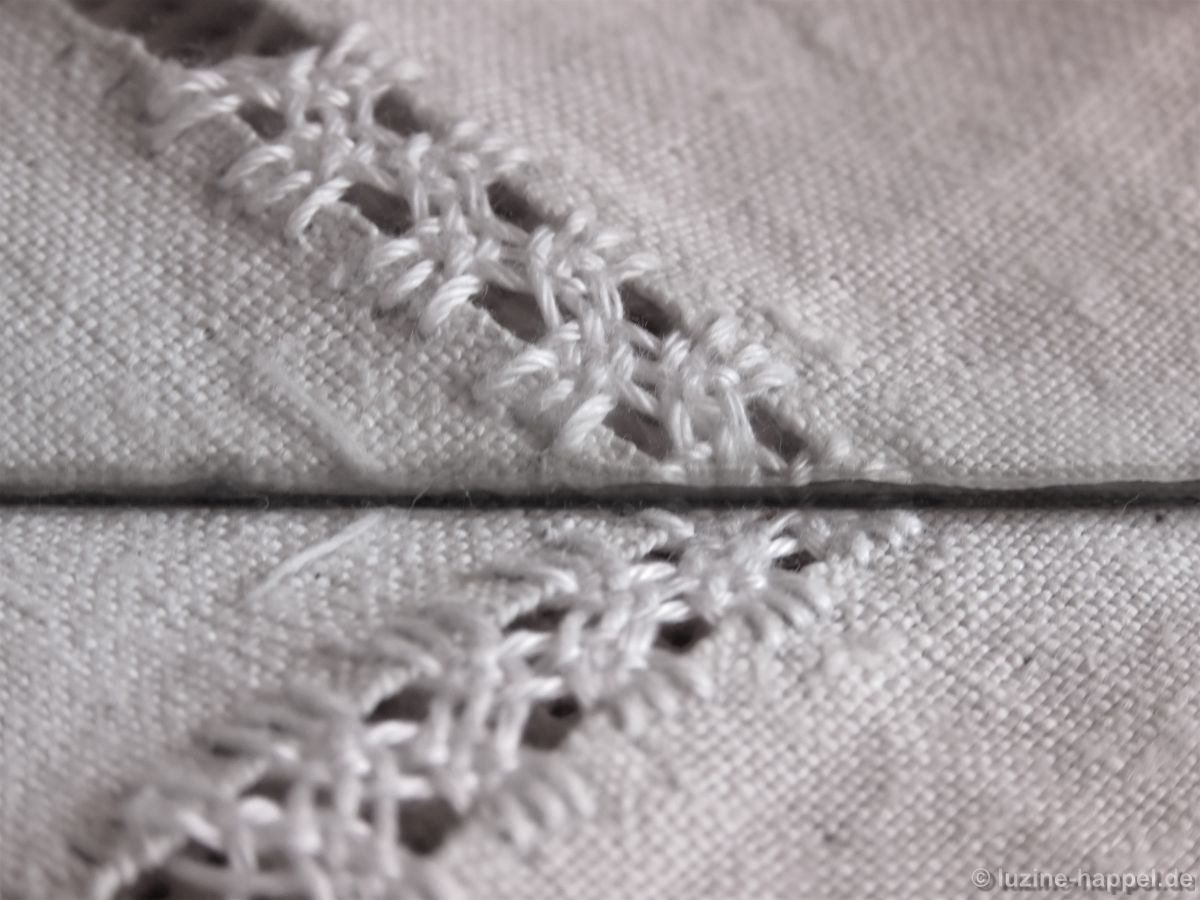
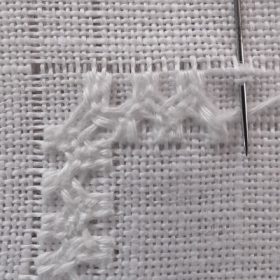
I used a small mirror to create a right angle at different places. The above corner looks beautiful, but I cannot figure out a way to embroider it. Whereas I was able to embroider the corner below.

I stretched a piece of linen with 13.5 threads per cm in a hoop and withdrew two fabric threads eight threads apart for better orientation. Using coton à broder No. 16, I started to work some three-group stitches. I decided to not make stitch placement marks, choosing to place the stiches one fabric thread apart instead.
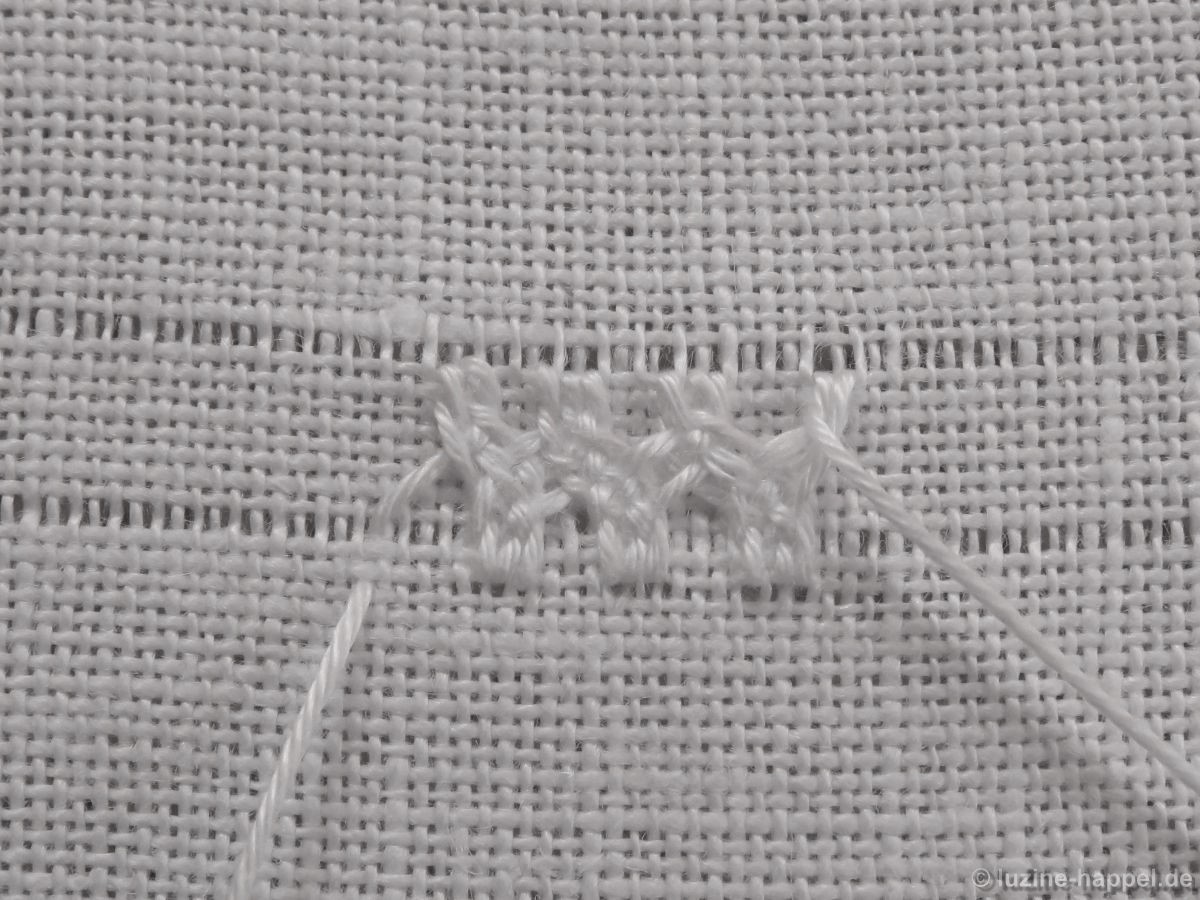
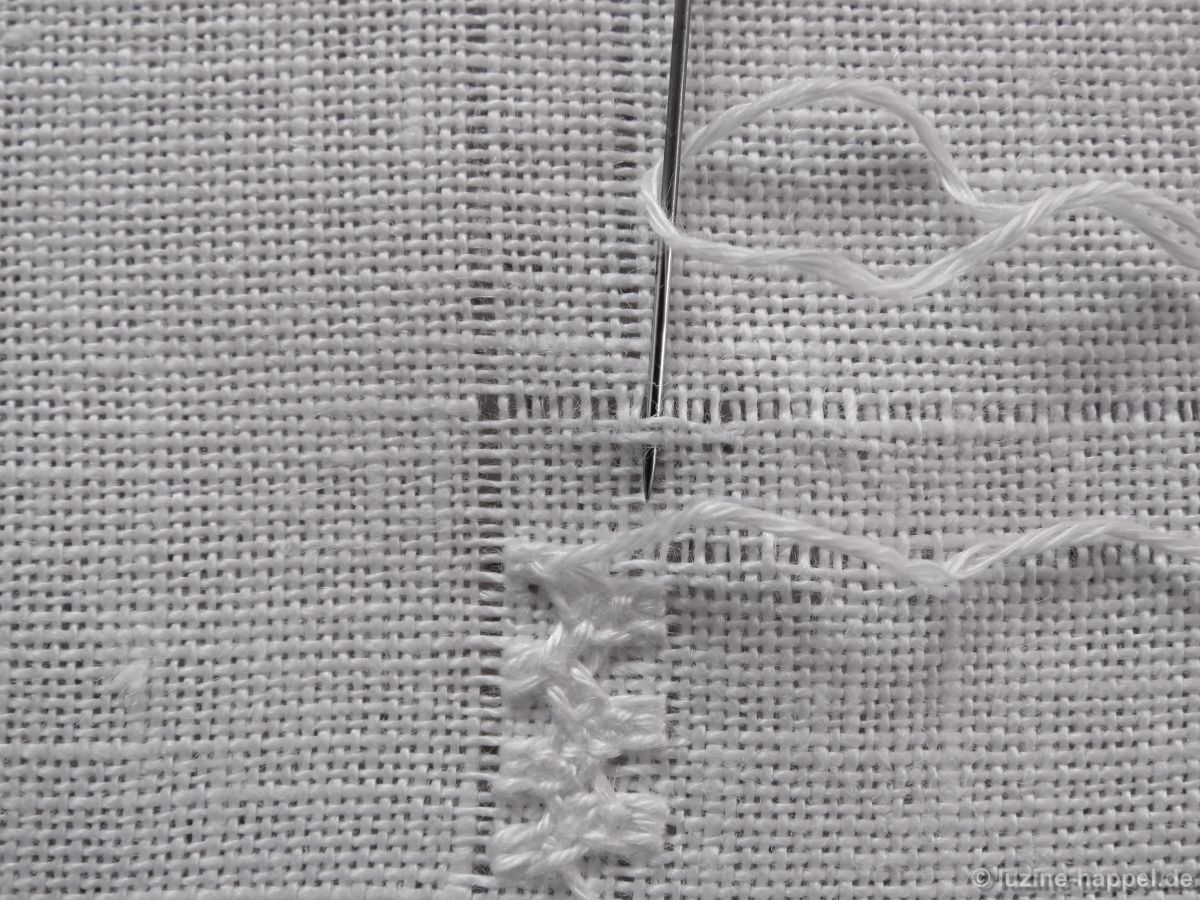
Arriving at an outside middle stitch, where the direction has to change, I decided to set the corner. At this point, I withdrew perpendicular fabric threads.
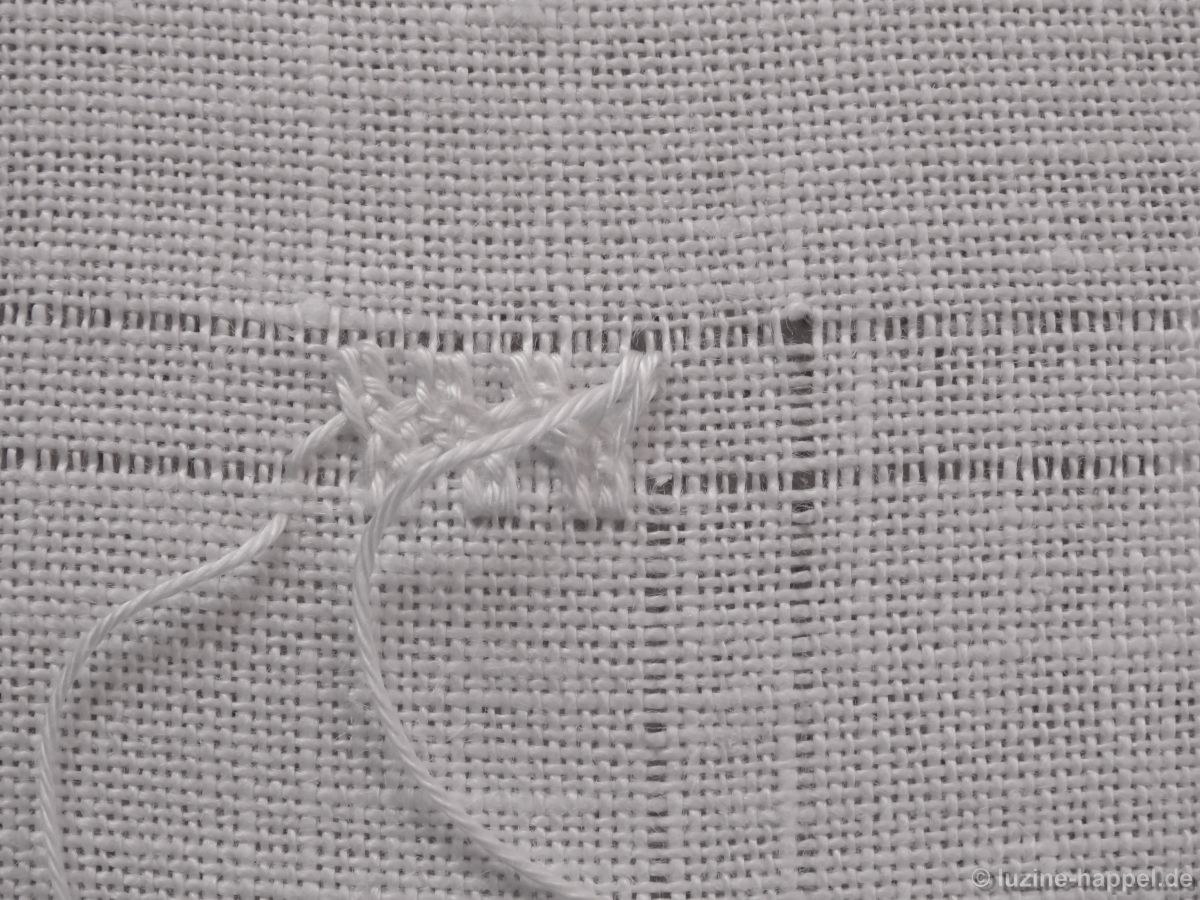
Instead of travelling to the right-hand point of the bottom line, I took the needle to the right-hand point of the outside line around the corner.
From there I worked in the established way, but always between the perpendicular outside lines.
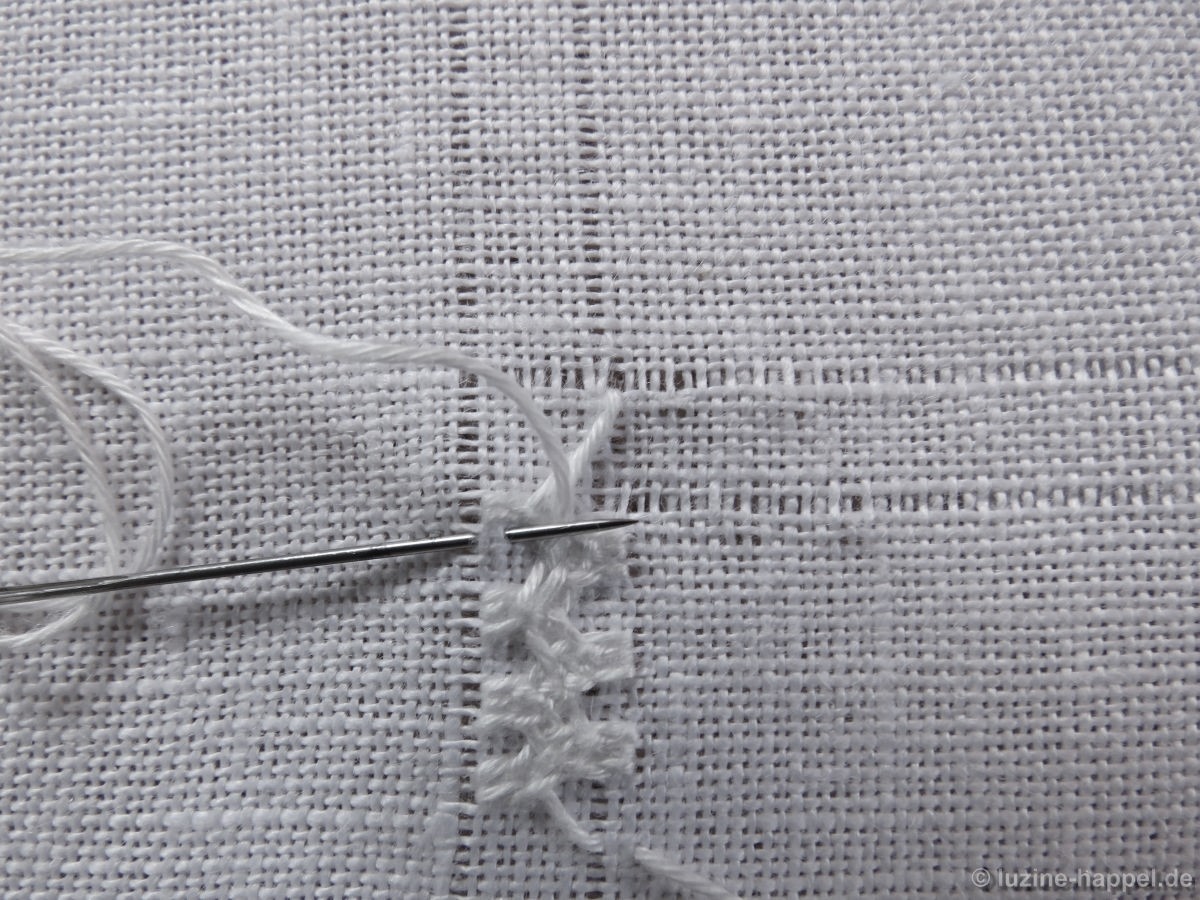
To find the right order for plaiting, it is helpful to look at the previously established plait.
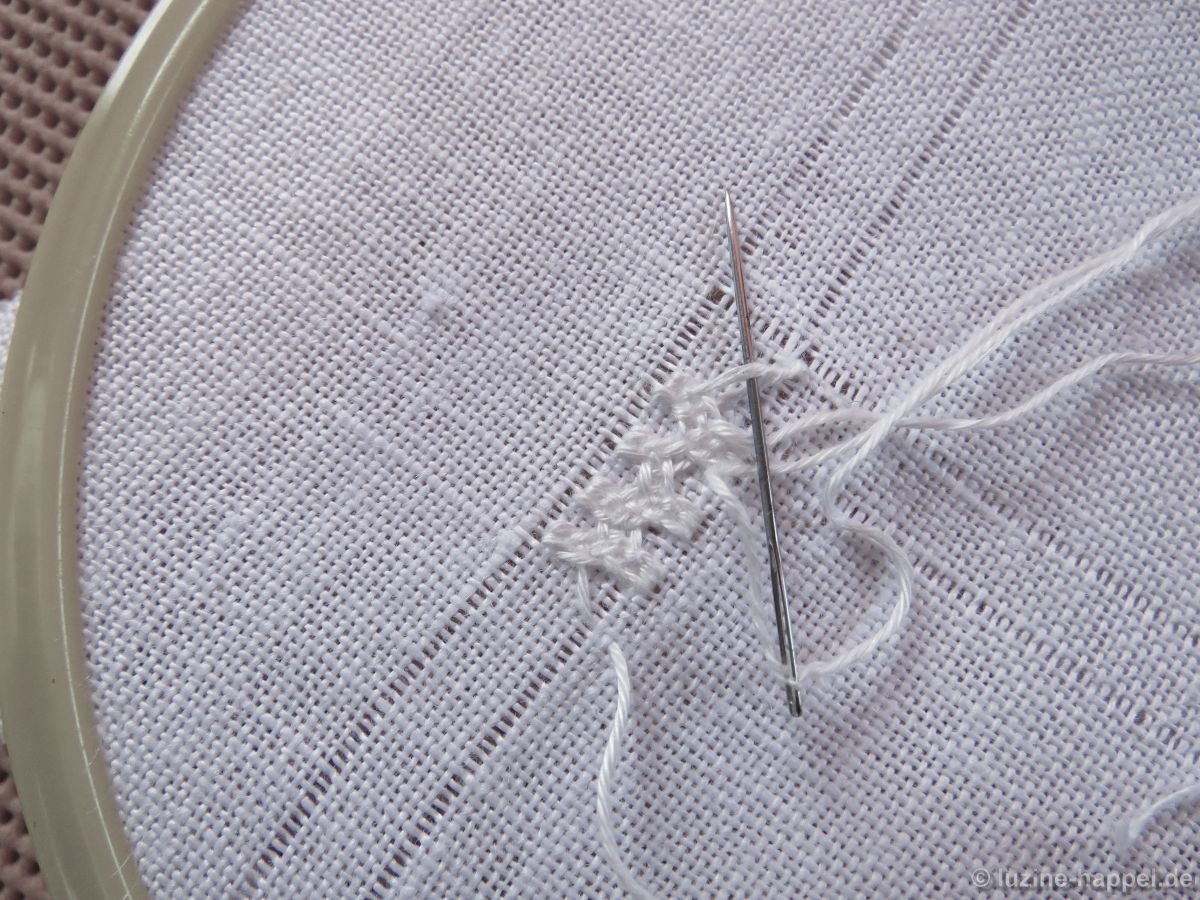
From the middle point the direction of the stitches has to change again.

Now the work continues between inner and outer lines.

I am not 100 percent satisfied with the result – the guide lines are a little bit distracting and the distances between the groupings are not quite even – but as a practice piece it is good enough to see that working a corner using the Plaited insertion stitch is possible.
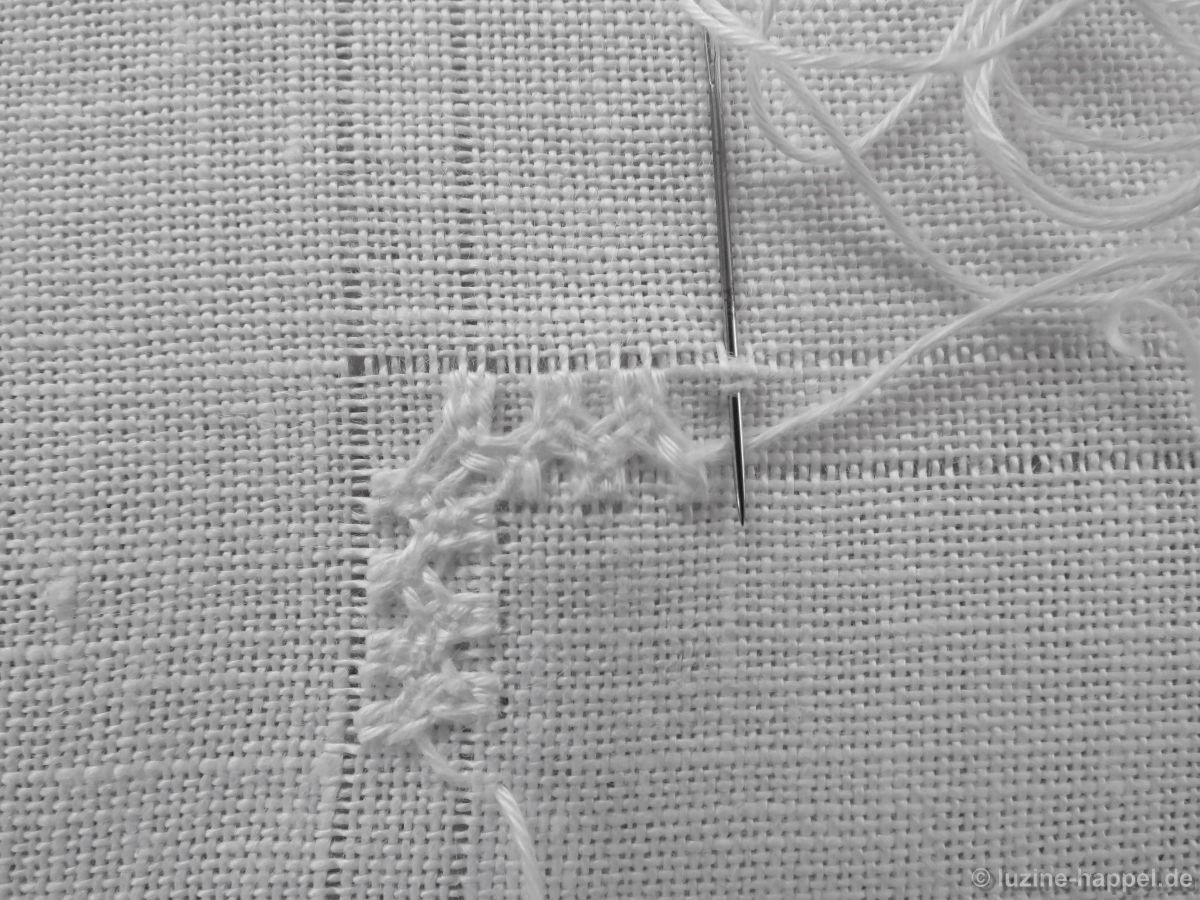
And that was my goal.


Leave a Reply