
category: Limet-Filling pattern
linen used: 13.5/cm thread count
threads used: coton à broder No. 16
stitches used: Four-Sided stitches
center: square (in other shapes, longitudinal axis: group of three threads)
one pattern segment = 8 threads
Instructions for left-handers can be found at the end of this article.
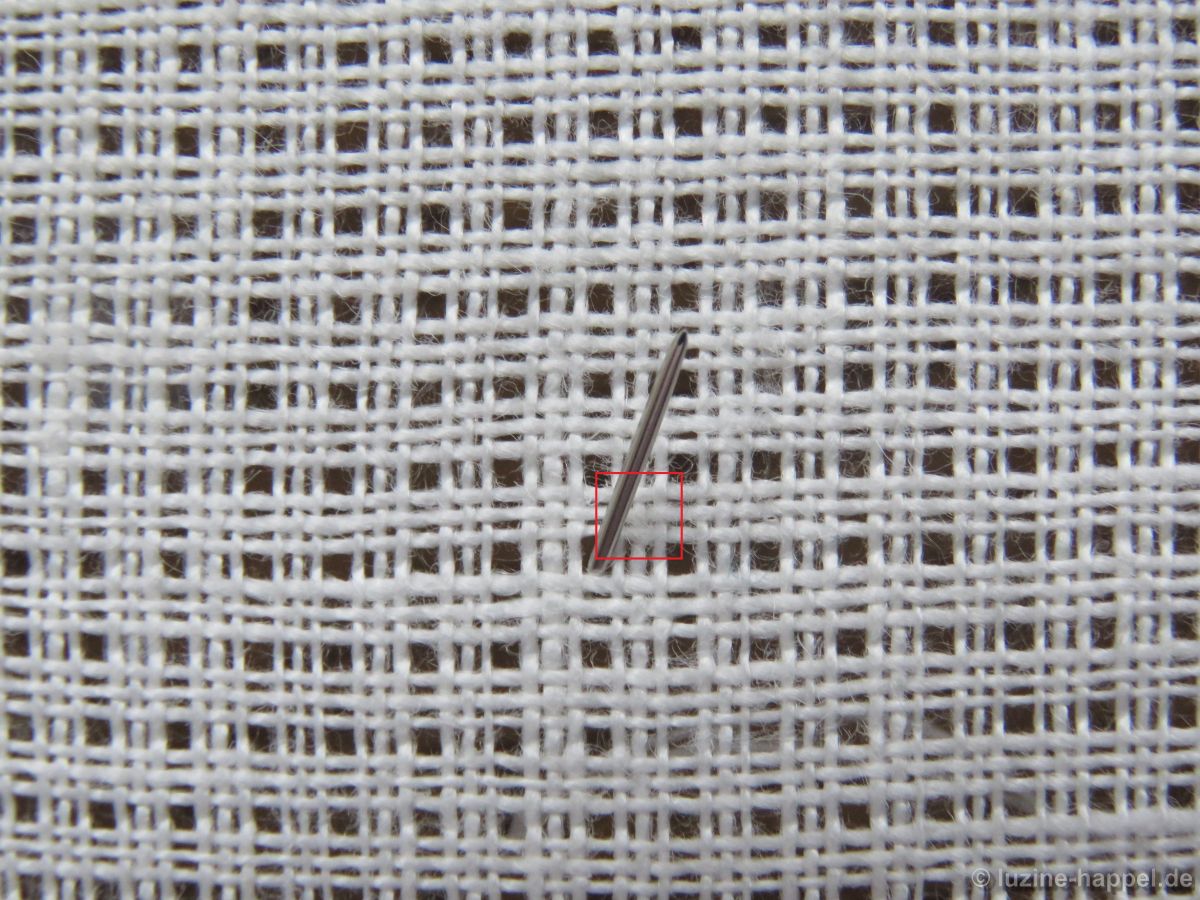
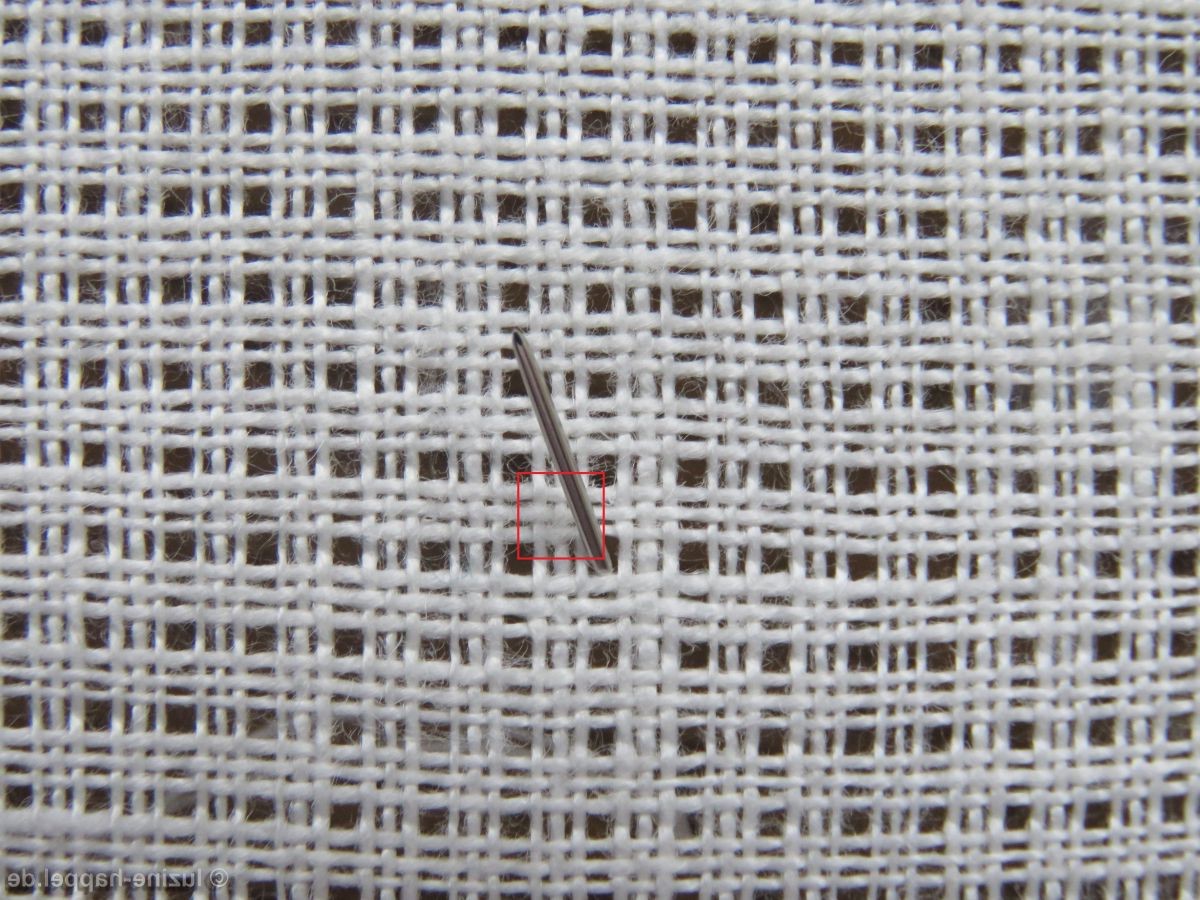
First, establish a Limet grid with a square in the center by cutting 1, leaving 3 both vertically and horizontally.
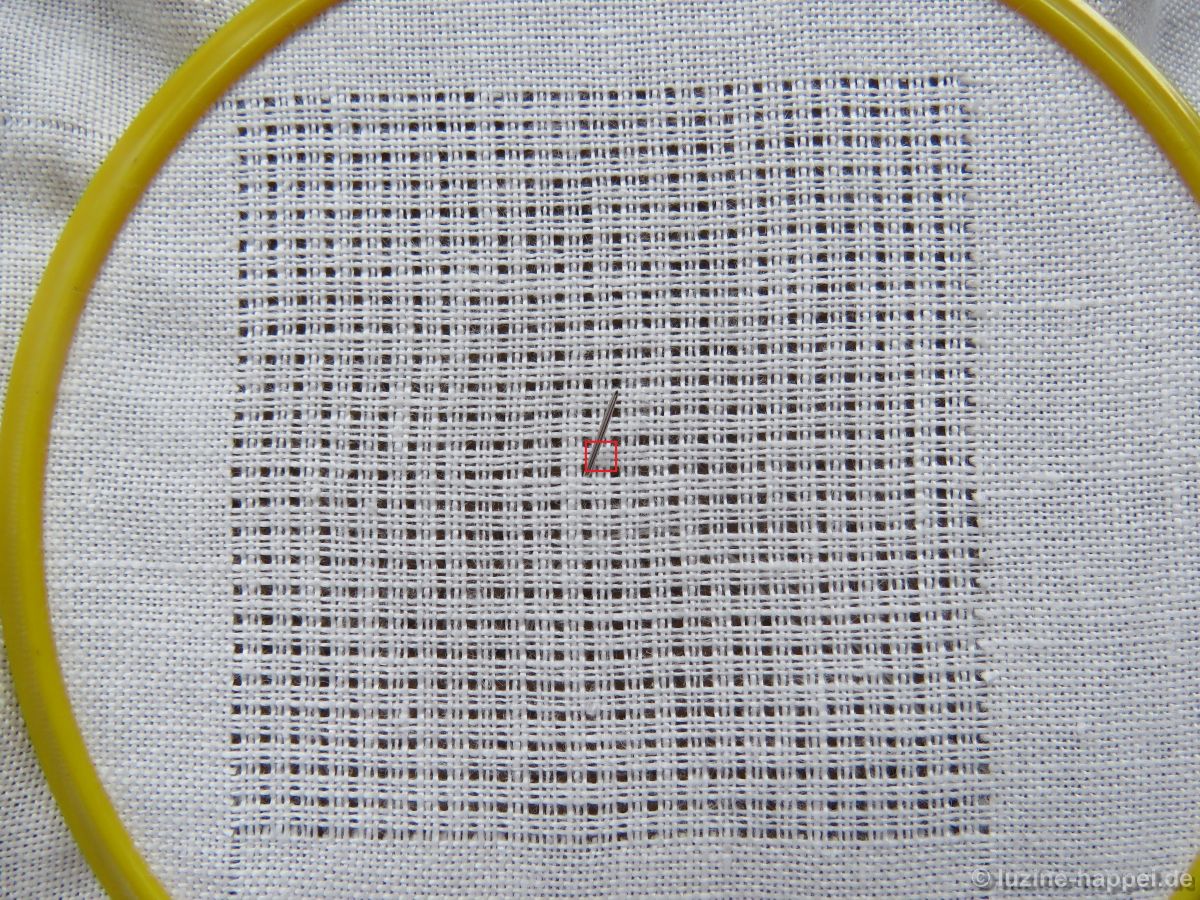
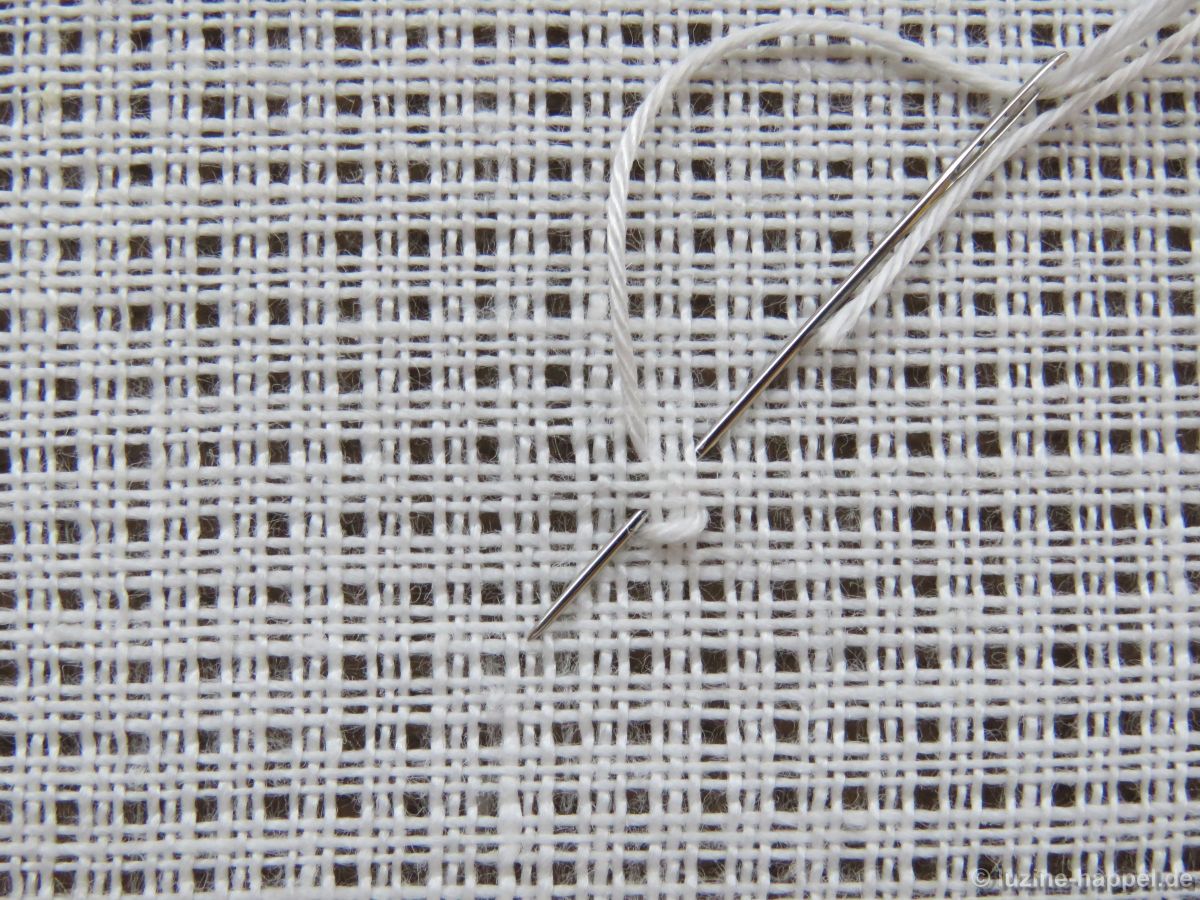
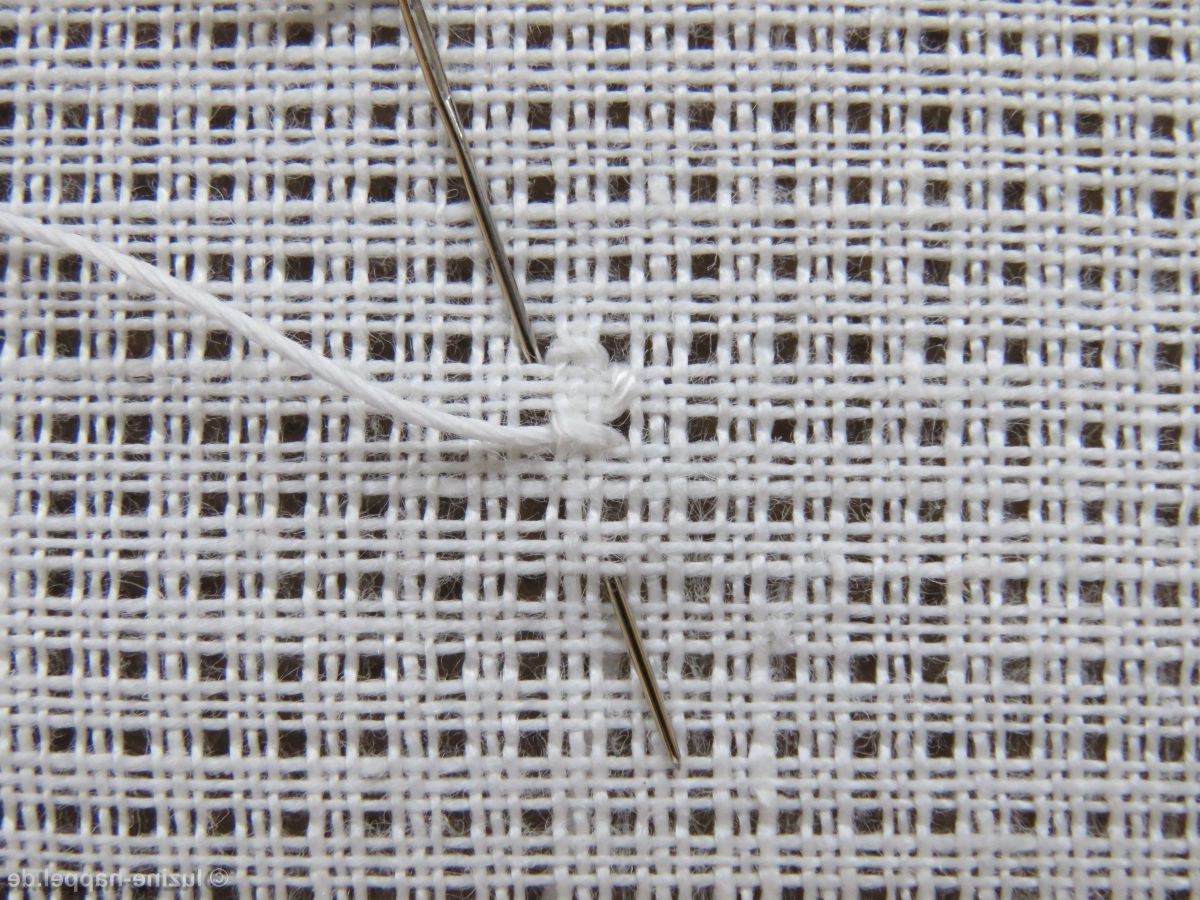
Bring the needle up in bottom left hole of the center square, and pull the thread through.
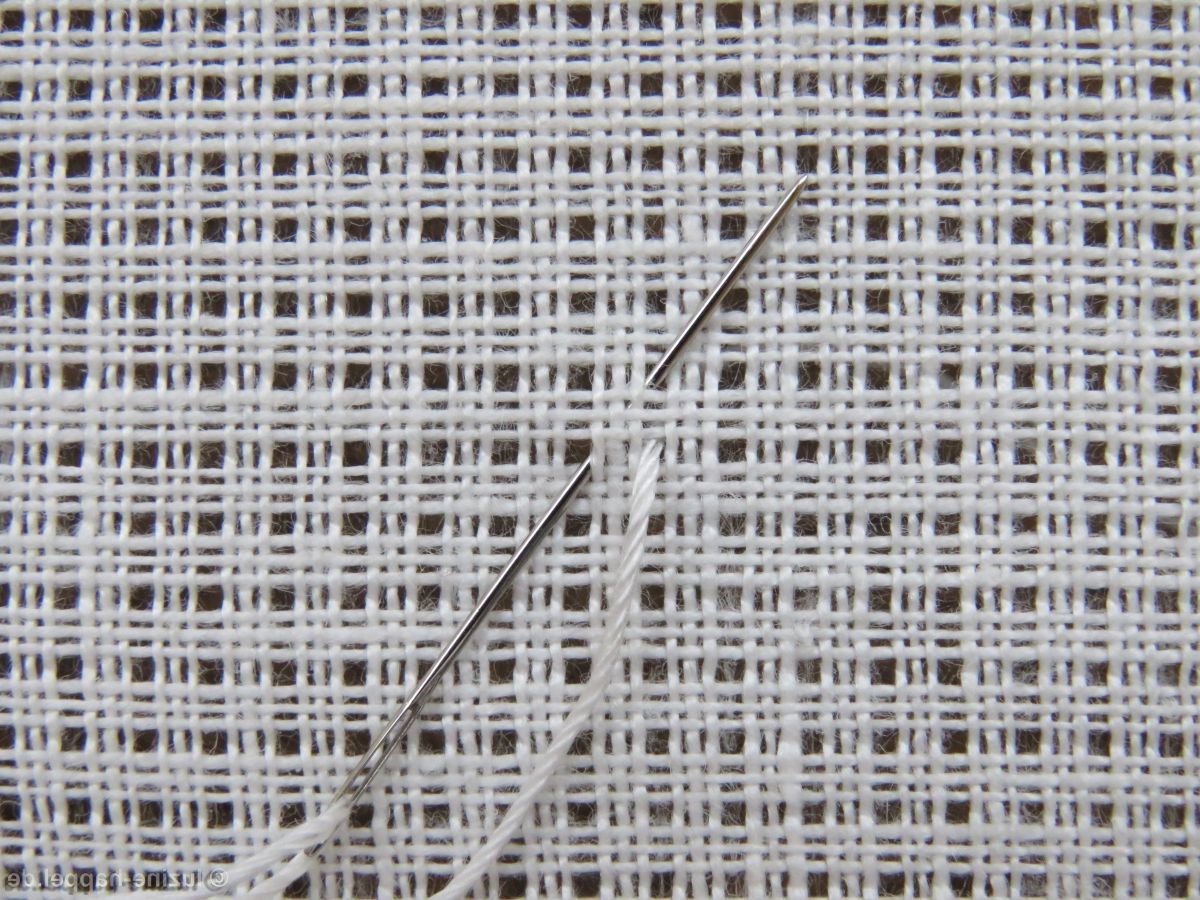
Work a Four-Sided stitch around the center square with the first stitch on the bottom from left to right.
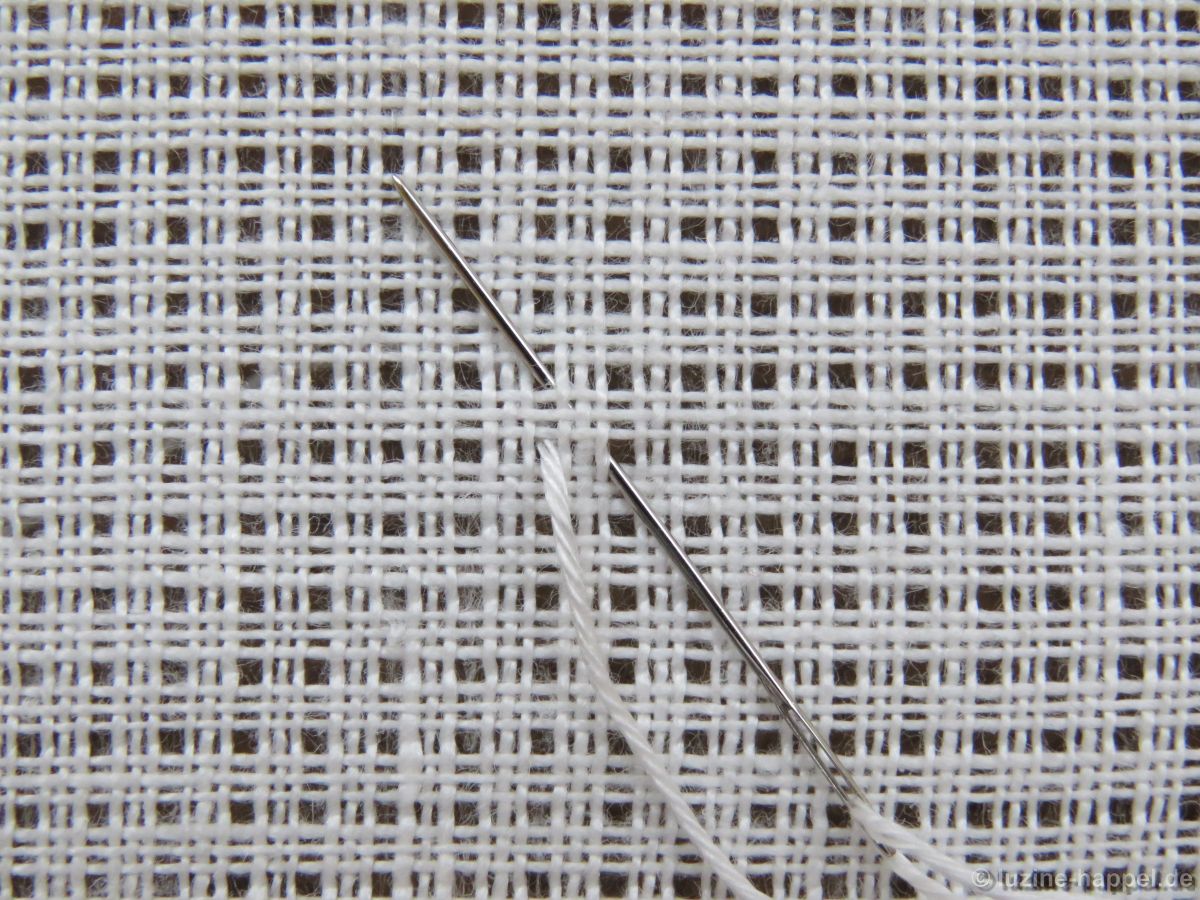
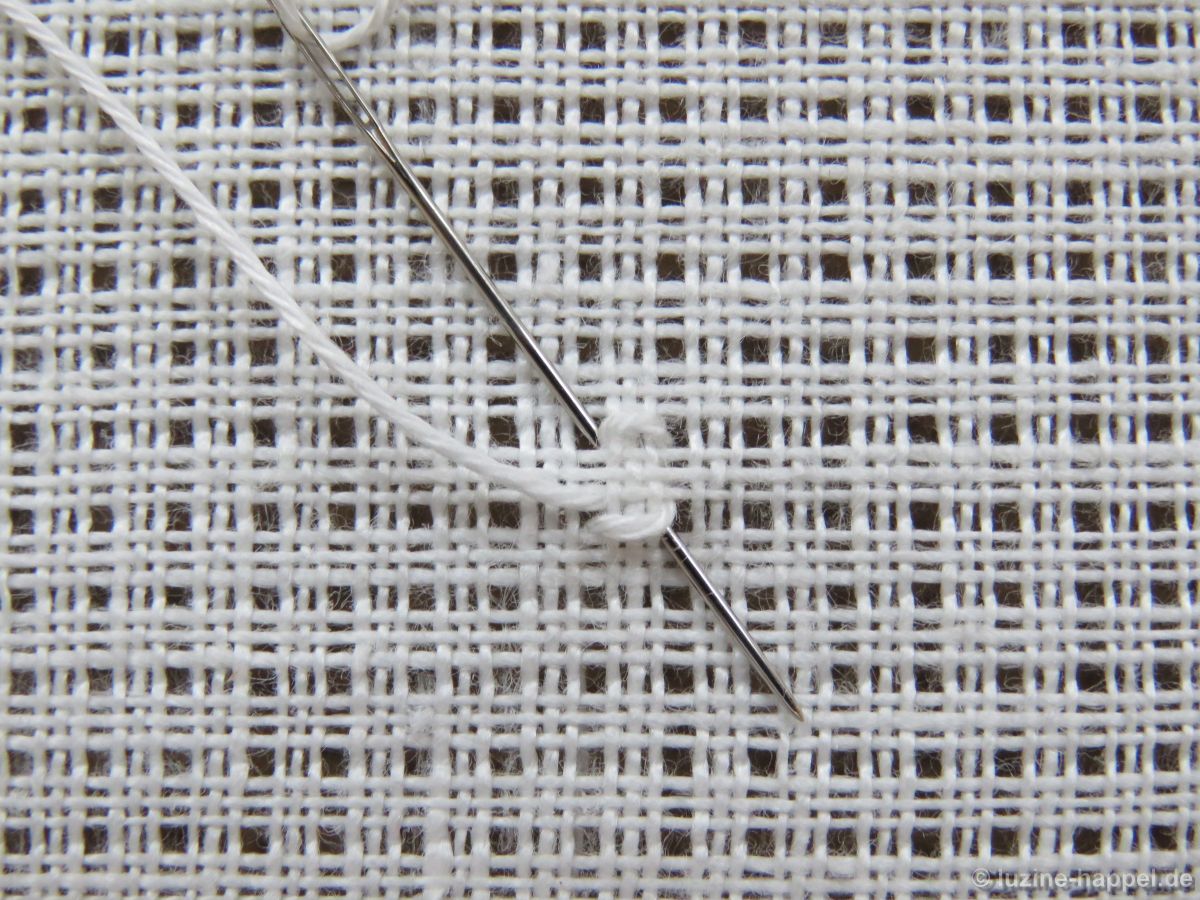
The second stitch is taken on the top from left to right. With this stitch the thread can be tightened a little bit more. The tension of the Four-Sided stitch should be tight enough to pull together the fabric threads of the center square.
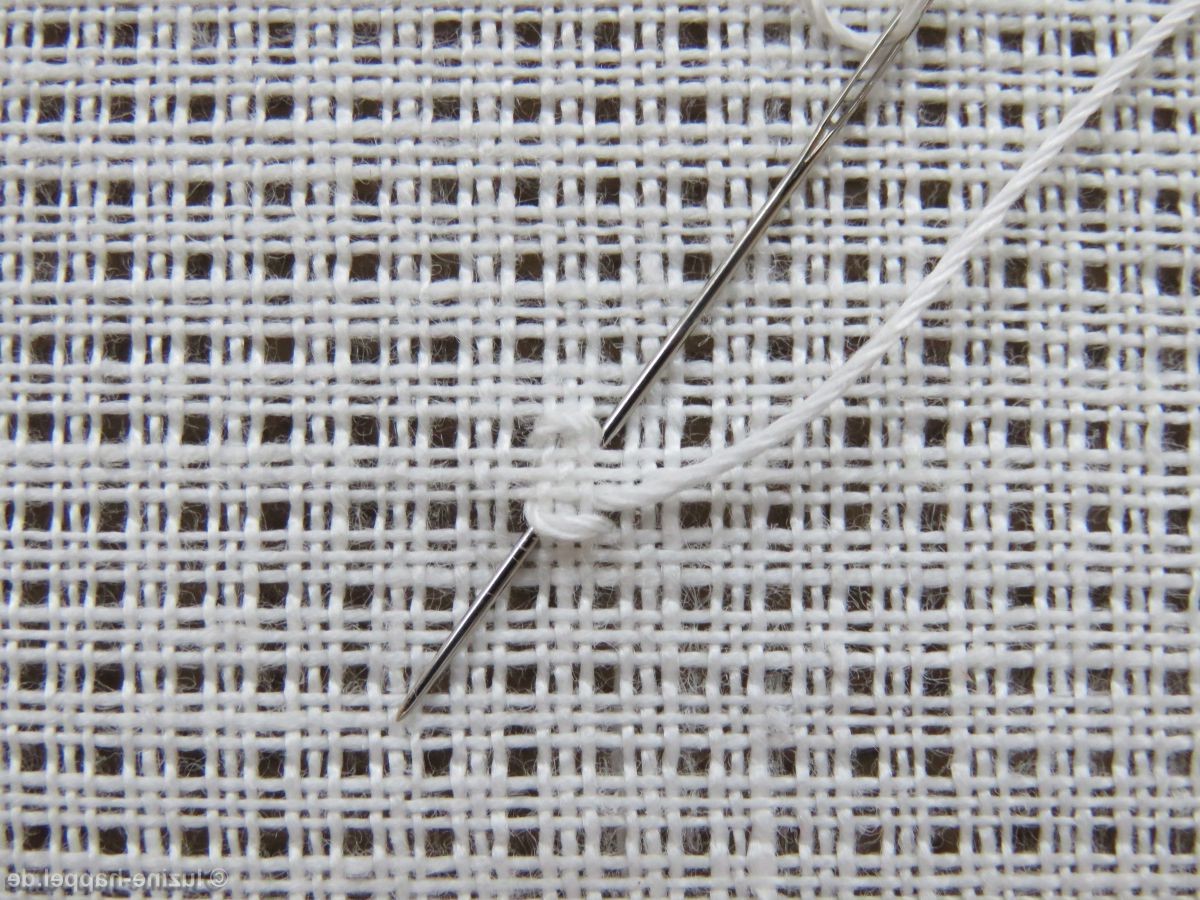
The third stitch is taken on the left and up.
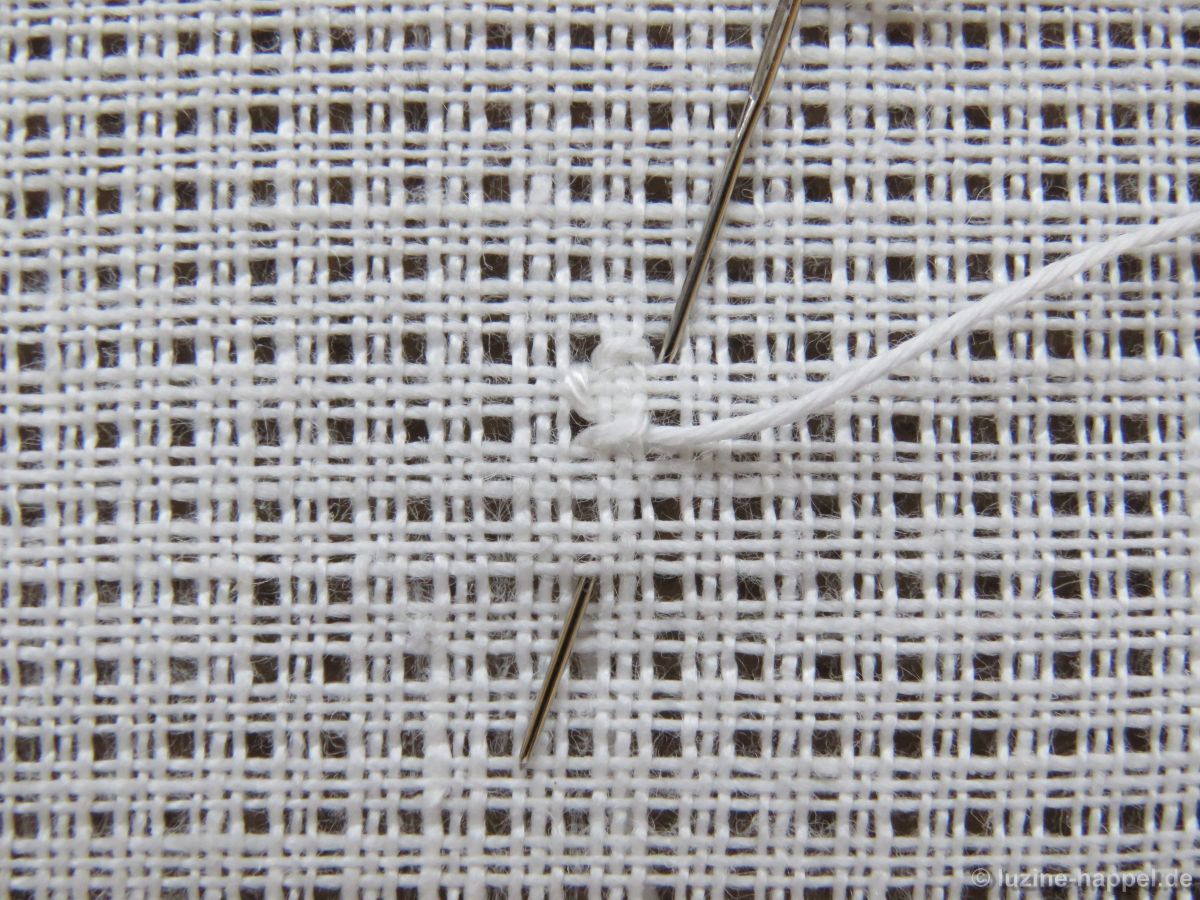
And the fourth stitch is worked on the right and up.
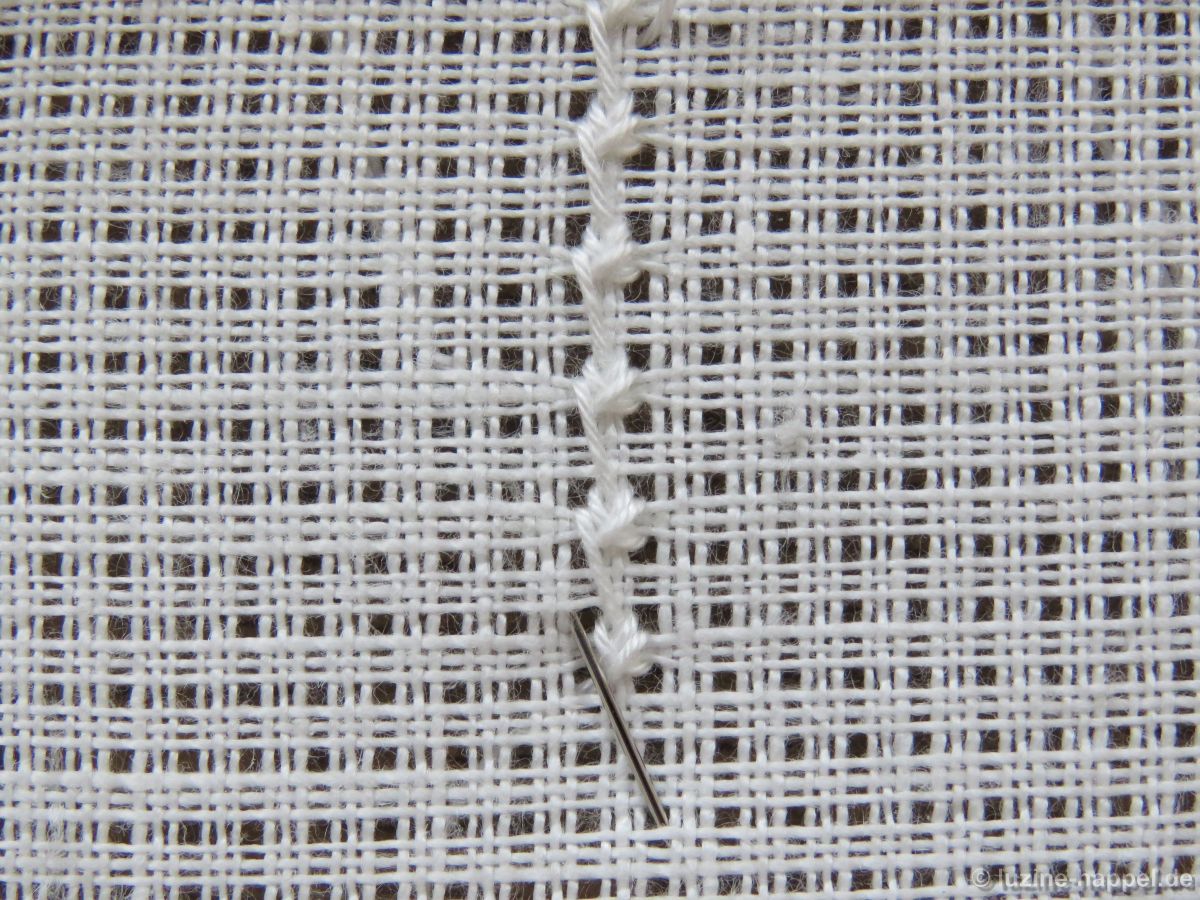
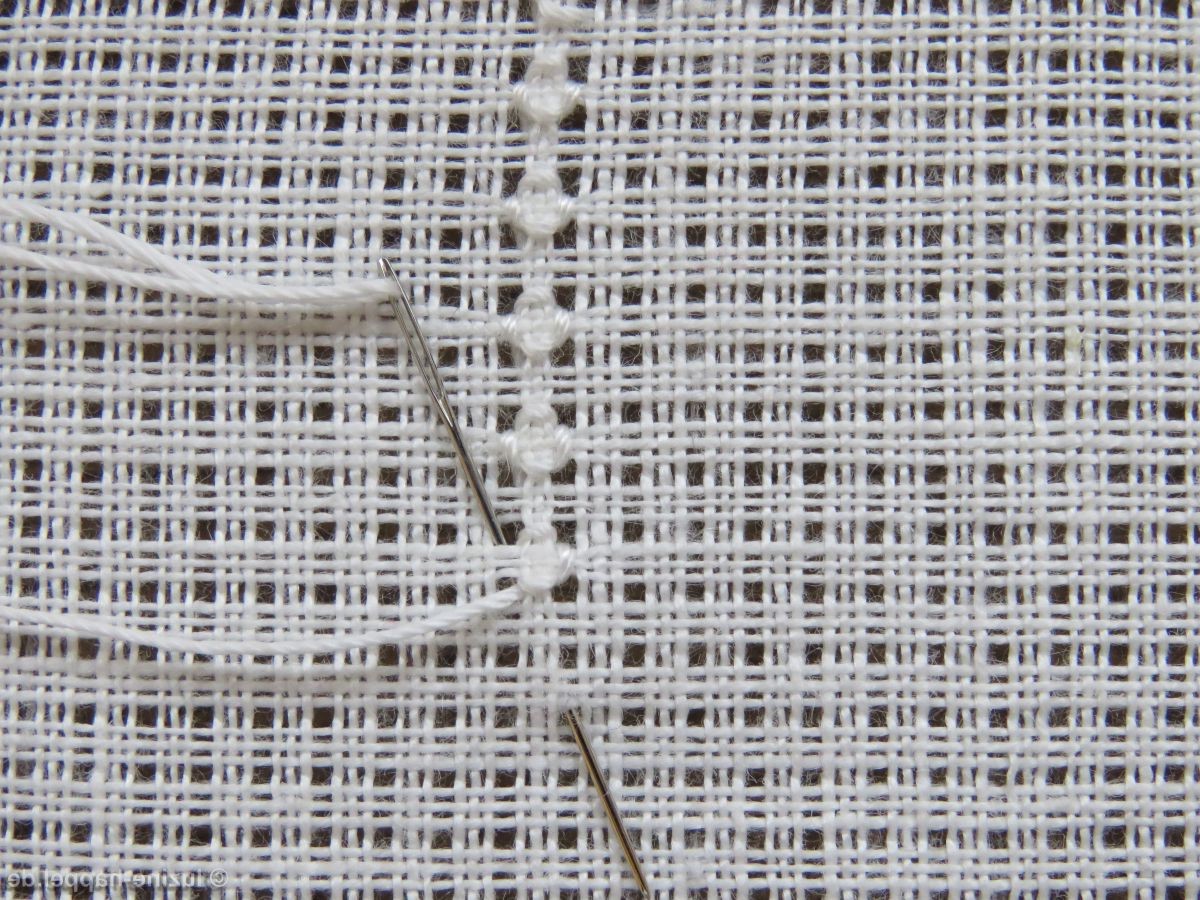
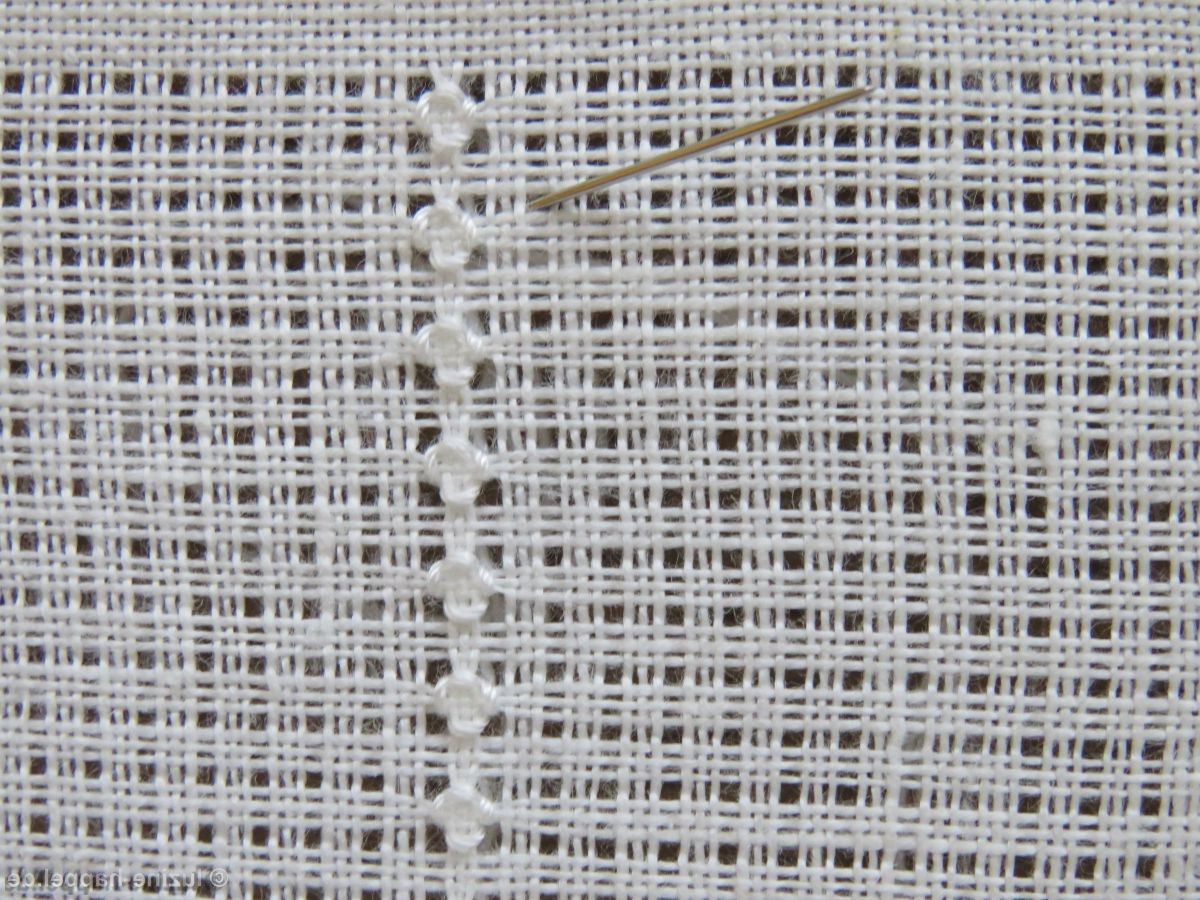
Rows of Four-Sided stitches, with a distance of one square between, are always worked from top to bottom.
So bring the needle up in the bottom left hole of the next square to be outlined with a Four-Sided stitch – it is three squares down and one square to the left of the last insertion point.
Work a Four-Sided stitch in the established way.
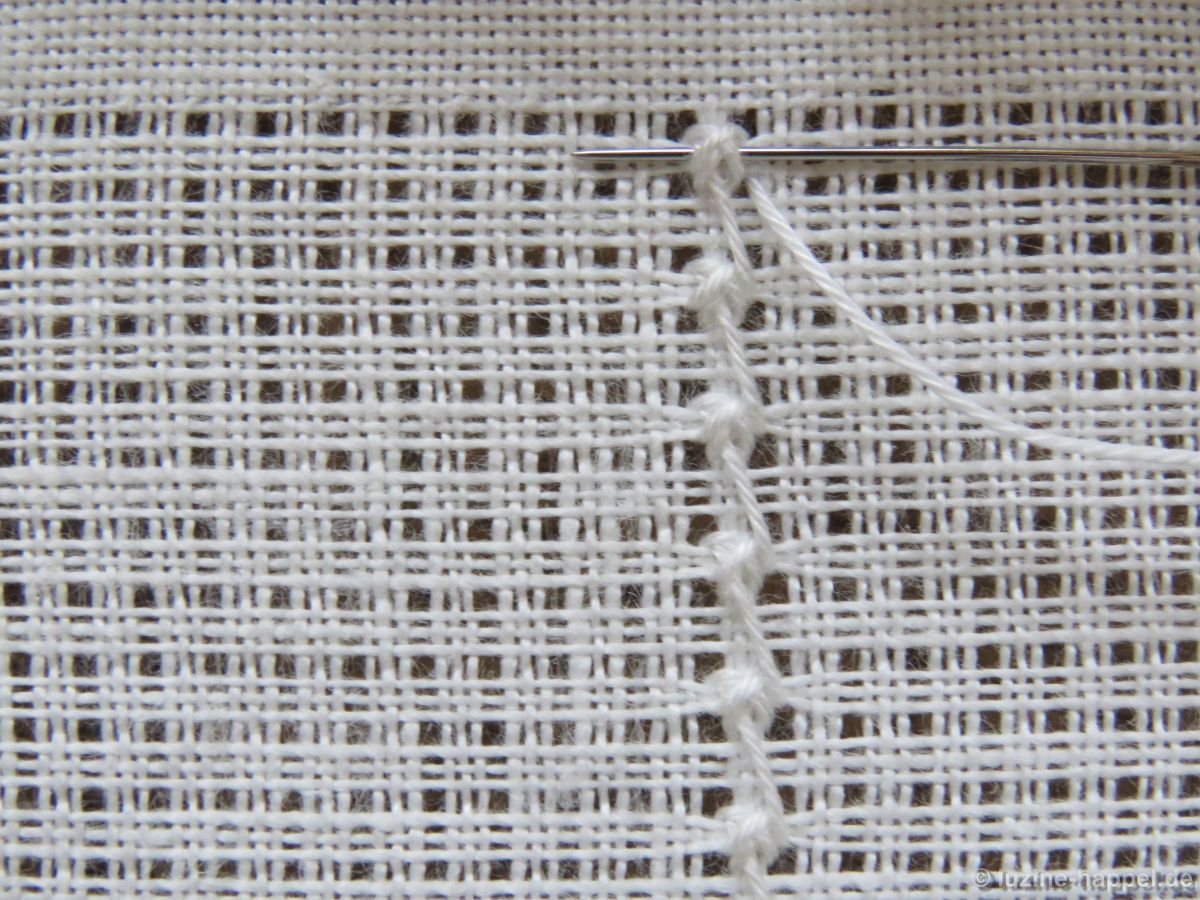
On the back double crosses are made in the places of the Four-Sided stitches. Later, when ironing, these will pad the sections of the Four-Sided stitches.
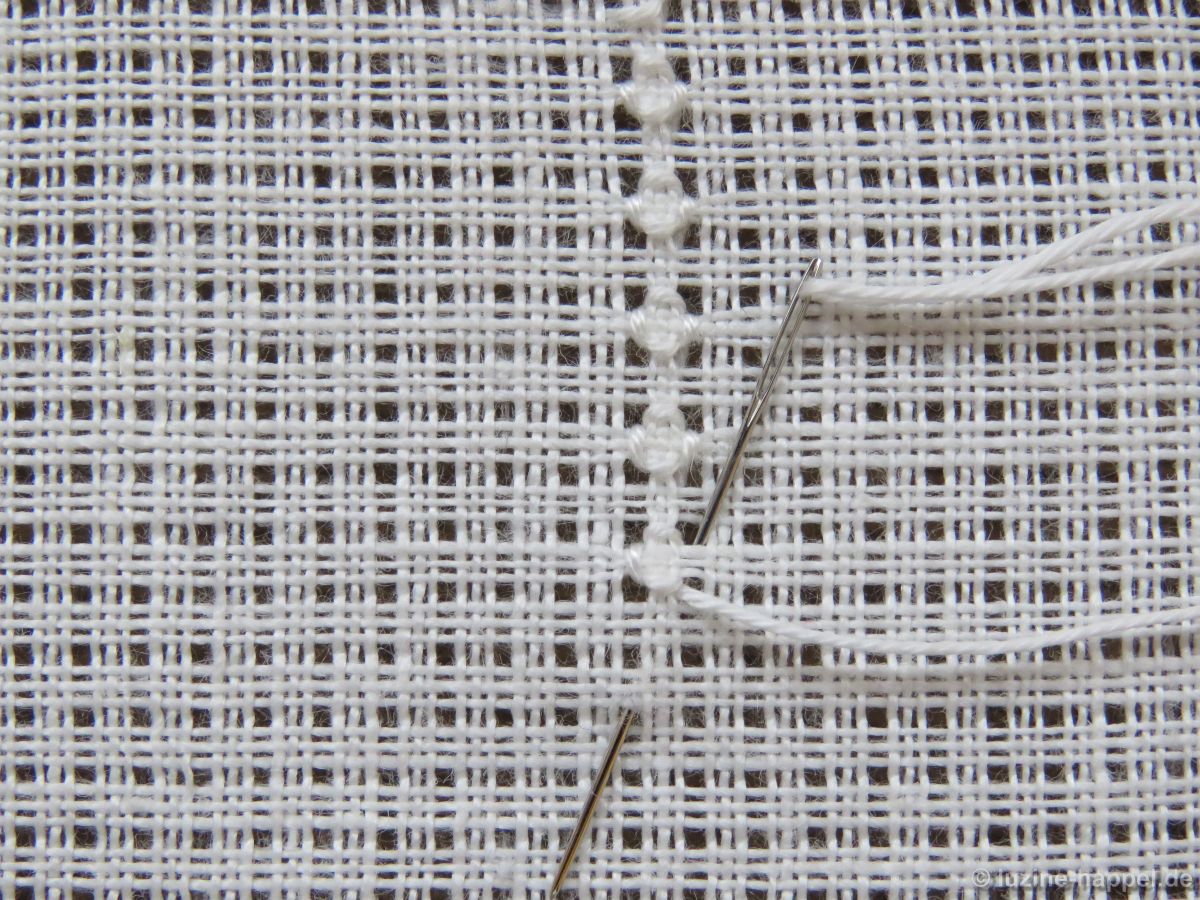
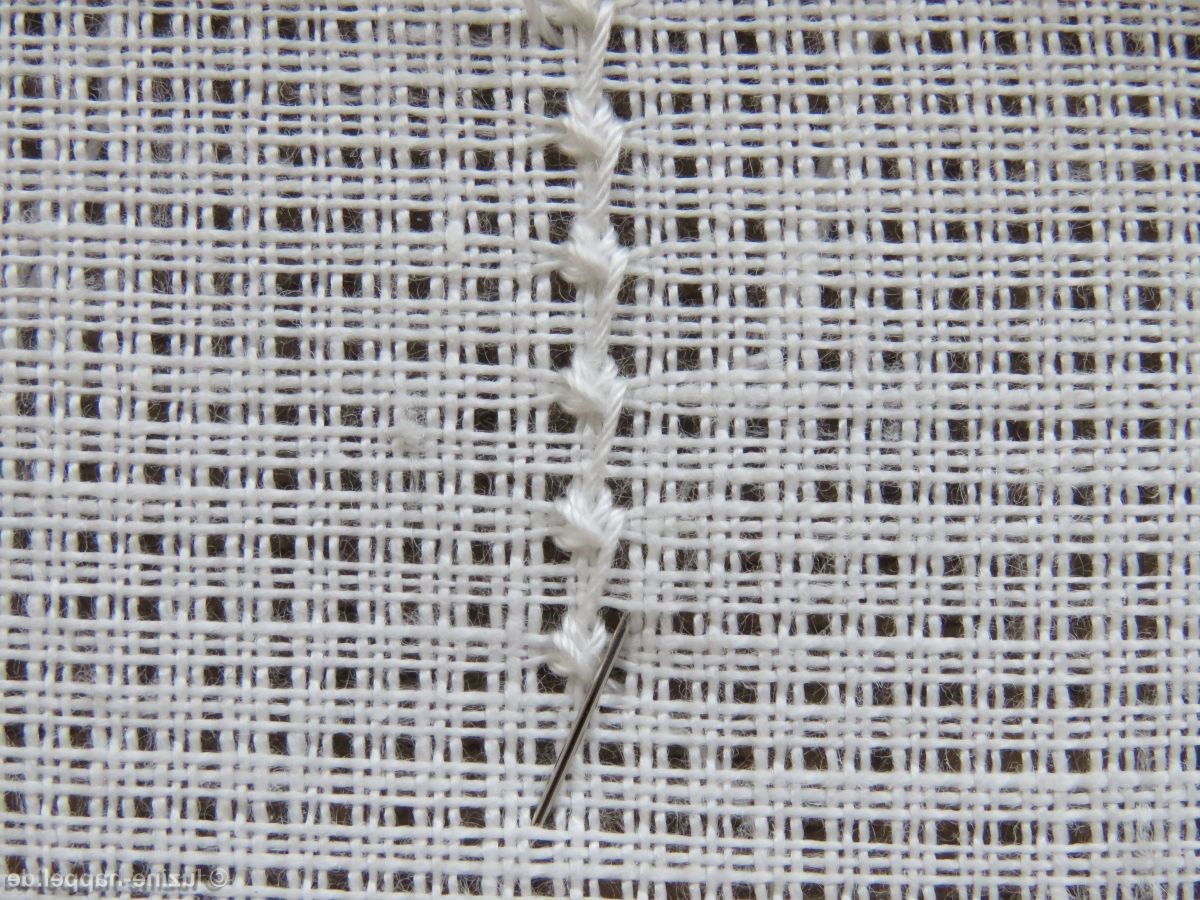
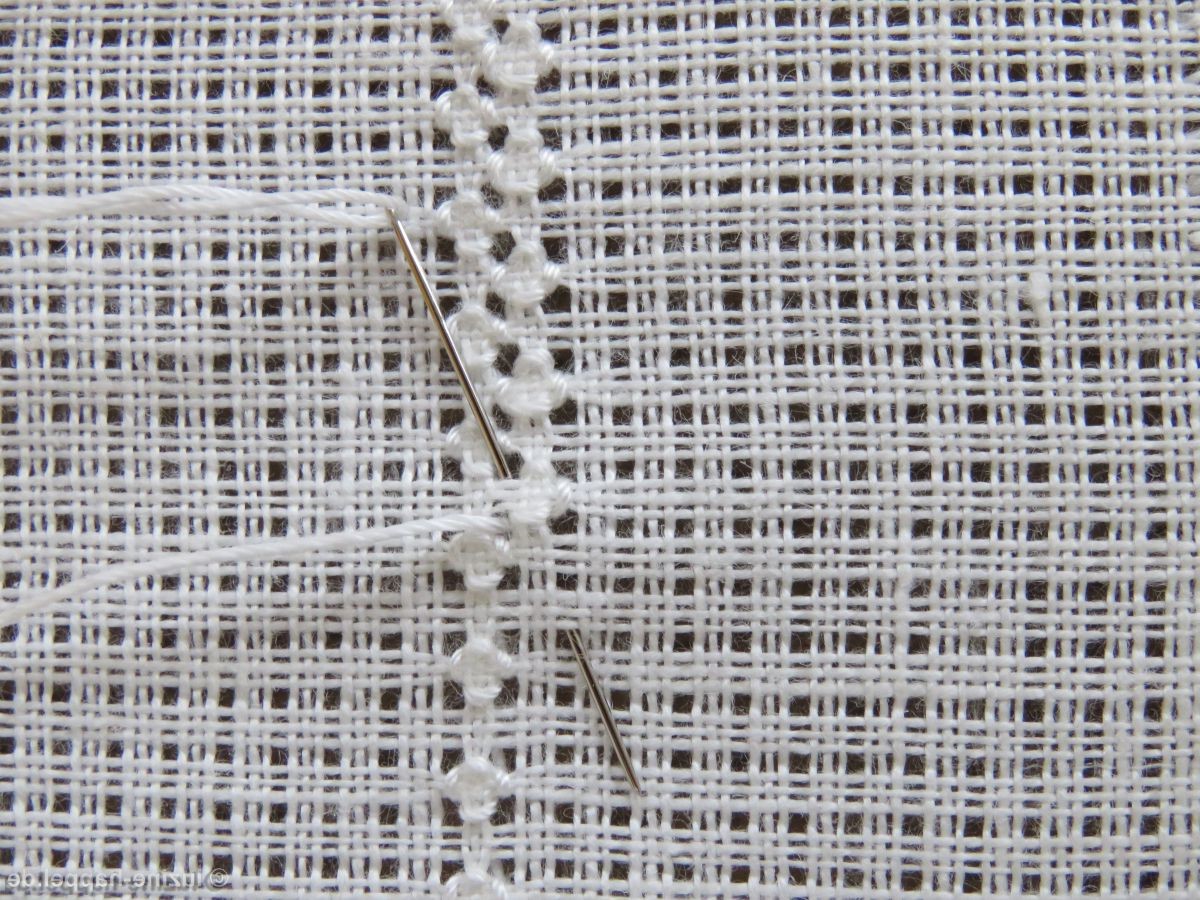
Reaching the end of a row, and before starting the next row, the working thread has to be slid – on the back side – under the last stitch to keep the hole well defined and open.
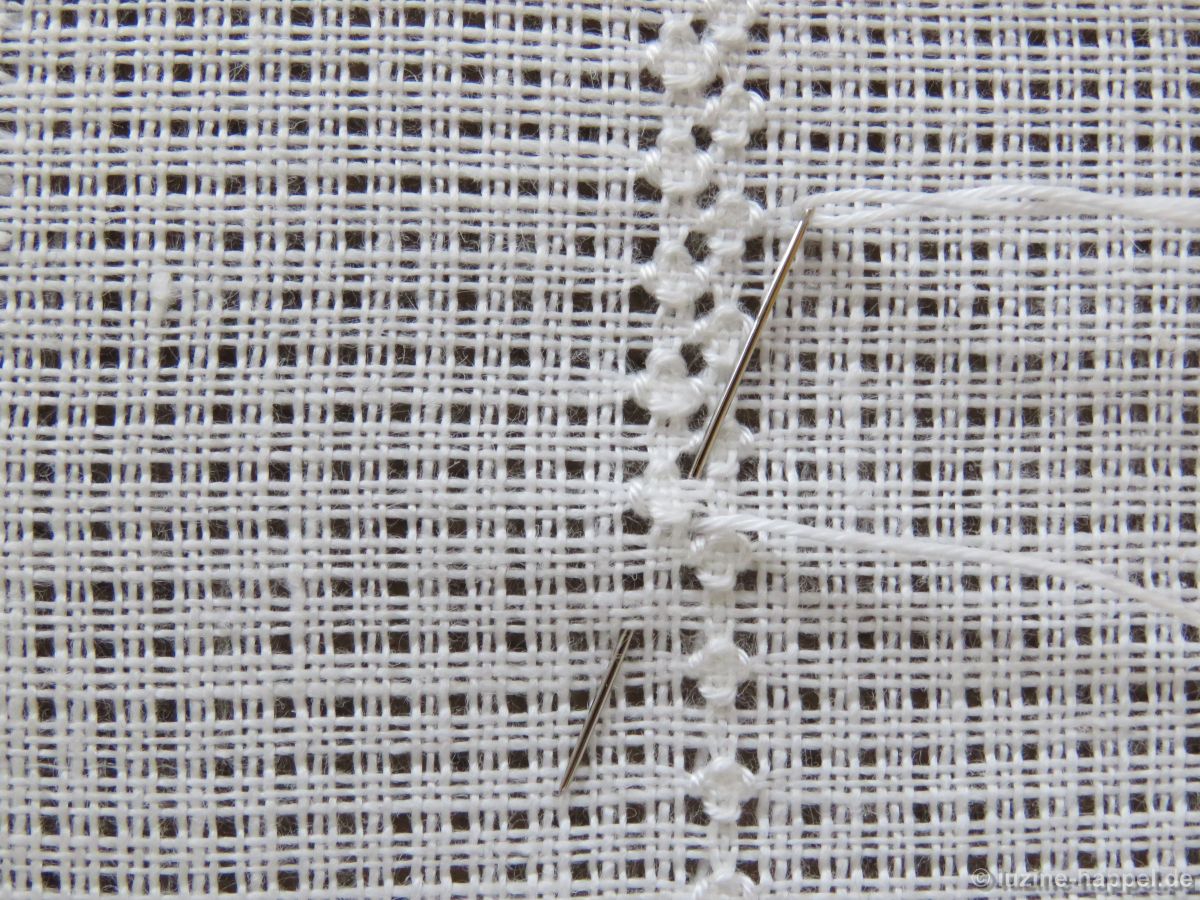
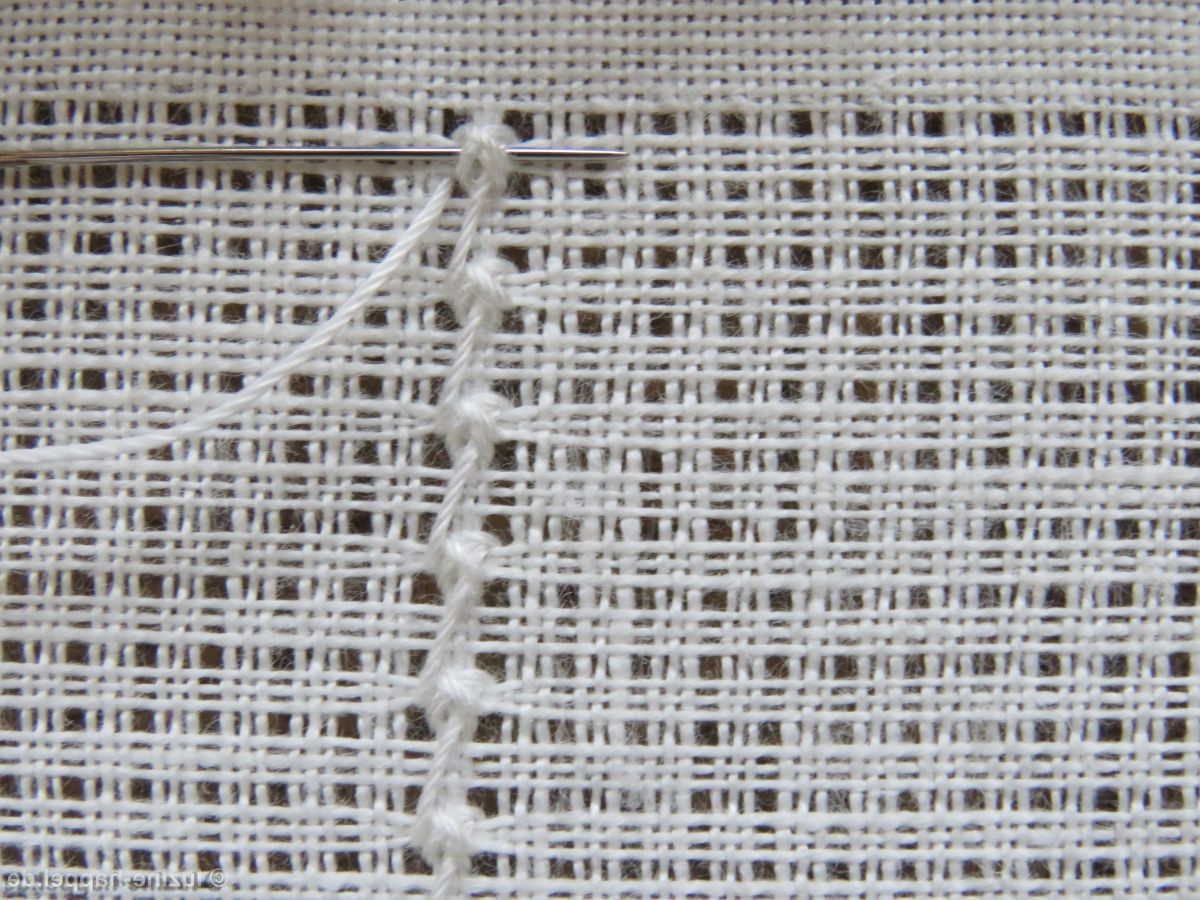
Turn the piece 180° and work the next row staggered one square beside the first row.

Always take care to keep the holes well defined and open.
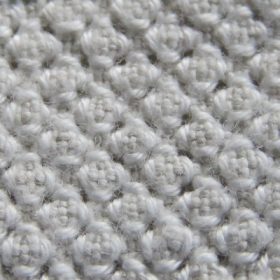
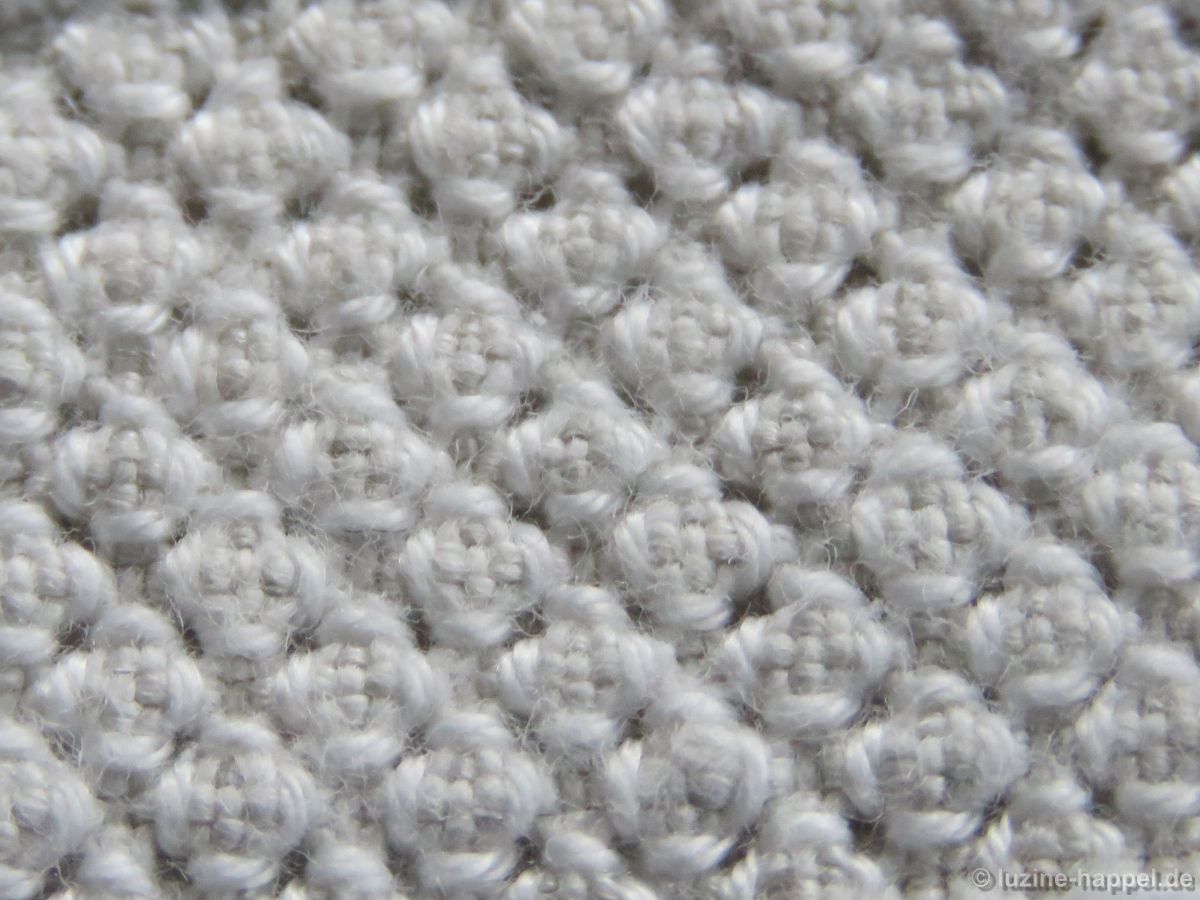
An unobtrusive pattern for smaller shapes is established. At first it looks a little bit tedious.
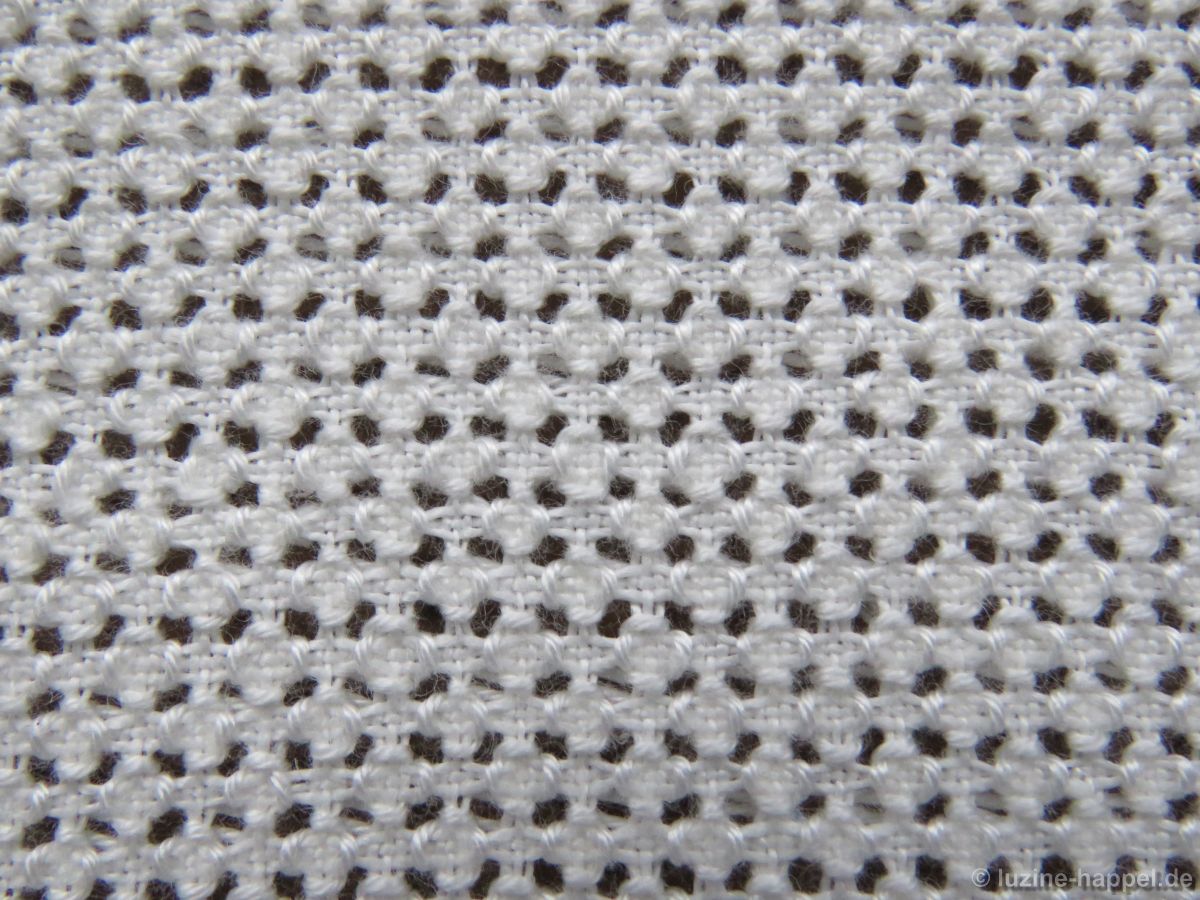
But illuminated from behind, the delicate structure is clearly visible.

After boiling and ironing the pattern appearance will change.
Instructions for the left-hander:
Bring the needle up in bottom right hole of the center square, and pull the thread through.
Work a Four-Sided stitch around the center square with the first stitch on the bottom from right to left.
The second stitch is taken on the top from right to left. With this stitch the thread can be tightened a little bit more. The tension of the Four-Sided stitch should be tight enough to pull together the fabric threads of the center square.

The third stitch is taken on the right and up.
And the fourth stitch is worked on the left and up.
Rows of Four-Sided stitches, with a distance of one square between, are always worked from top to bottom.
So bring the needle up in bottom right hole of the next square to be outlined with a Four-Sided stitch – it is three squares down and one square to the right of the last insertion point.
Work a Four-Sided stitch in the established way.
On the back double crosses are made in the places of the Four-Sided stitches. Later, when ironing, these will pad the sections of the Four-Sided stitches.
Reaching the end of a row, and before starting the next row, the working thread has to be slid – on the back side – under the last stitch to keep the hole well defined and open.
Turn the piece 180° and work the next row staggered one square beside the first row.
Always take care to keep the holes well defined and open.

Leave a Reply