Schwalm Tulip Motifs Through the Ages (3)

So far, the development of tulip motifs has been shown from the end of the 18th century to the 1920s and from the 1920s to the 1980s.

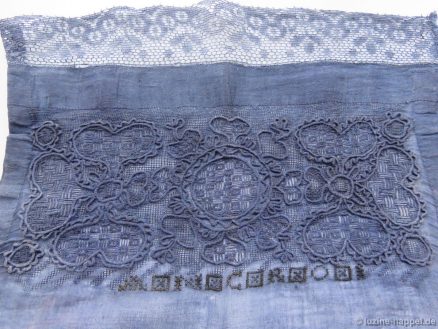
The boom that began in the 1980s inspired many other designers — not all of whom can be named here — to continually create variations. It’s not always easy to attribute the designs to their respective originators, as they often took up other people’s ideas, slightly modified them, and combined them differently.

Maria Jung, who is mainly known for designs with many tendrils, usually shows tulips with more than three points – with divided and undivided areas.

Leni Klingelhöfer designed the flowers more artistically.

Maria Deistler, (see: “Schwalm Tablecloth – roundIrmgard Mengel (see: “Special Offer: Linen with Pre-Transferred Designs (2)”

and Christa Waldmann (see: „Schwalm Whitework and Blue(2)“

brought through the variety of their designs, all kinds of tulip shapes into play, so it is not possible to assign them a specific design.

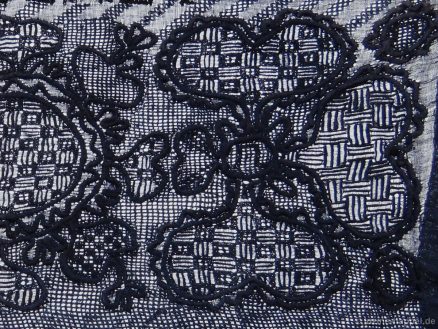
Anna Elisabeth Grein (1936–2024) should not go unmentioned (see also: “Pretty Contemporary Schwalm Table Cloth ” and “A Lampshade with a Needlelace Edging .” Trained at the Thielmann School, she returned to the original patterns. She preferred large, single-piece shapes with slight bulges — perfect for embroidering effective area-fill patterns.

Her divided tulip examples exhibit curves rather than points, which facilitates precise pattern execution at the edges.
Schwalm Tulip Motifs Through the Ages (2)

The depictions shown in the article Schwalm Tulip Motifs Through the Ages (1) remained constant throughout the 19th century.

It wasn’t until the 1920s that they changed significantly. Alexandra Thielmann (1881–1966) adapted the forms to contemporary tastes and reduced the areas to be embroidered.

See also: „Schwalm Whitework Sampler Cloths “.

She developed a variety of tulip shapes and designed them to fit their place in the overall pattern. She designed bulbous forms

and drew tulips that had deep cuts

or extremely prominent calyxes.
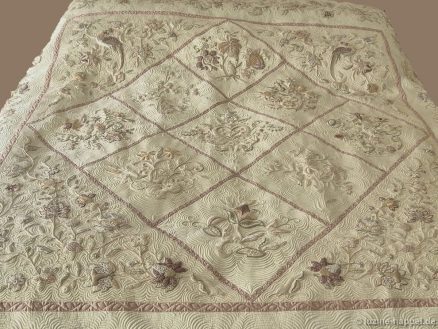
She also brought particularly artistic designs into play.
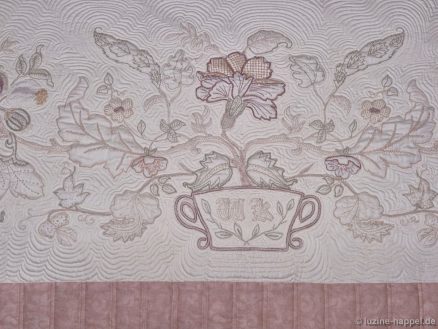
Thekla Gombert (1899 – 1981) moderately reduced the designs, but focused on smaller forms

and tulips that open wide at the top, often with strongly rounded bases and mostly with three tips.

The boom that began in the 1980s inspired many other designers to continually create variations. These can be seen in the next blog post.

Schwalm Whitework by EDAC

Watch and participate – this is the motto of the European Days of Arts and Crafts held in 24 European countries every year at the beginning of April. Studios run by creatives and artisans open their doors to give visitors a glimpse into their work, encourage them to try things out, and spark enthusiasm.

Margarete Grandjot will also be participating in this year’s Arts and Crafts Days from April 4th to 6th. Her embroidery studio will be opening its doors for this event. Schwalm whitework will be the focus. This is a great opportunity for those interested to gain initial insights into this unique technique, while advanced students can benefit from the knowledge and skills of the artists.

Opening Hours:
Friday 2 p.m. – 6 p.m.
Saturday 10 a.m. – 6 p.m.
Sunday 11 a.m. – 5 p.m.

Schwalm Tulip Motifs through the Ages (1)

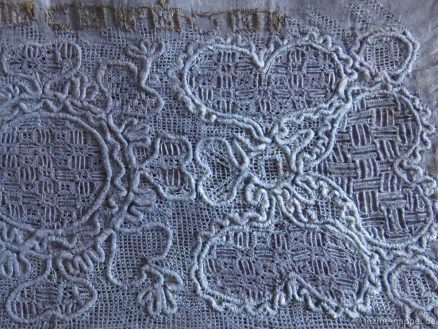
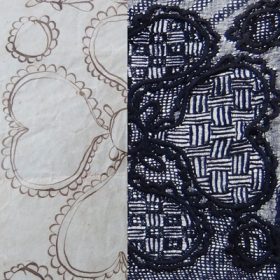
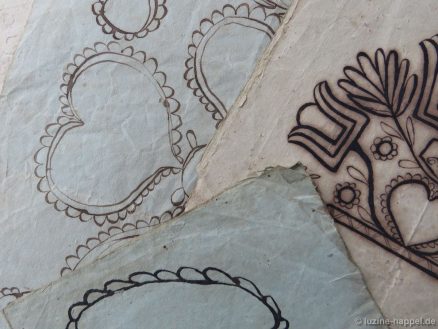
The tulip is one of the main elements in Schwalm whitework designs. Tulip shapes can be modified indefinitely. They have also undergone changes in Schwalm over the centuries.
This blog post aims to trace this in broad outline.

While the tulip figures in early Schwalm whitework were were multi-

Detail from a parade cushion border – 18th century

and often small-part,

Detail from a door hanging border – 18th century

the filling patterns that were now in fashion required more space.

Detail from a bed covering, dated 1793 – Museum of the Schwalm in Ziegenhain

With the rise of Schwalm whitework toward the end of the 18th century, tulips were usually depicted in a single piece and in medium sizes. Smaller tulips were also available to fill the spaces. The bases of the tulips were usually only slightly rounded, often straight. The upper edges were slightly curved, rarely showing deeper incisions. The shapes varied – from long and narrow to wide-opening at the top to short and wide.

Detail from a bed covering, dated 1793 – Museum of the Schwalm in Ziegenhain

There have also been occasional split tulip shapes.

Detail from a bed covering, dated 1793 – Museum of the Schwalm in Ziegenhain

Initially they had a drop shape in the calyx,

Detail from a bed covering, dated 1823

but soon heart and

Detail from a parade cushion border, dated 1821

tulip outlines were added as calyx designs.

Detail from a parade cushion border, dated 1821

While the tulips were initially mostly medium-sized, very large motifs were added in the following decades.

Detail from a parade cushion border, dated 1804

Detail from a parade cushion border, dated 1842

Often their proportions were not adapted to the other motifs.

Detail from a parade cushion border – 19th century

Detail from a parade cushion border – 19th century

All of these representations remained constant throughout the 19th century.
It wasn’t until the 1920s that they changed significantly. Examples can be seen in the next blog post.

Filling Pattern – No. 581

Filling Pattern – No. 581

category: openwork filling pattern with Cable stitch grid
linen used: 13.5/cm thread count
threads used: coton à broder No. 30 for the Cable stitches and No. 20 for the Rose stitches
stitches used: Cable and Rose stitches
center: intersection of withdrawn thread lines (square)
one pattern segment: 34 threads

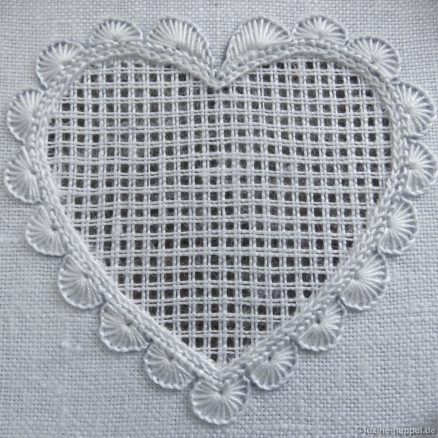
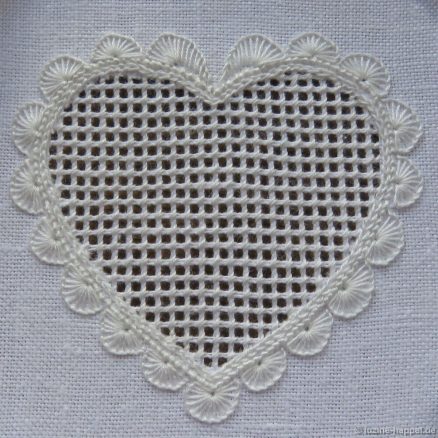
The filling pattern shown here is a practice exercise only. You can see it used in a shape at the end of this article.

First, establish an openwork grid with a square (an intersection of withdrawn thread lines) in the center by cutting 2, leaving 2 both vertically and horizontally.

Stabilize the established grid with Single Faggot stitches worked from the back side of the fabric. Please remember that Single Faggot stitch worked on the back side will look like Cable stitch viewed from the front.

Bring the needle up in the second square below the center. The end of the working thread remains on the front side for now.

Work a Rose stitch into this square. It’s a good idea to place the first part of the Rose stitch in the direction you want to continue stitching later—i.e., the first partial stitch upwards if you want to work additional Rose stitches above; the first partial stitch to the left if you want to work additional Rose stitches to the left, and so on. This ensures that the square’s area is well covered.

After completing the first Rose stitch, move the needle diagonally one square to the top right

and from there work three Rose stitches to the left.

In the square above the third Rose stitch and the one to the left of it, embroider two more Rose stitches, then emerge one square diagonally to the top right

and from there, work three Rose stitches to the right. After completing the third Rose stitch, emerge one square diagonally to the top left.

In this square work one Rose stitch and then move the needle diagonally one square to the right and two squares down.

From there, work two Rose stitches to the right and then move the needle one square up and two squares to the right.

To ensure that the surrounding squares remain well defined and open, the working thread is slided through a Cable stitch on the back.

The first element of the pattern is complete. From the new starting point, stitch Rose stitches diagonally to the top left.

four in total.

A second,

a third and

a fourth row of four Rose stitches each follows. This completes the second element of the pattern.

Move the needle diagonally one square to the right and two squares down and start embroidering the first element from there.

On the diagonal, element 1 and element 2 alternate constantly. If the first thread is too short and is secured, the starting thread can also be pulled to the back and secured there.

A very beautiful pattern is created,

which appears particularly effective in large areas, as here on a tablecloth from 1927.