A Small Ivy Tendril

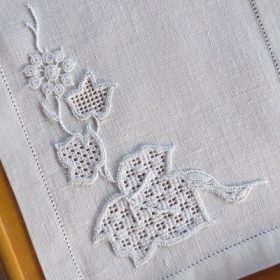
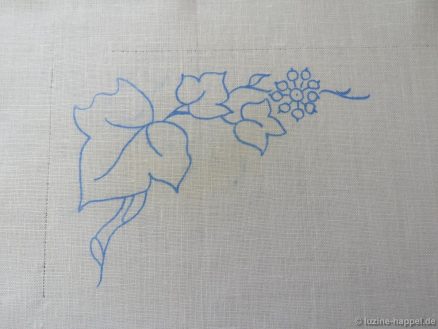
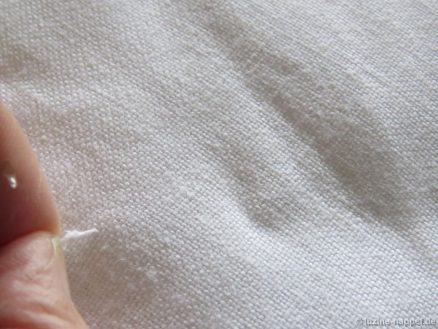
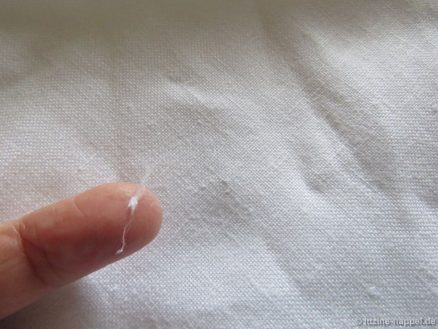
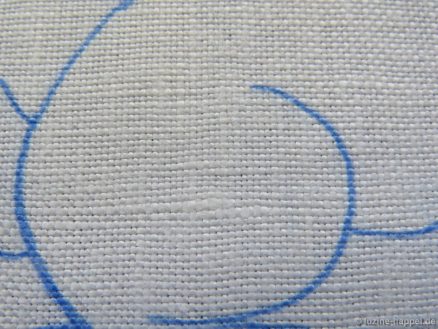
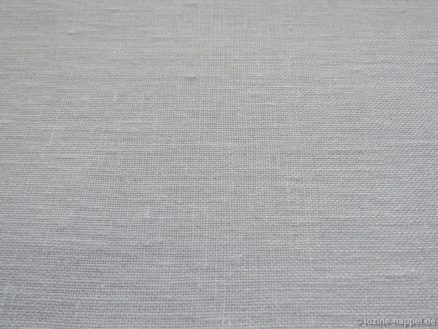
I used a small design with an ivy tendril to test the 20 threads/cm linen. This linen is available here also in small sizes. I was not absolutely careful when transferring the design with an iron, so the fabric got lightly scorched in the process.

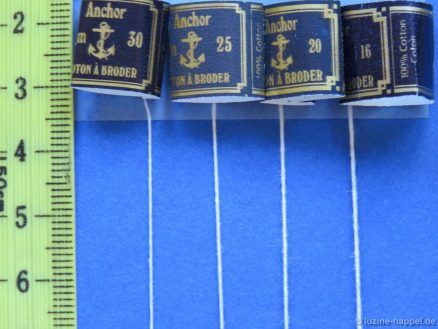
Using coton à broder No. 20 for the Coral Knot, No. 25 for the Satin, and No. 30 for the Blanket and Chain stitches, the prep work was finished.

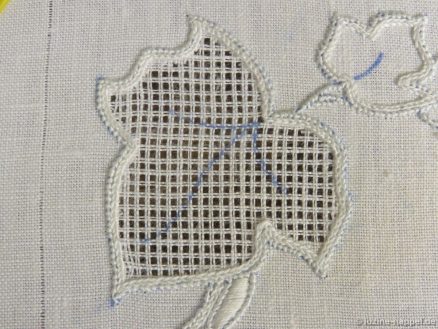
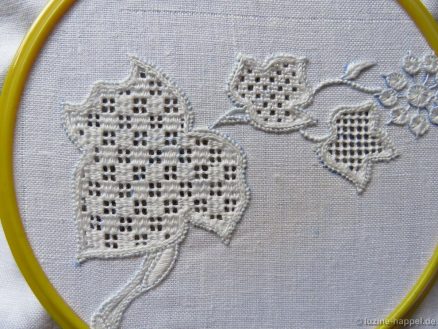
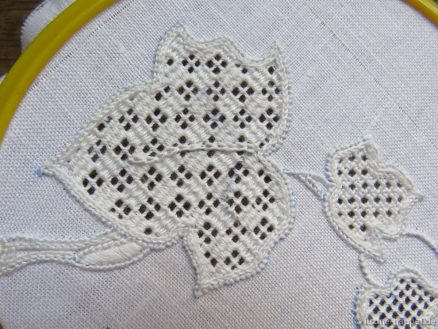
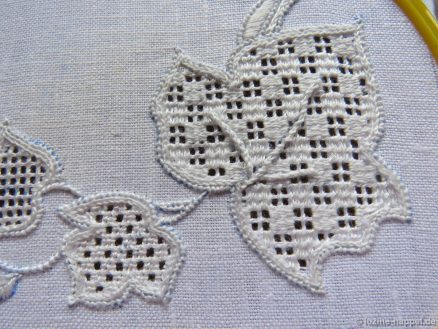
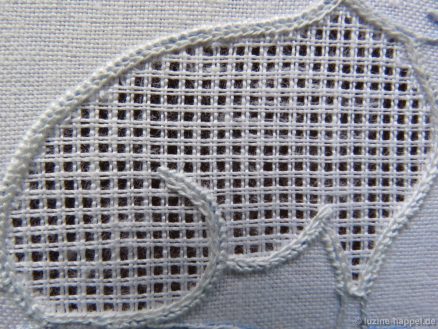
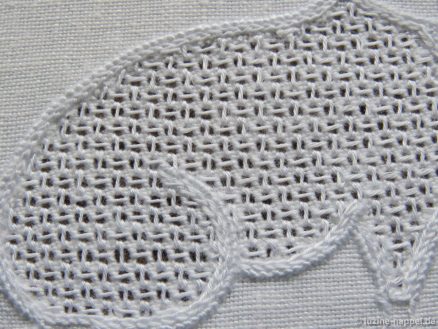
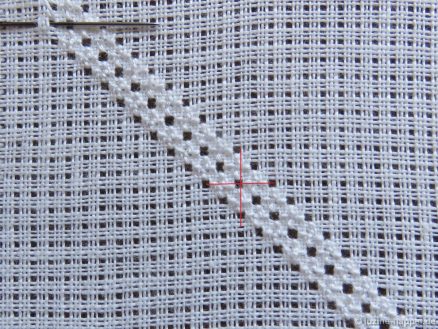
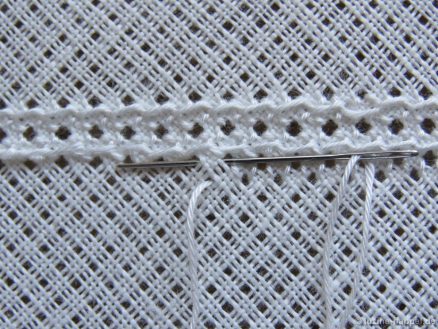
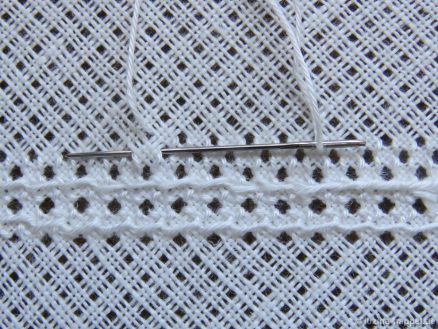
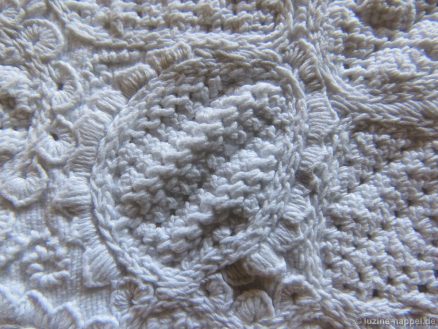
I decided to use only openwork filling patterns worked in a Cable stitch grid. The smallest motif remains as an openwork Cable stitch grid, the other small leaf was filled with a Rose stitch pattern. And the largest leaf has a needle-weaving filling pattern.

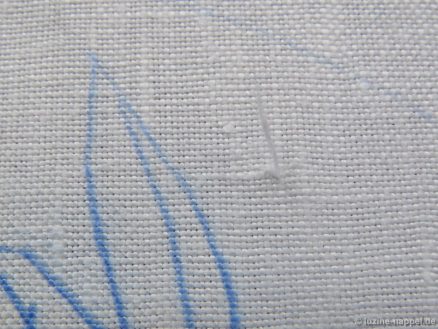
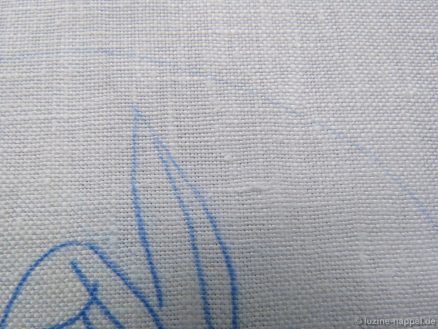
The design shows leaf veins, and so I considered whether or not to work them. I decided to add the veins in the large leaf. The marks of the design transfer were still noticeable, but I decided to touch them up with a #2 pencil.

Using coton à broder No. 16 Chain stitches were worked along the line.

On the way back each stitch was wrapped once to establish the leaf veins.

The piece is hemmed – because of it´s small size – with Antique Hem stitches only.

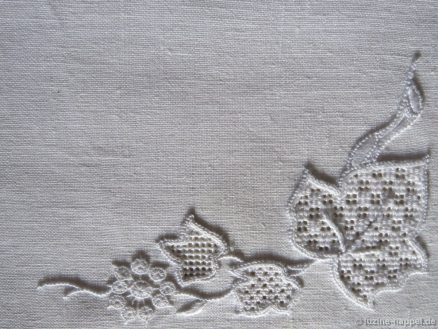
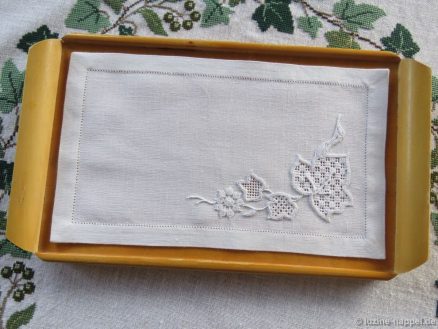
After boiling the scorch is gone. And after starching and ironing, I have a nice small doily for a special tray.

You will be able to see this design and some more elaborate ivy designs next summer at my new exhibition. It will be great!

Filling Pattern – No. 551

category: Limet-Filling pattern
linen used: 13.5/cm thread count
threads used: coton à broder No. 16
stitches used: Honeycomb Darning stitches
center: square (in other shapes, longitudinal axis: group of three threads)
one pattern segment: 12 threads

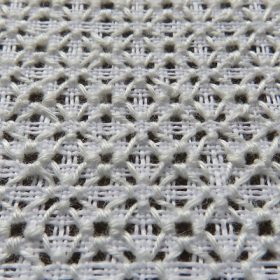
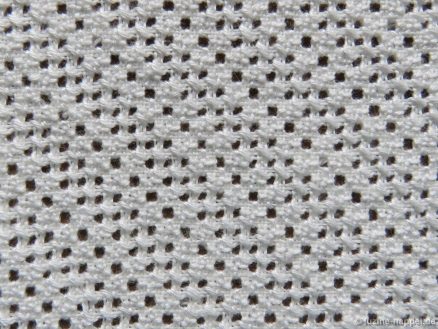
This pattern is a variation of Honeycomb Darning stitches – not worked in rows but around a center square.

Instructions for left-handers can be found at the end of this article.

First, establish a Limet grid with a square in the center by cutting 1, leaving 3 both vertically and horizontally.

Bring the needle up one square below the lower right hole of the center square, and pull the thread through.
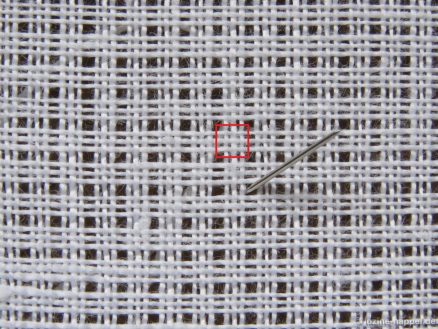
*Cross over one square (3 fabric threads) to the right, insert the needle and bring it up in the previous hole again. Tighten the thread.
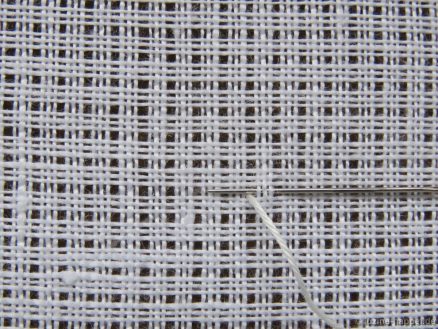
Cross over one square (3 fabric threads) up, insert the needle and bring it back up 1 square to the left.
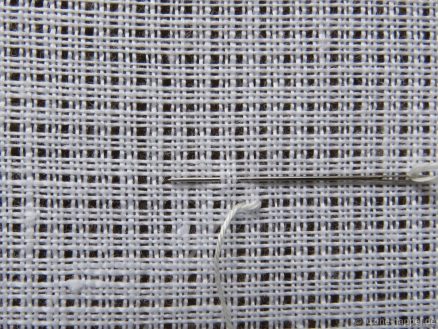
Cross over those 3 threads to the right, insert the needle and bring it up in the previous hole again.
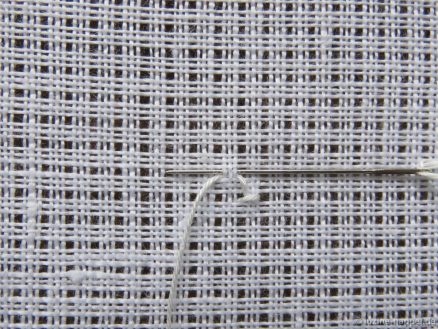
From now on always tighten the thread so that the bundled threads are pulled together a little bit.

Cross over one square below, insert the needle and bring it up 1 square (3 fabric threads) to the left.
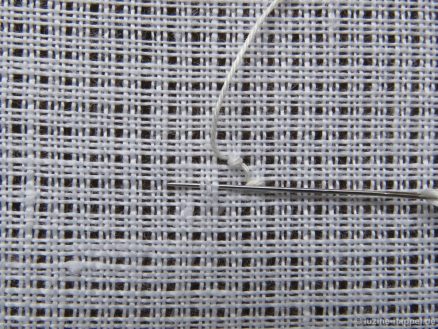
Cross over those 3 threads to the right, insert the needle and bring it up one square diagonally left and up.*
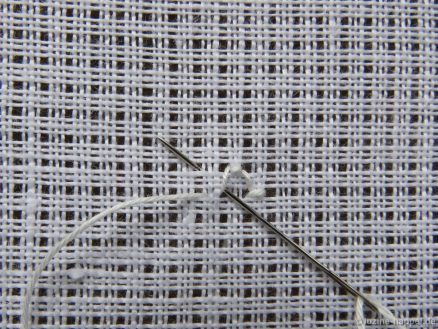
Turn the piece 90° counterclockwise and repeat working the five steps (*),
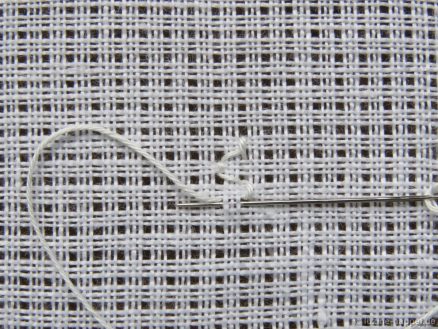
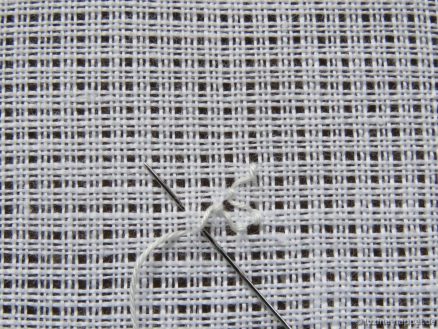
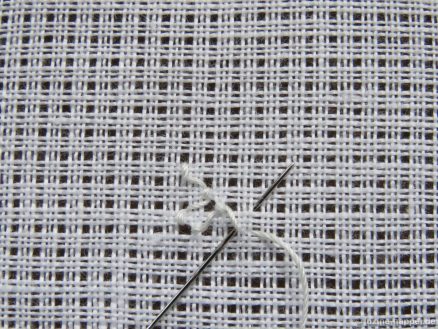
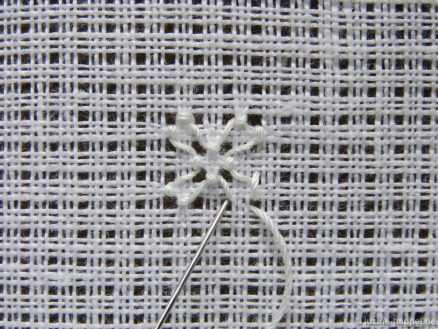
three times in all. At this point, one pattern segment covering a section of 3 X 3 squares is finished.
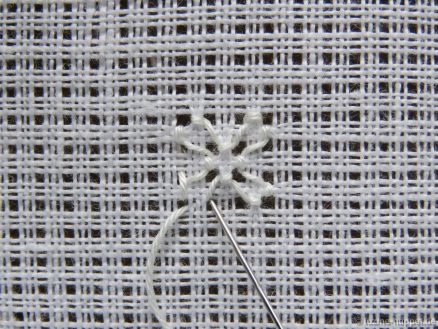
More of these pattern segments are added to establish the entire pattern. To start the next segment, the needle has to emerge from the same point that it was inserted. So, on the back side, slide the working thread under the stitch
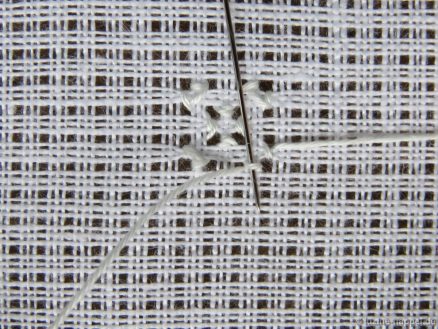
and then bring it up again to the front. Turn the piece to start working the next segment in the established way.
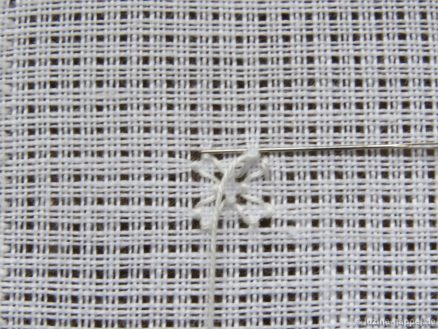
Work segment beside segment
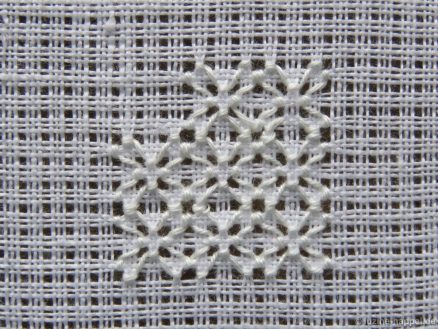
until the entire shape is filled. If you get lost while working, simply recall which is the segment´s center square that needs to be surrounded.
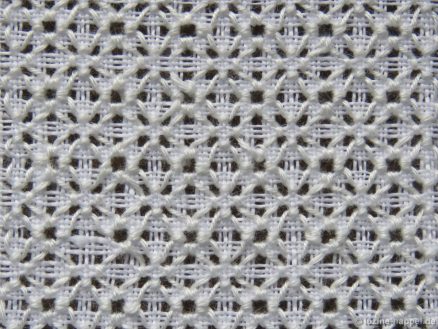
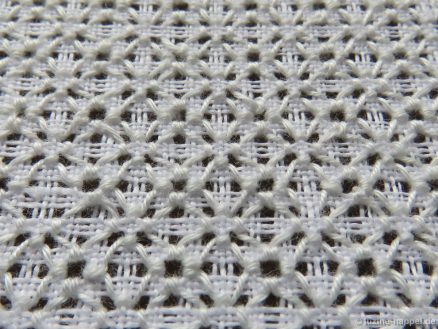
This pattern develops its full appearance only after boiling, starching, and ironing.
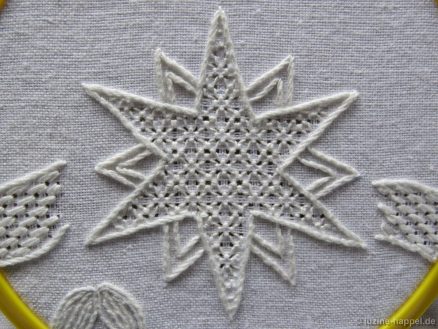
Instructions for the left-hander:

Bring the needle up one square below the lower left hole of the center square, and pull the thread through.
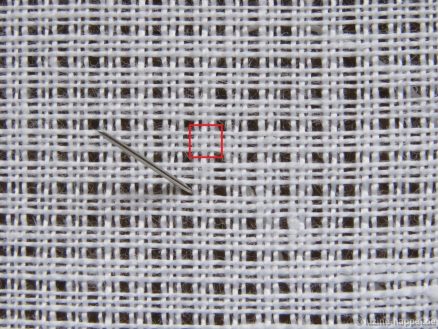
*Cross over one square (3 fabric threads) to the left, insert the needle and bring it up in the previous hole again. Tighten the thread.
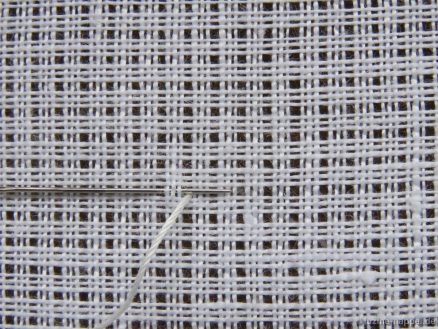
Cross over one square (3 fabric threads) up, insert the needle and bring it back up 1 square to the right.
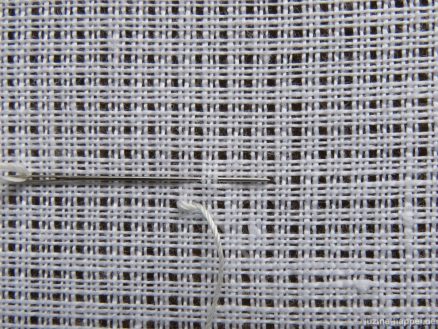
Cross over those 3 threads to the left, insert the needle and bring it up in the previous hole again.
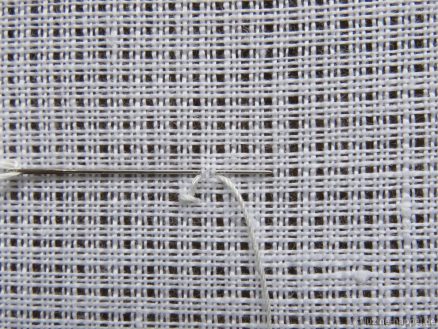
From now on always tighten the thread so that the bundled threads are pulled together a little bit.

Cross over one square below, insert the needle and bring it up 1 square (3 fabric threads) to the right.
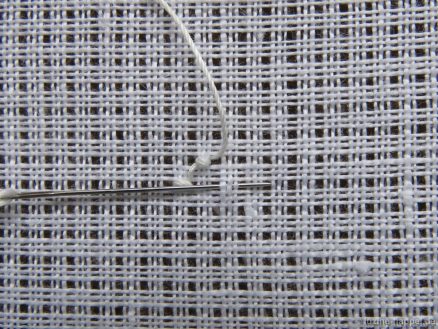
Cross over those 3 threads to the left, insert the needle and bring it up one square diagonally right and up.*
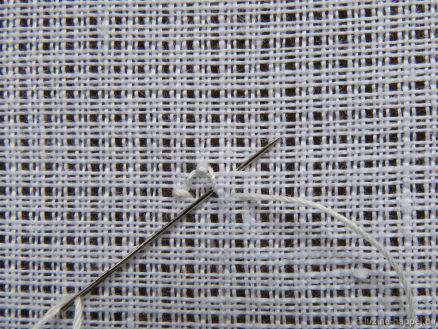
Turn the piece 90° clockwise and repeat working the five steps (*),
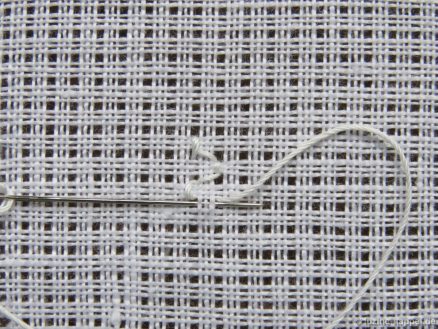
three times in all. At this point, one pattern segment covering a section of 3 X 3 squares is finished.
Linen and Threads Available Here

So that my customers can easily get the right material for Schwalm whitework, I have decided to offer for sale Weddigen linen, Anchor threads, and DEKA iron transfer pencils.

Producing high-quality linen becomes more and more difficult nowadays. Many widely known linen mills in Europe suspended their productions in the last years. I do not know how long the Weddigen linen mill will still weave. Weddigen produces the best linen suitable for Schwalm whitework. So I decided to store some rolls in different qualities. Some articles are only available in small quantities, so it is advisable to stock up on this wonderful linen before it is too late.

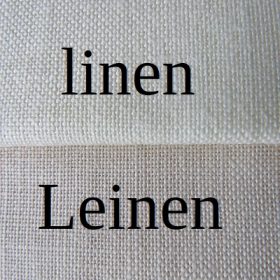
I offer four linen qualities in different widths and sometimes in different colours.

Here is an overview:

#160 (this is the linen I recommend for beginners)
13.5 threads per cm
34.29 threads per inch
width in meters: 1.85
net price/meter EUR (customers outside the EU pay net price only): 34
gross price/meter EUR (customers inside the EU pay 19% VAT on the net price): 40.46

#925 (this is the most common linen for Schwalm whitework, called Alba Maxima in the United States)
16 threads per cm
40.64 threads per inch
width in meters: 2.30
Please see also my article about testing this linen #925, width 2.30m.
net price/meter EUR (customers outside the EU pay net price only): 42.60
gross price/meter EUR (customers inside the EU pay 19% VAT on the net price): 50.69

width in meters: 1.85
net price/meter EUR (customers outside the EU pay net price only): 34.40
gross price/meter EUR (customers inside the EU pay 19% VAT on the net price): 40.94

width in meters: 1.40
net price/meter EUR (customers outside the EU pay net price only): 28.40
gross price/meter EUR (customers inside the EU pay 19% VAT on the net price): 33.80

#180 (this is a very fine pure warp linen)
20 threads per cm
50.8 threads per inch
width in meters: 1.85
Please see also my article about linen #180.
net price/meter EUR (customers outside the EU pay net price only): 43
gross price/meter EUR (customers inside the EU pay 19% VAT on the net price): 51.17

#121 (this has an open texture appearance and is especially good for shadow work or, in Schwalm whitework, christening robes or curtains)
20 threads per cm
50.8 threads per inch
width in meters: 1.85
net price/meter EUR (customers outside the EU pay net price only): 32
gross price/meter EUR (customers inside the EU pay 19% VAT on the net price): 38.08

Pictures for viewing the structure and counting the threads, and specifications such as special cuts, weight, and shipping prices are found in this document: Weddigen Linen_ English.

To round off my service, I also offer Anchor coton à broder threads colour 02 (off white) Nos. 16, 20, 25, and 30.
net price/skein EUR (customers outside the EU pay net price only): 1.98
gross price/skein EUR (customers inside the EU pay 19% VAT on the net price): 2.36

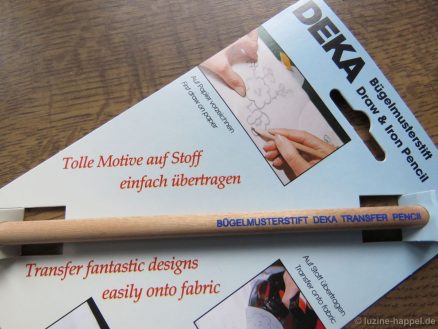
and DEKA iron transfer pencils
net price/pencil EUR (customers outside the EU pay net price only): 3.36
gross price/pencil EUR (customers inside the EU pay 19% VAT on the net price): 4.00

Unfortunately, I cannot incorporate all these options in my online shop, so please email (leuchtbergverlag@aol.com) me with your request.

Testing Weddigen Linen #925

Linen is a natural product. The end product is only as good as the preliminary stages allow. And so it makes sense that each batch of material from the Weddigen linen mill is slightly different from previous ones. This is normal and to be expected.
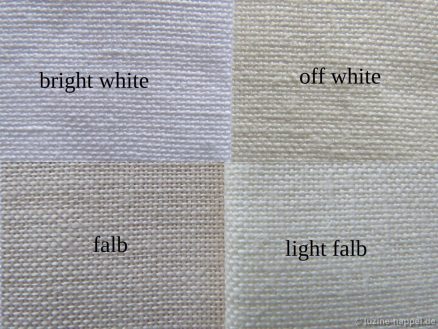
Recently I received some linen that looked, at first sight, different – it had many small fluffs on the surface and also some scattered bits of fibers sticking out. And I experienced more typical linen slubs as in other batches of the same article with other width. This linen is article #925 with 16 threads per cm in a width of 2.30 m.

Slubs found in linen are usually no problem; they establish the typical character of the fabric. But what about the bits of fiber sticking out?

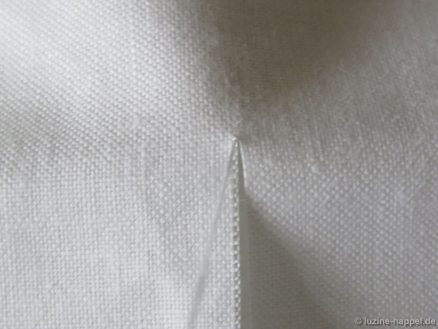
For a test I cut a small piece. When I cut along a fabric thread,

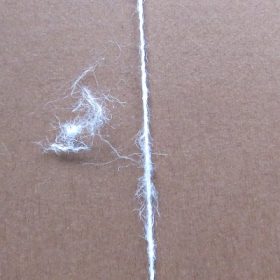
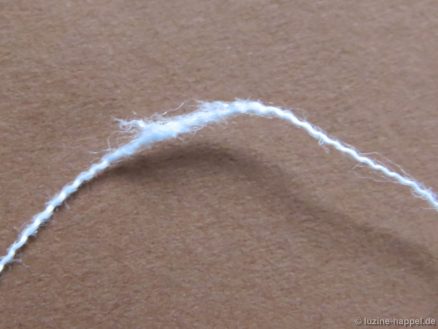
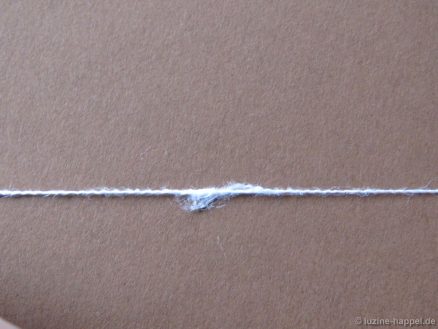
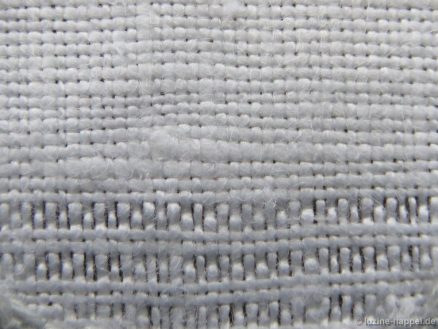
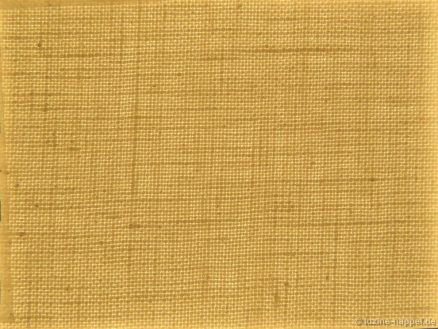
I immediately met a thread with a distinctive array of fluffs,

as seen in the detail image below.

I made a test to check the strength of the thread; pulling it to see if it would break, I was surprised to see that the thread held!

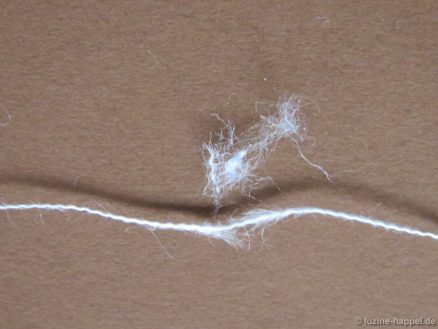
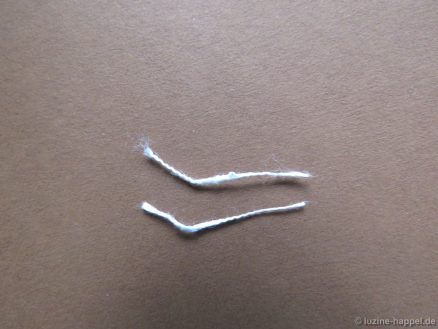
Looking closer I noticed that the fibers sticking out could be pushed back and forth along the length of the thread. Thus they had not been tightly spun into the thread. I picked them out and
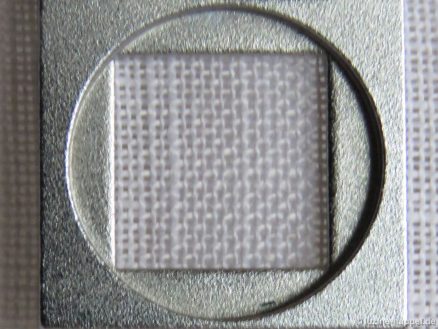
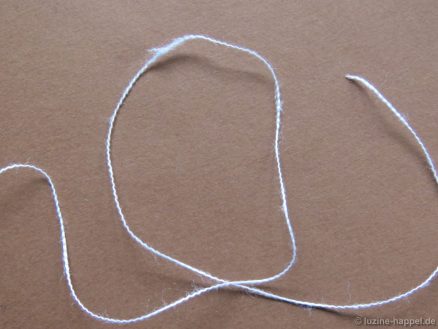
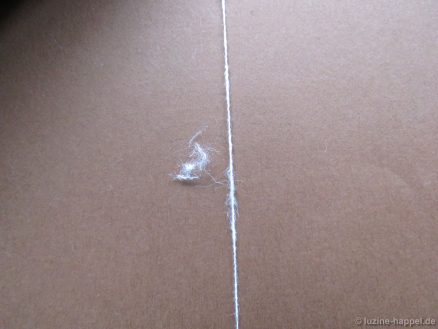
tested the breaking strength again. The thread held, and it is seen in the picture below that the thread itself did not get thinner. This result was reassuring.

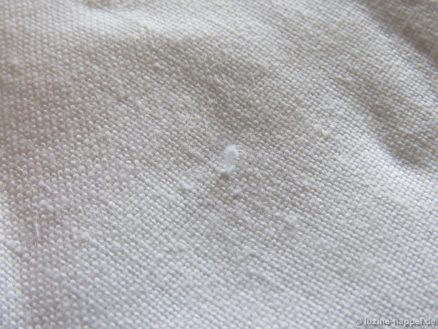
But what about the fiber ends sticking out of the fabric here and there?

They are easily picked out

without leaving damages in the fabric.

To test the stitching qualities, I transferred a small design (to be shown in a future article).

As already mentioned, the fiber ends sticking out are easily picked out.

But what about the slubs encountered while withdrawing the threads?

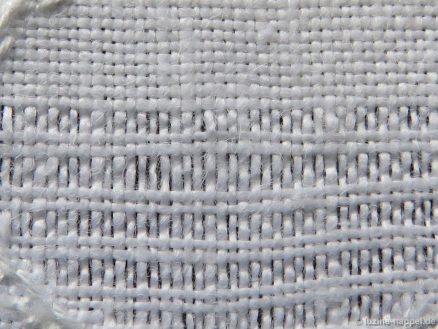
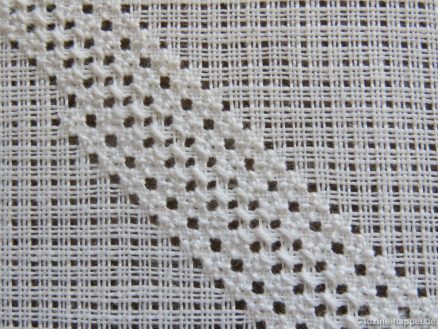
I withdrew threads to establish an openwork grid.

Both threads with slubs

could be withdrawn without any problem.

The established holes were slightly wider than the other holes,

but they were absorbed into the design when working the filling pattern. The number of fluffs in the established grid was not higher than those found in grids worked on other batches of the same article; in fact there were fewer.

In addition I withdrew a long thread near the edge; it broke less often than it does in other batches.

Final result:
Perceived minor defects were proved to be inconsequential. These are small blemishes that do not hinder usability. It seems that bits of fiber and fluff flying around during the spinning process were not sufficiently noticed. The result was that they became attached to the emerging threads. On the other hand the threads were spun a little bit tighter than usual. Tightly spun threads are easy to withdraw.

In my opinion this linen is perfectly safe and appropriate to use for Schwalm whitework. After laundering the small fluffs disappear, and the typical linen character is especially effective.

Filling Pattern – No. 550

category: Limet-Filling pattern
linen used: 13.5/cm thread count
threads used: coton à broder No. 20
stitches used: Rose and Single Faggot stitches
center: intersection of withdrawn thread lines (in other shapes, longitudinal axis: withdrawn thread line)
one pattern segment = 24 threads

This is an old traditional Schwalm pattern that is often used for embroidering motifs. One can find examples of the pattern and of variations of the pattern (the huge number of examples show that it was very popular) here:
A Framed Schwalm Sampler (bird 2)
Contemporary Schwalm Wall Hangings (wing of one bird)
Traditional Schwalm Door Hangings (some circles)
Schwalm Whitework Sampler Cloths (one flower)
Traditional Schwalm Whitework (in different motifs)
Transition from Early to Later Schwalm Whitework (1) (the next to last tulip in the list of enlargements)
Schwalm Parade Cushion Border (A) (some hearts and leaves)
Traditional Schwalm Bodice (D) Embroidery (heart)
Traditional Schwalm Bodice (B) Embroidery (circle)
The Filling Patterns of the Traditional Schwalm Bodice A (different motifs)
Schwalm Designs – Knife Points (1) (big circle, heart)
Schwalm Designs (3) – Scallops (2) (birds)

Commonly it is worked as an openwork-filling pattern.
As a Limet-filling pattern it is also found here:
Pretty Contemporary Schwalm Table Cloth (small circle)

Here I show it as a Limet-filling pattern.

First, establish a Limet grid with a withdrawn thread line as the longitudinal axis by cutting 1, leaving 3, vertically and horizontally.

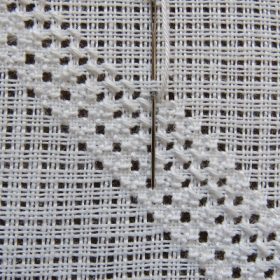
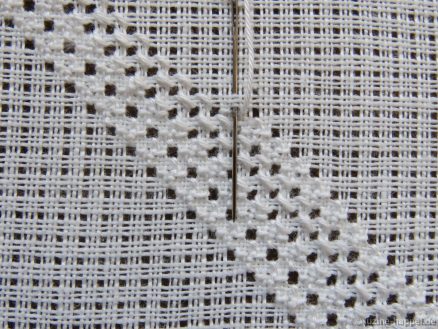
Work two diagonal rows of Rose stitches adjoining the center intersection of withdrawn thread lines.

Then, from the back side of the fabric, work a row of Single Faggot stitches beside one of the Rose stitch rows. Please remember that Single Faggot stitch worked on the back side will look like Cable stitch viewed from the front.

Work a second row of Single Faggot stitches beside the first.

Turn the piece over again and work a Rose stitch row.

Always alternate working pairs of Rose stitch rows and pairs of Single Faggot stitch rows

until the entire shape is filled.

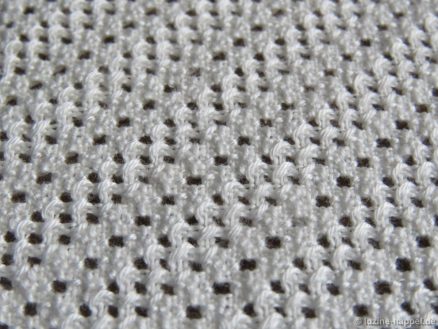
After boiling the wavy structure will be clearly visible.

This pattern has a tendency to pull out of grain. Ironing can remedy this slight distortion of the grain.