Selling Handwoven Linen (1)

Initially, Schwalm whitework was only done on hand-woven linen because that was the fabric that was produced in the region. The hand-spun threads used for this are often more uneven in thickness and twist than machine-spun threads. This makes the fabric made from it appear more structured and interesting.

Such linen has the advantage that it does not wrinkle as easily as machine-woven linen. It is usually very tightly woven and therefore heavier. Projects made from it are easy to iron, and blankets and runners sit well on tables.

But as with all handmade products, there are big differences. There are also many hand-woven linens that are not suitable for embroidery. The threads are too uneven in warp and weft, which does not allow for a pleasing pattern. Or they are only very slightly spun so that the threads fall apart when pulled out. Or they have thickenings that are too thick, making it almost impossible to pull out the thread. Some of the fabrics, which are now more than a hundred years old, have been stored incorrectly, causing the fabric to fall apart. The linen rolls have often become stained over the years. Not all stains can be washed out.

Most linen was woven with a width between 60cm and 75cm. Wider linen is difficult to find and is therefore much more expensive. Often the first and last meter of the role is warped due to the tautening,

so that these sections can no longer be used for embroidery.

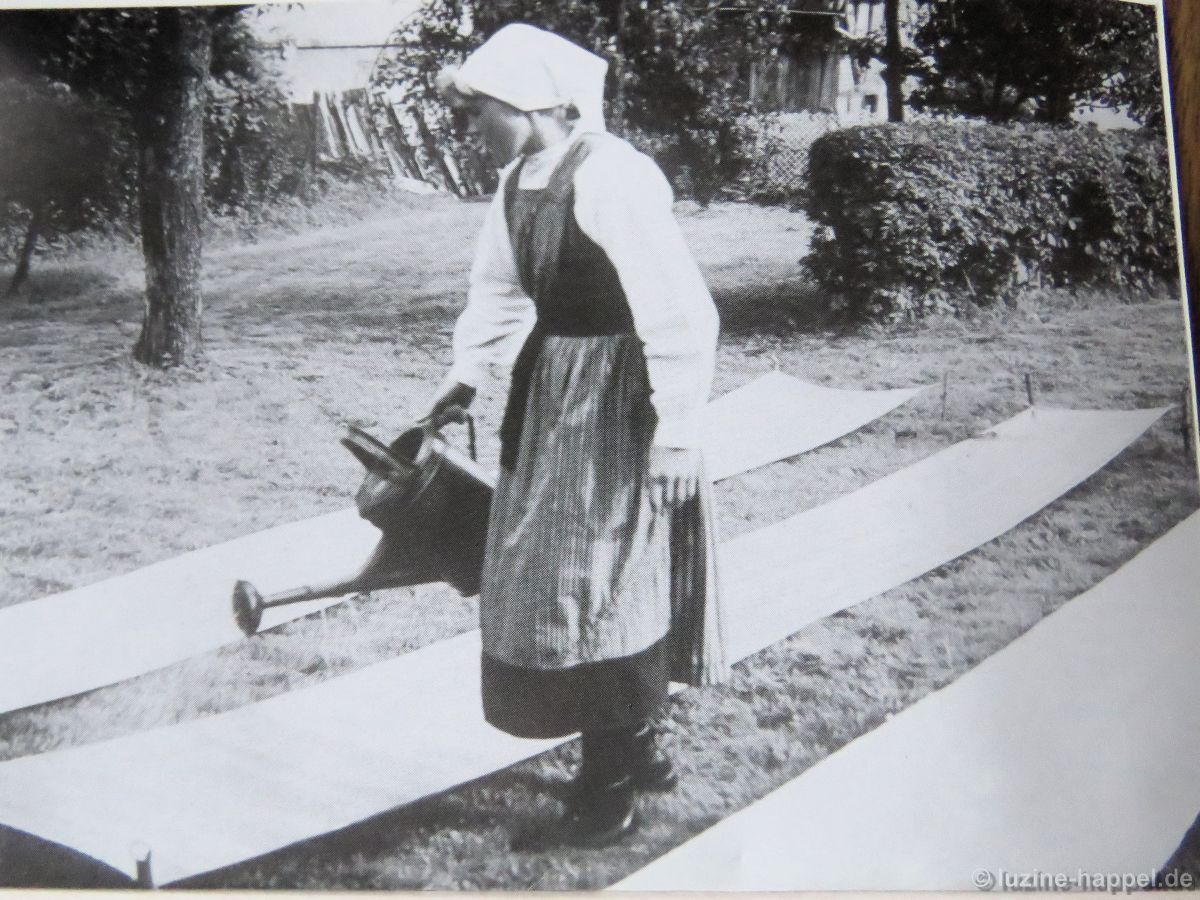
(I found an interesting article with informative images about the production of hand-woven linen, but unfortunately only with German text.)

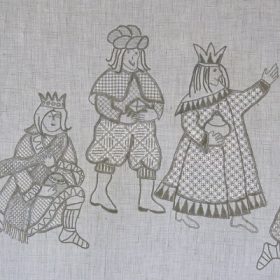
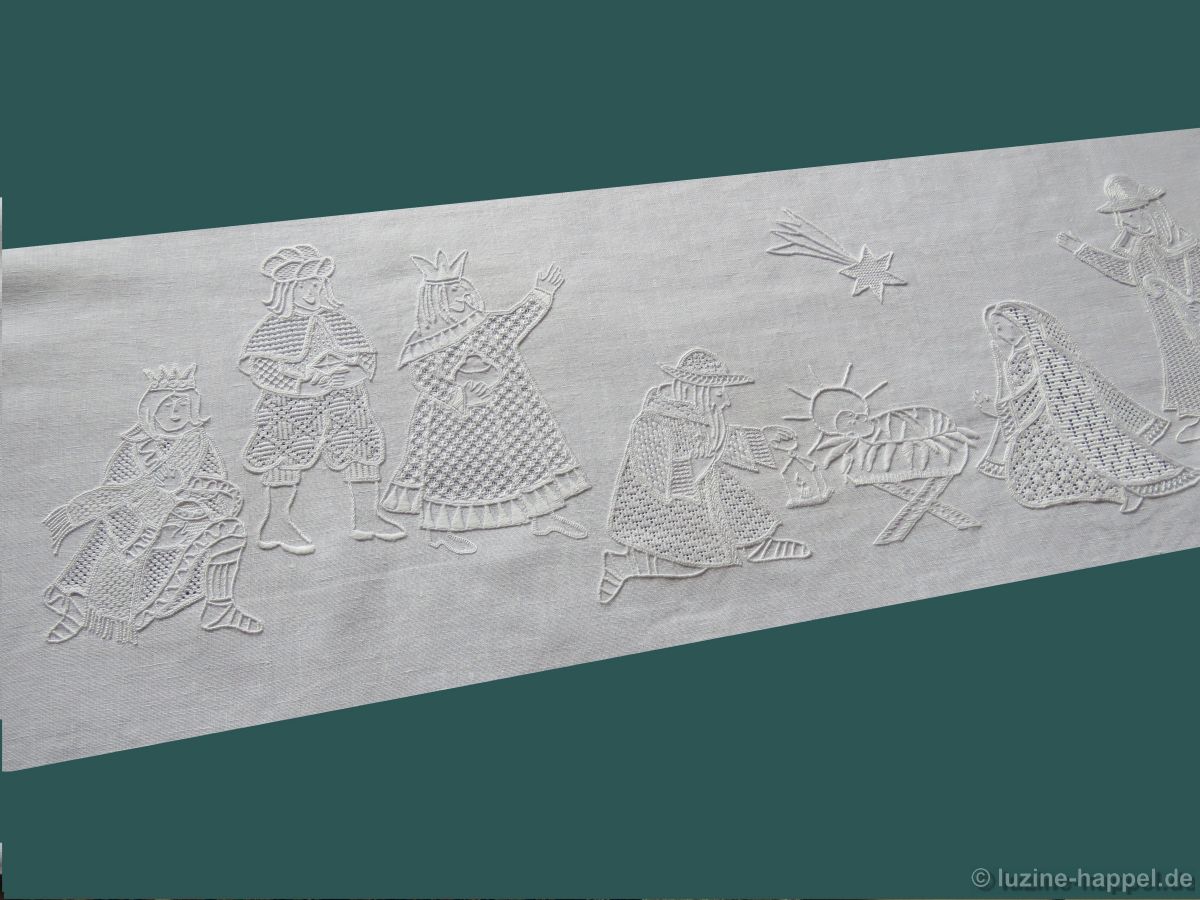
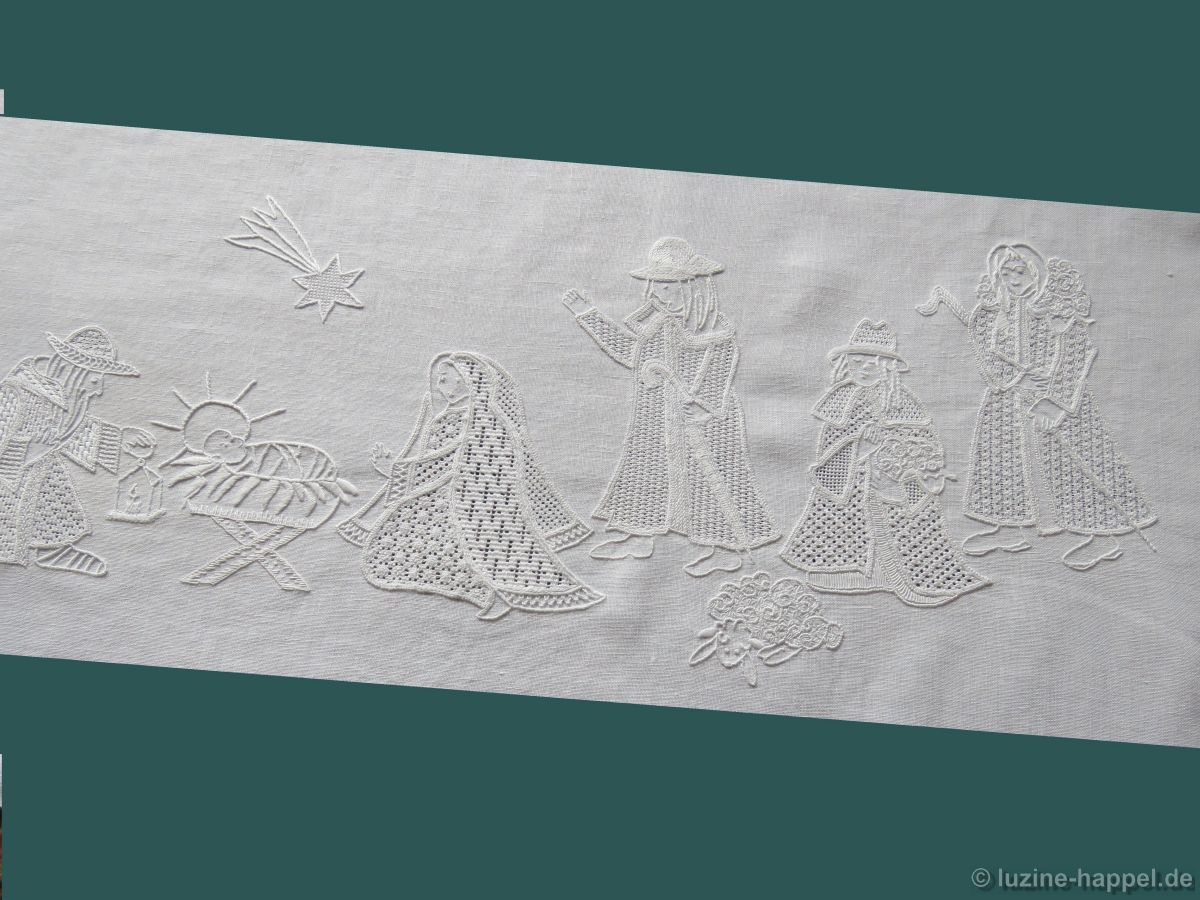
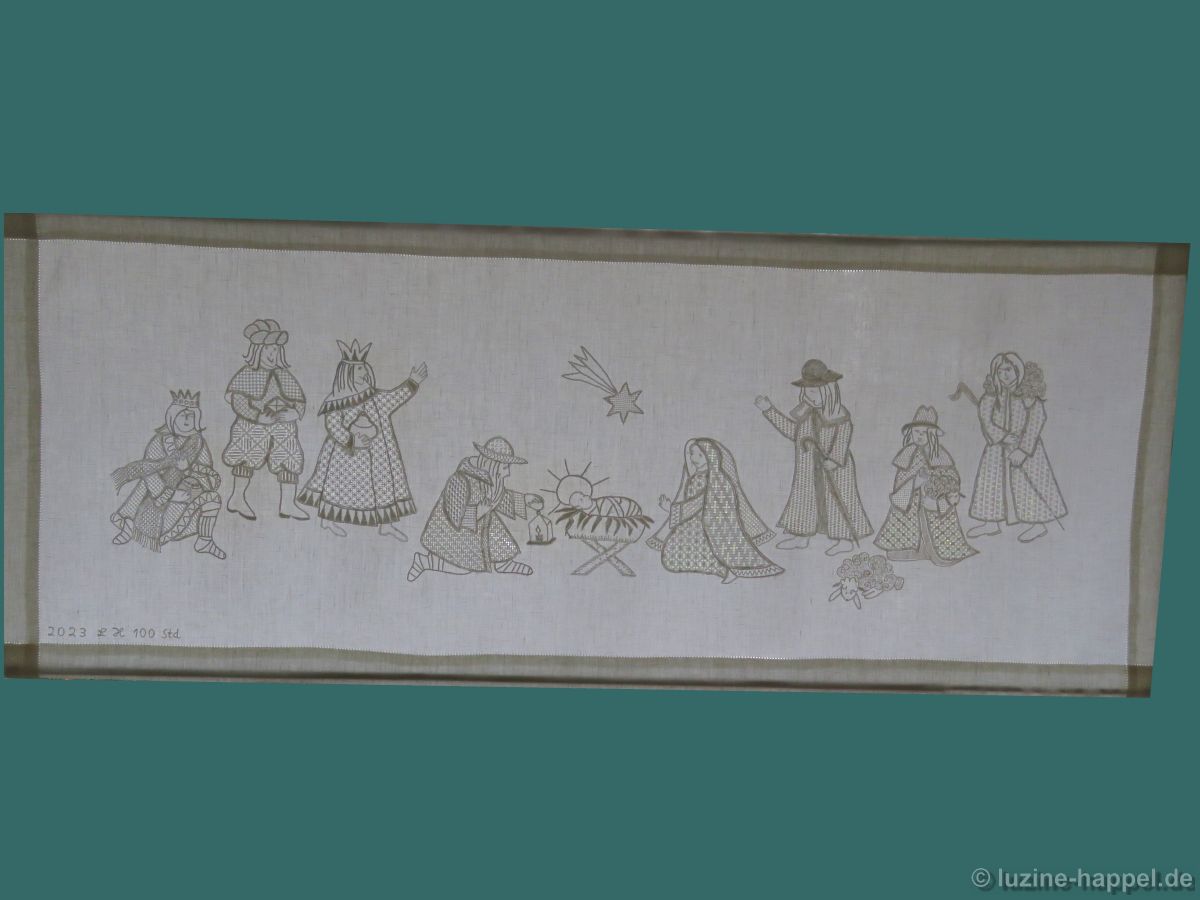
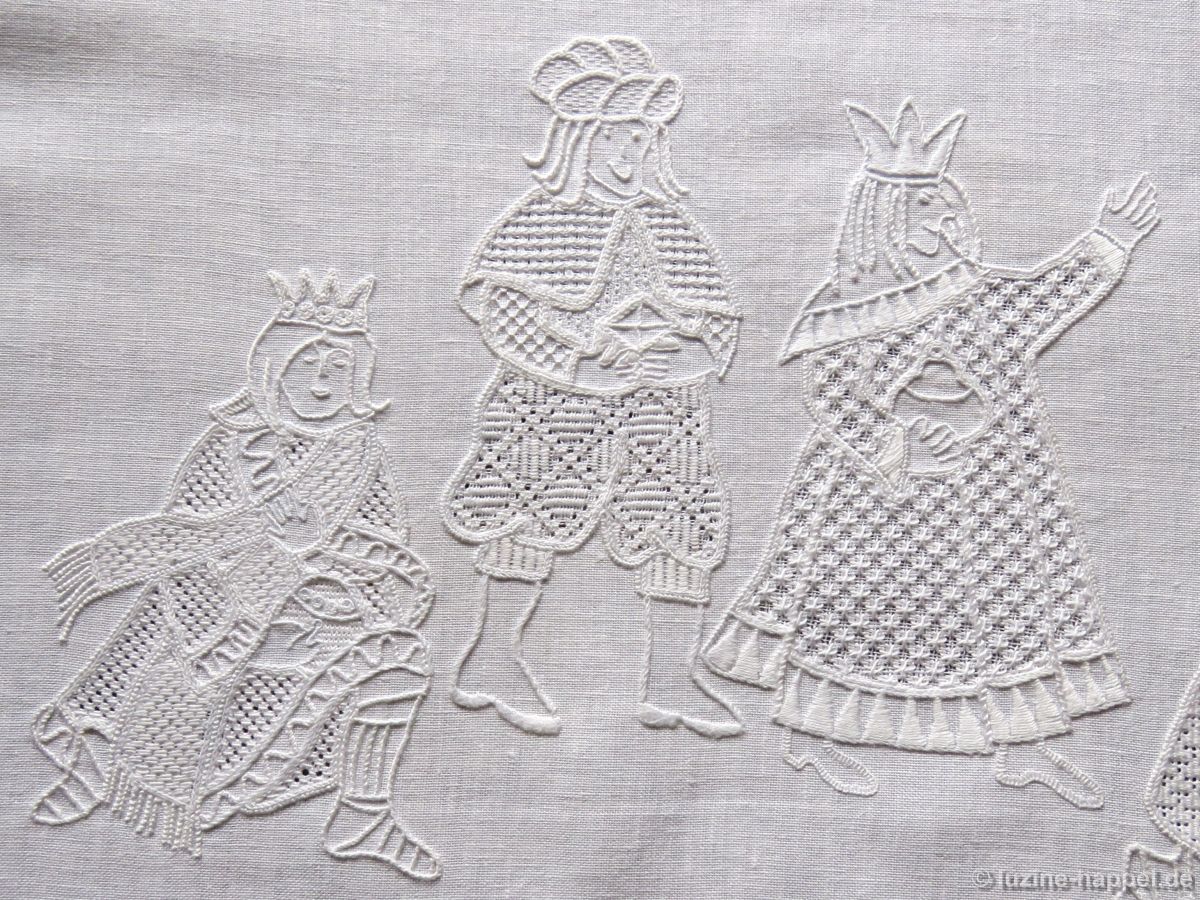
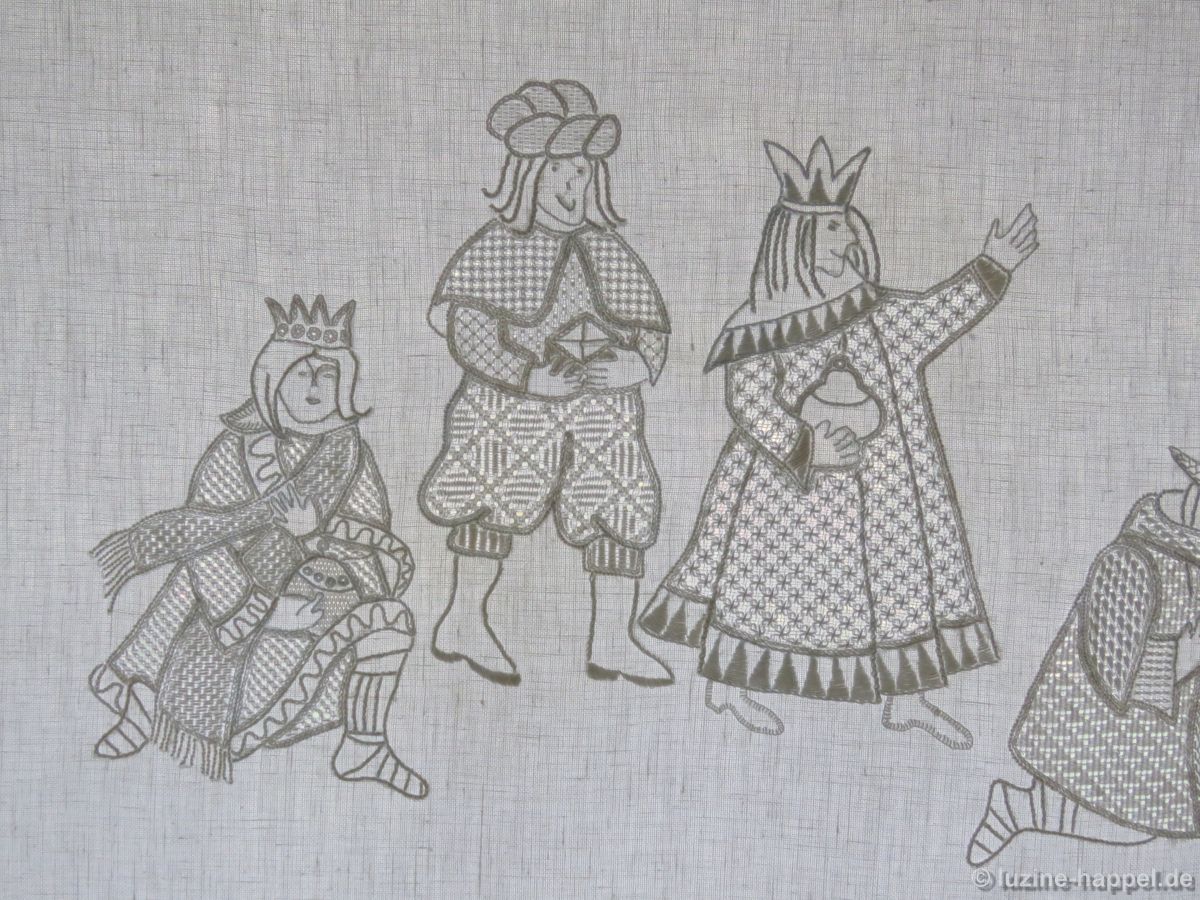
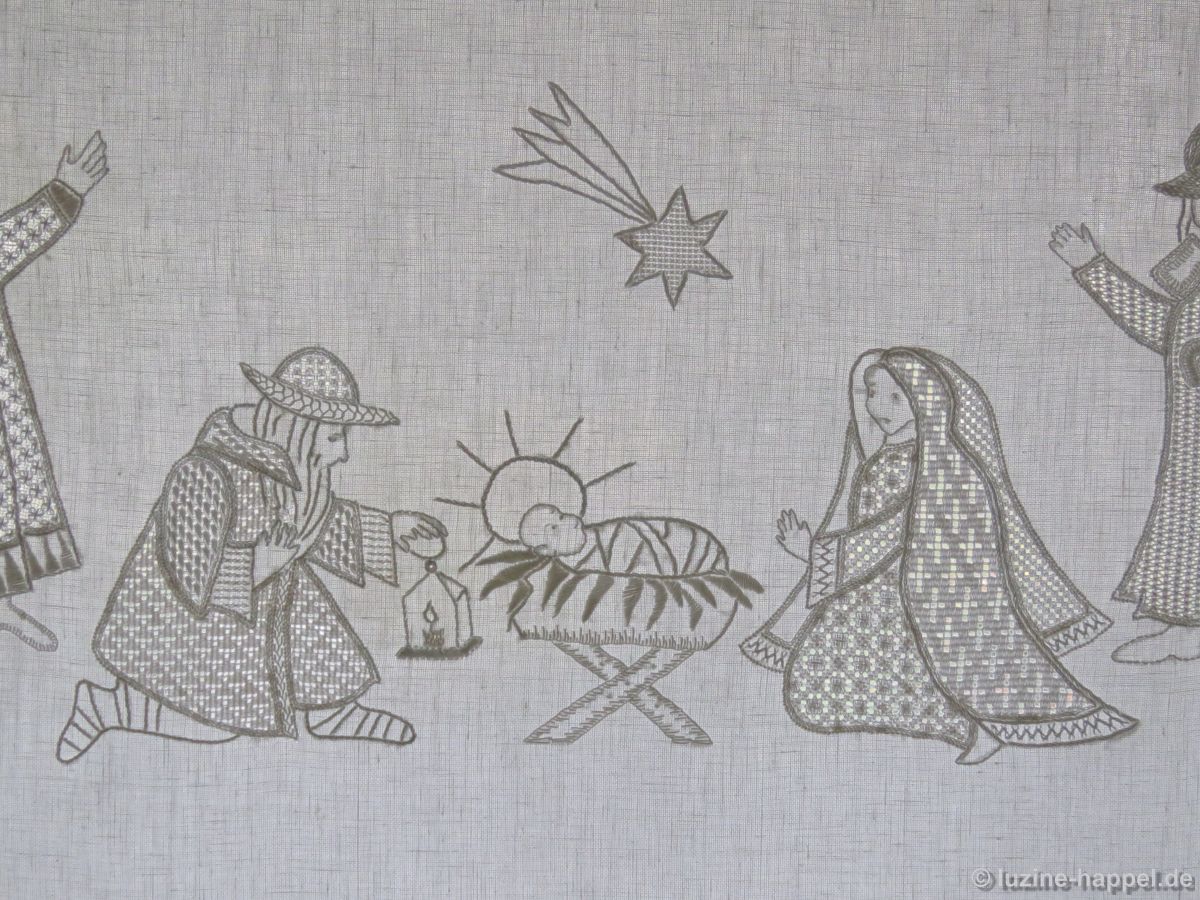
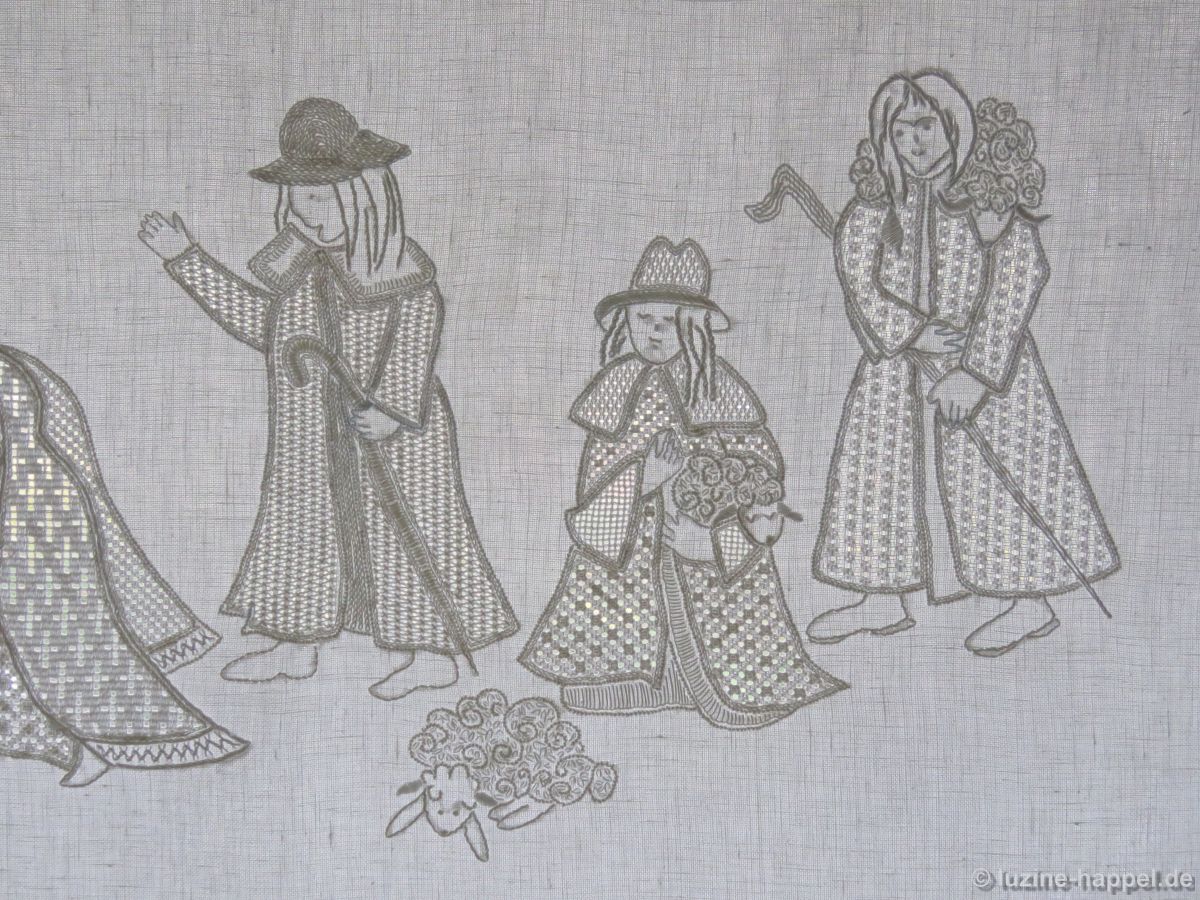
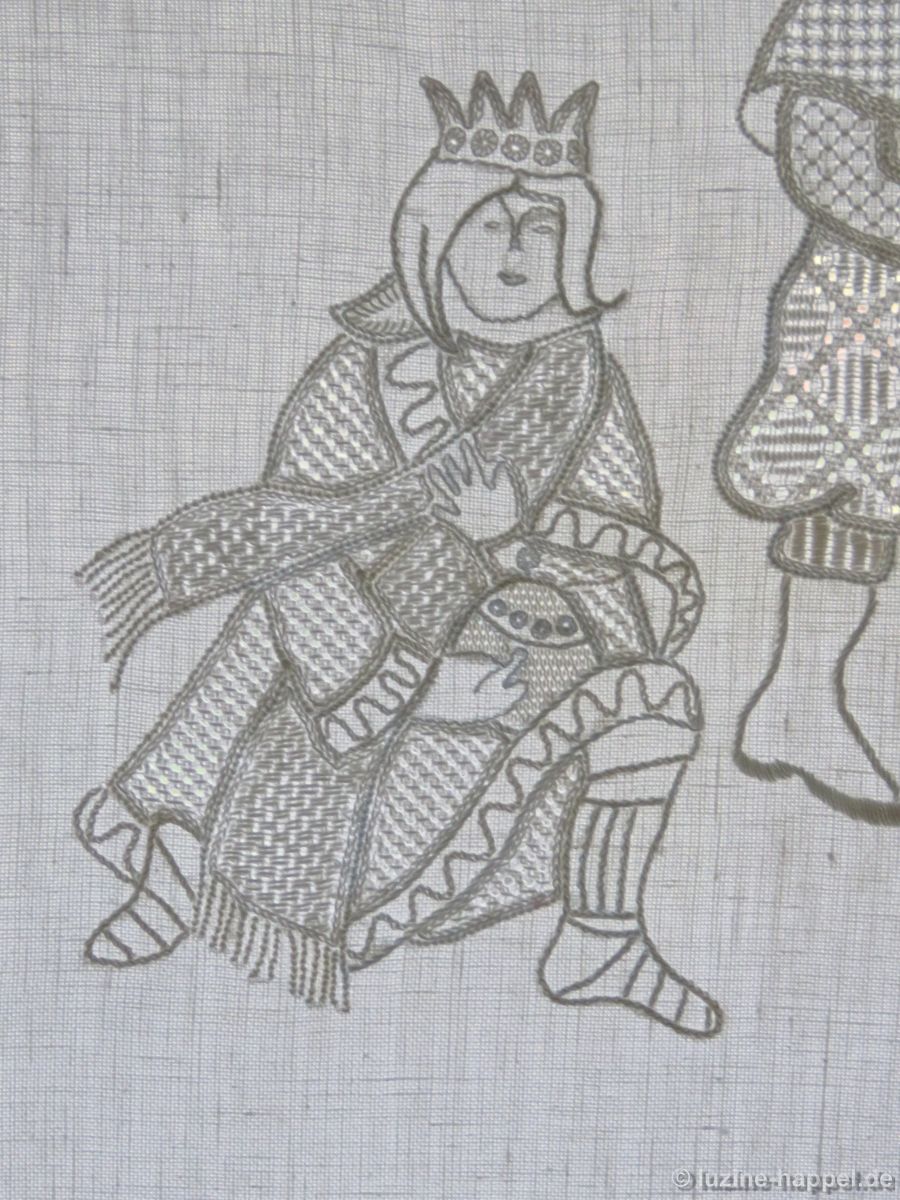
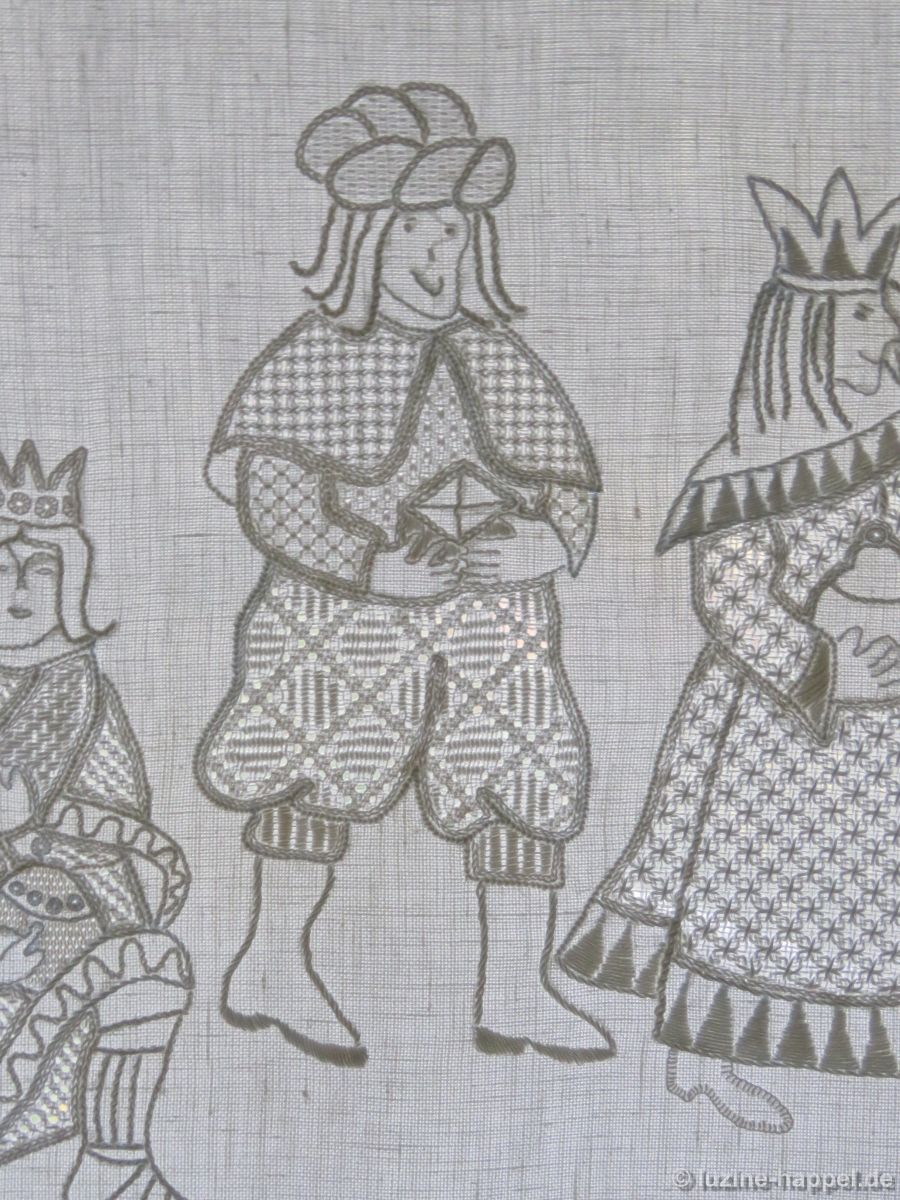
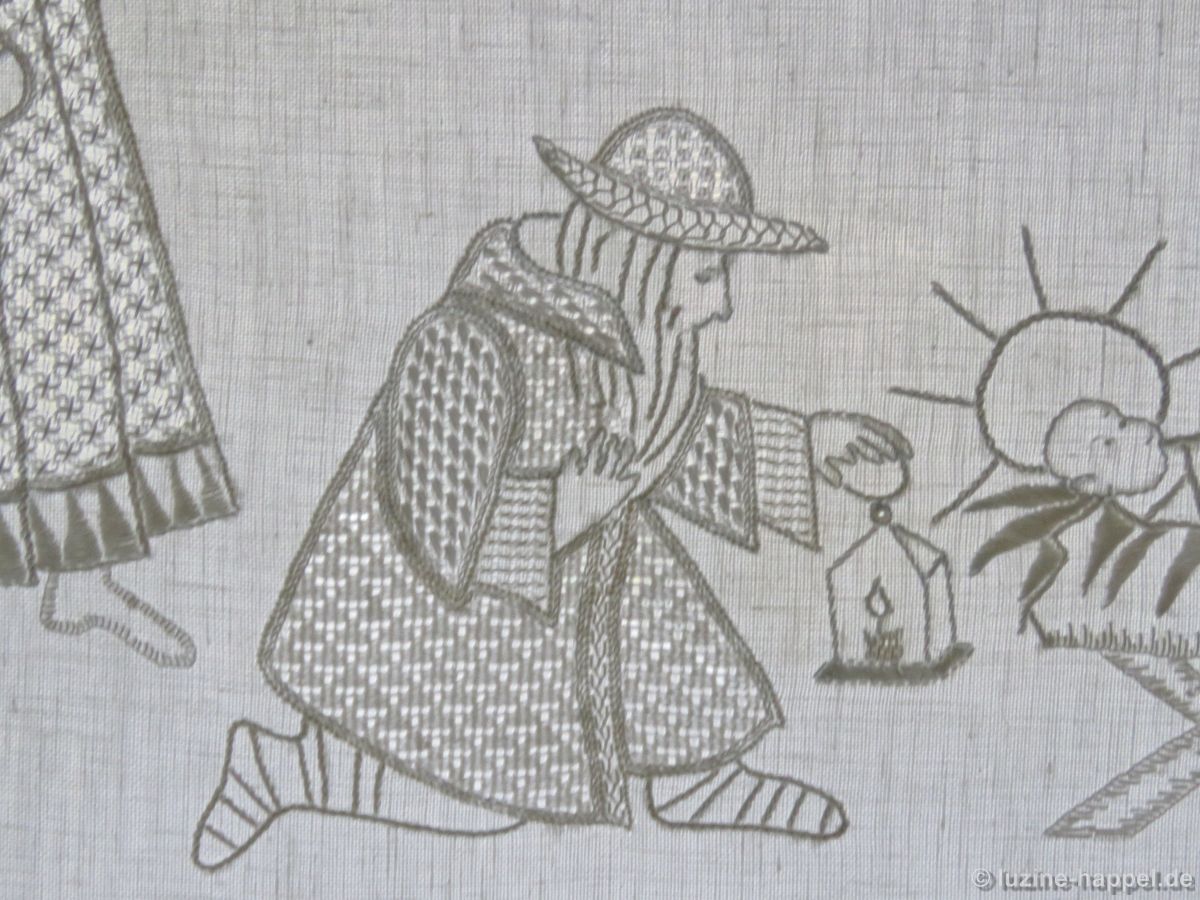
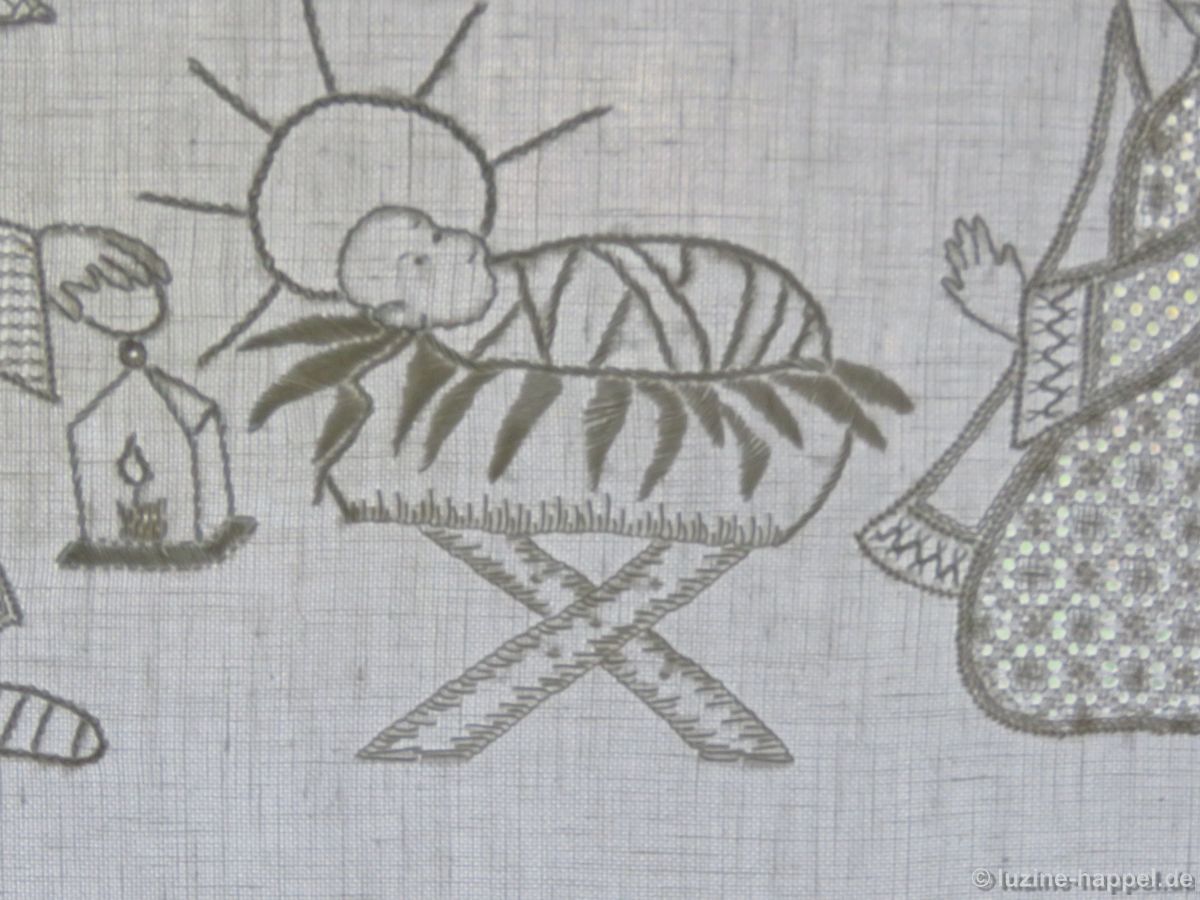
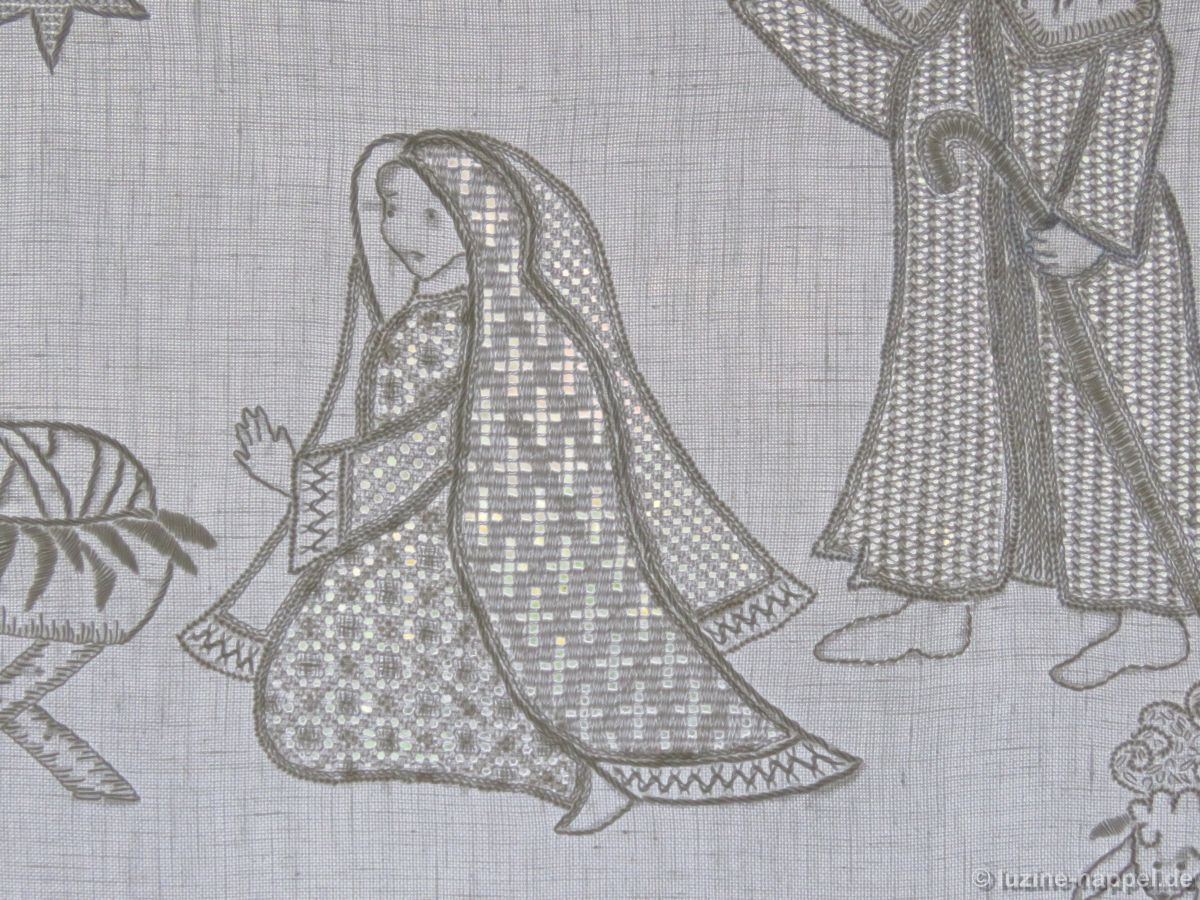
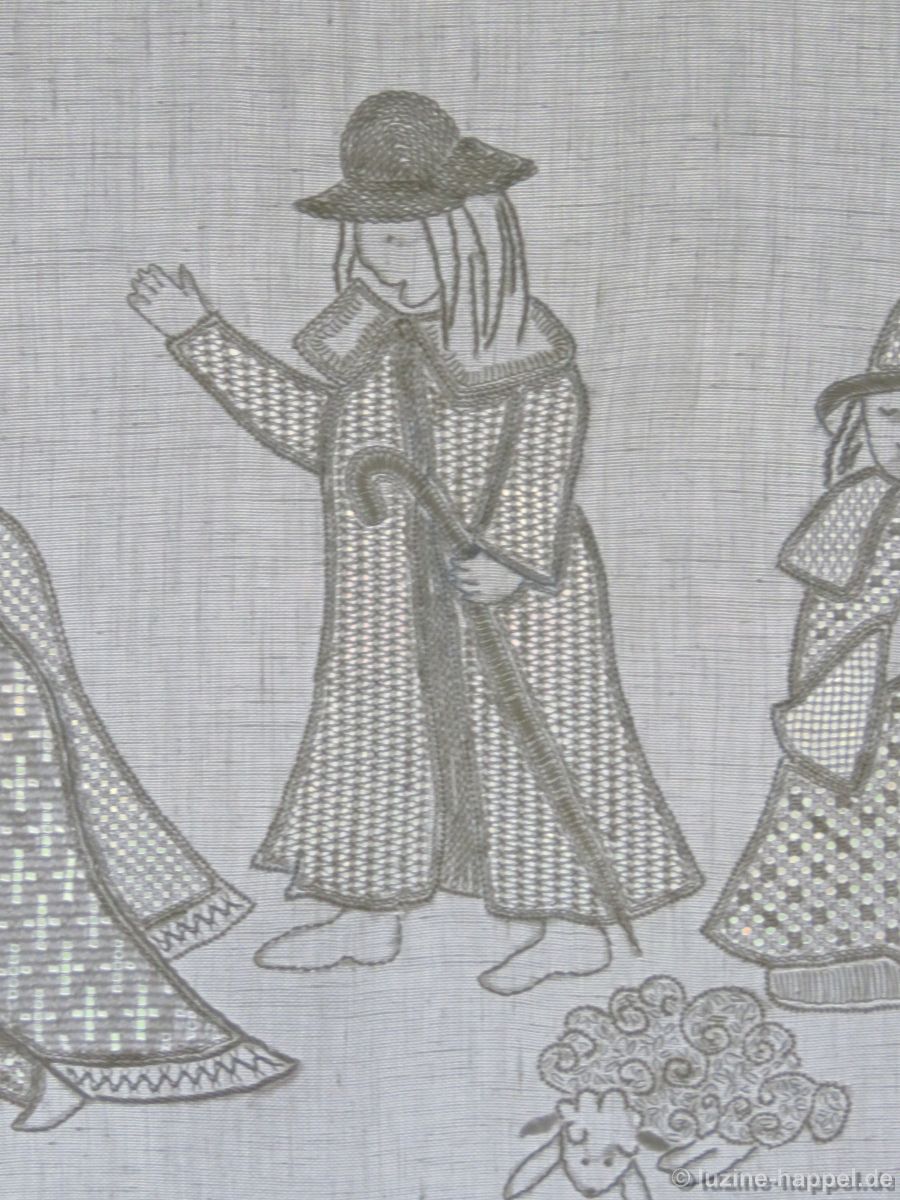
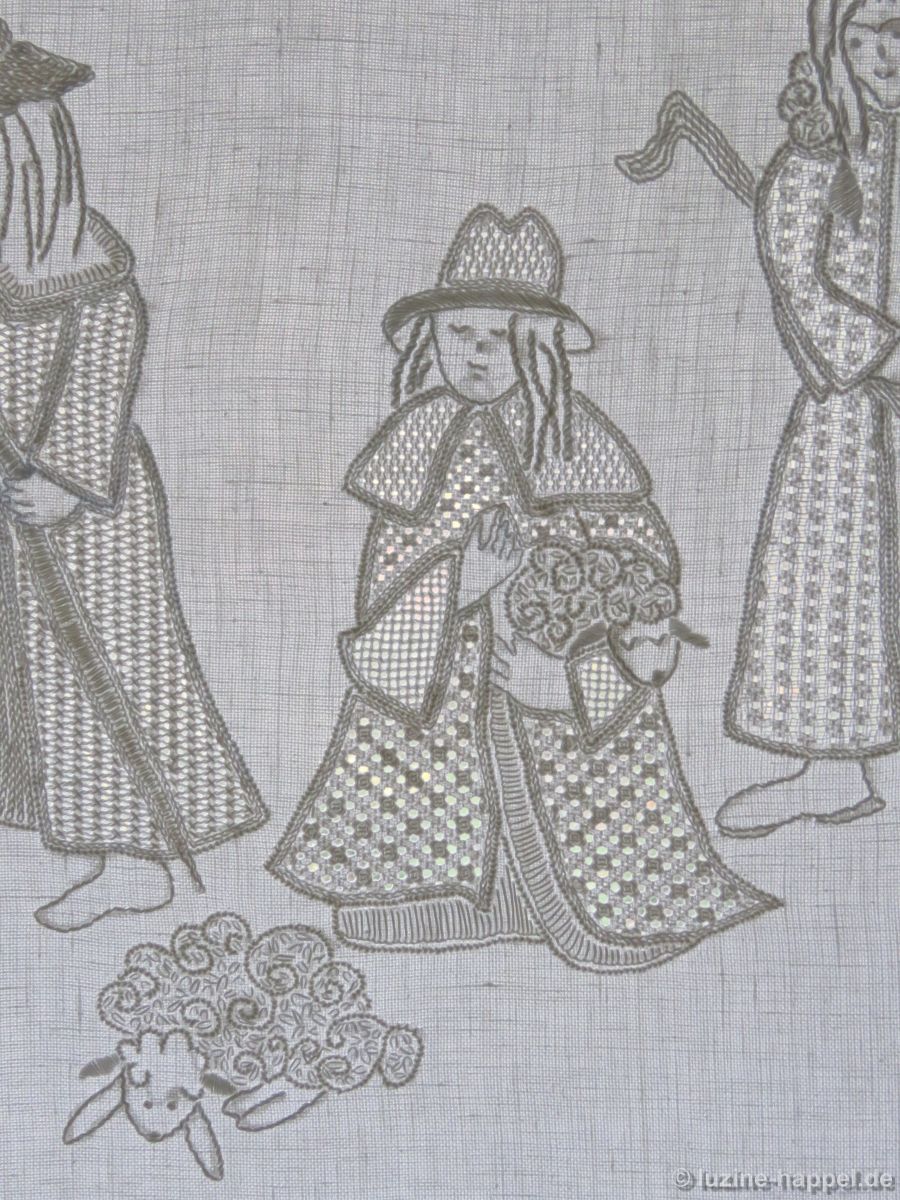
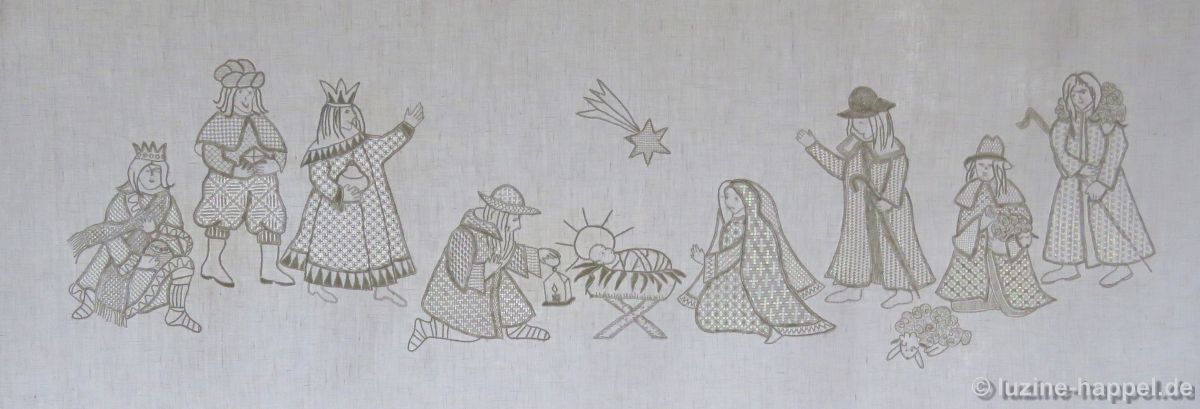
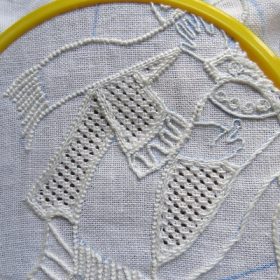
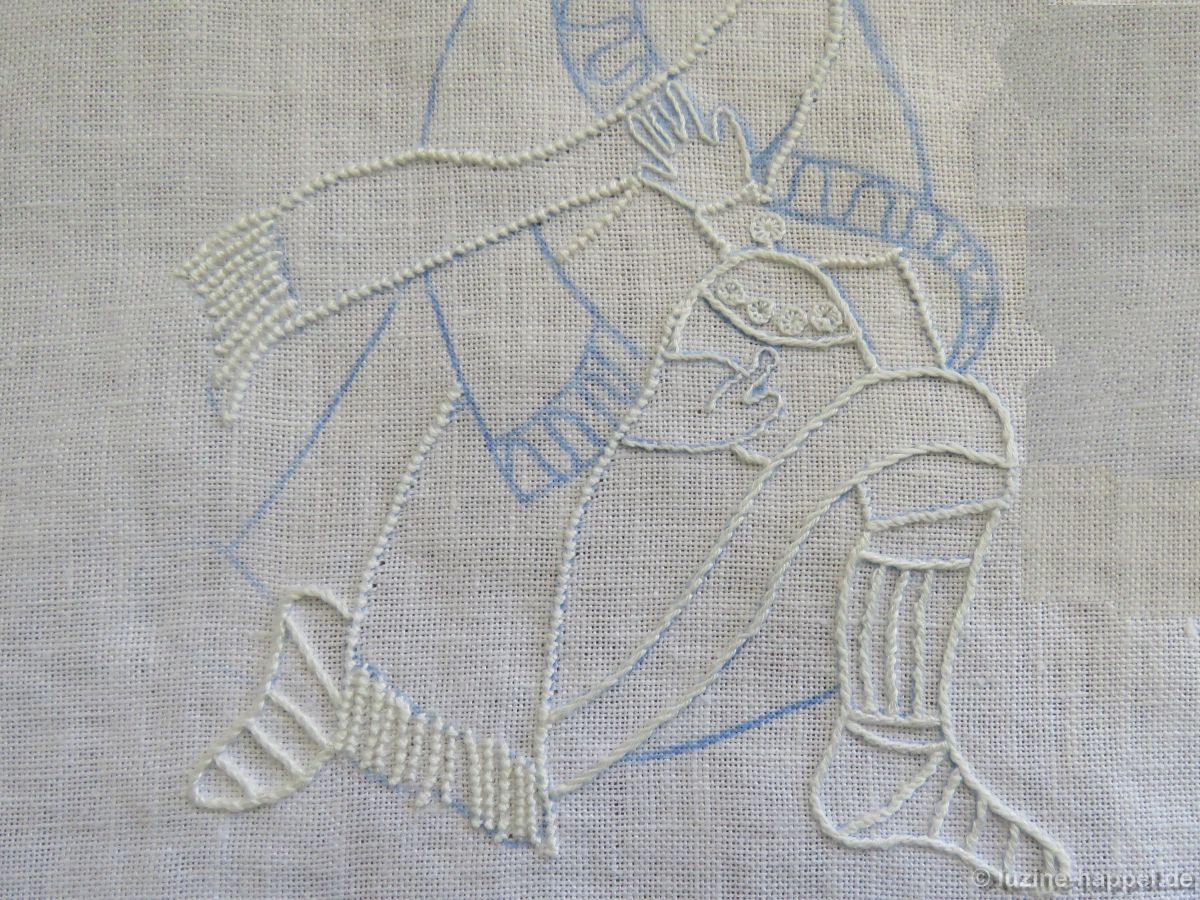
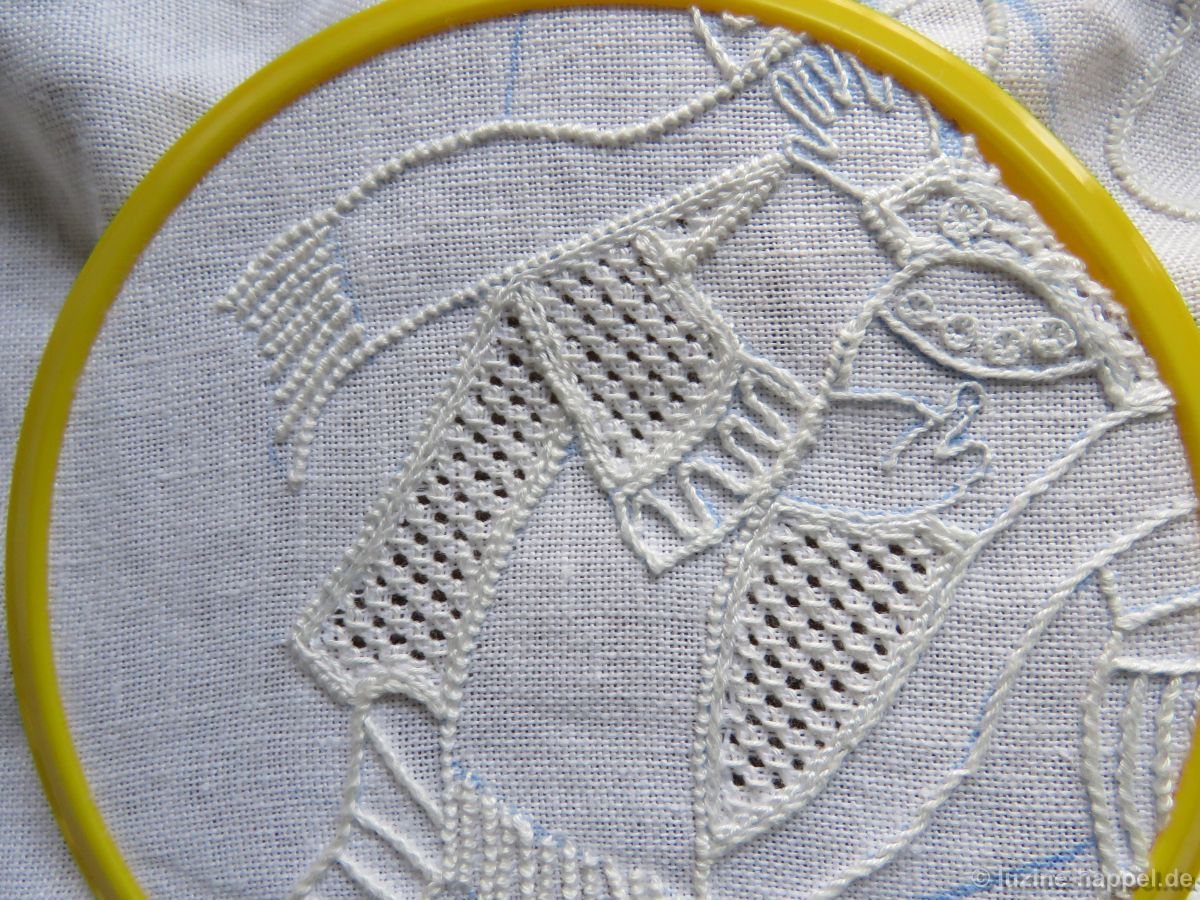
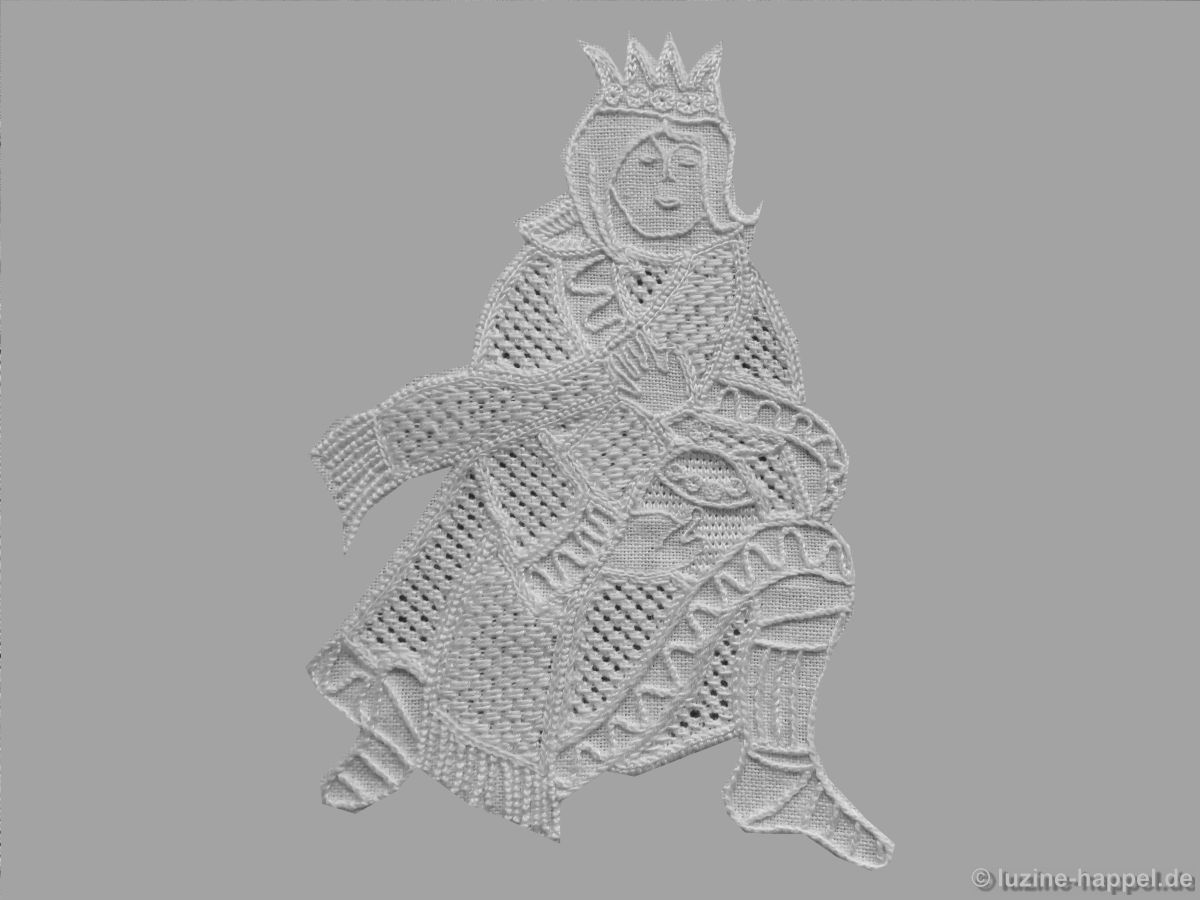
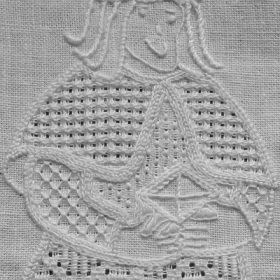
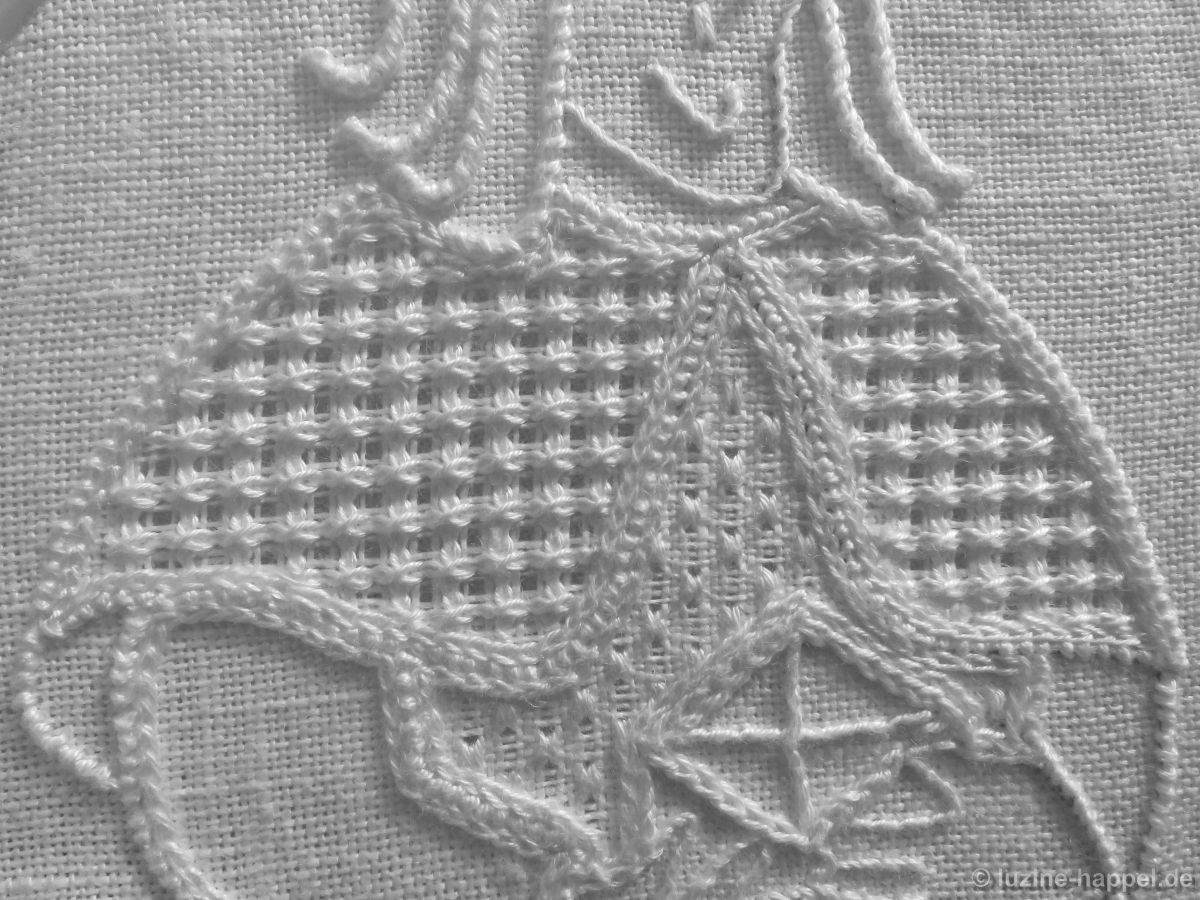
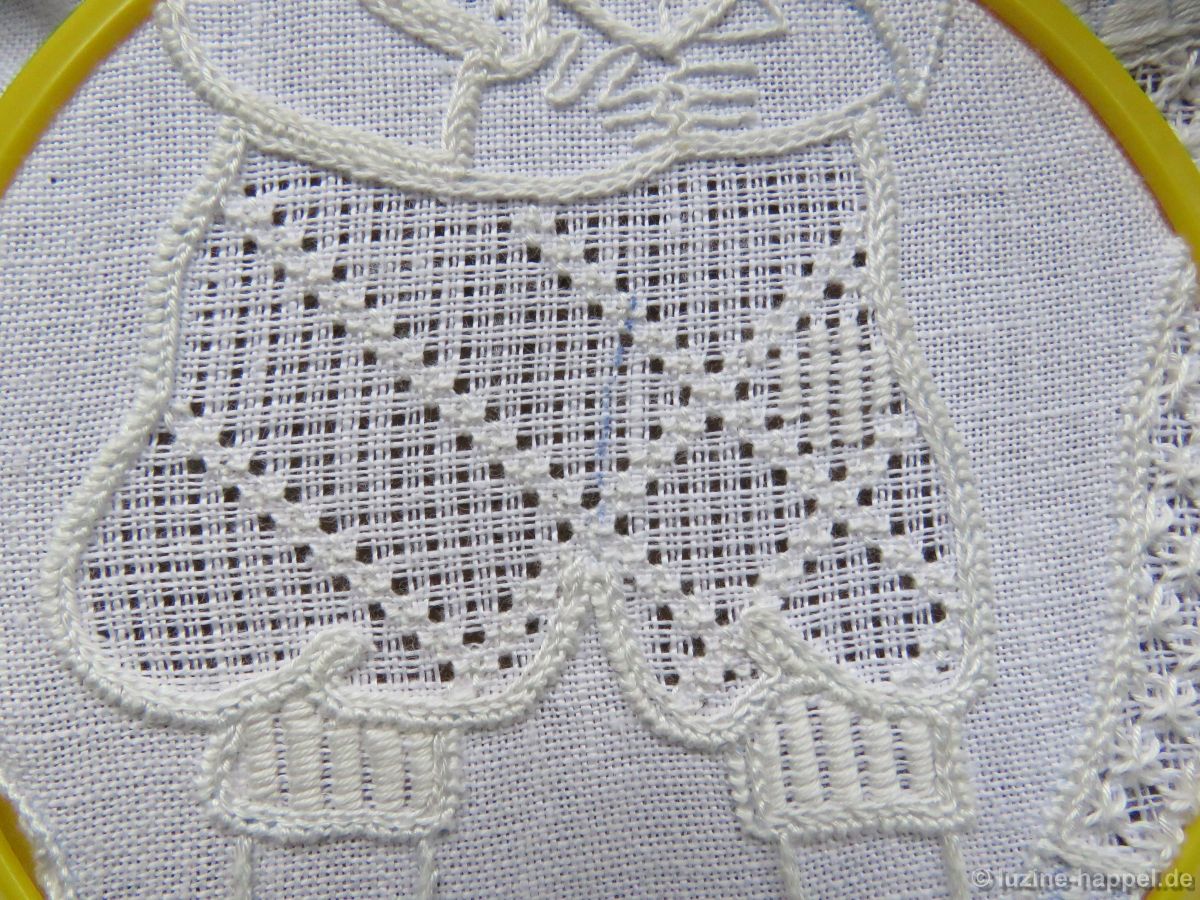
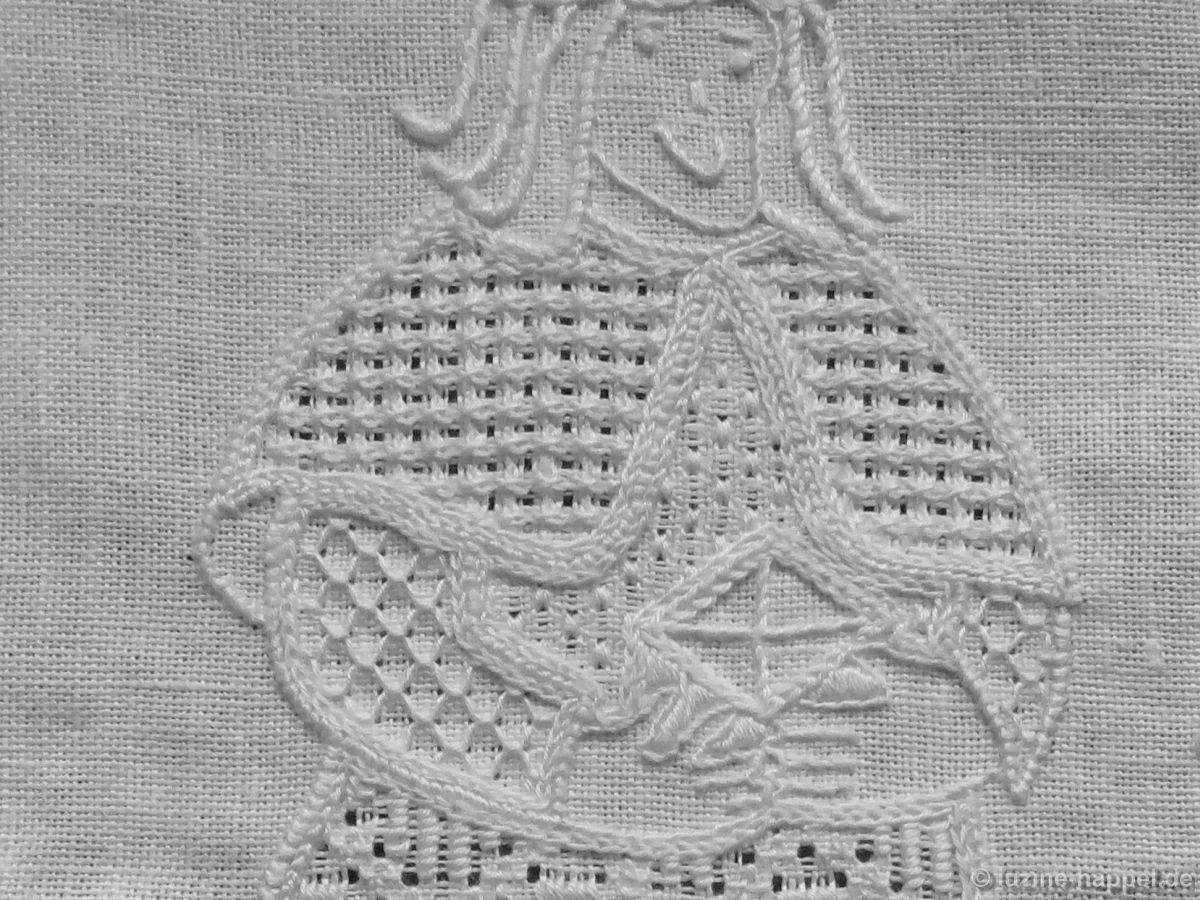
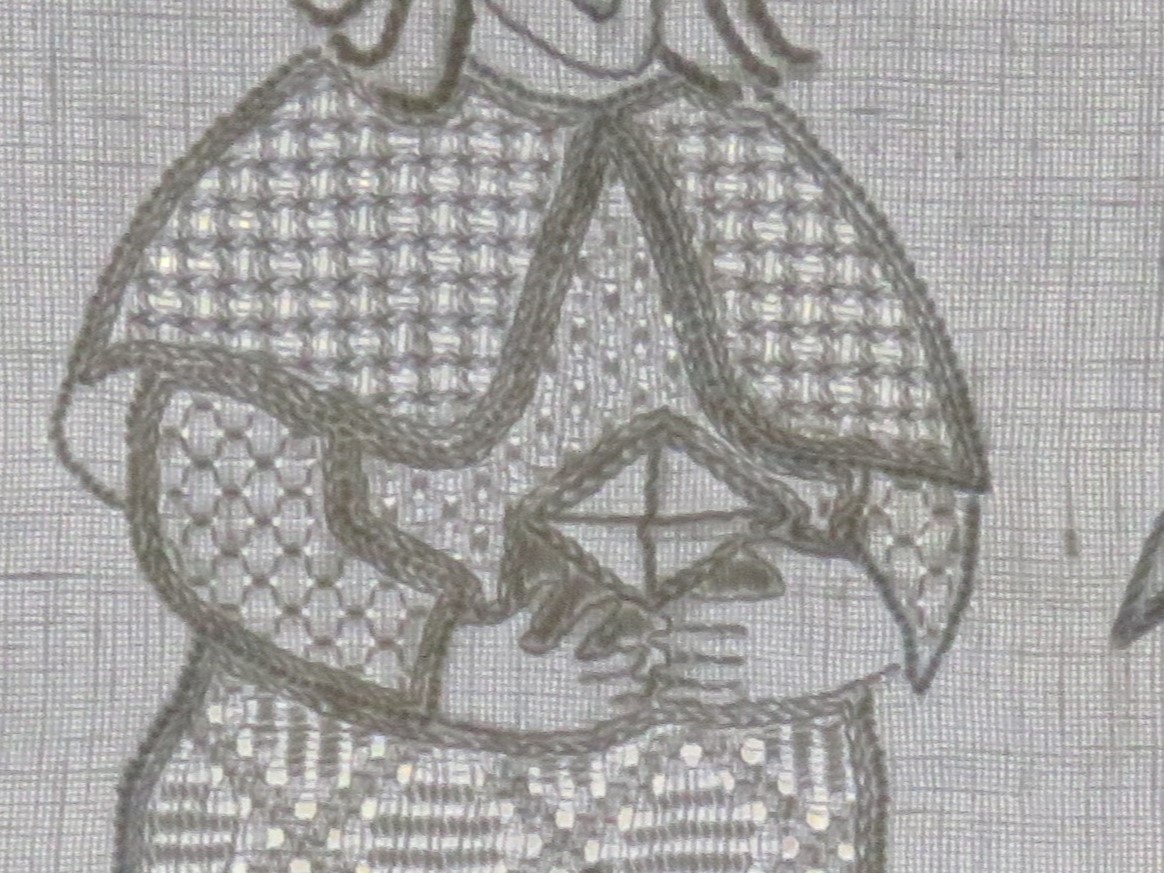
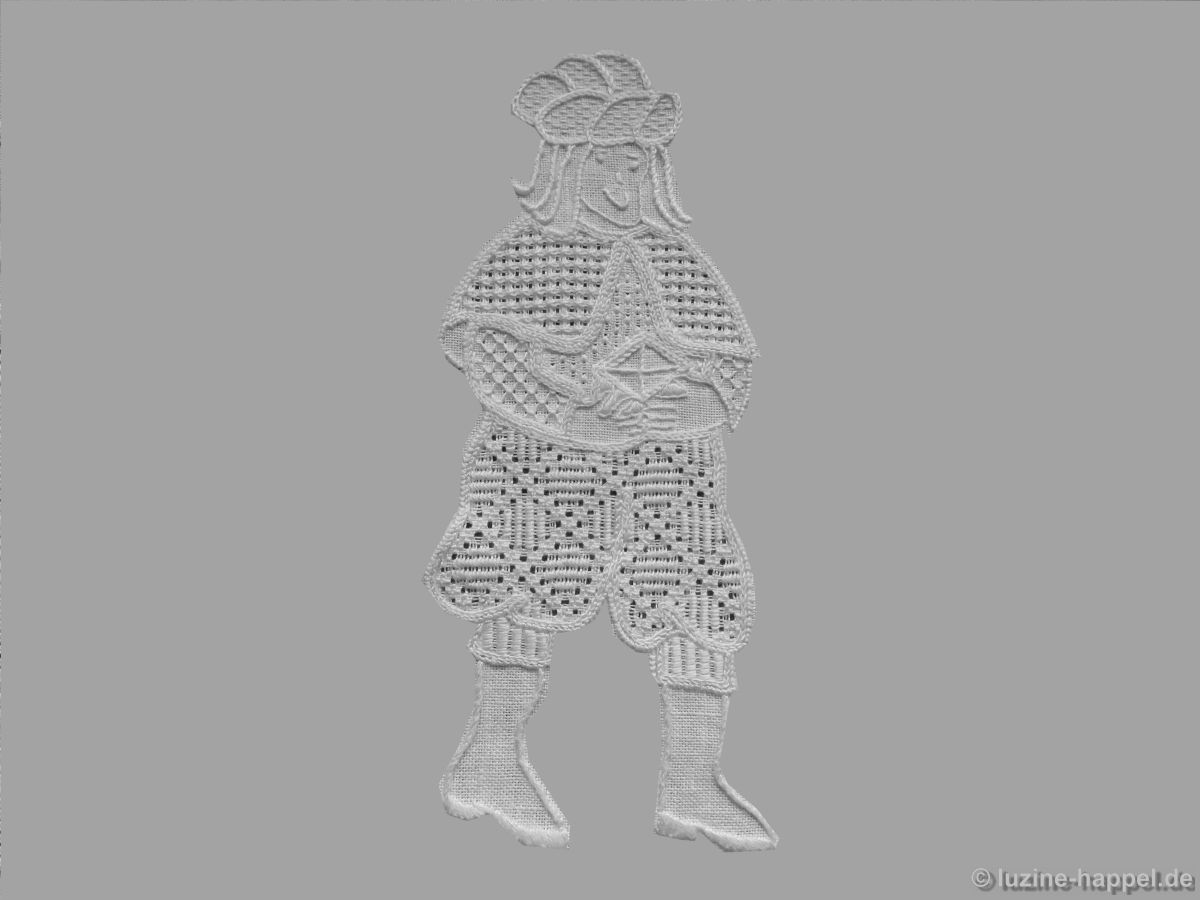
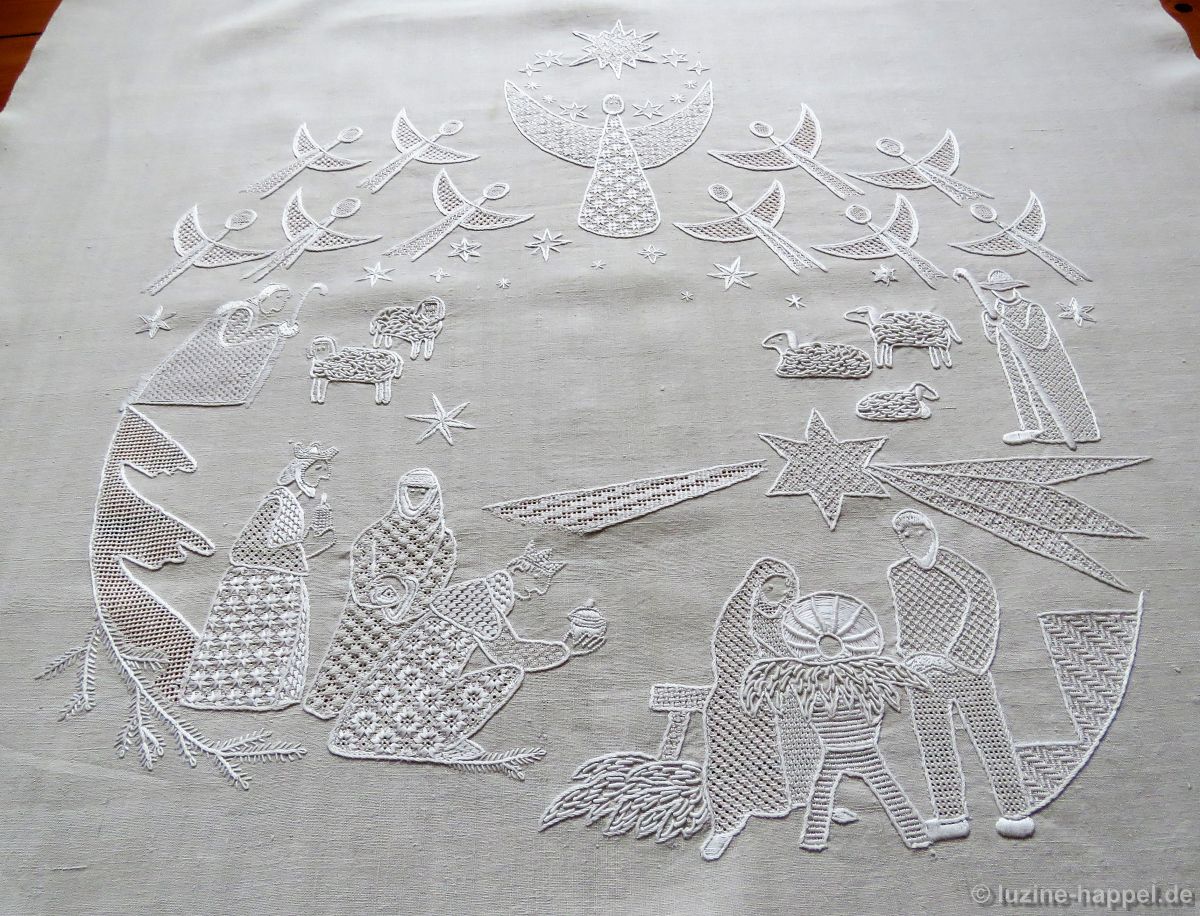
I bought a role of linen with a width of 92 cm and have already done some embroidery on it, like this large wall hanging.

In my next blog post I will show a pillowcase made from this linen.

You have to get used to embroidering on hand-woven linen. You usually find it more difficult at first. I’ve also had linen that almost required pliers to get the needle through the fabric. It’s too tiring and not fun.

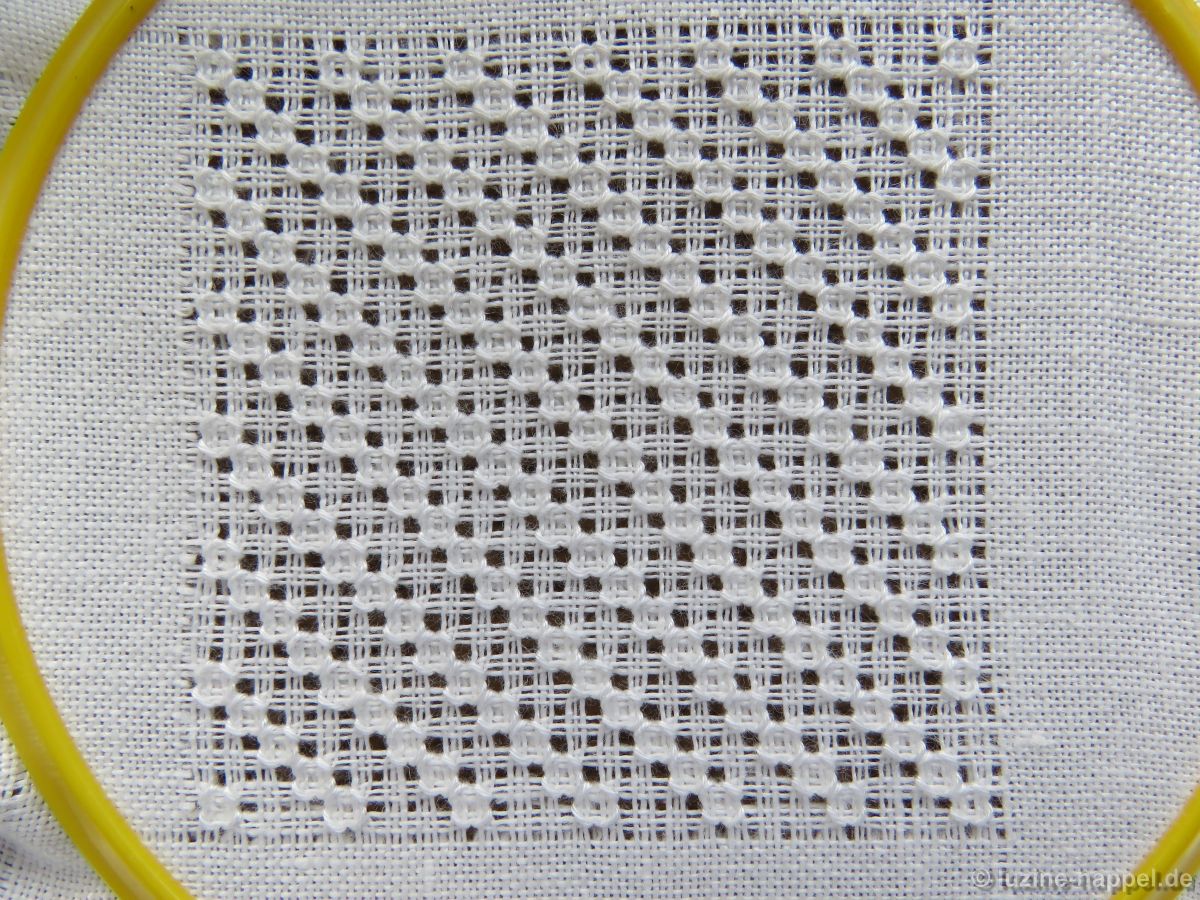
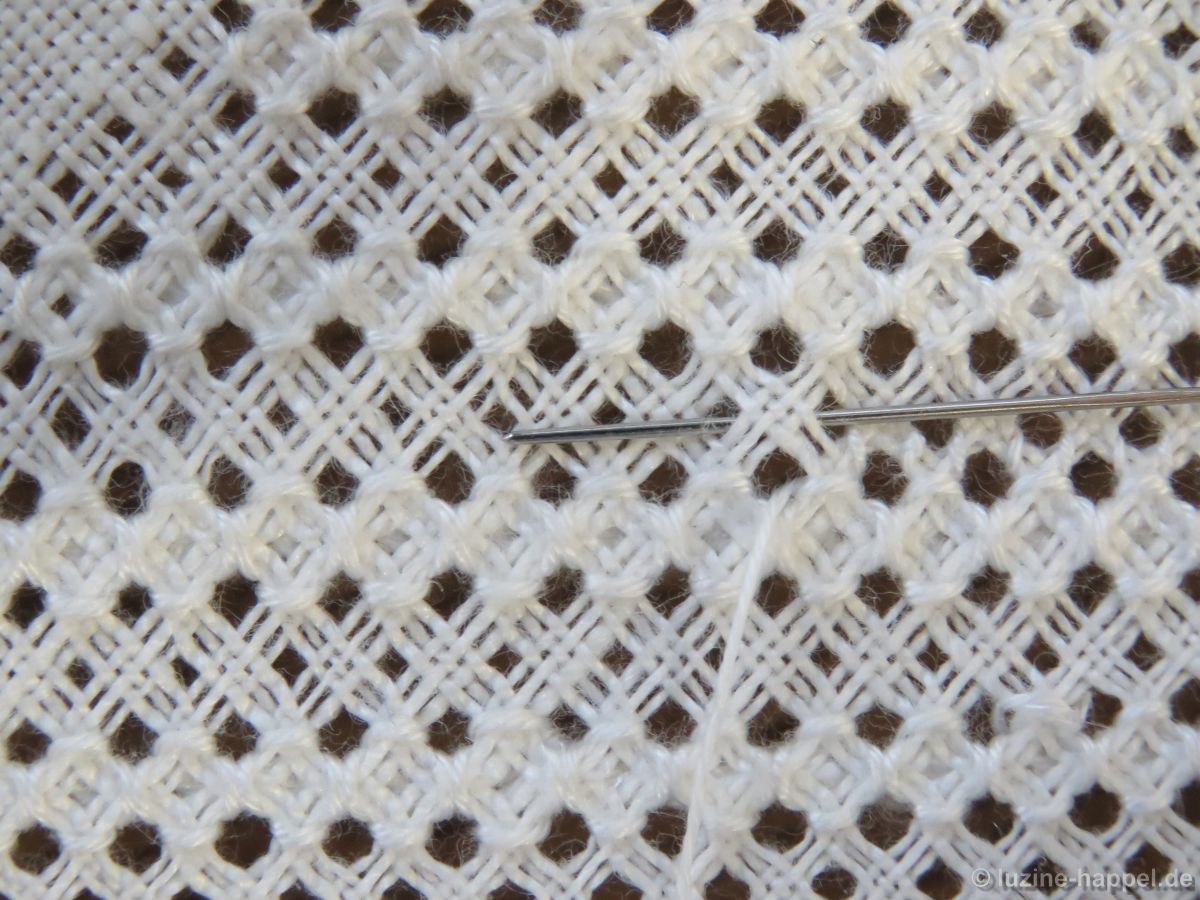
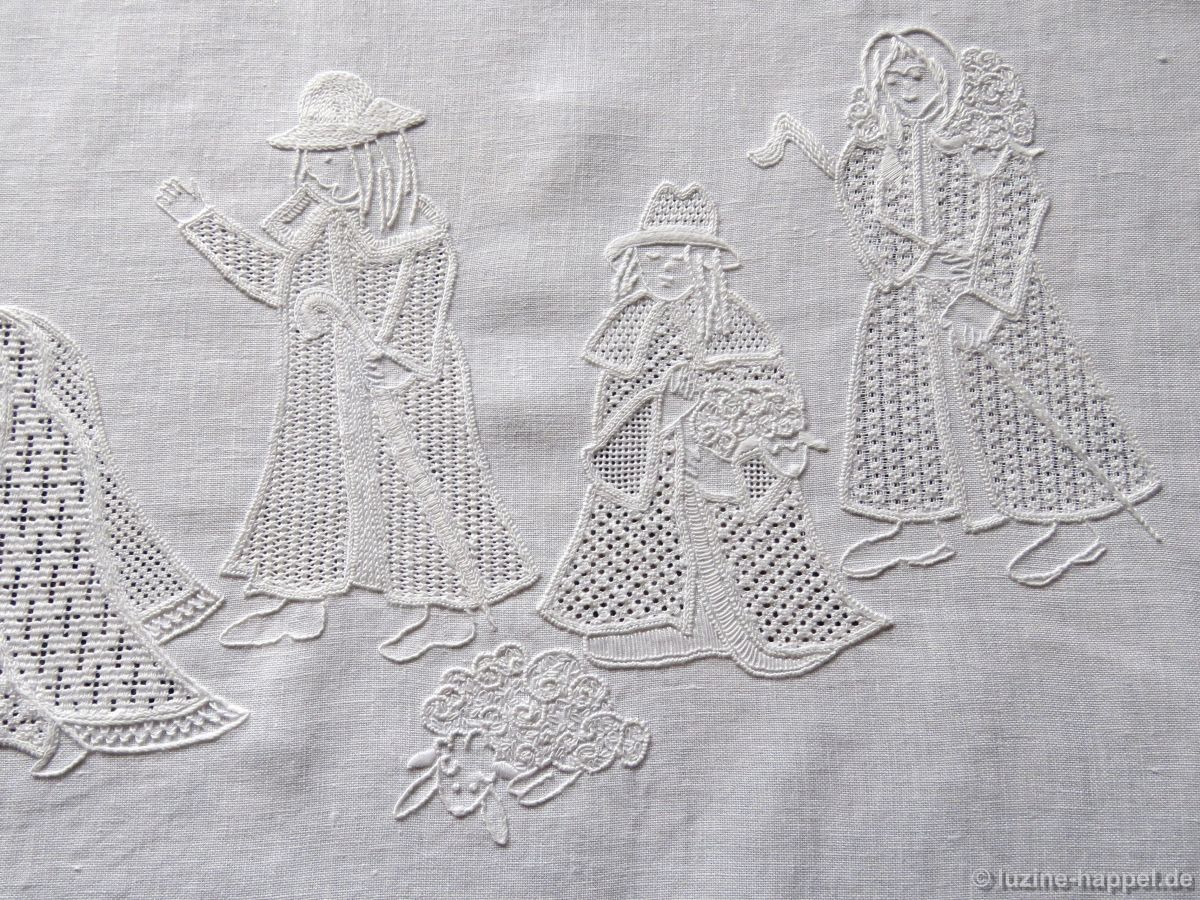
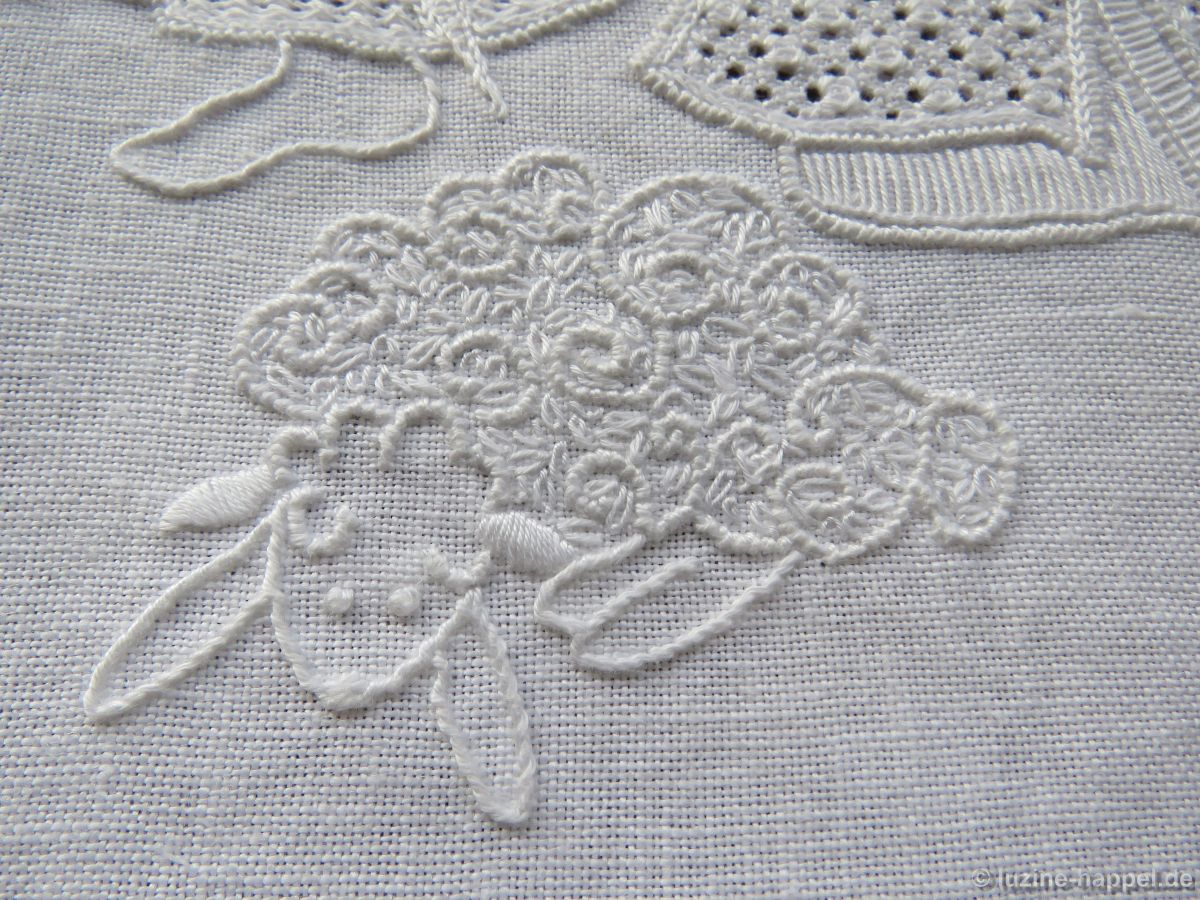
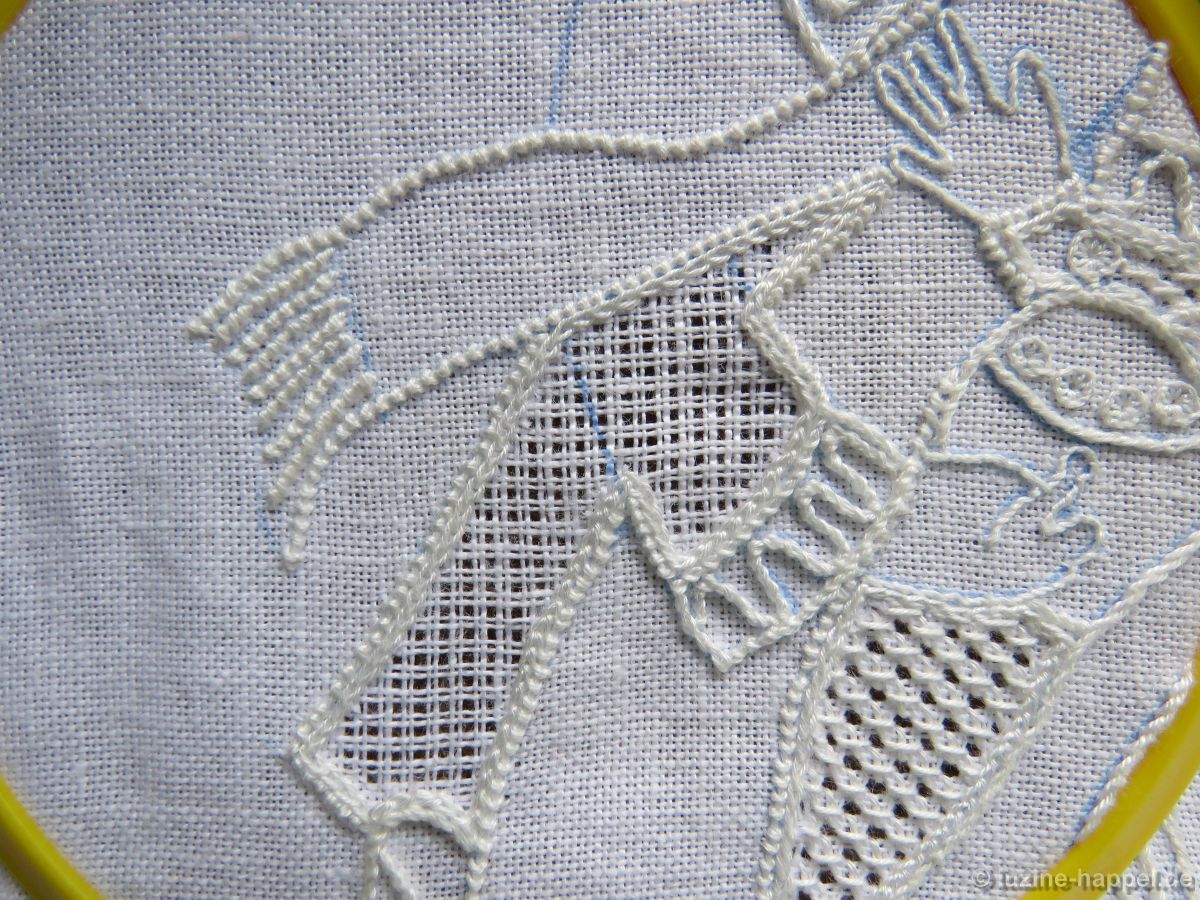
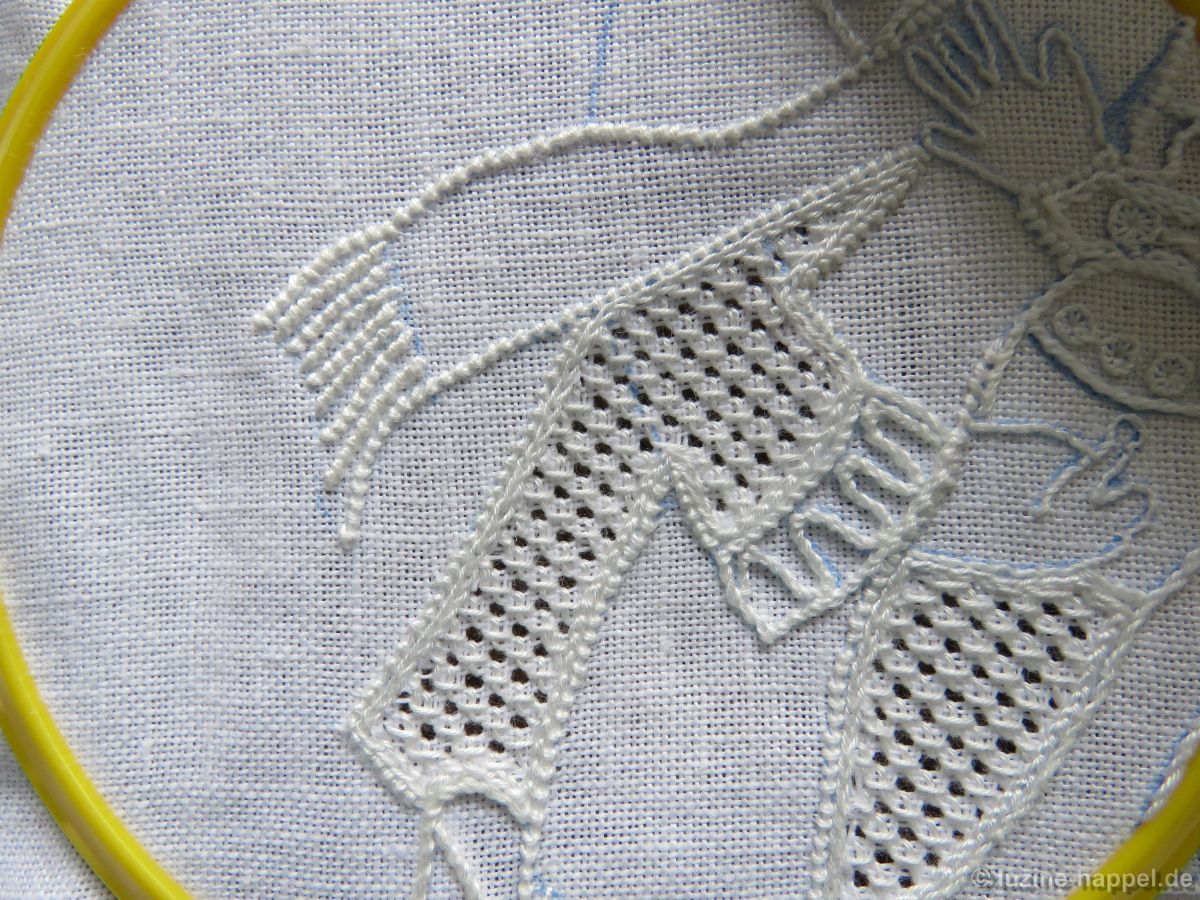
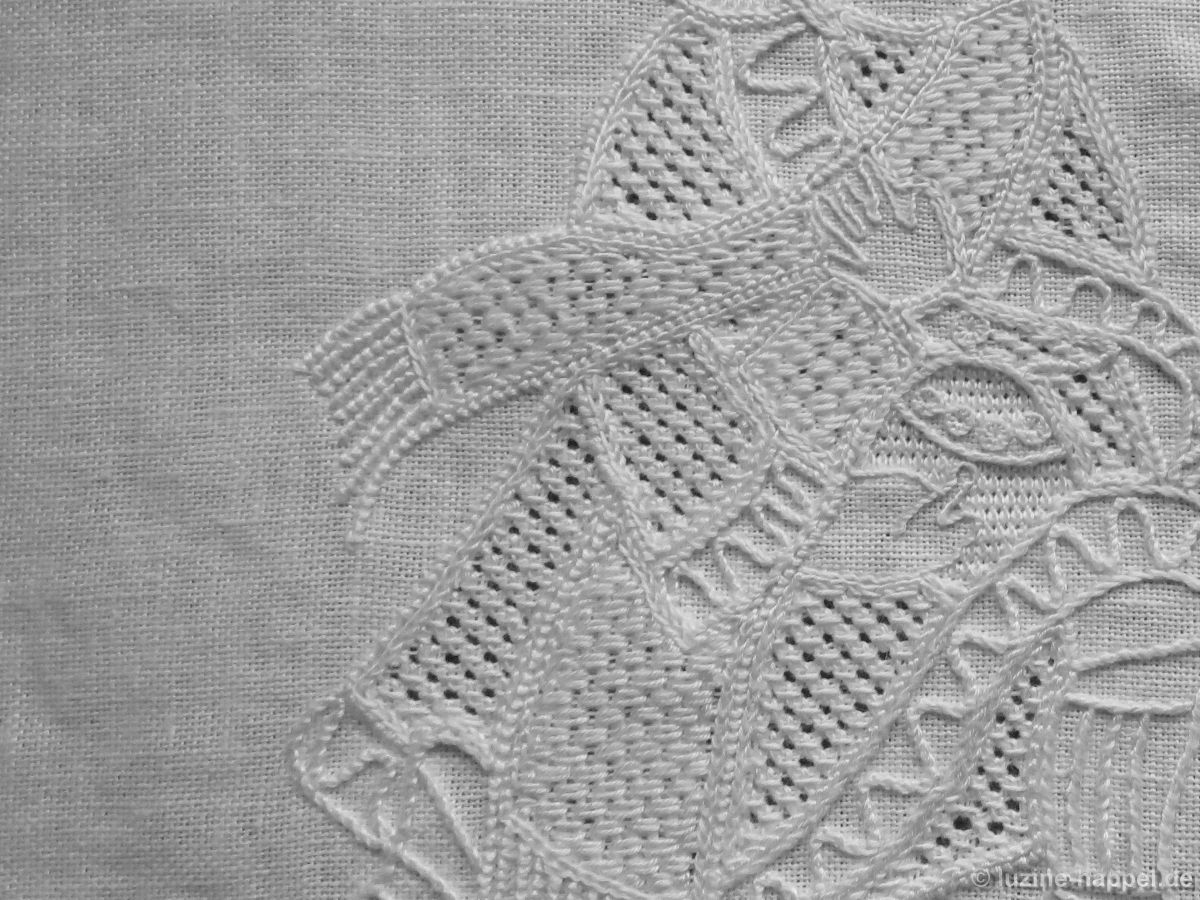
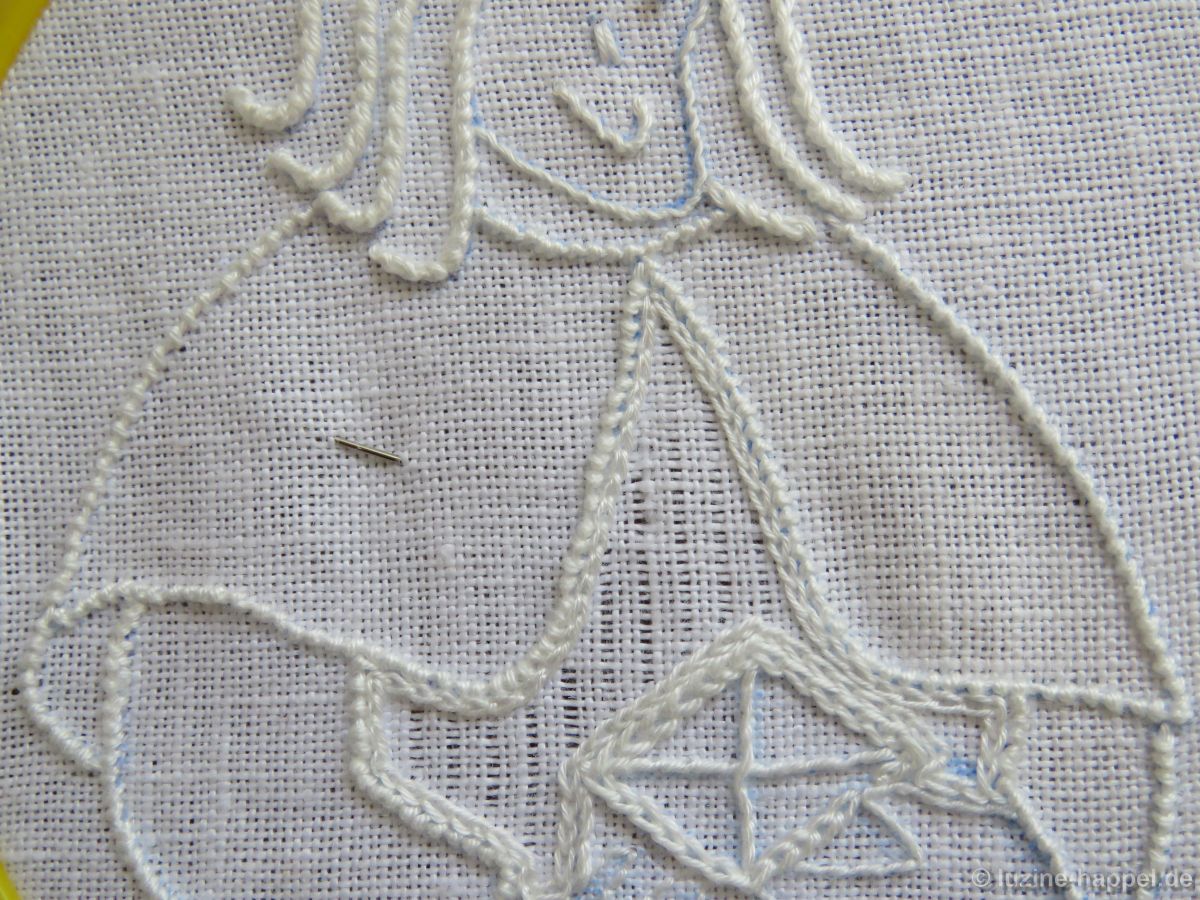
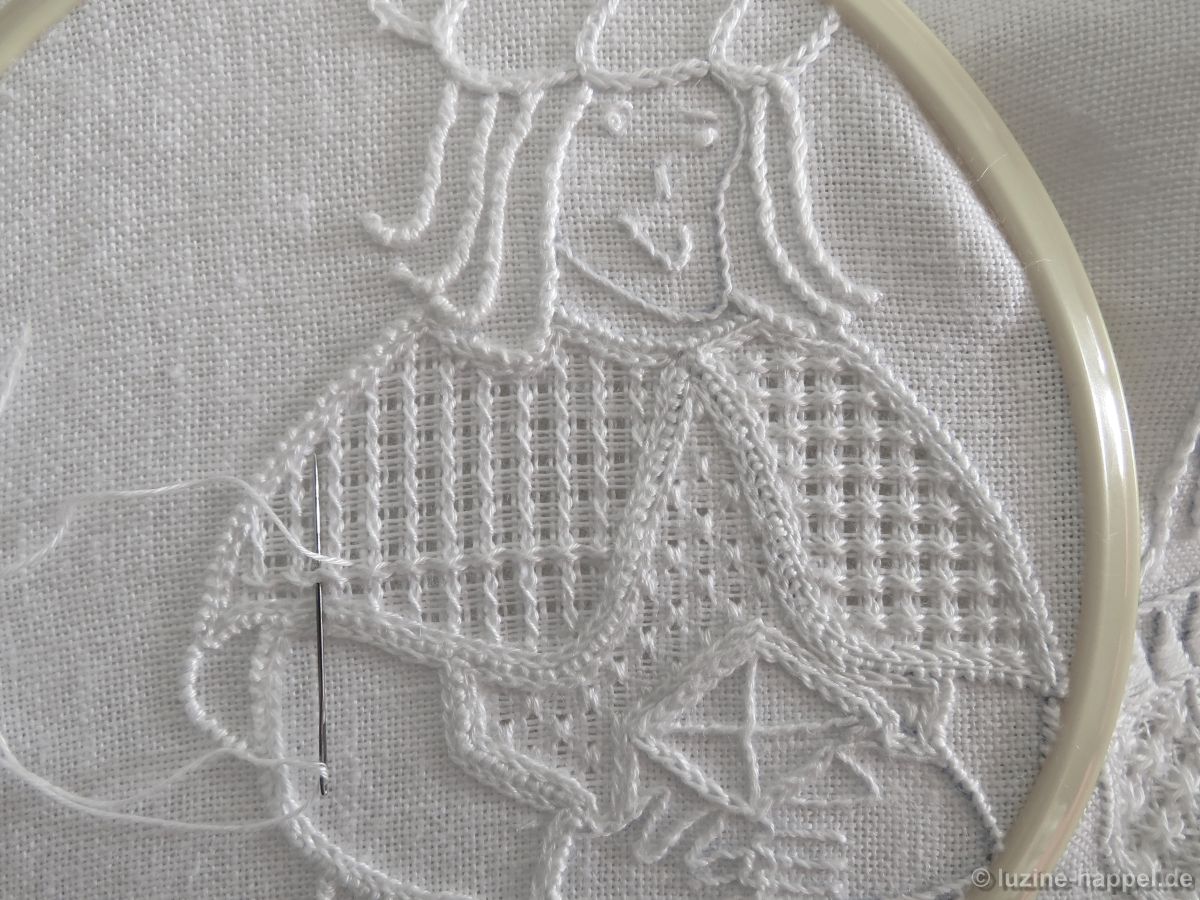
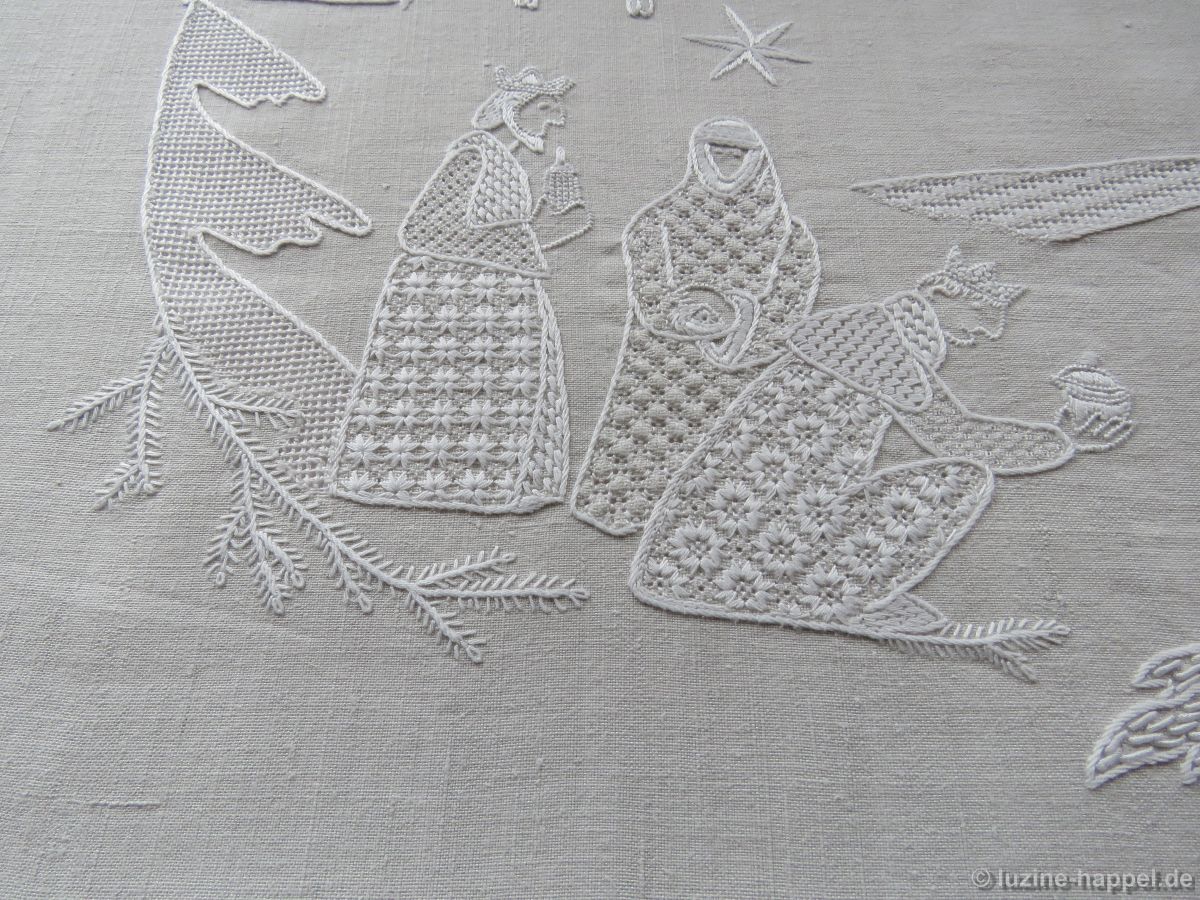
The linen presented here can be embroidered quite well. The threads are easy to withdraw and the embroidered patterns have an impressive effect.

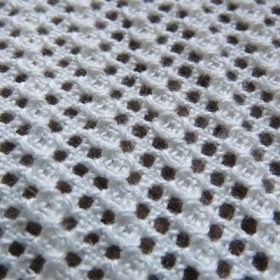
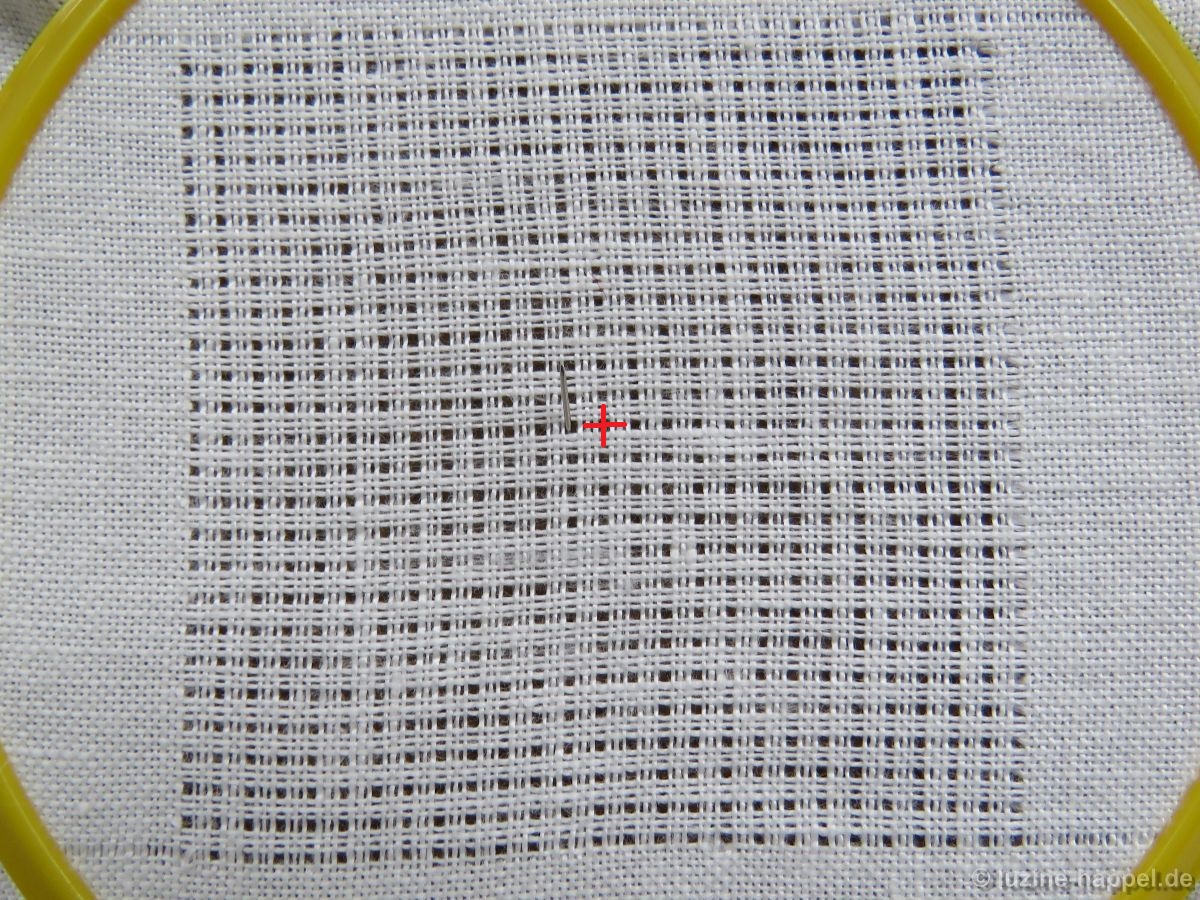
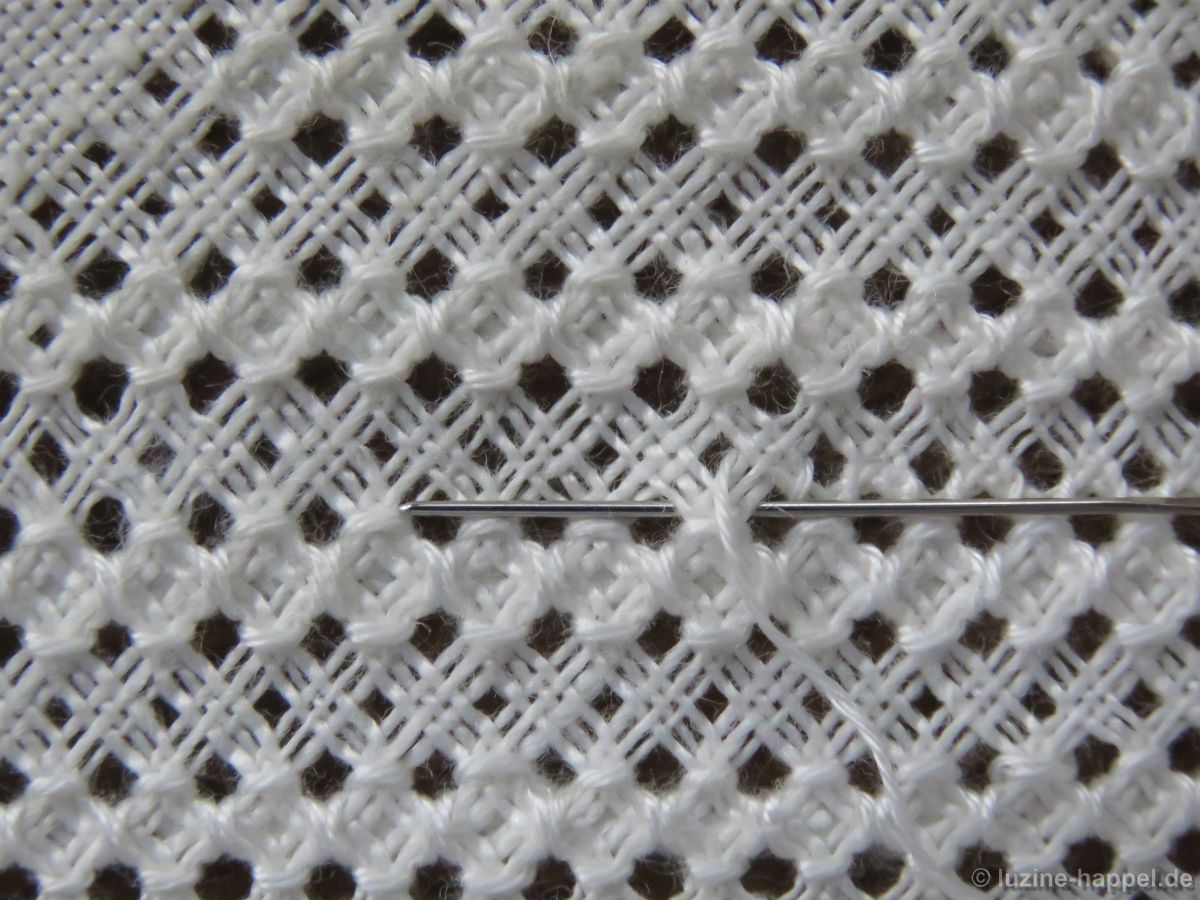
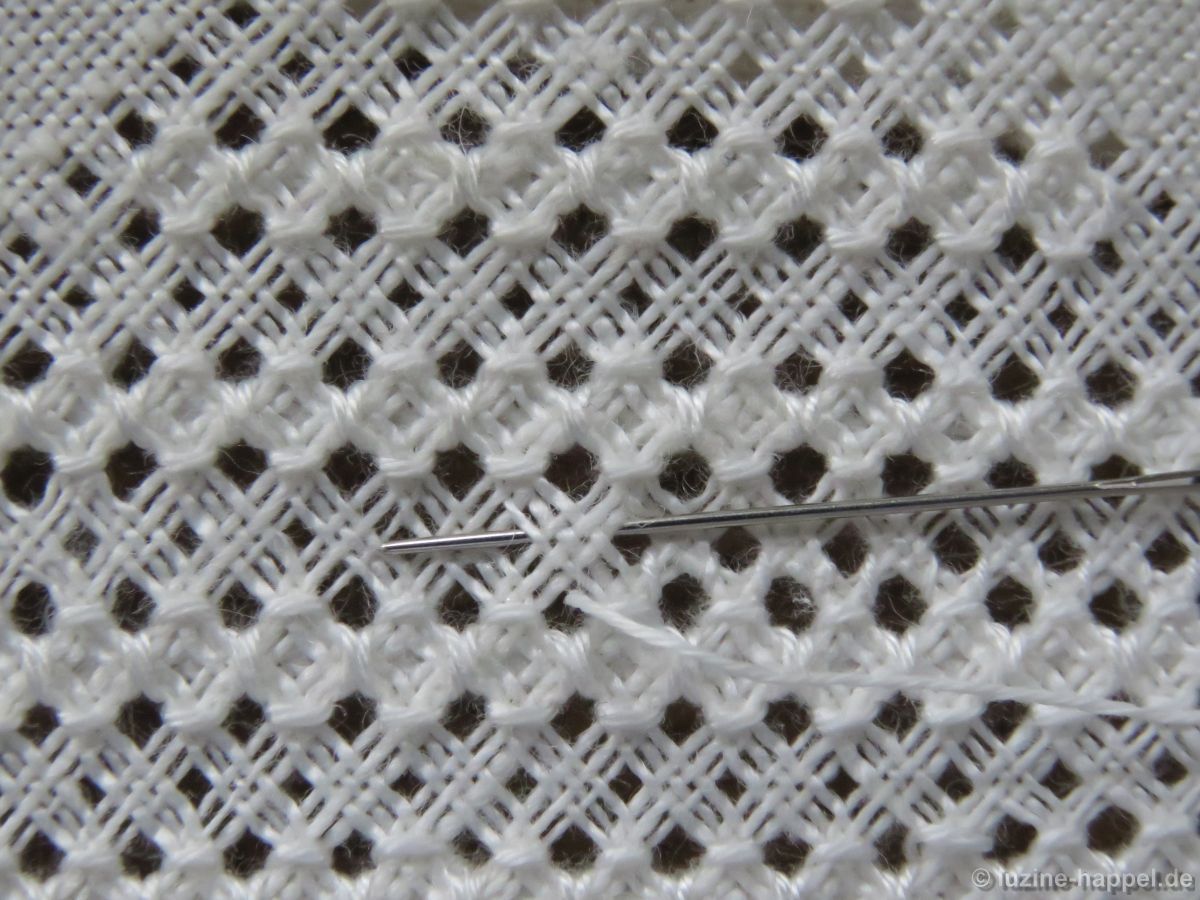
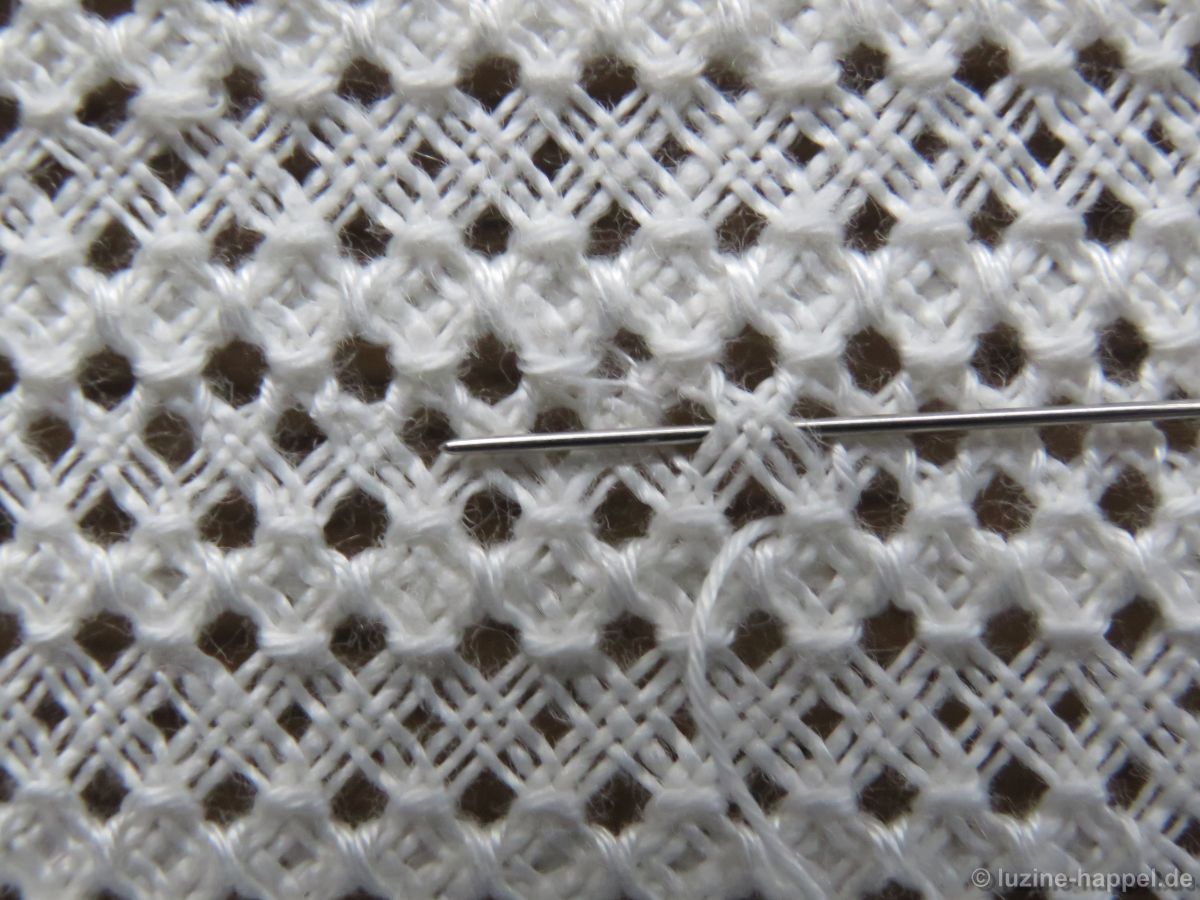
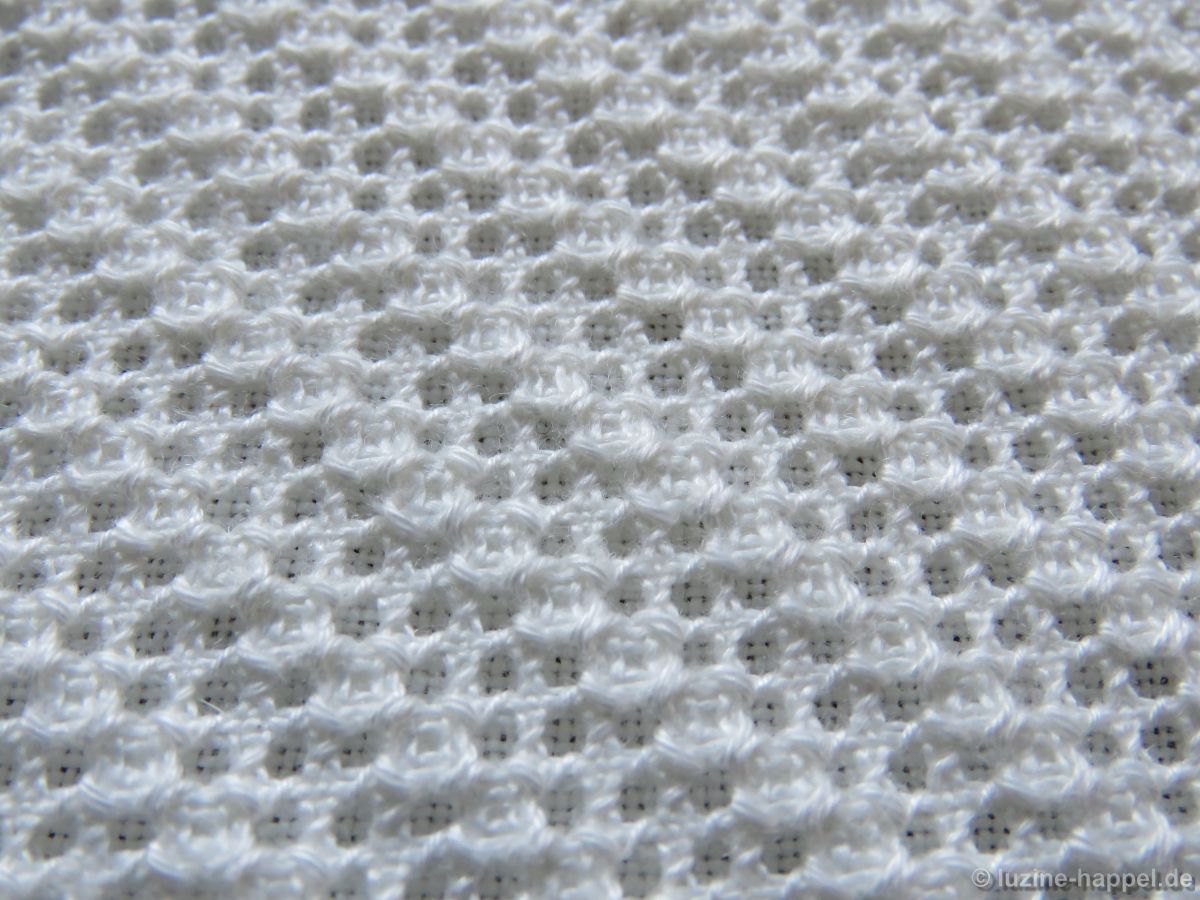
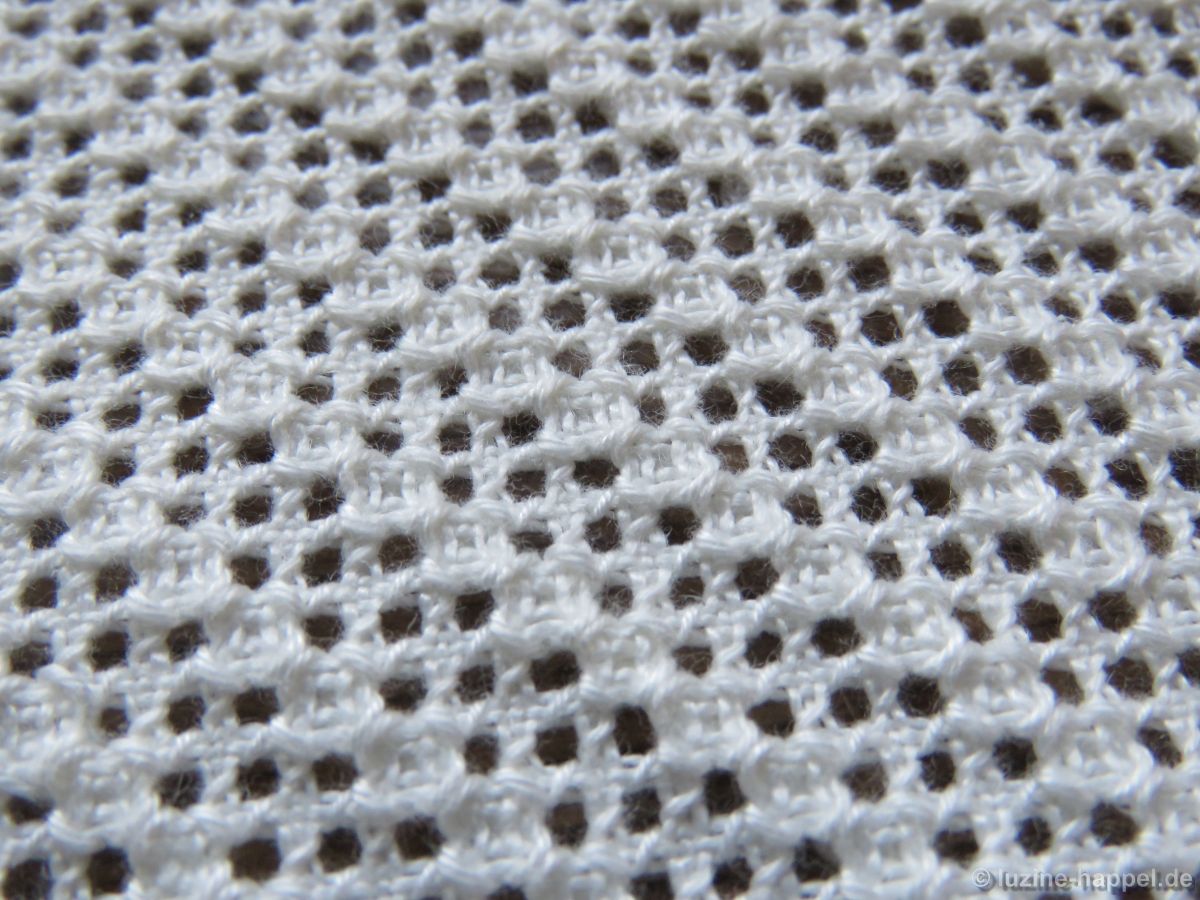
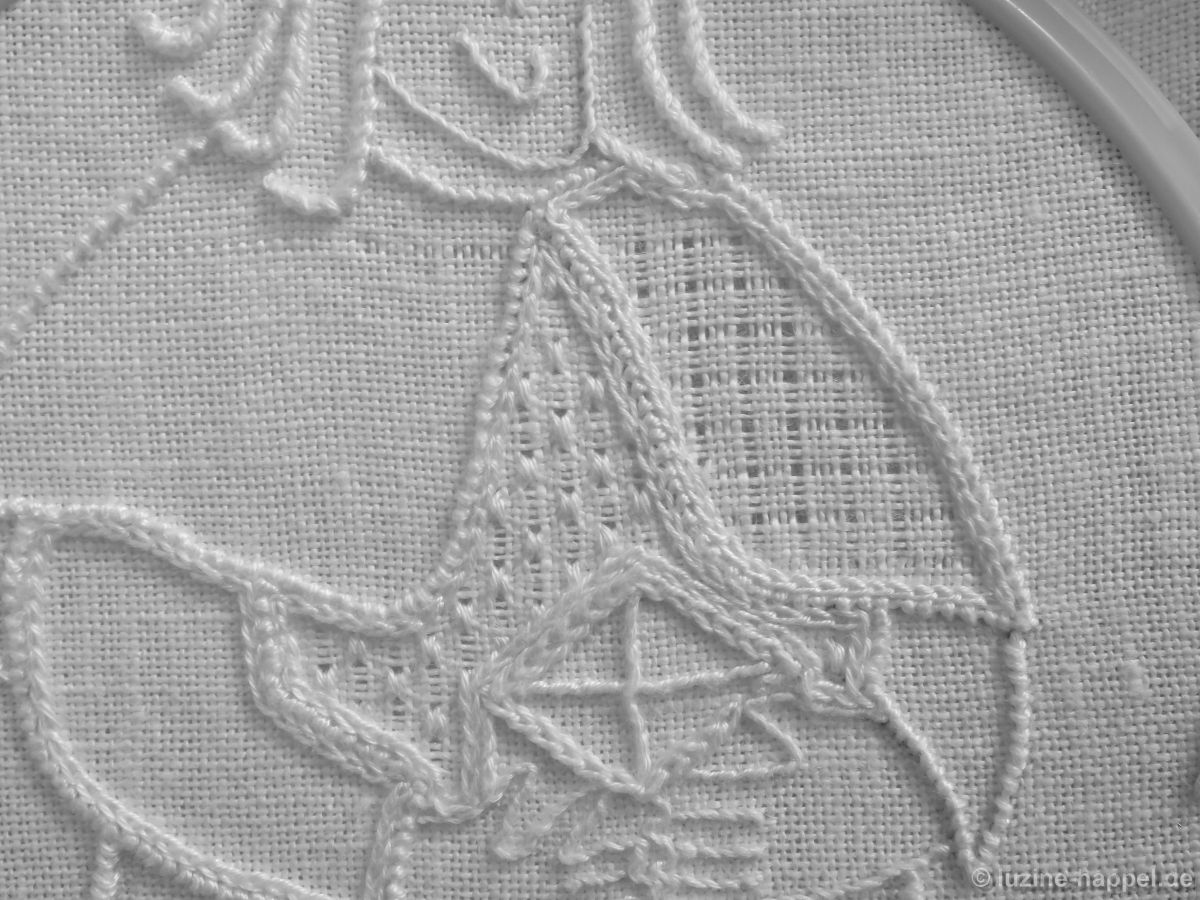
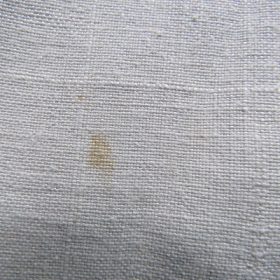
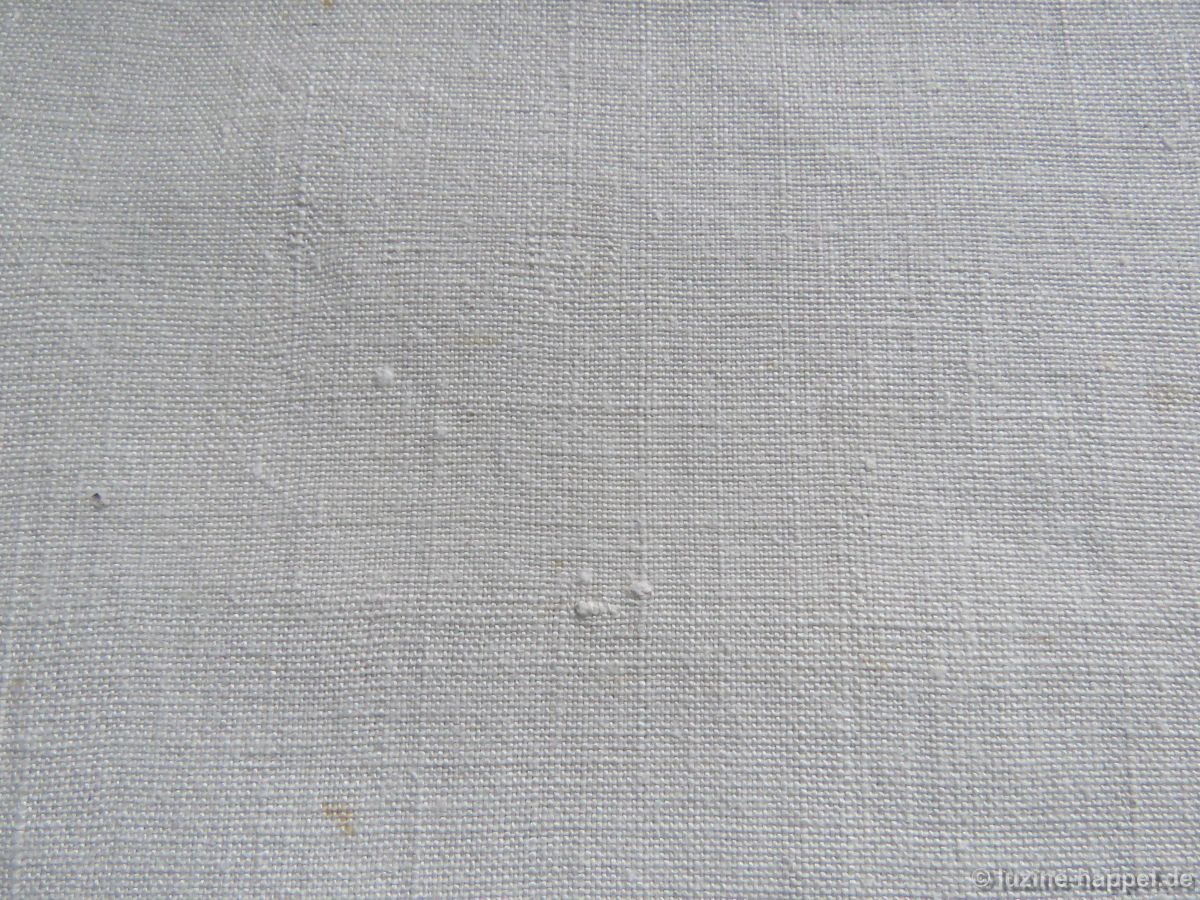
The number of threads varies 13/16

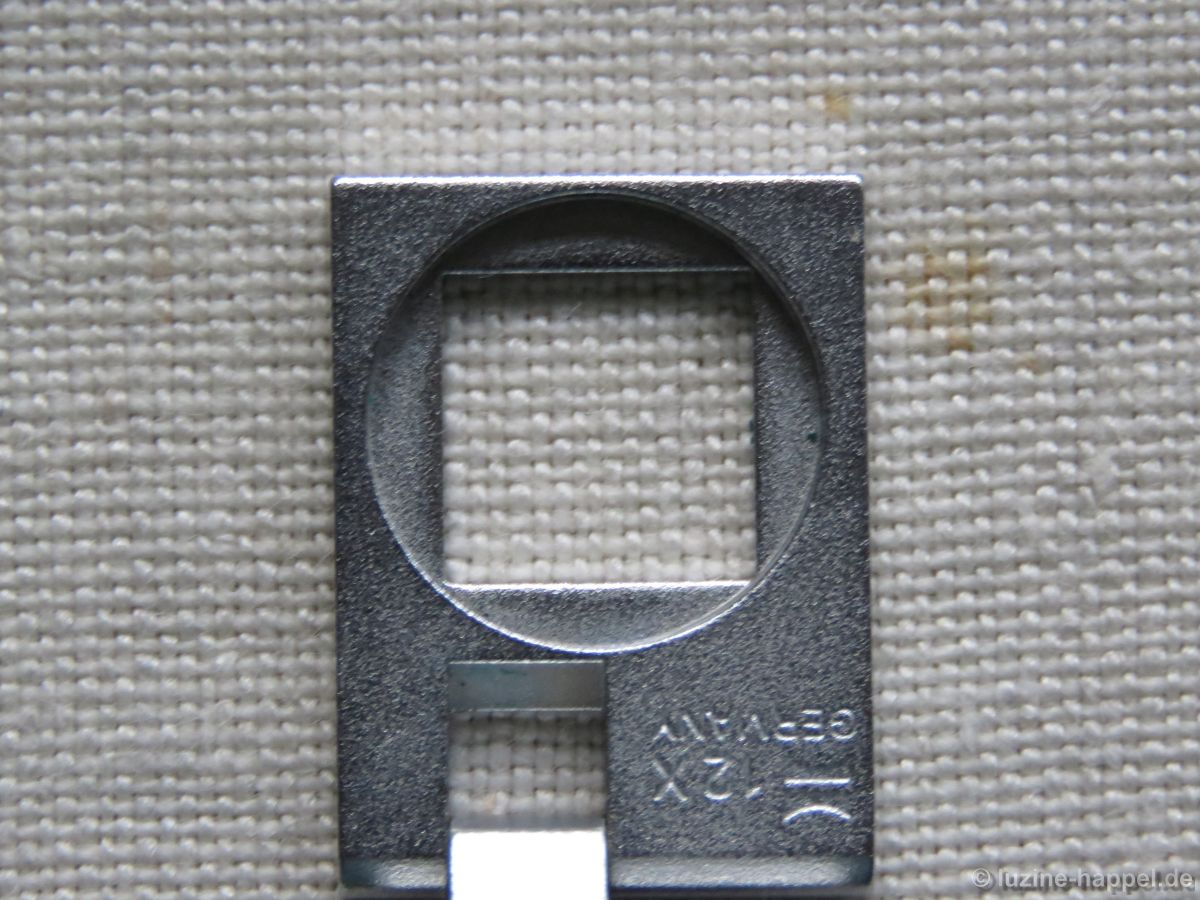
or in other areas also 15/17, as you can easily count in the 1cm² magnifications.

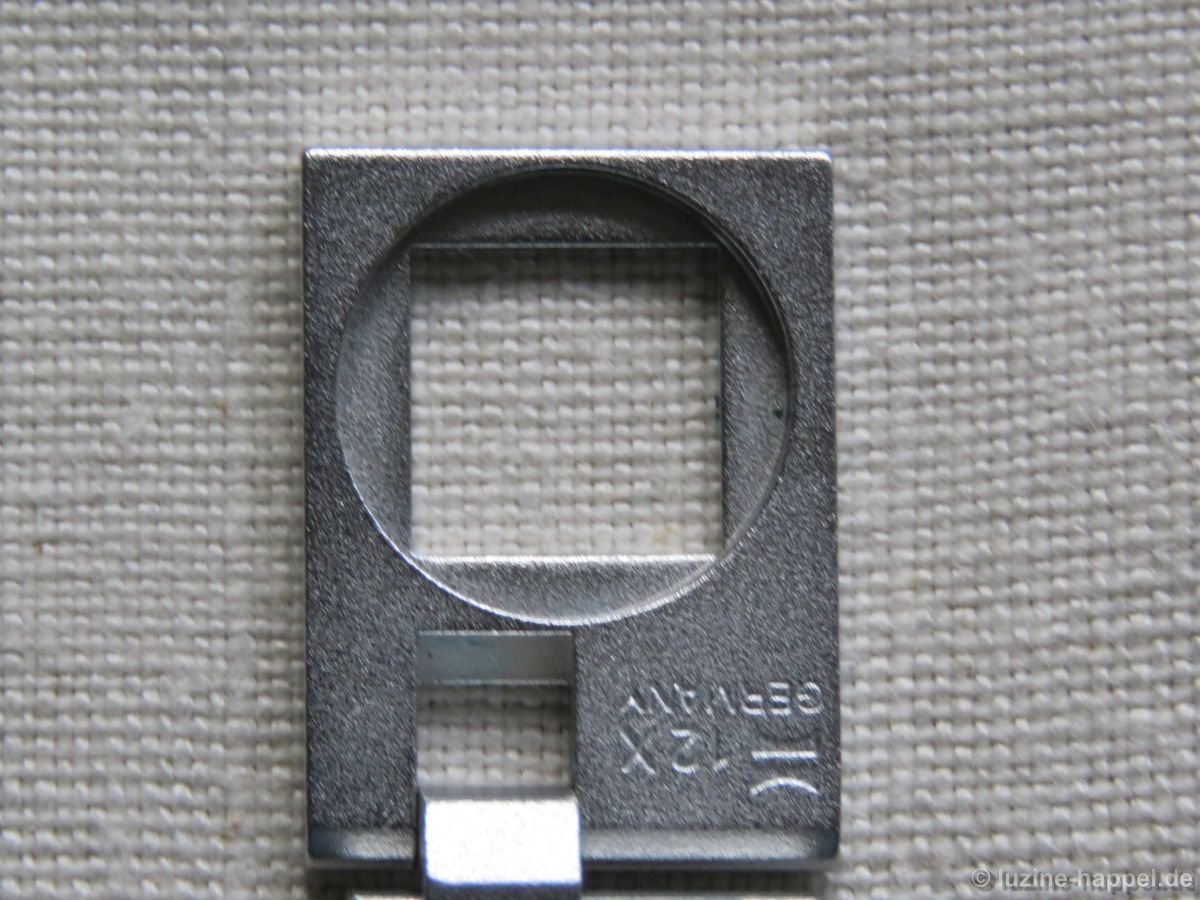
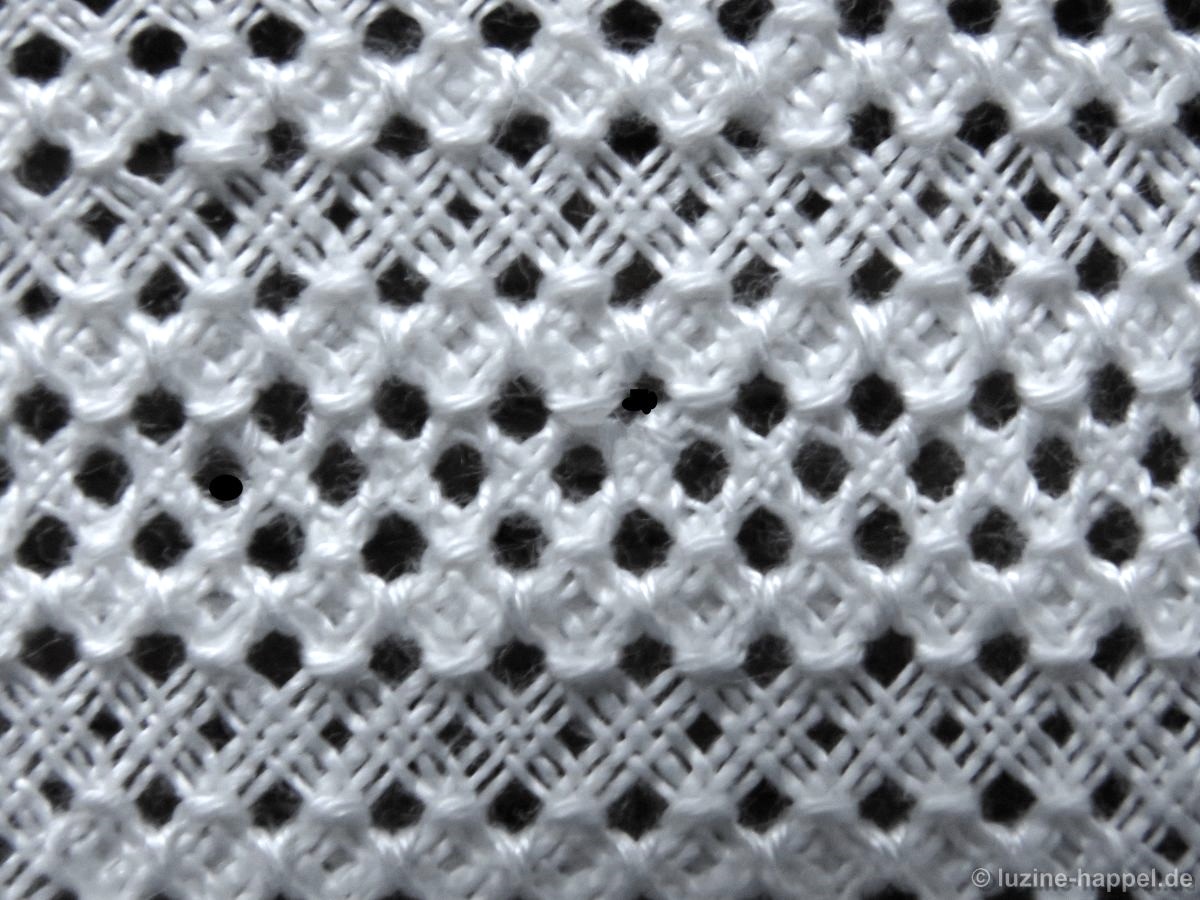
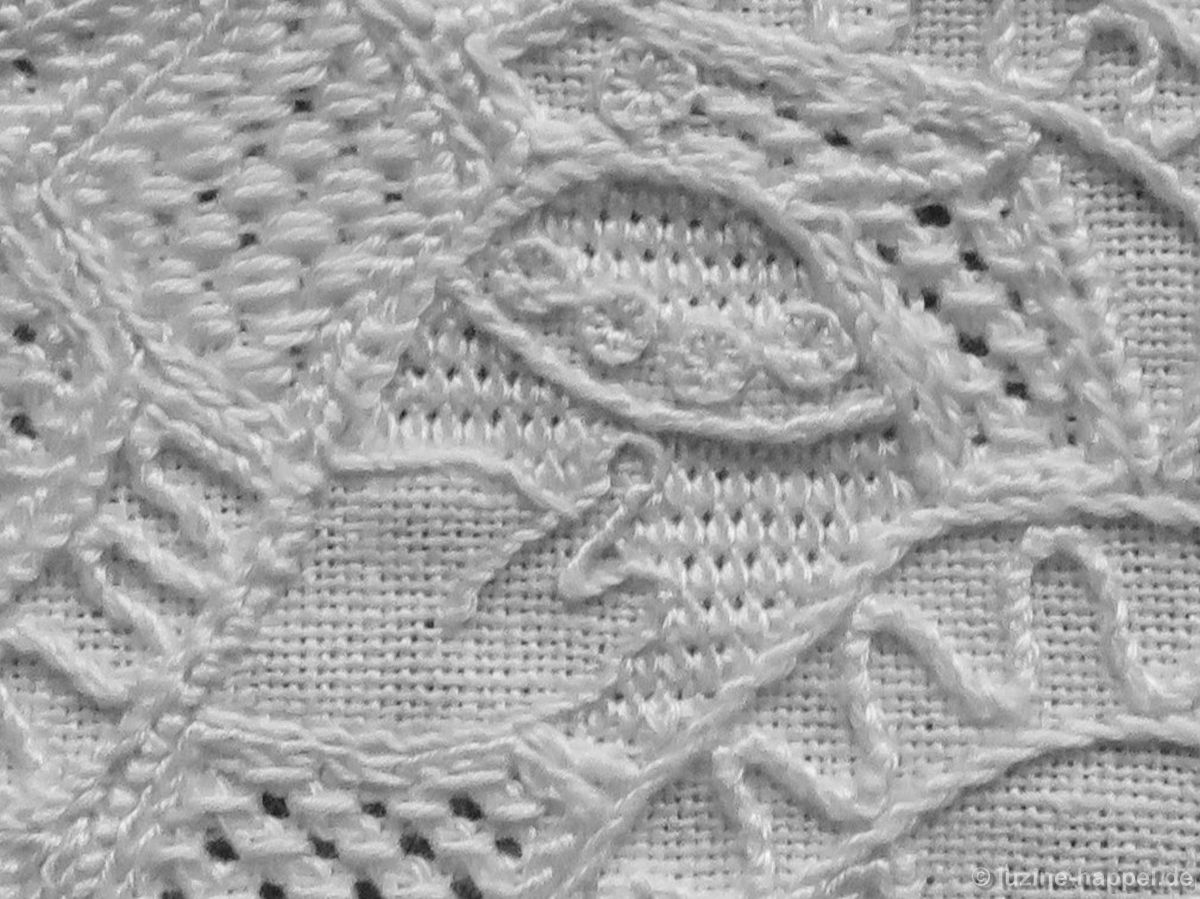
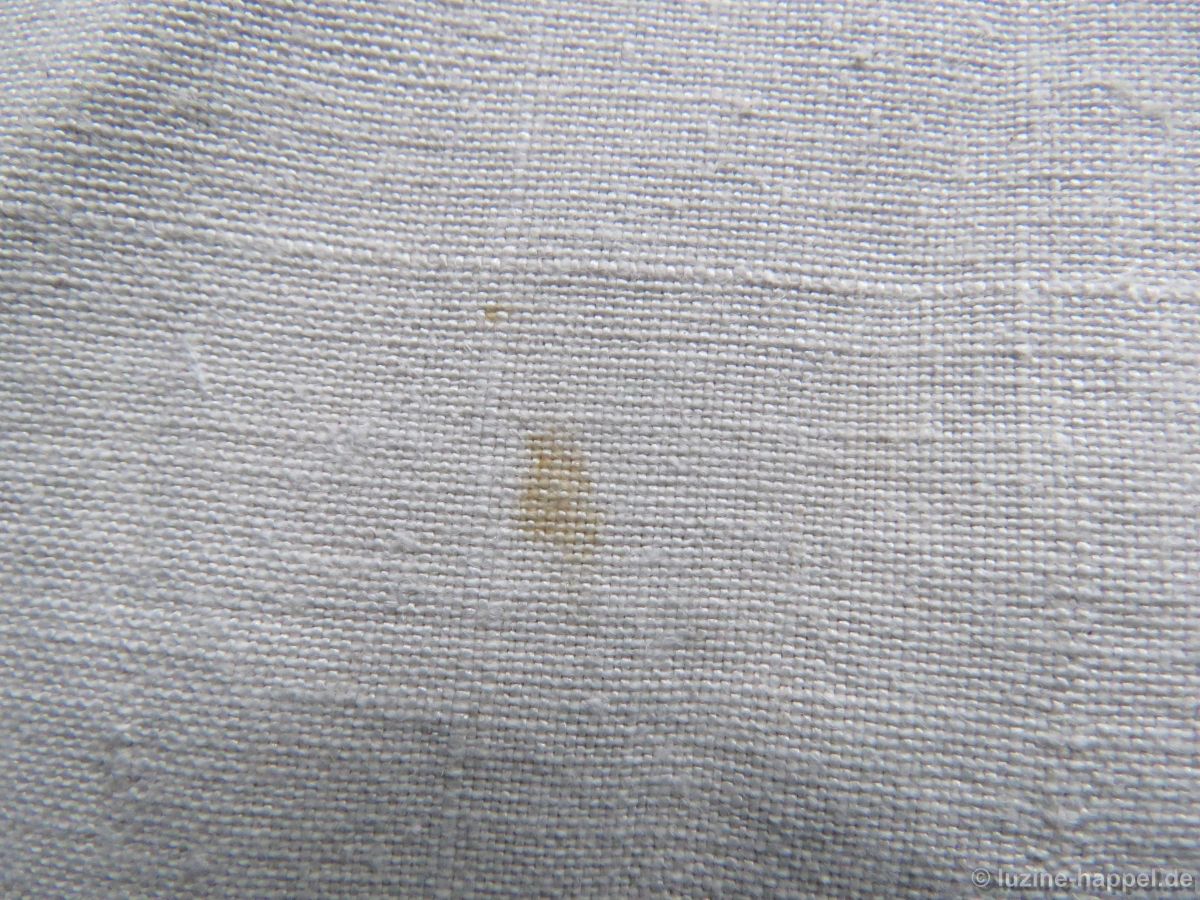
The fabric has irregularities

and light stains, which disappeared without difficulty when washed.

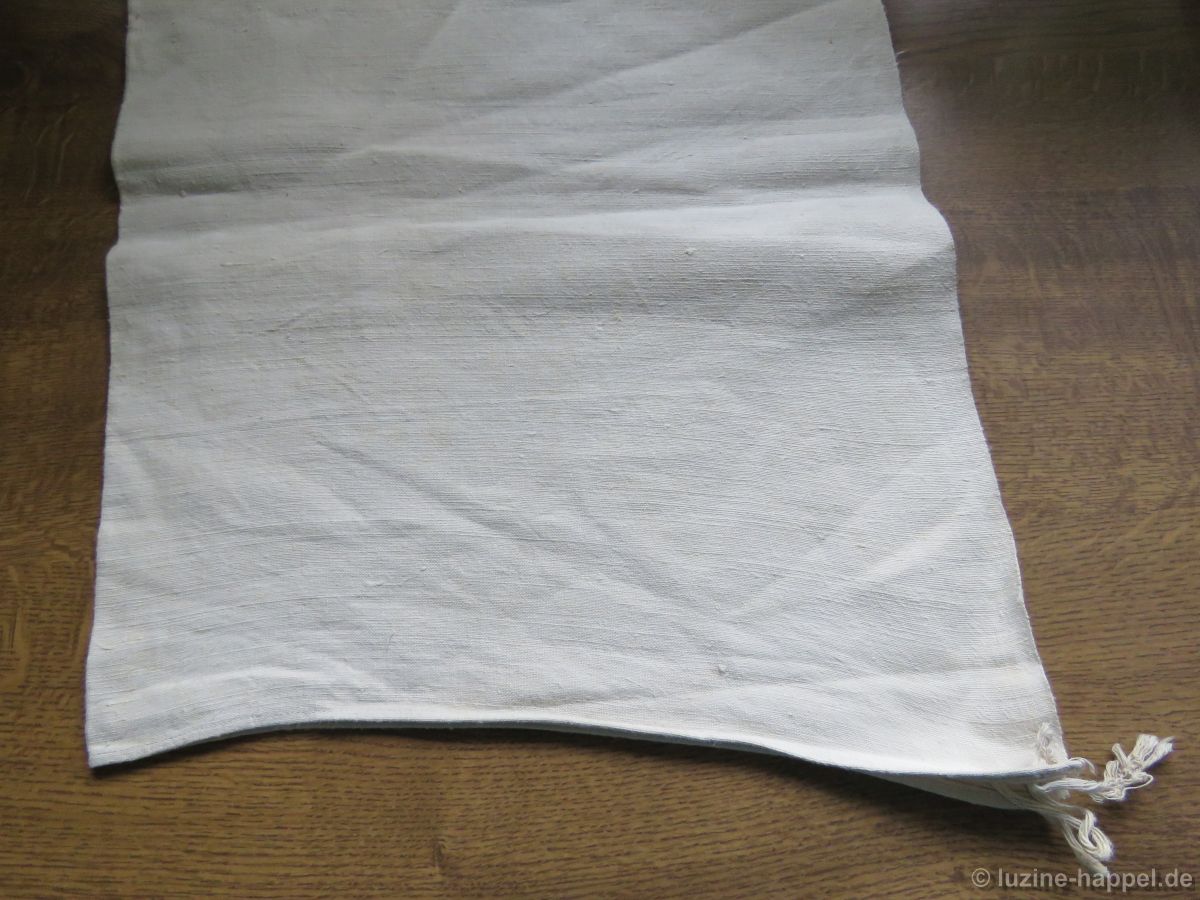
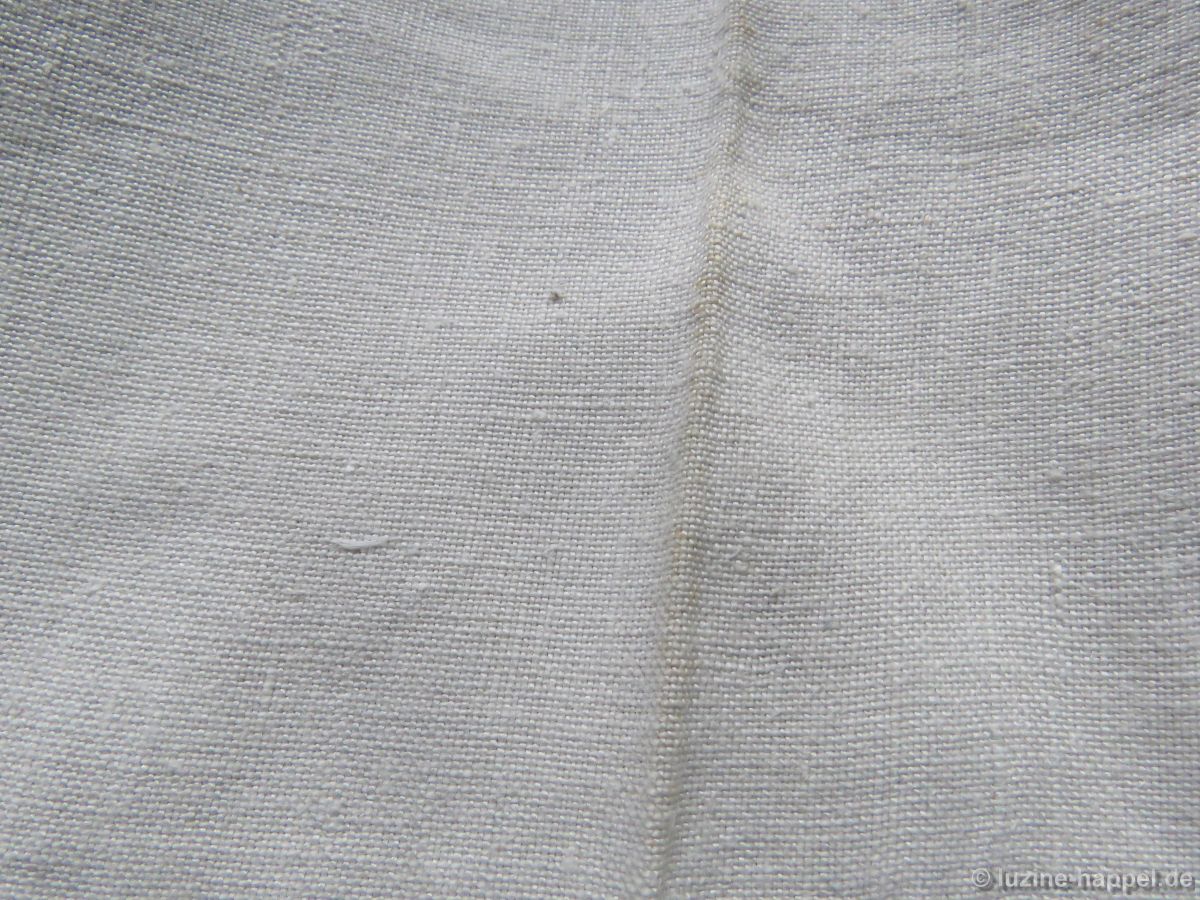
Even the dirt in the fold from lying for so long was gone after washing.

In Germany and the surrounding countries, everyone can go looking for hand-woven linen themselves. In many other countries or parts of the world this is not possible. So I received inquiries as to whether I could offer old, hand-woven linen. I hesitated about it for a long time. But now I have decided to test old, hand-woven linen by embroidering it and then offer it for sale.

This particularly wide linen is ideal for sofa cushion covers in sizes from 40cm X 40cm to 45cm X 45cm, as the linen only shrinks minimally.

Good linen has its price, the meter costs €41.65 (including 19% VAT) This is €35 for people out of the EU. In return you get a material that will probably no longer be available very soon and you don’t even need half a meter for a pillowcase.

Filling Pattern – No. 574

Filling Pattern – No. 555

category: Limet-Filling pattern
linen used: 13.5/cm thread count
threads used: coton à broder No. 20
stitches used: Diagonal Four-Sided stitches and Cable stitches
center: intersection of withdrawn thread lines (in other shapes or motifs: longitudinal axis = withdrawn thread line)
one pattern segment = 16 threads

The filling pattern shown here is a practice exercise only. You can see it used in a shape at the end of this article.

First, establish a Limet grid with an intersection of withdrawn thread lines at the center by alternately cutting 1, leaving 3, vertically and horizontally.

Mark the center point. Bring the needle up in the next hole left of the center. From there start to work a Four-Sided stitch in a diagonal row – as a rhombus around the center point as shown in Filling Pattern – No. 555 and continue to work the diagonal row.

Work a second row of diagonal Four-sided stitches parallel to the first and at a distance of two free bundles of 3 threads (counted in a horizontal line between the center of a four-Sided stitch in the first row and one in the second row).

Embroider row after row until the entire area is filled. It is important that you always turn the work so that the rows are created from the bottom right to the top left.

From the front, embroider two rows of Cable stitches between the diagonal Four-Sided stitches, as shown in the pictures, first one row alternating between the middle row of holes

and row of holes adjacent to the lower Four-Sided stitches.

Then turn the work 180° and embroider over the unprocessed thread bundles in the same way.

The remaining unfinished rows are embroidered in the same way.

This creates a pattern with a diagonal wave structure.

Advent Calendar 2023 – No. 24

Advent Calendar 2023 – Nativity Scene
The finished Project

Washed, starched and well ironed, the finished embroidery now lies on the table in front of me.

Both as a table runner

and backlit by a lightpad or hanging on the window

the picture has a fantastic effect.

Whether the shepherds with their sheep,

the holy family

or the Wise Men,

all are individually embroidered.

The clothing has very varied filling patterns.

The contrasts between light and dense patterns were brought out well enough, I think.

Look for yourself:

Maybe you embroider a project with the same outlines, but design it with different stitches and filling patterns. Then I would be very happy about a few photos.

Merry Christmas!

Advent Calendar 2023 – No. 23

Advent Calendar 2023 – Nativity Scene
Robe of the third Wise Man

The garment of the third wise man consists of many small areas. Therefore, the pattern must be appropriate – small and modest in appearance.

Thread withdrawing is made 2:1 and

Diagonal Cross filling stitches (Openwork Pattern Samplers, pages 24, 25) are embroidered into the coat parts.

The dividing lines for the sleeves are embroidered only after the filling pattern has been completed.

The curved-line decorations are embroidered with wrapped Chain stitches (coton à broder No. 25).

In contrast to the airy coat pattern, the scarf should be given a dense pattern. I opt for the Satin stitch pattern “narrow pearl pattern” (Wickelstiche page 43) (coton à broder No. 20).

In the photo, the difference between the two patterns is rather small. After washing, it will look different.

At the end, the remaining unembroidered area of the vessel was filled with tiny Wave stitches (coton à broder No. 25).

With the third wise man, the last figure is also embroidered. Now the project still needs to be hemmed, washed, starched and ironed.

Pictures of the final result will follow.

Advent Calendar 2016
Advent Calendar 2017
Advent Calendar 2018
Advent Calendar 2019
Advent Calendar 2023 – Outline Designs
Advent Calendar 2023 – Prep Work
Advent Calendar 2023 – Hairstyles and Facial Features of Wise Men
Advent Calendar 2023 – Hands
Advent Calendar 2023 – Vessels for the Gifts
Advent Calendar 2023 – Headwear
Advent Calendar 2023 – Sheep
Advent Calendar 2023 – Footwear
Advent Calendar 2023 – Robe of the first Shepherd
Advent Calendar 2023 – Stick of the first Shepherd
Advent Calendar 2023 – Robe of the second Shepherd (A)
Advent Calendar 2023 – Robe of the second Shepherd (B)
Advent Calendar 2023 – Robe of the second Shepherd (C)
Advent Calendar 2023 – Sheep Wool
Advent Calendar 2023 – Stick of the third Shepherd
Advent Calendar 2023 – Robe of the third Shepherd
Advent Calendar 2023 – Maria’s Robe (A)
Advent Calendar 2023 – Maria’s Robe (B)
Advent Calendar 2023 – Baby Jesus in the Manger
Advent Calendar 2023 – The Star of Bethlehem
Advent Calendar 2023 – Joseph’s Robe
Advent Calendar 2023 – Robe of the first Wise Man
Advent Calendar 2023 – Robe of the second Wise Man

Advent Calendar 2023 – No. 22

Advent Calendar 2023 – Nativity Scene
Robe of the second Wise Man

The second wise man is to receive a subtly patterned shirt. For this purpose, simple vertical thread withdrawing 3:1 is made.

Honeycomb Darning stitches are embroidered from the back between the withdrawn threads (coton à broder No. 16).

The cape should have a distinctive pattern. The Limet grid is withdrawn 4:1.

Filling pattern 571 is embroidered in two steps (coton à broder No. 20).

The cuffs of the trousers are embroidered with Satin stitch bars (coton à broder No. 20).

The trousers have a large surface area that offers space for a distinct filling pattern. I decided on a slight modification of filling pattern 448 (coton à broder No. 20). The dividing seam is subsequently attached with wrapped Chain stitches and additional Chain stitches.

The shirt sleeves are given a Honeycomb Darning stitch pattern.

Especially when illuminated at the back, this pattern harmonizes with the back Honeycomb Darning stitches of the shirt.

With the wise man 2, the second-to-last figure is embroidered.

Advent Calendar 2016
Advent Calendar 2017
Advent Calendar 2018
Advent Calendar 2019
Advent Calendar 2023 – Outline Designs
Advent Calendar 2023 – Prep Work
Advent Calendar 2023 – Hairstyles and Facial Features of Wise Men
Advent Calendar 2023 – Hands
Advent Calendar 2023 – Vessels for the Gifts
Advent Calendar 2023 – Headwear
Advent Calendar 2023 – Sheep
Advent Calendar 2023 – Footwear
Advent Calendar 2023 – Robe of the first Shepherd
Advent Calendar 2023 – Stick of the first Shepherd
Advent Calendar 2023 – Robe of the second Shepherd (A)
Advent Calendar 2023 – Robe of the second Shepherd (B)
Advent Calendar 2023 – Robe of the second Shepherd (C)
Advent Calendar 2023 – Sheep Wool
Advent Calendar 2023 – Stick of the third Shepherd
Advent Calendar 2023 – Robe of the third Shepherd
Advent Calendar 2023 – Maria’s Robe (A)
Advent Calendar 2023 – Maria’s Robe (B)
Advent Calendar 2023 – Baby Jesus in the Manger
Advent Calendar 2023 – The Star of Bethlehem
Advent Calendar 2023 – Joseph’s Robe
Advent Calendar 2023 – Robe of the first Wise Man