I have never before worked this stitch. I looked for instructions but found only a few graphic presentations with short explanations and some images of finished stitches – no steps of working on a real needlework project. I decided to figure it out on my own. Here is the result.
Using any solid fabric as a stabilizer, it is best to first pin and then baste in place – at the desired distance – the two lengths of fabric to be joined. Make sure that the basting stitches are not too close to the edges.
Make marks in groups of three along both selvages – always alternating and staggering the marks.
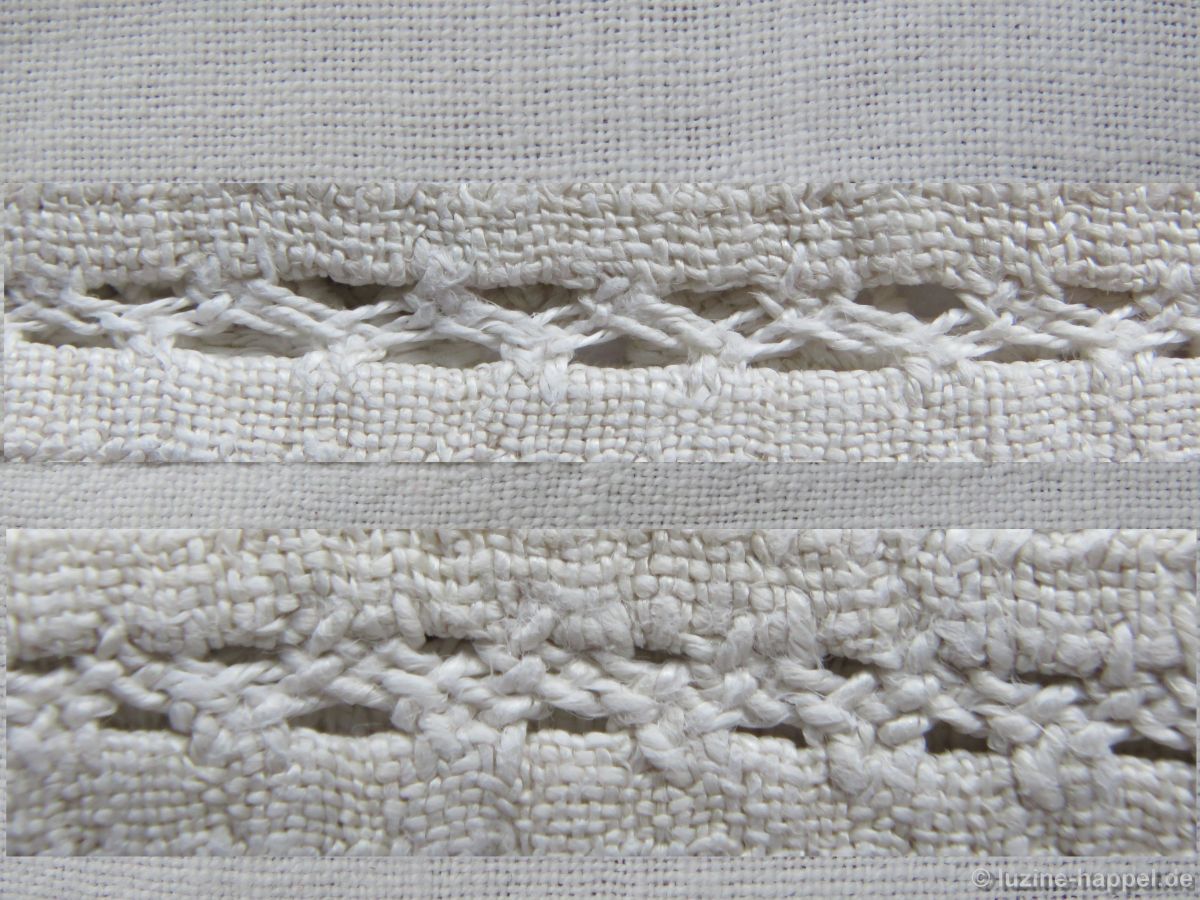
For my first attempt, the selvages were placed 1 cm apart and the groups-of-three marks were spaced 0.5 cm apart staggered (the distance from the right to the opposite left mark is 0.5 cm.)

This is what I learned: All the distances were spaced too far apart and the thread was too thin. Working the stitches staggered too far apart makes the threads lie at too great an angle, and this in turn causes the thread at the plait to become jumbled together.
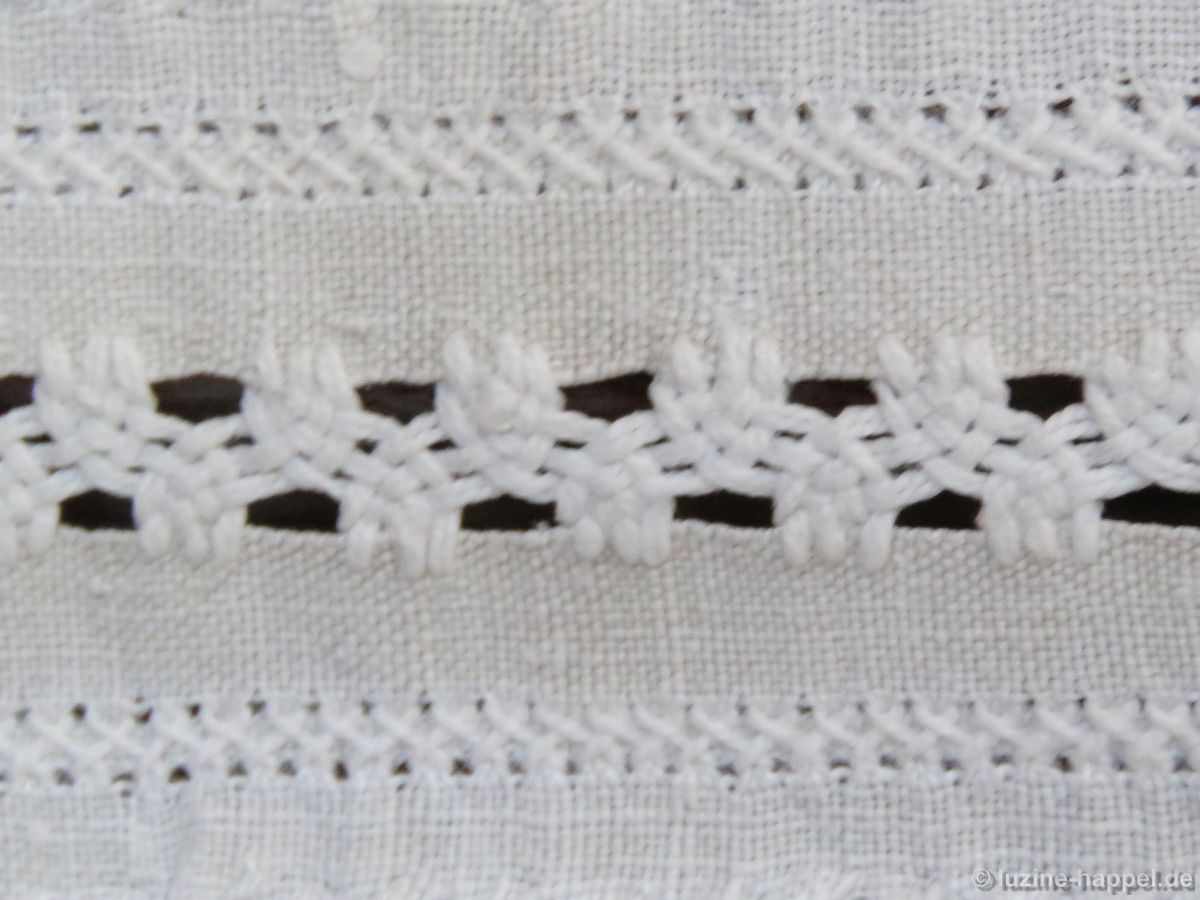
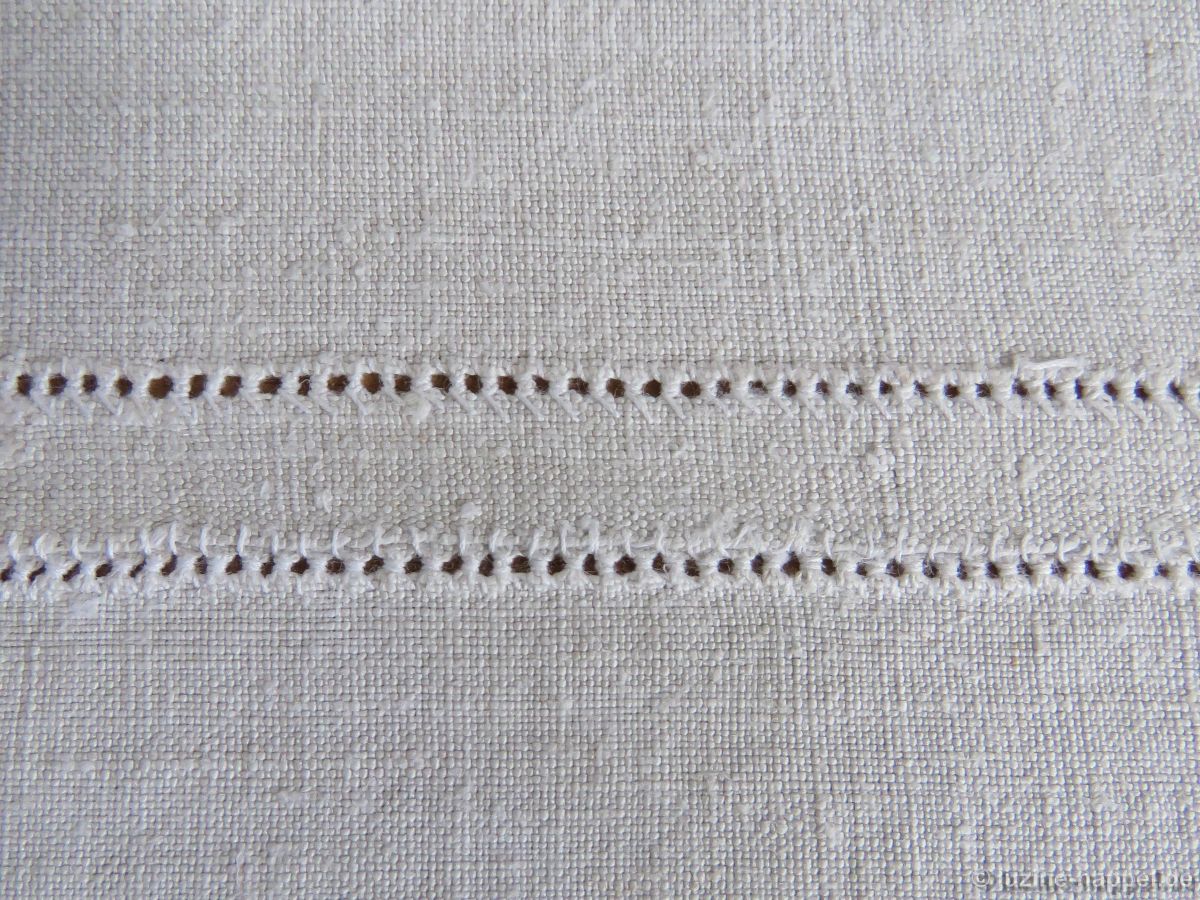
My second attempt – done, because I wanted to do a quick trial, without marking each insertion point – turned out much better. Using coton à broder No. 12, working the stitches closer together, and laying the threads to the opposite side so that they didn’t slant so much helped to establish a much better appearance. But the needle I used was too thin, and stitching through the selvage was difficult.

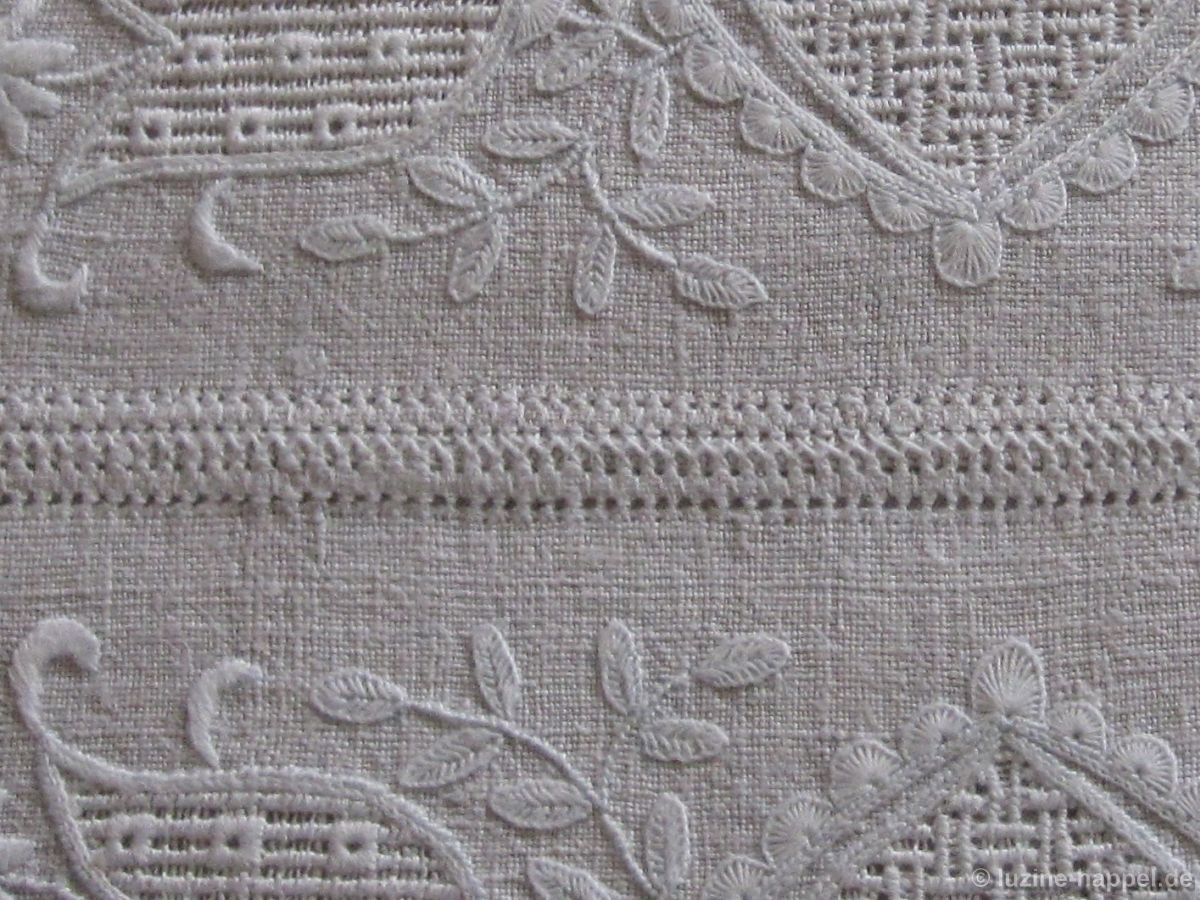
My third attempt – now using a thicker needle – turned out well. I could maintain a more even tension.
I was satisfied but wanted to perfect the appearance. The selvage on this particular linen was very strong, making it it very difficult to evenly insert the thick needle.
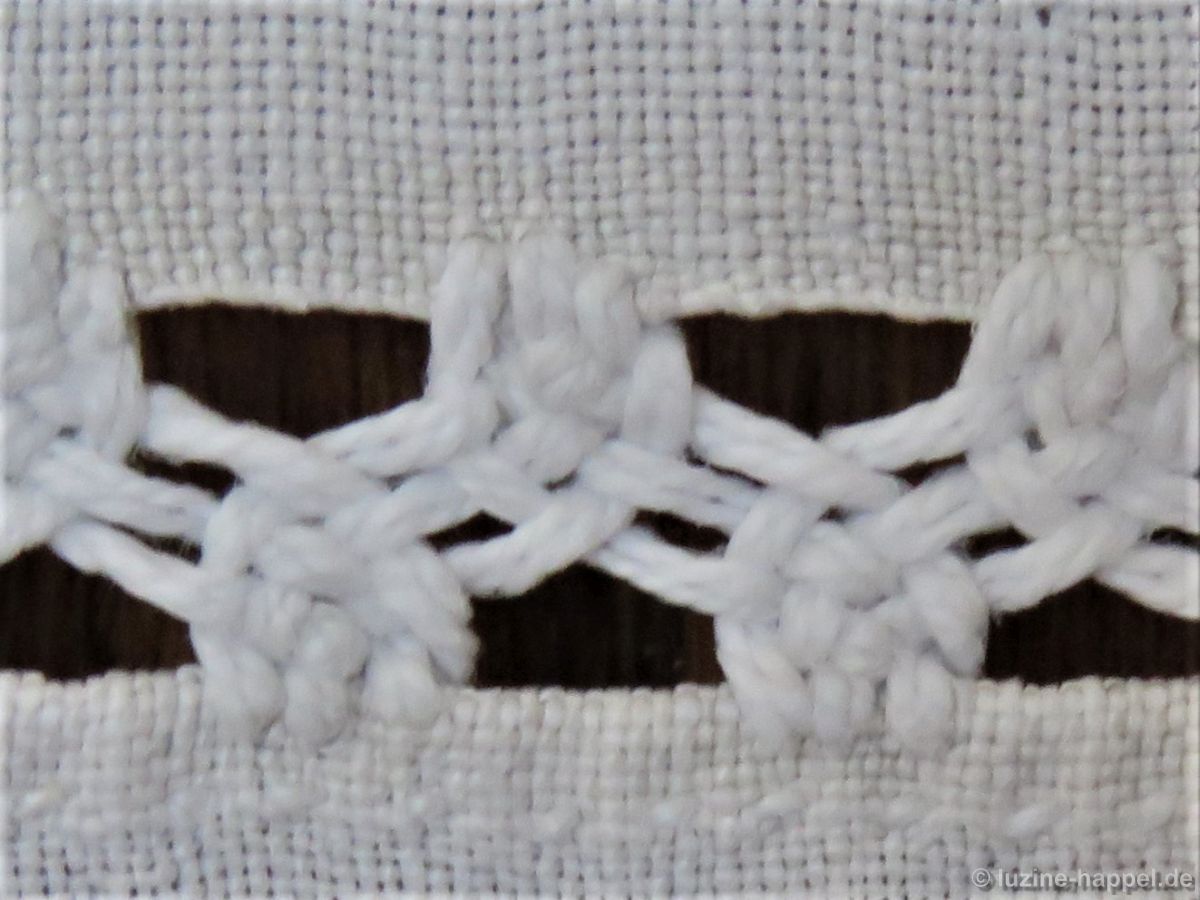
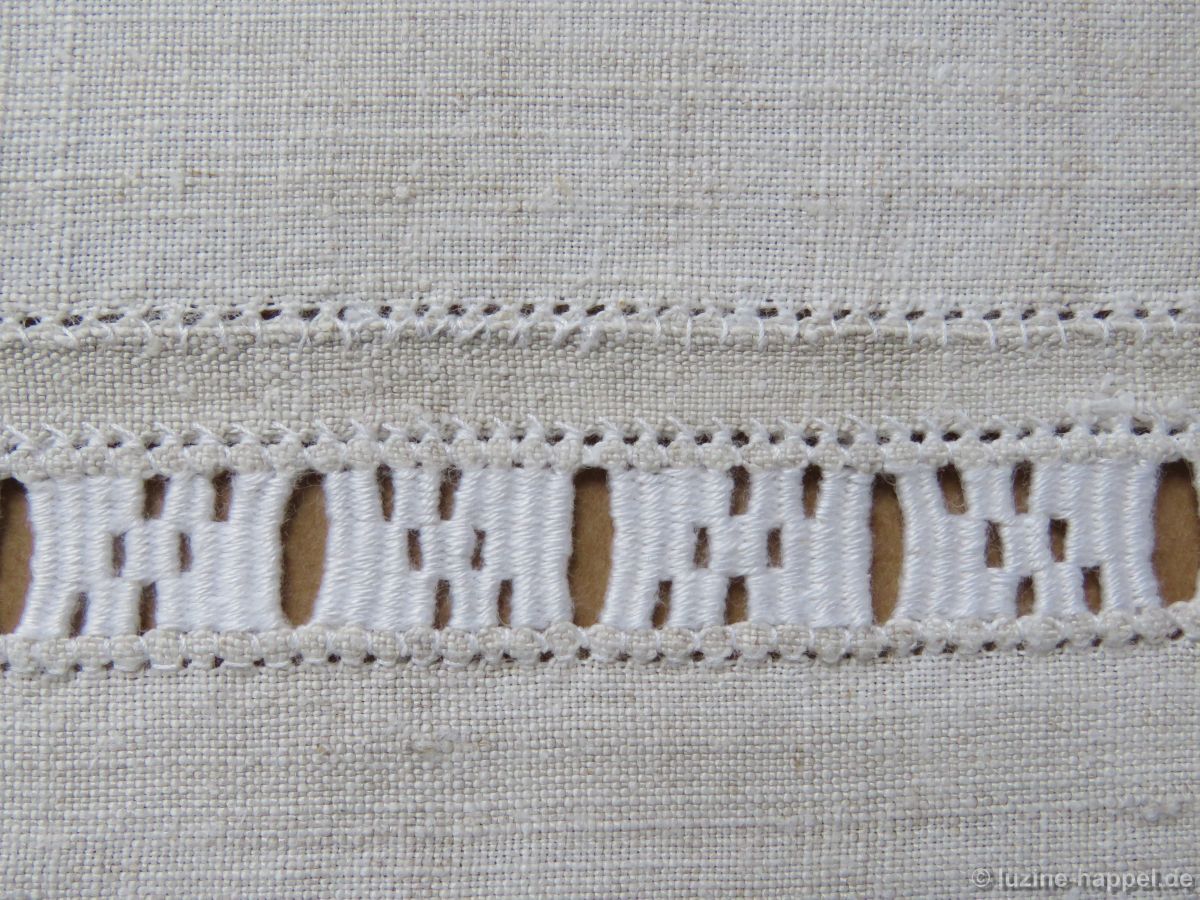
For the fourth attempt, I made the distance between the two selvages less wide and used coton à broder No. 16.
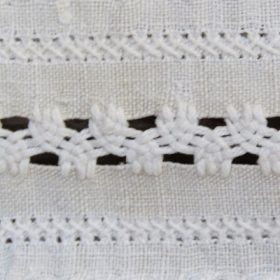
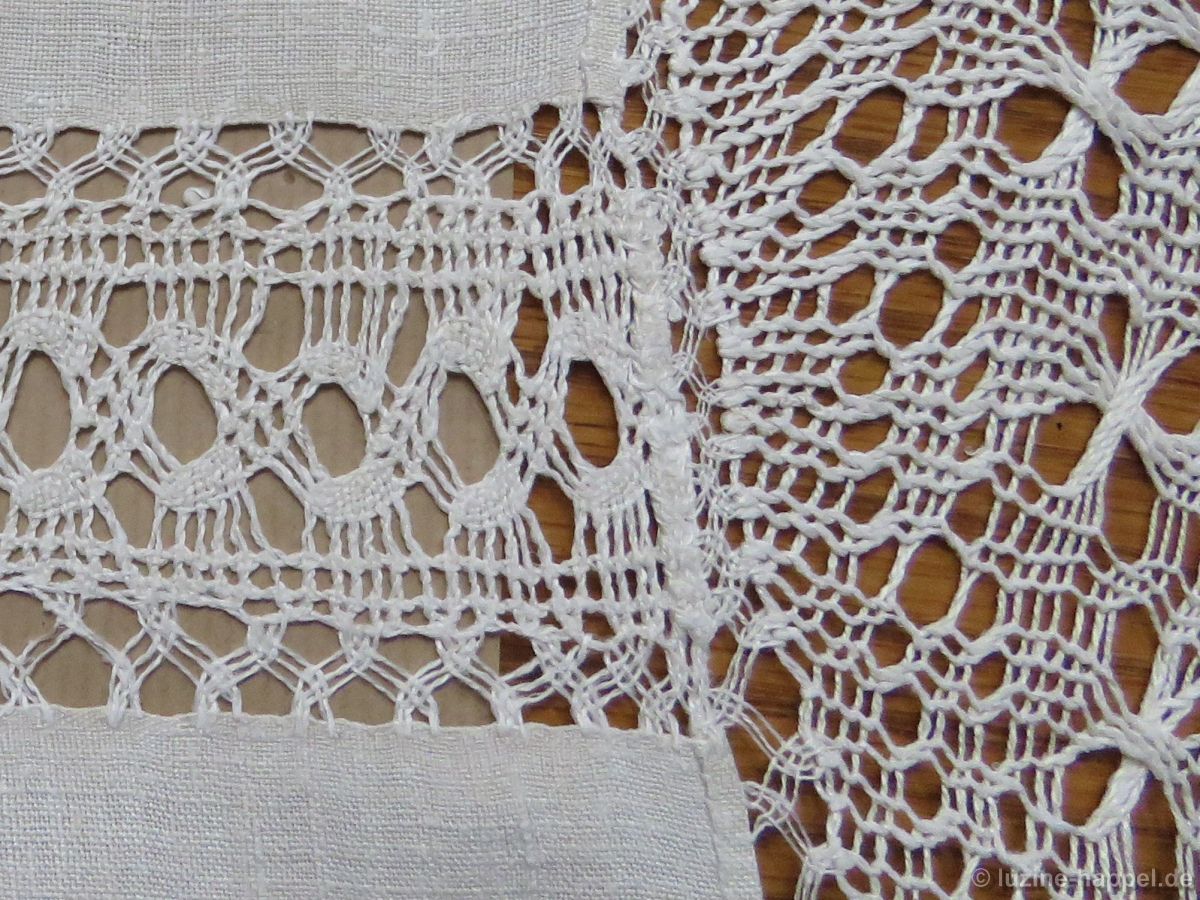
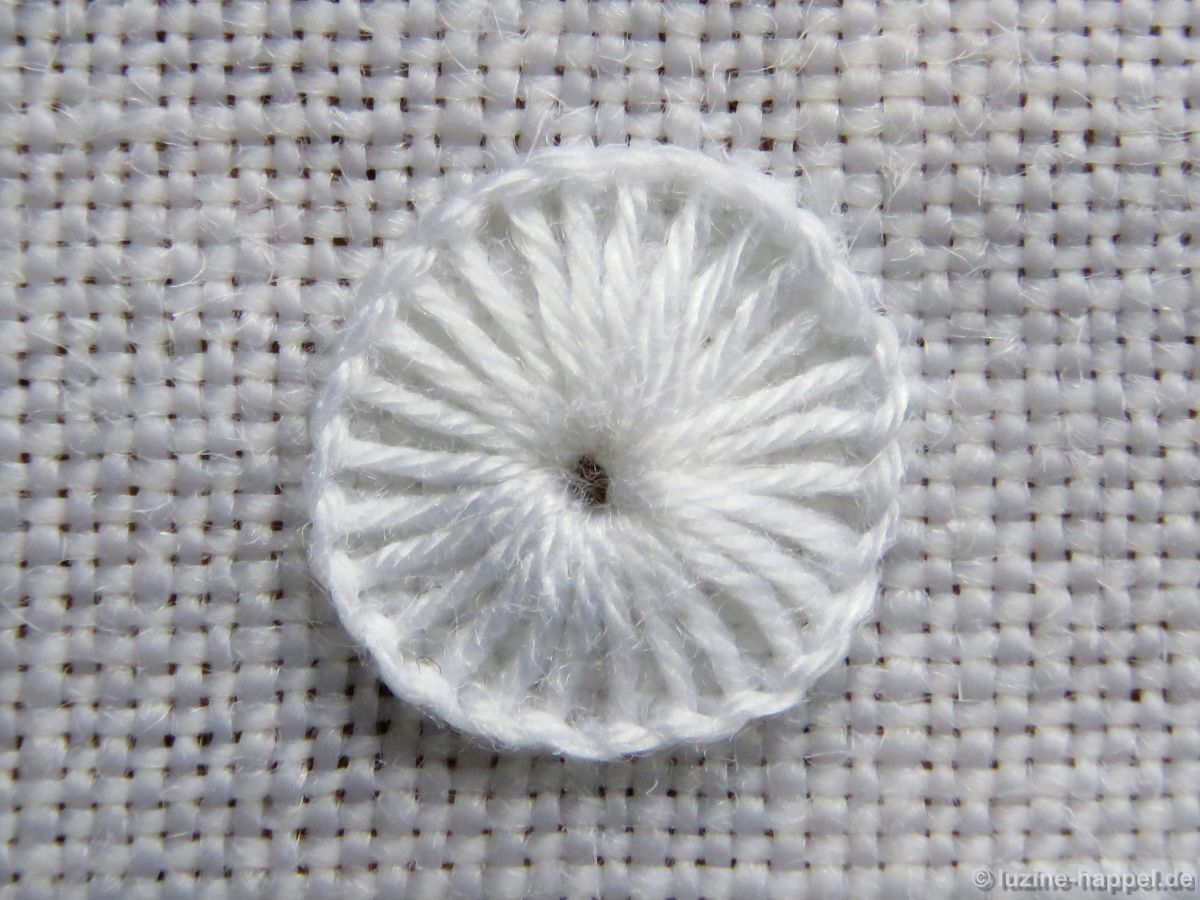
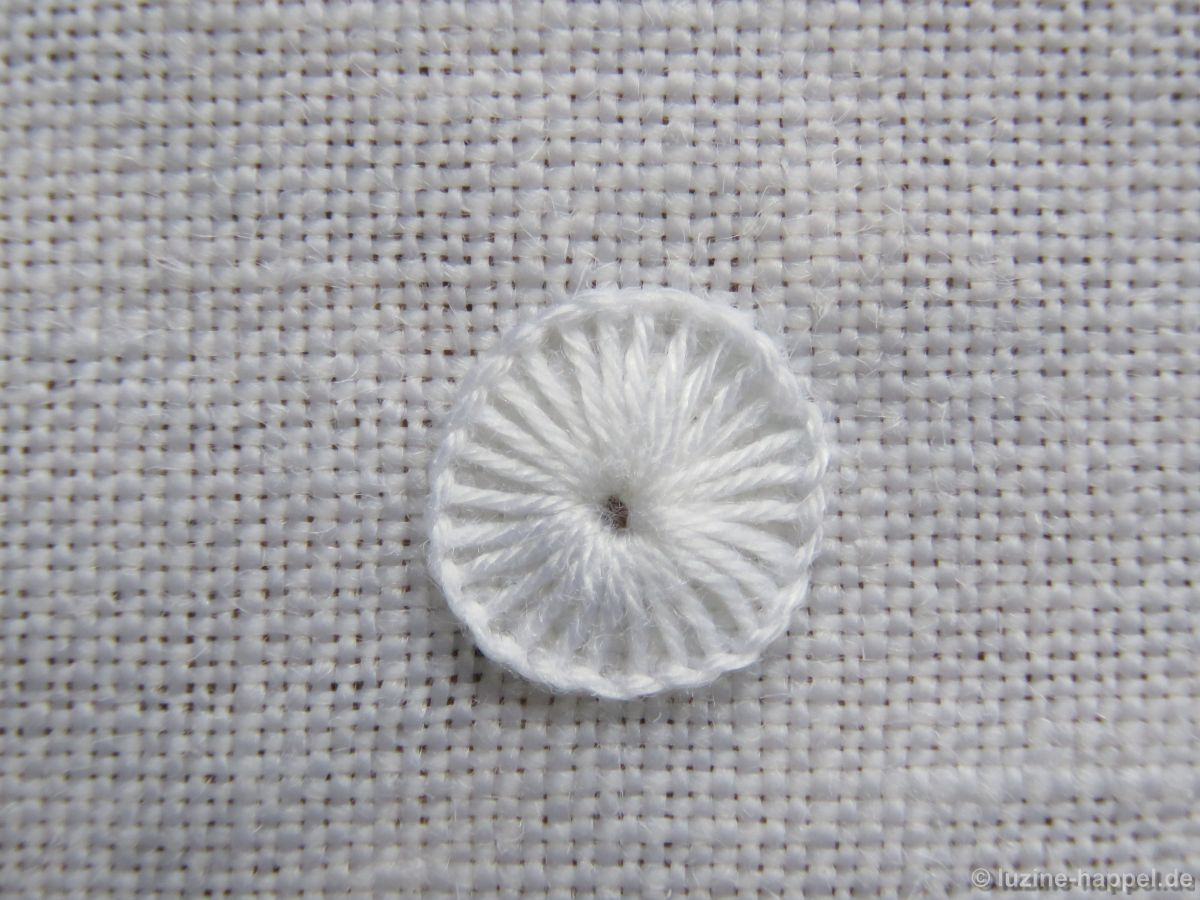
Please see the result, keeping in mind that it has been greatly enlarged.
Now I am ready to explain how to work the Plaited Insertion stitch.
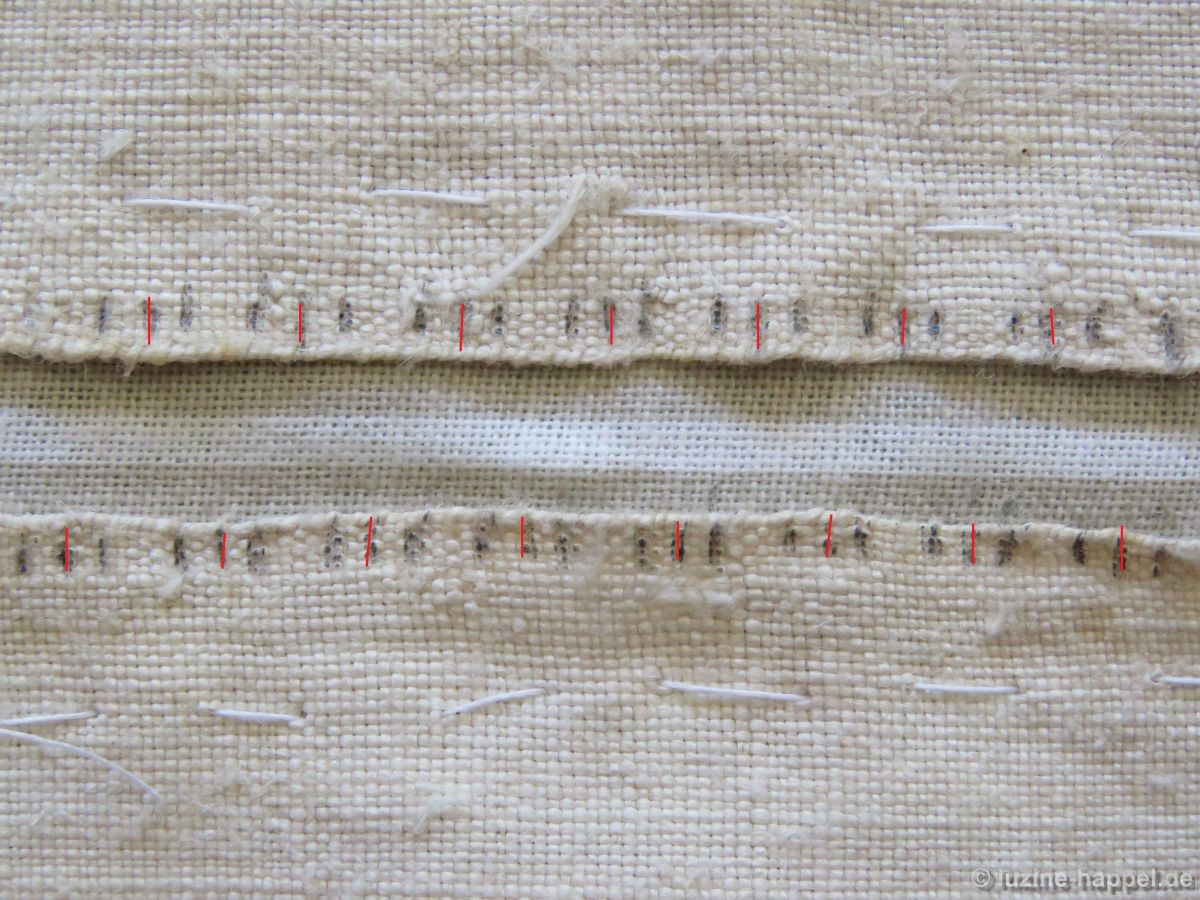
I chose handwoven linen with 18 threads per cm; I made sure that the selvages were not too tightly woven.
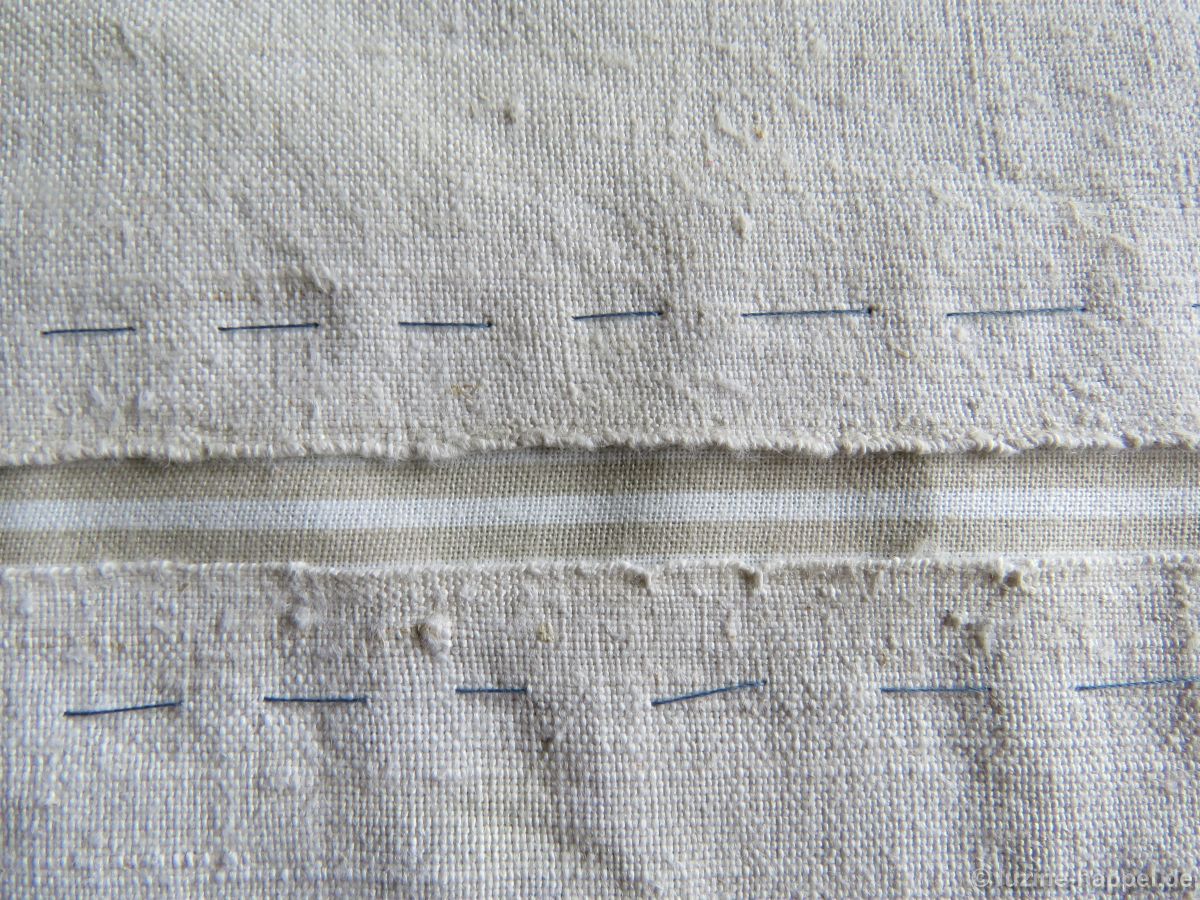
I basted the two lengths of linen – 0.6 cm apart – to a solid fabric.
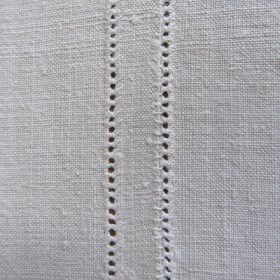
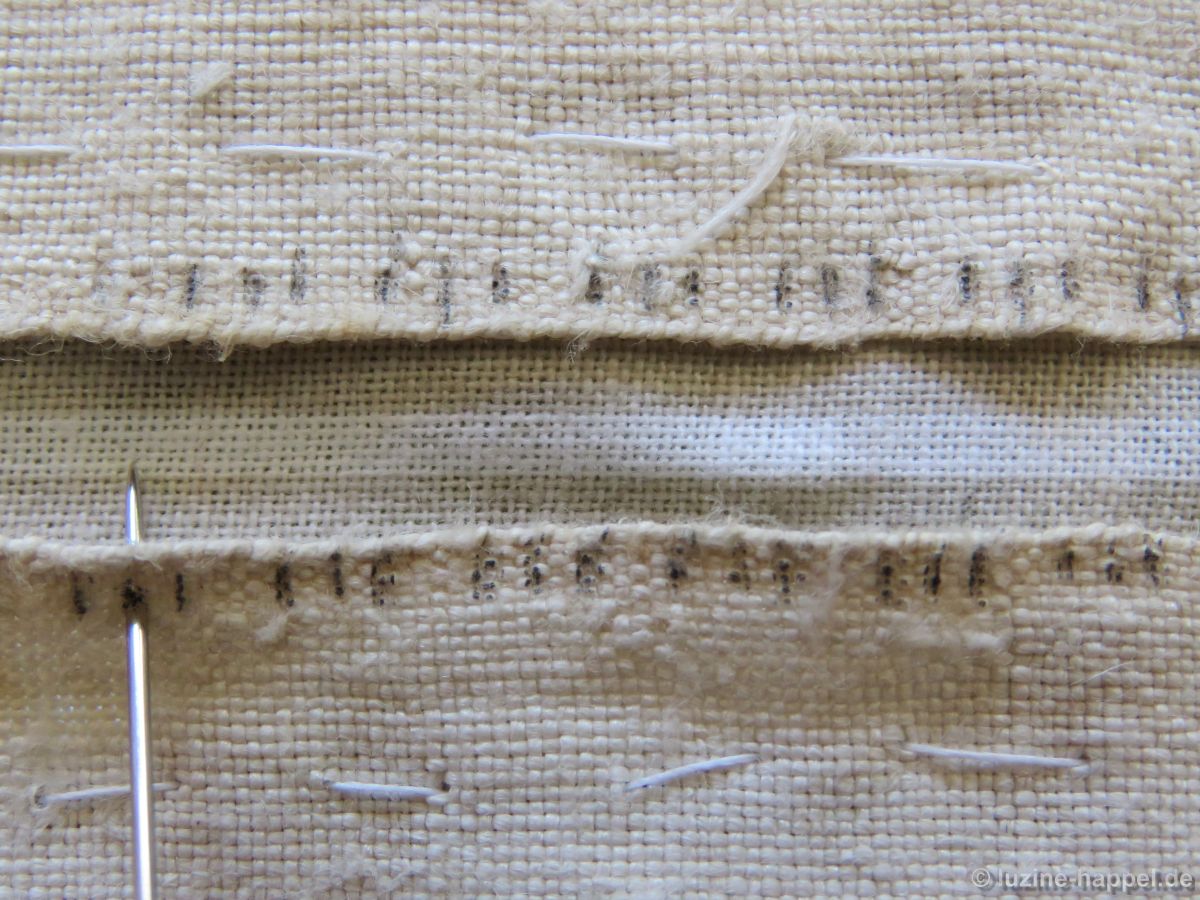
Both selvages are marked at 0.3 cm intervals (marks line up with the marks on the opposite selvage).

Between every other pair of marks, a third mark was made. The same was done on the opposite side but staggered. To clarify I added red lines to the third mark in the image below.
I used coton à broder No. 16 thread and a Chenille No. 24 needle.
The piece was stretched in a hoop.
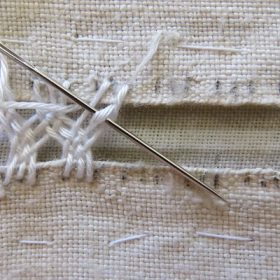
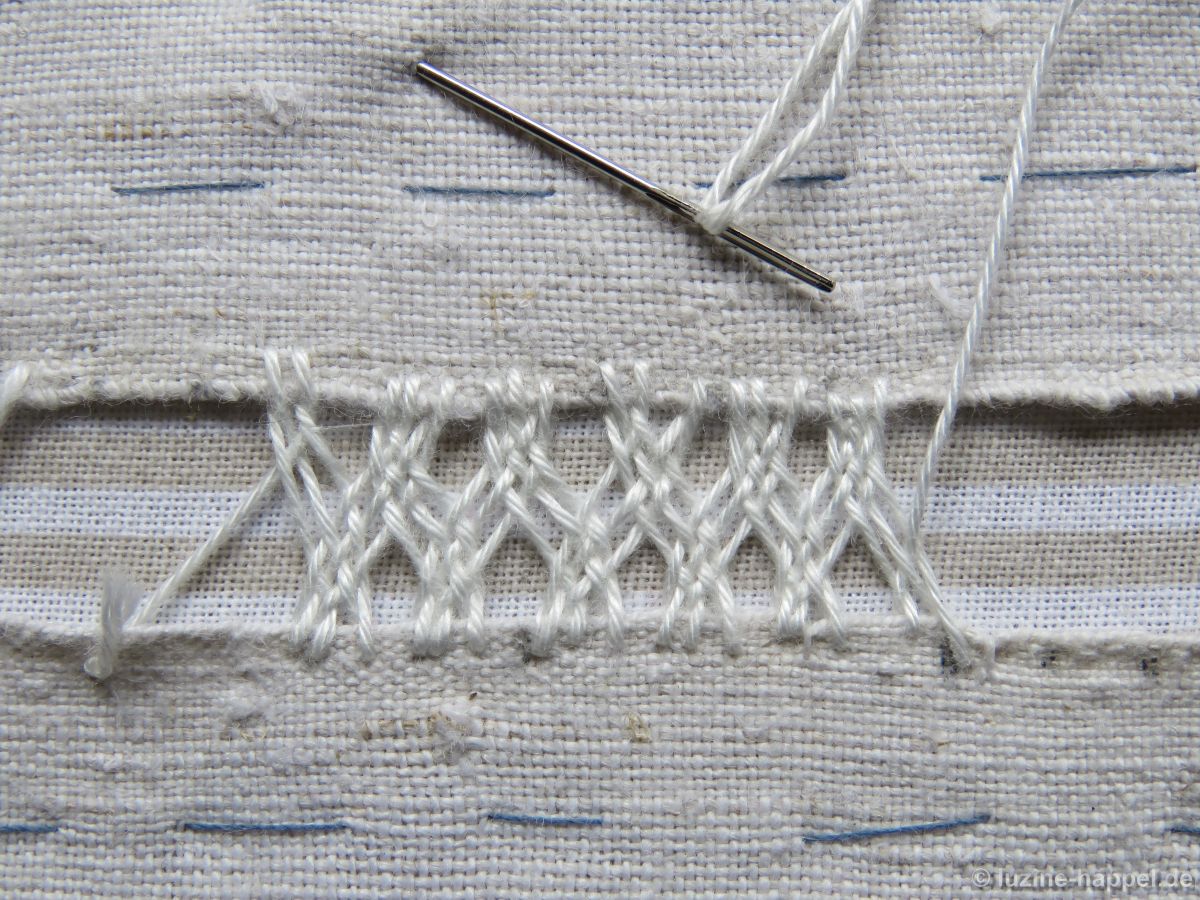
Always insert the needle from the front side and bring it up on the back side of the fabric. Make sure that the support fabric is not caught with the needle.
Always bring the needle up to the left of the working thread.
The first four stitches are the set-up stitches – from the fifth stitch the entire pattern is worked.
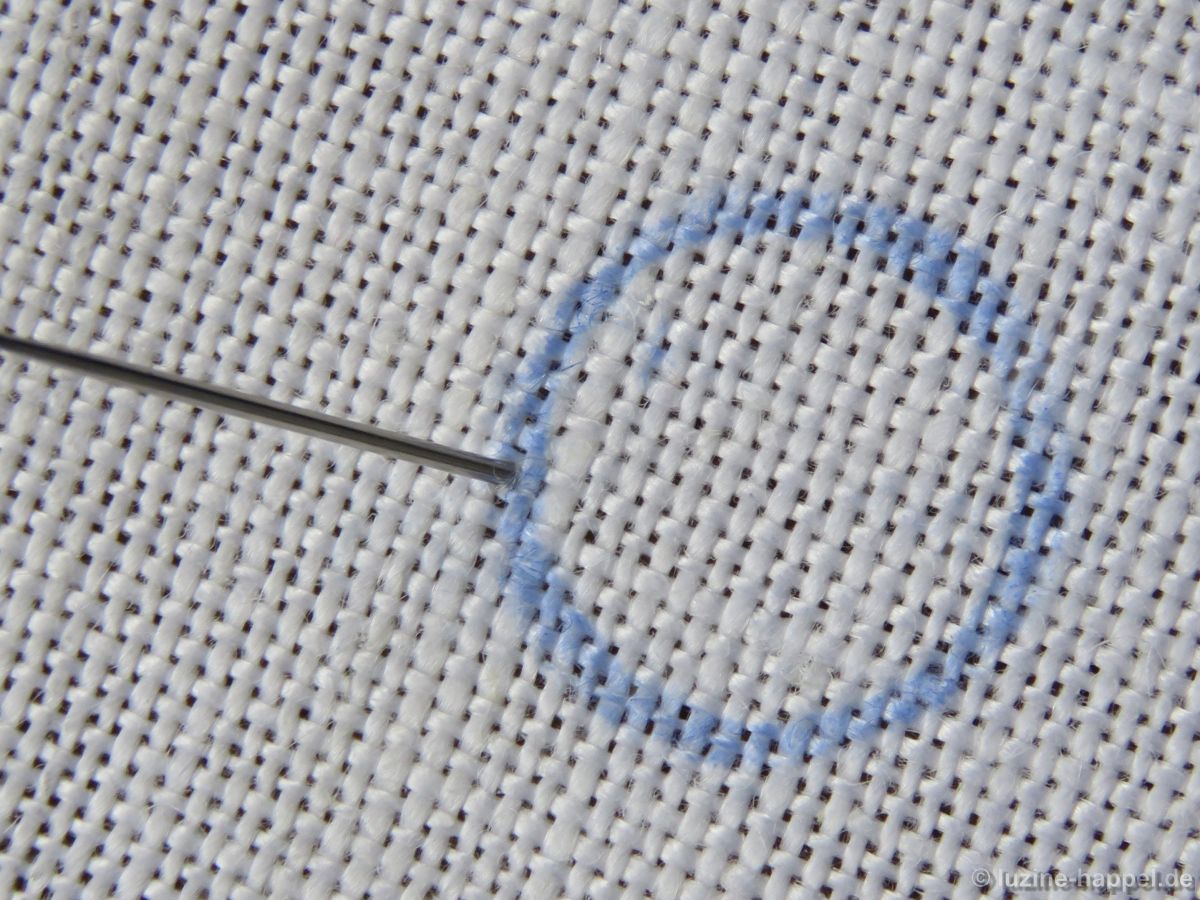
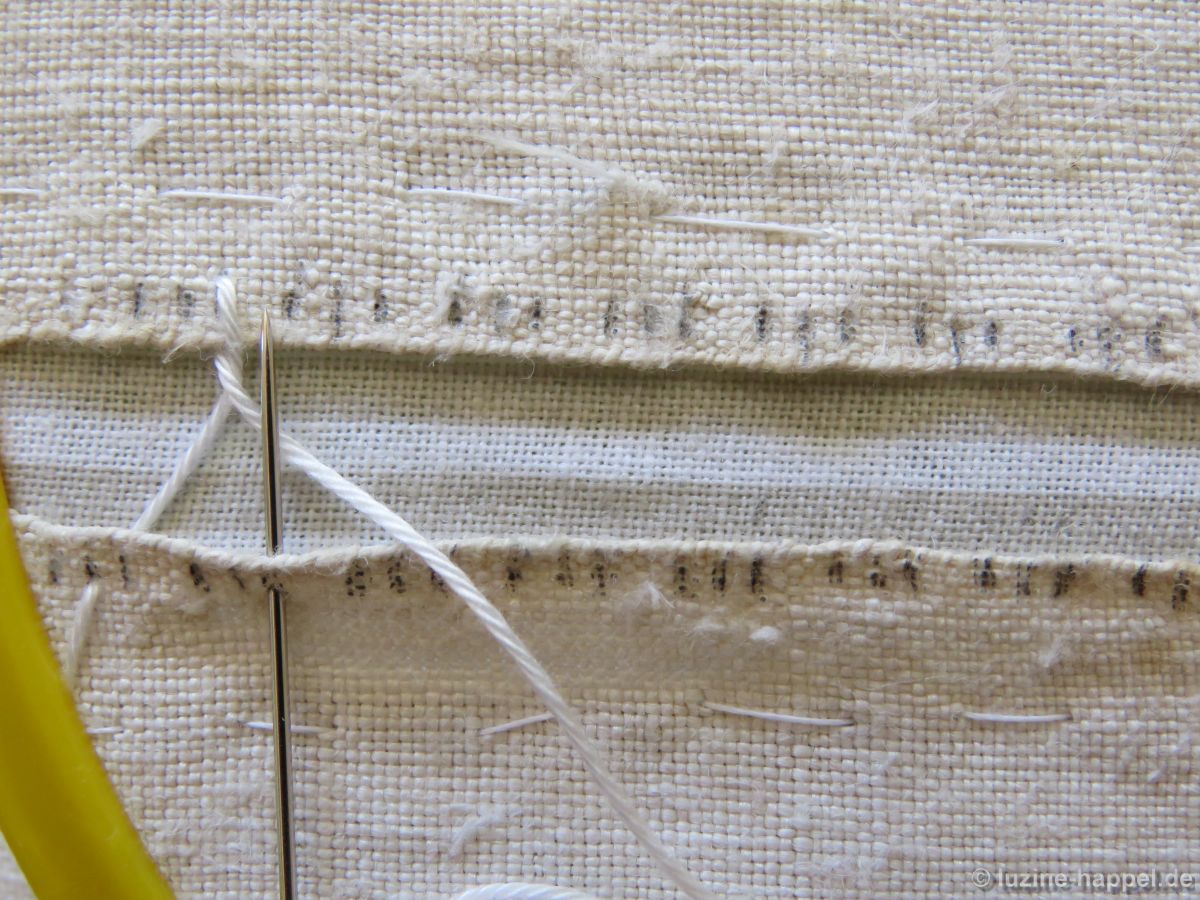
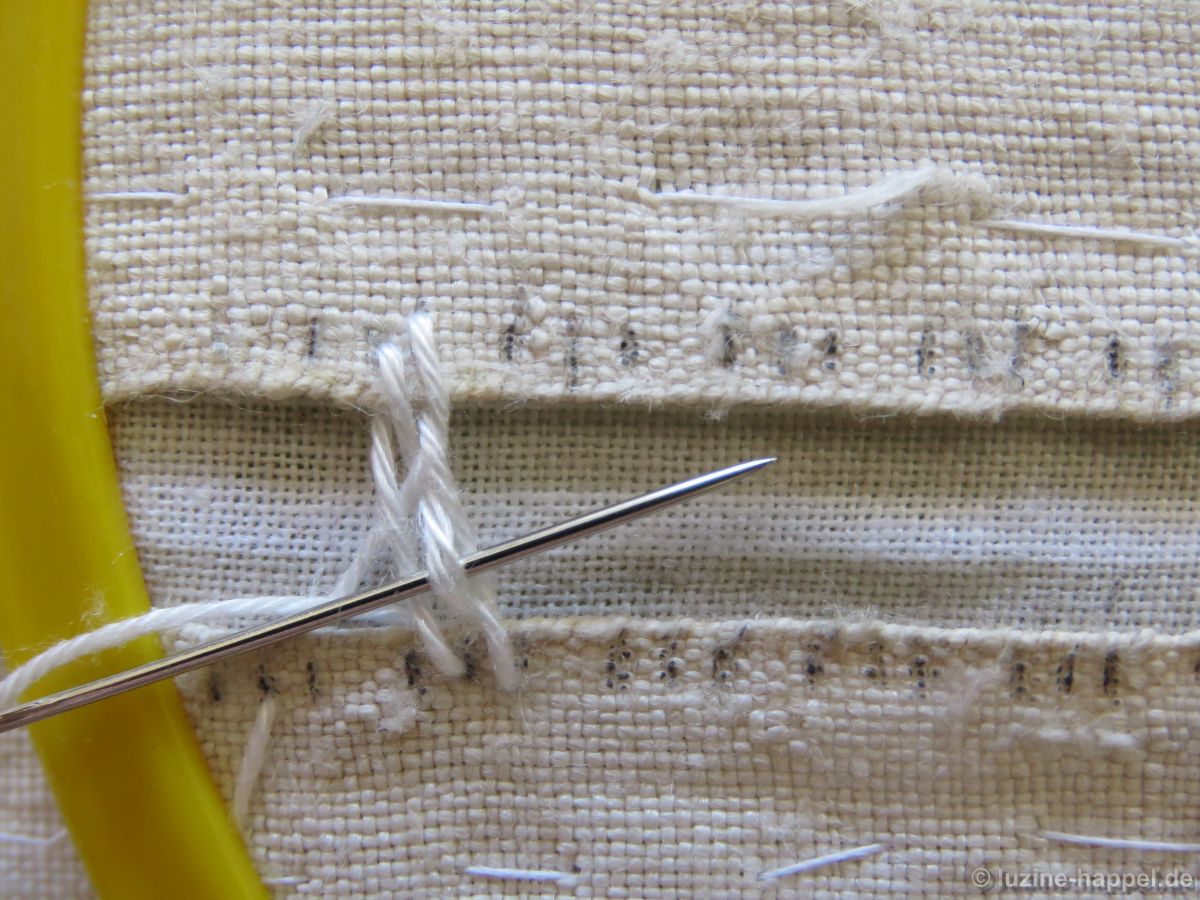
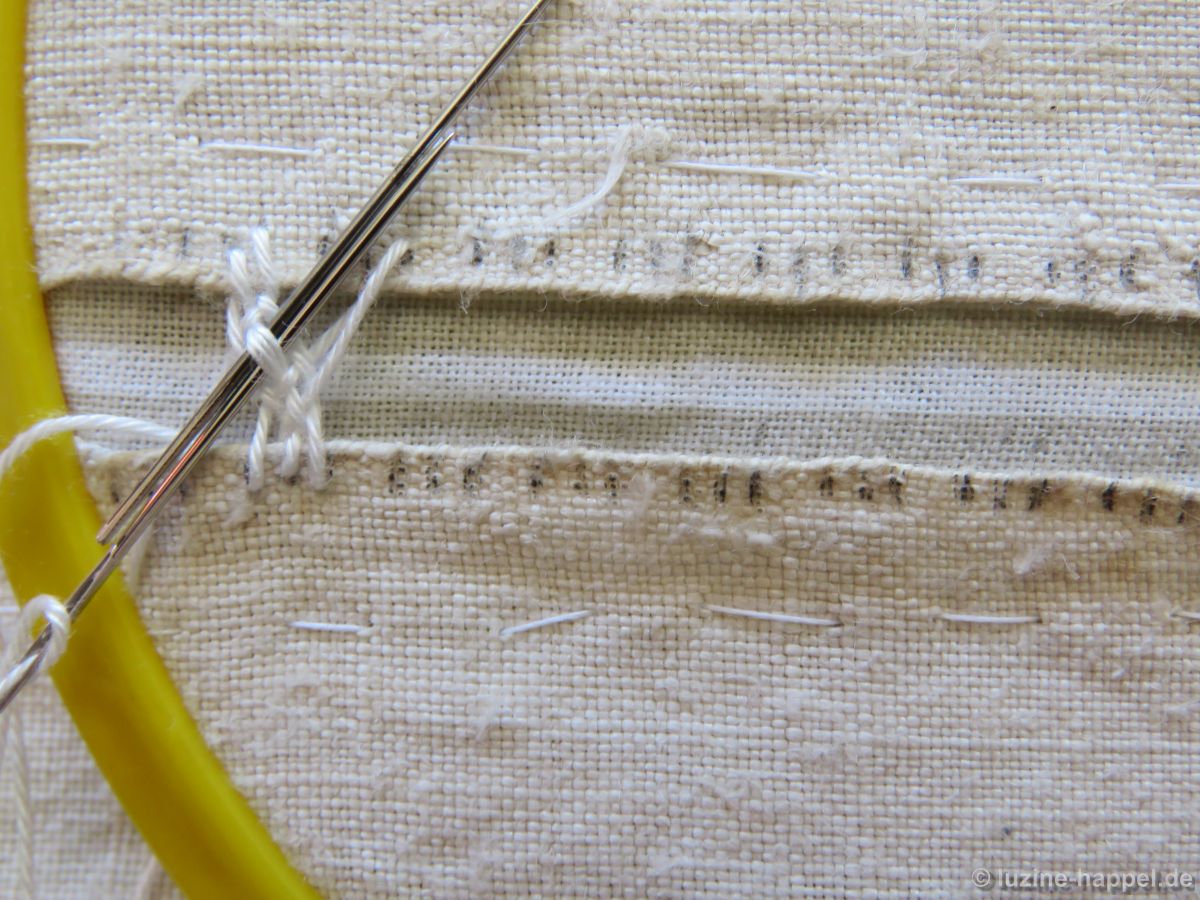
Insert the needle on the middle mark on the bottom selvage. Pull the thread through.
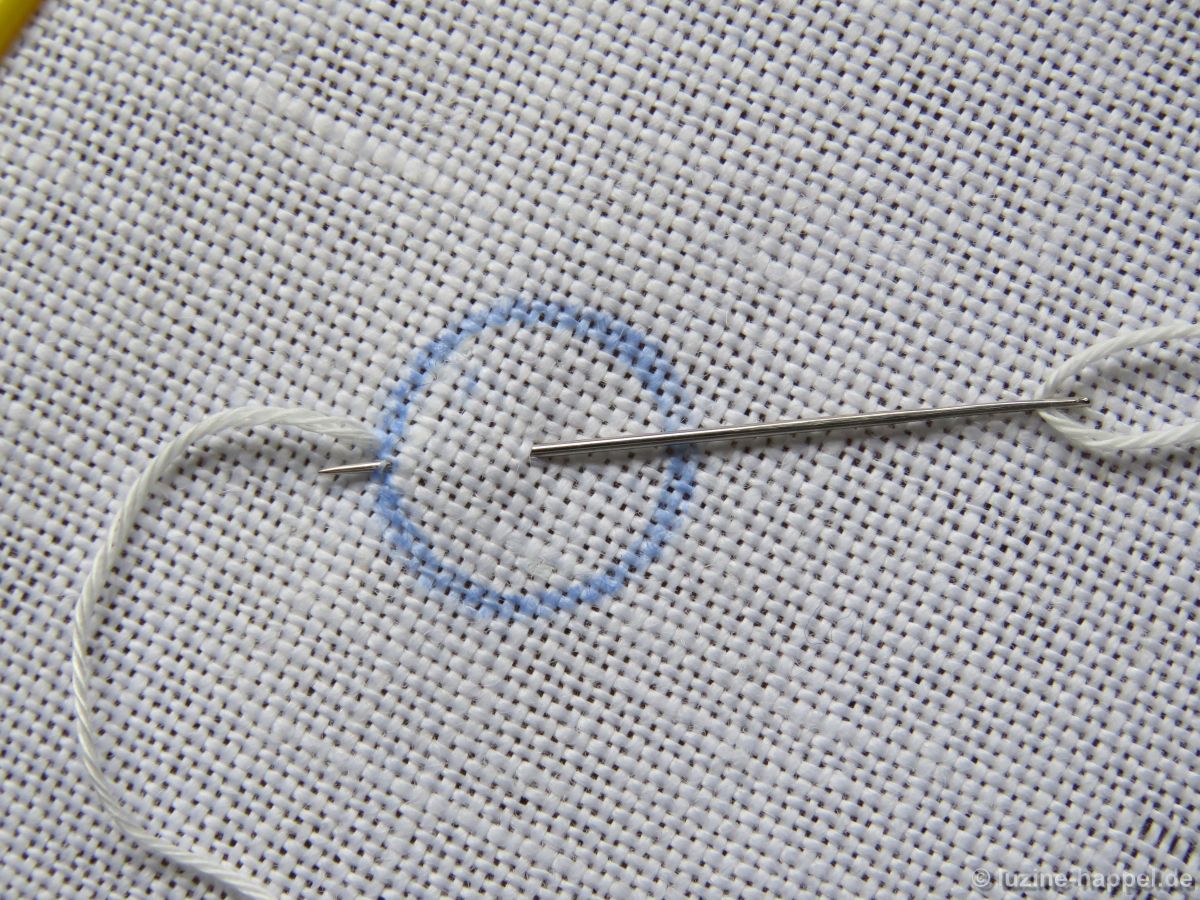
Take the thread up and to the right, and insert the needle in the right-hand mark of the first group-of-three marks.

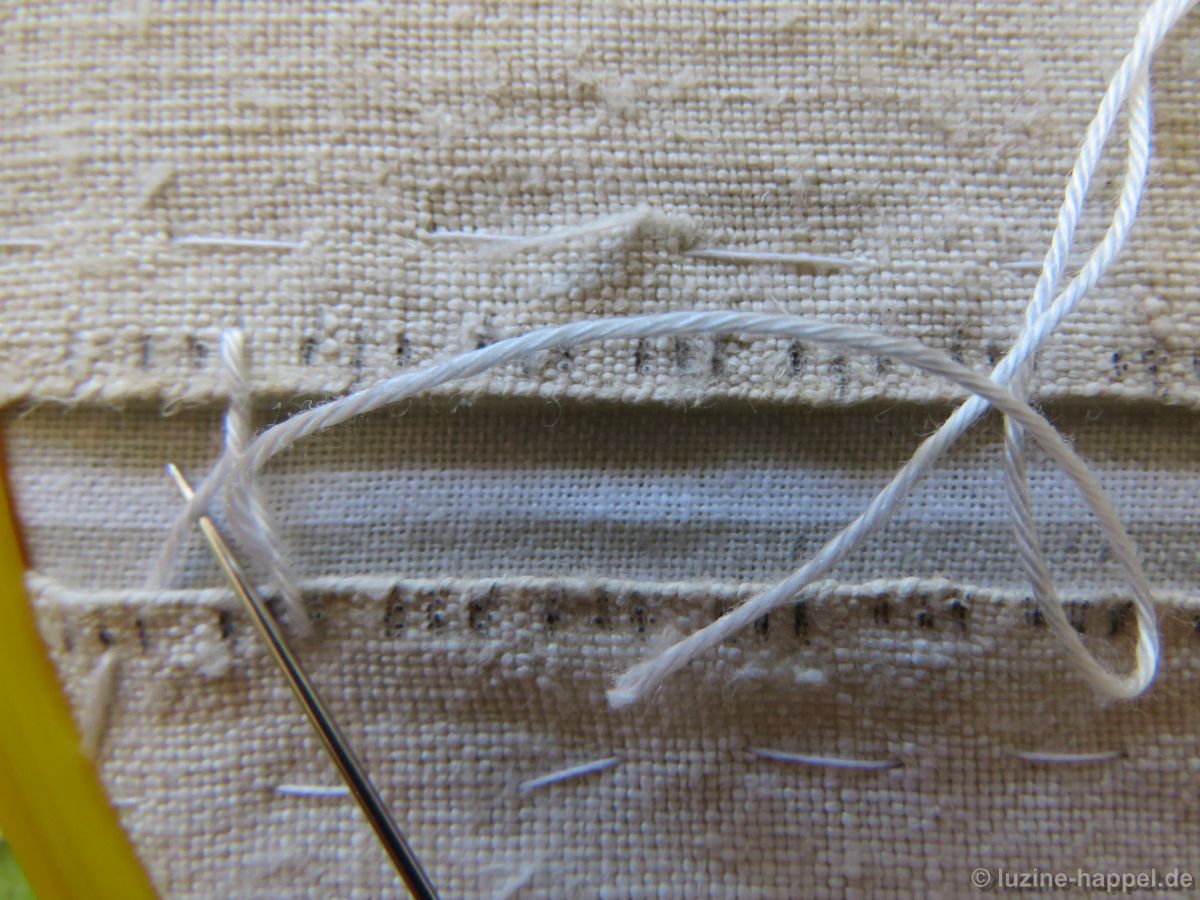
Cross over the working thread to the right, and insert the needle in the right-hand mark of the next group-of-three marks.
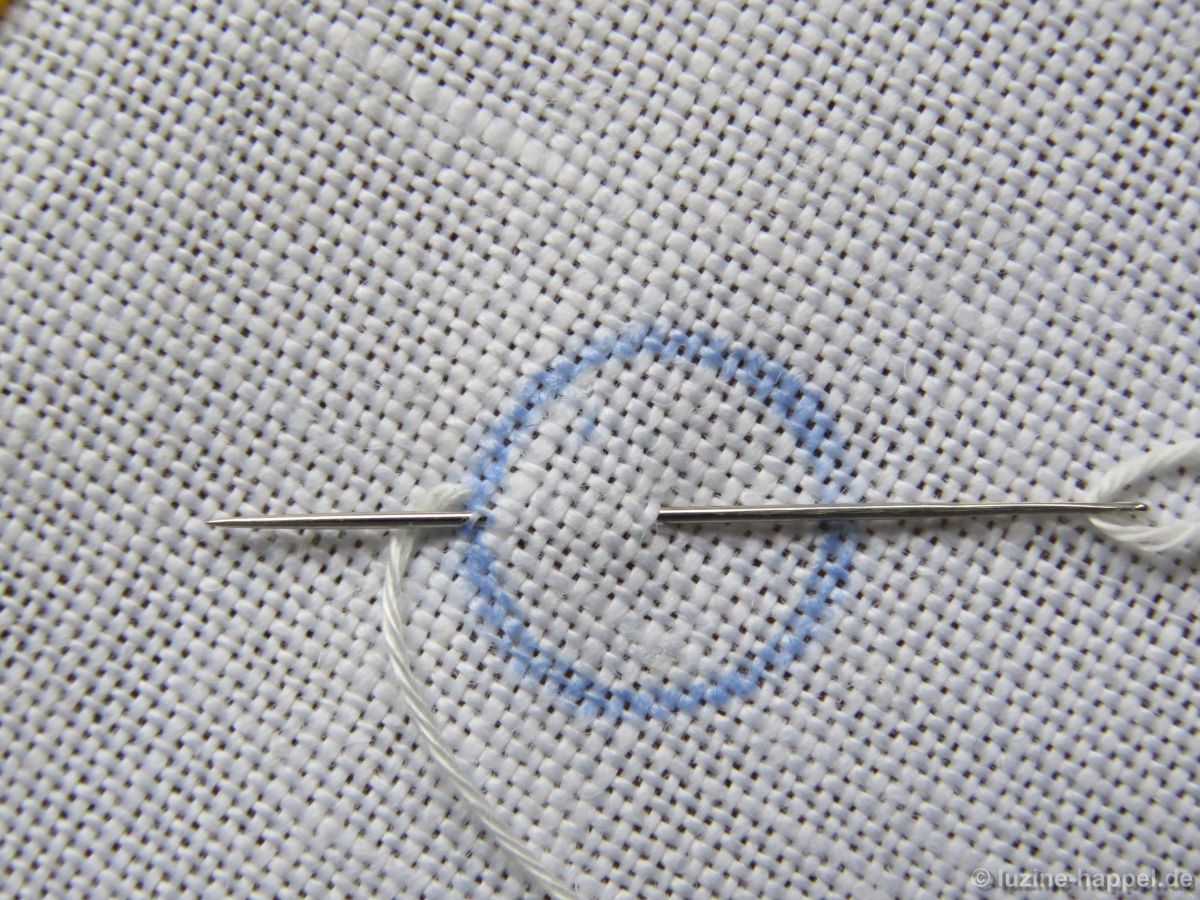
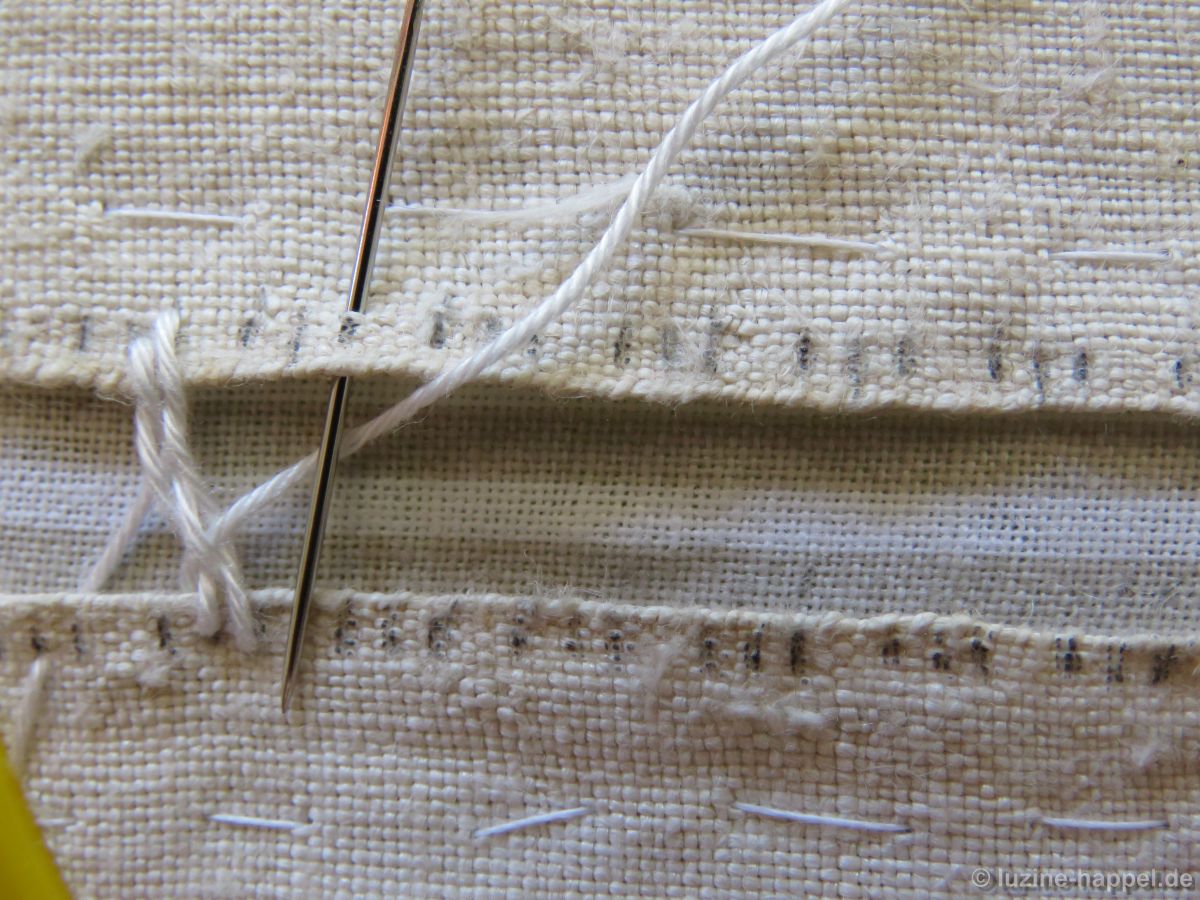
Pull the thread through, take the needle to the left, and cross under the laid thread.
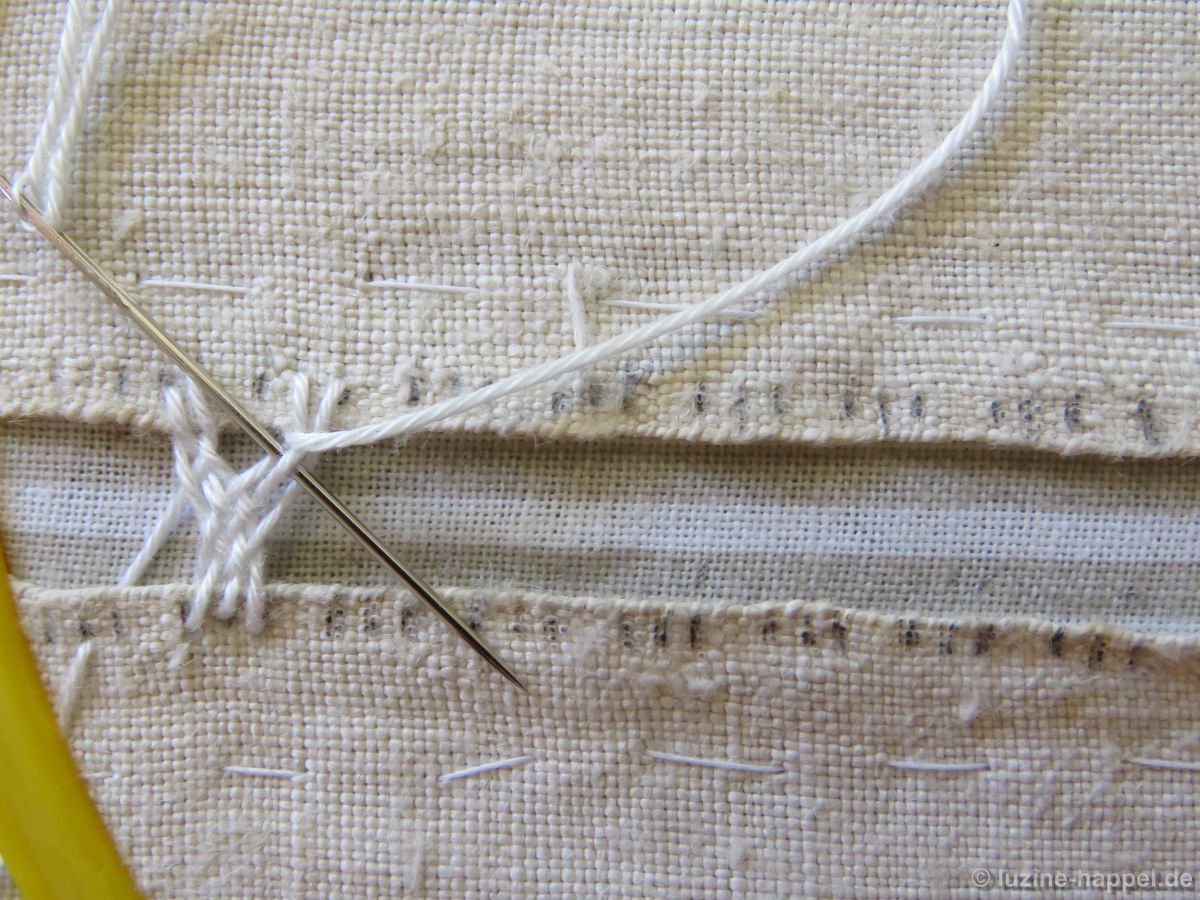
Insert the needle in the middle-top mark.
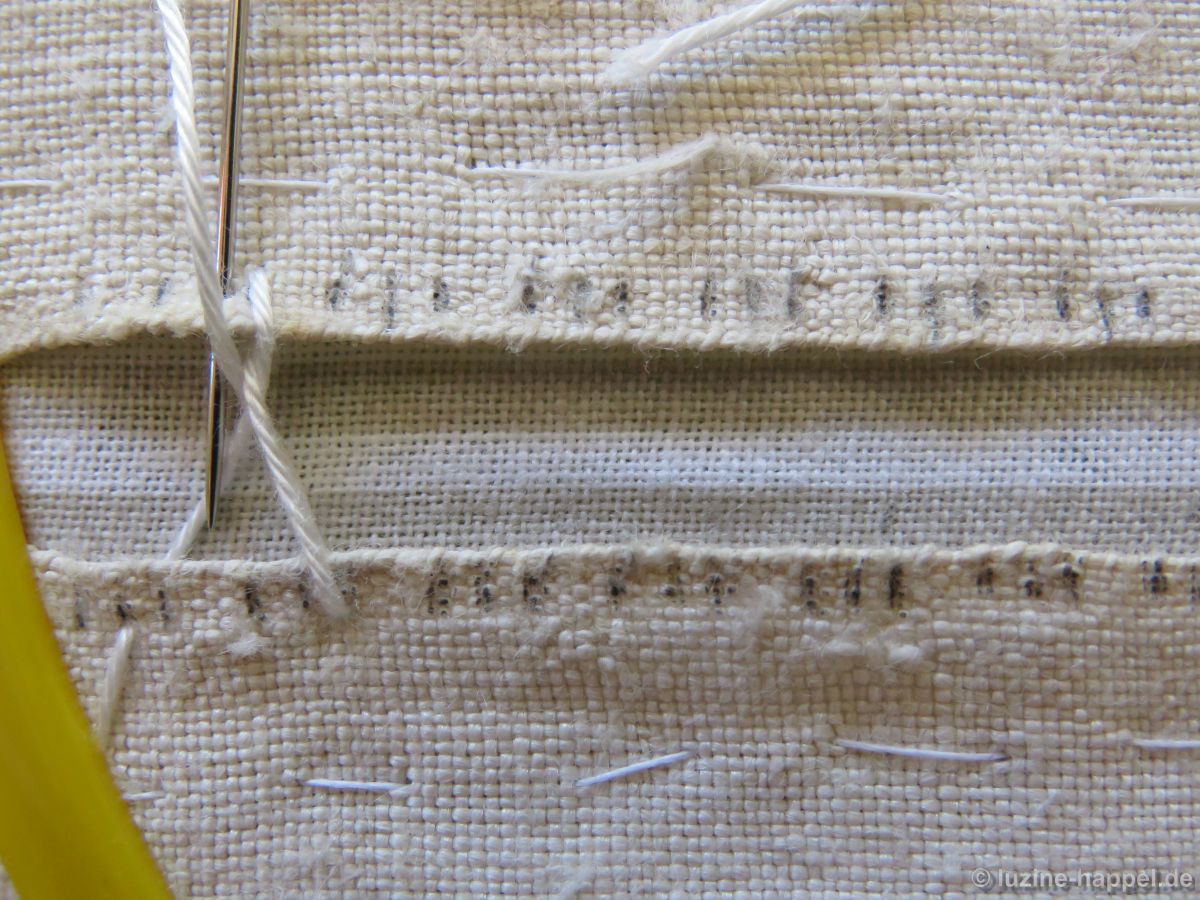
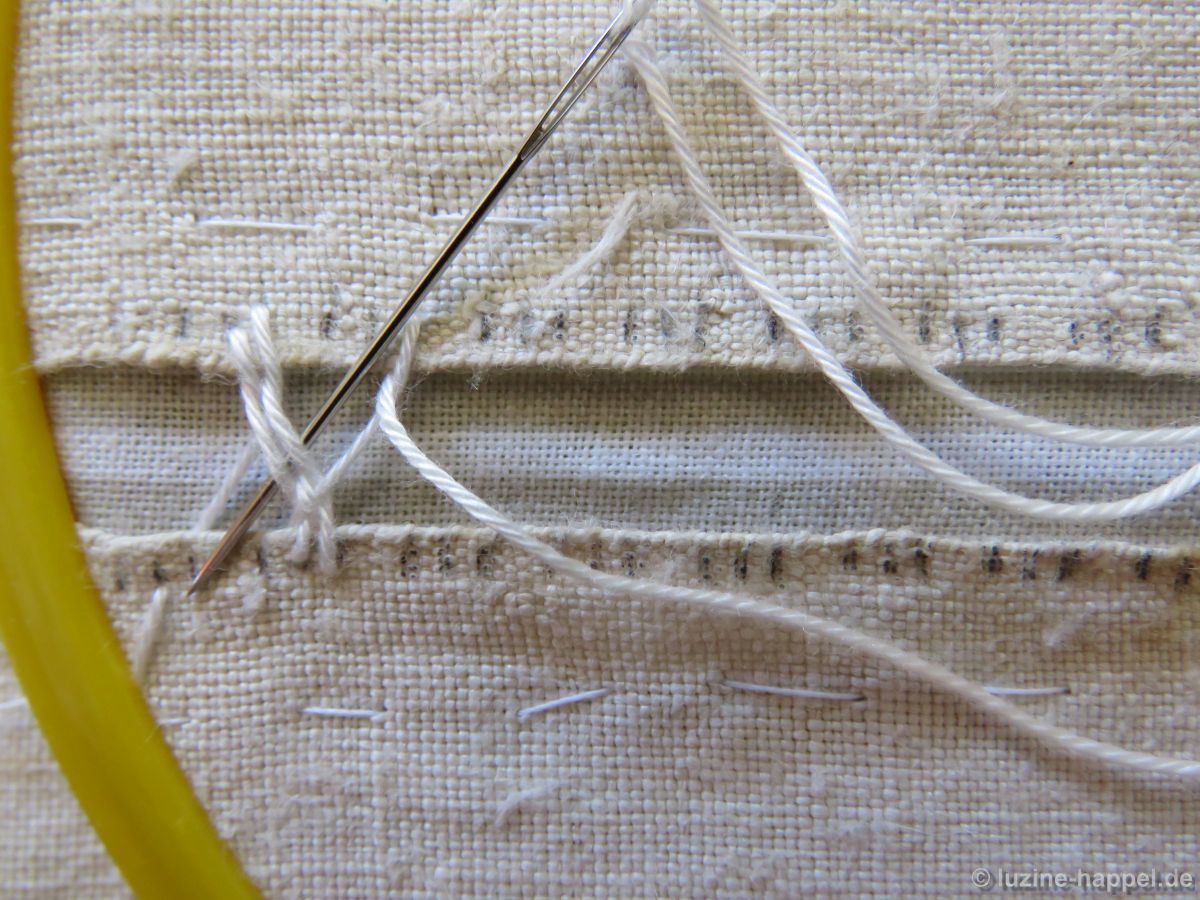
Move to the bottom right, cross over the laid thread, and insert the needle on the middle mark.
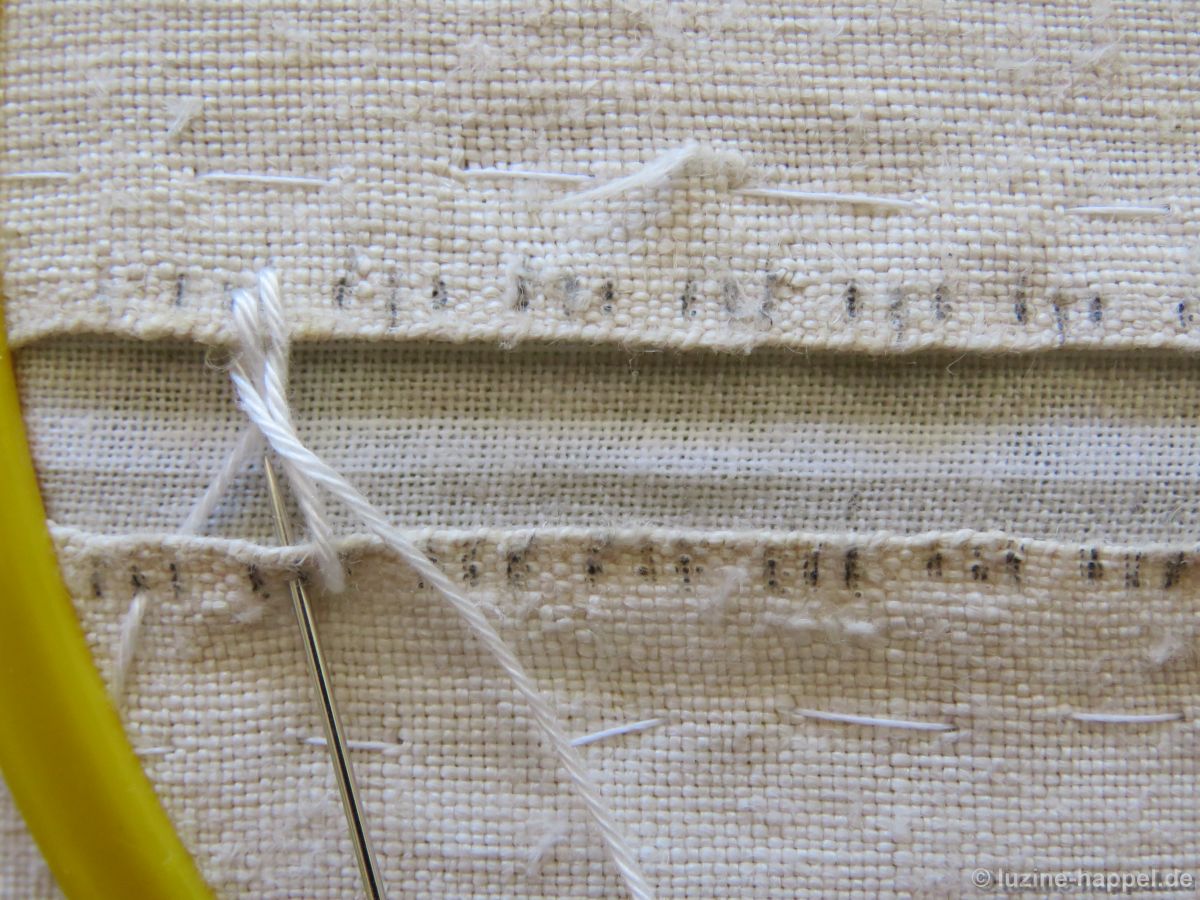
Always from the middle mark, the needle travels up (or down) and to the right-hand mark of the next group-of-three marks.
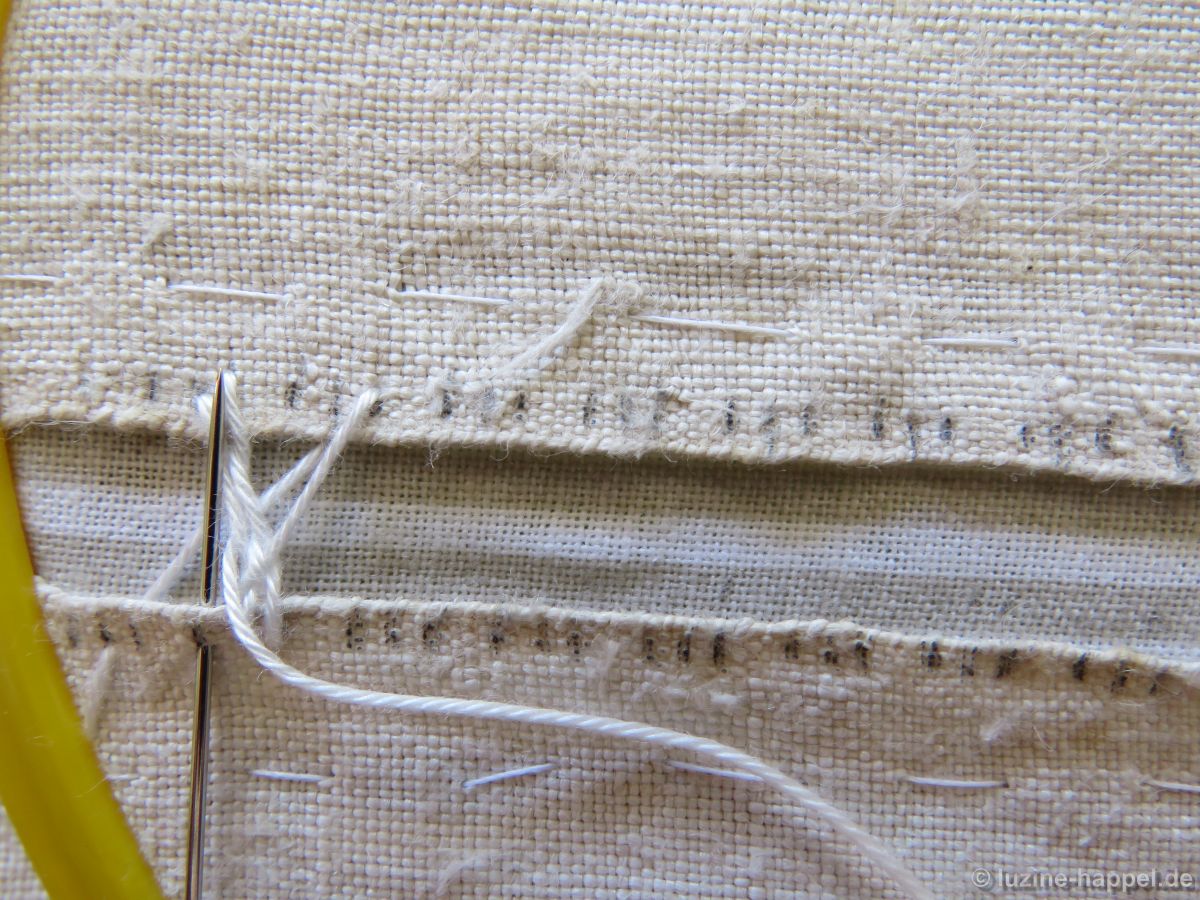
Now the steps to be repeated commence.
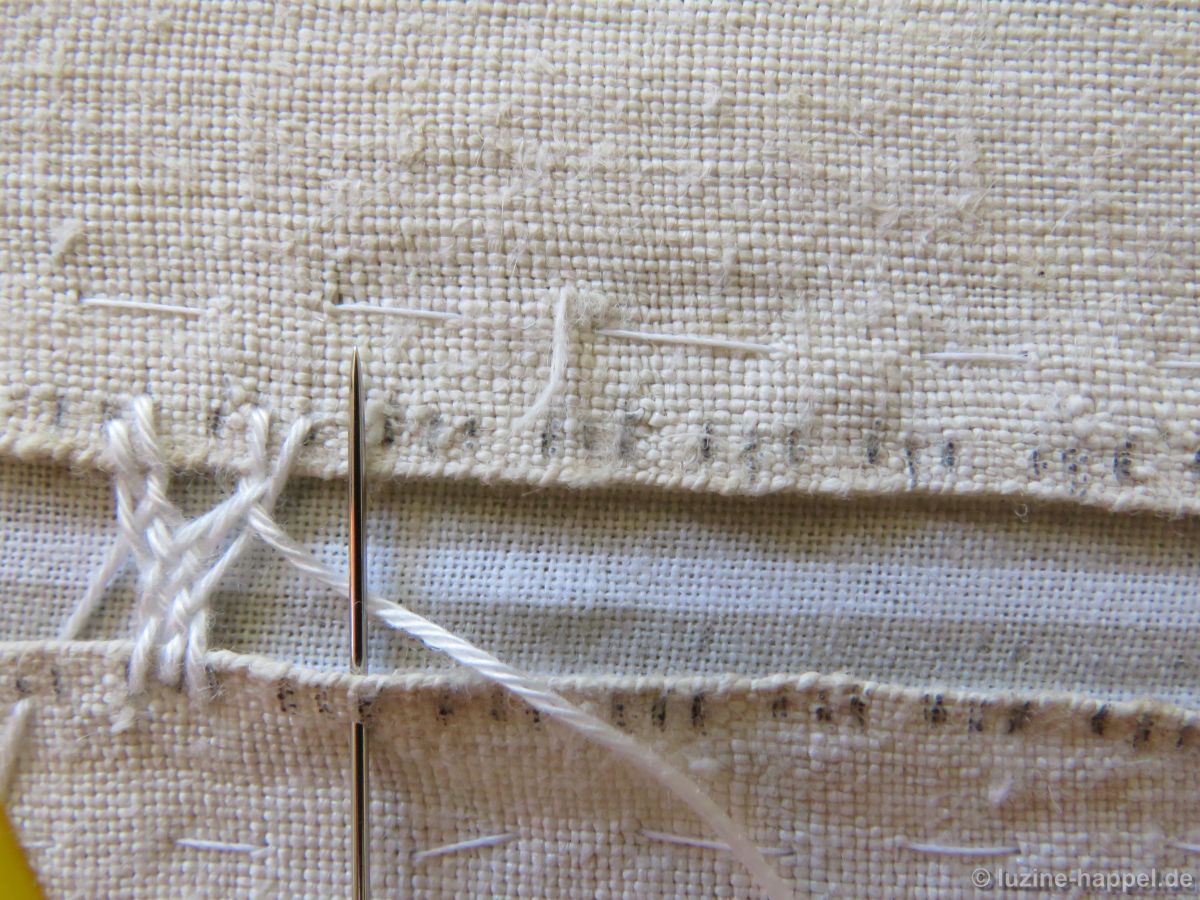
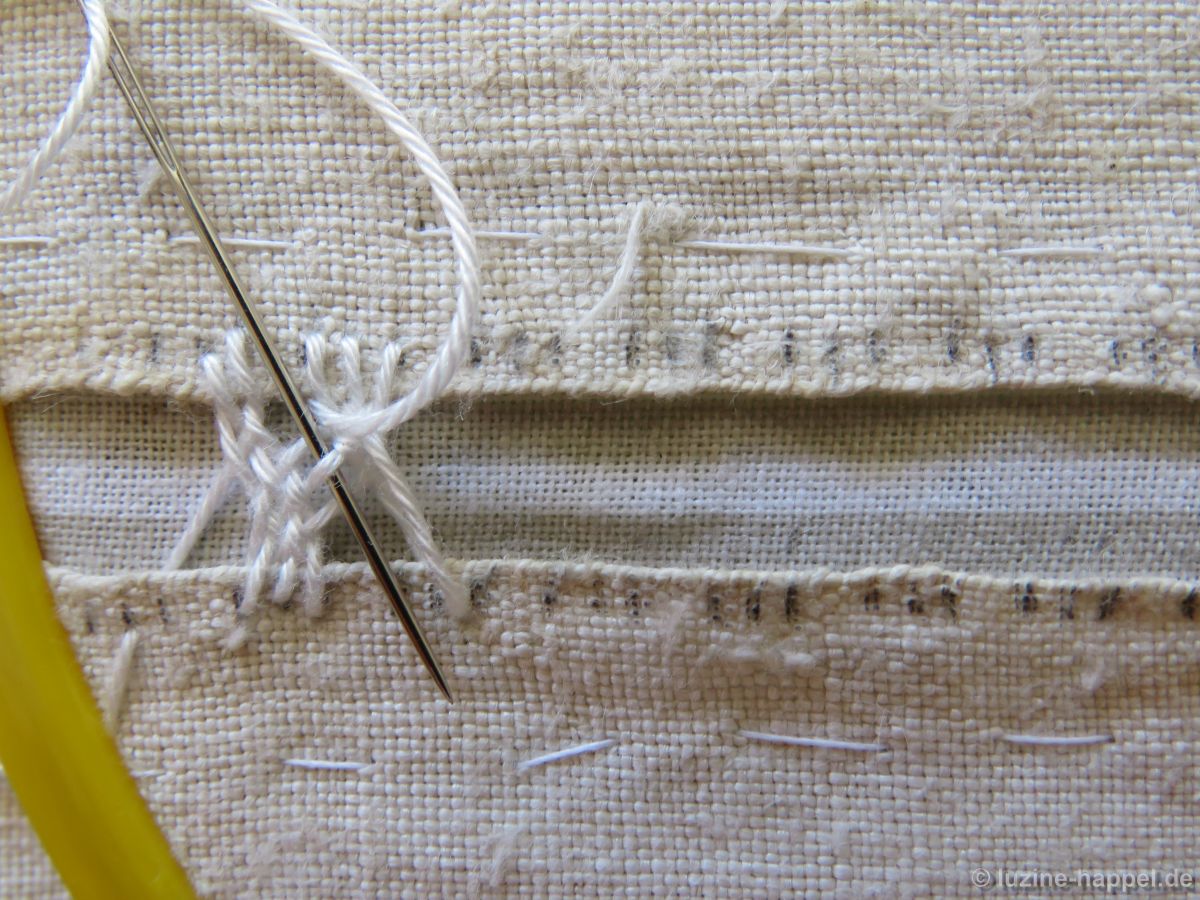
*After inserting in the lower-middle mark, pull the thread through and weave over, under, and over the laid threads.
Insert the needle in the right-hand mark of the next group-of-three marks.
Pull the thread through, move back to the left and weave vice versa – under, over, under – the laid threads.
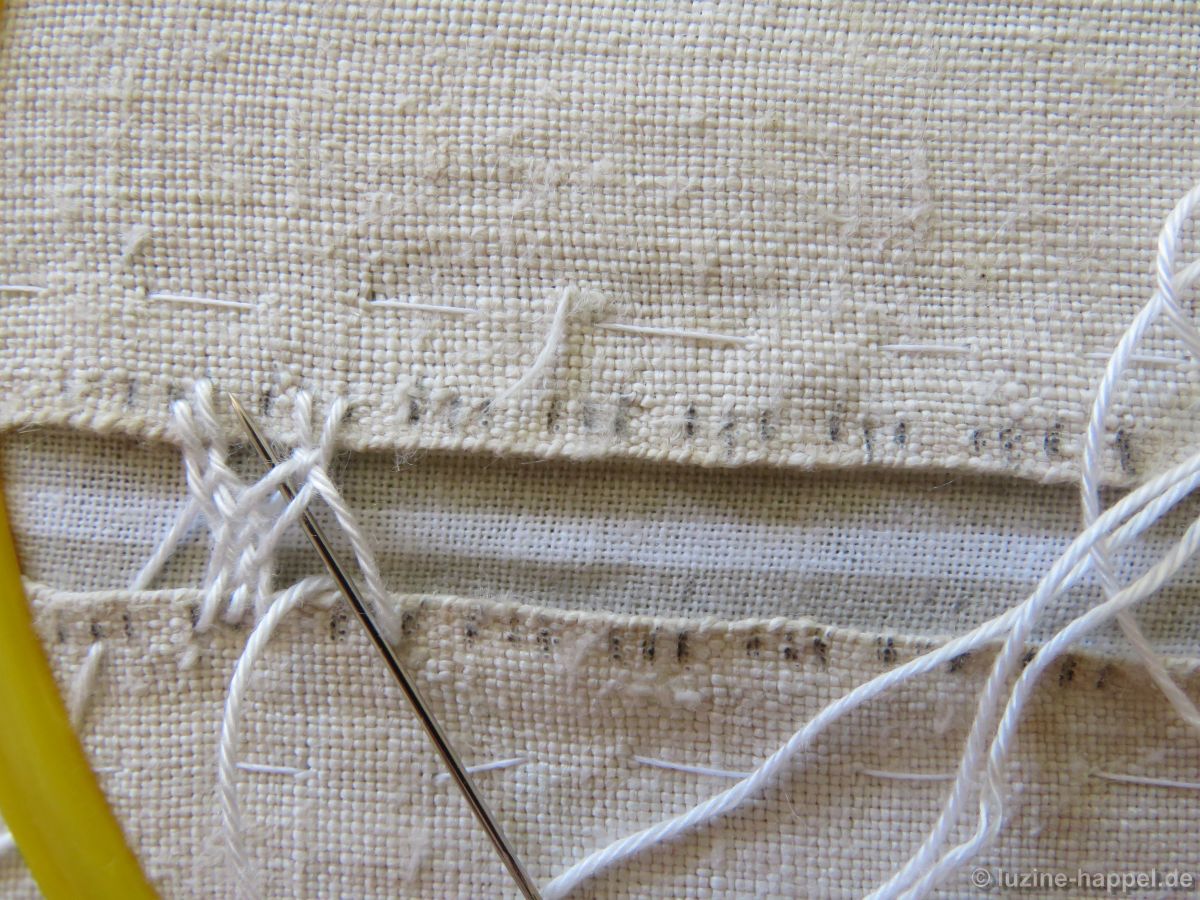
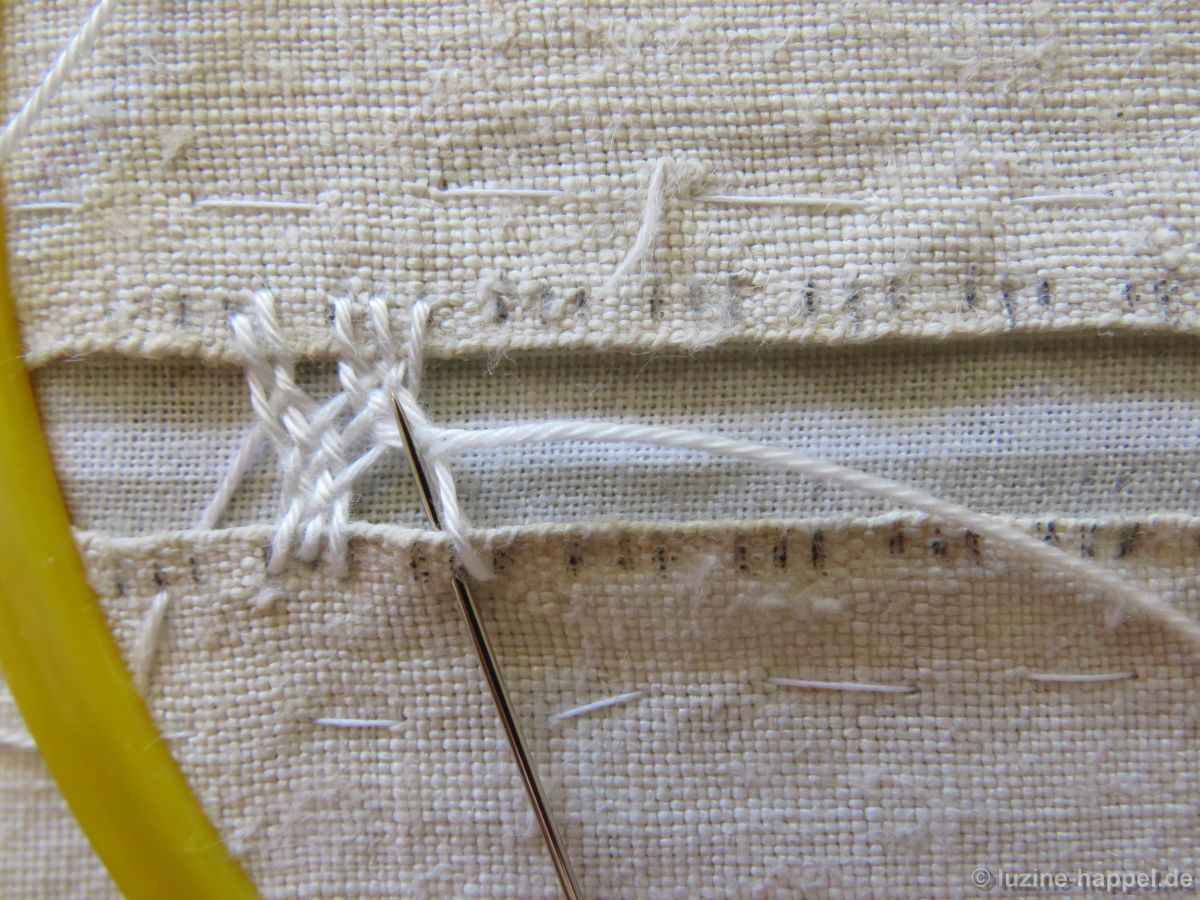
Insert the needle in the left-hand mark.
Pull the thread through and weave over, under, over to reach the middle mark on the opposite edge.
Insert the needle in the middle mark.

Pull the thread through and – moving to the right – weave over, under, over.
Insert the needle in the right-hand mark on the opposite edge.
Weave back under, over, under.
Insert the needle in the left-hand mark above.

Weave over, under, over.
Insert the needle in the middle mark below.* Always repeat the steps (*).
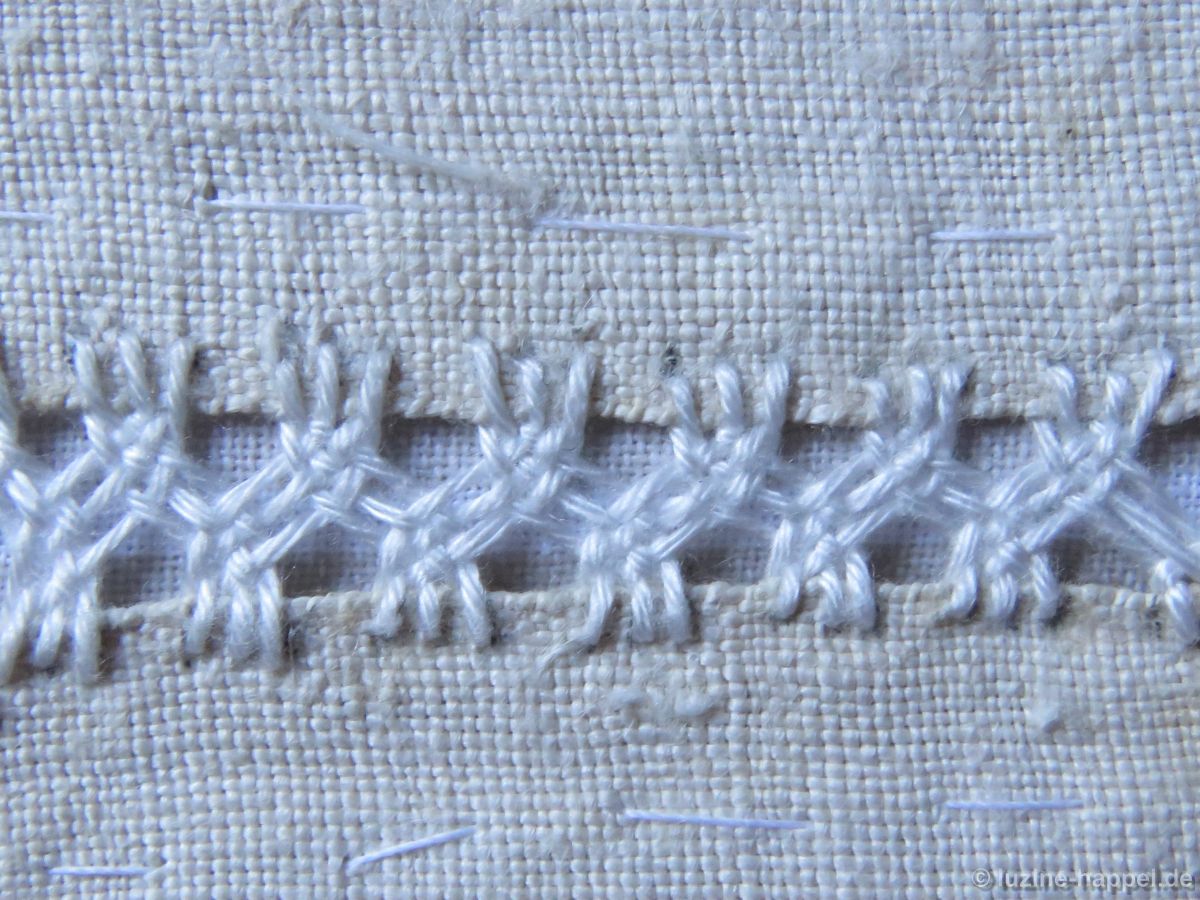
Beyond the first few stitches, where I had to always take breaks to shoot photos, the thread tension is correct.
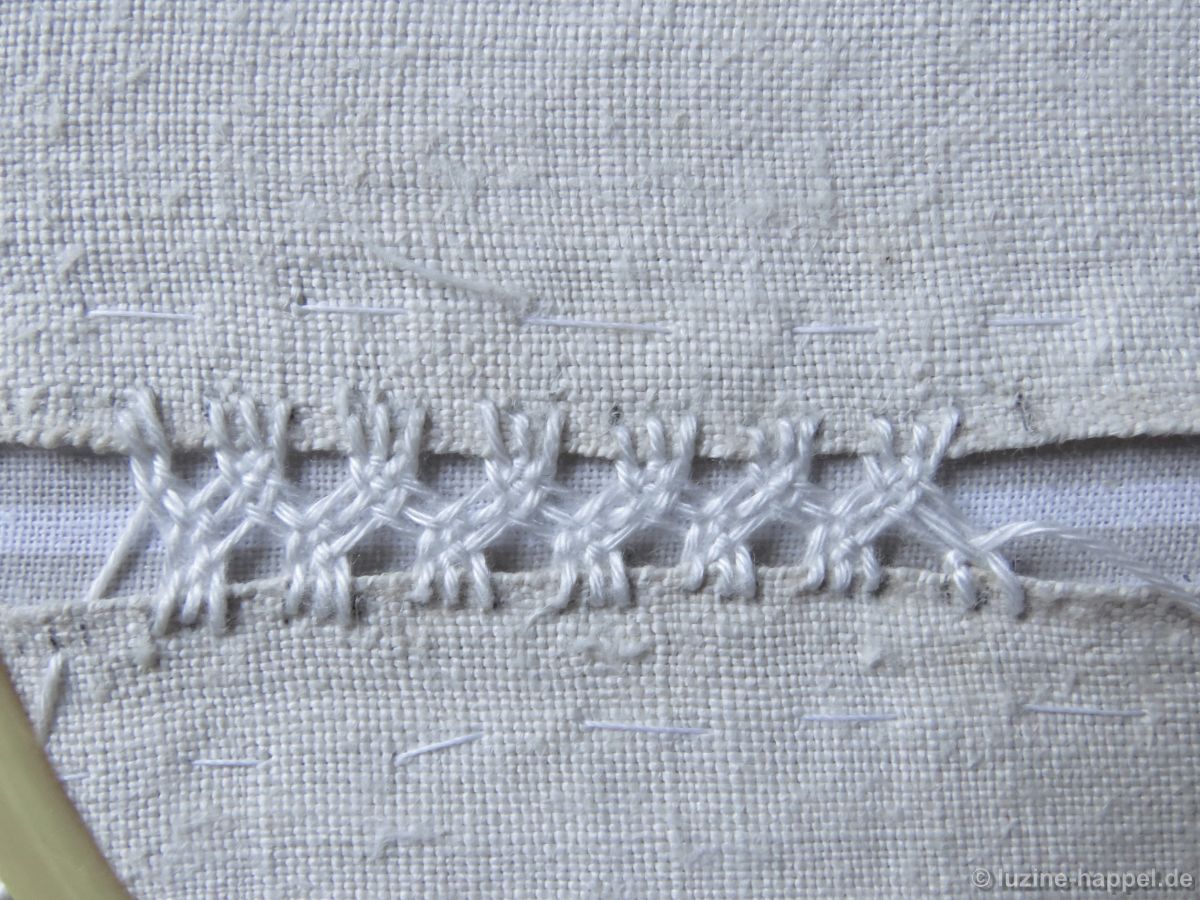
And even with the stabilizing fabric still attached, the stitches look nice.
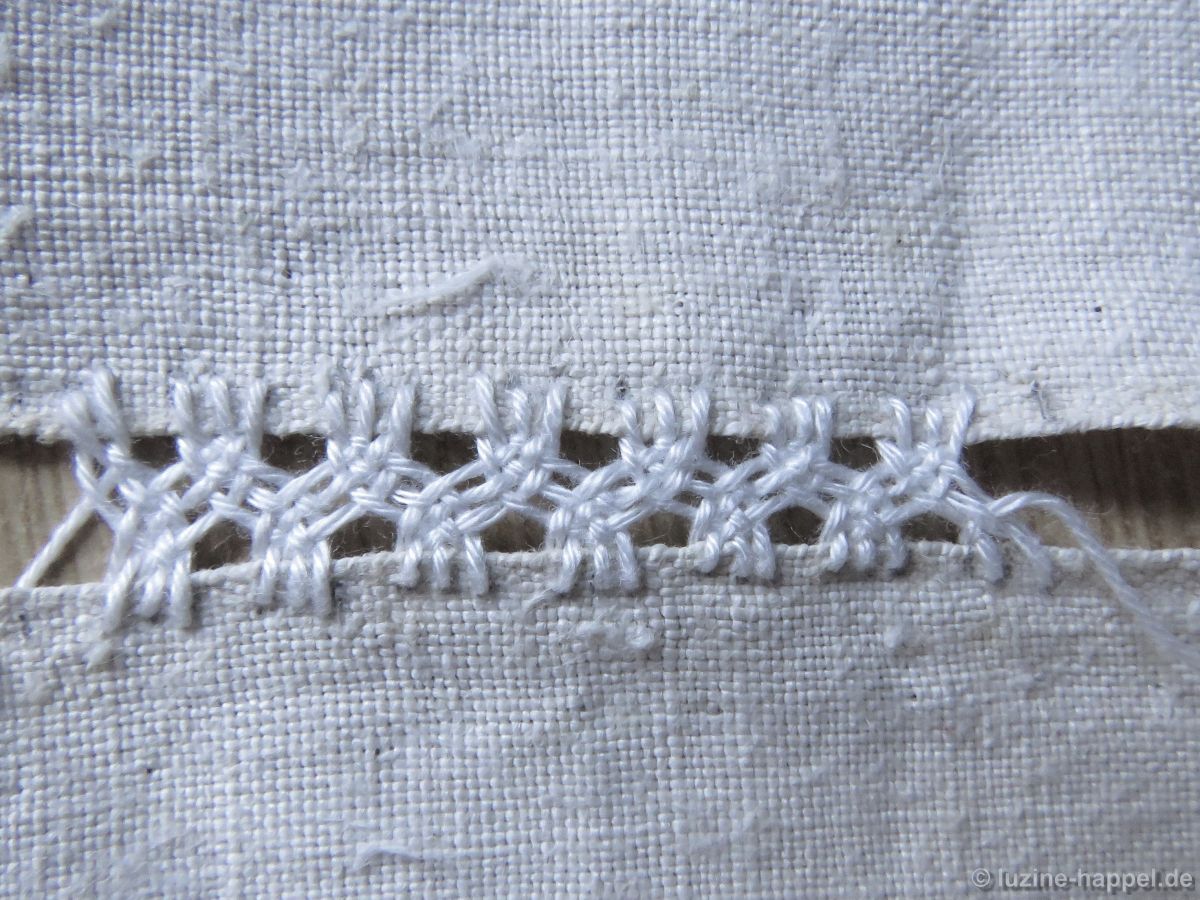
In the beginning it is a little bit fiddly, but after working about ten three-stitch groups, it gets more and more easy. And in the end, after you have internalized the sequence of weaving and where to insert the needle, it is a fun stitch to work.