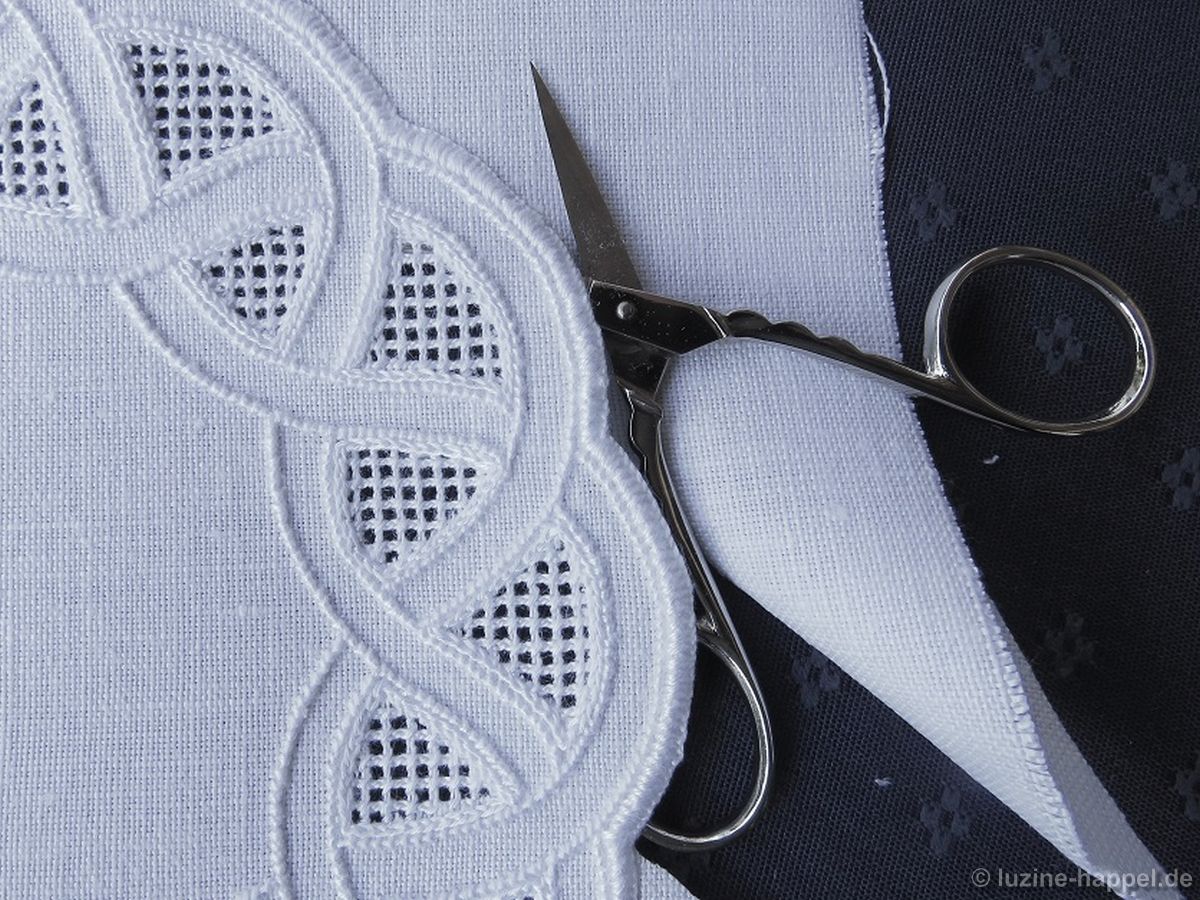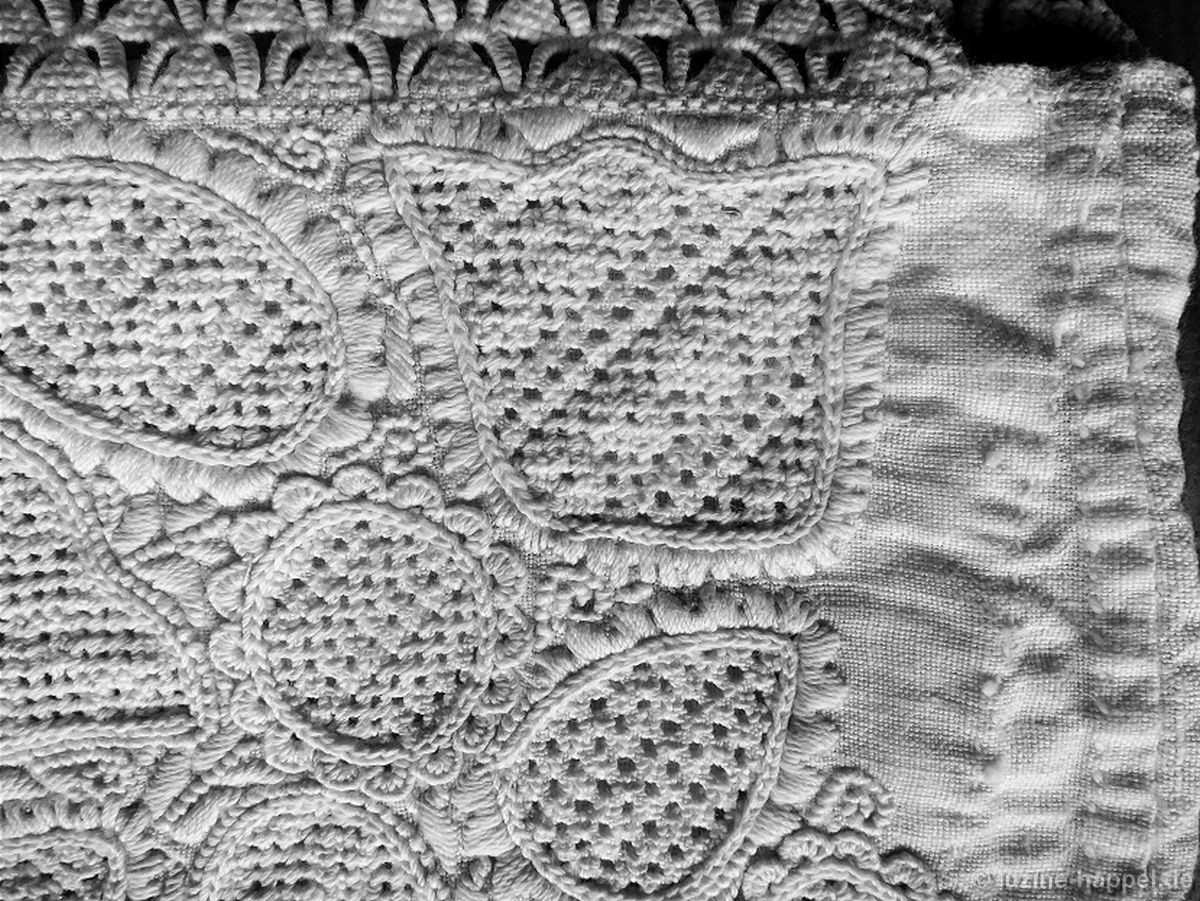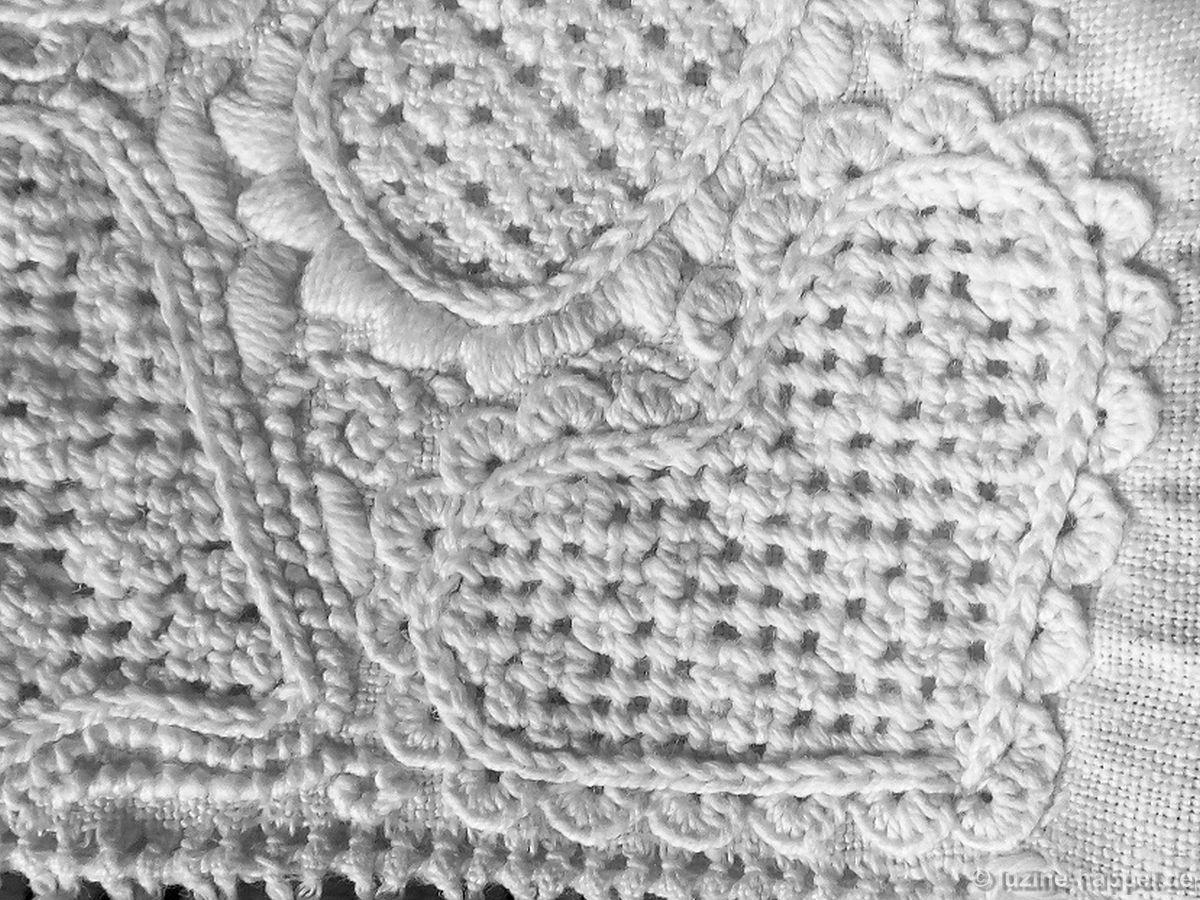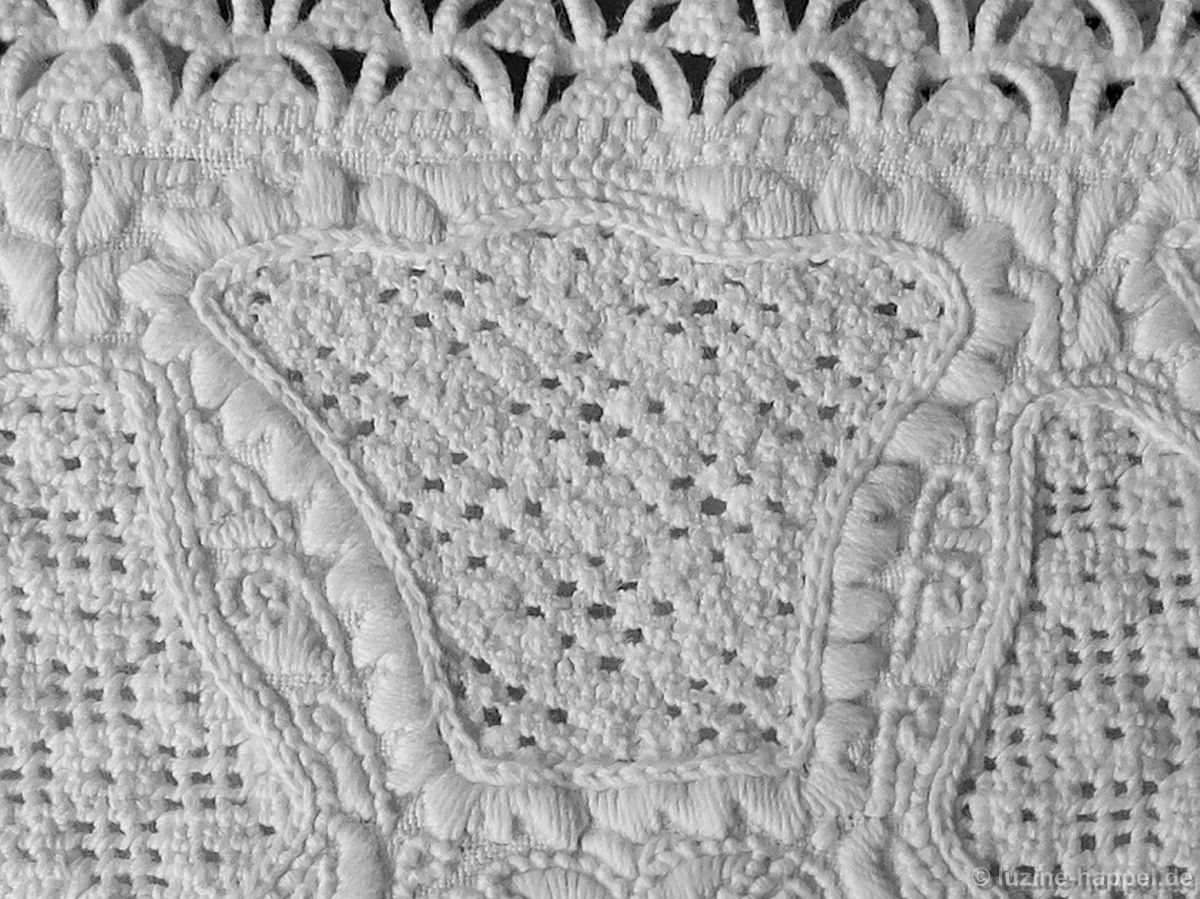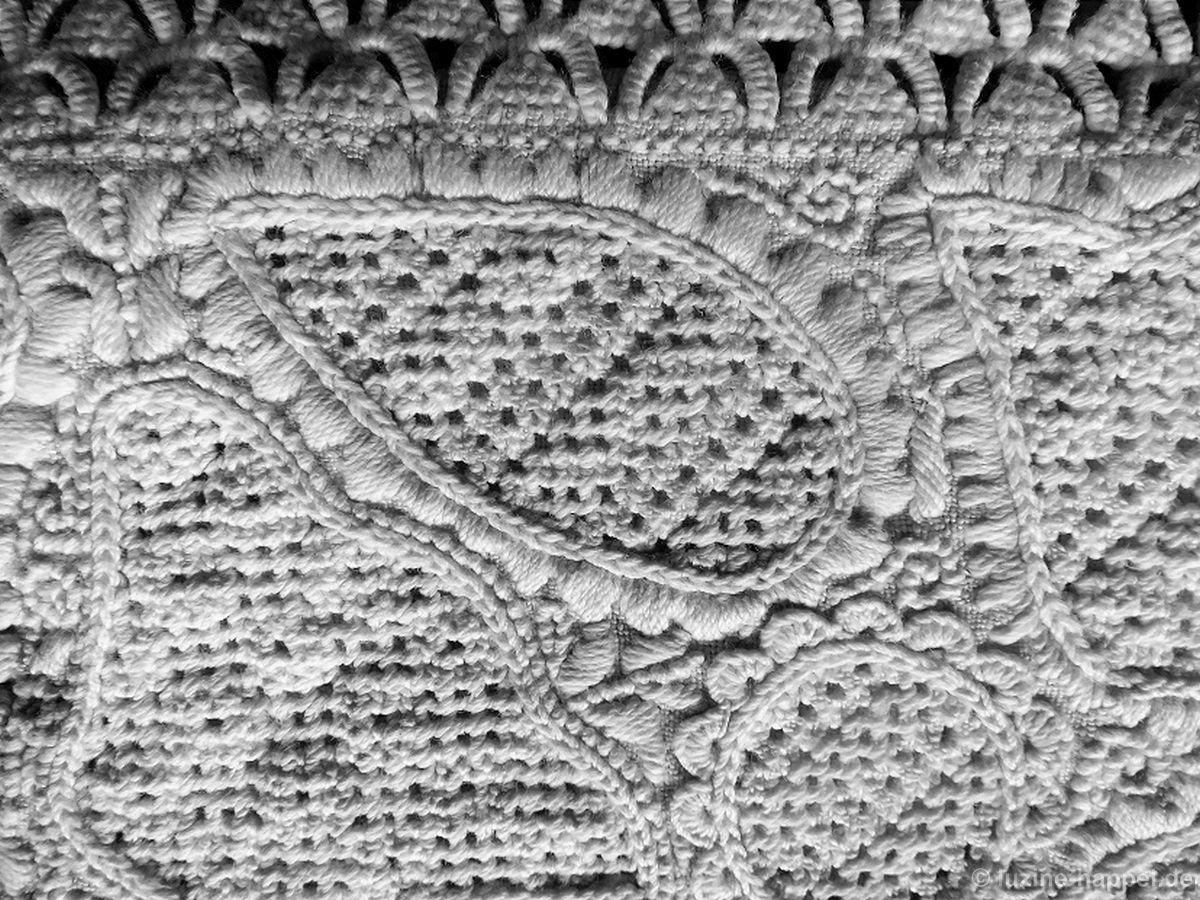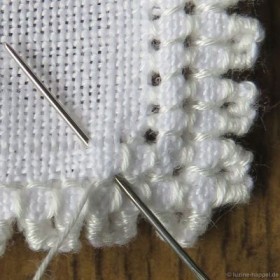
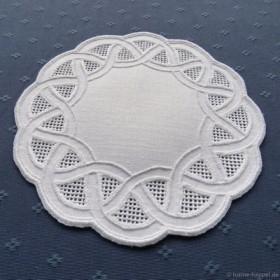
Narrow Plait Wreath Doily

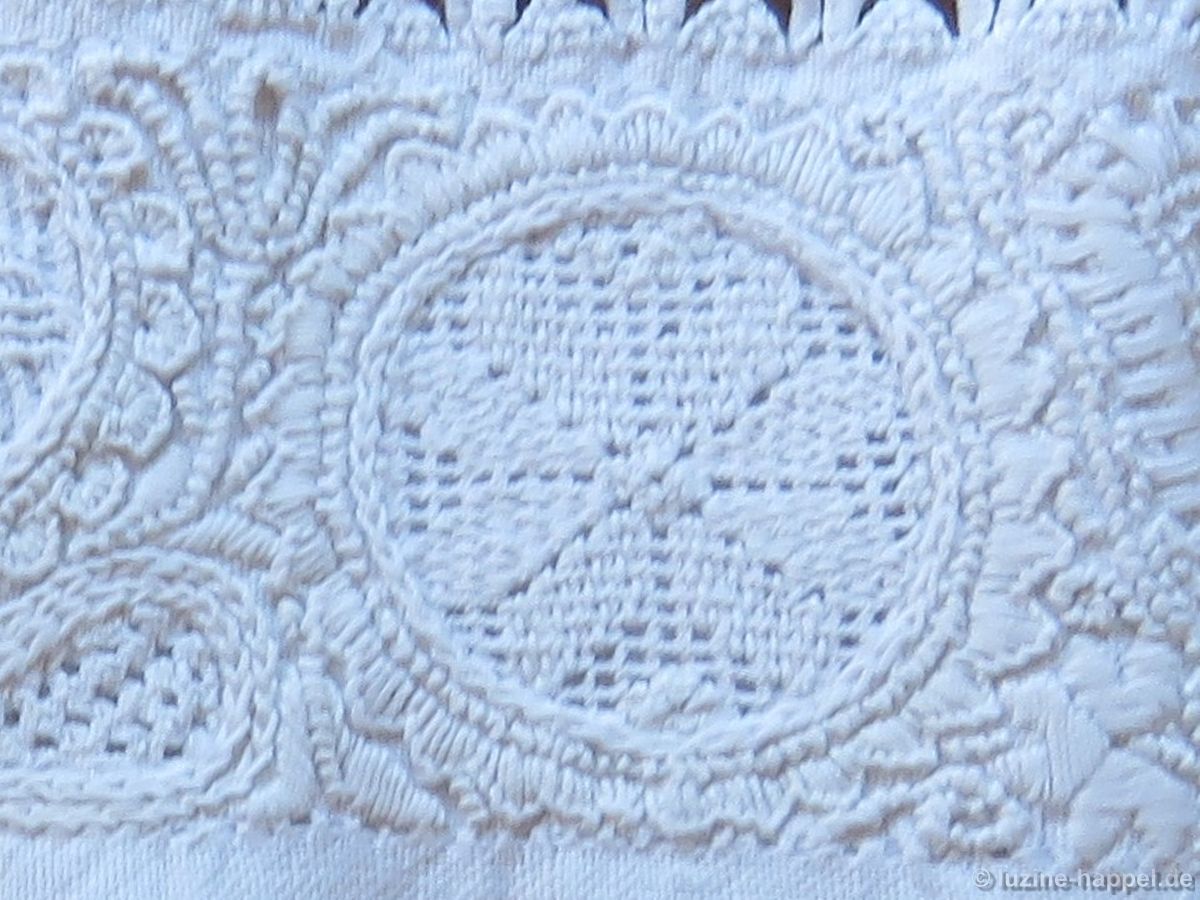
The design, with a diameter of 18 cm, is transferred to the fabric. The linen used has a 16/cm thread count. (If you are interested in getting the design, please email me – there is a small fee.)

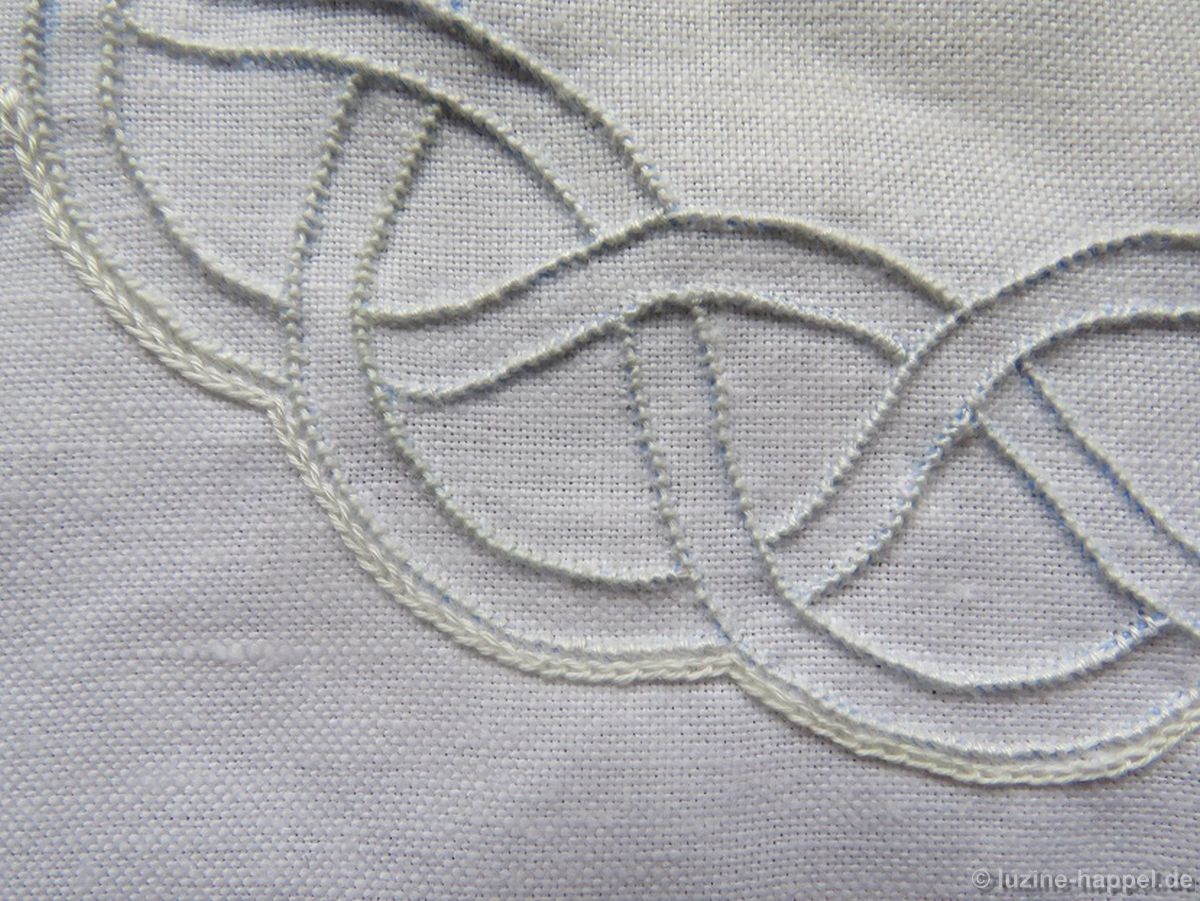
The lines are covered with Coral Knot stitches using coton à broder No. 20.
flechtkranz_1Please, on the back side of the piece, do not span the threads across intersections; rather, secure them. Threads carried across intersections will, in the end, be visible and distract from the overall charm of the finished doily.
flechtkranz_2Using coton à broder No. 20, Chain stitches are worked a small distance from the Coral Knot stitches at the outside edge.
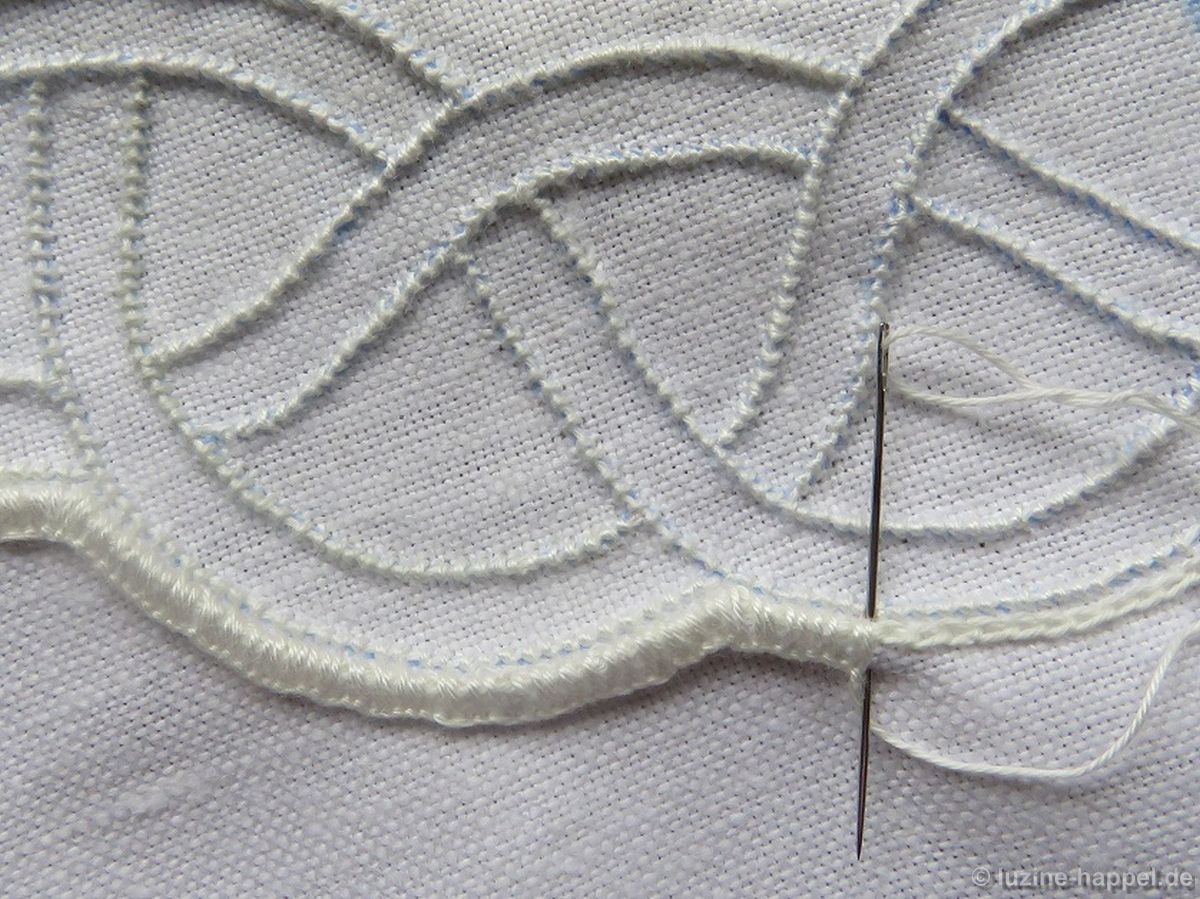
flechtkranz_3The Chain stitches are covered with densely worked Blanket stitches, also using coton à broder No. 20.
flechtkranz_4Using coton à broder No. 30, the small areas between the lines are outlined with Chain stitches.
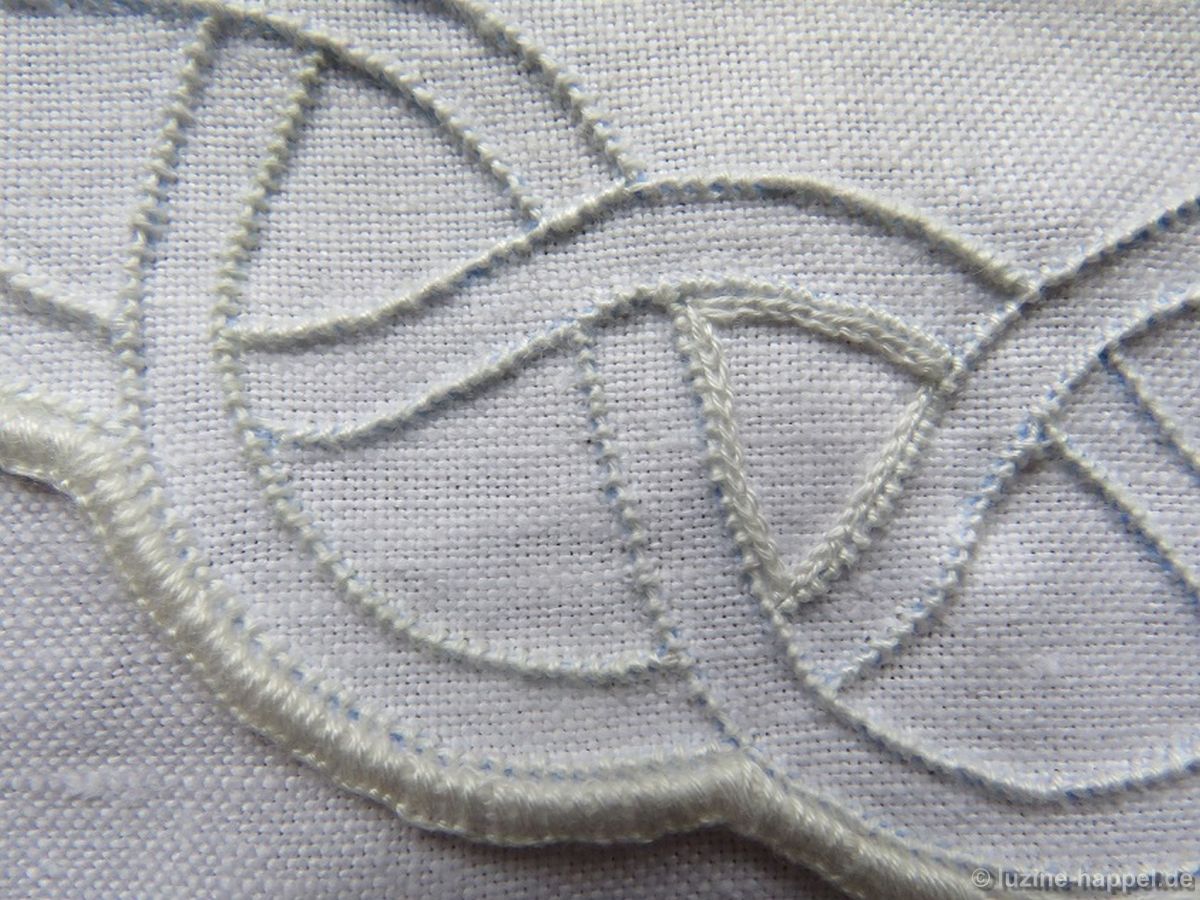
flechtkranz_5Inside these small areas, threads are withdrawn to establish an openwork grid.
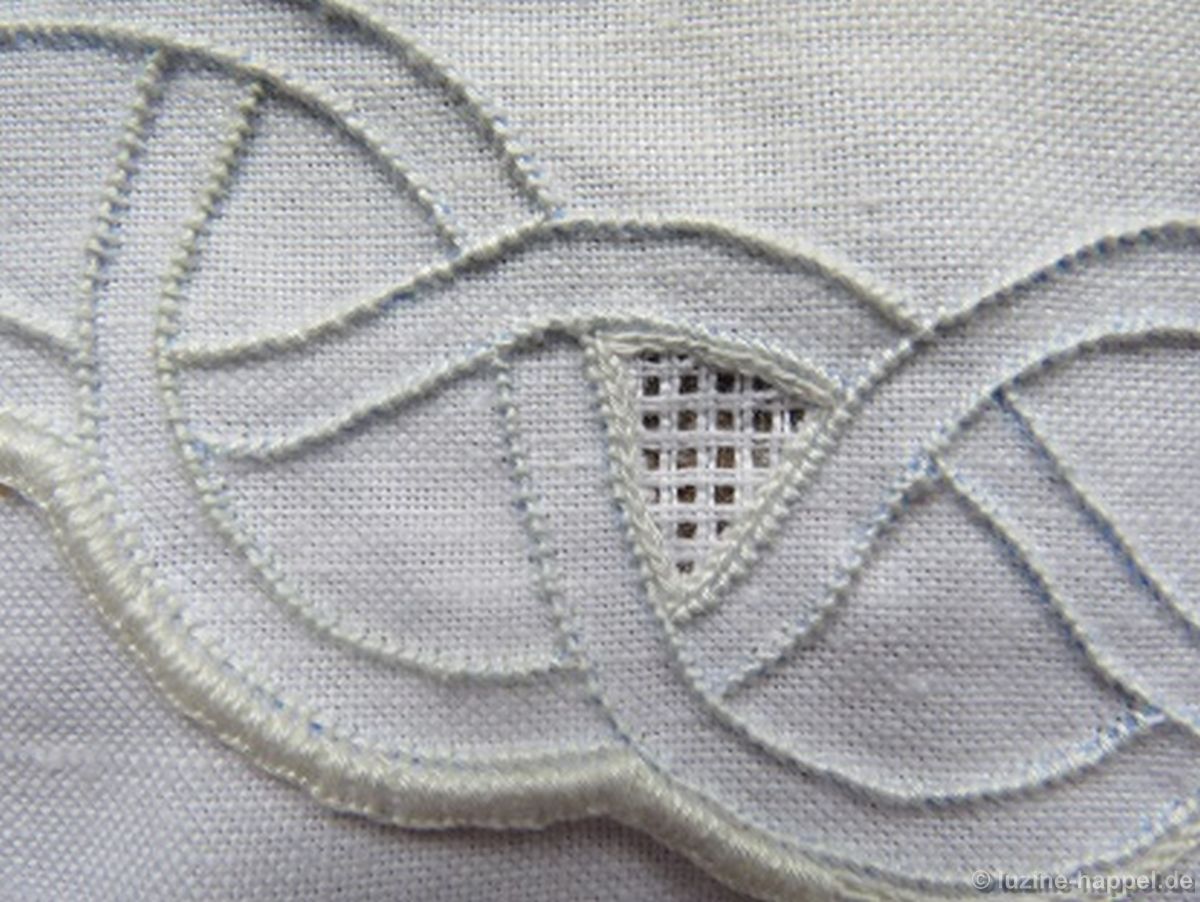
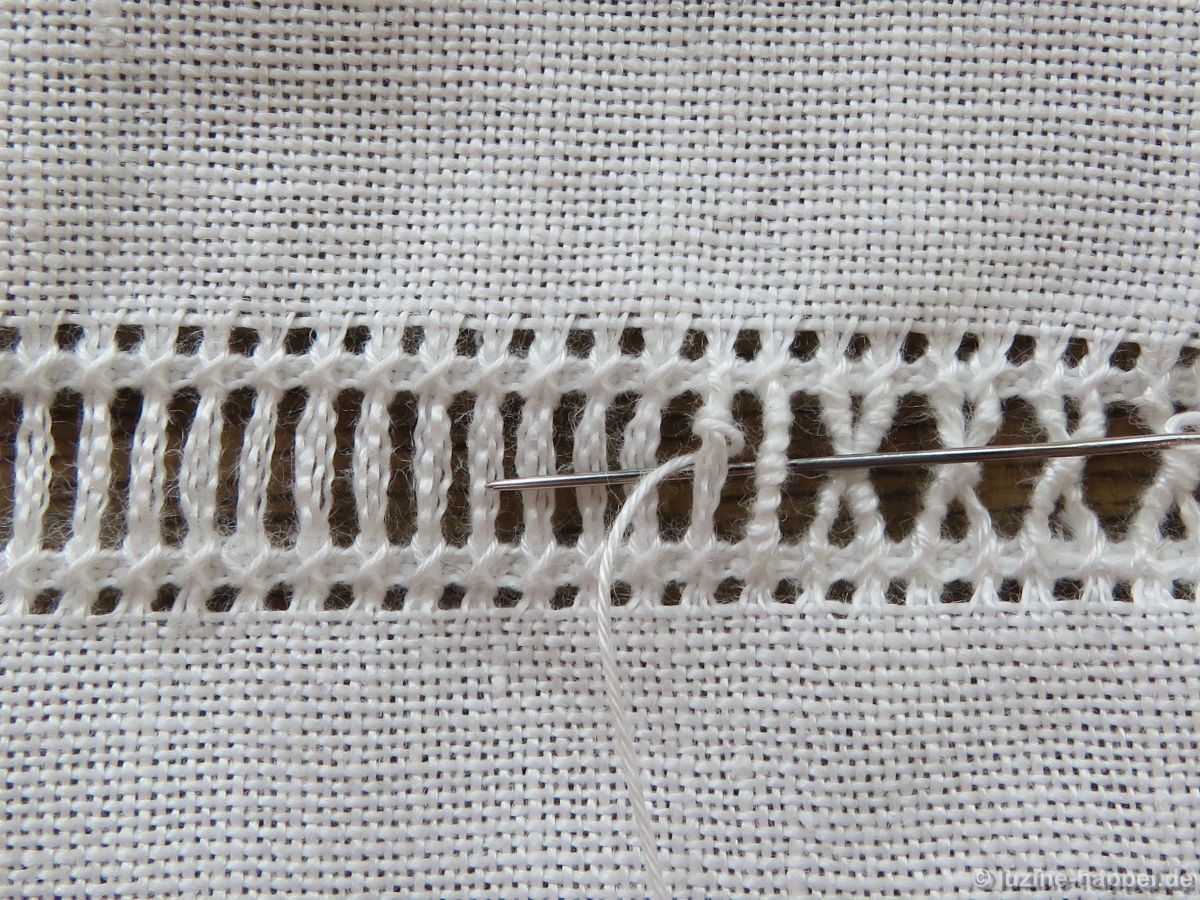
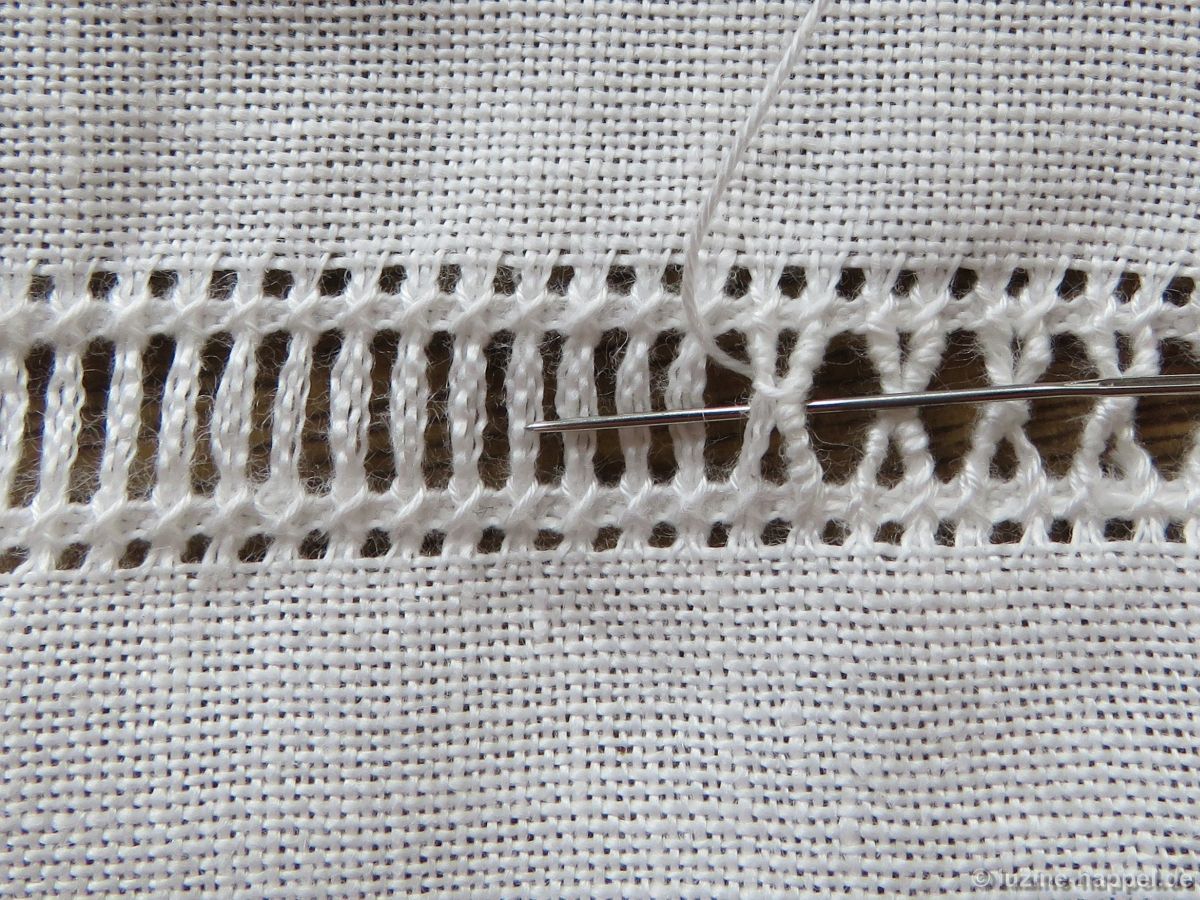
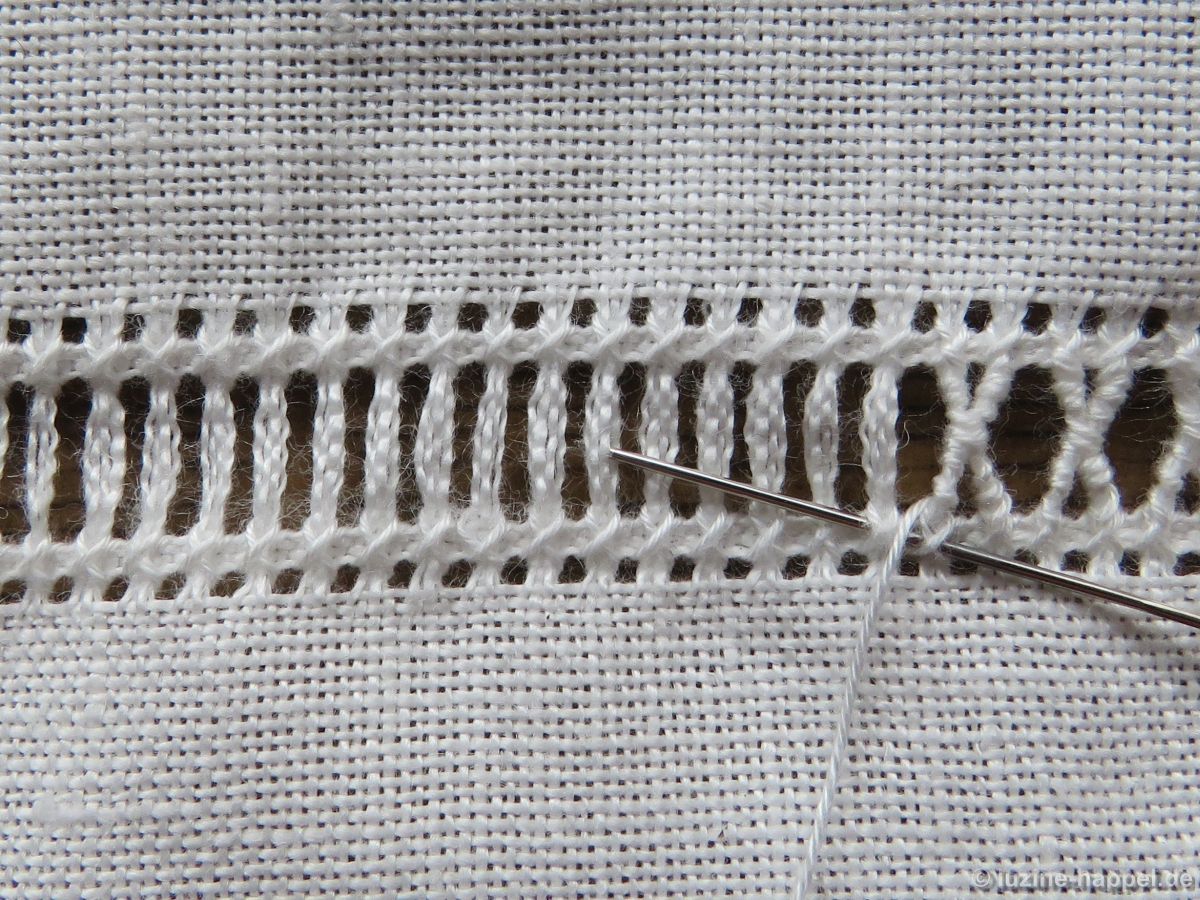
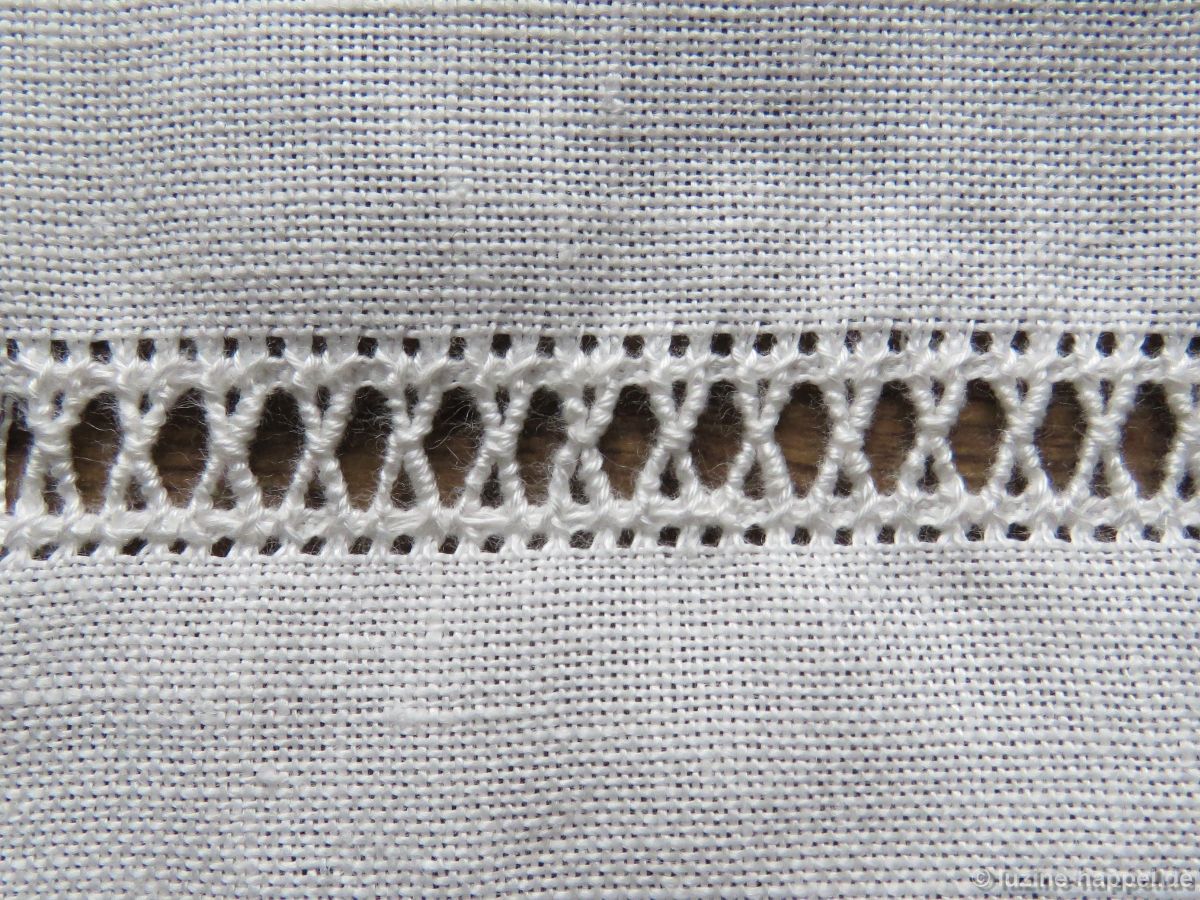
flechtkranz_6Cable stitches are worked into the grids using coton à broder No. 30. In each grid, the stitch should always run in the same direction.
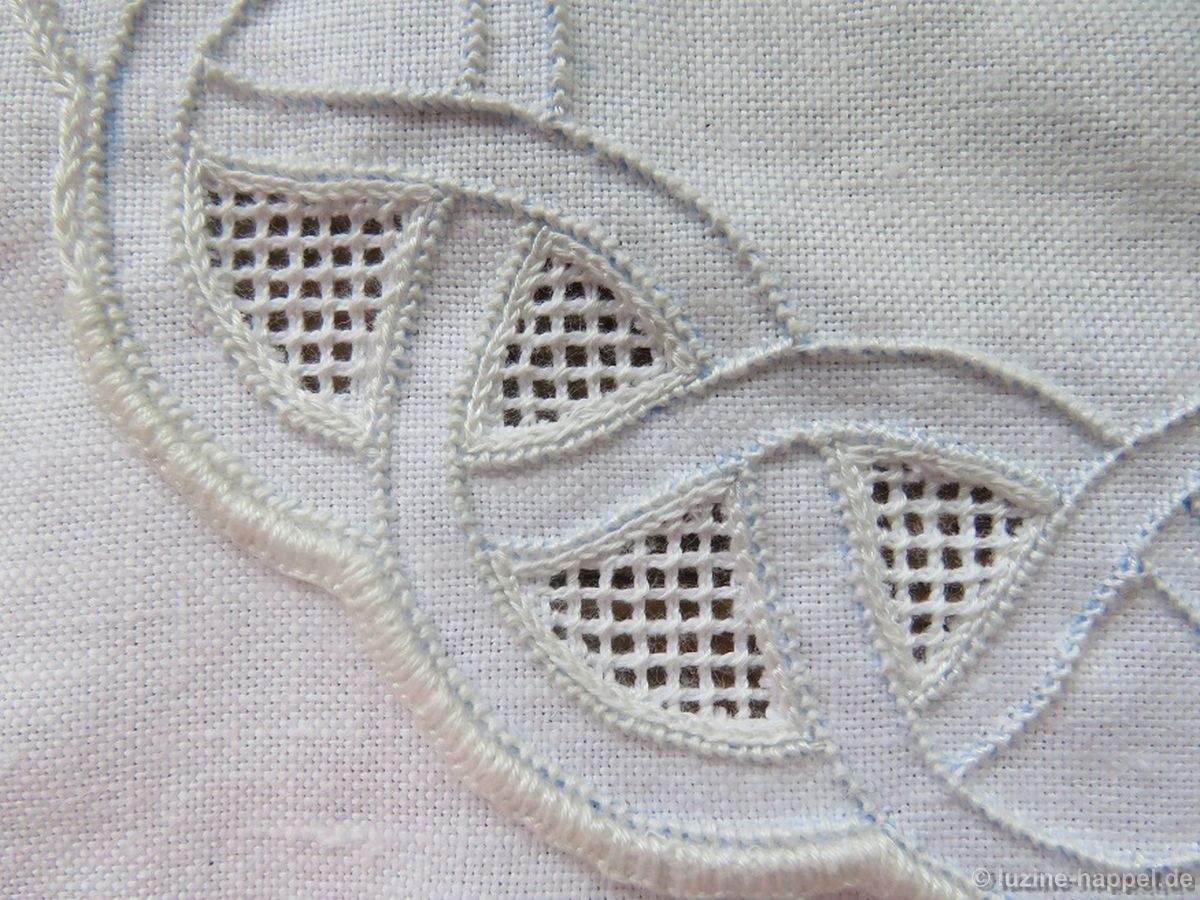
flechtkranz_7The finished embroidery was boiled, starched, and ironed.
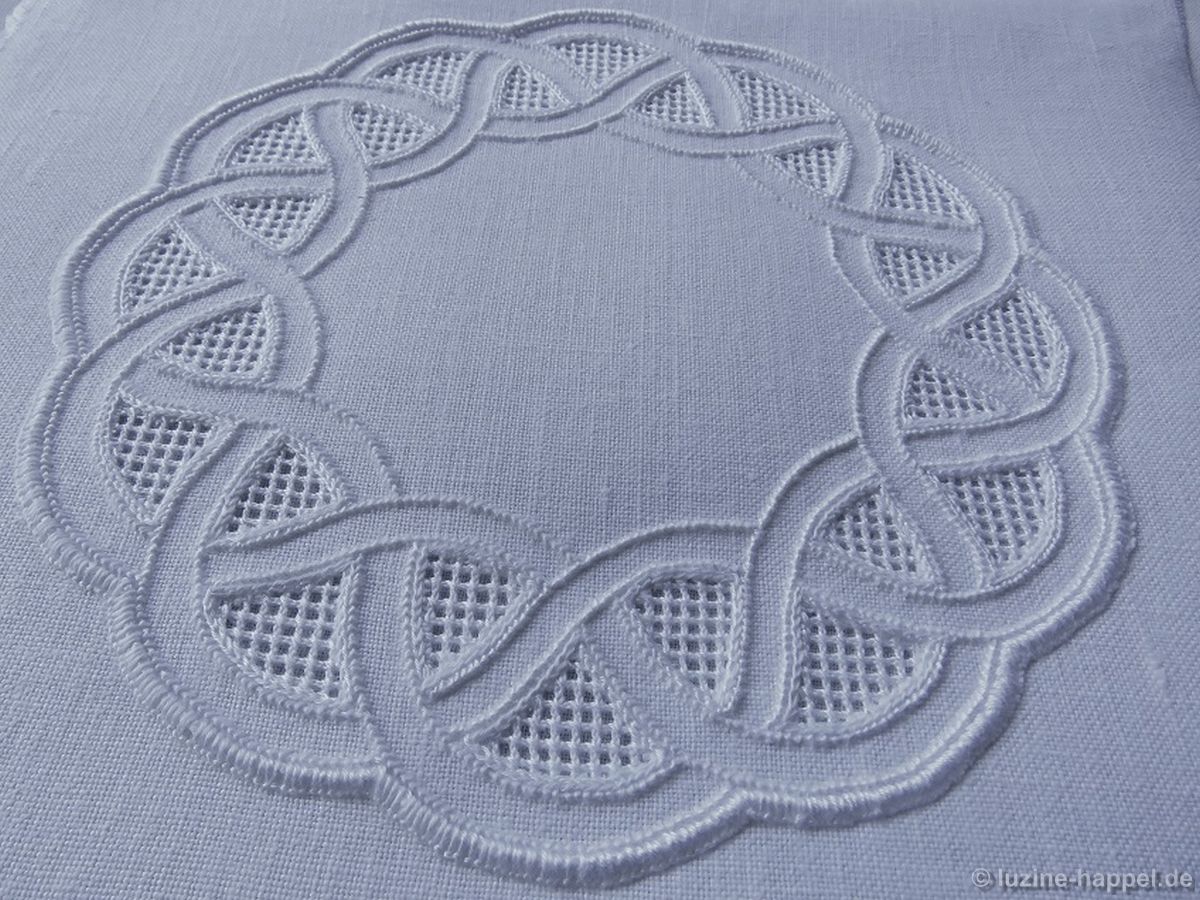
flechtkranz_8Then the piece was trimmed.
flechtkranz_9The result is a sweet little doily. The same design can be used to make doilies of differing sizes. In addition, variations are possible.
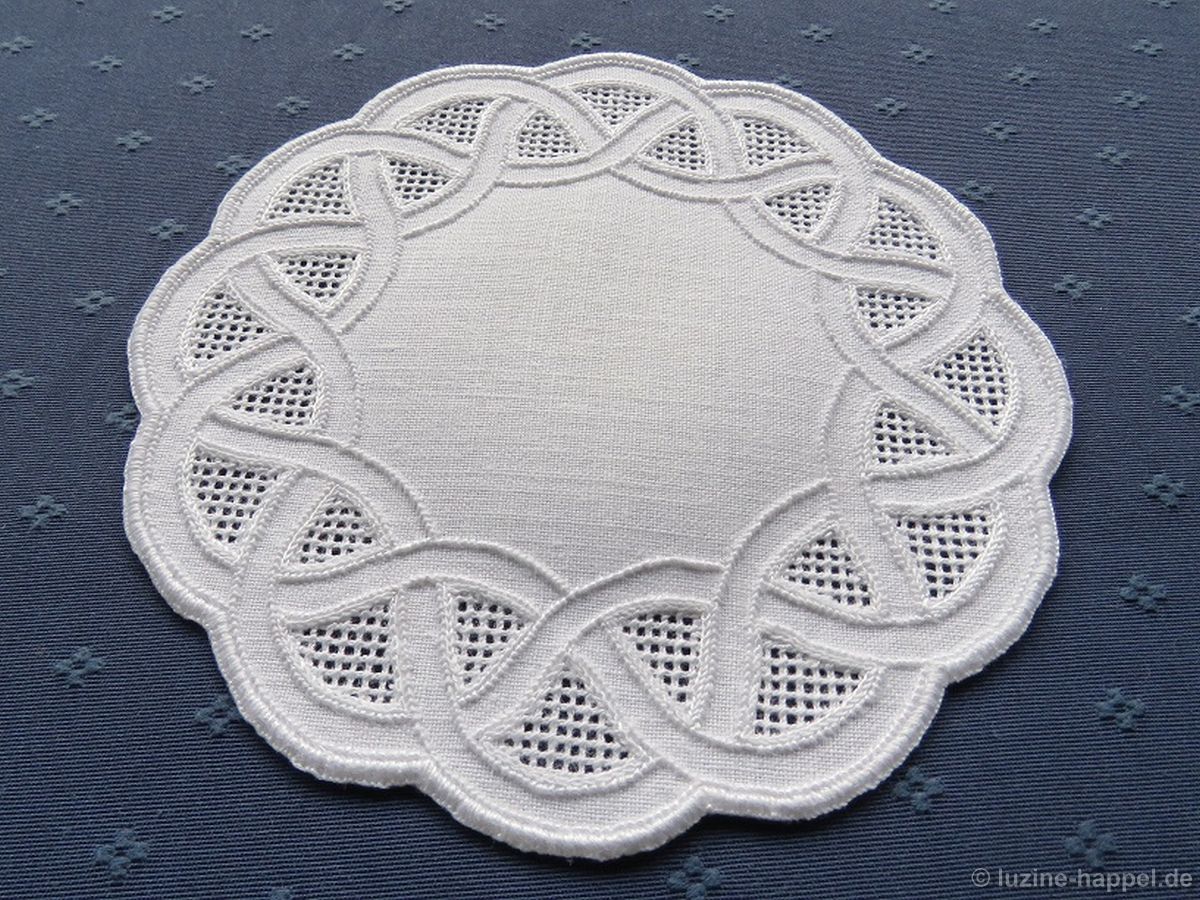
flechtkranz_10Years ago I worked a tea cloth with a similar design; it was rectangular, and I added a blue line of Chain stitches inside the double lines of the plait.
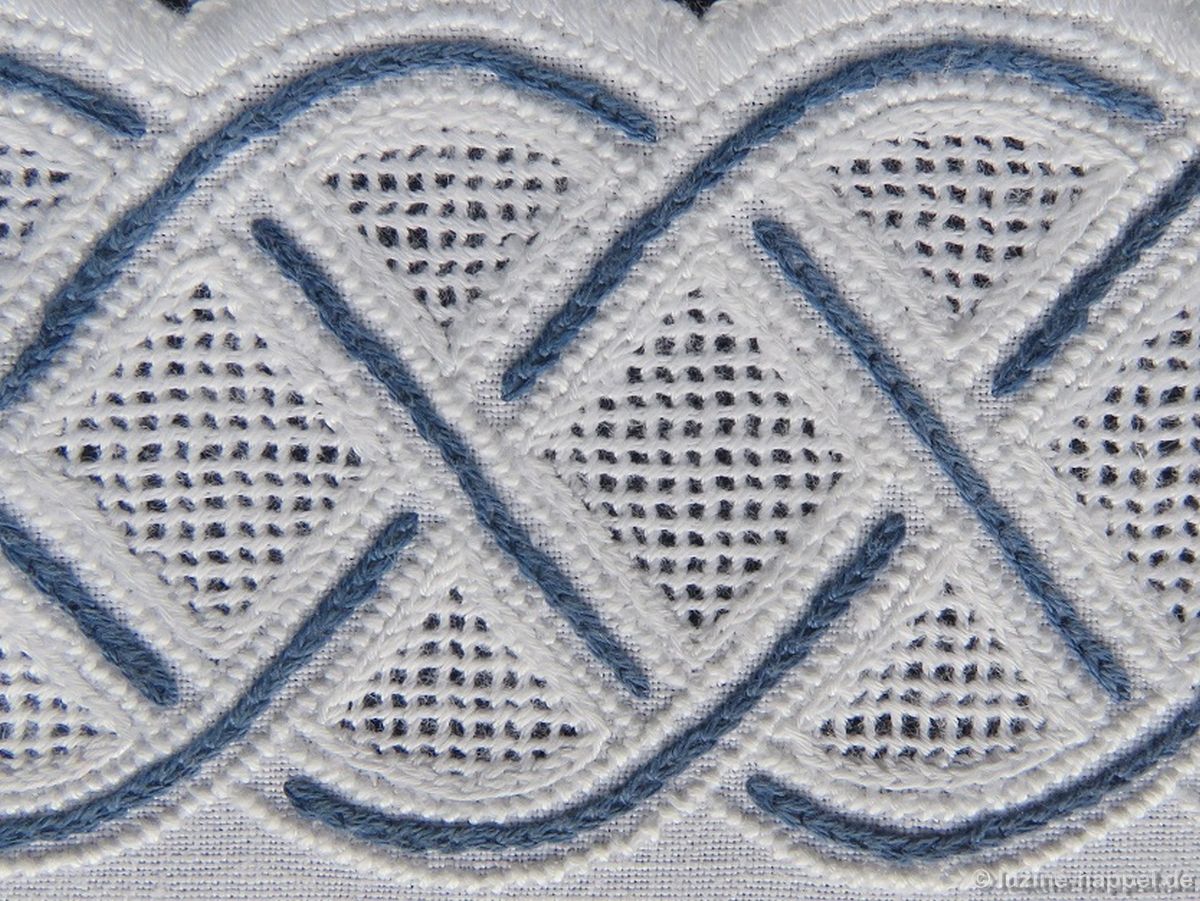
flechtkranz_11It looks so elegant displayed on a cloth of a matching colour.
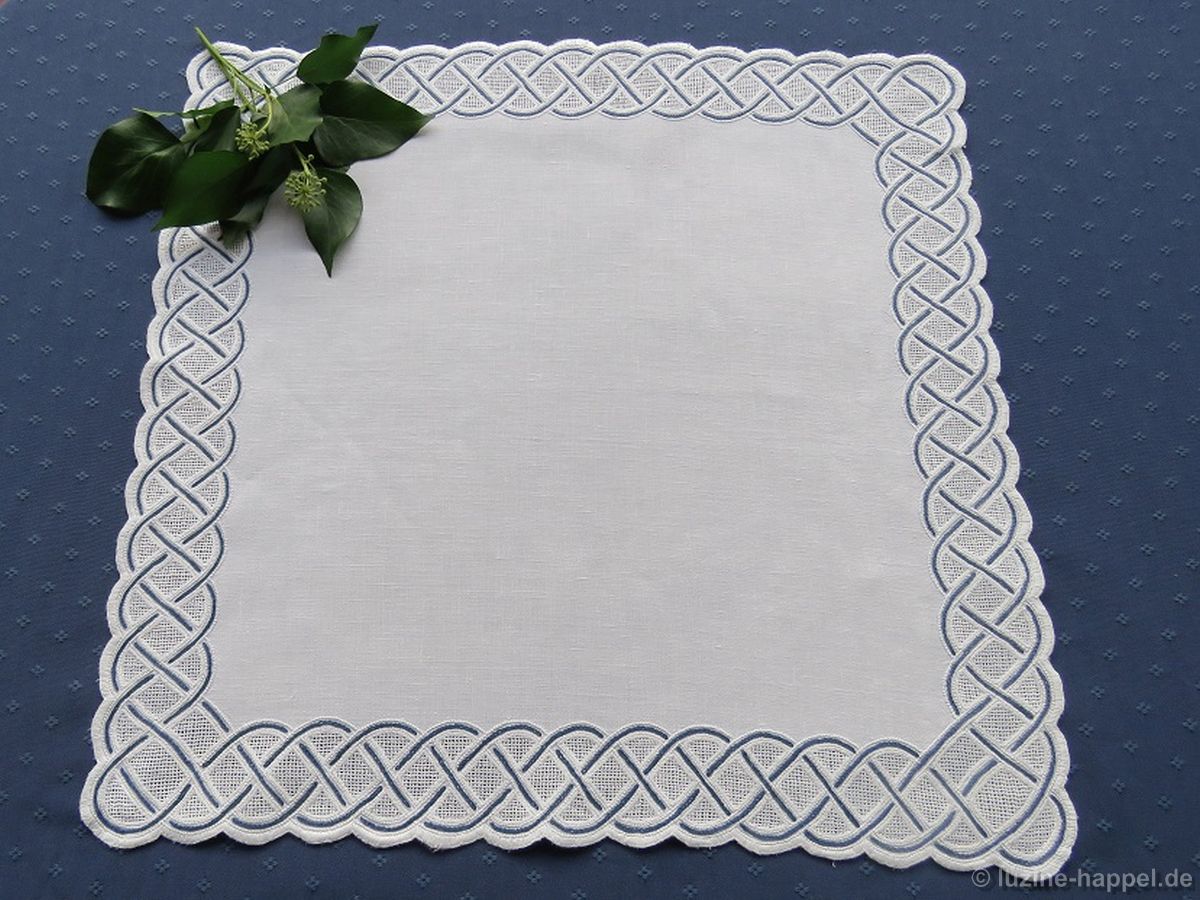
flechtkranz_12And with matching dishes and table napkins, it always garners admiration and compliments from guests.
Traditional Schwalm Bodice (C) Embroidery

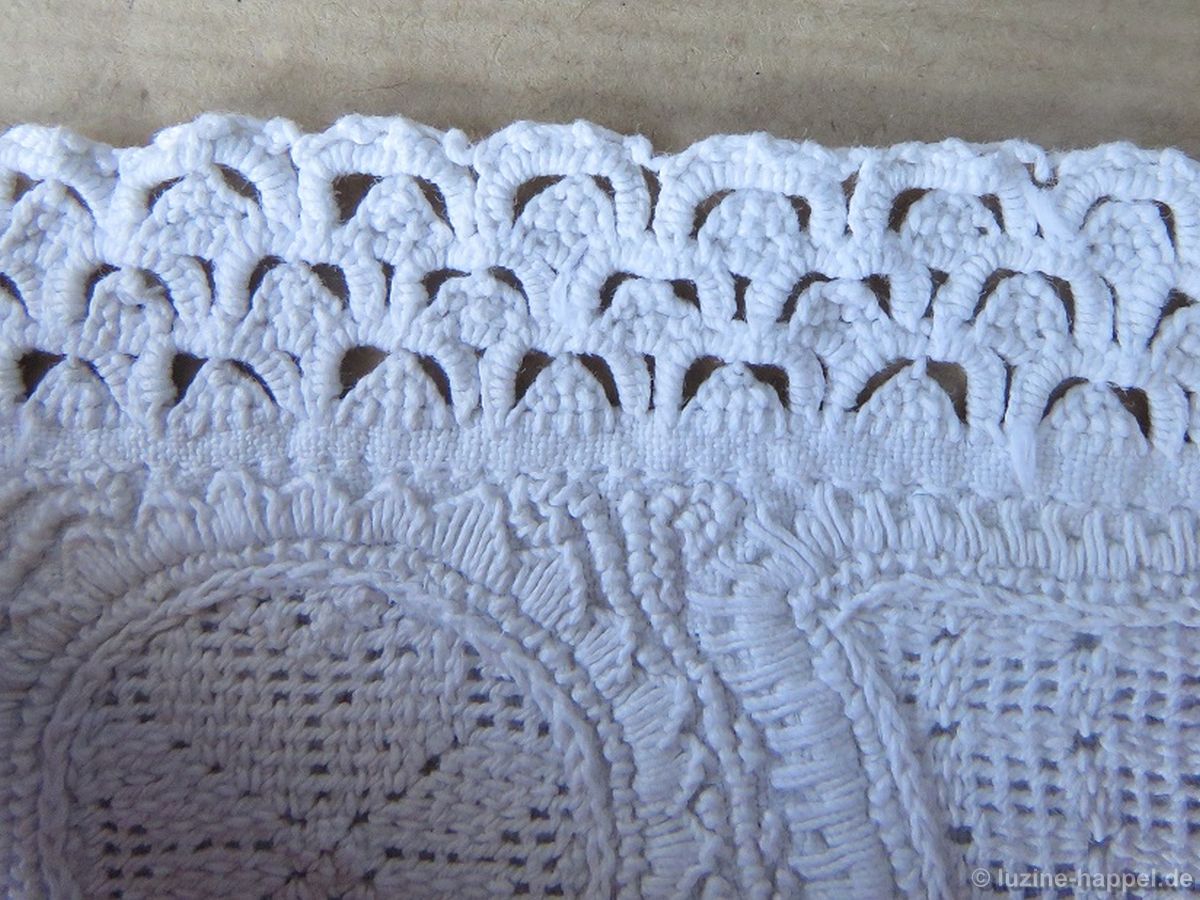
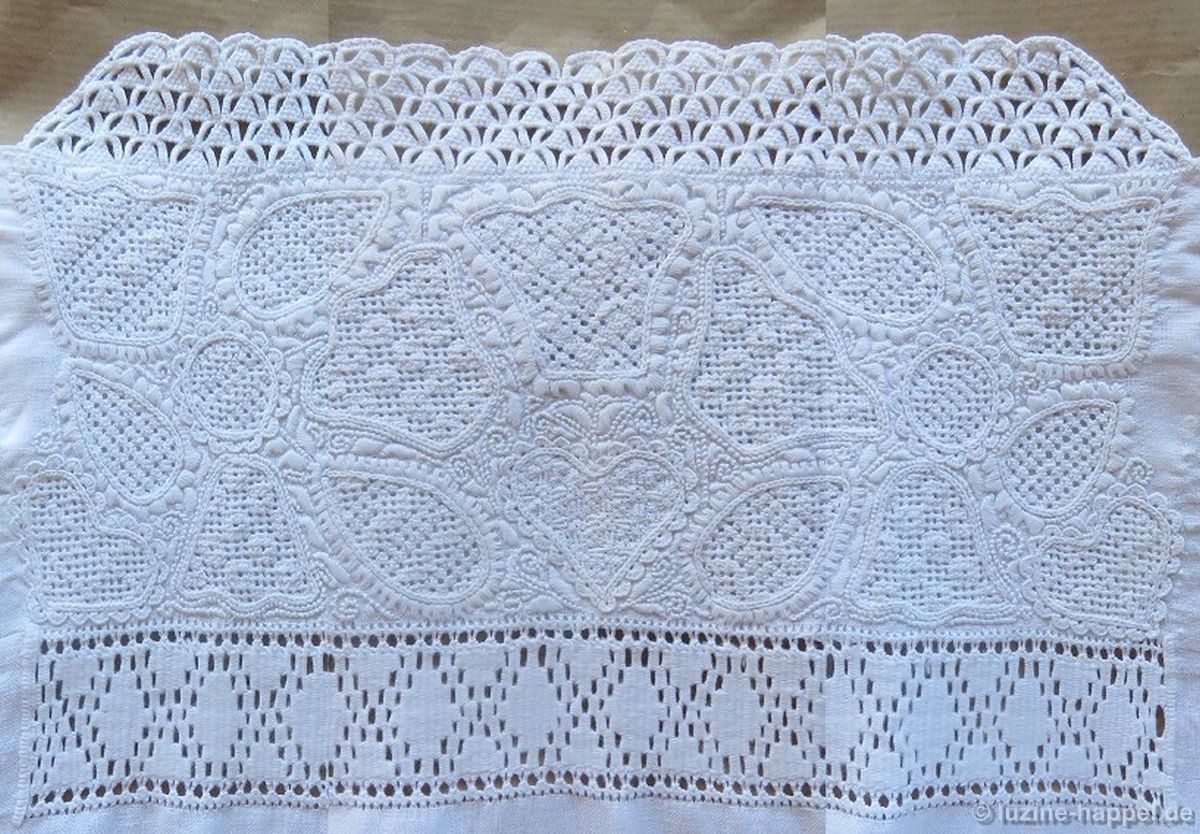
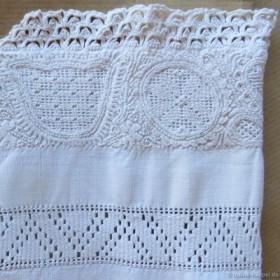
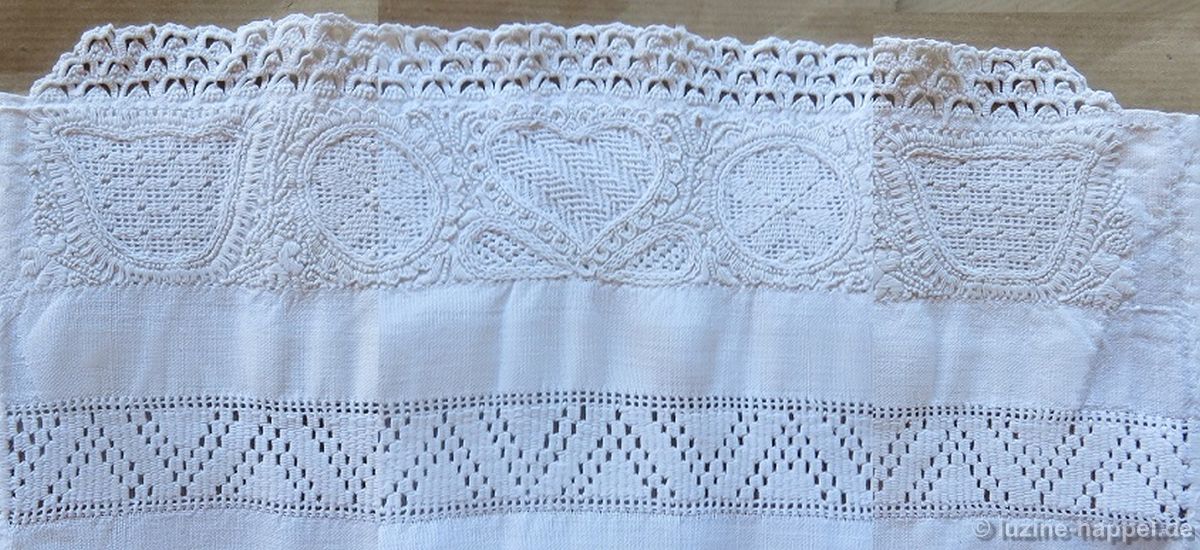
The traditional embroidery of the Schwalm bodice (C) is not as elabotae as the borders of the Schwalm bodice (A) and the Schwalm bodice (B). The linen used has a 21–24/cm thread count. The picture shows the entire border in a photomontage.
mieder_c_1The space between needlelace and needle-weaving band has a width of about 7 cm. The space is not entirely filled with a design border.
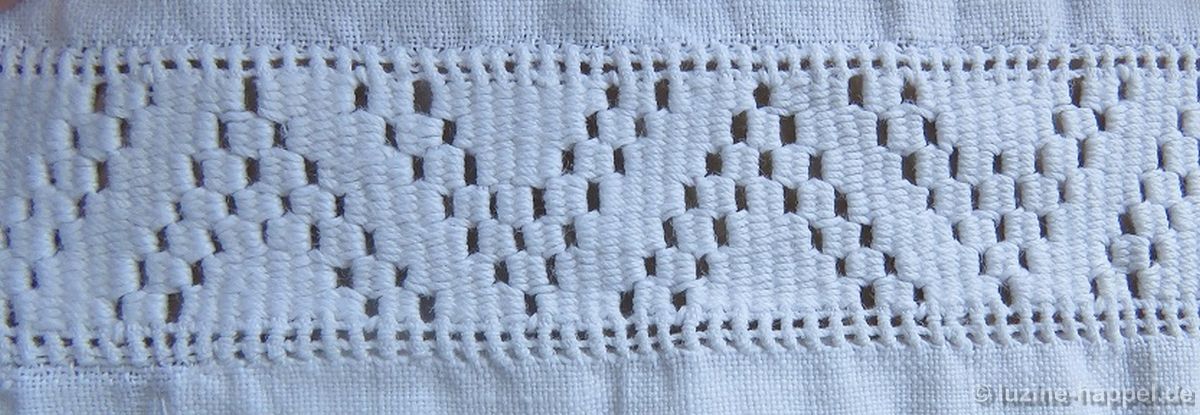
mieder_c_2A seven-unit A-pattern was worked as a needle-weaving band. For more information about needleweaving bands – the different kinds and the different ways of working – please look to my book Fancy Hems.
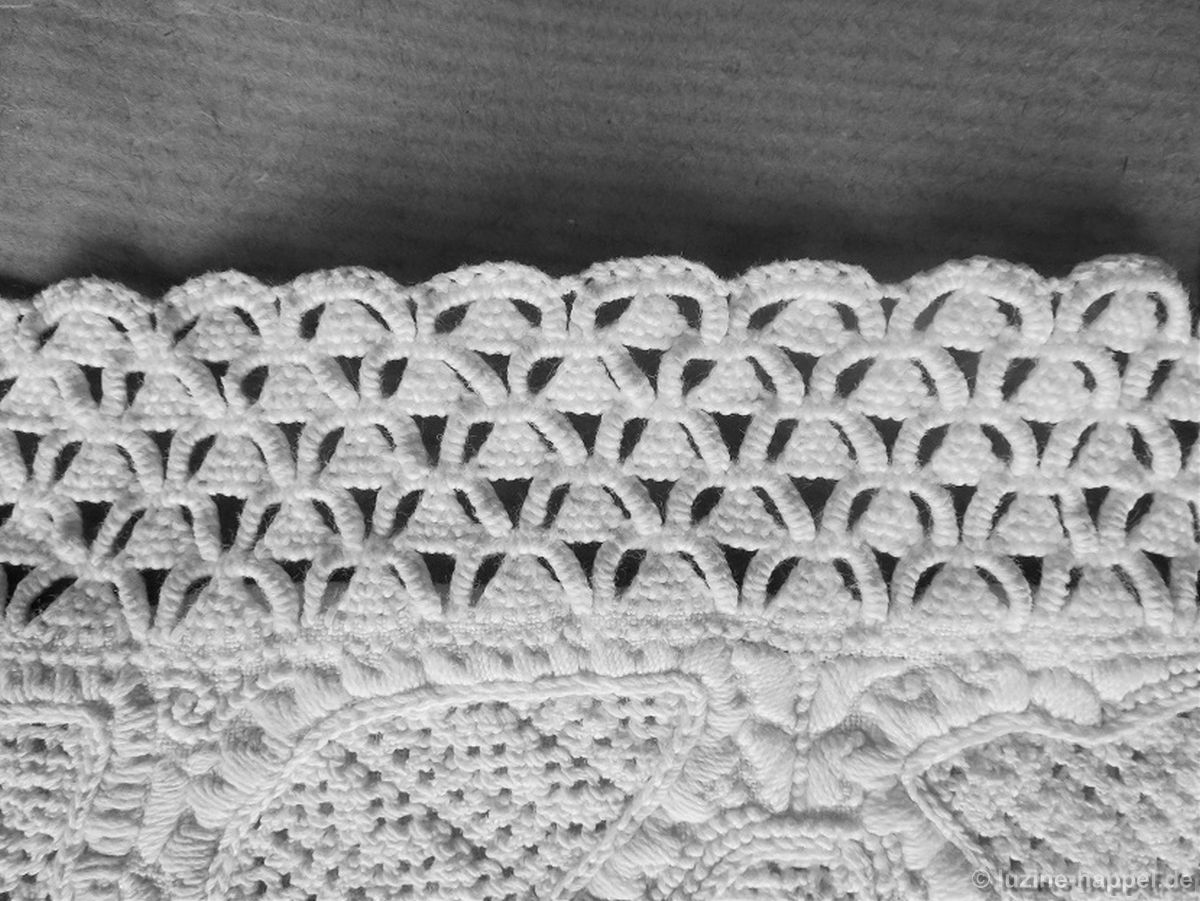
mieder_c_3The bottom edge of the sleeve cuff has a needlelace edging of three rows of pyramids inside single scallops with connected picots outlining the needlelace border.
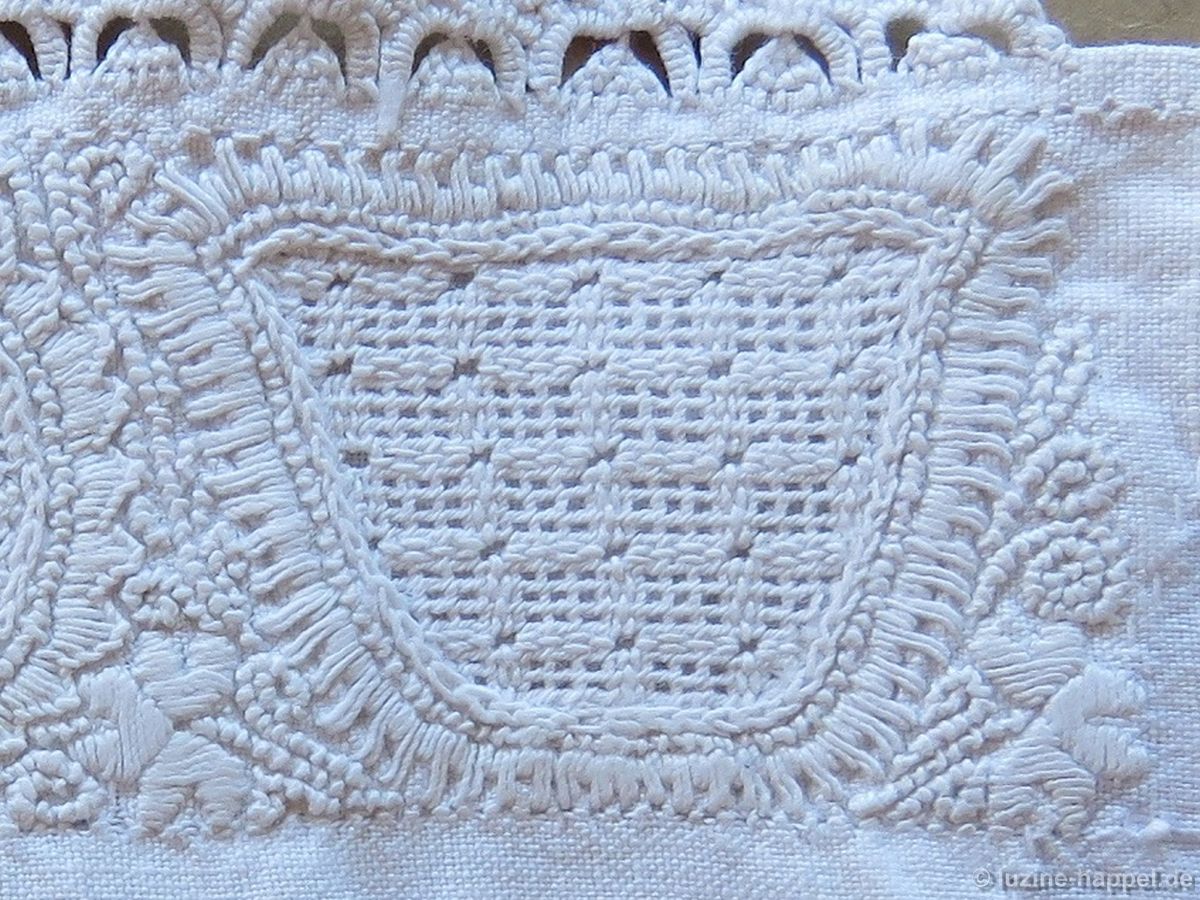
Between the needle-weaving band and the needlelace, a strip of linen remains unembroidered, and a band was embroidered with Schwalm whitework. If you look closely, you will see you many tendrils between the motifs.
mieder_c_4The tulip was outlined with 2 short-2 long embellishment. The shape was filled with an openwork pattern (cut 2, leave 2) with a Cable stitch grid. Into the grid a needle weaving pattern was worked.
mieder_c_5The circle was outlined with knife points with Blanket stitches. The shape was filled with an openwork pattern (cut 2, leave 2) with a Cable stitch grid. Into the grid a needle weaving star pattern was worked. It is notable, that thick thread was used for the needle weaving and that the squares of the grid were not filled very well.

The star pattern is also suitable to work an other ornament for trimming the tree.
mieder_c_6The heart was outlined with Blanket stitch half-eyelet scallops.
The shape was filled with a Limet filling pattern with Satin stitch bars worked in a stair-step manner. It is noticable, that the center of all patterns is not worked mirrored. Whereas the both small leaves on bottom of the heart are worked mirrored. They are filled with an openwork pattern without a Cable stitch grid. Rose stitches were worked into the shapes. The spaces between the motifs were densely filled.

Traditional Schwalm Bodice (B) Embroidery

The embroidery of the Schwalm bodice (B) has many variants. The linen used has a 21–24/cm thread count. The picture shows the entire border in a photomontage.
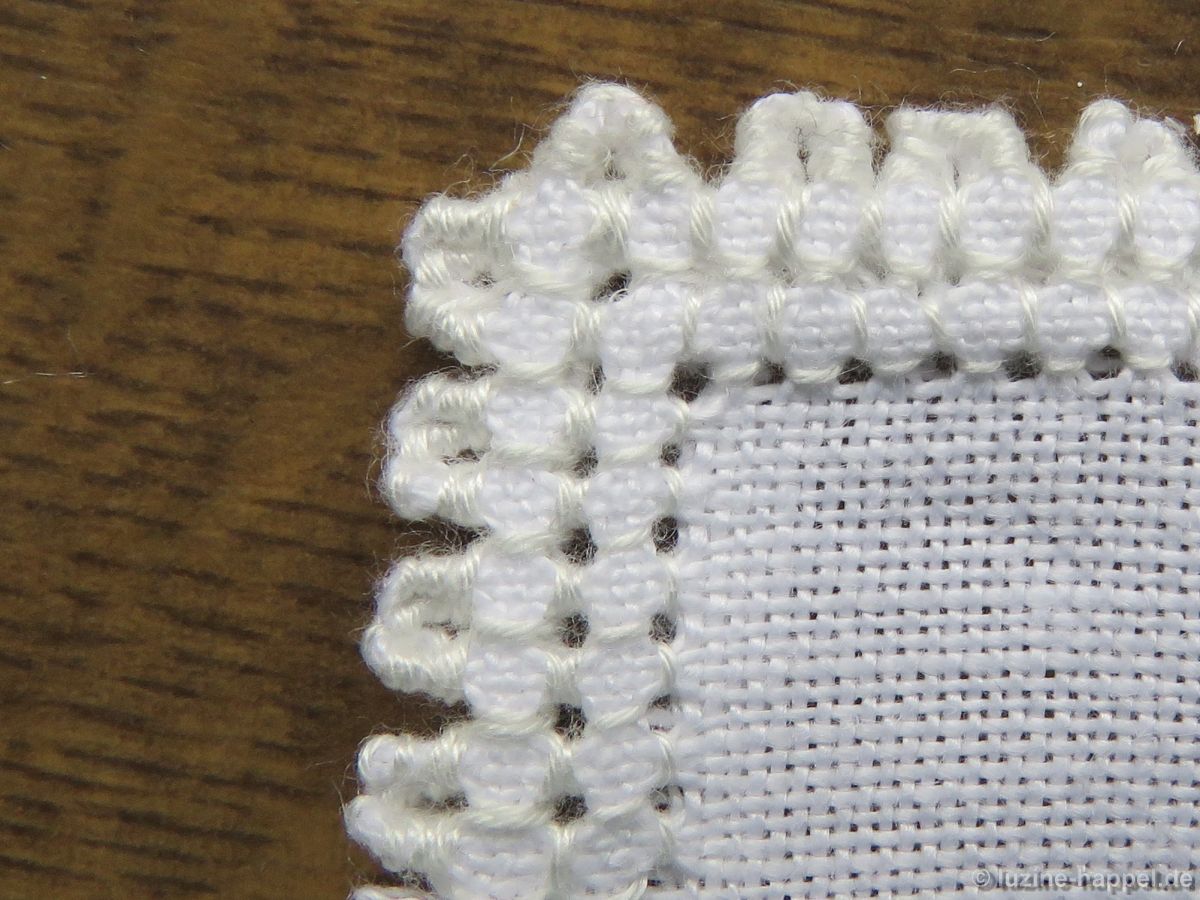
MiW2_1The border design has a width (from needlelace to needle-weaving band) of about 9.5 cm. The following pictures show the embroidery enlarged; the embroidery is actually very fine.
MiW2_2A seven-unit mirrored pattern was worked as a needle-weaving band. For more information about needle-weaving bands – the different kinds and the different ways of working – please look to my book Fancy Hems.
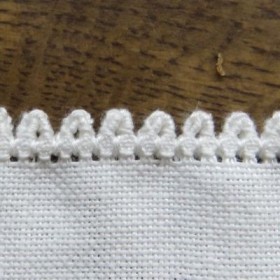
MiW2_3The bottom edge of the sleeve cuff has an elaborate needlelace edging.
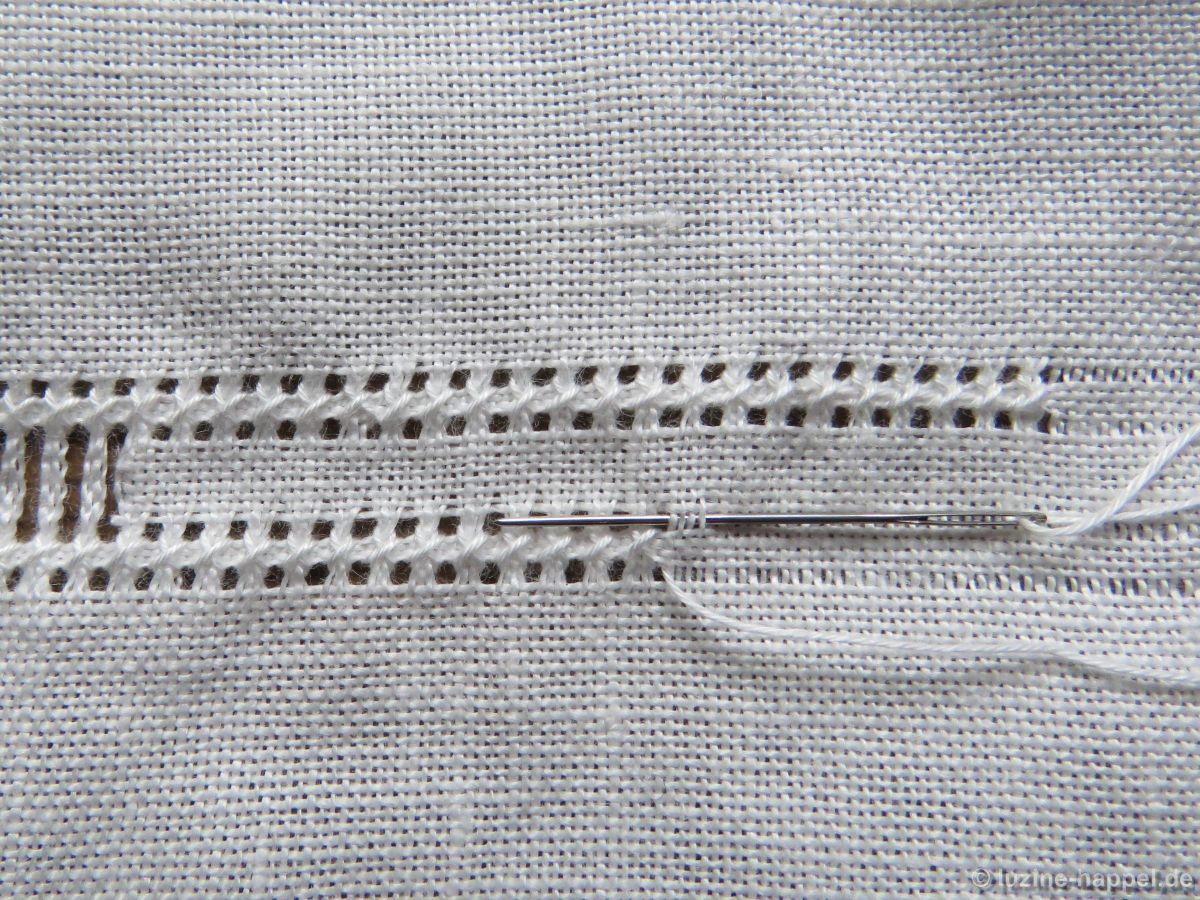
Between the needle-weaving band and the needlelace, a band was embroidered with Schwalm whitework. Please notice that there is nearly no unembroidered fabric between the motifs. And please compare the Chain stitches of this bodice with the Chain stitches of the Schwalm bodice A.

And now the pictures shall speak for themselves. Enjoy a close and careful look.
MiW2_4
MiW2_5
MiW2_6
MiW2_7
MiW2_8
MiW2_9
MiW2_10

The Corner of the Folded Peahole Edging

(If you came to this blog post via pinterest, please take a look here too, to find many other interesting subjects.)

The Corner of the Folded Peahole Edging

The folded Peahole edging can be easily worked along a straight edge, but one can also turn corners while stitching this edging.

Shown here is a practice exercise only.

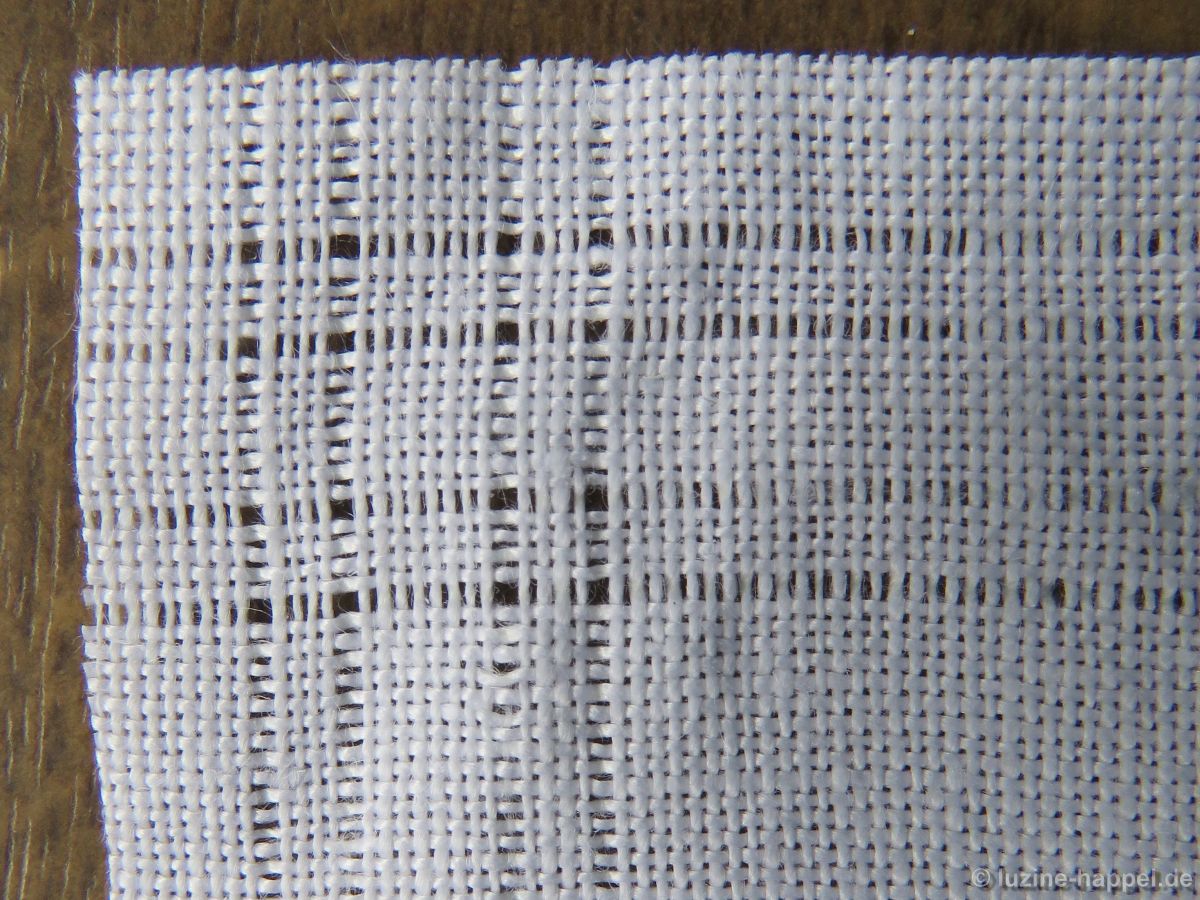
First, some distance from both edges, withdraw threads for the folded Peahole.
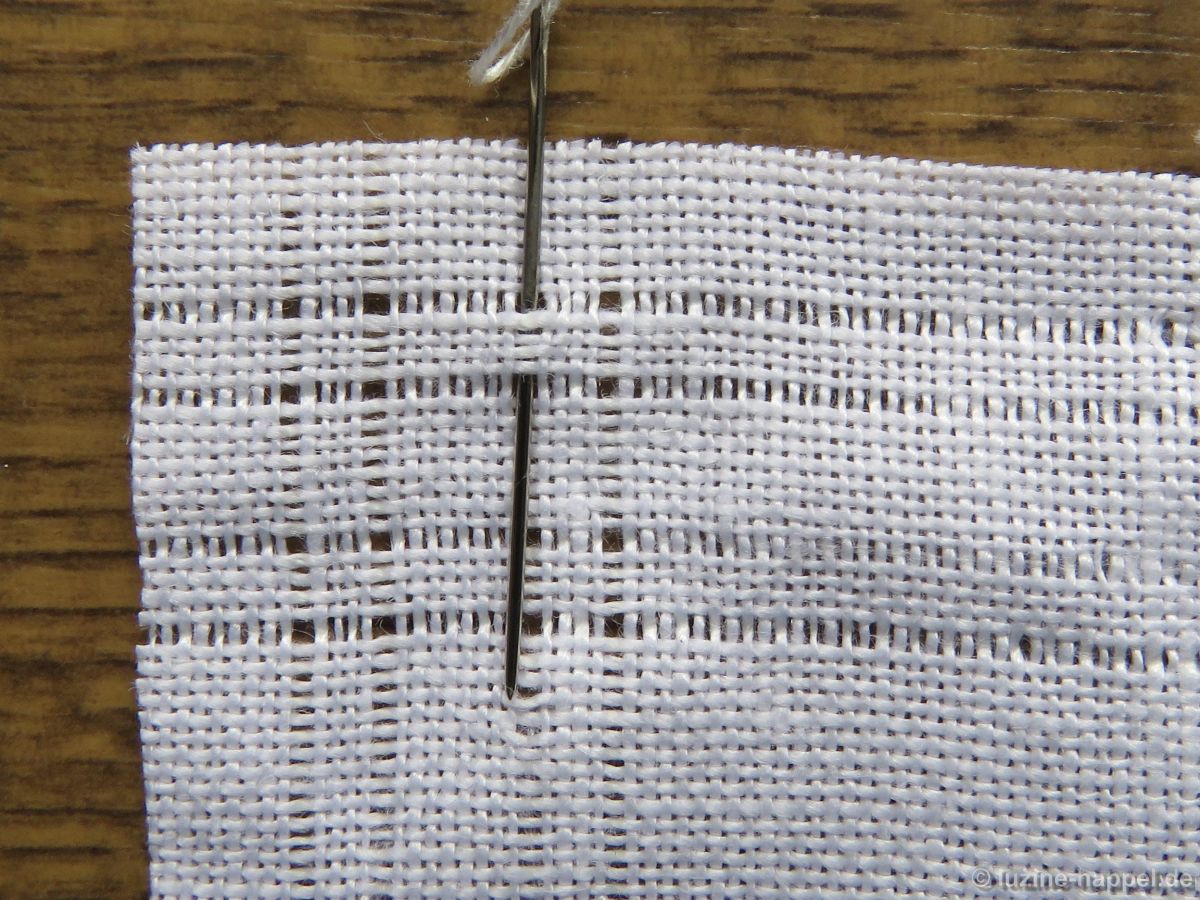
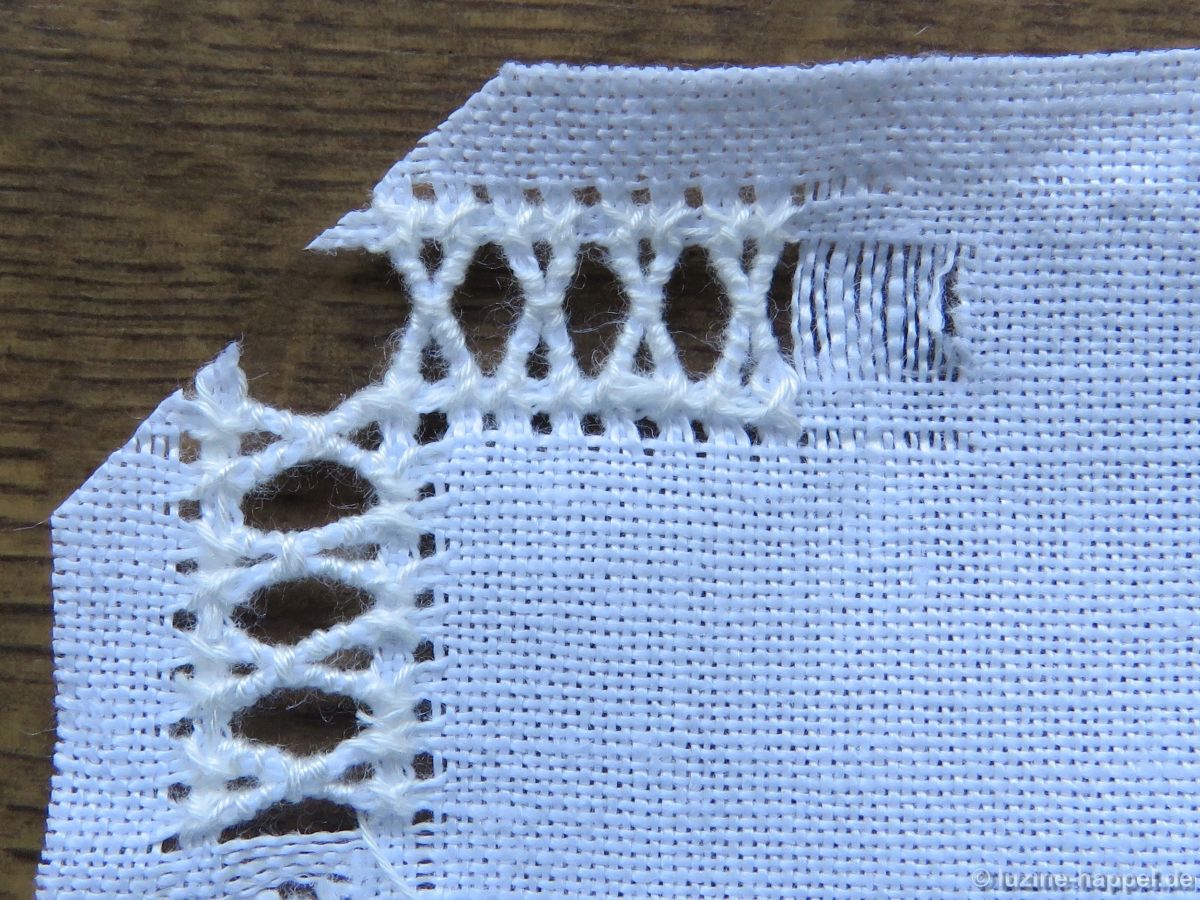
Erbslochecke_1Starting at the point shown in the picture below,
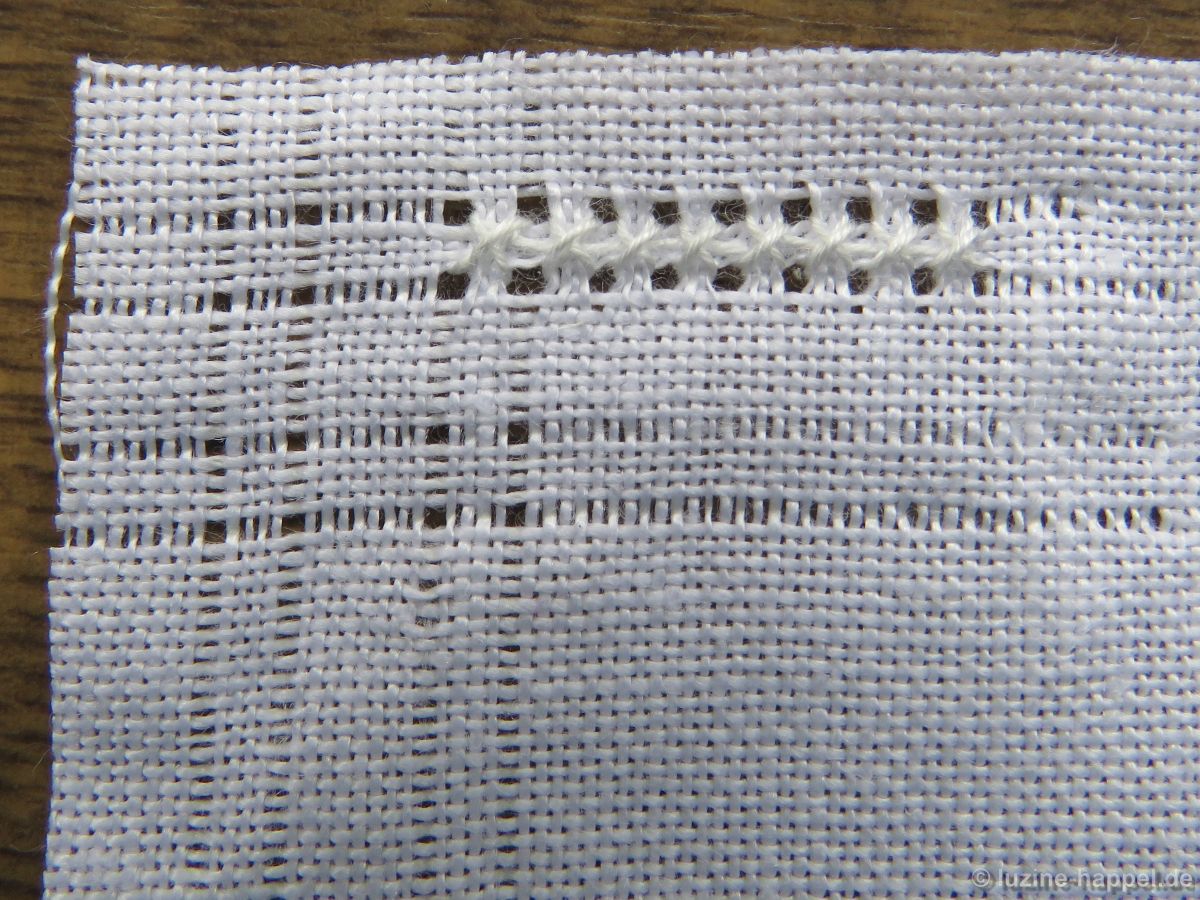
Erbslochecke_2work a number (it doesn’t matter the exact number since this is a practice piece, but it should be an even number) of Four-Sided stitches.
Erbslochecke_3Turn the piece 180° and work Four-Sided stitches lined up to the first row of Four-Sided stitches.
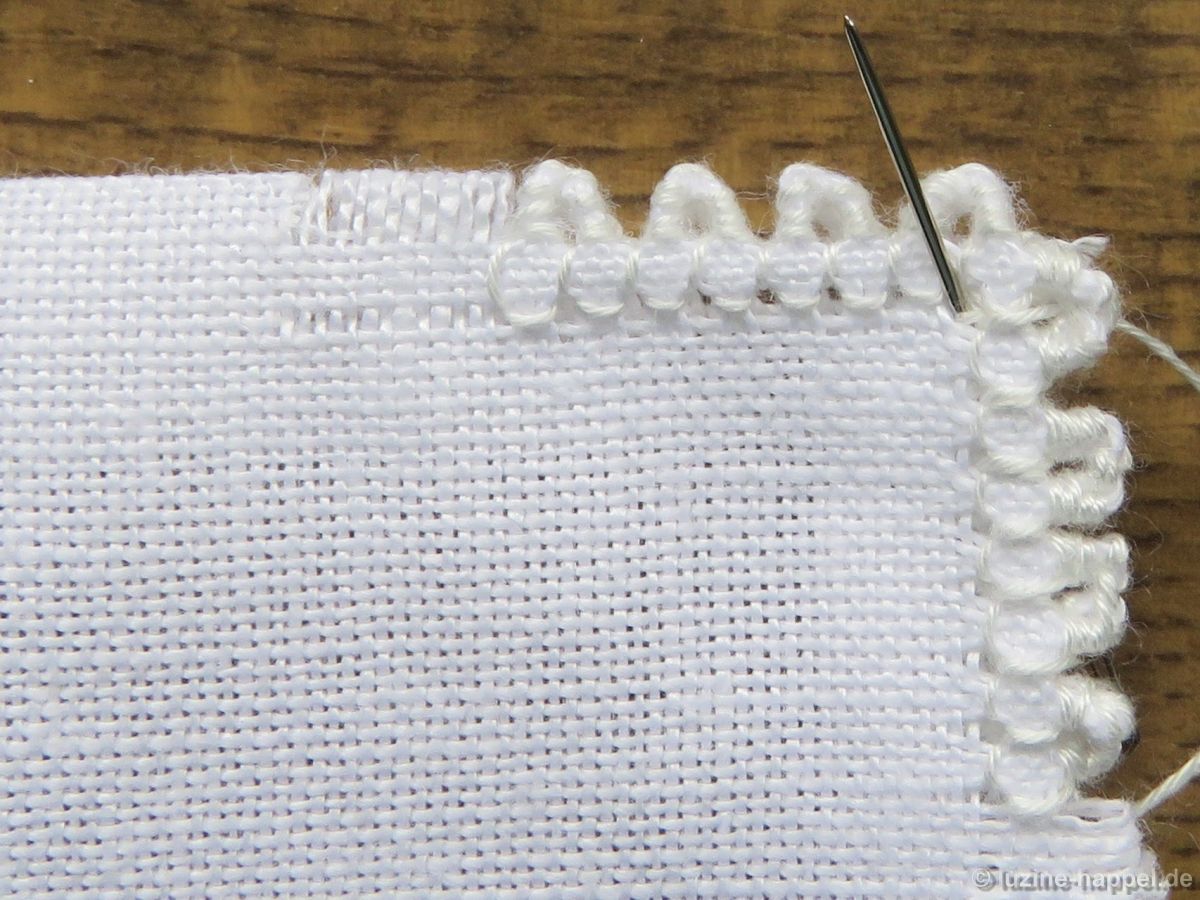
Erbslochecke_4Work them around the corner.
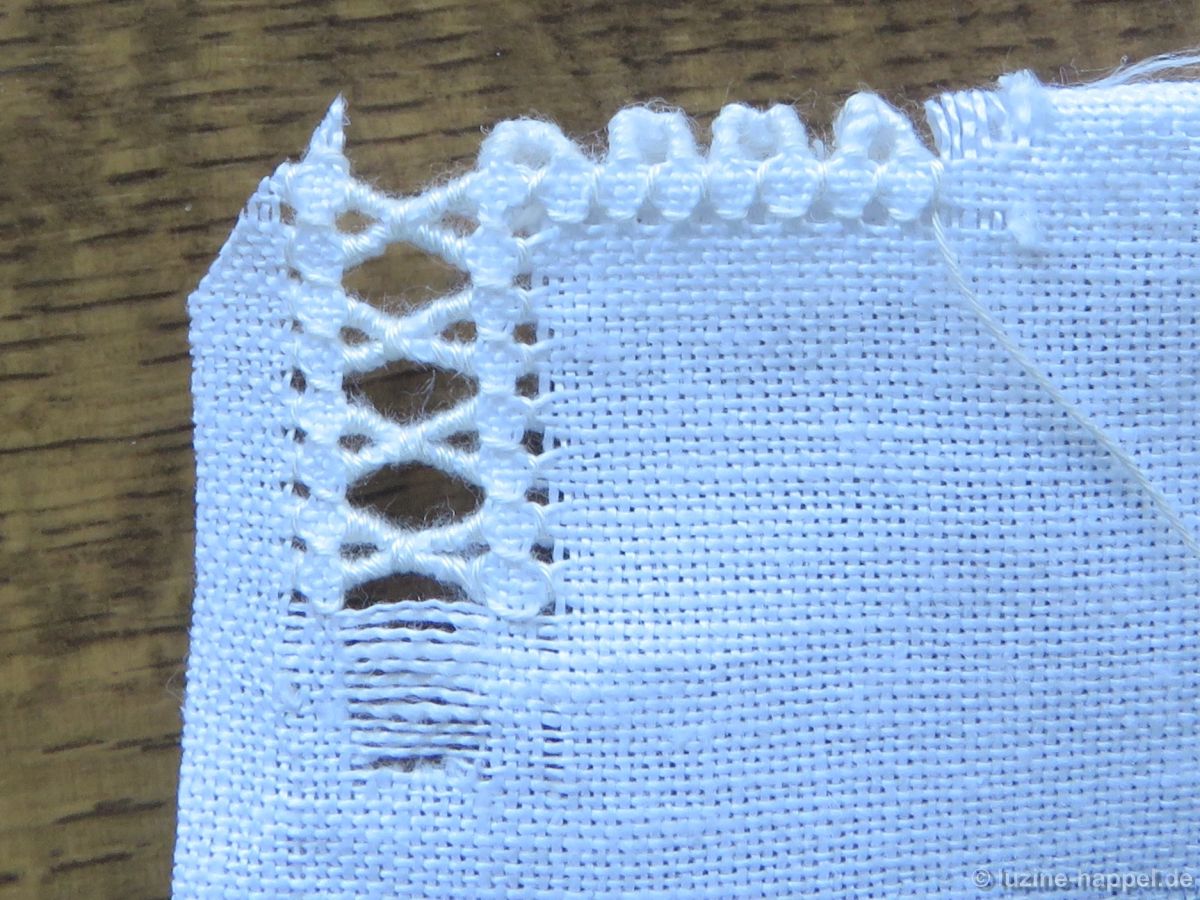
Erbslochecke_5Starting at the place shown in the picture below,
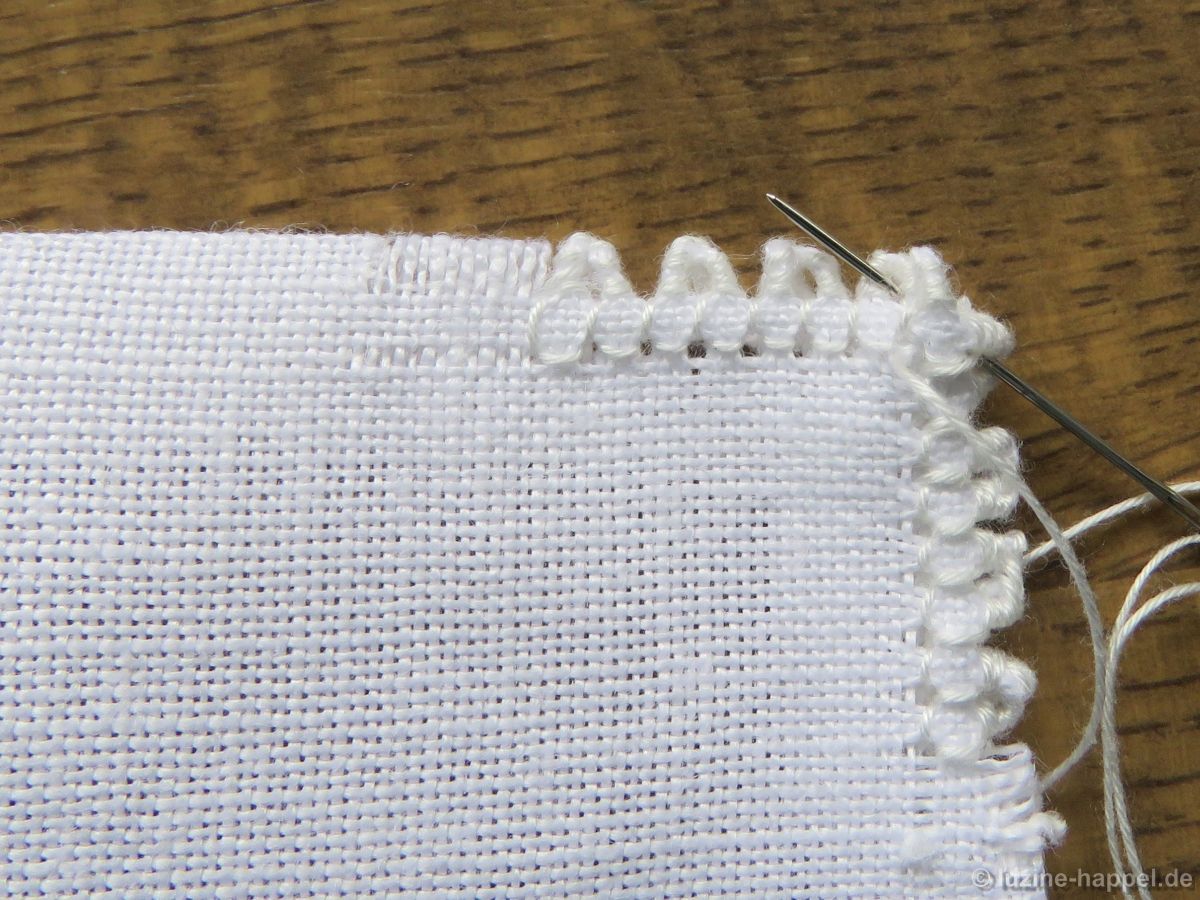
Erbslochecke_6work the remaining Four-Sided stitches.
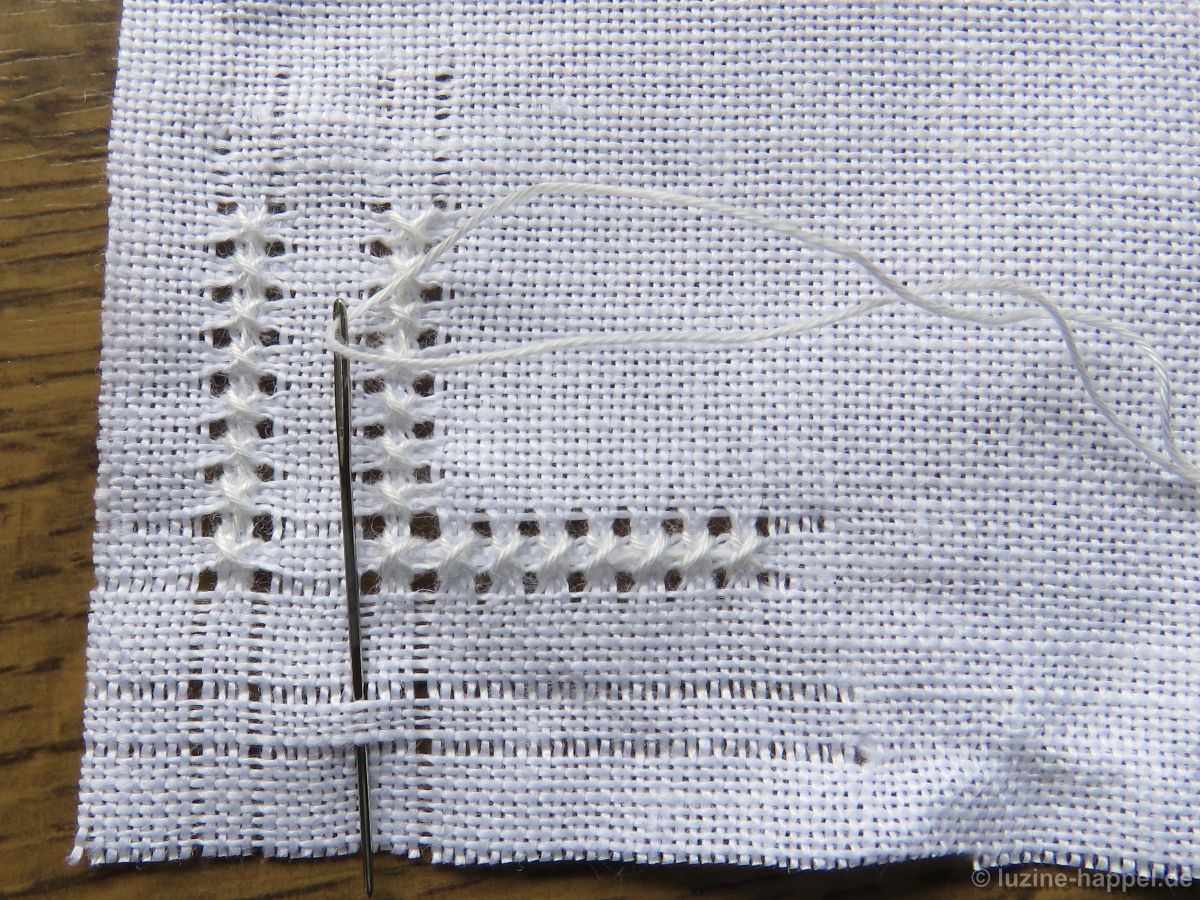
Erbslochecke_7Withdraw the threads for the Peaholes
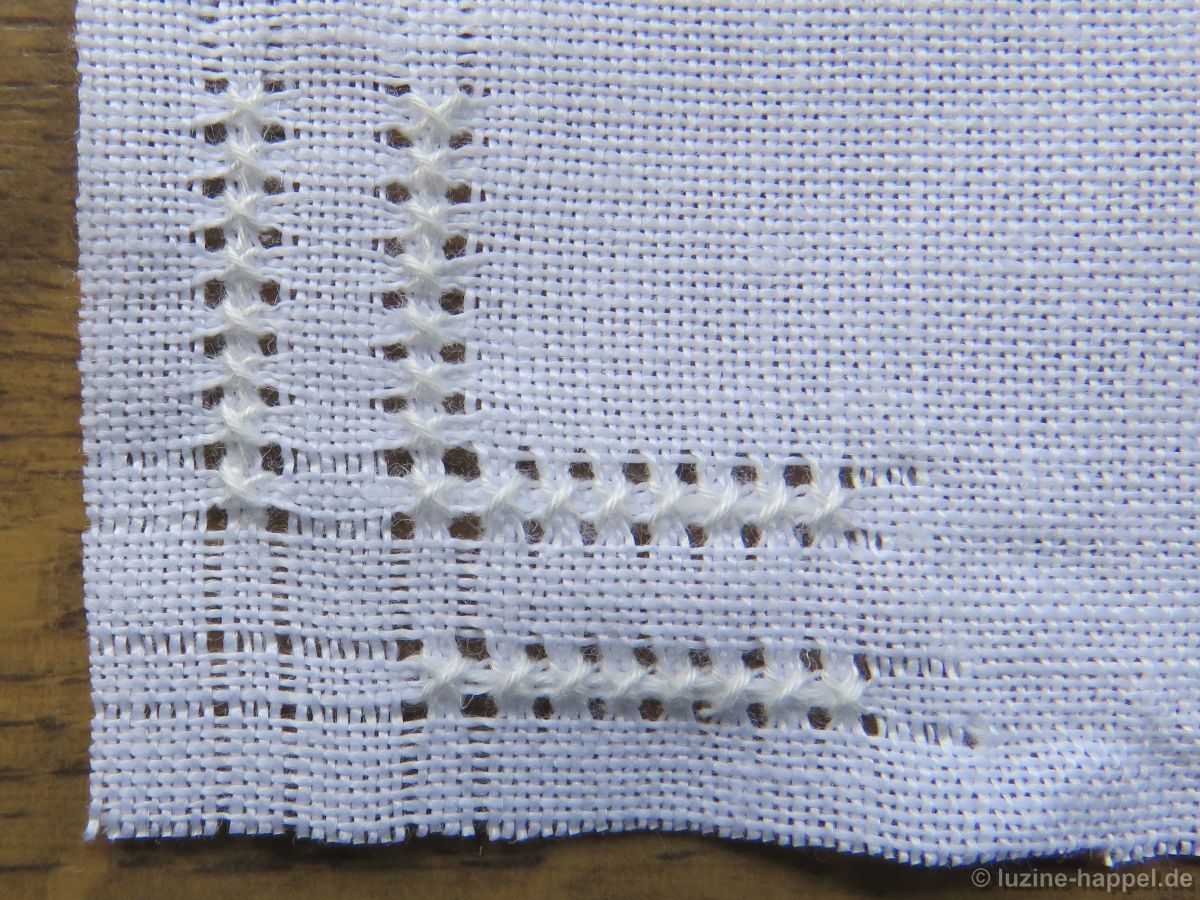
Erbslochecke_8and work the wrapped Peaholes.
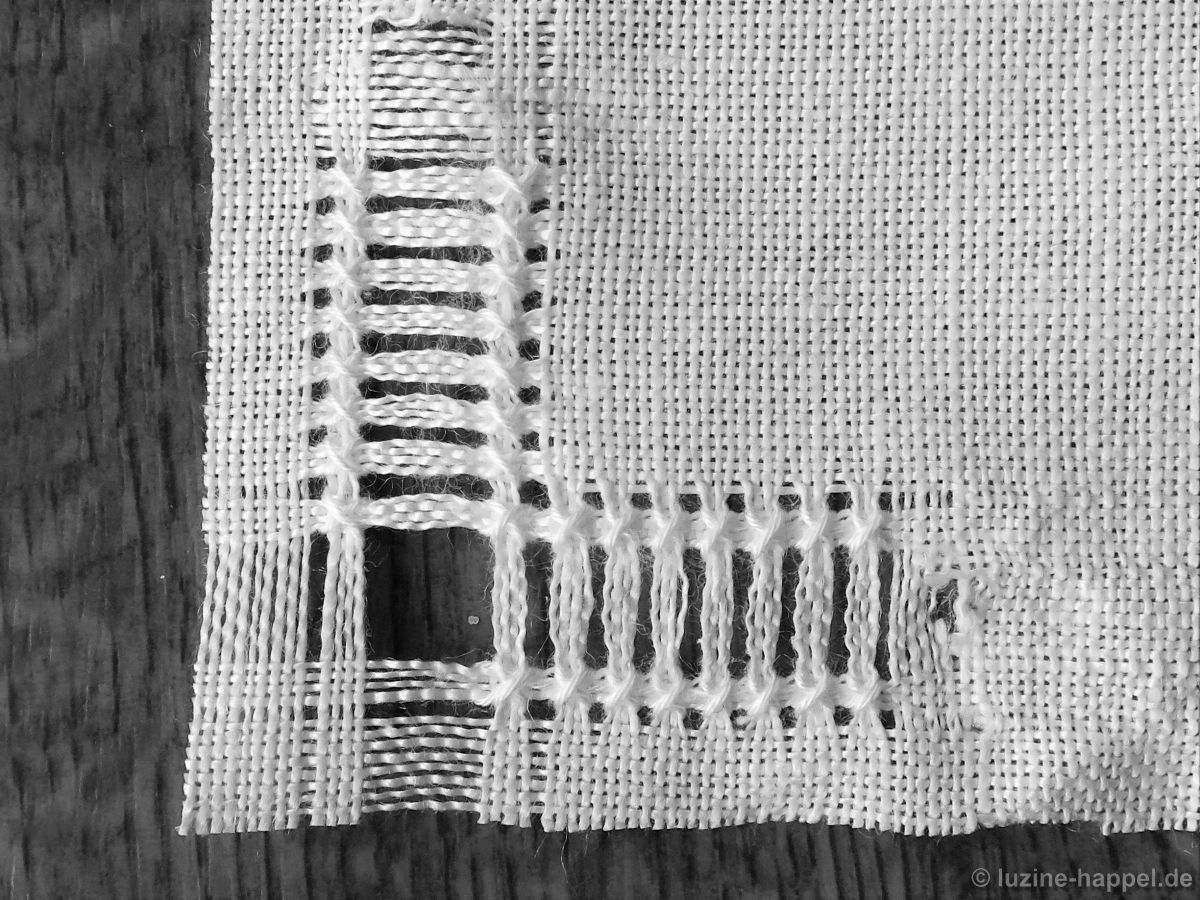
Erbslochecke_9Cut the corner diagonally so that the cut is directly outside the Four-Sided stitches—taking care not to damage them.
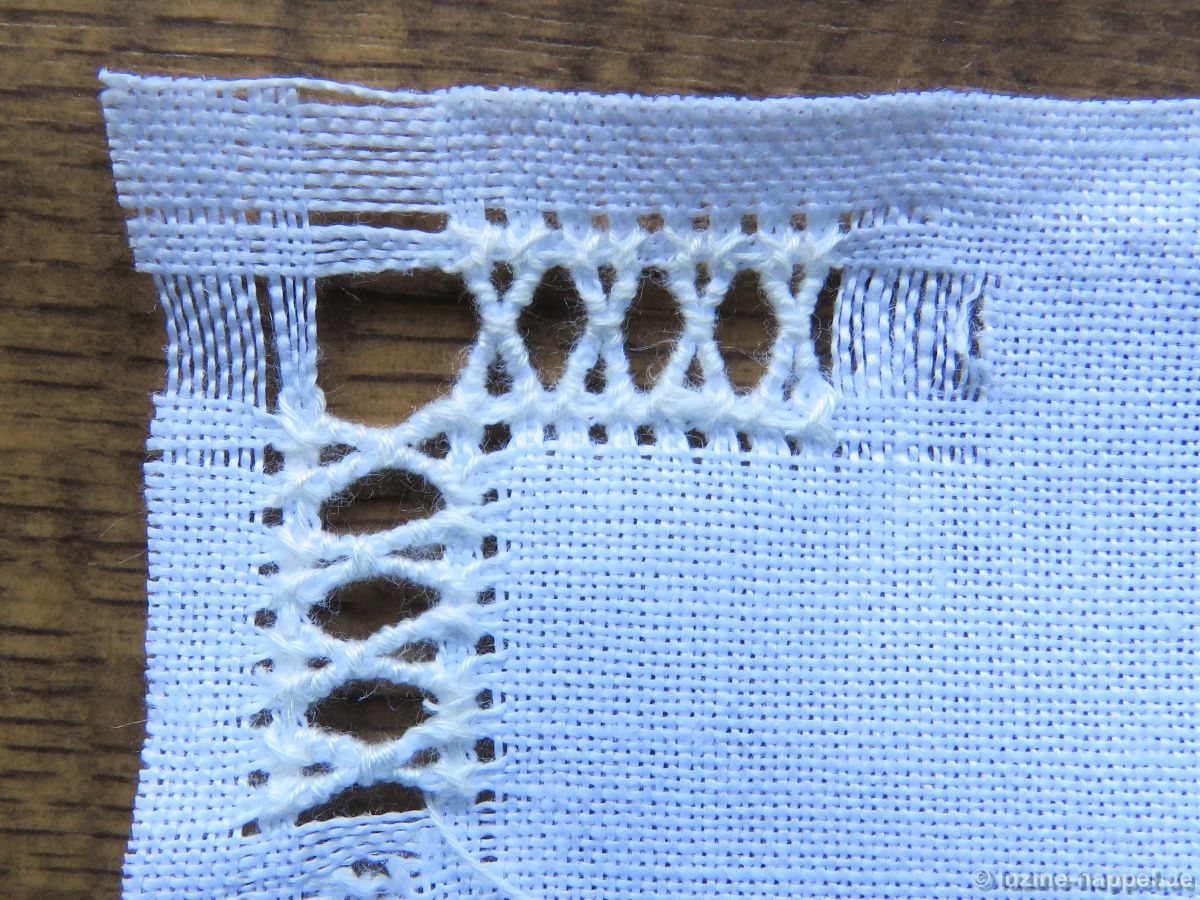
Erbslochecke_10Along one edge, fold the edging so that the backs of the Four-Sided stitches lie on top of each another and begin securing the triangles.
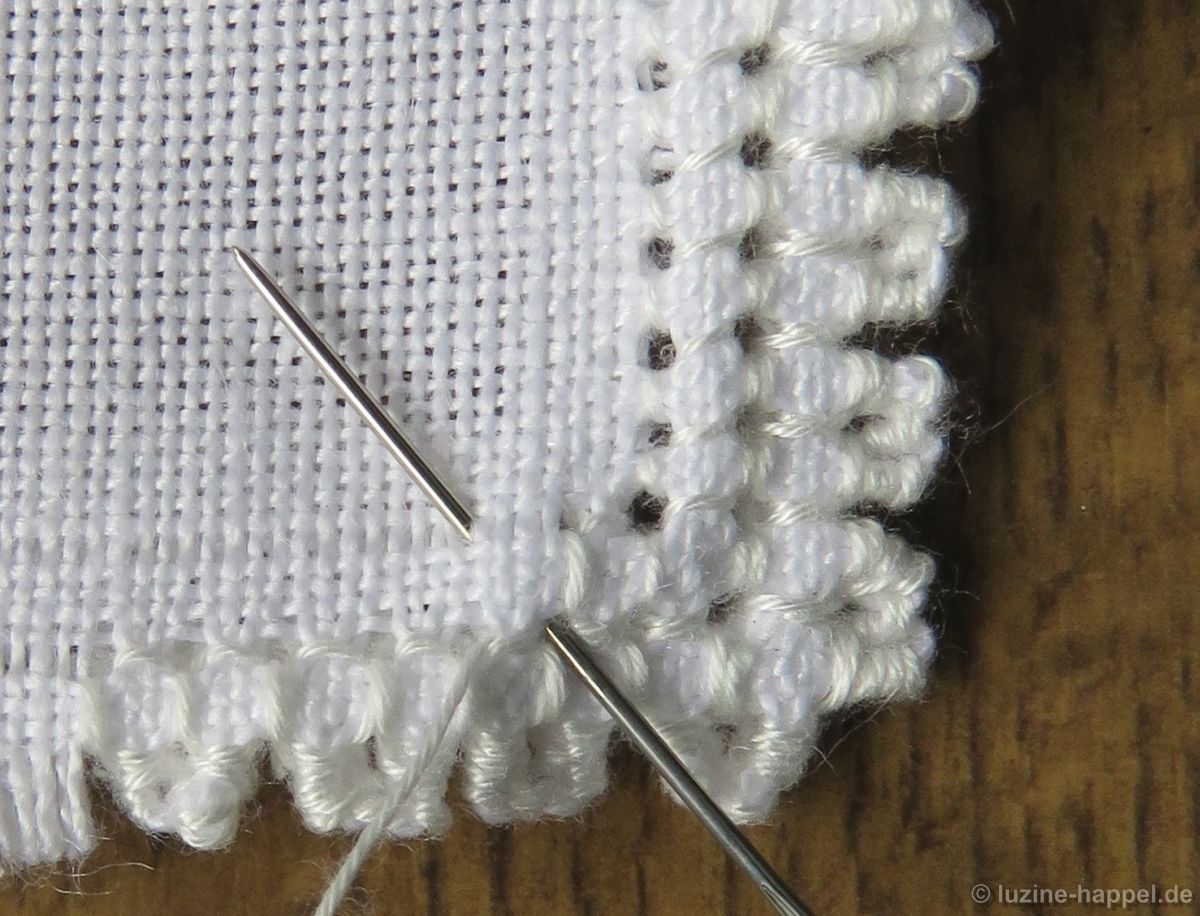
Erbslochecke_11Reaching the corner, fold the edging of the perpendicular side
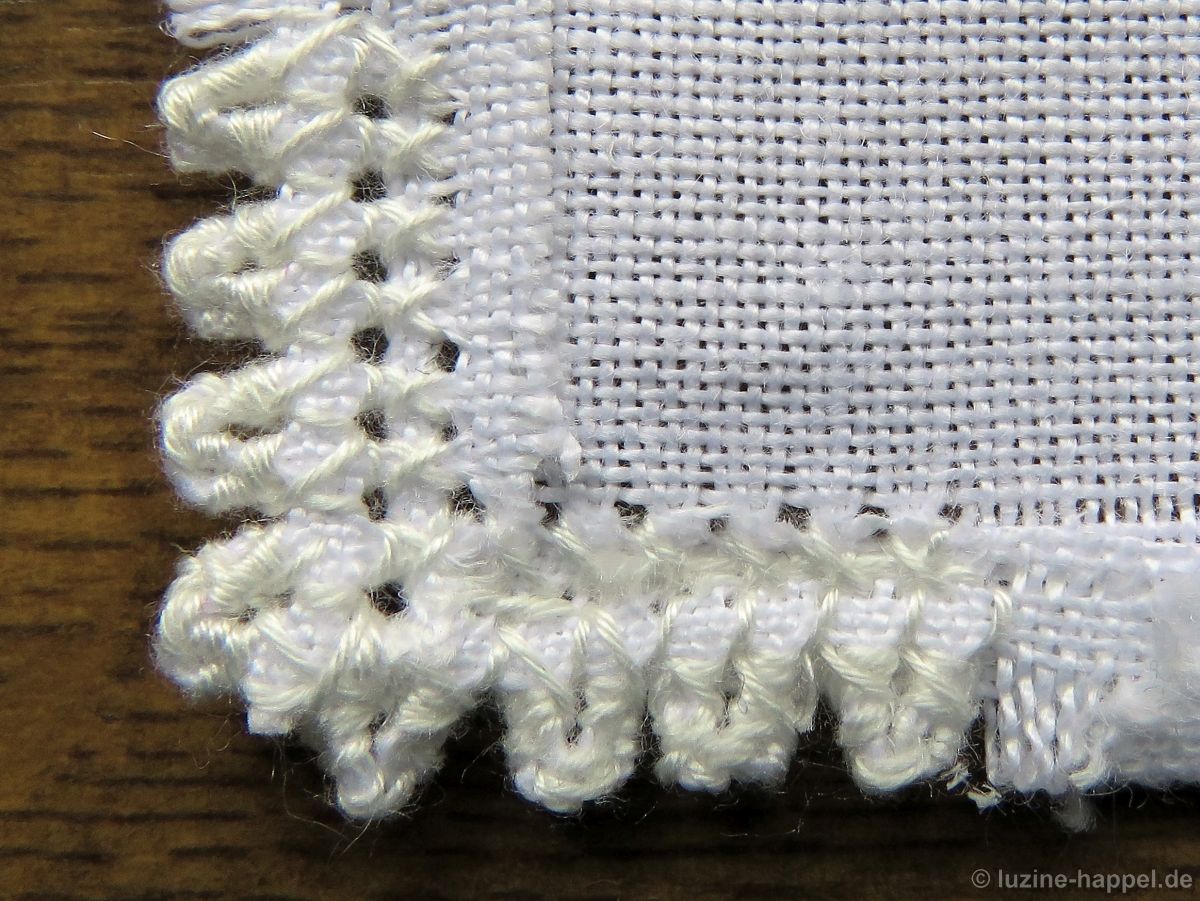
Erbslochecke_12and continue securing the triangles around the corner.
Erbslochecke_13From the back it looks like this:
Erbslochecke_14Four threads inwards from the bottom of the previously worked Four-Sided stitches, withdraw one more thread along each side (on both the front and the back). (Please carefully look at the picture!)
Erbslochecke_15From the front of the fabric, work one row of Four-Sided stitches catching both layers.
Erbslochecke_16Now, on the back side, trim the remaining fabric close to the stitches.
Erbslochecke_17A nice hem is created – admittedly, the triangles in this example are not the best (this was one of my first attempts at working this edging, since then they have improved a lot).
Erbslochecke_18

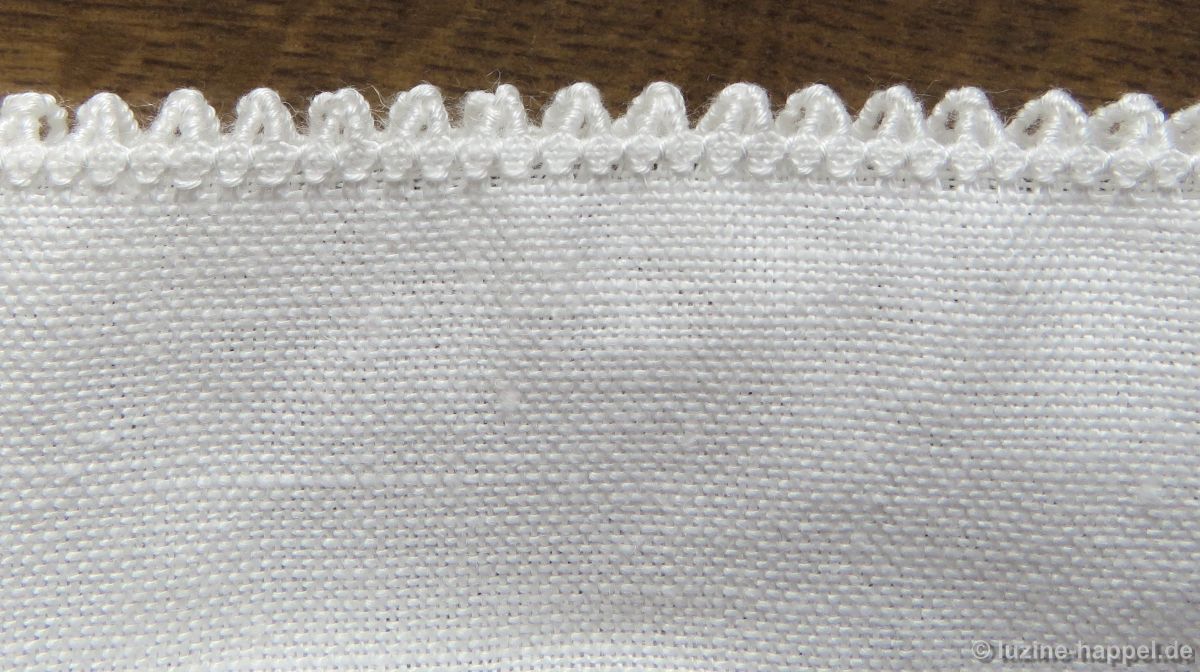
The Folded Peahole Edging

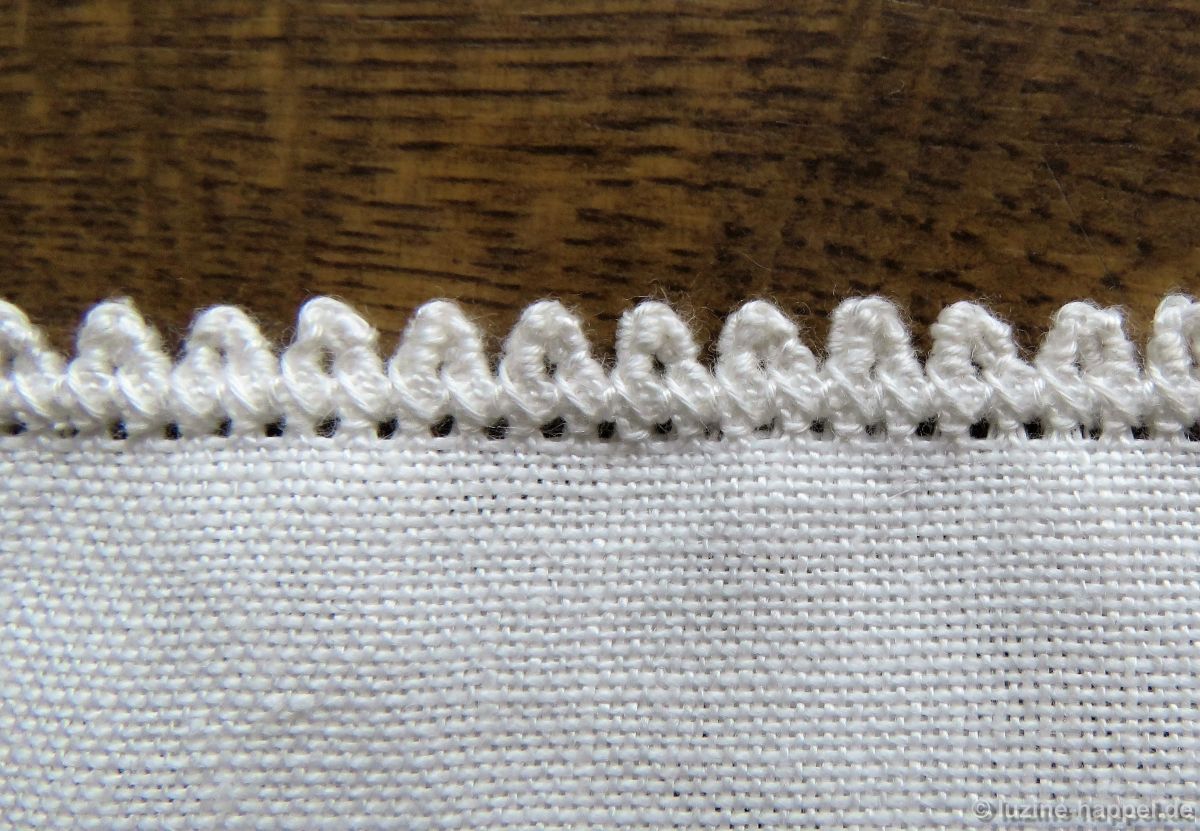
I have seen the folded Peahole edging (also called mouse tooth edging) on many different pieces, but I have never worked it myself before now. I took a practice piece of linen and tried to replicate it. I was absolutely displeased with the result.

After several attempts I was able to produce a better result, and this is what I figured out:
The holes have to be taller – beans (instead of peas) should fit between the rows of Four-Sided stitches.
And the bundling together of two bundles should not be made with a knot or a loop because those would disturb the final appearance. Furthermore, a knot is unnecessary because the bundles are wrapped together again later on.

Thread withdrawal is:

cut 1leave 4
cut 1leave 8
cut 1leave 4
cut 1

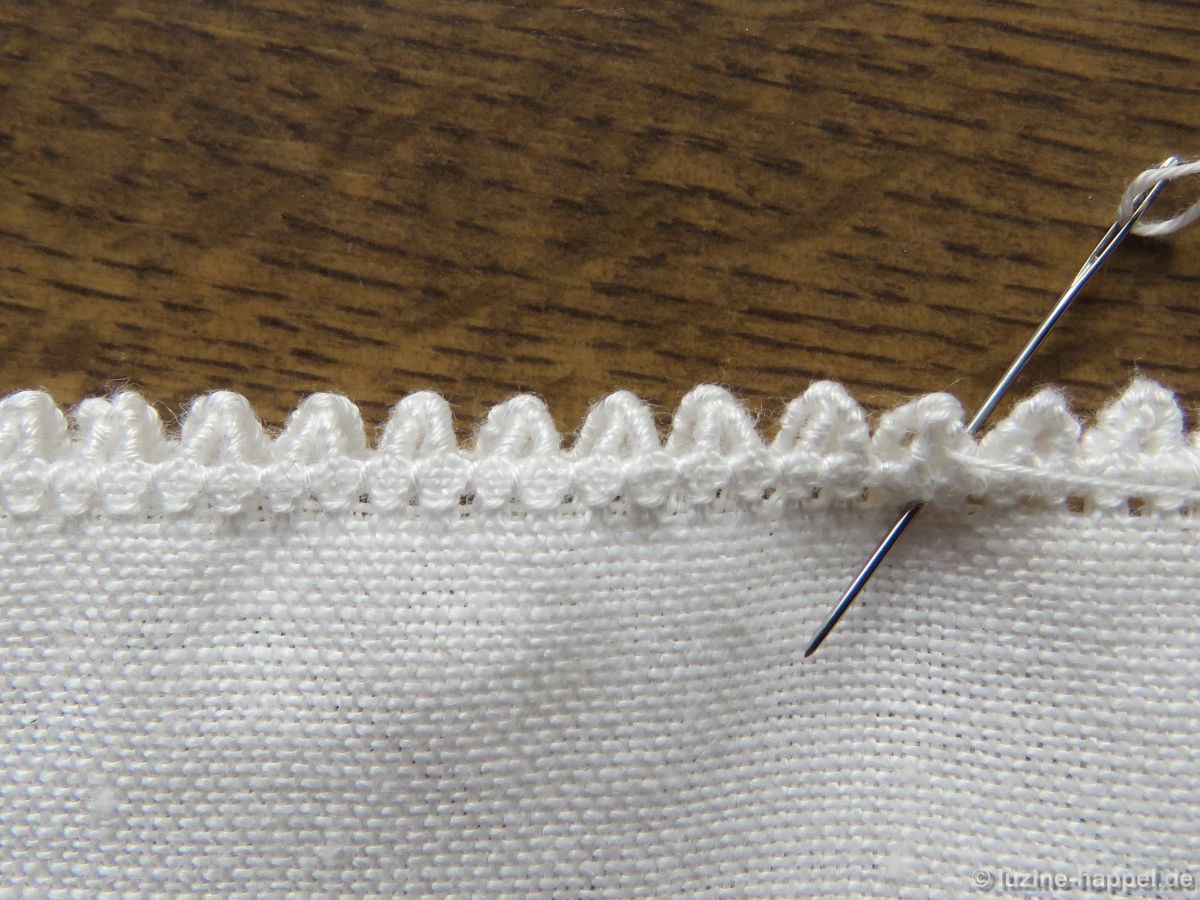
Erbslochkante_1From the back of the fabric, Four-Sided stitch rows are worked in the established way.
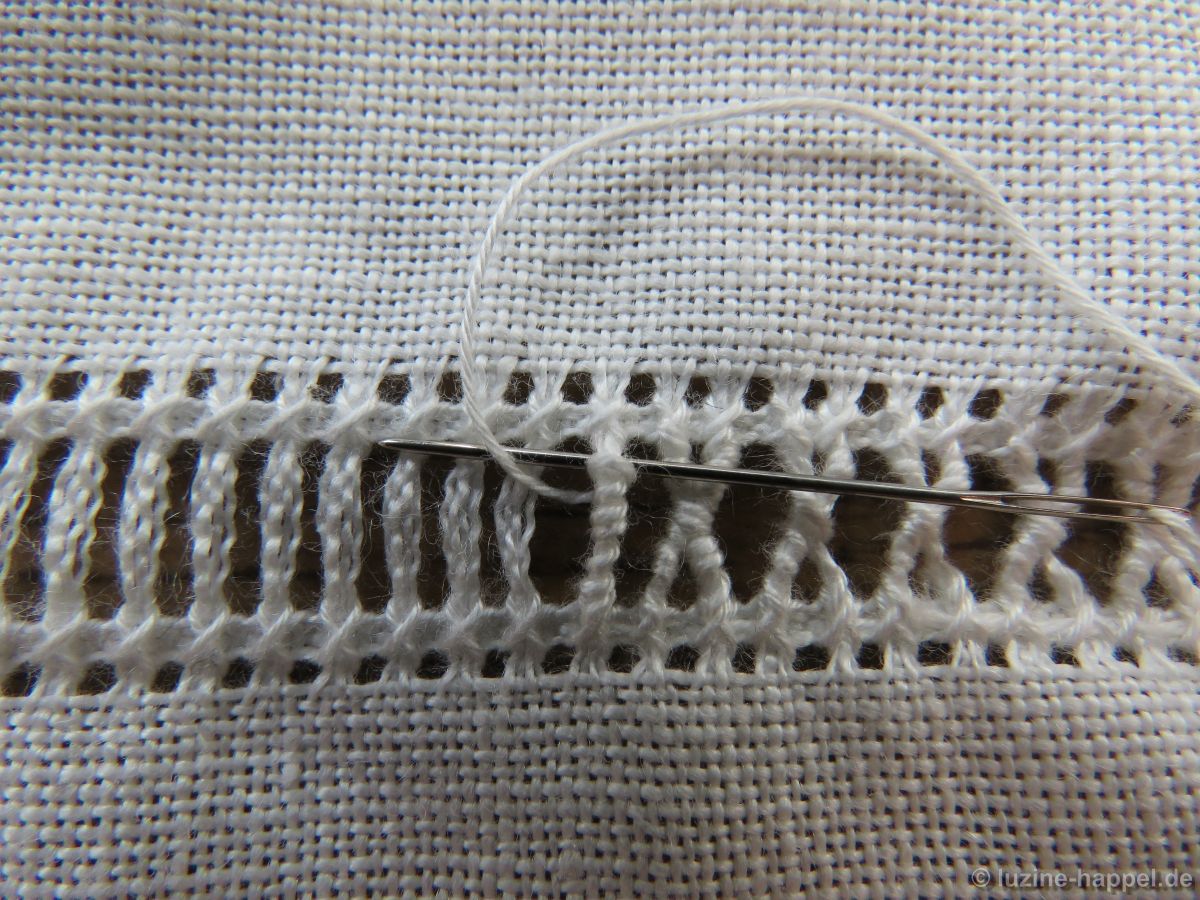
Erbslochkante_2Then wrapped Peaholes are made. The first bundle of a Peahole is wrapped 8 times from bottom to top. Please take care that the wrapping threads lay parallel and do not cross one another.
Erbslochkante_3The second bundle is wrapped 3 times from top toward the middle.
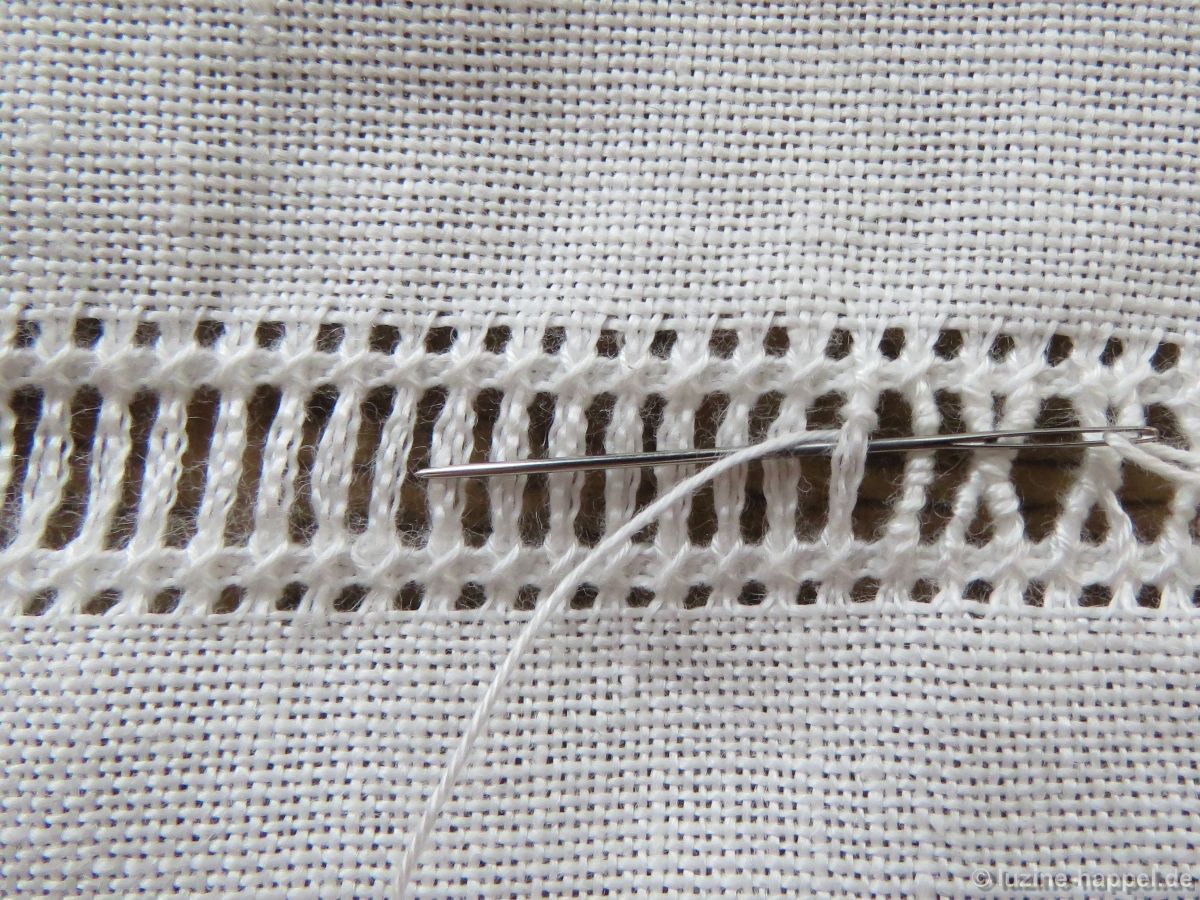
Erbslochkante_4The two bundles are joined together in the middle with 2
Erbslochkante_5wraps. After the second wrap, the thread is tightened very well. The tighter both bundles are bound together, the sharper the point of the folded Peahole later.
Erbslochkante_6)The second bundle is wrapped 3 times down to the bottom.
Erbslochkante_7After finishing the row
Erbslochkante_8the backs of both Four-Sided stitch rows are laid on top of each other. Small triangles are now on the edge.
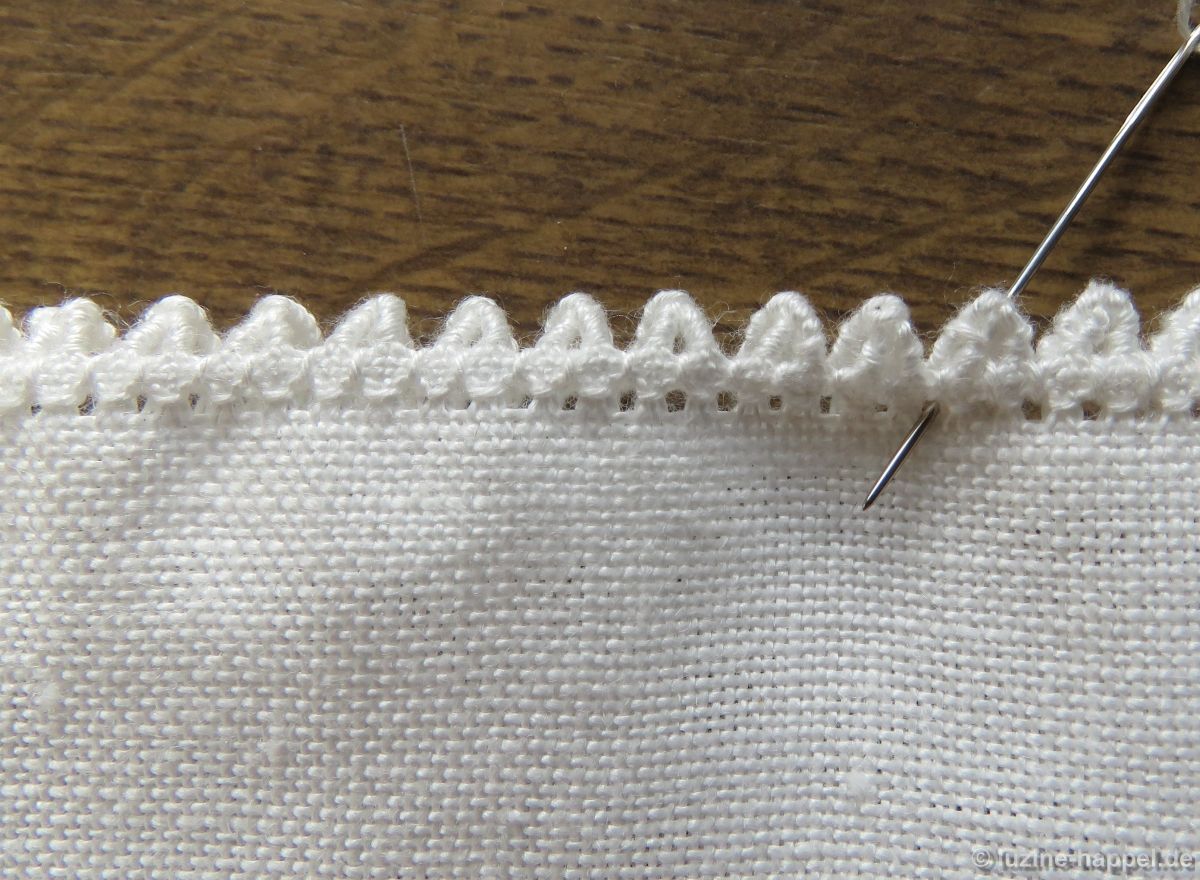
Erbslochkante_9Working from the right side of the fabric and from right to left, the needle is brought up in a bottom hole of a Four-Sided stitch between two of the triangles.
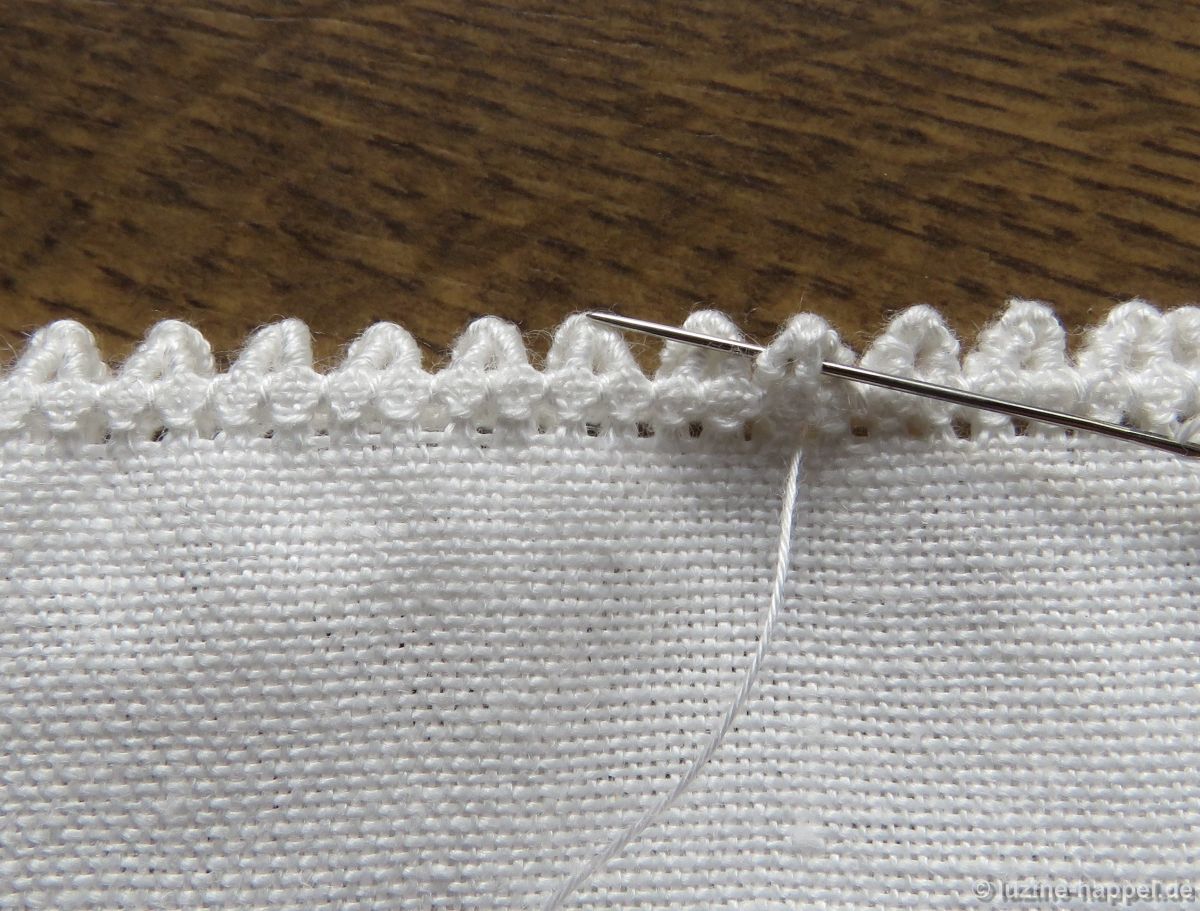
Erbslochkante_10Take the needle straight up and wrap once around the right side of the triangle, bringing the needle from the back to the front.
Erbslochkante_11To ease inserting the needle, the Peahole can be unfolded a little bit.
Erbslochkante_12Repeat wrapping as often as needed to bind both layers together (2–3 times).
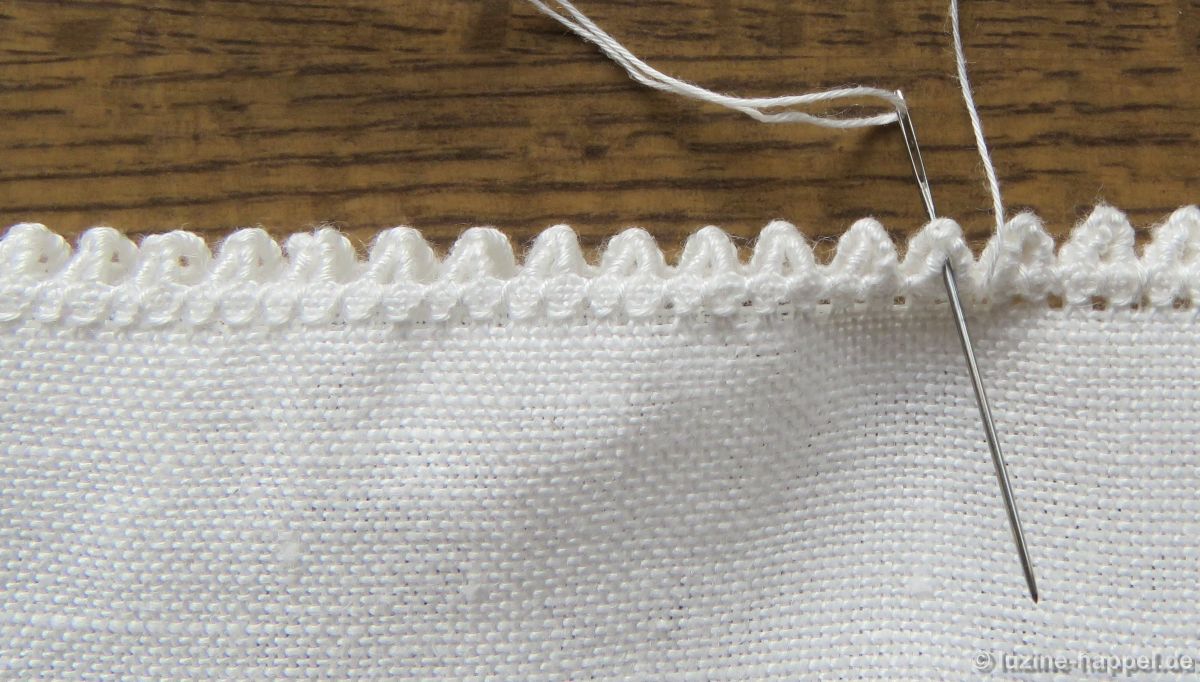
Bring the needle up in the next Four-Sided stitch bottom hole.
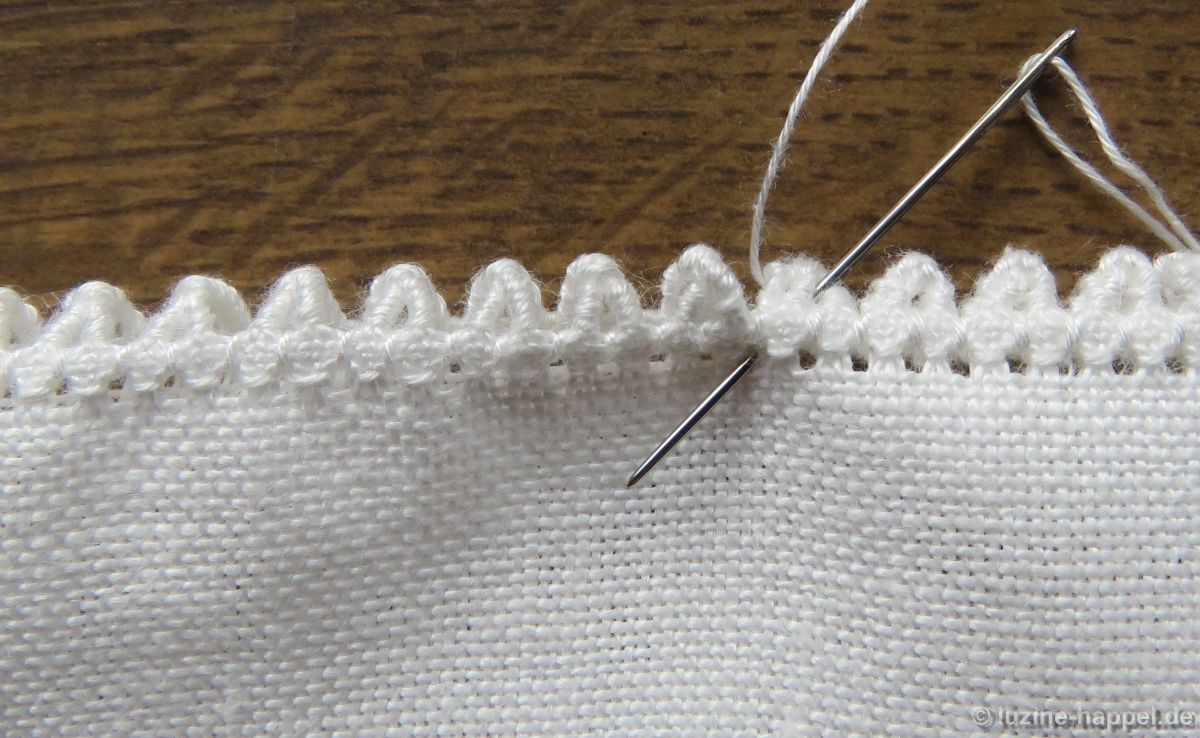
Erbslochkante_13Take the needle straight up, and insert it into the center of the triangle from front to back
Erbslochkante_14and wrap as often as needed to bind the left side of the triangle together. Insert the needle in the center again and bring it up in the next Four-Sided stitch bottom hole.
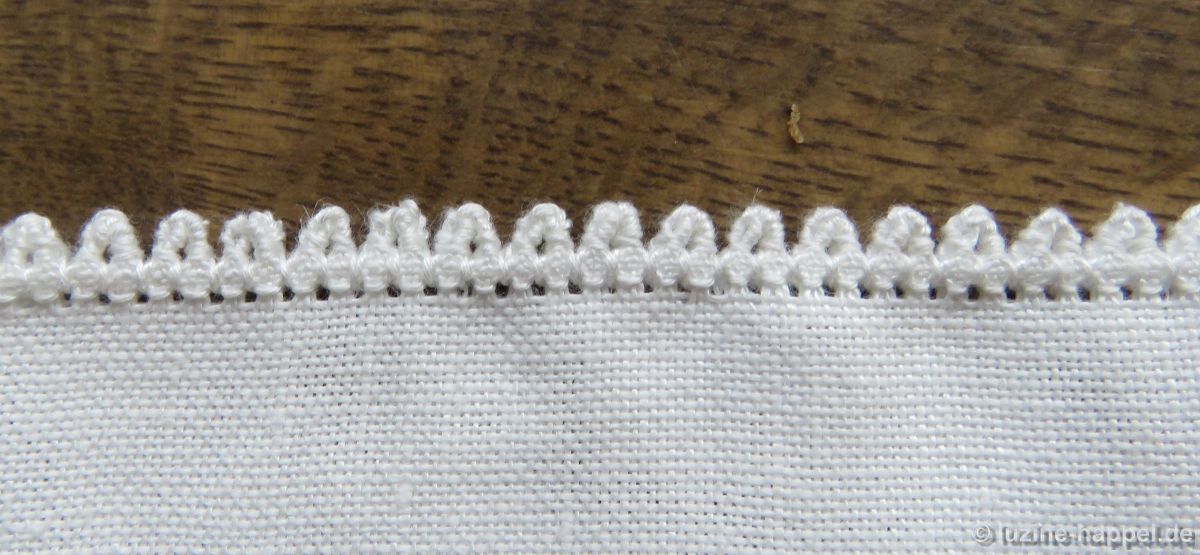
Erbslochkante_15Continue working in the established way. If needed, draw the triangles up a little bit with the help of your needle.

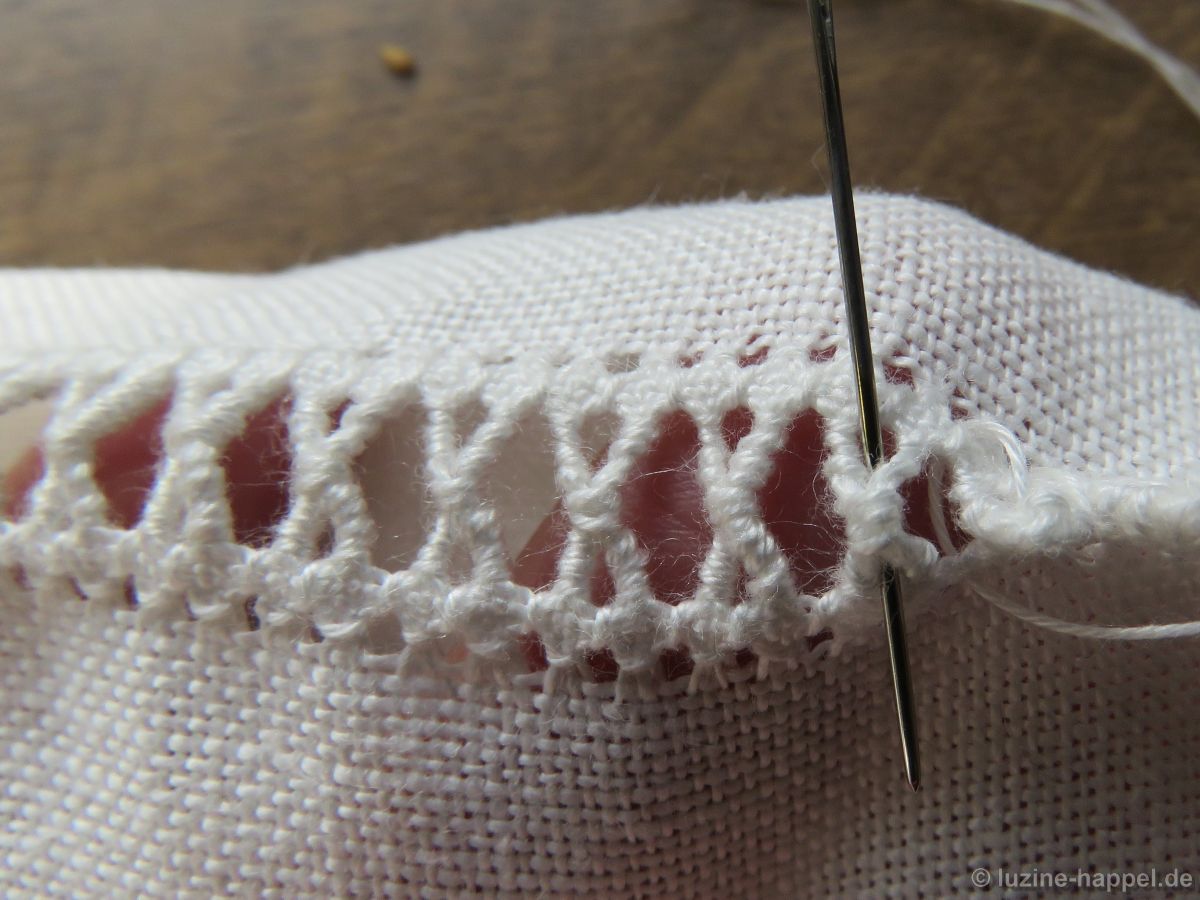
The back side looks like this:
Erbslochkante_16A nice narrow edging is established. Here it is worked on 13.5/cm thread-count linen using coton à broder No. 30.