A Lavender Bag with a Needlelace Edging

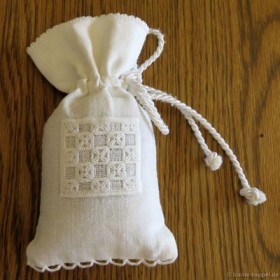
Needlelace in its different patterns can be easily practiced on small projects. On this project, you can practice simple needlelace arches.

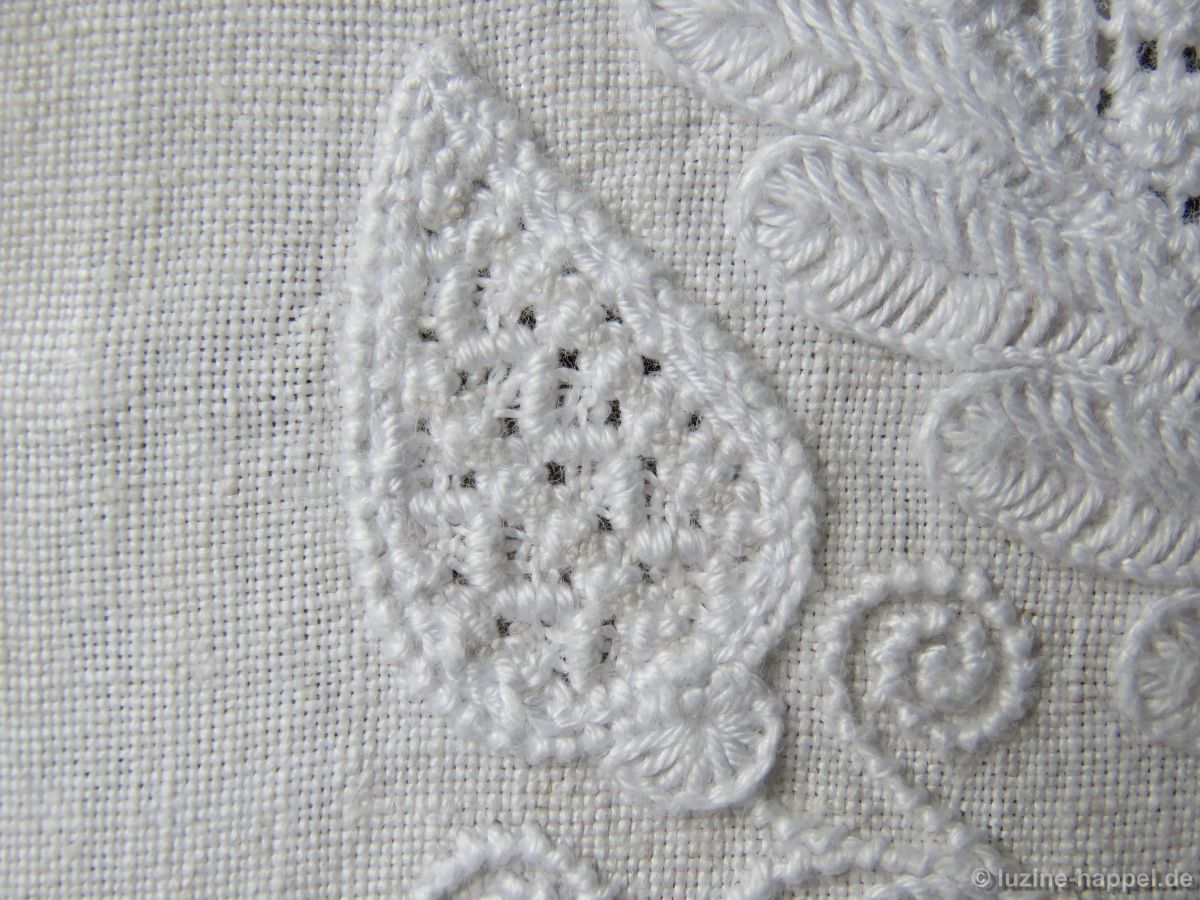
The linen for a small sachet was embroidered with a filling pattern square,
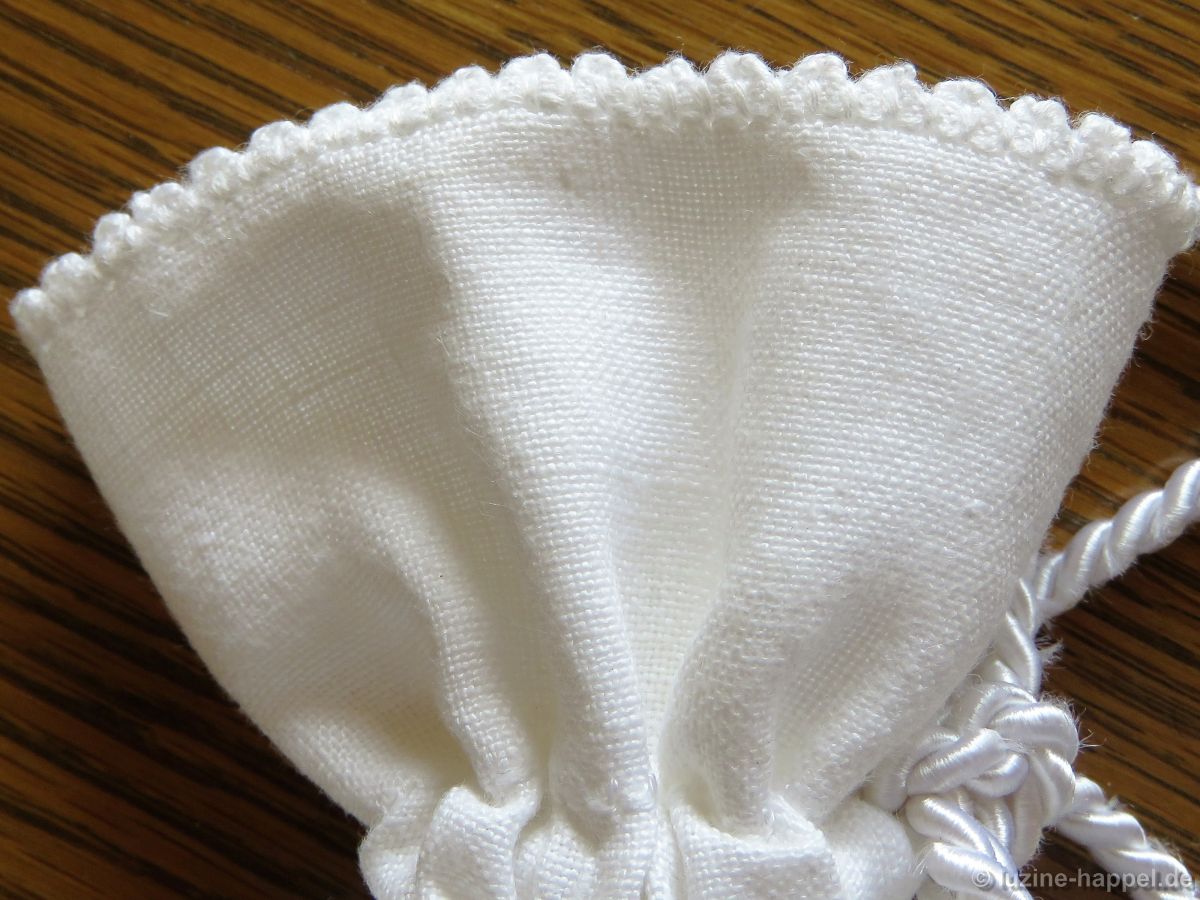
Beutel_1_1sewn closed, decorated at the upper edge with the folded Peahole edging,
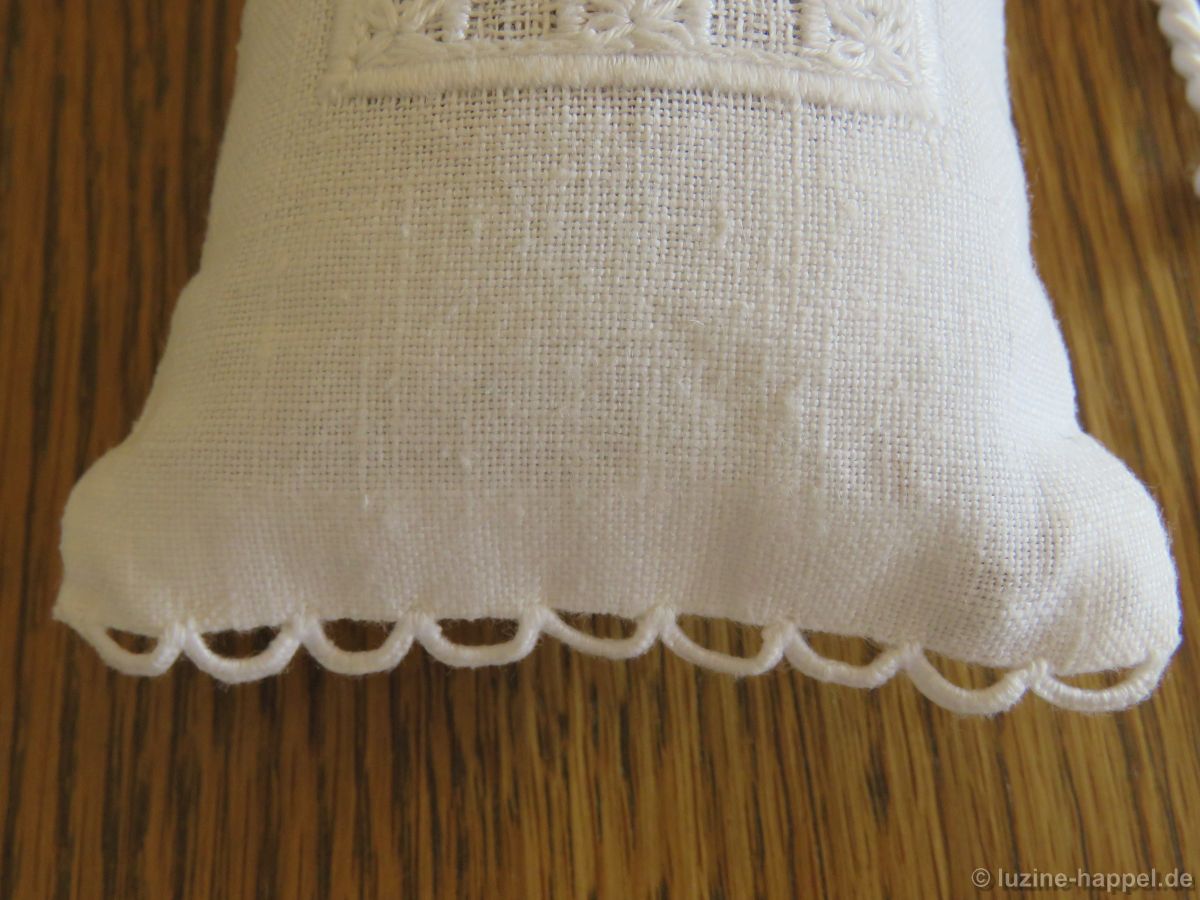
Beutel_1_2and decorated at the bottom edge with needlelace arches.
Beutel_1_3The little sack was filled with lavender and closed with a cord.
Beutel_1_4Such small bags look nice, they are relatively quick and easy to work, and they are very suitable for small gifts.

I will show the detailed steps of working in the next posts.

How to Work a Lampshade

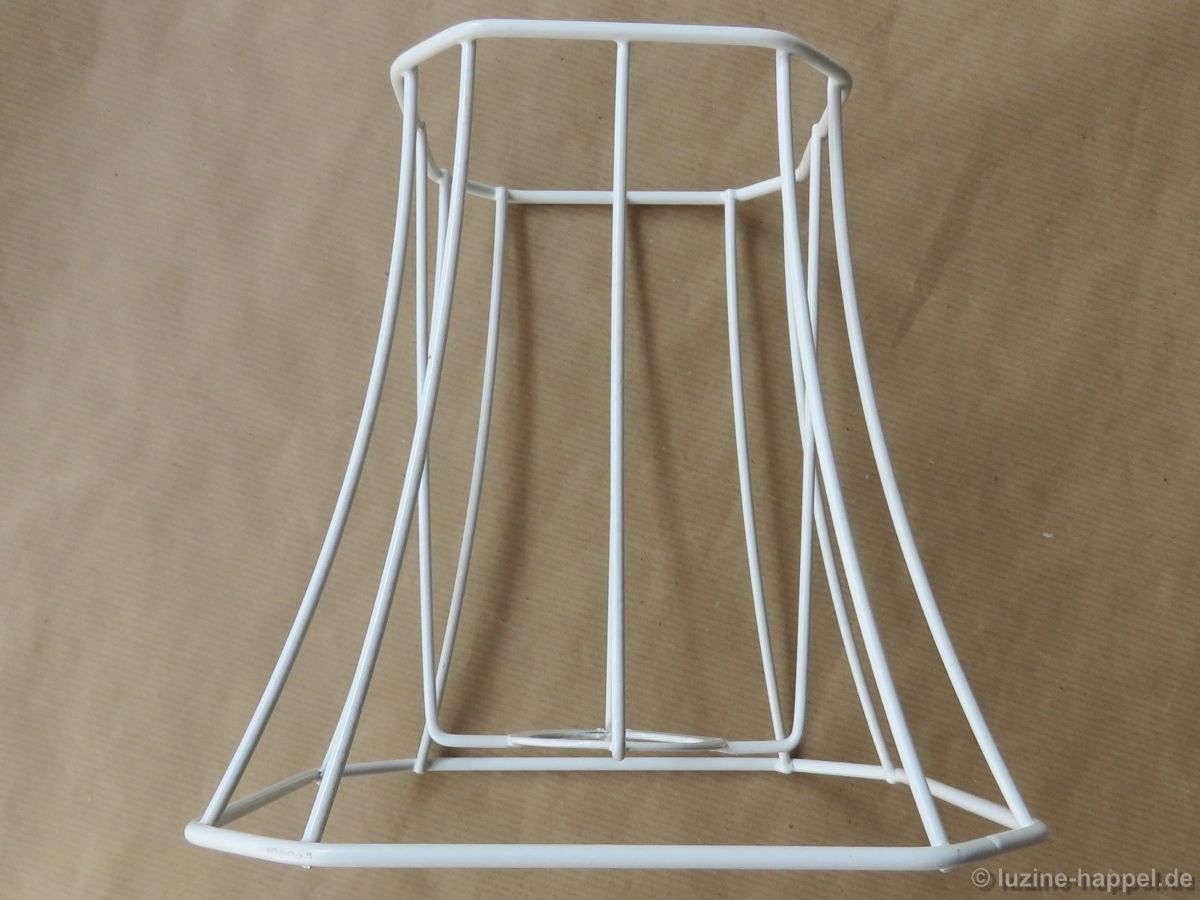
To make a small lampshade, as shown in the previous post, you will need a frame. The wire frame should have a simple shape. Octagonal frames are especially suited; they look beautiful, are solid, and the wires can be covered later by the seams of the lampshade.

The wire frame must be encased in some kind of coating. The coating has to be pristine without any damage; any blemish that exposes metal can get rusty, and any tiny sharp bits will damage the linen.
These kinds of damages are irreparable.

Also, you will want a matching lamp base.
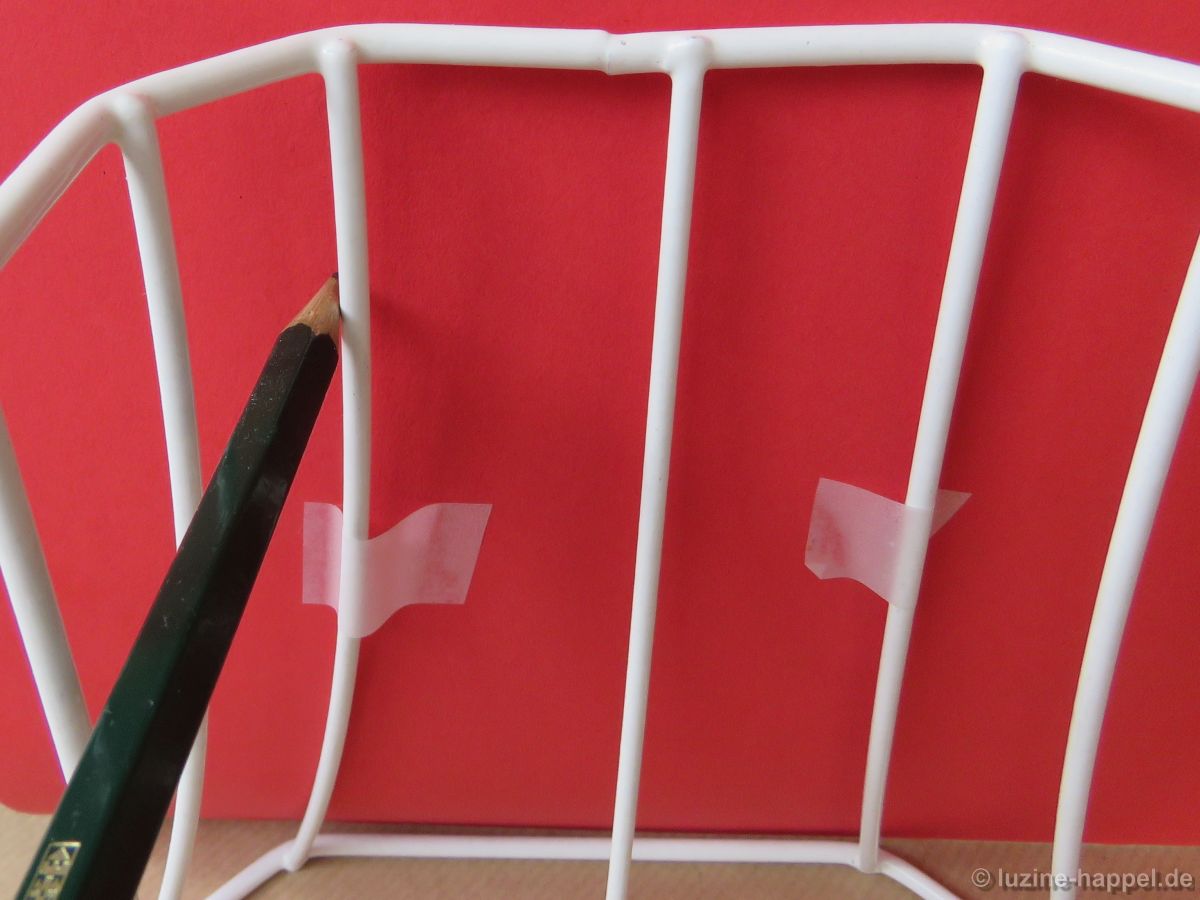
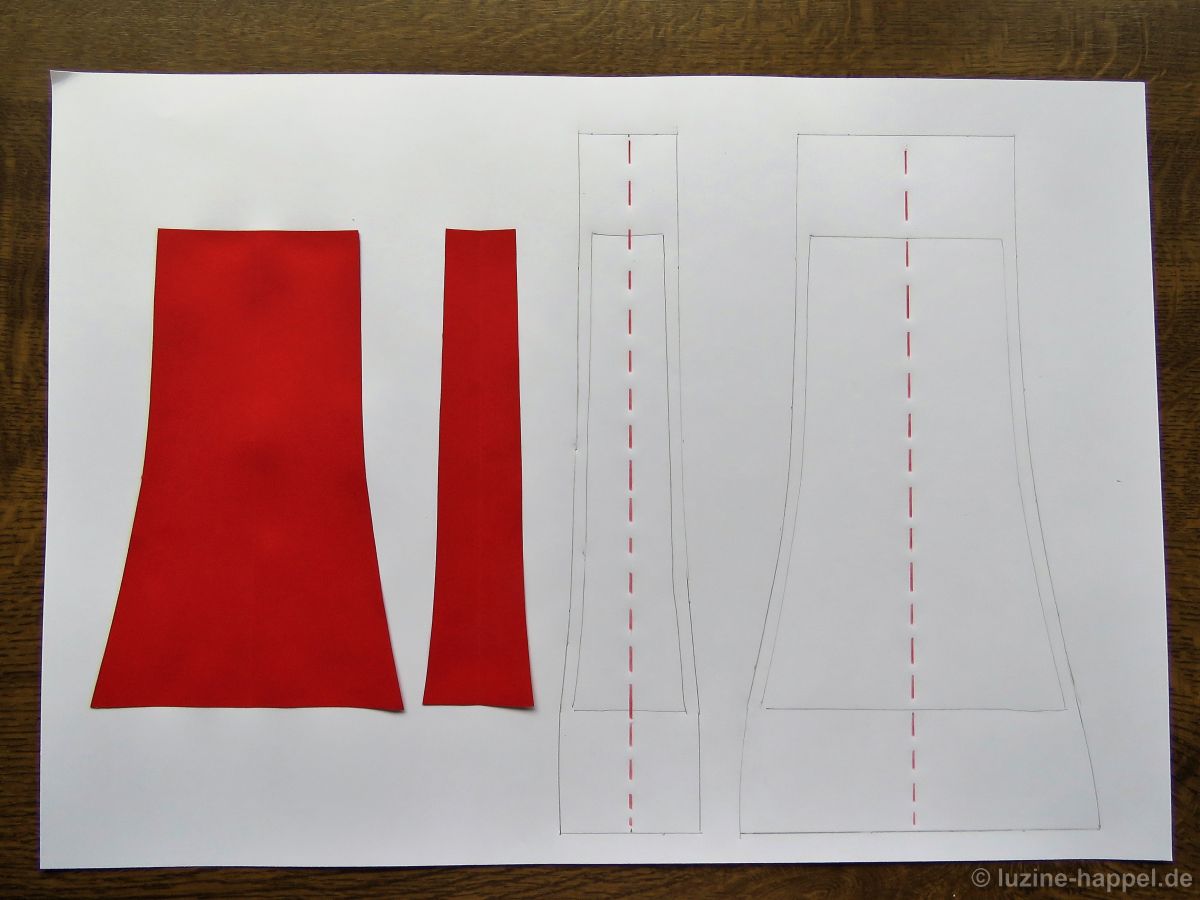
Lampe2_1The first step is to make a pattern for the lampshade. Because the shape is slightly concaved, it is best to lay a sheet of paper along the frame, to tape it, and then to mark the outside lines along the wires of the respective sections.
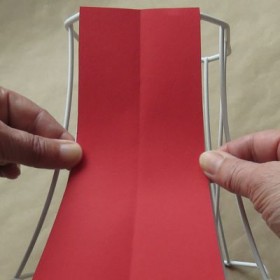
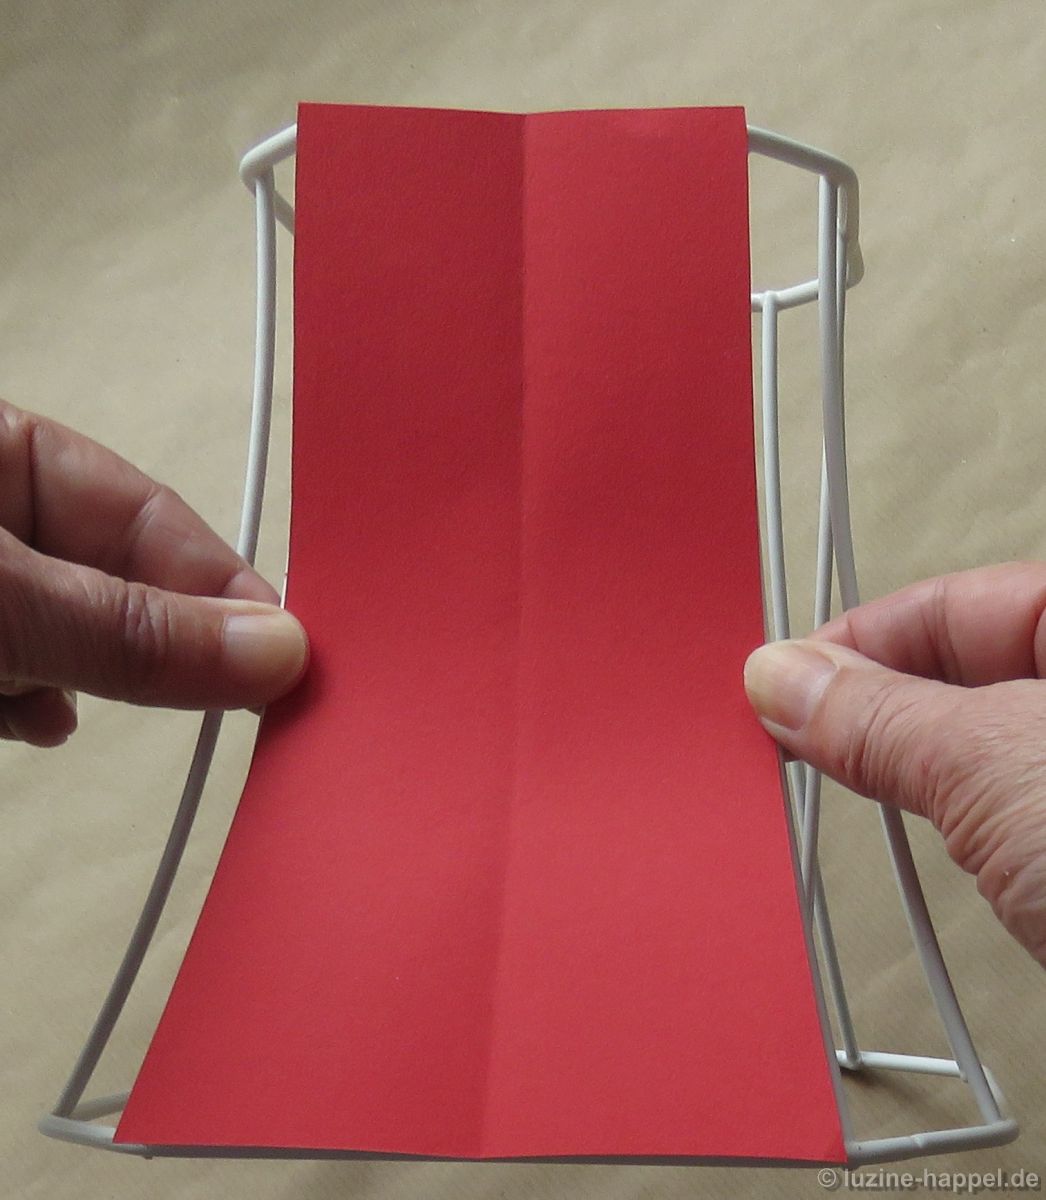
Lampe2_2The marked sections are cut and held against the respective sections of the frame to ascertain they really fit.
Lampe2_3Linen for lampshades should be densely woven. Weddigen linen,16/cm thread count, is suitable, but old handwoven linen is better.
It is absolutely necessary to shrink the linen by boiling before cutting to size. If you were to do this step after finishing the lampshade, it would hardly fit around the frame.

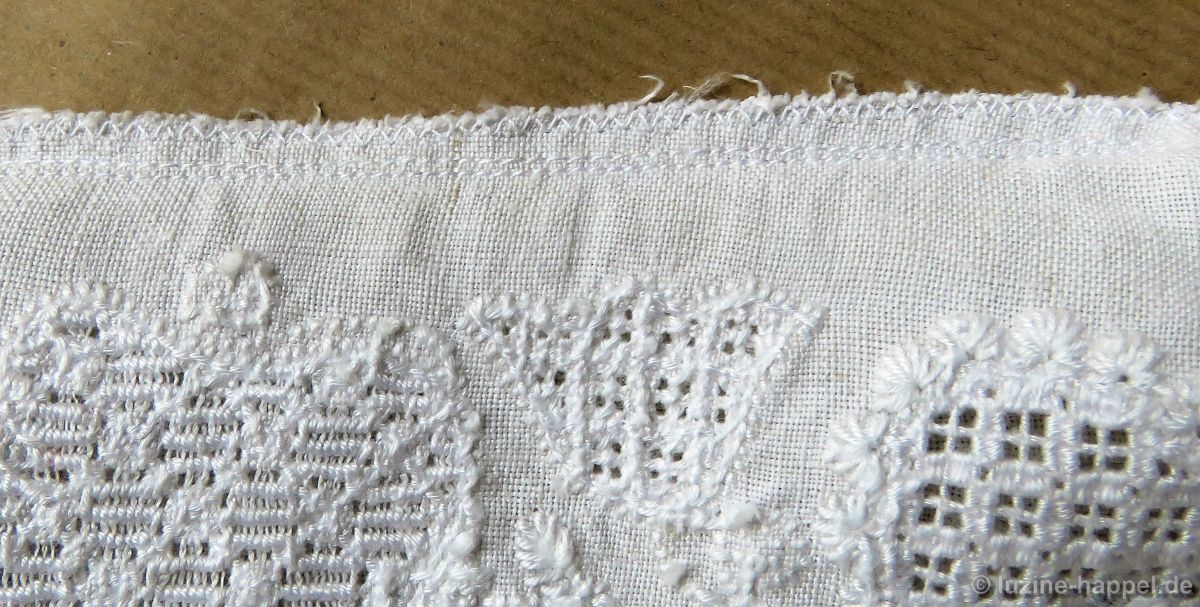
Because the single parts are small, it would not be possible to stretch each section in a hoop without wasting a lot of fabric—so, all eight sections are marked on the linen. A 0.5 cm seam allowance should be added to the side edges of each section. At the top edges, a 4 cm allowance is added: this includes a 2 cm fold with a 1.5 cm hem + 0.5 cm fold. At the bottom edges, a 4.5 cm allowance is added: this includes 2.5 cm fold with a 1.5 cm hem + 0.5 cm fold). Place the single sections close to one another. Leave a large enough fabric margin around the group of sections to be able to easily stretch the embroidery in a hoop.
Lampe2_4Also the longitudinal axes are marked. Suitable designs are transferred onto the sections and embroidered as required.

After finishing the embroidery, the pieces are cut out. Either zigzag with a sewing machine or serge the side edges to prevent fraying. The sections are sewn together. Because the lampshade cover should be tightly stretched later, I recommend stitching a double seam for reinforcement.
Lampe2_5The seam allowance should be opened and smoothed. Later, the seam allowances will be arranged around the wires.

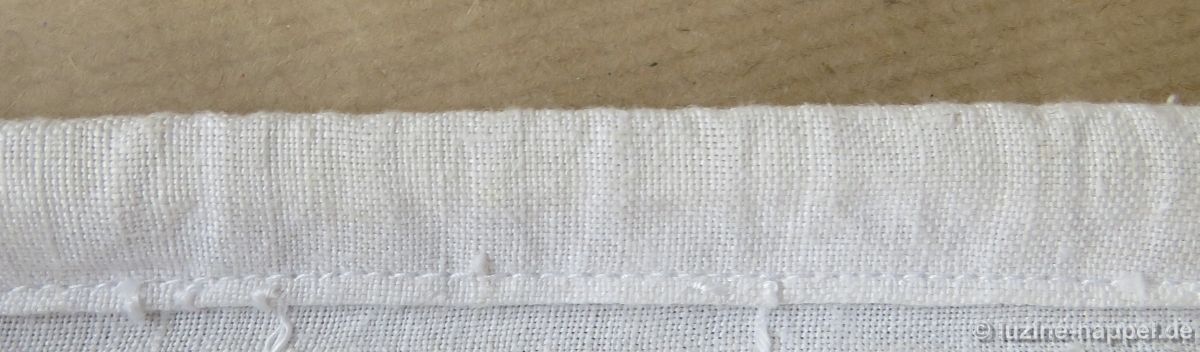
Then the top edge and the bottom edge are hemmed (here: 0.5 cm fold and 1.5 cm hem). An opening of about 2 cm is needed to insert a piece of elastic in the hems.
Lampe2_6The bottom edge is folded inwards along the marked line and stitched close to the edge of the fold.
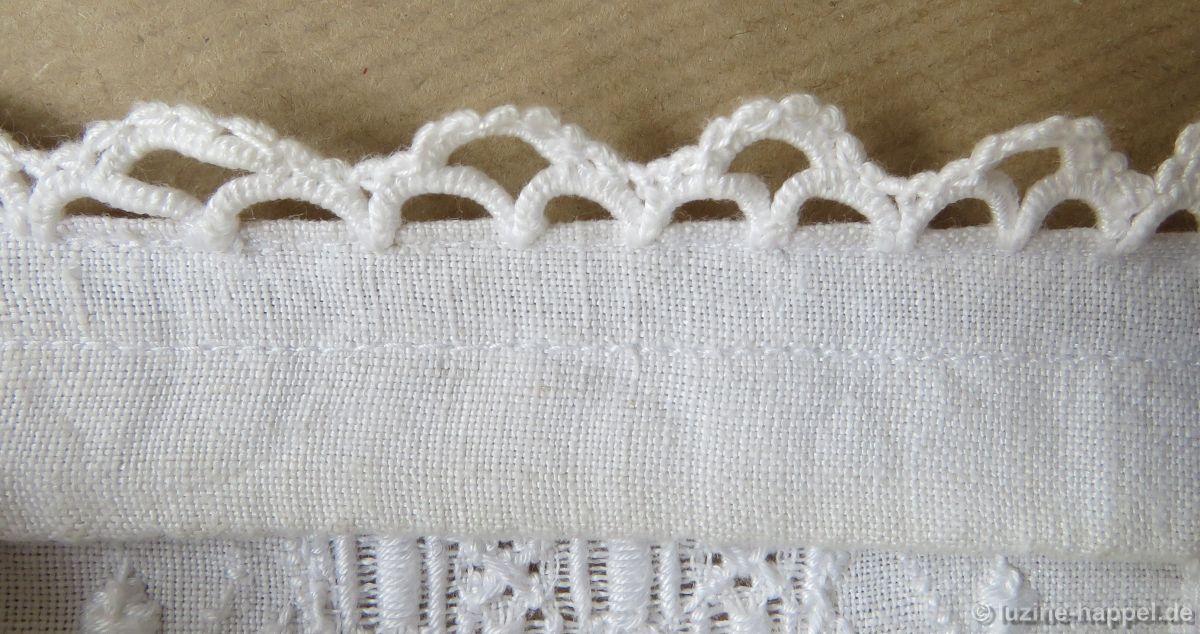
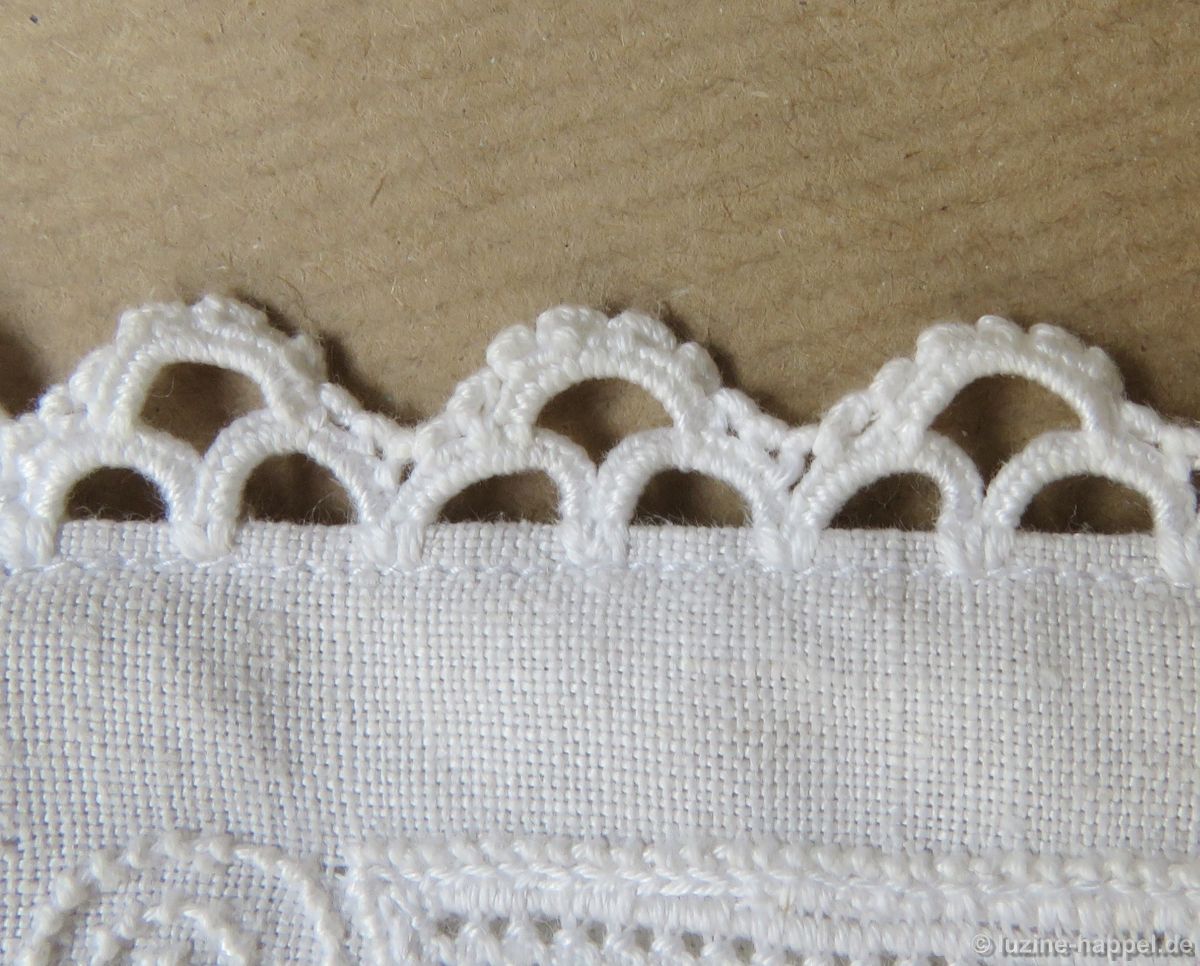
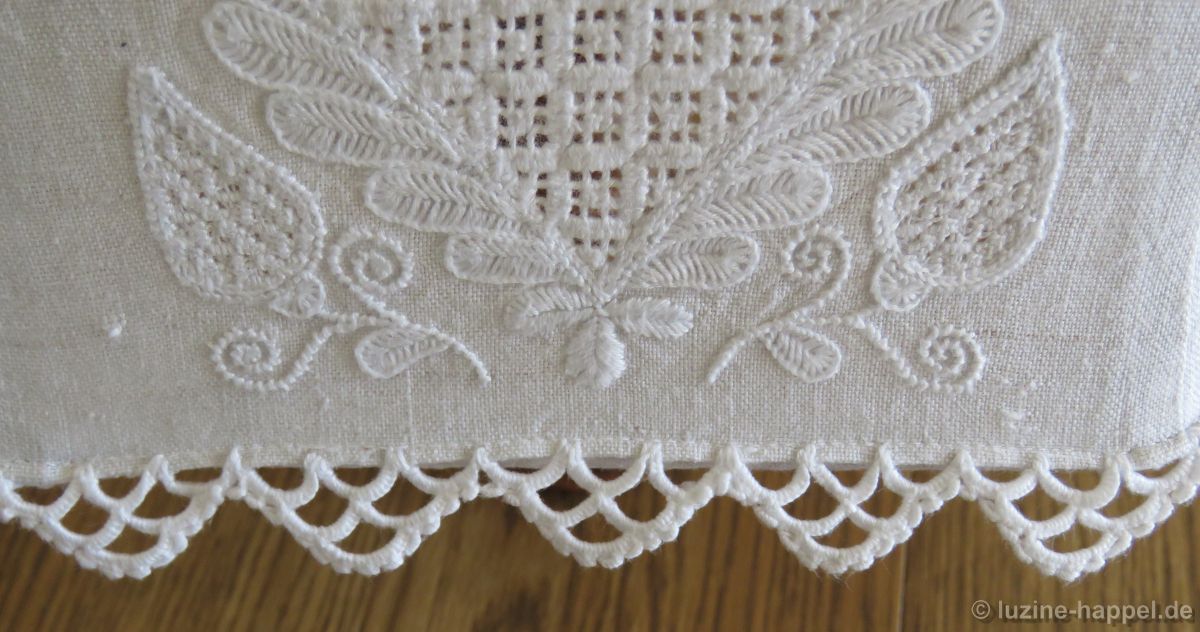
Lampe2_7Along the closely stitched edge, needlelace is worked.
Lampe2_8A piece of elastic or lightweight curtain cord is inserted into the hems. The finished cover is – if needed – washed and ironed and then, from top down, placed over the frame.

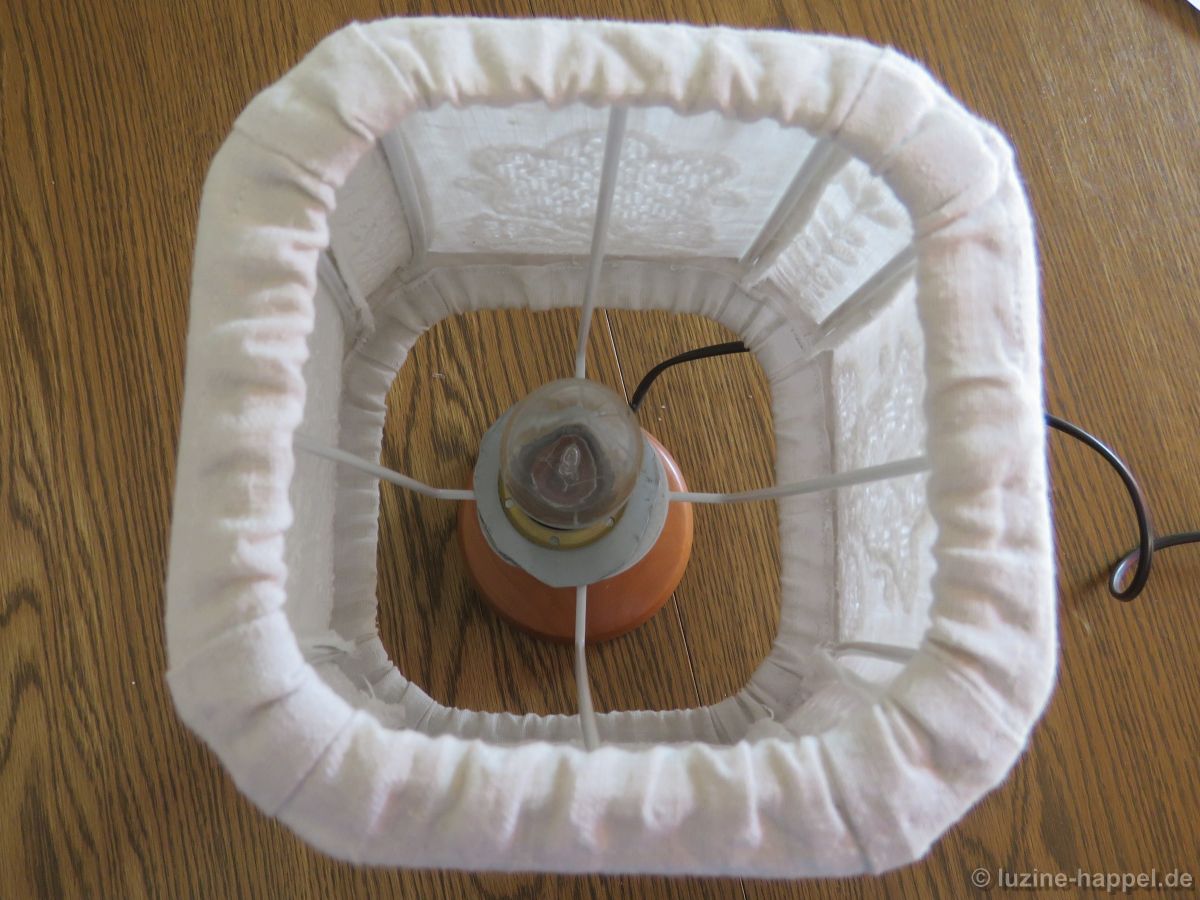
The elastic causes the top
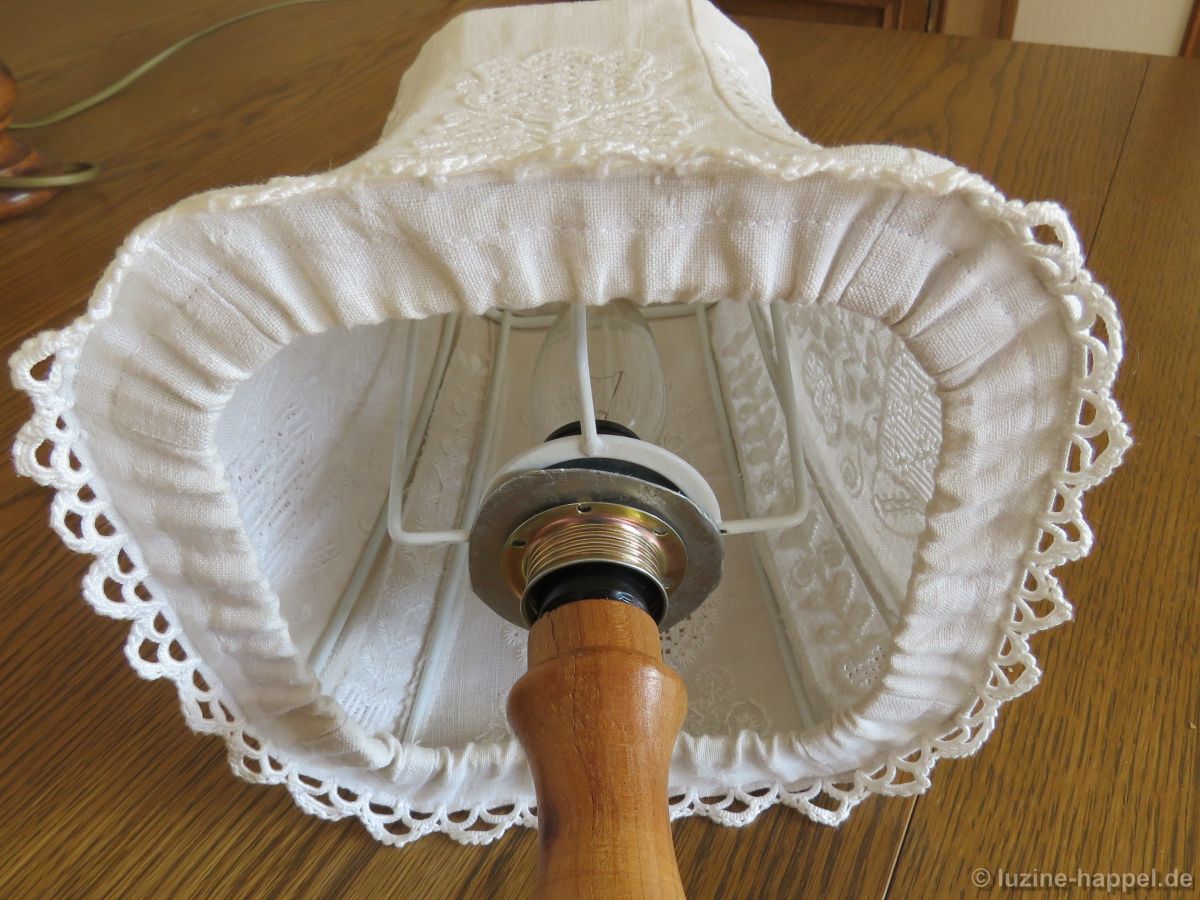
Lampe2_9and bottom allowances to fold to the inside of the lampshade frame.
Lampe2_10The seams are adjusted at the wires
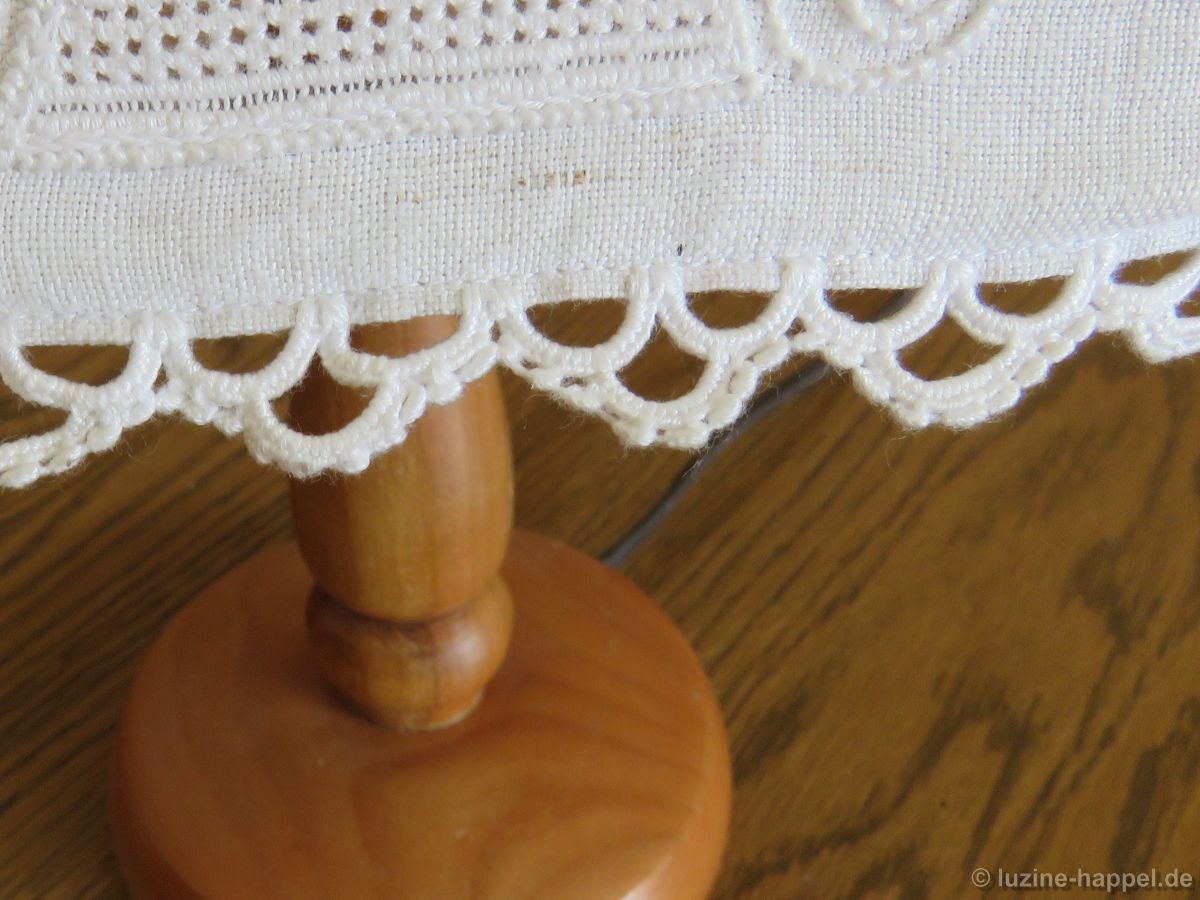
Lampe2_11the needlelace is groomed.
Lampe2_12The lampshade is mounted onto a matching base.
Lampe2_13Whether very small or a little bit bigger, lamps with shapes embroidered with Schwalm whitework are always special – individual and attractive!

A Lampshade with a Needlelace Edging

As already mentioned, needlelace, in the past, was used most often as decoration for clothes; today it is found on other items as well. In my previous post I showed a circular doily with a needlelace edging.

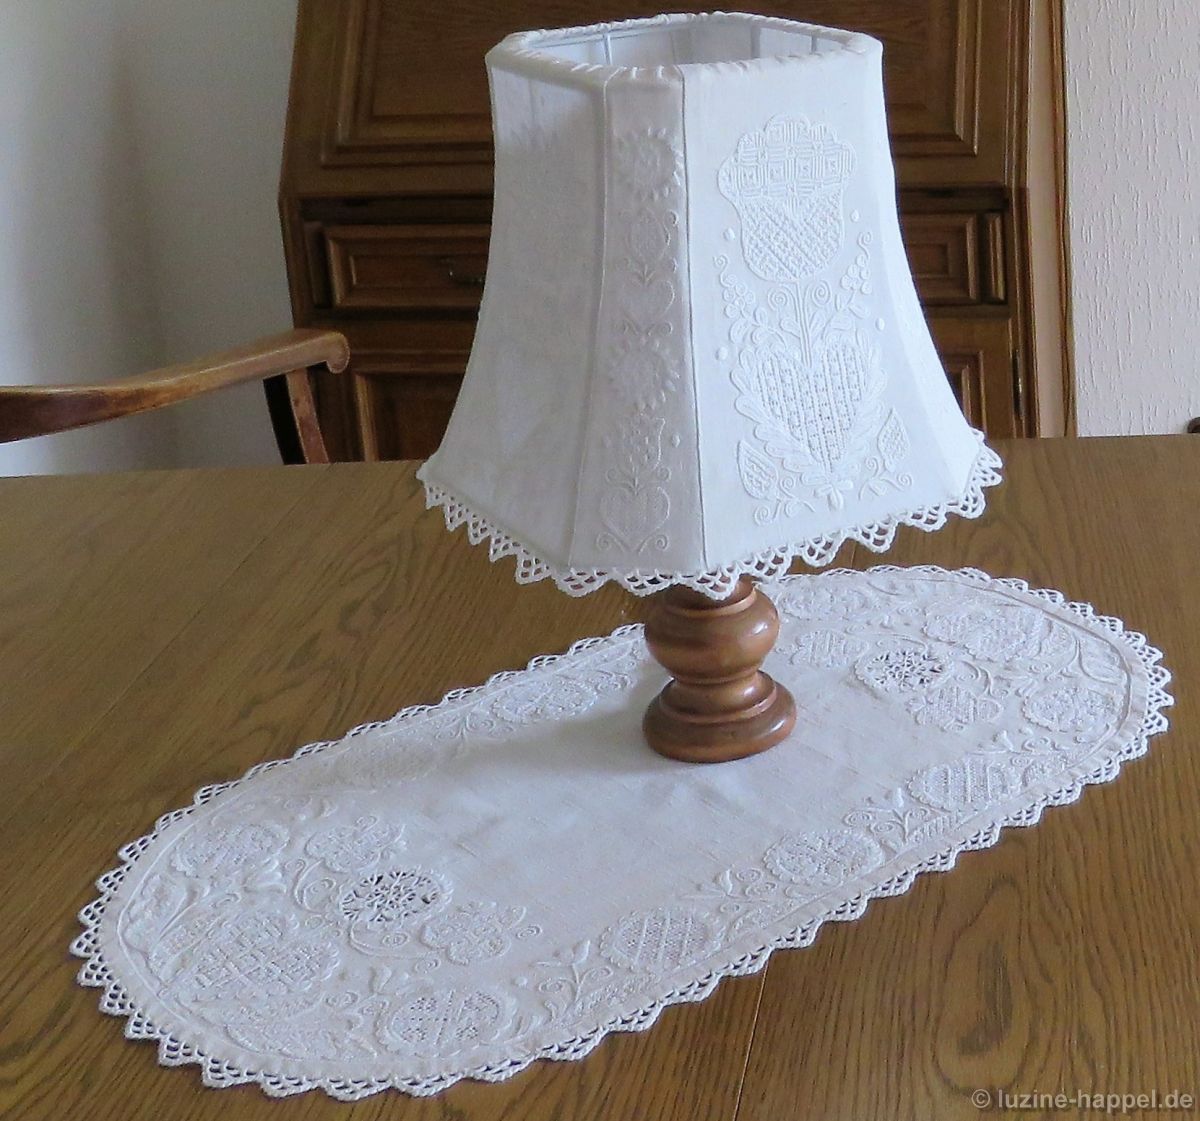
Now I want to show a small lampshade whose bottom edge is decorated with needlelace.
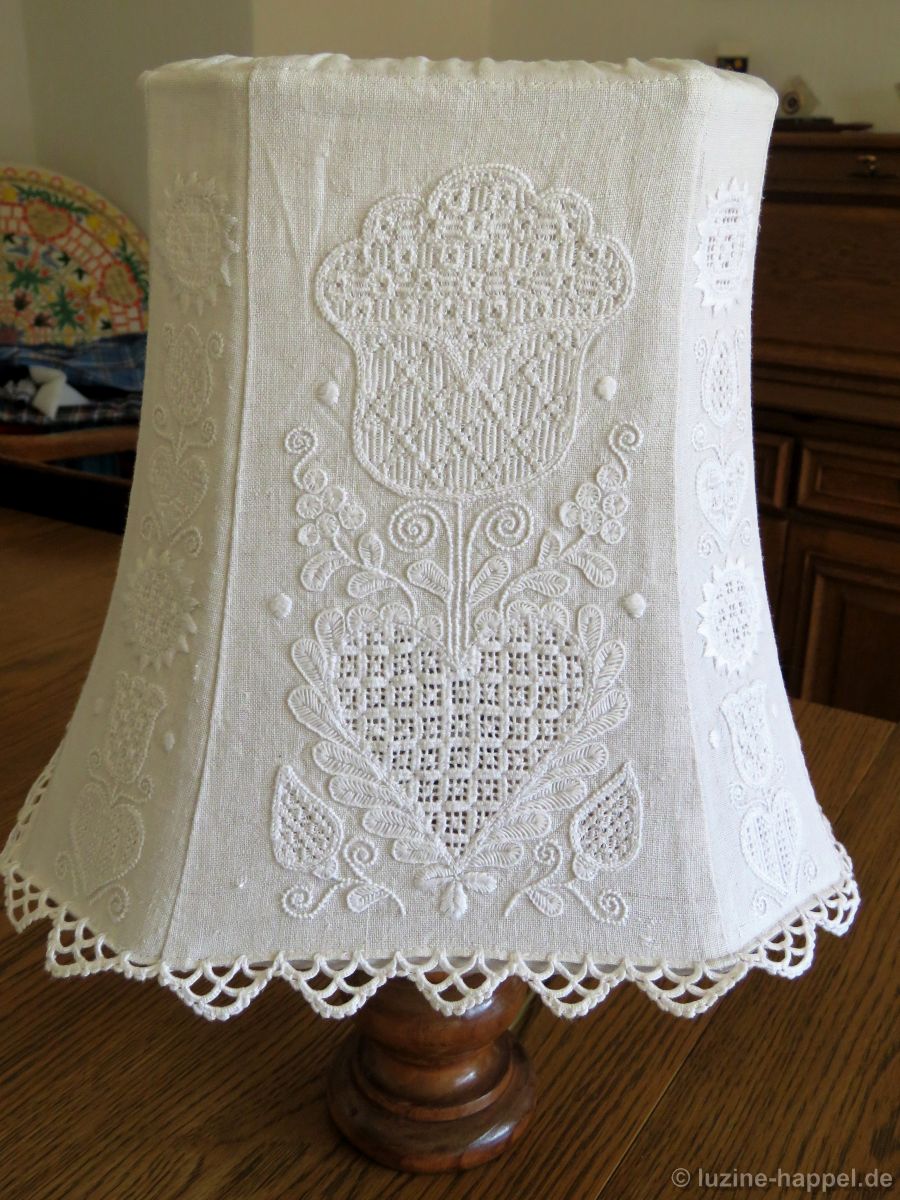
Lampe1_1The needlelace was made in an inverted pyramid shape (3-2-1). A row of picots borders the outside edges of the pyramids and binds them together.
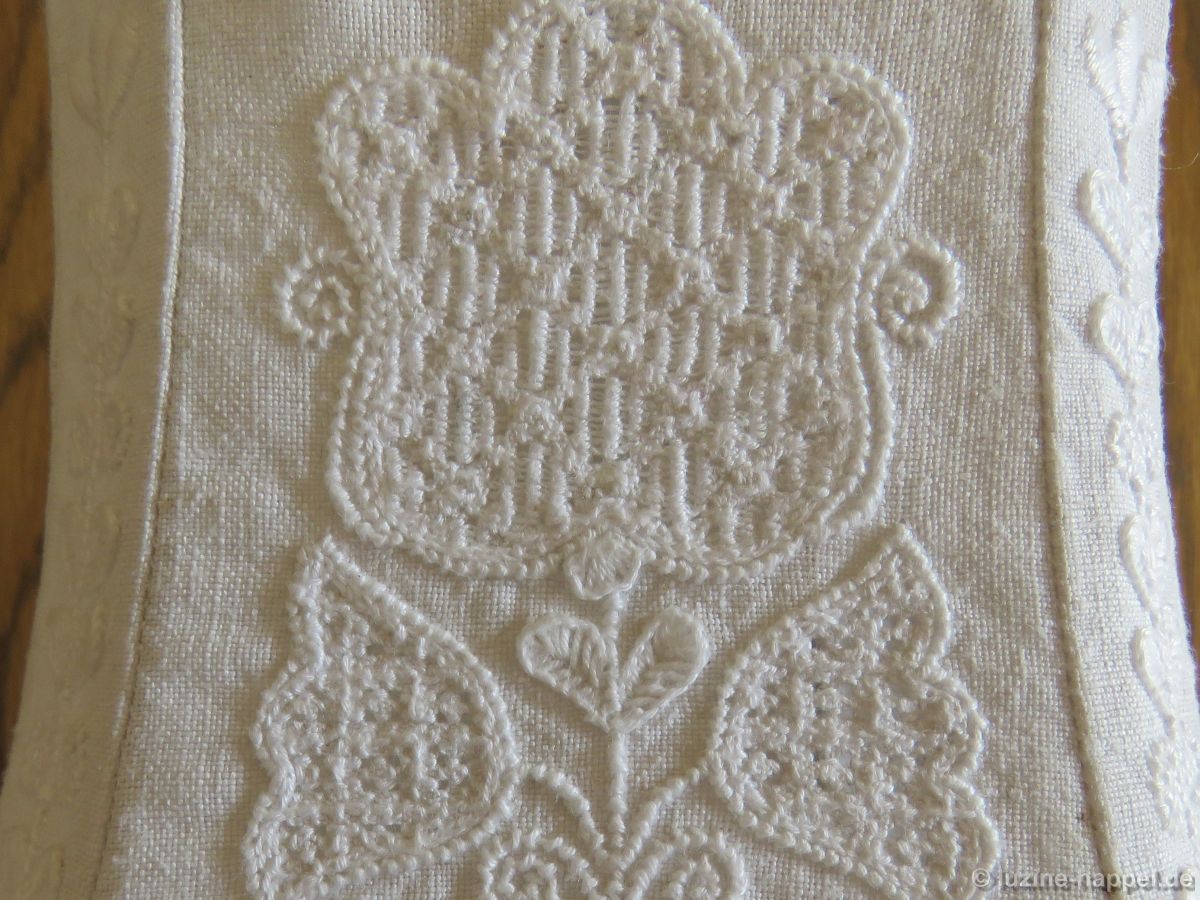
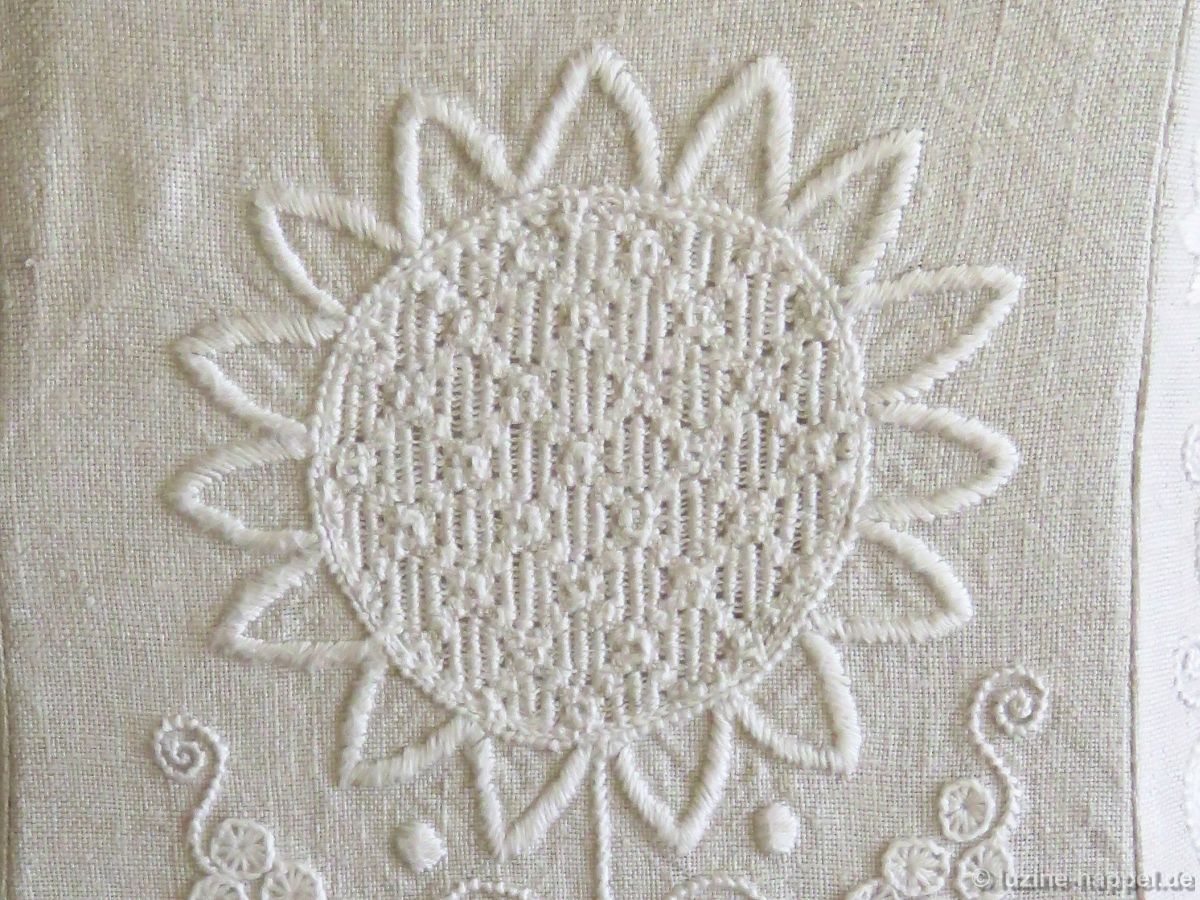
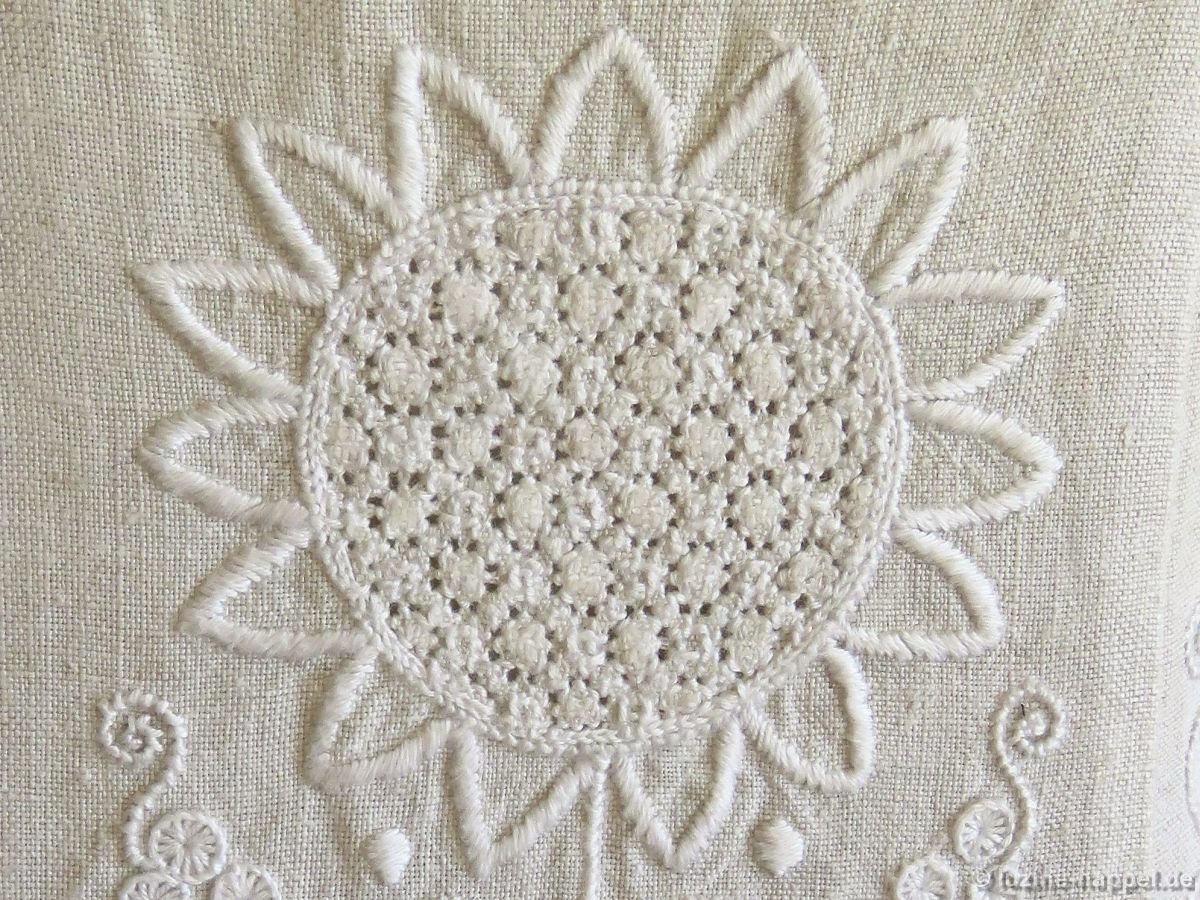
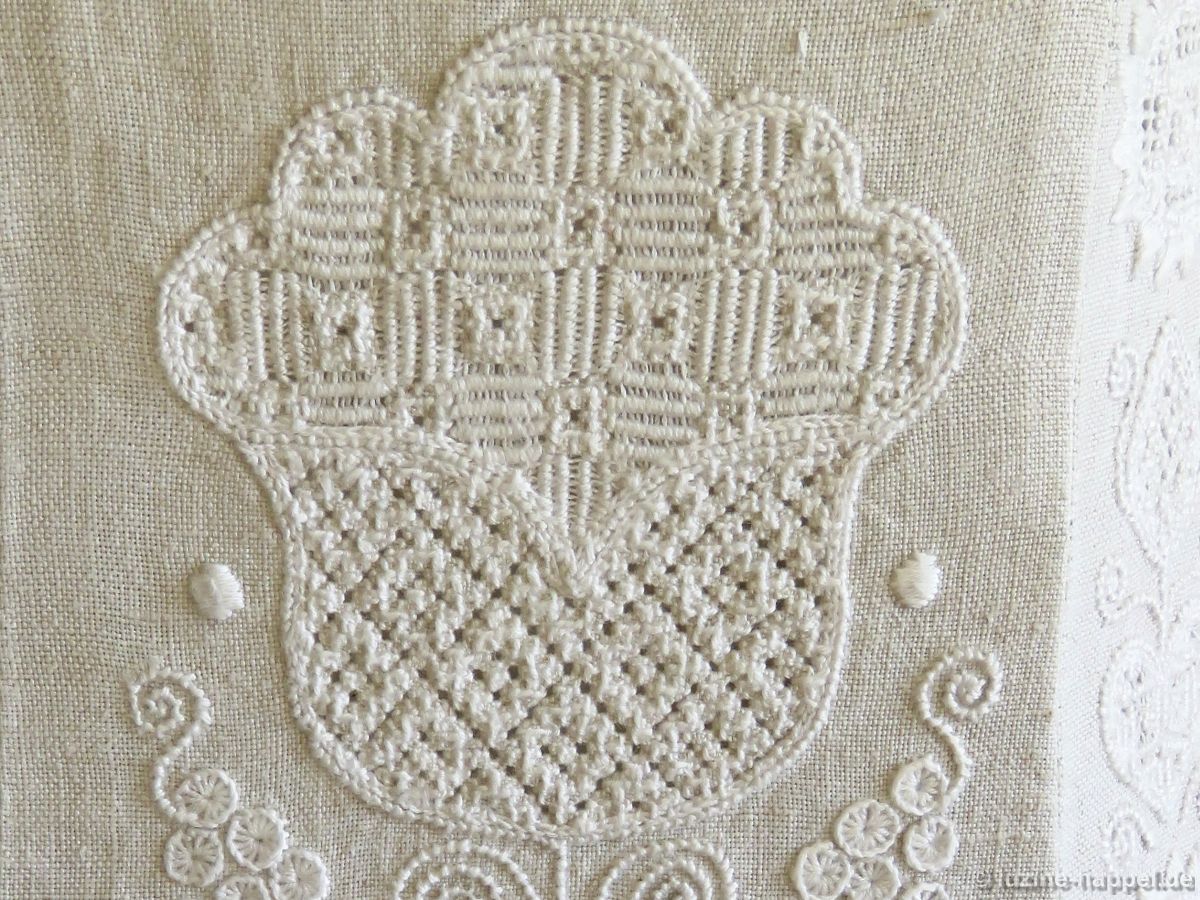
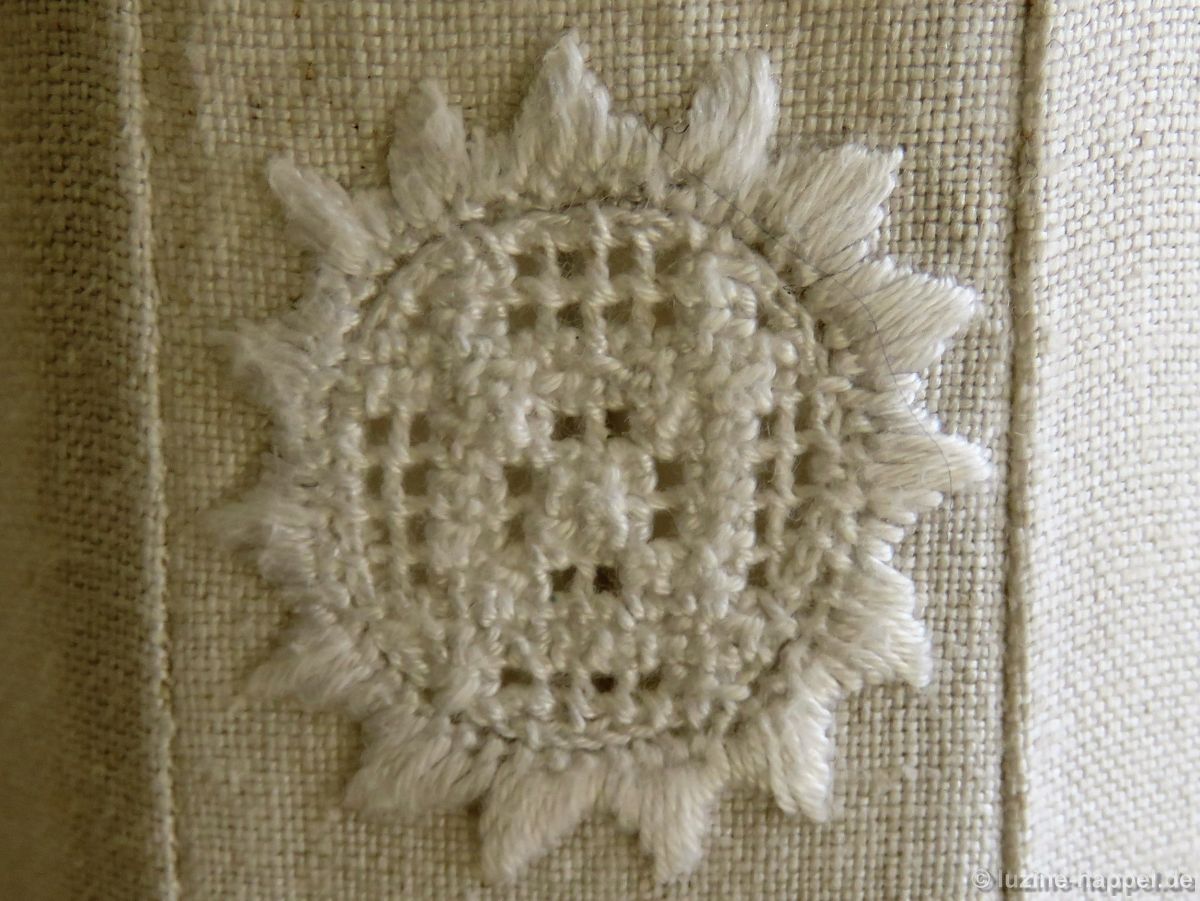
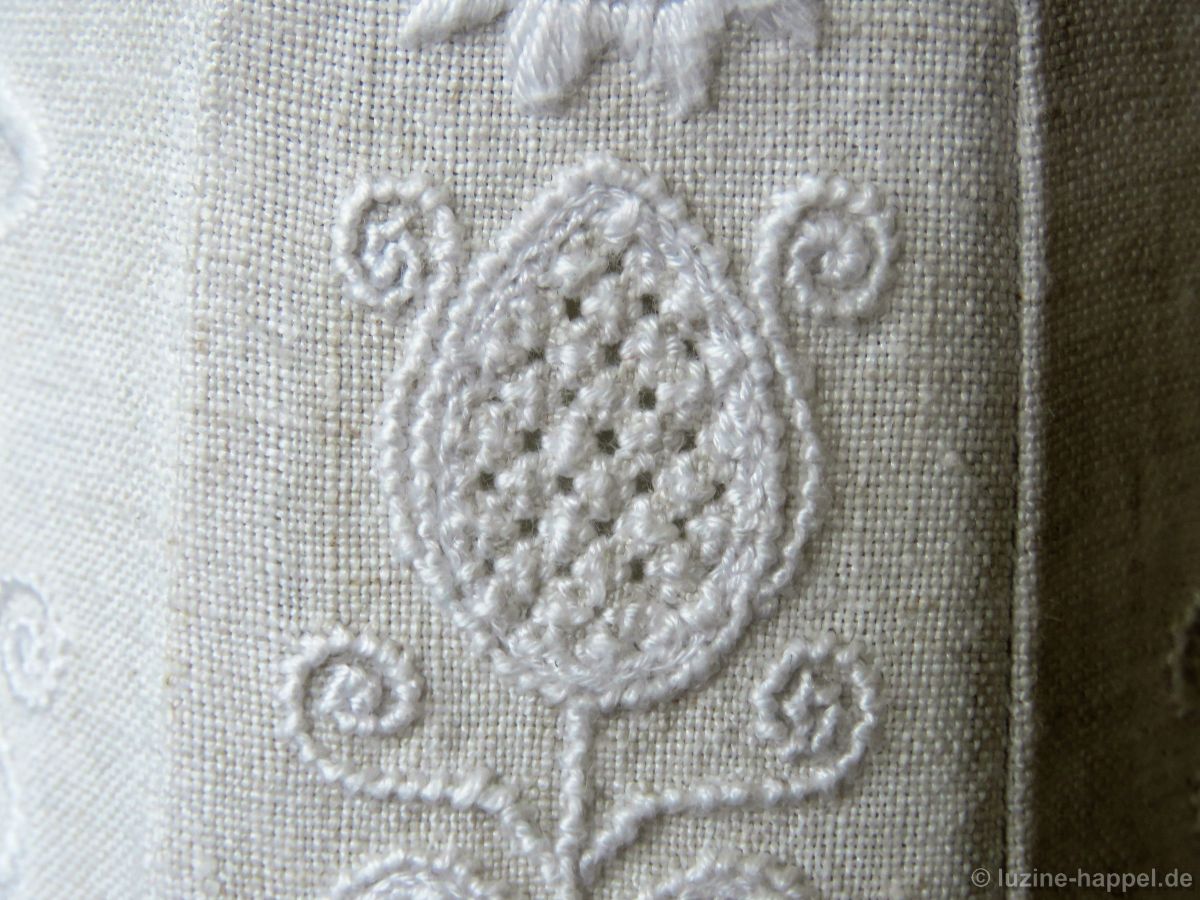
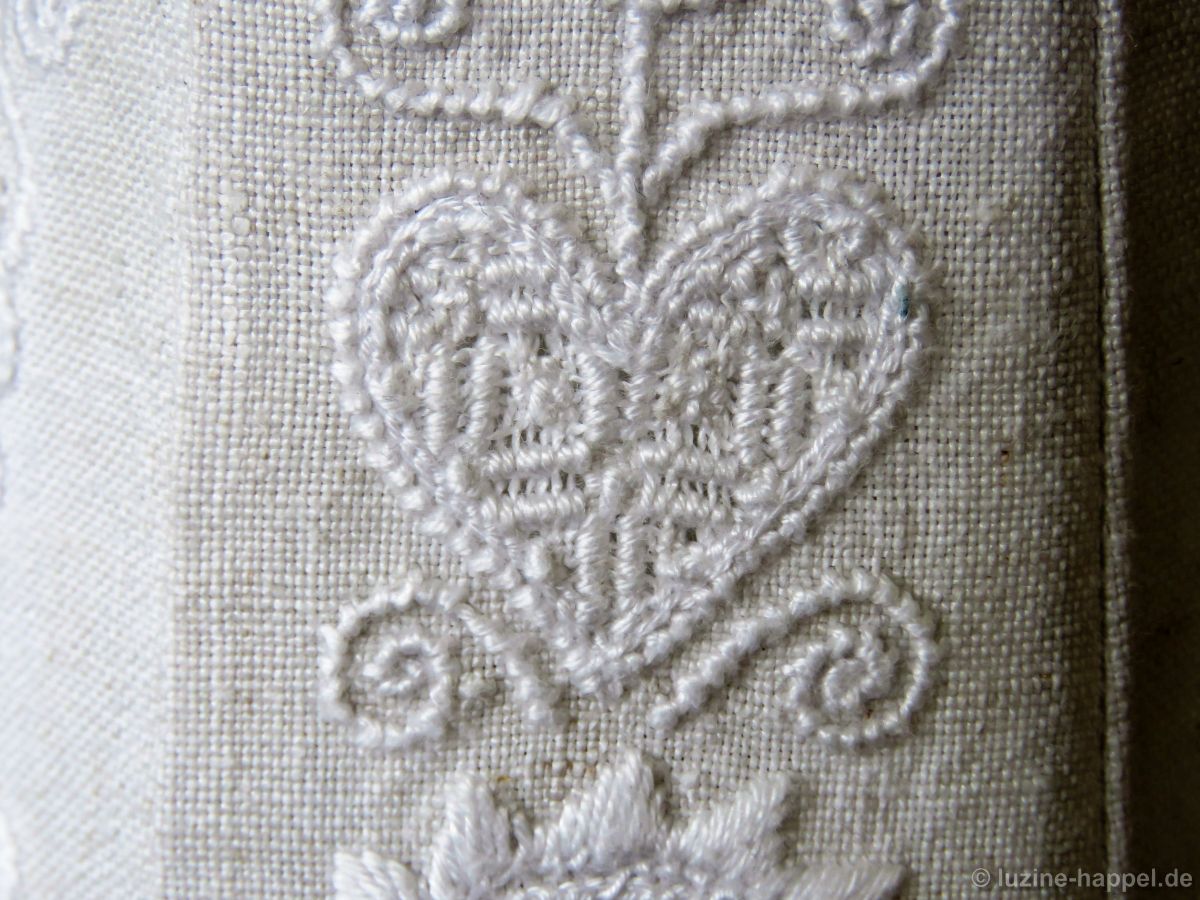
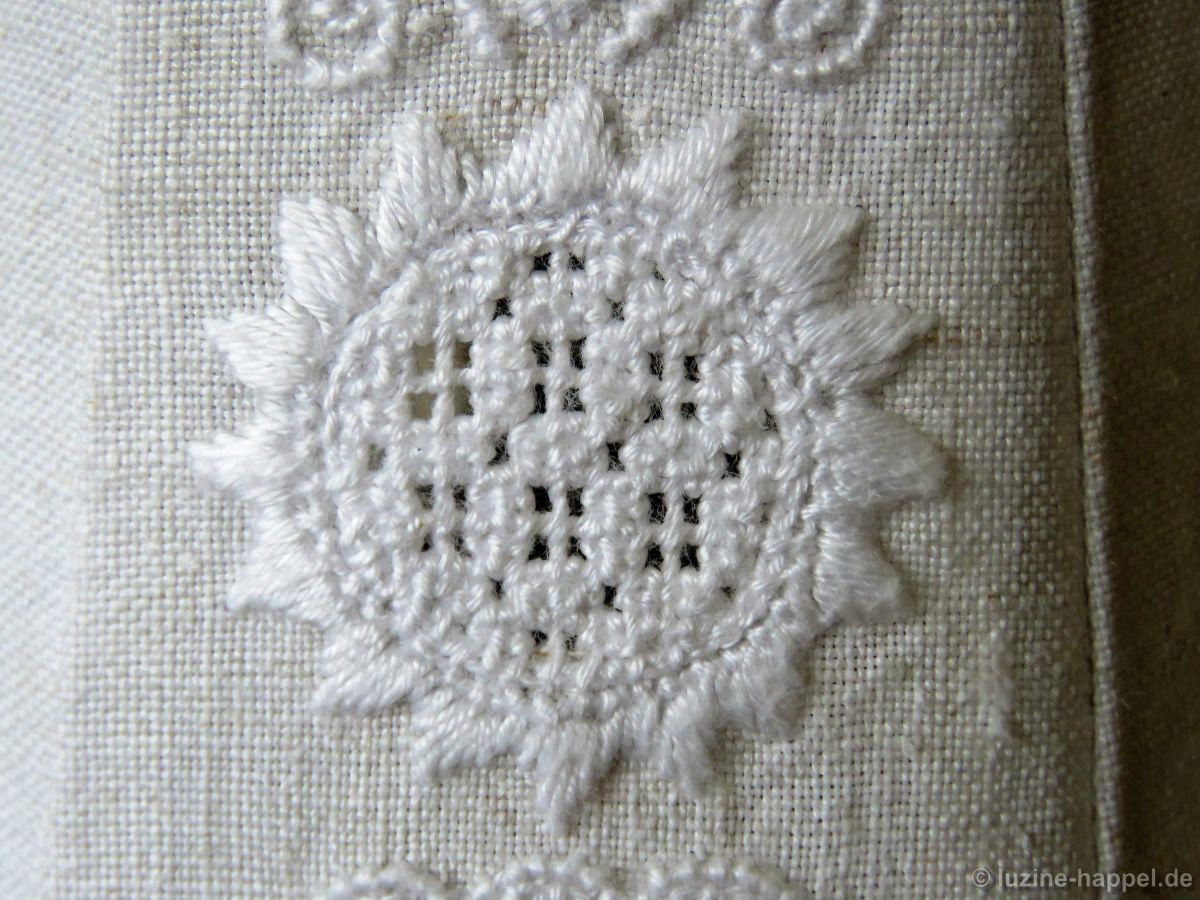
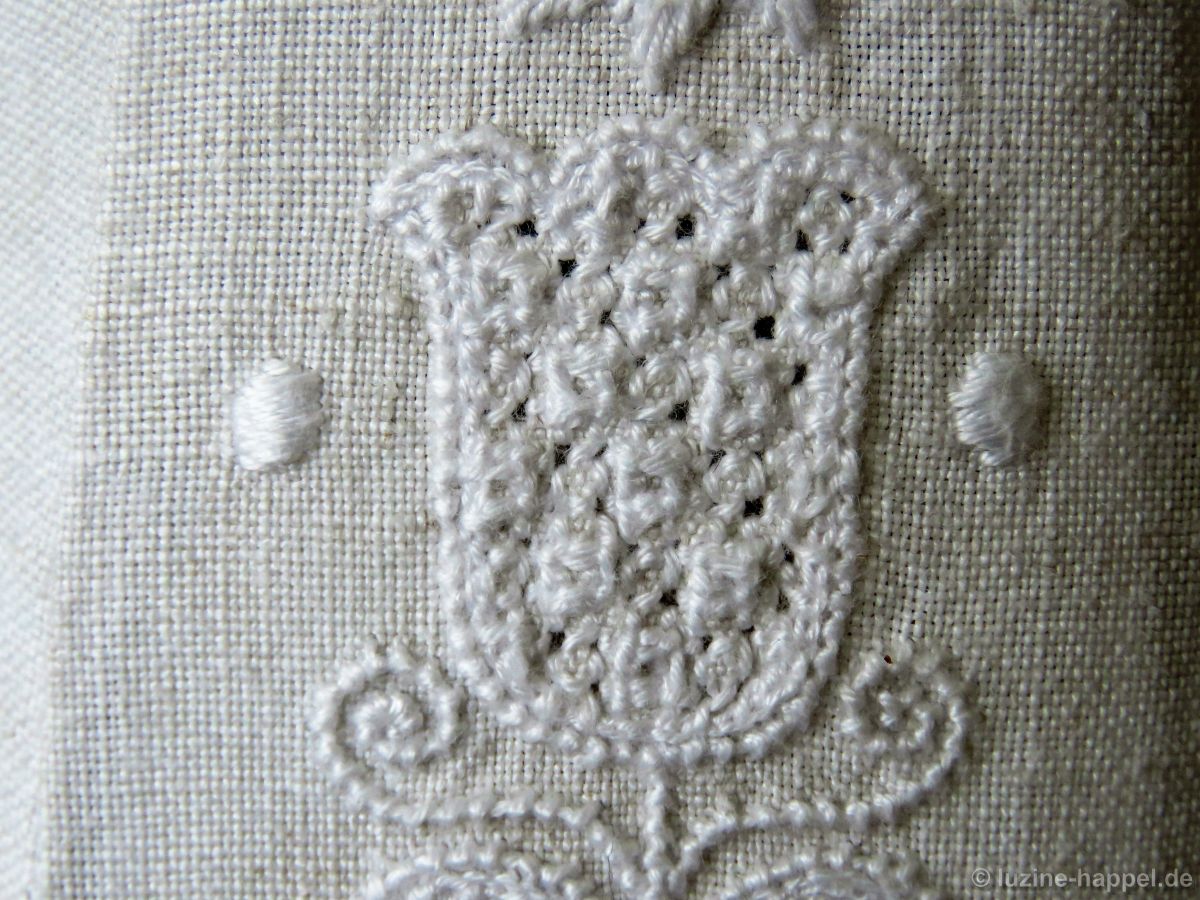
Lampe1_2The lampshade has four wide areas and four narrow areas. Two of the wide areas – oppositely arranged – contain heart and tulip motifs, and the other two wide areas contain heart and sunflower motifs. All are designs of Anna Elisabeth Grein.
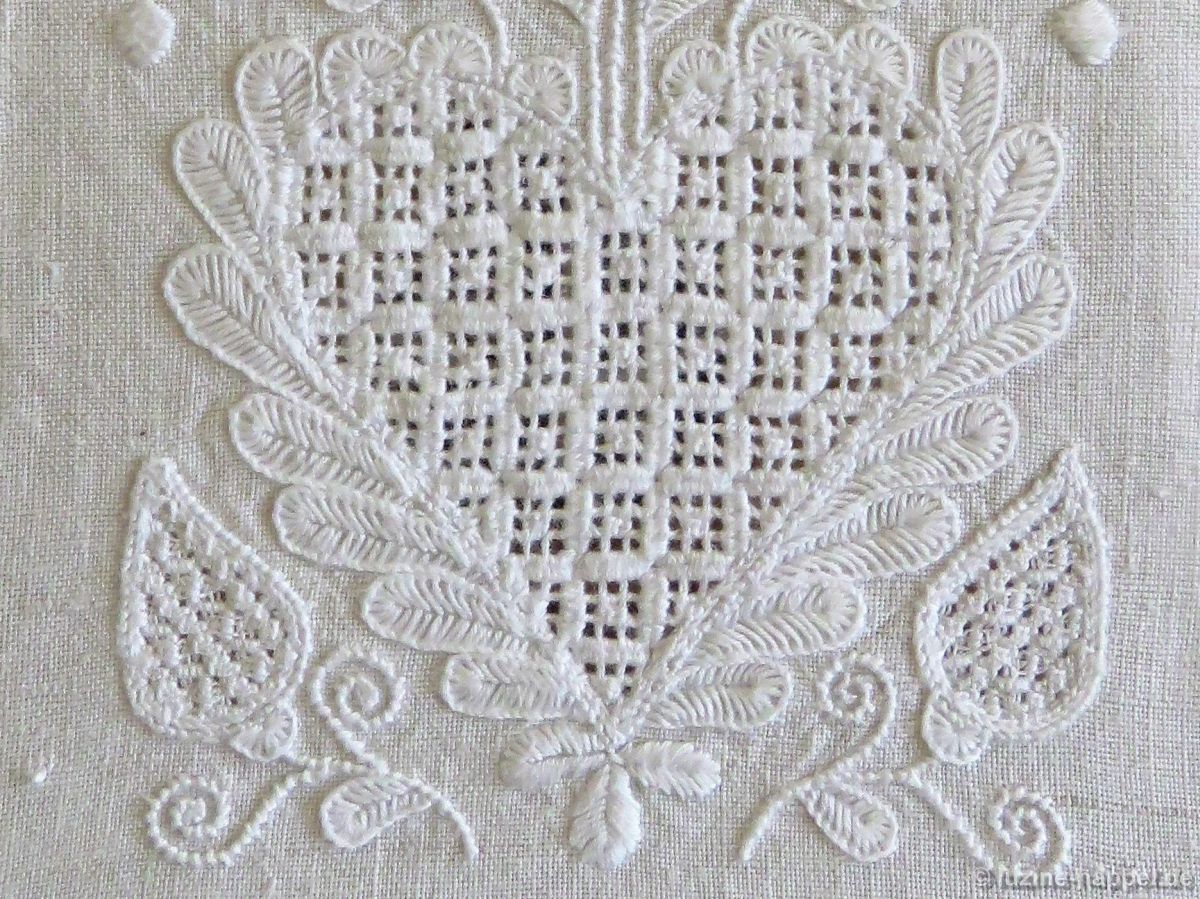
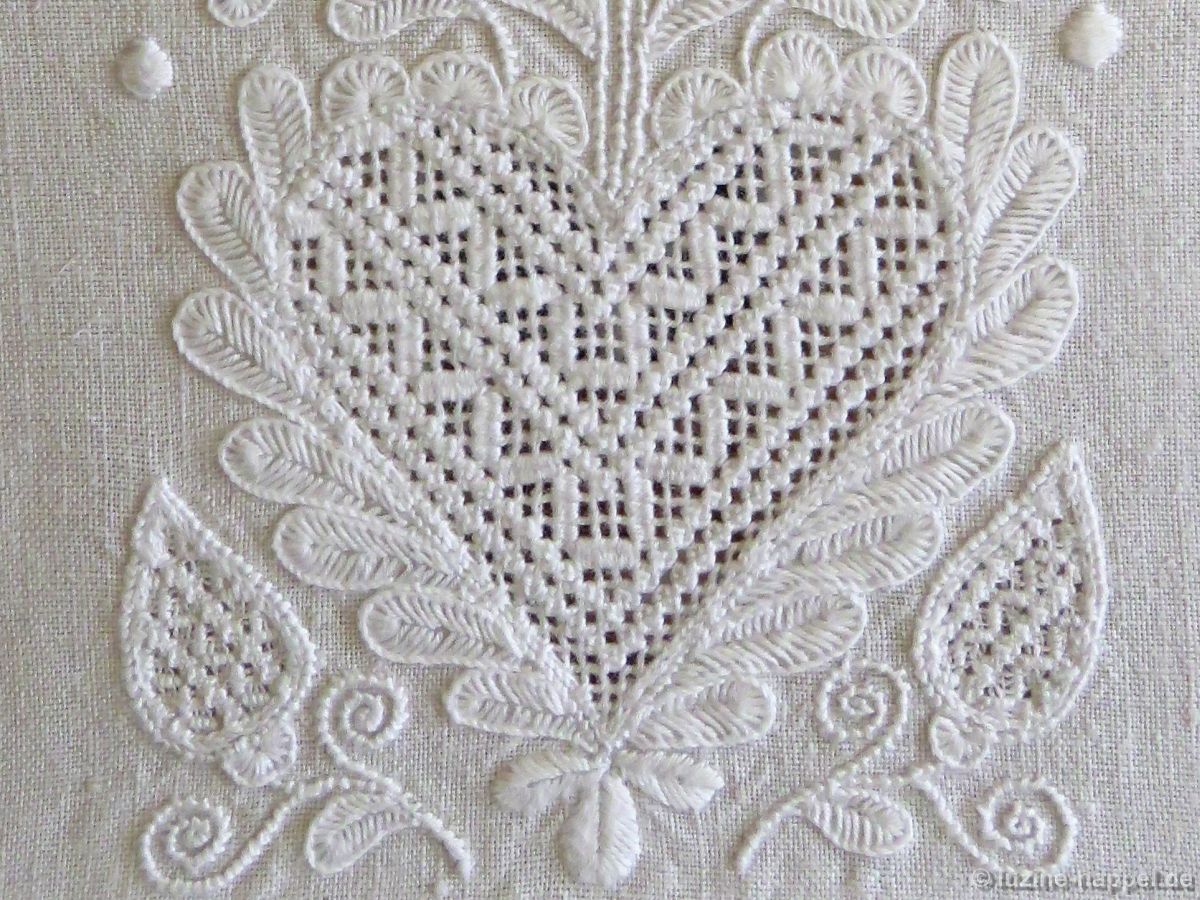
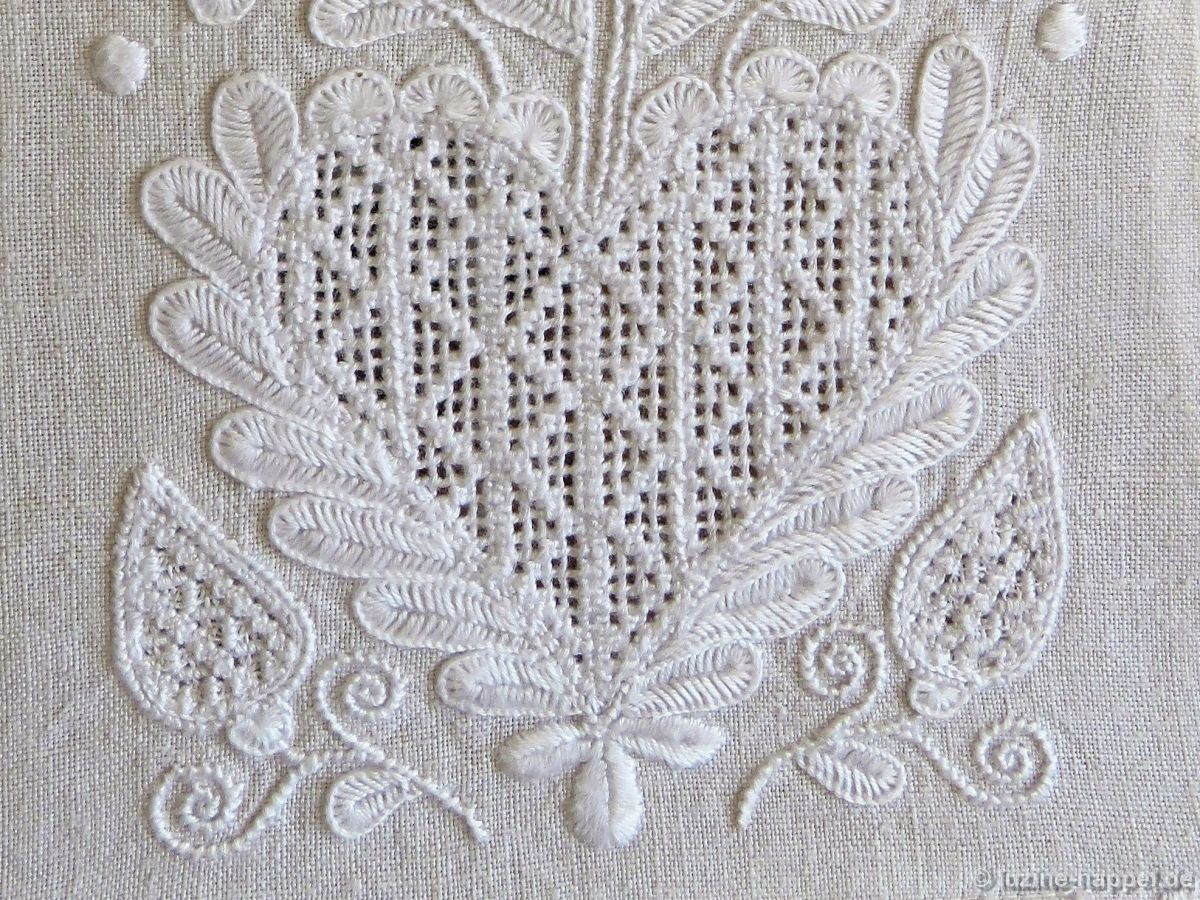
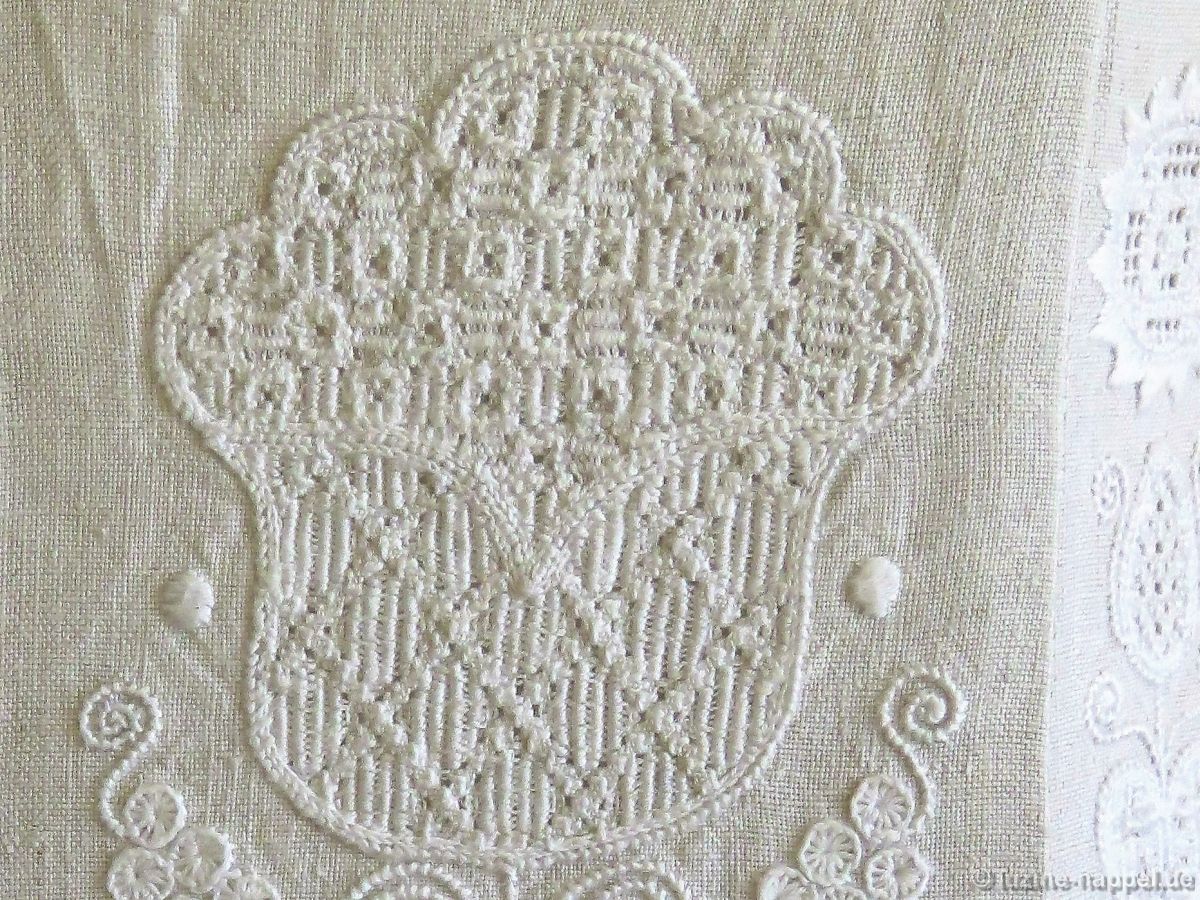
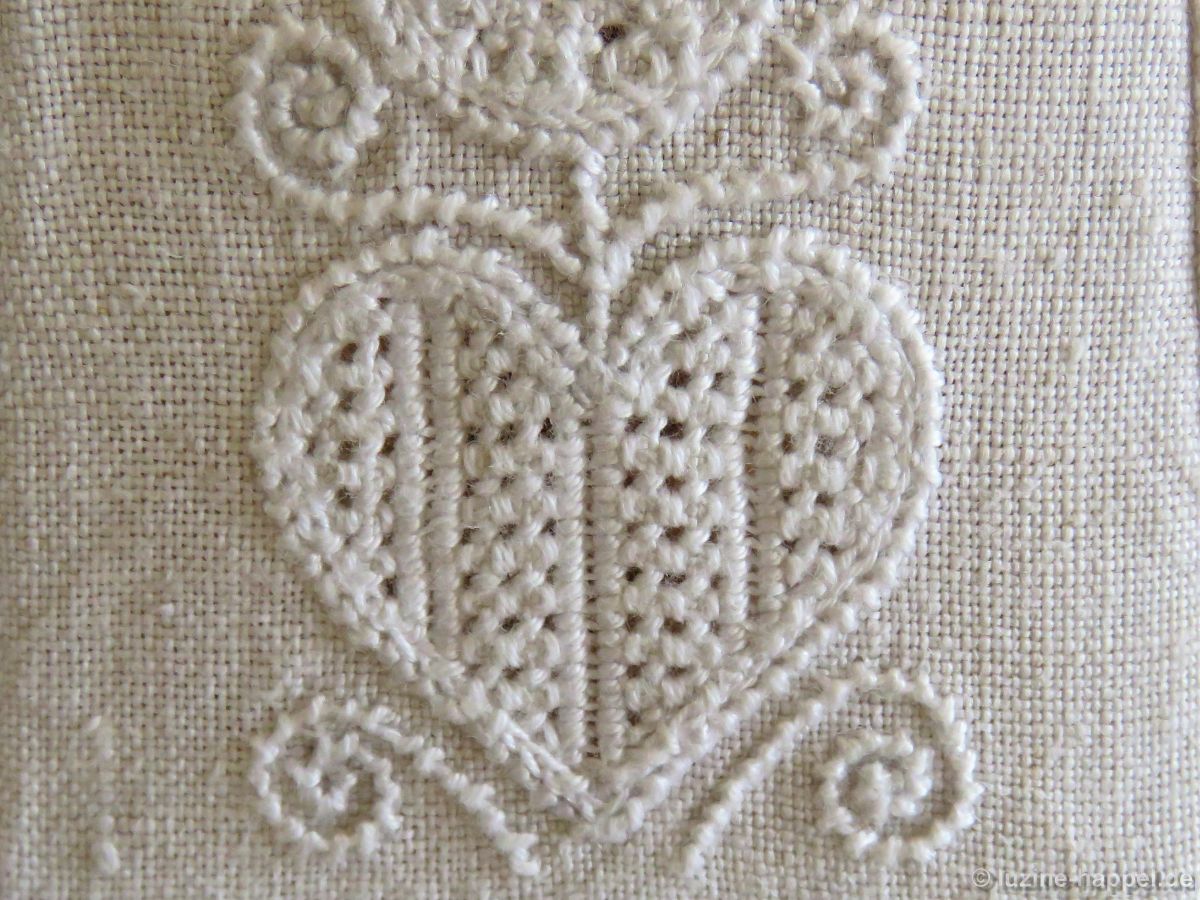
Lampe1_3The shapes were filled with different patterns. Same motifs got similar patterns. All heart shapes were filled with openwork filling patterns with a Cable stitch grid. Needle weaving and Rose stitches in different arrangements were worked into the grid.

Needle weaving squares with a Rose stitch in the center.

Needle weaving squares with a Rose stitch in the center.

Needle weaving in a stair-step manner and rows of Rose stitches.

Needle weaving in a stair-step manner and rows of Rose stitches.

Rows of needle weaving and Rose stitch squares.

Rows of needle weaving and Rose stitch squares.

Rose stitches in straight and zigzag lines.

Rose stitches in straight and zigzag lines.

All other shapes in the wide areas were filled with Limet patterns. In the buds, rows of Rose stitches alternate with Satin stitches worked in a stair-step manner.
Rows of Rose stitches and stair-step Satin stitches.

Rows of Rose stitches and stair-step Satin stitches.

Rose stitch grid with Satin stitch bars

Rose stitch grid with Satin stitch bars (Filling pattern 472)

Röserich filling pattern

Röserich filling pattern

on top: Rose stitch squares and Satin stitch bars on bottom: Rose stitch grid with Satin stitch bars

on top: Rose stitch squares and Satin stitch bars
on bottom: Rose stitch grid with Satin stitch bars

on top: Rose stitch squares and fourth blocks of Satin stitches on bottom: Rosen stitch rhombi

on top: Rose stitch squares and fourth blocks of Satin stitches
on bottom: Rosen stitch rhombi

The narrow areas were decorated with six motifs each, arranged from top to bottom.
Circle with a knife point outline, and filled with an openwork pattern with a Cable stitch grid. Into the grid a Rose stitch pattern was worked.

Circle with a knife point outline, and filled with an openwork pattern with a Cable stitch grid. Into the grid a Rose stitch pattern was worked.

Bud with the Limet-Filling pattern Rose stitches.

Bud with the Limet-Filling pattern Rose stitches.

Heart with a Limet-Filling pattern using Satin stitches and Rose stitches.

Heart with a Limet-Filling pattern using Satin stitches and Rose stitches.

Circle with a knife point outline and filled with an openwork pattern with a Cable stitch grid. Into the grid a Rose stitch pattern was worked.

Circle with a knife point outline and filled with an openwork pattern with a Cable stitch grid. Into the grid a Rose stitch pattern was worked.

Tulip with a Limet-Filling pattern using Rose stitches and Four-Sided stitches.

Tulip with a Limet-Filling pattern using Rose stitches and Four-Sided stitches.

Heart with a Limet-Filling pattern using Satin stitch bars and Four-Sided stitches.

Heart with a Limet-Filling pattern using Satin stitch bars and Four-Sided stitches.

A relatively small piece of fabric was embroidered to make this lampshade. By placing the motifs close together, seventeen different filling patterns could be worked; they appear especially beautiful when the light is switched on.
Lampe1_19Using linen for the lampshade creates a delightfully warm light. And the needlelace also produces a lovely effect in this illumination; the edging gives the lampshade that certain something.

Here you can find a description on how to work such a lampshade.

A Doily with a Needlelace Edging

While needlelace, in the past, was found at the edges of bodice sleeve cuffs, at the front edges of dyed to black bodice jackets, at the upper edges of the waistbands of the white aprons, and at the collars, the cuffs, and the necks of men´s shirts, today it is used most often as decoration for small oval or circular doilies and narrow heart-shaped cushions.

An oval runner with needlelace is found in my post “One Schwalm design – Two Interpretations (1)”.

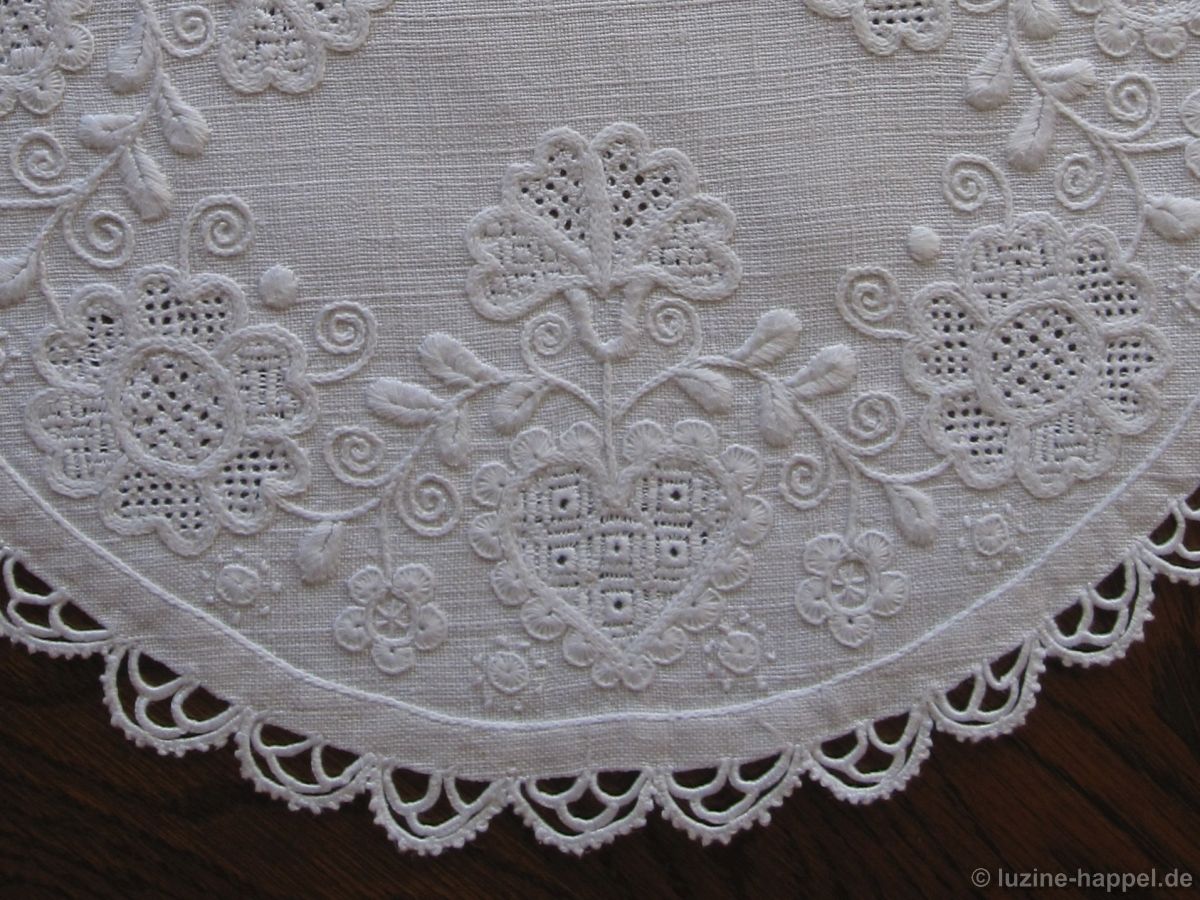
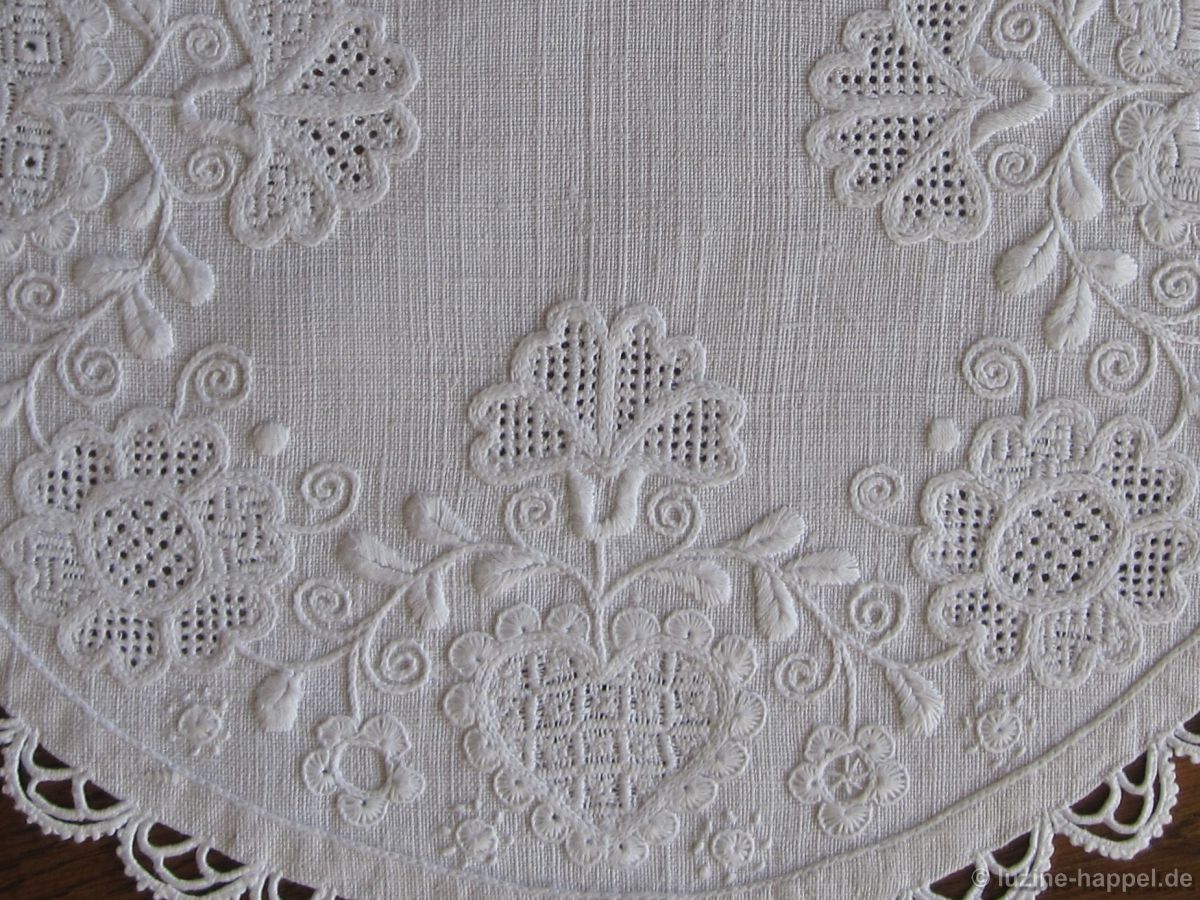
Here I want to show a circular doily with a diameter of 29 cm. Along the perimeter a 1 cm hem was worked. Above the hem seam, one row of Chain stitches was worked as additional decoration.
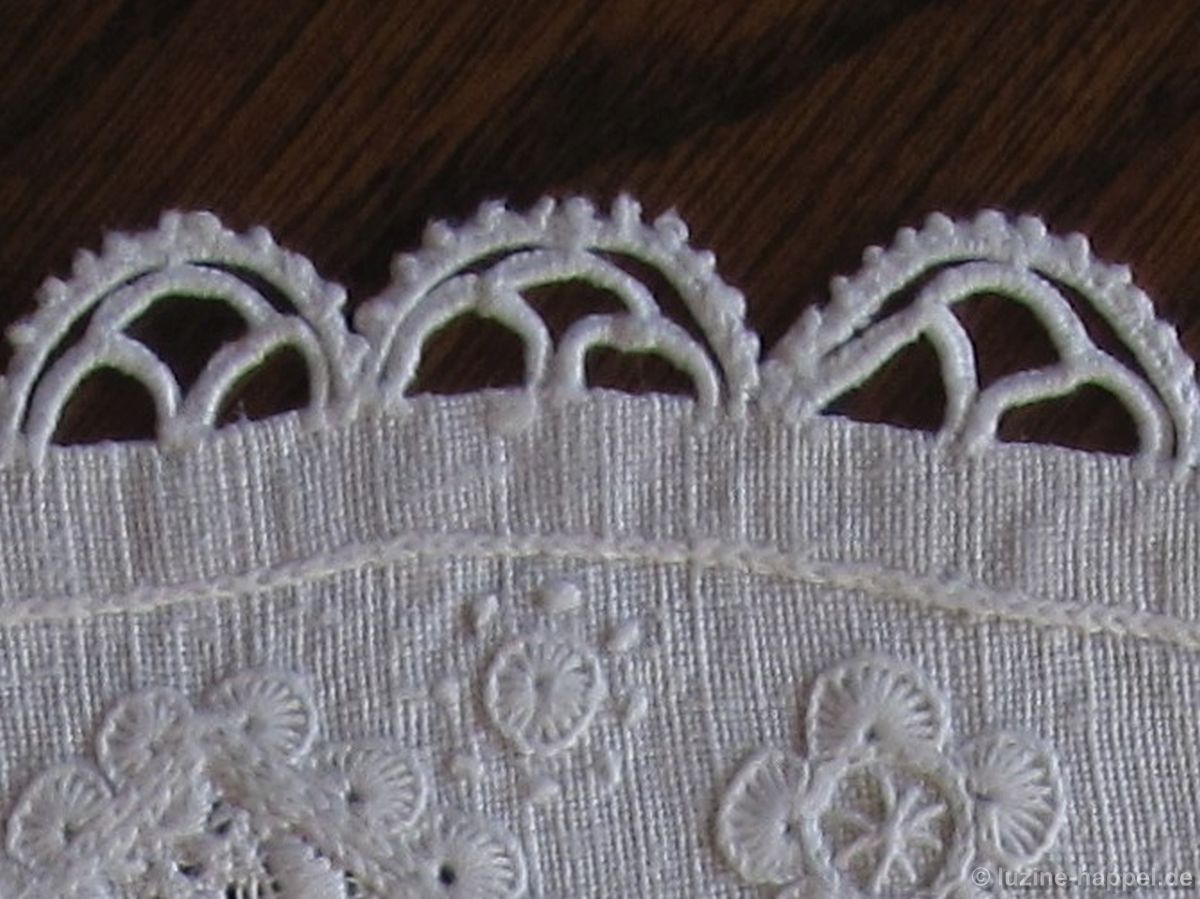
D_056_1The needlelace was made in a double row: two scallops were placed side by side. A third scallop was stitched on top of the two to connect them. A fourth scallop spans over the trio. This scallop was additionally decorated with picots.
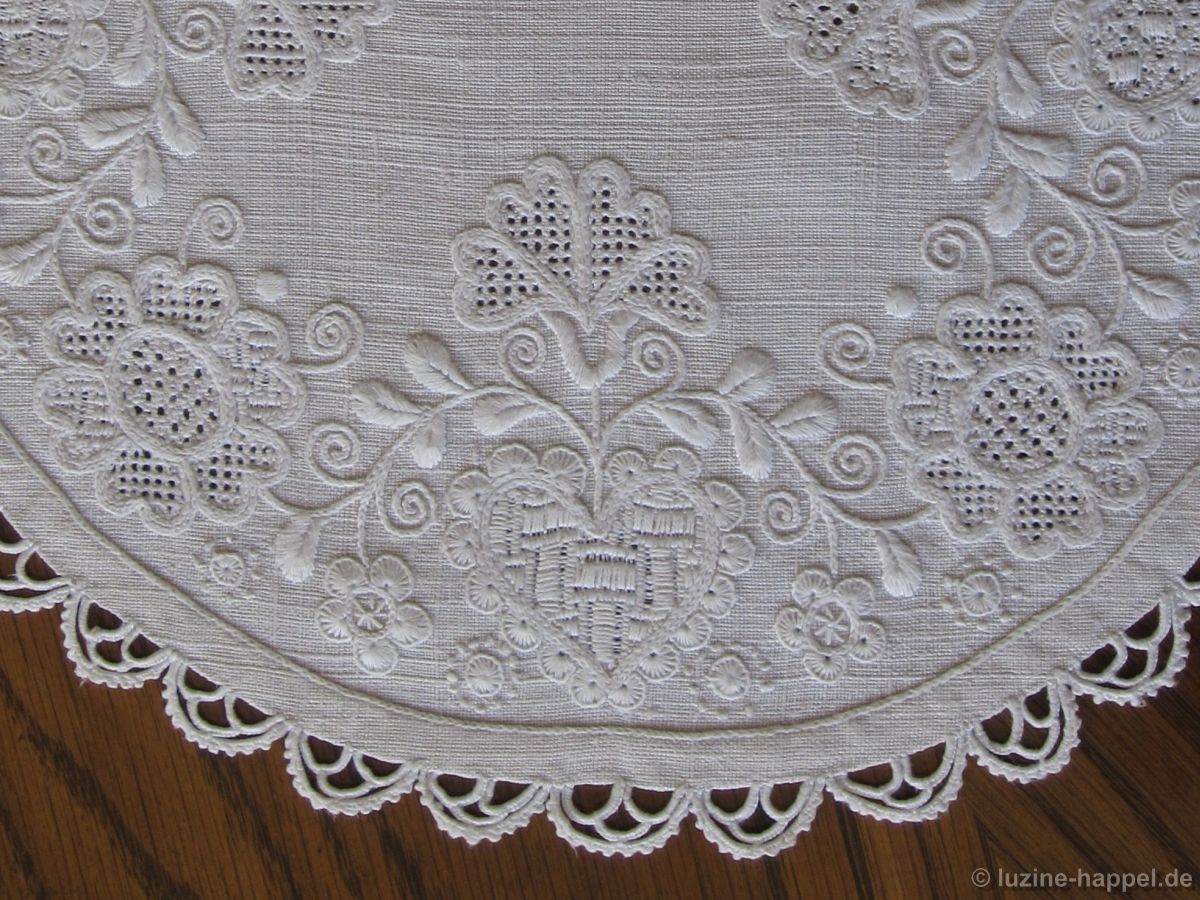
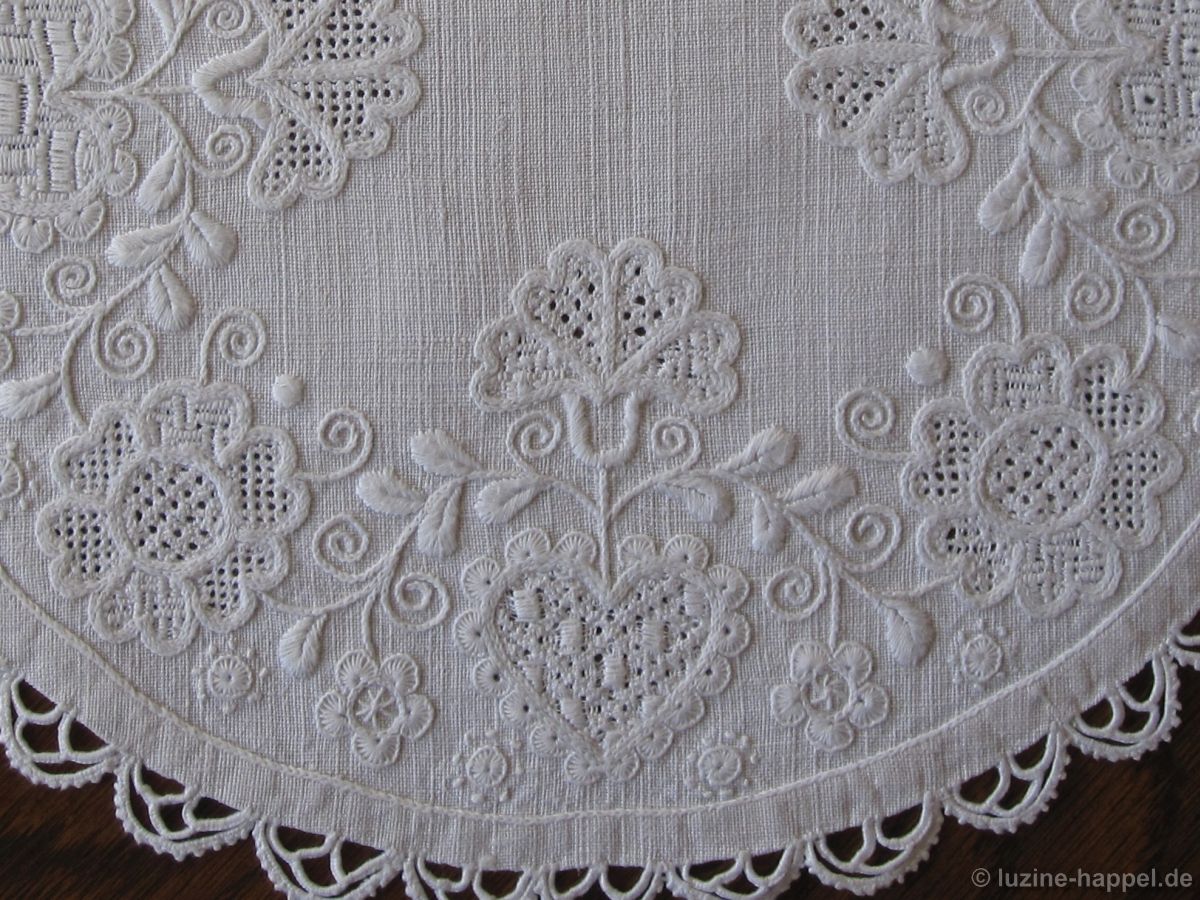
D_056_2The doily was elaborately embroidered. Heart, carnation, and one other bloom provided areas for a number of filling patterns. Only Limet filling patterns were used. The hearts were outlined with Blanket stitch half-eyelet scallops. Small flowers of Blanket stitches, French Knots and Satin stitches, leaves of Satin stitches and tendrils fill the remaining areas between the large motifs.

It is apparent that no Coral Knot stitches were used. Stems and tendrils were made with Chain stitches, and the shapes were outlined with double rows of Chain stitches.
D_056_3The pattern of the first heart was established with Square Eyelets, pairs of Satin stitch bars and Rose stitches. The four petals of its carnation were mirrored on the longitudinal axis and filled with two different patterns. Rose stitches created the first pattern, whereas squares of Satin stitch bars, filled with diagonally running Satin stitches, established the second pattern.

The center of the circle flower was filled with Rose stitches. The six petals were decorated mirrored. Four-Sided stitches, Cable stitches and the 2-pattern of Satin stitches were worked.
D_056_4The second heart was filled with blocks of Satin stitch bars, with alternating single and double Satin stitch bars. The petals of the corresponding carnation were filled with Four-Sided stitches.
D_056_5The third heart was filled with a pattern of Satin stitch bars and Rose stitches. The petals of the corresponding carnation were filled with alternating rows of Four-Sided stitches and Satin stitch bars.
D_056_6The fourth heart was filled with a Rose stitches grid. Into the grid double Satin stitch bars were worked. The petals of the corresponding carnation were filled in the same way as the first carnation.

This wreath design includes many narrow shapes. They were filled with different patterns that mostly turned out well. So, this doily project is a good example of filling narrow shapes differently and successfully.

Historical Schwalm Whitework and Lace

Schwalm whitework was often combined with lace. The most common was needlelace, but there were also other kinds of lace in the Schwalm.

So far I have found six kinds of lace in Schwalm:
1. needle
2. bobbin
3. machine-made
4. sprang
5. filet
6. Dresden
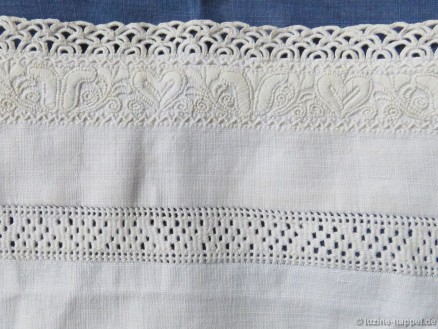
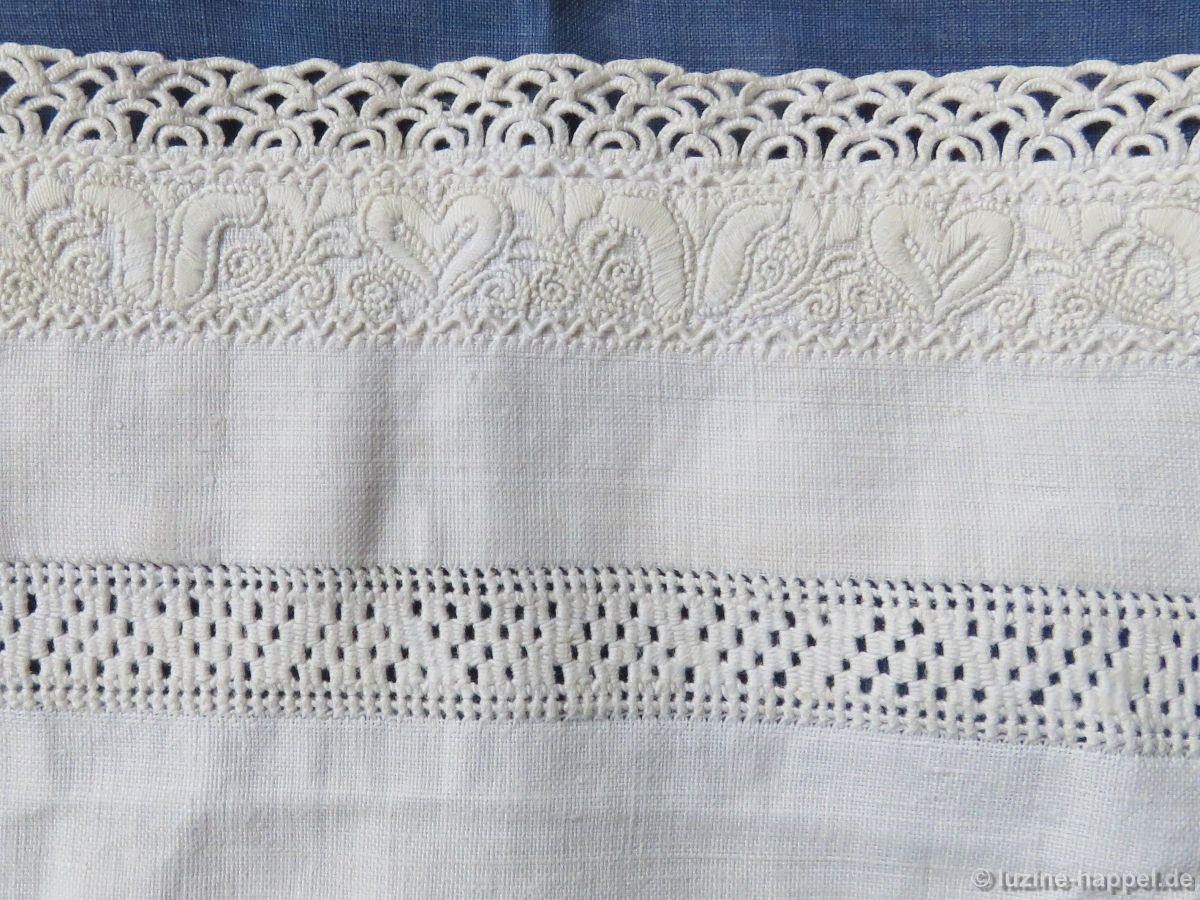
Sleeve cuff of a traditional Schwalm bodice decorated with needlelace, whitework, and a needleweaving hem.

Sleeve cuff of a traditional Schwalm bodice decorated with needlelace, whitework, and a needleweaving hem.

1. Needlelace was the most commonly used lace in the Schwalm. In combination with Schwalm whitework, it is found at the edges of bodice sleeve cuffs, at the front edges of dyed to black bodice jackets, at the upper edges of the waistbands of the white aprons, and at the collars, the cuffs, and the necks of men´s shirts.

Needlelace was worked in a wide variety of different patterns.

Needlelace was also worked with coloured thread to embellish garters and cap bands.
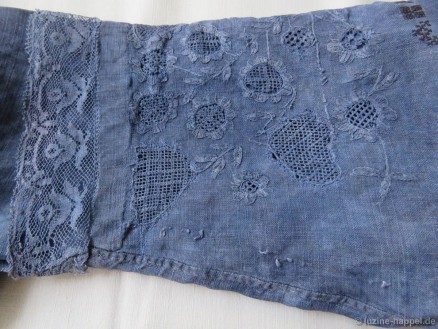
Sleeve cuff of a traditional dyed-to-blue Schwalm bodice decorated with bobbin lace, whitework, and Cross stitch initials.
Sleeve cuff of a traditional dyed-to-blue Schwalm bodice decorated with bobbin lace, whitework, and Cross stitch initials.

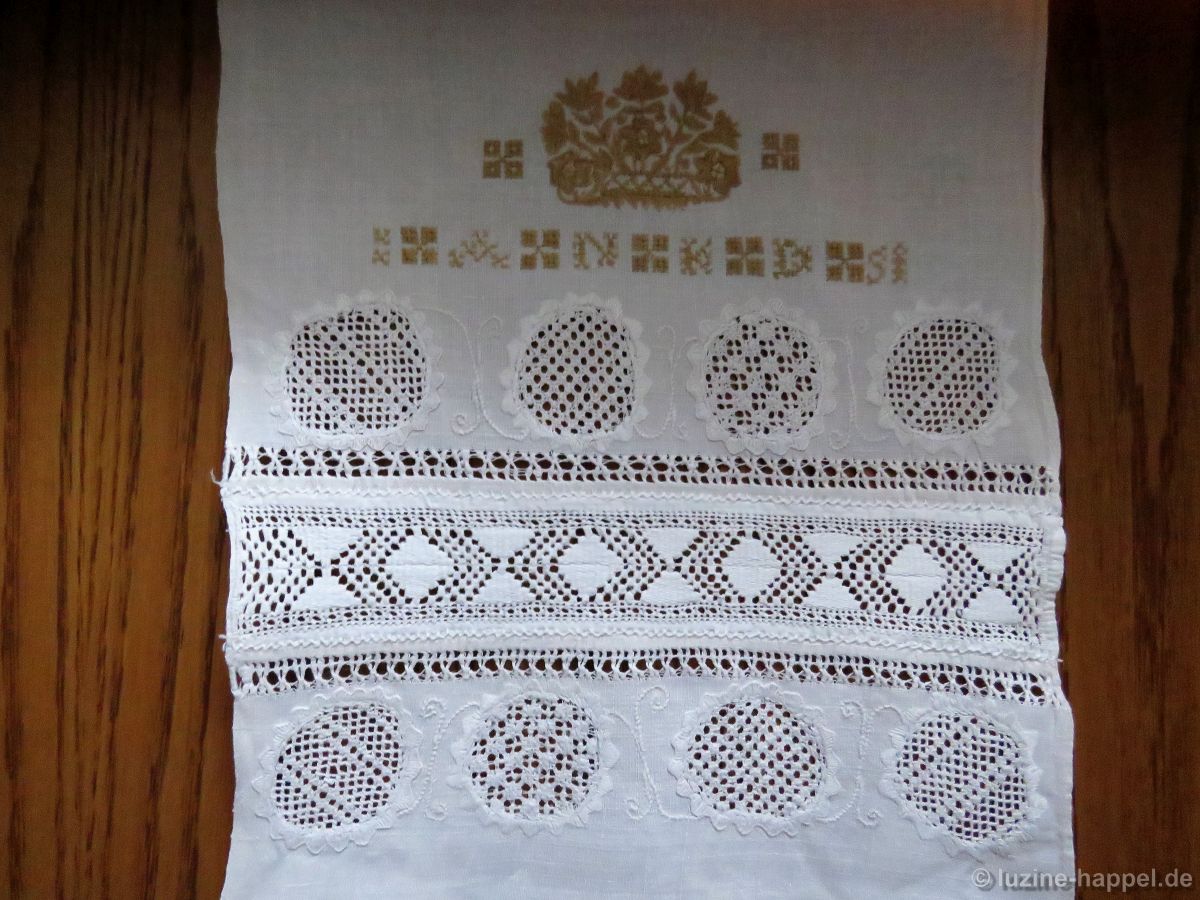
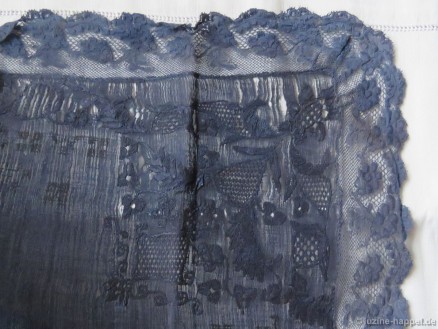
Traditional dyed-to-blue Schwalm decorative handkerchief with bobbin lace, whitework and Cross stitch crowns and initials.

Traditional dyed-to-blue Schwalm decorative handkerchief with bobbin lace, whitework and Cross stitch crowns and initials.

2. Bobbin lace, in combination with Schwalm whitework, is found at the sleeve cuffs of the blue bodices and at the edges of the dyed-to-blue decorative handkerchiefs.

Bobbin lace is also found on bed coverings, door hangings, and at the front edges of the dyed-to-blue communion caps. It is also found on knitted baby caps.
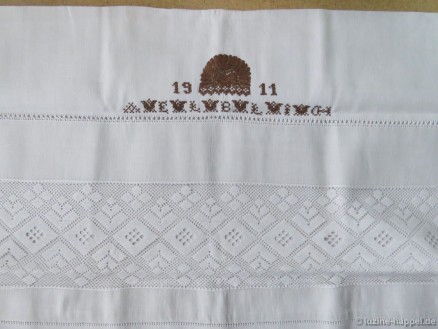
Parade cushion decorated with machine-made lace, Peahole hem and Four-Sided stitch hem, and a crown with the year and initials in Cross stitch.

Parade cushion decorated with machine-made lace, Peahole hem and Four-Sided stitch hem, and a crown with the year and initials in Cross stitch.

3. Machine-made lace is found on parade cushions, bed coverings, and door hangings. Most often it is used as an additional edge decoration in combination with Schwalm whitework. Sometimes it is used in combination with needle weaving hems and Schwalm crowns. There are also examples of elaborate and pretty Schwalm whitework borders with machine-made lace as an insertion.
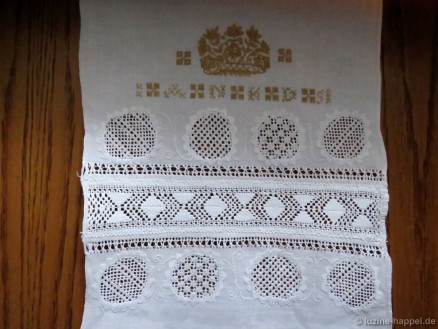
Spitze_5
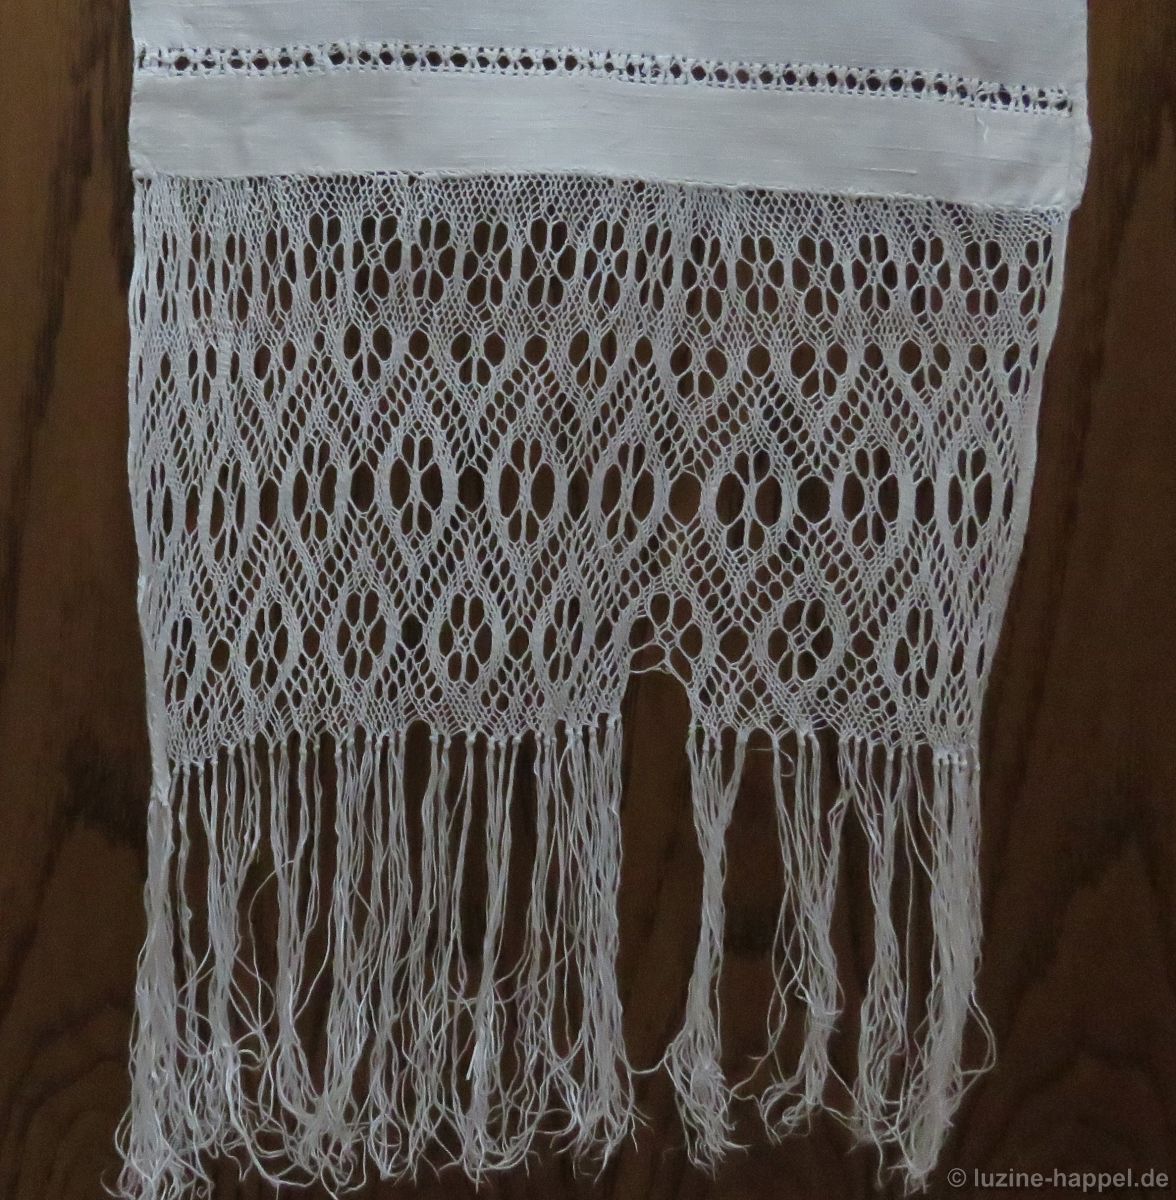
Two parts of a door hanging decorated with Schwalm whitework borders, Peahole hems, a needle weaving hem and sprang.

Two parts of a door hanging decorated with Schwalm whitework borders, Peahole hems, a needle weaving hem and sprang.

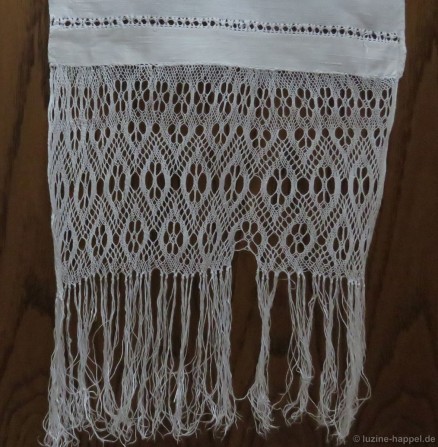
4. Sprang is found on bed coverings and door hangings.
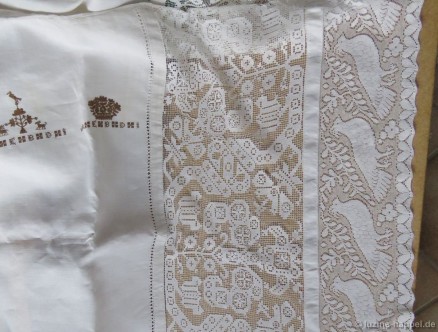
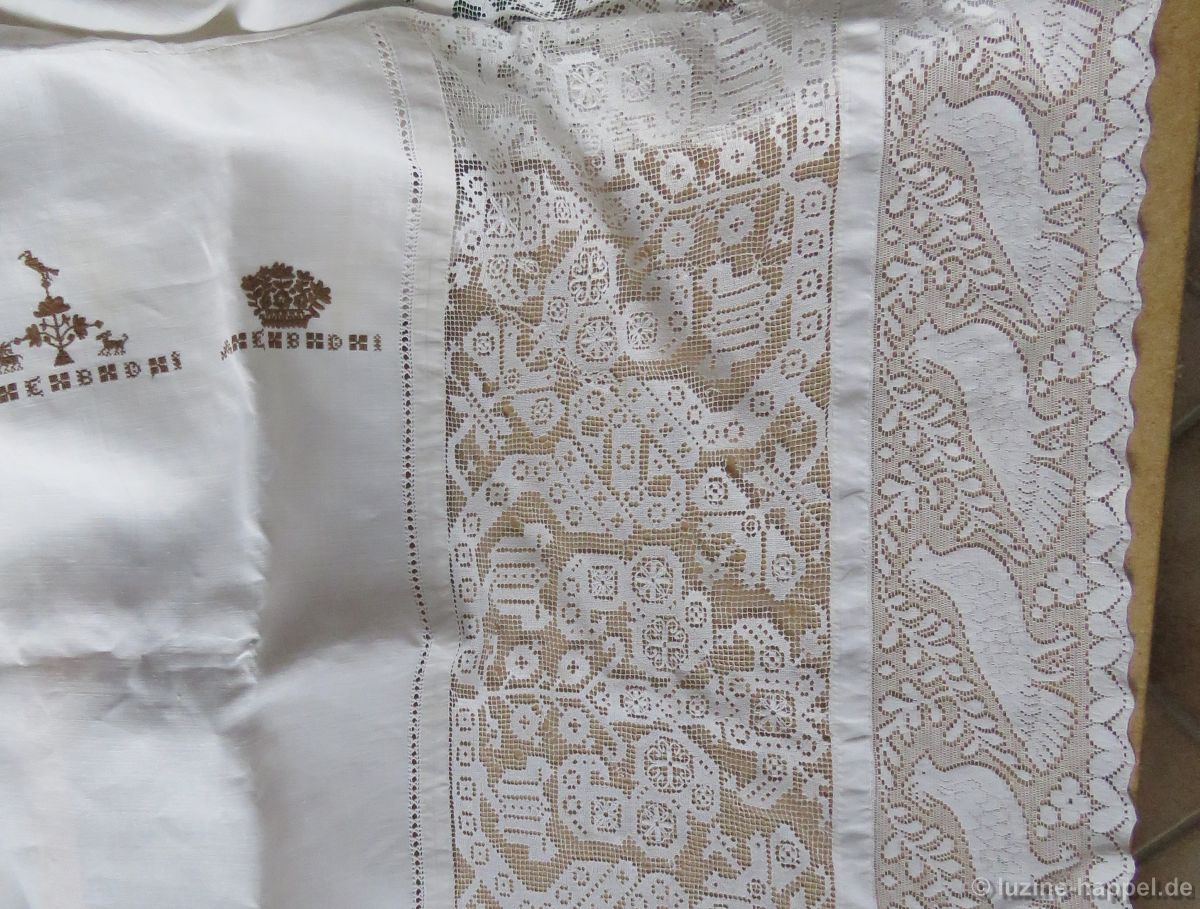
Bed covering with two different crowns with initials, filet, and a machine-made lace.

Bed covering with two different crowns with initials, filet, and a machine-made lace.

5. Filet is found on bed coverings and door hangings.
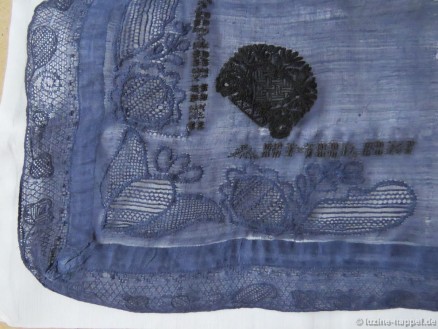
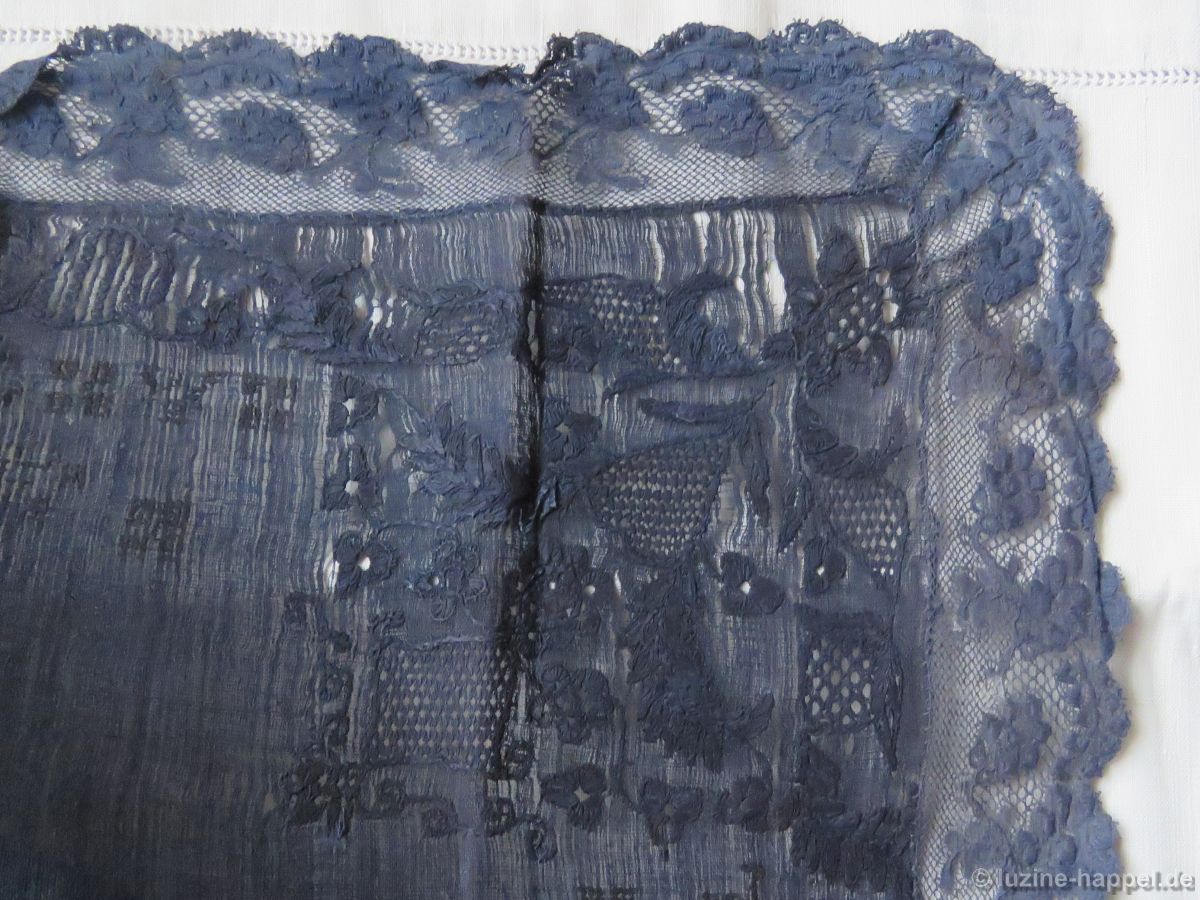
Very old decorative handkerchief dyed to blue. It is decorated with a Schwalm crown and initials worked with Cross stitches, whitework motifs, and a band with Dresden lace at two edges (and a small bobbin lace band at the remaining two edges – not shown in this picture).
Very old decorative handkerchief dyed to blue. It is decorated with a Schwalm crown and initials worked with Cross stitches, whitework motifs, and a band with Dresden lace at two edges (and a small bobbin lace band at the remaining two edges – not shown in this picture).

6. Dresden lace was found on a decorative handkerchief.

All of these will be subjects of more detailed articles in the future.