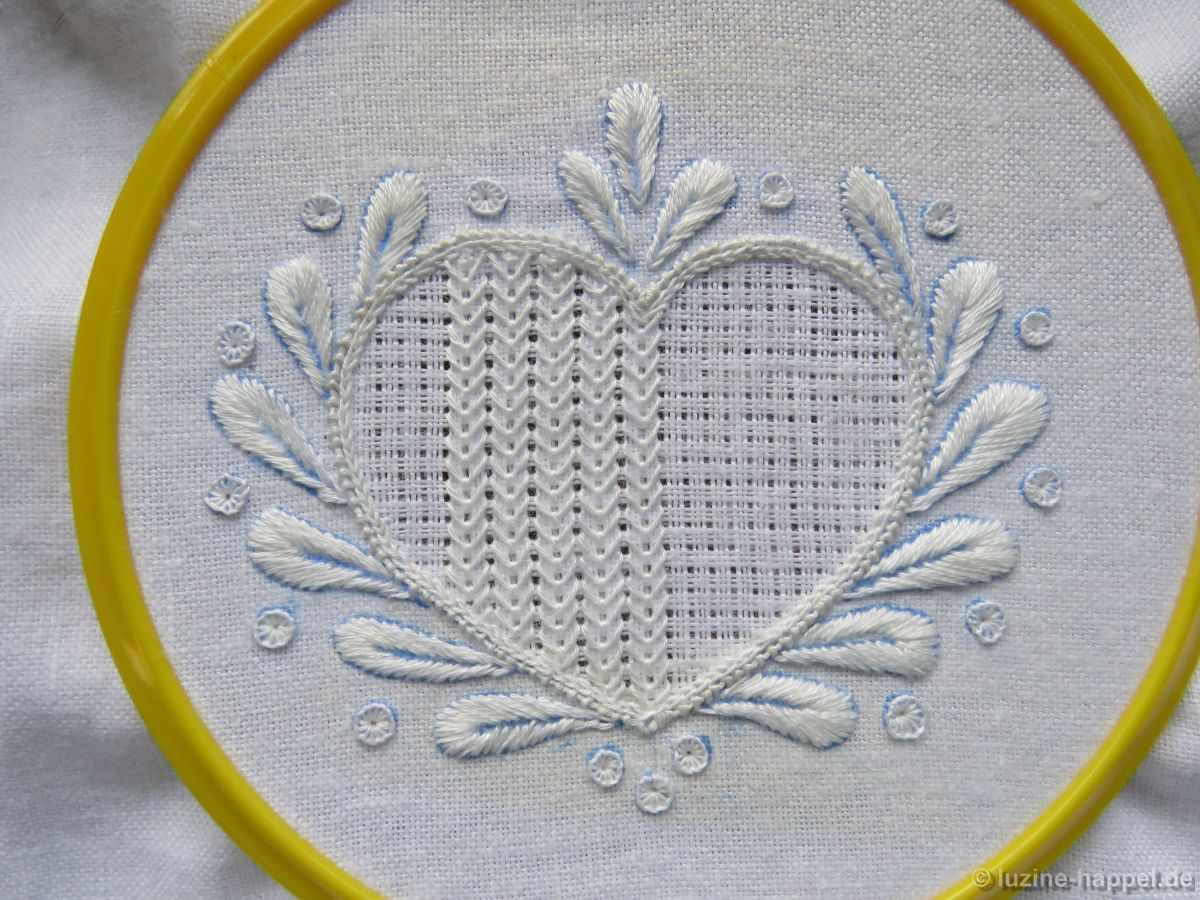
Here are a few details of the embroidery of the horizontal bird border, this time starting with the center motif – the big heart. Satin stitch bars (coton à broder No. 20) and parts of the warped suare eyelet (Limetrosen I, page 44; coton à broder No. 25) are embroidered into a Limet grid (thread withdrawing 3:1).

Actually the order of the patterns doesn’t matter. However, if you embroider the square eyelet parts first, you can embroider all sections of the Satin stitch bars in one row.

Even unwashed, this pattern has a special effect,

washed and ironed, the square eyelet parts stand out strikingly.

The side tulips also receive a Limet grid (thread withdarwing 3:1) and Diagonal Cross stitches (coton à broder No. 20) as a filling pattern.
Now bird and tulip motifs alternate, although the motifs can also be placed in a different order, as a shorter section of border or as an individual element. The same border with a different motif as the center can be seen in picture 13 of my blog readers’ embroidery from 2020.
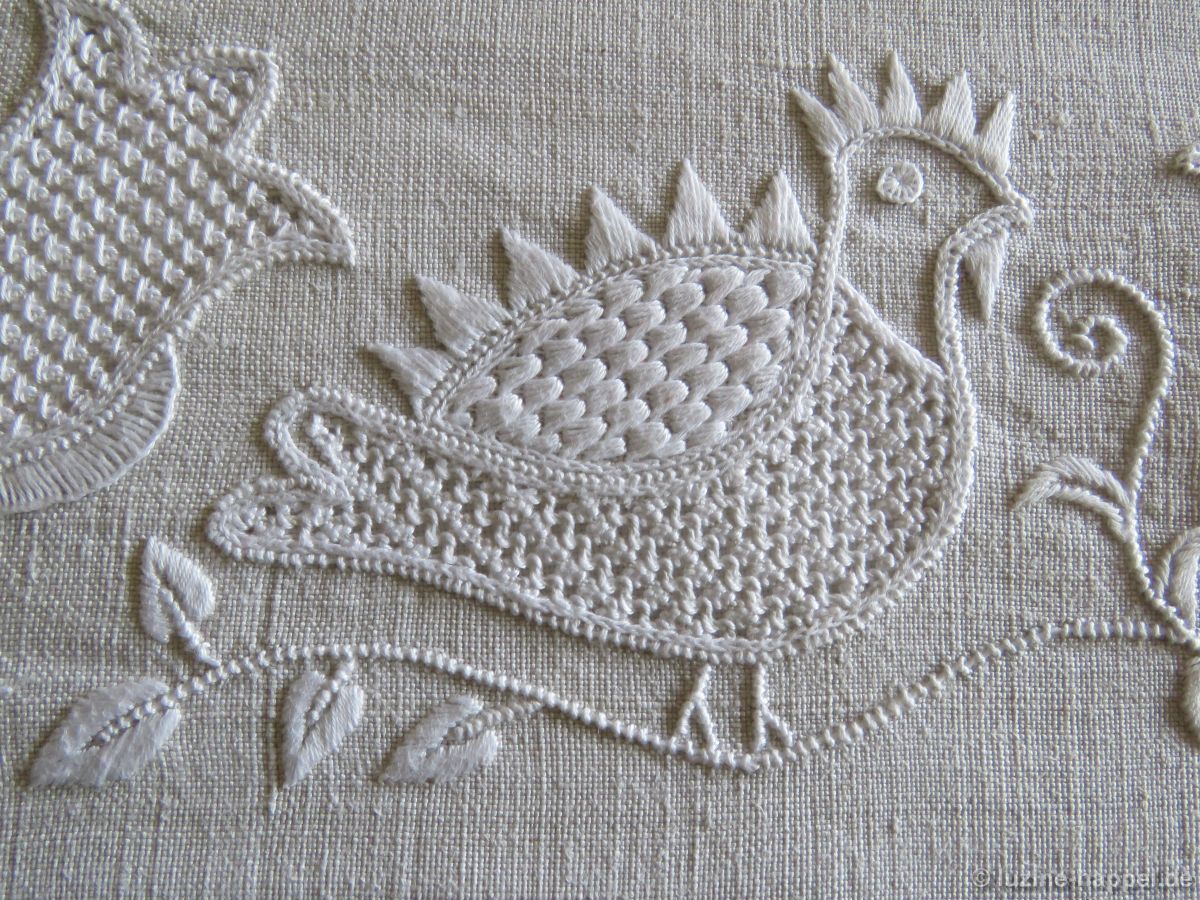
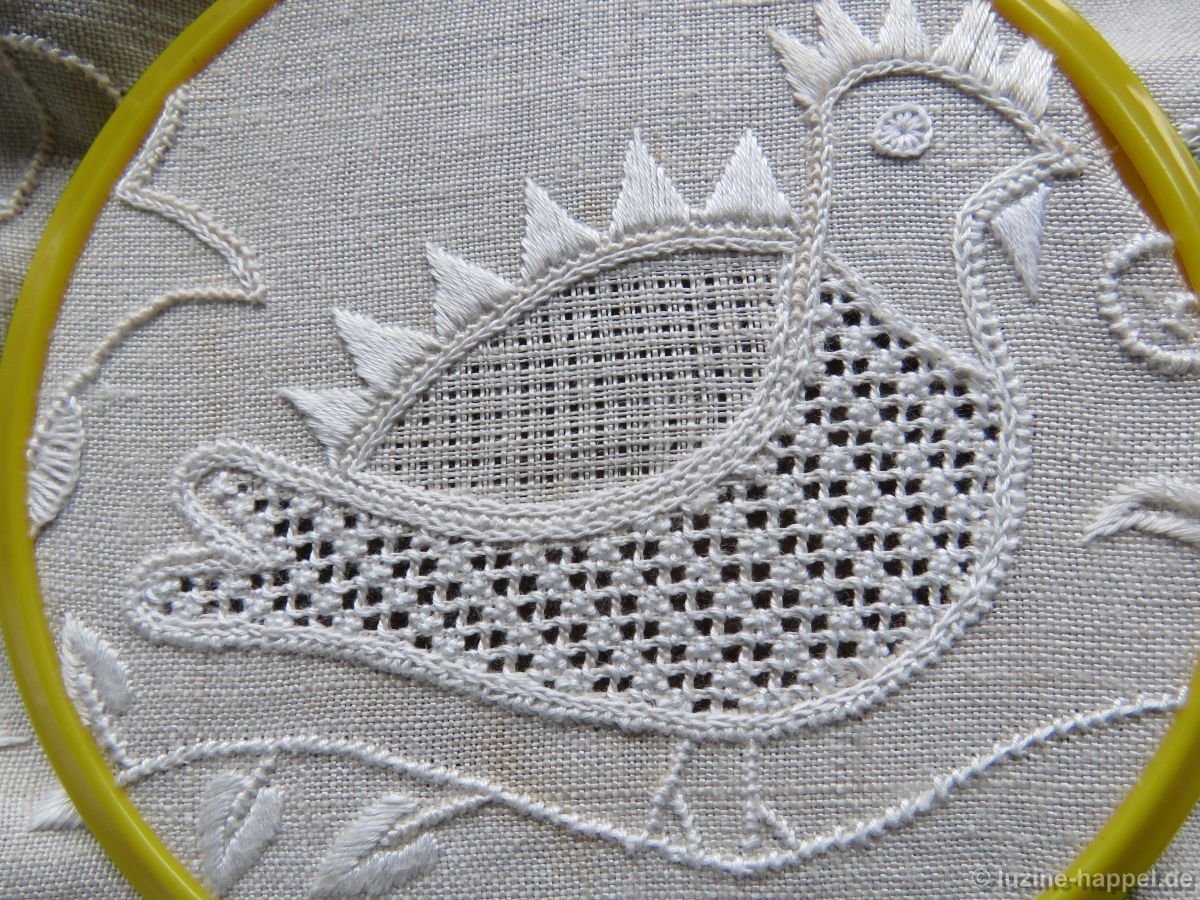
The roosters have an openwork grid of threads in their belly area (thread withdawing 2:2)

and in the wing area a Lime grid (thread withdrawing 3:1). The belly of the left-sided rooster bird receives a row of Cable stitches alternating with a row of Rose stitches,
that of the right-hand side has one row of Cable stitches alternating with two rows of Rose stitches.

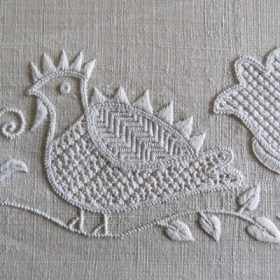
The wing of the right rooster is filled with a Satin stitch herringbone pattern (coton à broder No.20).

I originally wanted to embroider the wing of the left rooster with the square eyelet pattern “Plumage” (Limetrosen I, page 15),

but then I chose the more striking “Scales” pattern (Limetrosen I, Seite 68).

The following tulip has a Limet grid in the middle part (thread withdrawing 3:1)

and the filling pattern 579, once vertically with the tips upwards

and the other time embroidered with the tips pointing downwards.

The side parts are embroidered once with a simple withdrawn thread pattern (thread withdrawing 3:1 vertically) with Honeycomb Darning stitches (coton à broder No. 20),

the counterpart receives a 2:1 thread withdrawing and Cable stitches as pattern (coton à broder No. 20).

The next pair of birds receives a Limet grid in the belly area (thread withdrawing 3:1).

The bird looking to the right receives a checkerboard pattern made of Satin stitch bars and Röserich stitches similar to Röserich pattern 467 (The most beautiful Röserich Filling Patterns, page 23)

the bird looking to the right receives filling pattern 473.

Both wings receive a Limet grid (thread withdrawing 3:1).

To match the pattern of the bird’s belly, but adapted to the much smaller area, the Röserich pattern 453 A2 (The most beautiful Röserich Filling Patterns, page 8) is used.

The bird opposite also has a pattern on its wing that matches the bird’s belly –

namely a Rose stitch variant.

Details about the thread withdrawing and the selected filling patterns for the remaining motifs will follow in the next blog post.