Begin with a piece of 13.5/cm thread-count linen cut to measure 20 cm X 25 cm.
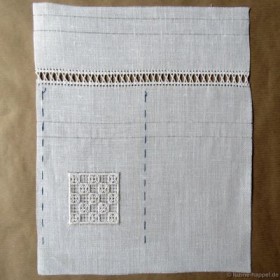
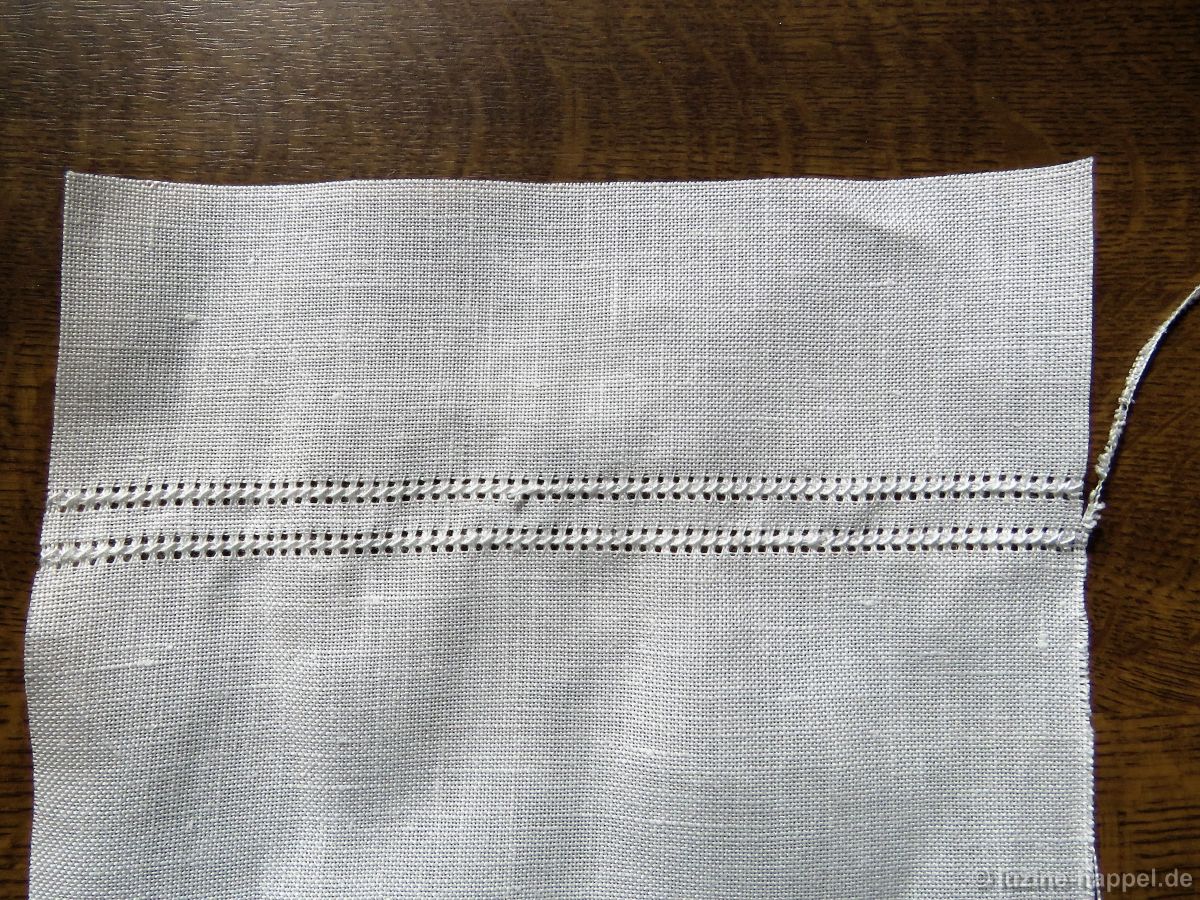
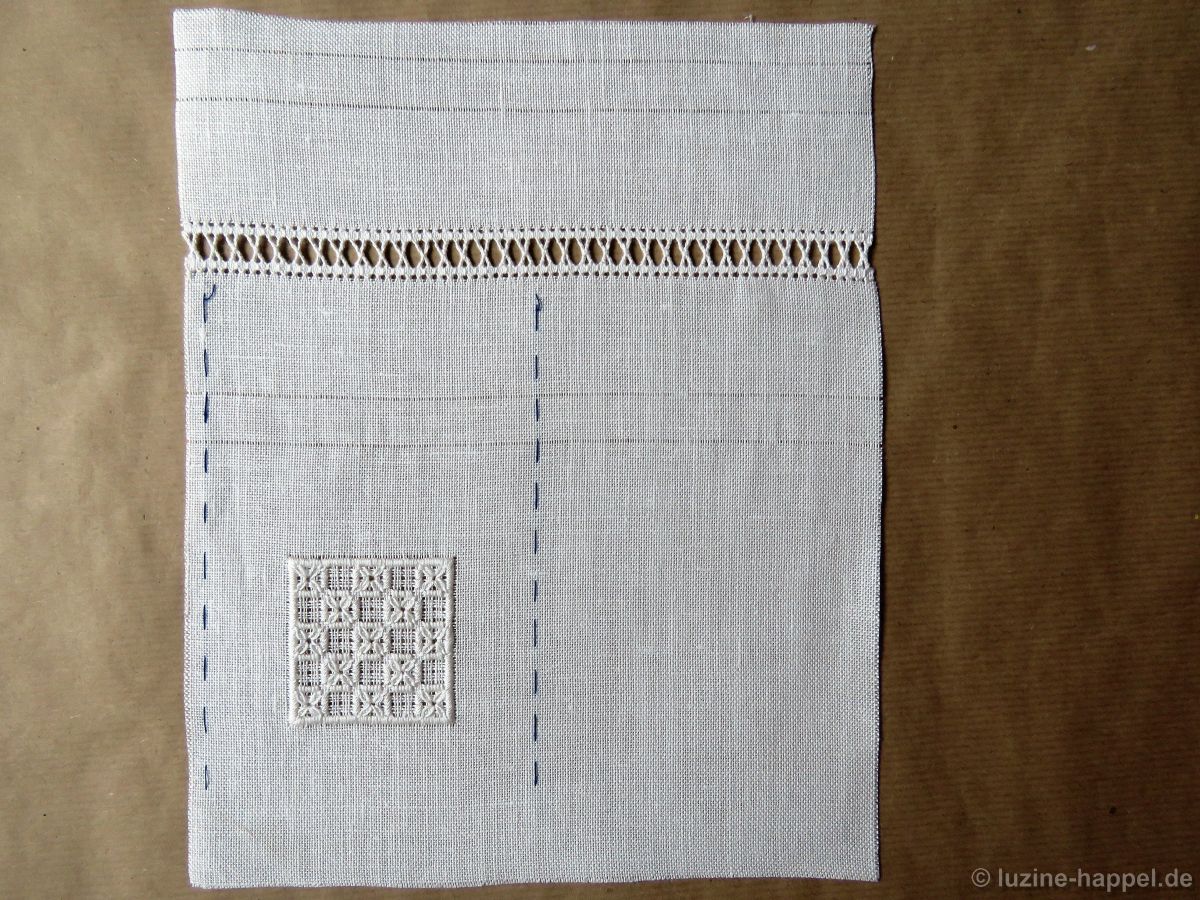
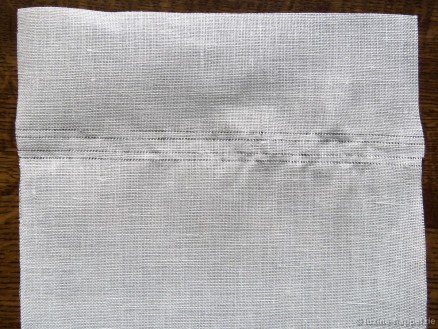
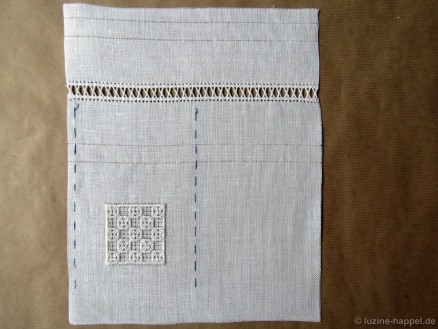
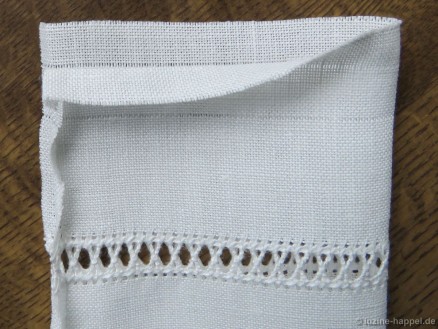
6 cm down from the top edge (an edge that measures 20 cm wide), withdraw threads for the folded Peahole edging.
 A Peahole hem is worked starting directly over from one side – it makes no difference if it is the right or left. Therefore, two rows of Four-Sided stitches are worked. Please note that these rows must contain an even number of Four-Sided stitches. Any excess fabric is cut along the entire side after finishing both rows of Four-Sided stitches.
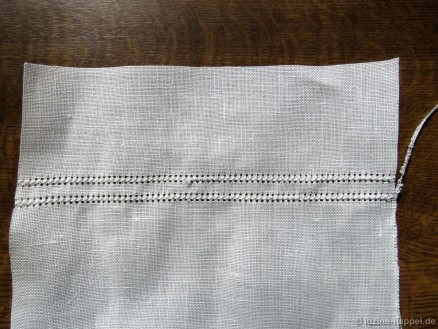 The Peaholes can be worked later.
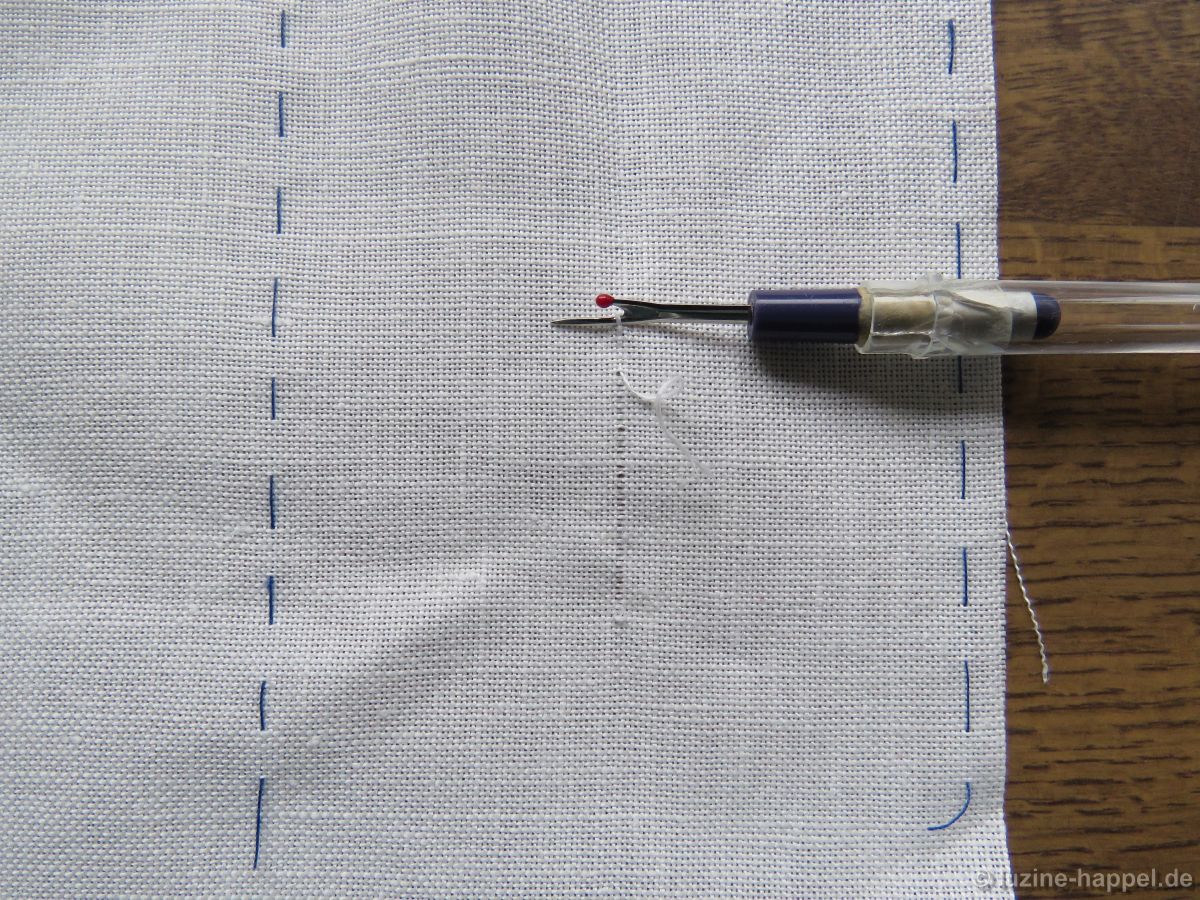
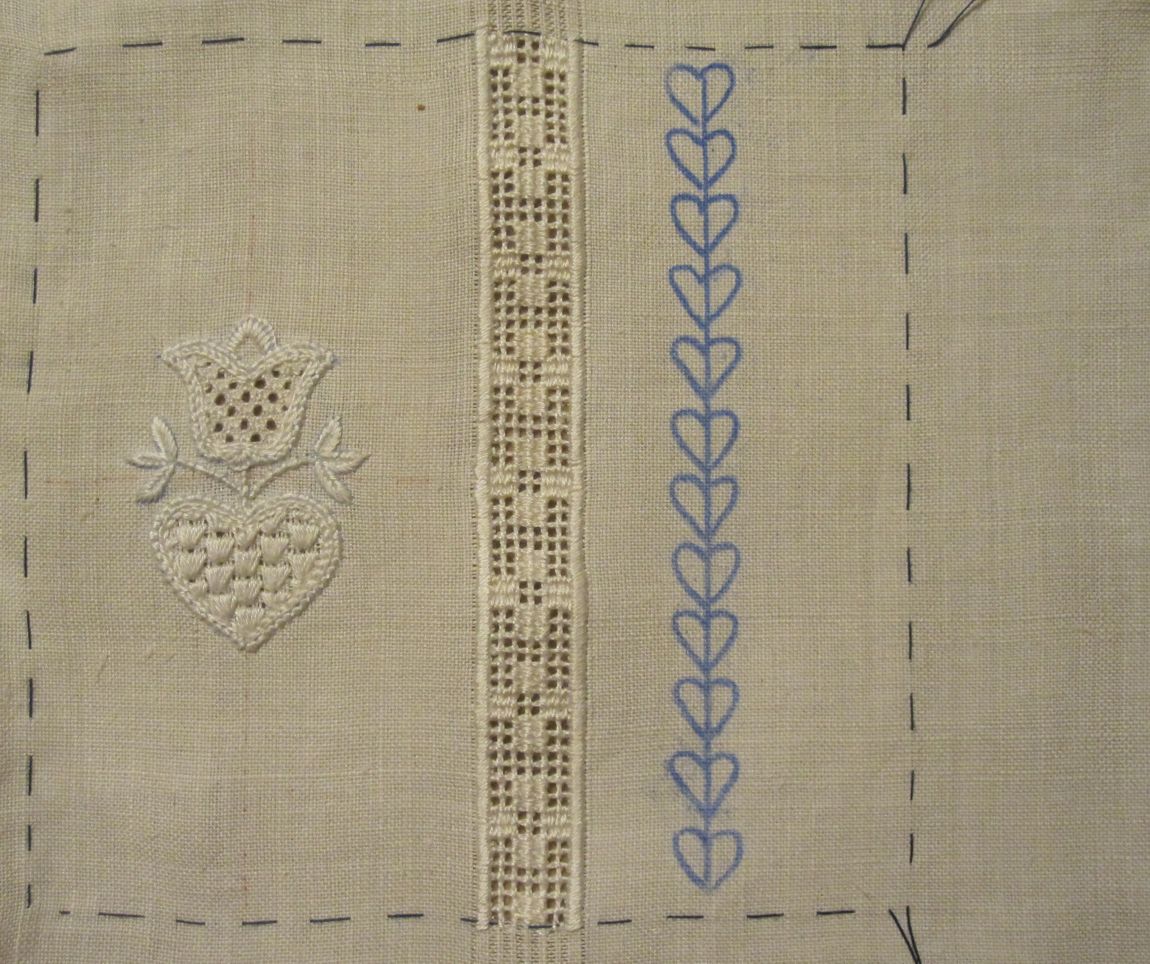
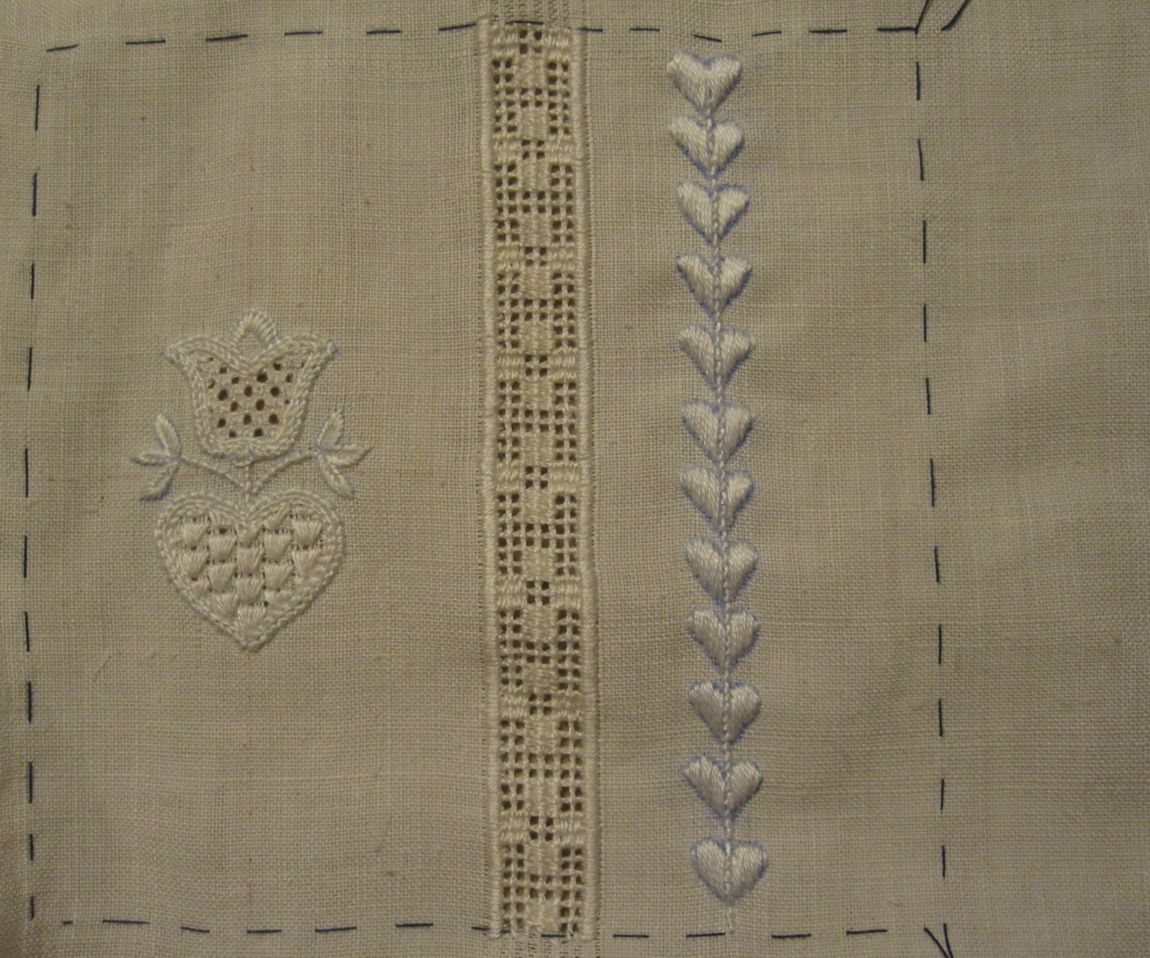
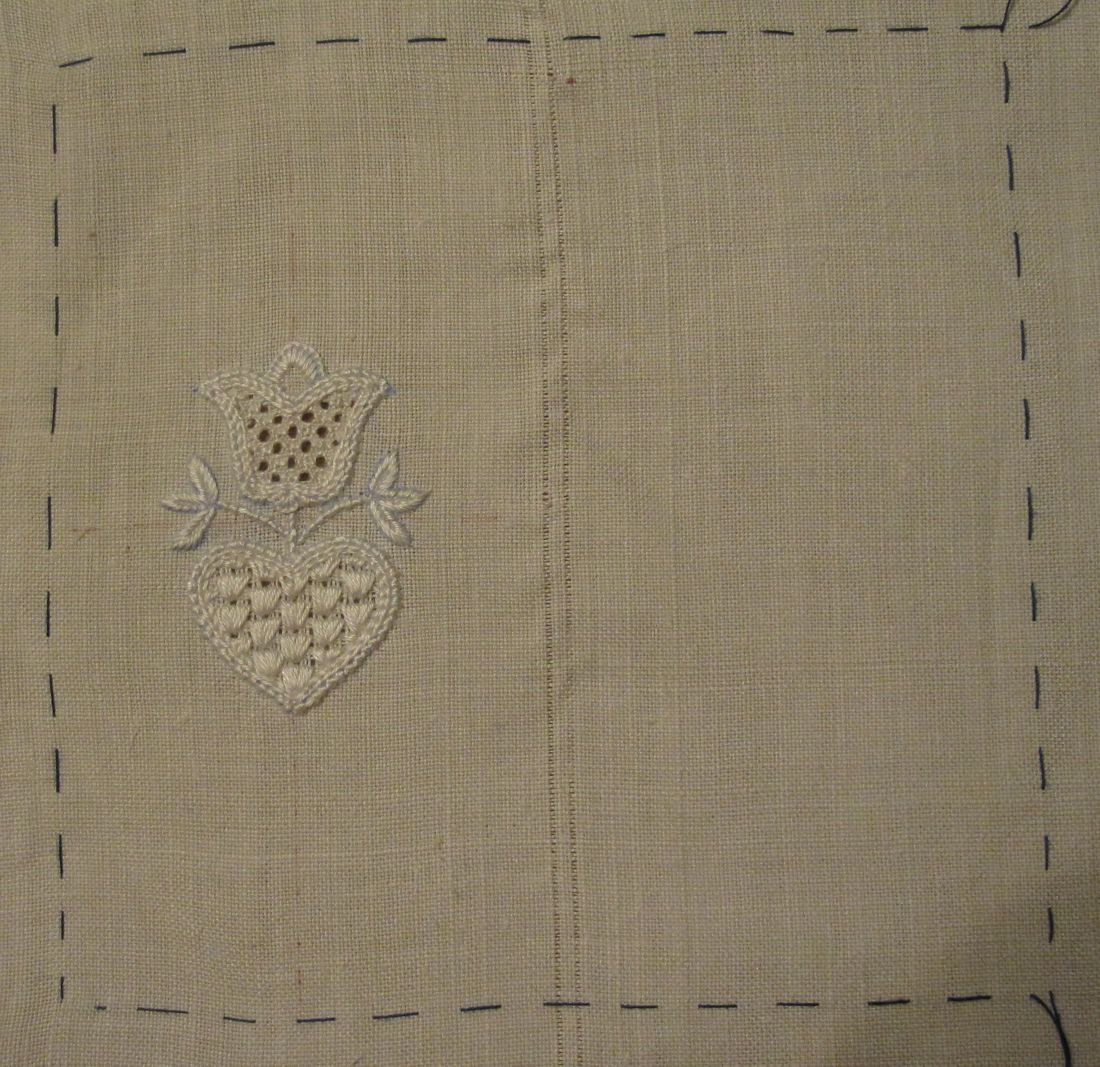
Using a contrasting thread color and Running stitches, mark the seam allowance (8 fabric threads from the side edge) along one side, the longitudinal axis, and also the middle between the two just marked lines.
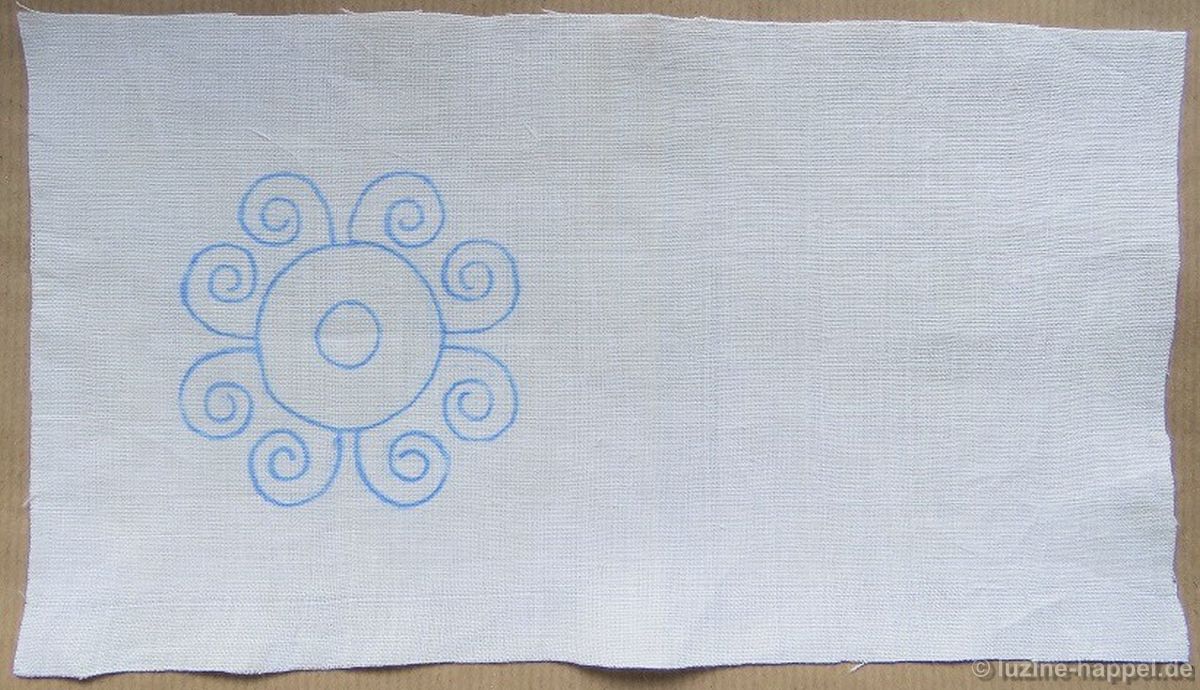
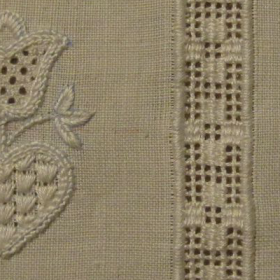
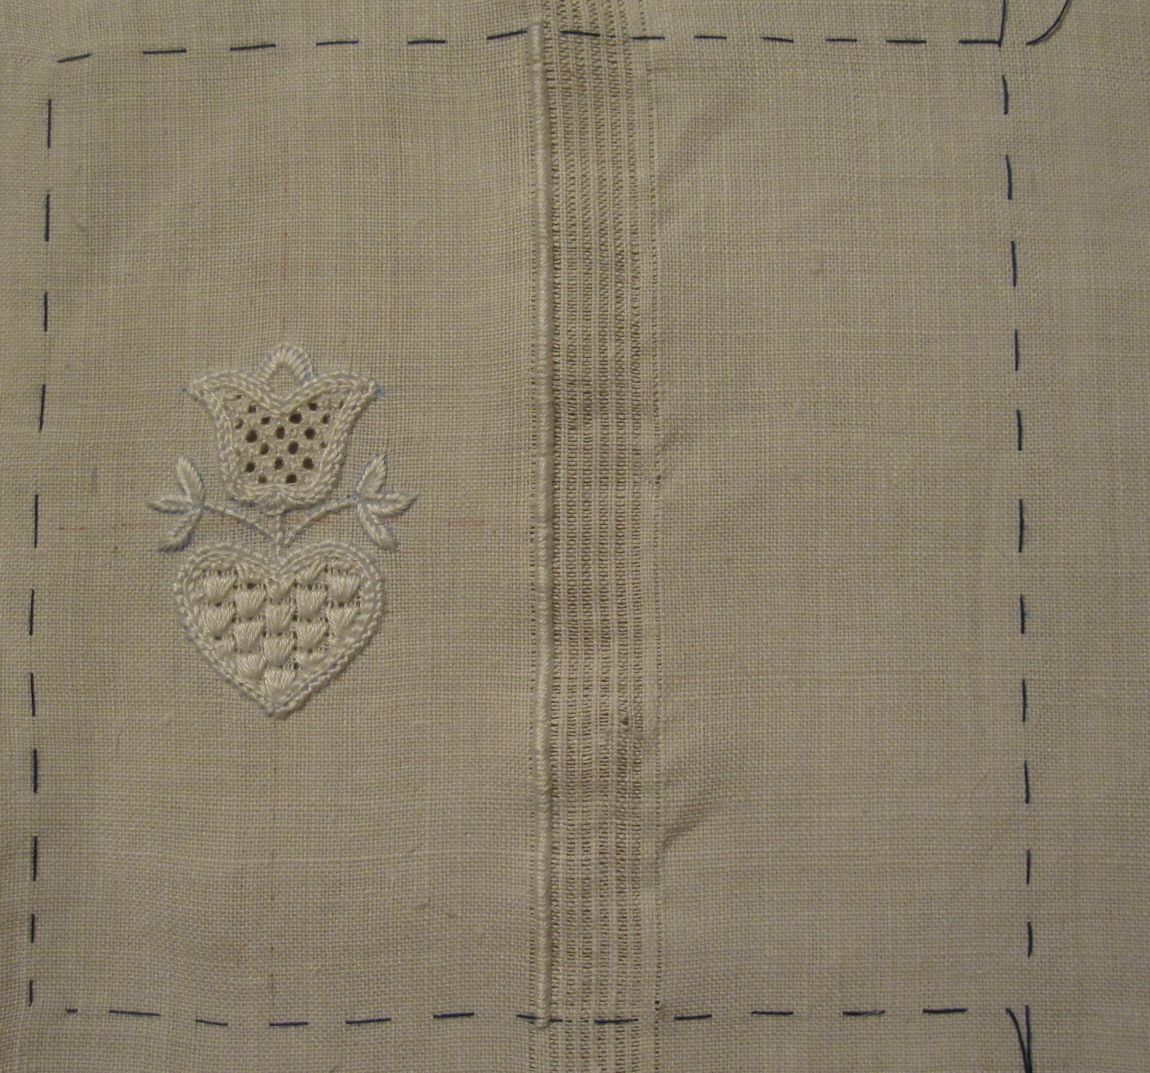
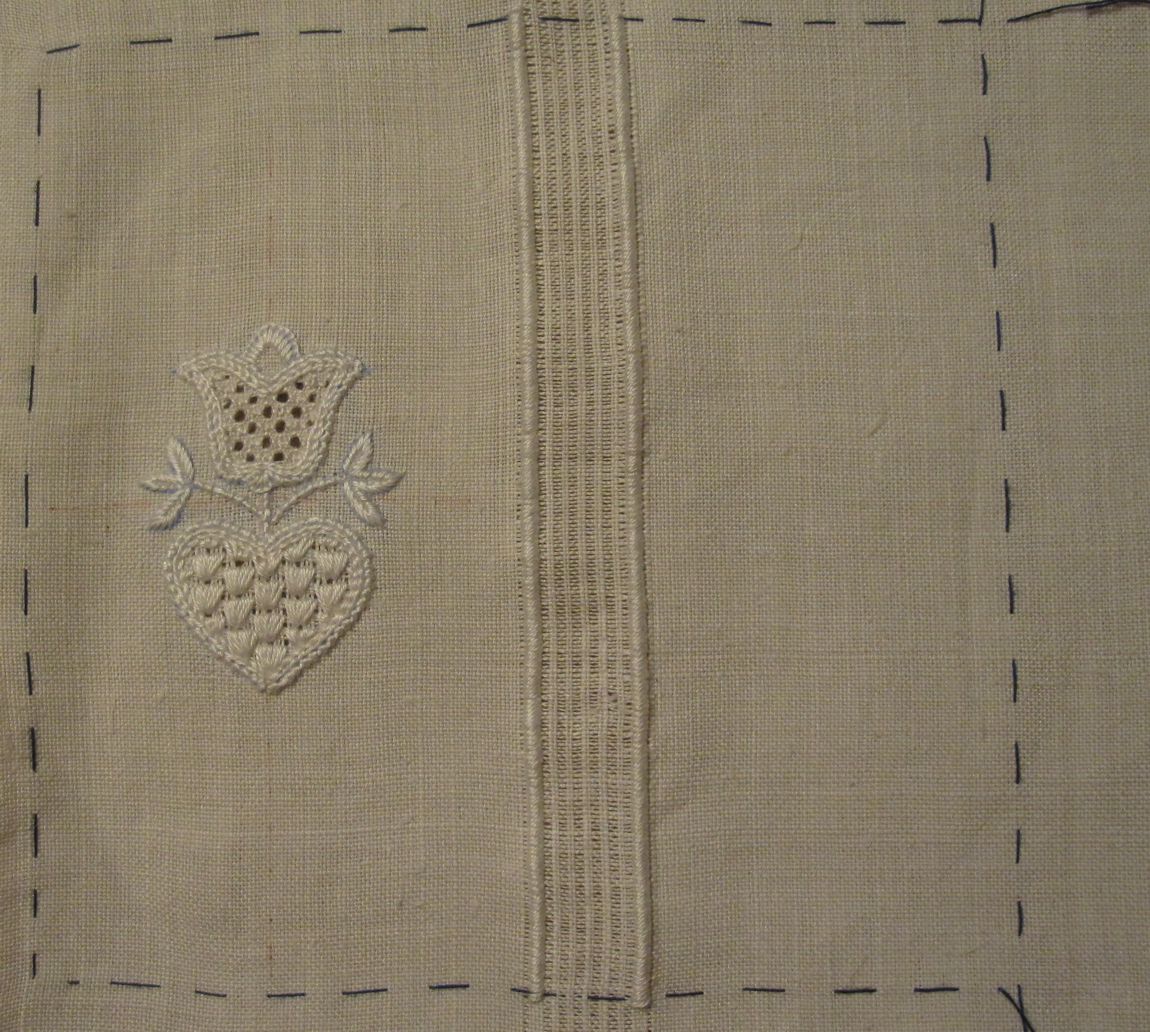
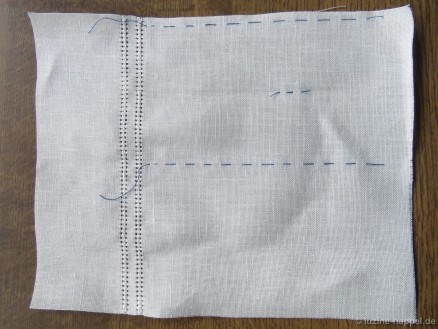 A Limet-Filling pattern in a square shape should be worked. And the pattern should fit fully into the square. So it is necessary to withdraw fabric threads step by step, exactly counting out the correct size.
Withdrawal of threads is done from the back.
About 5 cm up from the bottom edge, in the middle between the two marked lines, a vertical fabric thread is cut and withdrawn toward the top – step by step – about 3.5 cm.
 (Please keep in mind, the above picture shows the back side of the bag. By placing the Limit-Filling pattern to the right of the center mark on the back side, the cording – when all is finished – will emerge on the left side of the bag. If you want the cording to be on the right side of the bag, you need to place the pattern on the left side of the longitudinal axis.)
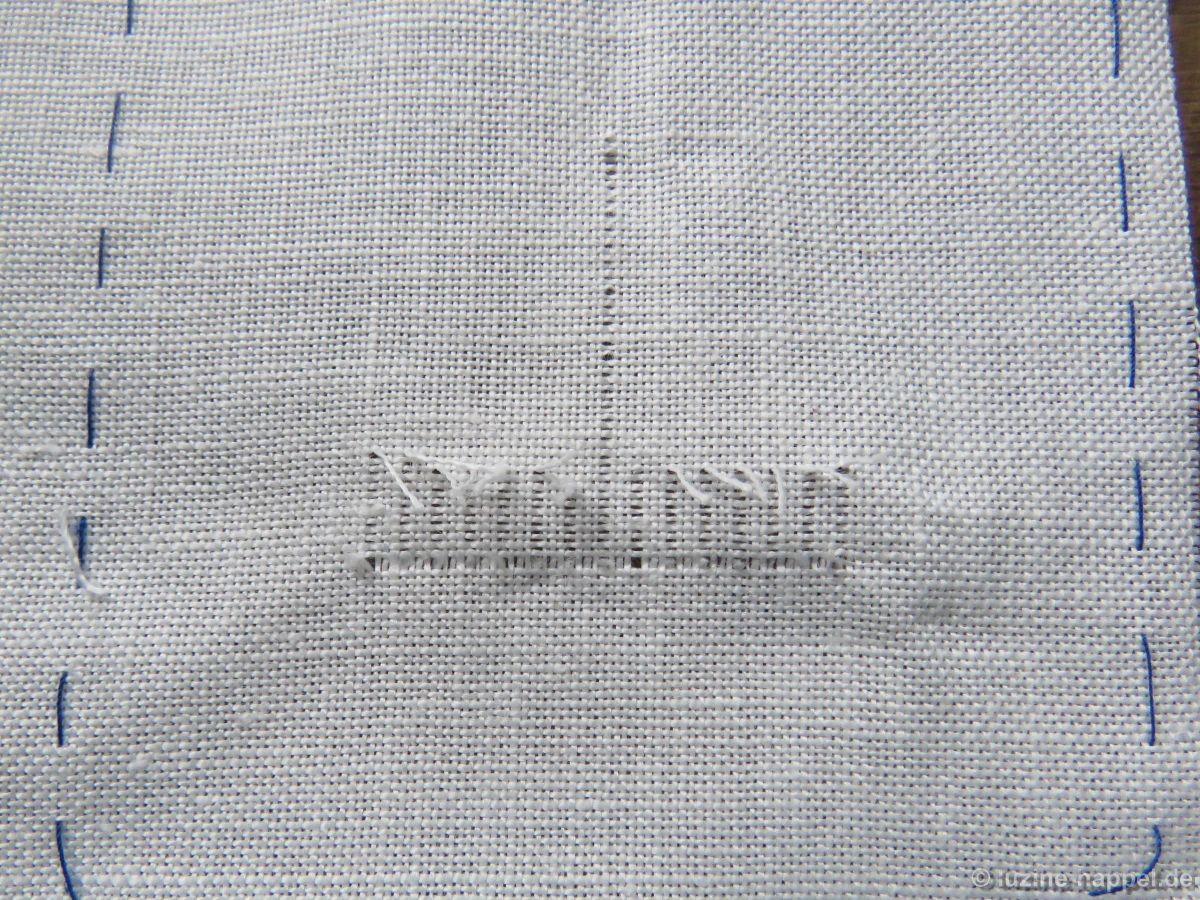
At the bottom end of the vertical withdrawn-thread line, a horizontal thread is cut and withdrawn to both sides about 1.5 cm each.
Now, away from the vertical withdrawn-thread line, more threads – 7 on the left and 7 on the right – are withdrawn leaving 3, cutting 1. They are cut at the horizontal withdrawn-thread line and withdrawn about 1–2 cm. Fifteen vertical withdrawn-thread lines are needed. If needed, carefully lengthen the horizontal withdrawn-thread line to accommodate all the needed vertical withdrawnthread lines.
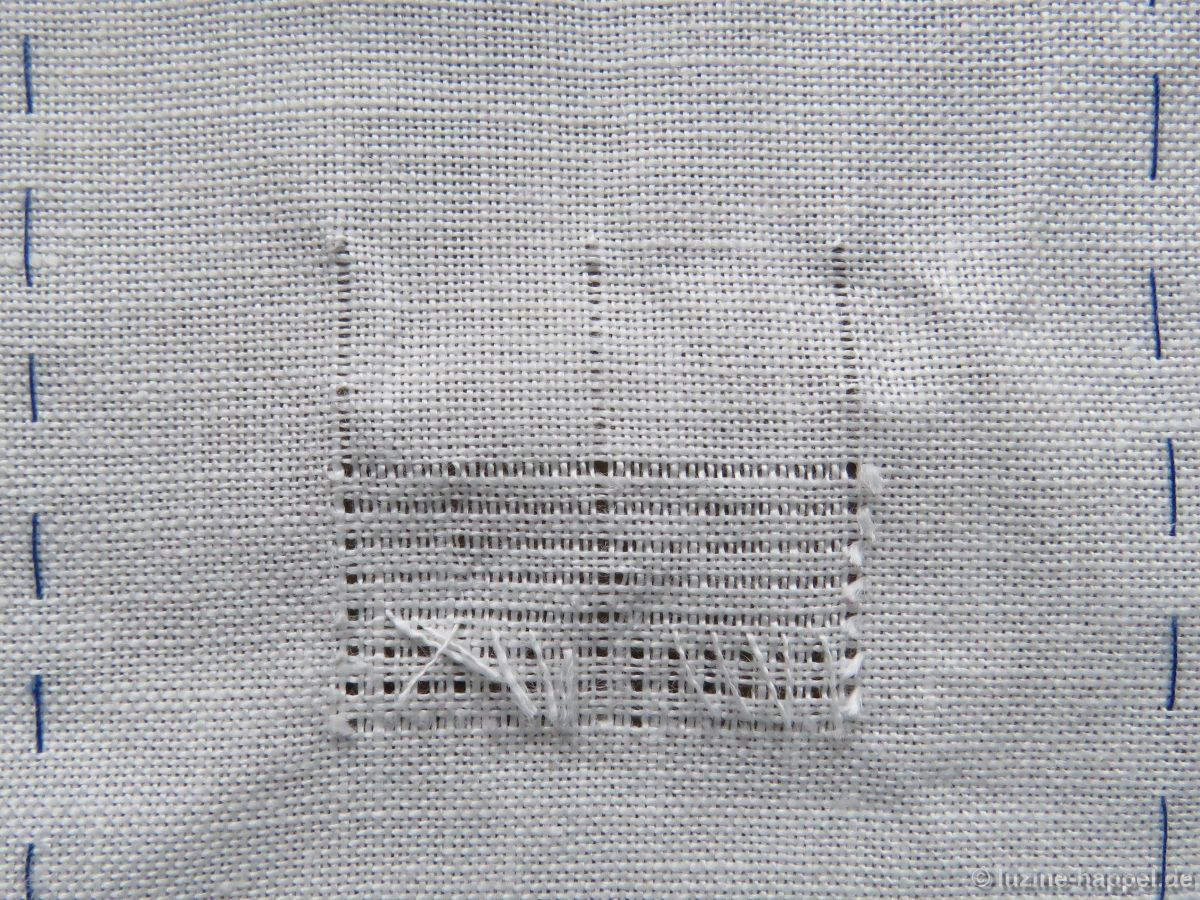
 Both outermost cut threads are withdrawn 3.5 cm.
Between these, more horizontal threads are withdrawn by leaving 3 and cutting 1 – fifteen in all. If needed, carefully lengthen the vertical withdrawn-thread lines to accommodate all the needed horizontal withdrawn-thread line.
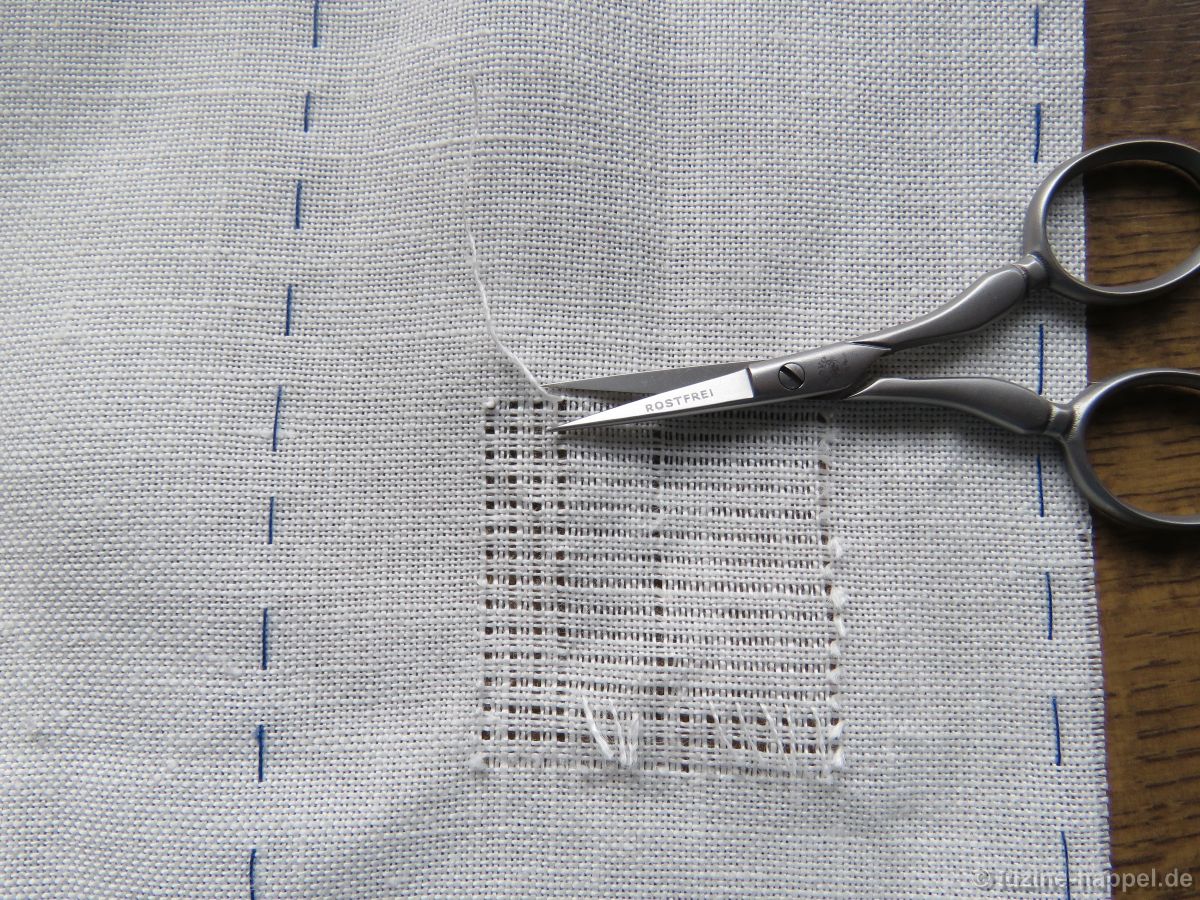
 Now the remaining vertical threads are withdrawn step by step up to the upper line and cut.
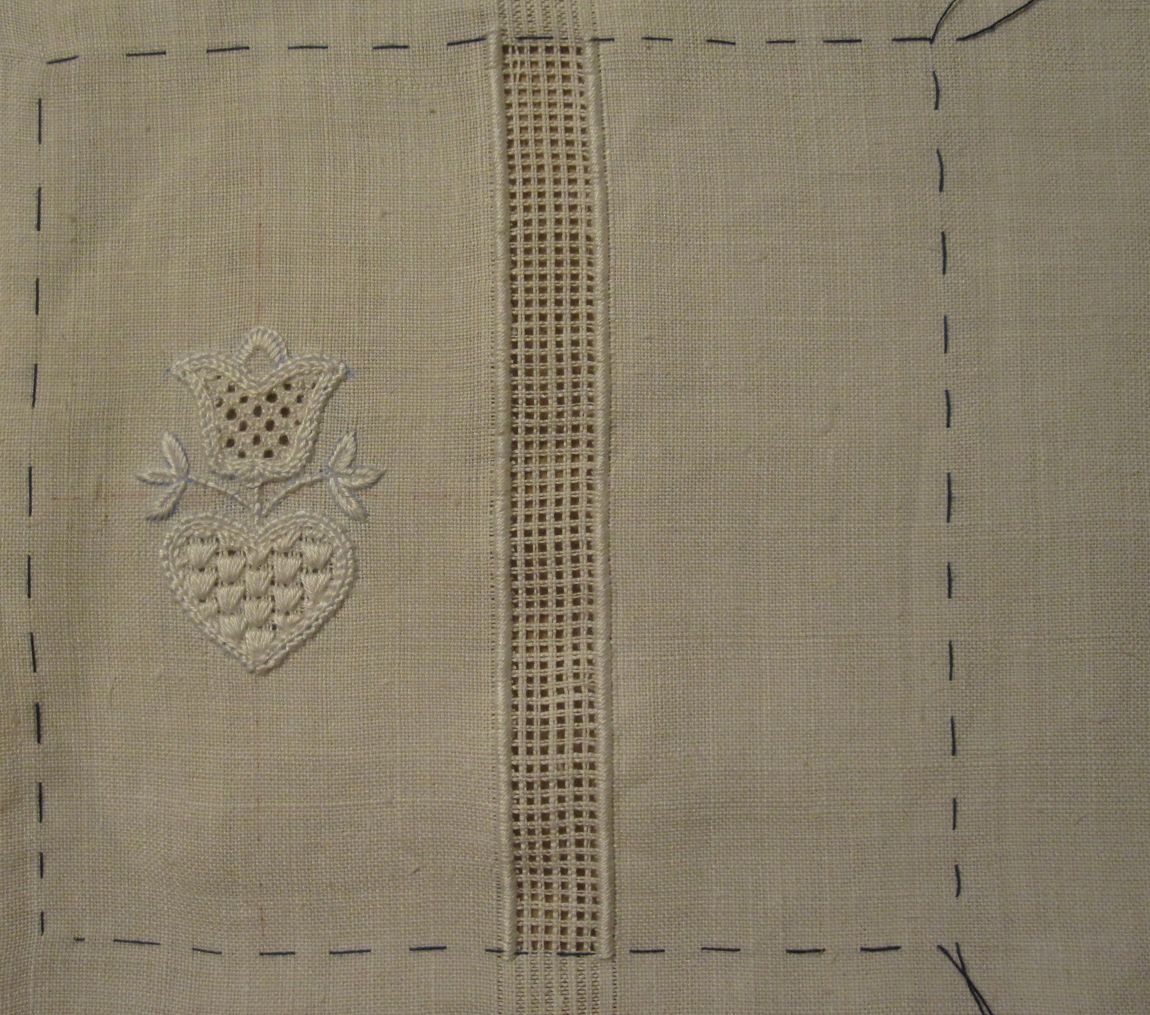
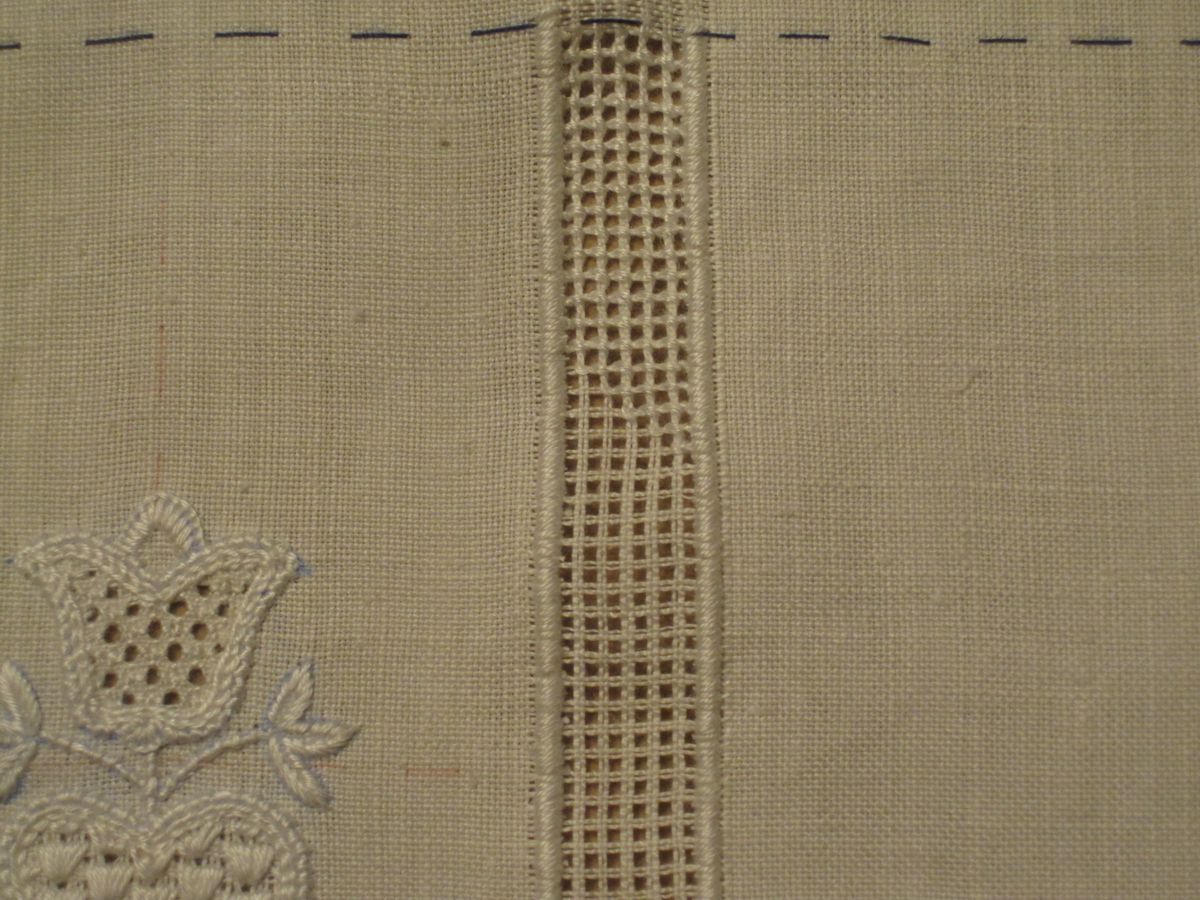
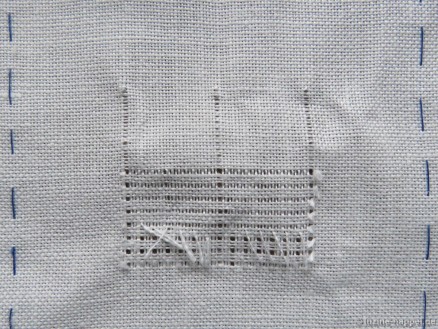
 So a Limet grid, correctly sized for a special pattern, is created in the middle of the bag.
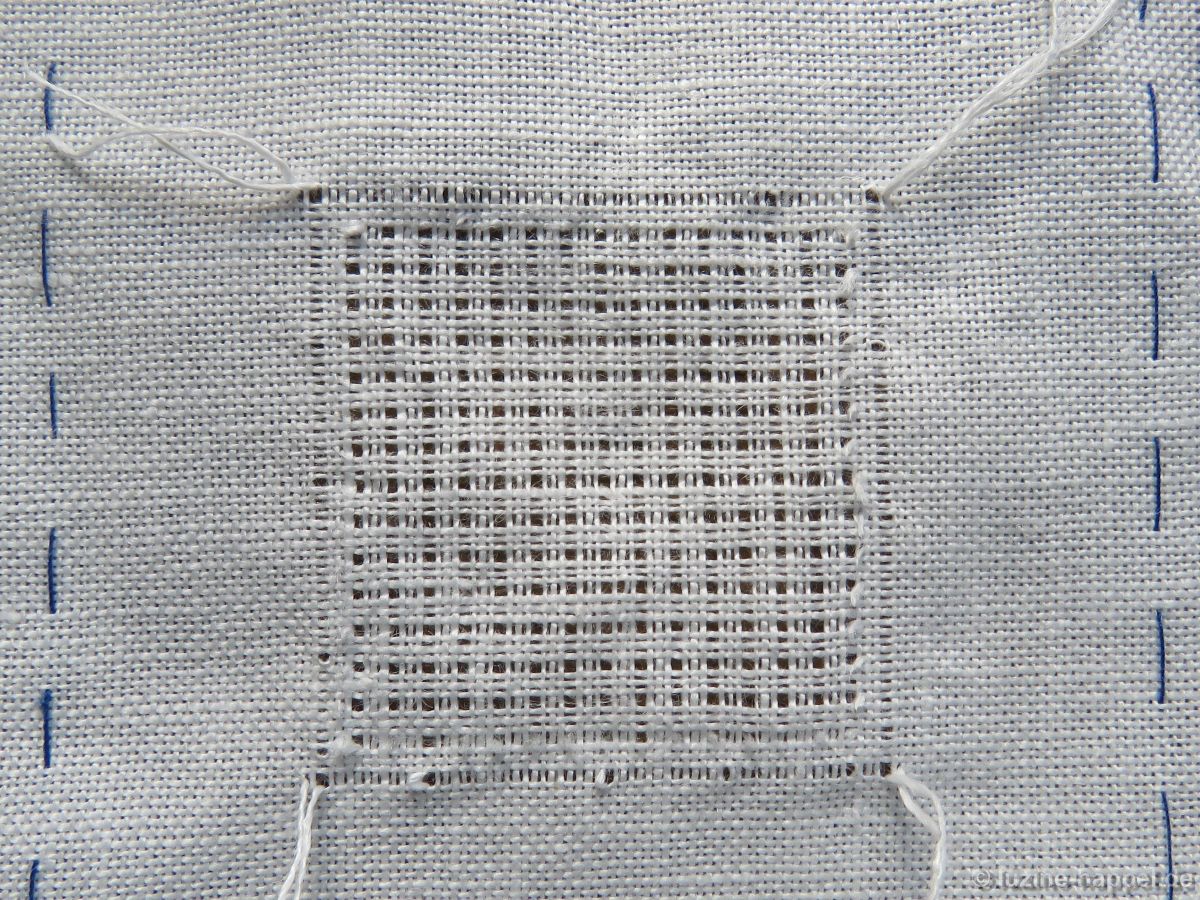
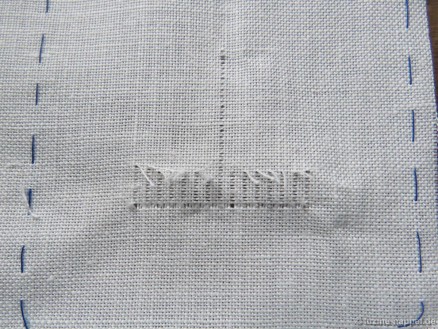
To secure the cut threads, Satin stitches should be worked outlining the Limet grid. To facilitate this, one more thread is cut in the middle of each side of the square, leaving 3 threads between. Both ends are withdrawn to their respective intersection points. The thread ends remain; they will be covered by the Satin stitches later.
 Now, from the right side of the fabric, using coton à broder No. 20, and working counterclockwise, one row of Satin stitches is embroidered between both outside thread lines.
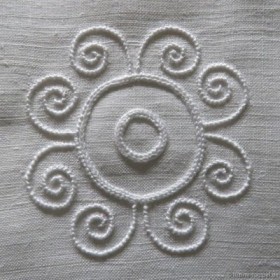
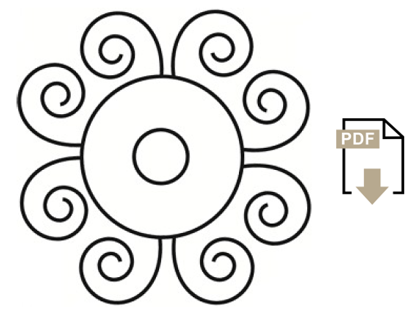
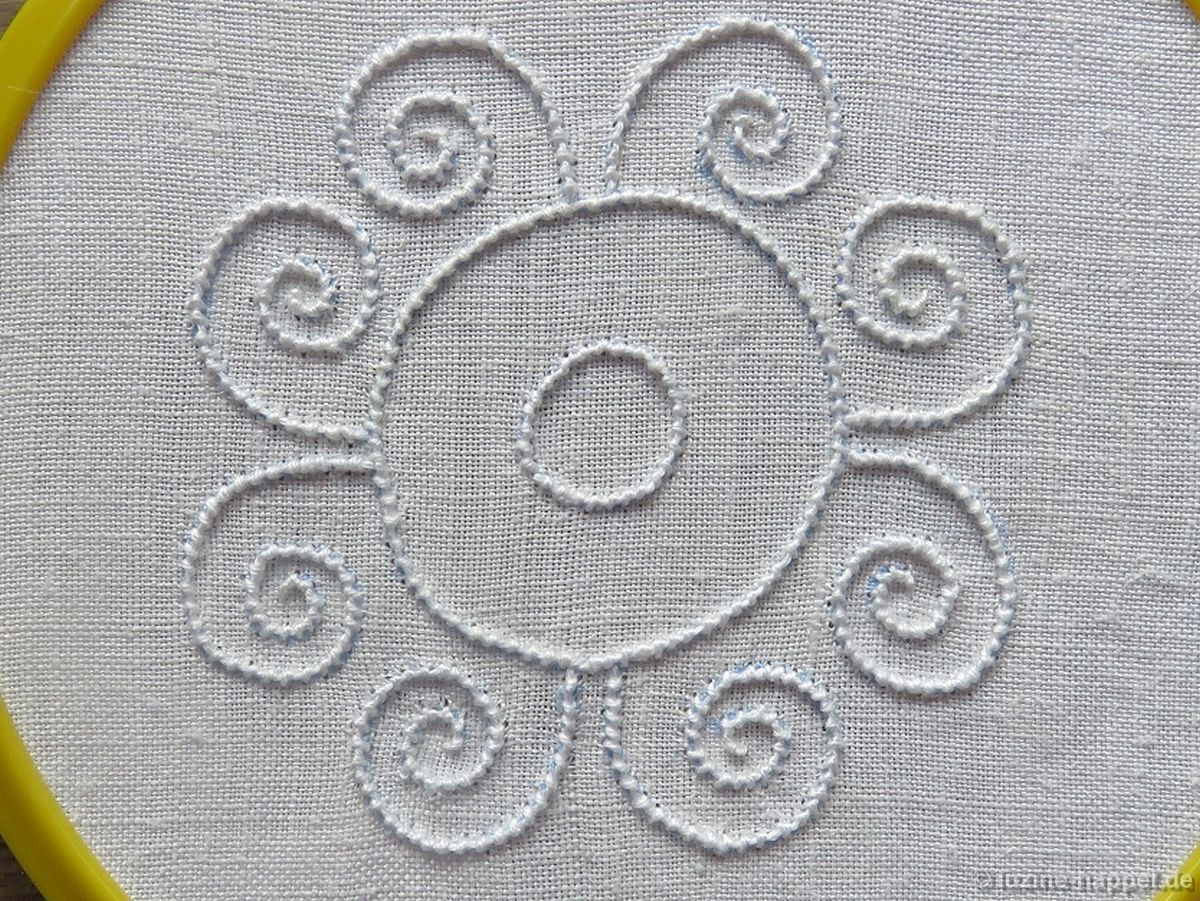
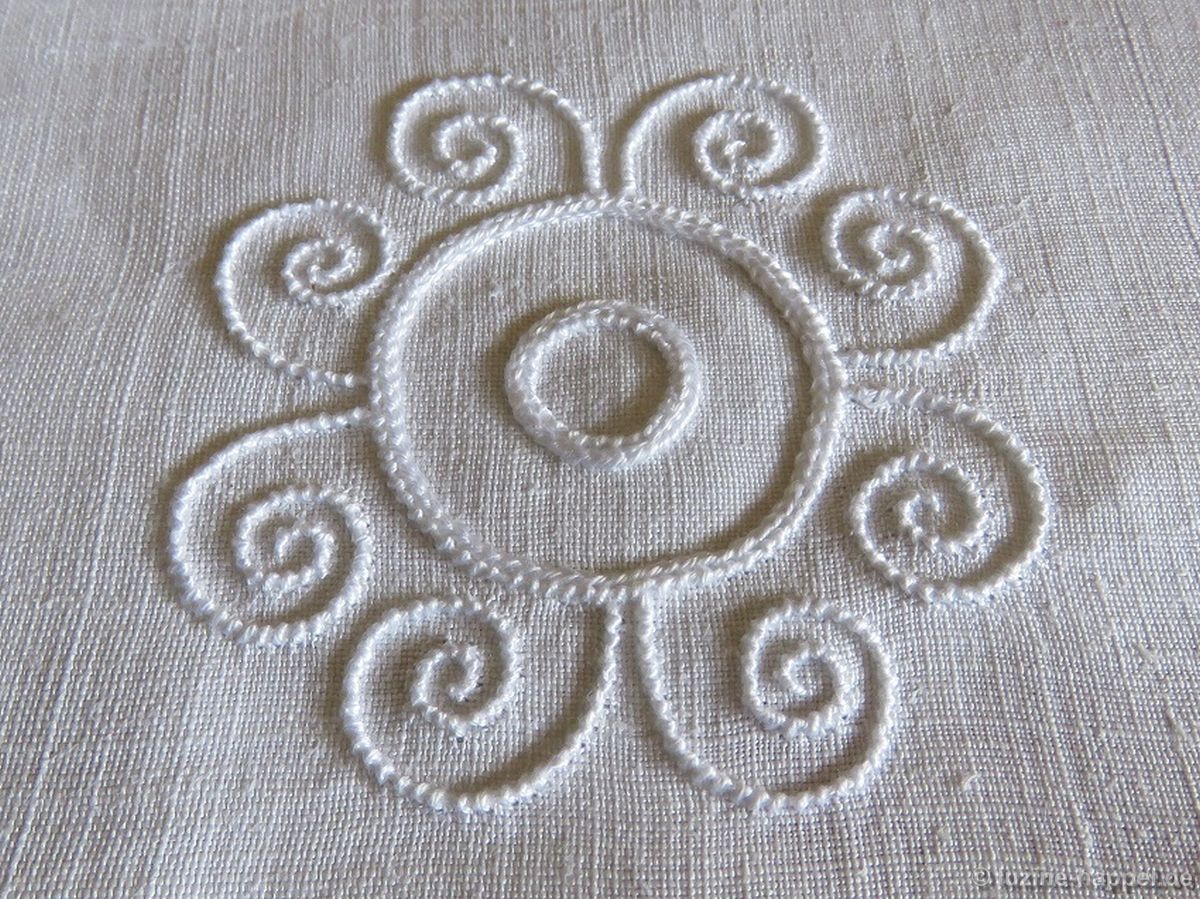
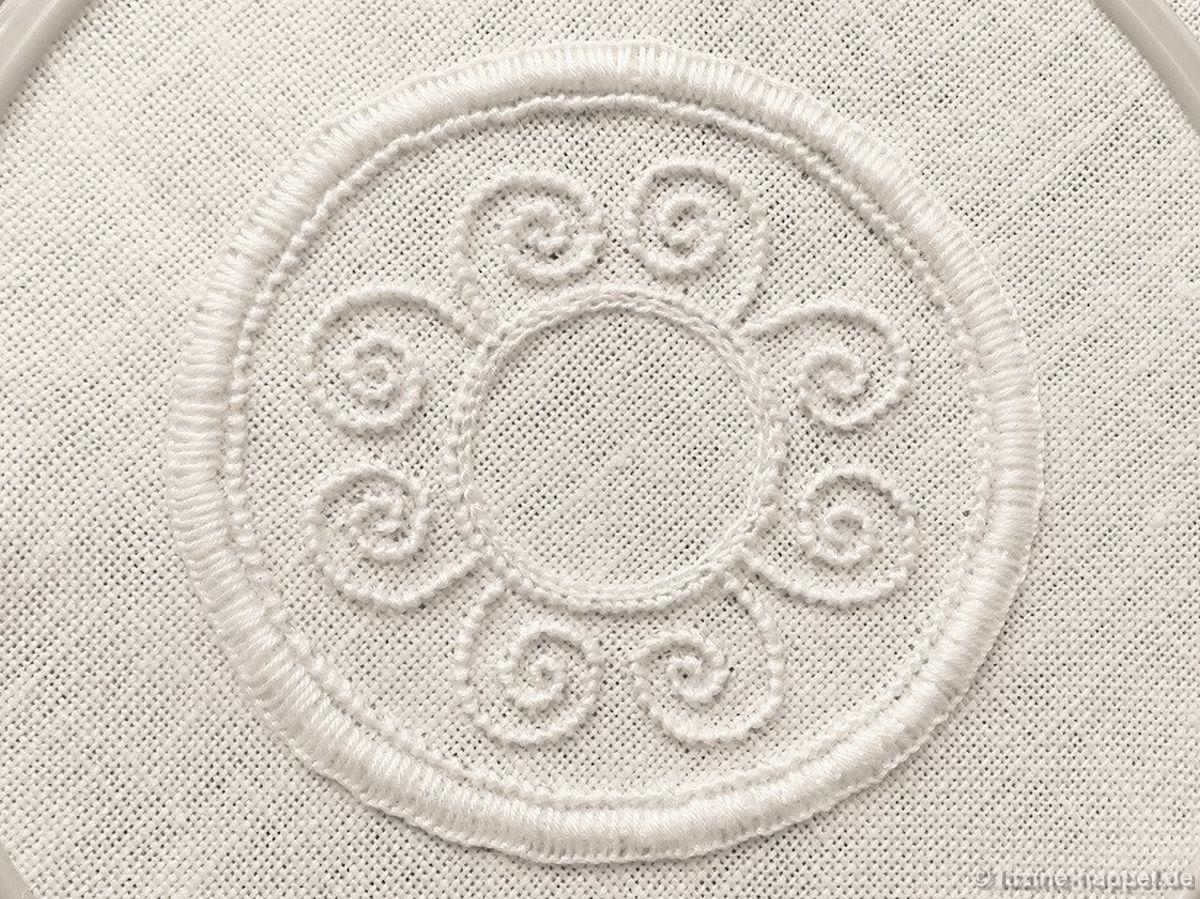
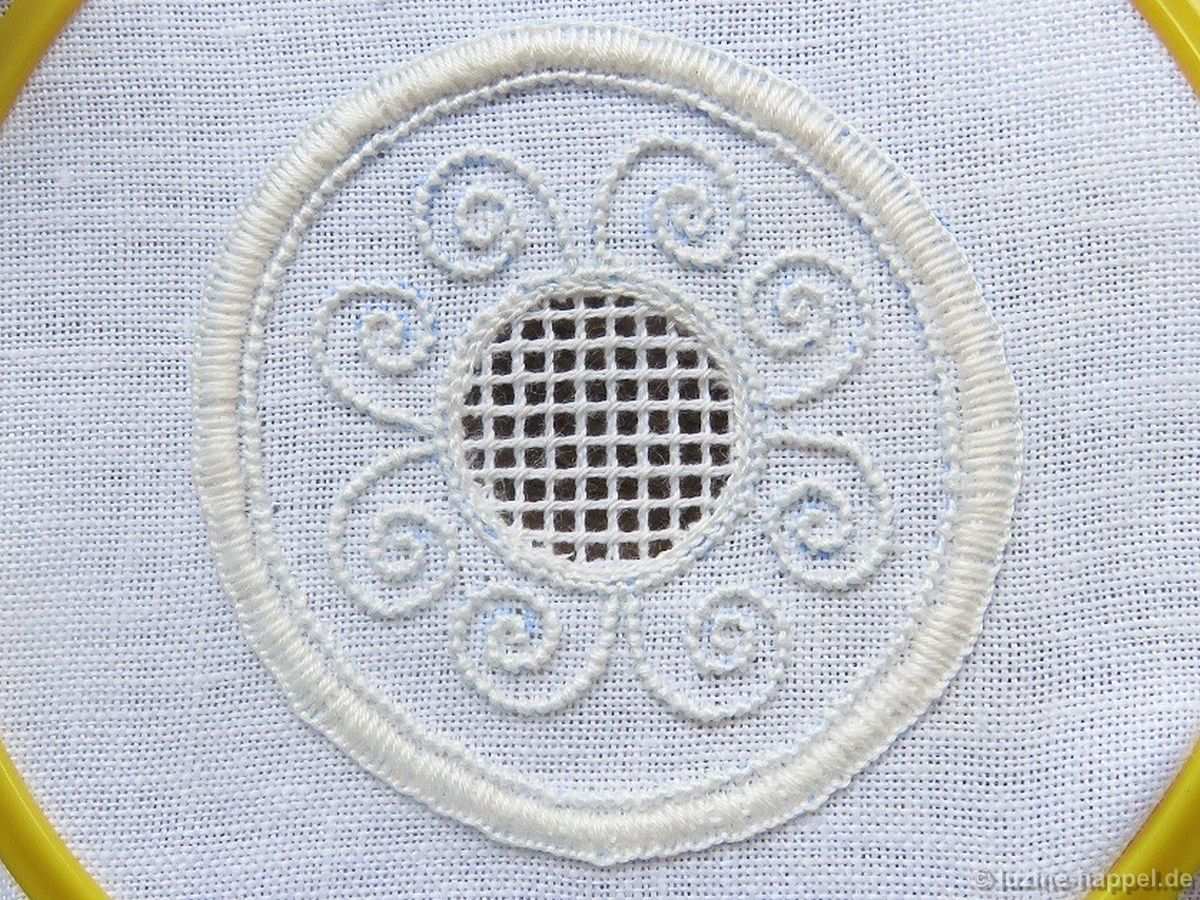
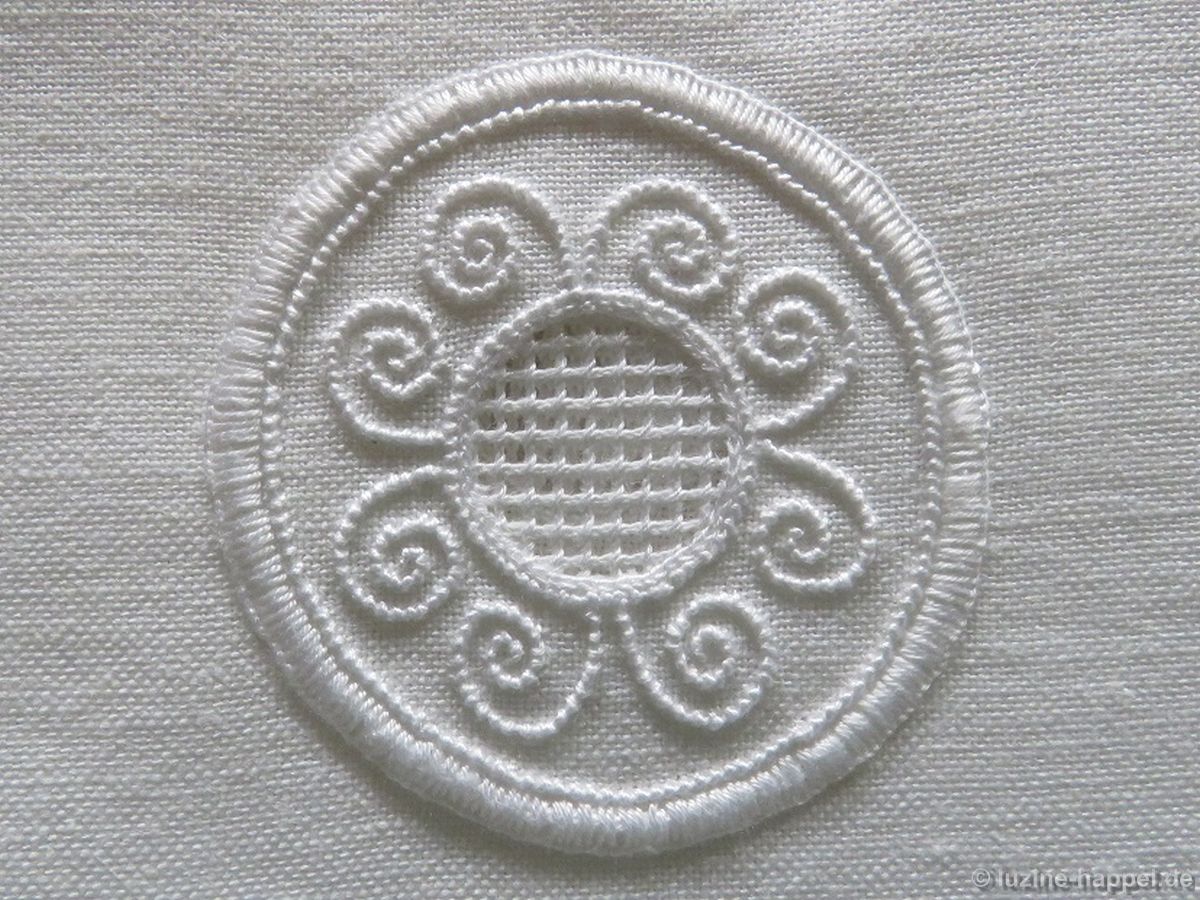
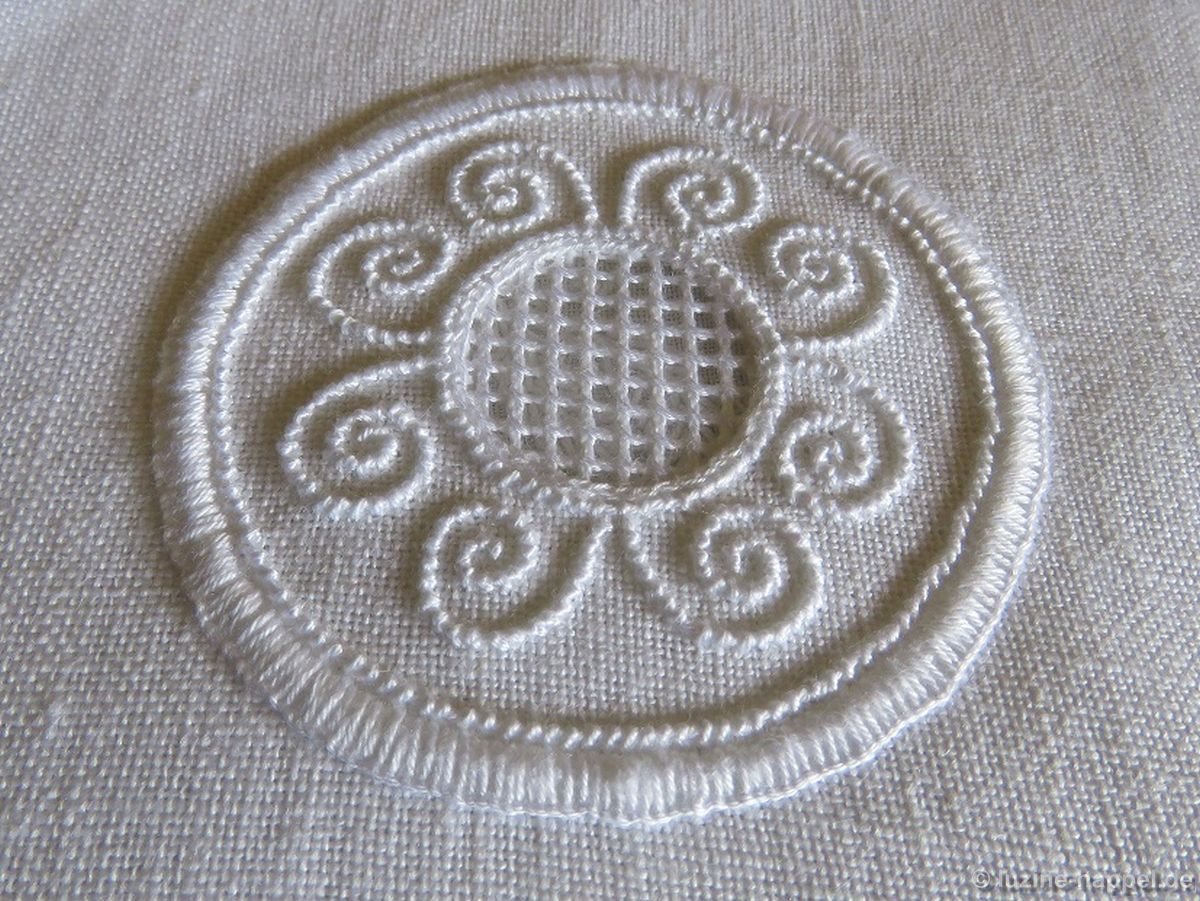
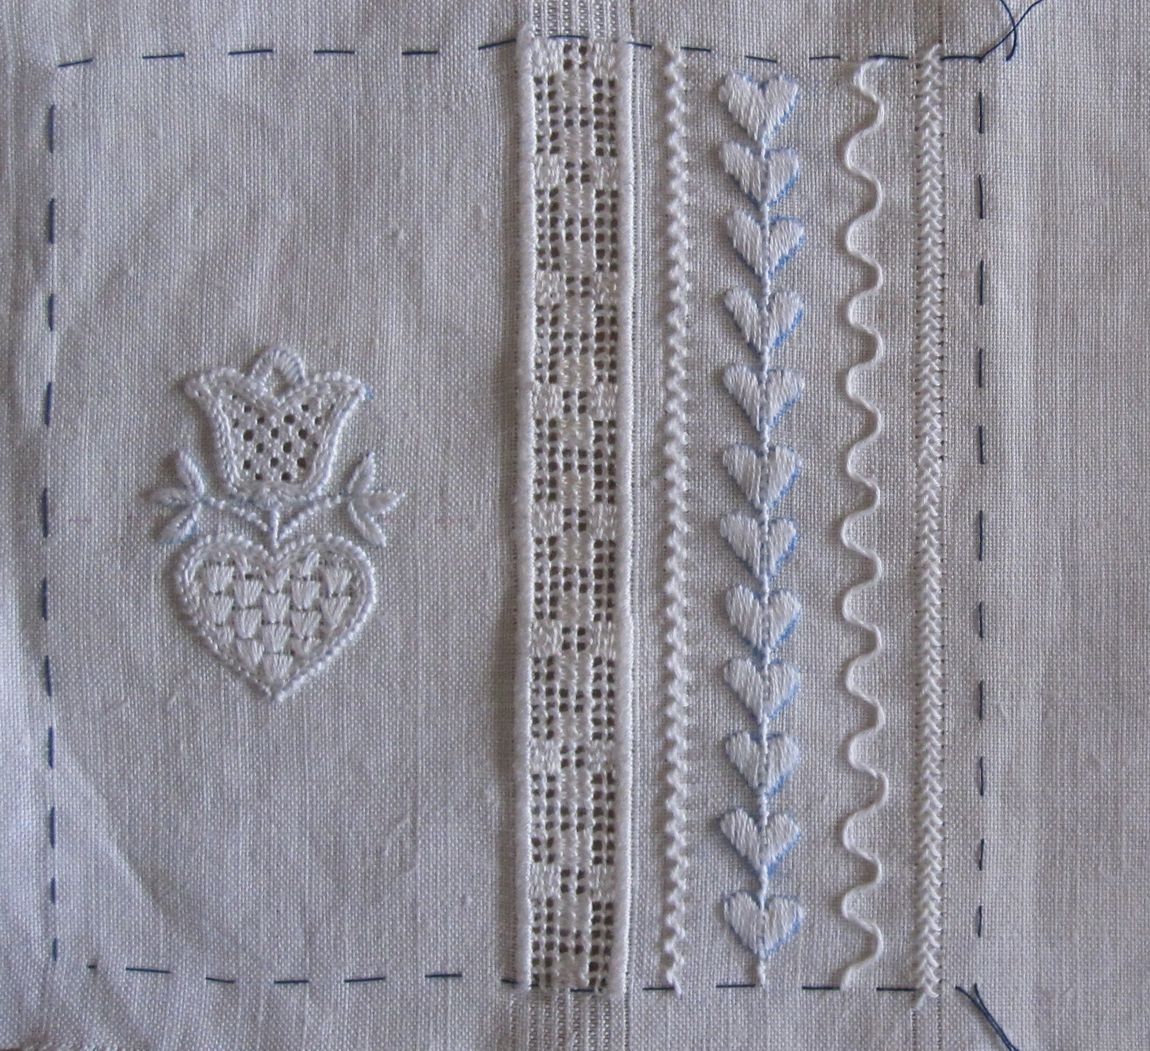
 Then filling pattern 480 is worked into the Limet grid and the Peahole is worked.
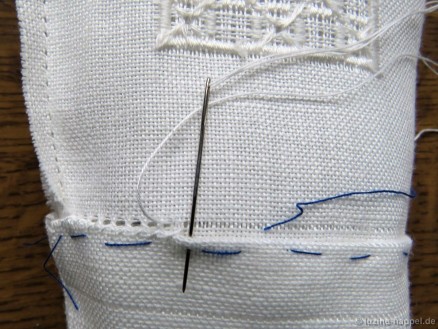
One horizontal thread is withdrawn 1 cm from the top edge to mark the seam allowance. A second thread is withdrawn 1.5 cm down from there to mark the casing seam for the cord. This withdrawnthread line has a distance of 3.5 cm to the Peahole hem.
Down from the bottom edge of the Peahole hem one more horizontal thread is withdrawn at a distance of 3.5 cm, a fourth thread is withdrawn 1.5 cm below.
 Now fold the piece along the longitudinal axis, right sides together. Sew together both layers along the marked line with Back stitches. This can be done hand or machine. For accuracy, it is more easy to do this step by hand. Start directly at the second withdrawn thread line and work up to the Four-Sided stitch of the Peahole hem. Secure working thread there.
Start again at the opposite Four-Sided stitch of the Peahole hem and work up to the third withdrawn-thread line. Secure working thread there.
Start again at the fourth withdrawn-thread line and work along the remaining section the side and then along the bottom.
The keep the seam secure, work the first and the last stitch of each section several times.
 Trim seam allowance at the corner.
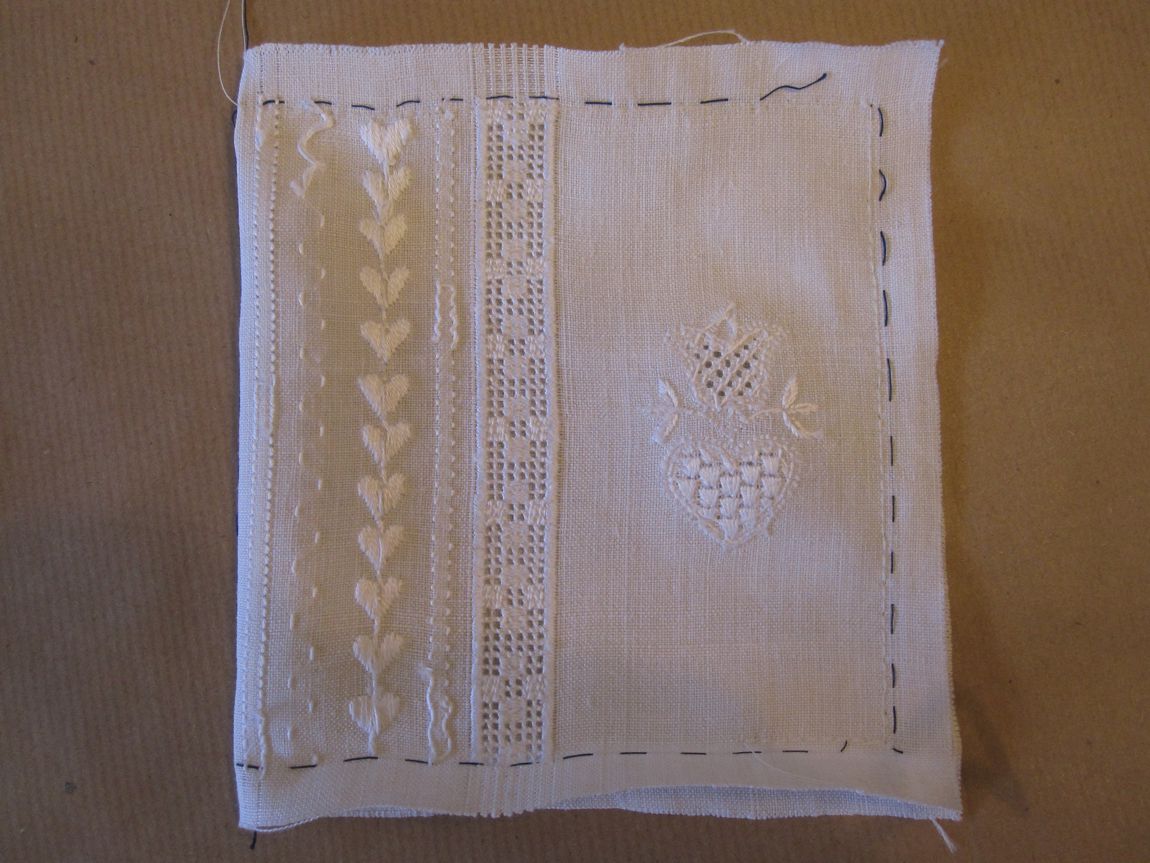
Open up side and bottom seam allowances and smooth them with the thumbnail.
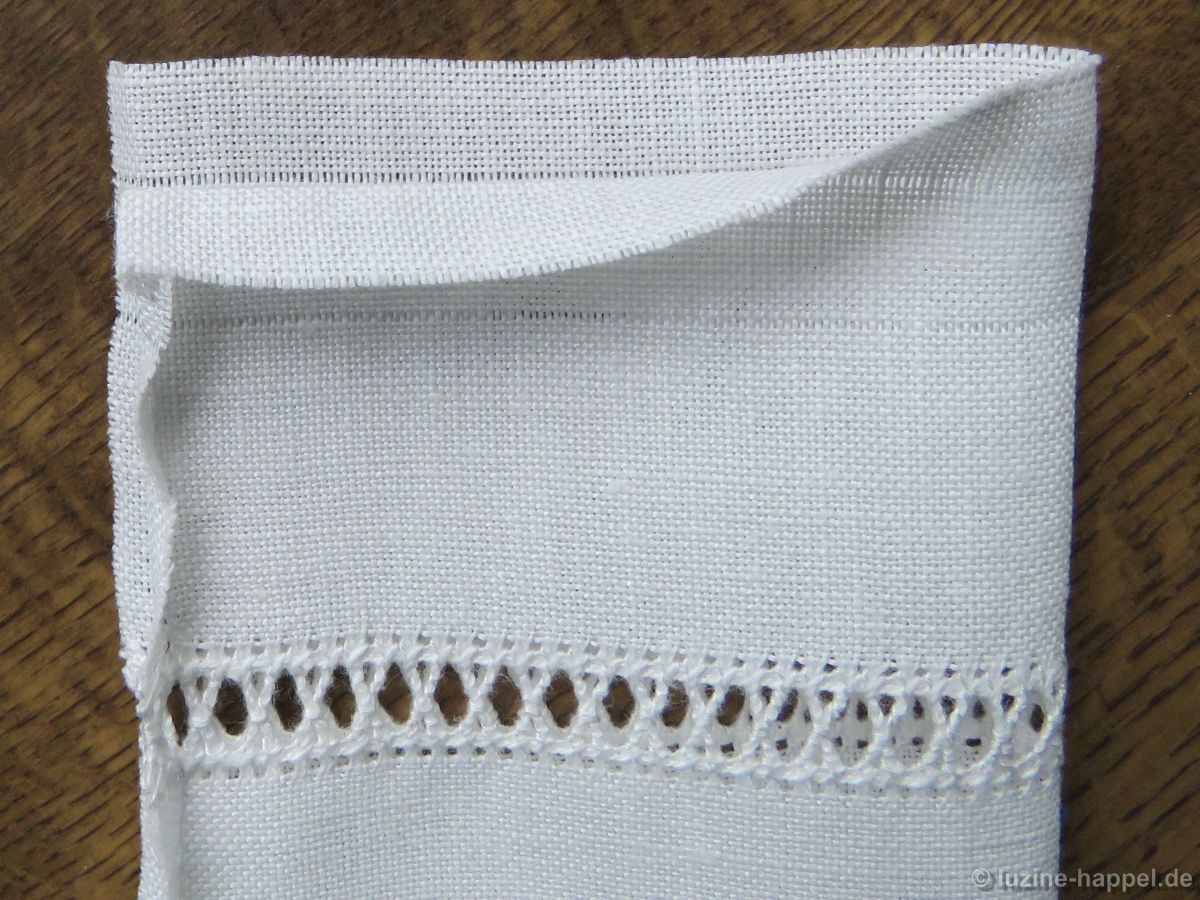
 Fold down the seam allowance of the top edge and smooth it along the first withdrawn-thread line.
 Fold it down again and lay the hem so that the first folded edge lies directly above the last withdrawn-thread line.
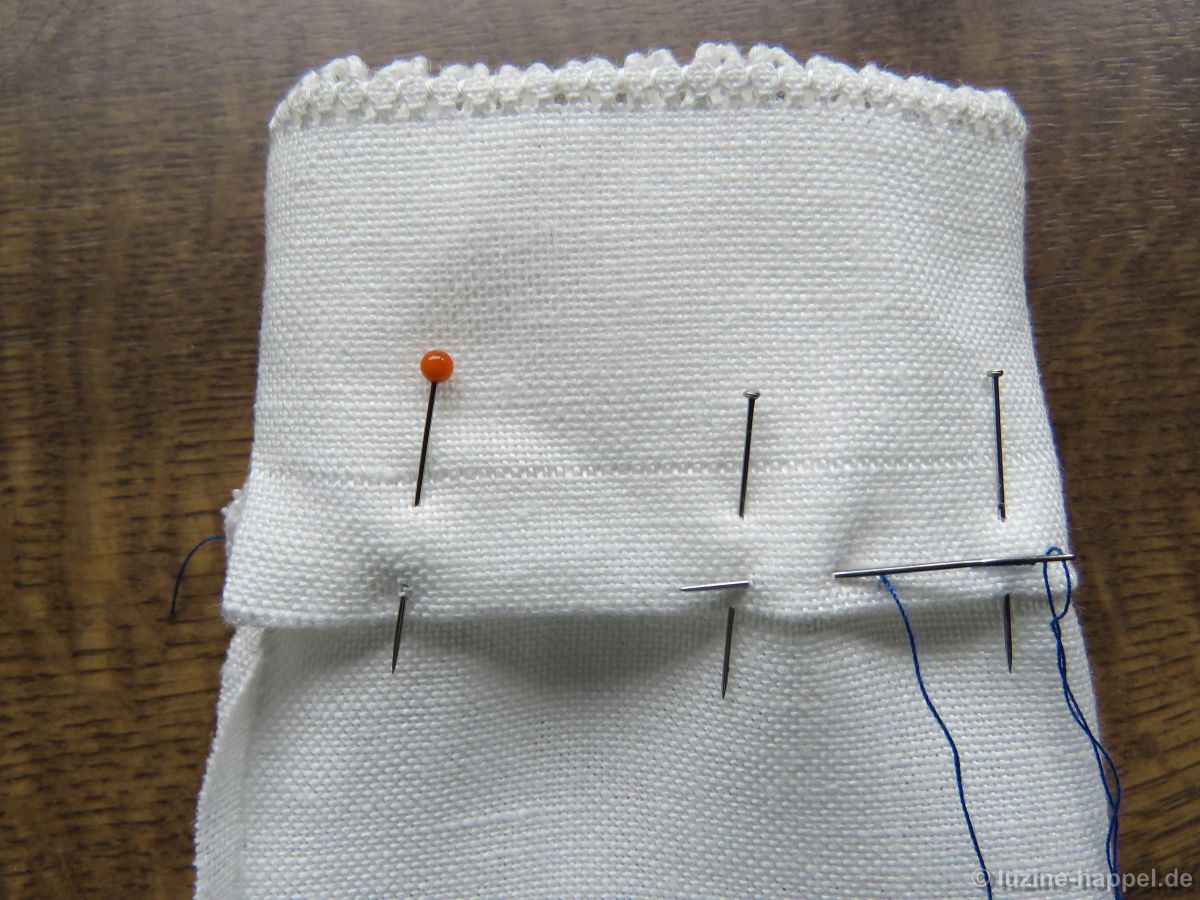
Baste in place with short Running stitches. You will notice, that the under layer lies slightly curved and needs to be pressed a little bit to match the upper layer.
 Secure the hem along the withdrawn-thread line with Antique hem stitches. So that the Antique hem stitches create a line of Back stitches on the right side of the bag, make sure that the vertical parts of the hem stitch catch only the two upper layers.
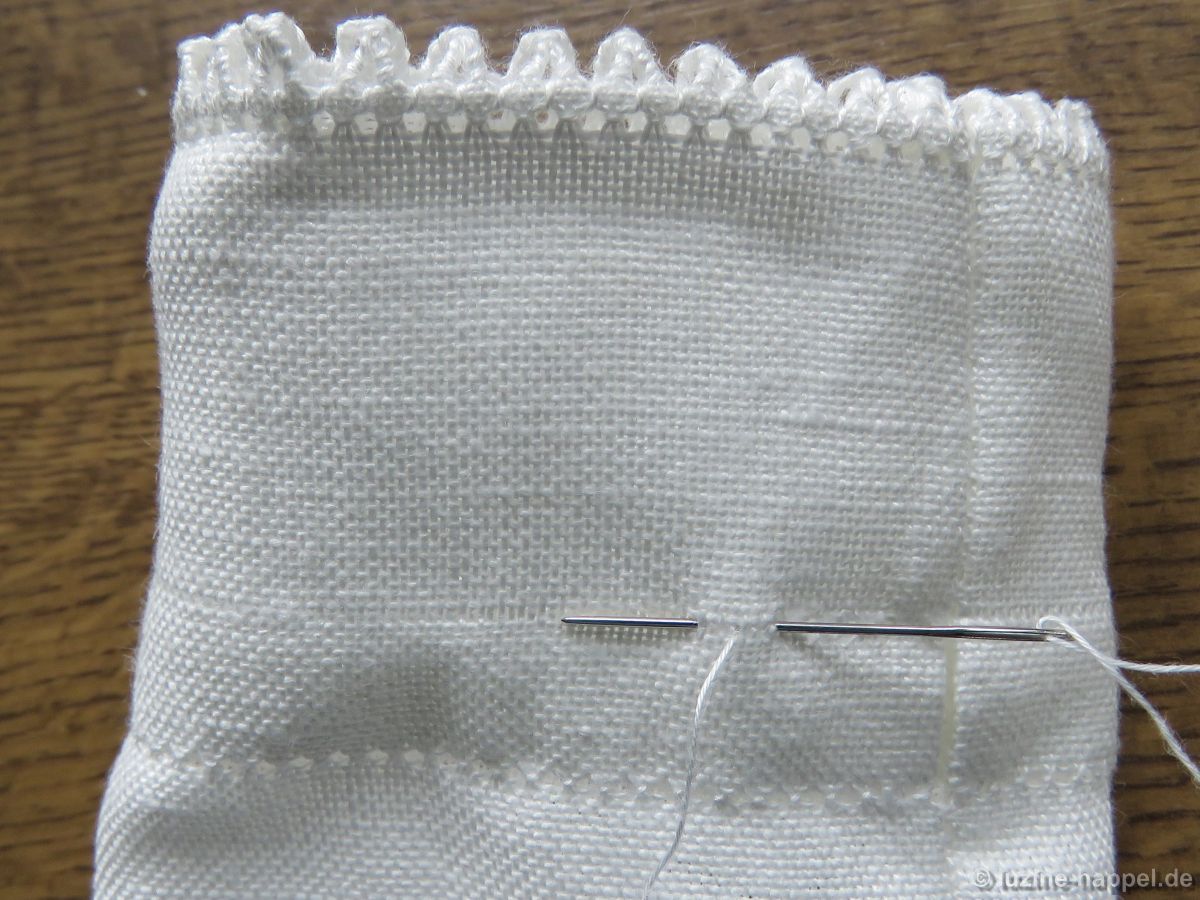
 Turn inside out and work one row of Back stitches along the remaining withdrawn-thread line, catching both layers. Make sure to also meet the inside withdrawn-thread line by looking inside when the needle is on the inside of the bag.
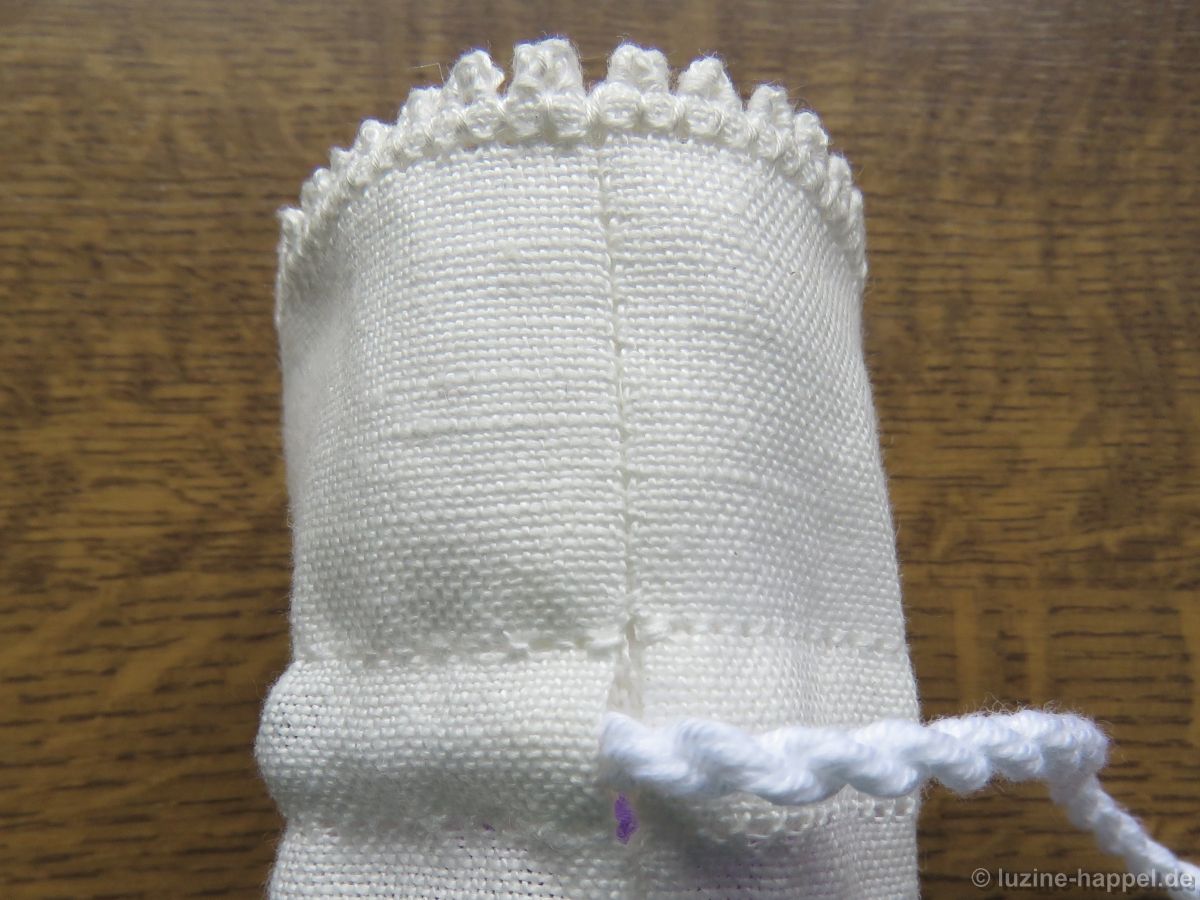
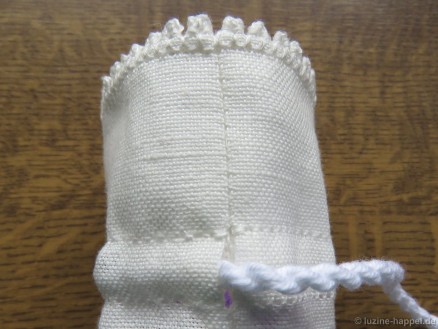
 Secure the triangles of the folded Peaholes. In the area of the side seam, make sure to catch both layers of triangles so that they end up looking like one.
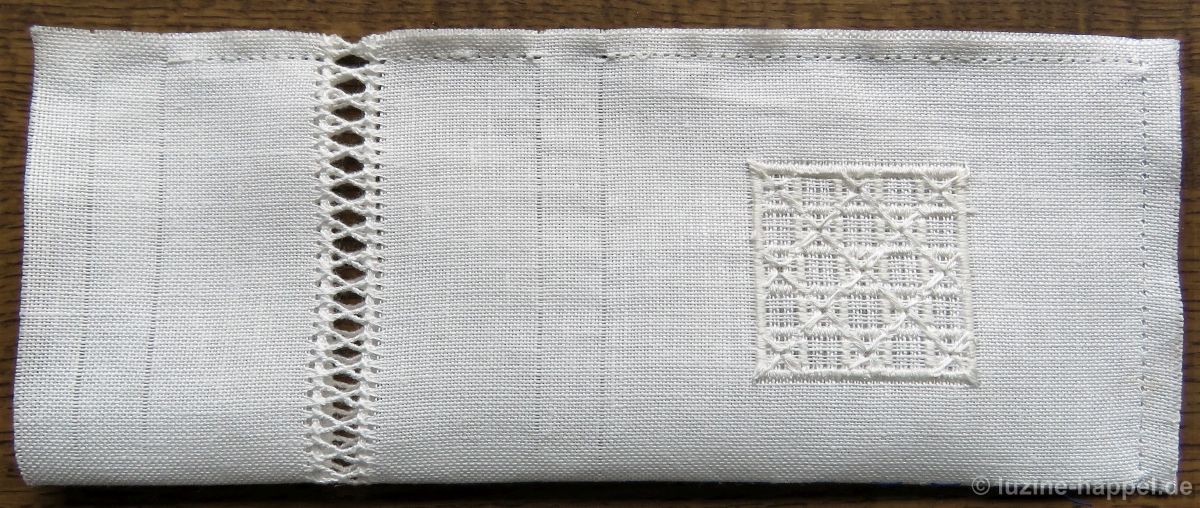
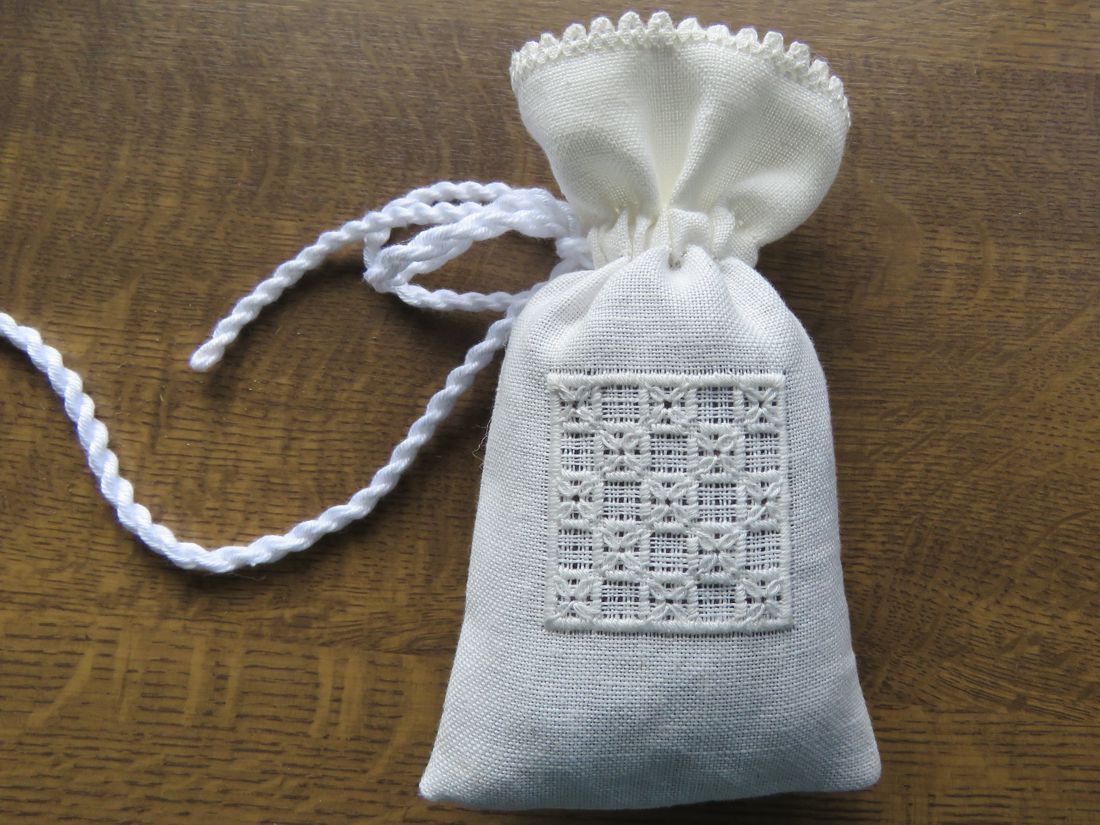
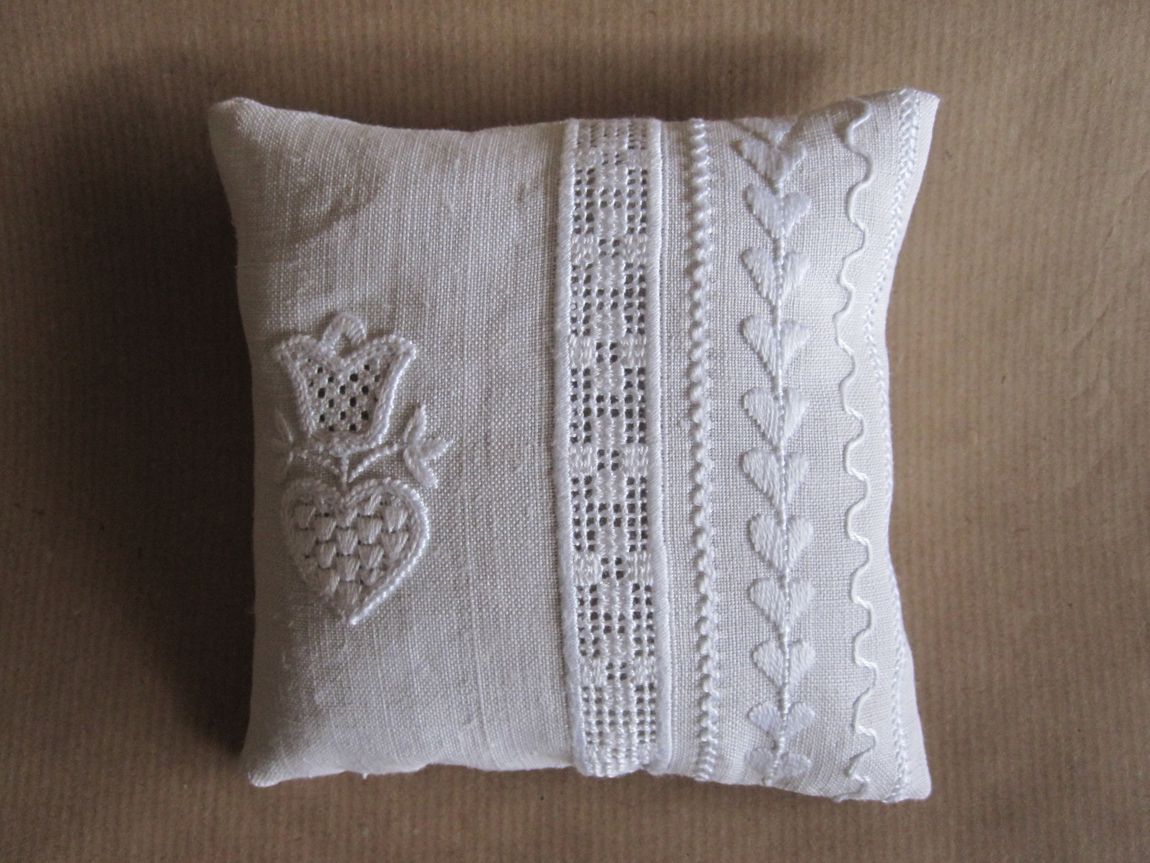
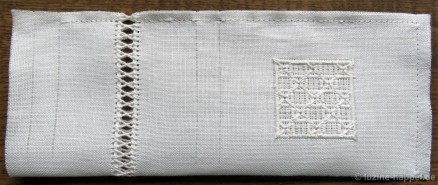
Insert a cord into the casing.
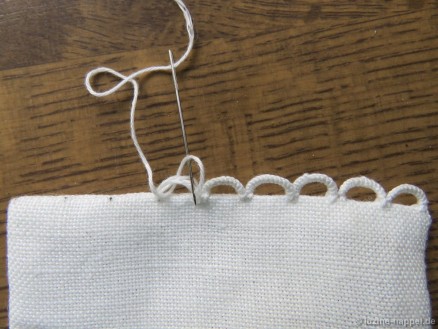
 Decorate the bottom edge with needlelace scallops.
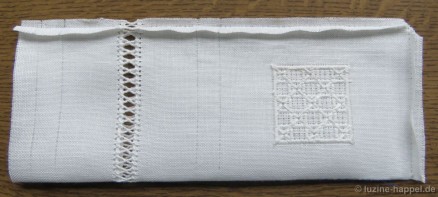
 Wash and iron the finished piece, put an appropriately sized lavender pillow into the bag and close it.
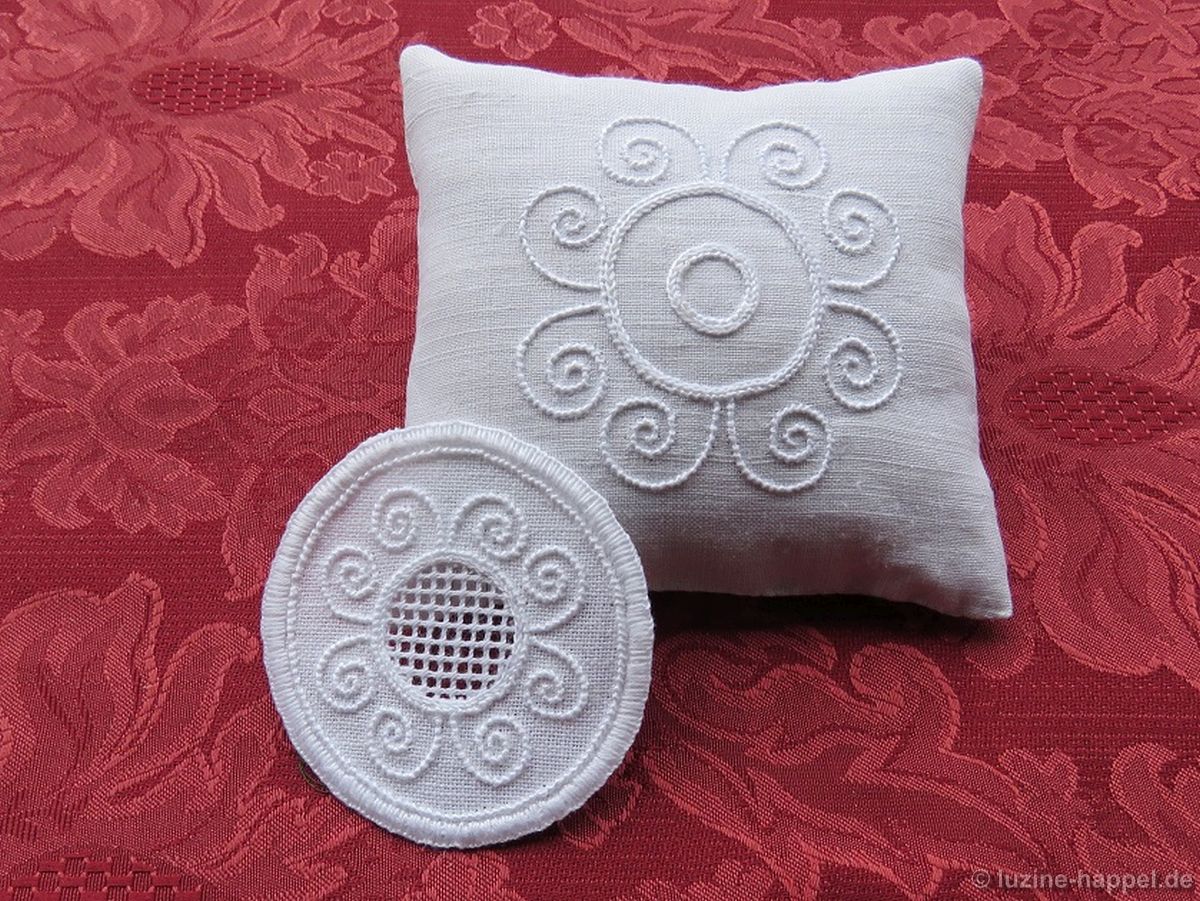
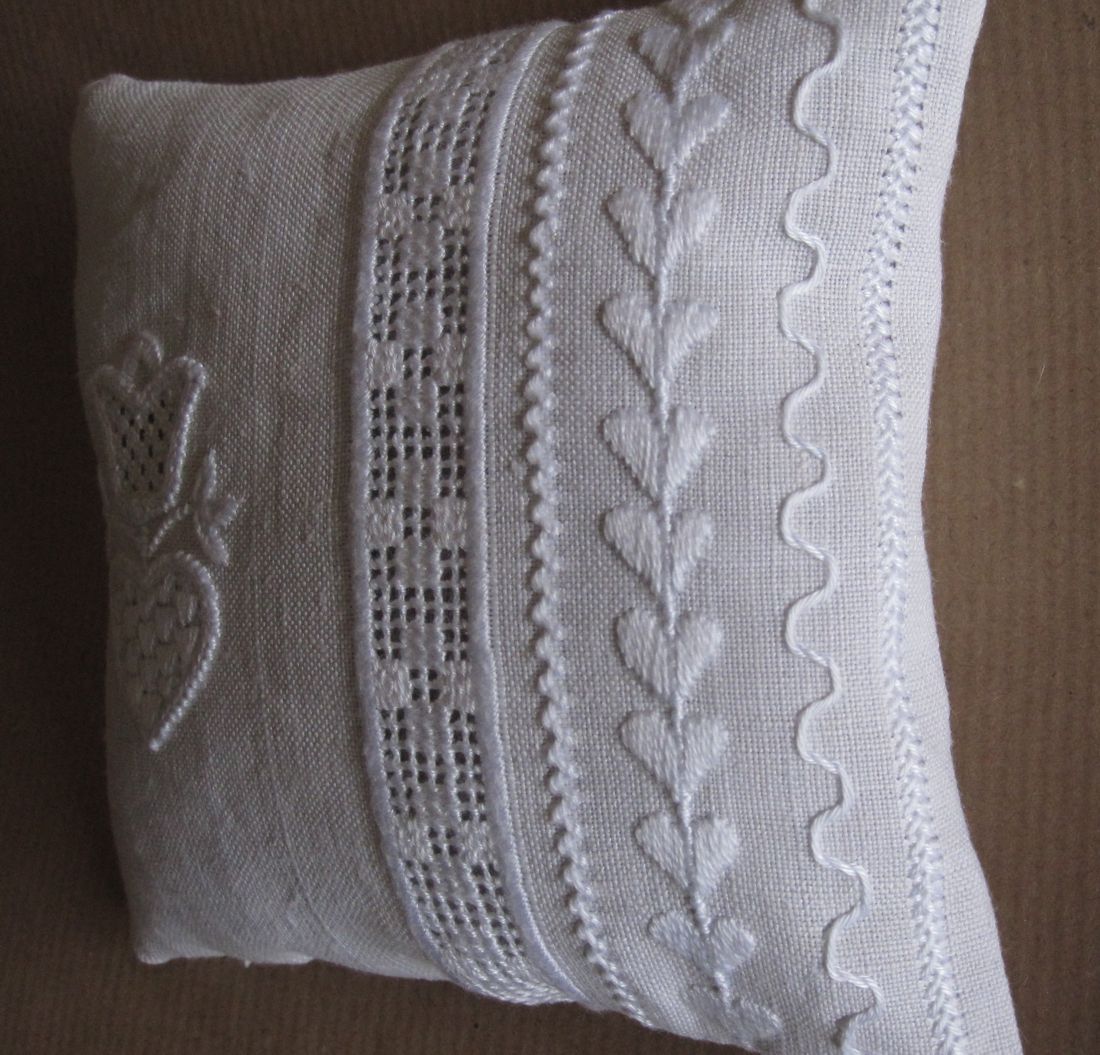
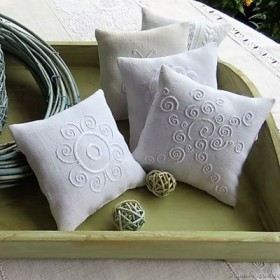
 A cute whitework embroidery is finished and ready to be admired.


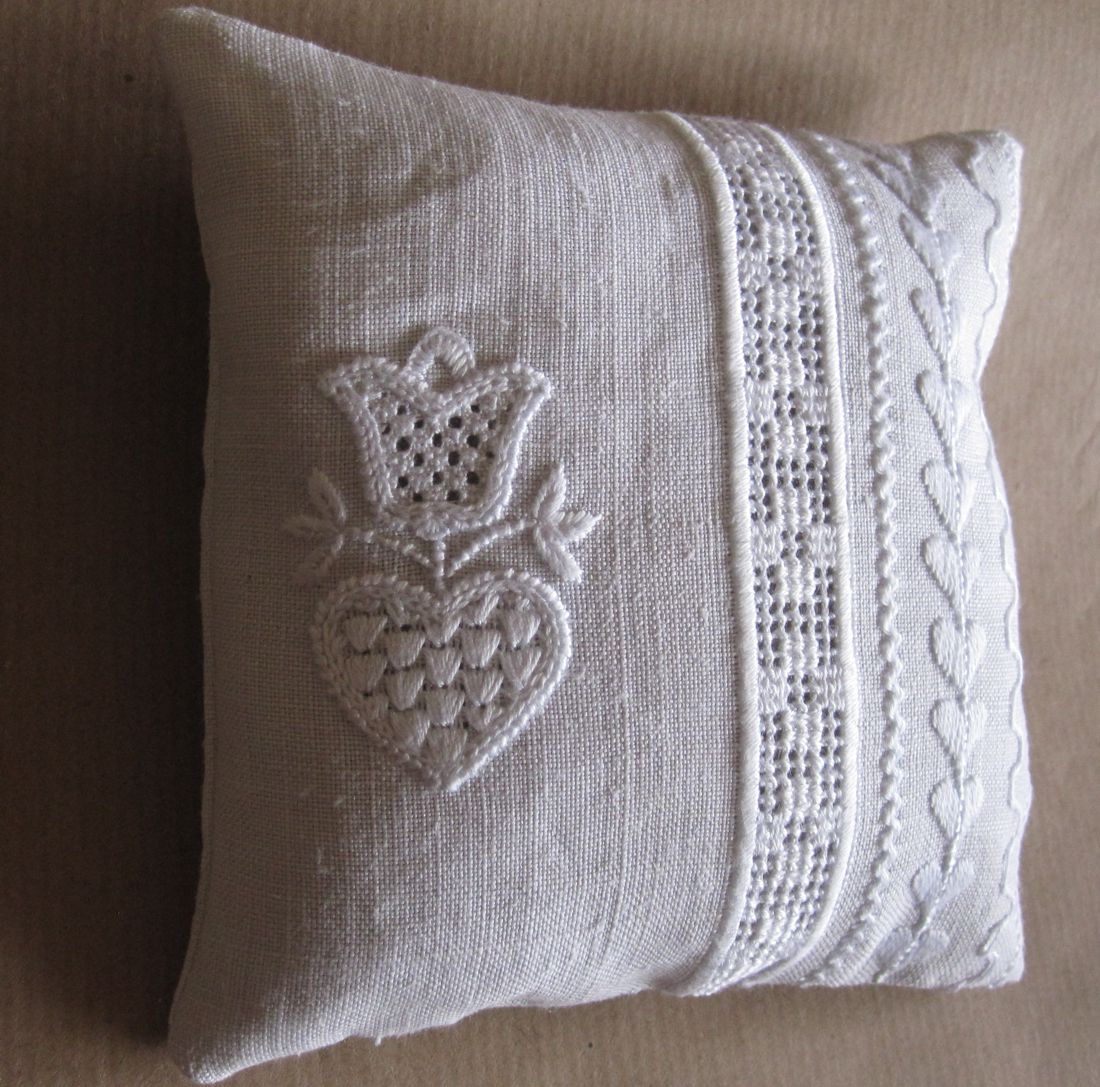
 My finished project is very special, isn’t it?
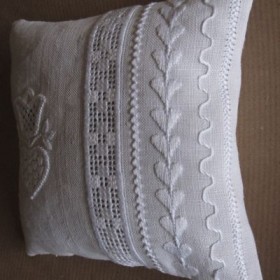
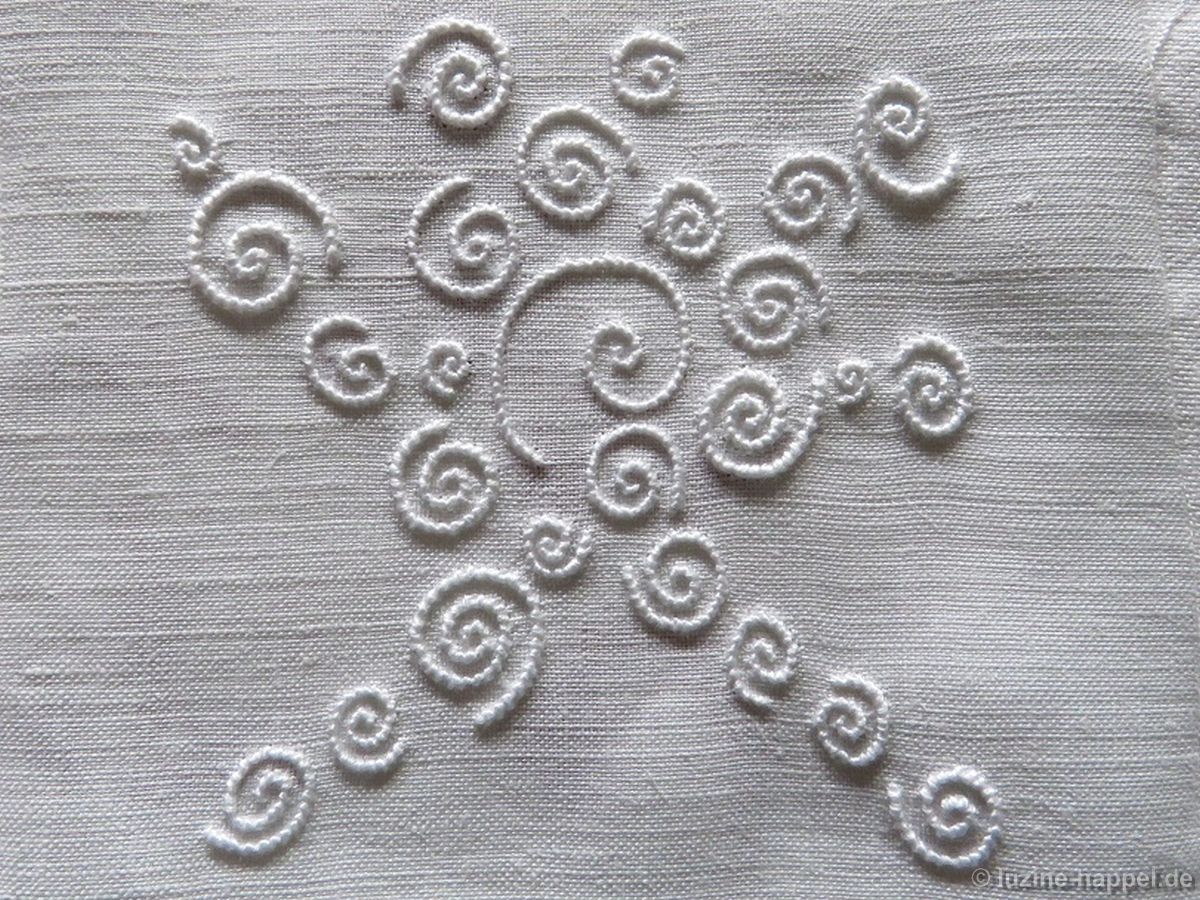
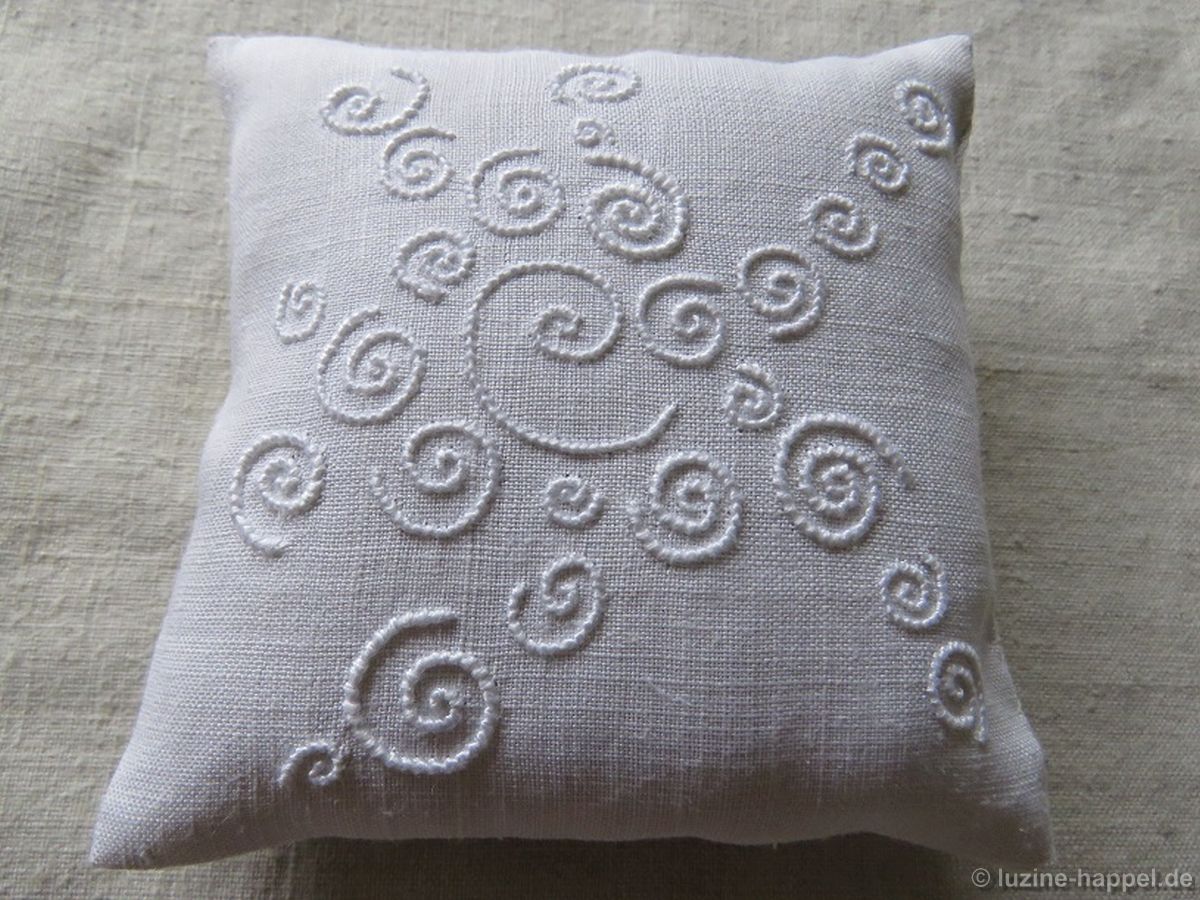 Here are some more stunning designs; they will allow you to make unique projects while practicing stitching tendrils.