No. 477
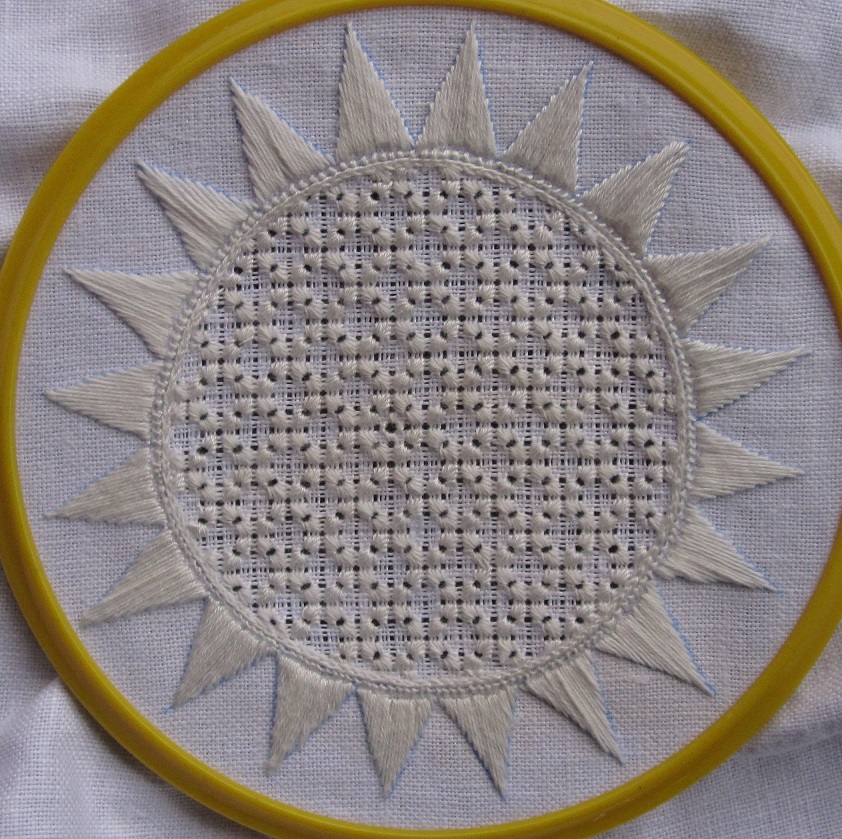
category: Limet-Filling pattern; please note that this is worked on a leave 4, cut 1grid
stitches used: 4 X 9 stitches of the simple square eyelet and Rose stitches
center: intersection of withdrawn thread lines (in other shapes or motifs, longitudinal axis = withdrawn thread line)
This pattern is similar to pattern 476.
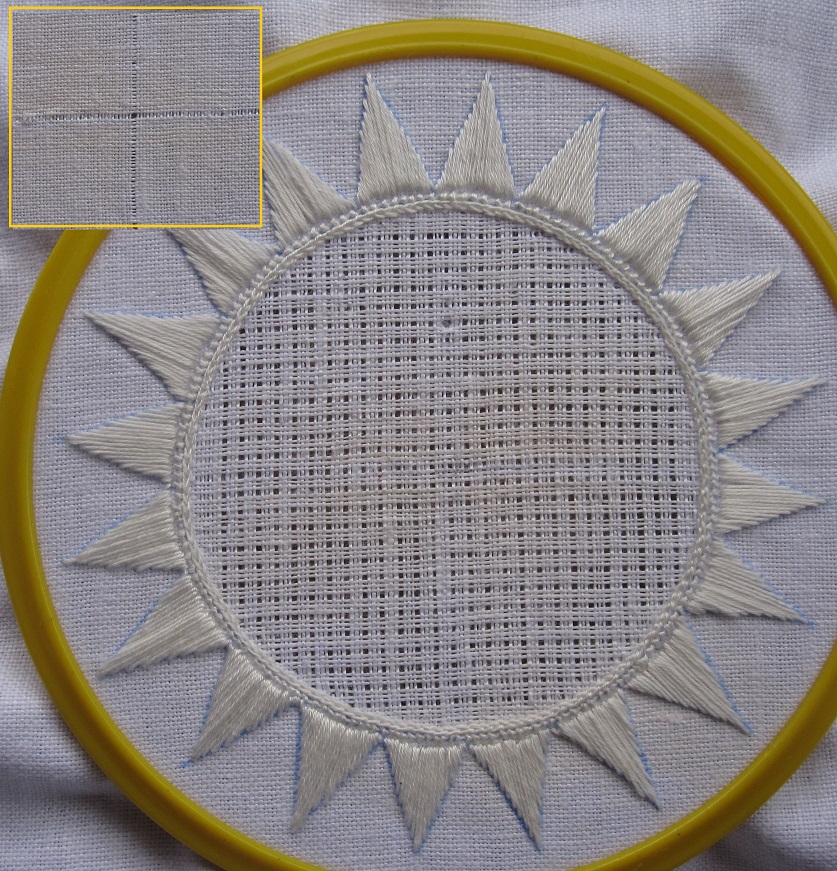
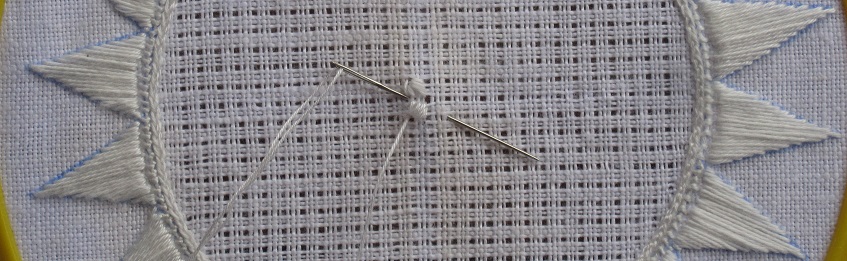
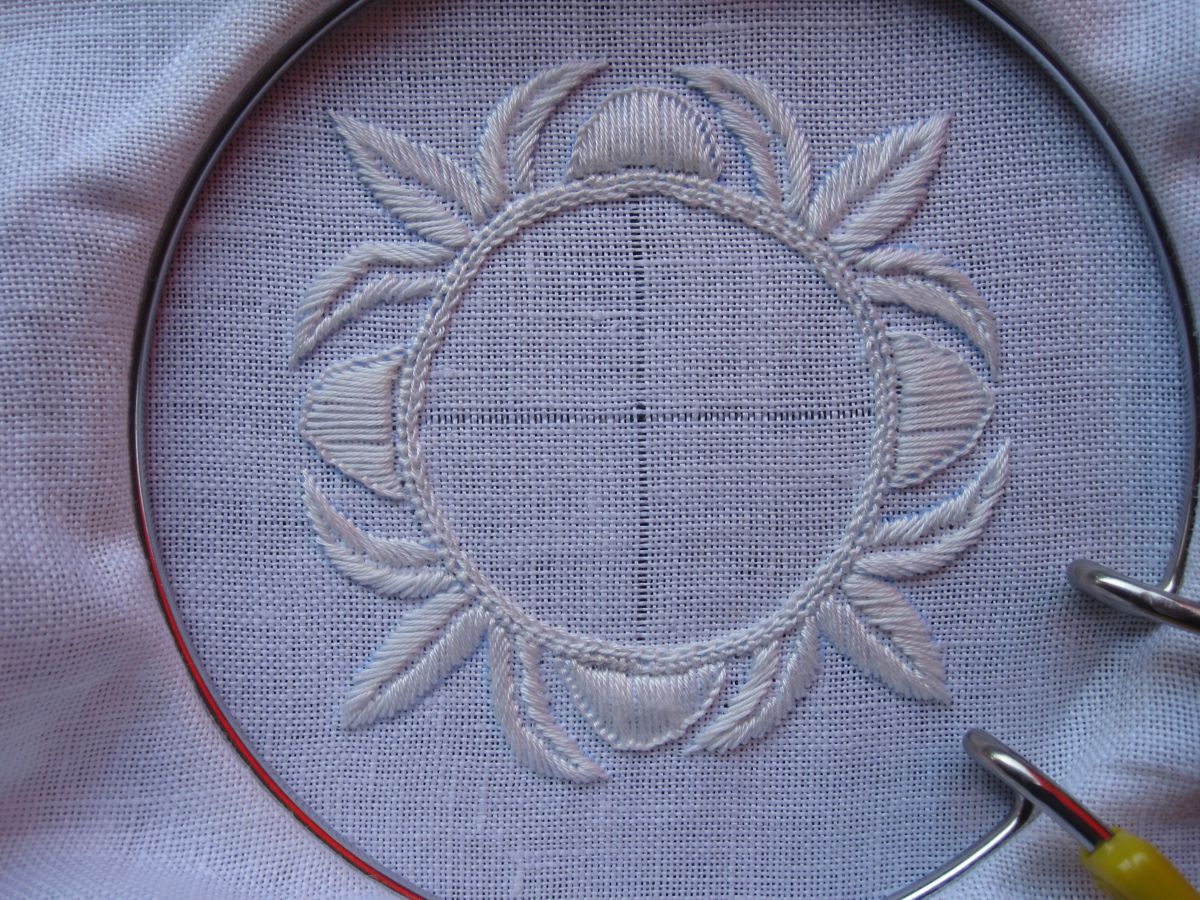
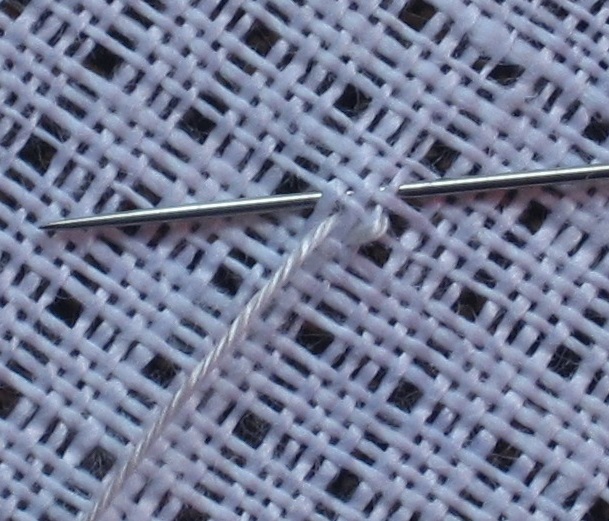
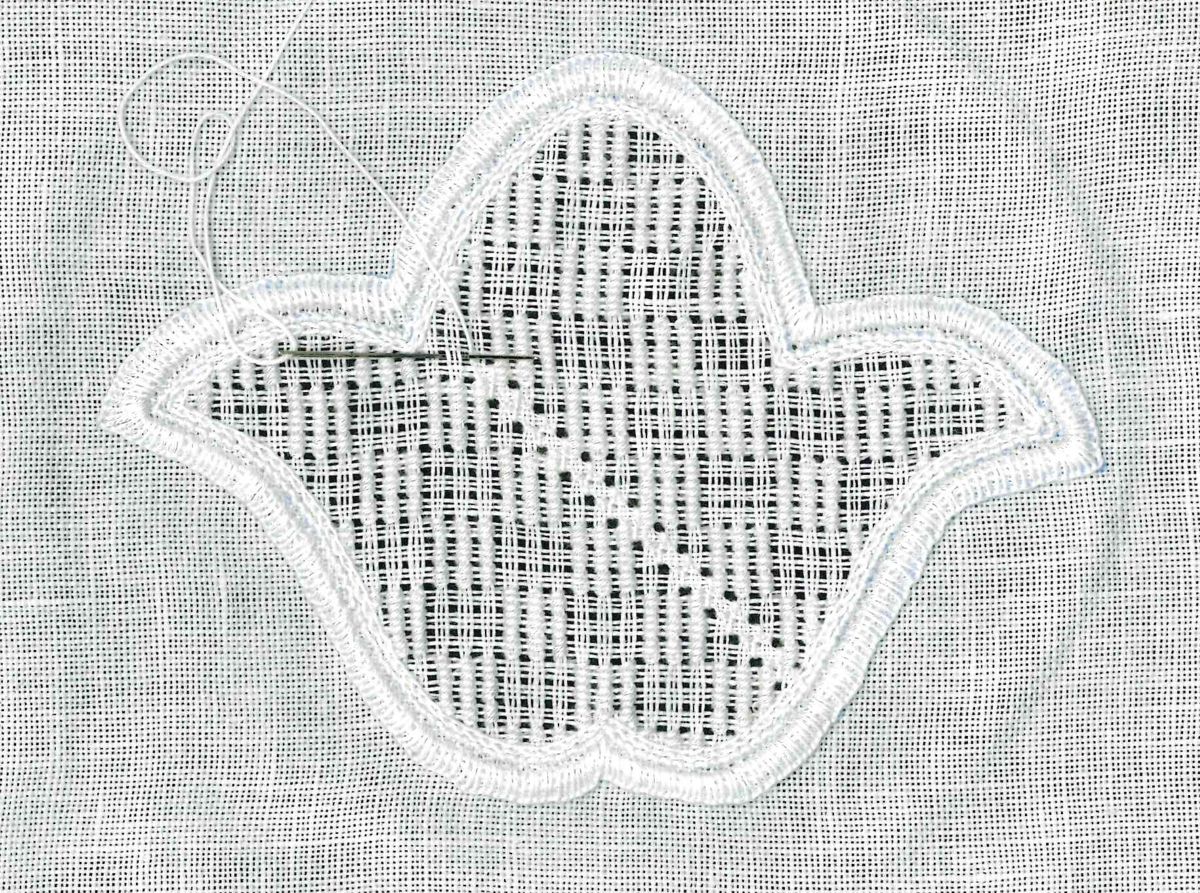
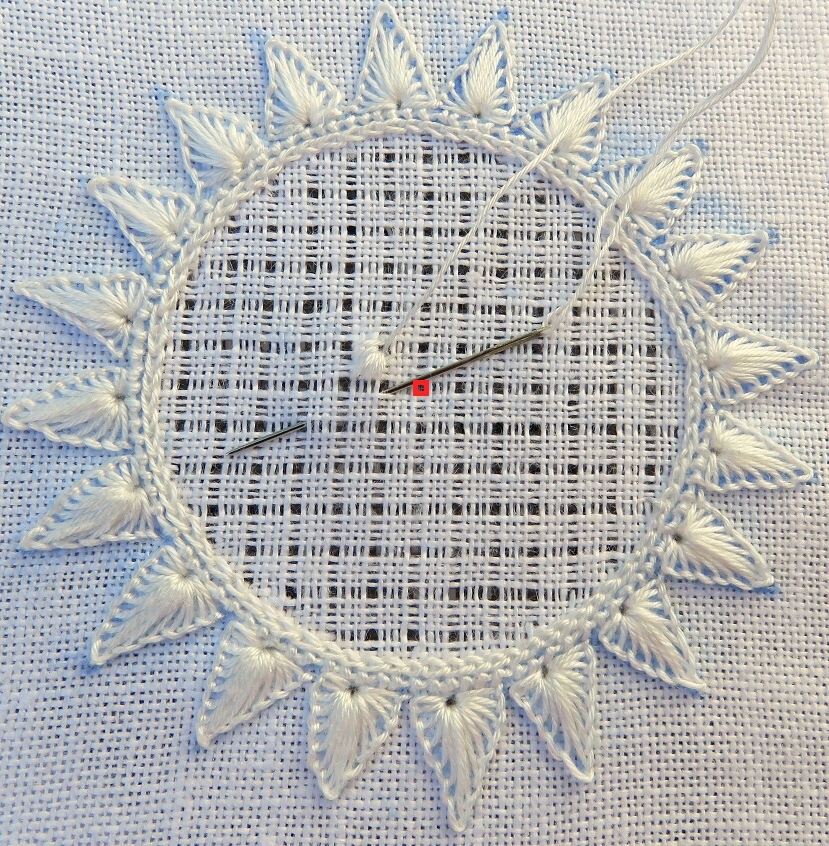
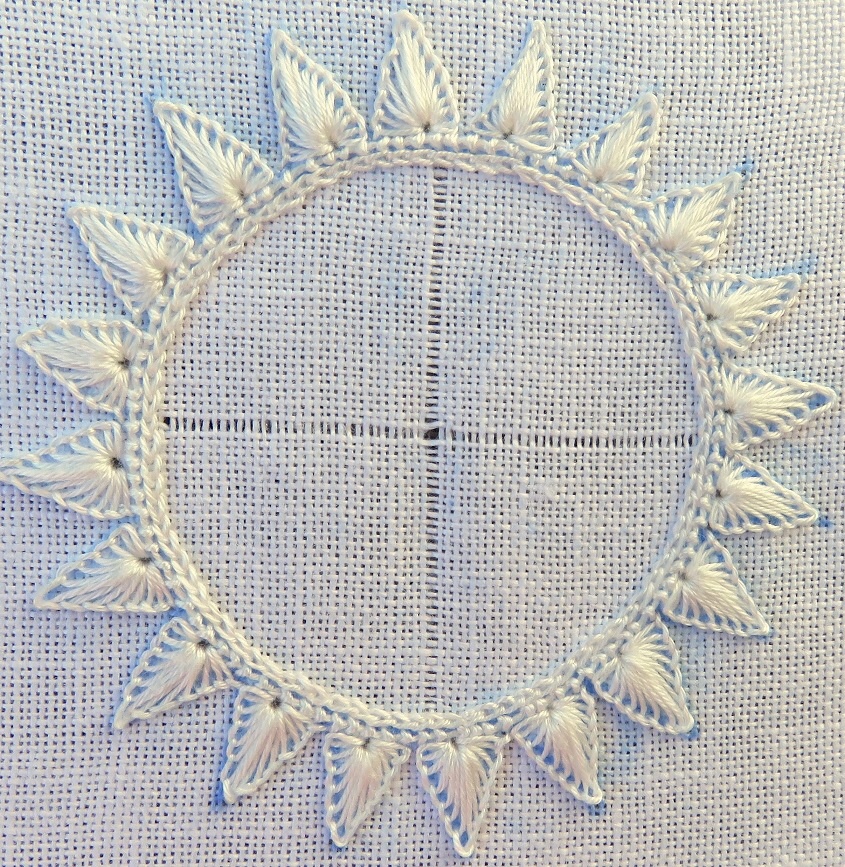 First, both the horizontal and the vertical center threads are withdrawn.
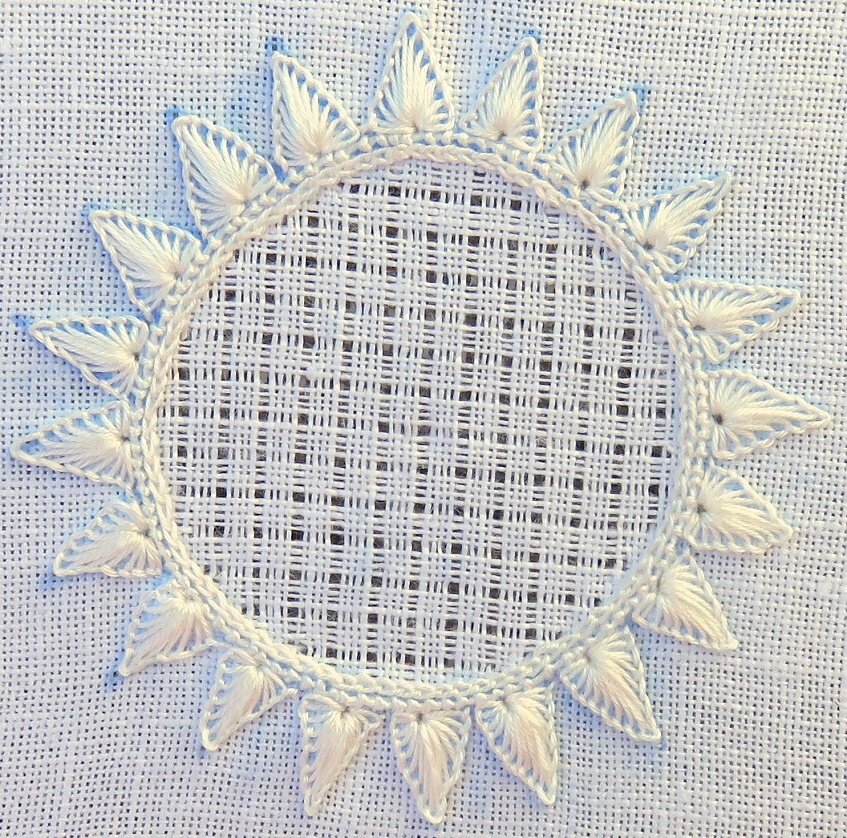 Working from the center outwards, a Limet grid is established by leaving 4 threads, and cutting 1.
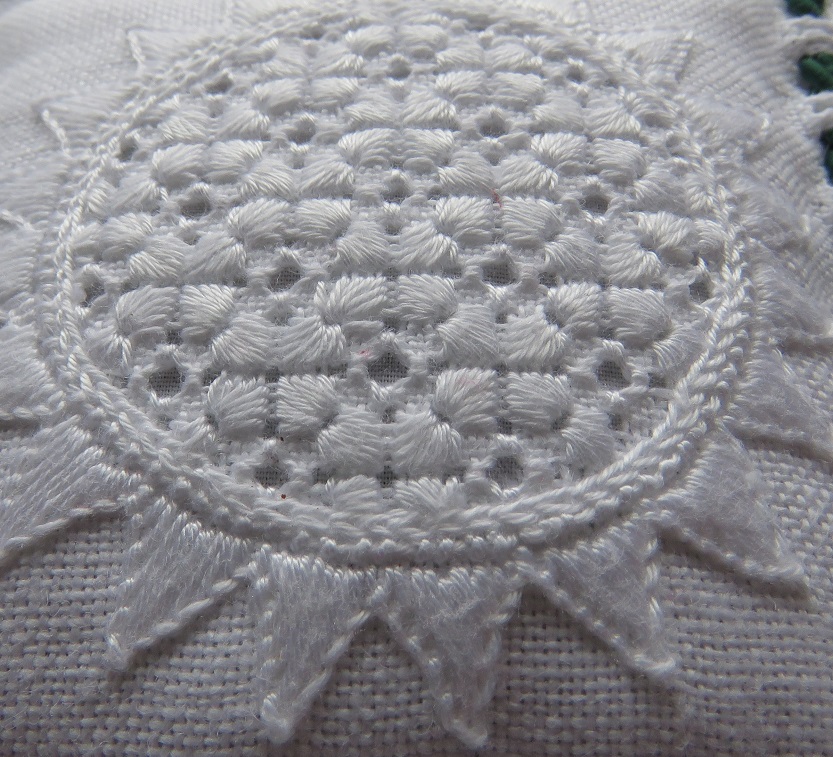
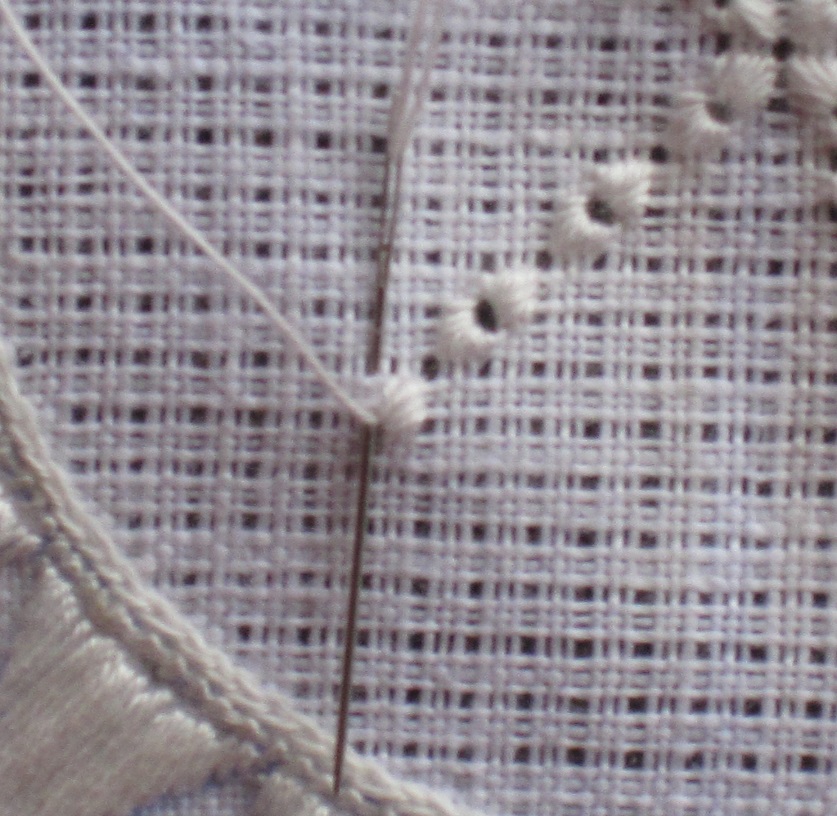
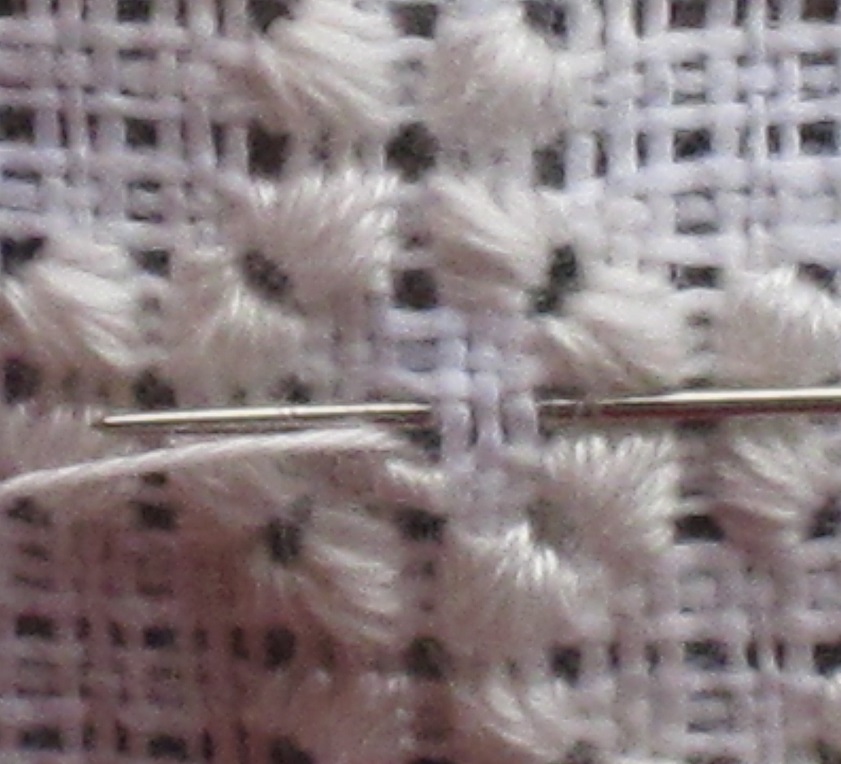
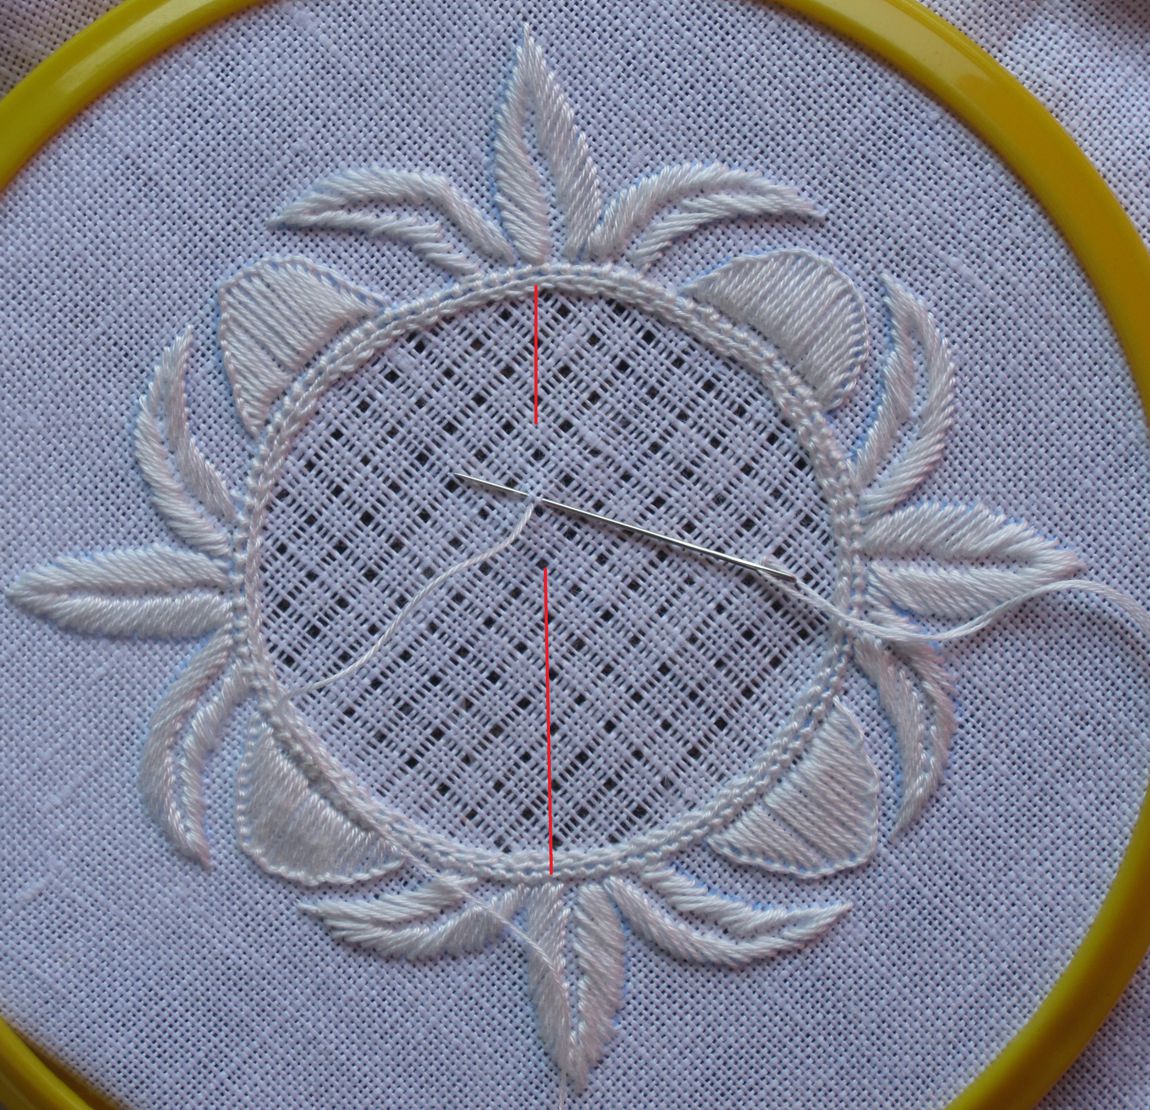
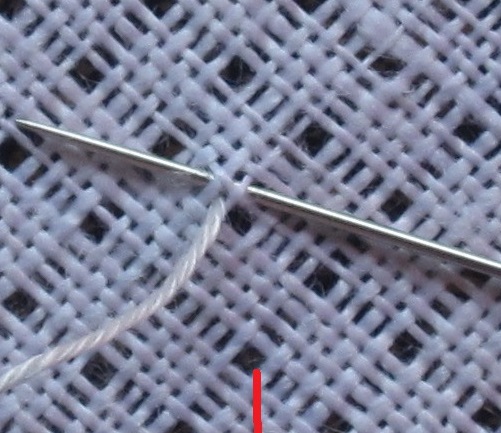
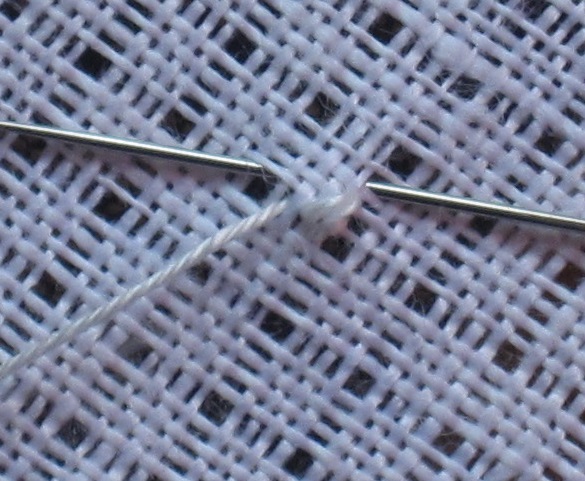
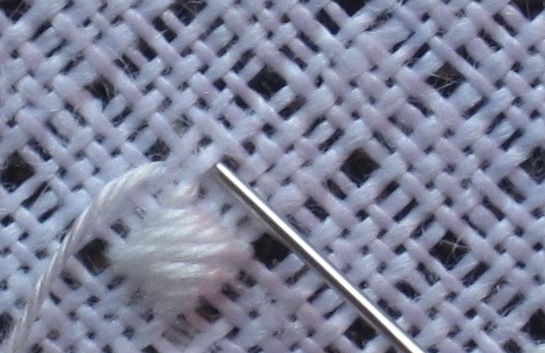
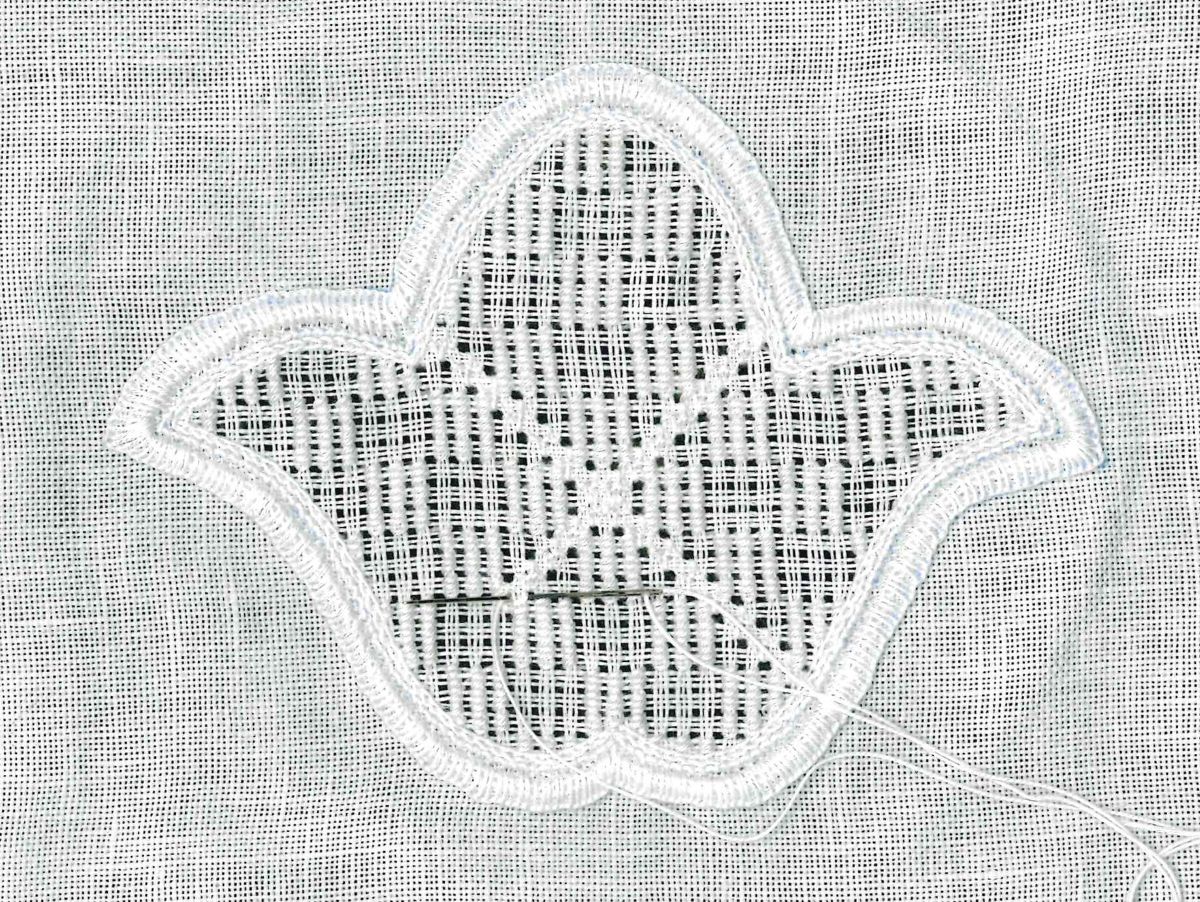
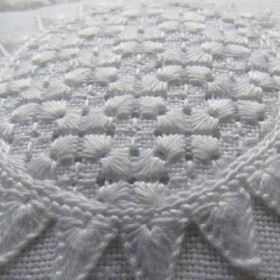
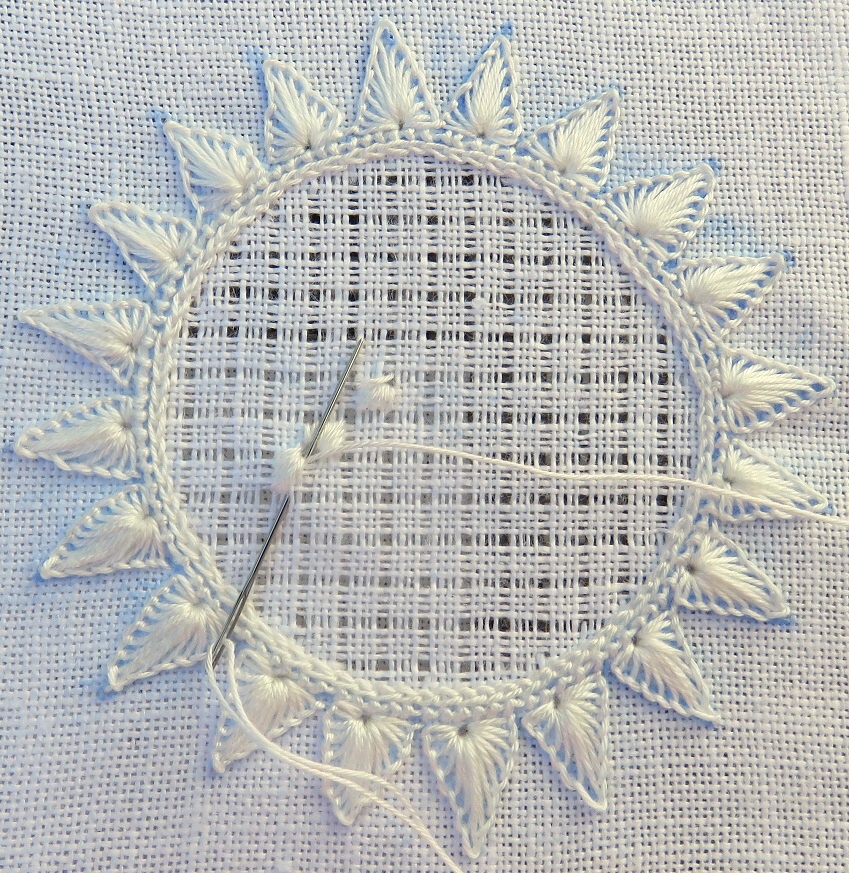
 In the established Limet grid, work a grid of nine-stitch simple square eyelets. In this example a Rose stitch should lay in the center of the shape. So from the center, bring the needle up diagonally to the left, one square up. Work 9 stitches of the simple square eyelet counterclockwise around the starting point.
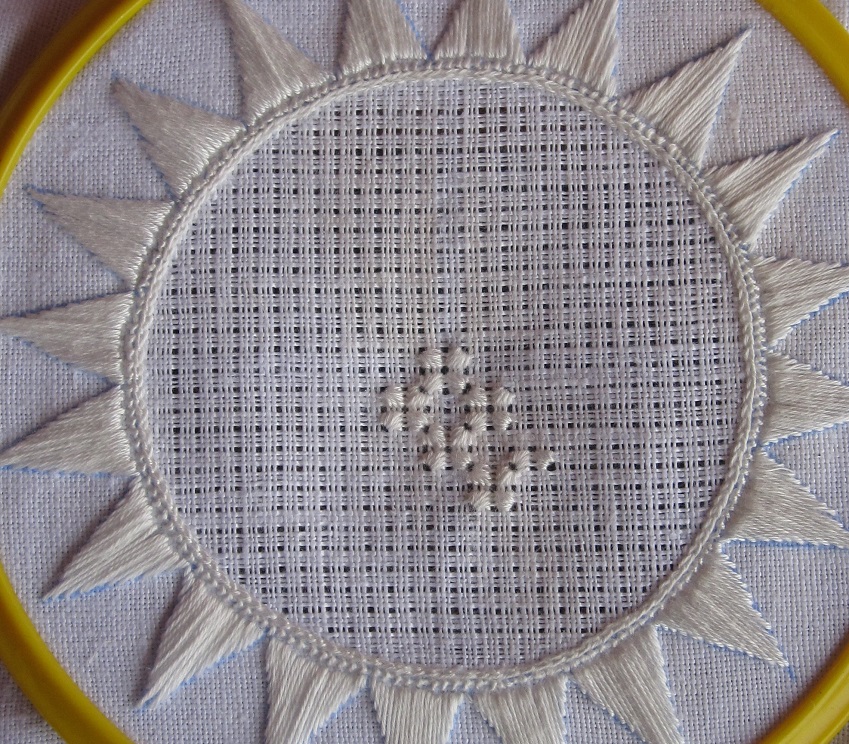
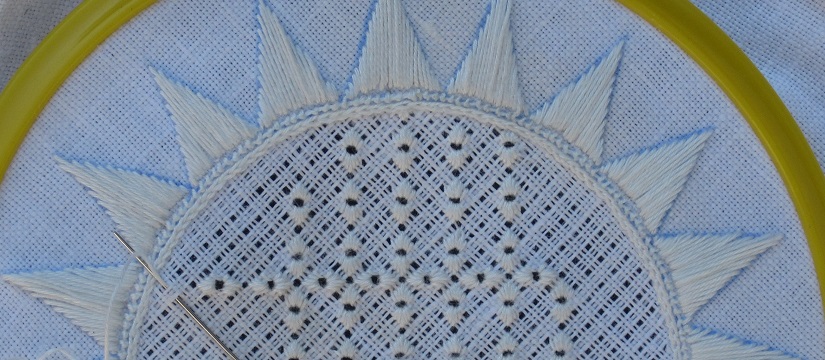
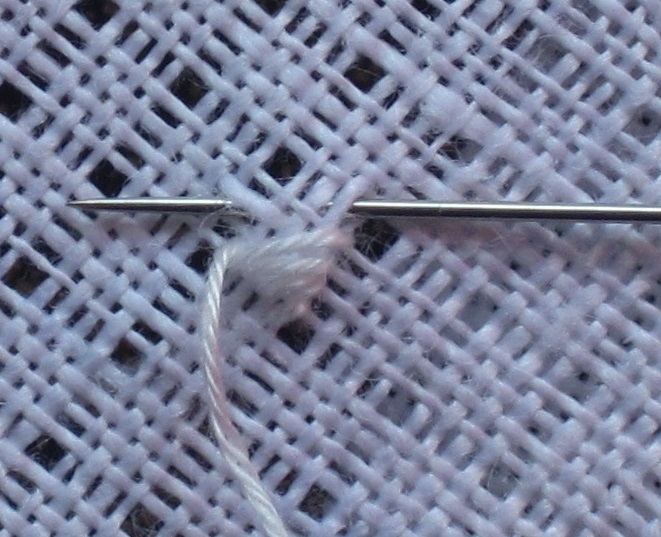
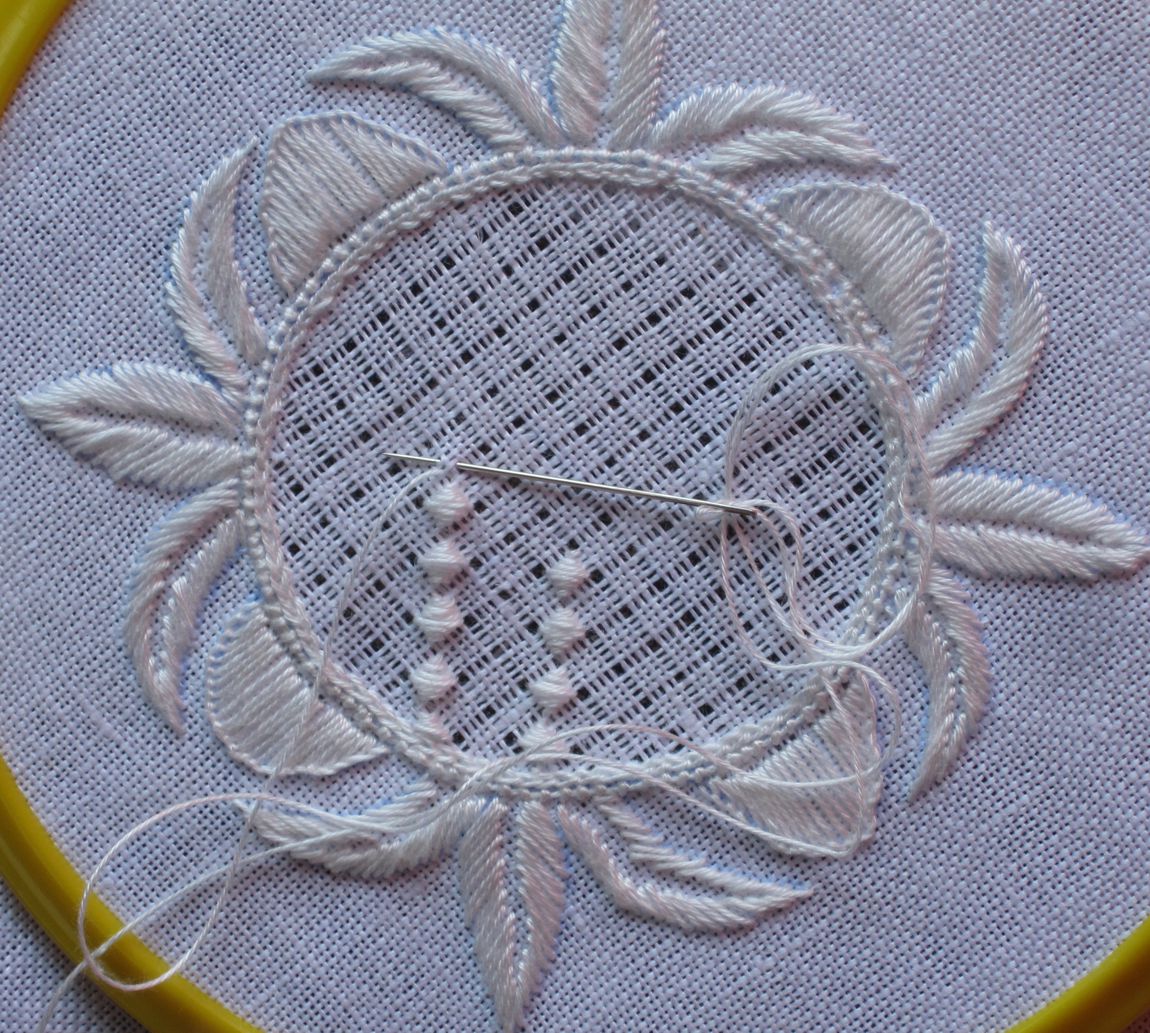
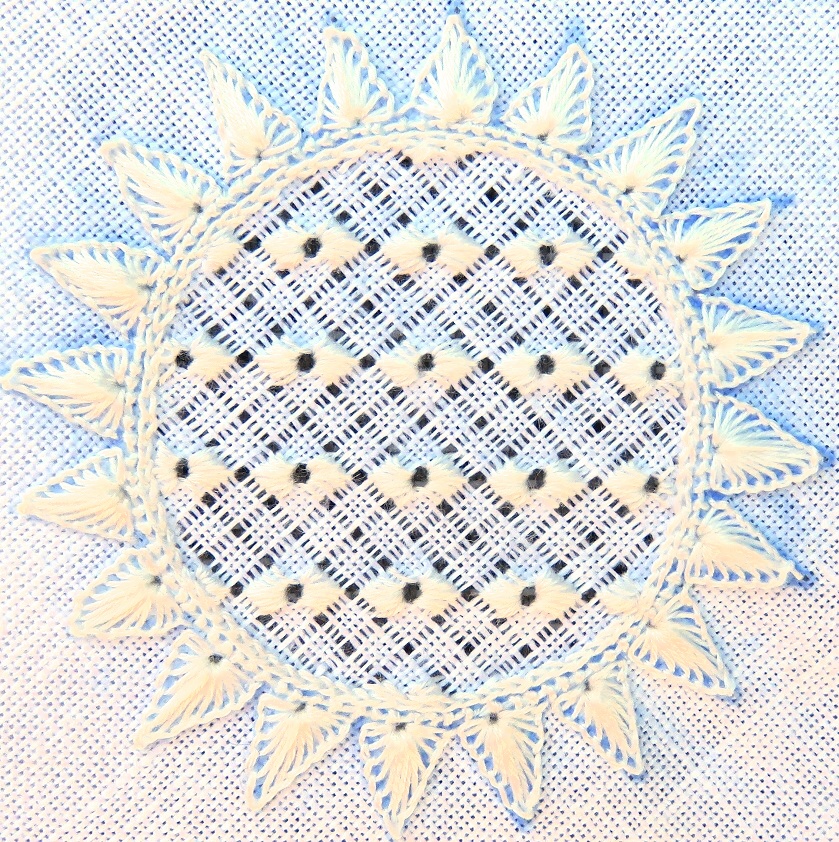
 Repeat working 9 stitches of the simple square eyelet, counterclockwise moving around the center, in diagonal rows as seen in the picture above
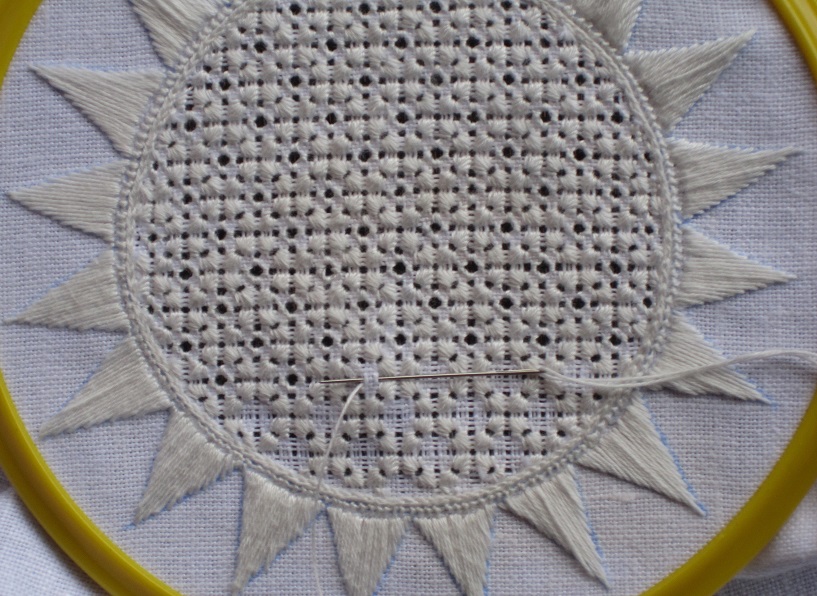
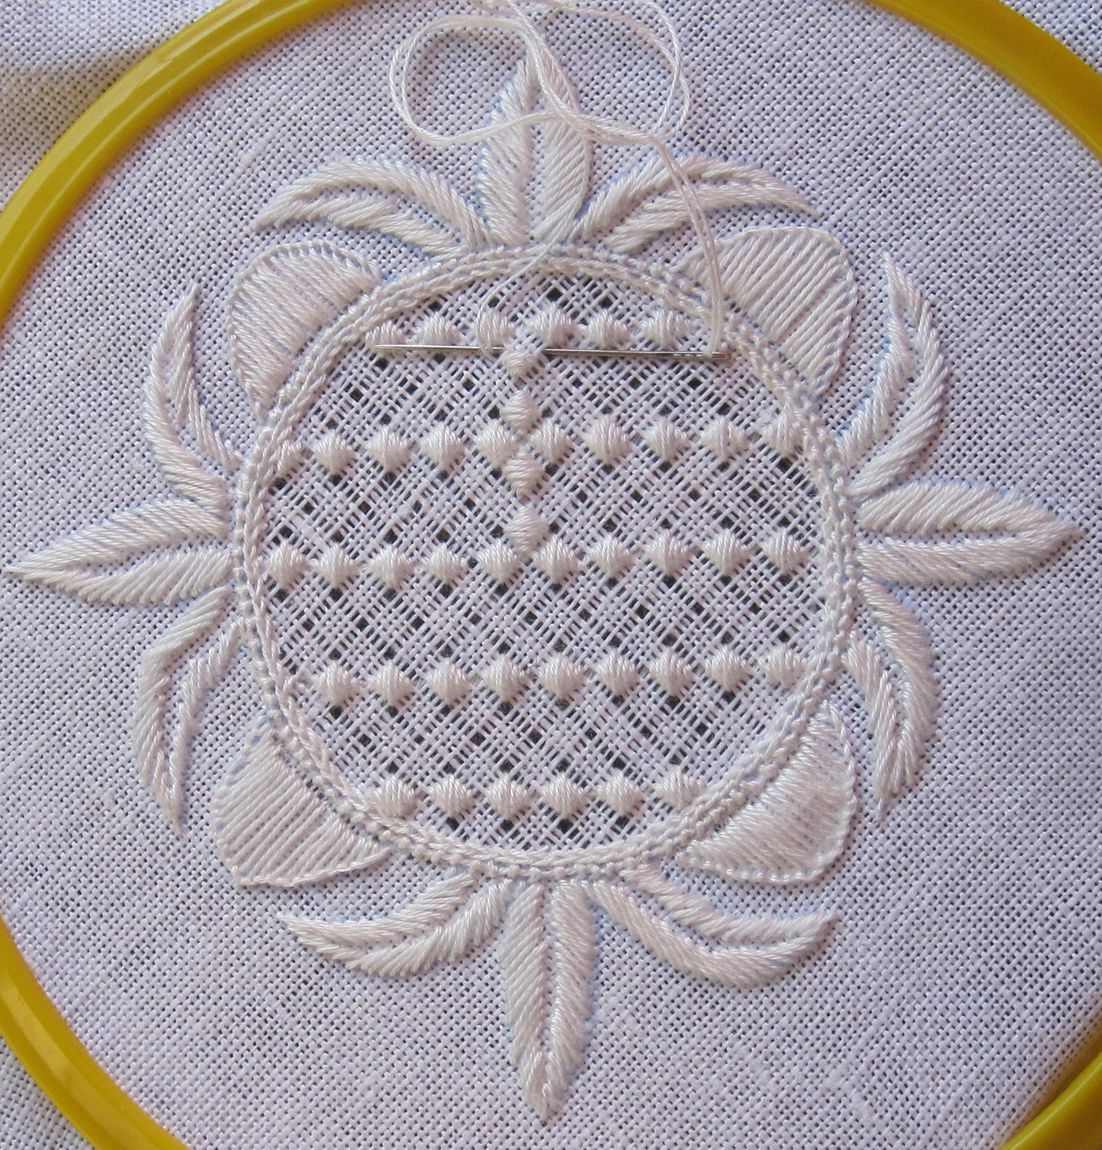
 lengthwise
 and crosswise to establish the grid.
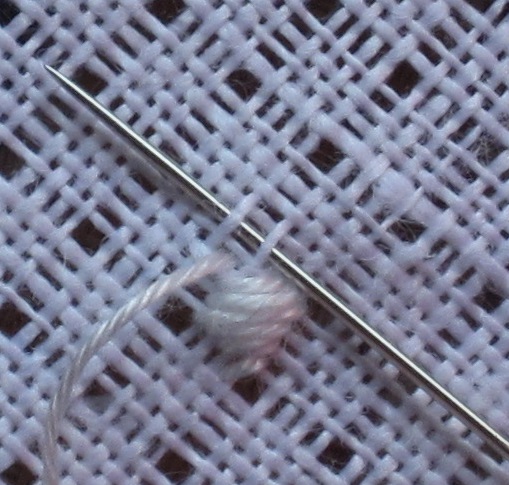
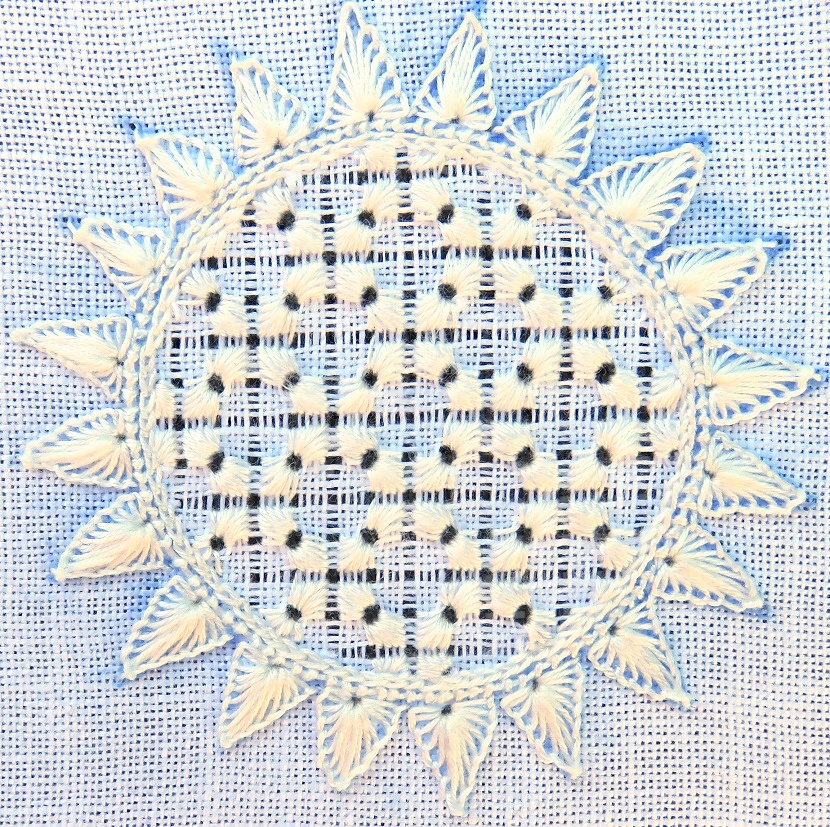
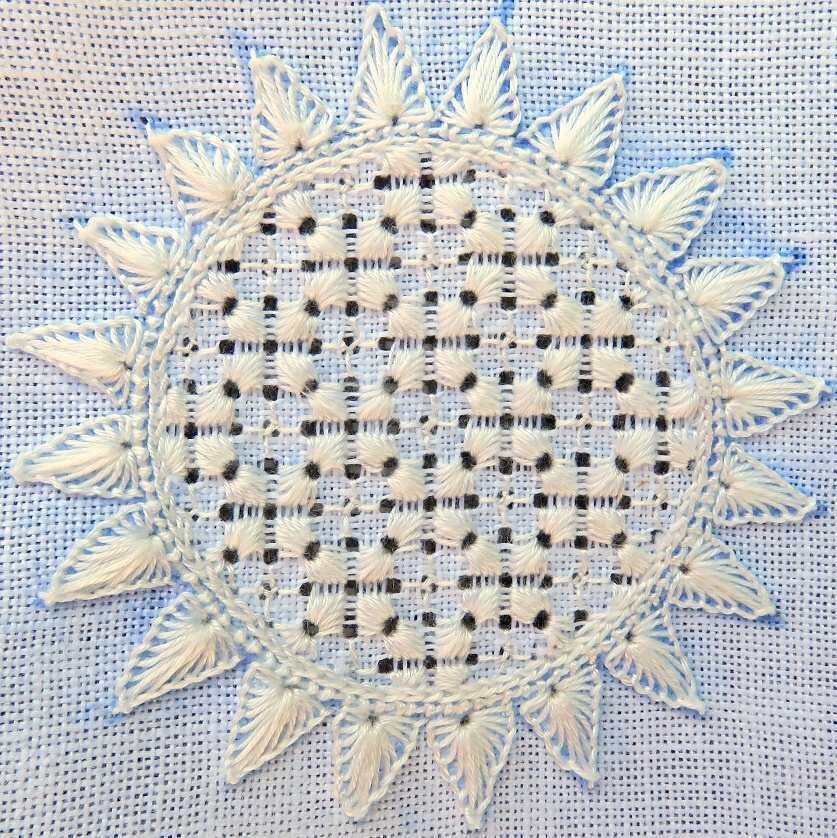 In the remaining squares, Rose stitches are worked.
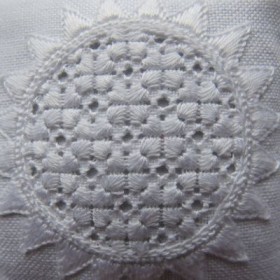
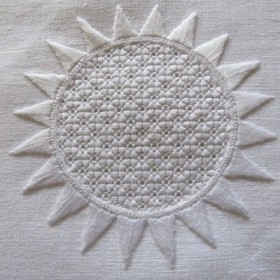
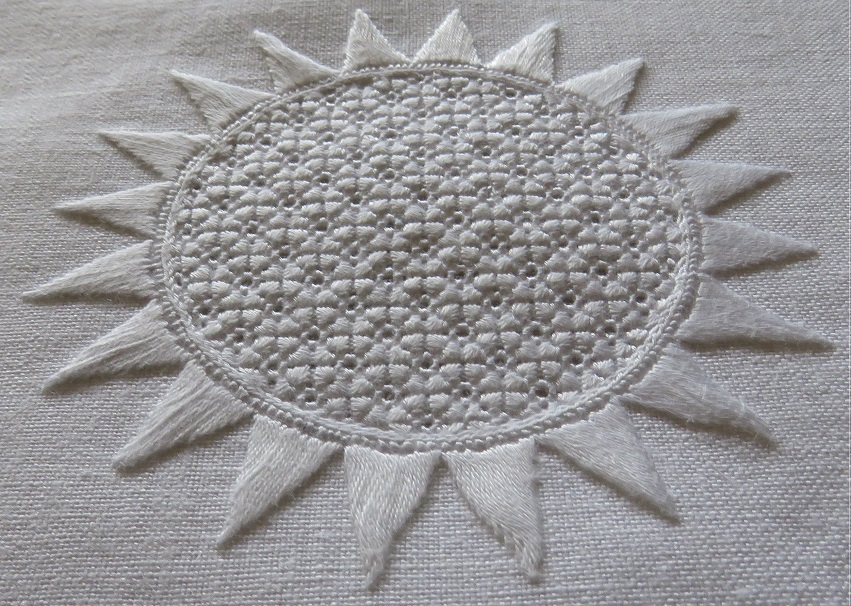
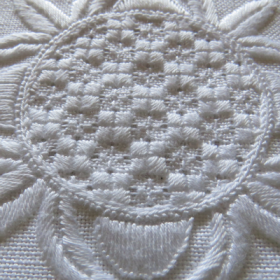
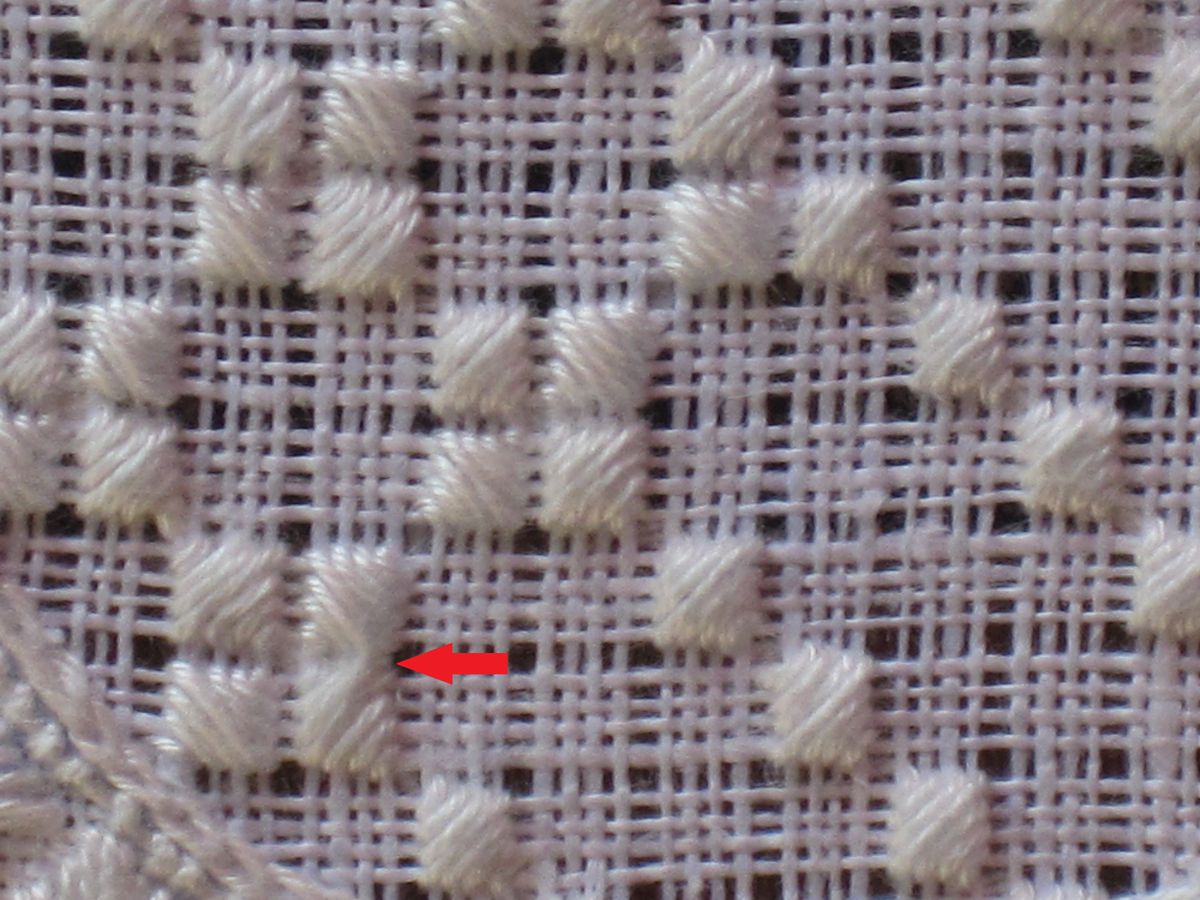
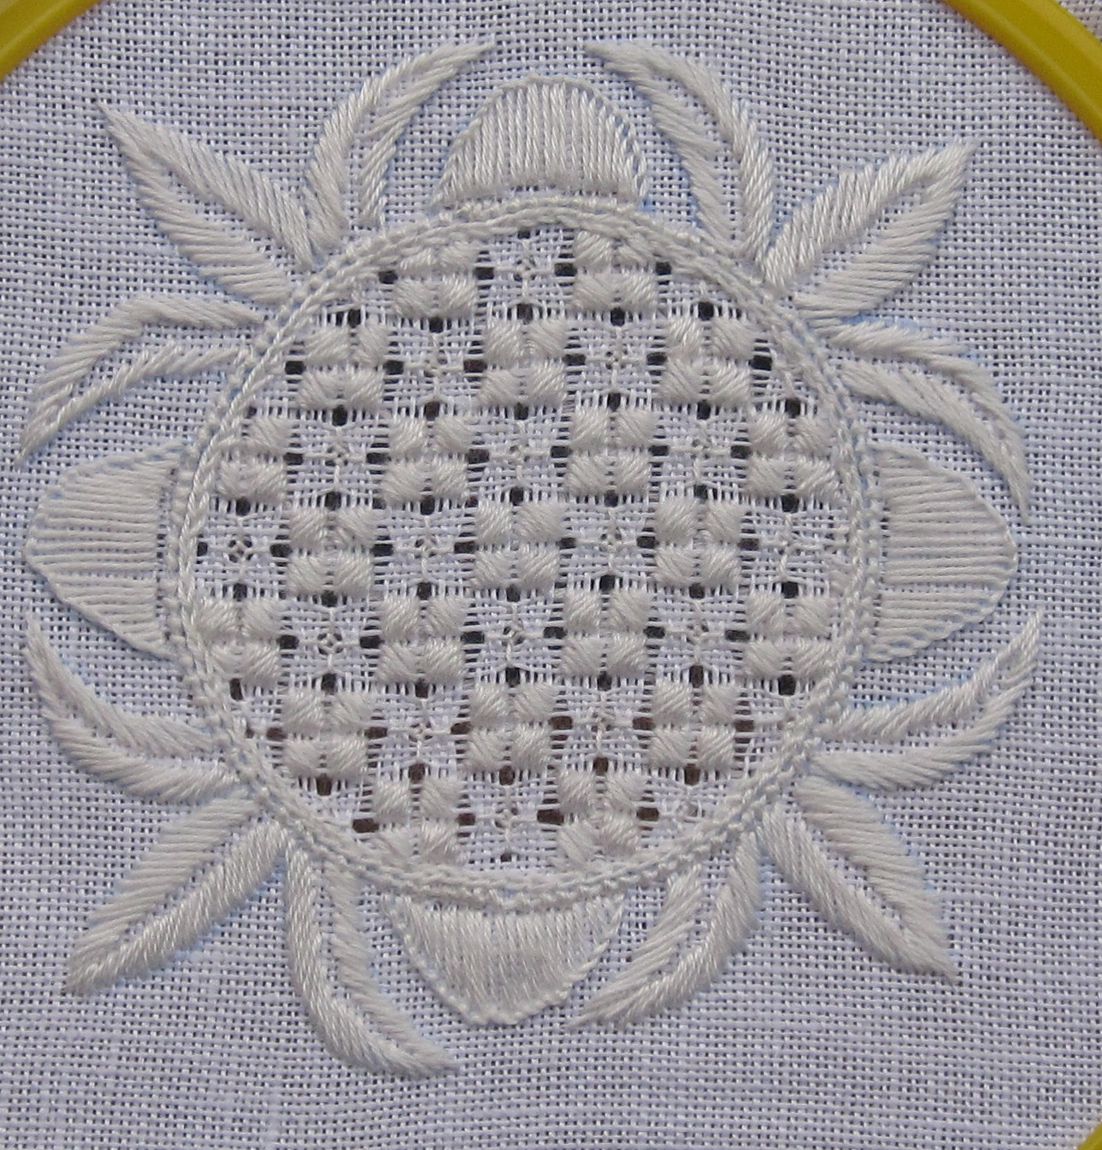
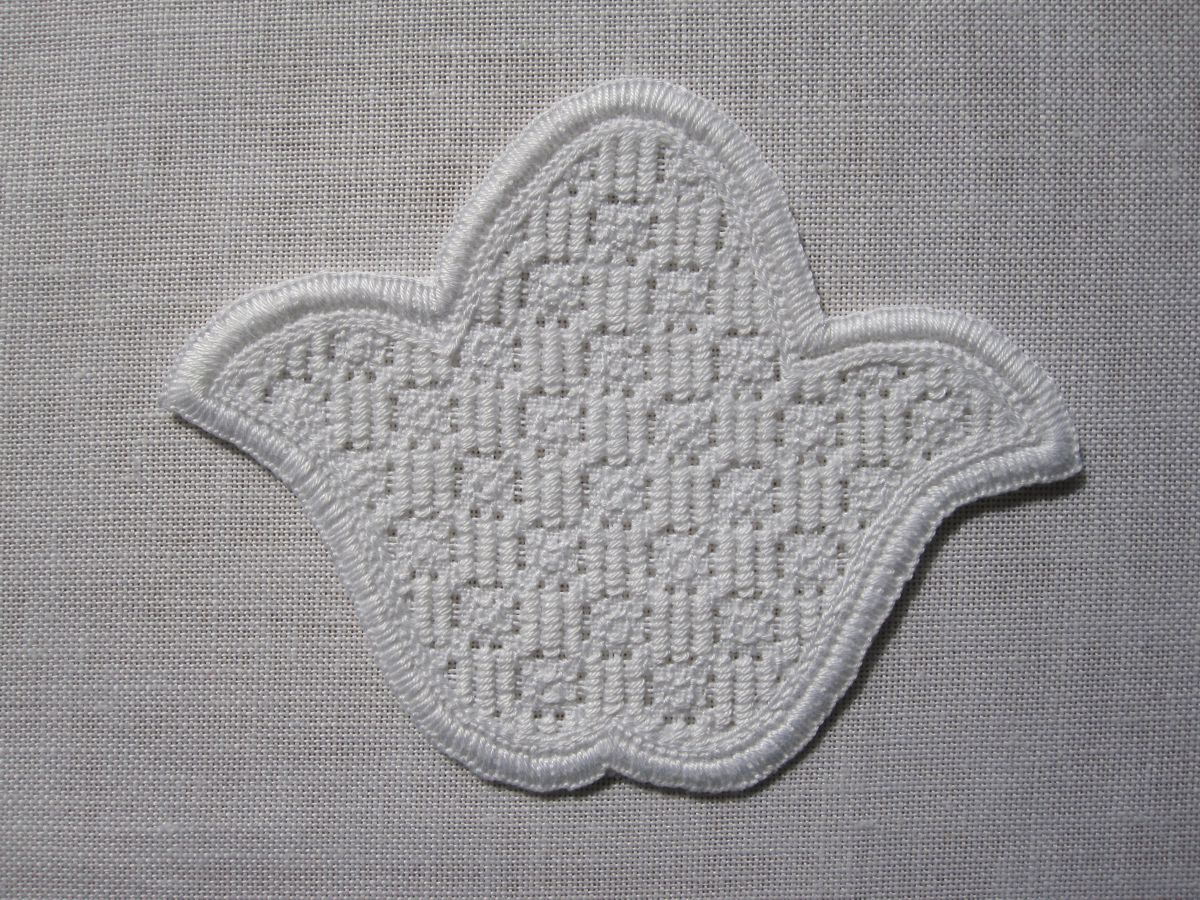
 Washed, starched, and ironed one more pretty pattern is finished. The partial square eyelets look embossed, whereas the ares with Rose stitches are flat. This makes an interesting contrast.