

Considerations for Assembling
The time to assemble the contributed pieces for the Global Schwalm Sampler (GSS) approaches, and I often think about the best way to join the separate linen pieces. Now I want to share my thoughts with you.
When I got the idea of collecting embroideries for a sampler, I thought it would be easy to sew all of them together with a sewing machine. But very soon I was assailed with doubts, and so I started testing different methods.
Preliminary consideration:
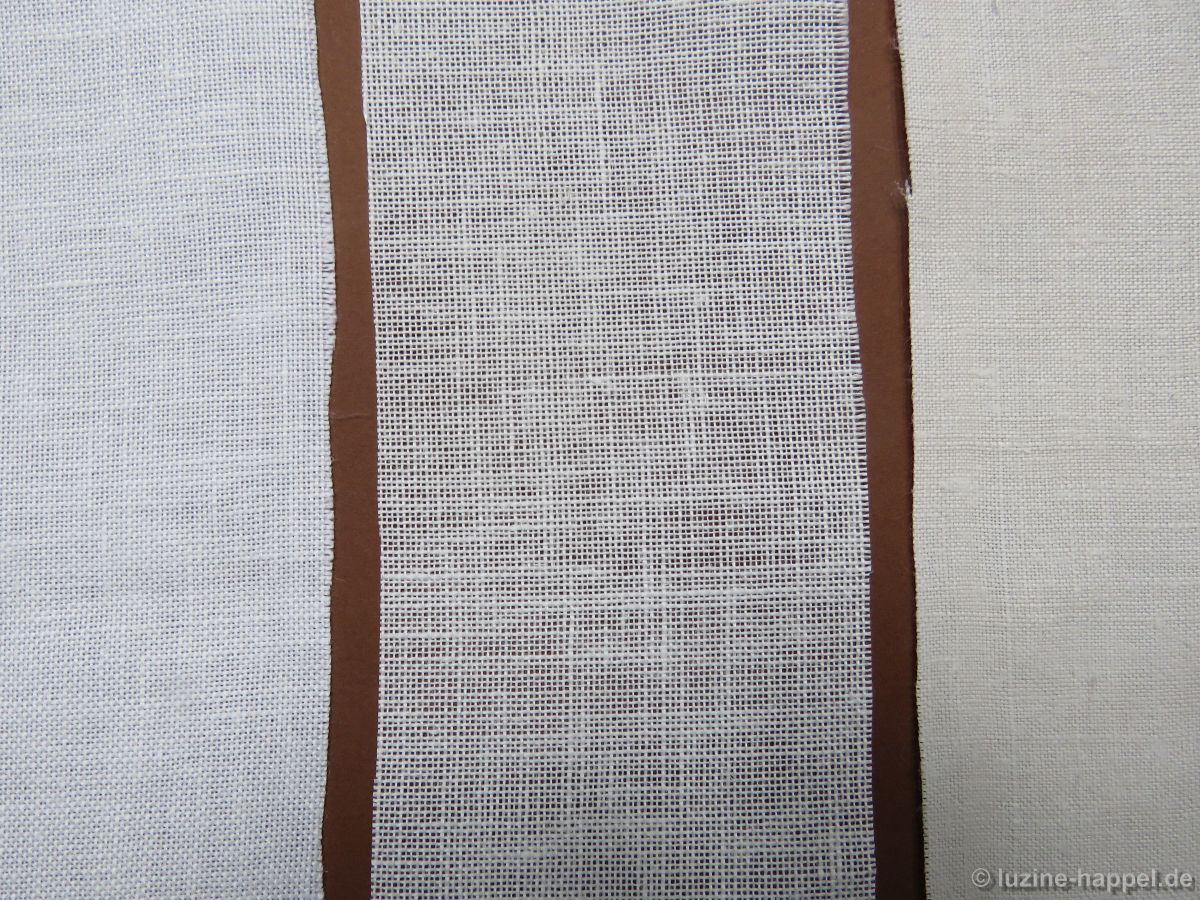
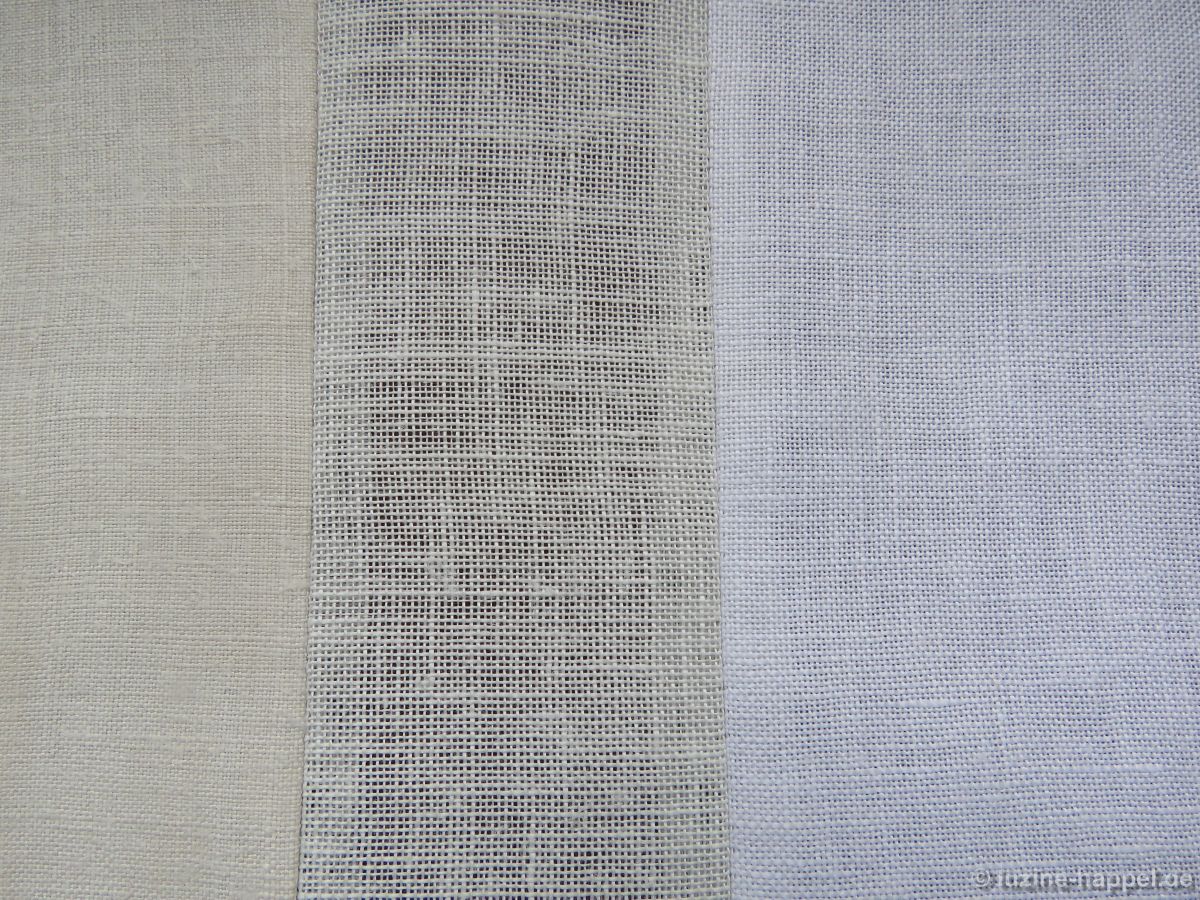
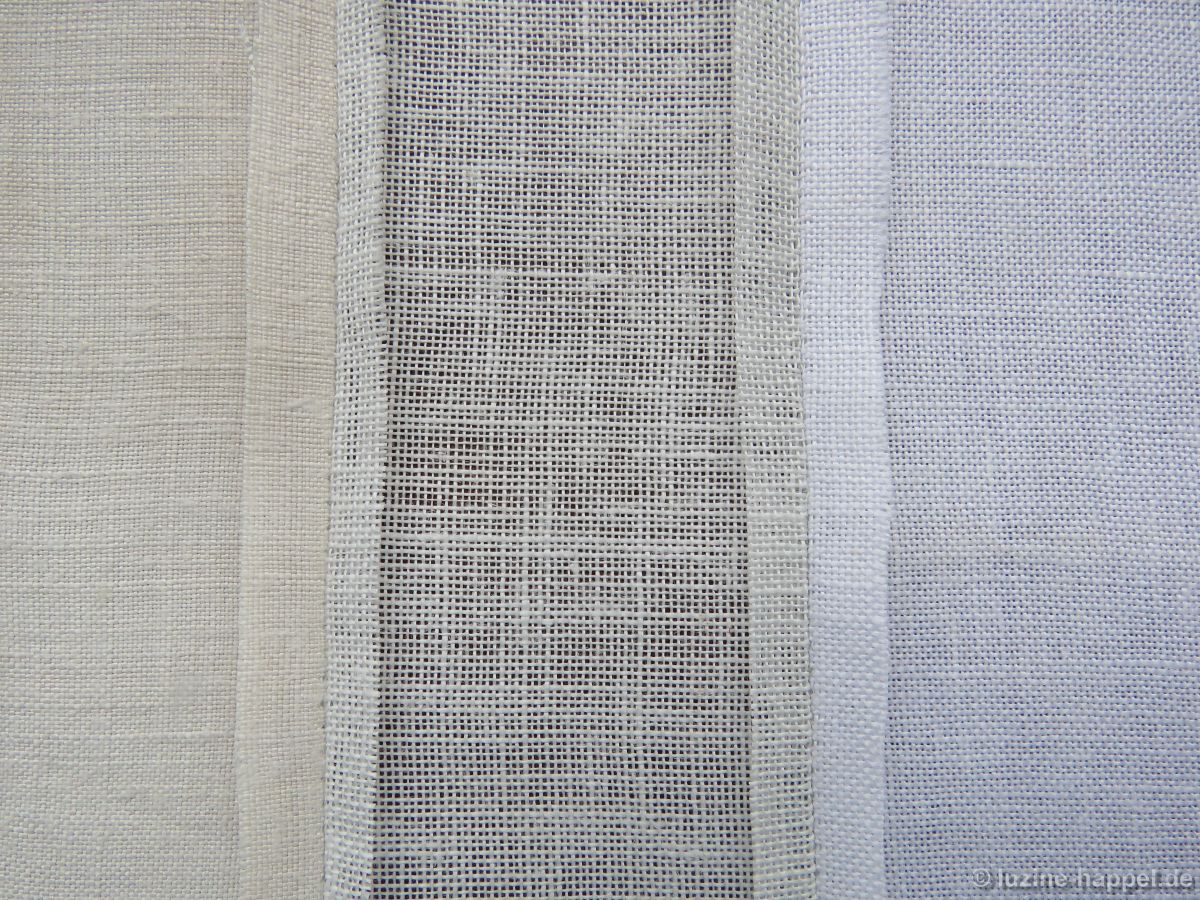
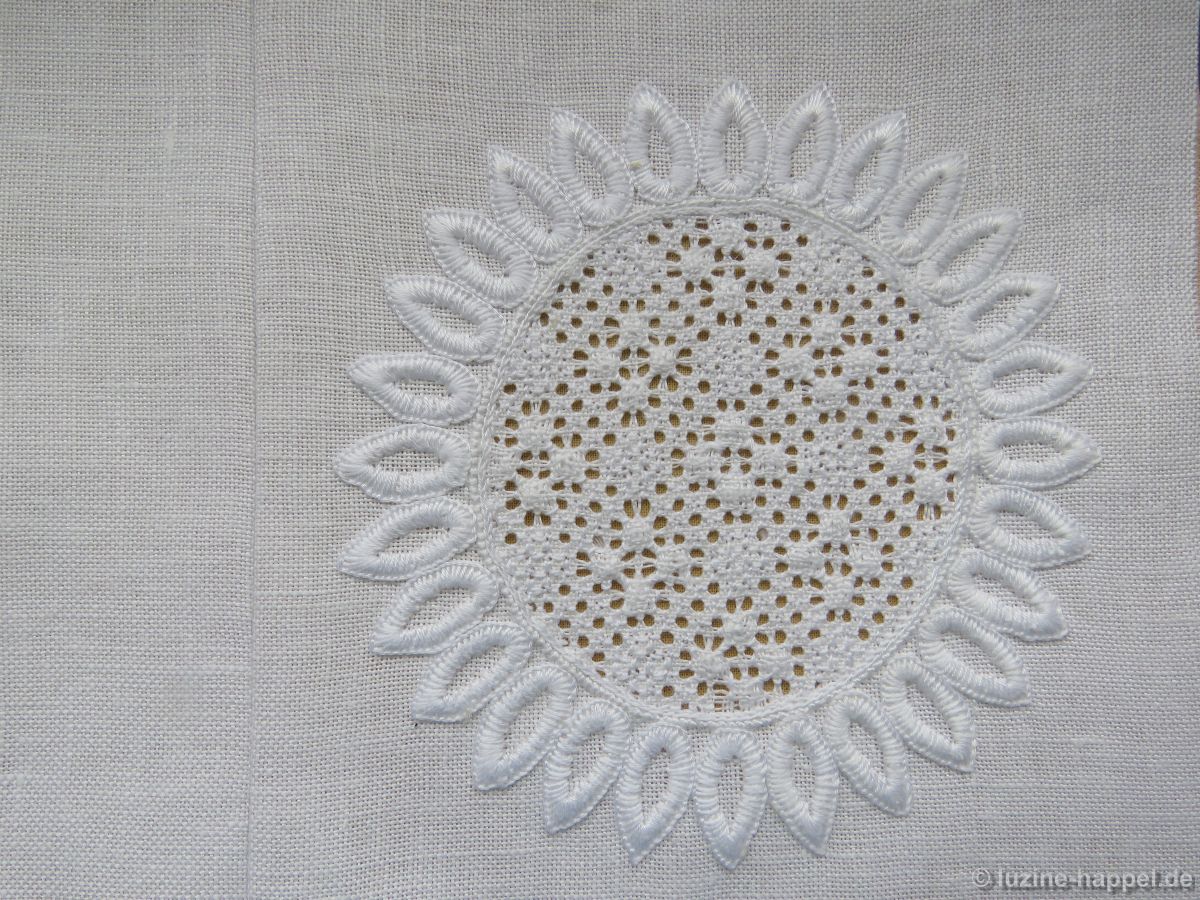
So far I have nearly ten different linens – densely woven fabric and that with a very loose weave, fine and more coarse linen, handwoven and machine-made fabric – all in very different sizes and colours (bright white, off white, and natural gray).
1.
If the pieces are laid right sides together and sewn together, the seam allowance is visible through the fabric – especially seen through the less densely woven linens.
The finished piece would need a lining to cover the seam allowances on the back.
2.
If an underlay of coloured fabric (thin cotton fabric) is used,
the preparatory work of basting both layers exactly together is painstaking and time consuming.
Sewn right sides together, the seam allowance is not seen through the fabric.
The filling patterns become, from the coloured background, more clear and striking in appearance.
However, the piece would need a lining to cover the seam allowances on the back.
A matter of concern is using two different fabrics – linen and cotton. Especially in larger pieces, it might happen that the fabrics, at some later time, react differently to climate conditions. Perhaps the linen will stretch out a little.
3.
Same as in step 2, an underlay can be made with a thin fleece instead of cotton fabric.
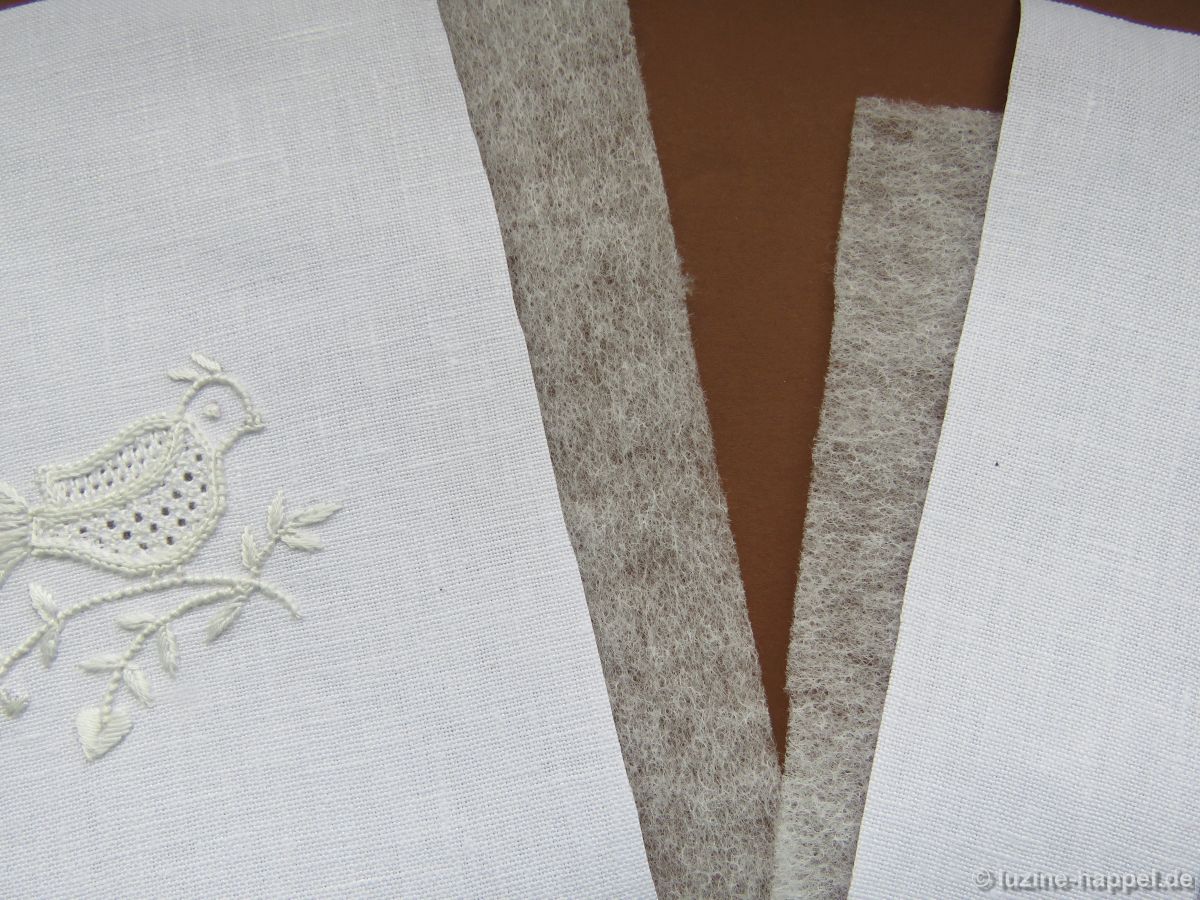
Sewn right sides together, the seam allowance is not seen through the fabric.
Because of the fleece, the piece gets some more body, and the appearance of the embroidery is good.
The piece would need a lining to cover the seam allowances on the back.
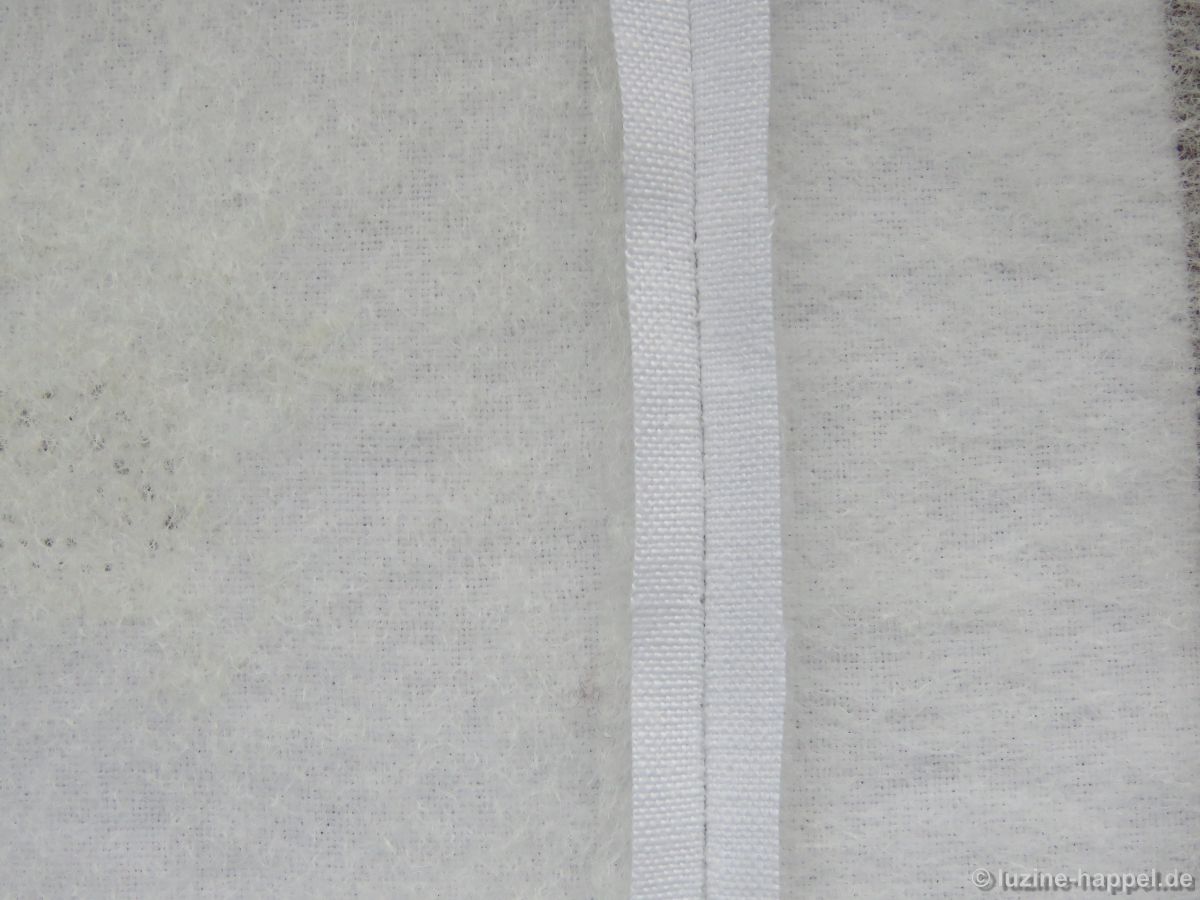
In contrast to the underlay of cotton fabric, I do not have concerns about the linen stretching out of shape. However, with a fleece added, it is no longer the embroidery itself.
4.
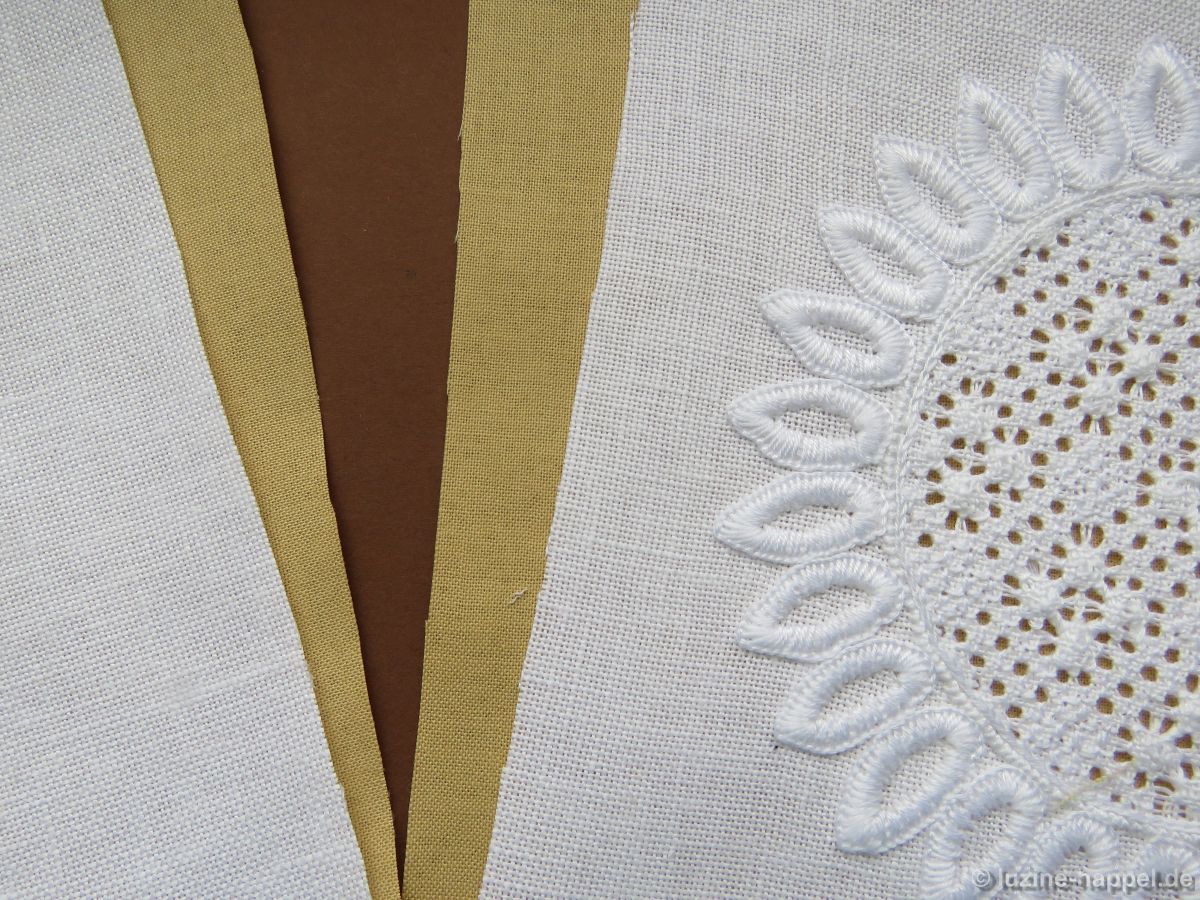
To ensure the integrity of the embroidery without unpleasant seam allowances showing through to the right side, I cut a strip of coloured cotton fabric (a white linen strip would be also possible) – two times the width of my sewing machine foot.

The strip and one edge of embroidery are sewn right sides together – along the line of one quarter of the strip width.
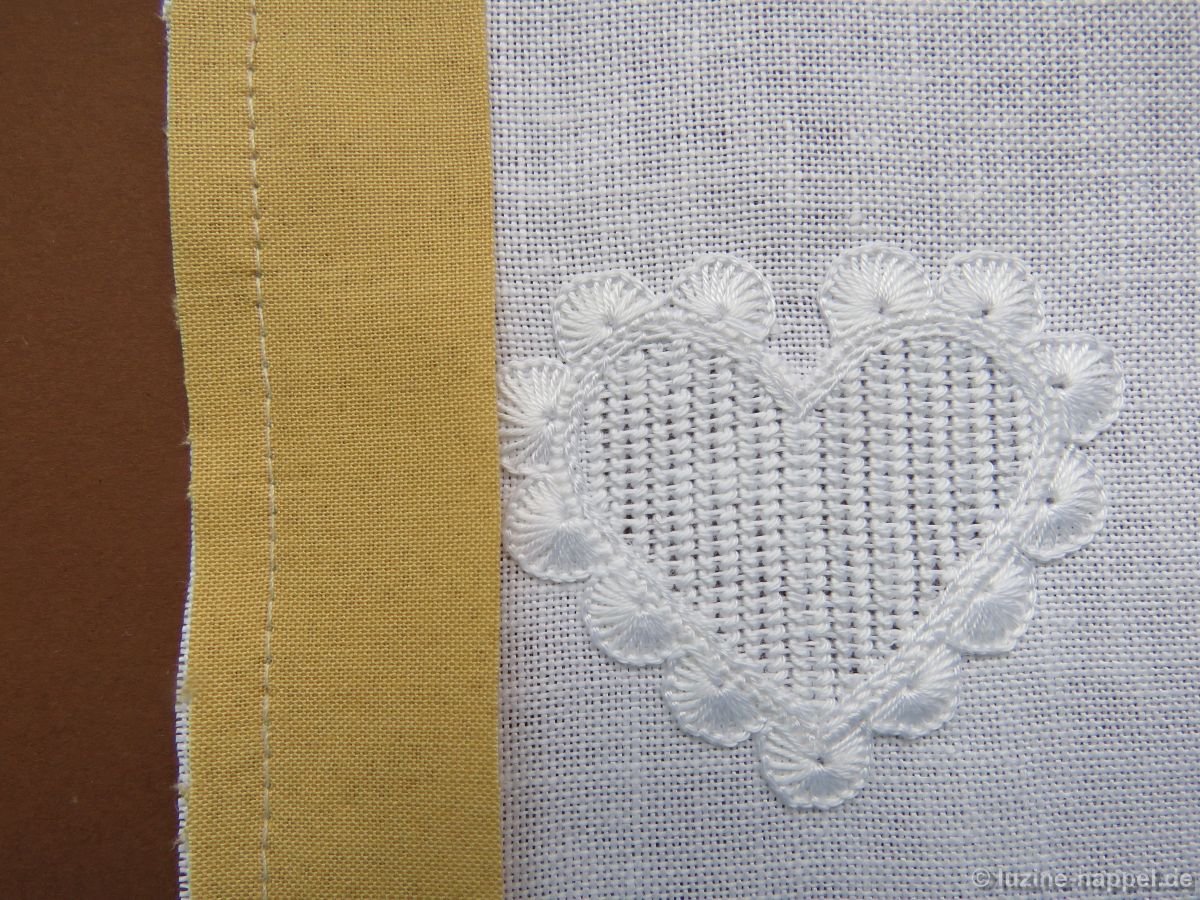
Then the opposite edge of the strip and the edge of the adjoining embroidery are sewn right sides together – again along the line of one quarter of the strip width.
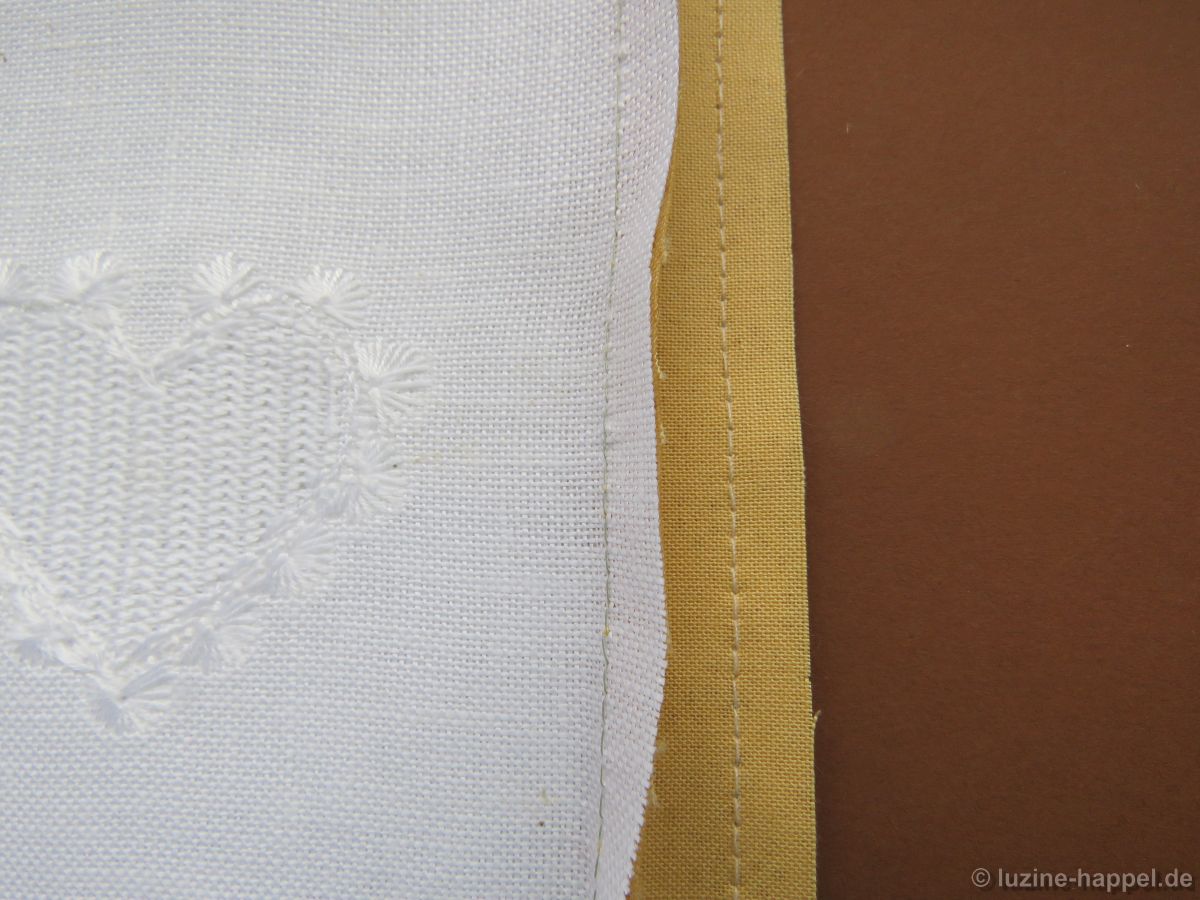
Both seam allowances are then ironed to lie under the strip.

The embroidery keeps its own character. Strips (either print or unicolour) between the embroidered pieces look like a frame for each piece.

But this method will also require a lining to cover the seam allowances on the back.
5.
So I looked for one more way and tried a flat felled seam.

The final result is that the seam looks clean on both the back and the front side.
I thought it was a good possibility for assembling the contributions until I considered the bulk created when crossing seams!
The seams – all sewn in the same way – get much too bulky at the intersections.
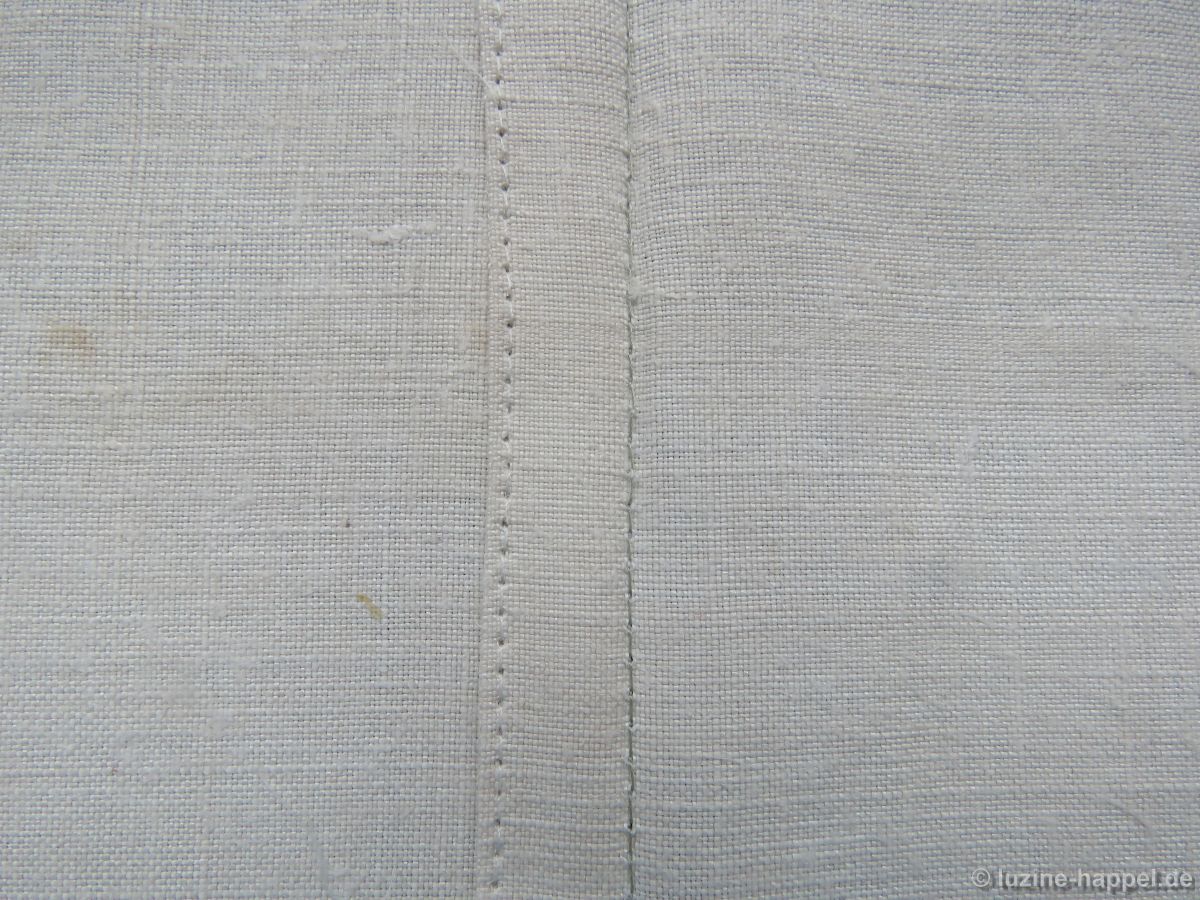
6.
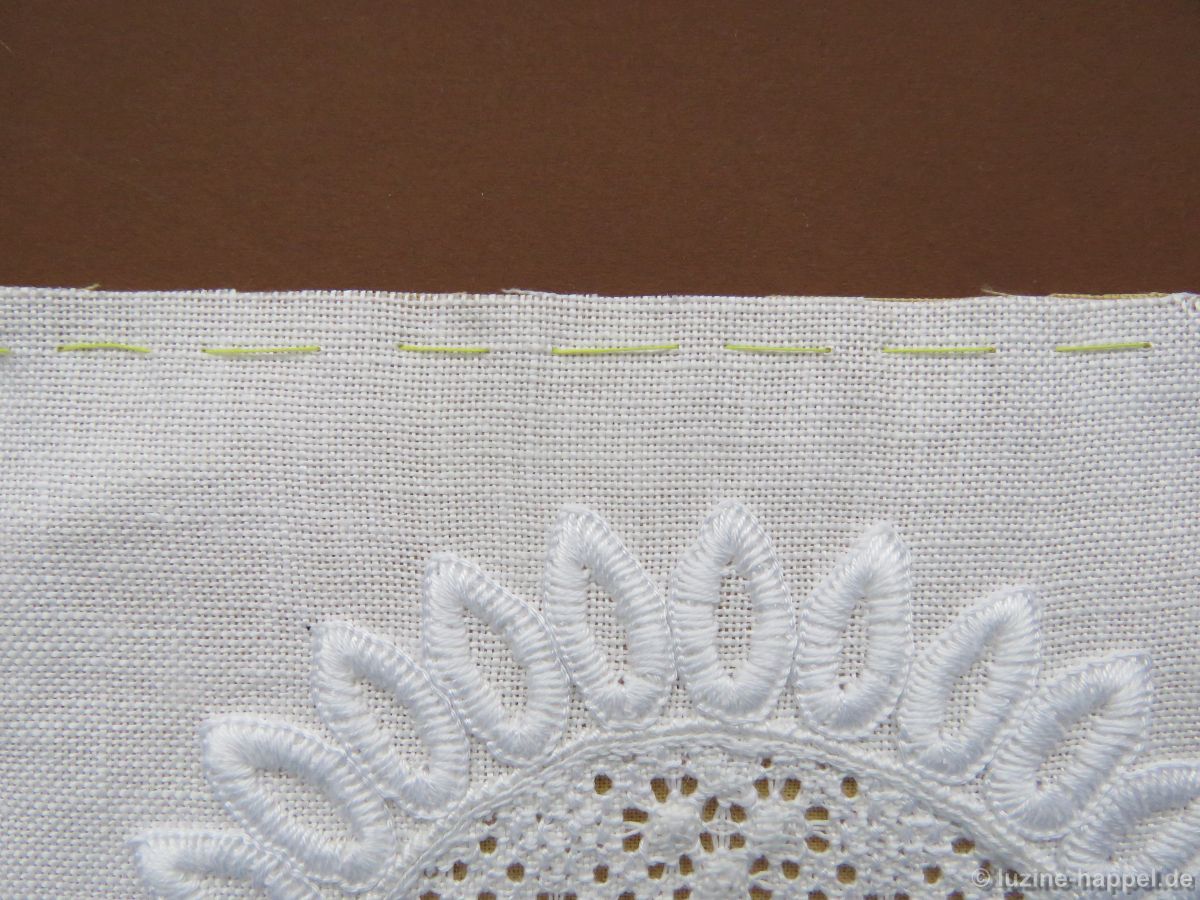
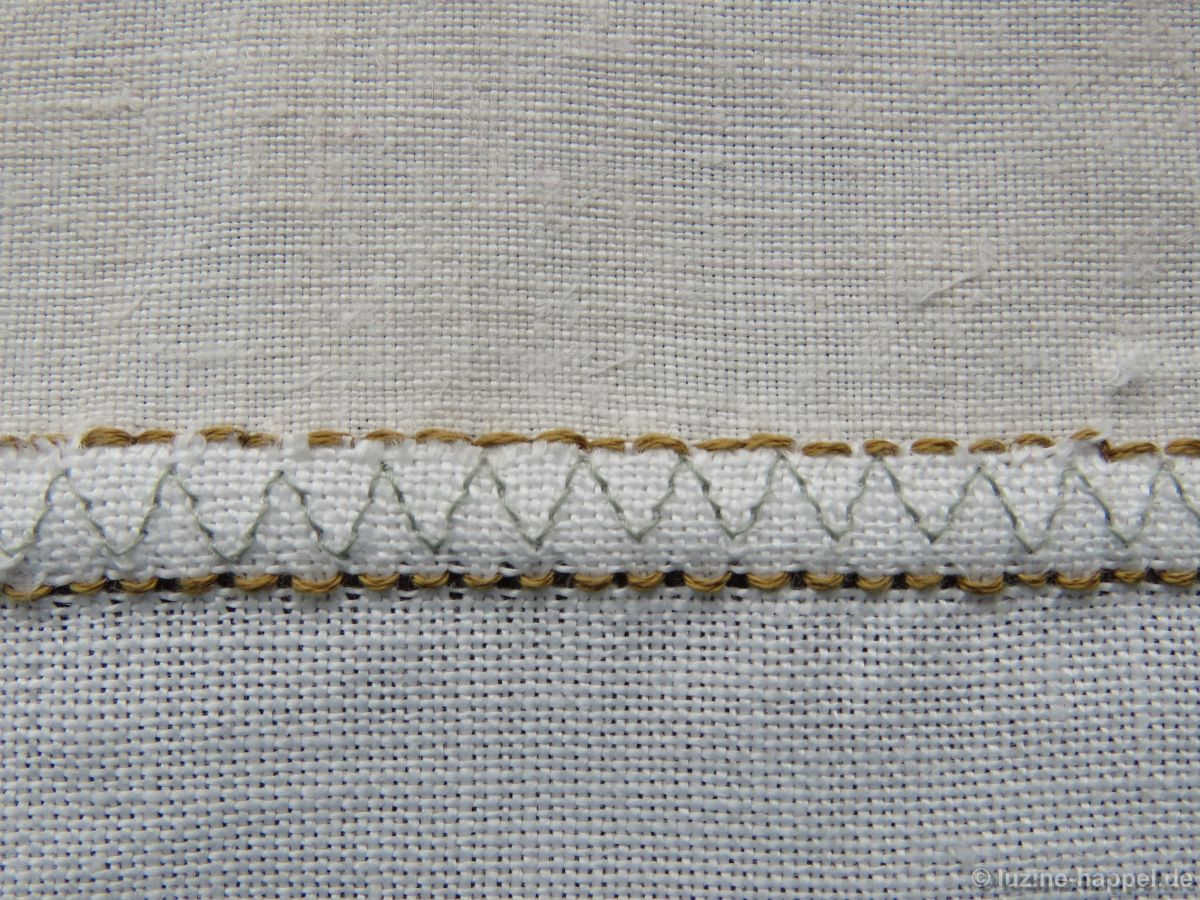
A thread – one centimeter from the edge – was withdrawn on both pieces to be assembled.

Both pieces – right sides up – were laid edge on edge and sewn with elastic (stepped zigzag) stitches.
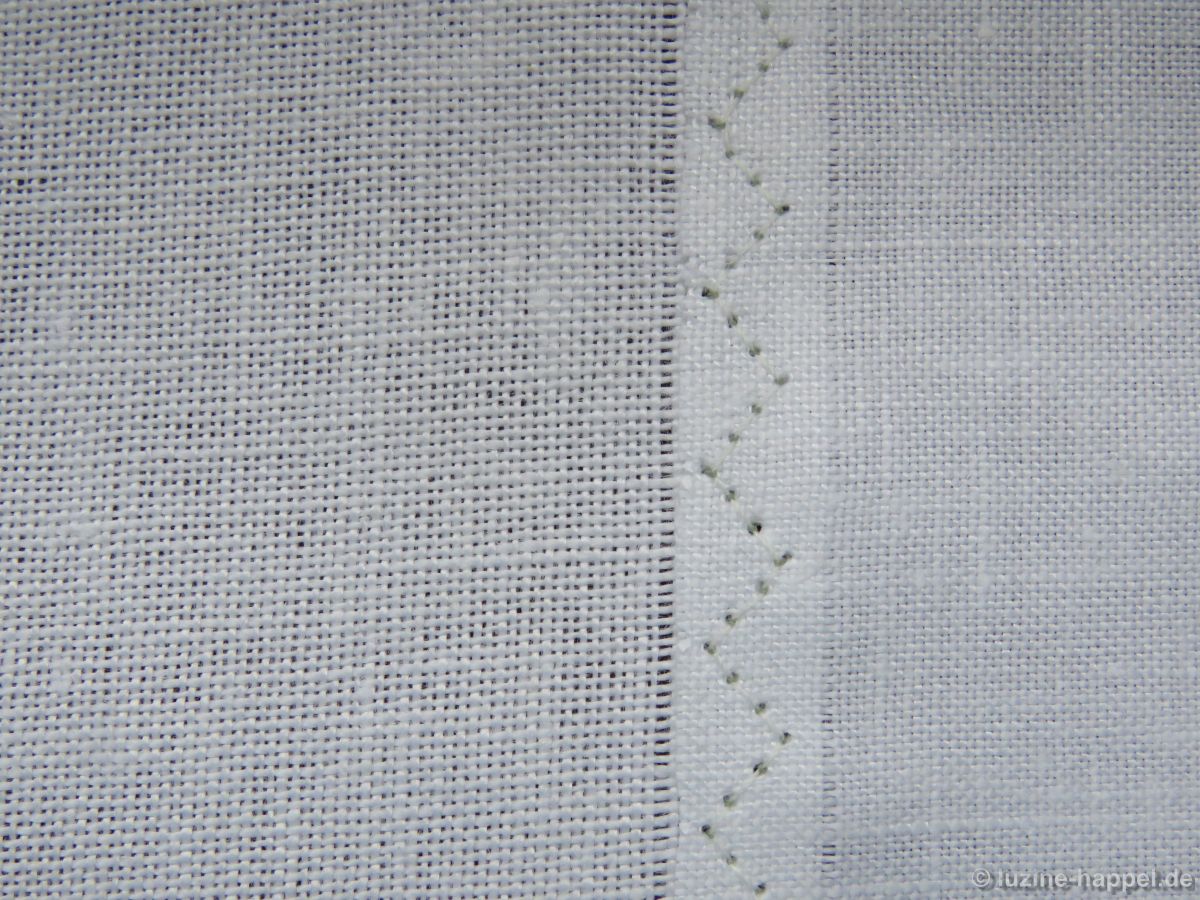
The flat seam was covered with a double row of Herringbone stitches.
The withdrawn thread line enables easy working of the Herringbone stitches – but withdrawing a thread from an already boiled fabric is difficult. Also, the width chosen in this example is a little too much.
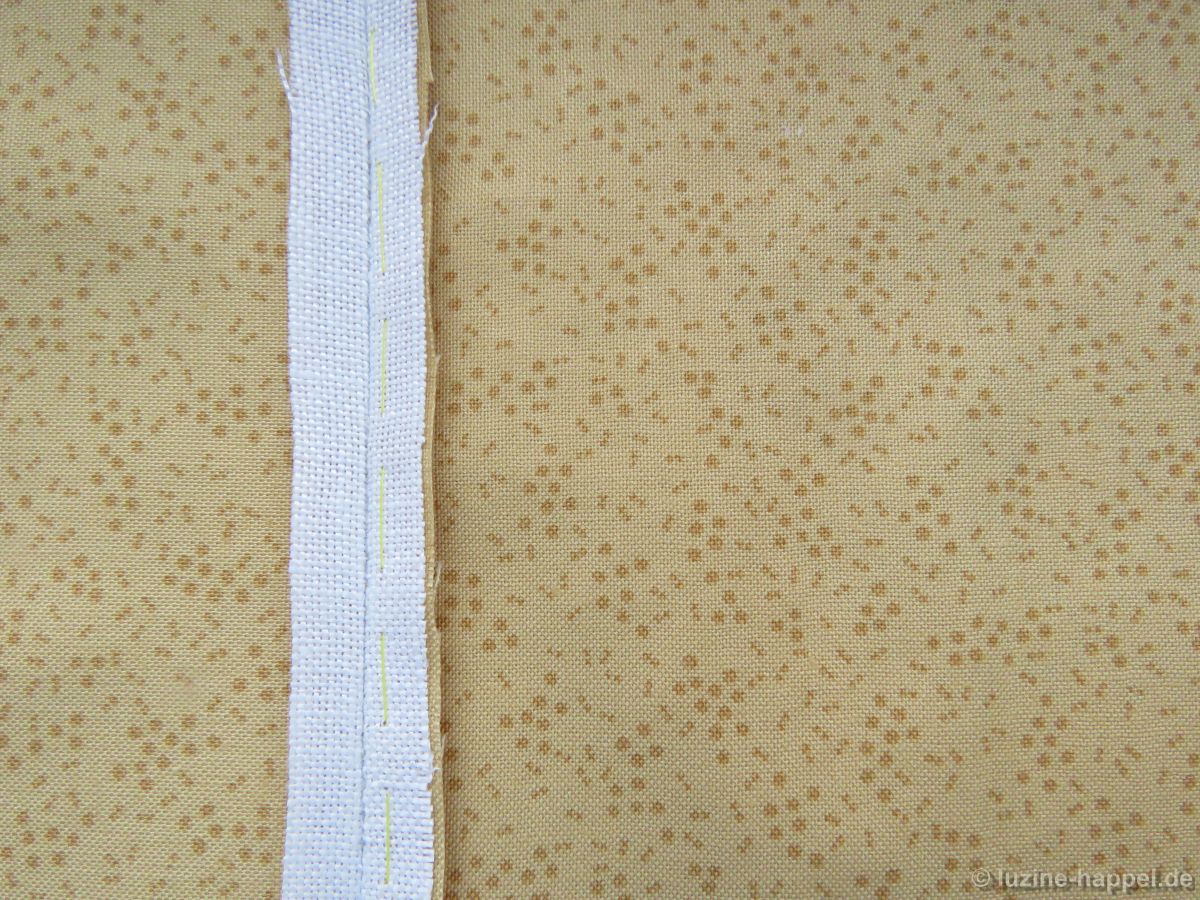
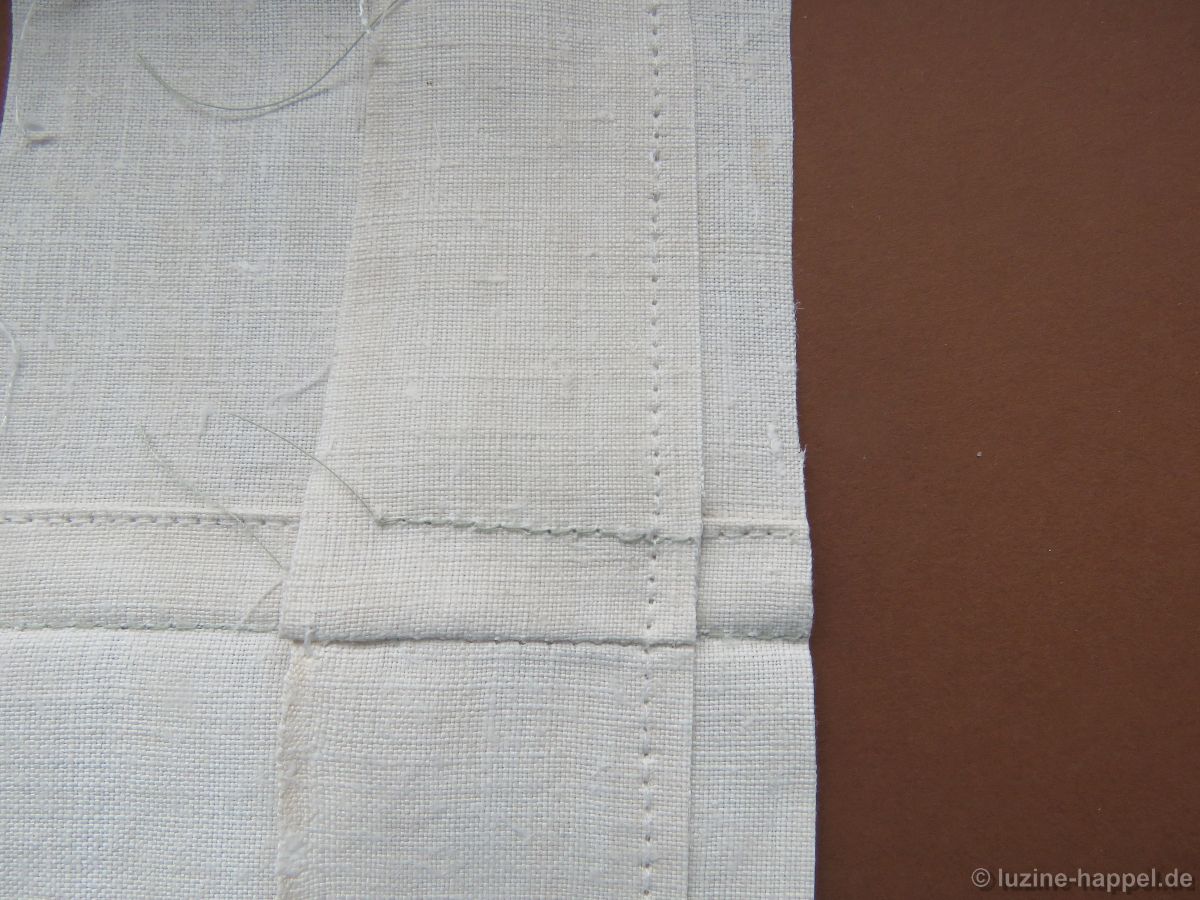
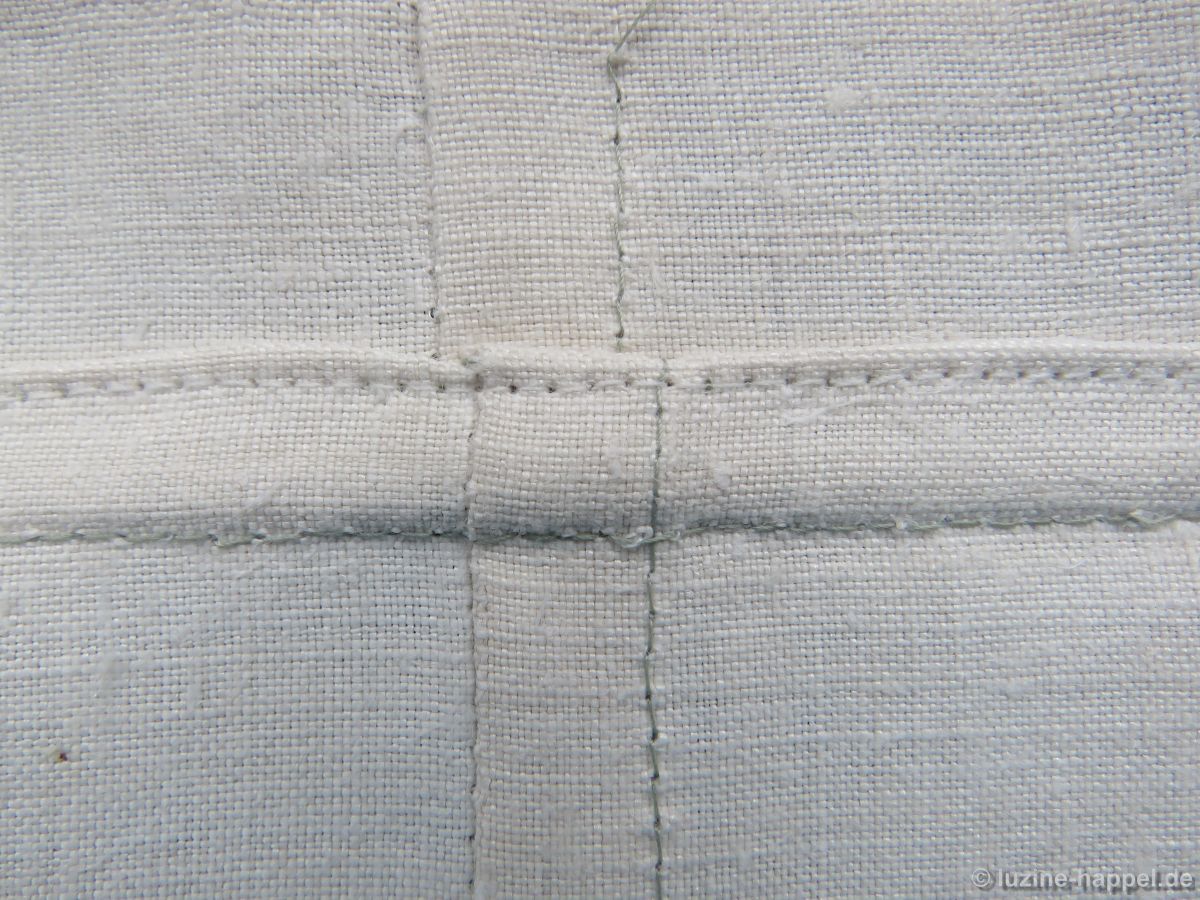
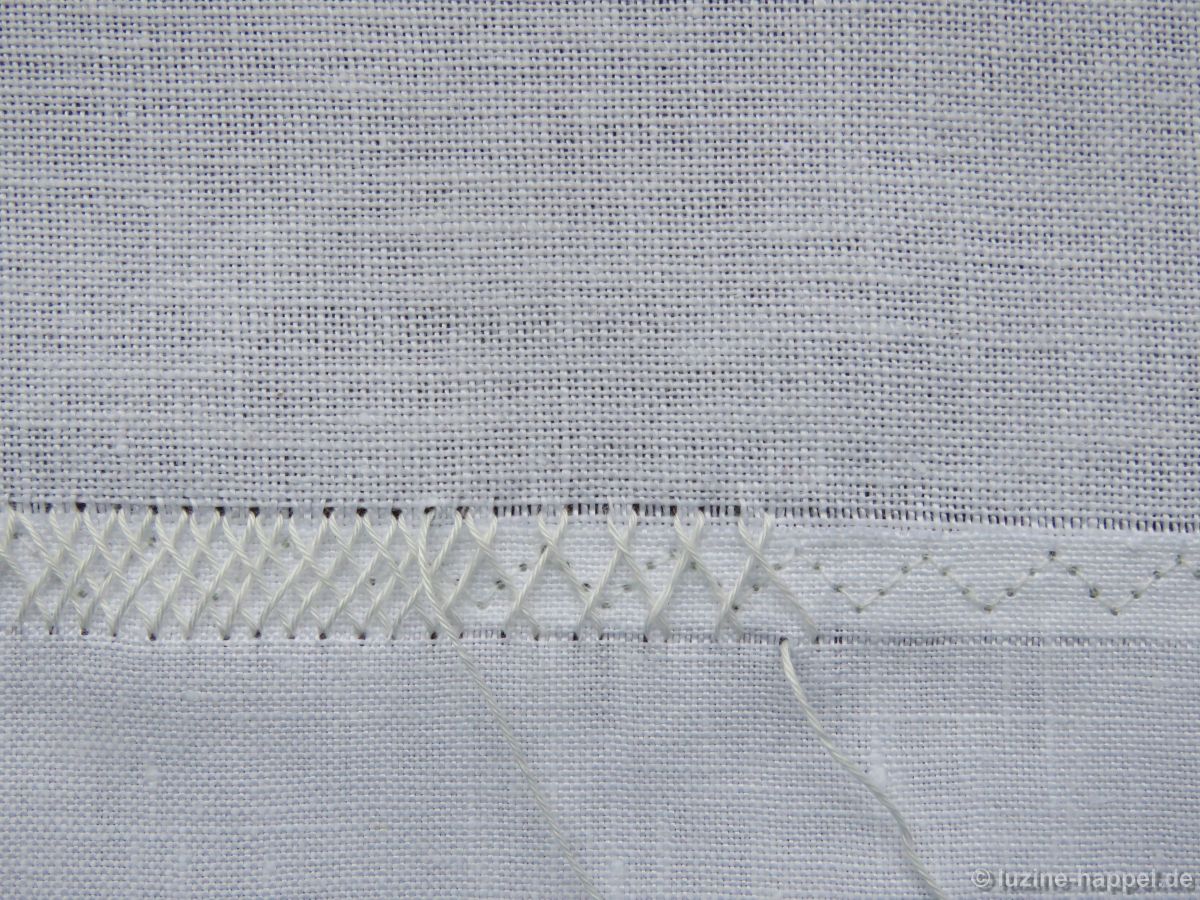
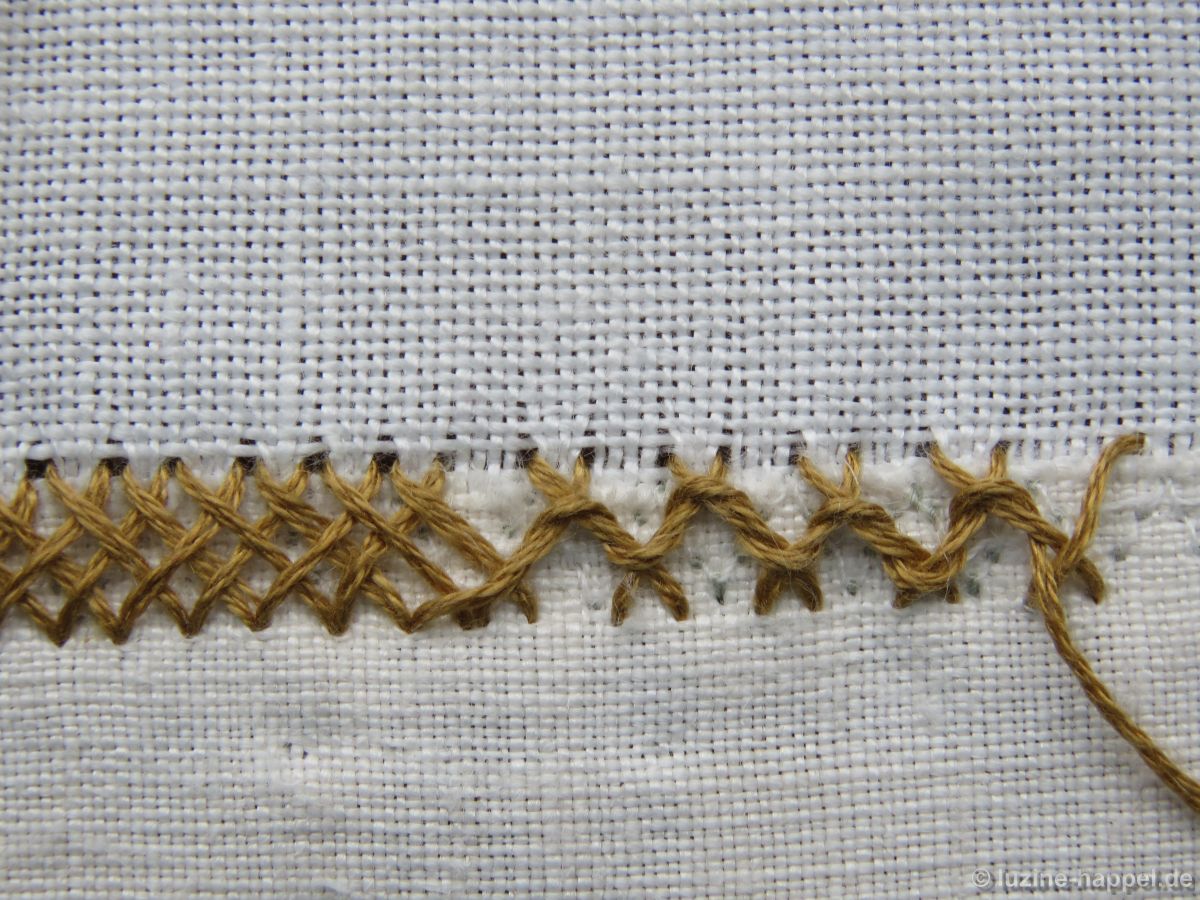
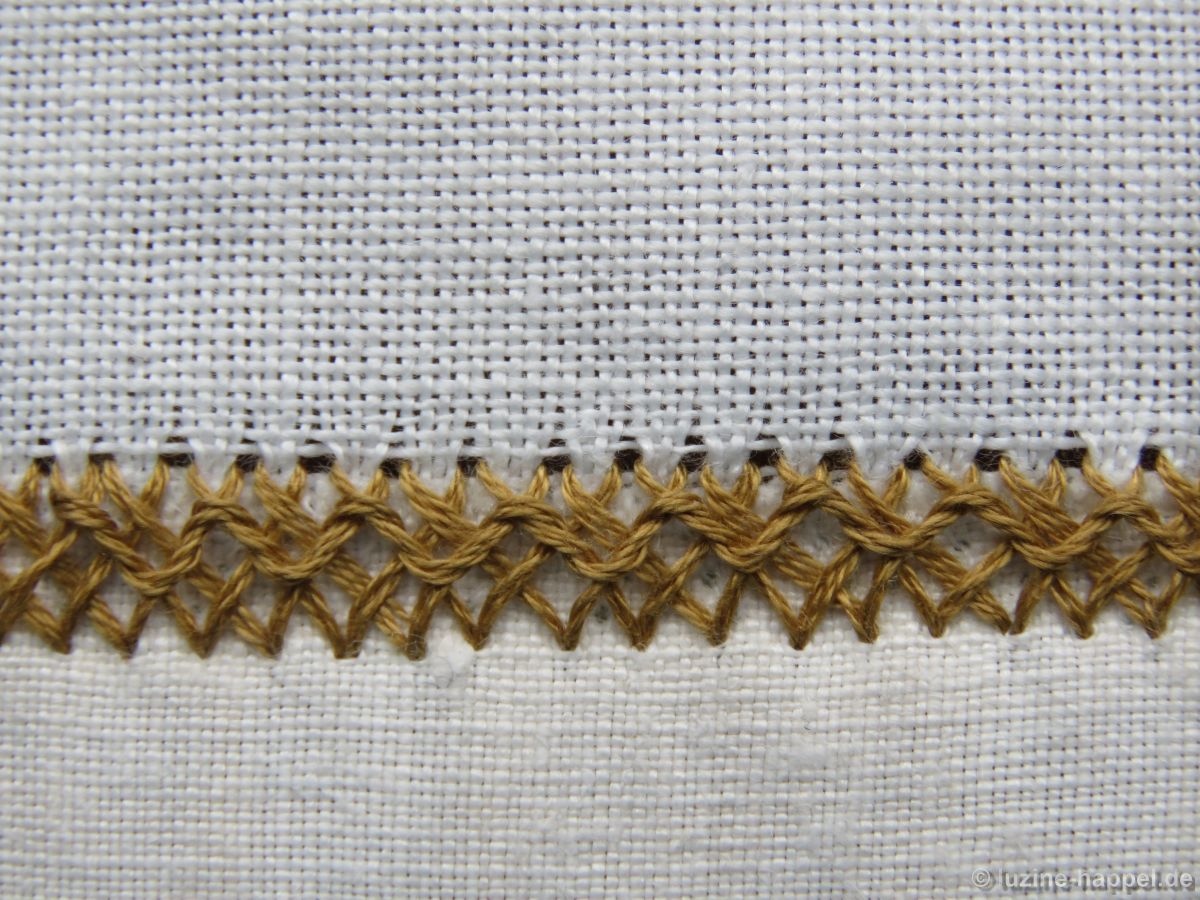
7.
So I made another trial choosing exactly the width of my machine stitches – 0.7 cm.
This time I used coloured thread for the herringbone stitches. I used Anchor 888, which is commonly used to work Schwalm crowns. Perhaps a somewhat lighter golden tone would be better, but I will be using the darker gold to work an inscription for the Global Schwalm Sampler using Cross stitches (letters on a large cloth with too light a colour would not be very readable), and my current thought is to use only one colour. I think using the darker shade here is okay.

Also, I made some tests with curved lines in single Herringbone stitch rows
and in double Herringbone stitch rows.
Both curved lines did not turn out satisfactorily, so I can give up testing more curved lines.
The width of the stitches is okay for both working and appearance. However, I don’t really like the Herringbone stitches for this application – I find them a little too busy. Perhaps it is because this sample is such a short piece.
Assembling is okay because the final sampler will not need a lining – the seam is clean on both sides. Also, the embroidery keeps its own character.
Please leave a comment to share your thoughts on these different ways to finish the sampler. And if you have an idea that I haven’t considered, please share that, too!

Liebe Frau Happel, früher hat man wohl öfter um Stoff zu sparen oder aus anderen Gründen bestickte Stücke verbunden. Man benutze dazu sogenannte Insertion-Stiche. Es gibt welche in “The Embroidery Bible” oder “The encyclopedia of Embroidery Techniques”. Bestimmt haben Sie ein entsprechendes Stück Weißstickerei in Ihrem Bestand. Ich habe meine Versuch auf einen Bilderrahmen zum Bemalen geheften damit der Abstand gleich bleibt.
mit freundlichen Grüßen
Heike Vollmar
Danke für den Kommentar und das Bild, liebe Frau Vollmar,
Ich kenne den Stich – und auch die verflochtene Variante.
Allerdings müsste man dann erst jedes Stück säumen, damit die Kanten nicht ausreißen. Das würde bei manchen eingereichten Stücken schwierig. Außerdem würde ich die Säume nicht alle mit der Hand nähen wollen – Maschinenarbeit wäre also auch in diesem Fall dabei.
Oder sehe ich etwas falsch?
Liebe Frau Happel,bei den ganzen Varianten die sie dargestellt haben,hat mir persönlich der einfache Hexenstich mit dem Schlängchen am besten gefallen.Ich denke sie werden mit ihrer langjährigen,künstlerischen Erfahrung das richtige wählen.
Wünsche Ihnen eine gute Wahl.
Liebe Grüße A.Bischof
Danke, liebe Frau Bischof, für Ihre Meinungsäußerung. Ich werde weiter suchen und habe auch schon ein paar Ideen.
How about Pojagi?
Mainly running-stitch.
https://www.felissimo.co.jp/couturier/blog/technique/sewing-technique/post-10247/
Unfortunately I’m not good at Pojagi-method.
Only for your reference.
Best regards from Yasuko
Thank you, dear Yasuko,
I looked to the method. It is similar to the flat felled seam – only with hand made stitches. The in this example used fabric was very thin. I got contributions with densely woven and heavy linen. Here the intersections would get too bulky.