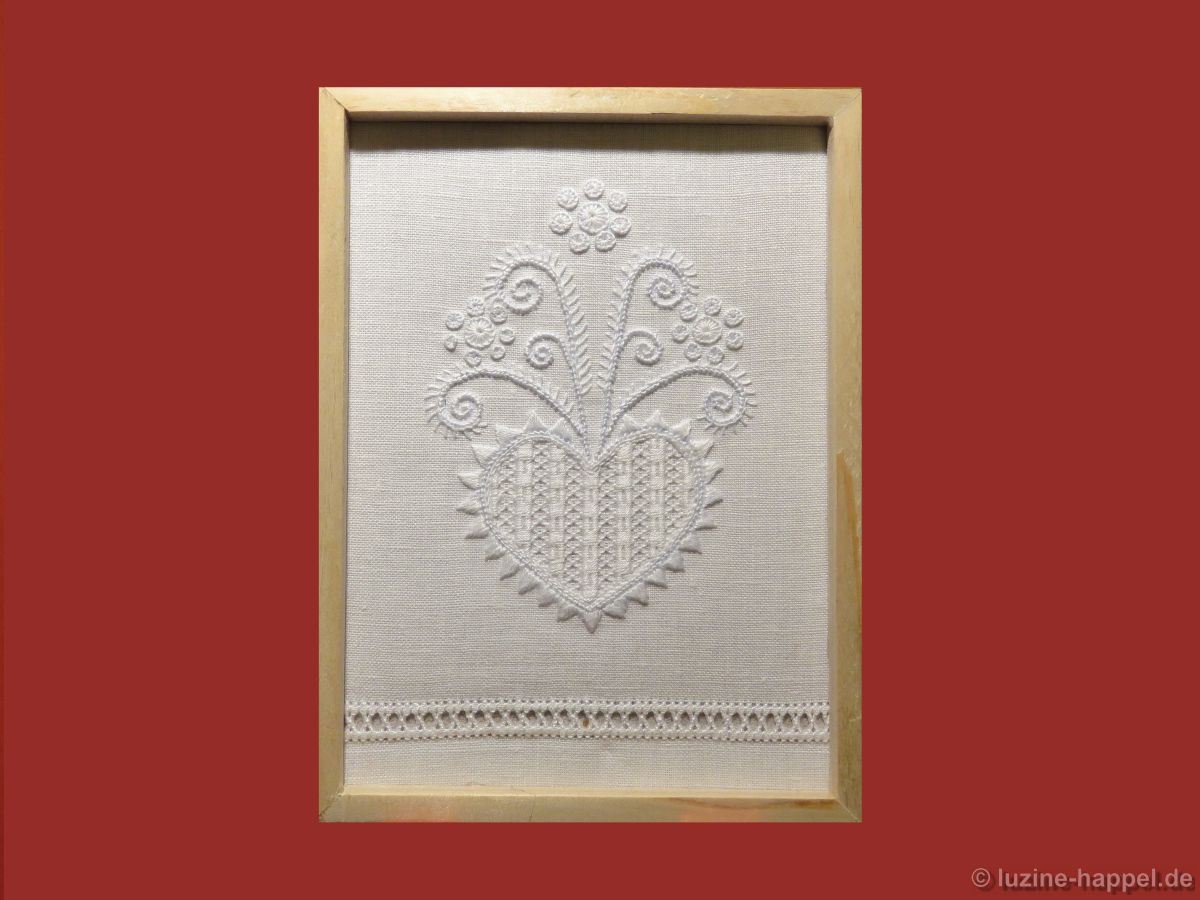


Picture
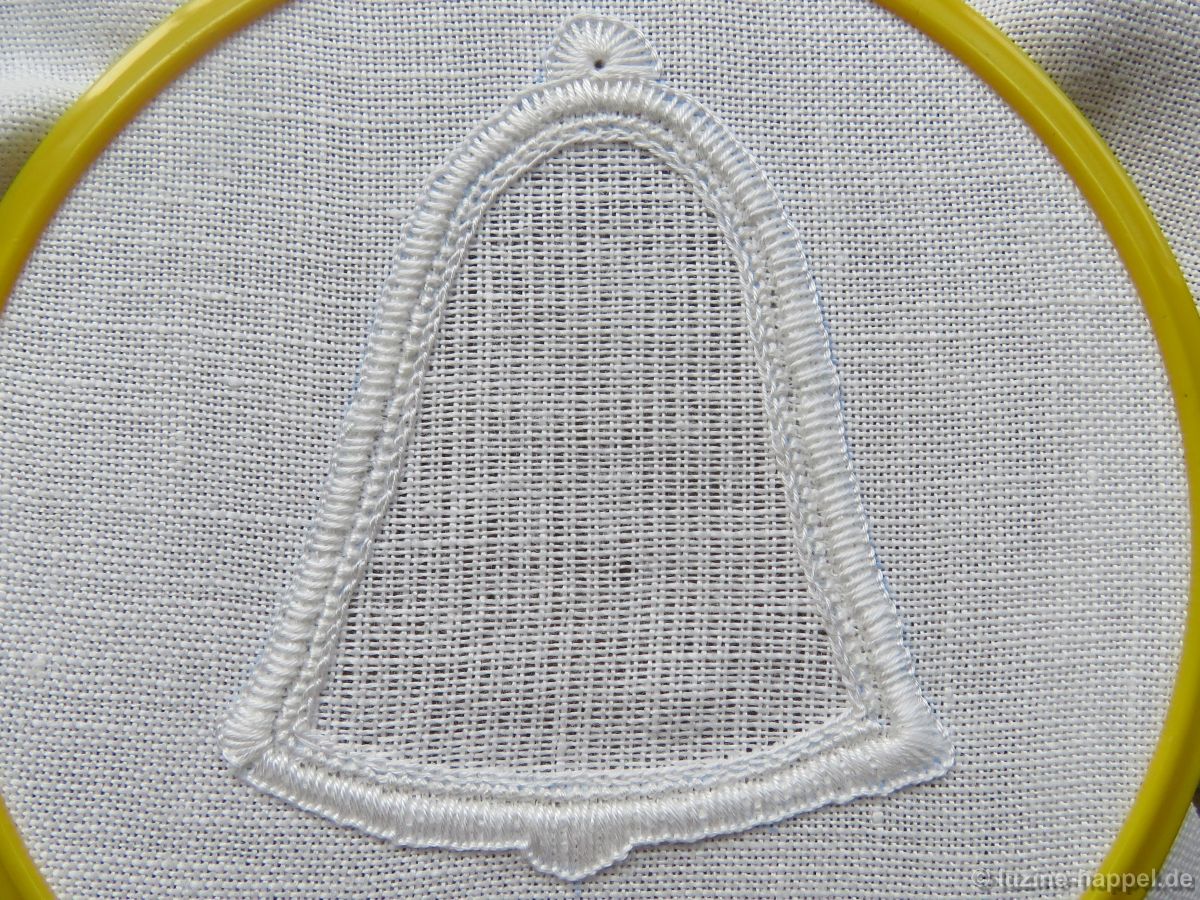
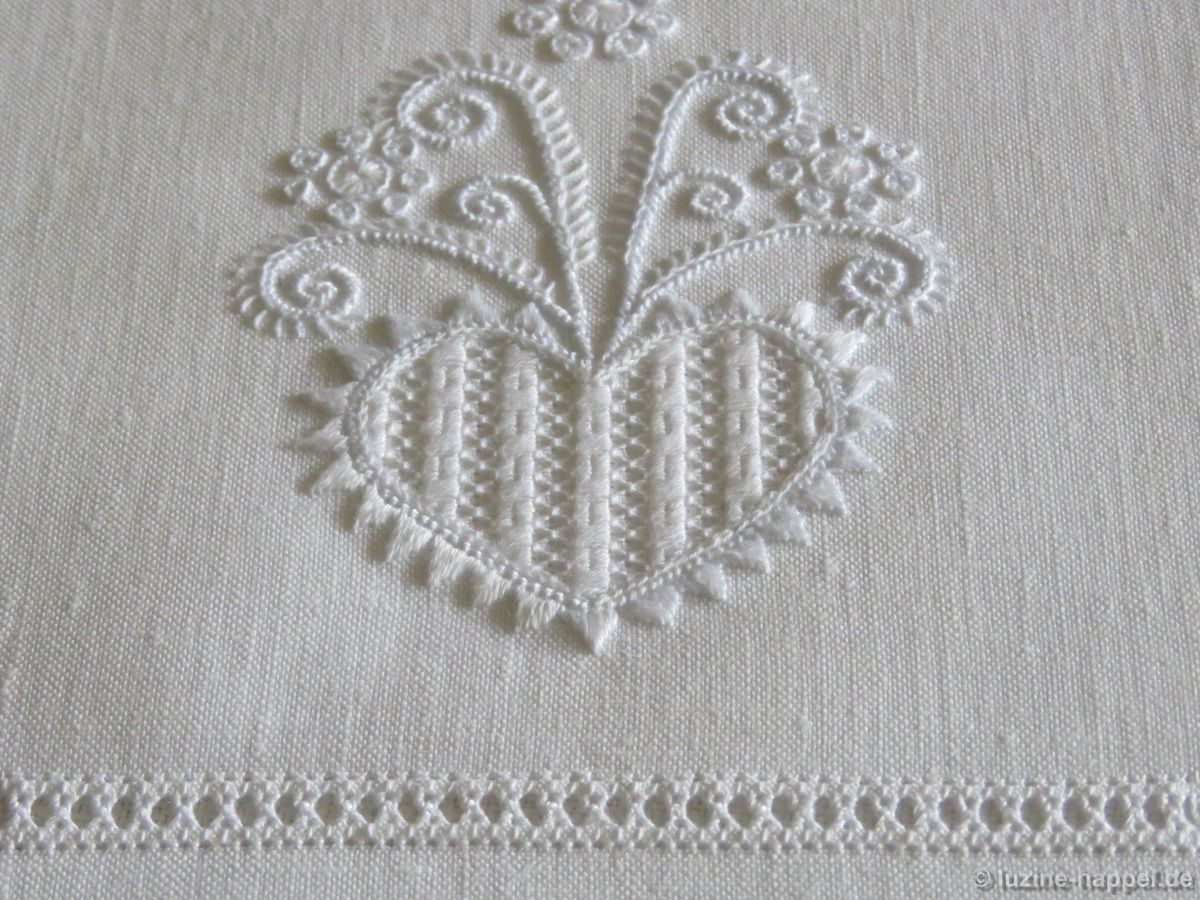
Linen: 20/cm thread count, cut to about 18 cm X 24 cm
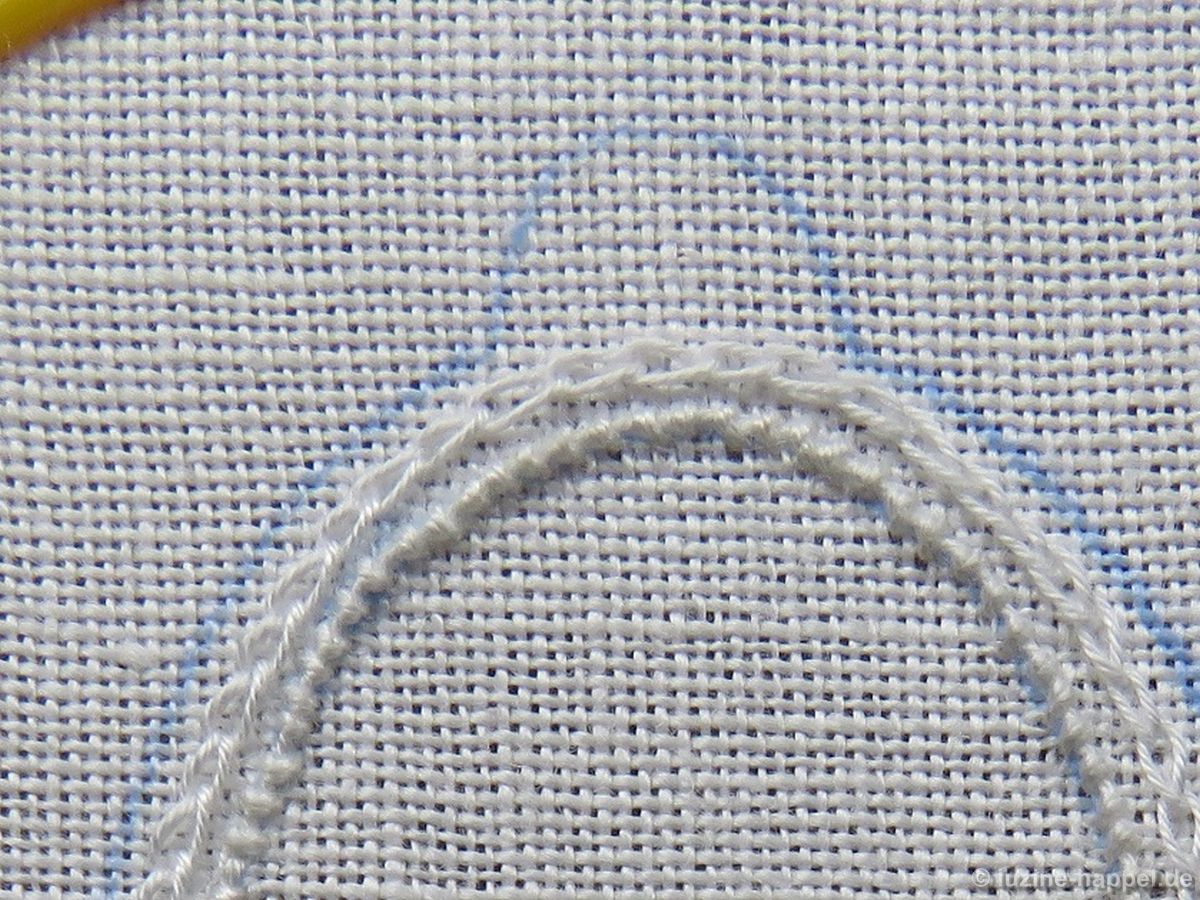
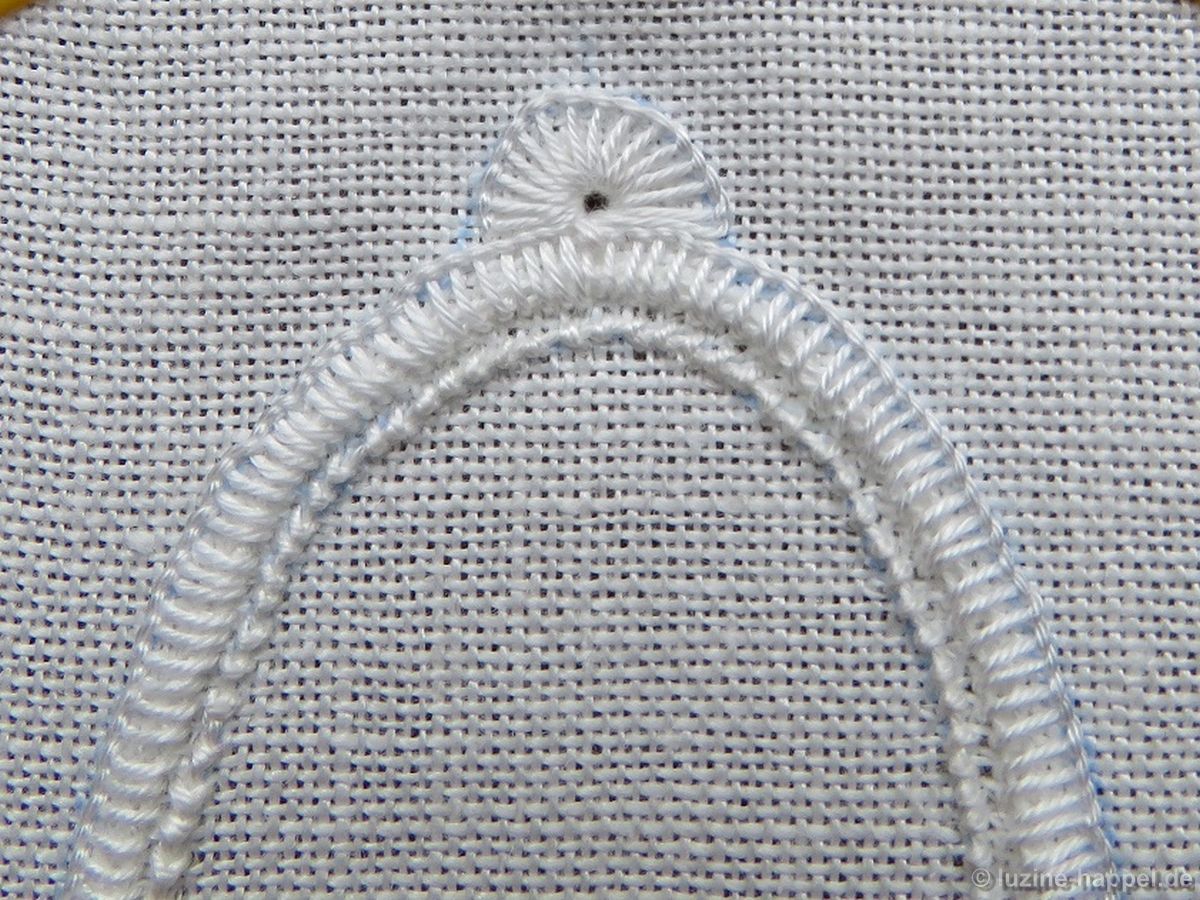
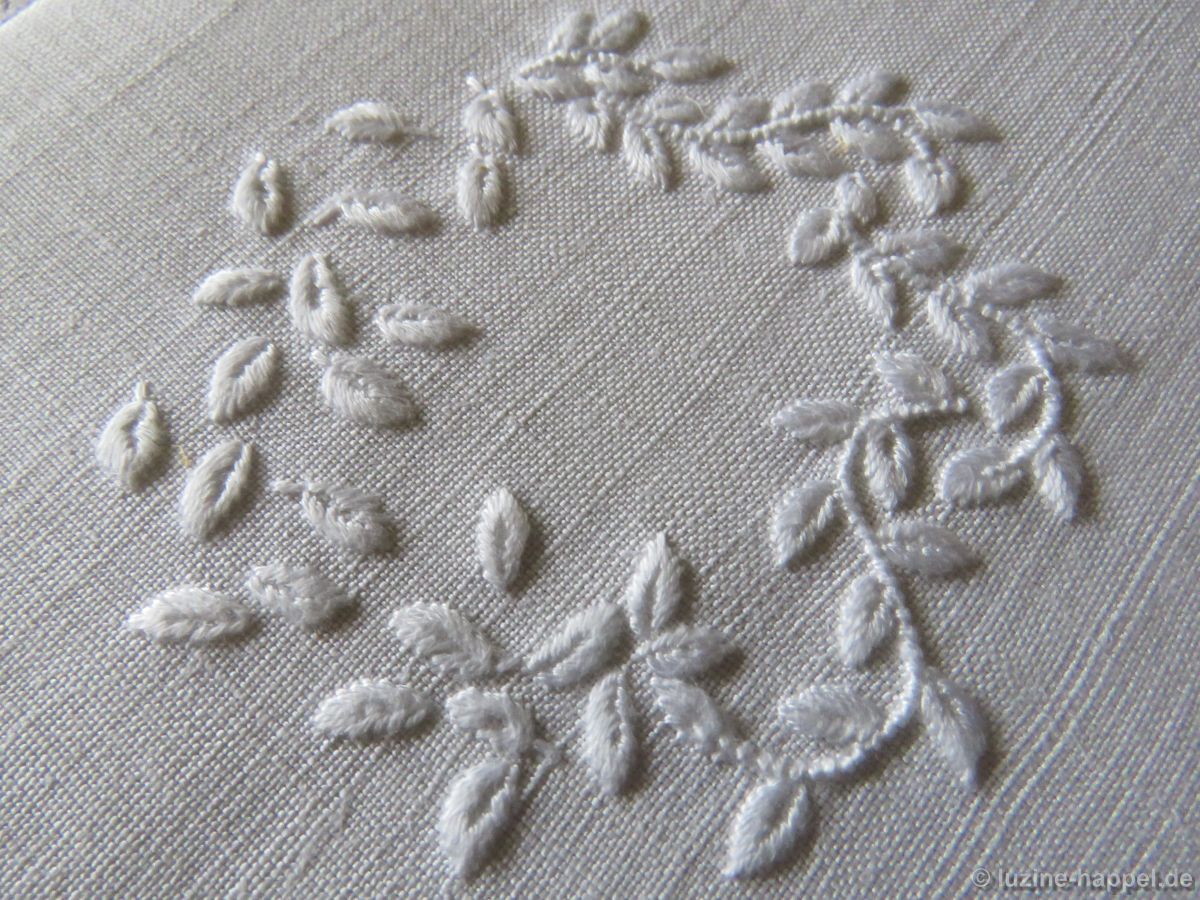
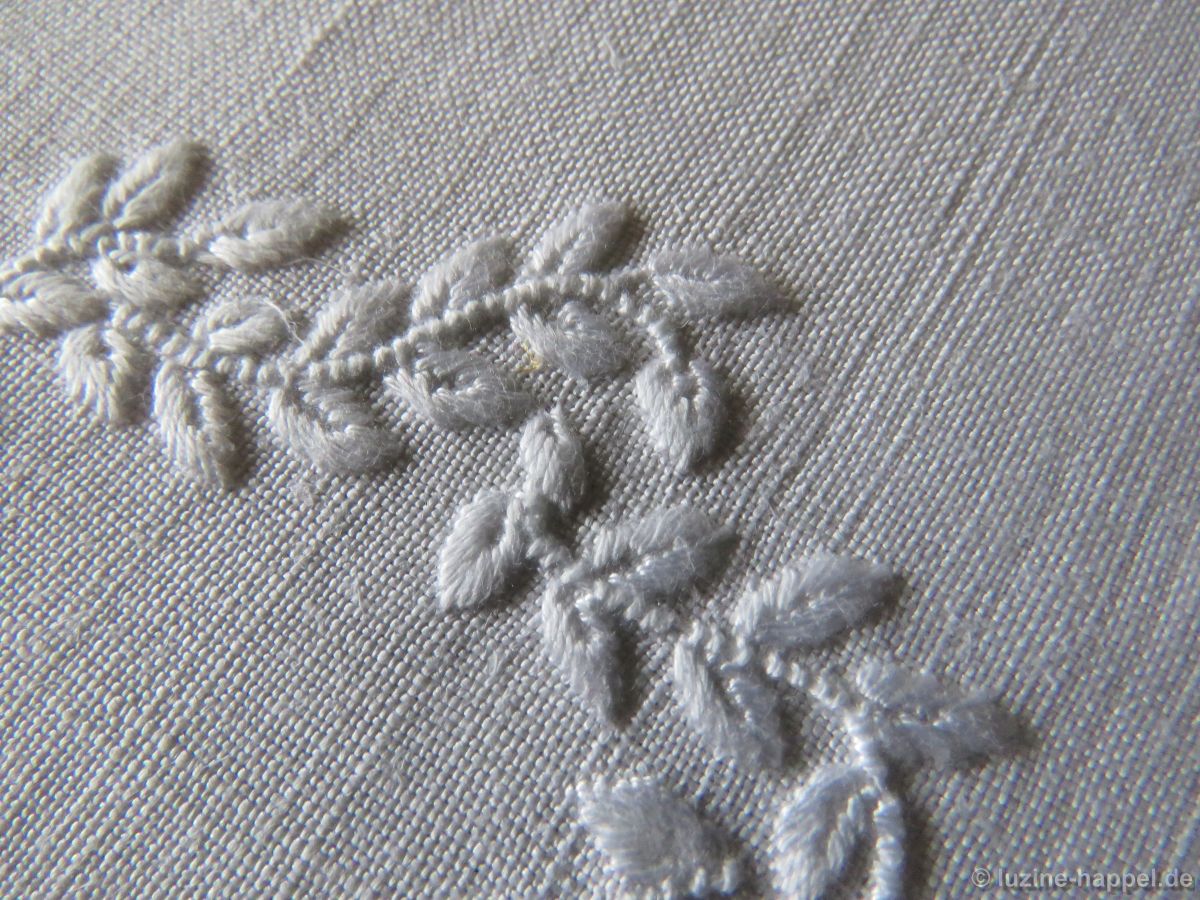
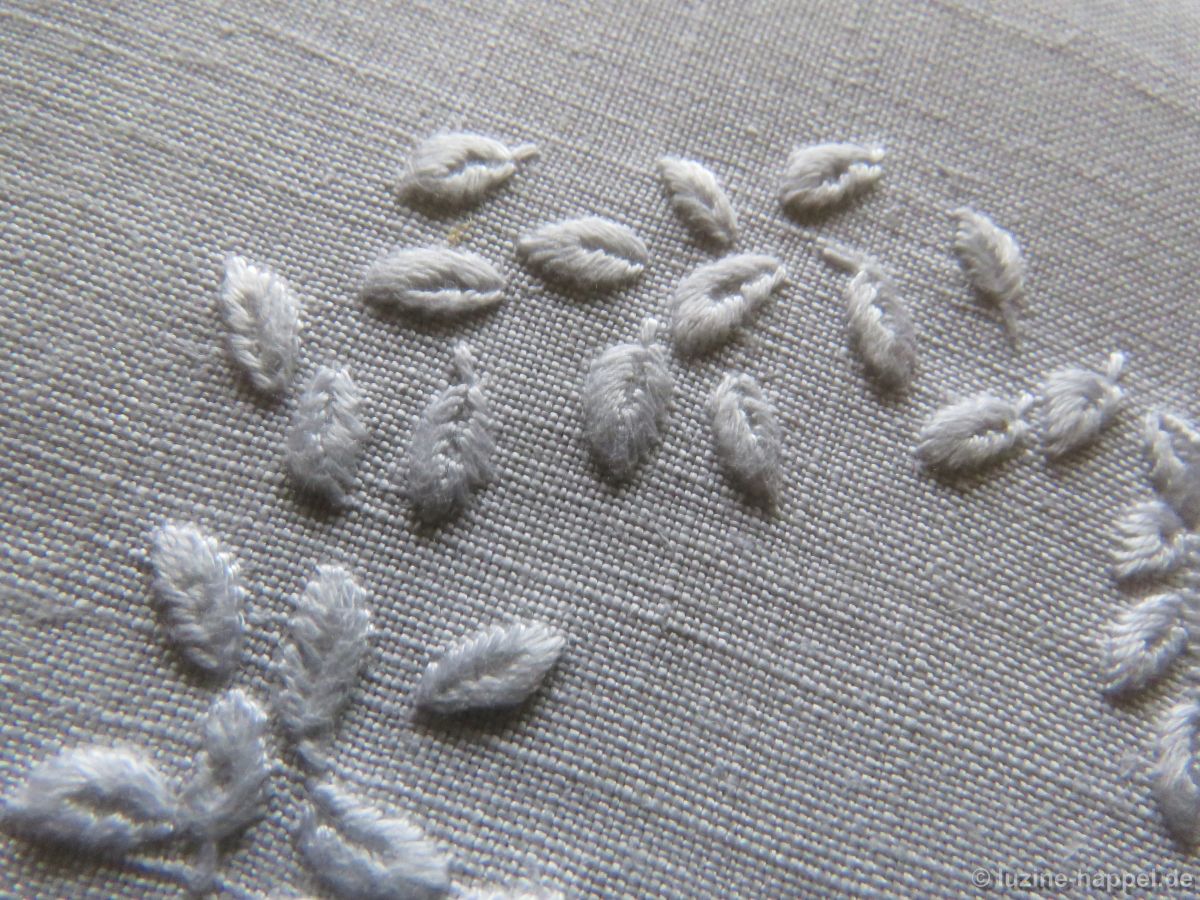
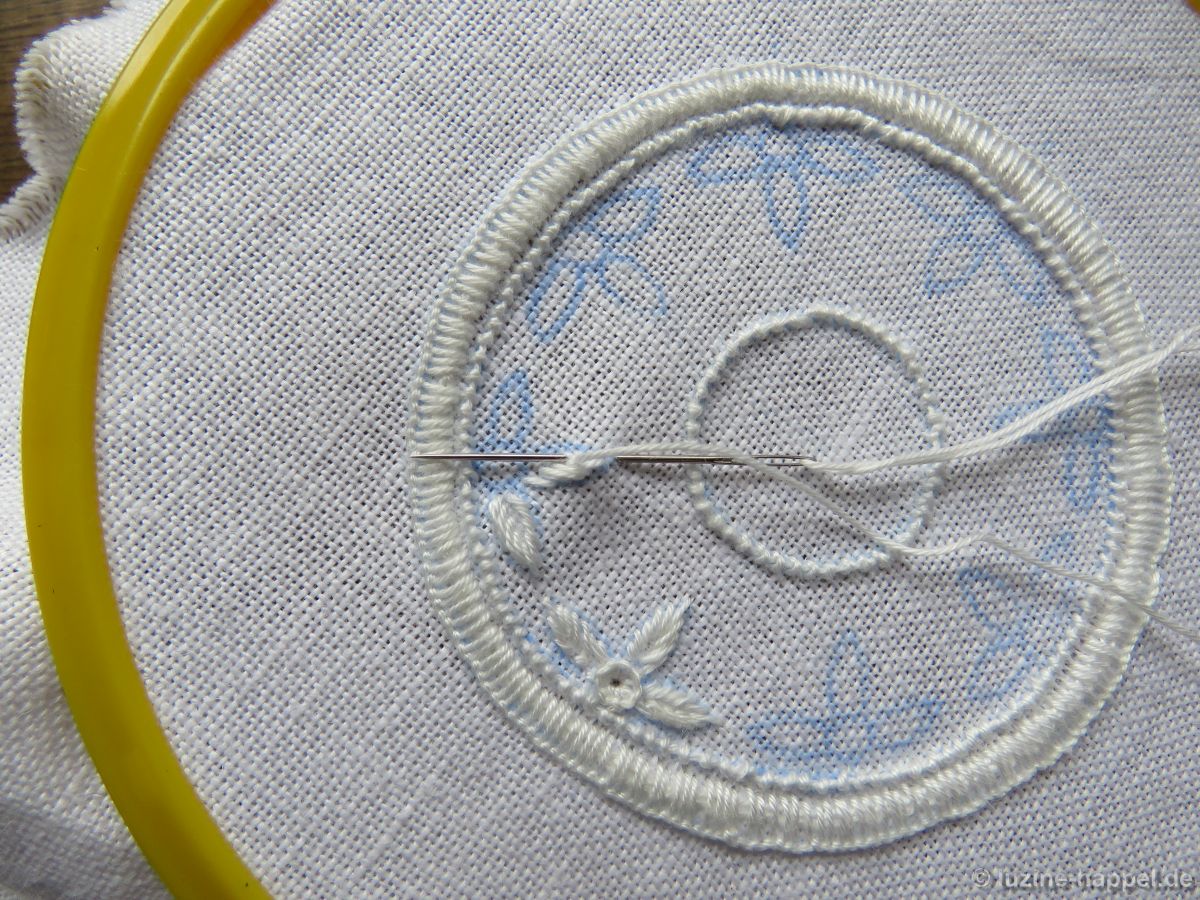
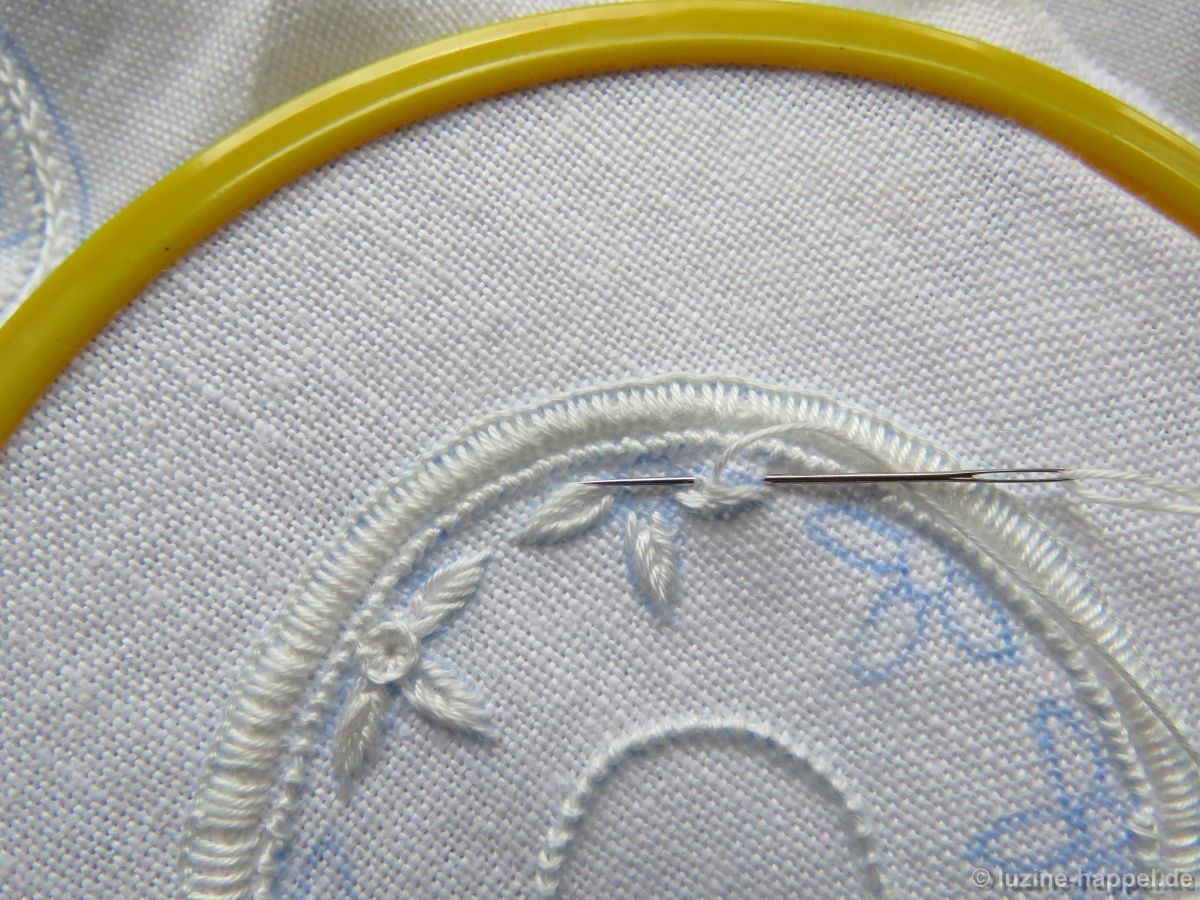
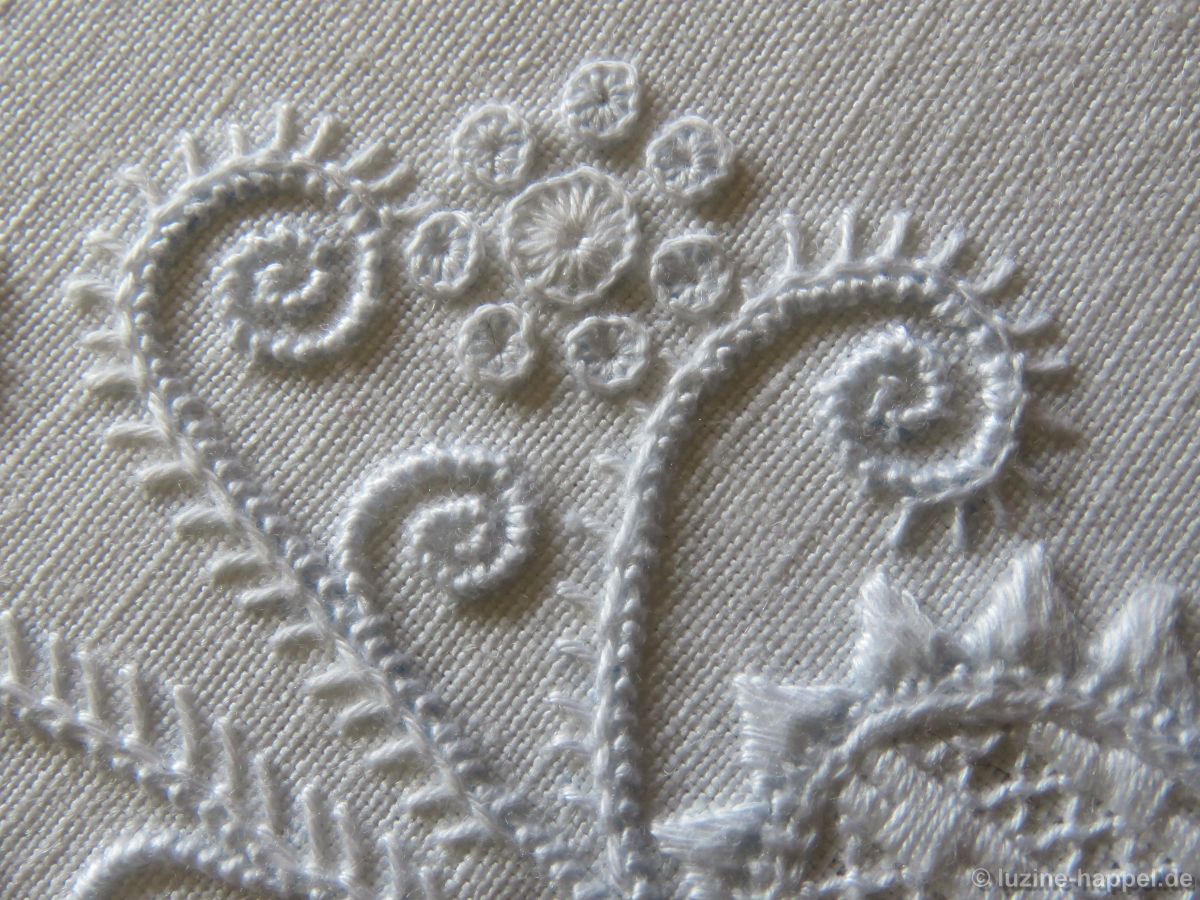
Threads: coton à broder No. 20 for Coral Knot stitches; No. 25 for Satin, Blanket, and Eyelash stitches; No. 30 for Chain stitches, the filling pattern, and the Peahole hem.
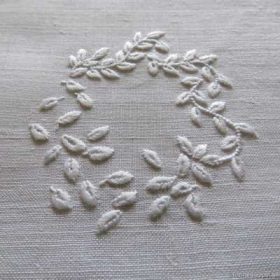
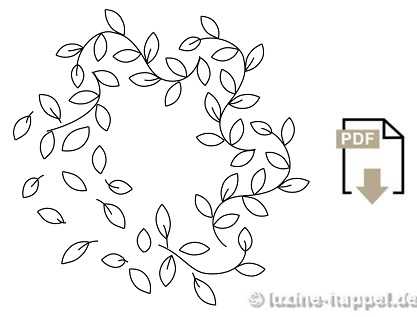
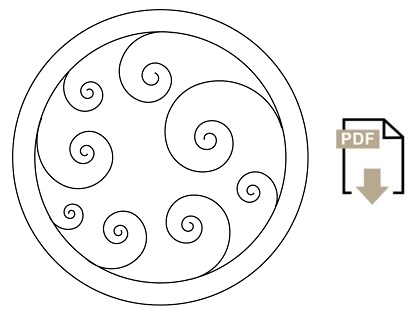
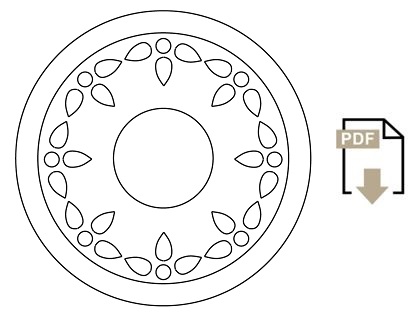
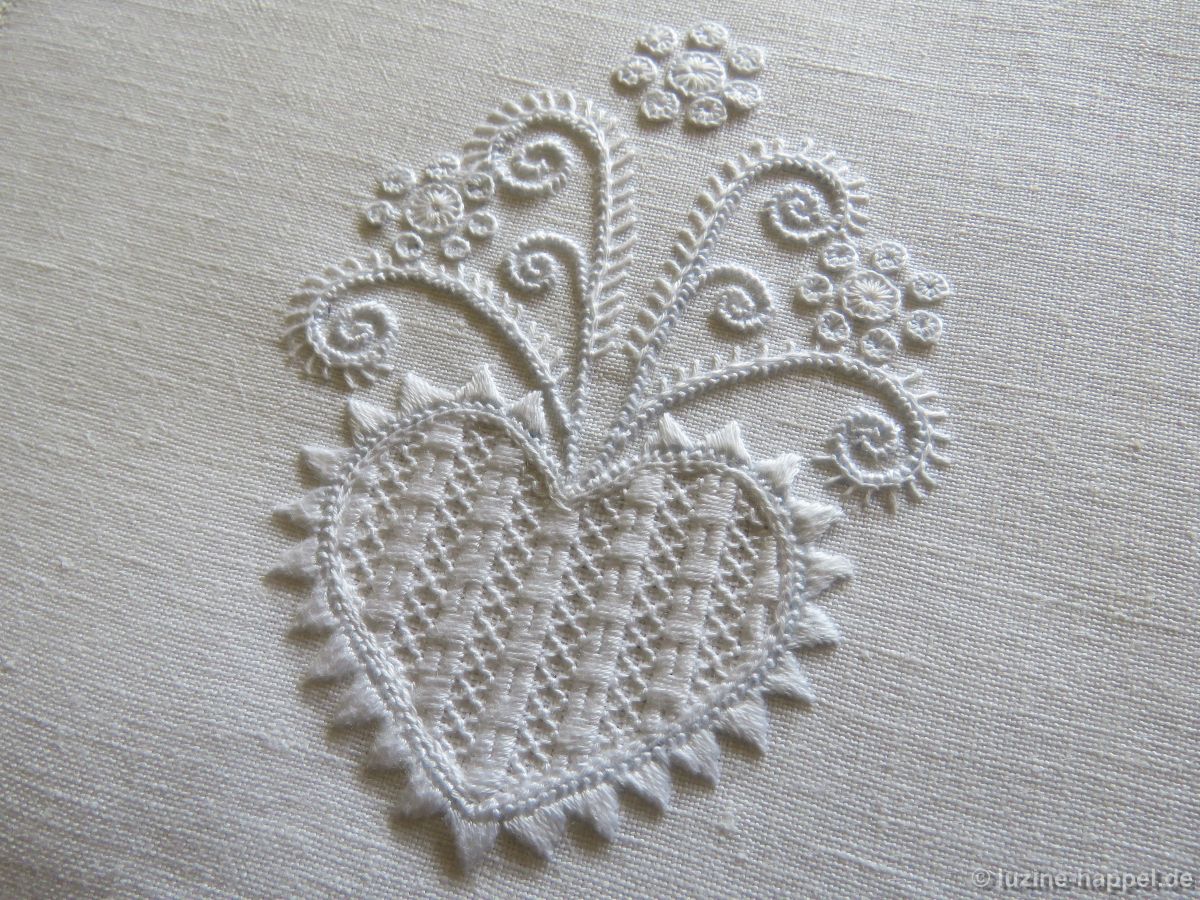
Design: No. 15 measuring 8 cm X 11.26 cm
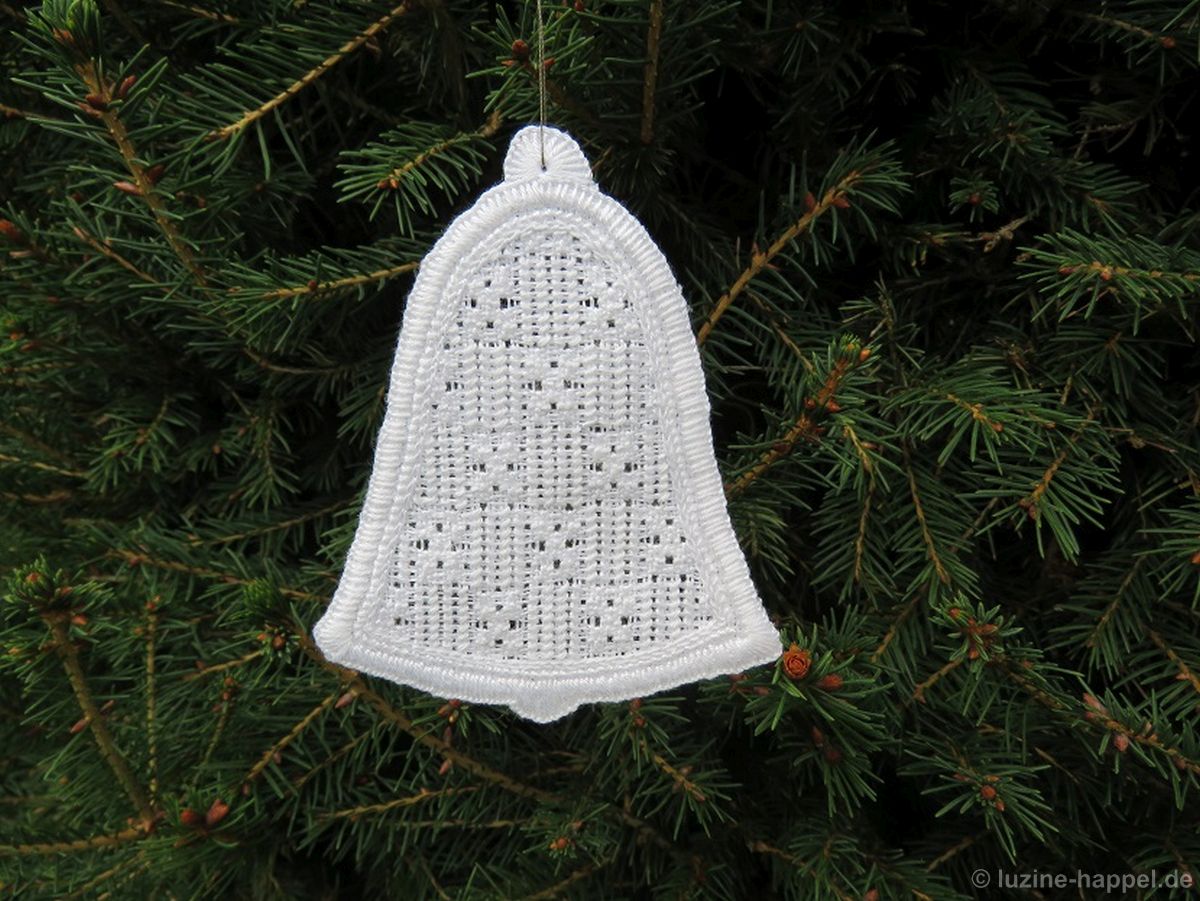
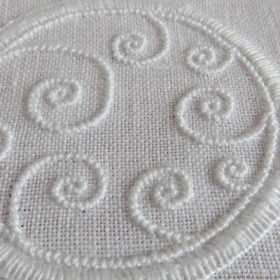
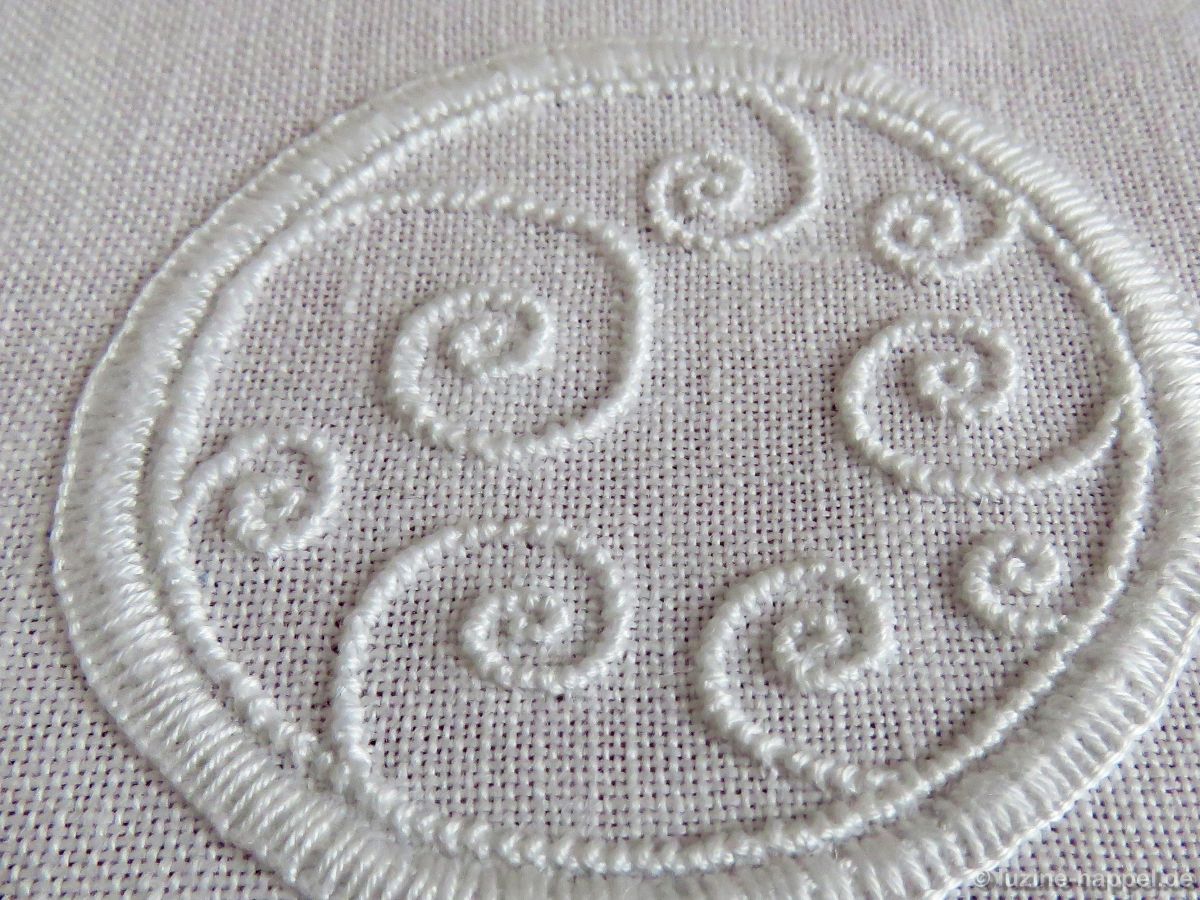
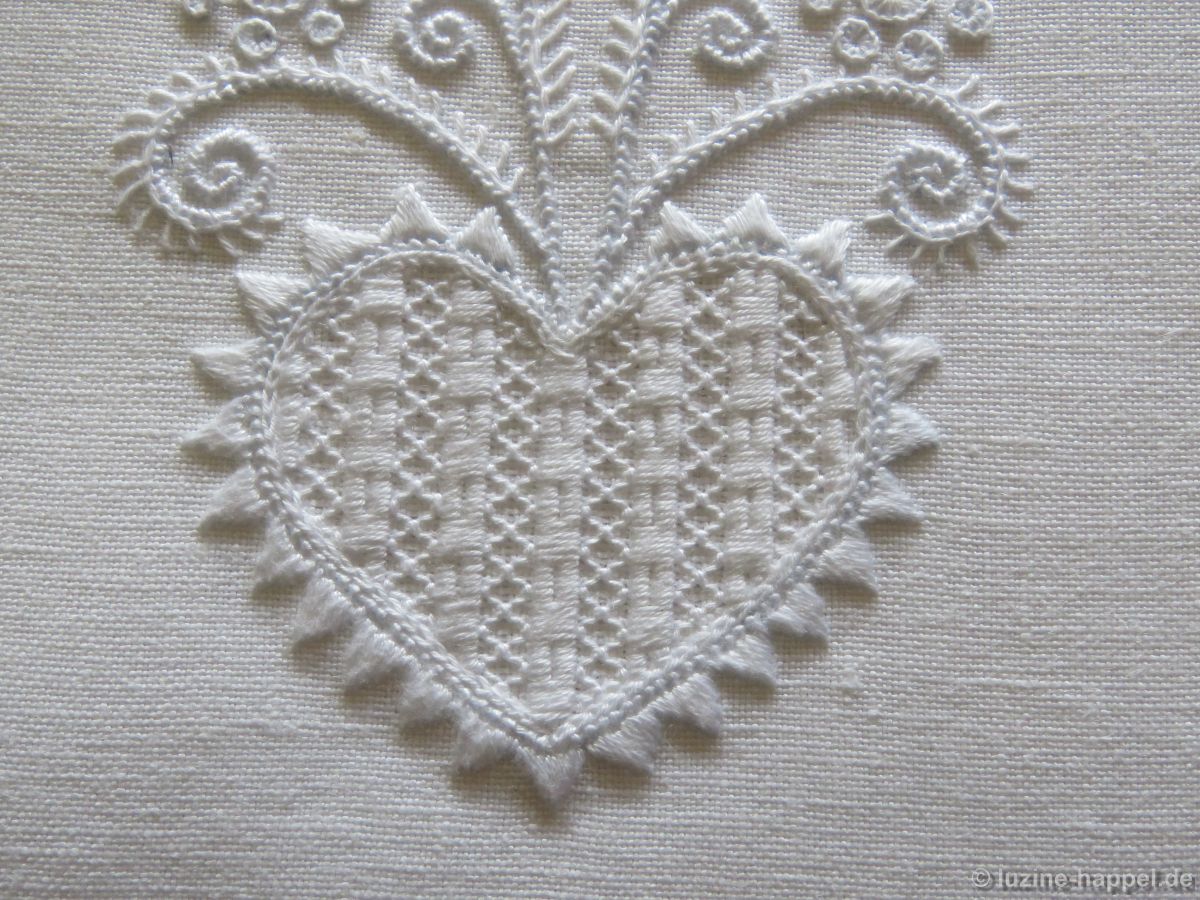
Filling pattern: alternating one row of Narrow Zip (Wickelstiche) and two rows of Honeycomb Darning stitches (Basic Principles of Schwalm Whitework)
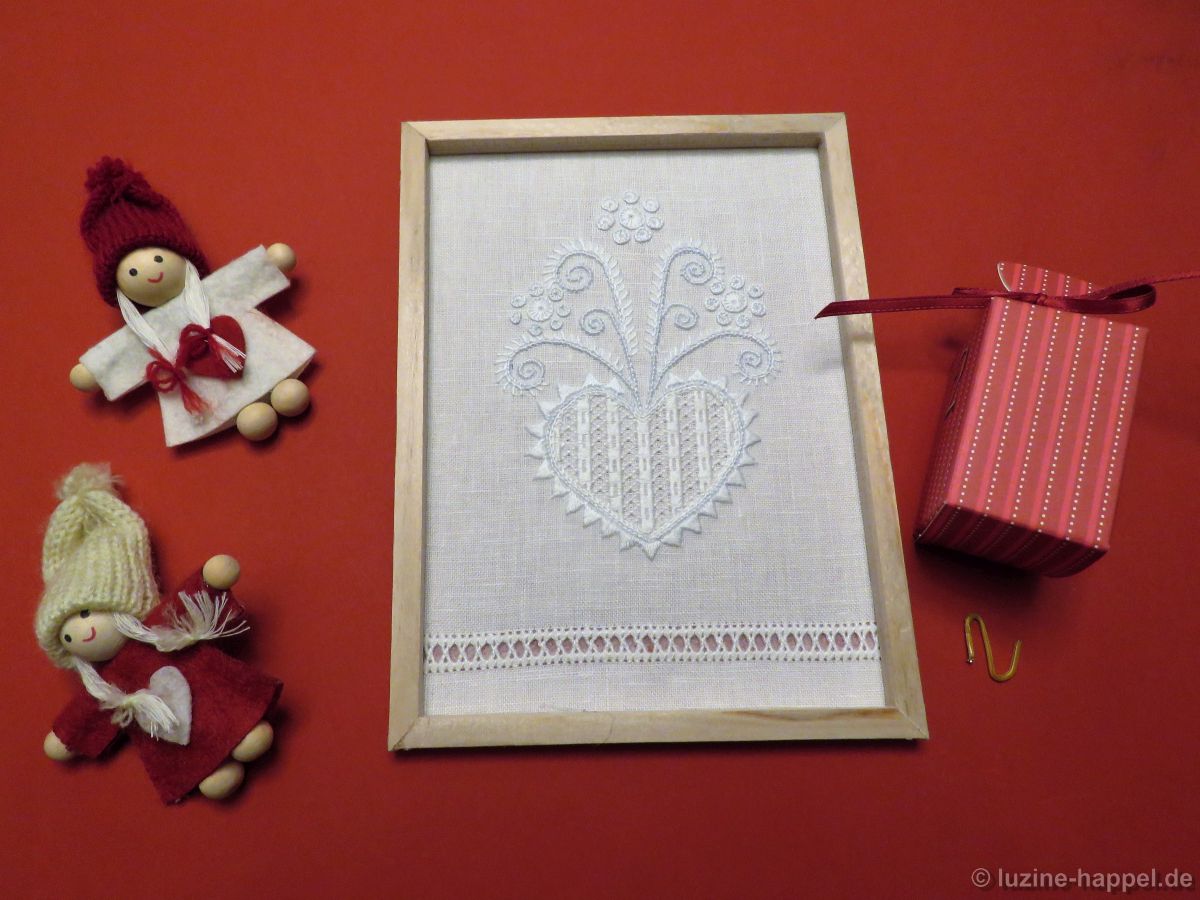
Additional items: non-woven fusible interfacing for the back of the linen, a small wooden frame, a small hook
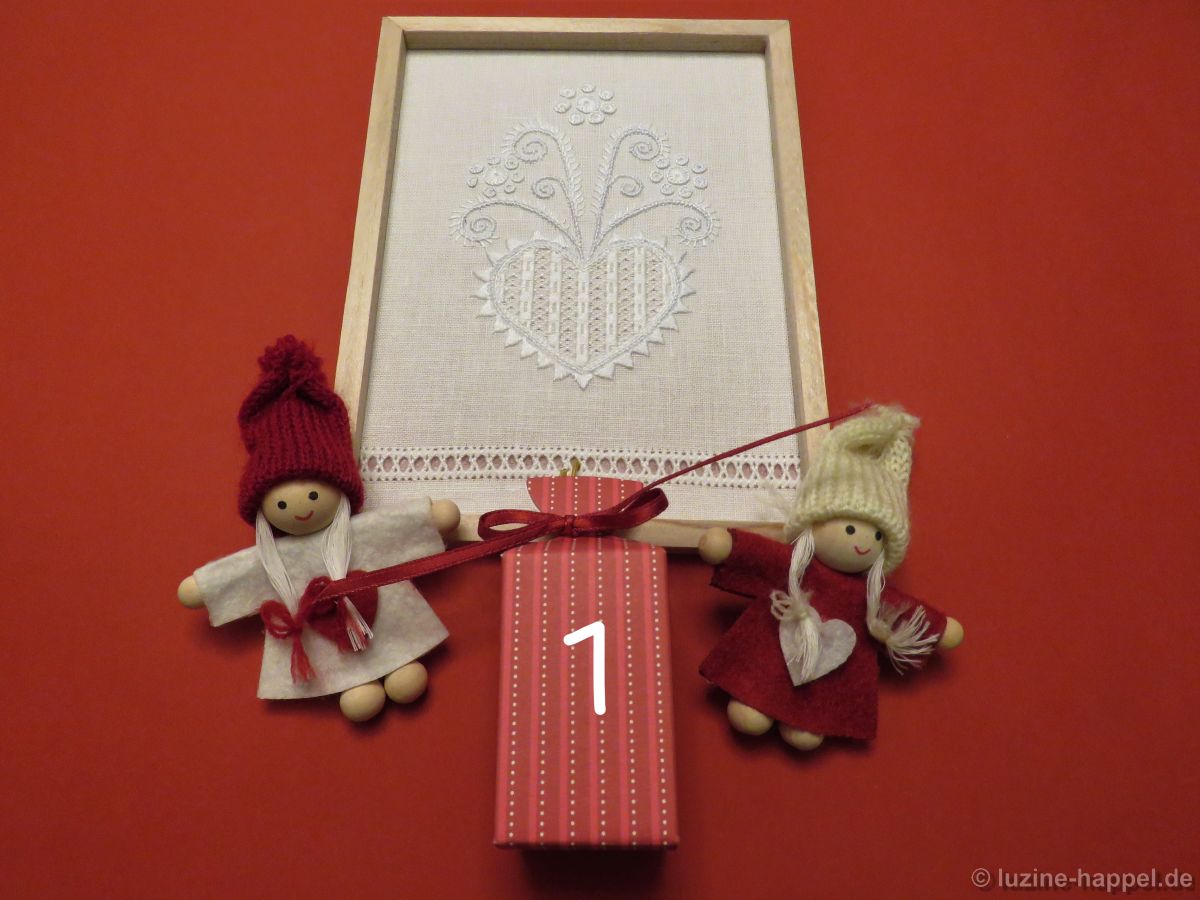
Putting a S hook in the Peahole hem, a year-round picture can easily turn into a holder for an advent gift.
December is approaching – time to think about ornaments for trimming the tree. This year a bell will be added to the collection of Christmas ornaments.
A bell design with a double outline is transferred to 13.5/cm thread count linen. The original size is 7 cm X 9 cm.
Using coton à broder No. 16, Coral Knot stitches are worked along the inner line. Using coton à broder No. 20 for Blanket stitches and the outside Chain stitches, Chain stitches are first worked a small distance outside the Coral Knot stitches.
Then the outside Chain stitches are covered with densely worked Blanket stitches between the outline and the Coral Knot line. A half-eyelet scallop at the top creates a perfect hole to fasten a hook or hanging string.
Using coton à broder No. 30, Chain stitches are worked directly inside the Coral Knot stitches. The shape is filled with pattern “478.” Thread withdrawing and instructions for working this a simple drawn thread filling pattern can be found here.
After washing, starching, and ironing, the piece is cut.
It is now ready to decorate your tree.

Autumn leaves drift from trees and bushes.
My narrow autumn wreath also gets into a muddle.
The once orderly wreathed sprigs
lose their leaves, and these flutter away.
This seasonal exercise, designed by the artist Gudrun Hartwig, is perfect for practicing small pointed leaves.

The last design for continuing the band with circle designs is a little bit edgy. But it is an interesting design and looks pretty embroidered.
The design is transferred to the linen. Using coton à broder No. 16 Coral Knot stitches are worked along the inner line. The tendrils run clockwise, so also embroider the Coral Knot stitches clockwise. (If you do not transfer the design by ironing, your tendrils will run counterclockwise. In this case please embroider also the Coral Knot stitches counterclockwise.)
Please make sure, that the last stitch before reaching a fork is worked somewhat wider than the others. You want to work an offshoot on the
right, so widen the stitch a small step to the right.
All other preparatory work is done per the explanations in the leaves practicing article.
Then the tendrils are worked.
The forks turned out perfectly.
Today I present two more designs for the band with circle designs. Both are suitable for practicing blanket stitch eyelets in combination with small pointed leaves.
The designs are transferred to the linen, and the preparatory work is done per the explanations in the leaves practicing article.
Using coton à broder No. 20, the leaves of a group are worked first,
one after another.
Then the Blanket stitch eyelet is worked.
The embroidery is continued always working the leaves first and then the Blanket stitch eyelet.
In the second design, the first step is to work Coral knots up from the edge to create the stems of the leaves and the Blanket stitch eyelets.
Then the leaves
and the Blanket stitch eyelets are worked.
Both designs look pretty washed, starched, and ironed.


