Eine alte traditionelle Methode zum Übertragen von Mustern auf Leinen
Vor einiger Zeit berichtete mir eine Stickerin begeistert davon, dass sie durch Zufall ein Waschmittel entdeckt hat, das Bleistiftstriche leicht und rückstandslos aus weißem, besticktem Leinen entfernt.
Sie nutzt eine sehr alte tradierte Methode zum Übertragen der Konturen für ihre Stickereien: Papier wird auf der Rückseite im Bereich der Konturlinien mit HB-Bleistift geschwärzt. Mit der geschwärzten Seite auf dem Leinen positioniert, werden die Konturen mittels eines Stiftes mit starker Spitze (ausgedienter Kuli oder Prägestift) nachgezeichnet und auf diese Weise auf den Stoff übertragen.
Diese Methode ist mehr und mehr in Vergessenheit geraten, weil die Bleistiftlinien nur sehr schwer zu entfernen waren. Sollte es nun Abhilfe durch ein besonderes Waschmittel geben?
Da man zu dieser Methode nur Dinge benötigt, die man normalerweise sowieso in der Nähe hat, fand ich diese Art der Übertragung interessant.
Daher habe ich sie getestet.
Dabei bin ich zuerst etwas zaghaft zur Sache gegangen. Auf der Rückseite von Transparentpapier, auf dem das Muster aufgedruckt ist, habe ich die Linienbereiche mittels eines HB-Bleistiftes leicht geschwärzt.
![]()
Mit der geschwärzten Seite nach unten wird das Muster in der gewünschten Position mit wieder ablösbaren Klebestreifen befestigt. Die Konturlinien werden – fest aufdrückend – nachgezeichnet.
![]()
Nach Abnahme der Vorlage sieht man, dass die Konturlinien zwar erkennbar, aber doch sehr schwach sind.
![]()
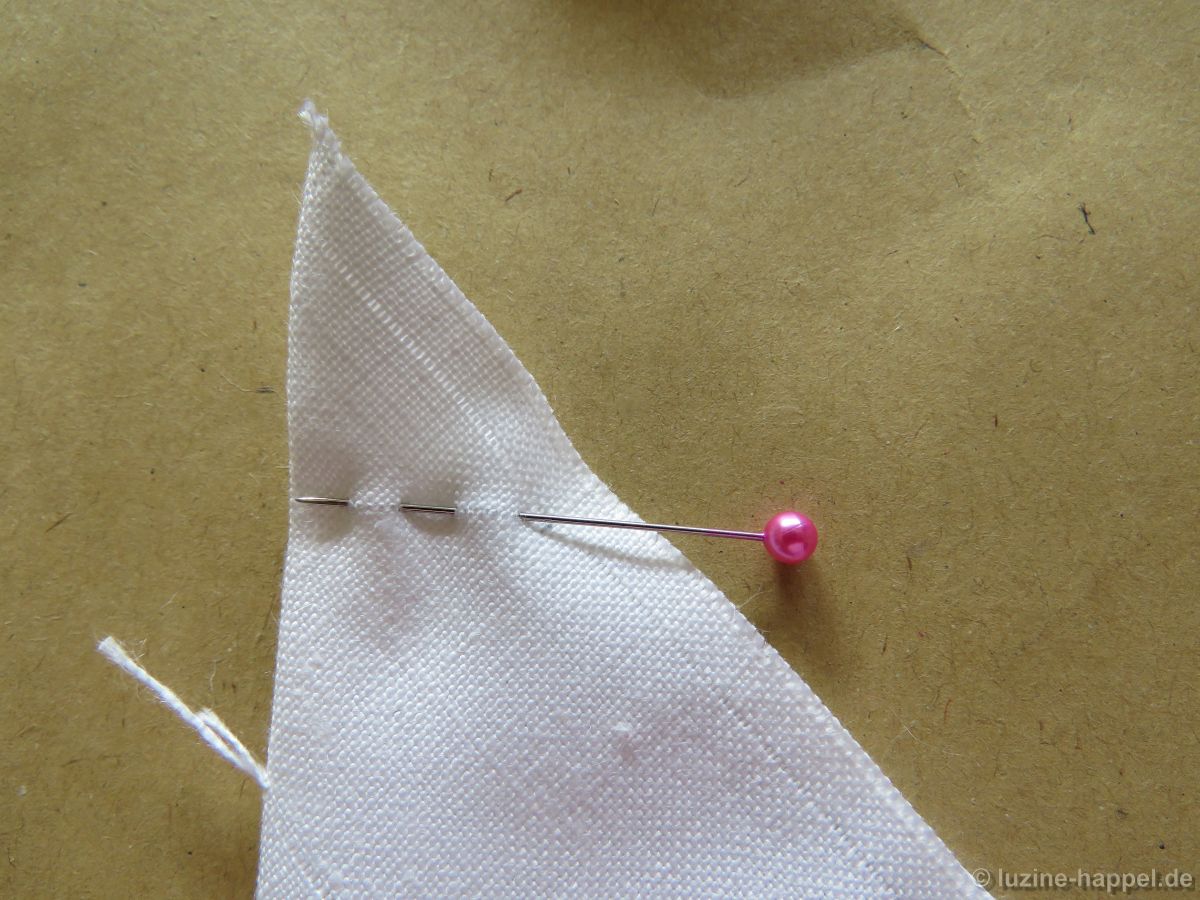
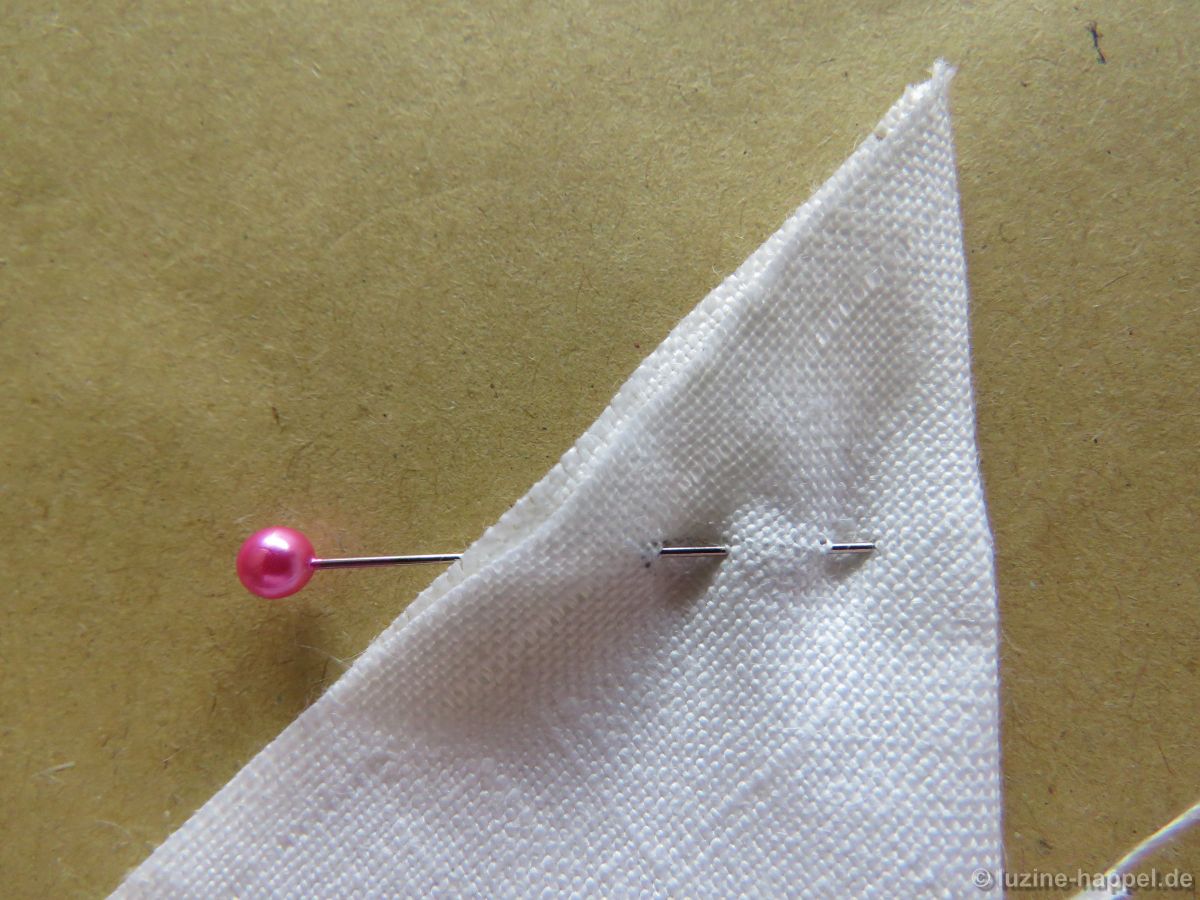
Man kann sie aber jetzt leicht mit einem HB-Bleistift nachziehen.
![]()
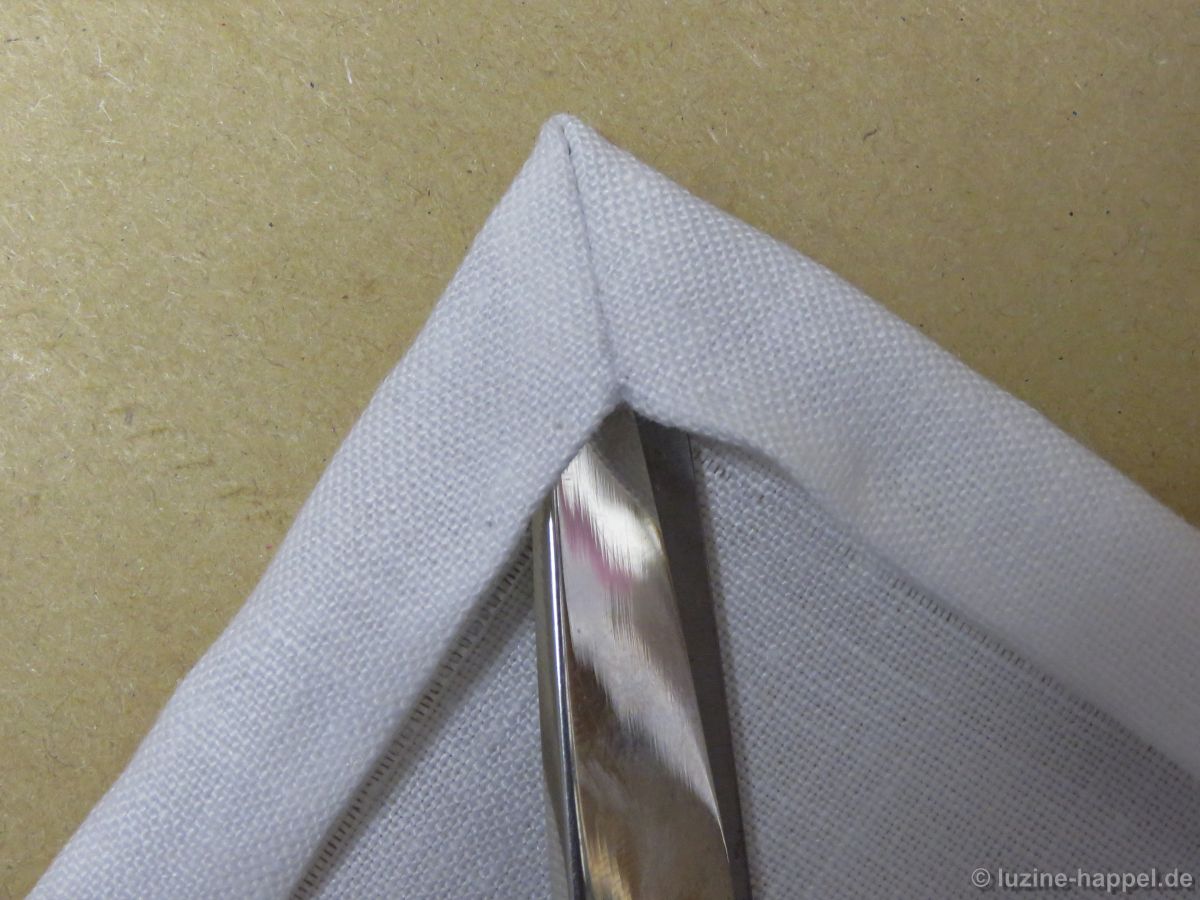
Sollten fehlerhafte Stellen vorhanden sein, kann man diese Linien mit einem weichen Radiergummi einfach löschen.
![]()
Anfallende Krümel kann man mit einer Zahnbürste entfernen.
![]()
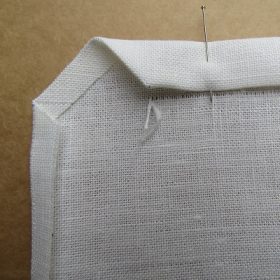
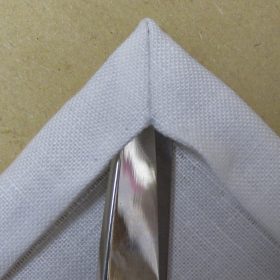
Ich habe das Muster gestickt und sogar zuerst auch noch das Füllmuster gearbeitet, um zu sehen, wie lange die Konturen halten. Sie waren bis zum Schluss gut erkennbar.
![]()
Dennoch habe ich die verbliebenen Linien nochmal nachgezogen, um besser sehen zu können, ob sie bei der Wäsche tatsächlich auch entfernt werden. Deutlich zu sehen ist auch, dass die Knötchenstiche die Bleistiftspuren satt aufgenommen haben.
![]()
Wie sich die Bleistiftspuren entfernen lassen, berichte ich im nächsten Beitrag.
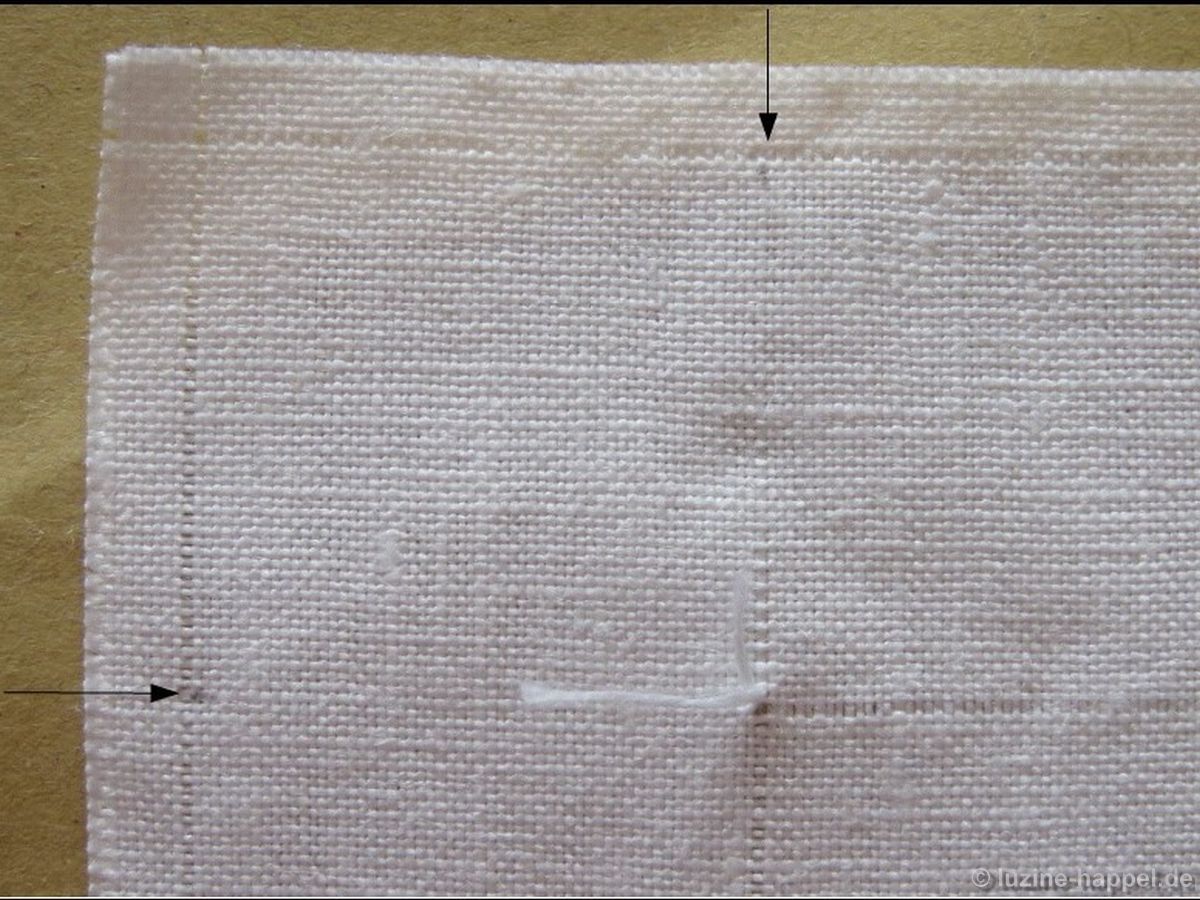
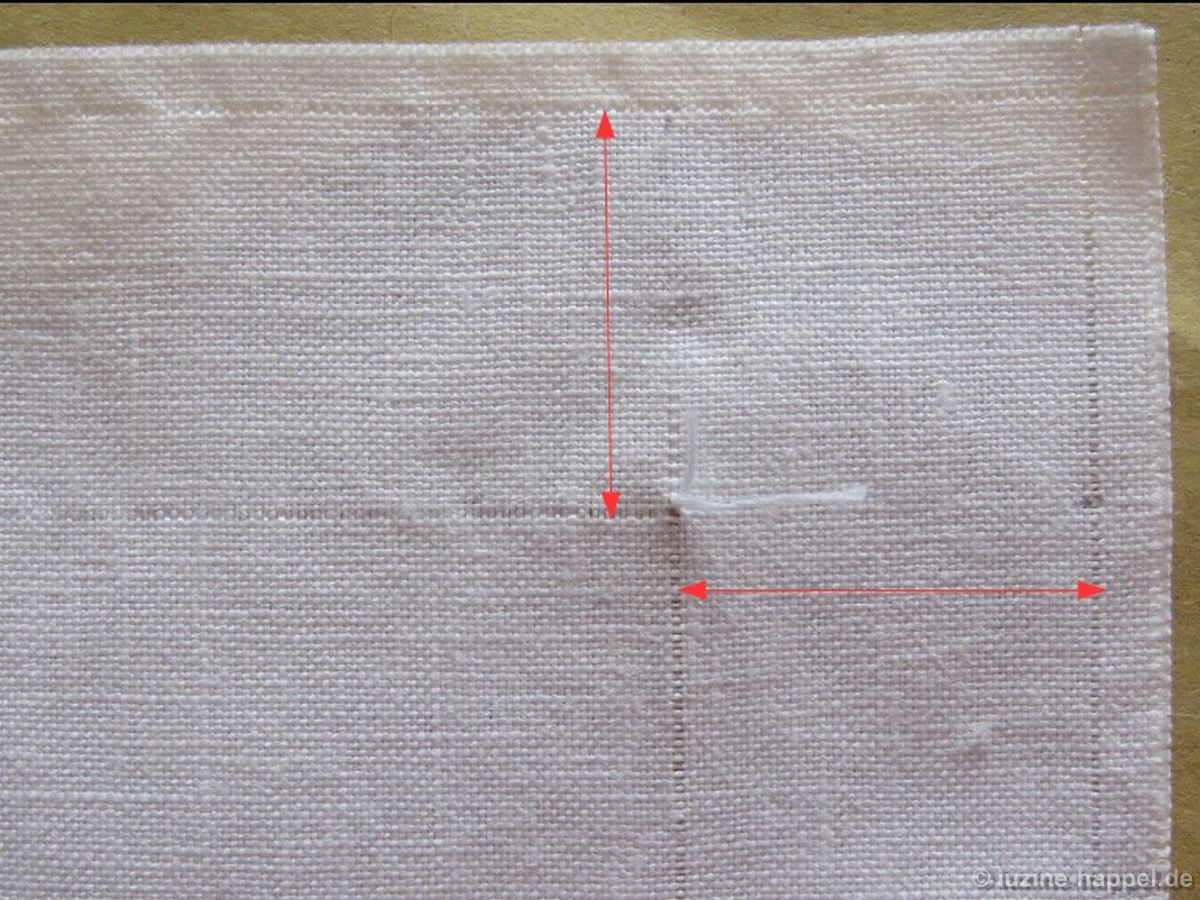
Da nicht jeder die gewünschten Konturmuster auf Transparentpapier hat, habe ich noch einen weiteren Test unternommen. Diesmal waren die sie auf normalem Papier gedruckt. Auf weißem Untergrund liegend, kann man die Linien auf der Rückseite erkennen.
![]()
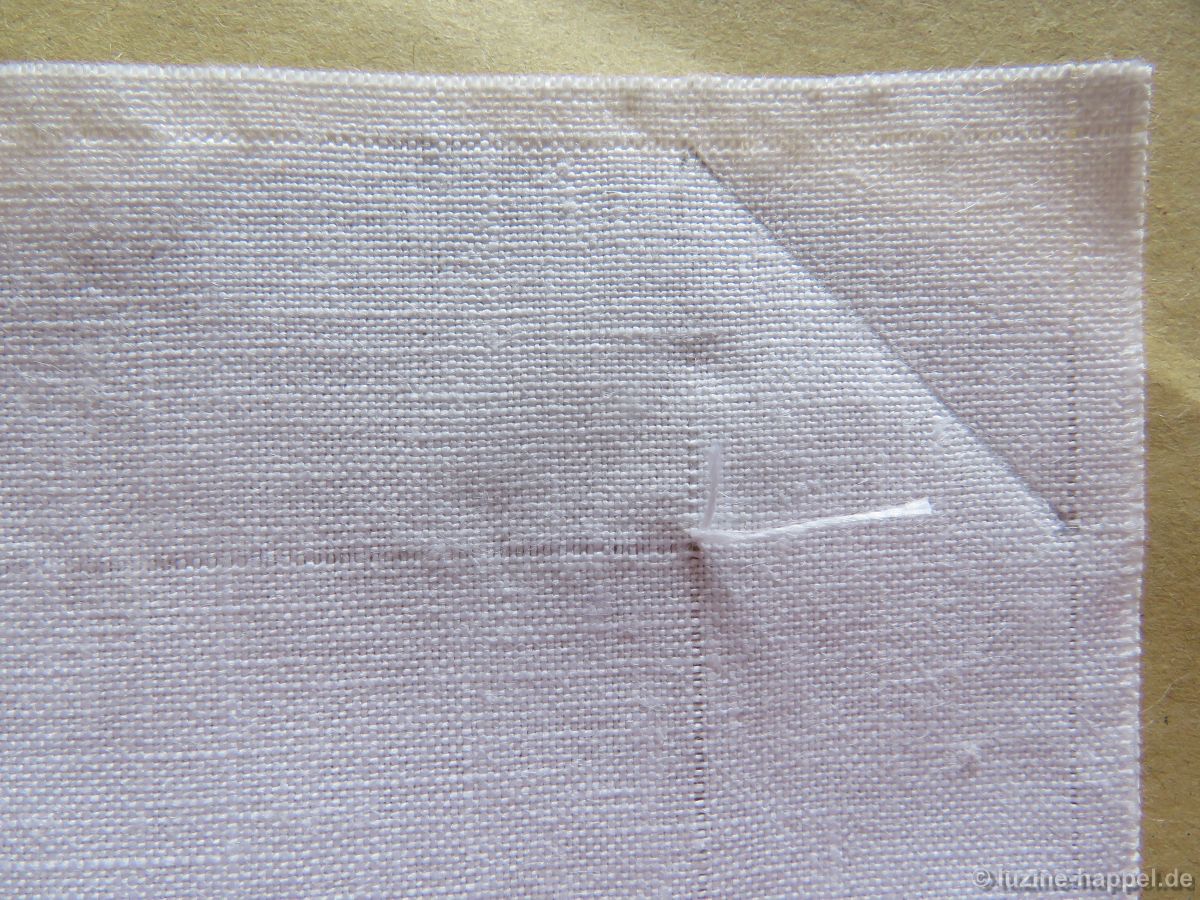
Man kann das Papier aber auch gegen ein Fenster halten. Dann sind die Linien noch viel besser zu sehen.
![]()
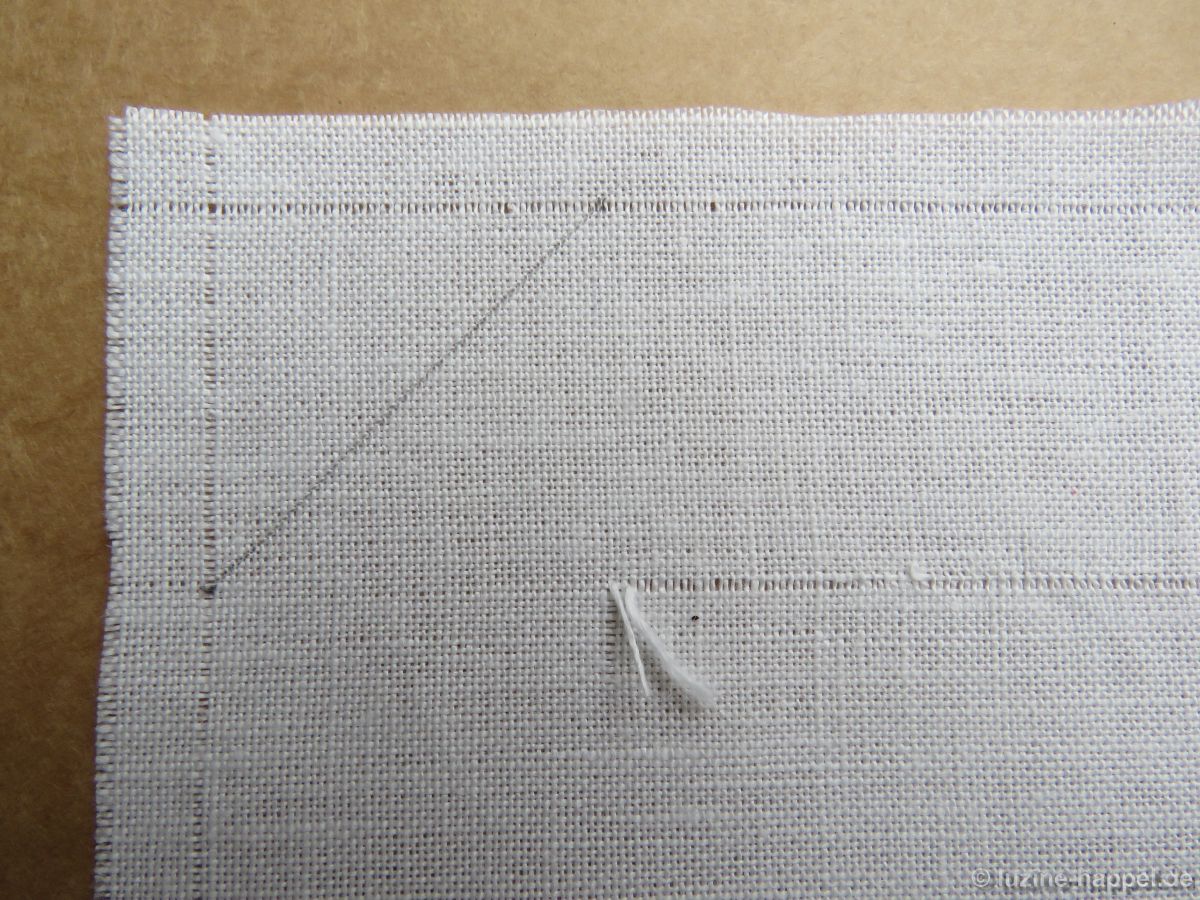
Das Papier wird auf der Rückseite im Bereich der Kontur geschwärzt. Diesmal war ich nicht so zaghaft.
![]()
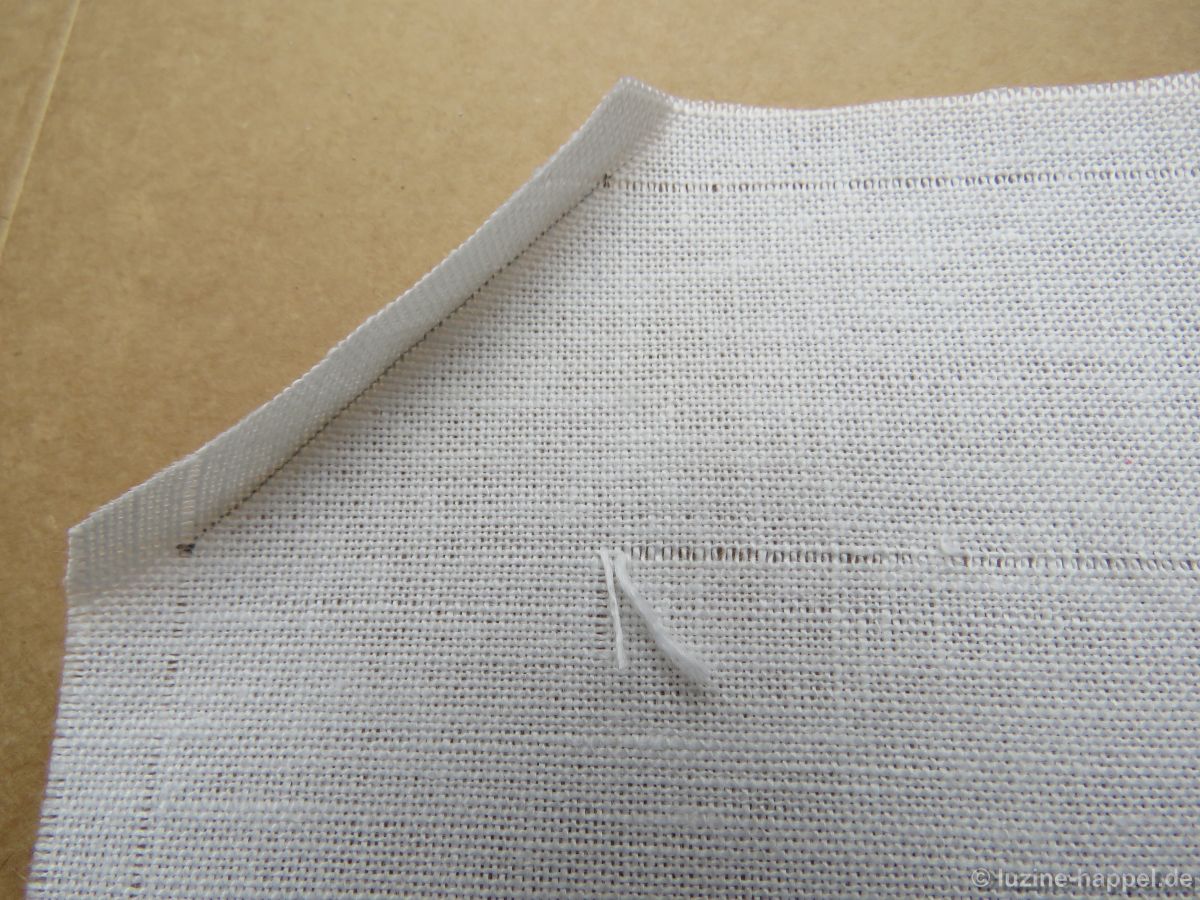
Das Papier mit der geschwärzten Seite zum Leinen hin richtig positioniert, beginnt mit einem Stift – hier mit einem ausgedienten Kugelschreiber – die Übertragung. Die linke Seite des Halbkreises habe ich auf einer harten Unterlage übertragen, das übrige Muster auf einer etwas weicheren Unterlage. Auf letzterer war die Arbeit angenehmer.
![]()
Nach dem Abnehmen der Vorlage sieht man, dass es dadurch kaum Unterschiede in der Intensität der Linien gegeben hat – alle sind klar zu erkennen. Die auf der weichen Unterlage übertragenen Linien sind allerdings runder gelungen.
![]()
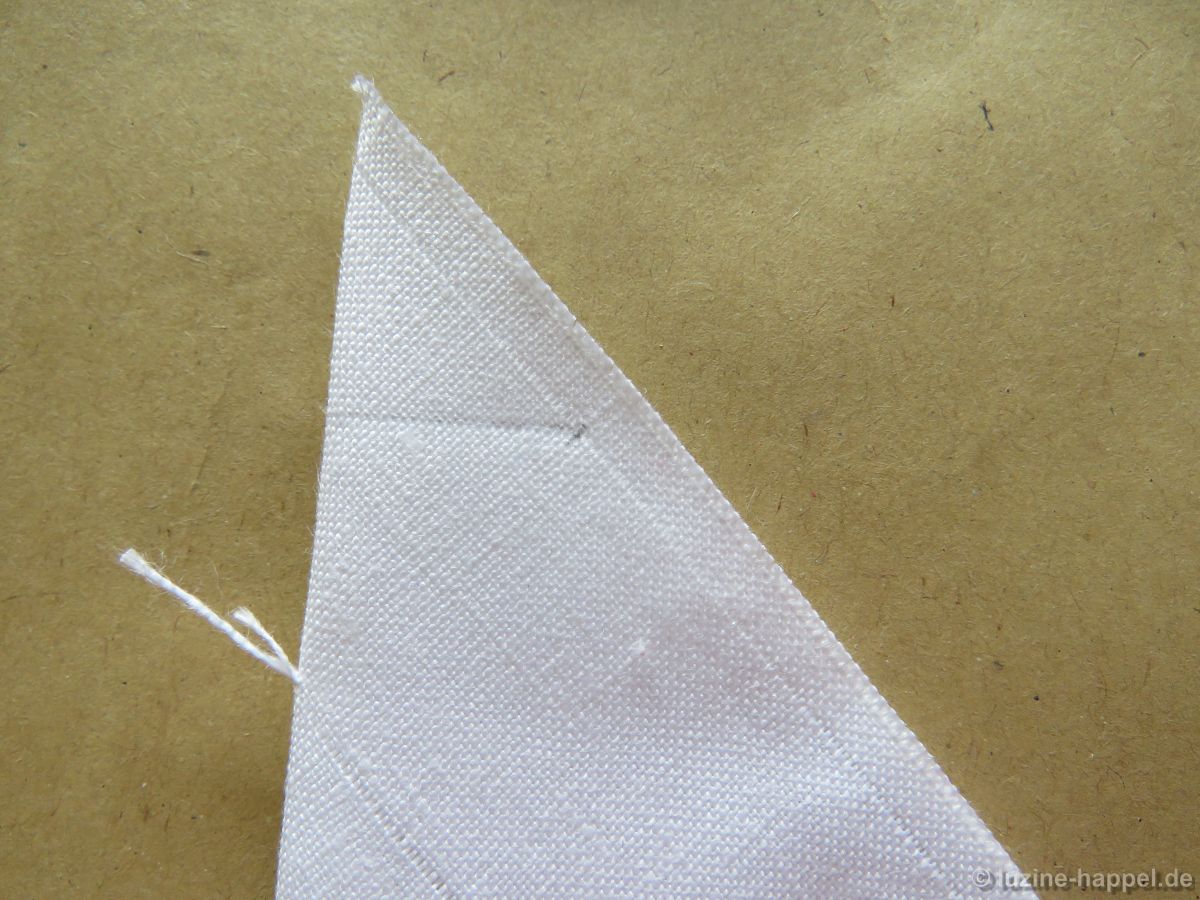
Die Linien müssen – zumindest vorerst – nicht nachgezogen werden. Man kann sofort mit dem Sticken beginnen. Diesmal mussten allerdings während der Arbeit einige Linien nachgezeichnet werden, da sie zu sehr zu verblassen drohten.
![]()
Dennoch sind – besonders unter den Knötchenstichen – satte Bleistiftrückstände vorhanden, wie auf dem Bild der im Waschwasser liegenden Stickerei klar zu erkennen ist.
![]()
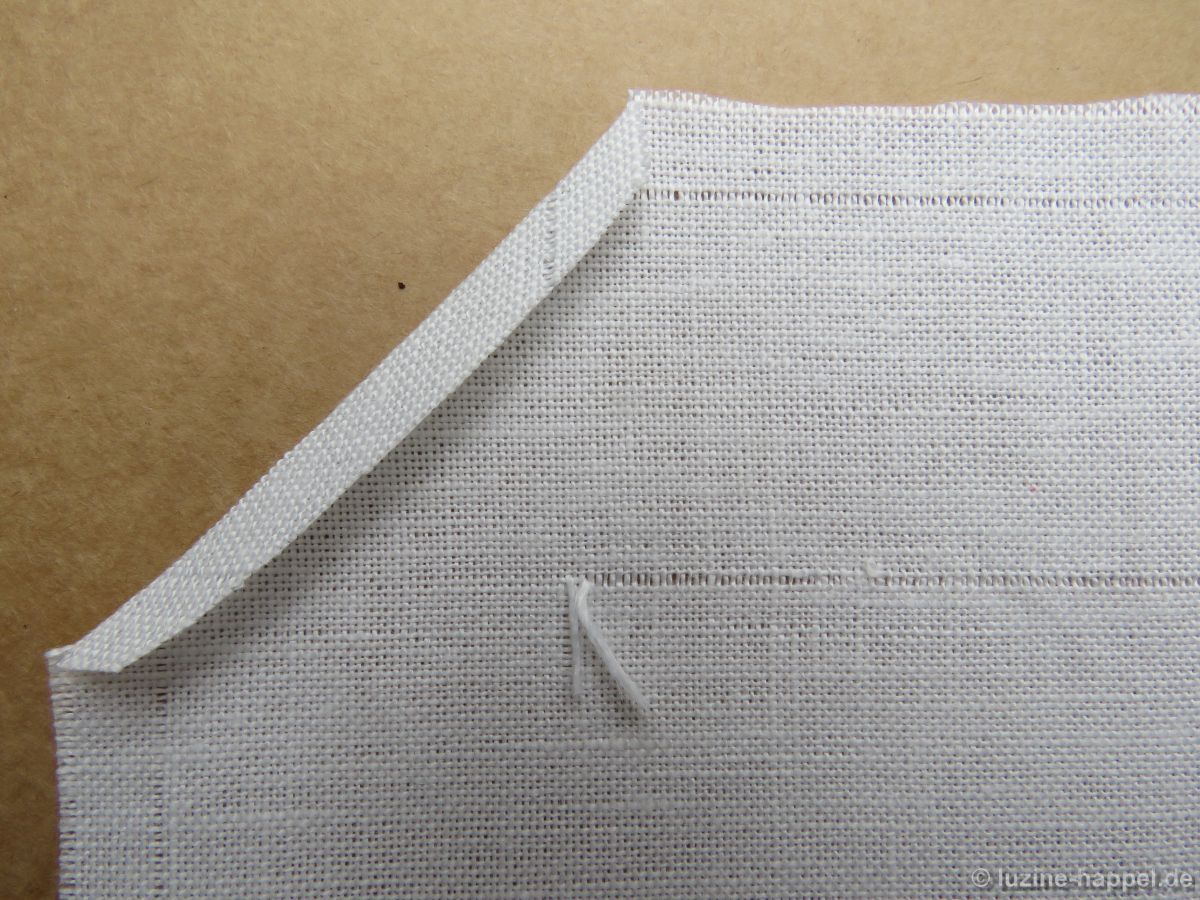
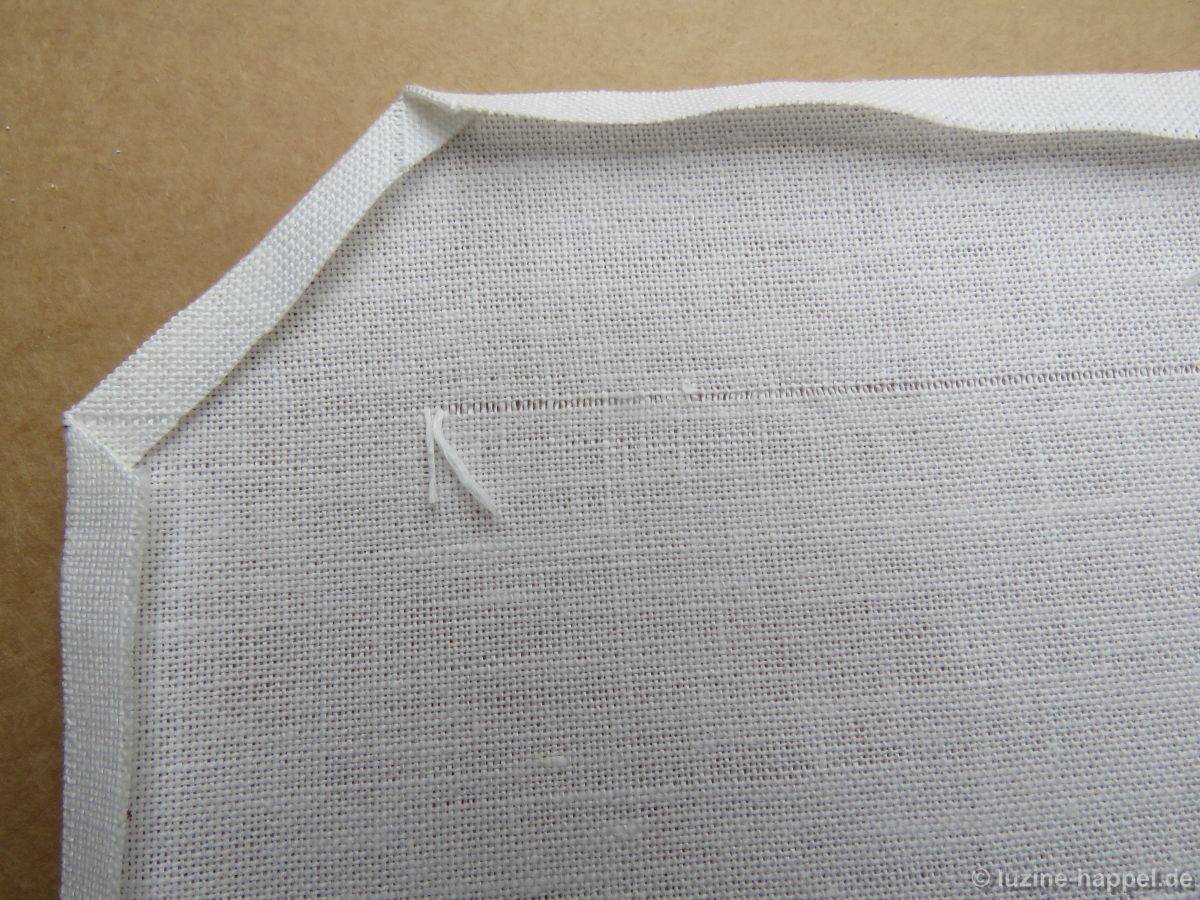
Danach habe ich verschiedene Leinen – ungewaschenes Industrieleinen und gewaschenes altes Leinen – mit Bleistiftlinien versehen
![]()
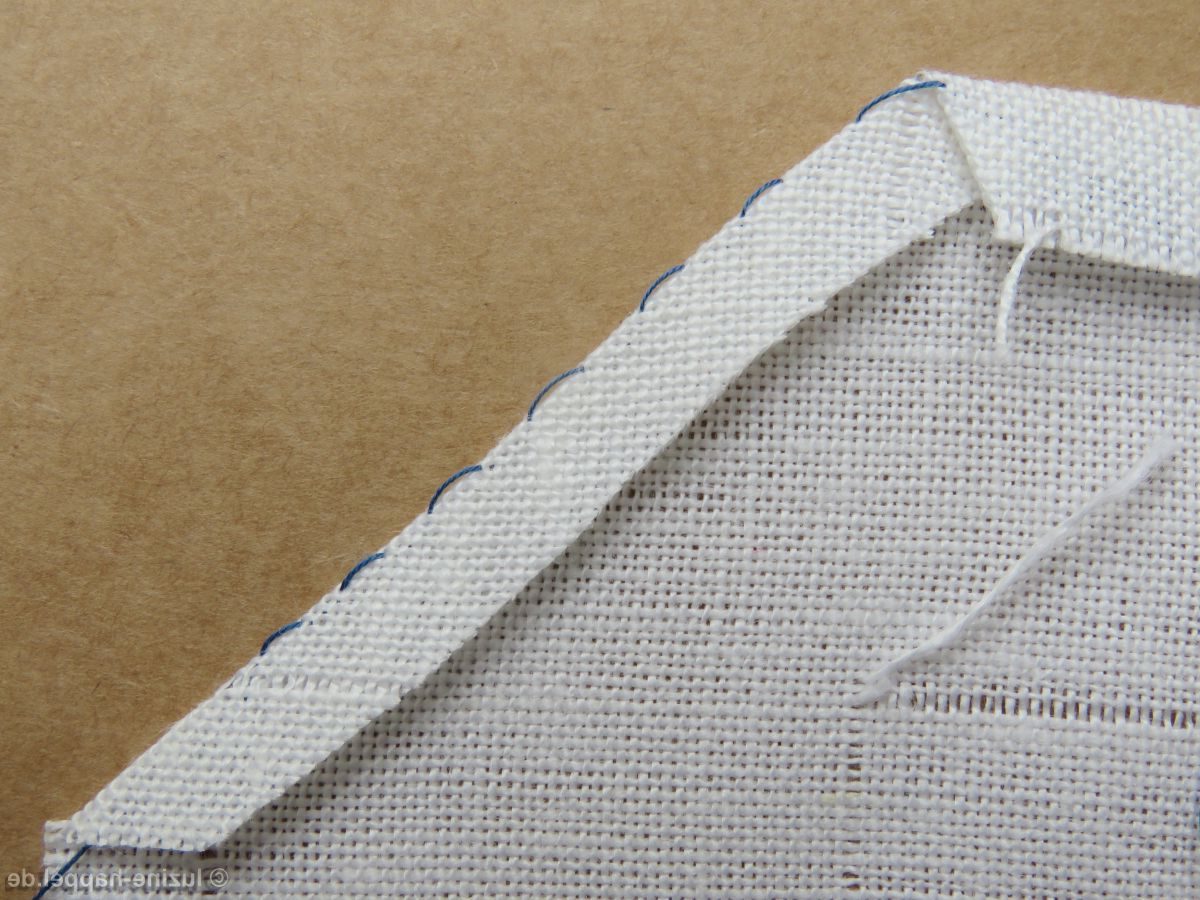
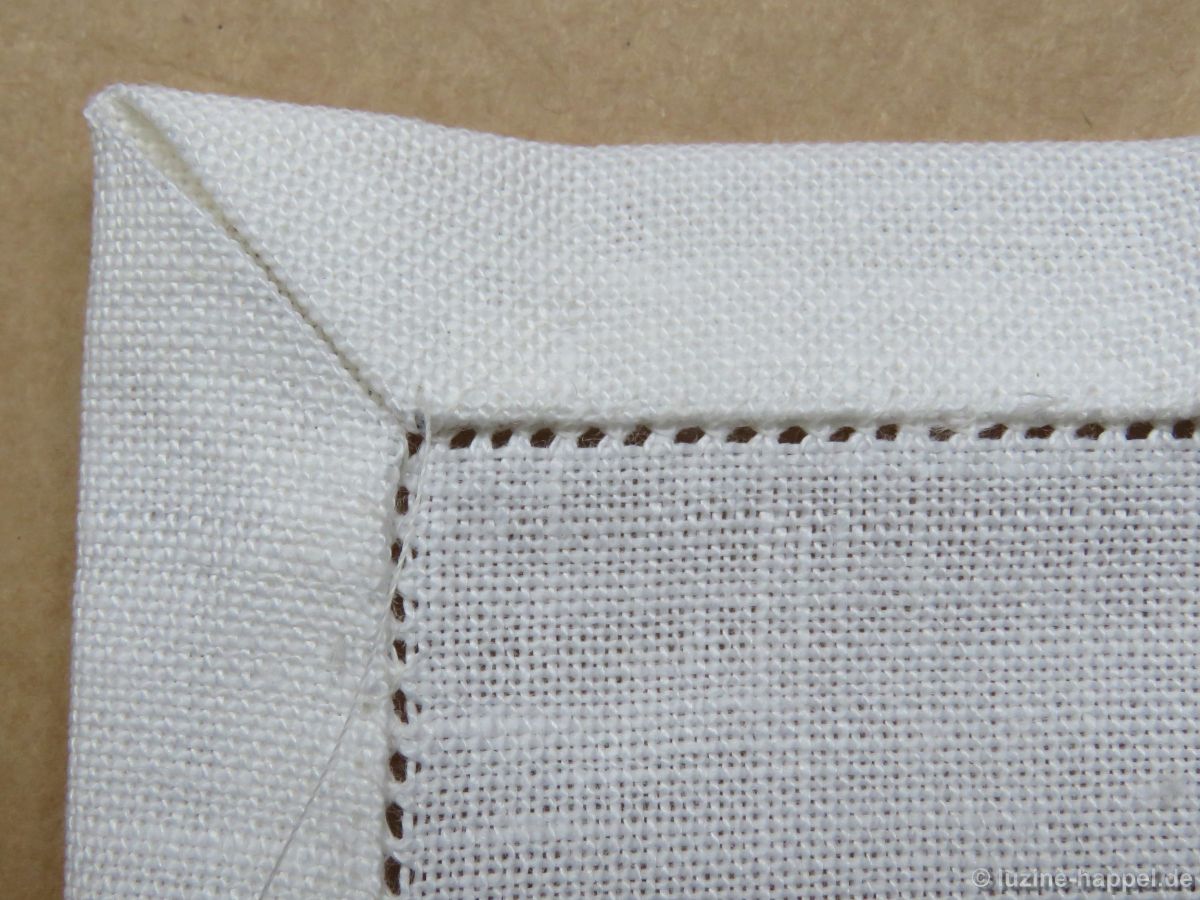
und einen Teil der Linien mit Knötchenstichen bestickt.
![]()
Ob sie wohl einfach zu entfernen sein werden?
Vom Ergebnis berichte ich im nächsten Beitrag.