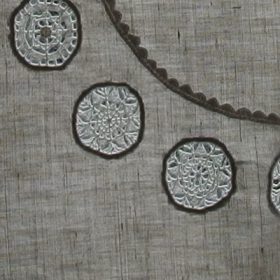
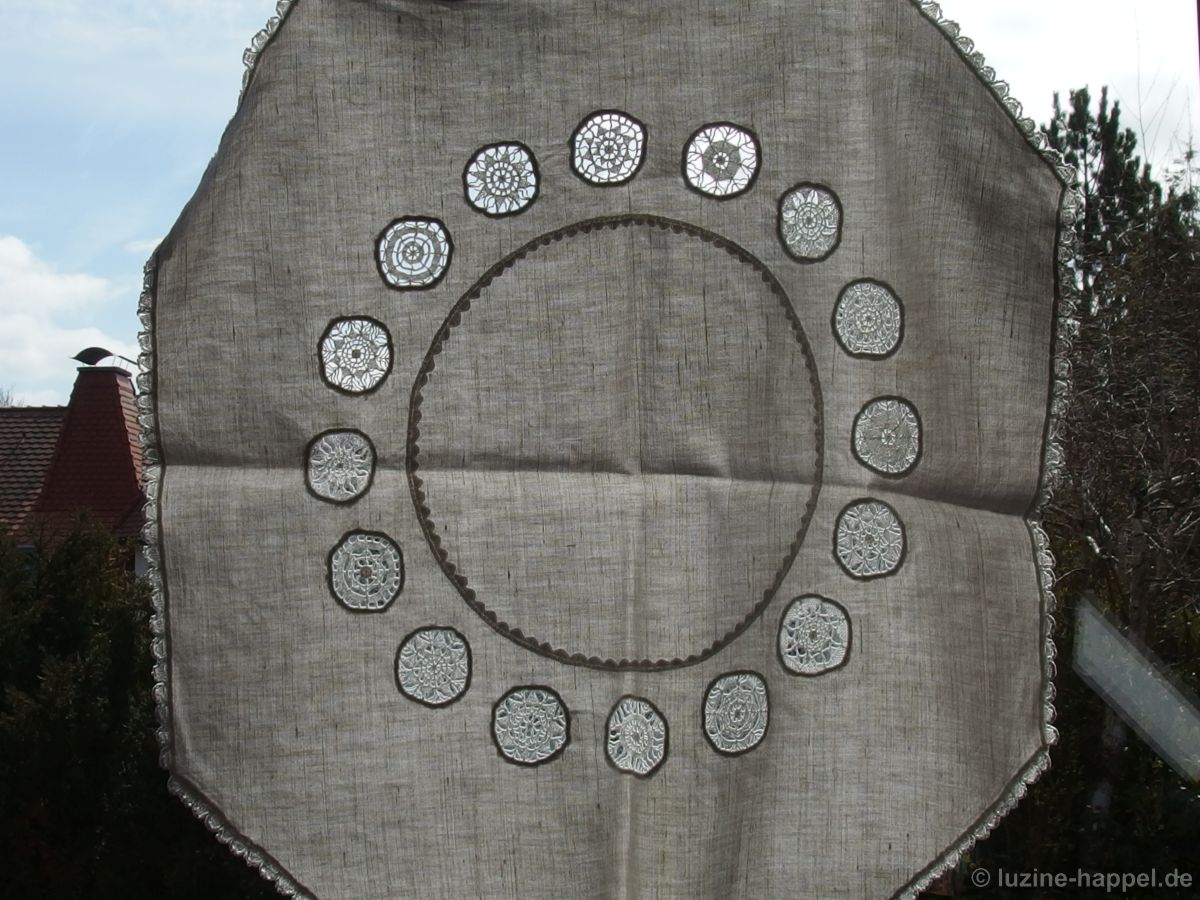
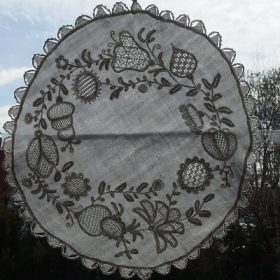
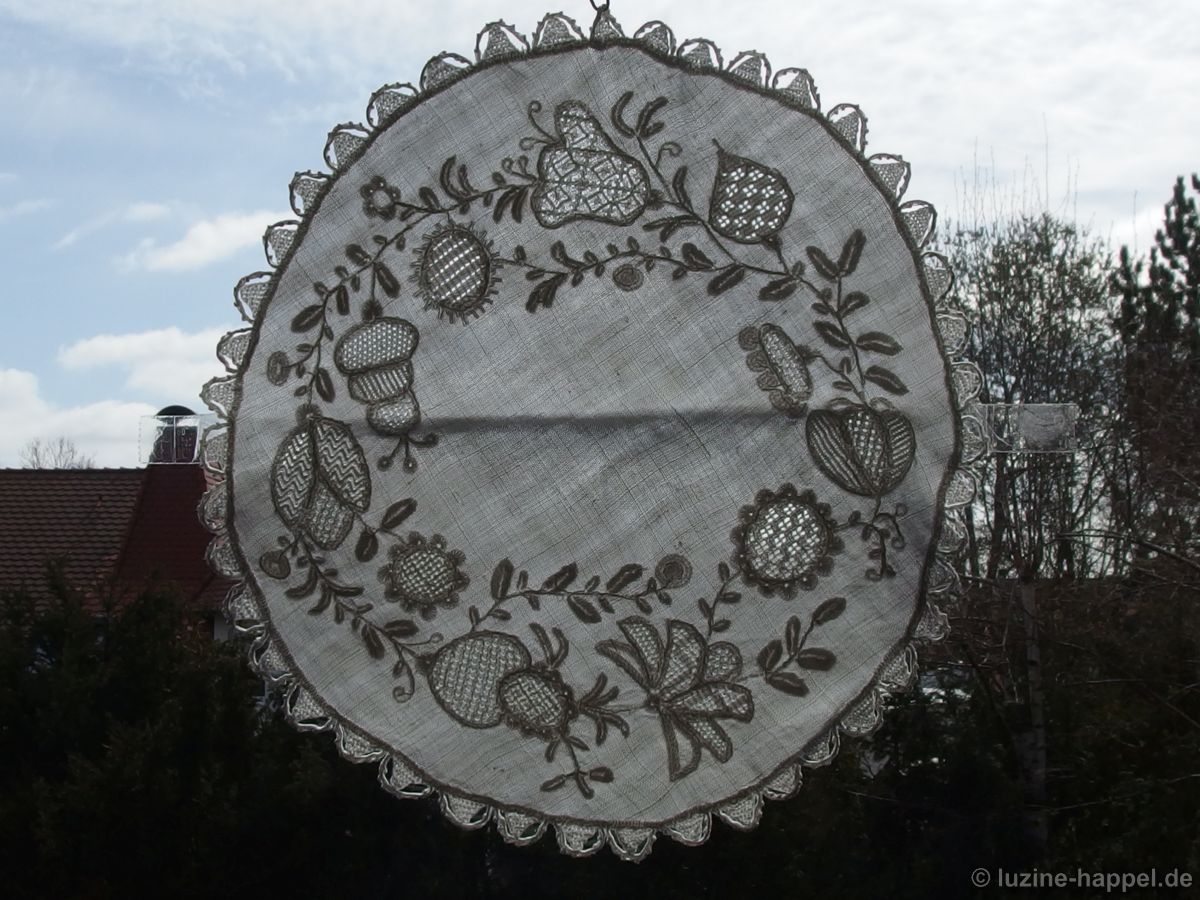
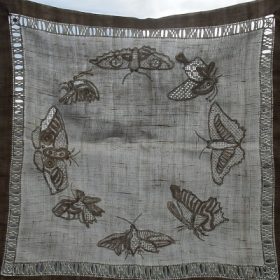
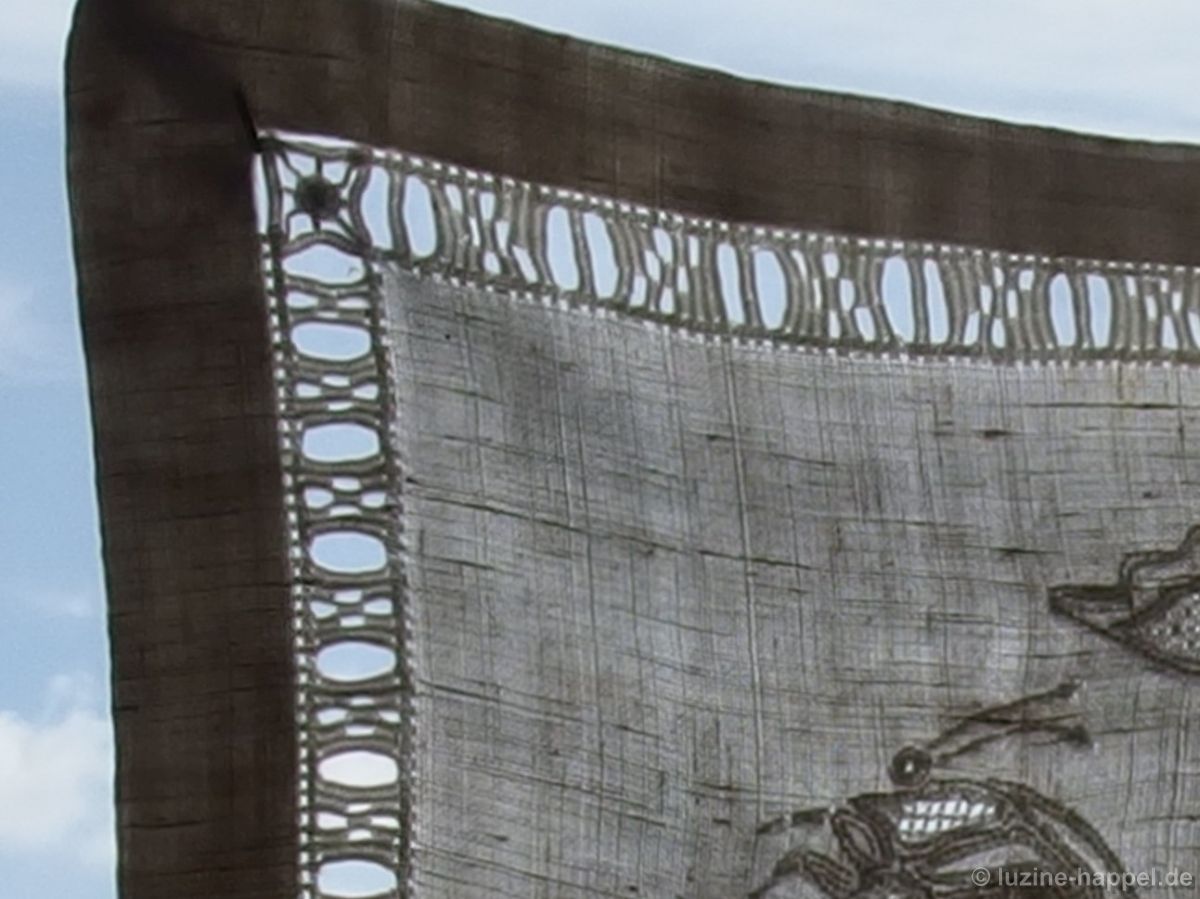
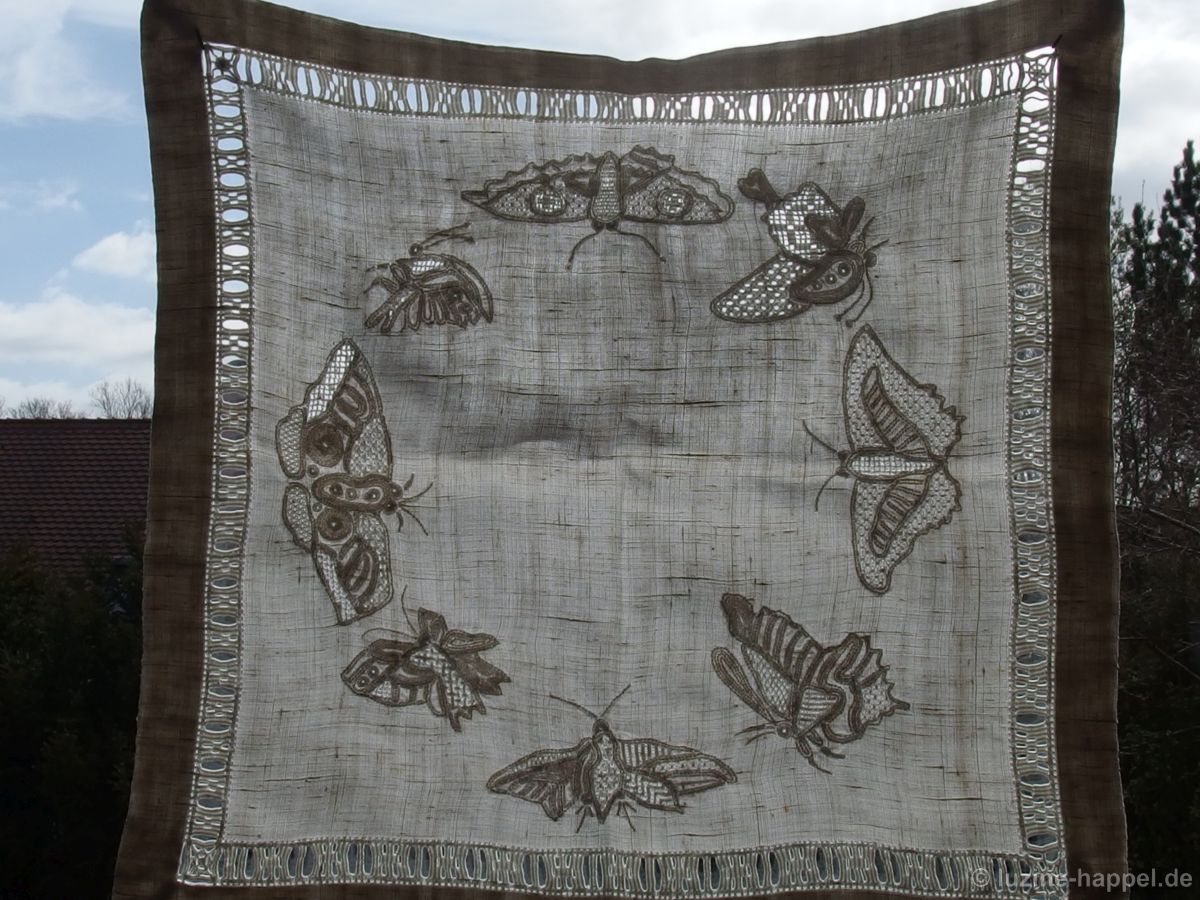
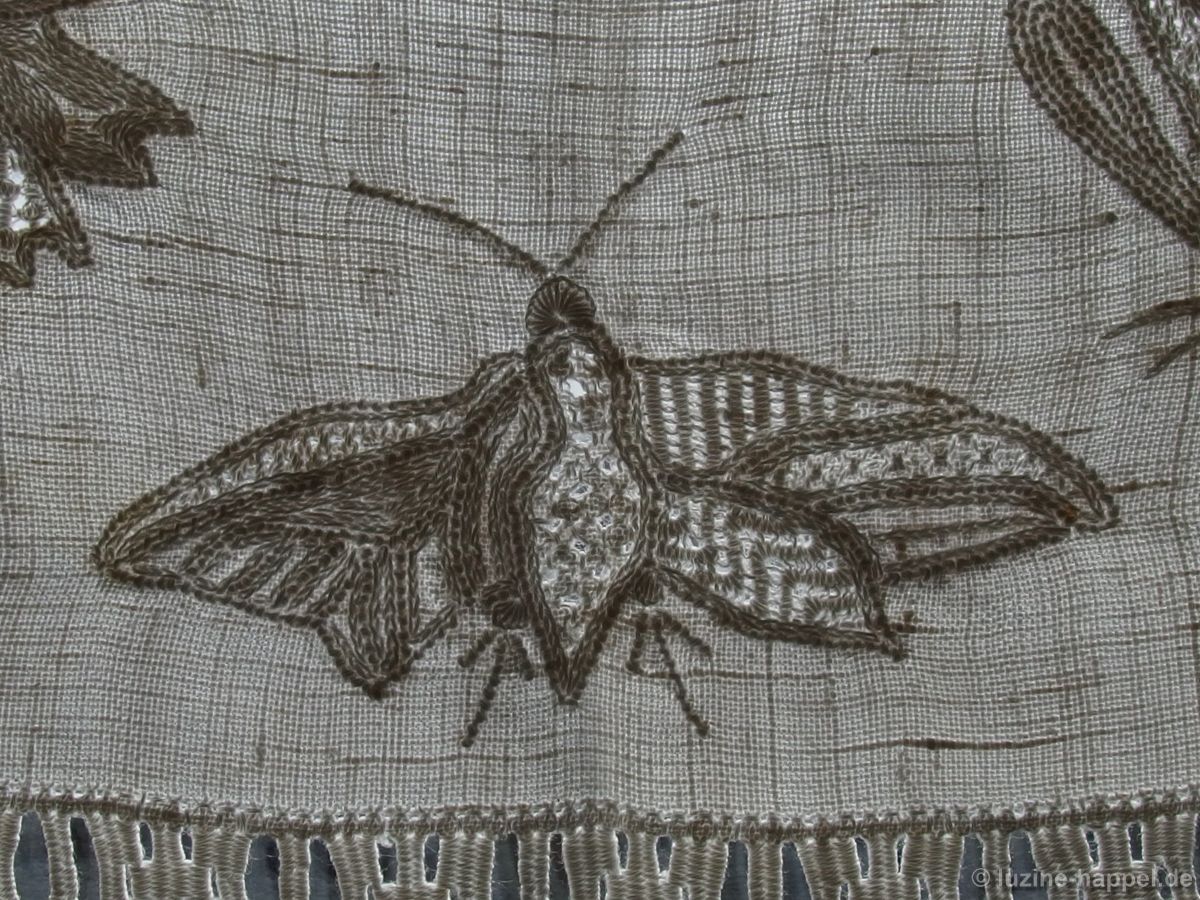
In one of my previous posts, I presented an elaborately crafted and uniquely designed wall hanging by Rosemarie Landsiedel-Eicken, which met with great interest from my blog readers. Now I have been given pictures of her other embroidered works, which I will show gradually.
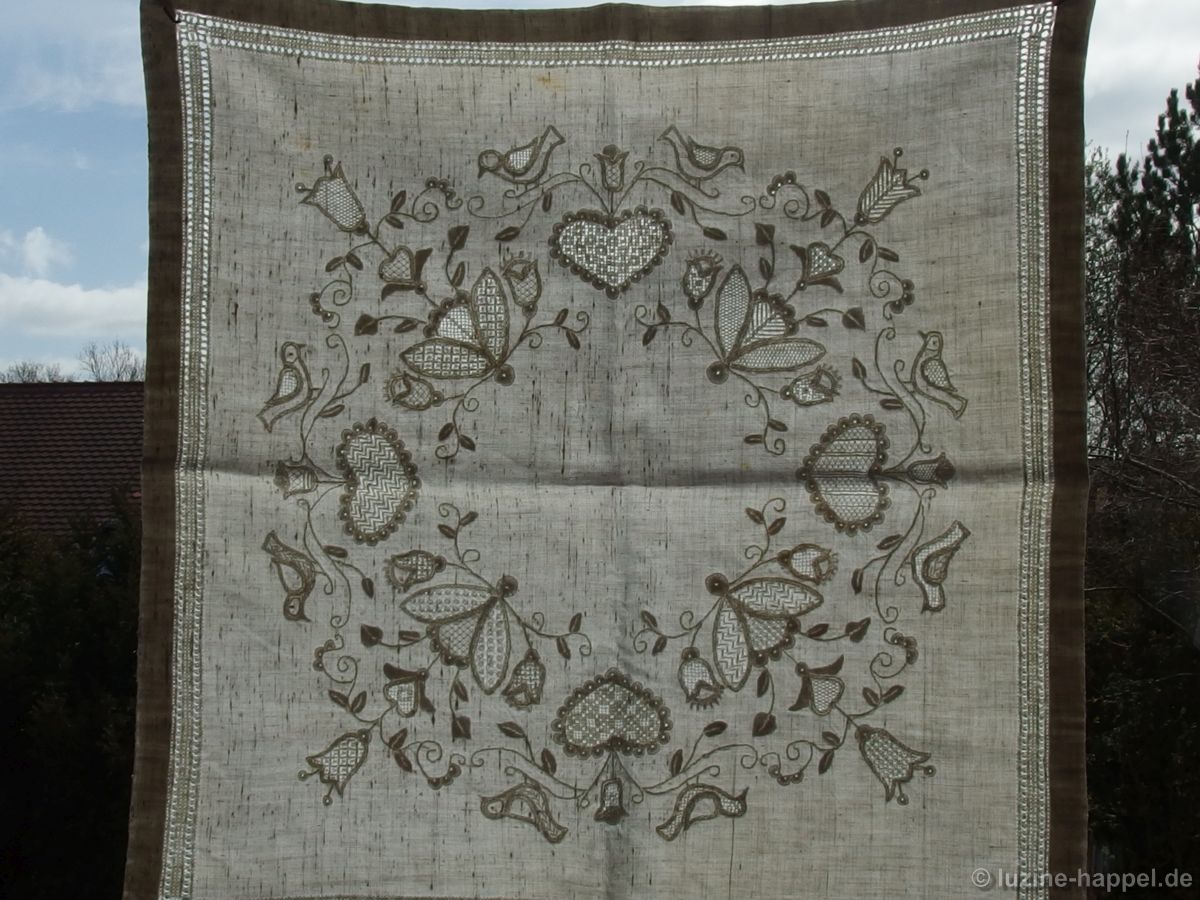
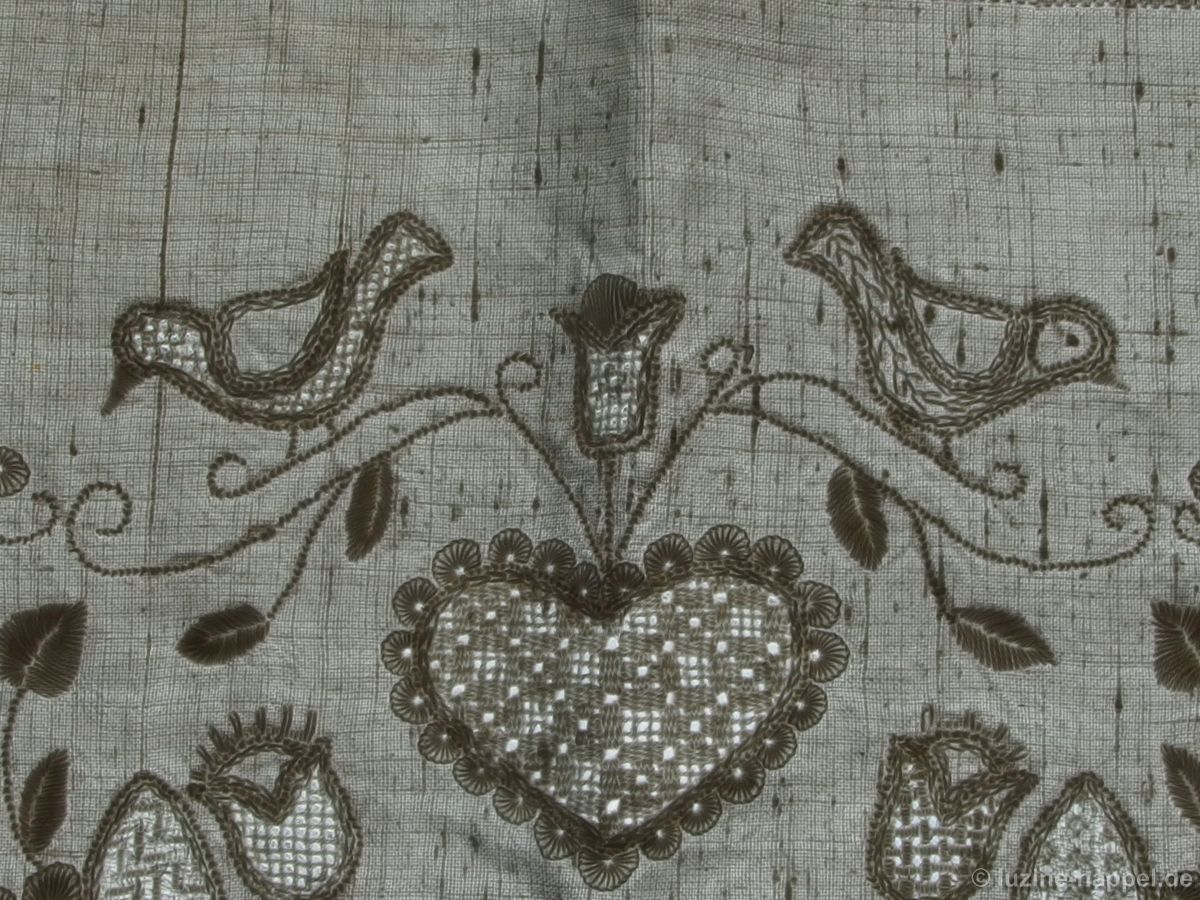
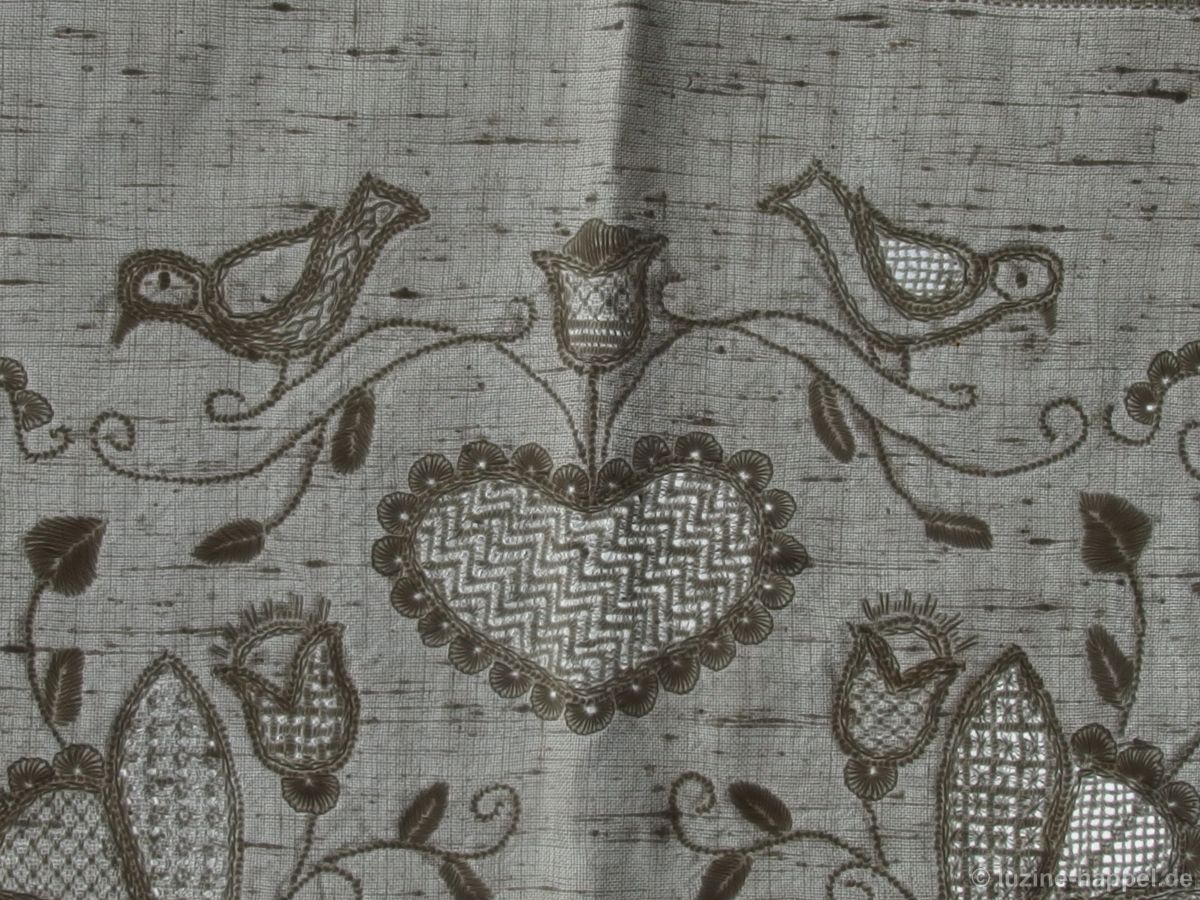
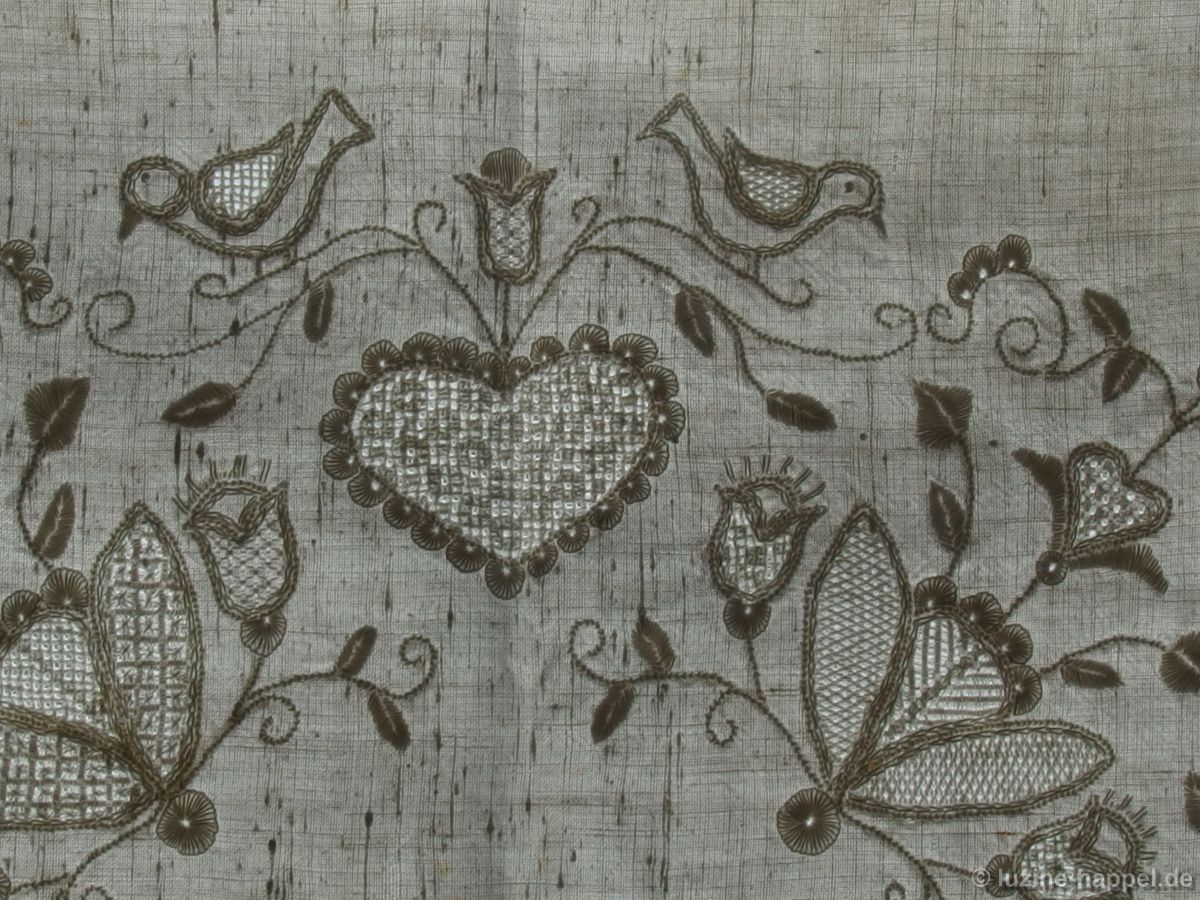
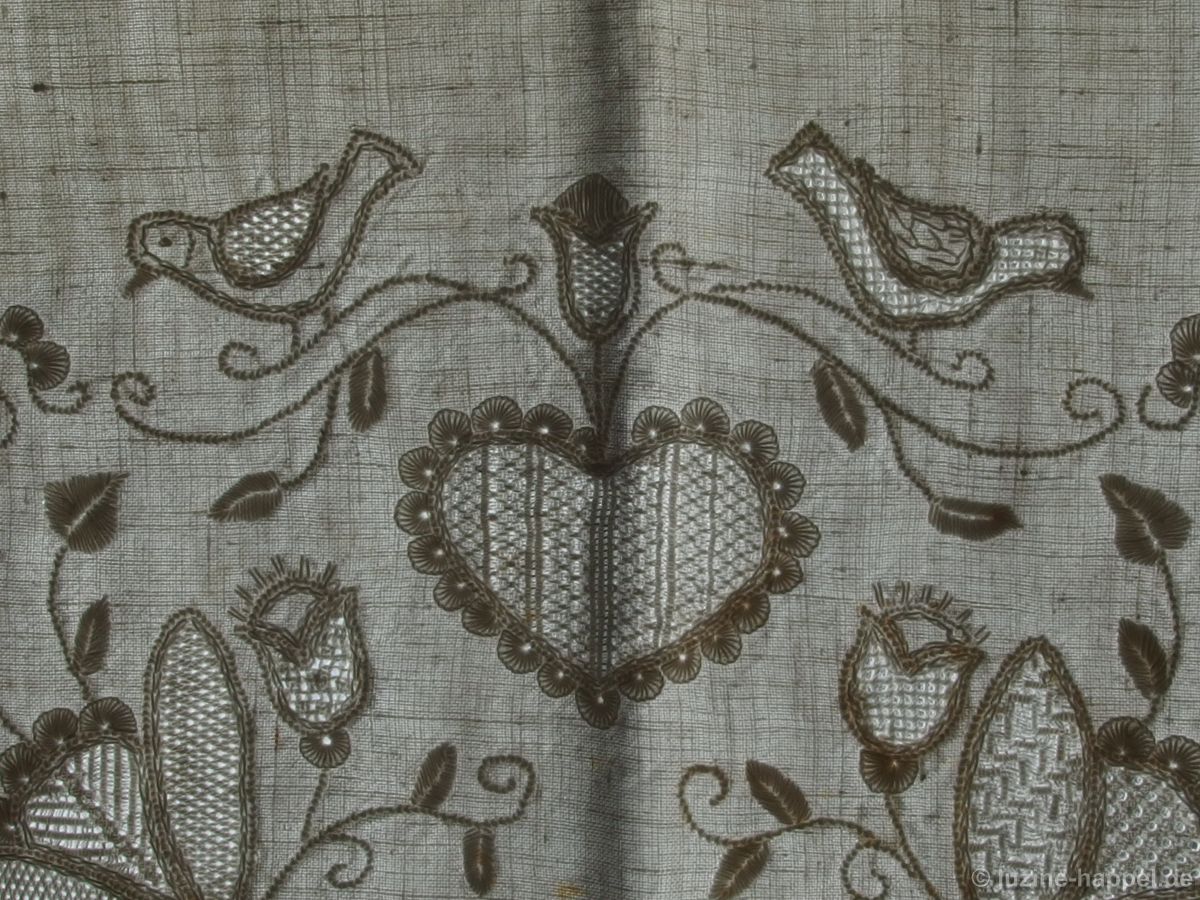
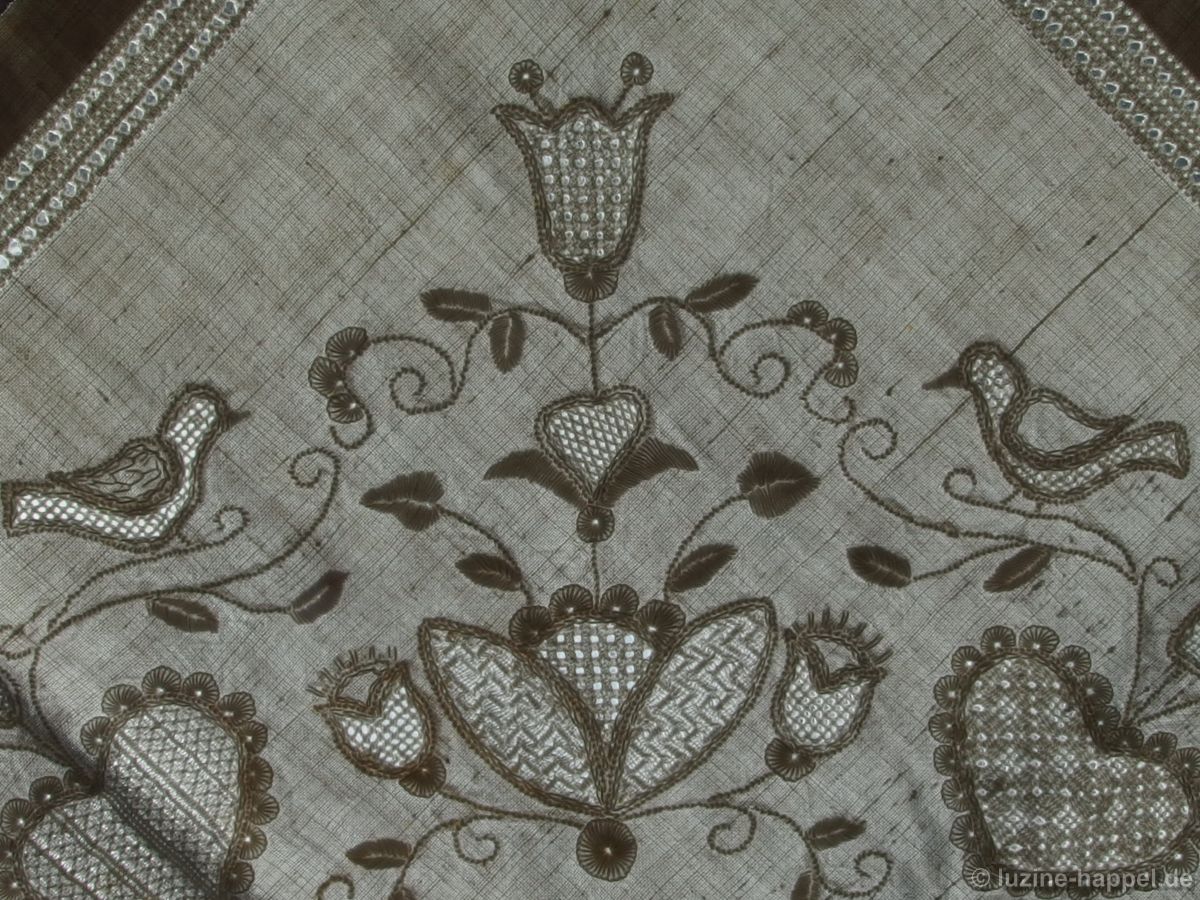
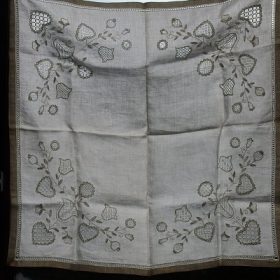
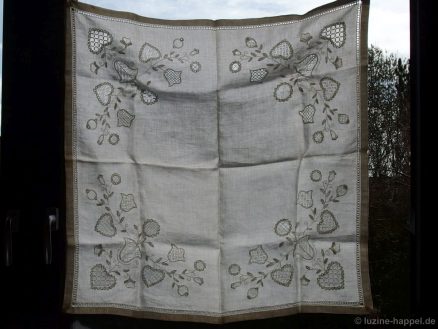
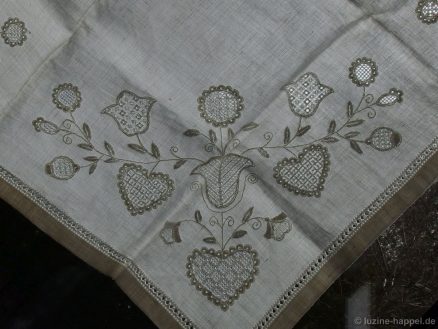
In order to learn Schwalm whitework in courses taught in the 1970s, it was common to first embroider a tea cloth with a corner design. Such a pattern always contained hearts and tulips, often “suns,” sometimes other floral motifs, sometimes birds, but always small leaves and a few tendrils. A Peahole hem was worked on the edge.
On the one hand, corner motif designs were easier to iron on than larger designs, and on the other hand, they offered the possibility of finishing the work after completing only one corner.
Rosemarie Landsiedel-Eicken chose a particularly expansive corner motif. As a beginner, she did not necessarily pay attention to the grain of the fabric when positioning the motifs, but she did pay attention to the balance of the design.
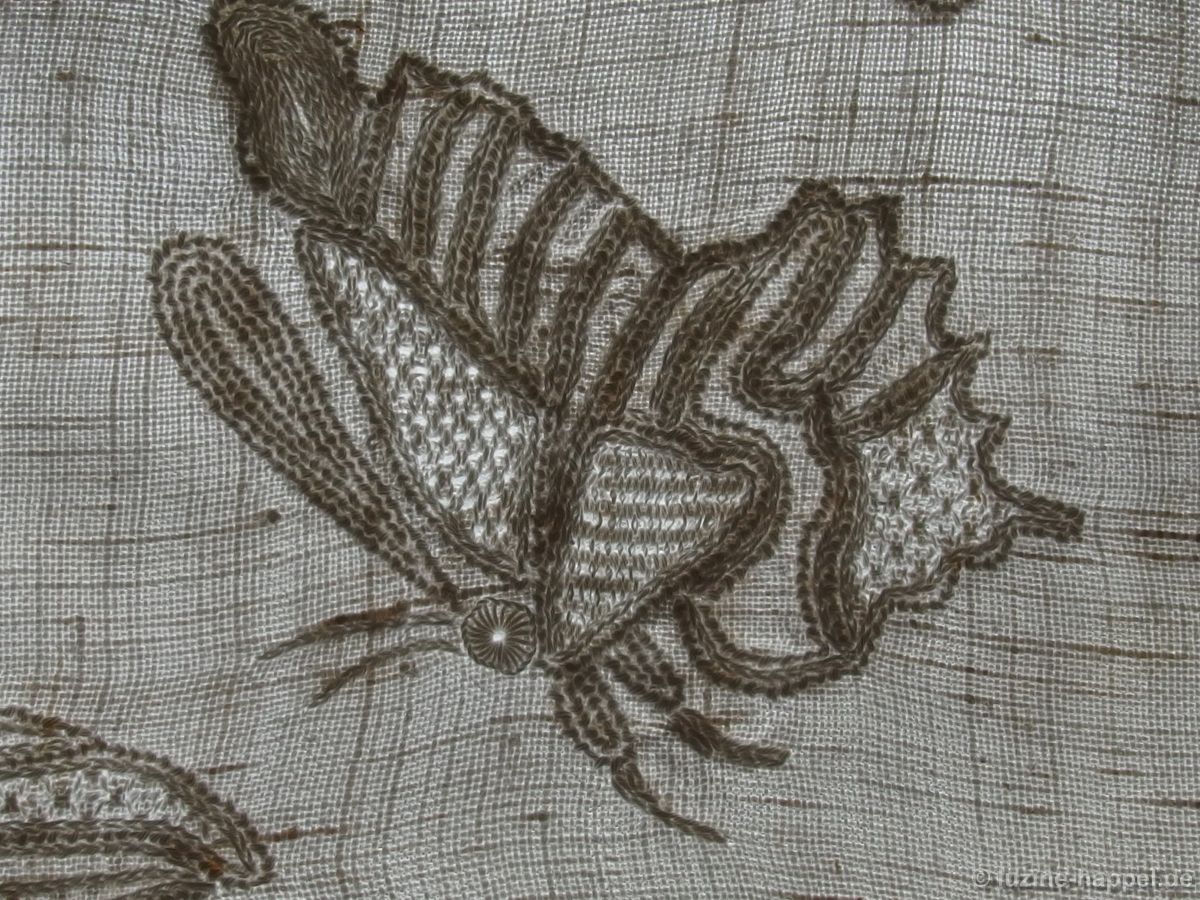
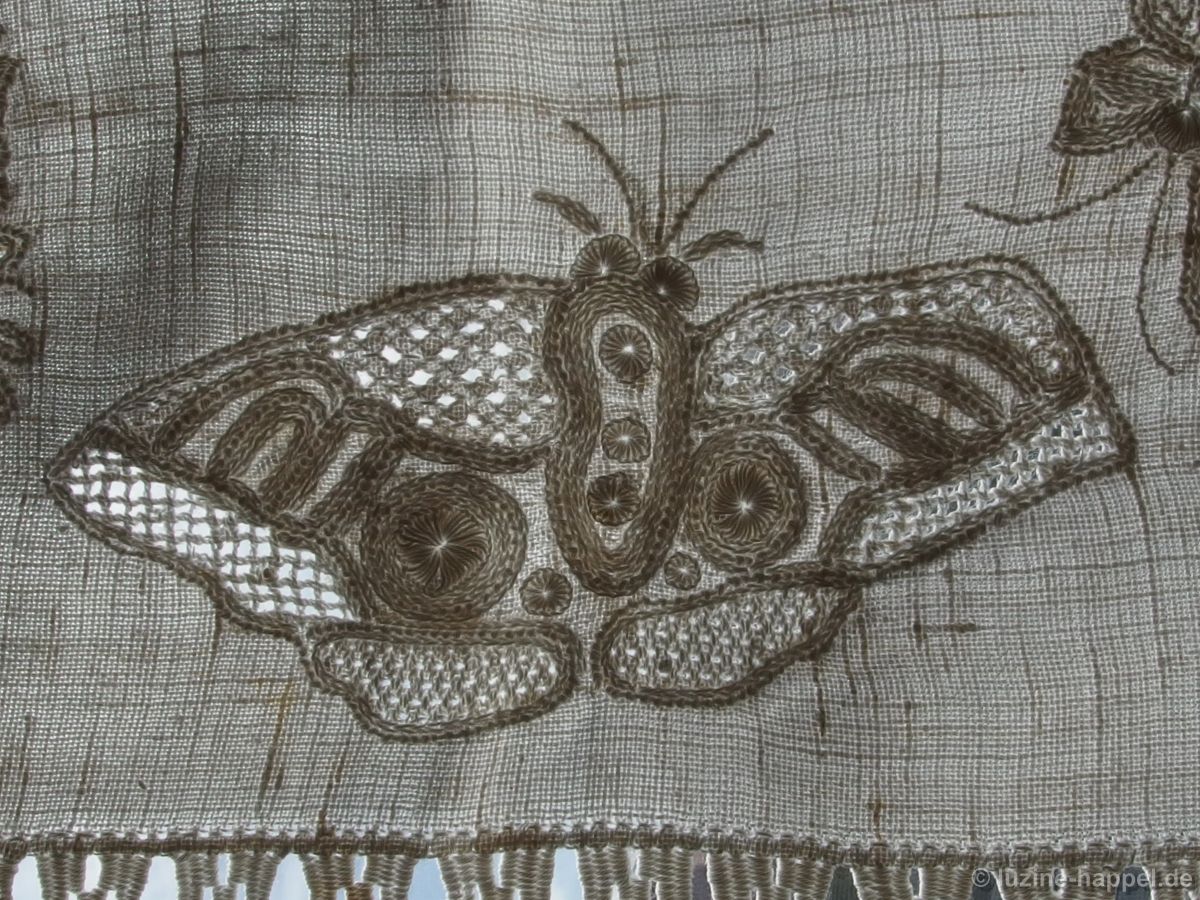
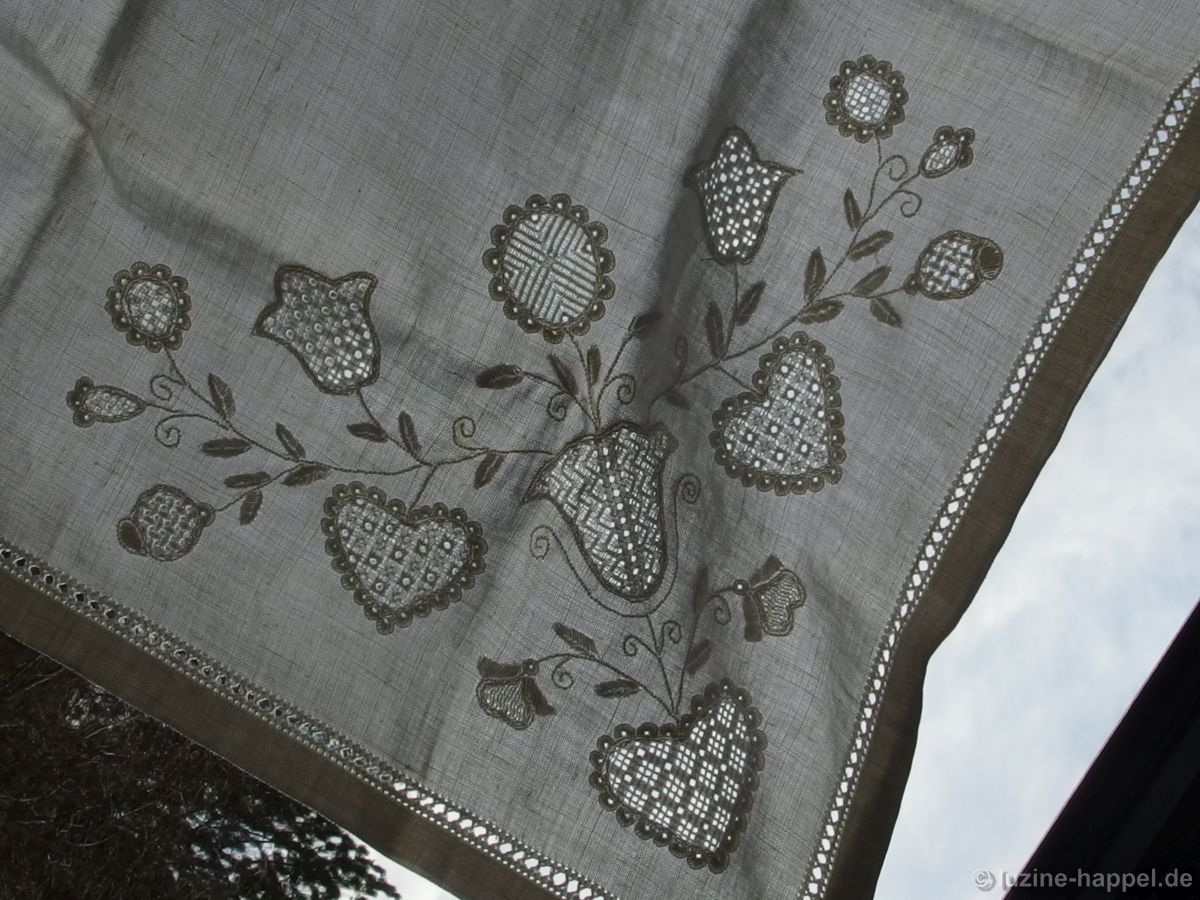
It started with the corner heart. This was given a border of Blanket stitch half-eyelet scallops and an openwork filling pattern. In the Cable stitch grid a needle-weaving pattern was embroidered; “Four windows” or, as can be seen here, “nine windows” were popular. Simple withdrawn thread patterns such as Wave, Honeycomb Darning, and Satin stitch bars followed. With the Limet patterns, one began with Satin stitches as well as the easy and quick to work Diagonal cross filling stitches. Rose stitches in the openwork Cable stitch grid followed.
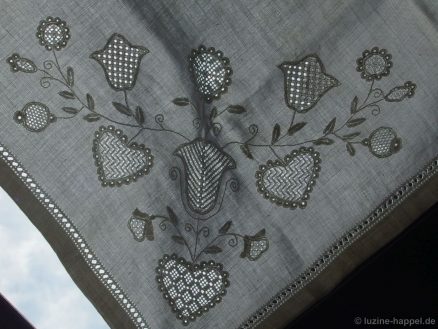
Opposite corners were often embroidered with the same filling patterns. Embroiderers, who were particularly eager to learn, tried to use as many different patterns as possible in their work. This was true with Rosemarie Landsiedel-Eicken, too.
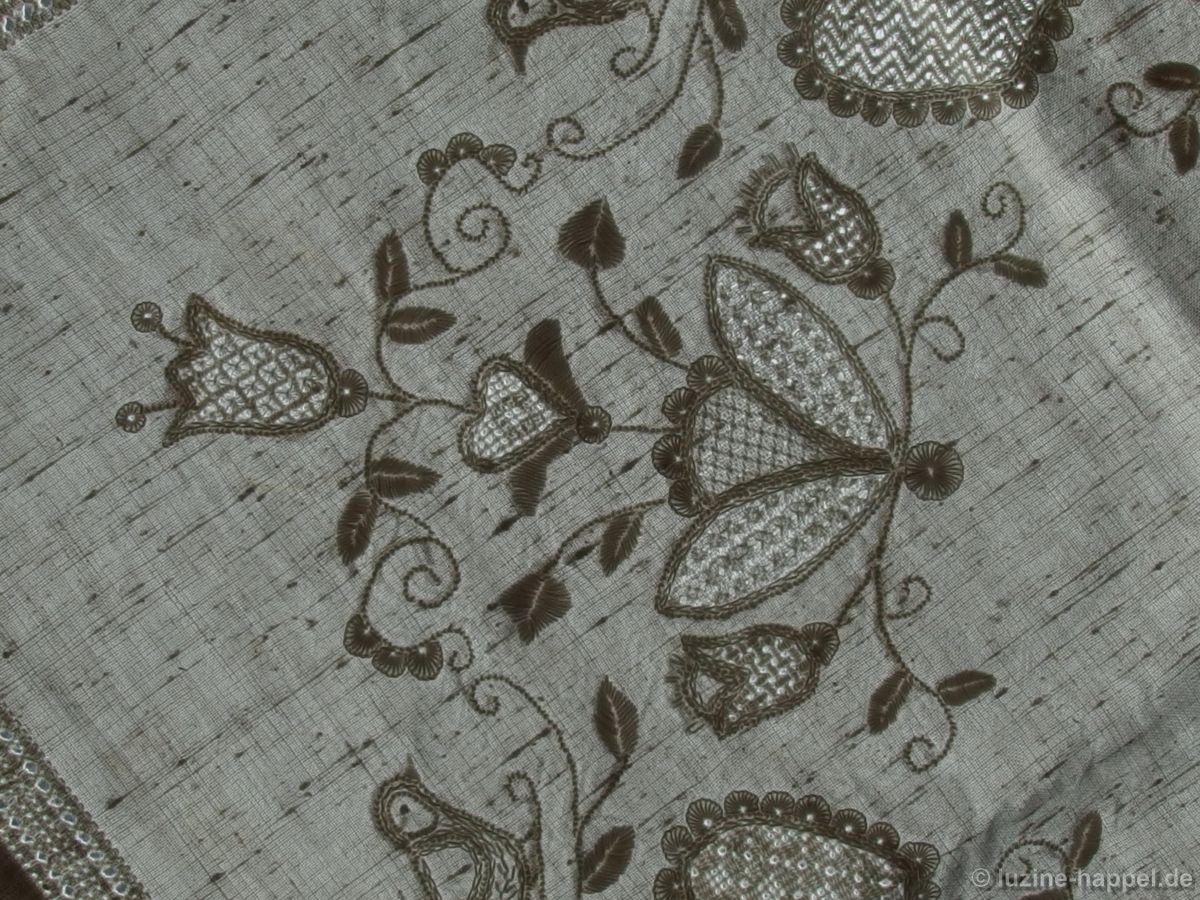
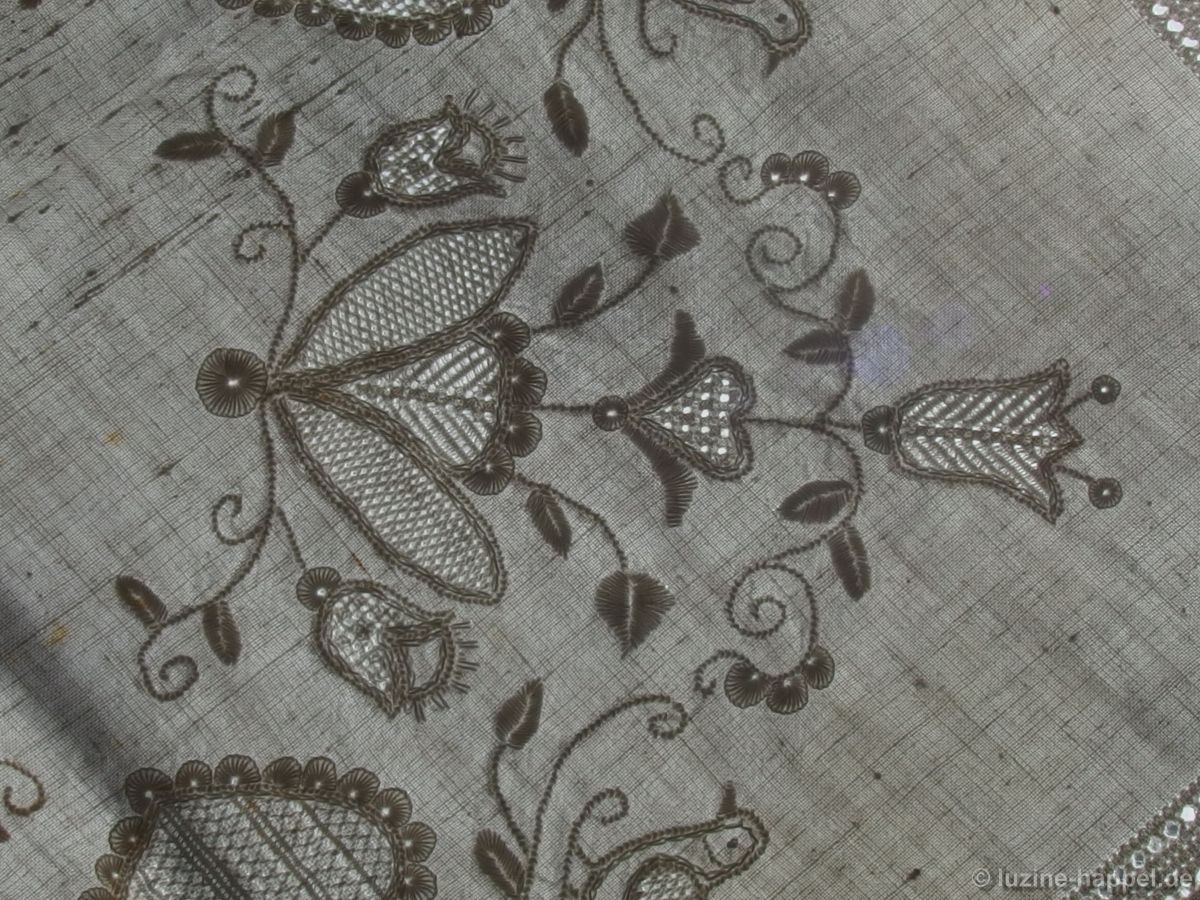
The Satin stitch “one-pattern,” a combination of Square eyelets and Rose stitches, and a combination of Satin stitches in a stair step manner and rows of Rose stitches were added.

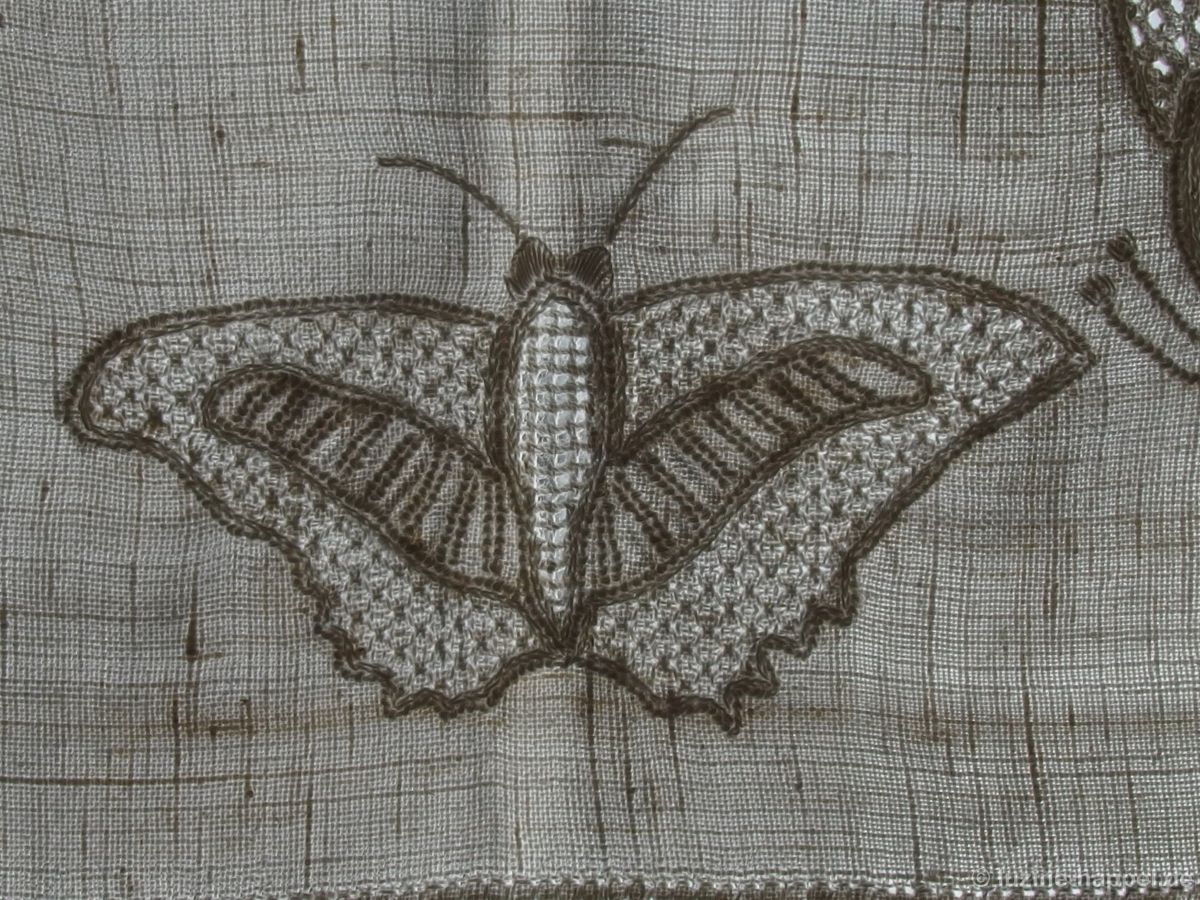
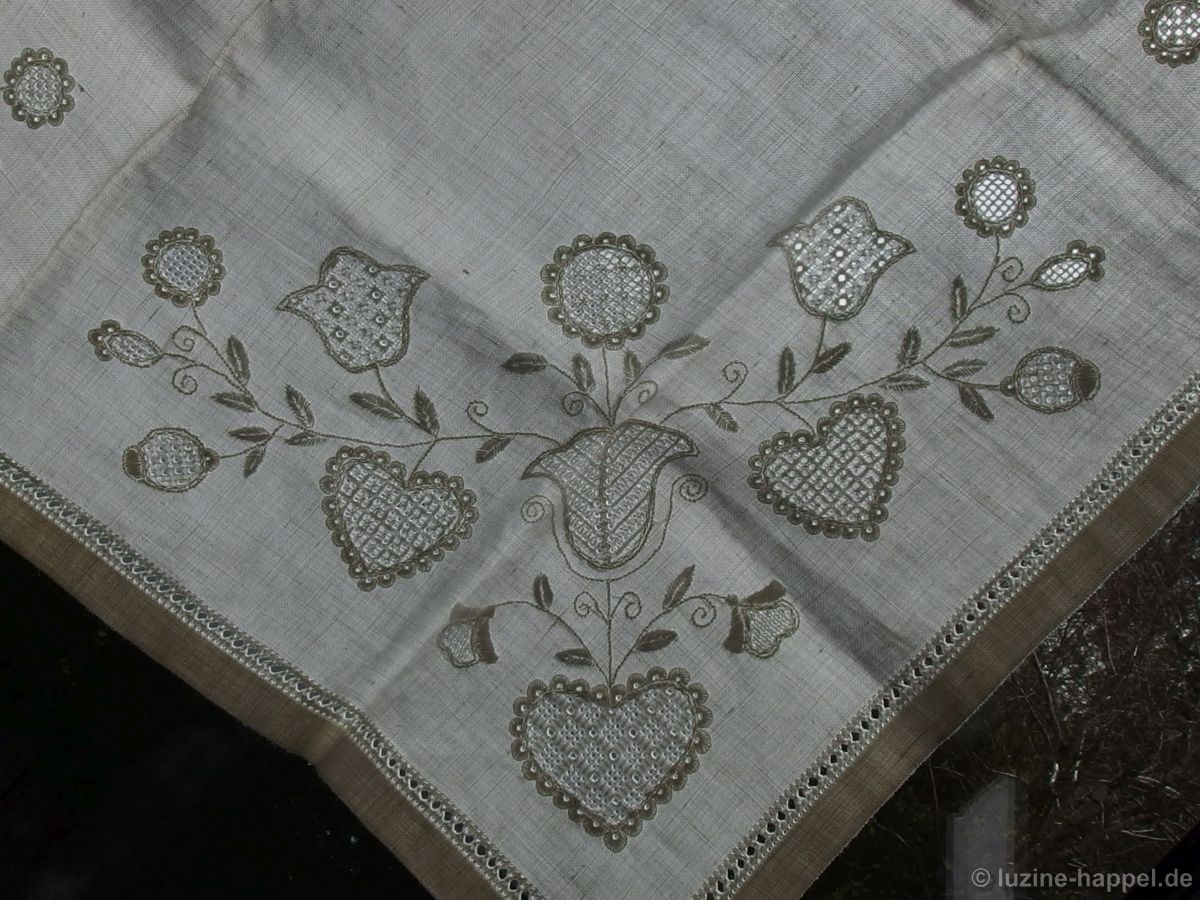
The third corner contains more openwork Rose stitch patterns, the Satin stitch “two-pattern,” and a combination of Rose and Satin stitches.
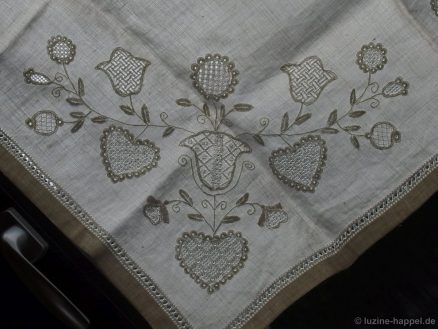
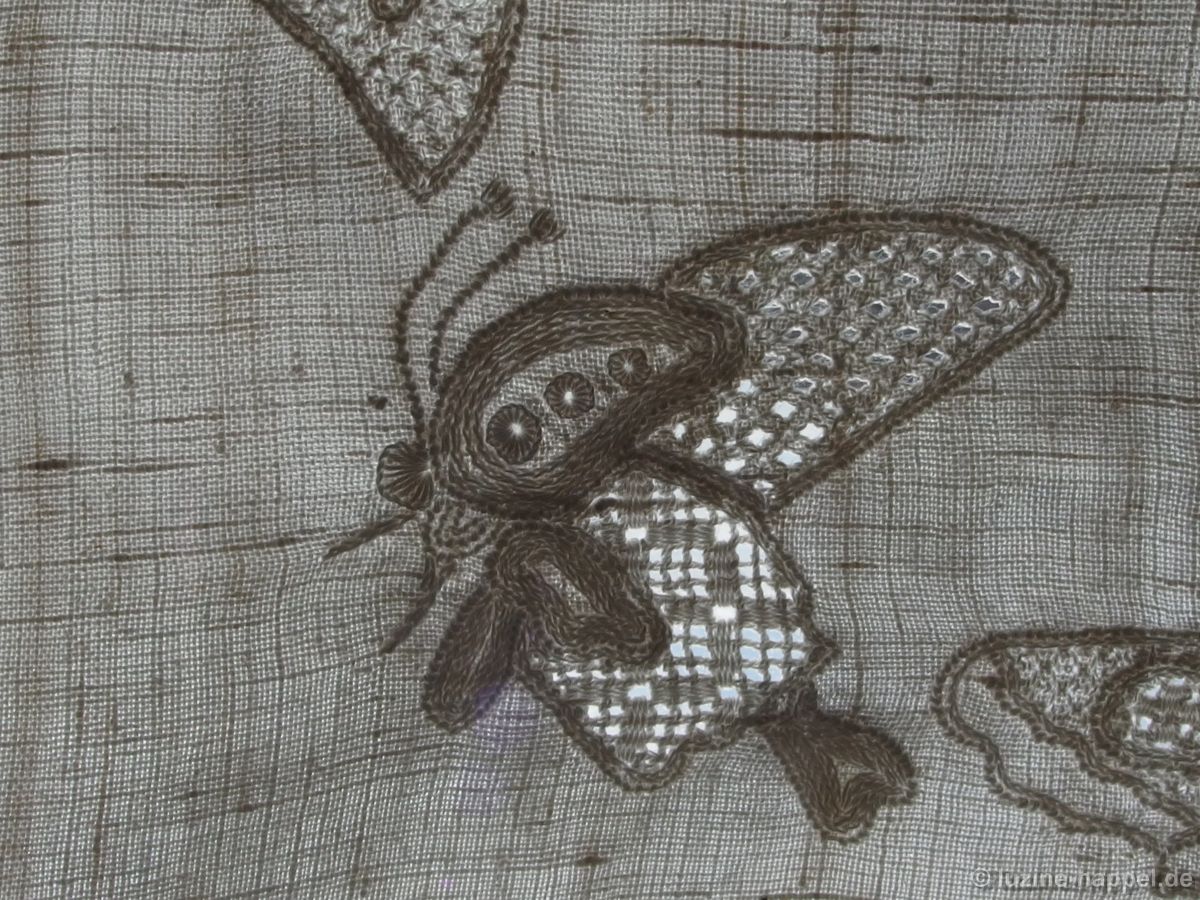
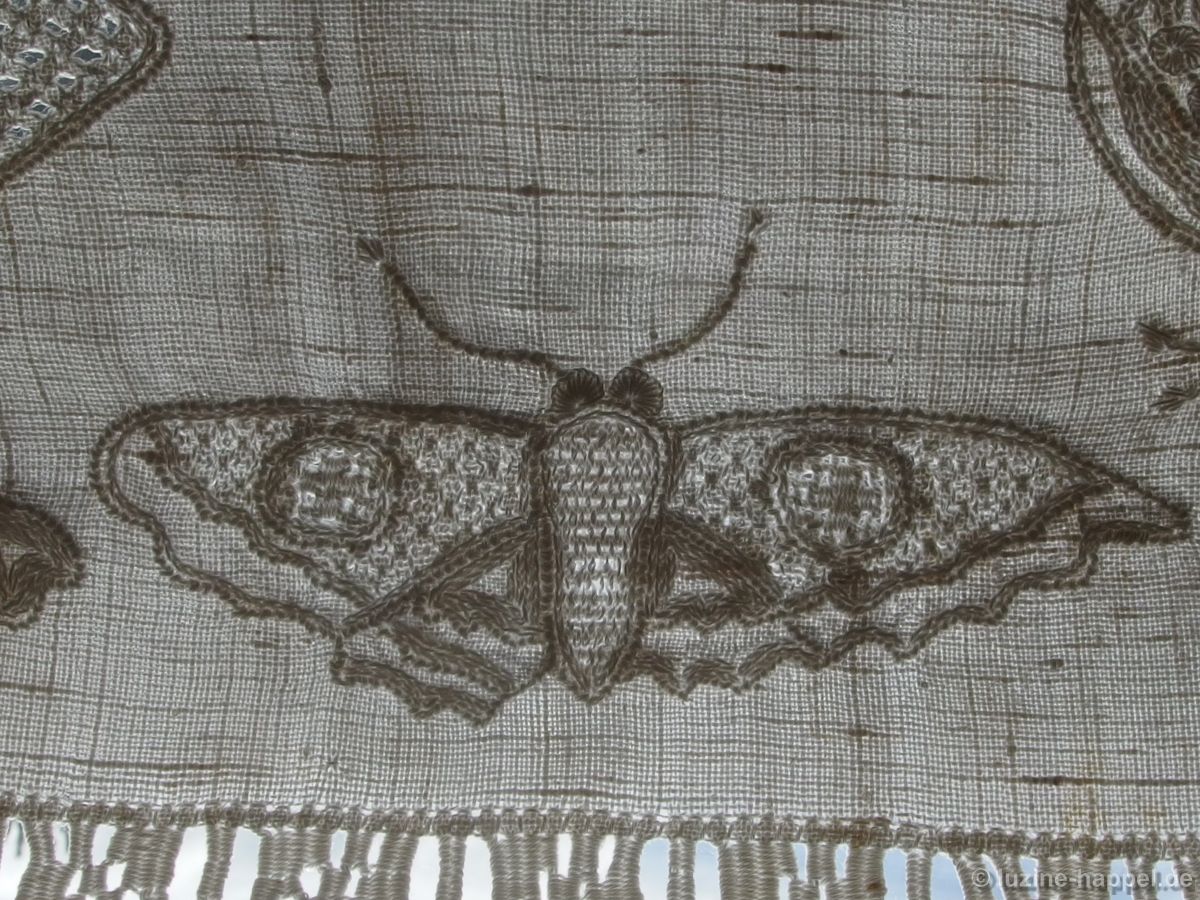
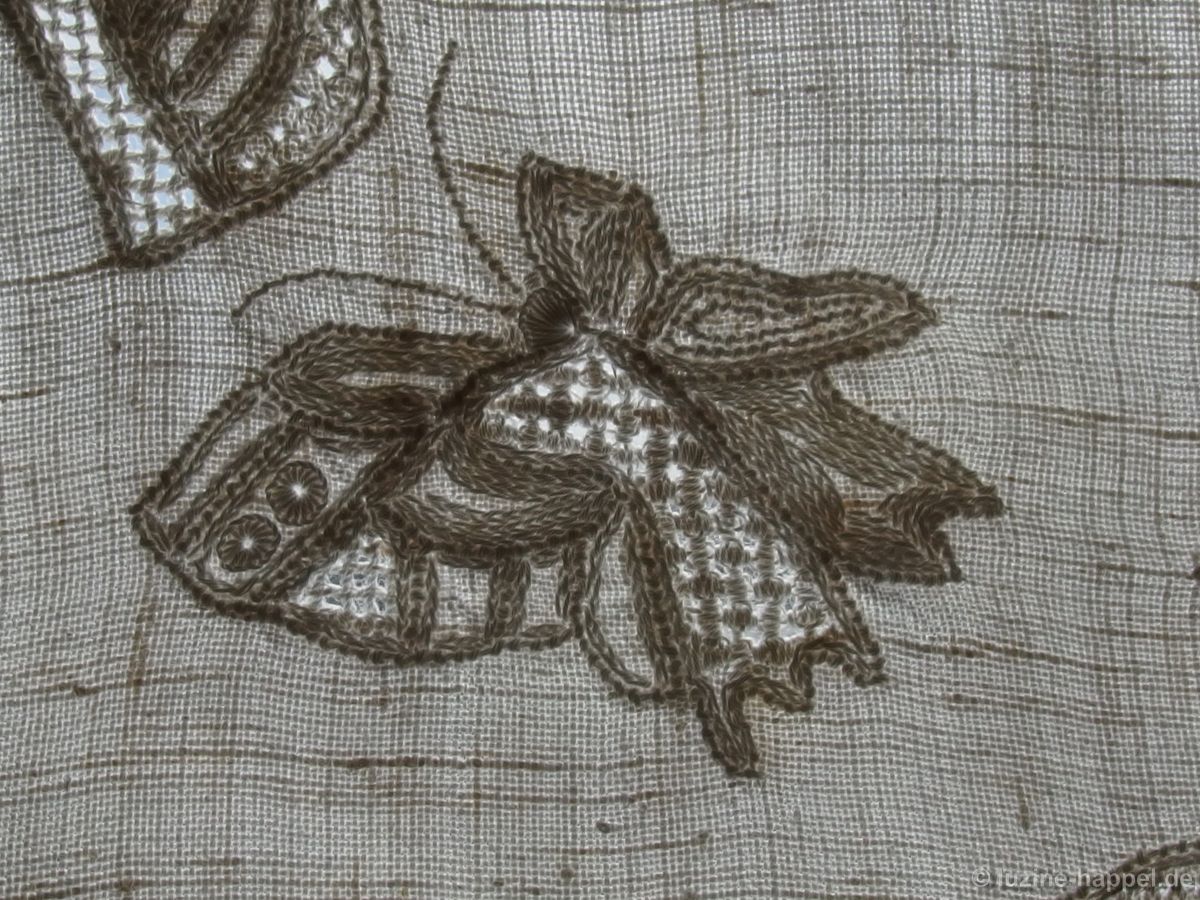
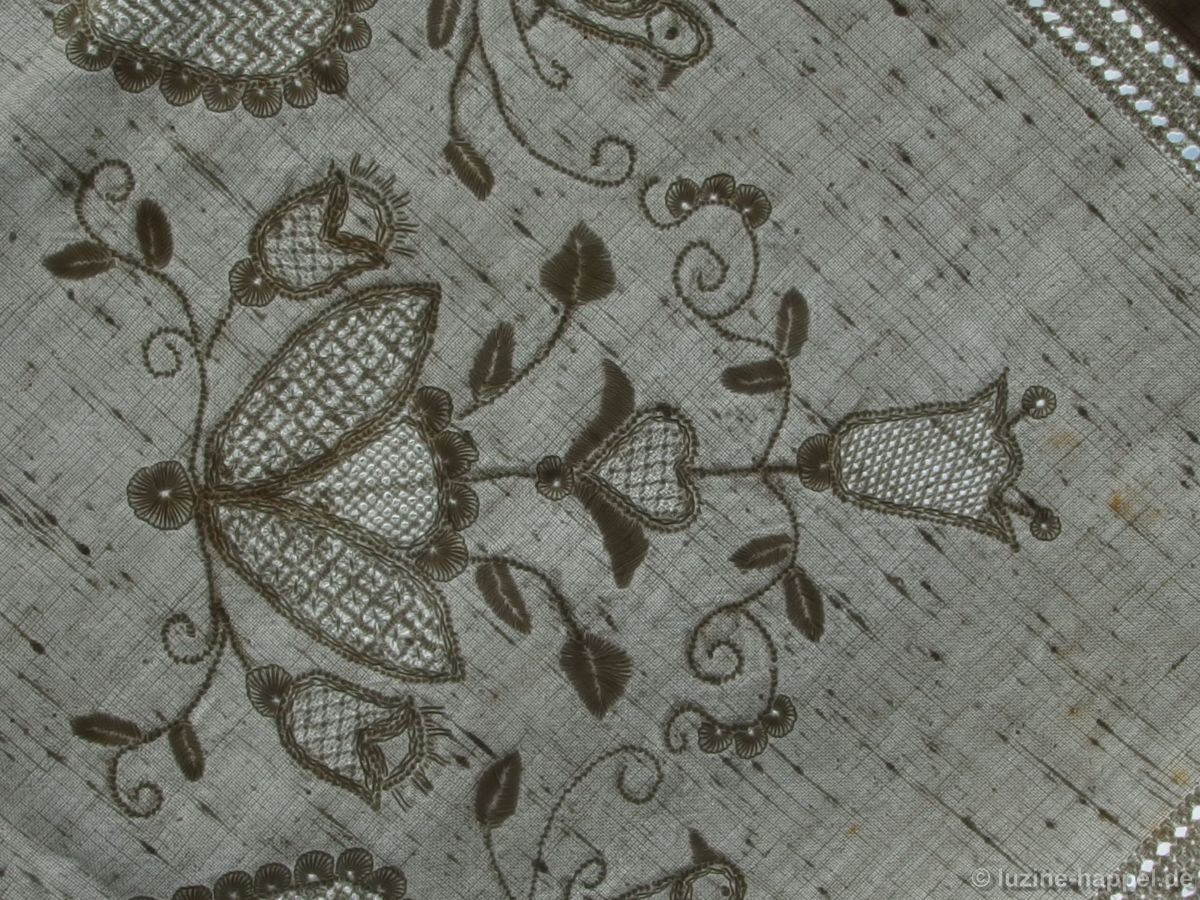
The fourth corner also contains other pattern combinations, such as Satin with Wave stitches.
On such a project, in addition to a few combinations, all the basic stitches could be learned:
• simple withdrawn thread patterns: Satin, Wave, and Honeycomb Darning stitches,
• openwork pattern: Cable stitch grid and single Faggot stitch grid, Cable stitch grids filled with needle-weaving patterns and with Rose stitch patterns
• Limet patterns: Diagonal Cross filling, Satin, Square eyelets, Rose stitches. In this example, the only basic stitch that is missing is the Four-Sided stitch as a filling pattern, but this appears in the Peahole hem.
With knowledge of all these basic stitches, the world of the embroiderer is now open to the most beautiful pattern combinations.