Global Schwalm Sampler – Update (40)

Global Schwalm Sampler – Update (40)

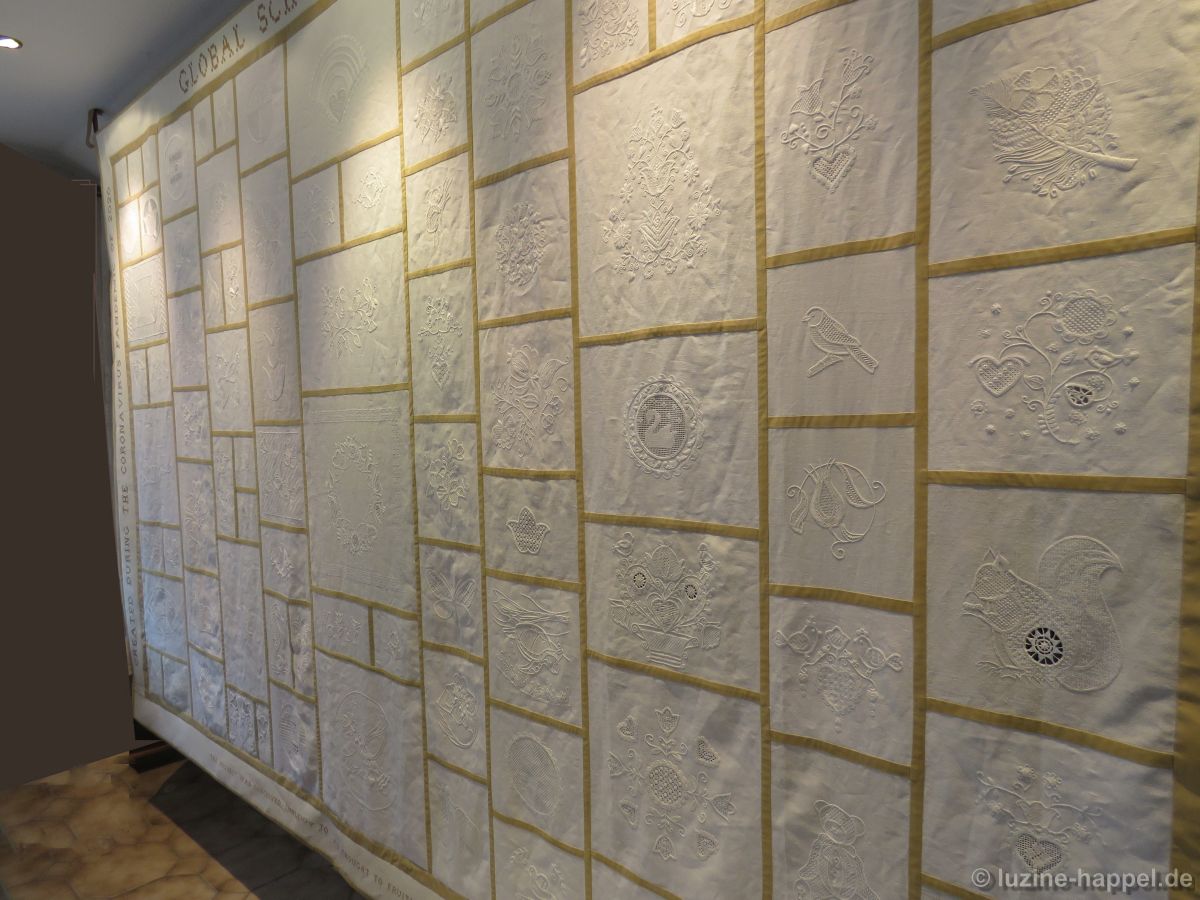
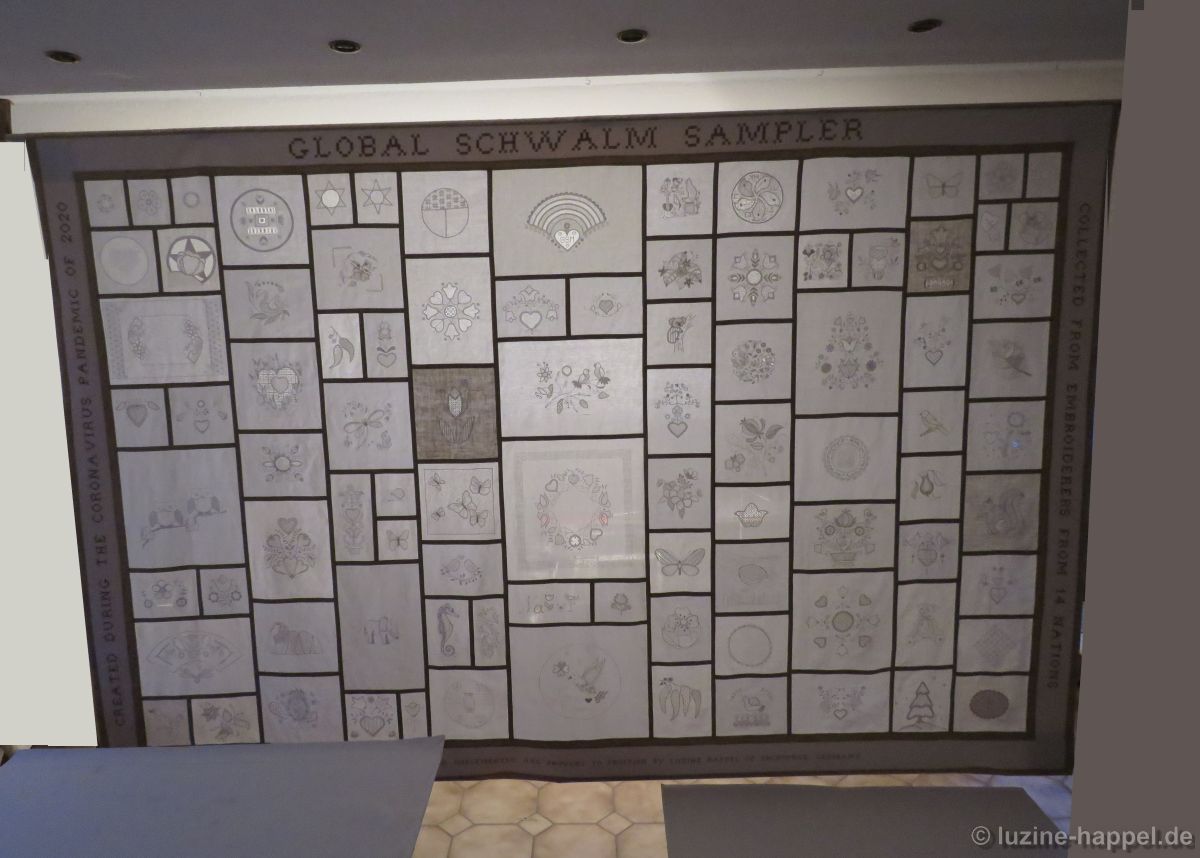
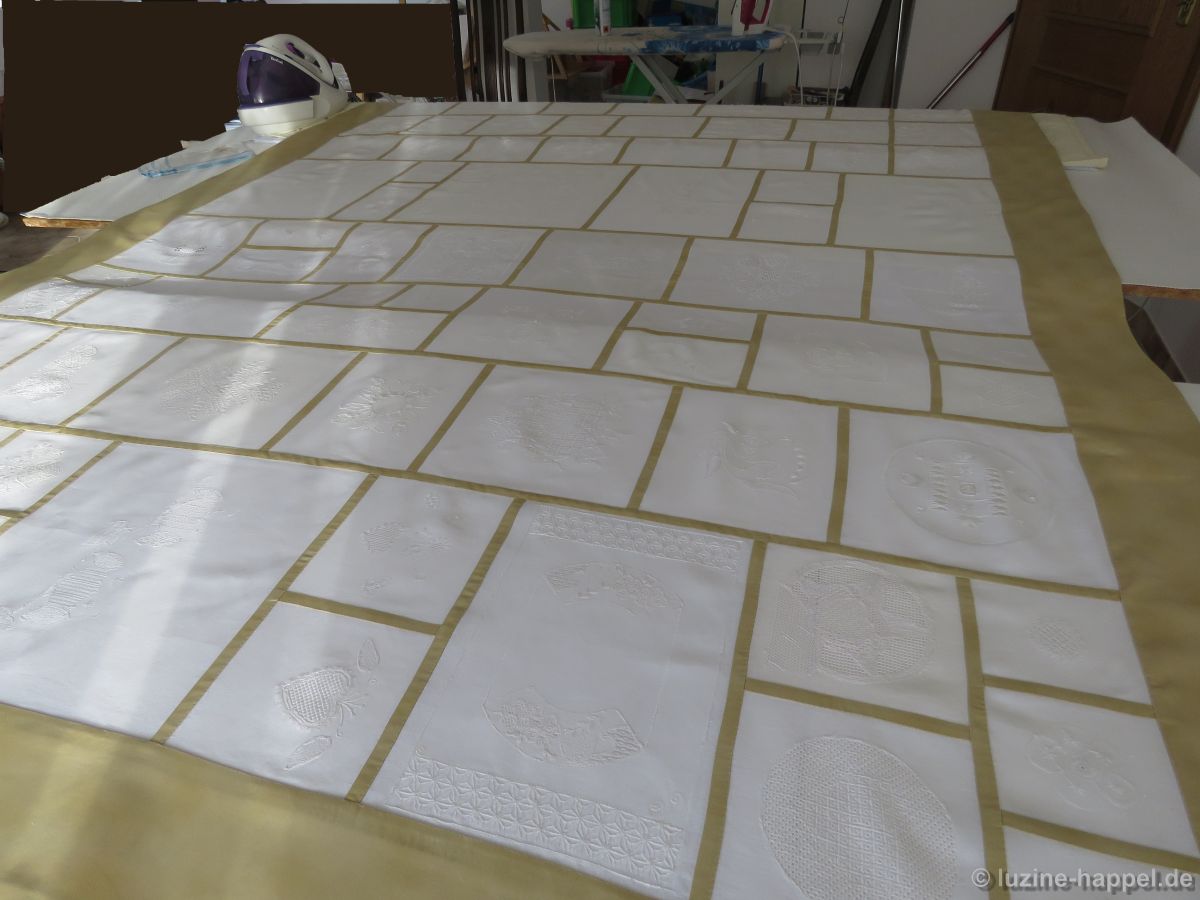
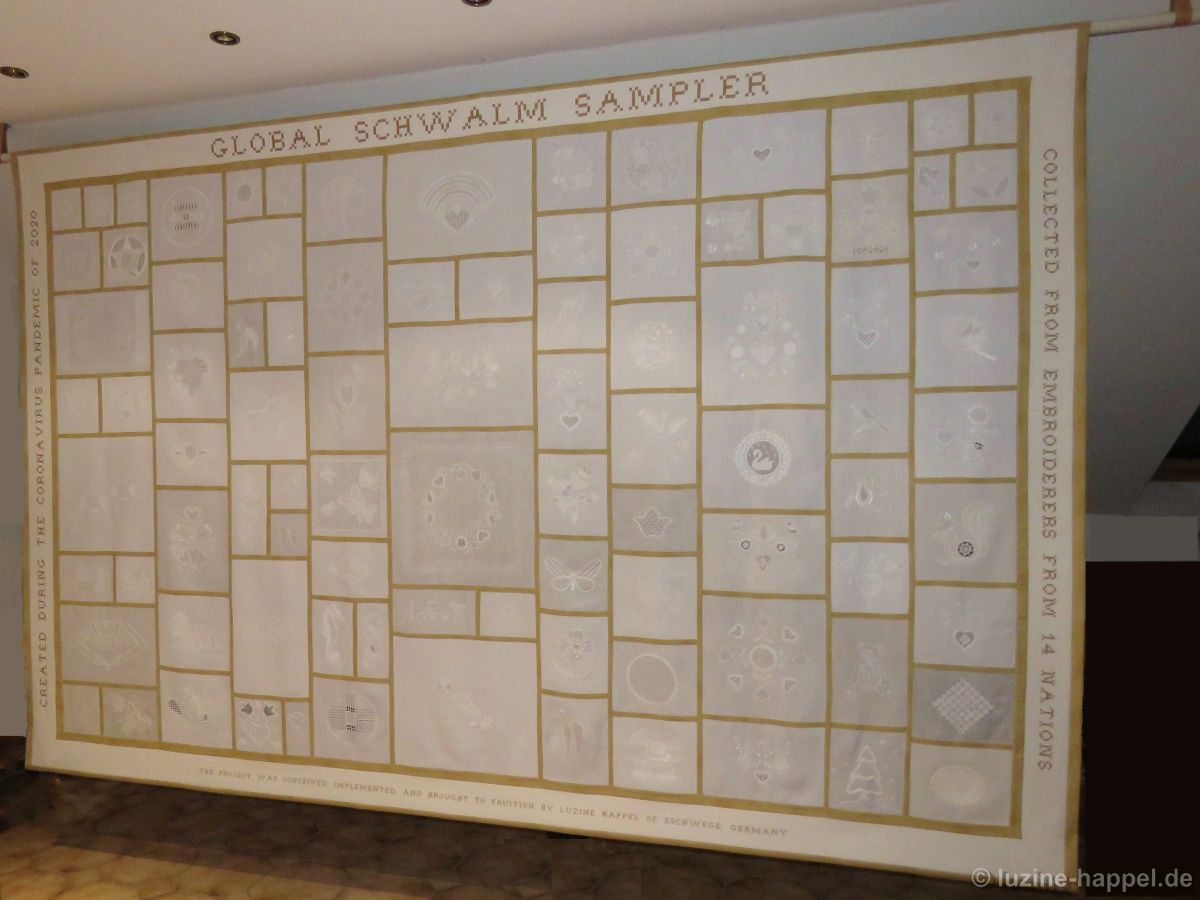
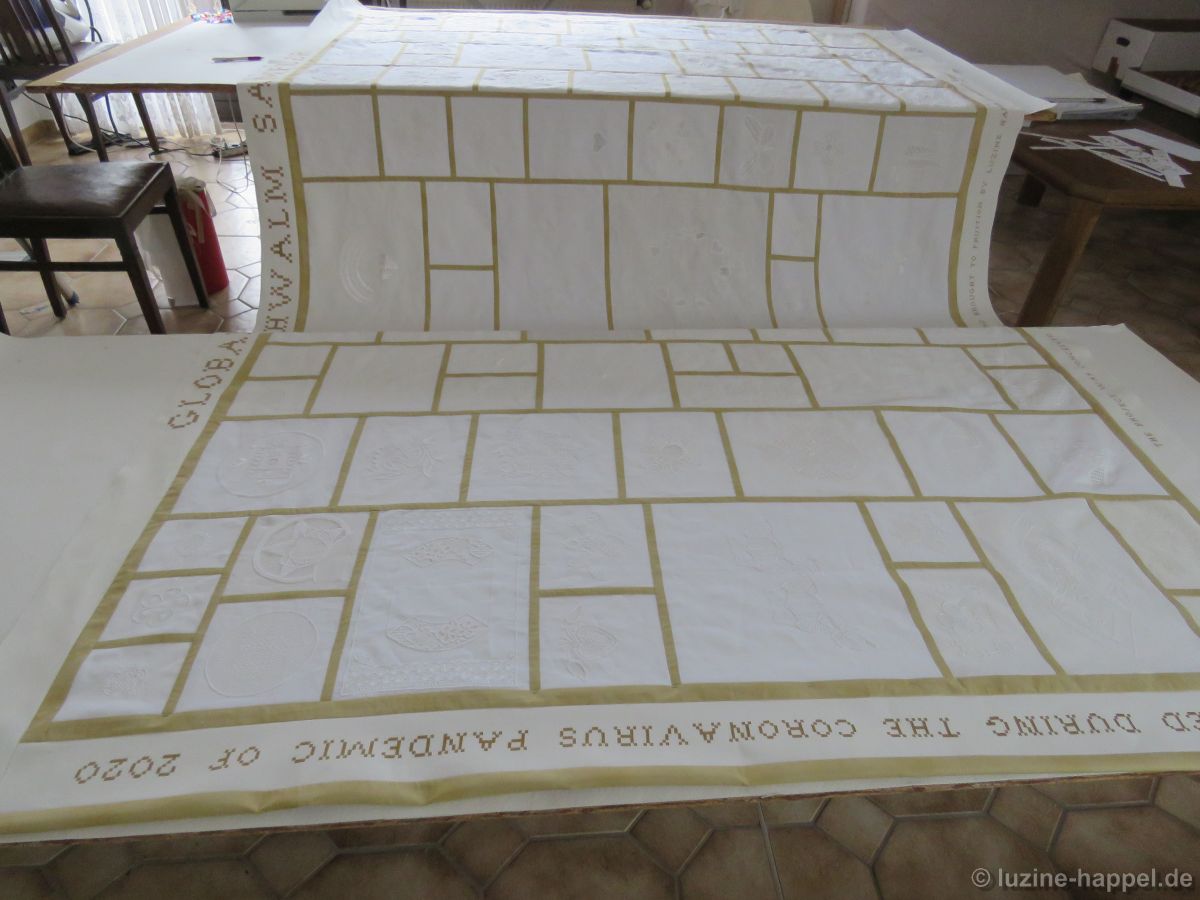
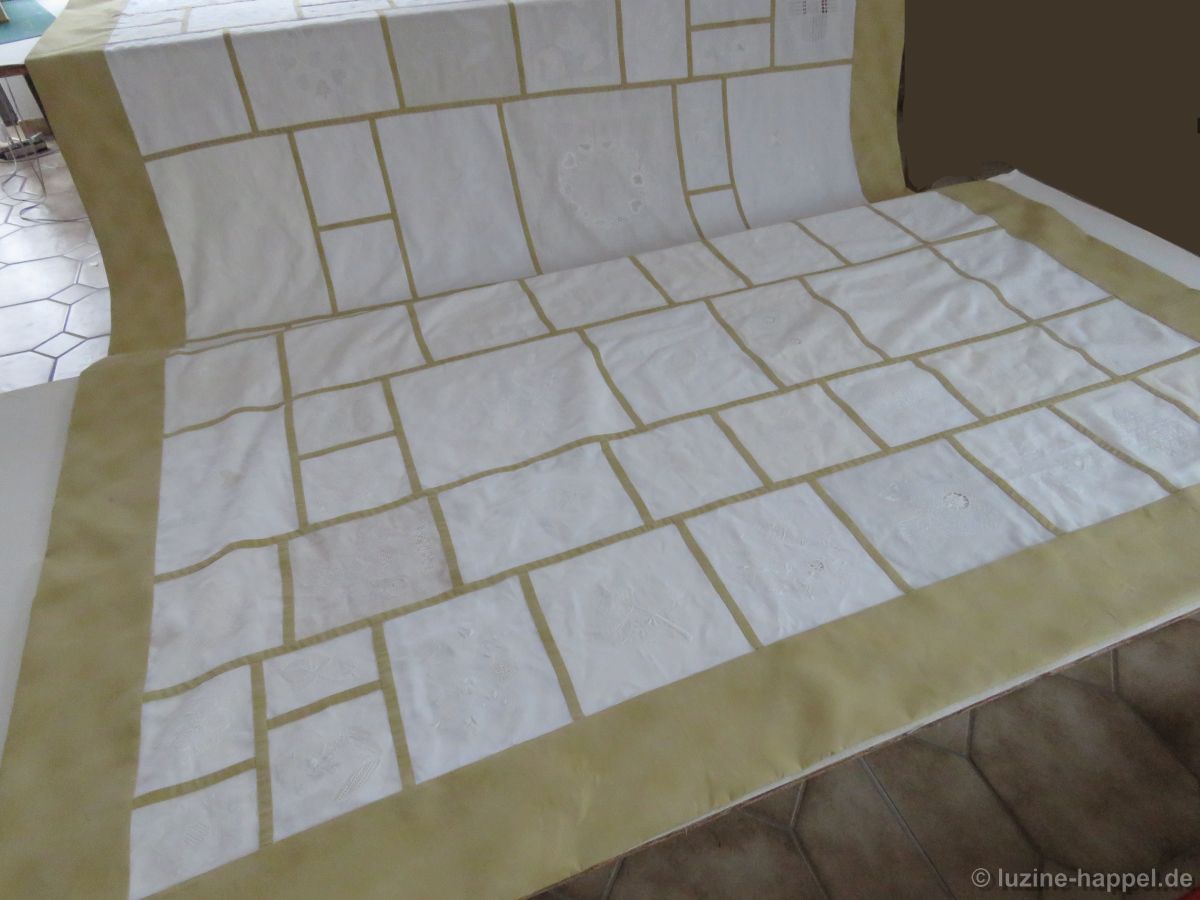
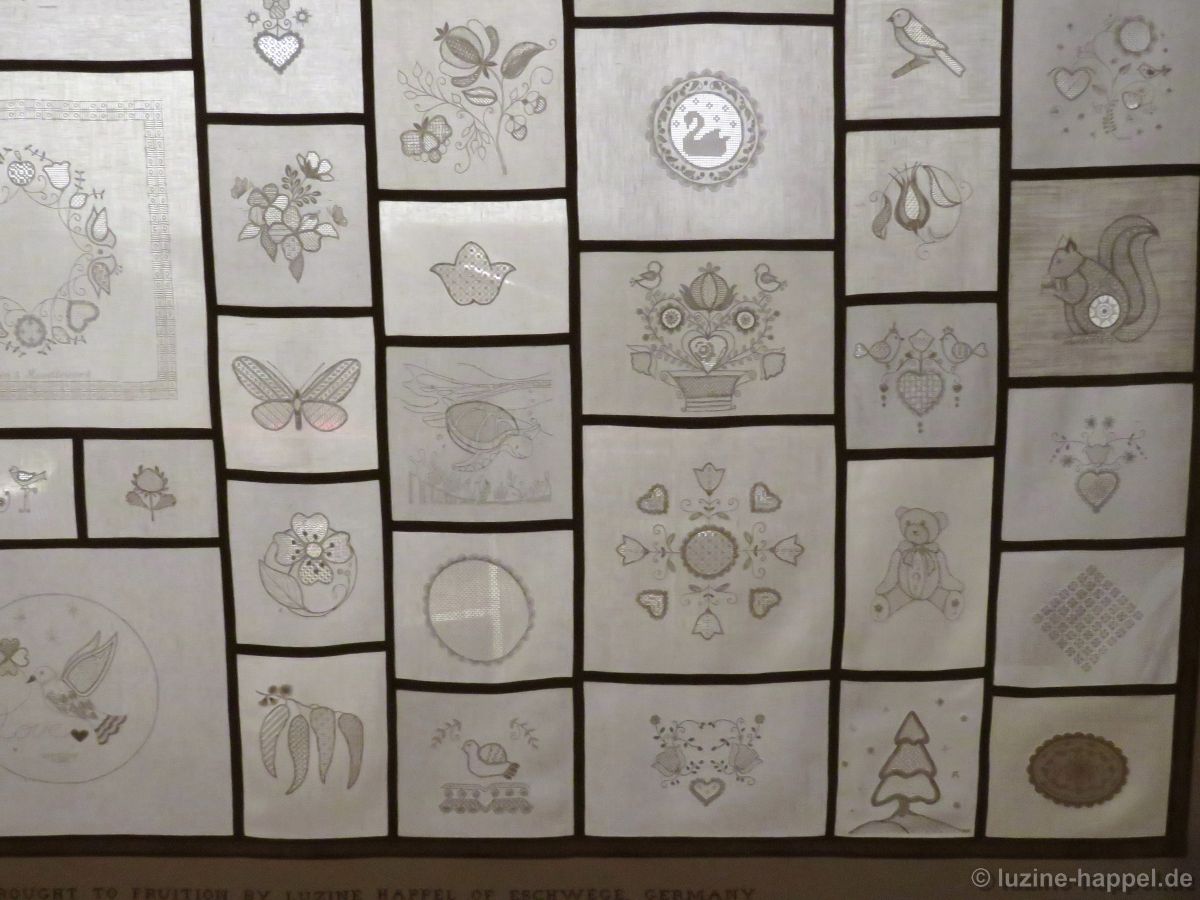
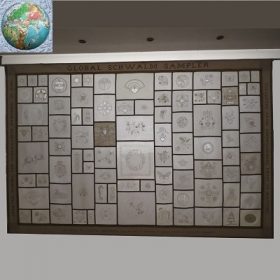
Now the sampler is ready. Its final a size is 3.40 m X 2.22 m!

A superlative cloth was created not only because of these dimensions but also because 74 embroiderers from 14 nations with great creativity and a lot of work contributed a total of 92 very individual pieces.
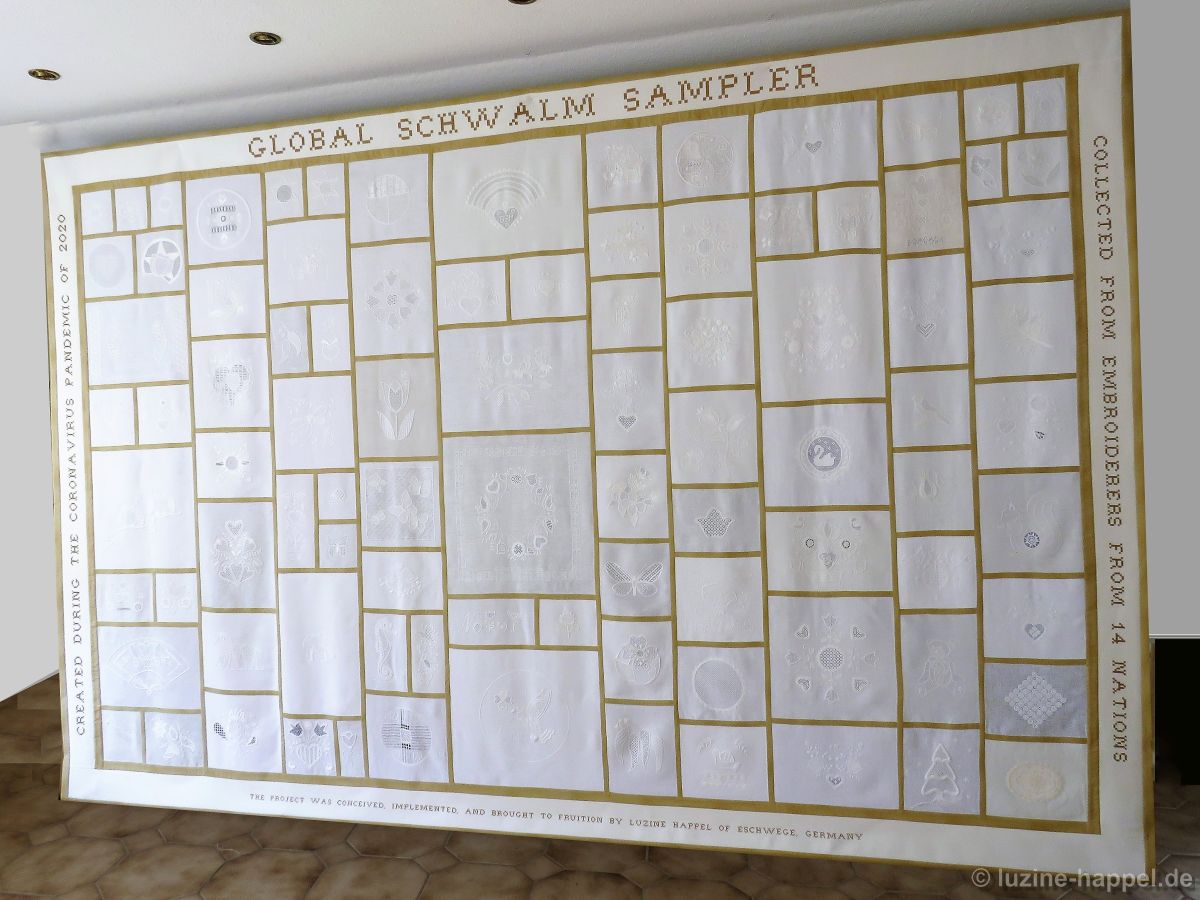
Beginners were just as enthusiastic as seasoned embroiderers. Occasional embroiderers had good reason to pick up the needle again. Teachers participated in the project together with their students. Complete embroidery circles actively committed themselves.

In this way, such an outstanding work was able to develop from a spontaneous idea that was initially poorly thought out. This worldwide effort was also made possible by translating the idea into many different languages. Thanks to everyone involved for their invaluable help and selfless commitment.
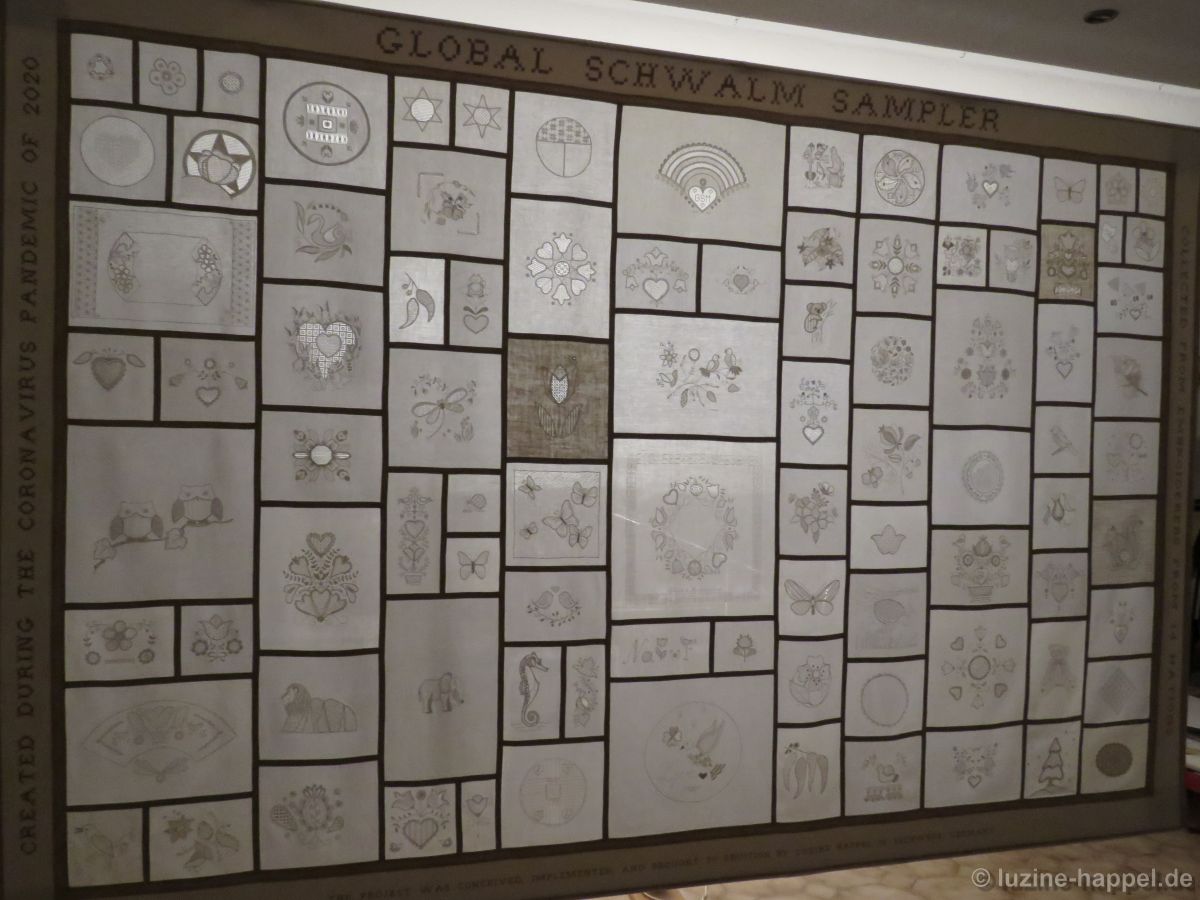
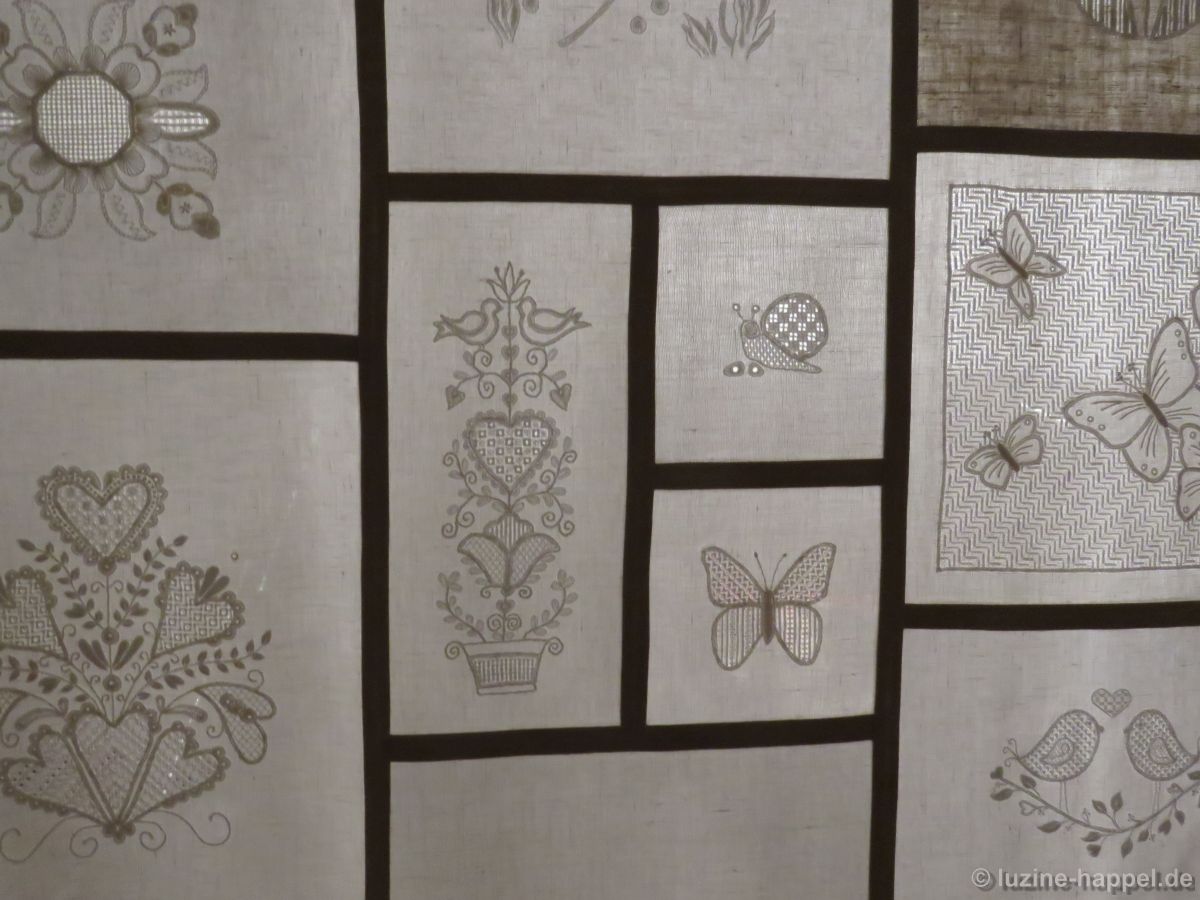
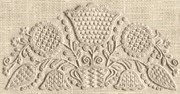
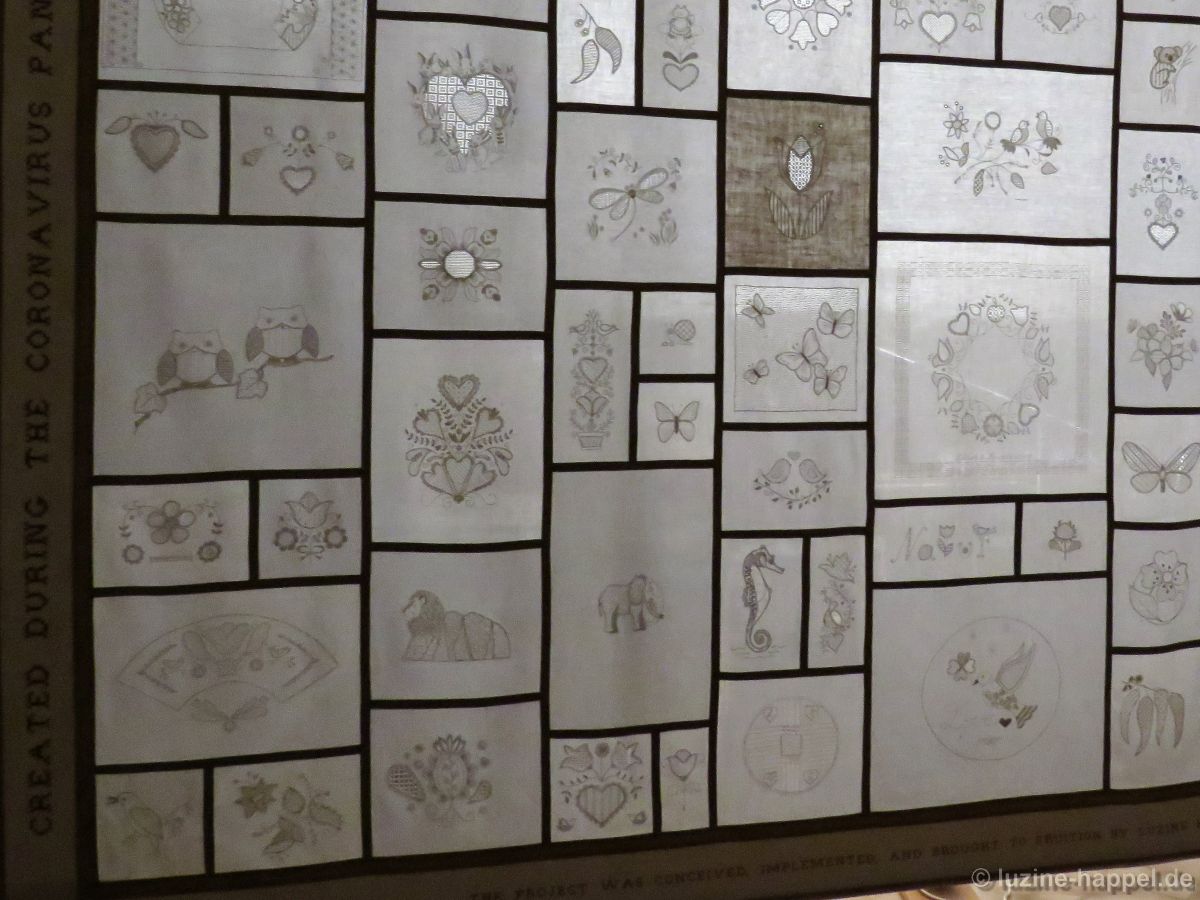
Unfortunately, all of its impressive beauty only unfolds in detailed photos or with backlighting. Only when viewing the entire ensemble in real life can the human eye perceives the imposing sublimity of the fine embroidery.

To everyone who contributed, I thank you from the bottom of my heart

  • for accepting the food for thought
  • for developing your own ideas
  • for implementation in attractive designs
  • for the generous provision of the required materials
  • for many hours of fine embroidery
  • for washing and ironing
  • for safe packaging
  • for the attached personal statements
  • for the loving words / comments
  • for delivery to the post office
  • for the generous acceptance of part of the significant shipping costs, and not least
  • for your commitment to show the world the beauty and the exceedingly interesting, varied, and specific techniques of Schwalm whitework.
If one recalls my definition of Schwalm whitework “Large areas of stylized motifs are surrounded with Coral Knot and Chain stitches, in the early form of Schwalm whitework also with Stem stitches. The inner surfaces are embroidered in different ways with simple, Limet and openwork patterns, in circular motifs also with needle lace and in the early form of Schwalm whitework with surface patterns. Decorative stitches complete the designs. The spaces between the motifs or around the motifs are filled with tendrils, small leaves and flowers.” Critics could point out that not all embroideries are based on the Schwalm technique. However, most of the participants followed this definition as can be seen in the following statistics. Approximately 11,129 cm Coral Knot stitches and approx. 7,734 cm Chain stitches were embroidered. (I laid a thread along the respective stitches and measured the length of the thread at the end, so the distances – including those of spirals for example – were relatively easy to calculate.) Nineteen embroiderers also chose stem stitches for working stems.
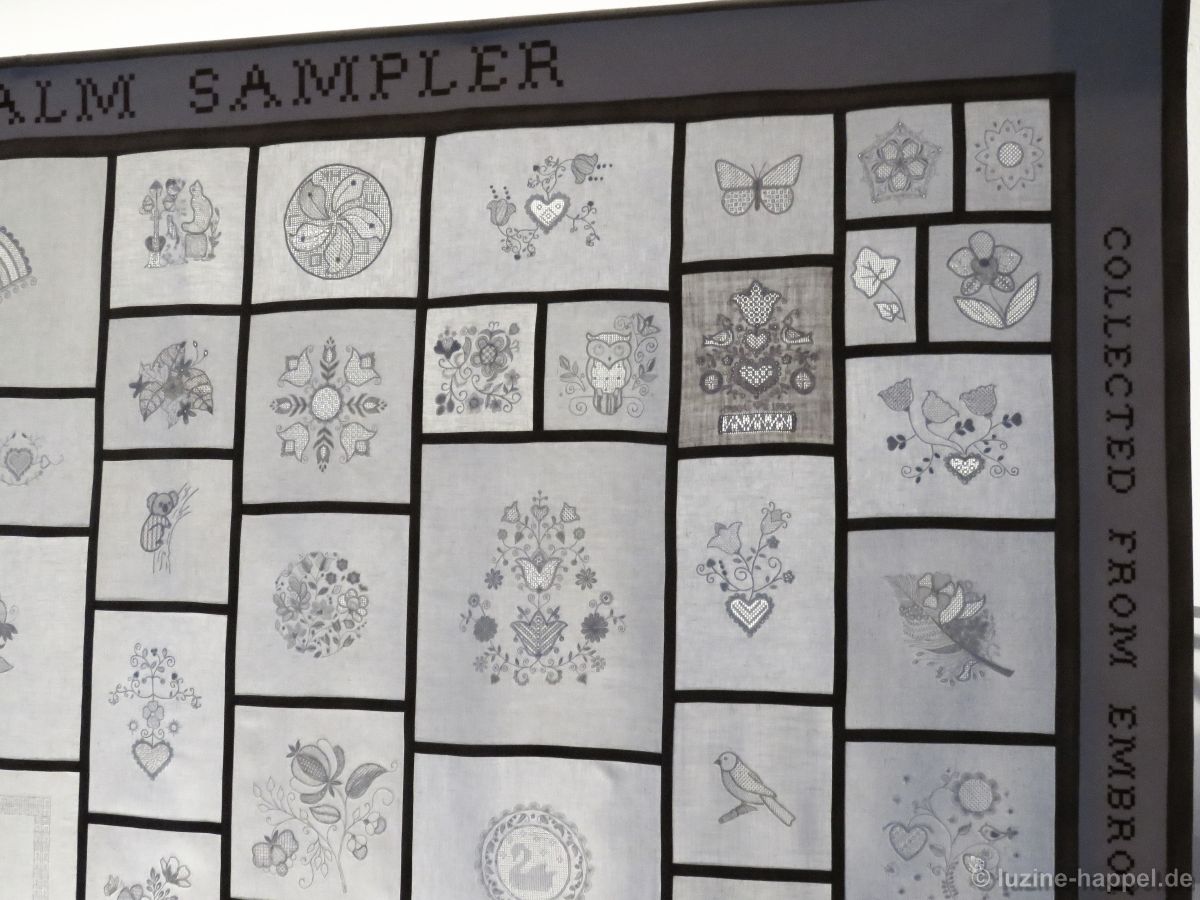
A total of 577 areas were filled with patterns from all five categories, with the Limet filling patterns being the most popular. I counted 96 different patterns – there are some that were unknown to me until then. The embroiderers were not only very creative in terms of design, but also in the execution of the embroidery.
280 Blanket stitched eyelets and 1058 Blanket stitch half-eyelet scallops were made.
683 small leaves, 123 satin stitch points and 420 tendrils adorn the embroidery.
Herringbone stitches, Lazy Daisy stitches, Eyelash stitches, Bouillon knots, and Bouillon stitches were often used. Many other decorative stitches completed the range.
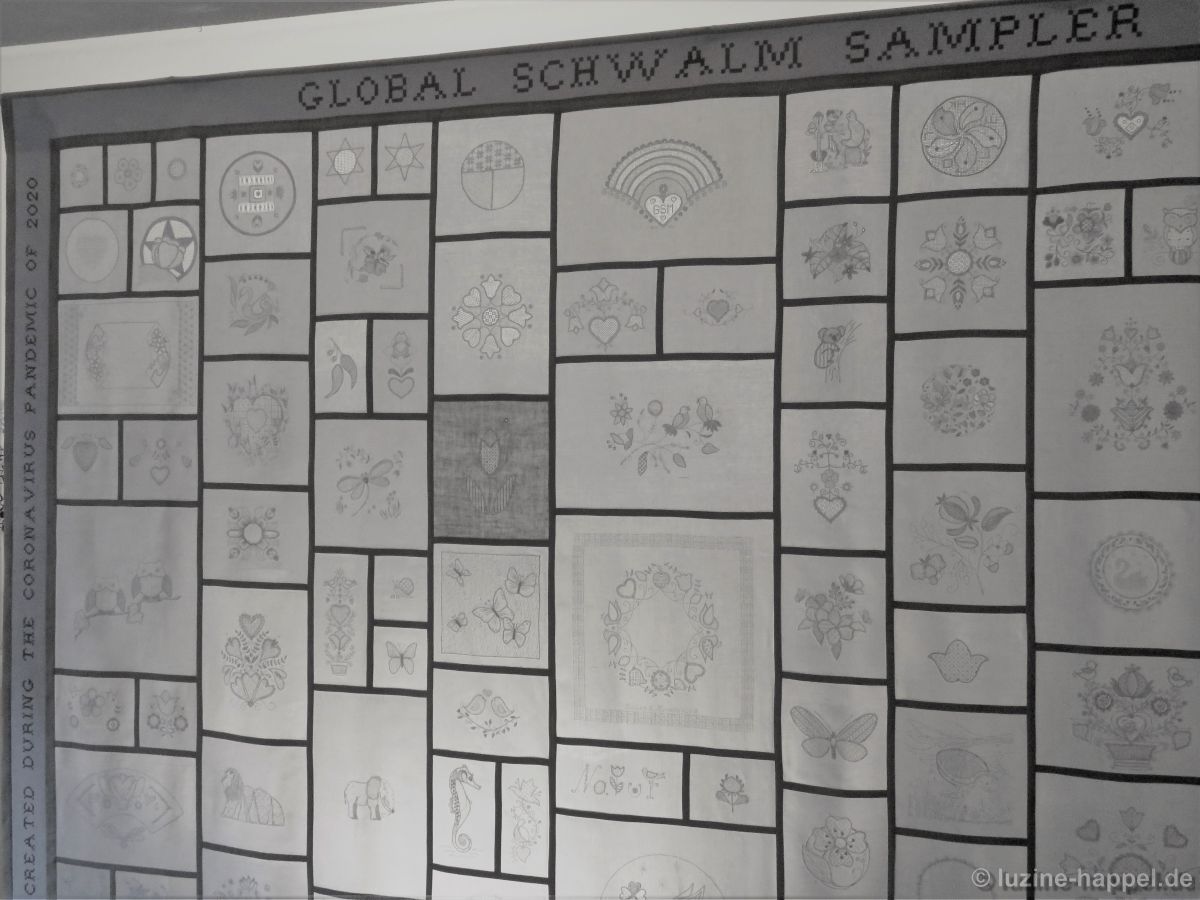
Fabrics totaling nearly 69,950 cm² were sent to me, and, in order to be able to put everything together properly, these were cut back to a final size of 58,520 cm².
It would also be interesting to know how much thread has been used. Of course, the thread consumption depends on many factors and cannot be precisely calculated. But since I know that many of my blog readers would love to get an idea of it, I made a very rough calculation based on mean values. Years ago, when I was only doing embroidery for my own enjoyment, I kept detailed records of, among other things, thread consumption. So I can now draw on a wealth of experience.

With one meter of thread (divided into two halves) I can embroider an average of 19 cm Coral knot stitches. That would be a thread consumption of approx. 586 m or approx. 20 skeins (11129 cm: 19 cm = 585.74 cm; 586 m: 30 m = 19.53 skeins of 30 m).

With one meter of thread I can embroider an average of 20 cm Chain stitches. That would be a thread consumption of approx. 387 m or approx. 13 skeins (7734 cm: 20 cm = 386.70 cm; 387 m: 30 m = 12.9 skeins of 30 m).

With one meter of thread I can embroider about 5 Blanket stitch eyelets. That would be a thread consumption of approx. 2 skeins (280: 5 = 56 m; 56 m: 30 m = 1.87 skeins).

With one meter of thread I can embroider around 8 Blanket stitch half-eyelet scallops. That would be a yarn consumption of 132 m or 4 skeins (1058: 8 = 132.25 m; 132: 30 m = 4.40 skeins).

With one meter of thread I can embroider about 10 small leaves. That would be a thread consumption of 30 m or one skein (300: 10 = 30 m; 30 m: 30 m = 1 skein).

With one meter of thread I can embroider about 5 slightly larger leaves. That would be a thread consumption of 77 m or 3 skeins (383: 5 = 76.6 m; 77 m: 30 m = 2.57 skeins).

Of the 58,520 cm² of linen on the sampler, roughly 5,033 cm² (that’s a little more than 70 cm x 70 cm) are embroidered with filling patterns. For a filling pattern with little thread consumption (Rose stitch, etc.) one needs about 30 cm thread / cm², but for a dense Satin stitch pattern one can easily calculate about three times and for a densely embroidered Limet pattern easily six times as much. After looking through all the patterns used from this point of view, I decided to assume an average thread consumption of 60 cm thread / cm². With 5,033 cm² of embroidered area that would be 301,980 cm of thread, i.e. around 3,020 m and thus approx. 100 skeins of embroidery thread just for the filling patterns, including the Satin stitch fillings.

In all that would be:

  • 20 skeins for the Coral knot stitches
  • 13 skeins for the Chain stitches
  • 2 skeins for the Blanket stitch eyelets
  • 4 skeins for the Blanket stitch half-eyelet scallops
  • 4 skeins for the leaves
  • 100 skeins for area fill patterns and in addition
  • 2 skeins for all remaining stitches

So the consumption adds up to approx. 145 skeins of 30 m of embroidery threads.
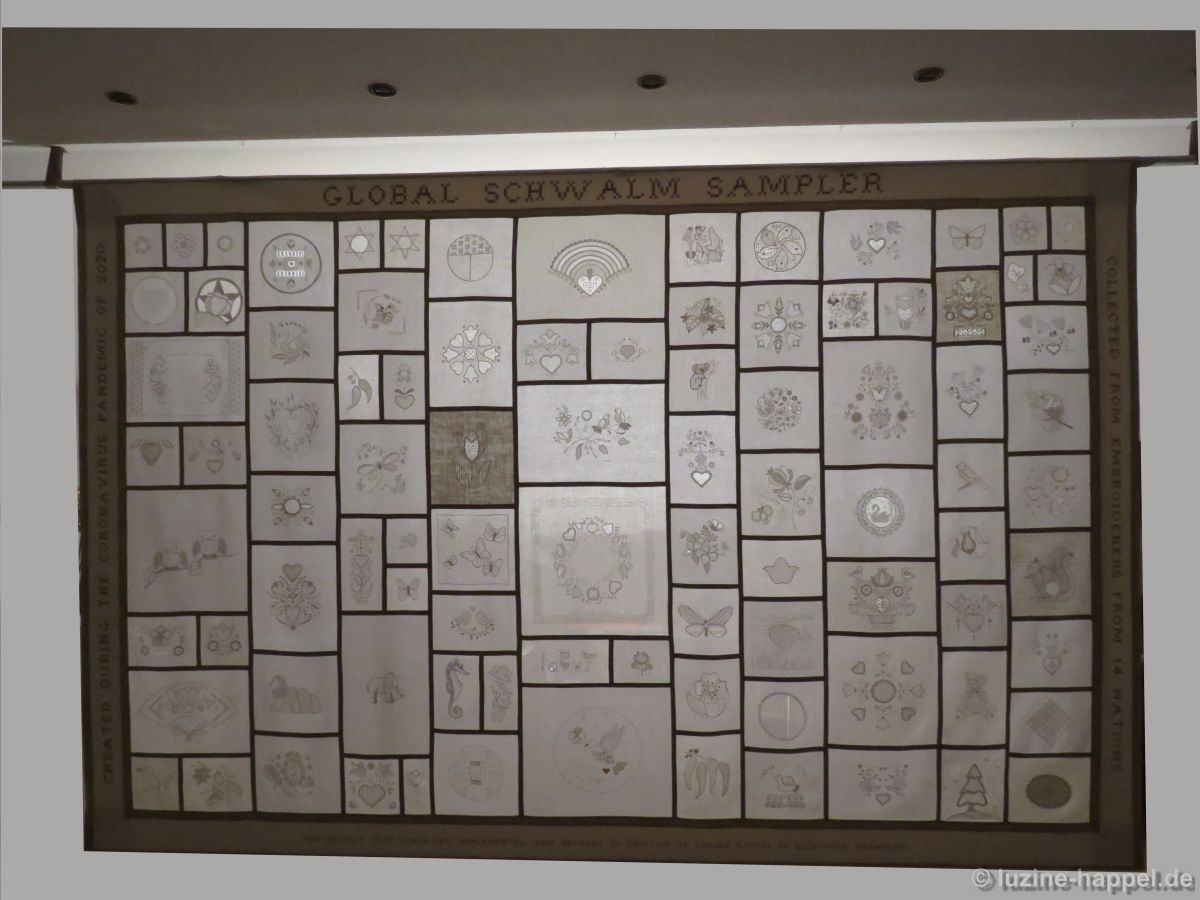
Before the Global Schwalm Sampler can be viewed in reality, the pandemic barriers must be removed. Until then we must be content with the pictures shown here. If you want to enjoy all the beautiful embroideries again in detail, it is best to start here (up from Update 25. The concentrated load of interesting details is impressive.

Previous Update
A documentation about the Gloabl Schwalm Sampler is found here.
Global Schwalm Sampler – Update (39)

Global Schwalm Sampler – Update (39)

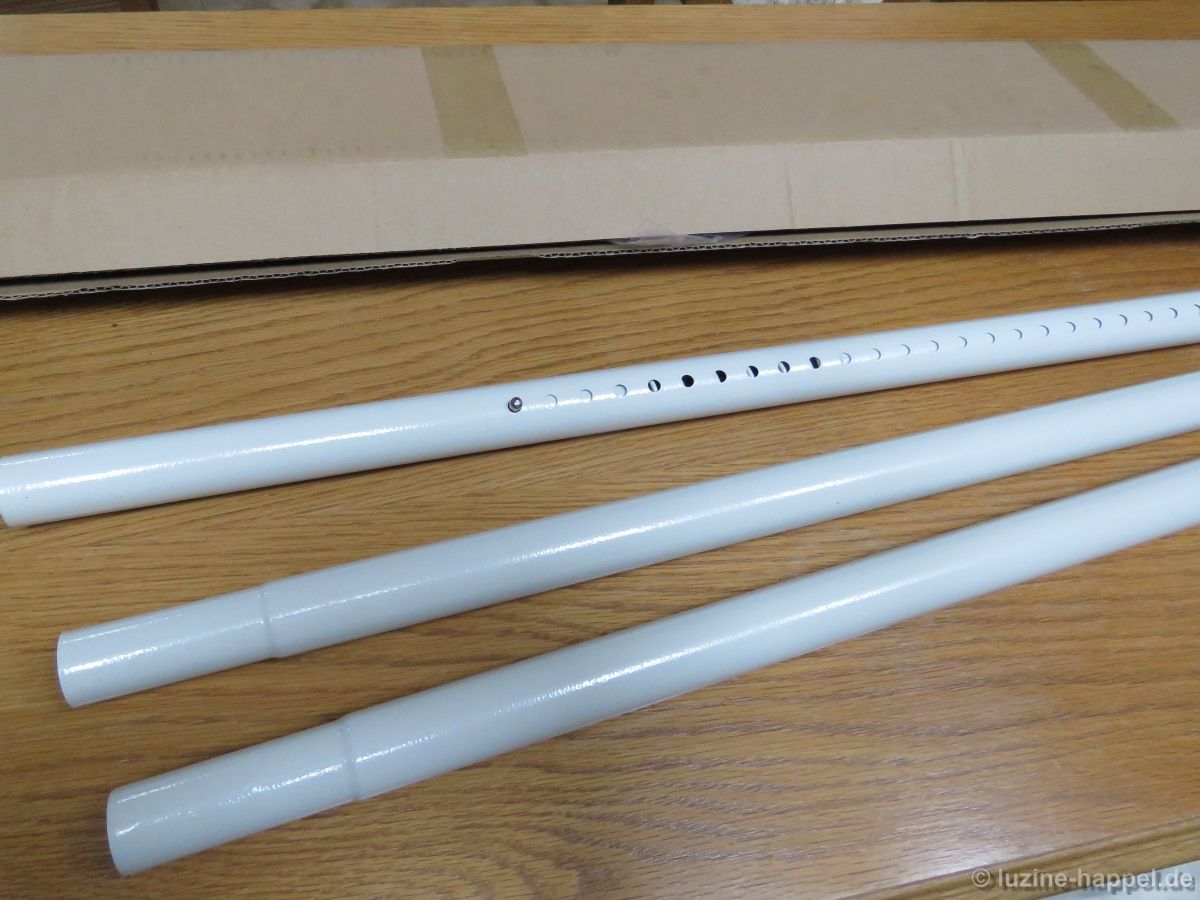
The hanging bar for the sampler was promptly delivered. Because of the plans to ship the sampler to other countries, I chose a stable telescopic bar, which consists of several parts.

This is inserted into the upper tunnel and pressed to the top edge. Stable nylon threads are pulled through all layers of the fabric just below the bar and knotted into loops. Then the first test suspension takes place – the loops are attached to hooks on the ceiling. Because I could only secure two loops while standing on the high ladder, three times the entire heavy piece fell down while trying to hang it. After securing the two loops, I had to go down and move the ladder to secure the others. In the end, the weight was just too much for two hanging points, an issue that was made worse by not having the right hooks and not having access to specialist shops due to the pandemic lock down.
After a few changes in the hanging technique came finally the big moment:

Although still completely wrinkled by the many crashes and not yet finally ironed, the sampler presented itself to my satisfaction. Of course, it should not stay in my private rooms, but move to my exhibition rooms – but that will take time. Because of the pandemic my studio has been closed for so long and will probably stay that way for some time. At home I have the opportunity to look at the work done in peace and enjoy the sight of the many collected embroideries.

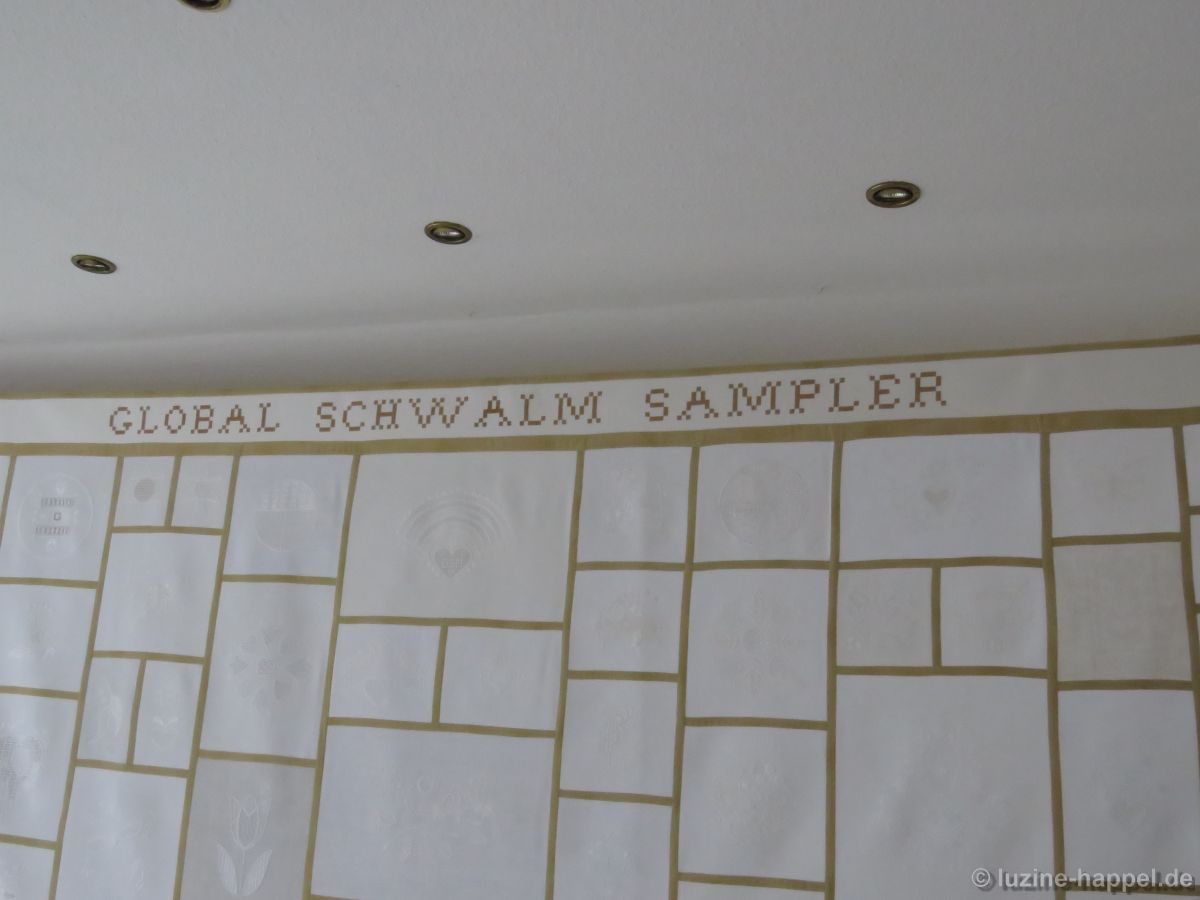
The only free wall in my home was, in the end, too narrow for the pattern cloth. There was nothing left but to place it in the room at the transition between the ceiling and the sloping wall. This addition brought two advantages: first, there are spotlights on the ceiling, which put the embroidery in the right light,

and second, the cloth can be illuminated from behind in this way.

Due to the changed suspension and the now necessary overhang on both sides of the sampler, the bar was too short for a really safe hold. A new, longer bar was ordered.

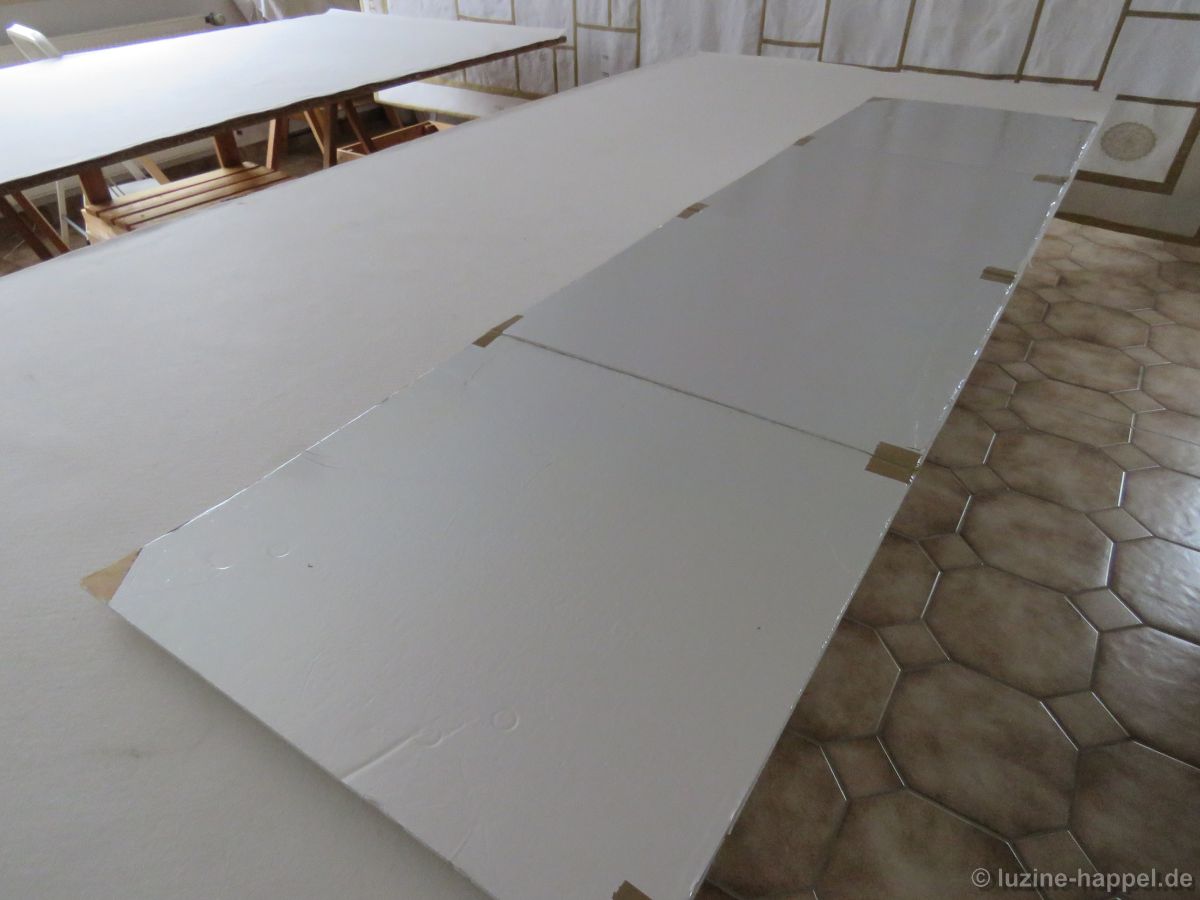
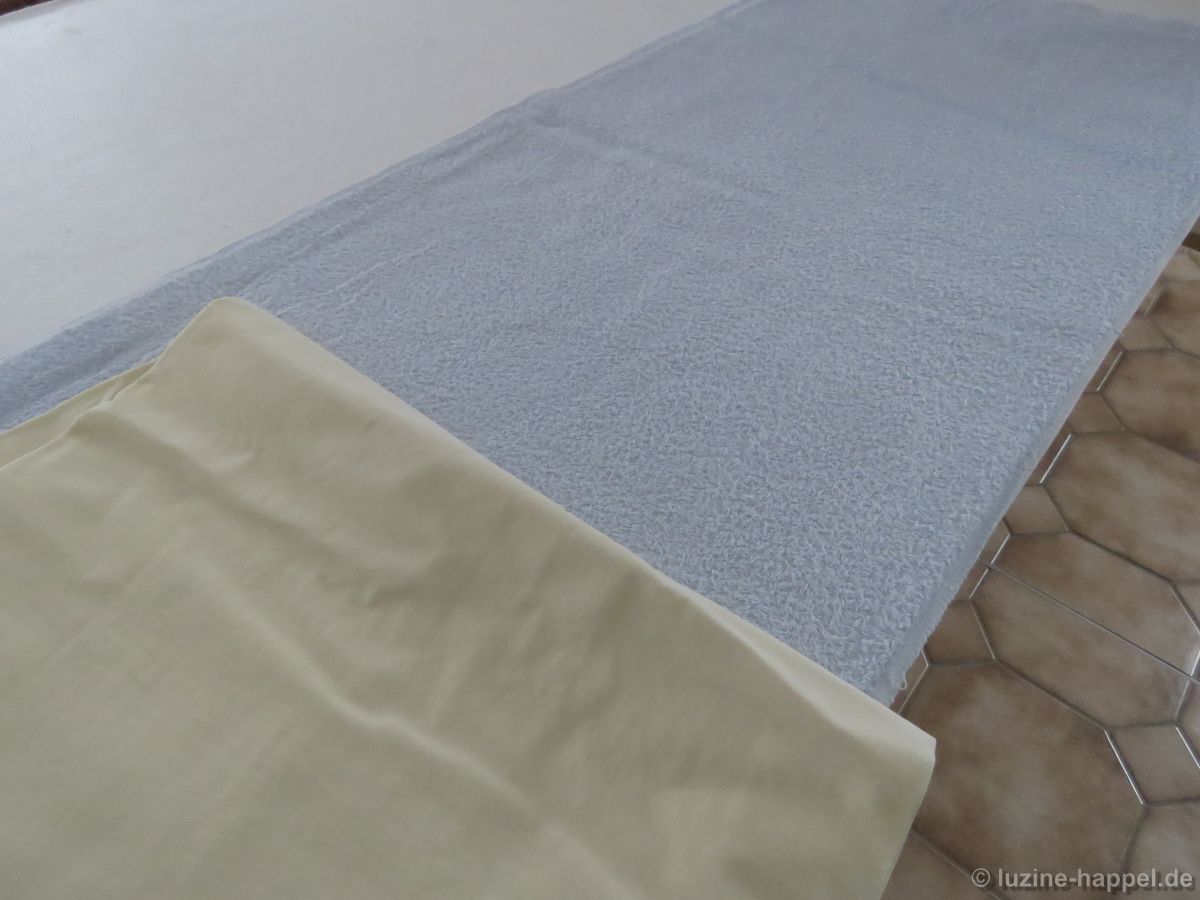
The table was prepared for ironing. A layer of insulating material with aluminum foil over a length of more than 2.20 m,

a thick layer of terry fabric and a further layer of smooth cotton fabric should suffice.

The sampler was taken down.

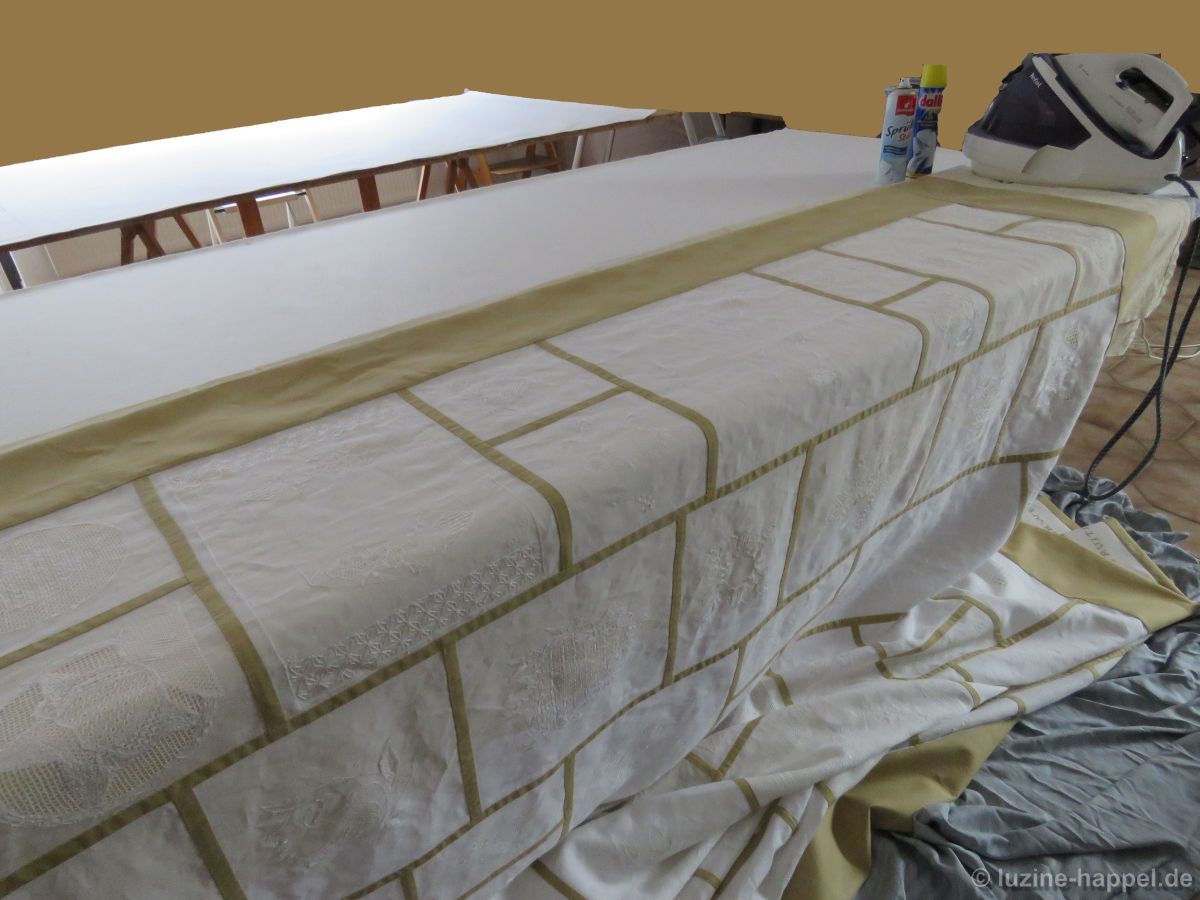
The floor covered with a cloth to keep the unironed part of the sampler clean and stocked up with enough spray starch, the ironing work began.

Ironed piece by piece and pulled over the tables in stages, the cloth finally lay nicely smooth in front of me.

The bar was pushed through and attached to the ceiling. Despite the greatest care, a few wrinkles have again appeared in the fabric. Also, the sampler cloth hangs slightly wavy in some places – I will probably have to correct the tension between the holding bar and the ceiling in some places. Without the support of additional nylon loops, the stable but very long bar sags a little, which can be seen here already in the first minutes of hanging, and it will intensify over time.

Maybe I’m just too persnickety about the light waves – after all, it’s textile fabric, not rigid material. I was also able to observe that with increasing humidity, some linen fabrics trend to wear somewhat out.

However, for the moment I am satisfied with the result – the remaining fine adjustments are made when the sampler has taken its regular place in my exhibition rooms.

More than anything, I am happy with the great result and enjoy the sight of the beautiful embroideries every day.

One final time I will report on the sampler cloth , then – after almost a year – the project Global Schwalm Sampler will give way to other subjects.

Previous Update
Next Update

Global Schwalm Sampler – Update (38)

Global Schwalm Sampler – Update (38)

Now all that needs to be done is the finishing of the outside edges.

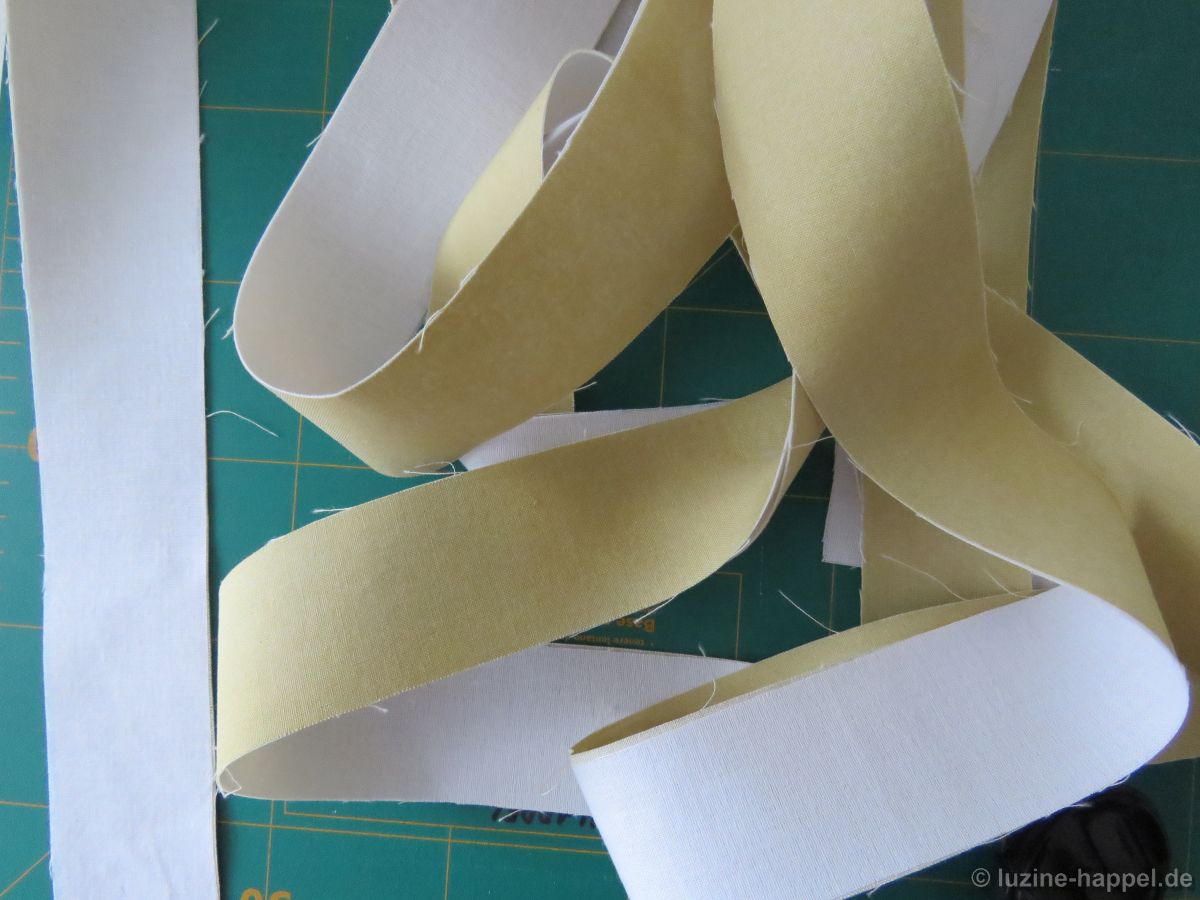
The third and final part of the edge treatment should again consist of a 3 cm wide coloured strip. Since the entire edge treatment is to be lined with this strip on the back, I cut the parts to measure 20.5 cm (seam allowance 0.75 cm, coloured strips 3 cm, + the back side coloured strips 3 cm, linen strips 10 cm, coloured strips 3 cm and seam allowance 0.75 cm = 20.5 cm) in the width and the corresponding length. To the strips for the top and bottom edges, I added another 20 cm because a tunnel seam is to be worked there to accommodate a bar. A wide fold is provided on each side to clean finish the tunnel ends.

The interlining is fused to the cotton fabric. The seam allowance for the back is marked and creased so that working the hand-sewn seam later is easier.

Again first the side strips are sewn on.

Since my usually sufficiently large table is much too small for this project and the cloth shouldn’t hang on the ground, a large amount of fabric piles up next to the sewing machine.

The seams are ironed out, the strip folded over to the back and pinned to the inside edge of the sampler.

After each step is worked, the cloth is spread out as much as possible in order to better assess whether the work has been successful.

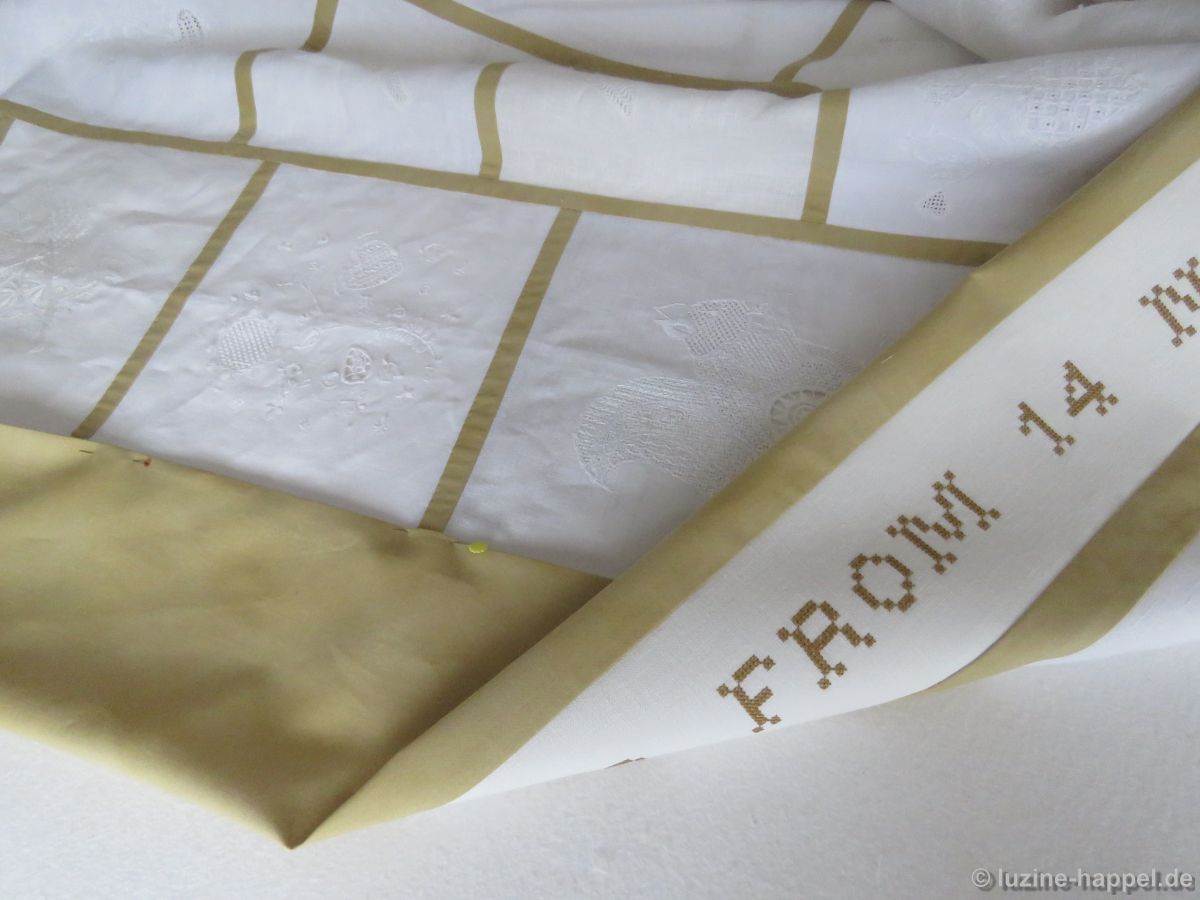
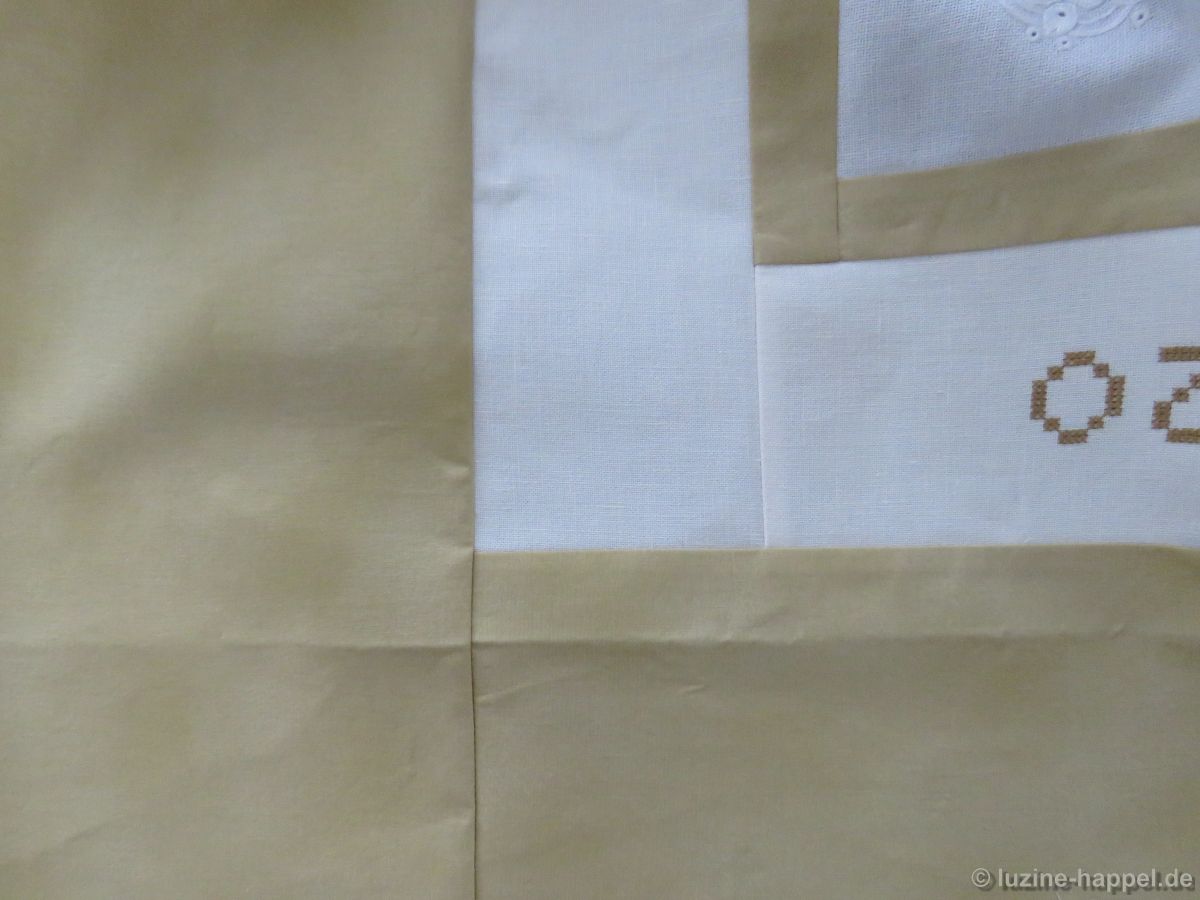
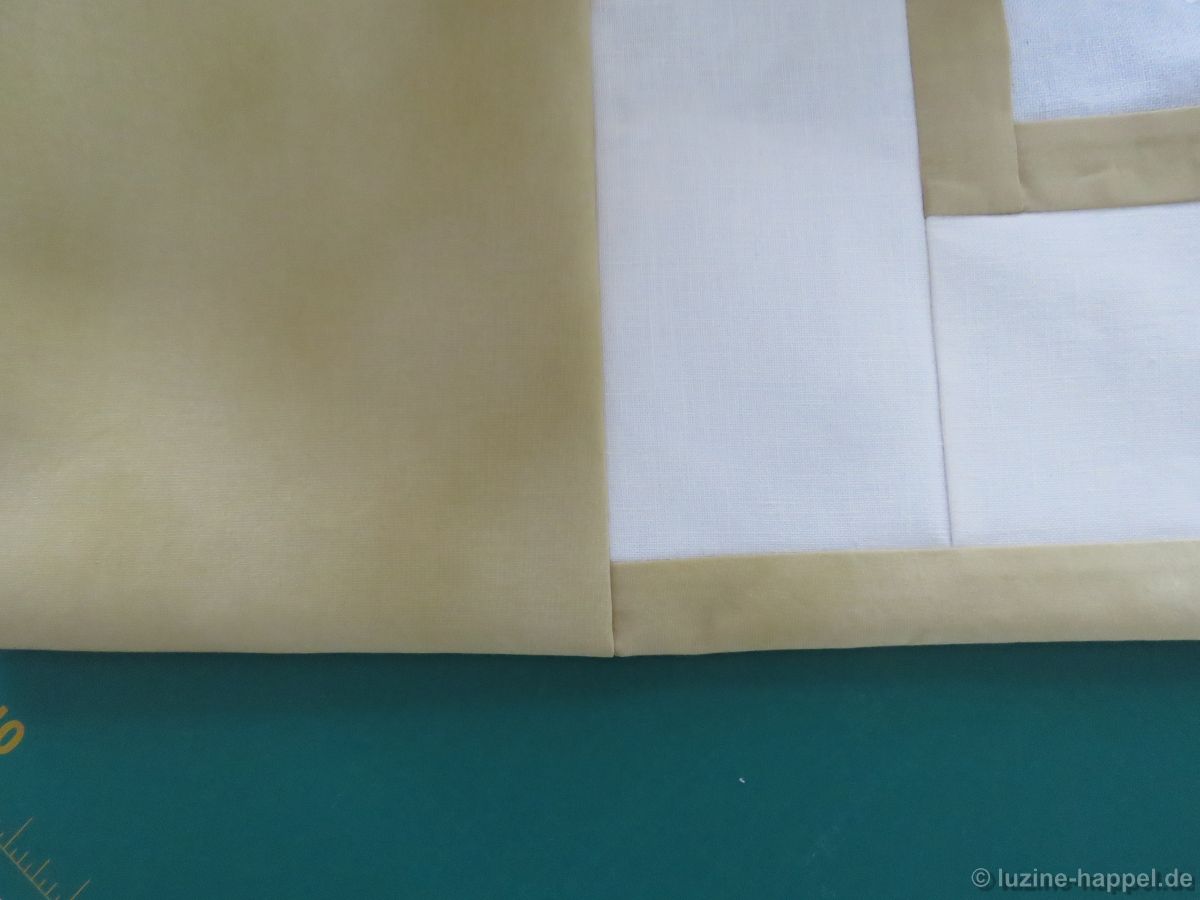
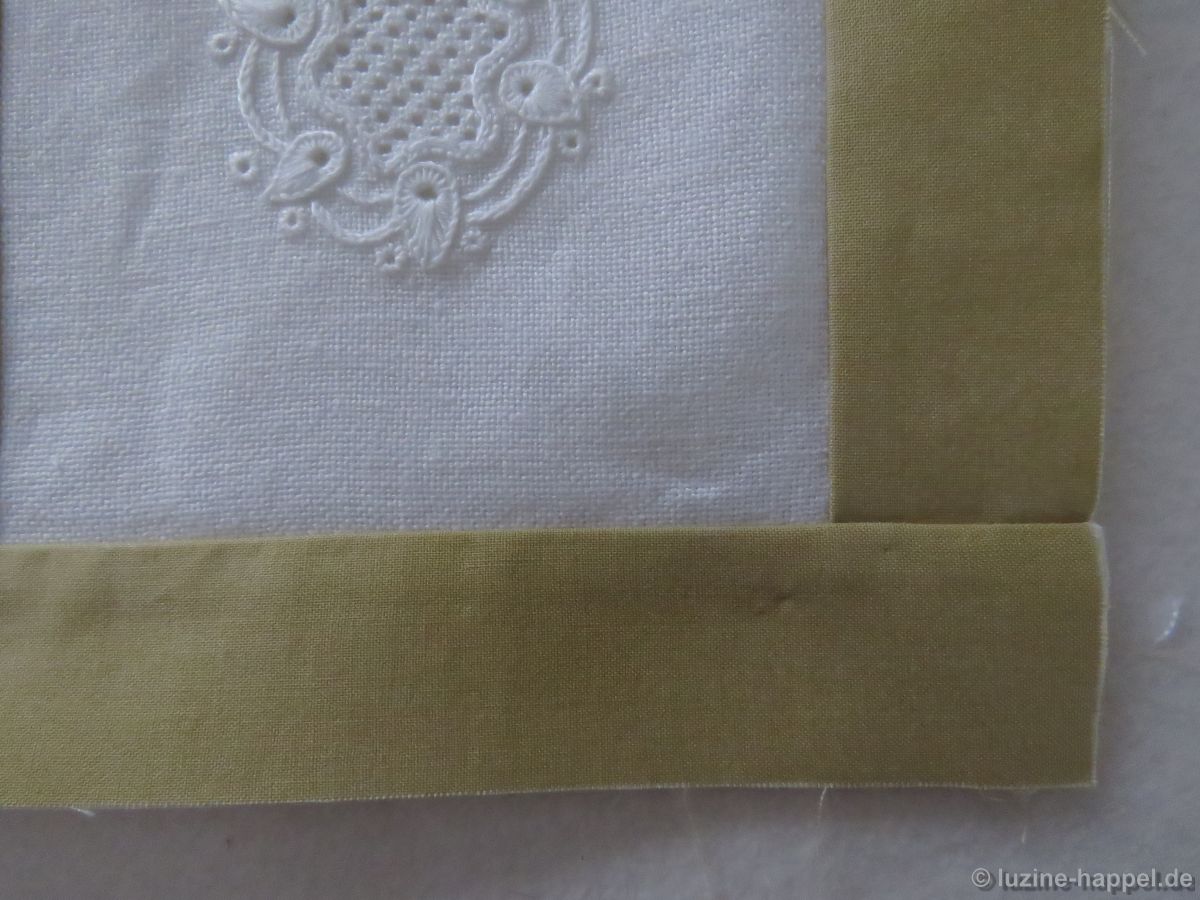
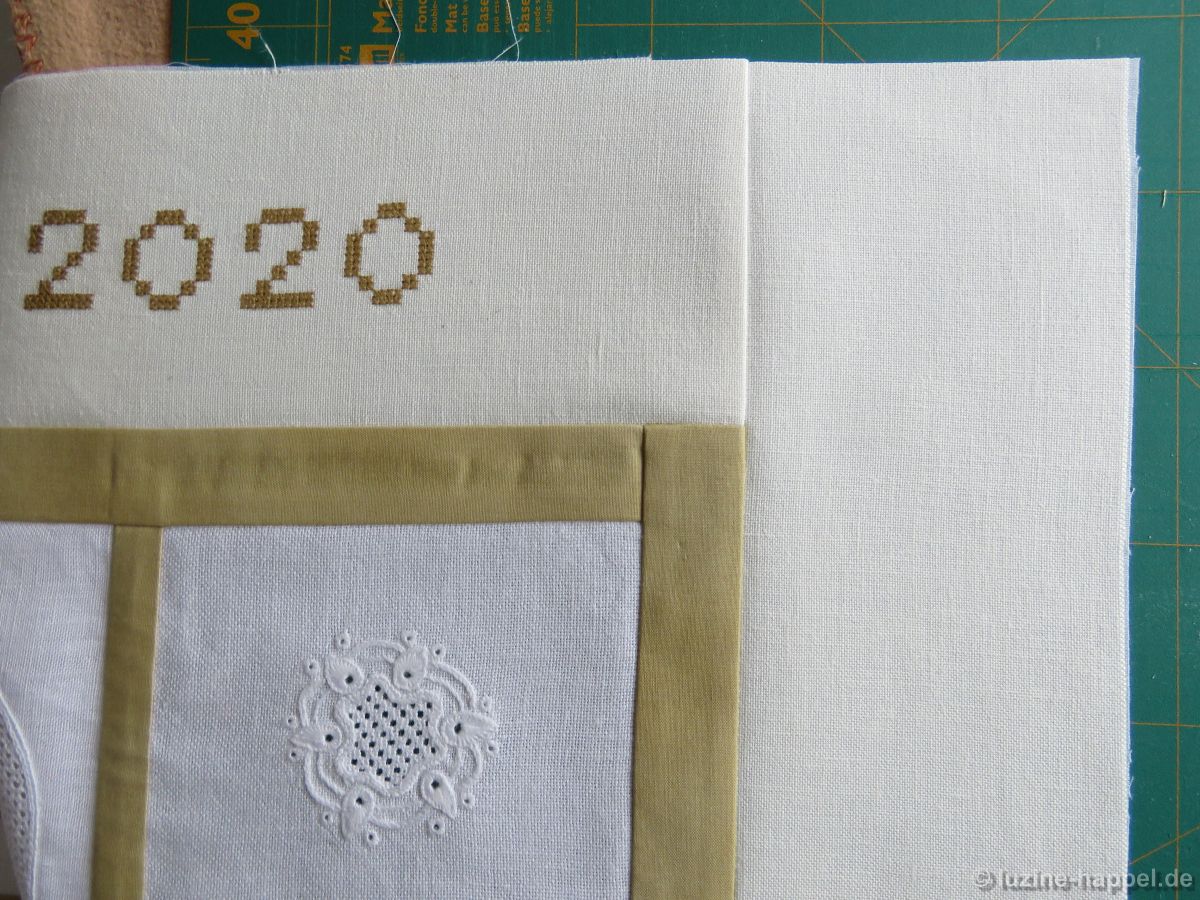
The lower right corner now looks like this from the front:

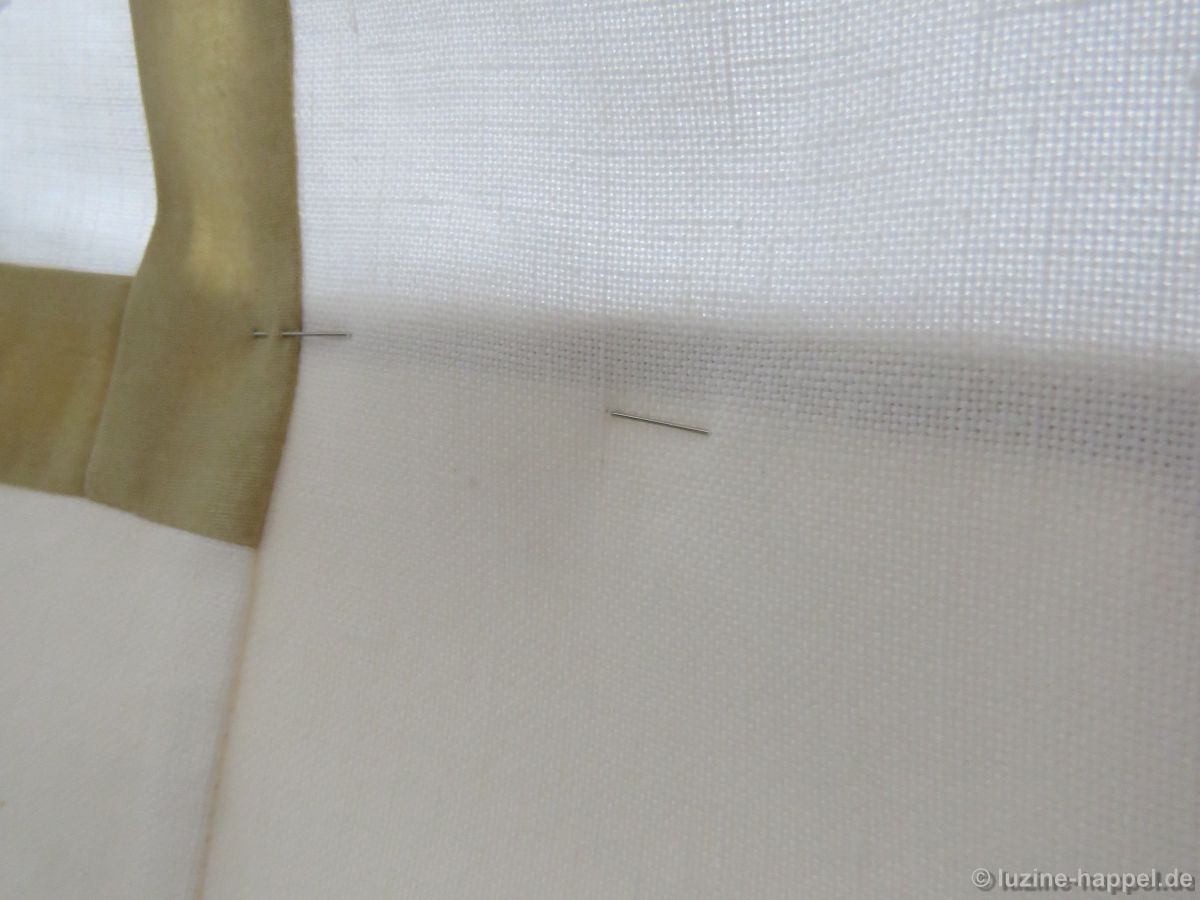
The seam allowance shows through the linen; in addition, this area would be unnecessarily bulky.

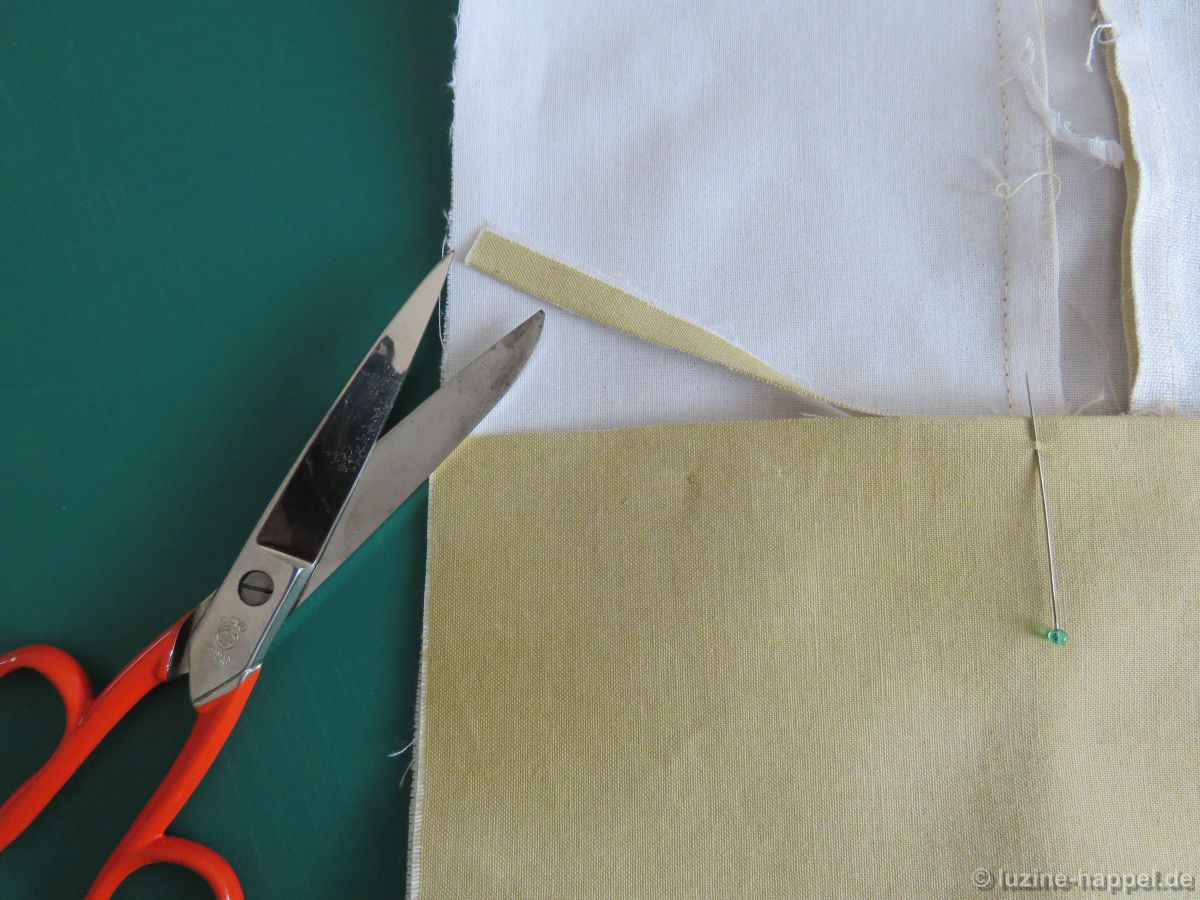
So, in this area the seam allowance is cut off up to the point marked with the pin.

Then the strip is unfolded a little at the corners so that it can be connected to the adjacent strip along its full width.

Then the side strip is folded back again first

and then the top or bottom strip.

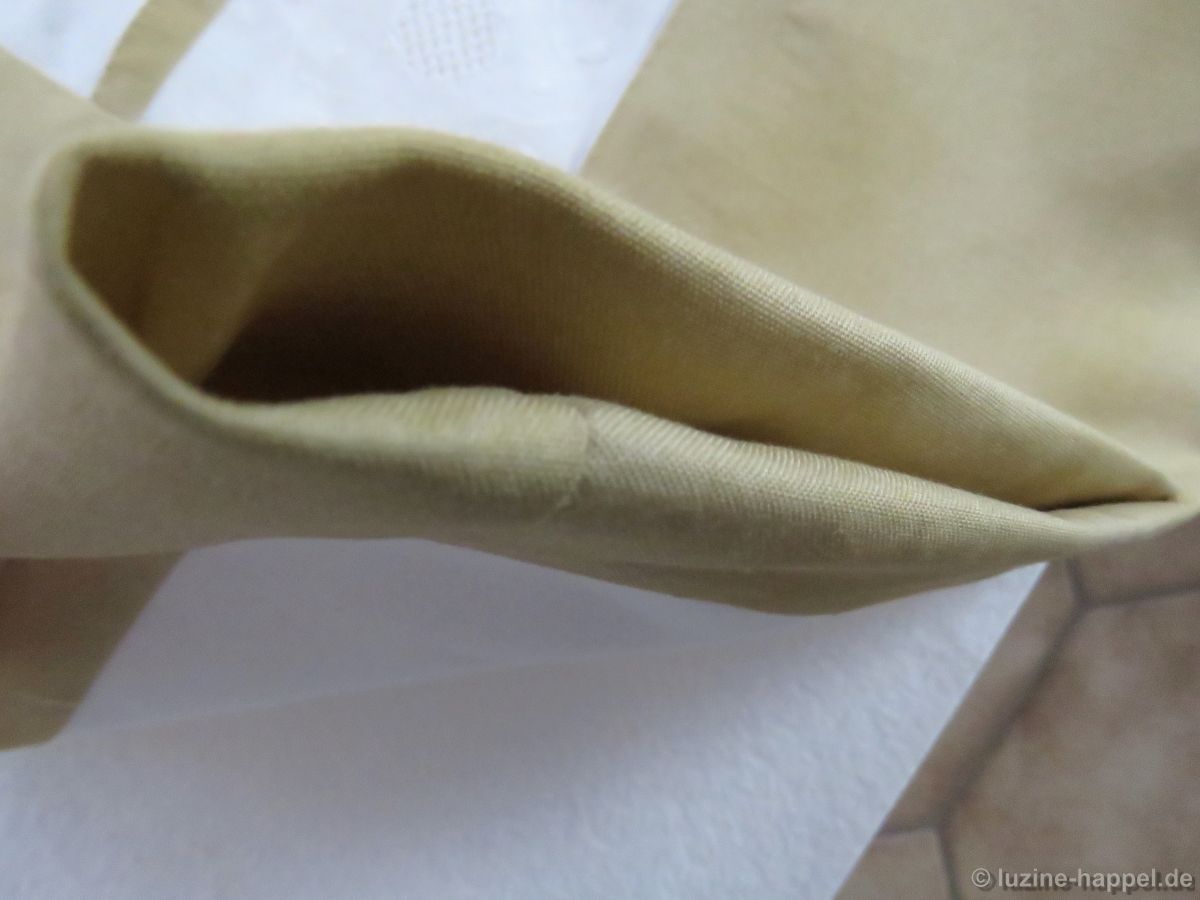
It looks like this on the back:

In this way I got clean tunnel openings.

Finally, the strips are attached to the back with hand stitches.

Viewed from the back, the sampler now looks like this:

Since the special shops are currently closed due to the lock down, I searched on the internet for a suitable hanging bar. Now I’m waiting for the item I ordered.

Previous Update
Next Update

Global Schwalm Sampler – Update (37)

Global Schwalm Sampler – Update (37)

My order for the woven cotton fusible interlining (G700) for the sampler´s edge arrived quickly – 5.60 m of the 0.90 m wide fabric will be sufficient.

The first part of the edge attachment should be 3 cm wide, so I cut strips 4.5 cm wide, which includes the seam allowances, and several meters long.

I then fused them together.

Next, they are sewn to the inner part of the sampler – first the side strips, then the upper and lower strips.

Sewing is getting more and more difficult. As soon as the needle of the sewing machine goes up, the weight pulls the fabric away. There are unwanted jumps in the seam. I tried to make improvements as best I could, but I couldn’t rip out and resew all the places. So I hope that in the end 1 millimeter here and 1 millimeter there will not matter.

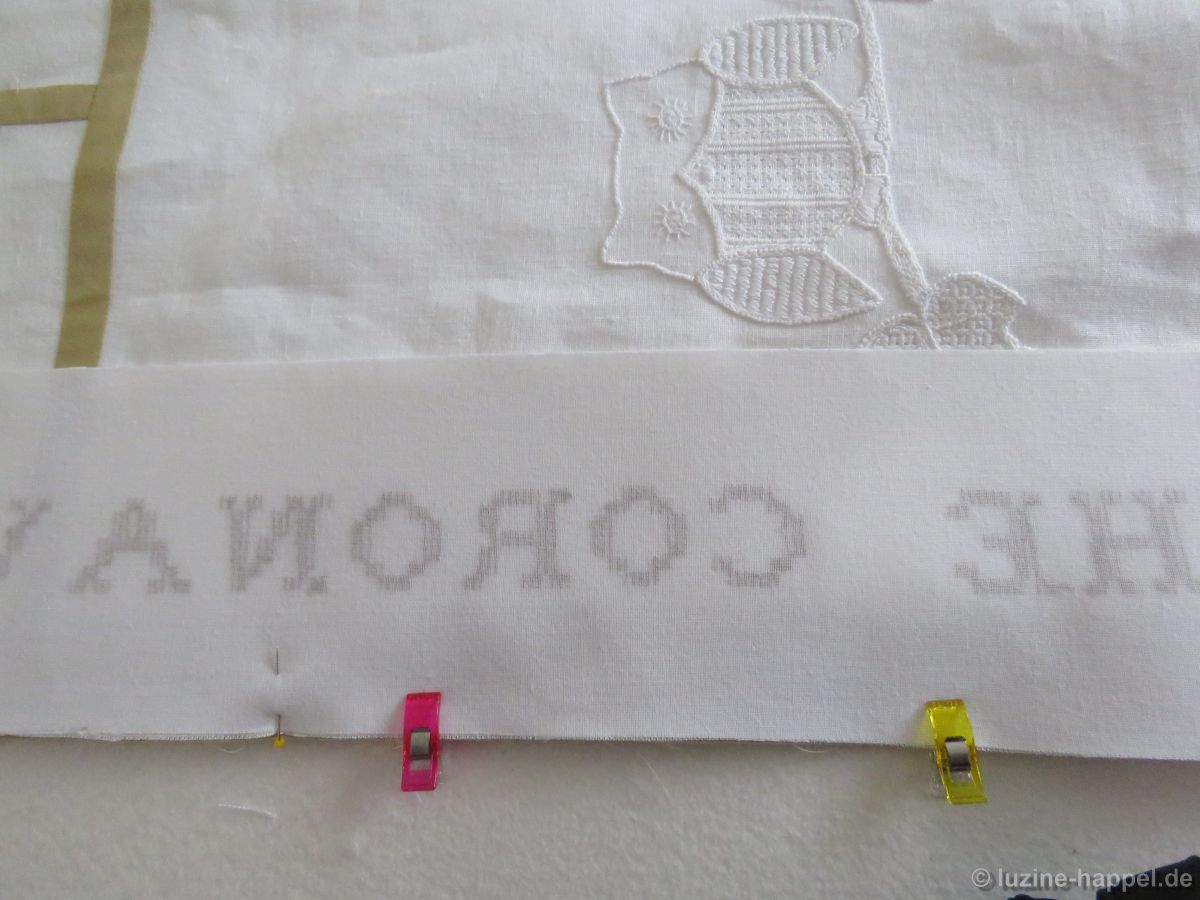
The second part of constructing the edge consists of adding the strips with the inscription.

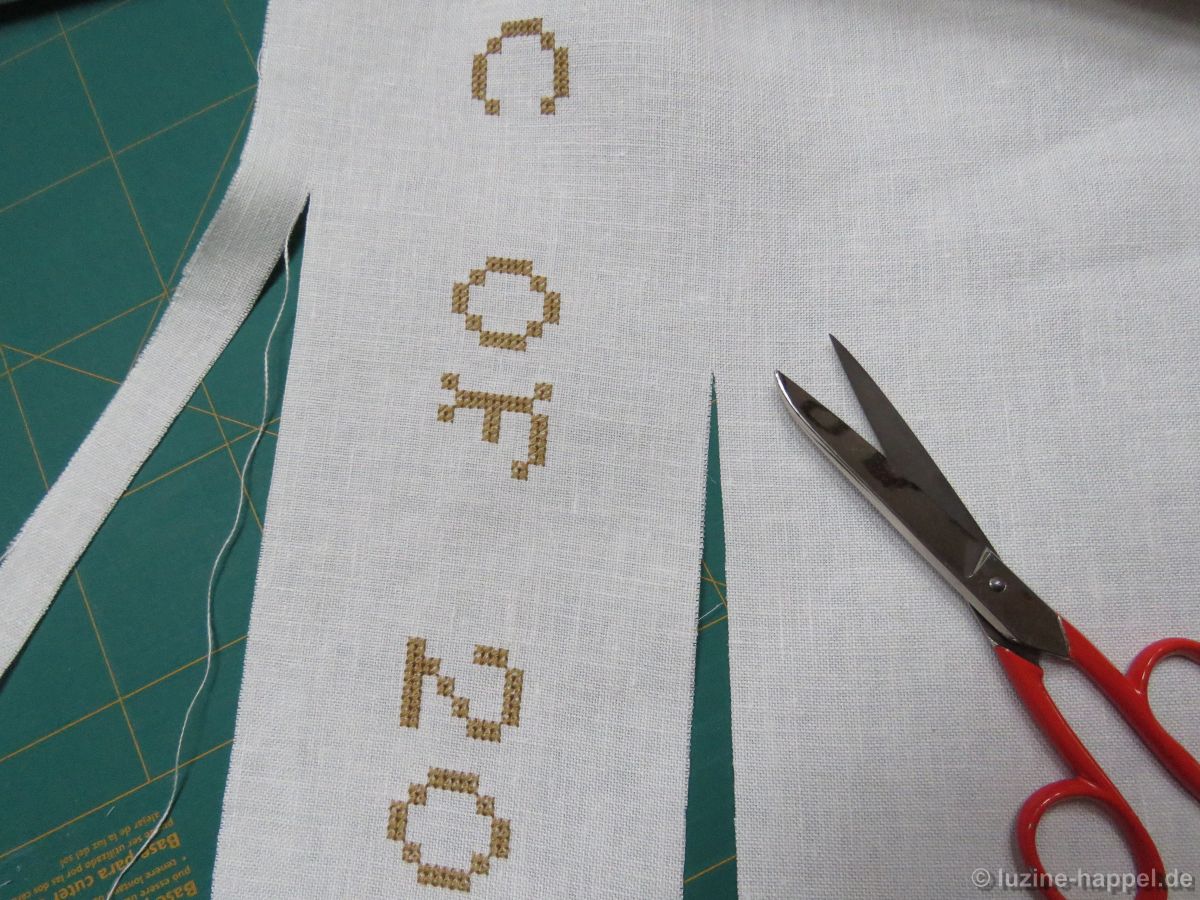
Back in the summer, when I was still waiting for the mail of contributions, I was able to start embroidering the side strips because the height of the sampler was fixed for me. When I later shortened the height of the sampler, I was glad that the length of the lettering was not too long. But since I didn’t know exactly what the entire border design and layout would look like, I left wide fabric allowances on all sides.

The largest letters are 6 cm high. I want unembroidered linen 2 cm above and below the text. So the strips (including seam allowances) must be cut to a width of 11.5 cm – a difficult task with linen that is several meters long and already boiled. The linen strips should all be the same width and the text should run in the middle.

After cutting, the linen strips are carefully ironed and then fused to the interlining.

Starting in the middle of the side, so that the text appears centered, the strip is placed on the sampler.

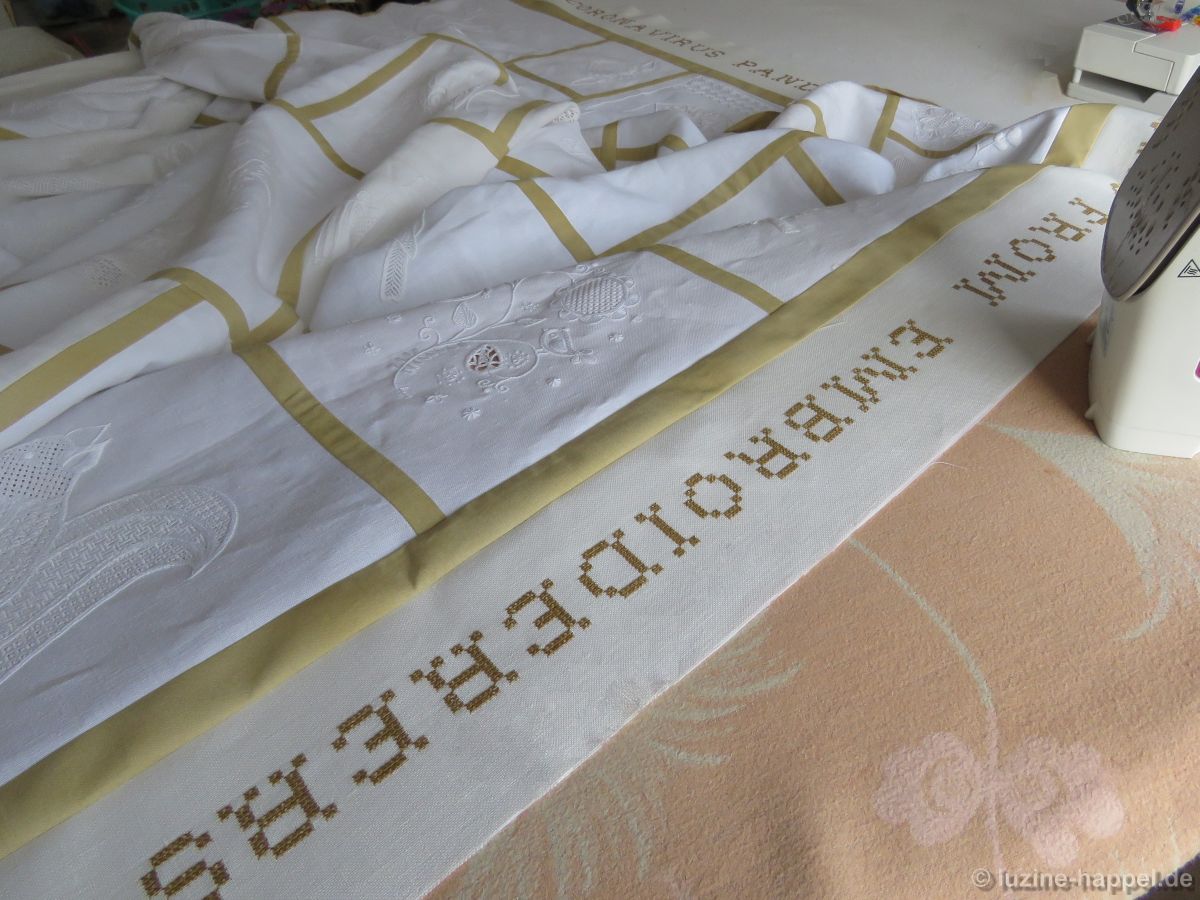
Ironing out the long seams is not easy either; my large table is just too small, and if possible the cloth shouldn’t hang on the ground. But “necessity is the mother of invention!”

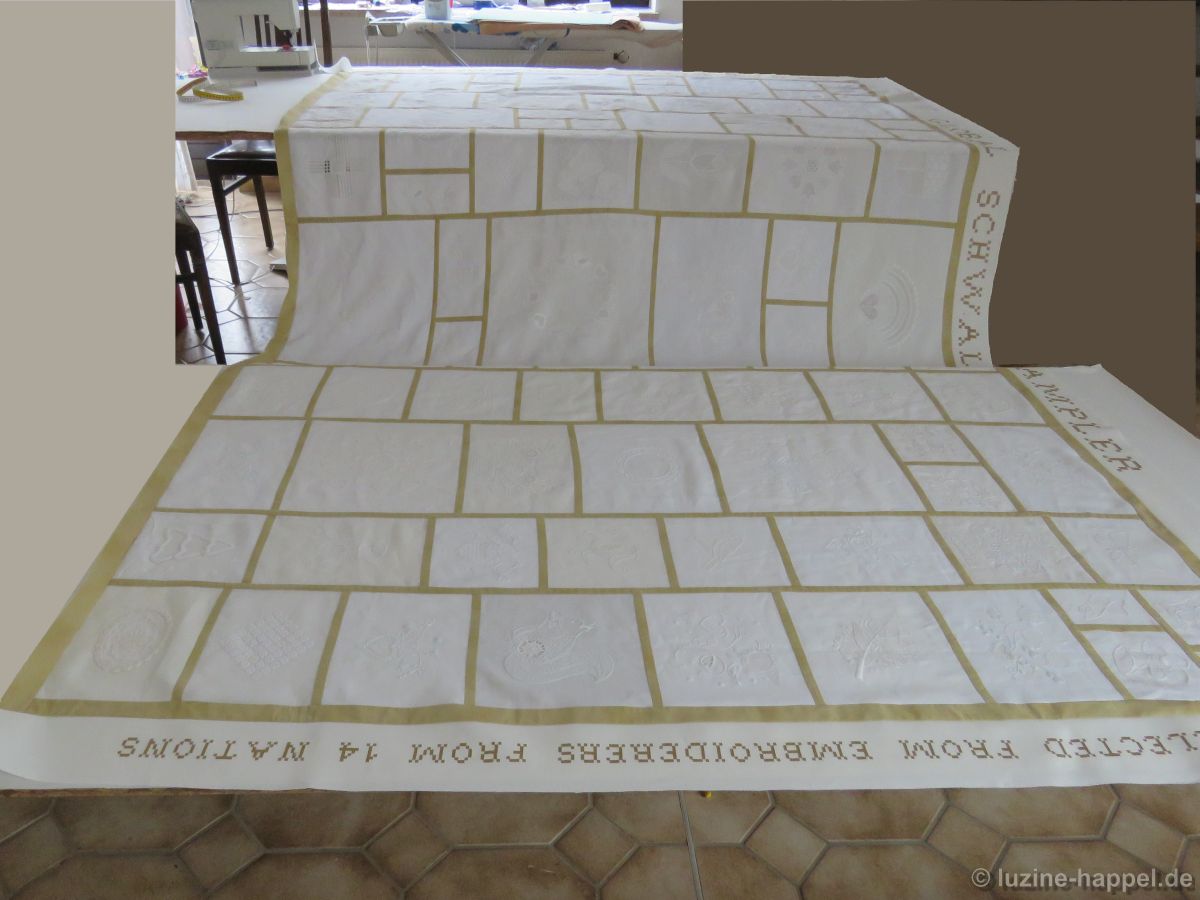
One is able to perceive the dimensions of the cloth by looking at the overall picture.
Again the side strips are sewn on first, the top and bottom afterwards.

The strips are cut to their final lengths only after the respective seams has been completed.

Now all that needs to be done is the finishing of the outside edges.

Previous Update
Next Update

Global Schwalm Sampler – Update (36)

Global Schwalm Sampler – Update (36)

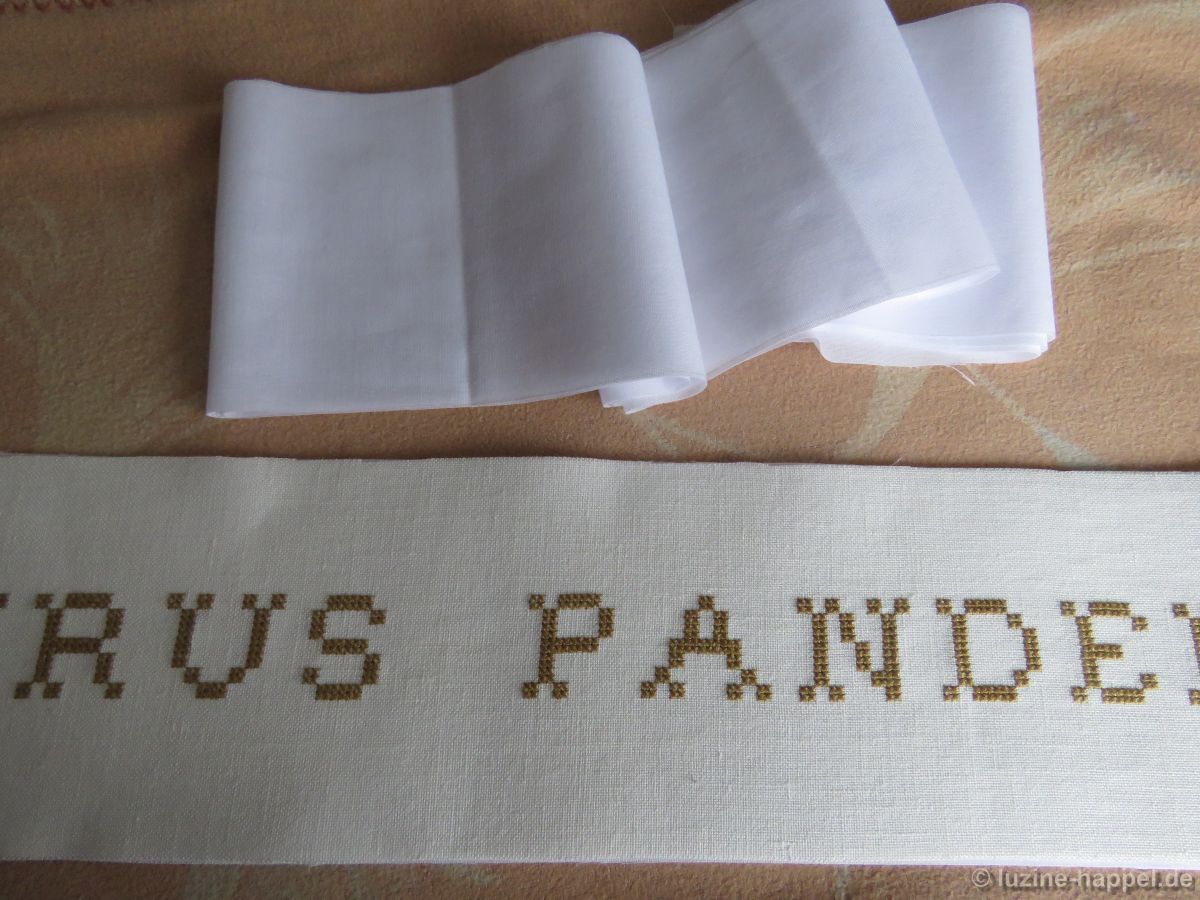
Now the strips with the border text are also ready – embroidered, boiled, and roughly ironed they are waiting for further processing.

In order to make the edge of the large sampler stiffer and more stable, I want to underlay the fabrics used there with thin fusible fleece.
Grit Kovacs kindly provided me with four different qualities for testing. I wasn’t even aware that there were so many very different types of non-woven fusible interlining for this purpose. Now I could thoroughly test them.
All qualities are from Vlieseline, a brand of the group Freudenberg Performance Materials.

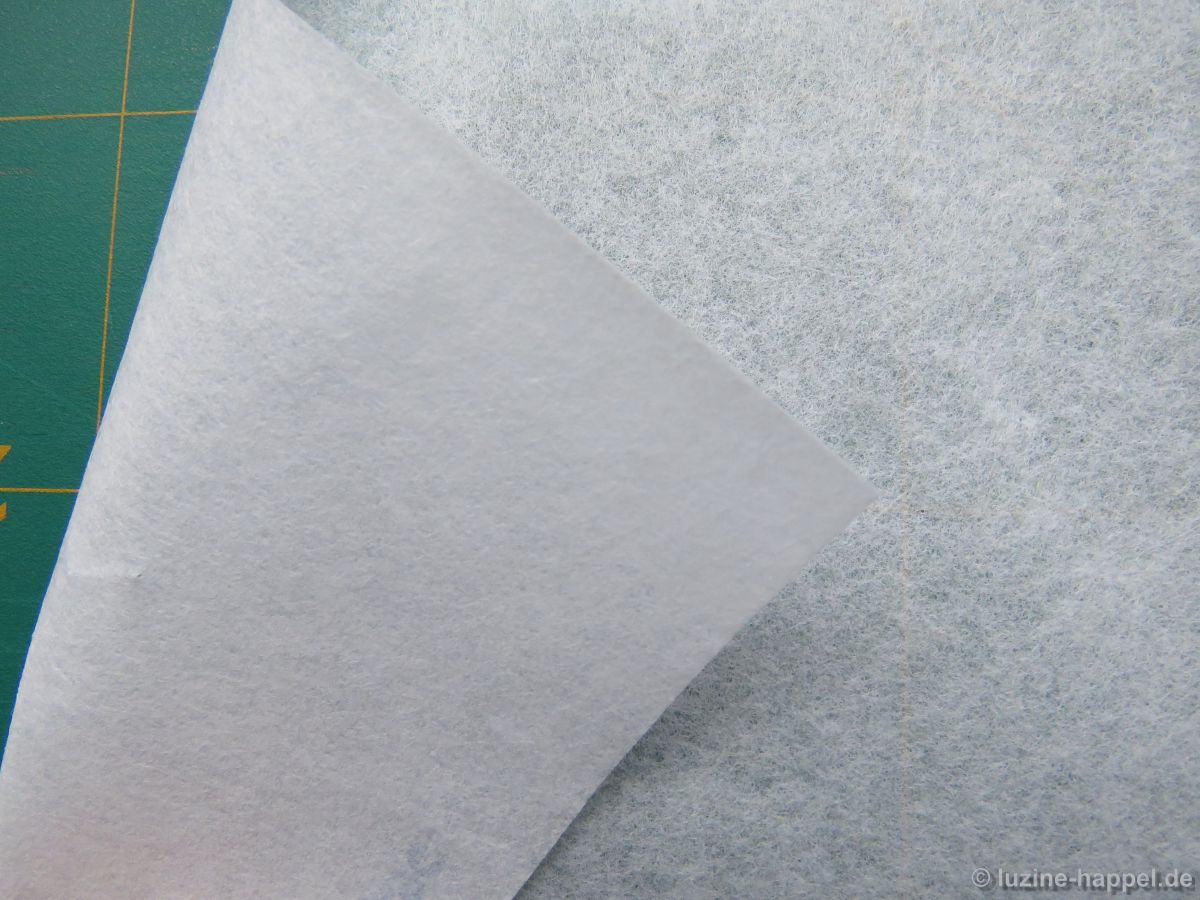
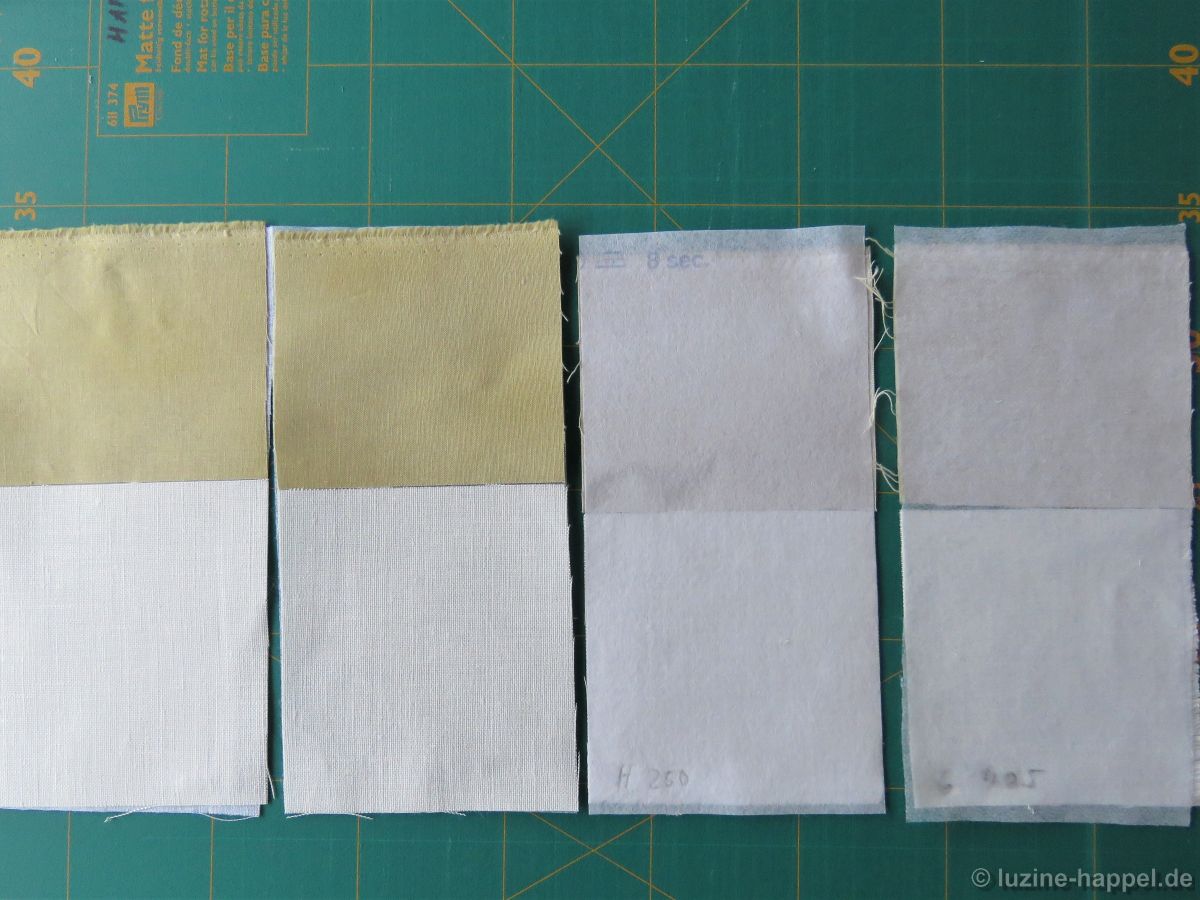
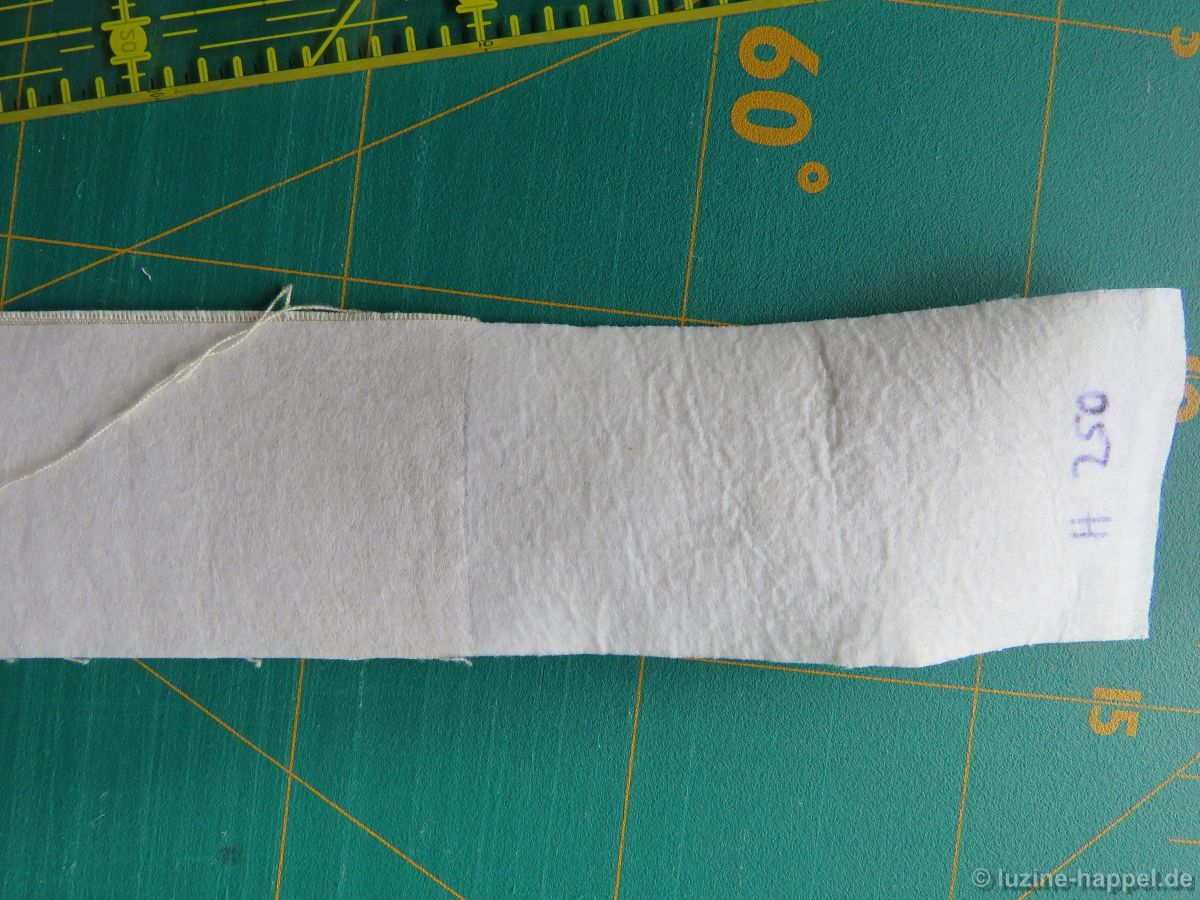
Fusible interlining H250
The fusible interlining H250 is the most stable of all four products and has the most substantial feel. The fleece fibers are felted in all directions. The fixing layer is flat with the adhesive slightly uneven. The fleece is washable up to 60 degrees.

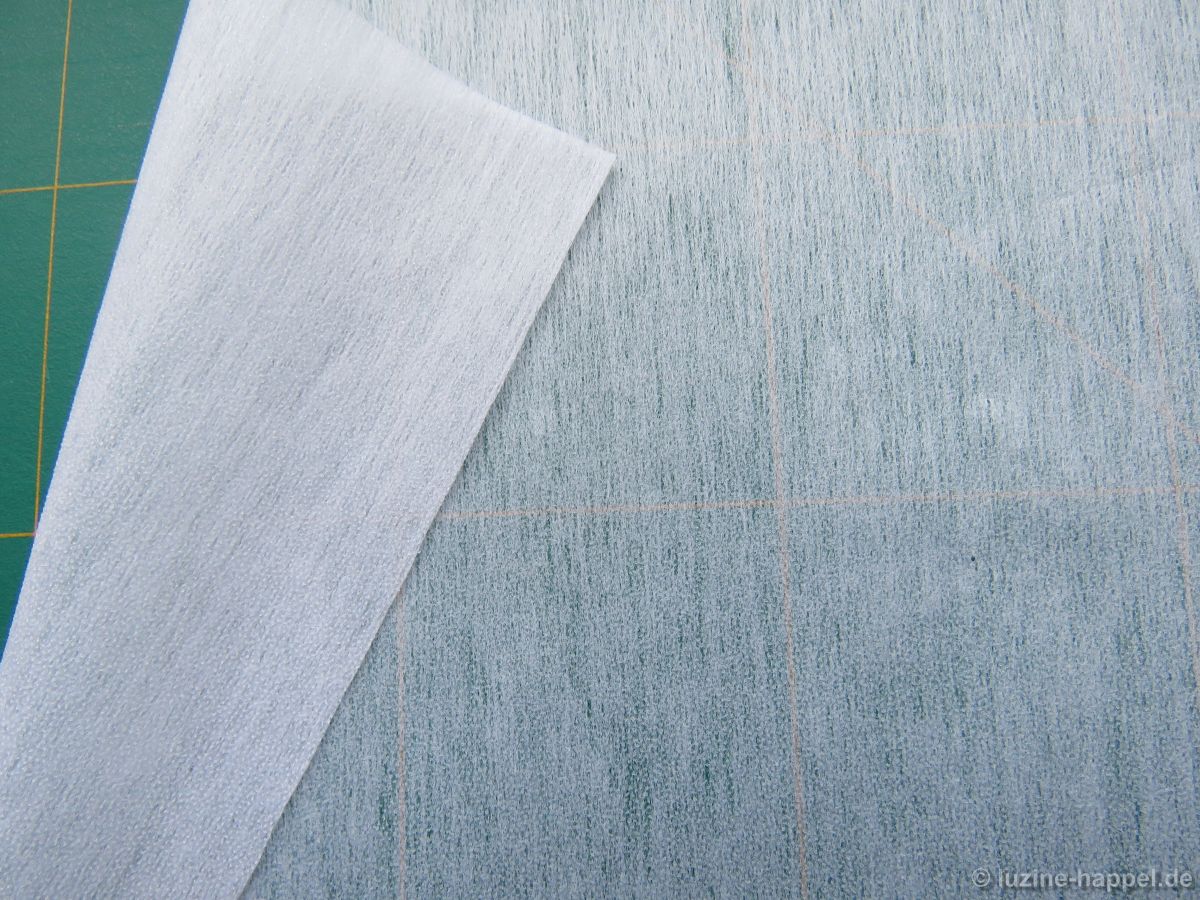
Fusible interlining H200
Interlining H200 is much thinner than H250. The fibers are arranged more in one direction. As a result, the hand is different – across the grain it feels smooth, along the grain it feels much more coarse. The barely visible fixing layer is applied in tiny dots.

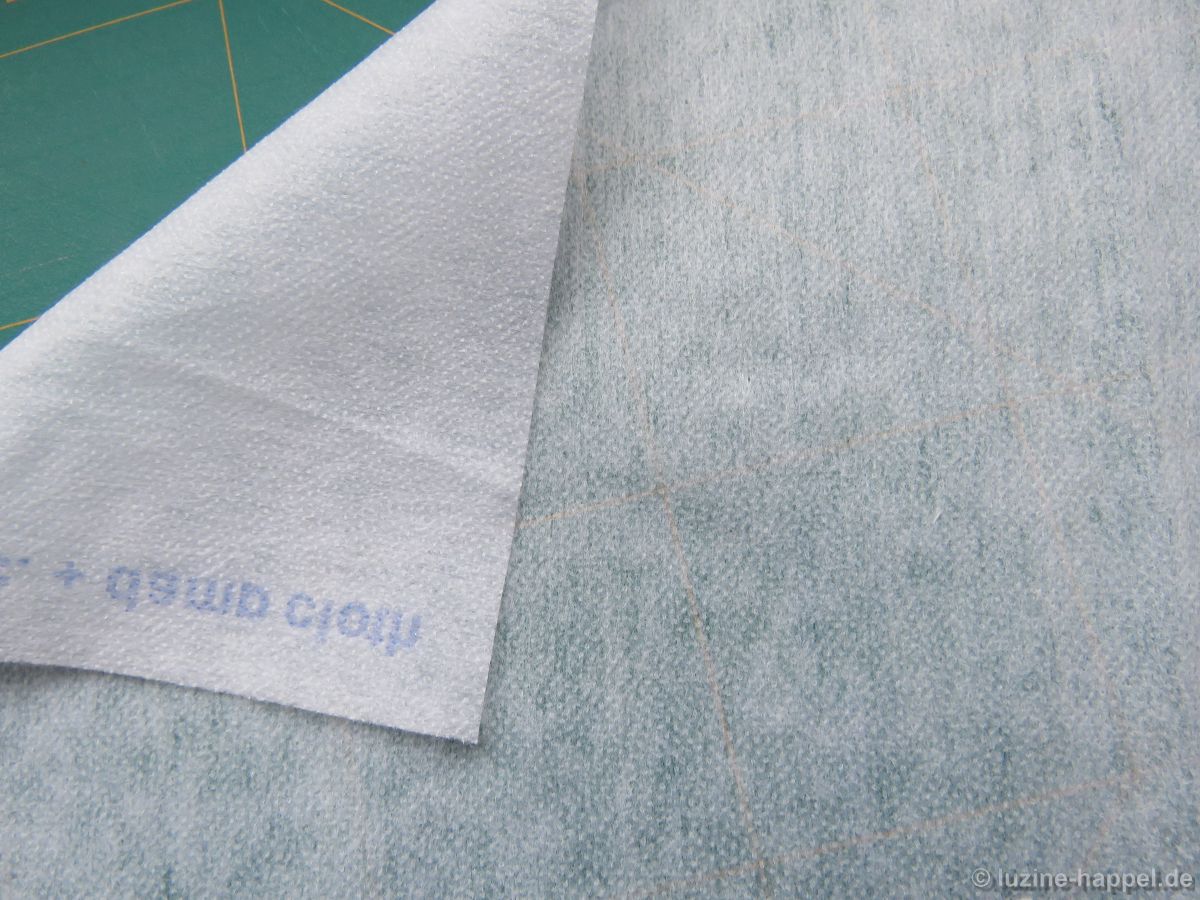
Fusible interlining G405
Fusible fleece G405 is just as thin as H200. It has a very soft feel. Similar to the H200, the fibers tend to run in one direction. The fixing layer is applied in tiny dots. It is washable up to 40 degrees.

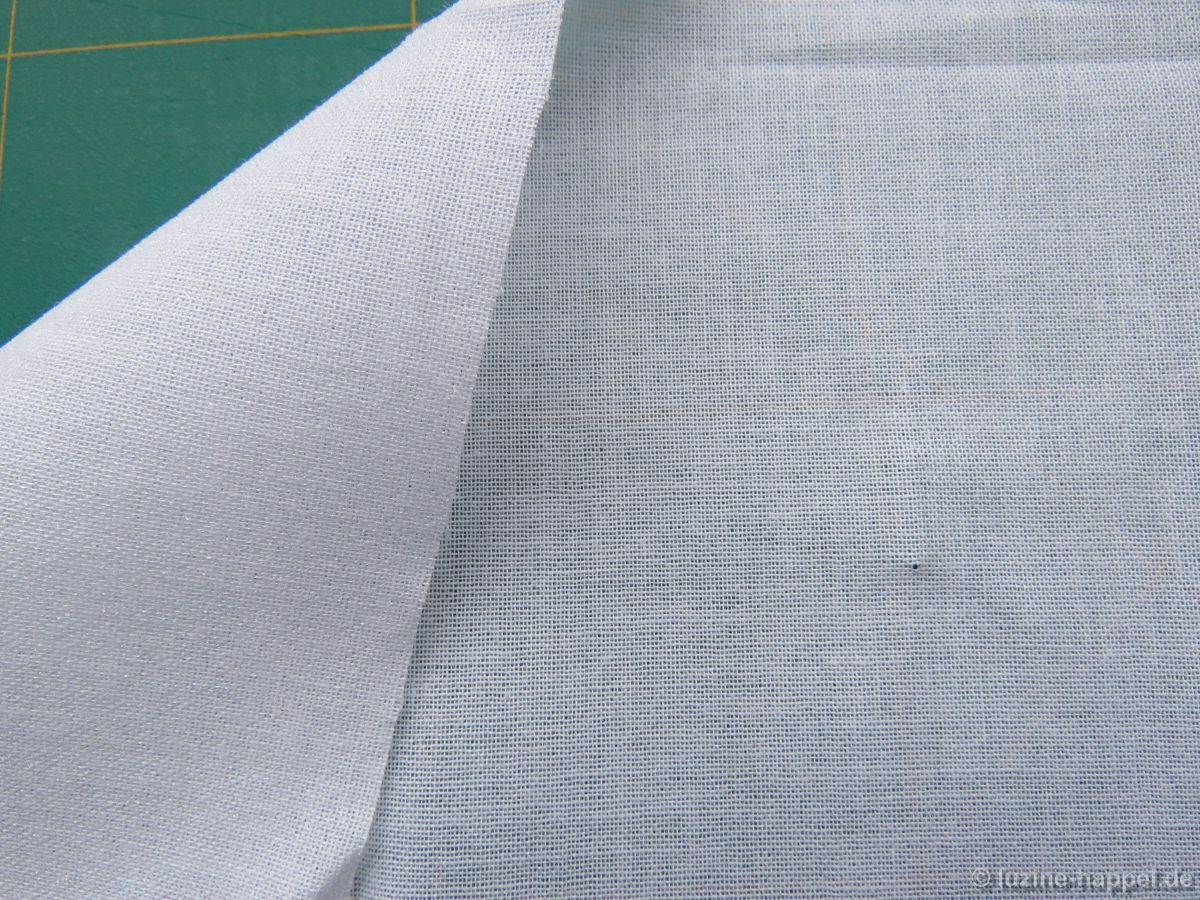
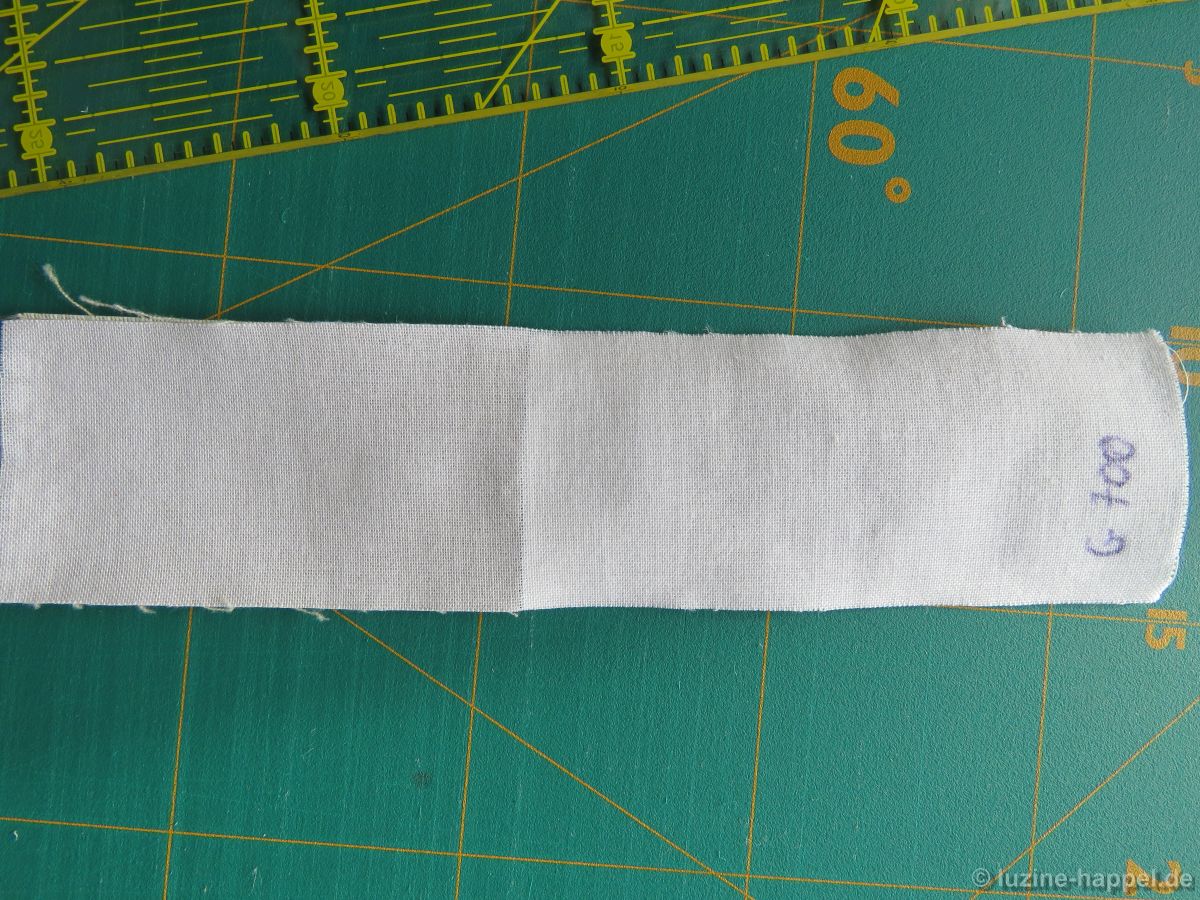
Fusible Woven interlining G700
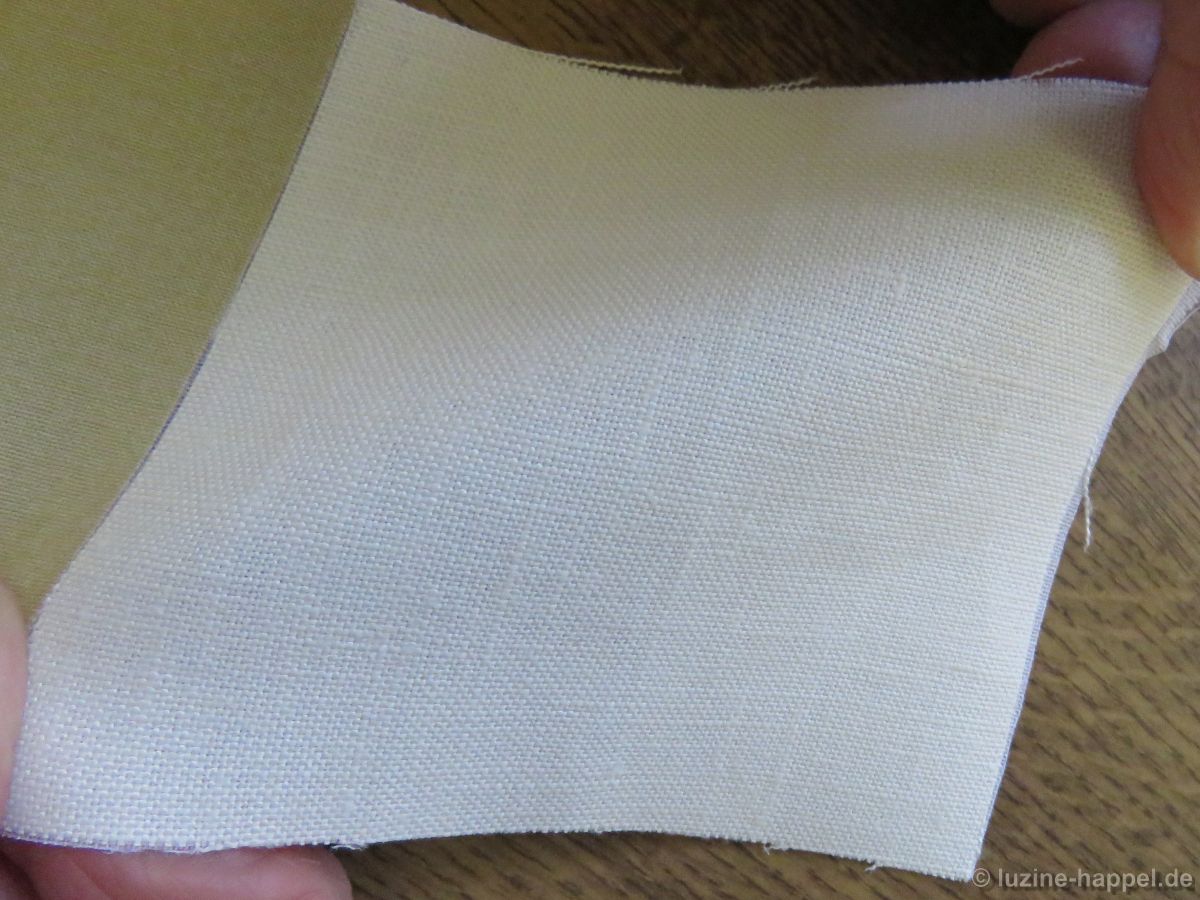
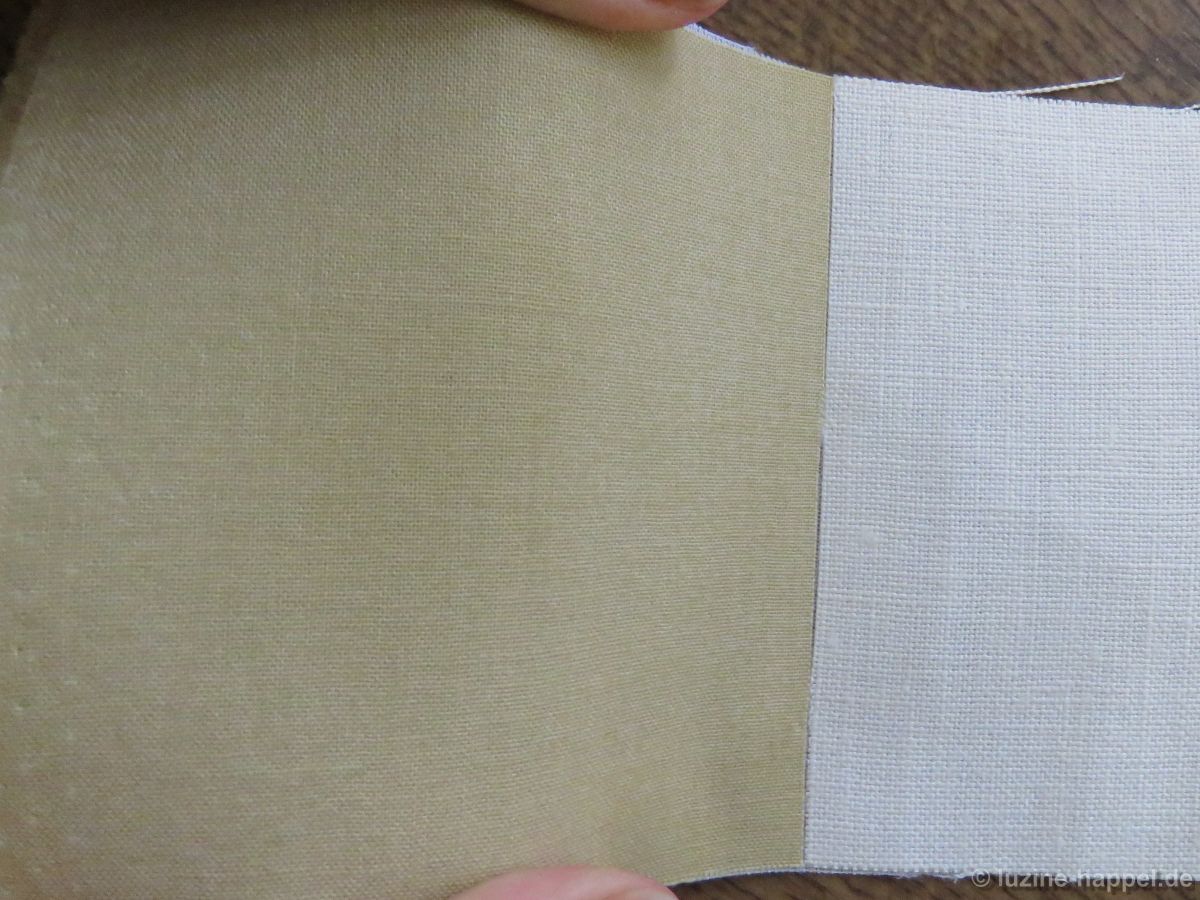
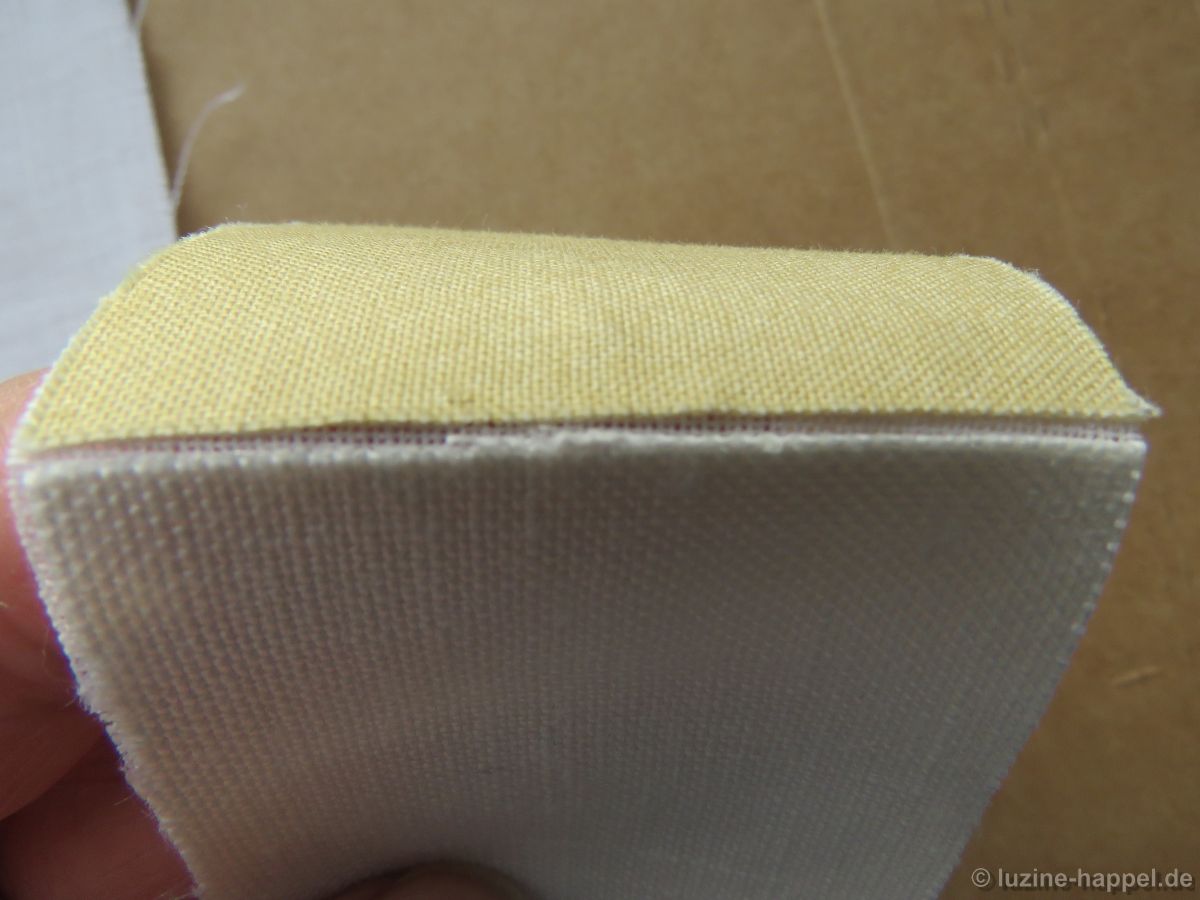
Vlieseline G700 is a heavy-weight, fusible woven insert made of pure cotton. The feel is not quite as soft as that of G405, but it can still be described as soft. The barely visible fixing layer is applied over the entire surface.

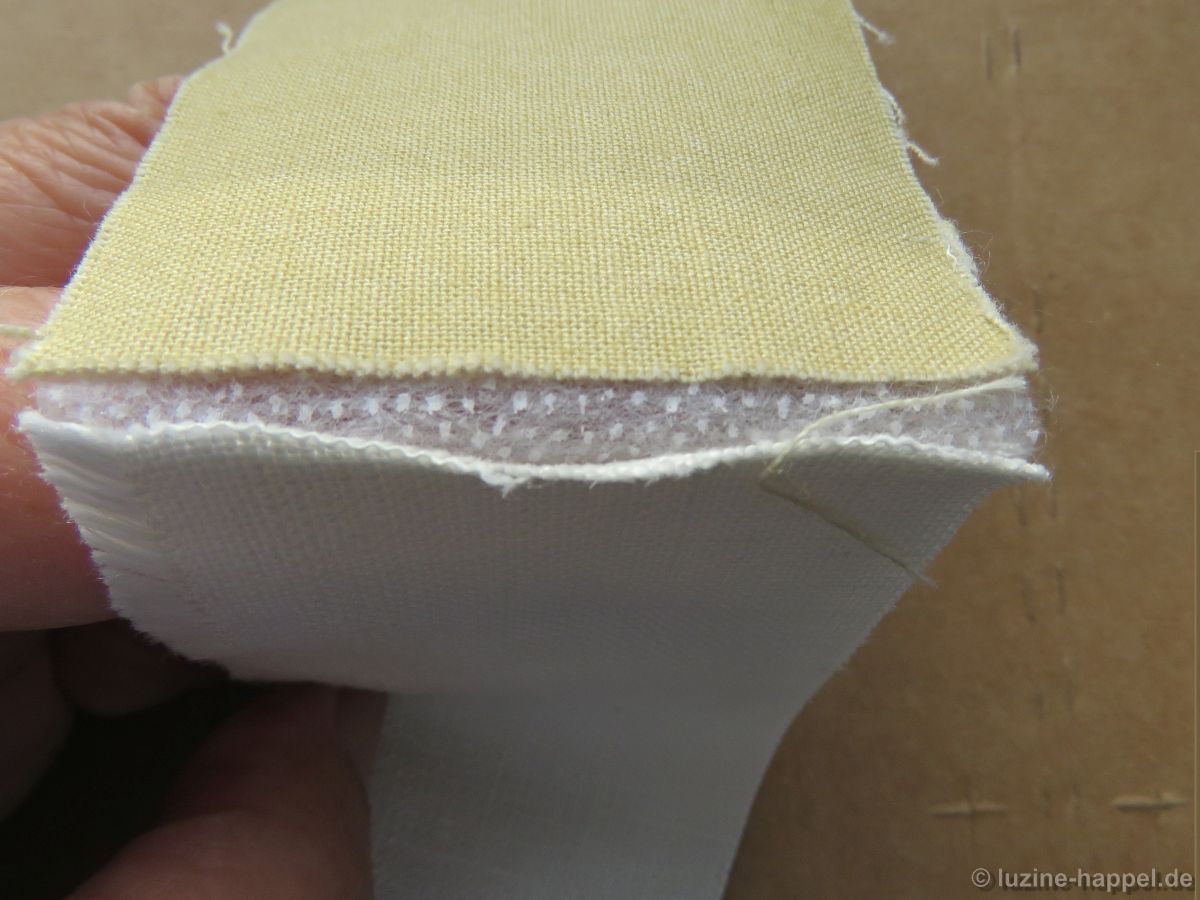
For my test series, I cut four pre-washed pieces of the materials (cotton and linen) used in the sampler and ironed on the different fleeces. With the cotton fleece G700, this also worked without any problems at a slightly higher iron temperature. There were difficulties with G405; the temperature had to be lowered.

The adhesion between all interfacings and the fabric are stable.

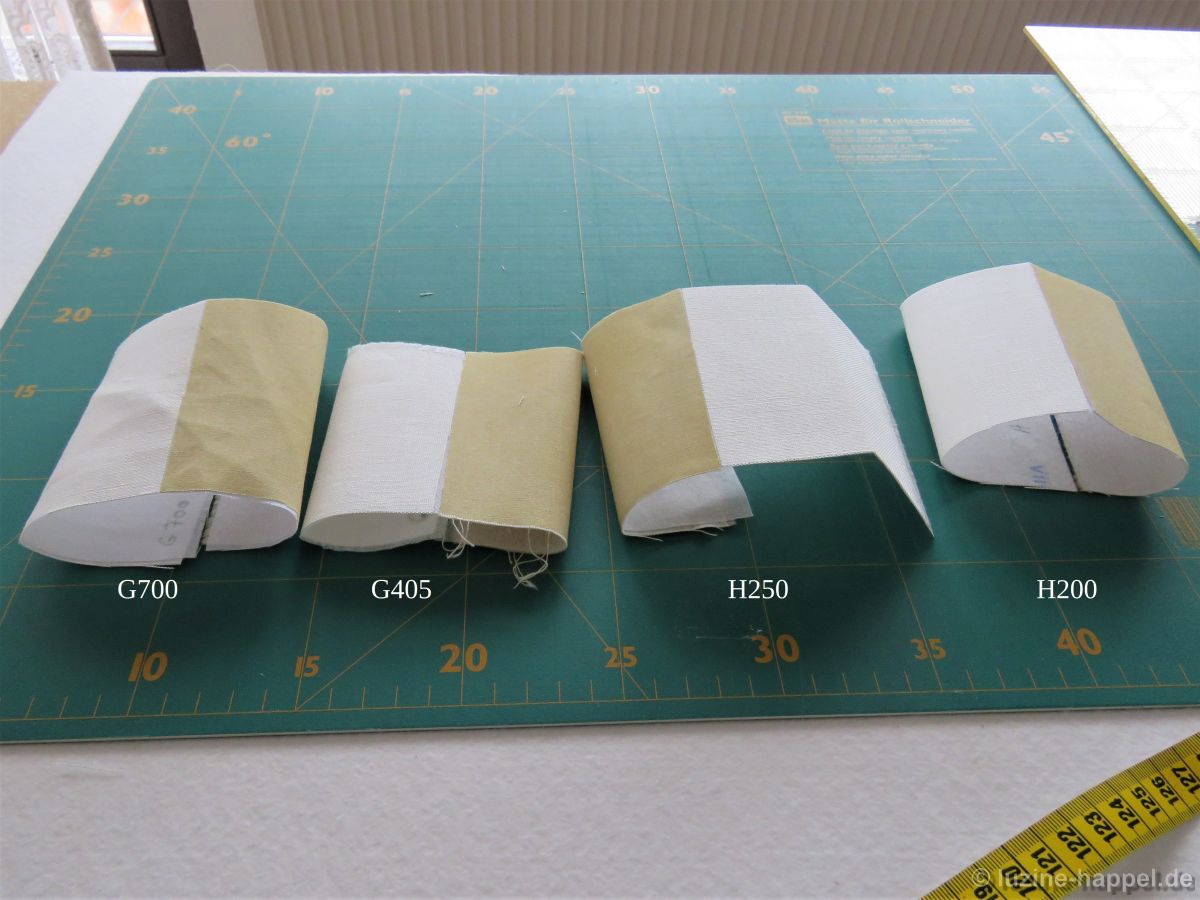
First, I folded each fabric once and smoothed out the folds with my fingers. With H250 the wrinkles popped open again immediately. It was similar, but not quite as pronounced with H200. In G405 the folds remained the best. G700 brought a medium result.

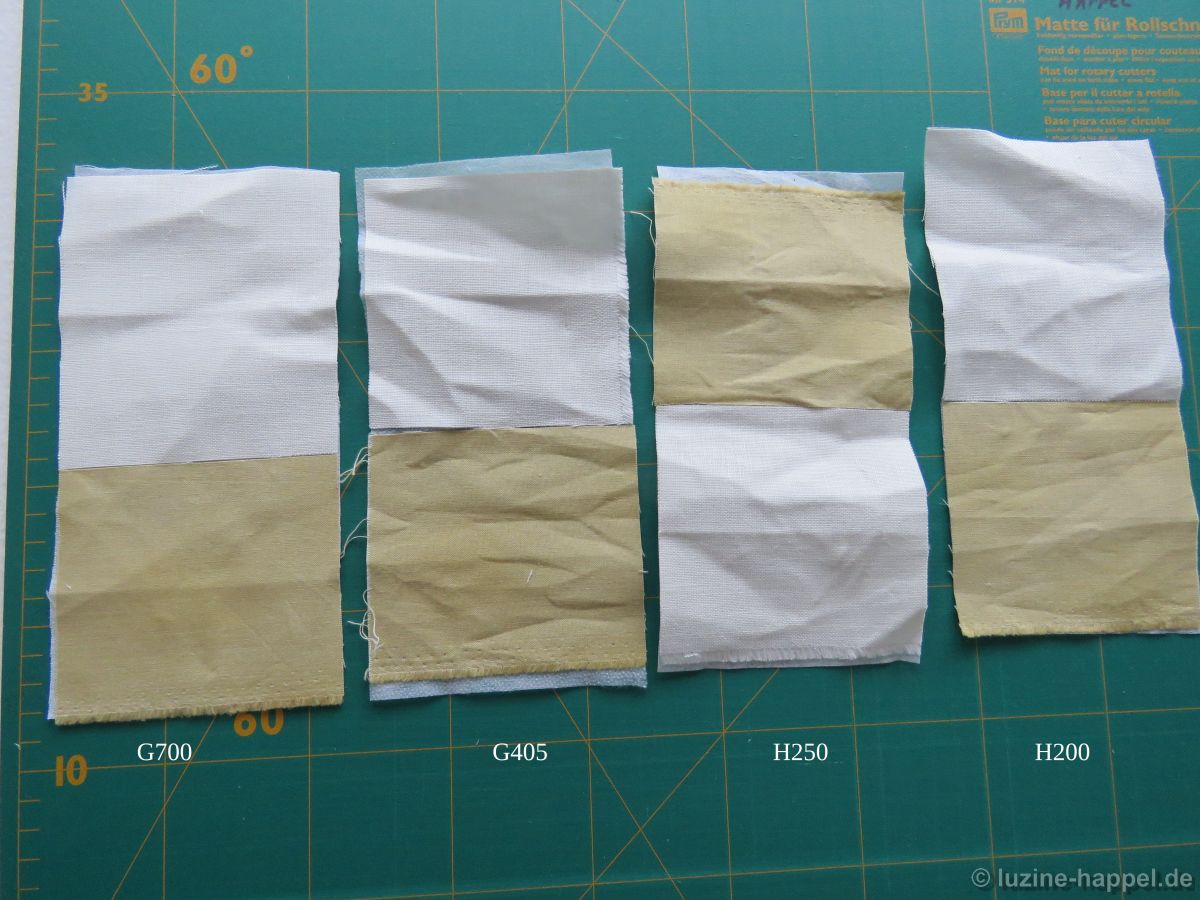
Then I did a crease test by crumpling the pieces together using the same force and for about the same time.

The fabric stabilized with G700 showed the least creases, the one with G405 the heaviest creases. The two fabrics stabilized with H250 and H200 were in the midfield, with H250 wrinkling slightly more than H200.

During the subsequent ironing, the creases in all the cotton fabrics disappeared more easily than in the linen. G700 (because there were fewer creases beforehand) performed best here ahead of H250.

A stretch test showed that G700, G405 and H200 – with decreasing intensity in the order of the items listed – are slightly stretchable on both the diagonal to the grain

and along the grain. Only H250 was fully stable.

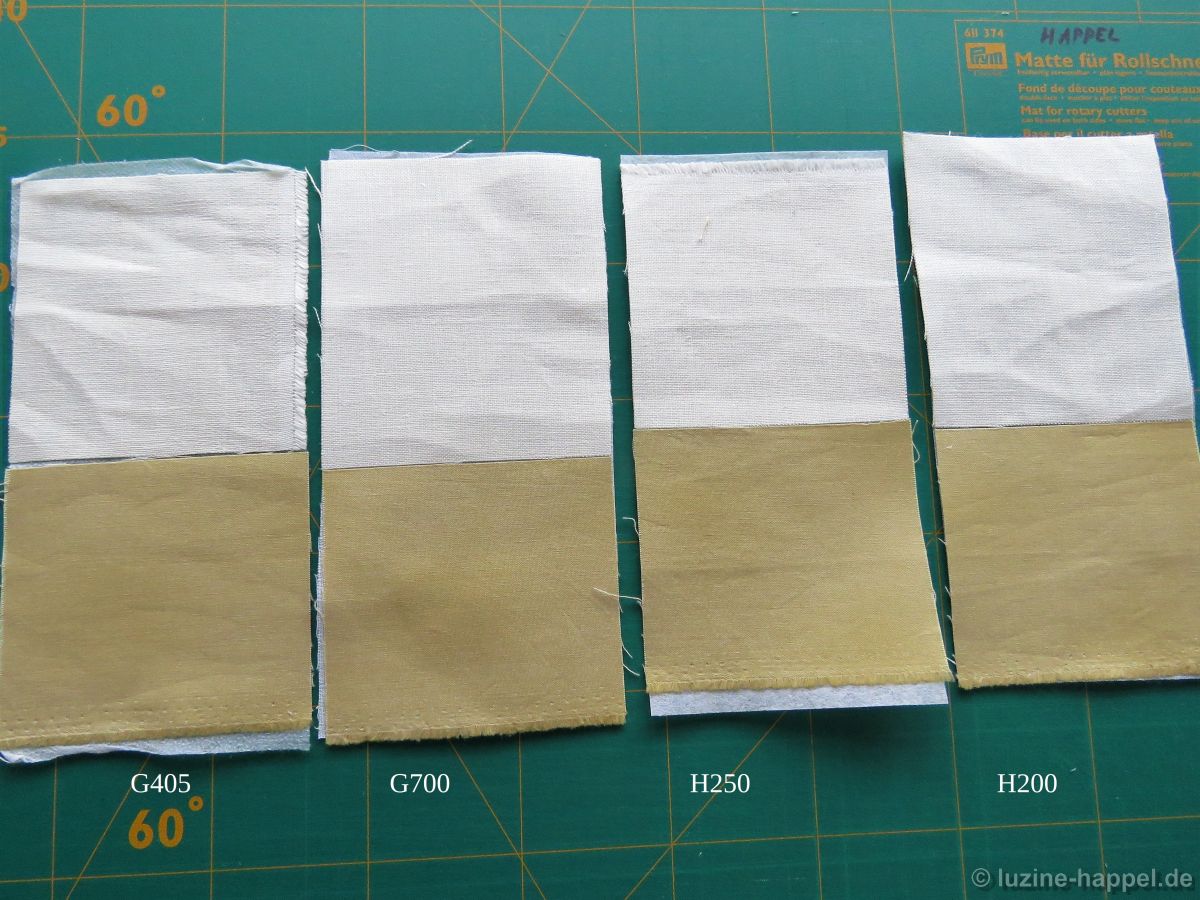
A final wash test should bring final clarity, even though laundering later will be only a very minor concern.

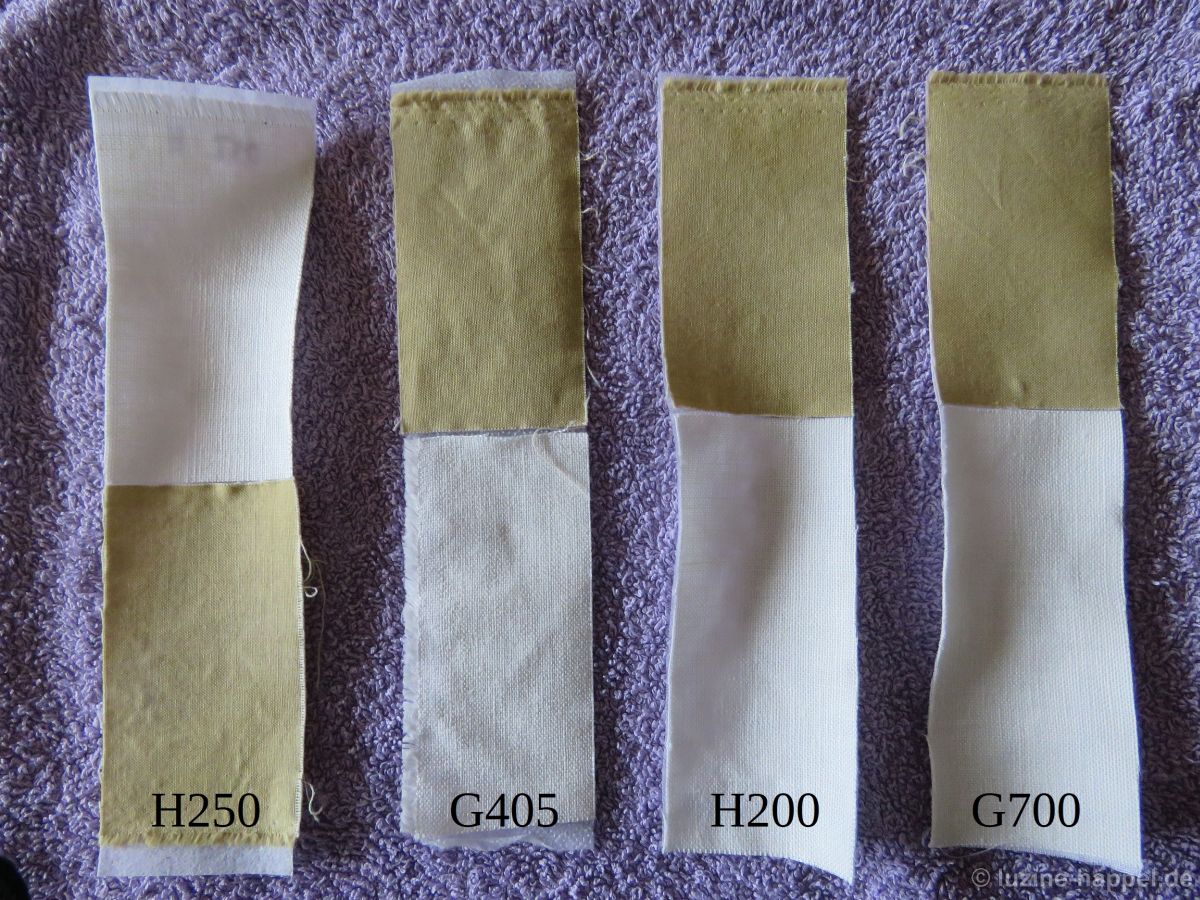
To do this and to better identify changes, I cut the test strips into two parts and only laundered one part each.

After washing in a little more than lukewarm water and drying them flat, all qualities, except G405, wavered – especially in connection with the linen.

The non-wovens H200

and H250 showed bumps, especially in the area of the linen.

The fusible interlining G405 remained relatively smooth,

and the fusible interlining G700 remained completely smooth.

After ironing at medium heat, the surfaces of the H250 and G405 were smooth again, while the H200 and G700 remained slightly wavy in the area of the linen.

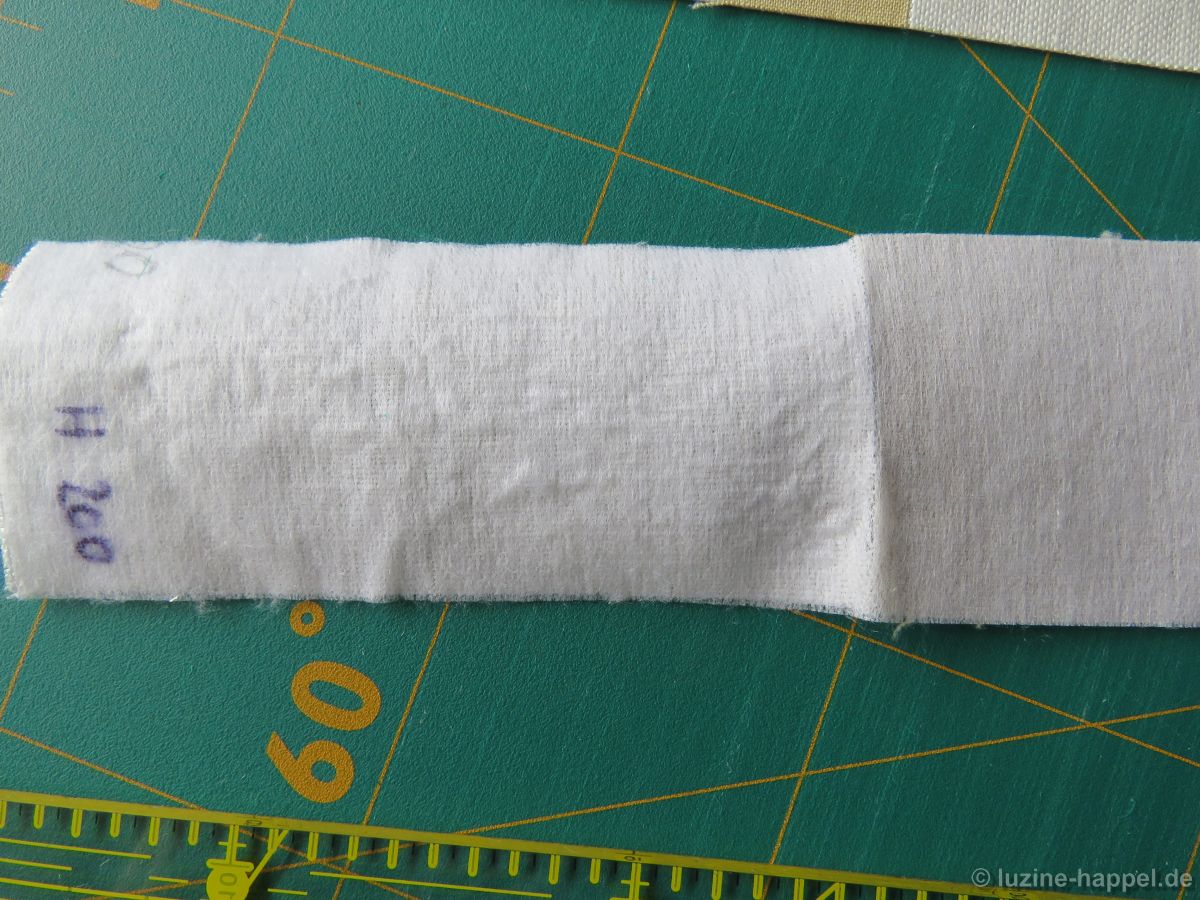
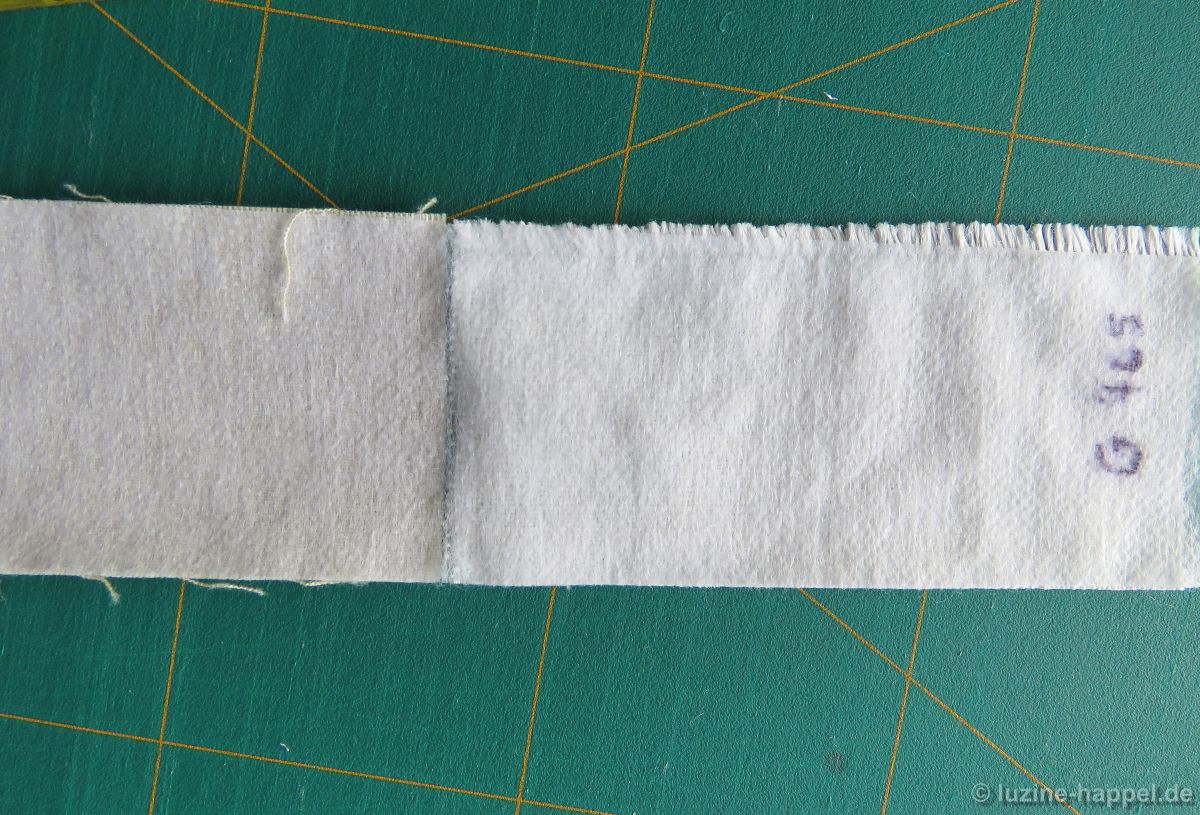
H200 and H250 showed no shrinkage, while G700 suffered a minimal amount and G405 (picture below) a clearly visible amount of shrinkage. The cover fabrics had already been boiled beforehand and thus were pre-shrunk. The current shrinkage is therefore due to the fleece.

G405 showed a clear tendency to detach after laundering,

which was also observed to a weaker degree with H200 and H250. Only the G700 remained fully adhered.

Taking all these test results into account, I decided to use the G700 woven cotton fusible interlining for the sampler’s edges.

Previous Update
Next Update