Irmgard´s Needle-Weaving Doily

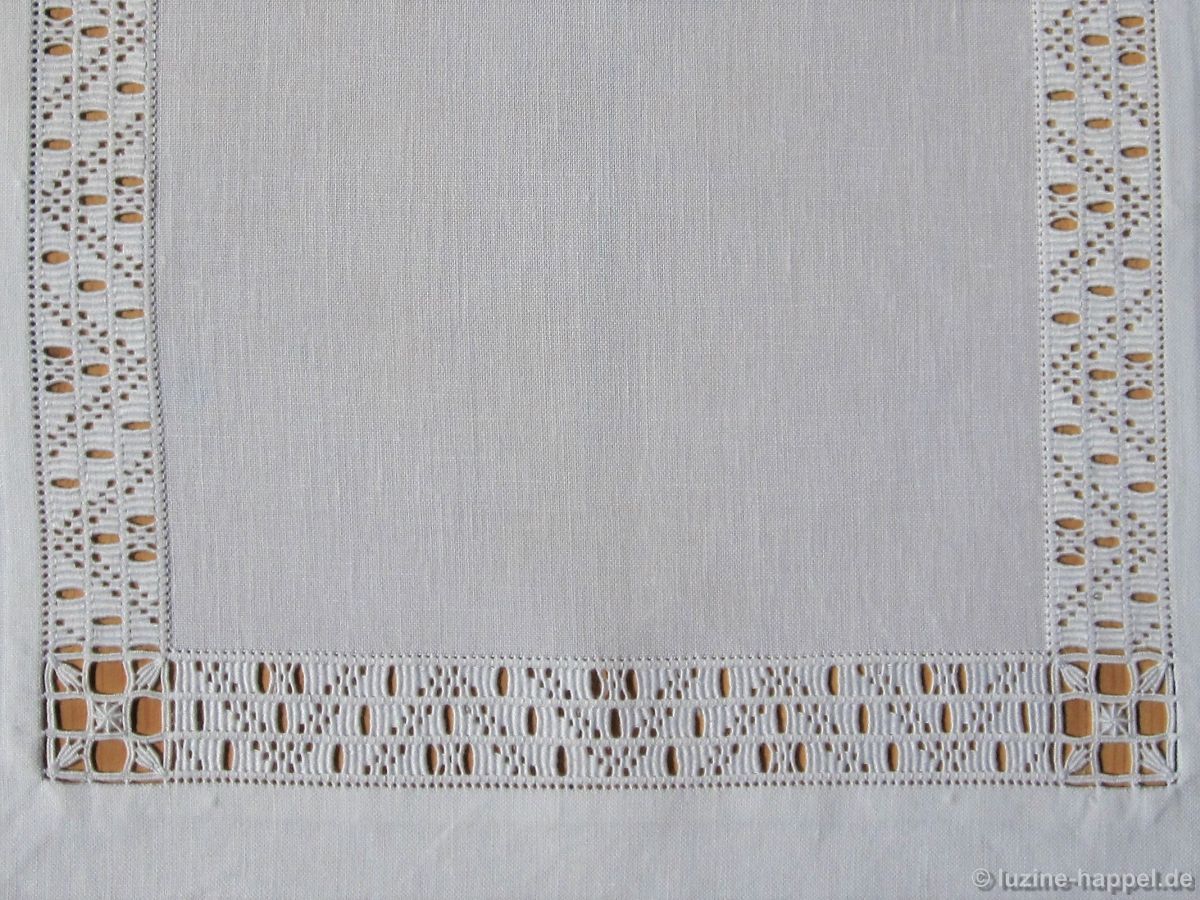
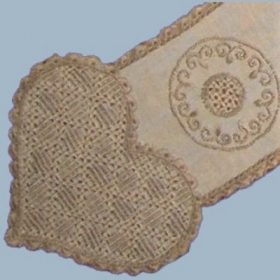
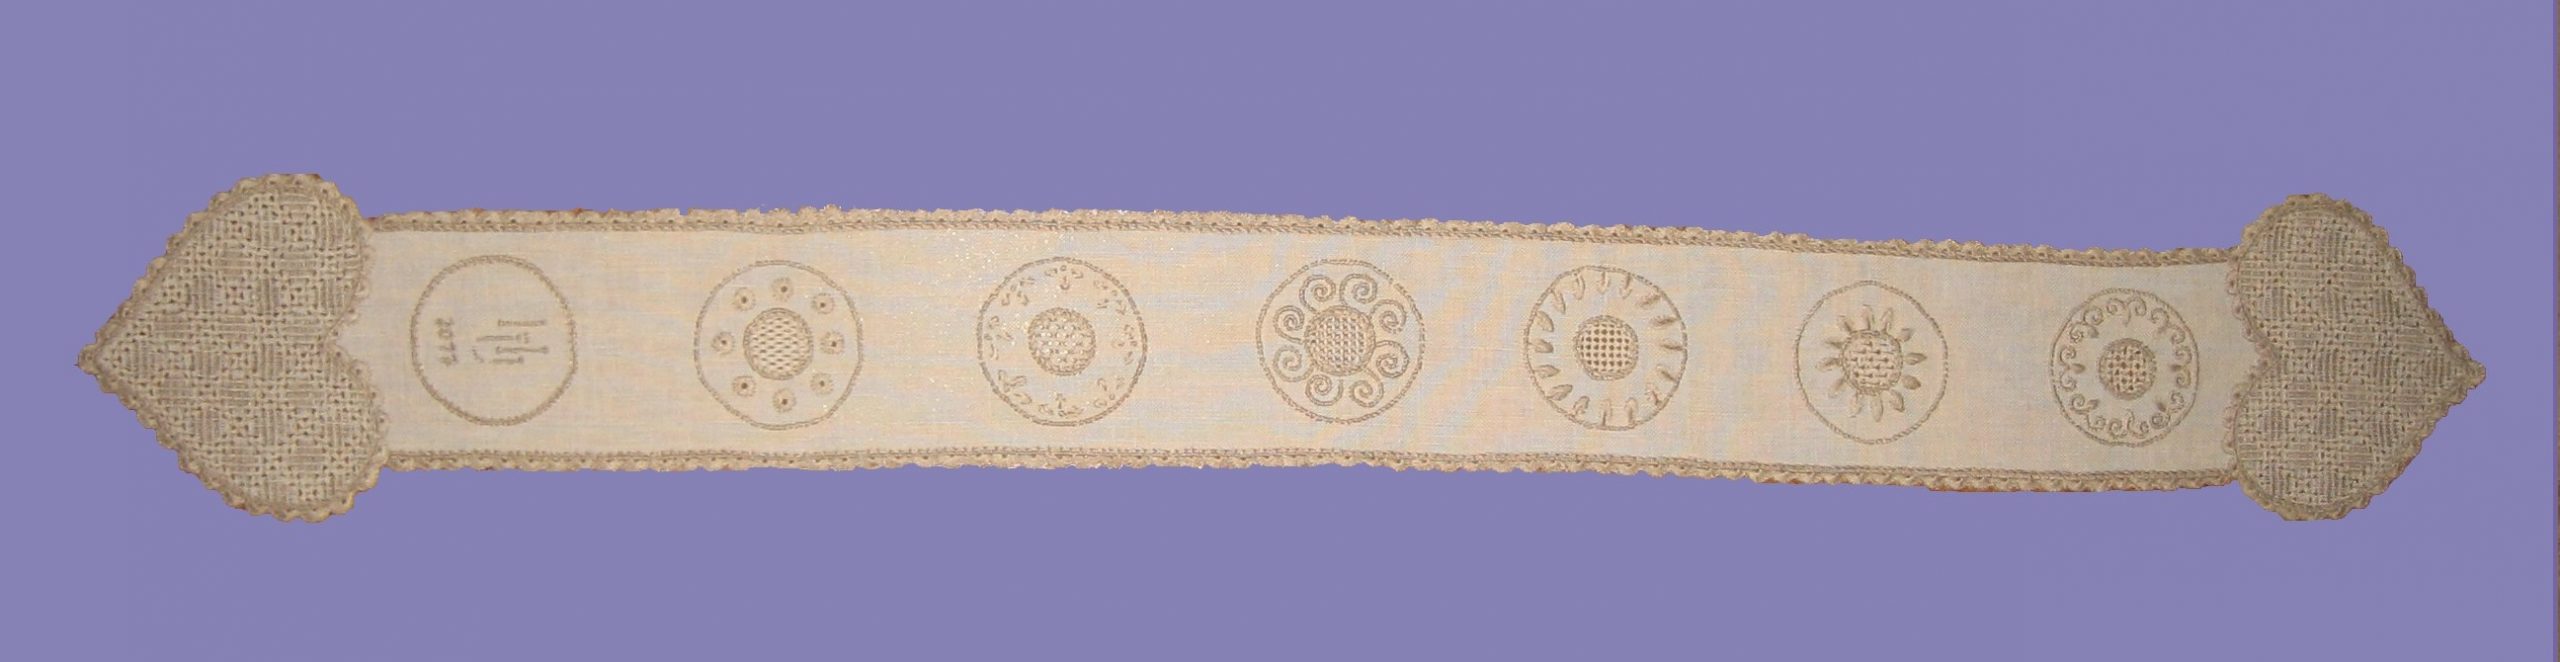
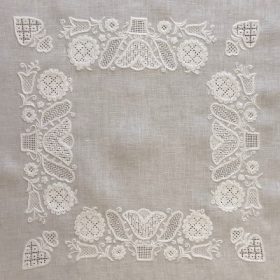
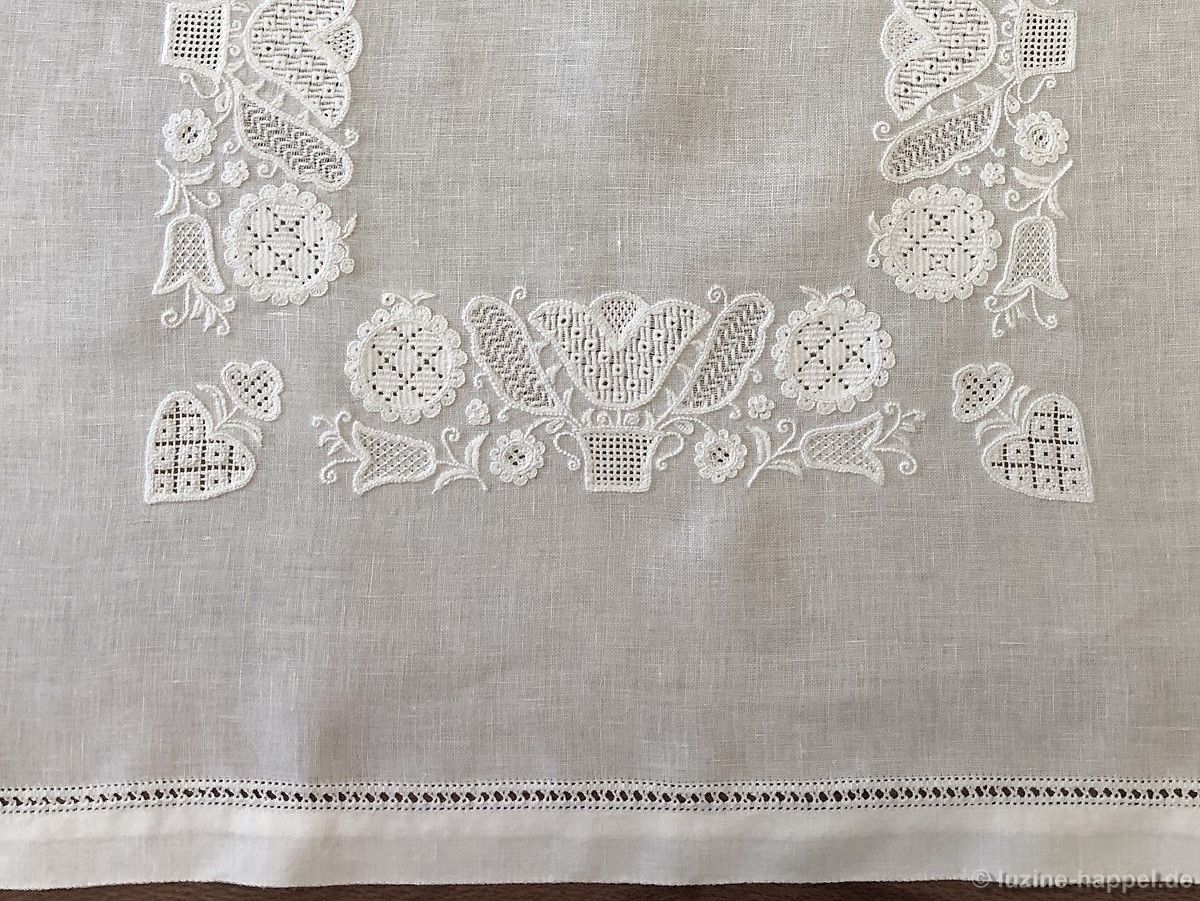
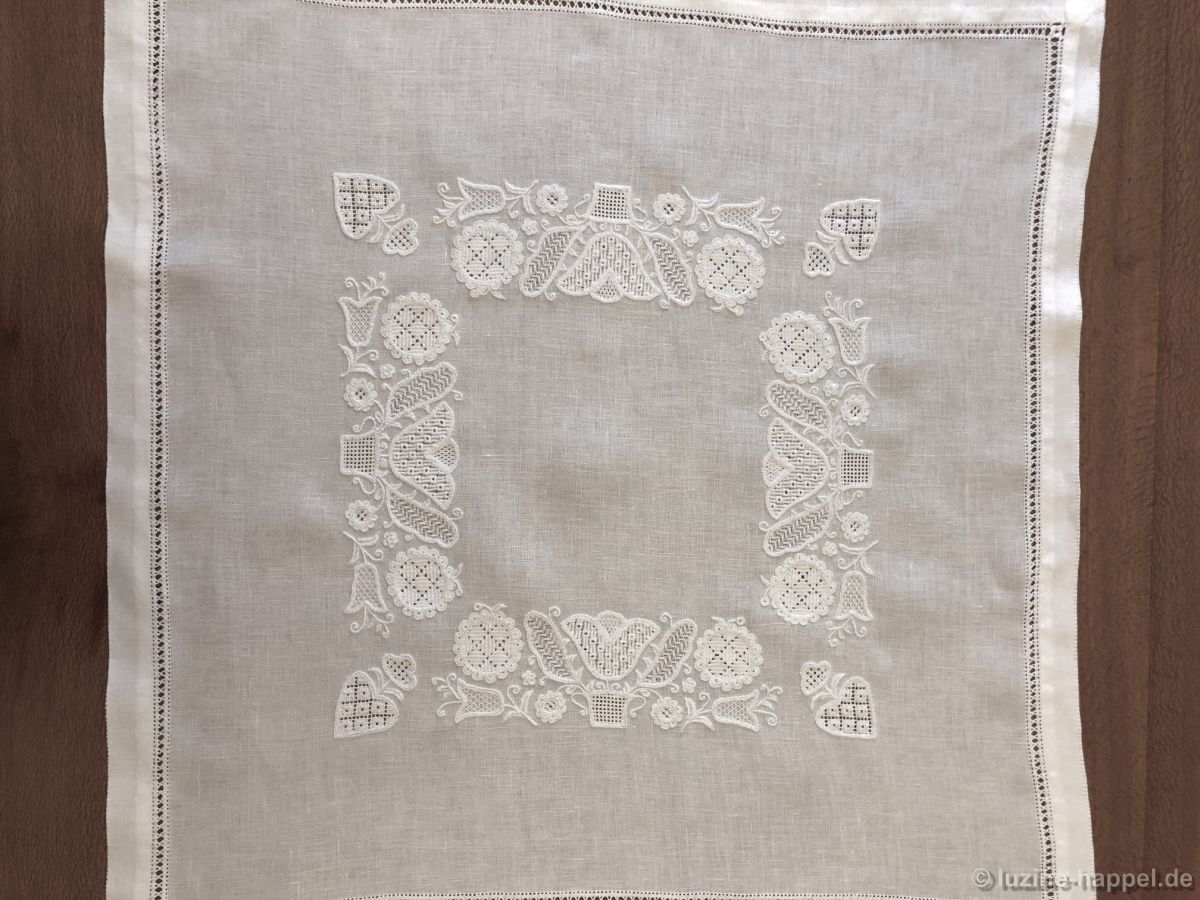
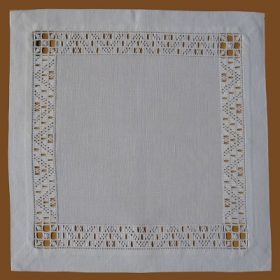
Irmgard Mengel from Germany has decorated a small doily with precise stitches of an elaborate needle-weaving hem.

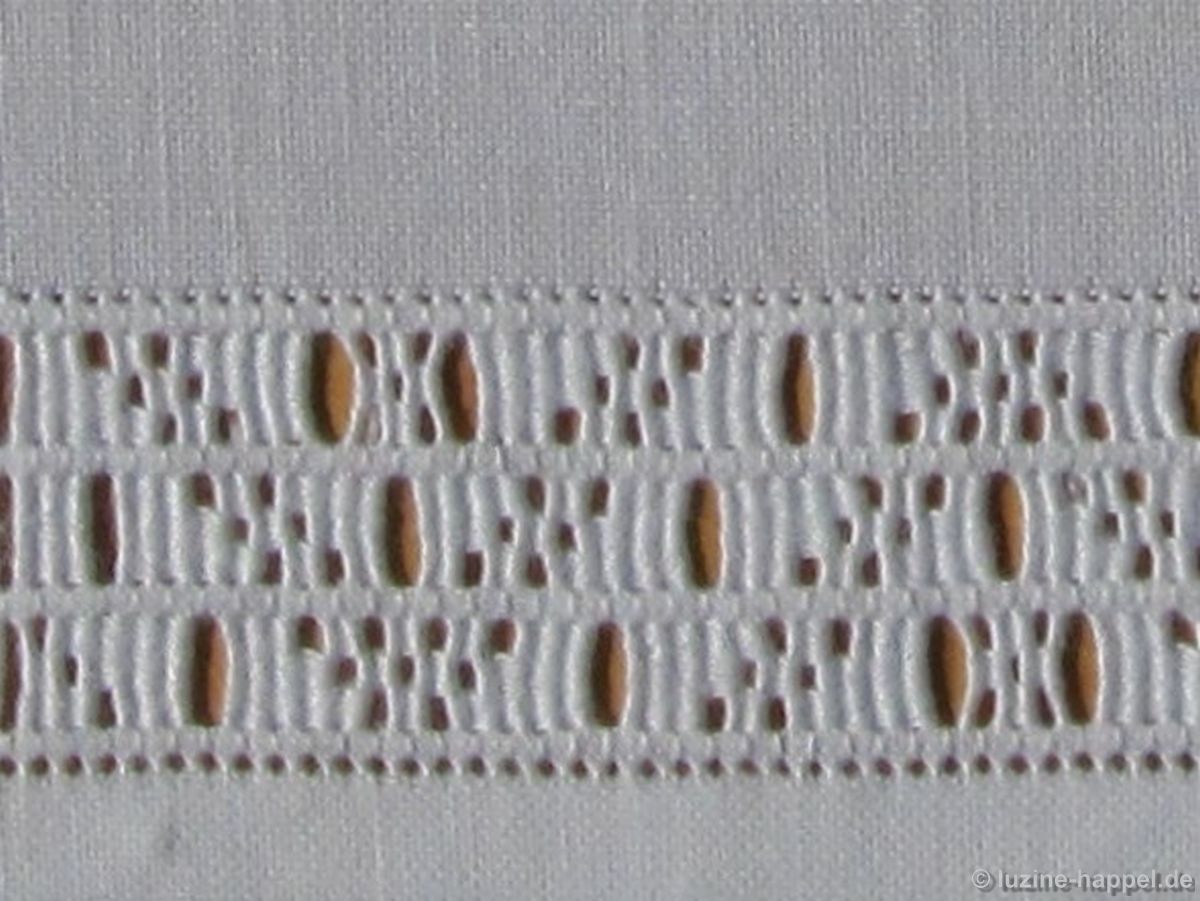
The needle-weaving hem, divided twice by a row of Four-Sided stitches, consists of 3-unit bands with two-part or four-part block patterns.

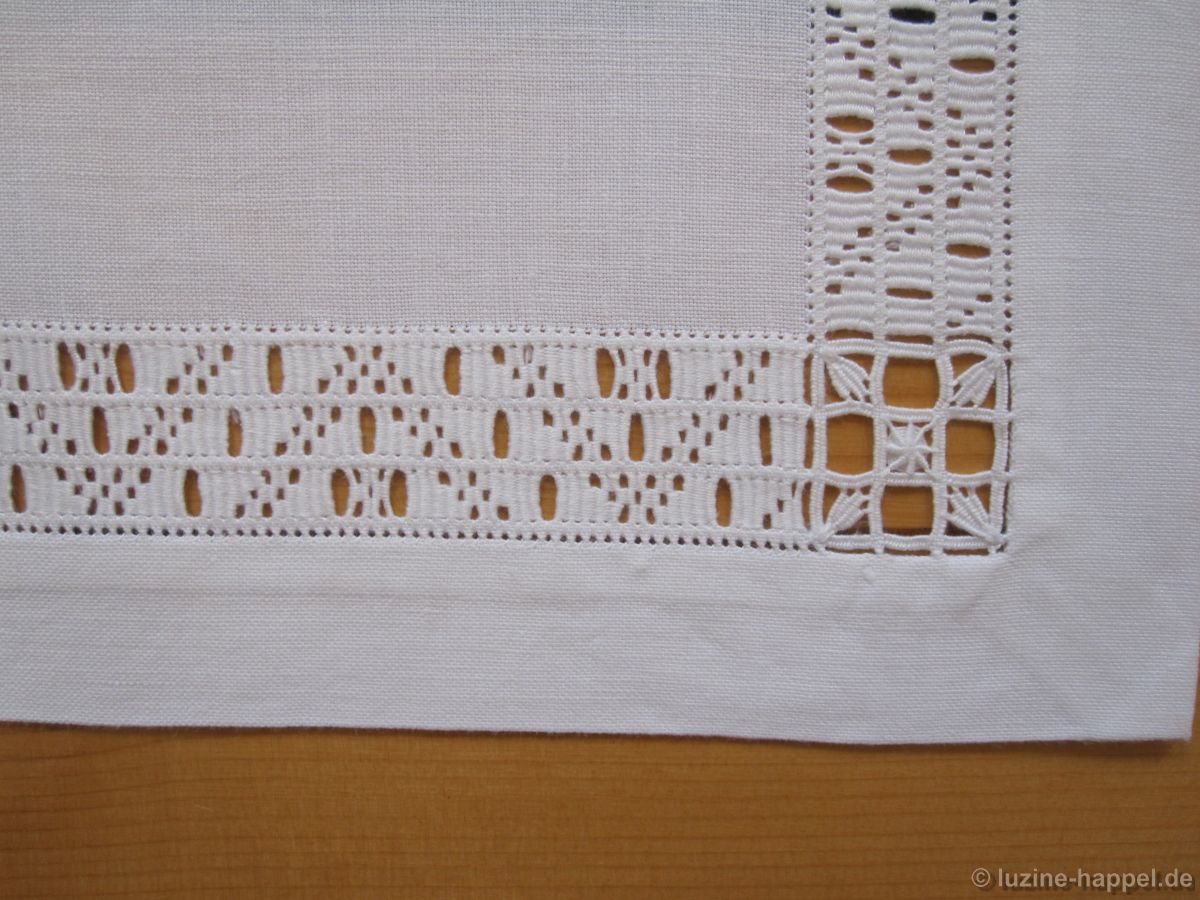
It has a segment of 36 bundles.

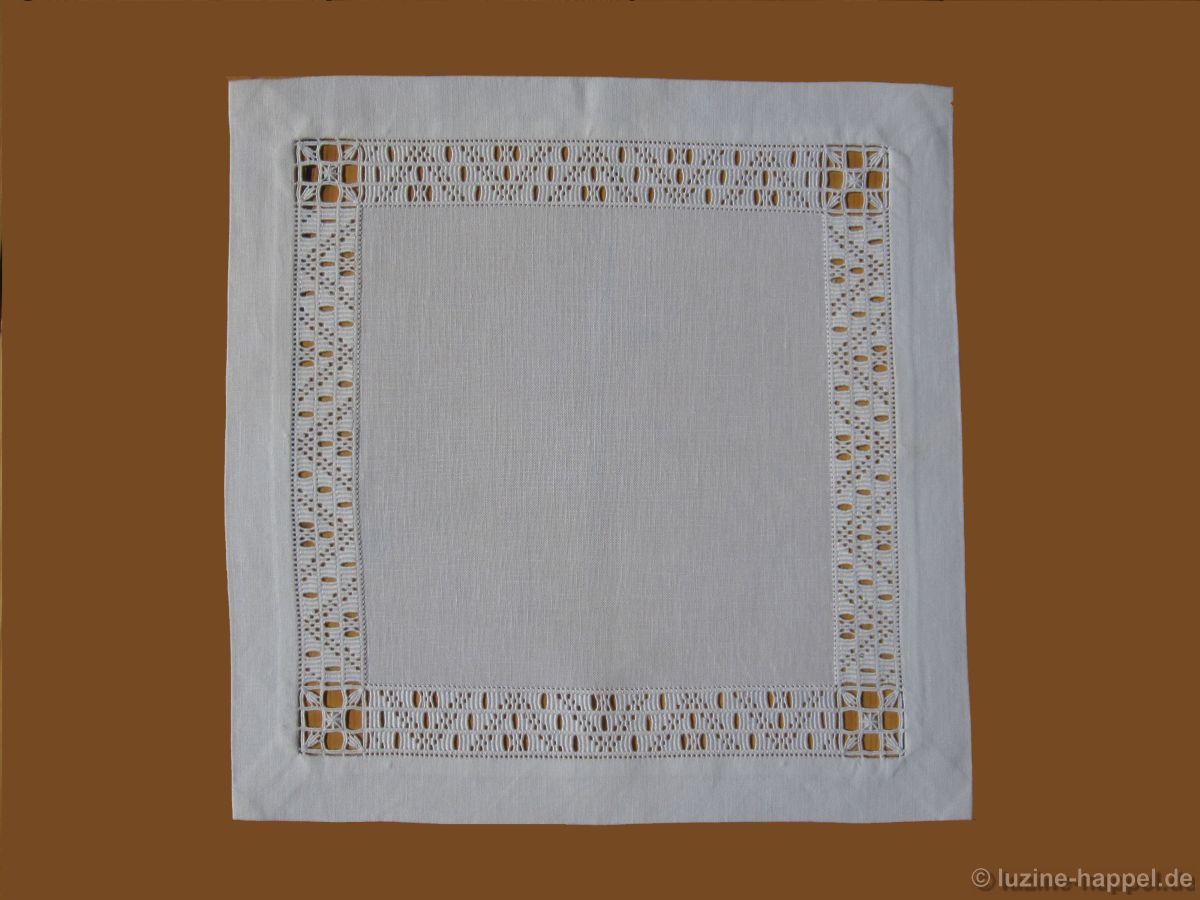
Due to the subdivision with Four-Sided stitches, fabric threads remain at the corners, which can be used to design the corner.

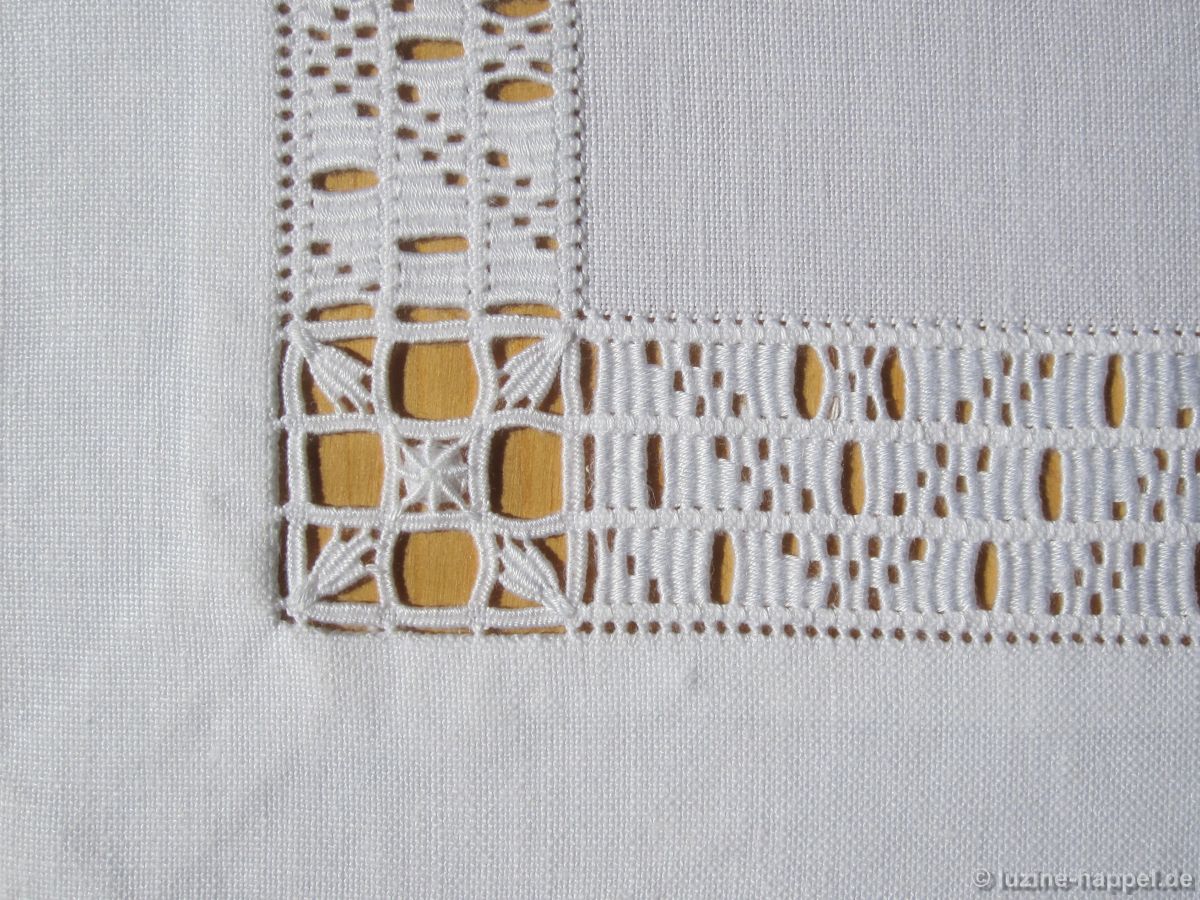
In this example, needle-weaving stitches have been embroidered over the threads and then threads have been laod into some of the free squares. The corner parts were decorated with needle-weaving patterns, the spider in the middle was wrapped.

With a needle-weaving hem with such a large segment, one has to work one´s way slowly from one corner to the next, counting the bundles and only then withdrawing the threads for the adjacent side. This gives matching patterns on both sides of the corner.

Colette’s Stars are Shining

When visiting my exhibition, Colette Bonnet discovered various embroideries that she liked and that she would like to work on herself. This also applies to the “hellebores and star” pattern, which can be seen in the last picture of this article.

However, she thought of embroidering the pattern onto a tapered lampshade. This was advised against after choosing the wire frame for the lampshade and in consultation with the lady who was to cover it with the embroidered linen. Instead of the large pattern, she chose individual stars of different sizes and spread them over the fabric.

The larger stars were given a center circle with different filling patterns from the book Stars.

The smaller stars were each only embroidered as an outline.

The pattern unfolds its full effect and its very special charm, especially in light.

It was also important to have a lampshade assembly specialist. In Claudine MAZUIR – 393 Chemin de la Montagnette – 30500 SAINT AMBROIX cmazuir27@gmail.com Colette has found such a professional.

The unique embroidery and the perfect assembly enchant Colette’s lamp into an exquisite piece of jewellery.

Embroidery is Ute’s medicine

Ute Hogen from Germany is a frequent embroiderer. She masters almost all embroidery techniques, but Schwalm whitework has become her favorite variant. I’m always amazed at the speed at which she realizes even large projects.
Ute Hogen doesn’t just embroider to enjoy her work – for her, embroidering is therapy. Seriously ill with rheumatism, she had to put up with a number of operations. To keep their fingers flexible, they have to be trained for hours every day – and embroidery helps with that. The doctors are always amazed at how she manages to regain her flexibility after having to fix her hands and fingers, and they admire her delicate stitches.

In the meantime I have a folder filled with pictures of Ute Hogen’s embroideries. From time to time I will show one of her projects. It starts with a long, narrow table band.

Always looking for new ideas and more patterns, she support my blog posts. With creativity and good judgment, she develops her own projects. She took suggestions from the Heart Band article and skilfully combined them with suggestions from the article A small band for Practicing Exercises.

She enlarged the hearts to fit the width of the band to be able to place the outlines of the patterns well.

Then Ute did the Forks – Practice Exercises, the Small Pointed Leaves and Blanket Stitch Eyelets – Practice Exercises, the Blanket Stitch Eyelets – Practice Exercises,

the Small Pointed Leaves – Practice Exercises and the Small Pointed Leaves and Tendrils – Practice Exercises and embroidered each center circle with a different filling pattern.

She filled the last circle with the year and her initials.
Washed, starched and then precisely cut out, the pretty band now adorns her table.

Judith’s First Schwalm Whitework

Almost exactly a year ago, Judith Ebsworth from Australia contacted me with the words:
„I have hot iron pencil transferred my design from your book ‘Basic Principles of Schwalm Whitework’. The problem is that two areas haven’t transferred very clearly“.

She asked me for advice, which I was happy to give.

She let me know: „I have had the book for about 3 years and have just started as I have been gathering courage!„

Then she set out all by herself on the long journey, embroidered countless Coral Knots, the many Blanket stitch half-eyelet scallops

all the leaves and the Chain stitches.

Every few months she sent a picture to confirm the accuracy of her stitches.

When one looks at the embroidery, one don’t get the idea that it could be done by a beginner.
All her stitches are very well done – the Coral Knots, the Chain stitches, the half-eyelet scallops. Also the Satin stitches turned out well, even it is not easy to work them on a not soo densly woven linen. (Densly woven linen is better for all outline stitches, more loosely woven linen is better for thread withdrawing. So to start with Schwalm embroidery I recommend to use more loosely woven linen.)

Amazed at the speed of her progress, I asked if this wasn’t too big a project for a beginner. She answered: „The repetition of the stitches on four sides of the cloth is such a good way to practice and consolidate the learning. Sometimes I did feel as though I would never finish!

I will do more Schwalm as I love the finished effect and enjoy the stitching – but then smaller projects first.“

The peahole hem is also excellently worked.

In mid-February – only about 10 months after the start – the finished cloth lay washed and perfectly ironed on her table.

Doesn’t it look gorgeous?

Carol´s Schwalm Masterpiece

Carol Stacey from Australia has made a table runner embroidered with blue and white using the Schwalm whitework techniques as part of her contribution to a self-directed learning course at her guild. She submitted three works in total, two of them embroidered in white. To add some variety, she chose blue embroidery threads for the third project.

The runner looks particularly gorgeous. The blue tones used are subtle, but still very effective. The arrangement of dark and light blue motifs is outstandingly successful – the dark areas form the focal point, the light ones cleverly lead to the border decoration. This leads to a harmonious overall impression.

The distribution of very pale blue (nearly white) and blue filling patterns is very balanced.

The ovals in the central parts of the tulips are similarly repeated in the buds.
The selected filling patterns fit perfectly to the respective areas. The decorative stitches used support the brilliant overall impression.

The 9-unit needle-weaving band with the two-piece block pattern is a great success – it was worked perfectly. I had to search for a long time to discover the places where she regulated the placement of the dense blocks both in the middle of the sides and in the corners. A masterpiece!

Carol wrote: Halfway through I had my doubts and wished it was white but now I think the colours accentuate aspects of the design. Couldn’t believe how long it took to finish the woven band around the edge!!
But it was definitely worth it.

Congratulations, Carol, on this all-round successful work.