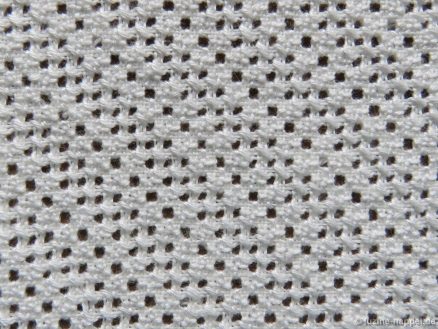
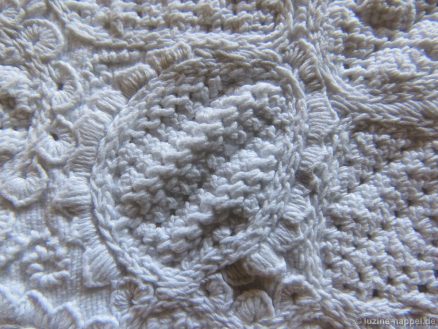
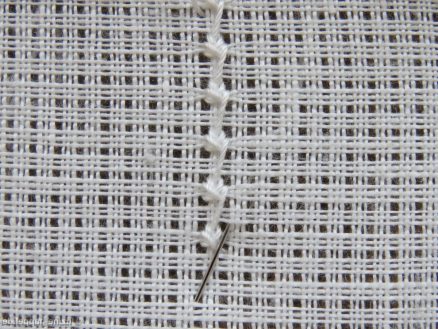
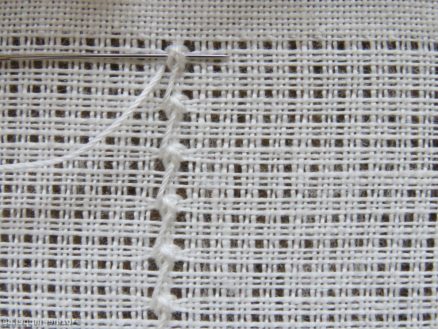
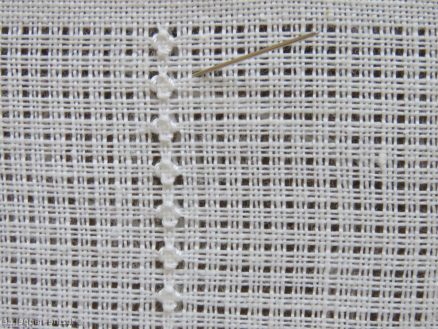
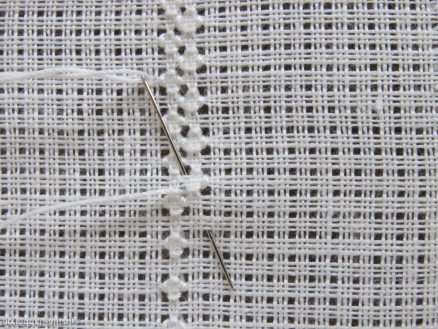
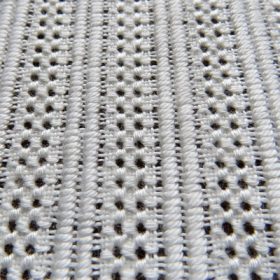
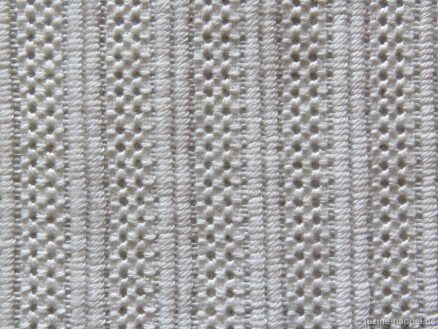
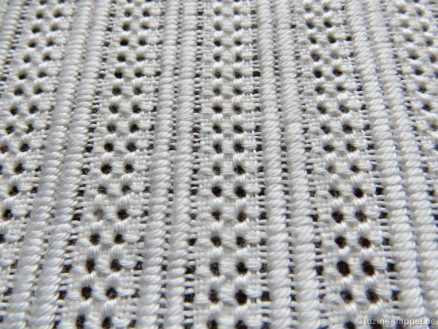
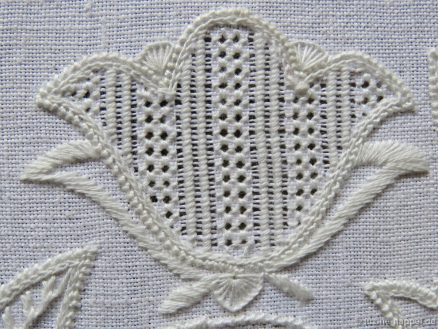
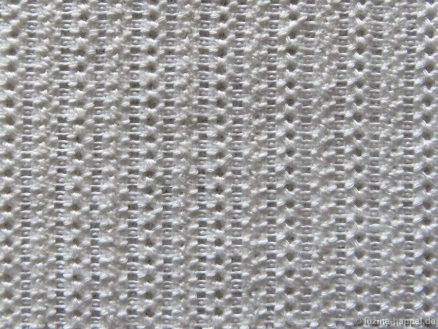
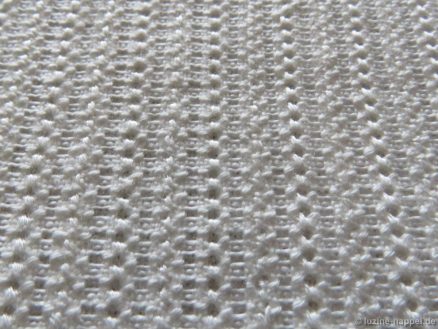
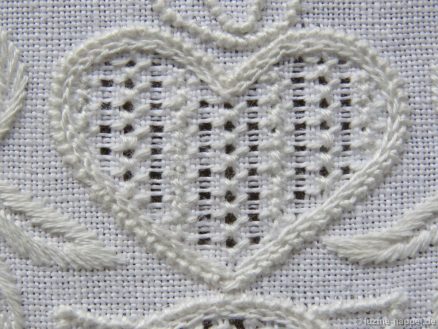
Filling Pattern – No. 551

category: Limet-Filling pattern
linen used: 13.5/cm thread count
threads used: coton à broder No. 16
stitches used: Honeycomb Darning stitches
center: square (in other shapes, longitudinal axis: group of three threads)
one pattern segment: 12 threads

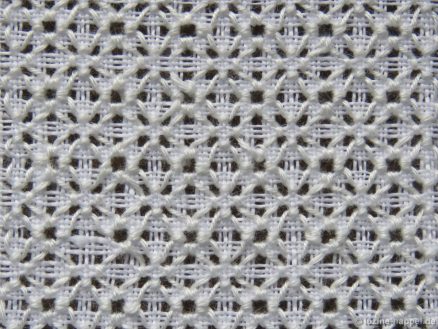
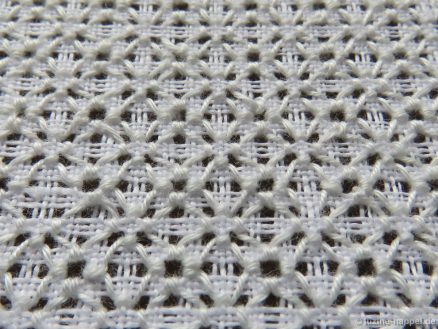
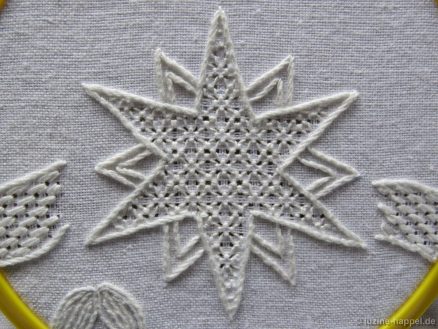
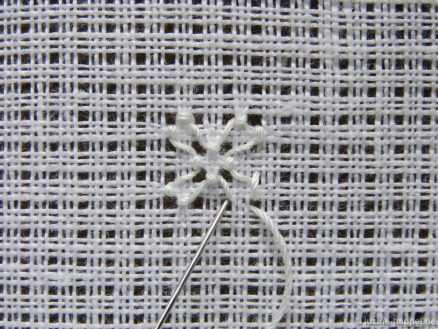
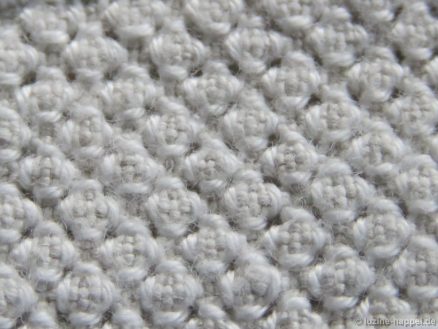
This pattern is a variation of Honeycomb Darning stitches – not worked in rows but around a center square.

Instructions for left-handers can be found at the end of this article.

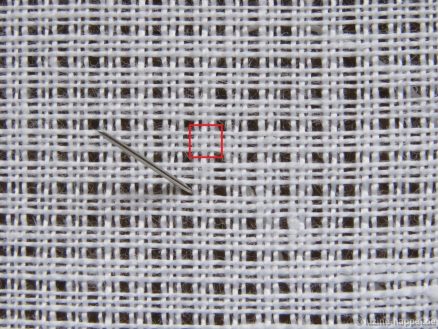
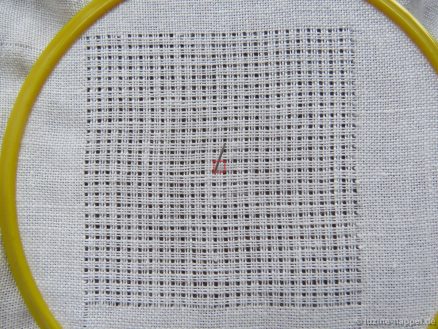
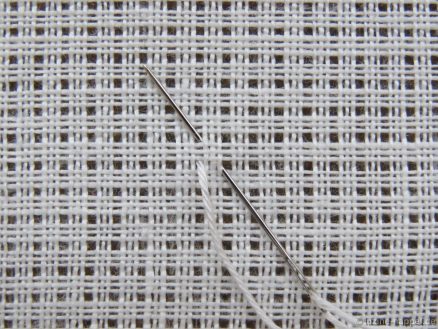
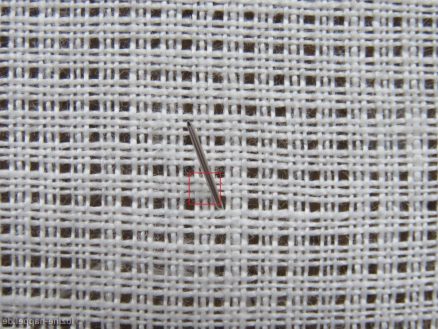
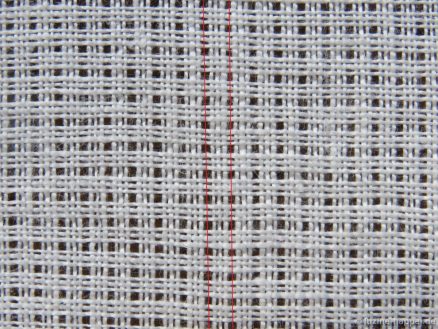
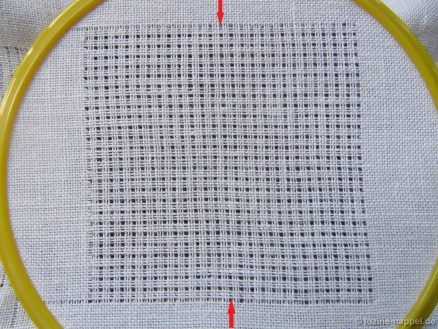
First, establish a Limet grid with a square in the center by cutting 1, leaving 3 both vertically and horizontally.

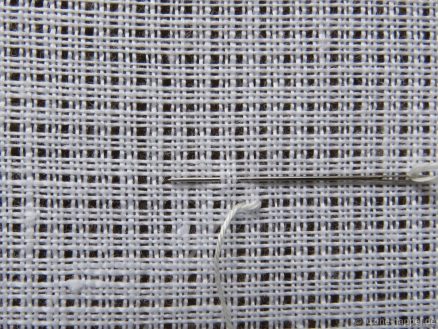
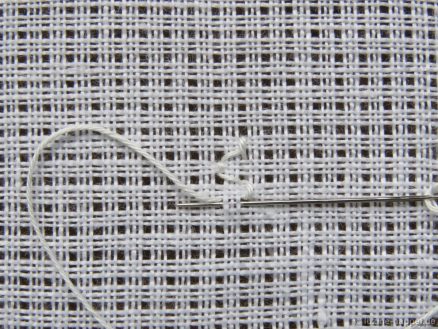
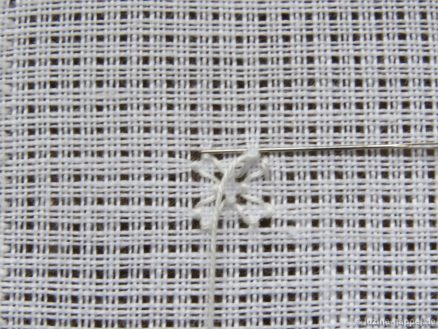
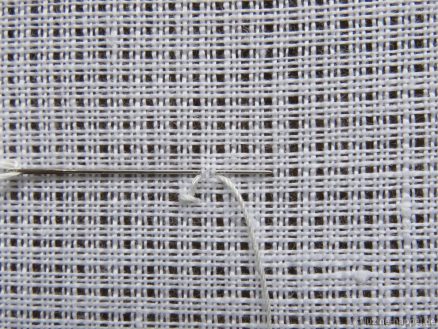
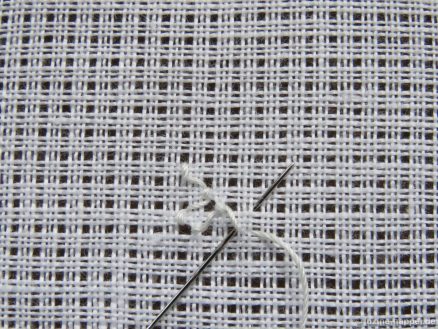
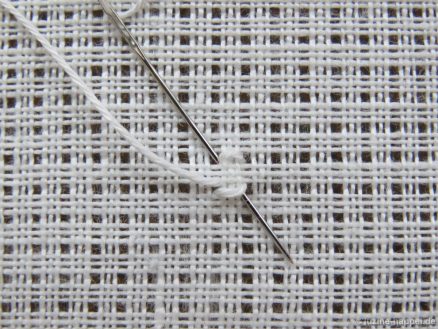
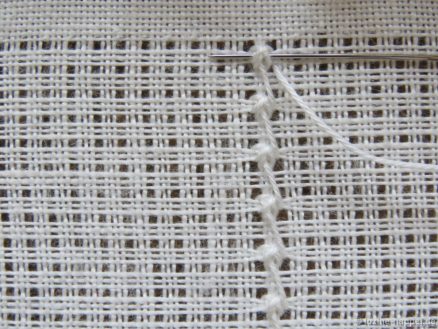
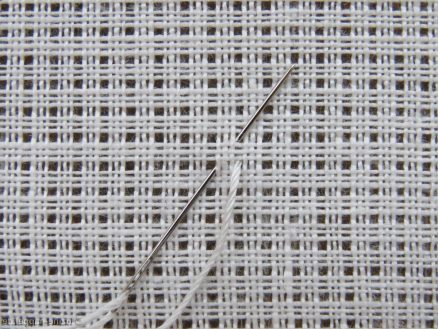
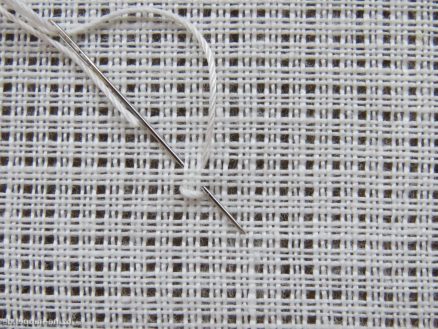
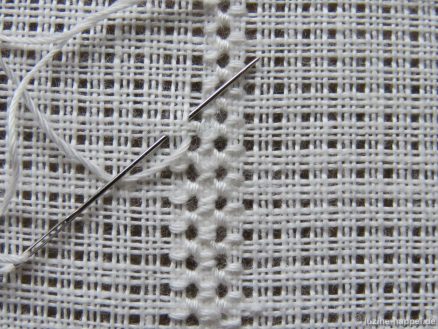
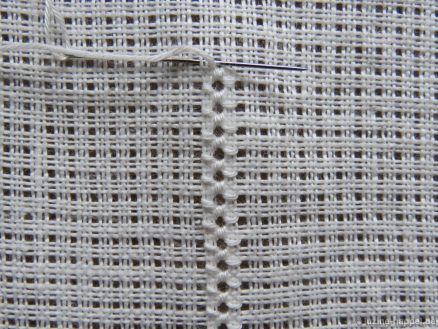
Bring the needle up one square below the lower right hole of the center square, and pull the thread through.

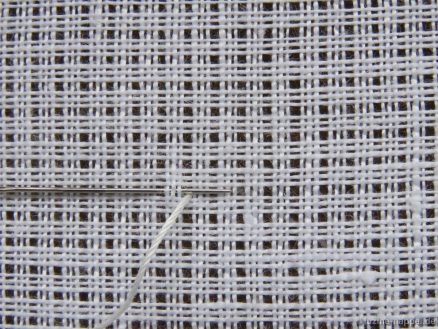
*Cross over one square (3 fabric threads) to the right, insert the needle and bring it up in the previous hole again. Tighten the thread.

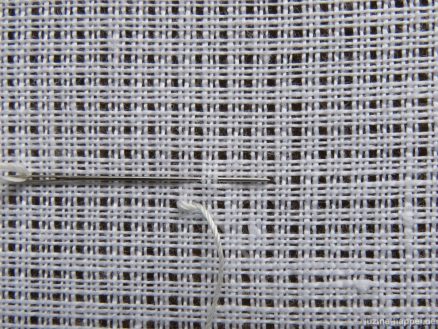
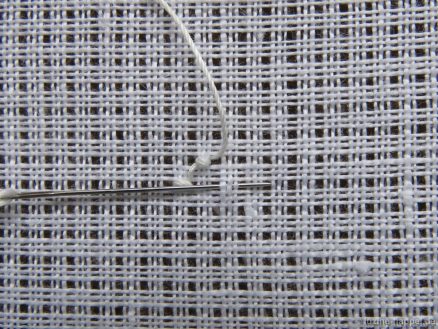
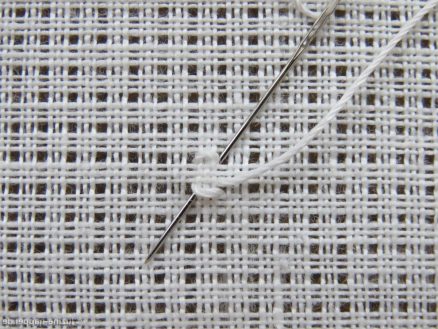
Cross over one square (3 fabric threads) up, insert the needle and bring it back up 1 square to the left.

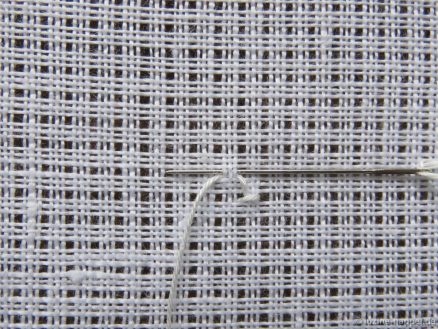
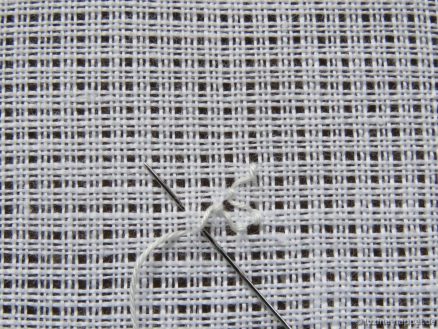
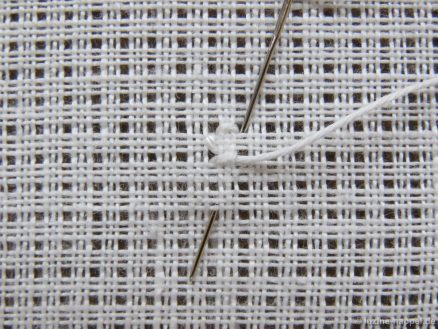
Cross over those 3 threads to the right, insert the needle and bring it up in the previous hole again.

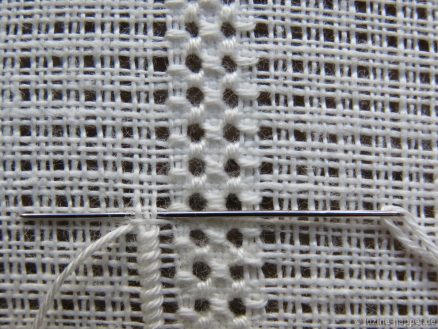
From now on always tighten the thread so that the bundled threads are pulled together a little bit.

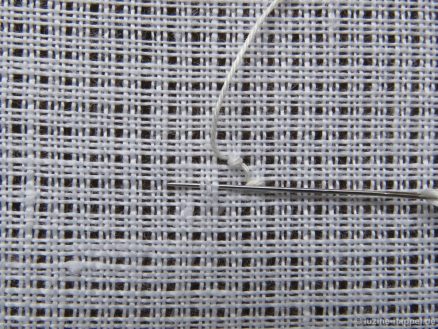
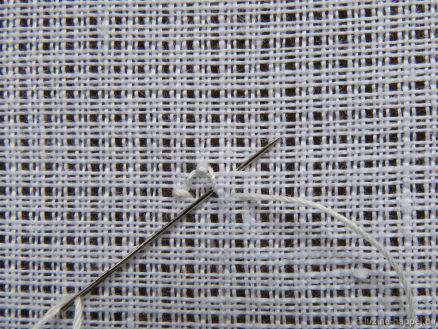
Cross over one square below, insert the needle and bring it up 1 square (3 fabric threads) to the left.

Cross over those 3 threads to the right, insert the needle and bring it up one square diagonally left and up.*

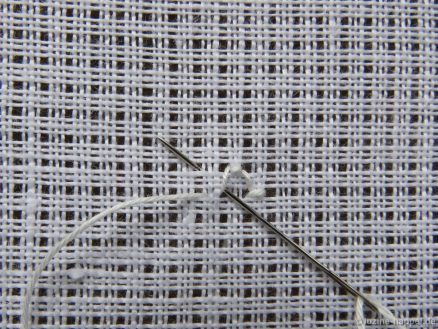
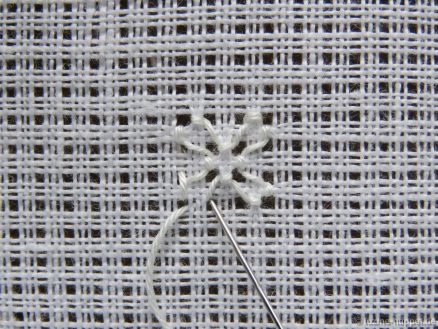
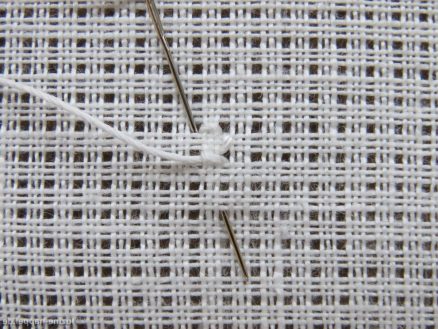
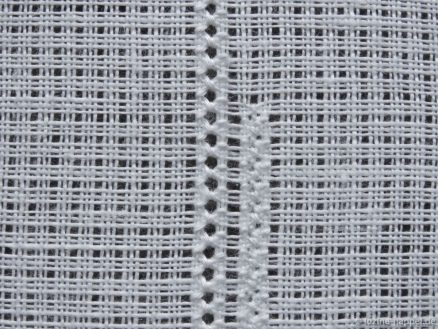
Turn the piece 90° counterclockwise and repeat working the five steps (*),

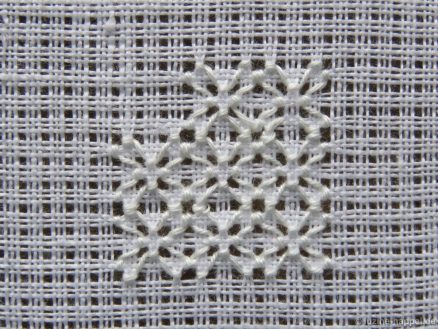
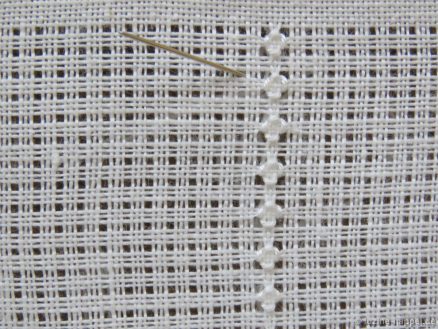
three times in all. At this point, one pattern segment covering a section of 3 X 3 squares is finished.
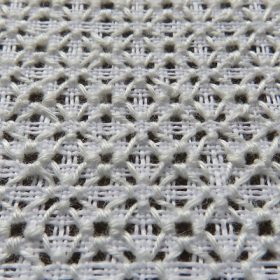
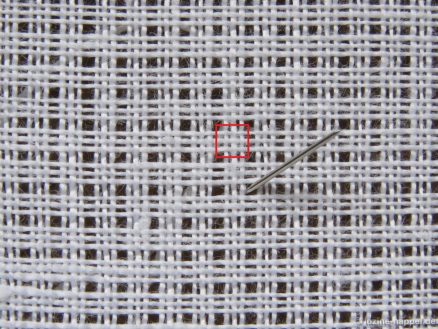
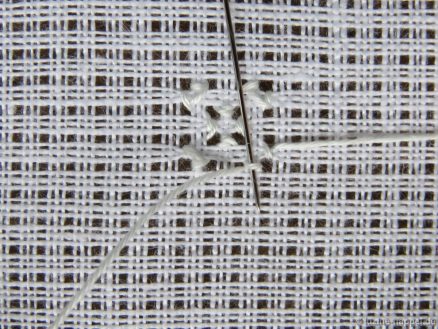
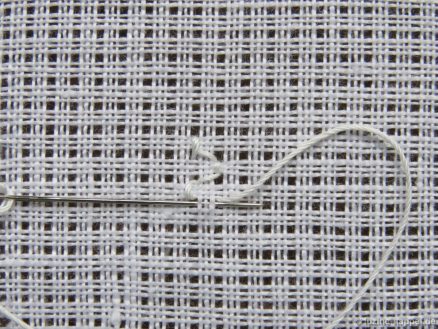
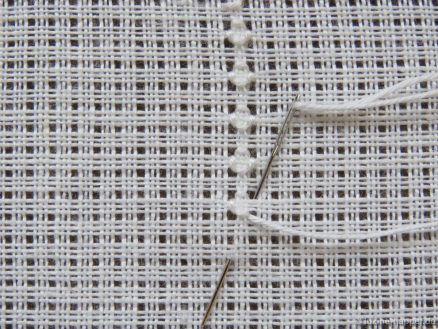
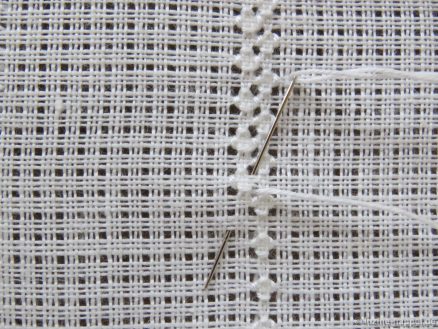
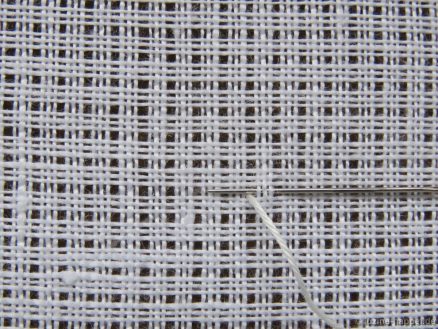
More of these pattern segments are added to establish the entire pattern. To start the next segment, the needle has to emerge from the same point that it was inserted. So, on the back side, slide the working thread under the stitch

and then bring it up again to the front. Turn the piece to start working the next segment in the established way.

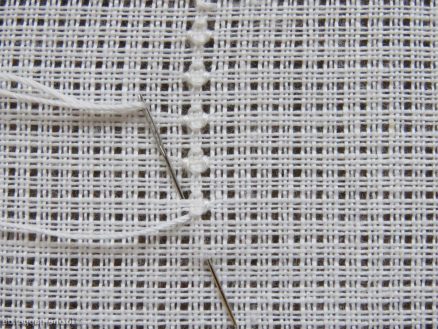
Work segment beside segment

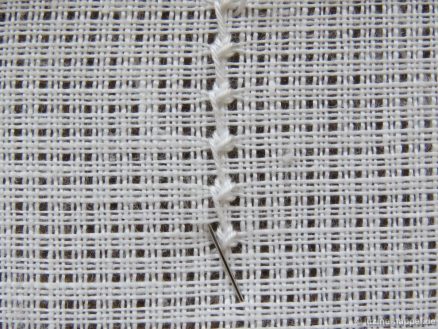
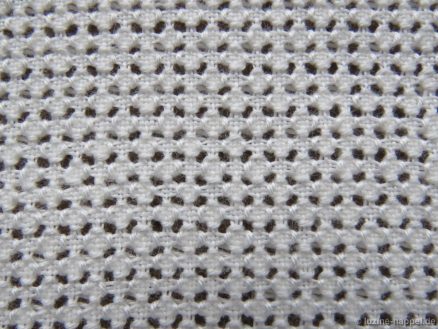
until the entire shape is filled. If you get lost while working, simply recall which is the segment´s center square that needs to be surrounded.

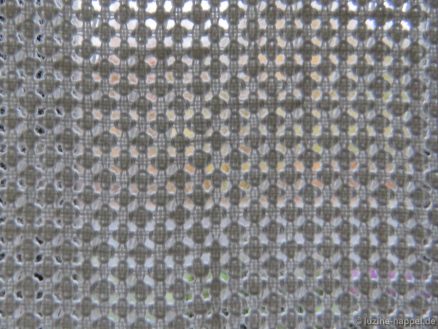
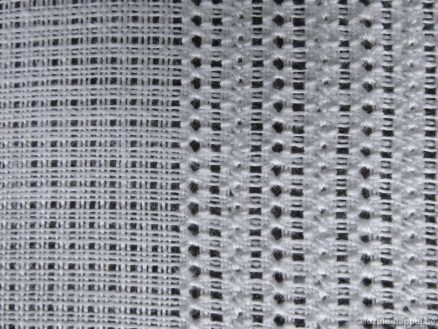
This pattern develops its full appearance only after boiling, starching, and ironing.

Instructions for the left-hander:

Bring the needle up one square below the lower left hole of the center square, and pull the thread through.

*Cross over one square (3 fabric threads) to the left, insert the needle and bring it up in the previous hole again. Tighten the thread.

Cross over one square (3 fabric threads) up, insert the needle and bring it back up 1 square to the right.

Cross over those 3 threads to the left, insert the needle and bring it up in the previous hole again.

From now on always tighten the thread so that the bundled threads are pulled together a little bit.

Cross over one square below, insert the needle and bring it up 1 square (3 fabric threads) to the right.

Cross over those 3 threads to the left, insert the needle and bring it up one square diagonally right and up.*

Turn the piece 90° clockwise and repeat working the five steps (*),

three times in all. At this point, one pattern segment covering a section of 3 X 3 squares is finished.
Filling Pattern – No. 550

category: Limet-Filling pattern
linen used: 13.5/cm thread count
threads used: coton à broder No. 20
stitches used: Rose and Single Faggot stitches
center: intersection of withdrawn thread lines (in other shapes, longitudinal axis: withdrawn thread line)
one pattern segment = 24 threads

This is an old traditional Schwalm pattern that is often used for embroidering motifs. One can find examples of the pattern and of variations of the pattern (the huge number of examples show that it was very popular) here:
A Framed Schwalm Sampler (bird 2)
Contemporary Schwalm Wall Hangings (wing of one bird)
Traditional Schwalm Door Hangings (some circles)
Schwalm Whitework Sampler Cloths (one flower)
Traditional Schwalm Whitework (in different motifs)
Transition from Early to Later Schwalm Whitework (1) (the next to last tulip in the list of enlargements)
Schwalm Parade Cushion Border (A) (some hearts and leaves)
Traditional Schwalm Bodice (D) Embroidery (heart)
Traditional Schwalm Bodice (B) Embroidery (circle)
The Filling Patterns of the Traditional Schwalm Bodice A (different motifs)
Schwalm Designs – Knife Points (1) (big circle, heart)
Schwalm Designs (3) – Scallops (2) (birds)

Commonly it is worked as an openwork-filling pattern.
As a Limet-filling pattern it is also found here:
Pretty Contemporary Schwalm Table Cloth (small circle)

Here I show it as a Limet-filling pattern.

First, establish a Limet grid with a withdrawn thread line as the longitudinal axis by cutting 1, leaving 3, vertically and horizontally.

Work two diagonal rows of Rose stitches adjoining the center intersection of withdrawn thread lines.

Then, from the back side of the fabric, work a row of Single Faggot stitches beside one of the Rose stitch rows. Please remember that Single Faggot stitch worked on the back side will look like Cable stitch viewed from the front.

Work a second row of Single Faggot stitches beside the first.

Turn the piece over again and work a Rose stitch row.

Always alternate working pairs of Rose stitch rows and pairs of Single Faggot stitch rows

until the entire shape is filled.

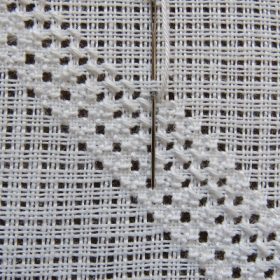
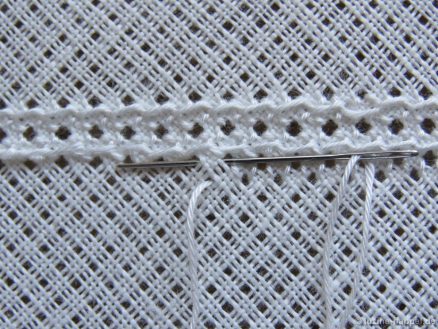
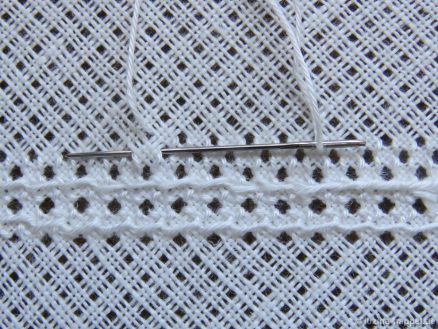
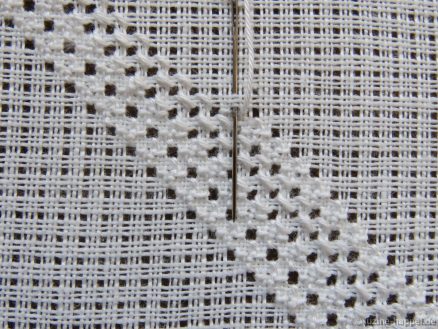
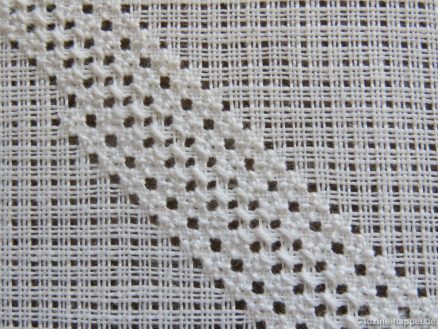
After boiling the wavy structure will be clearly visible.

This pattern has a tendency to pull out of grain. Ironing can remedy this slight distortion of the grain.

Filling Pattern – No. 549

category: Limet-Filling pattern
linen used: 13.5/cm thread count
threads used: coton à broder No. 16
stitches used: Four-Sided stitches
center: square (in other shapes, longitudinal axis: group of three threads)
one pattern segment = 8 threads

Instructions for left-handers can be found at the end of this article.
First, establish a Limet grid with a square in the center by cutting 1, leaving 3 both vertically and horizontally.

Bring the needle up in bottom left hole of the center square, and pull the thread through.

Work a Four-Sided stitch around the center square with the first stitch on the bottom from left to right.

The second stitch is taken on the top from left to right. With this stitch the thread can be tightened a little bit more. The tension of the Four-Sided stitch should be tight enough to pull together the fabric threads of the center square.

The third stitch is taken on the left and up.

And the fourth stitch is worked on the right and up.
Rows of Four-Sided stitches, with a distance of one square between, are always worked from top to bottom.
So bring the needle up in the bottom left hole of the next square to be outlined with a Four-Sided stitch – it is three squares down and one square to the left of the last insertion point.

Work a Four-Sided stitch in the established way.

On the back double crosses are made in the places of the Four-Sided stitches. Later, when ironing, these will pad the sections of the Four-Sided stitches.

Reaching the end of a row, and before starting the next row, the working thread has to be slid – on the back side – under the last stitch to keep the hole well defined and open.

Turn the piece 180° and work the next row staggered one square beside the first row.

Always take care to keep the holes well defined and open.

An unobtrusive pattern for smaller shapes is established. At first it looks a little bit tedious.
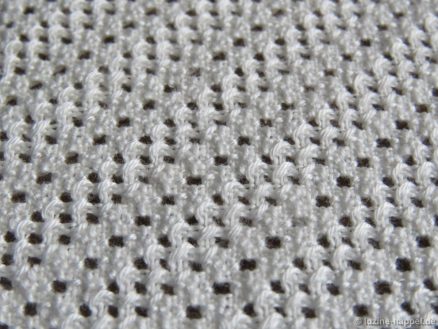
But illuminated from behind, the delicate structure is clearly visible.

After boiling and ironing the pattern appearance will change.


Instructions for the left-hander:

Bring the needle up in bottom right hole of the center square, and pull the thread through.

Work a Four-Sided stitch around the center square with the first stitch on the bottom from right to left.

The second stitch is taken on the top from right to left. With this stitch the thread can be tightened a little bit more. The tension of the Four-Sided stitch should be tight enough to pull together the fabric threads of the center square.

The third stitch is taken on the right and up.

And the fourth stitch is worked on the left and up.
Rows of Four-Sided stitches, with a distance of one square between, are always worked from top to bottom.
So bring the needle up in bottom right hole of the next square to be outlined with a Four-Sided stitch – it is three squares down and one square to the right of the last insertion point.

Work a Four-Sided stitch in the established way.

On the back double crosses are made in the places of the Four-Sided stitches. Later, when ironing, these will pad the sections of the Four-Sided stitches.

Reaching the end of a row, and before starting the next row, the working thread has to be slid – on the back side – under the last stitch to keep the hole well defined and open.

Turn the piece 180° and work the next row staggered one square beside the first row.

Always take care to keep the holes well defined and open.

Filling Pattern – No. 548

category: Limet-Filling pattern
linen used: 13.5/cm thread count
threads used: coton à broder No. 20
stitches used: Easy Eyelet stitches and Satin stitches
longitudinal axis: group of three threads
one pattern segment = 20 threads

First, establish a Limet grid with a group of three threads as the longitudinal axis by cutting 1, leaving 3, vertically and horizontally.

Work two rows of Easy Eyelet stitches along the longitudinal axis – one on each side of the three-thread group.

Work two rows of Satin stitches next to one side of the Easy Eyelet rows.

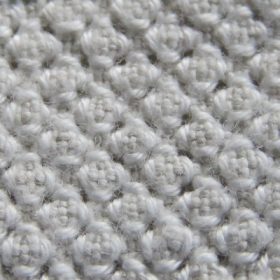
Always alternate working two rows of Easy Eyelet stitches and two rows of Satin stitches until one half of the shape is filled. Working from the already embroidered section, fill the remaining section.

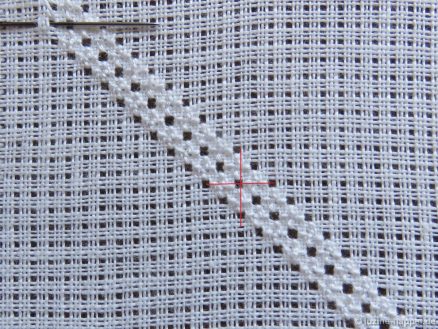
Another straight striped pattern is established.
Filling Pattern – No. 546

category: Limet-Filling pattern
linen used: 13.5/cm thread count
threads used: coton à broder No. 20
stitches used: Easy Eyelet stitches and Rose stitches
longitudinal axis: withdrawn thread line
one pattern segment = 16 threads

First, establish a Limet grid with a withdrawn thread line as the longitudinal axis by cutting 1, leaving 3, vertically and horizontally.

Work one row of Easy Eyelet stitches along the longitudinal axis.

Work one vertical row of Rose stitches next to the Easy Eyelet row.

Always alternate working one row of Easy Eyelet stitches and Rose stitches until one half of the shape is filled.
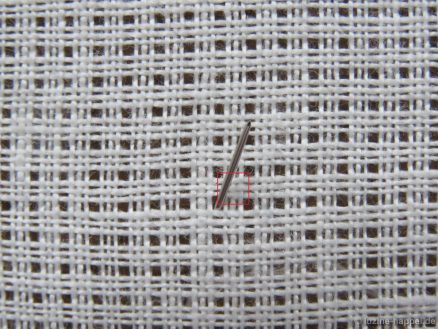
Working from the already embroidered section, fill the remaining section.
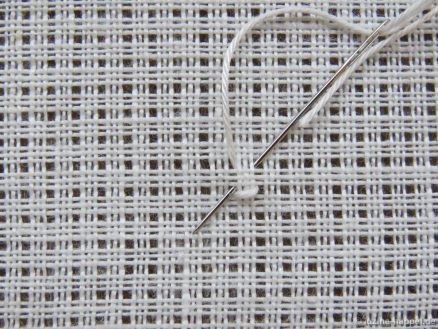
Another pattern, suited also for smaller areas, is established.