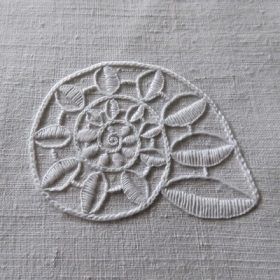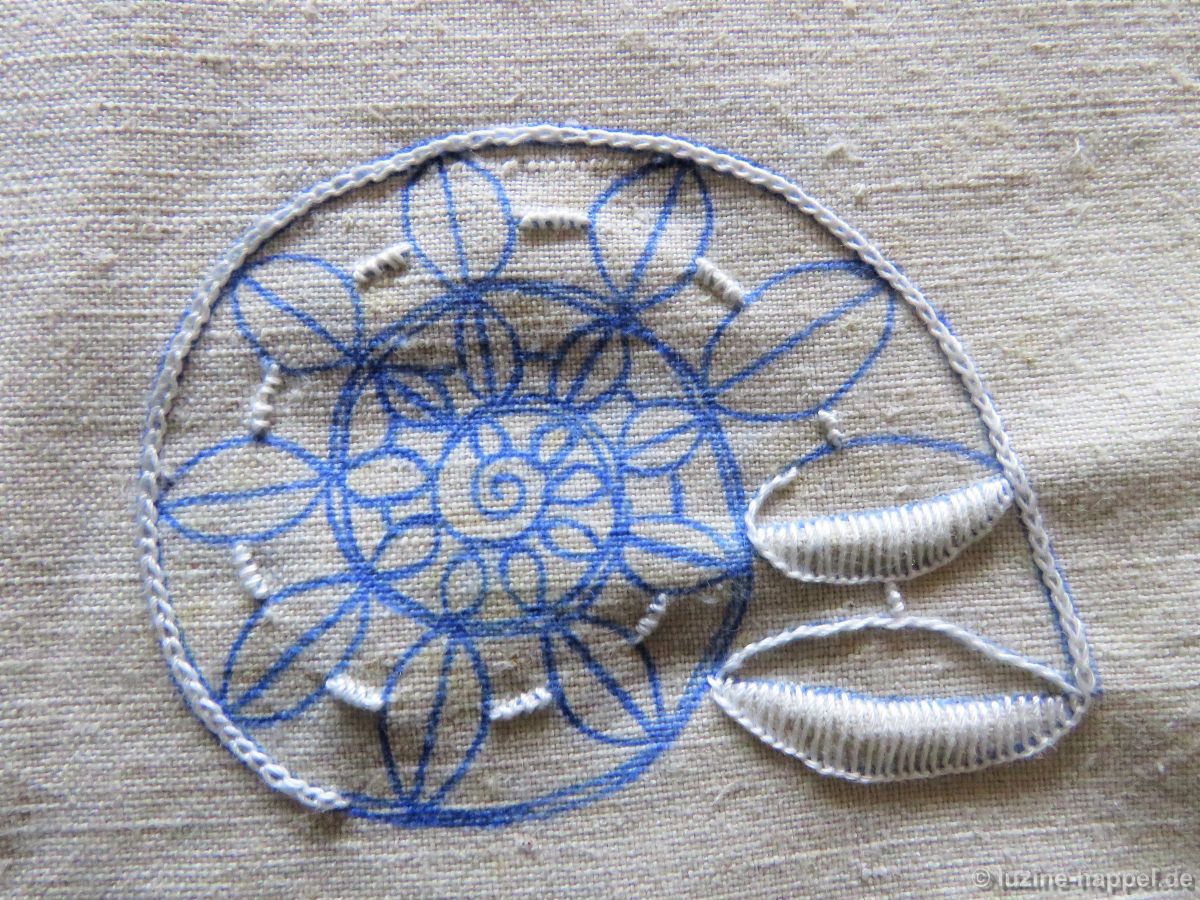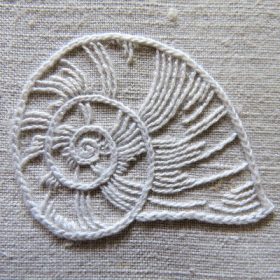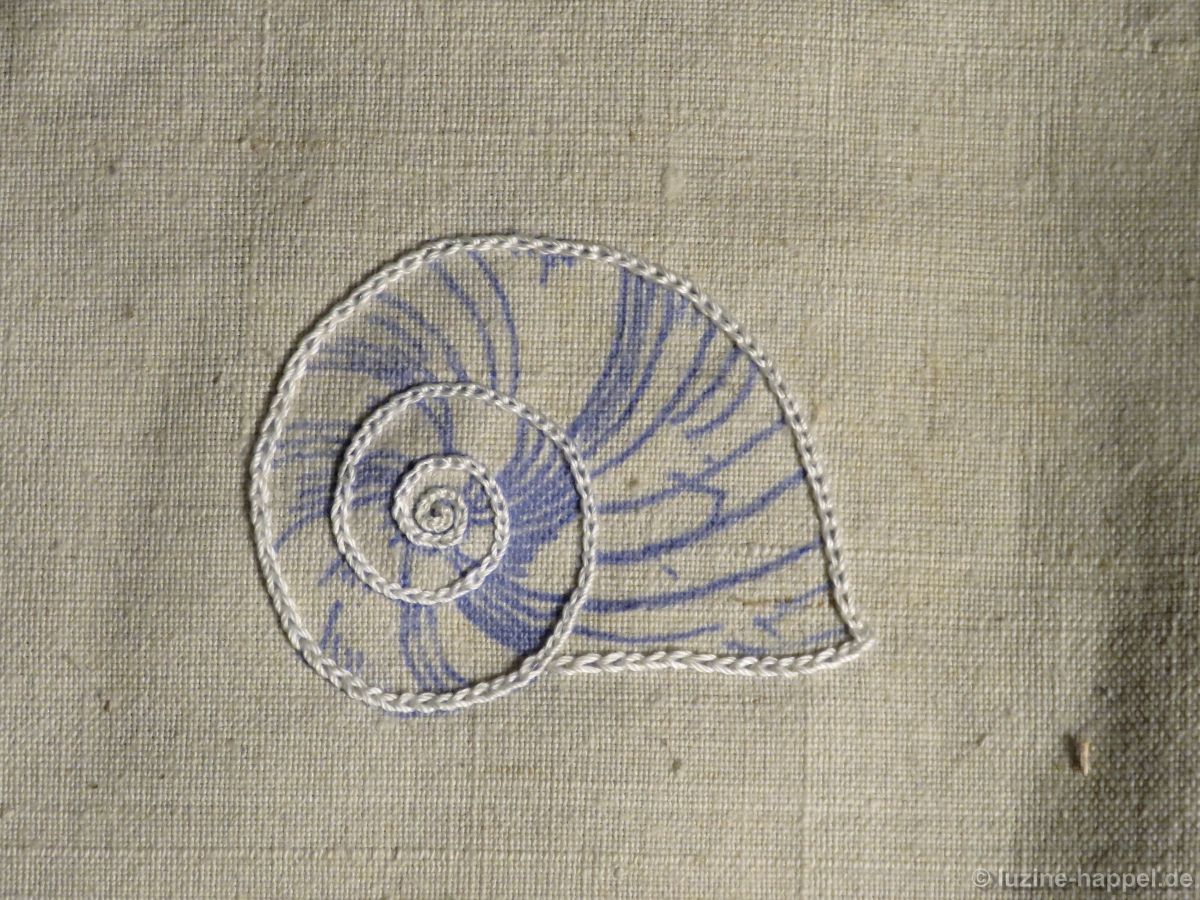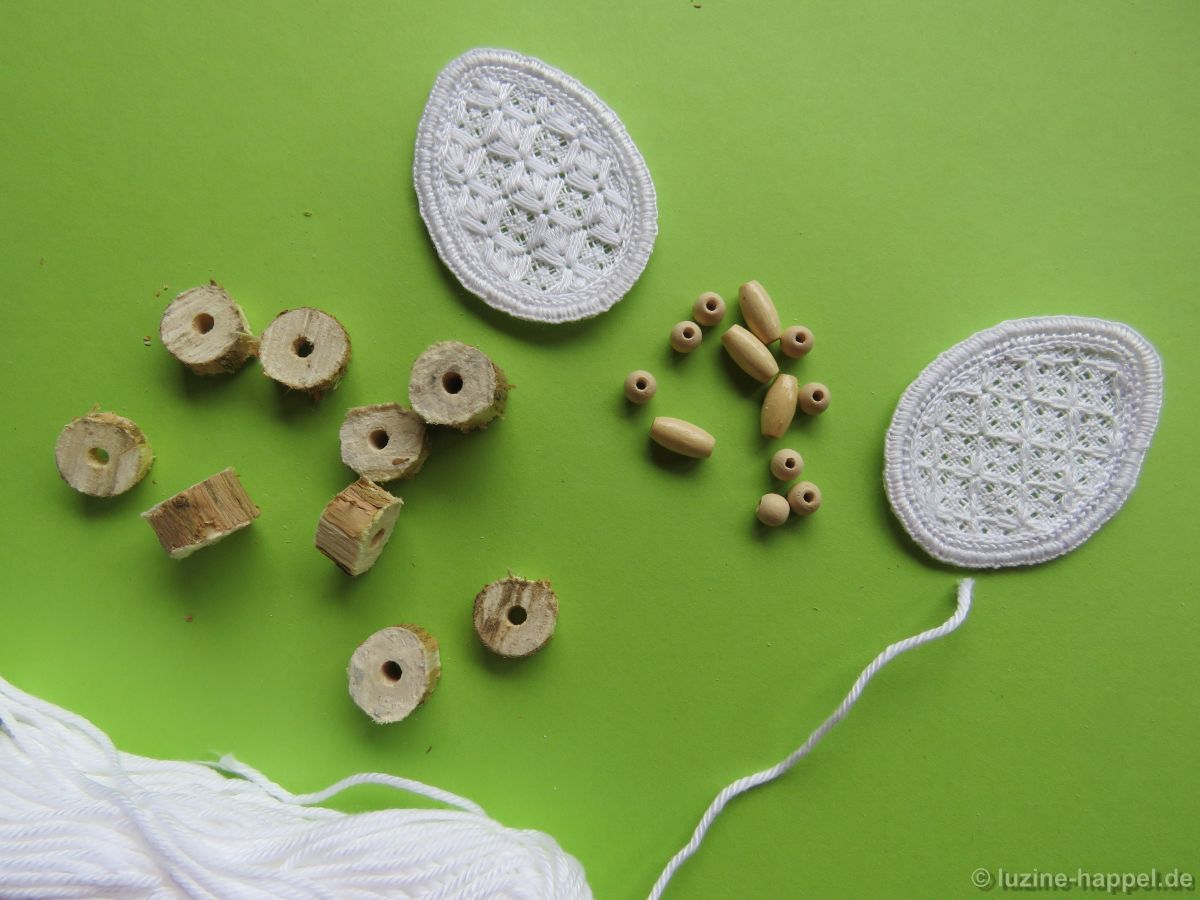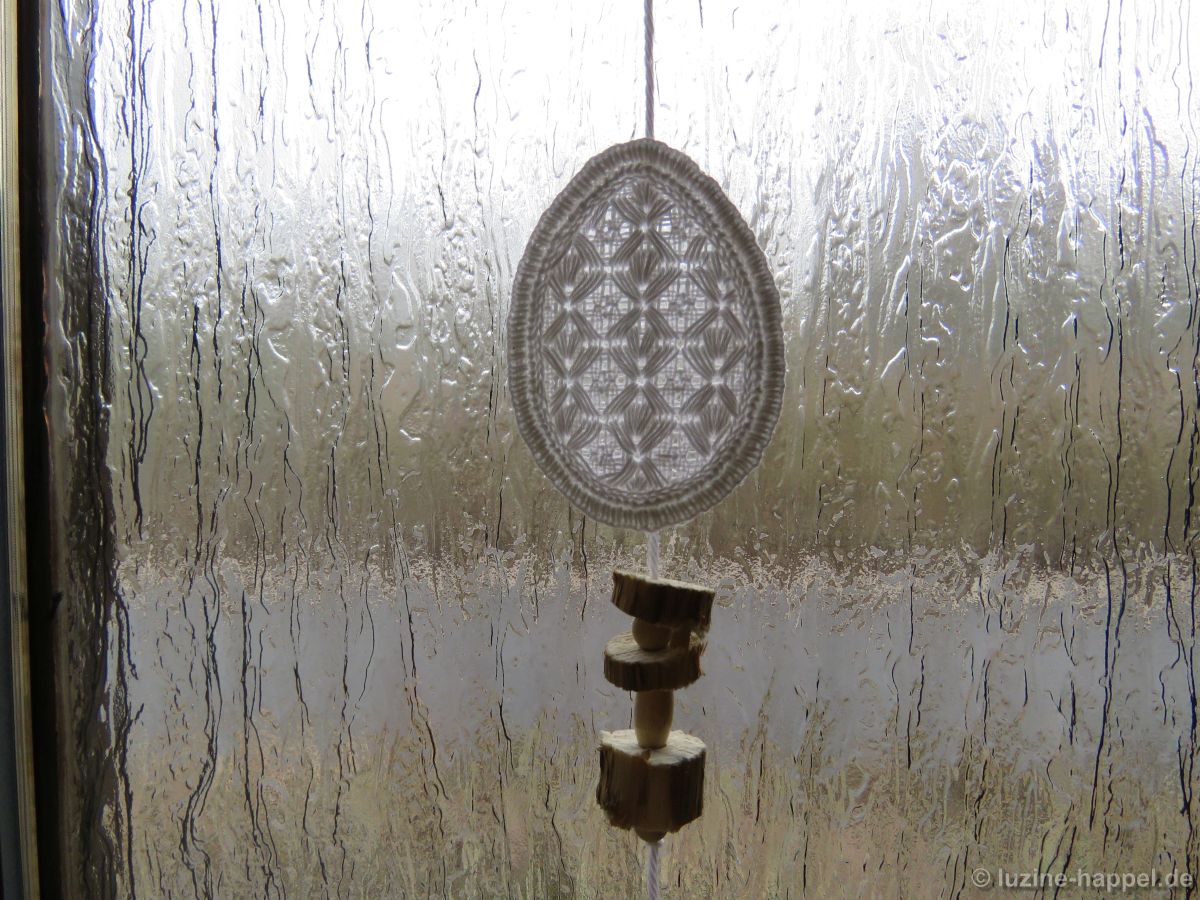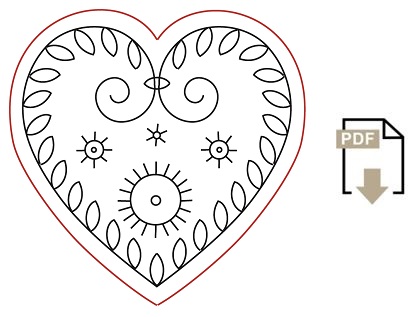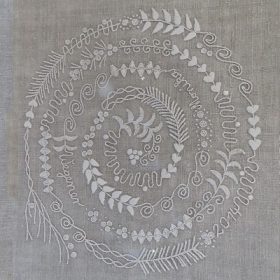
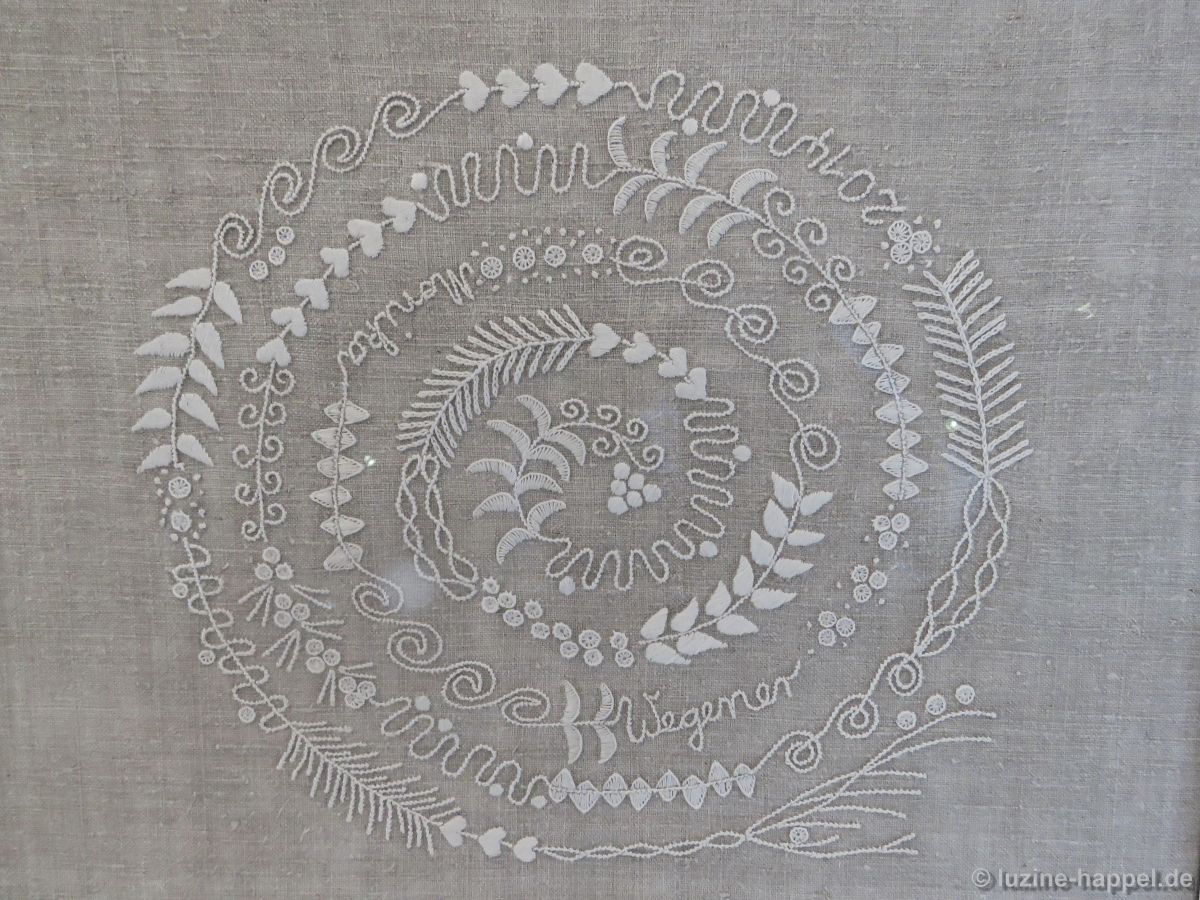
Neben Schneckenhäusern kann man Spiralen mit den unterschiedlichsten Elementen kreieren. Herta Schneider kam auf die Idee, die kleinen Elementen, die in der Schwälmer Weißstickerei eine Rolle spielen, „aufzufädeln“ und die „Kette“ dann zur Spiralform zu legen.
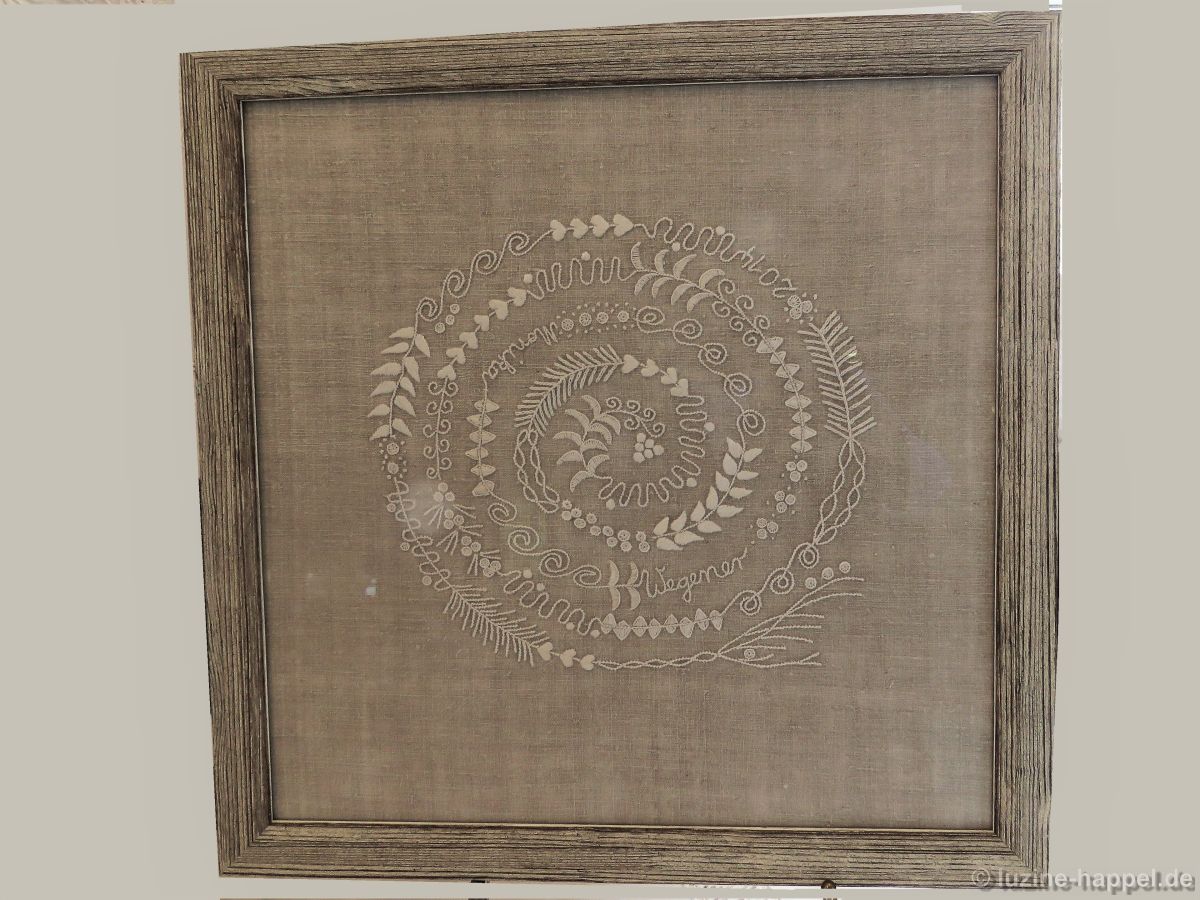
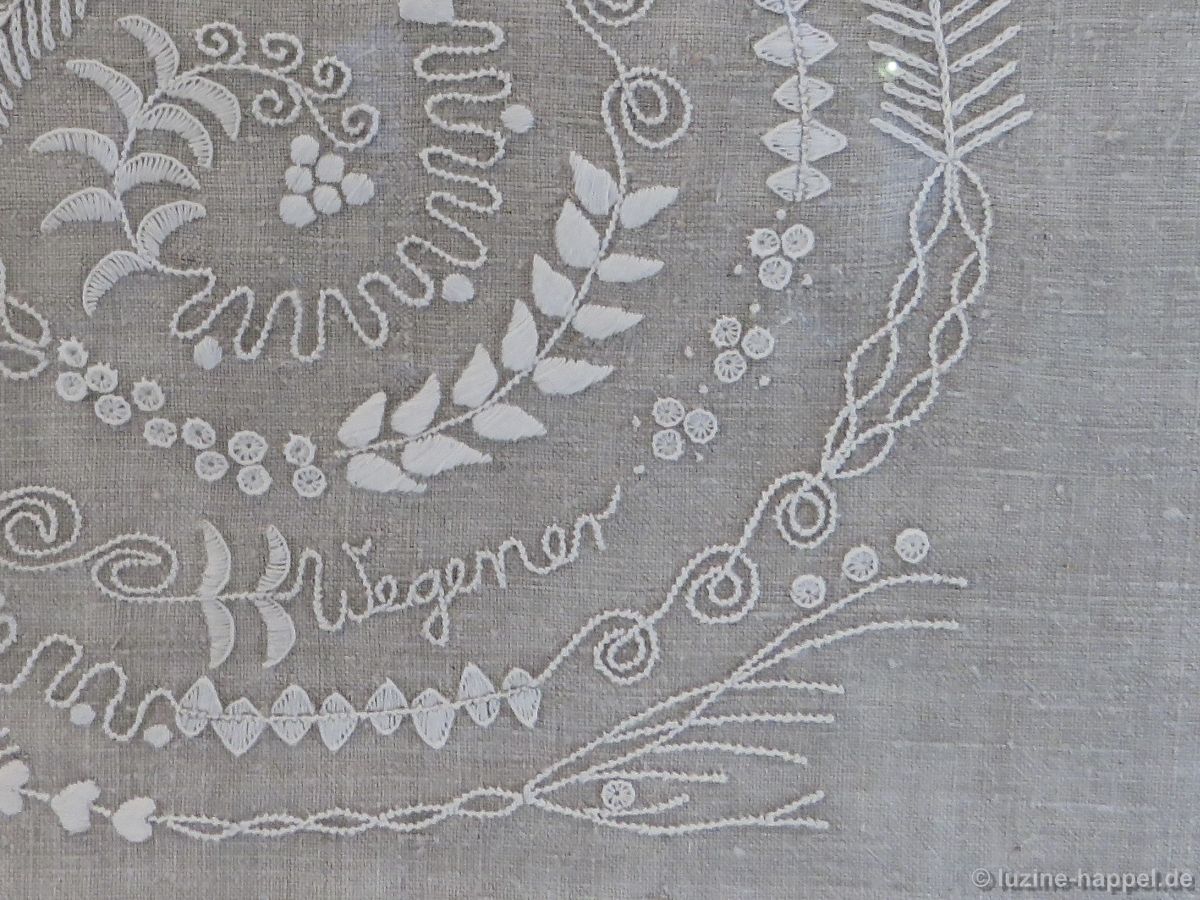
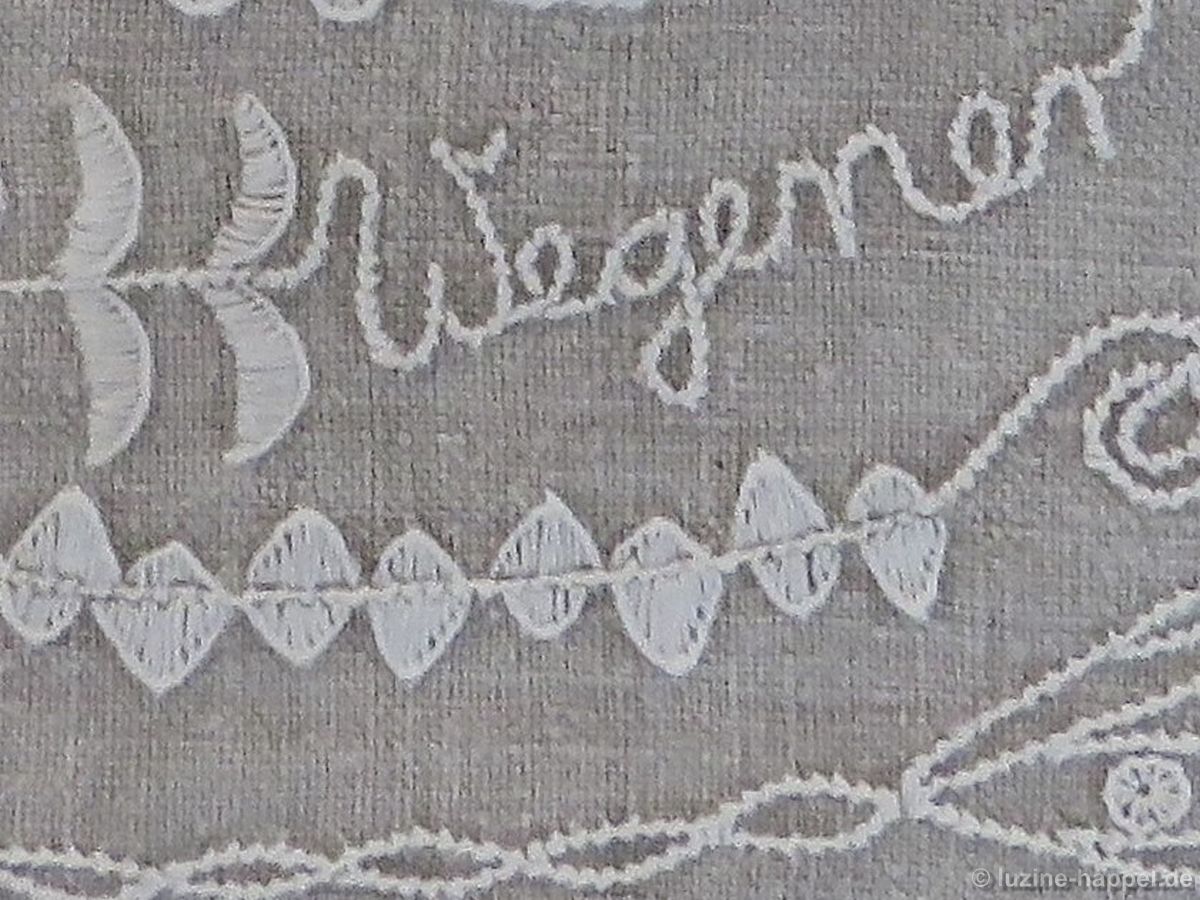
Monika Wegener hat eine Musterzeichnung bei Herta Schneider erworben und eine solche Spirale gestickt. Sie hat ihren Namen und die Jahreszahl der Entstehung einfließen lassen.
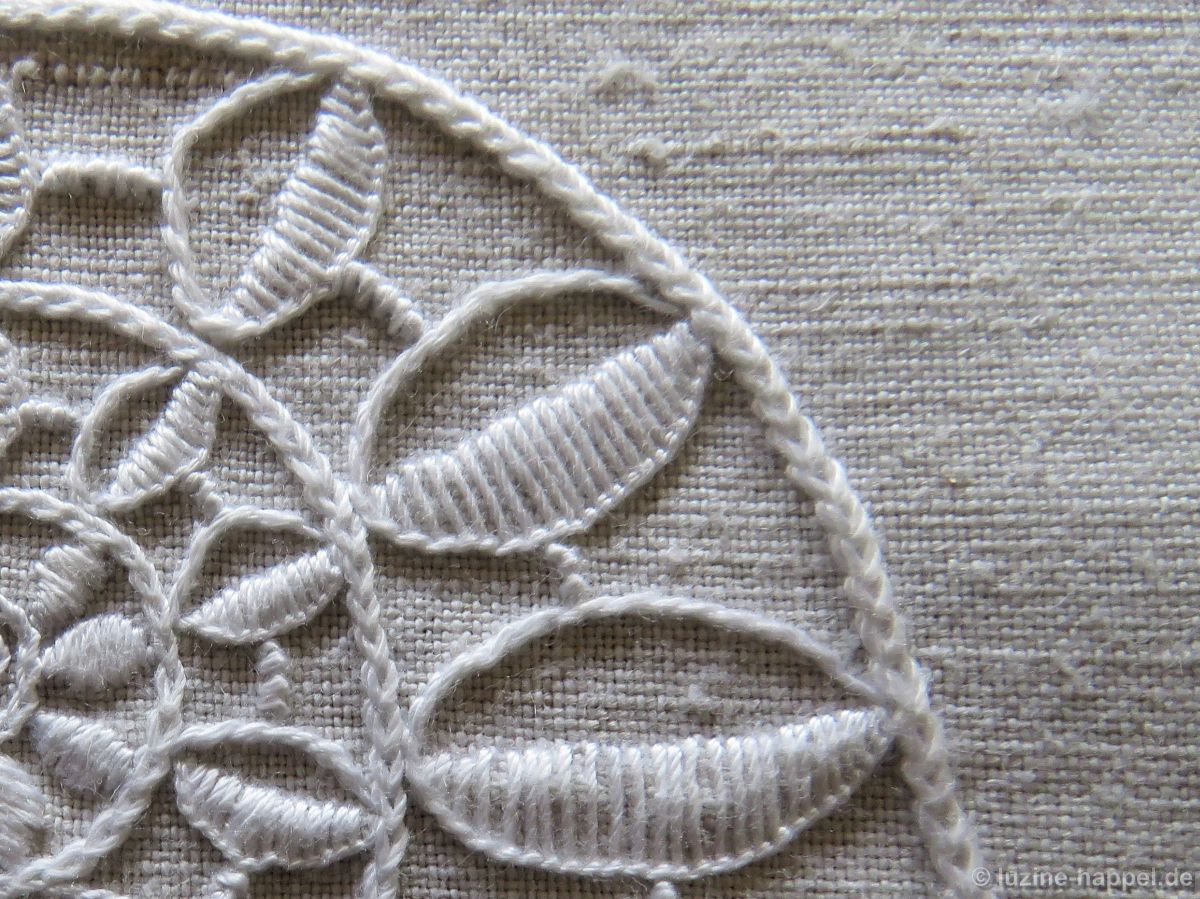
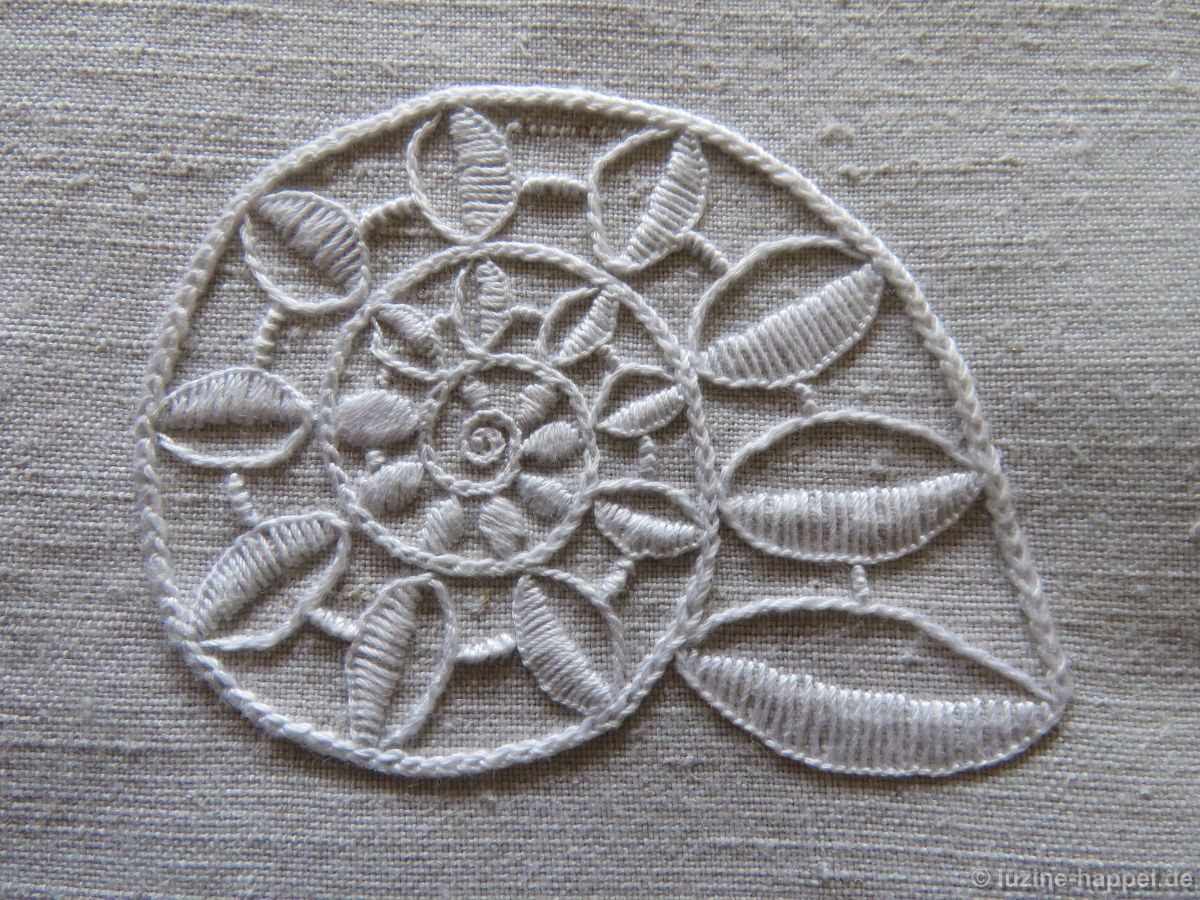
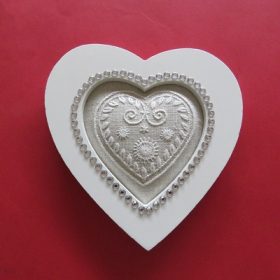
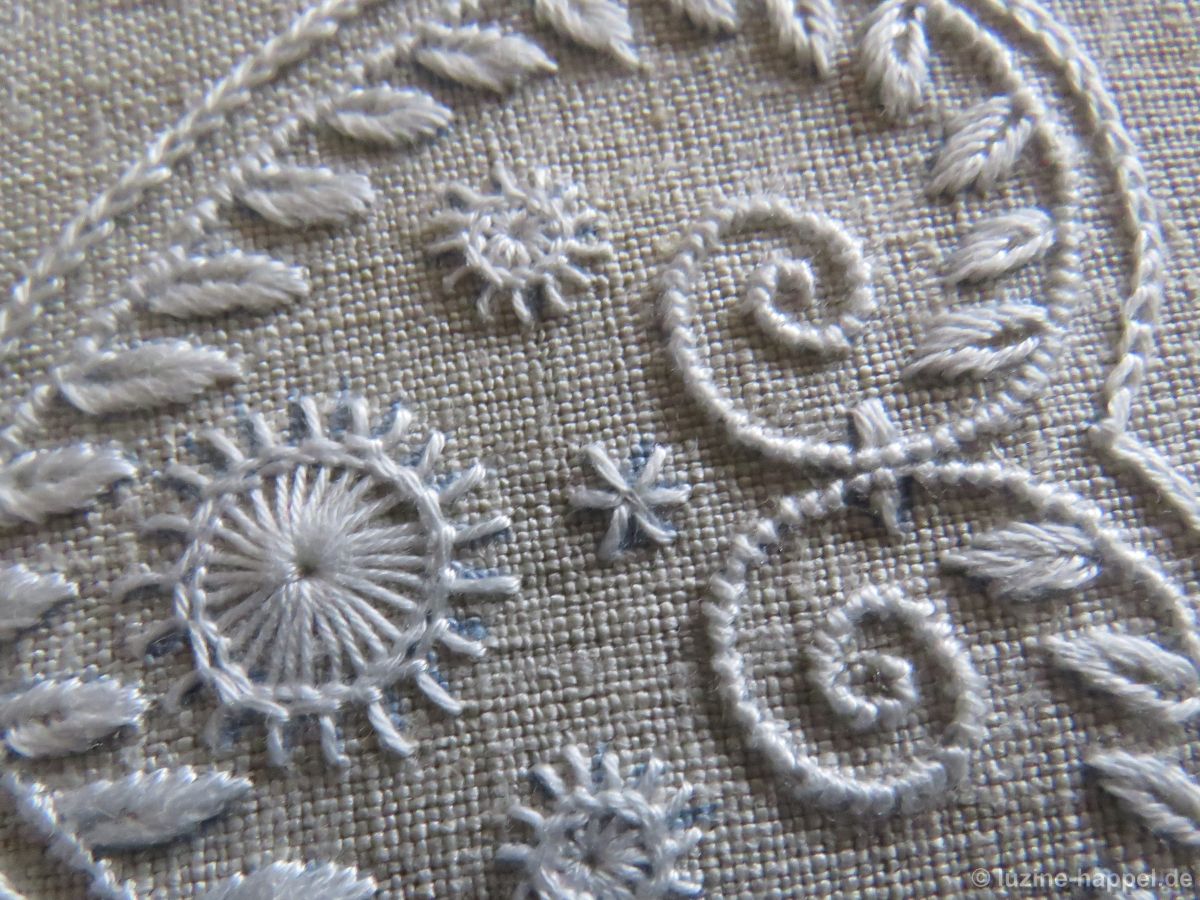
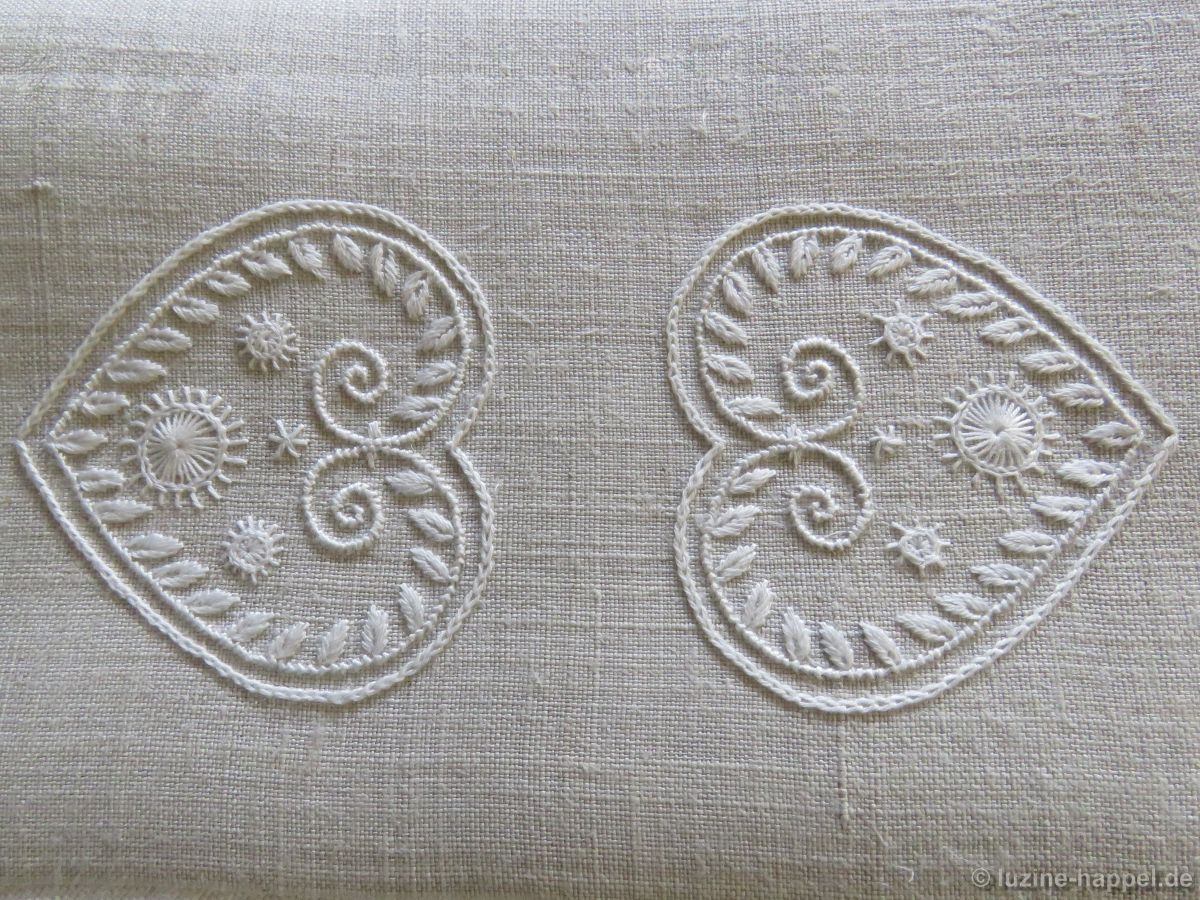
Neben Schnürlöchern sind viele kleine Blätter zu finden – spitz und ungeteilt
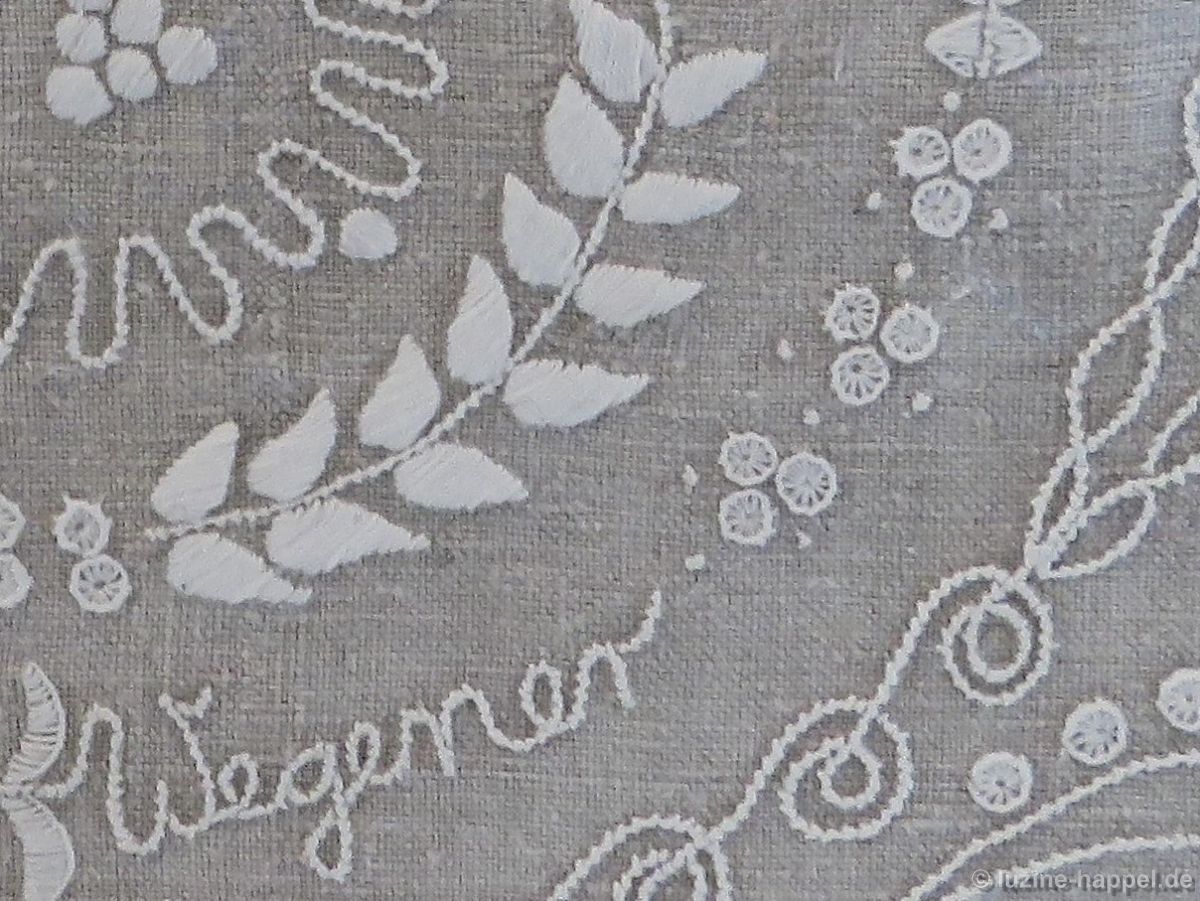
oder spitz und geschwungen.

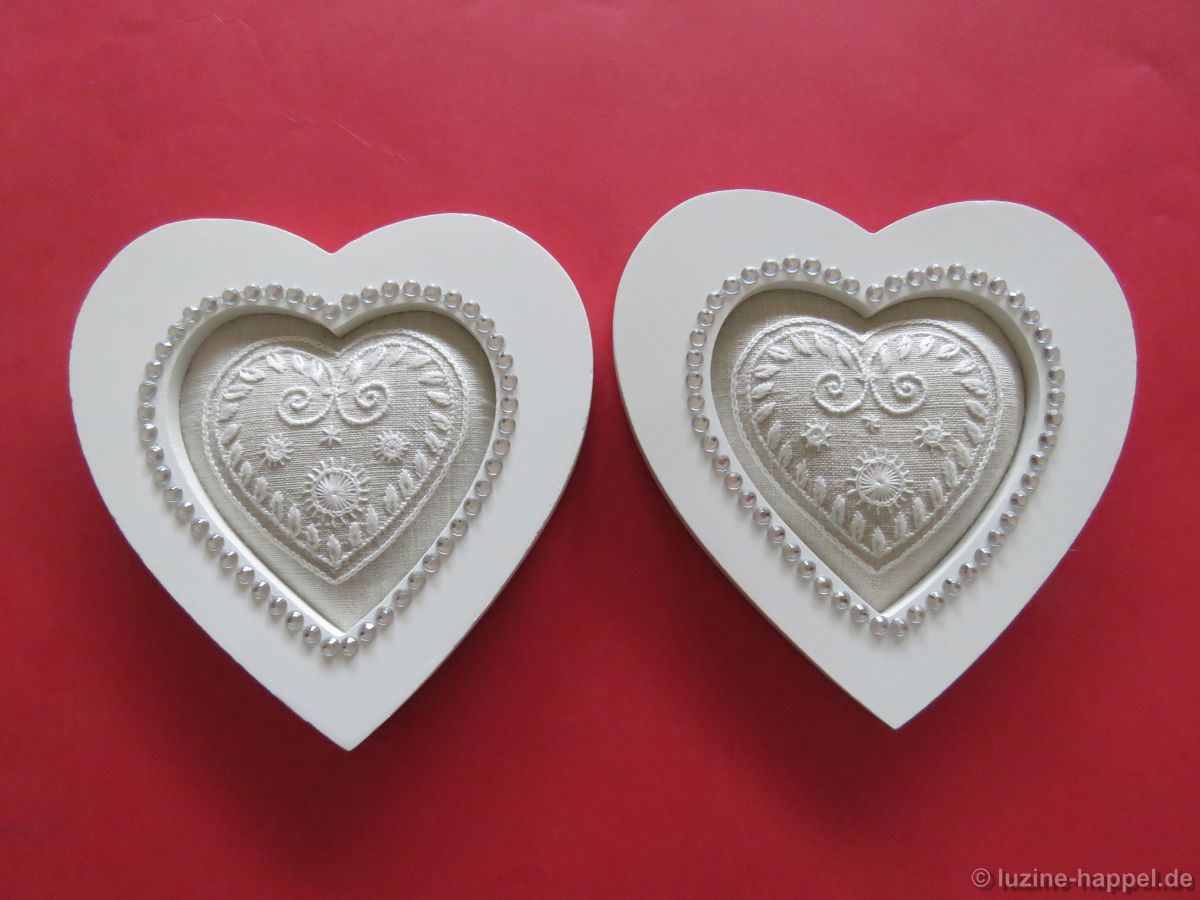
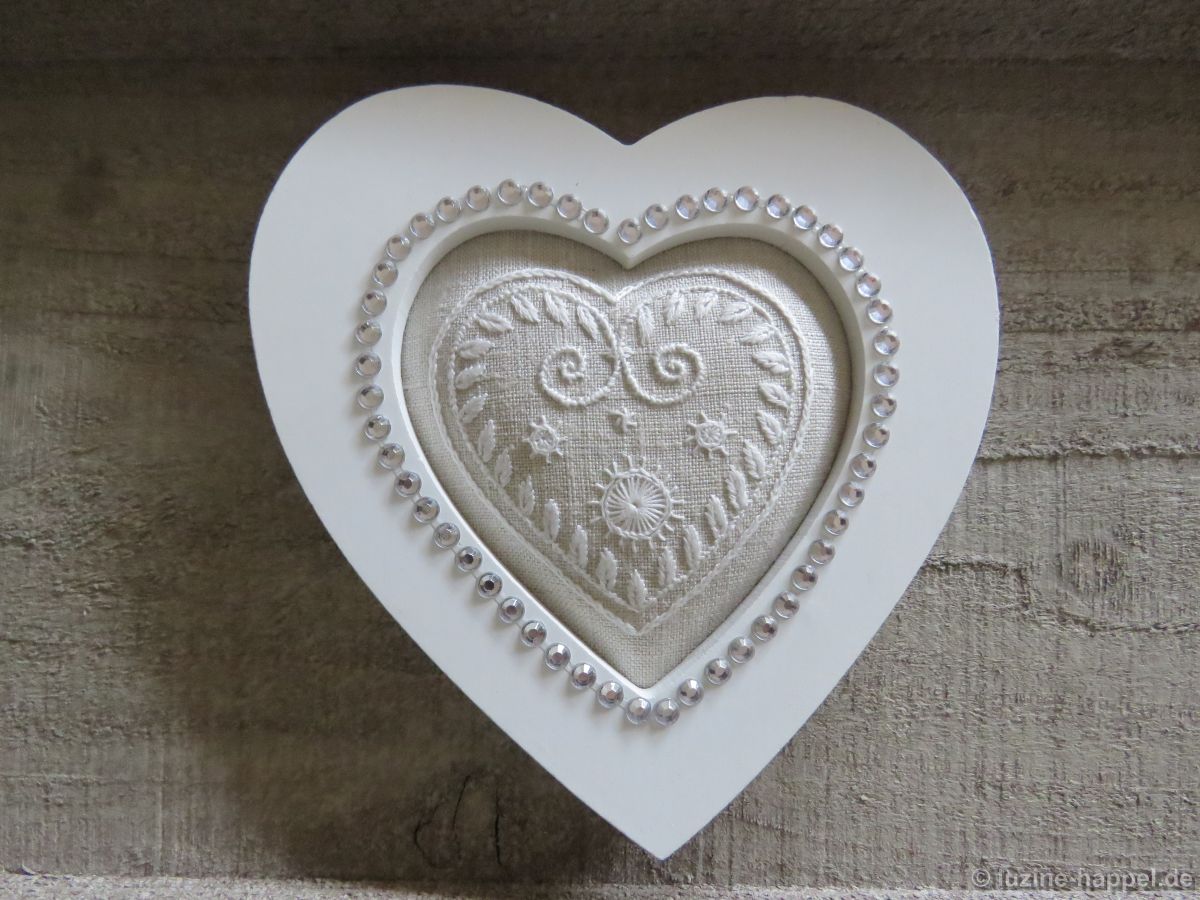
Kleine Herzen wechseln sich mit Spiralen ab.

Auch geschnürte Messerspitzen sind zu finden.
Hier wurde eine gute Idee zur Übung kleiner Elemente, wie man sie auch in der Schwälmer Weißstickerei nutzt, umgesetzt.