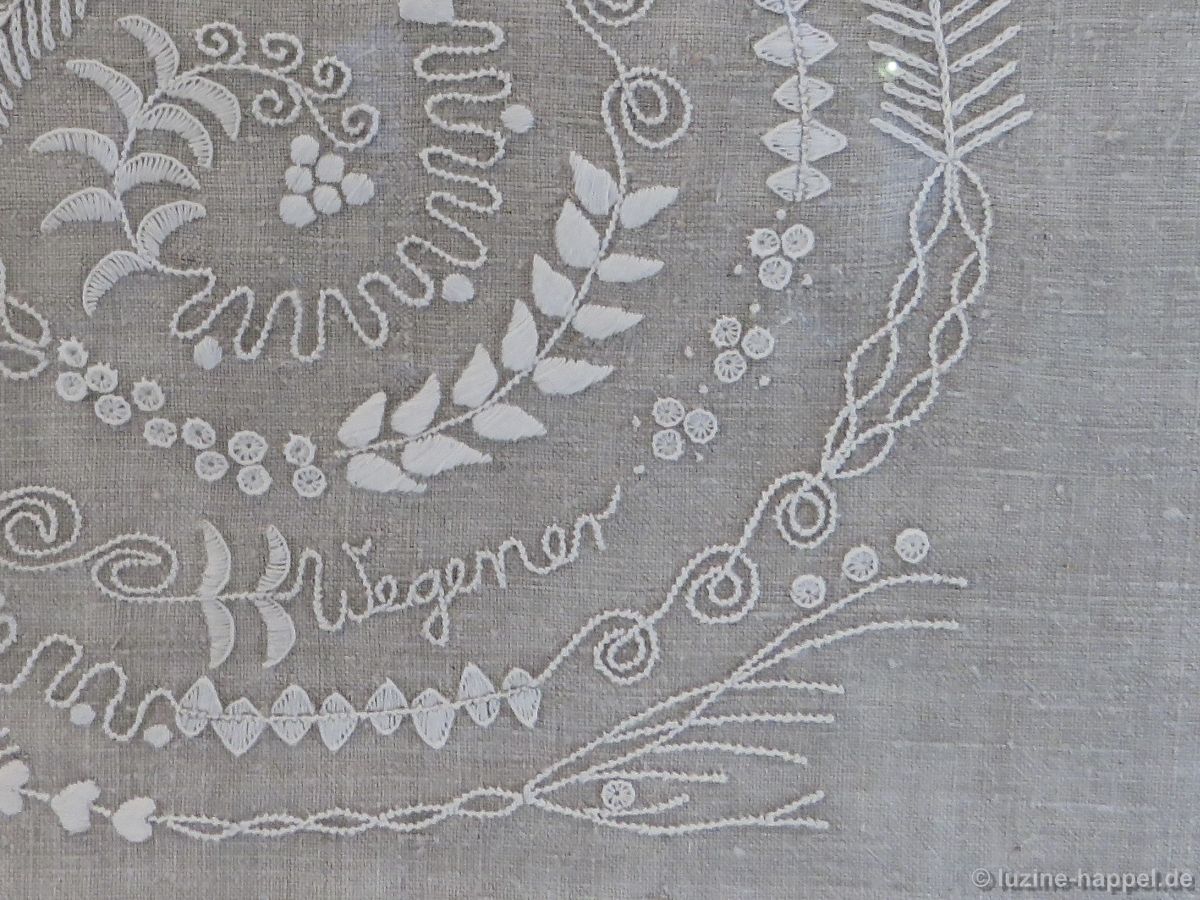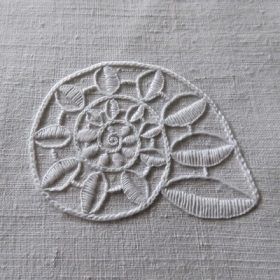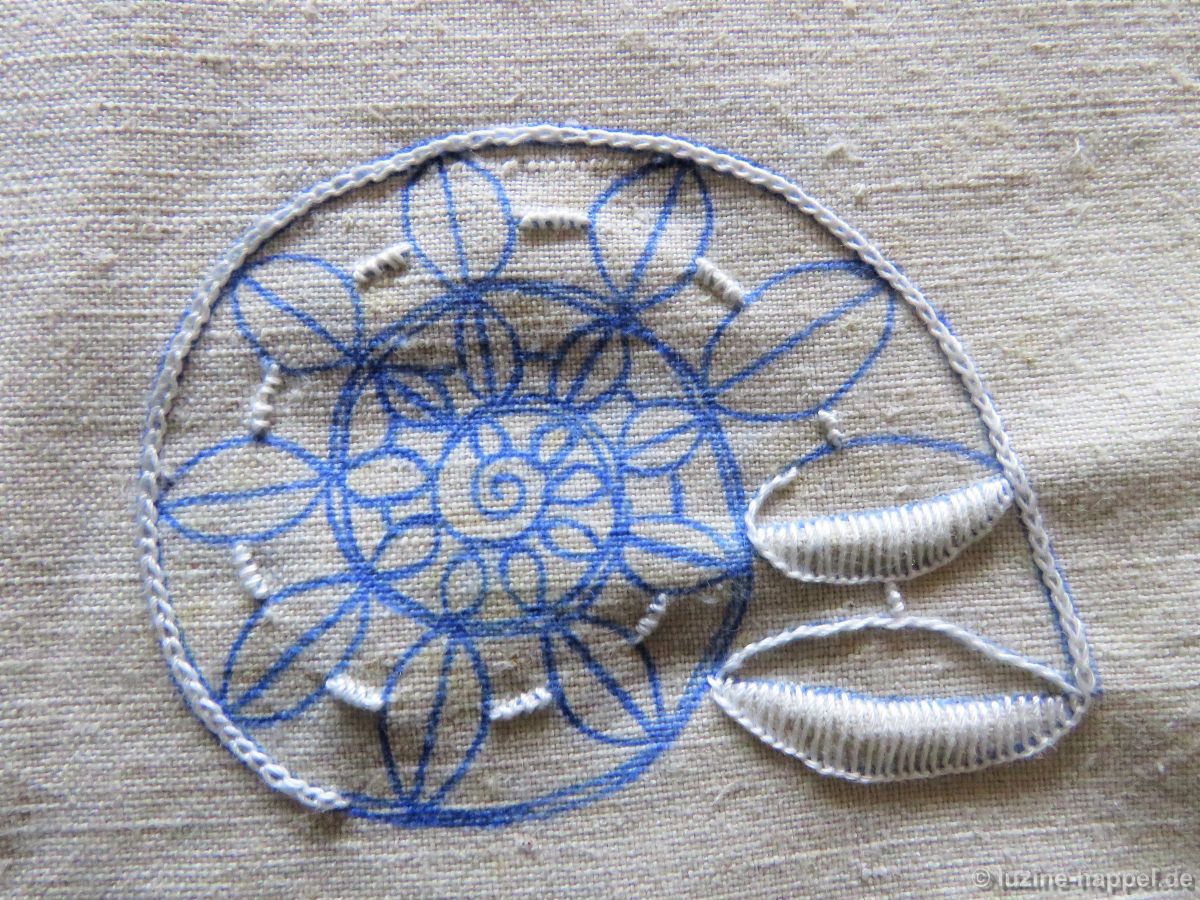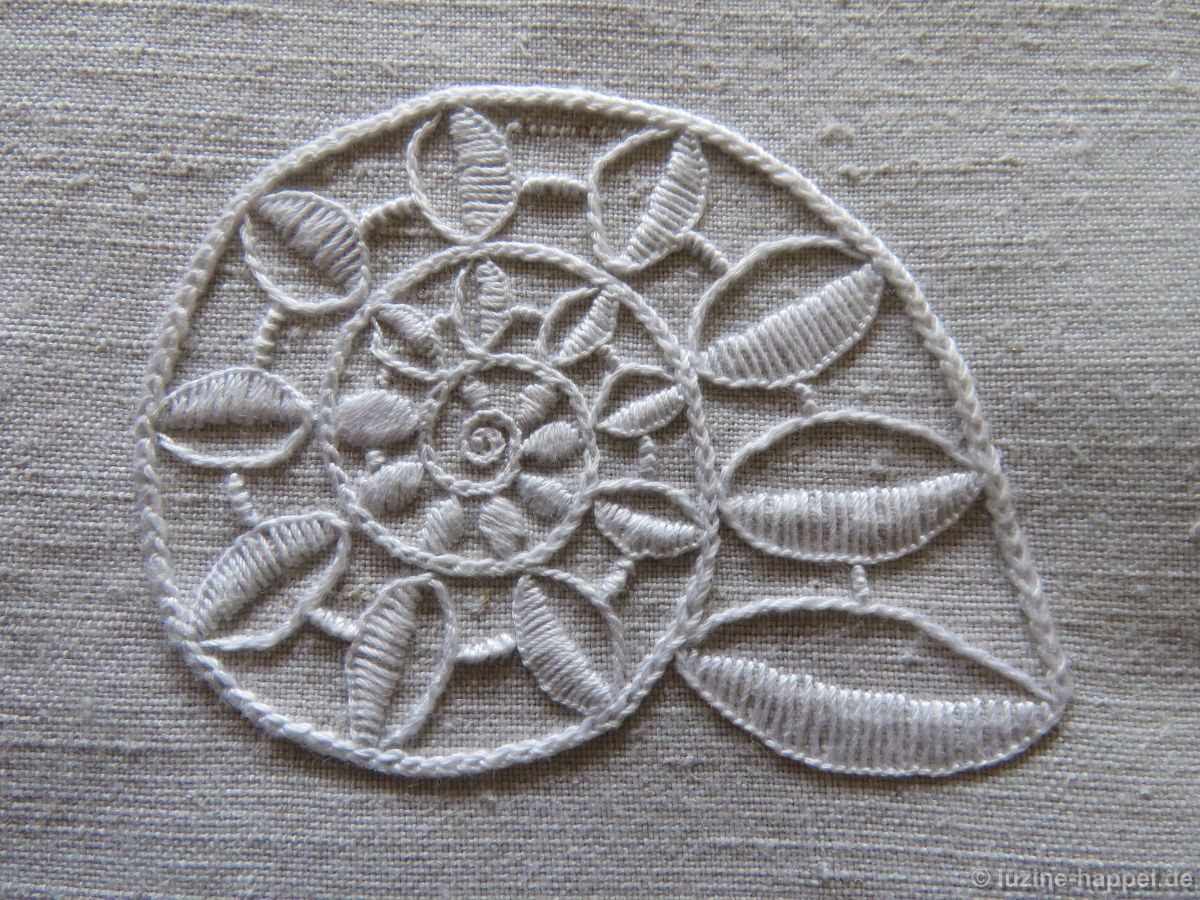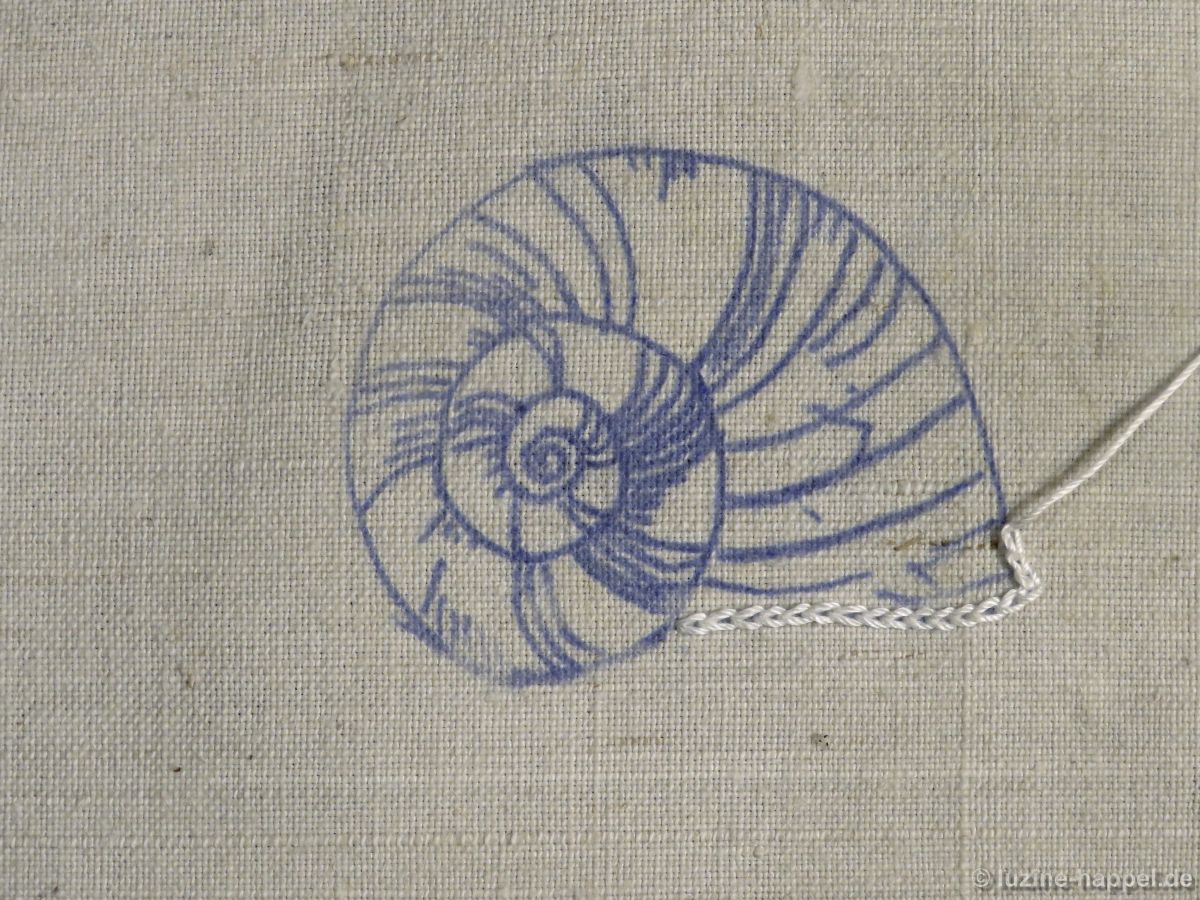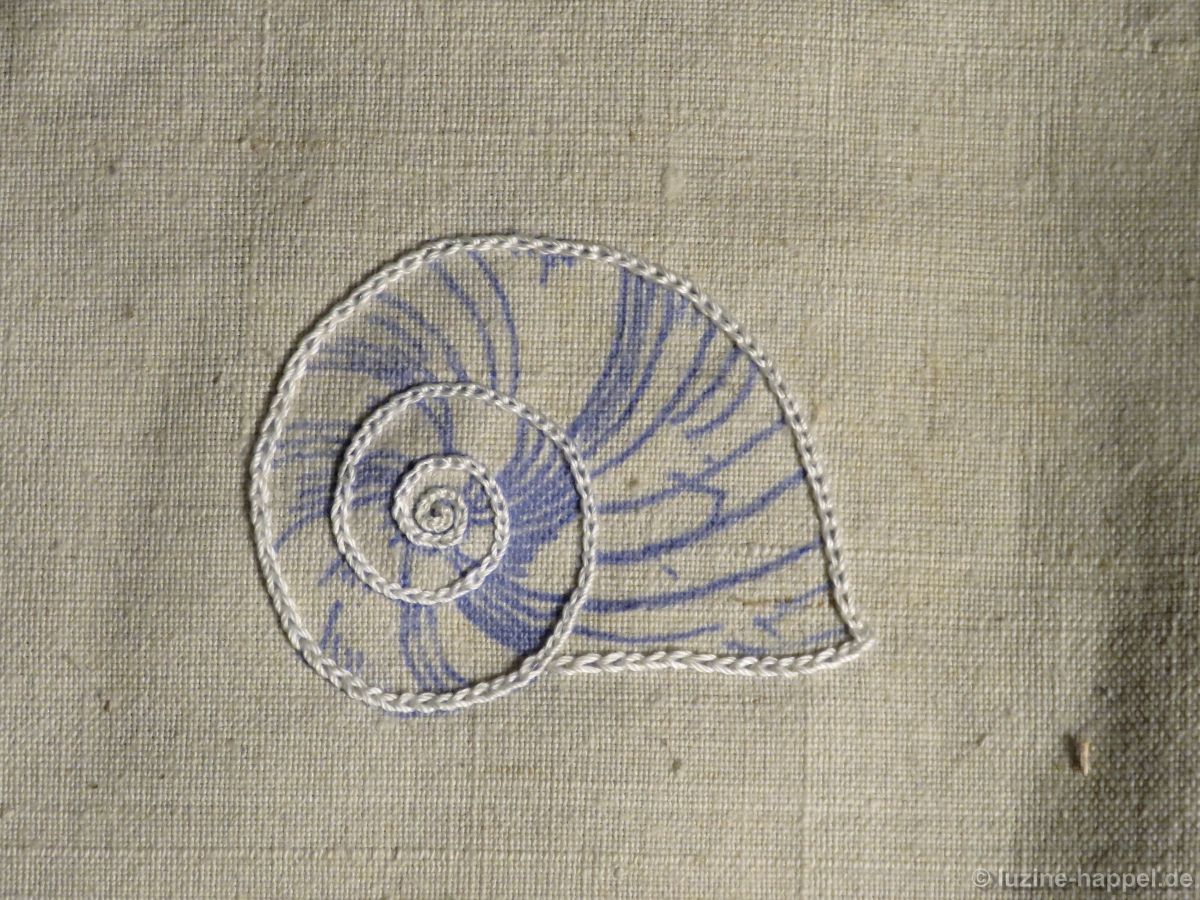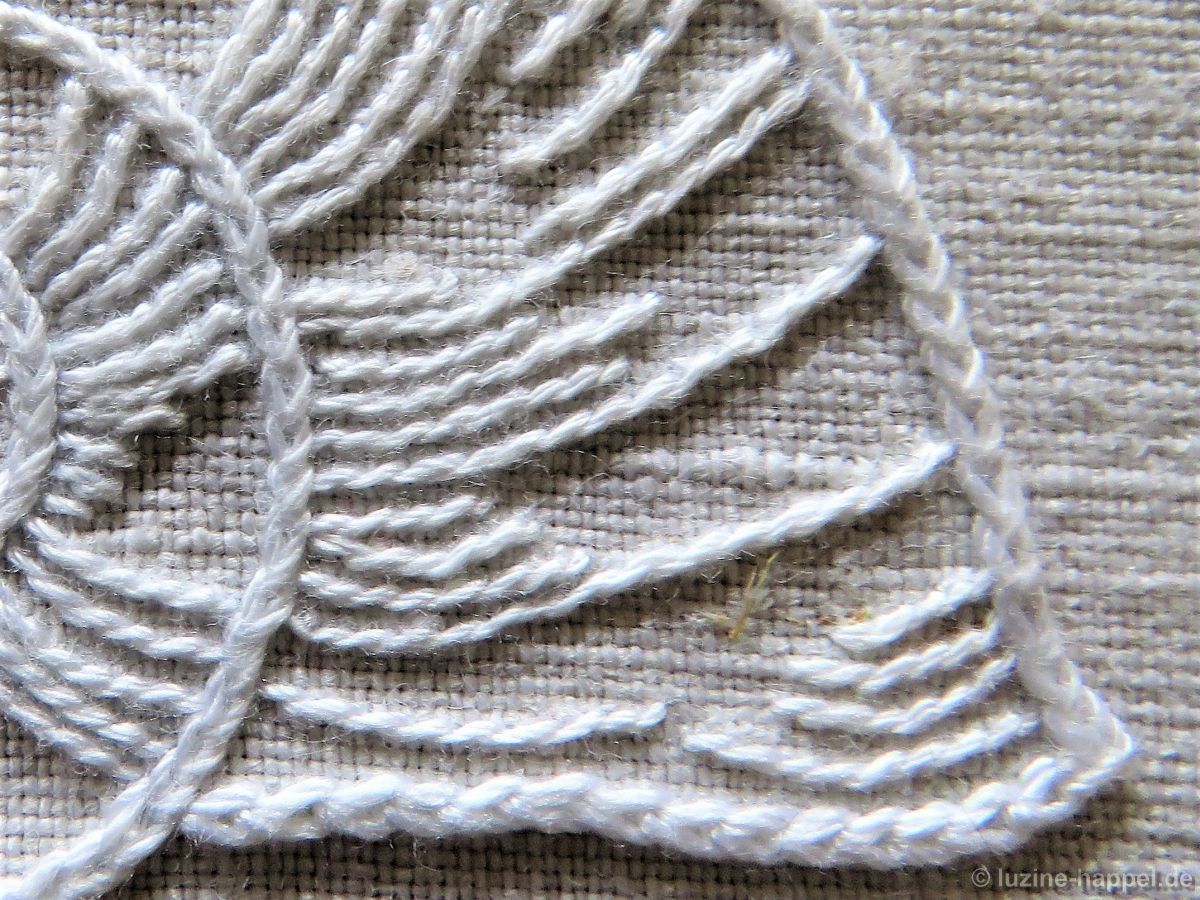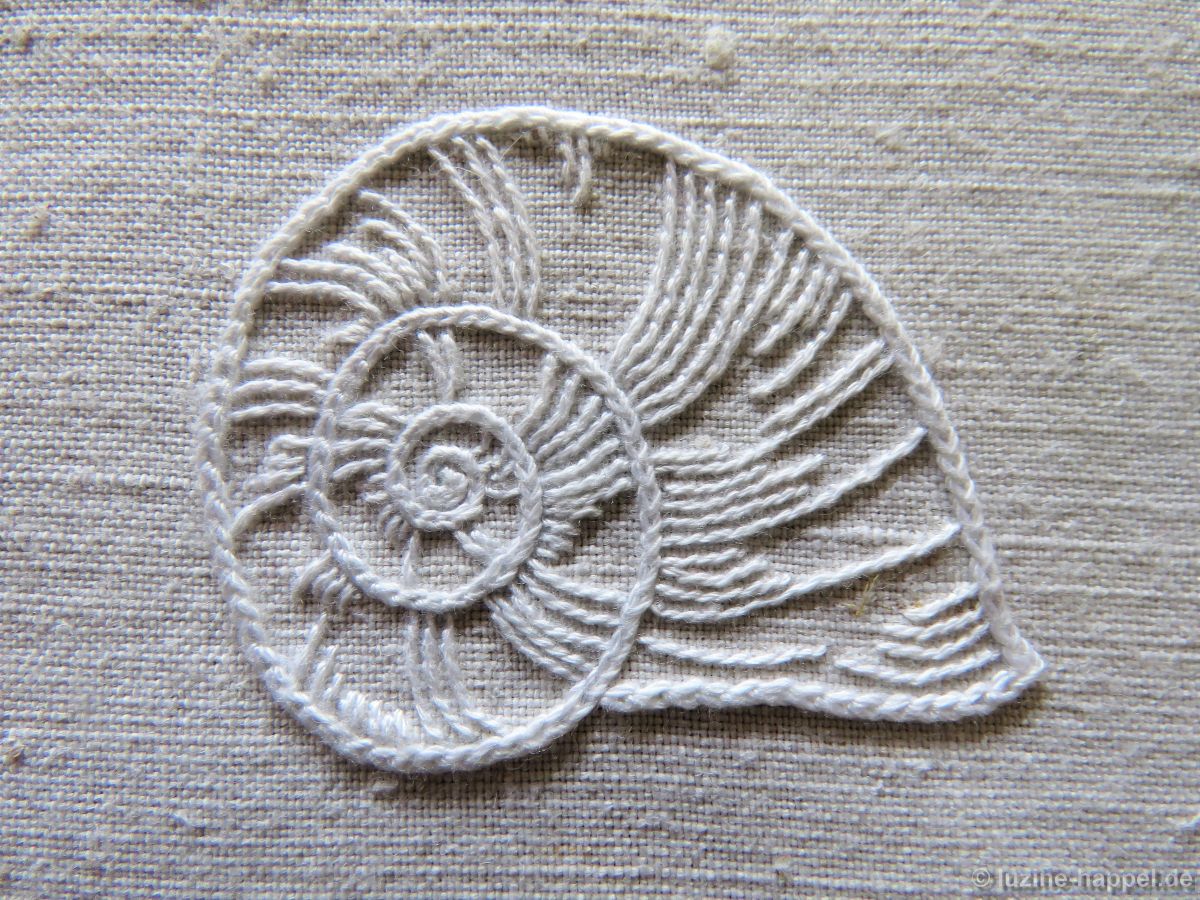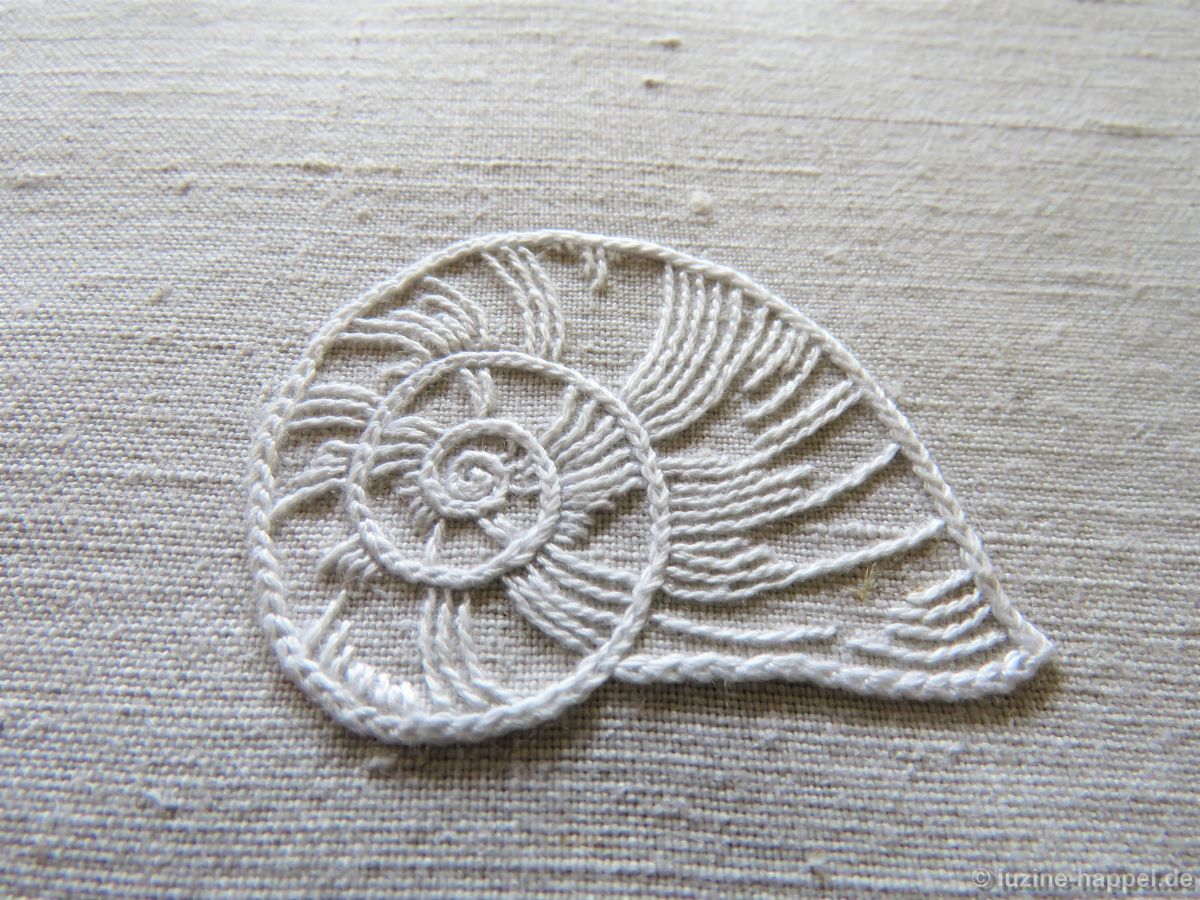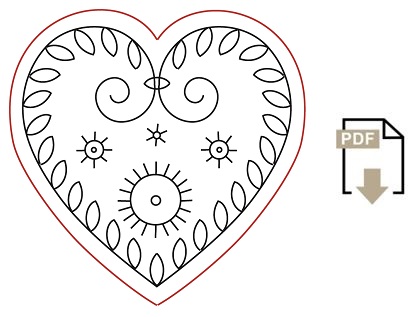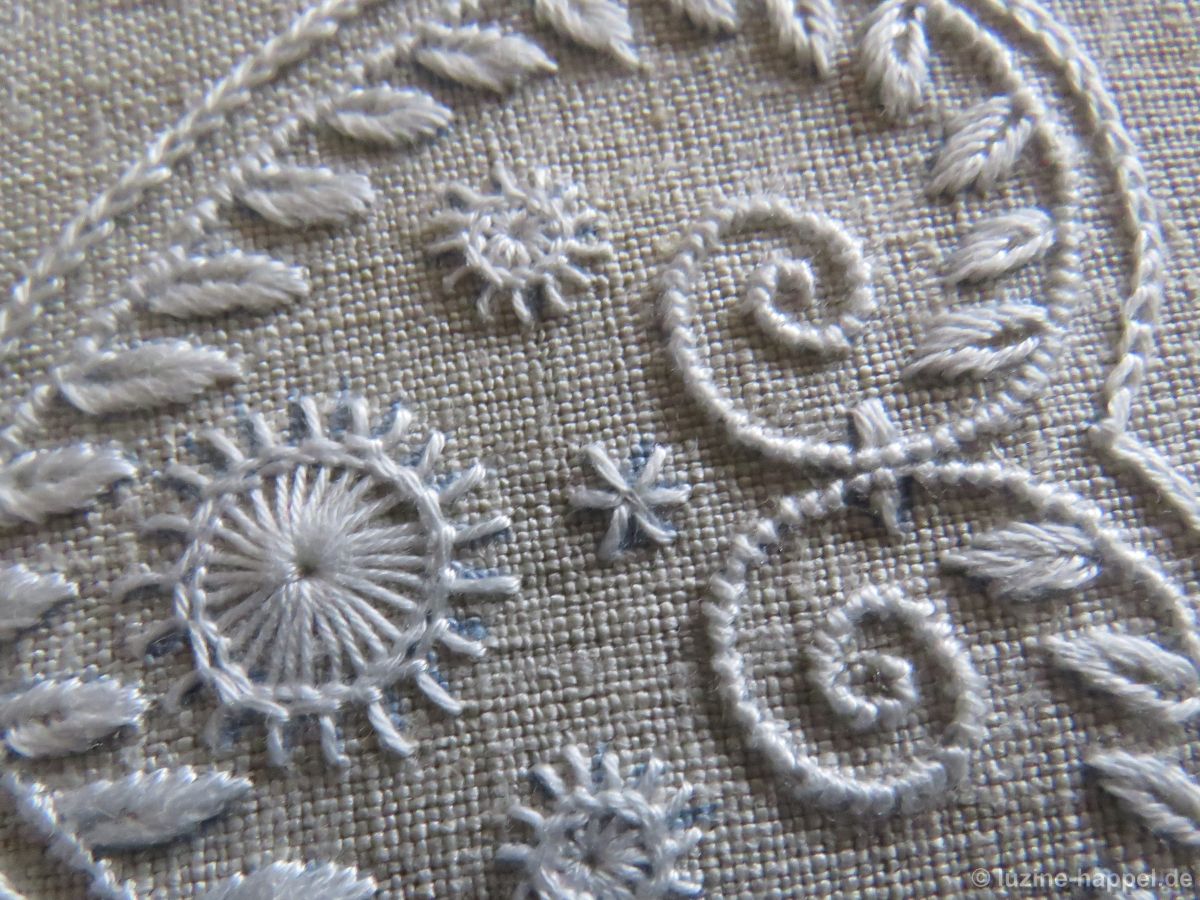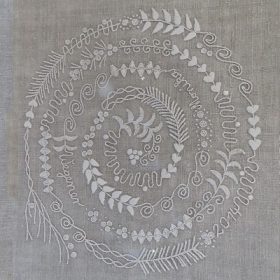
Beside snail shells spirals can be seen in a variety of different places. Herta Schneider got the idea to use the spiral as a focal point for a design that incorporates small elements of Schwalm whitework to fill the areas between the big motifs. She “strung” these elements on a thread and laid the finished “chain” into a spiral.
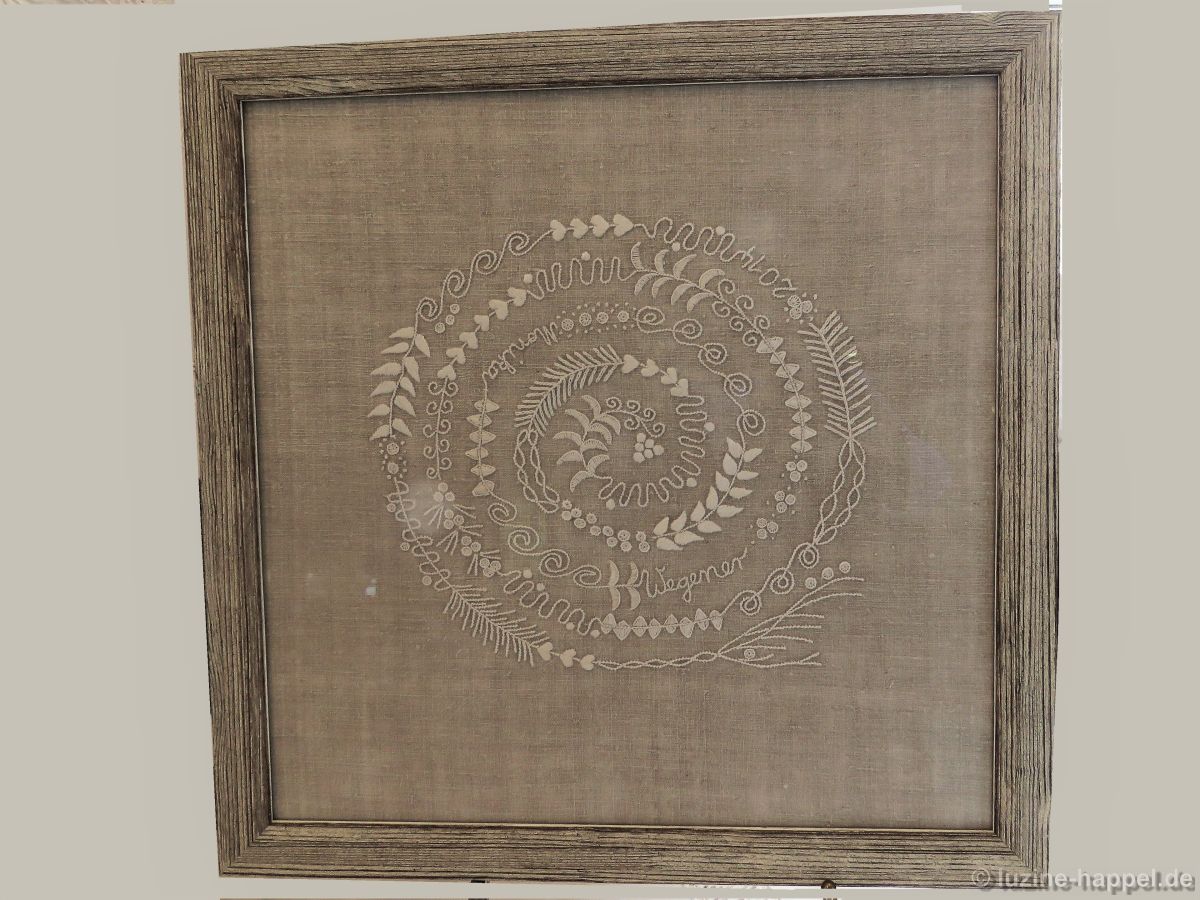
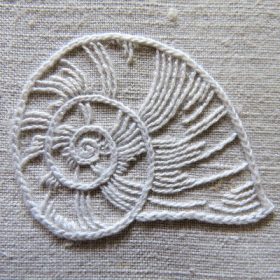
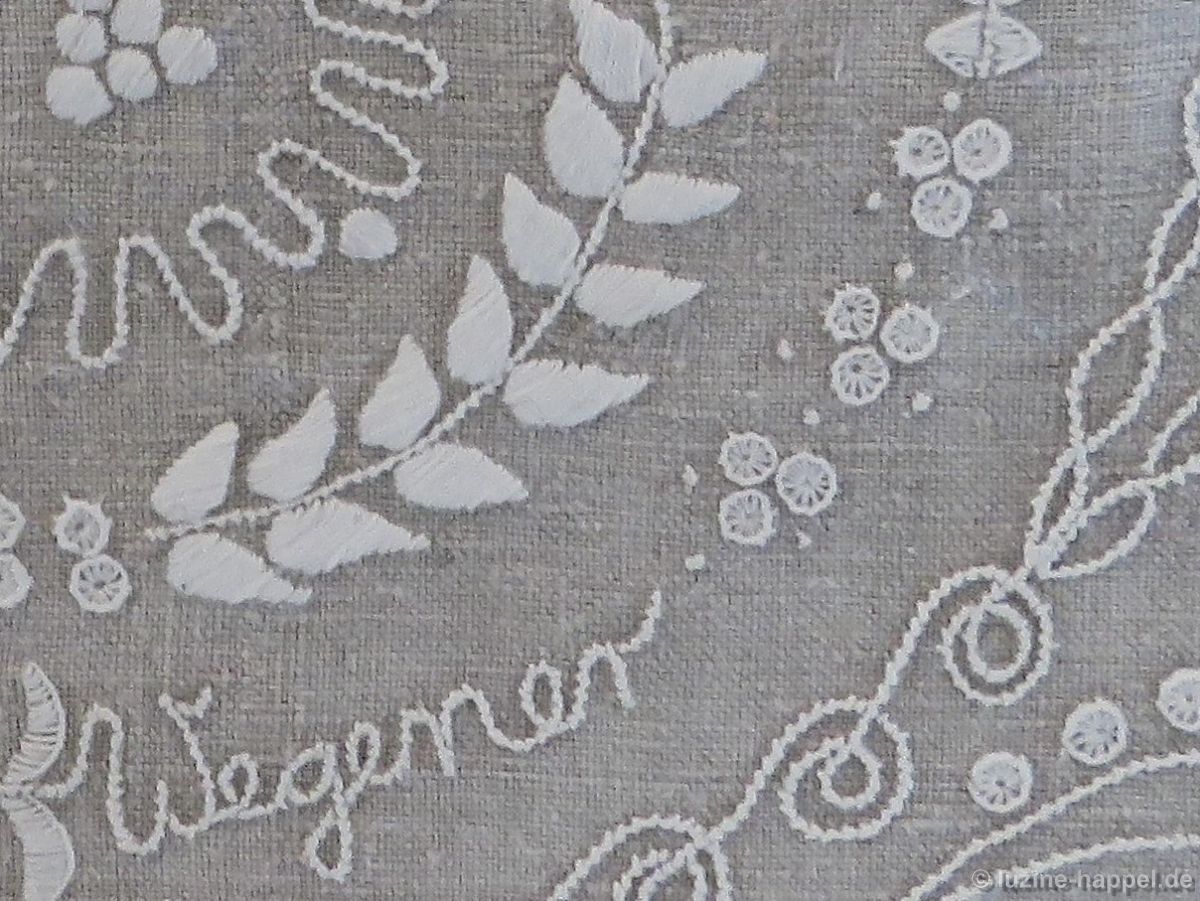
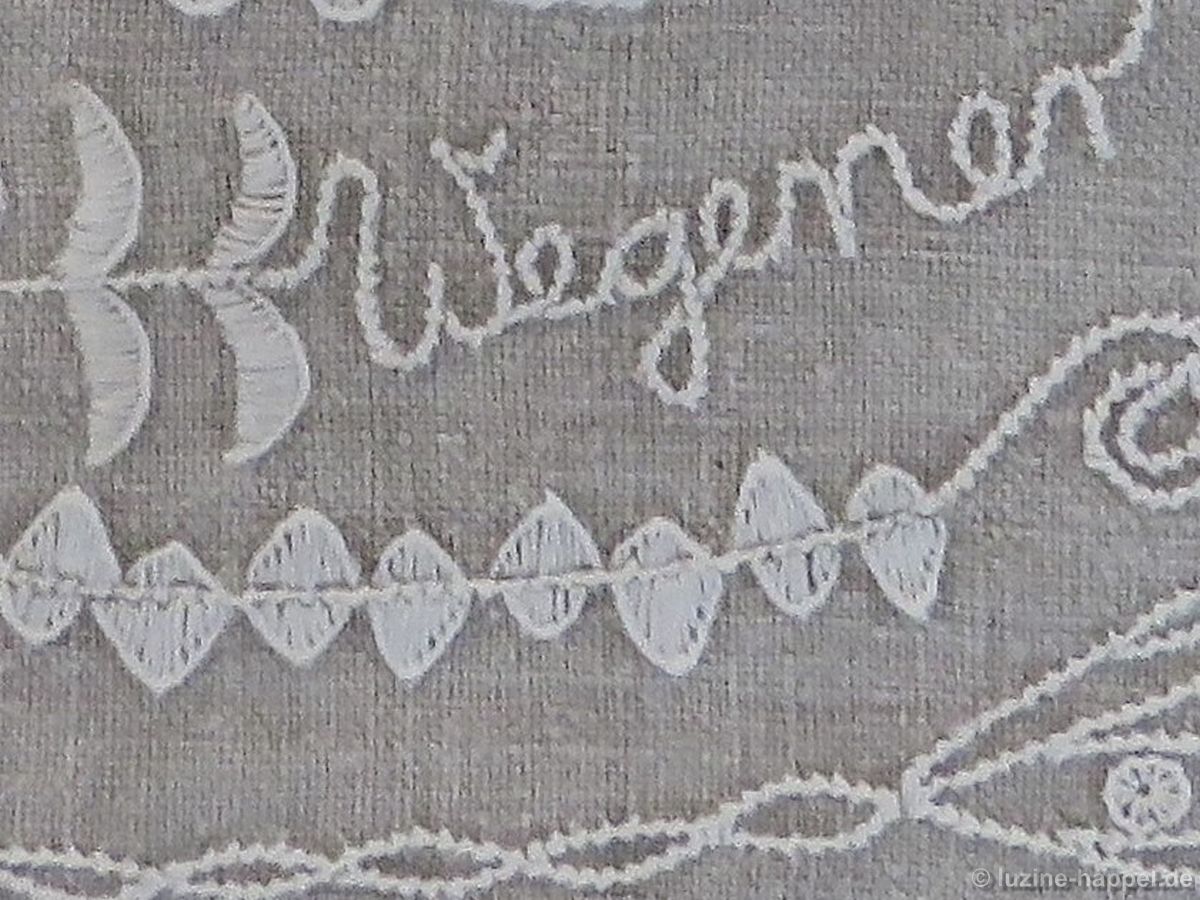
Monika Wegener bought a design drawing from Herta Schneider and embroidered such a spiral. Her name and the year gracefully flow along the curved lines.
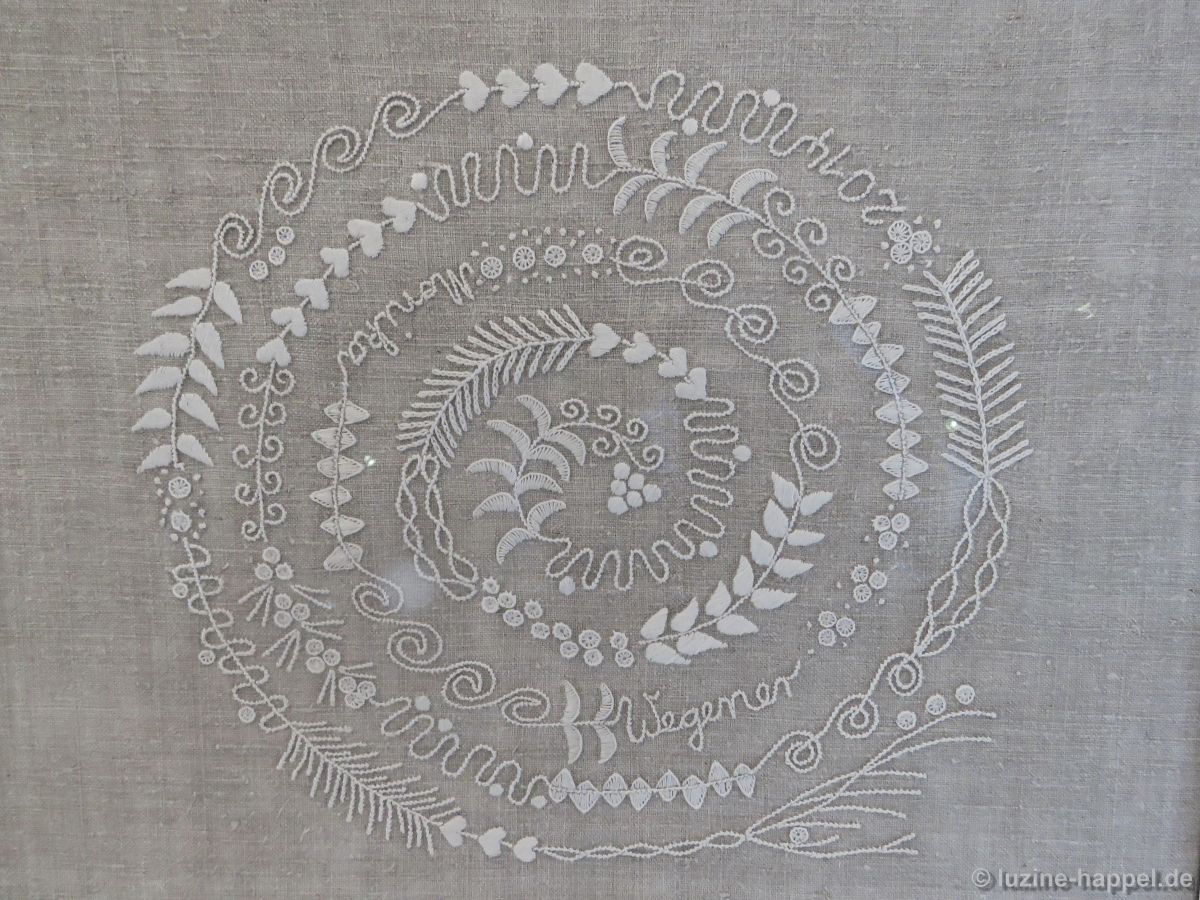
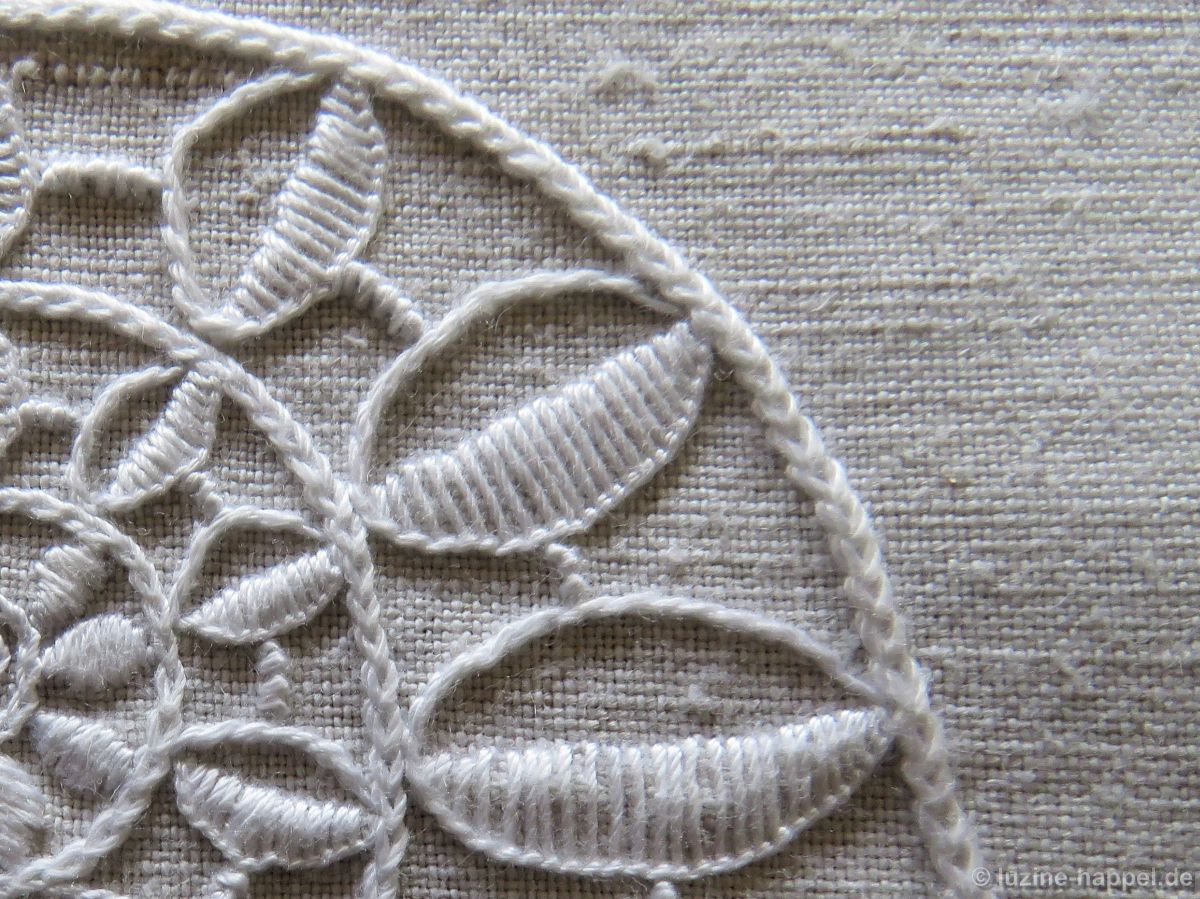
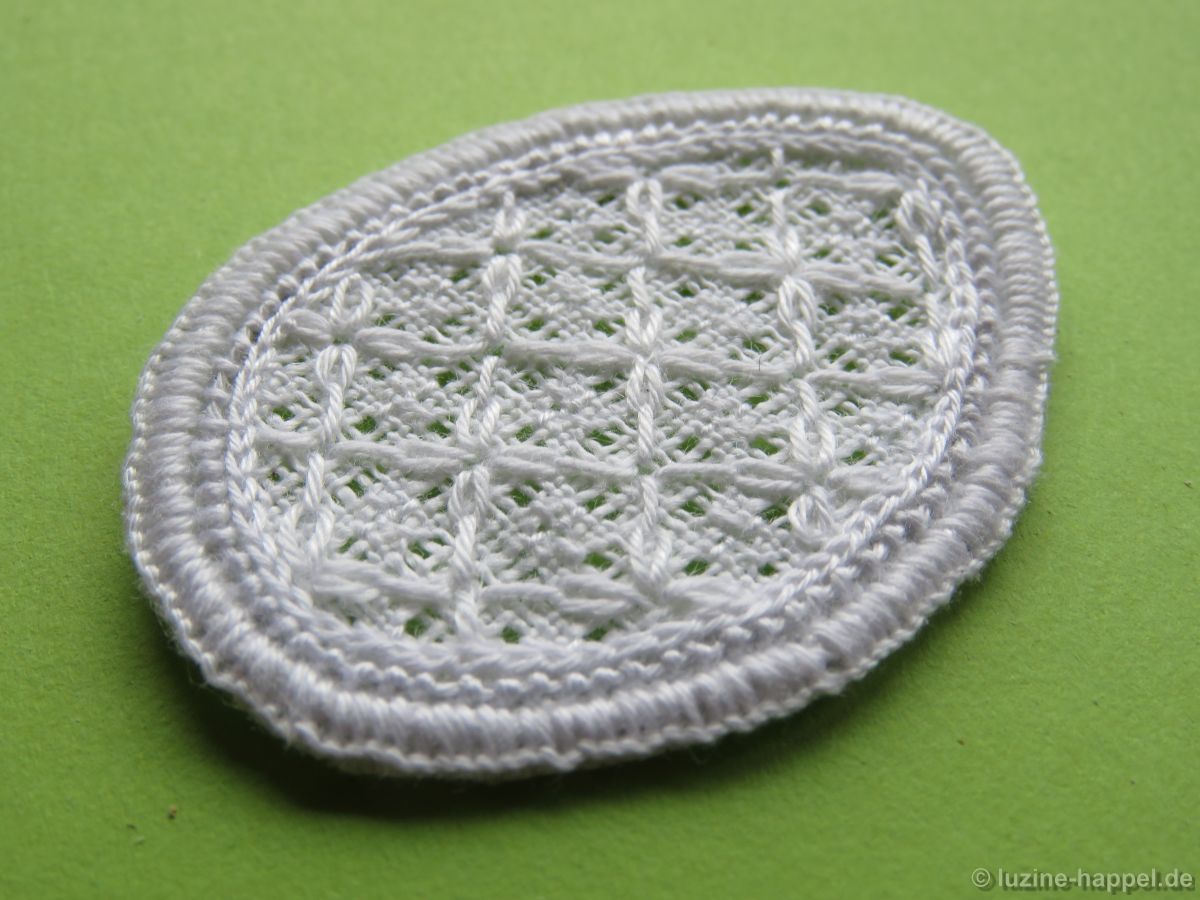
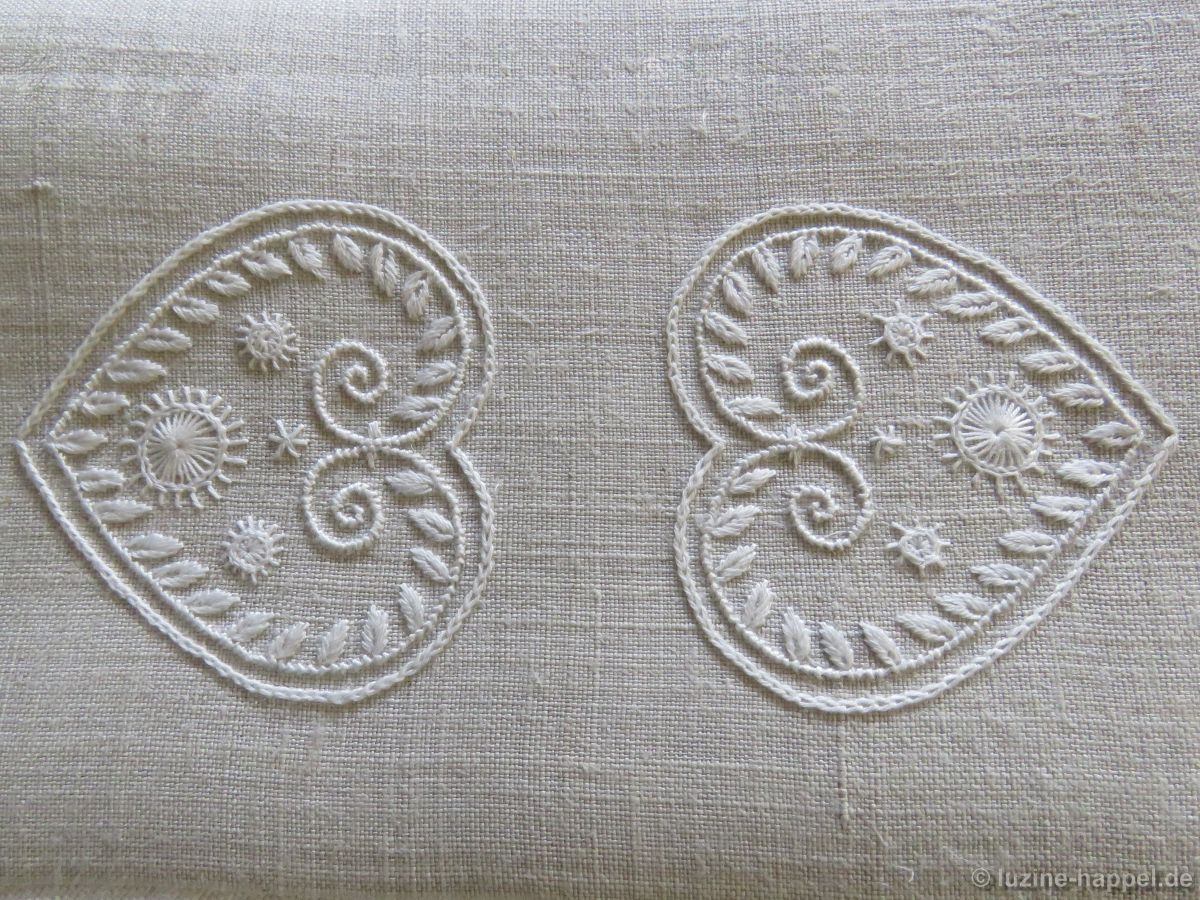
In addition to Blanket stitch eyelets many small leaves can be found – pointed and undivided
or pointed and curved.

Small hearts alternate with tendrils.

Knife points with Blanket stitches are also found.
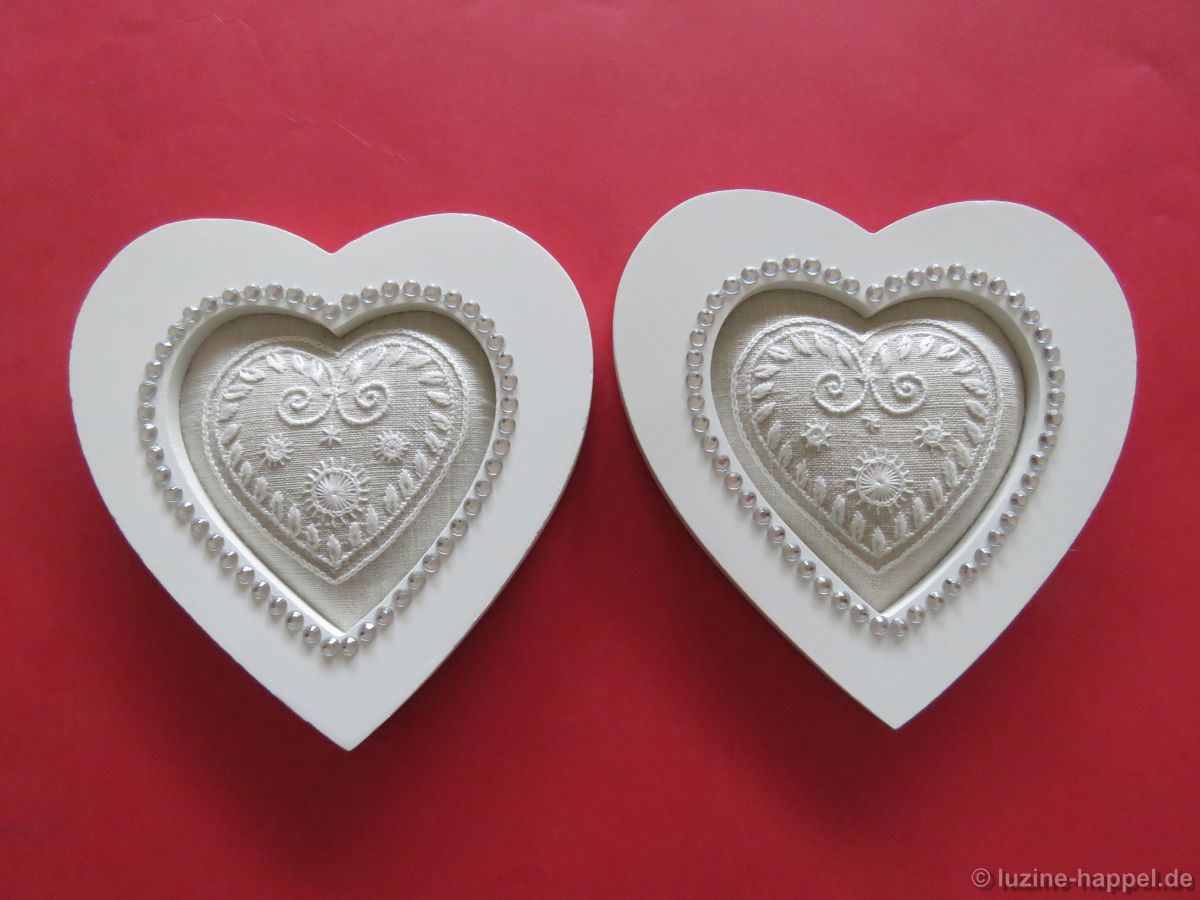
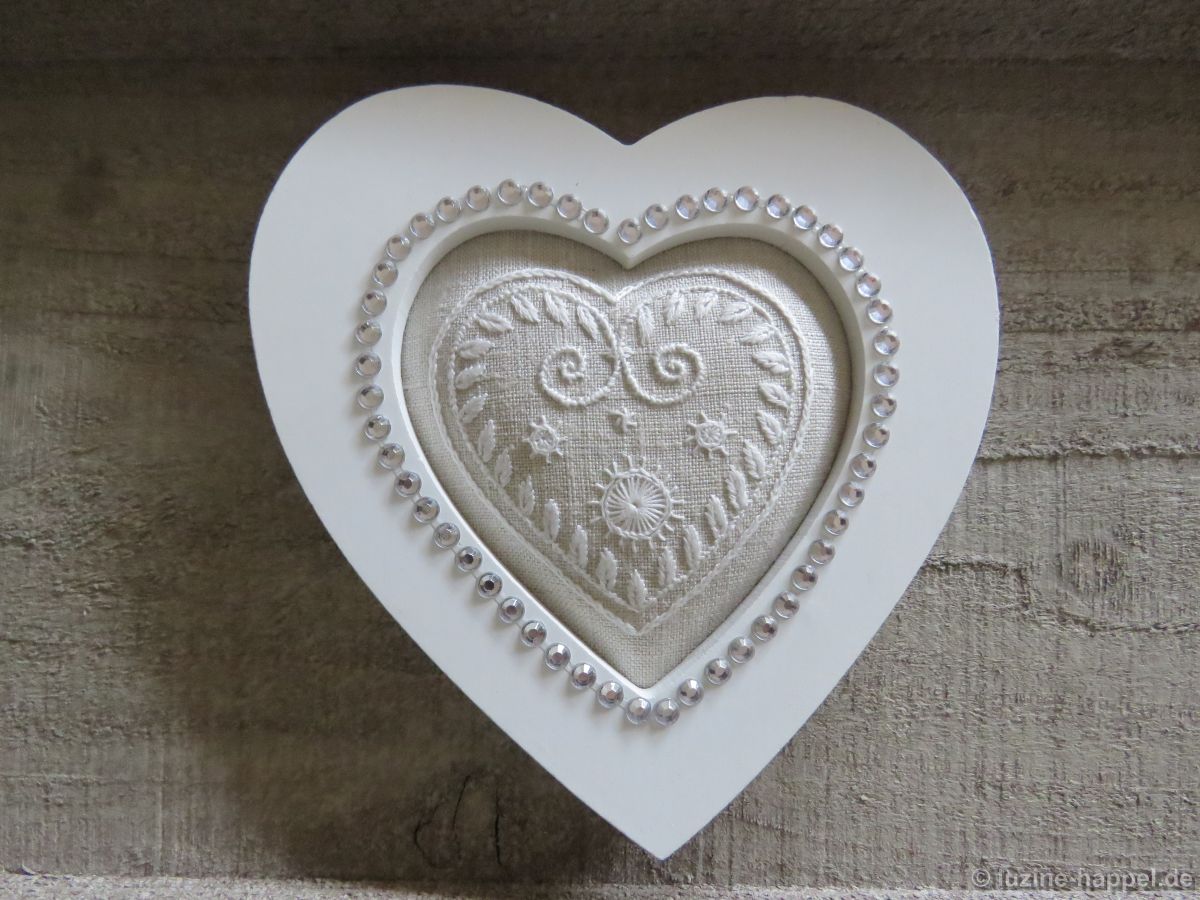
I think this project not only turned out very nicely but was also a good way to practice small elements used in Schwalm whitework.