When I was young, it was common to make cozies for dinner rolls. Looking for a nice little project using needlelace, I remembered those cozies. I want to make a small one for sweets. Of course, the candy must be wrapped to be displayed in a linen cozy.
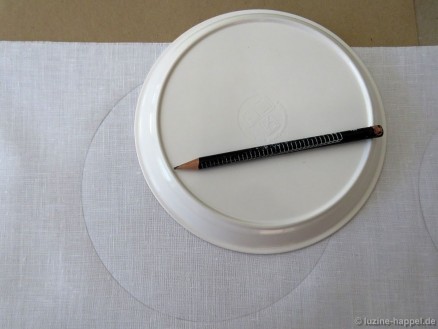
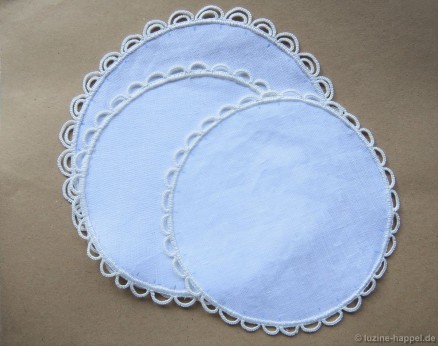
I decided to have the outside layer a little bit wider. So, using a tool (such as small plates), trace on 20/cm thread count linen – with some excess fabric between – one circle with a diameter of 18 cm and two circles each with a diameter of 16 cm. It is important that the linen is completely free of any wrinkles before drawing the circles.
 To prevent the fabric from fraying, the edges are secured. Directly inside each line, work a row of Chain stitches using coton à broder No. 30. The Chain stitches are covered with densely worked Blanket stitches using coton à broder No. 20.
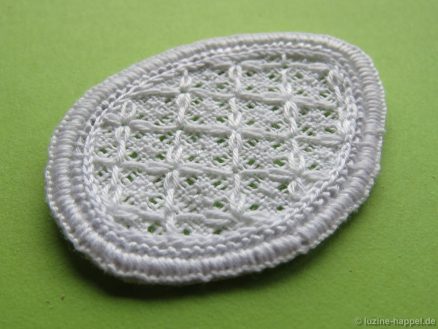
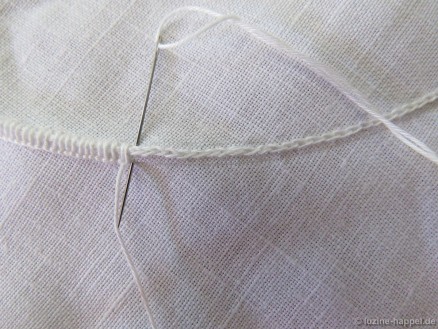 The linen is boiled, ironed, and cut. It is best to start working the needlelace (simple Buttonhole stitch scallops, using coton à broder No. 16) on one of the smaller circles, which will become the inside layer, because any unevenness will be nearly invisible later. Decide the width of the desired needlelace and mark the entire edge. For my cozy, I chose a width of 1.4 cm. To mark the scallop placements, I used a transfer pencil because its colour will easily disappear when the piece is washed. Simple Buttonhole stitch scallops are also worked on the second small circle. The outside layer’s edging should be somewhat more prominent, so double Buttonhole stitch scallops are worked on the larger circle. Here I chose a width of 2 cm.
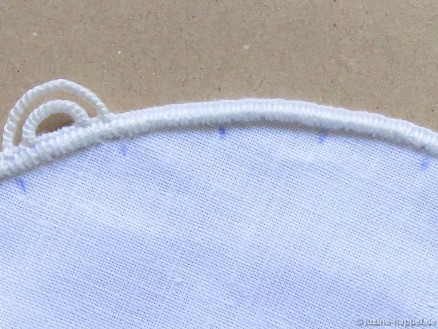 For more information – more patterns and detailed working instructions – please refer to my booklet Schwalm Needlelace edge decorations.
Please notice that the needlelace scallops are attached to the loops of the Blanket stitches.
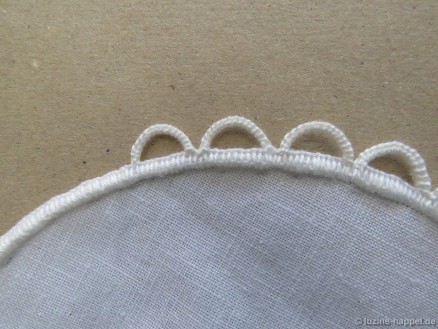 This makes the back side neat and tidy.
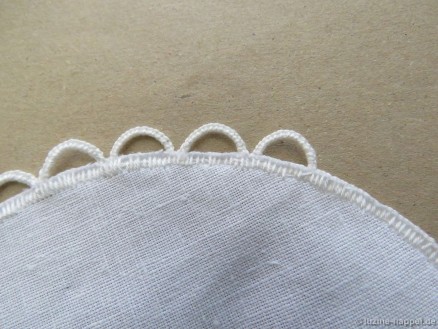 When all three doilies are finished, they need to be ironed again.
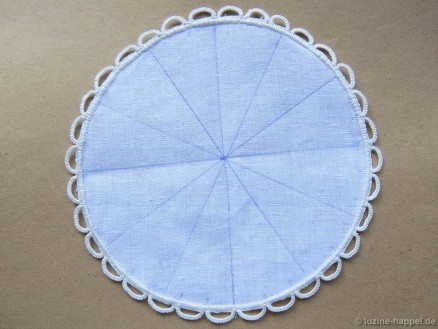
 Using the transfer pencil, the middle circle is divided (marked on the right side) into 12 even sections.
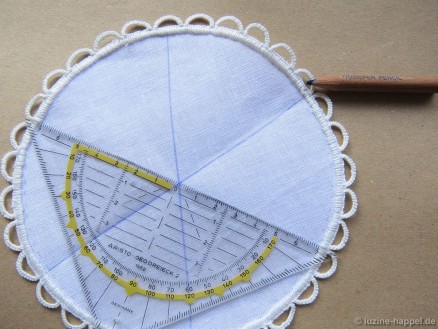
 The inside circle is divided (marked on the back side) into 6 even sections.
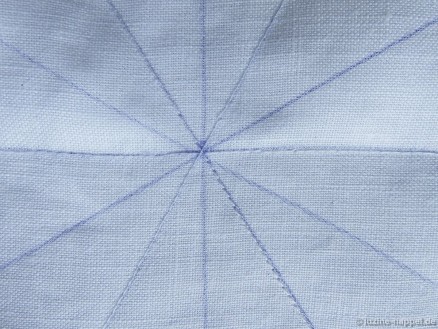
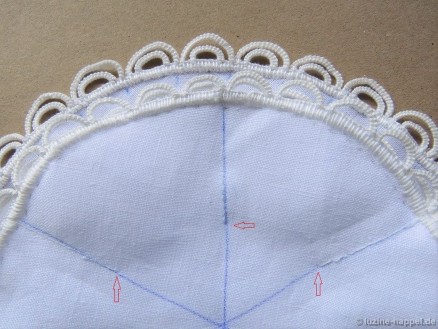
 Right sides facing up, center the middle circle on top of outer circle (the larger circle). Using a sewing machine, sew these to circles together on every second line from edge to edge.
 The inner circle is placed on top of the two joined circles, right sides together, so that the unstitched marks of the middle circle and the marks of the inner circle are matching.
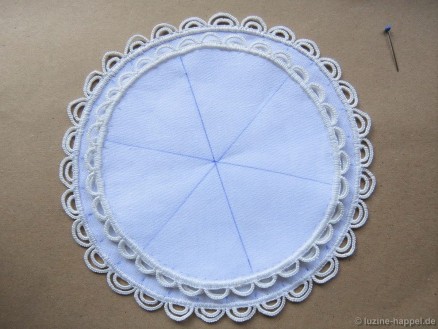 The middle and the inner circles are sewn together along the marked lines. Begin stitching from the outer edge inwards; you will not be able to reach all the way to the center with your sewing machine.
 The piece is gently washed again to remove all the marks.
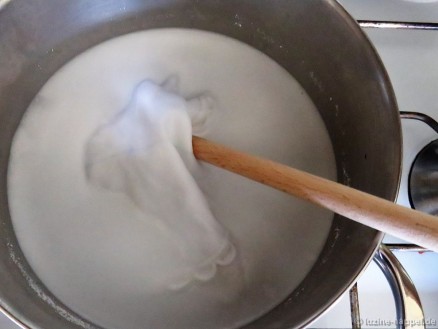 The piece is starched very well and ironed.
Using the twister a thin cord is made. It is threaded through the middle scallop of each section of the top layer.
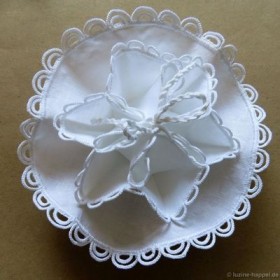
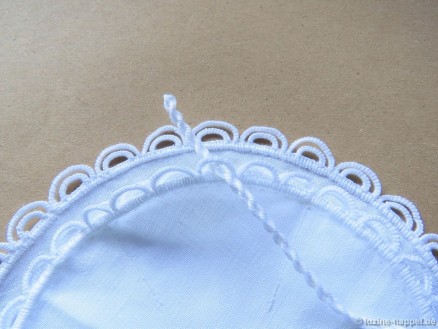 The cord is drawn and tied into a bow. (If you prefer something less obtrusive, you can use an embroidery thread, delicate ribbon, or even sew in some small snaps to draw and hold the cozy together.)
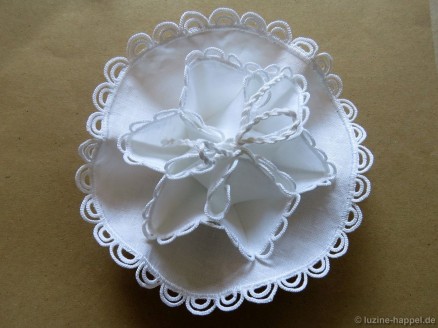 Even unfilled this project is an eye catcher.
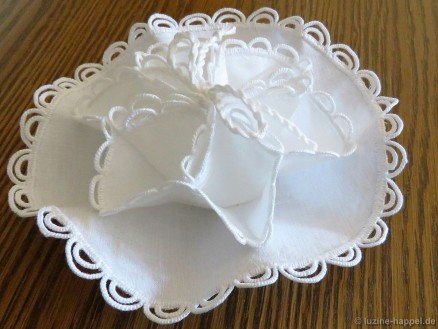 Filled with some wrapped candies it will be the star of every party table. Also it is a nice gift.
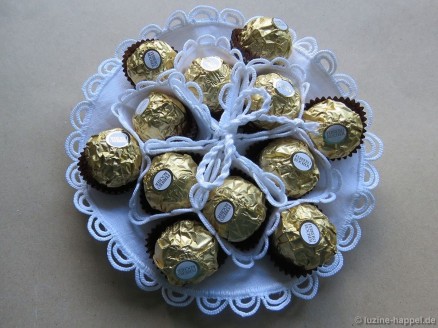
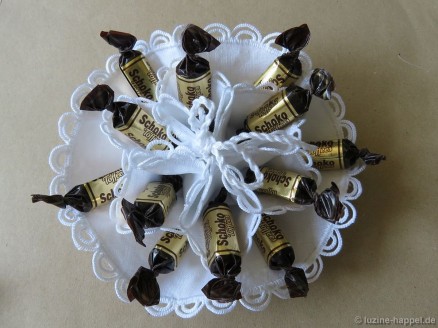 To accommodate larger sweets, like Ferrero Rocher balls, the circles should have a diameter that is approximately 2-3 cm wider. The picture below shows how the larger candies look a bit too crowded in the cozy as described in this article.
 Embroidering needlelace is really easy, and having a little project makes practicing it fun. With needlelace one can easily add extra beauty to needlework. So, please don’t be afraid – give it a try!
