Advent Calendar 2023 – Nativity Scene
The finished Project
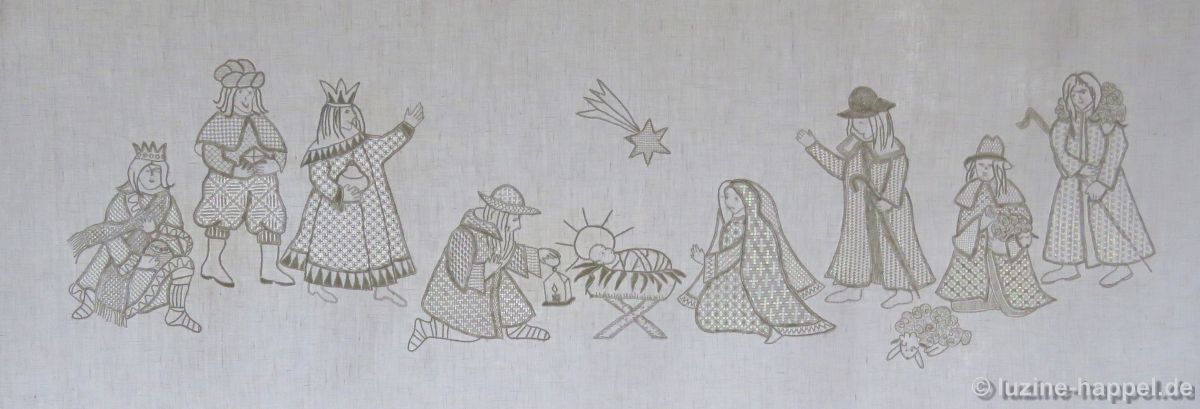
Washed, starched and well ironed, the finished embroidery now lies on the table in front of me.
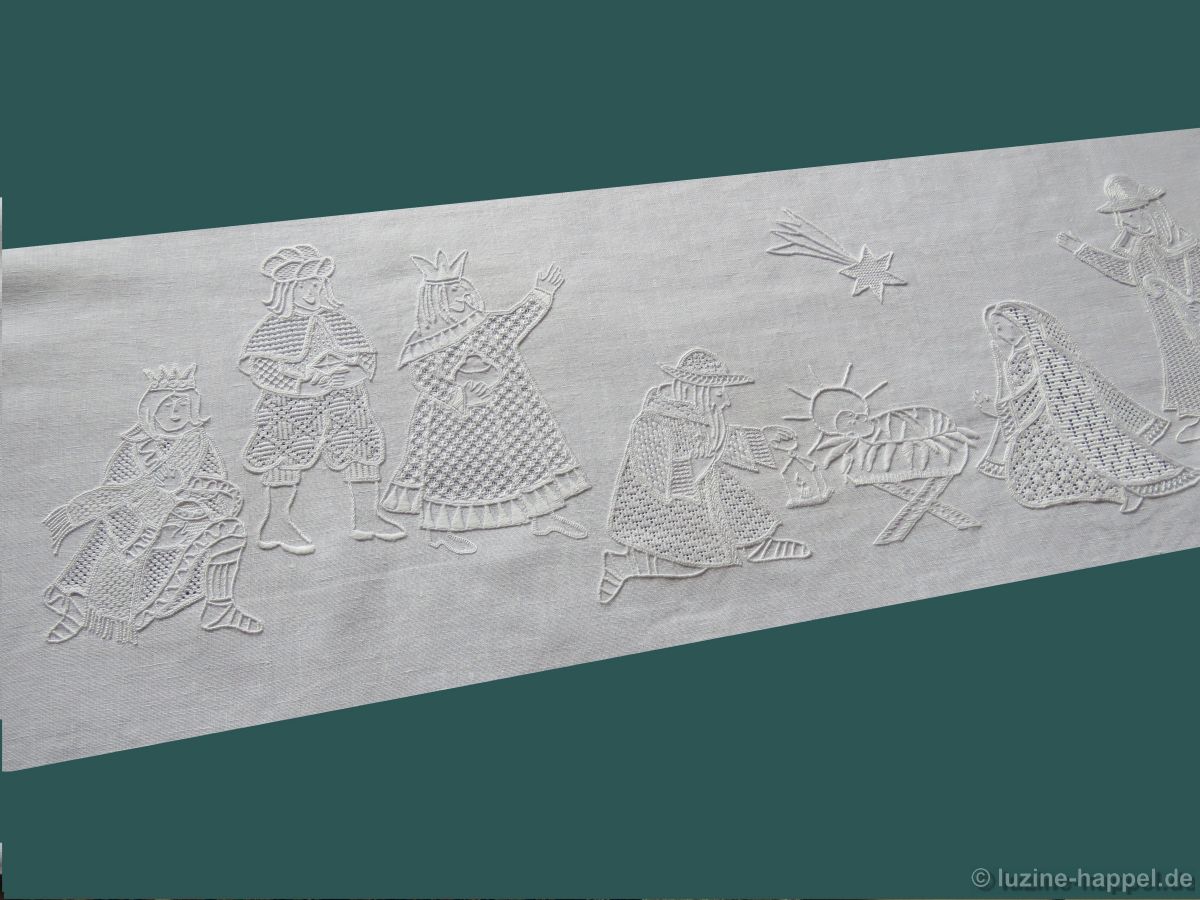
Both as a table runner
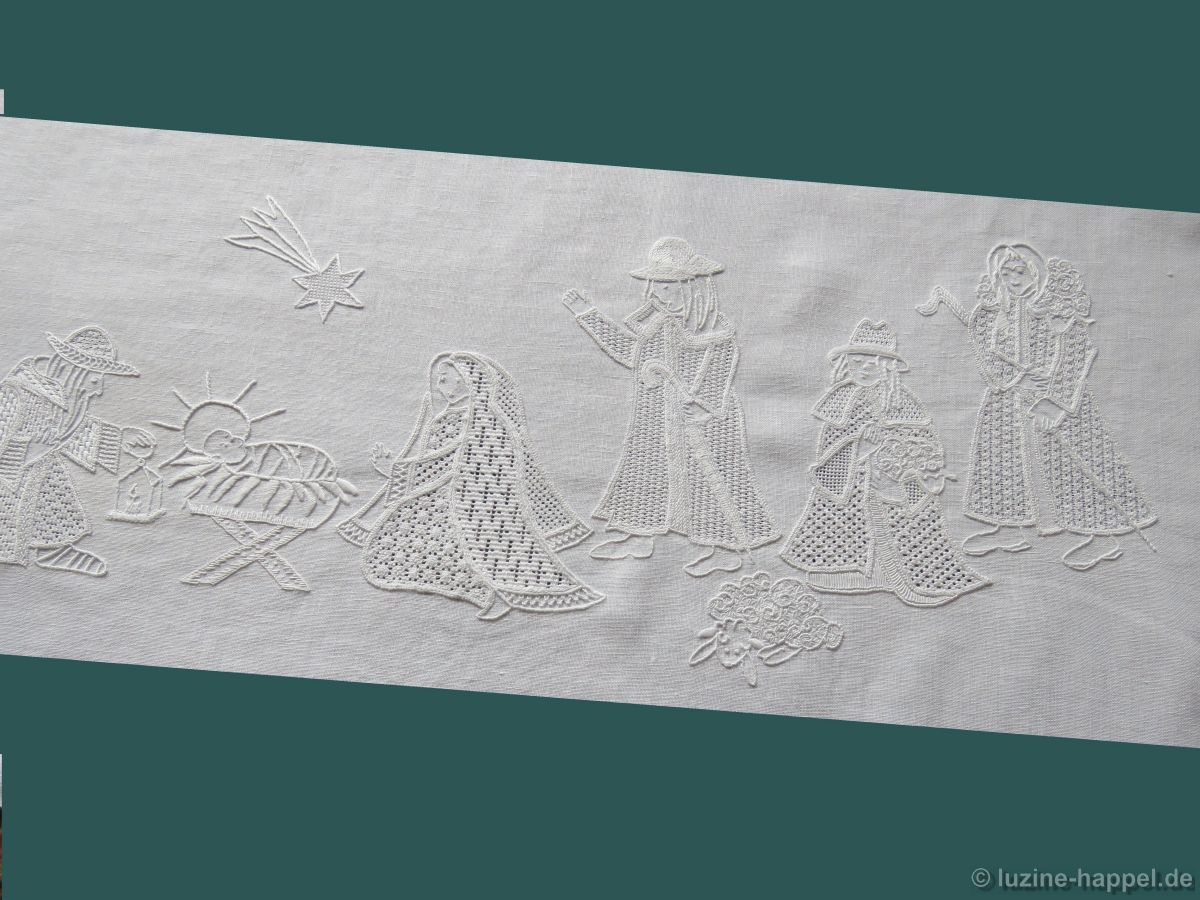
and backlit by a lightpad or hanging on the window
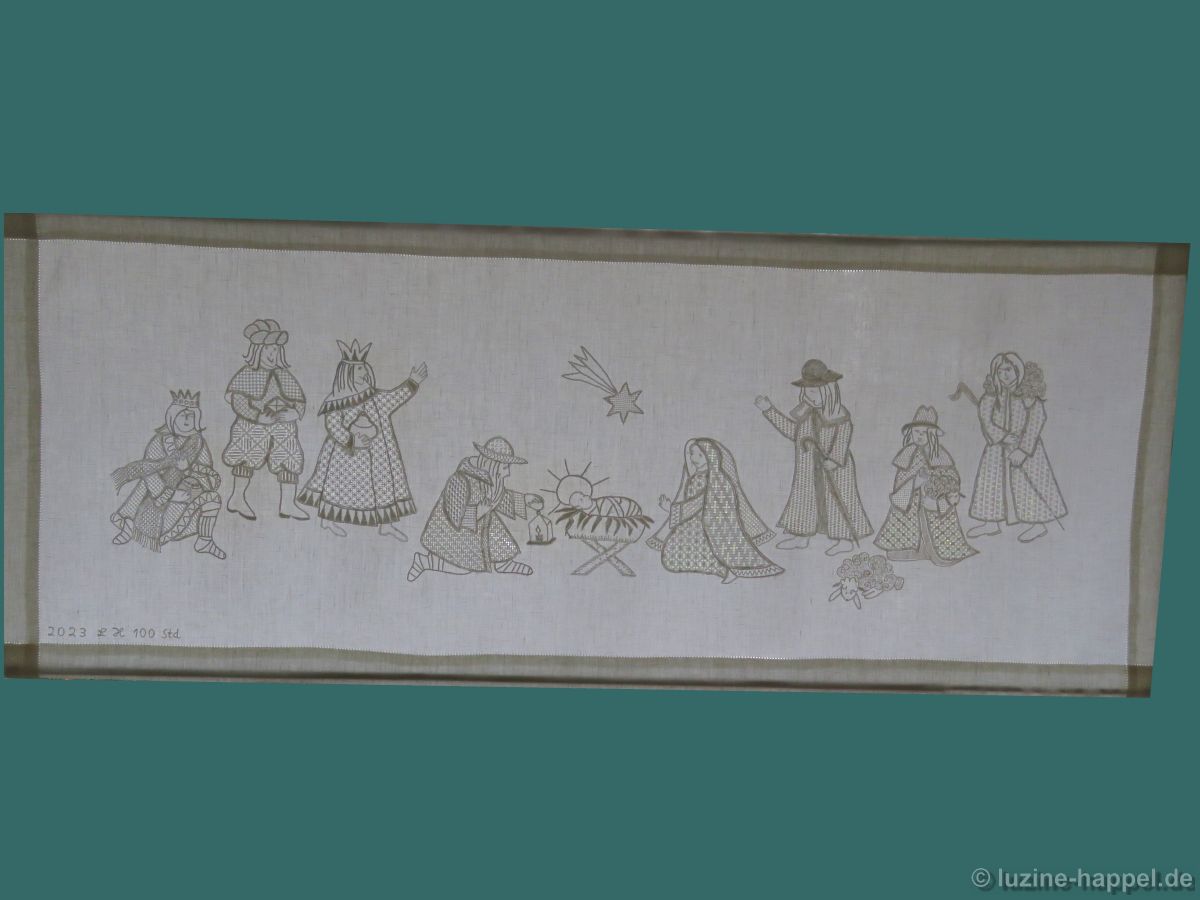
the picture has a fantastic effect.
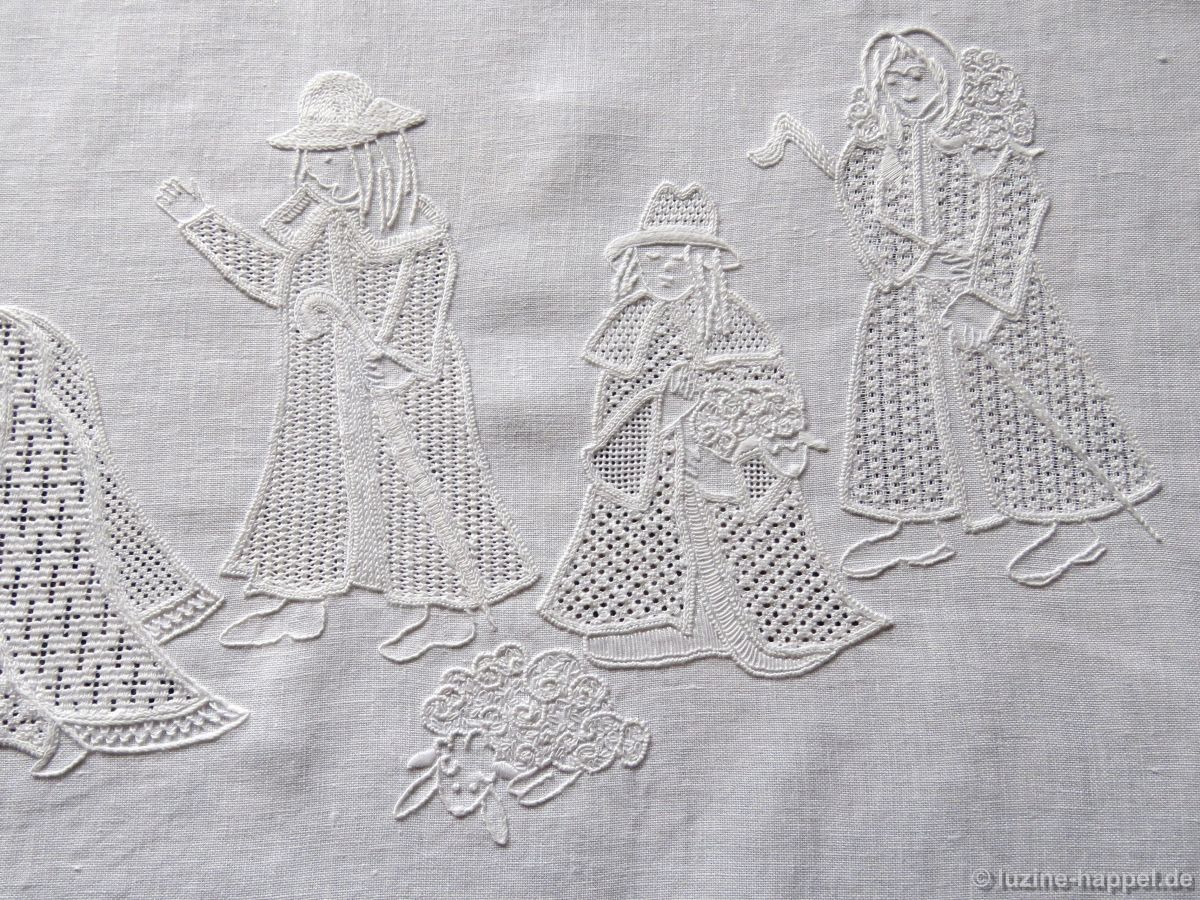
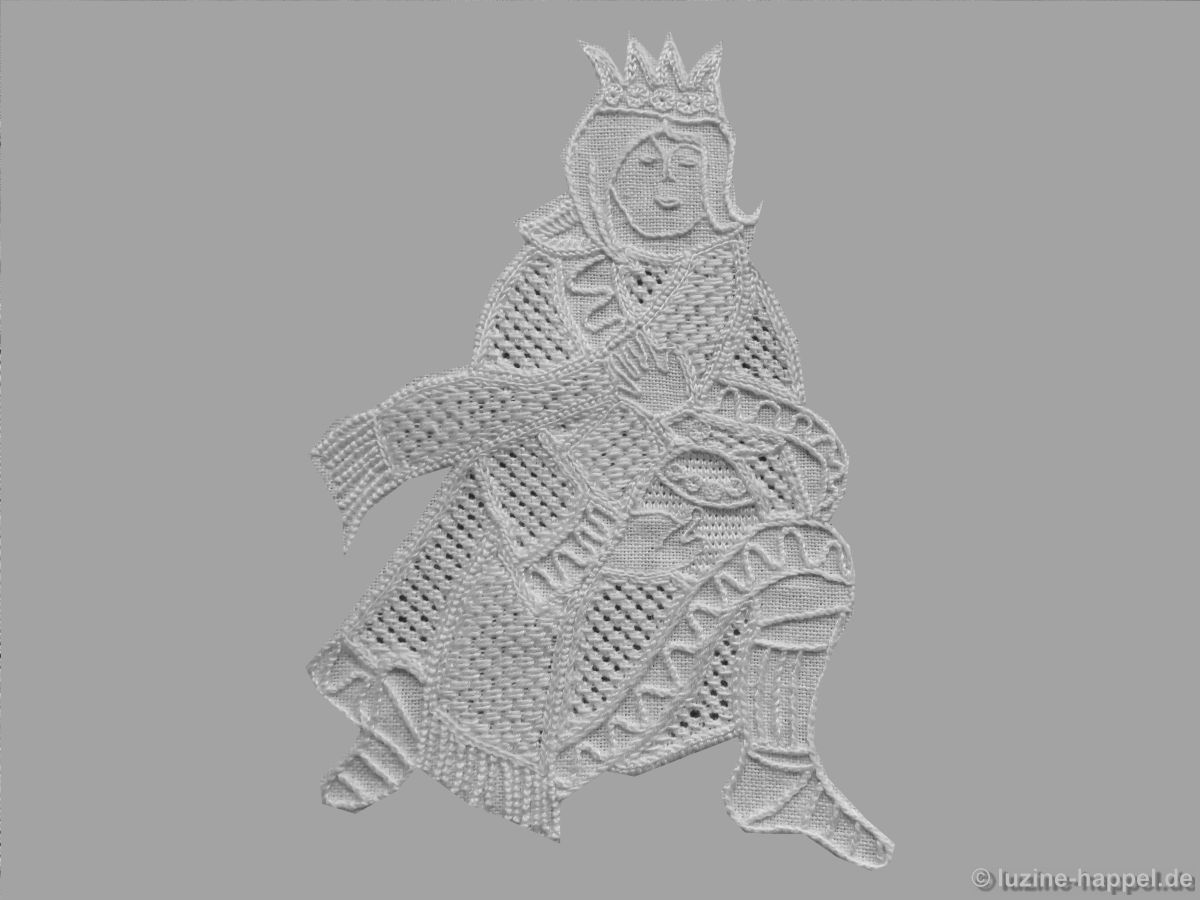
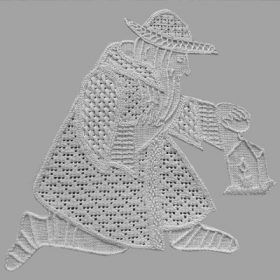
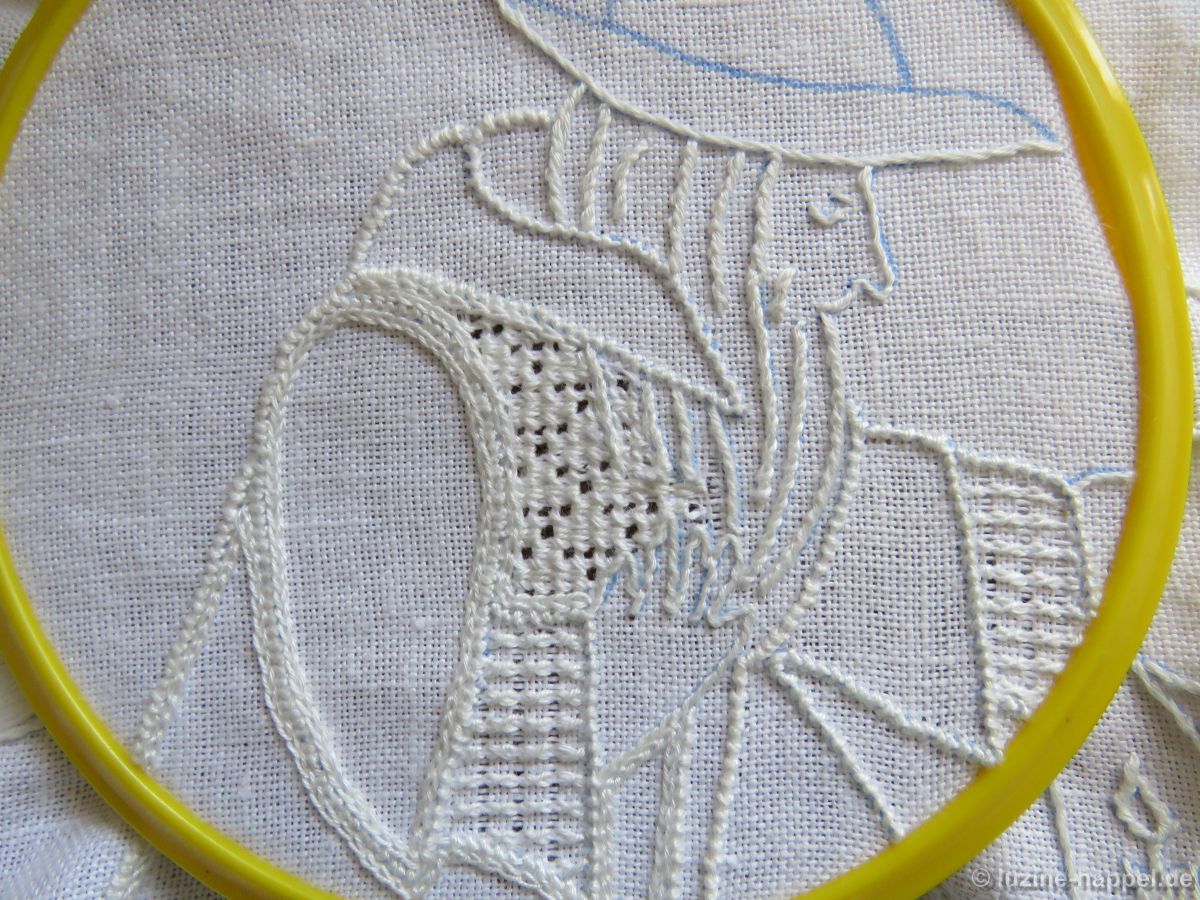
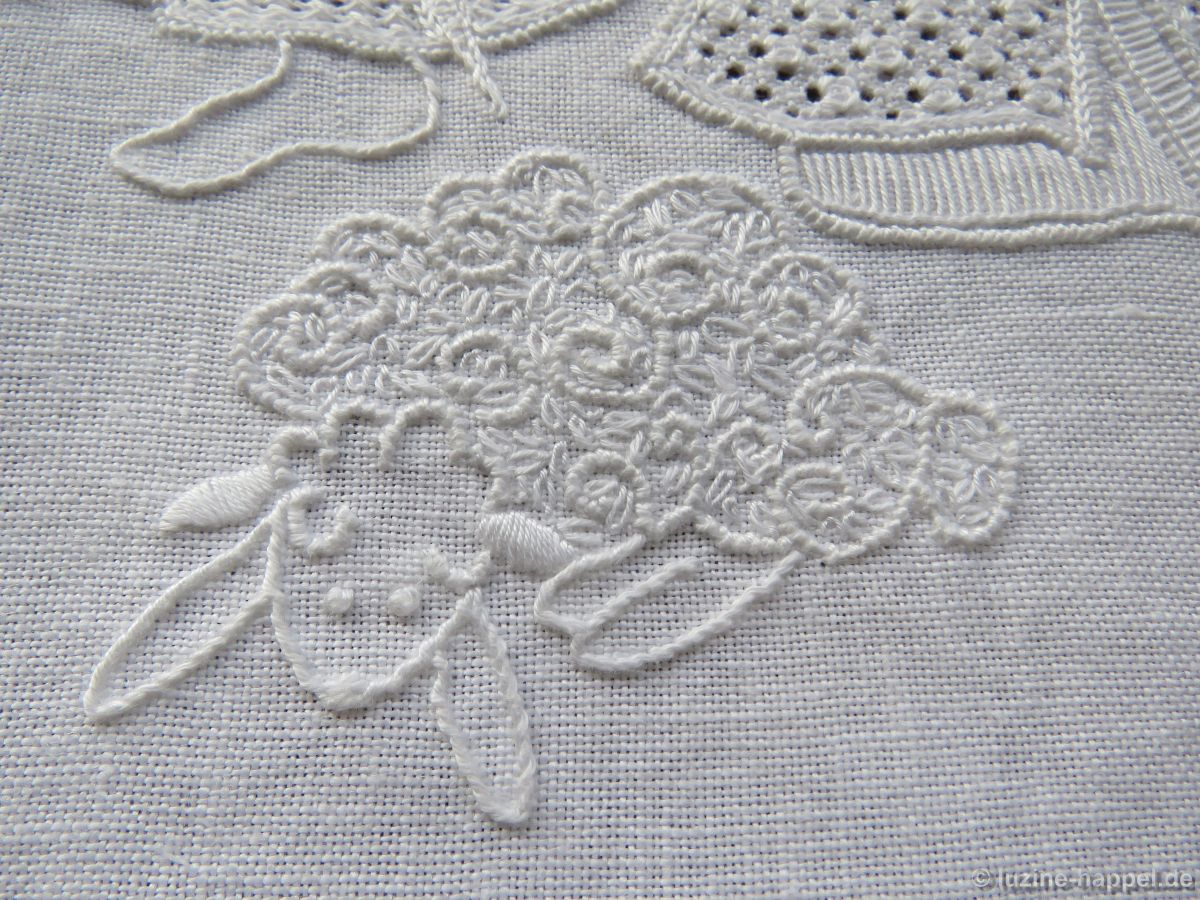
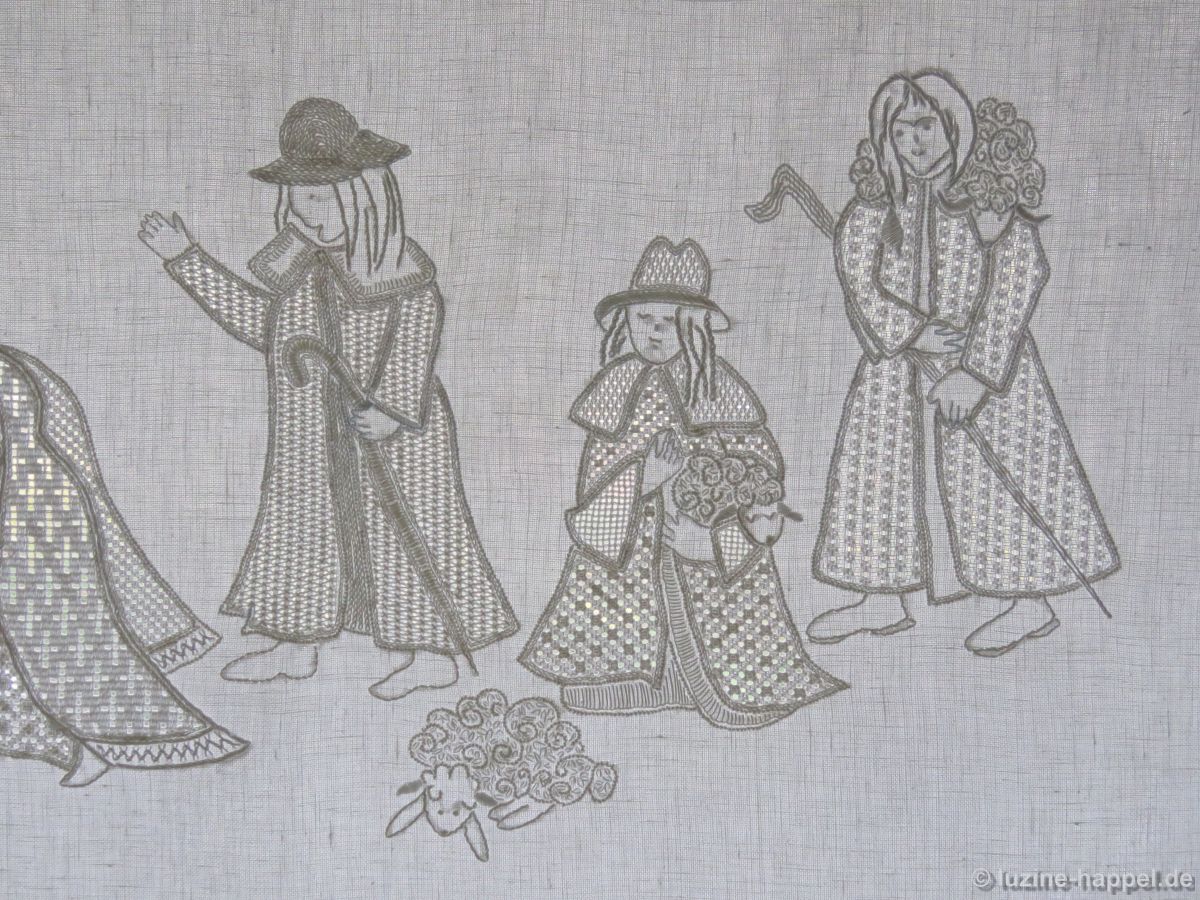
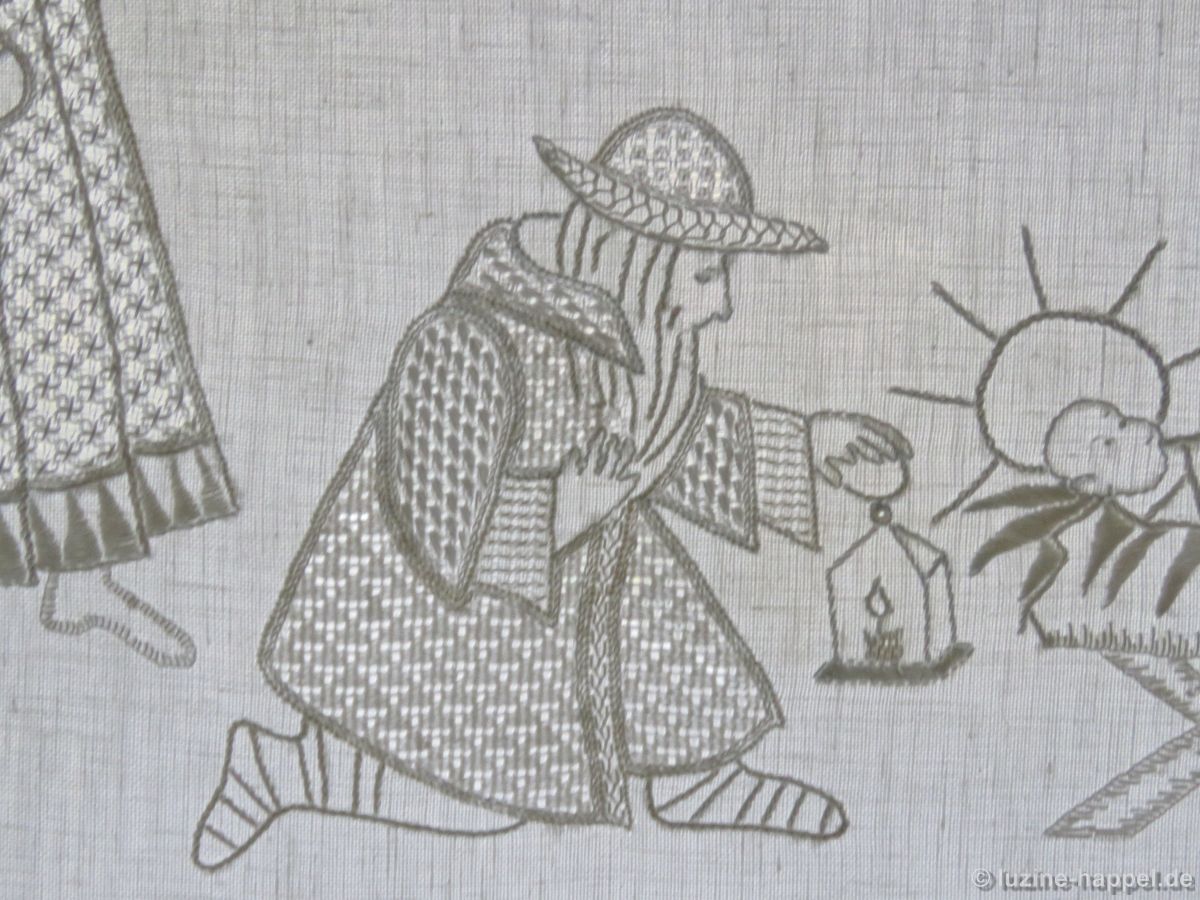
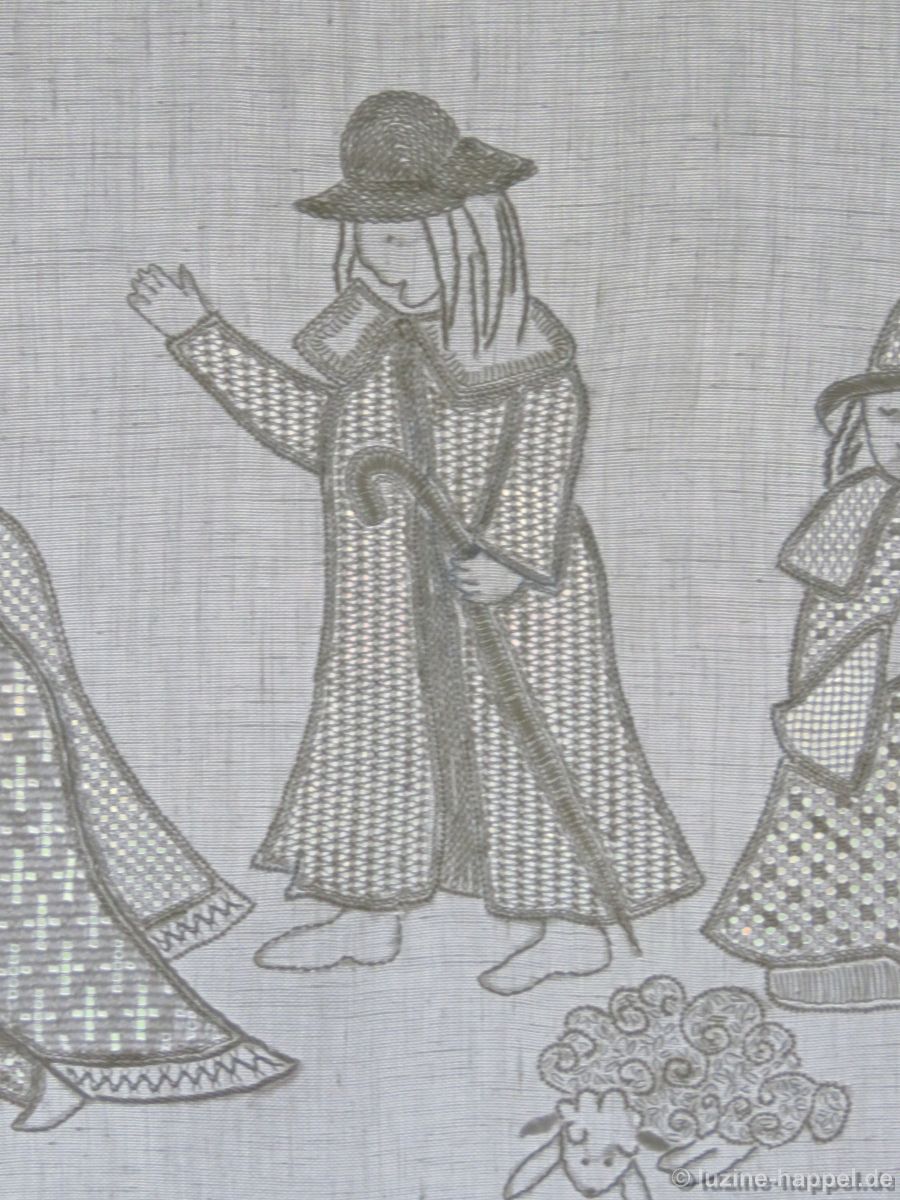
Whether the shepherds with their sheep,
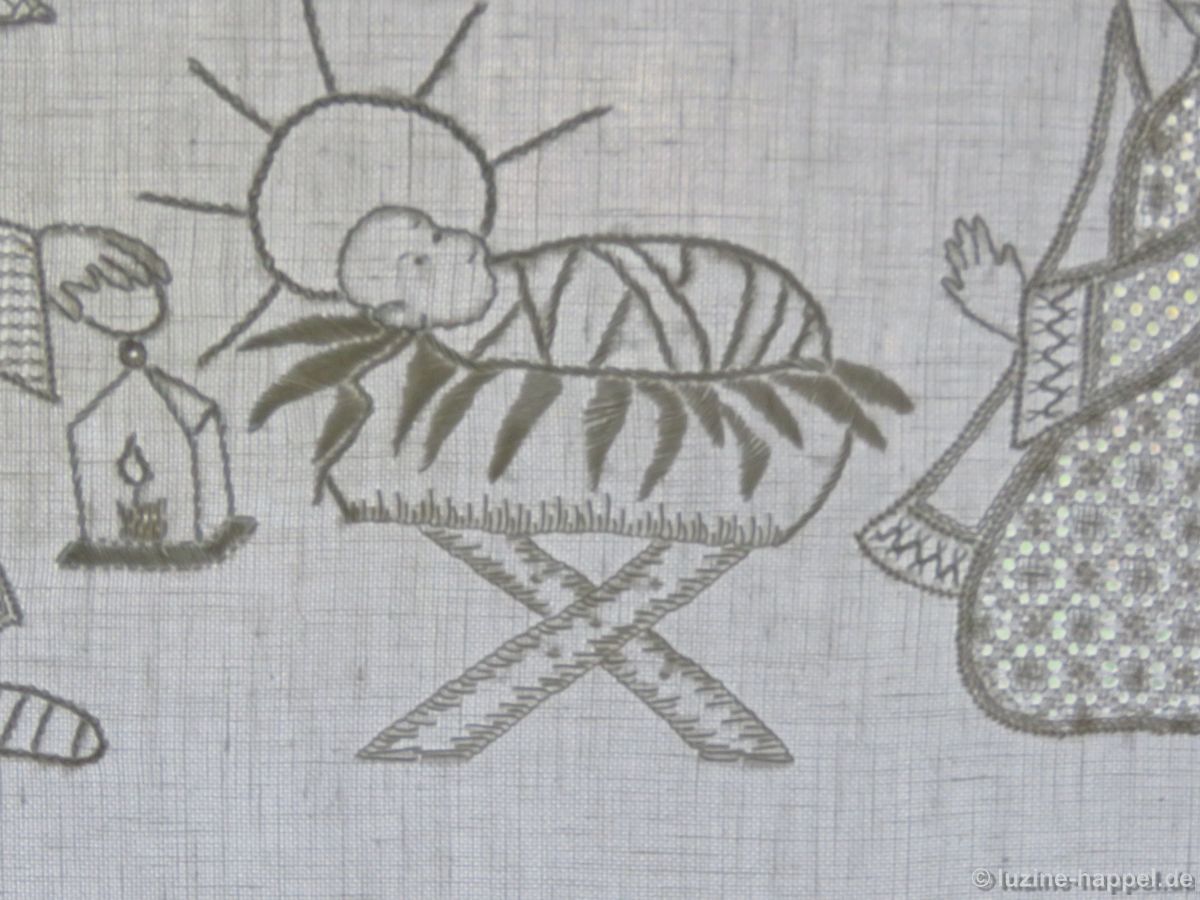
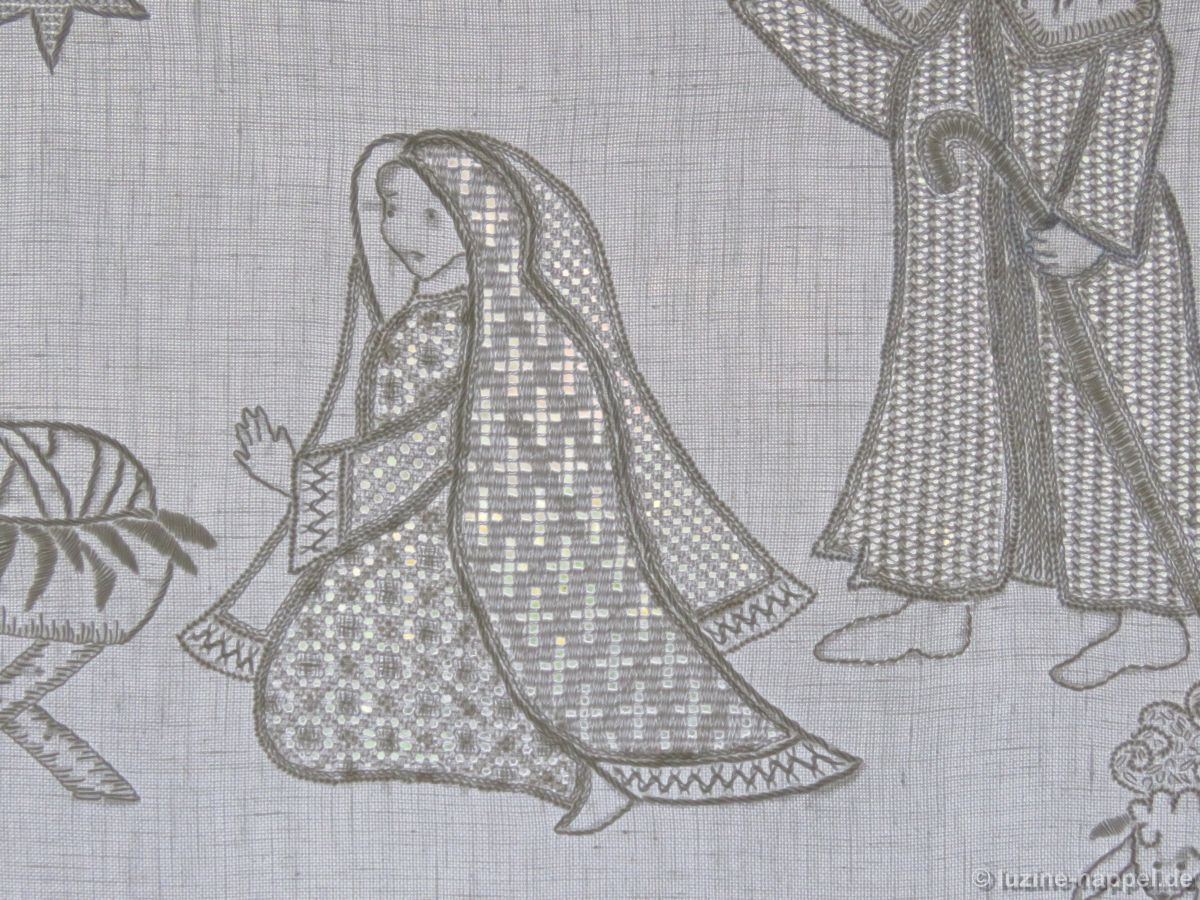
the holy family

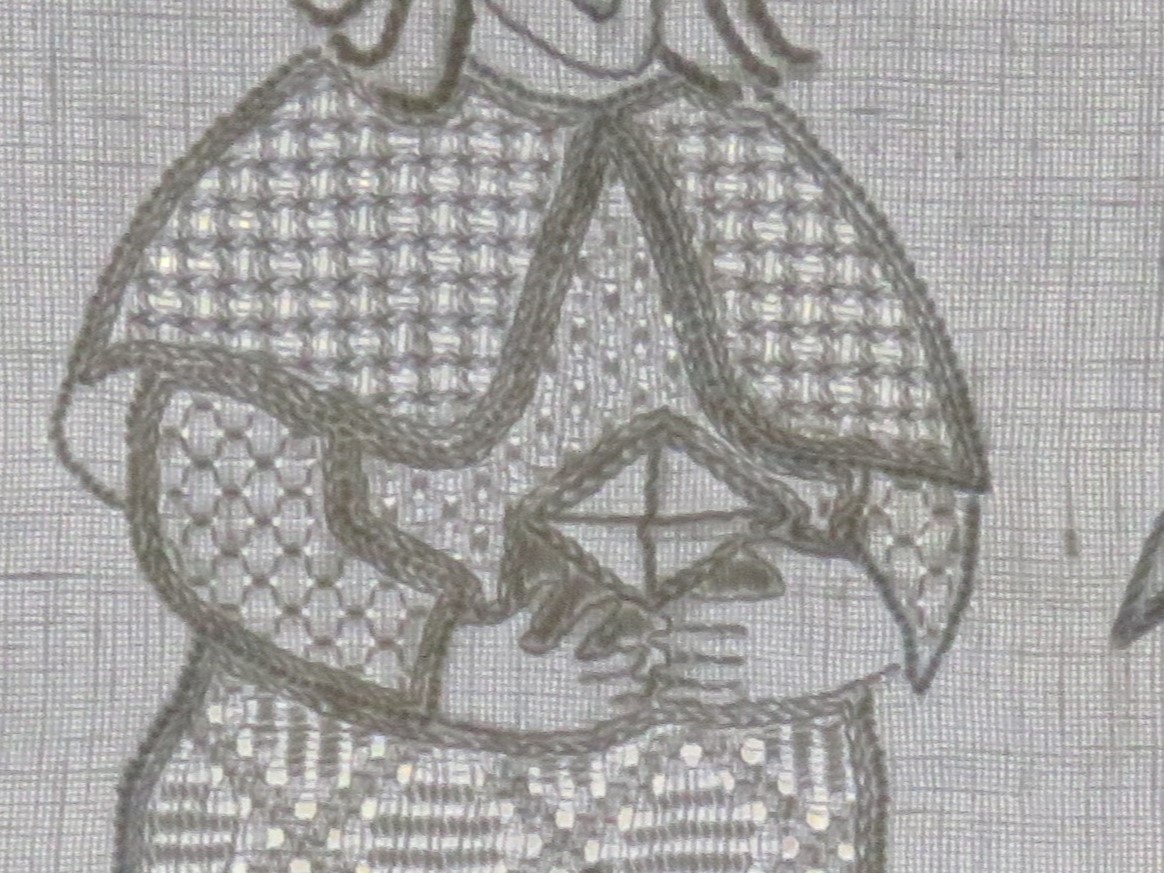
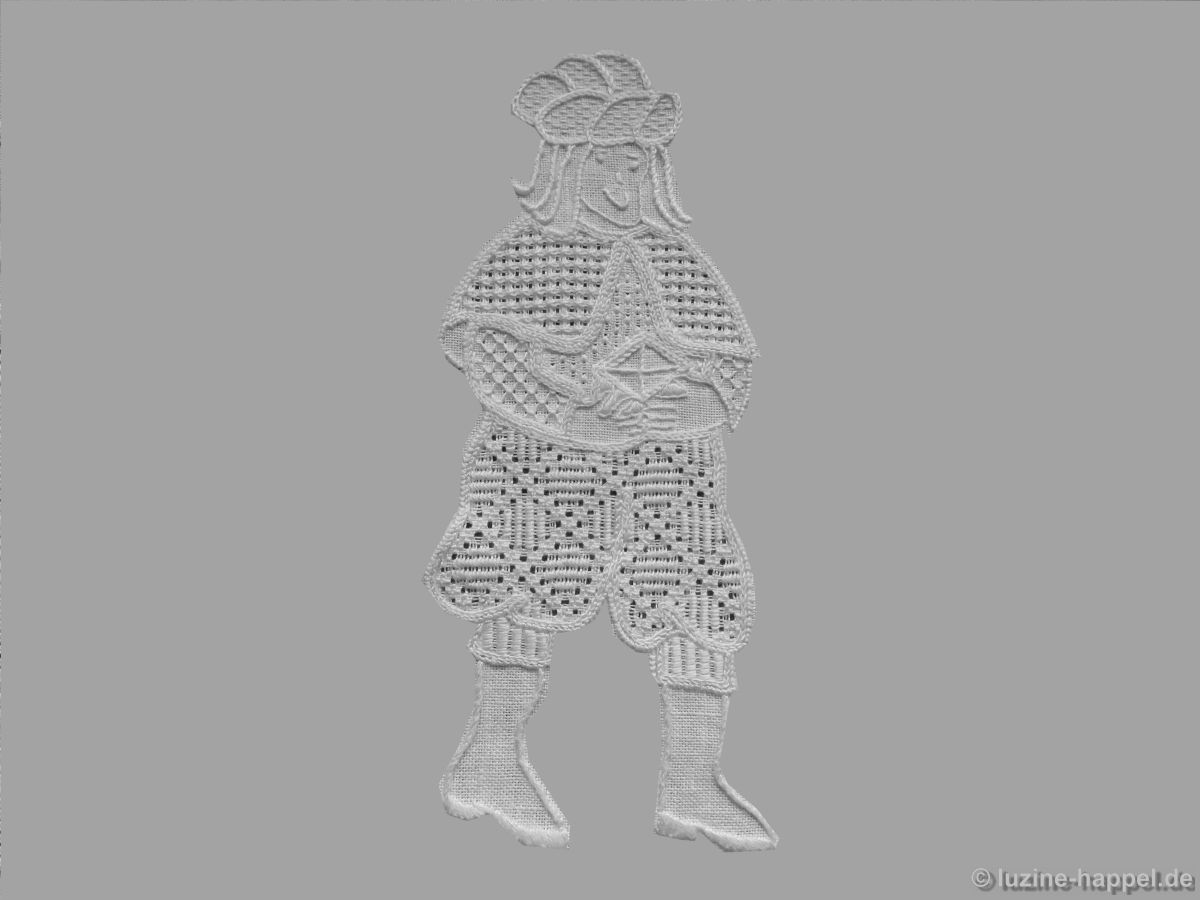
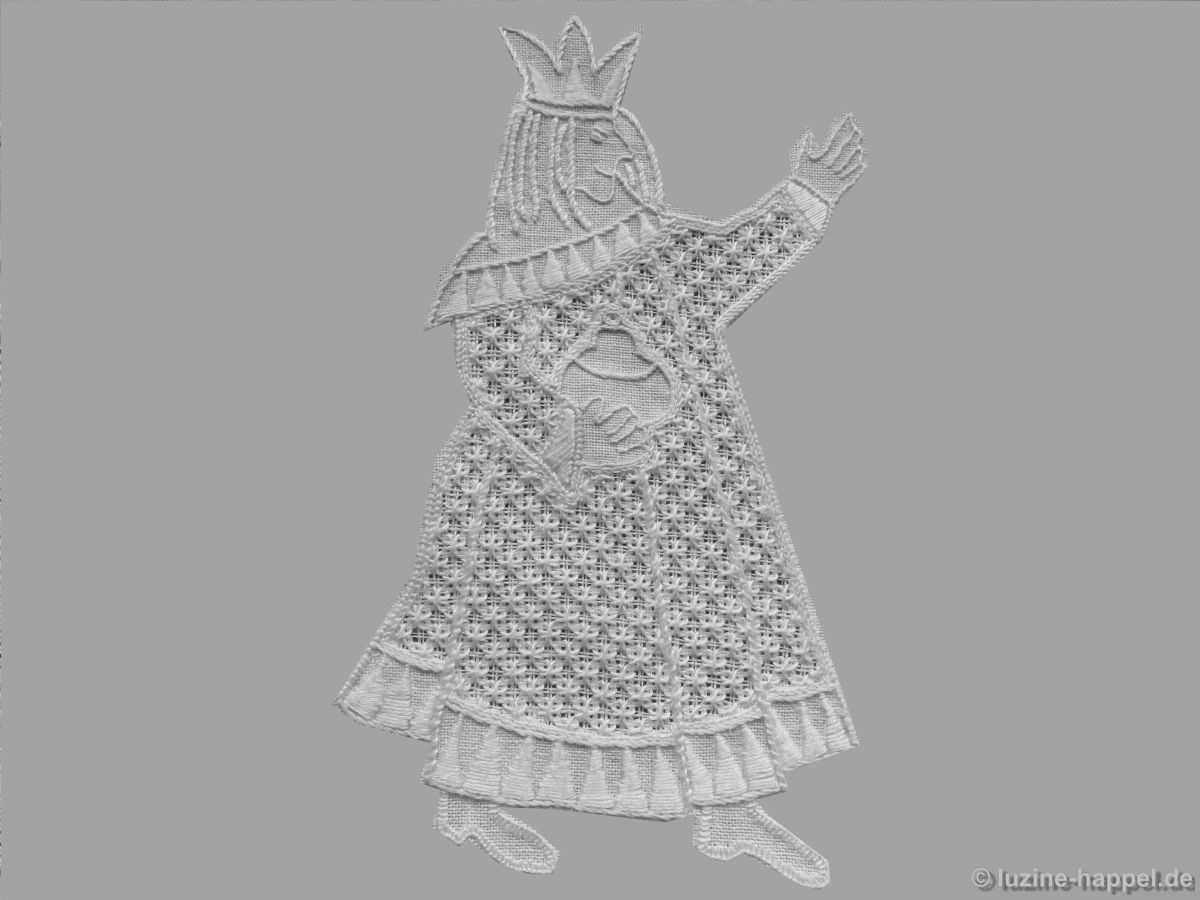
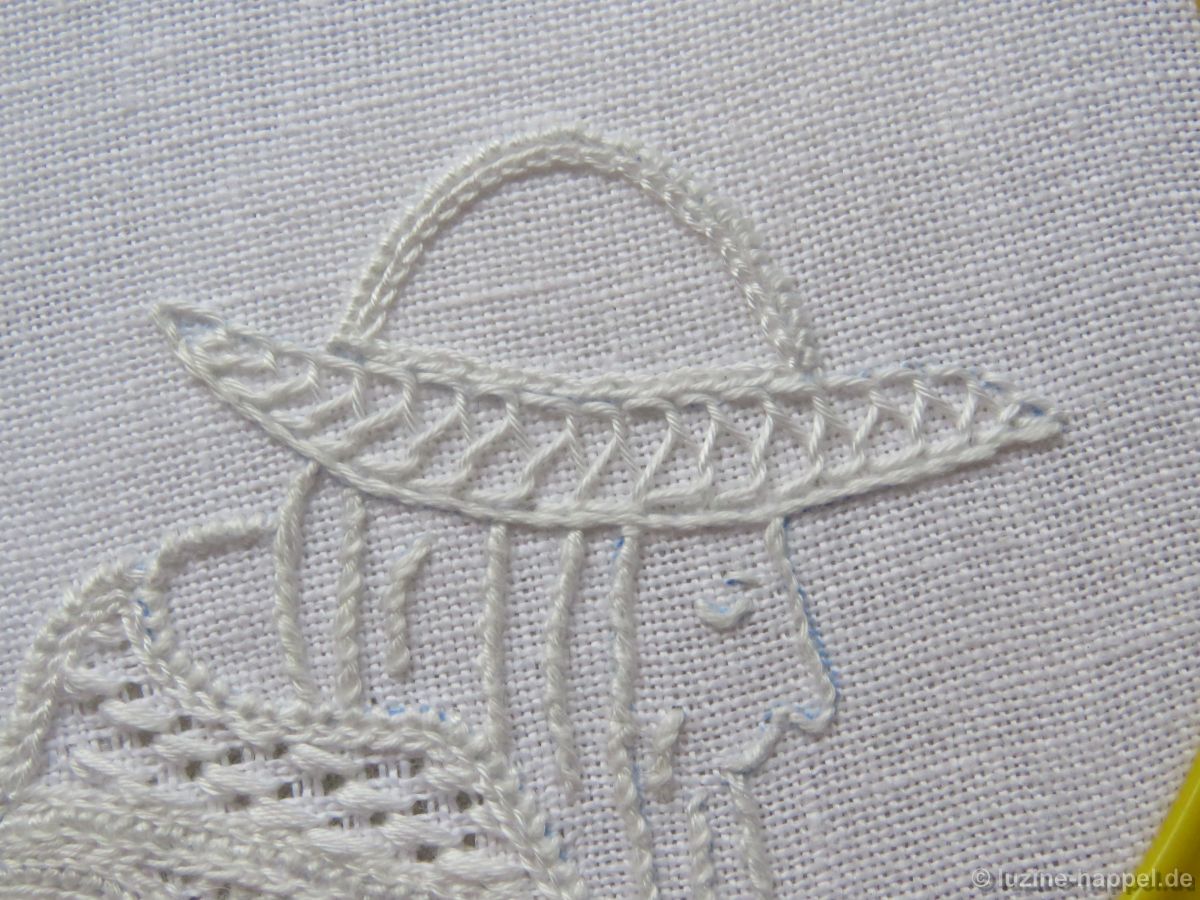
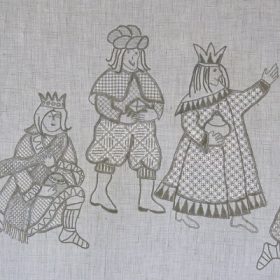
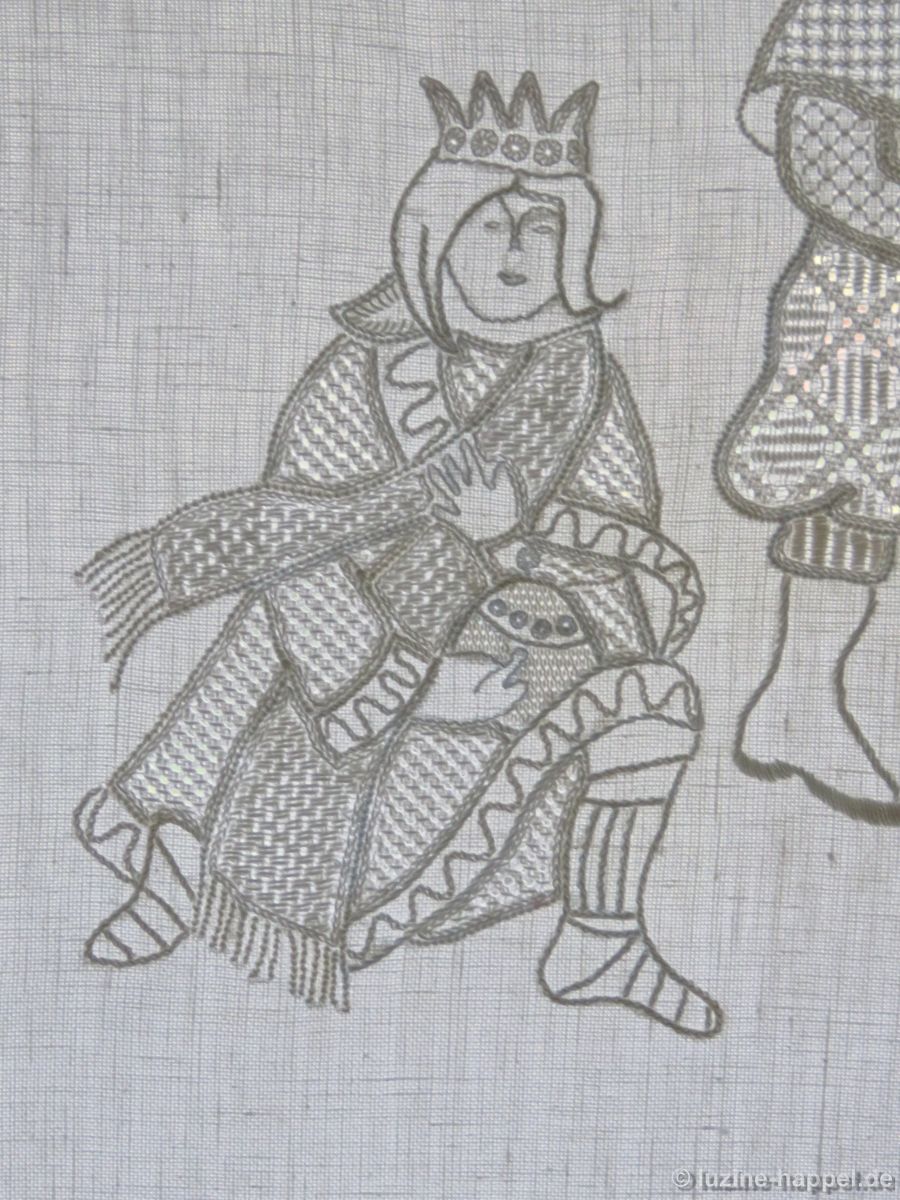
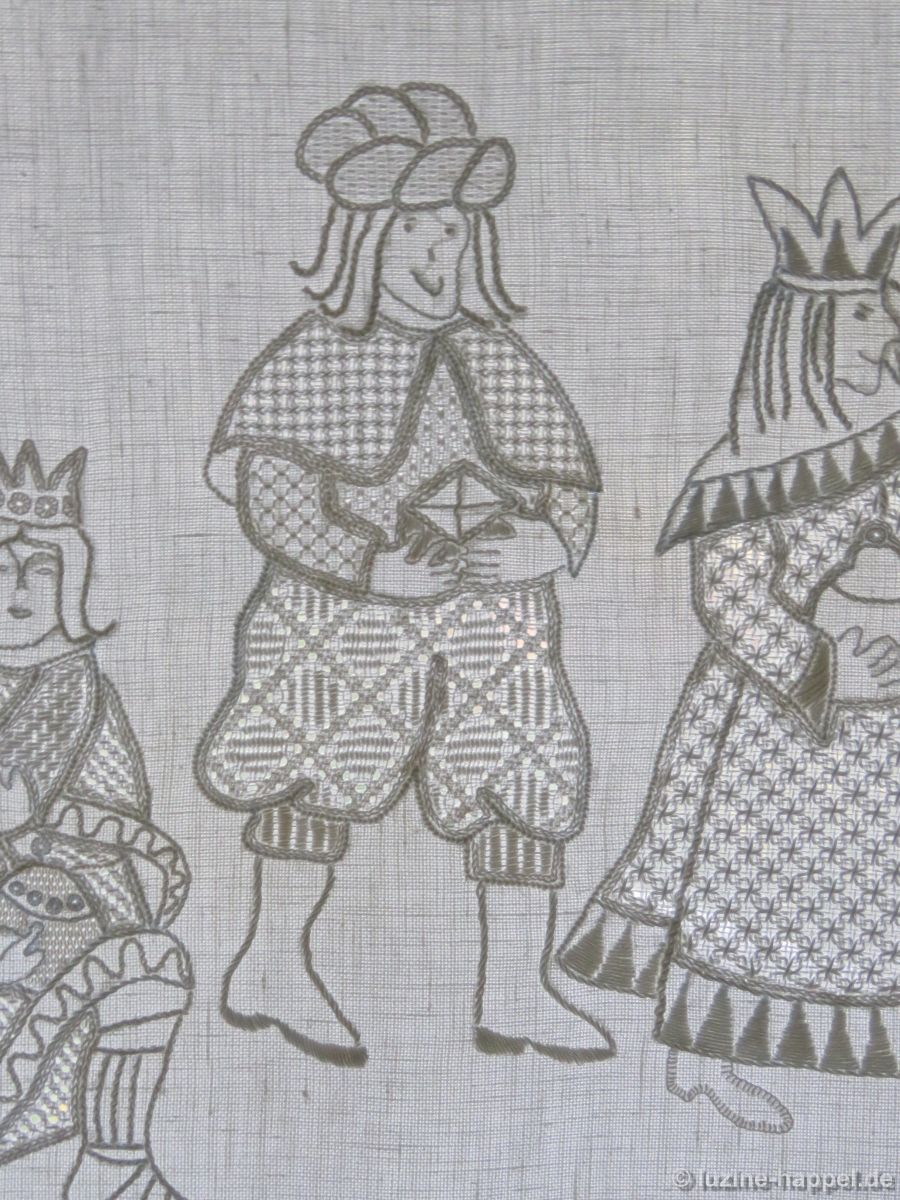
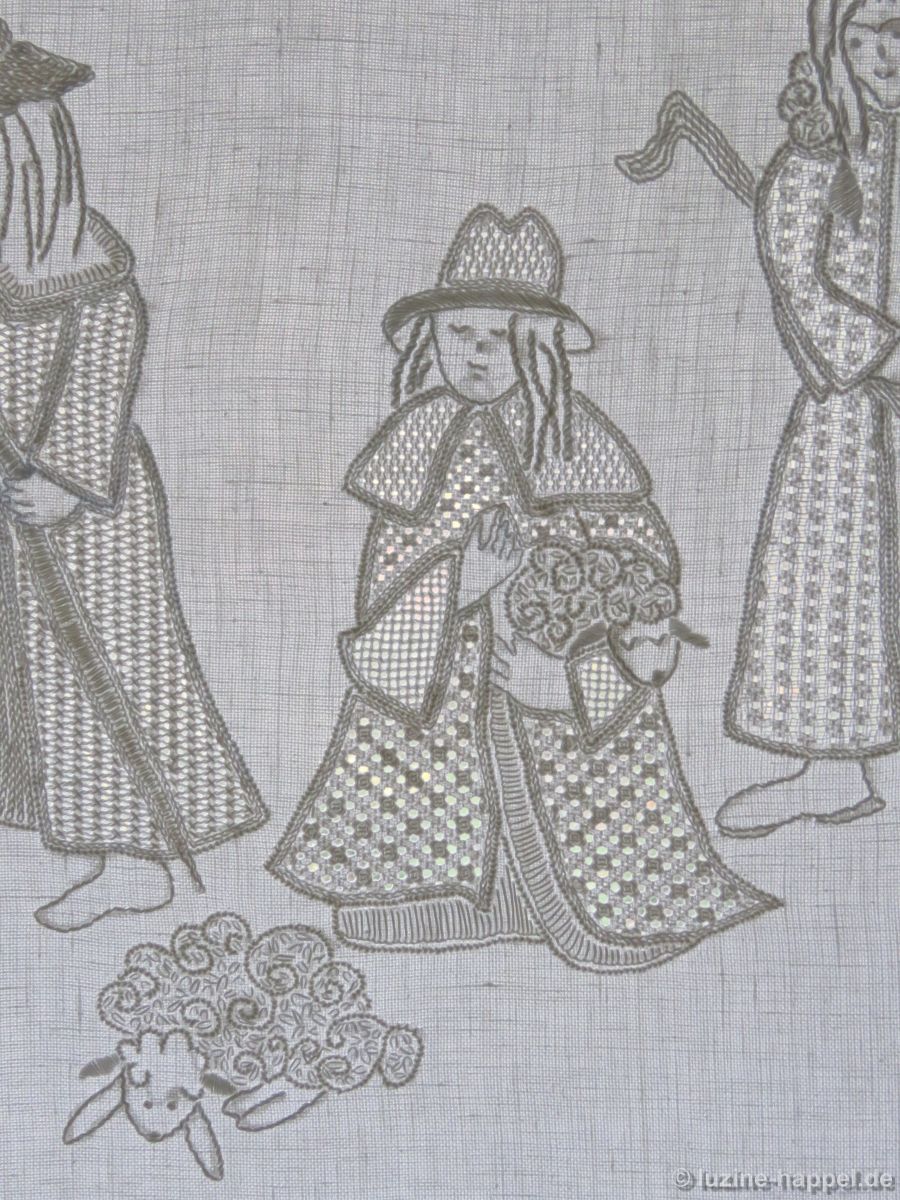
or the Wise Men,
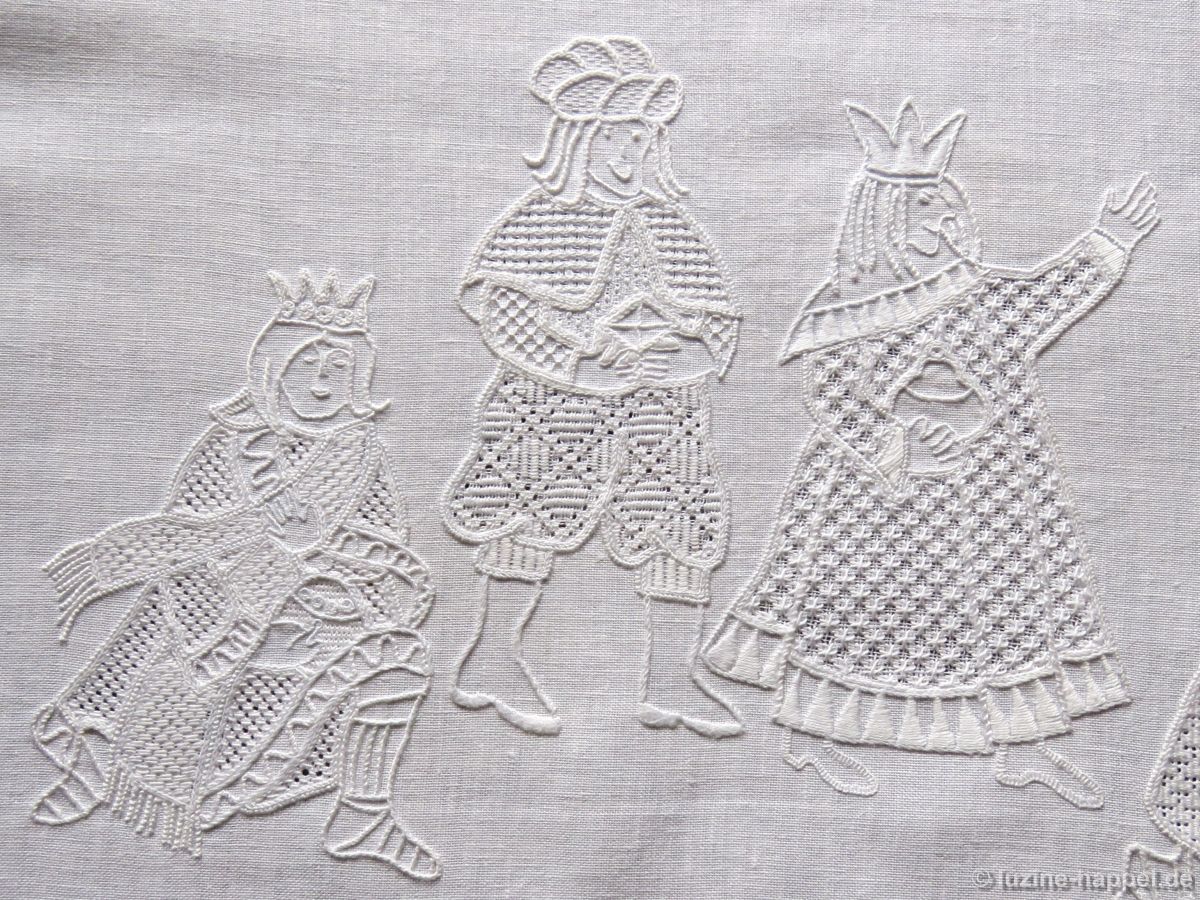
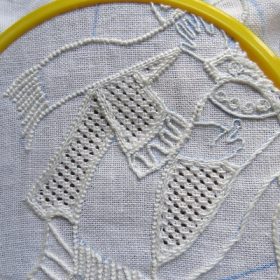
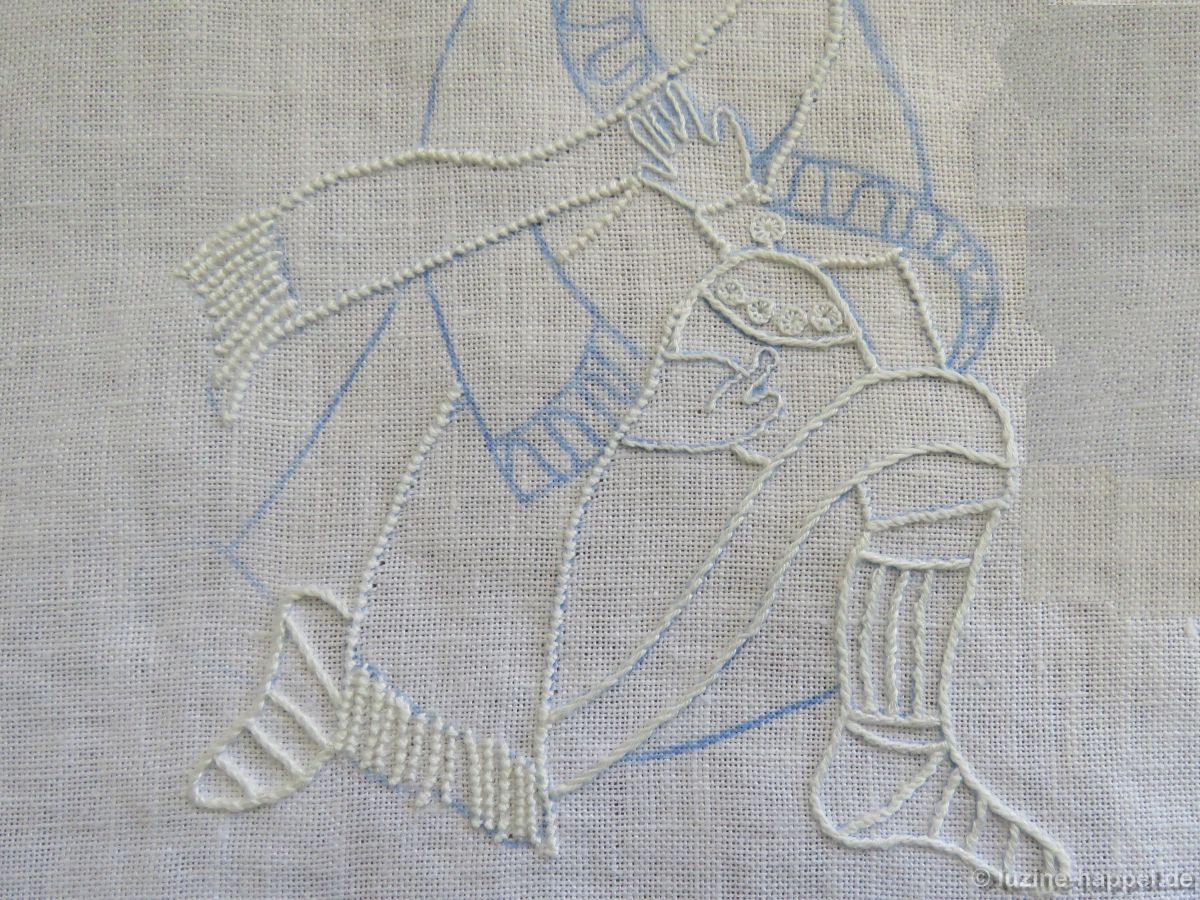
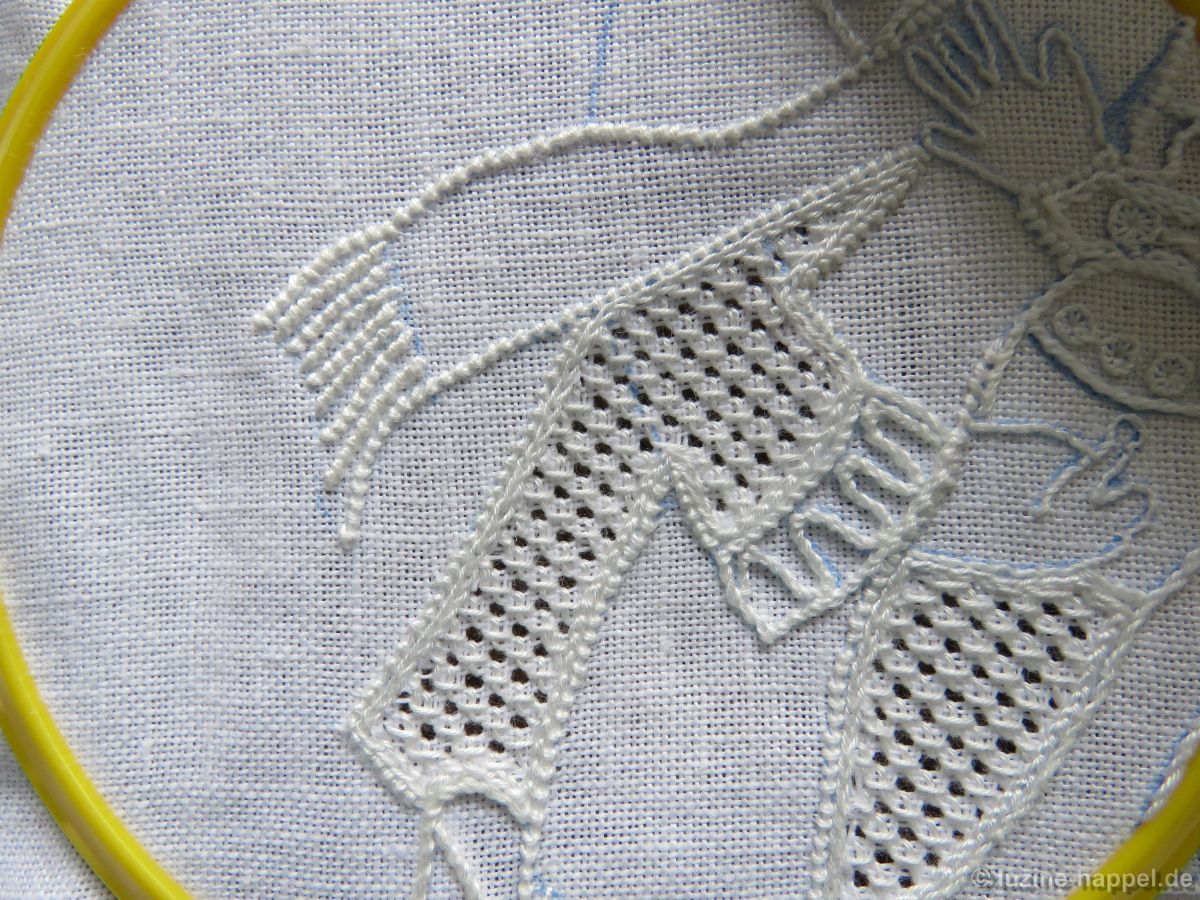
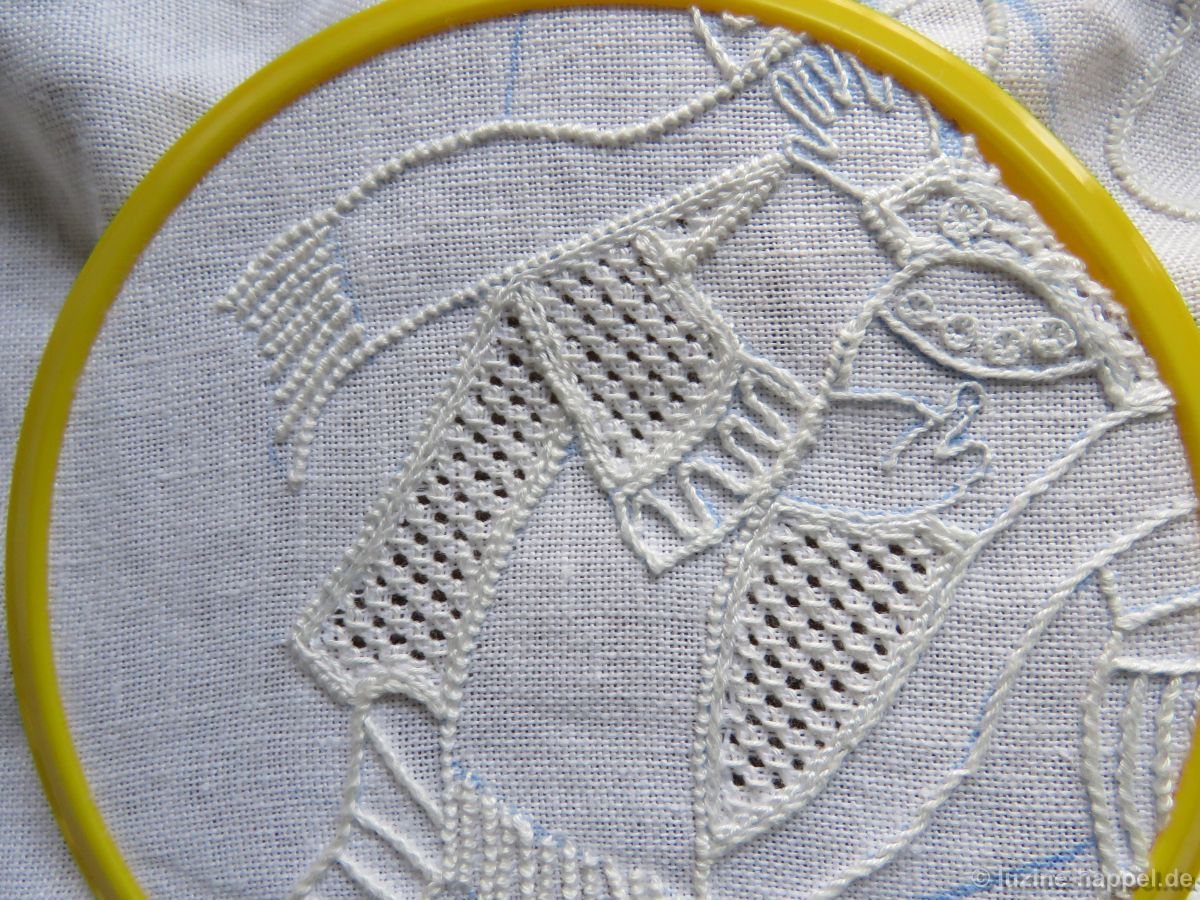
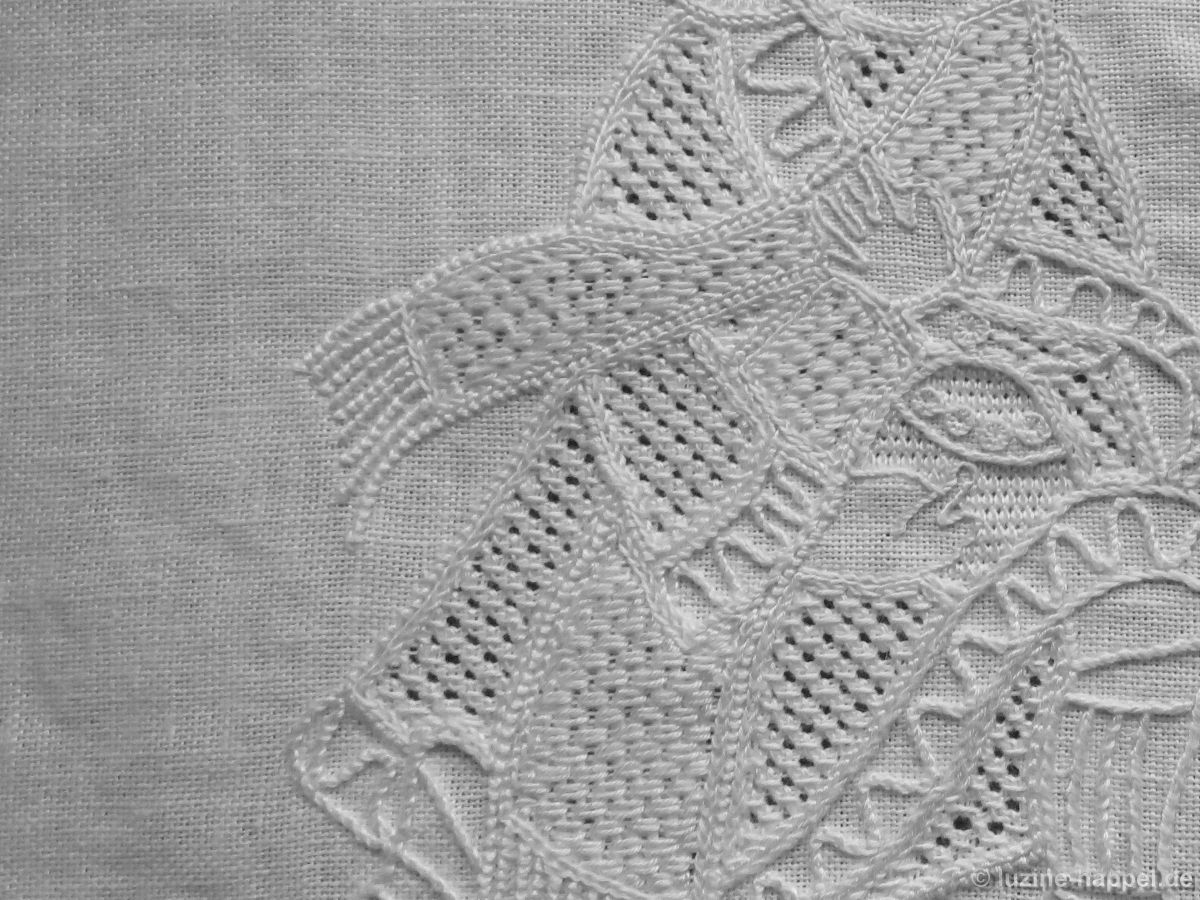
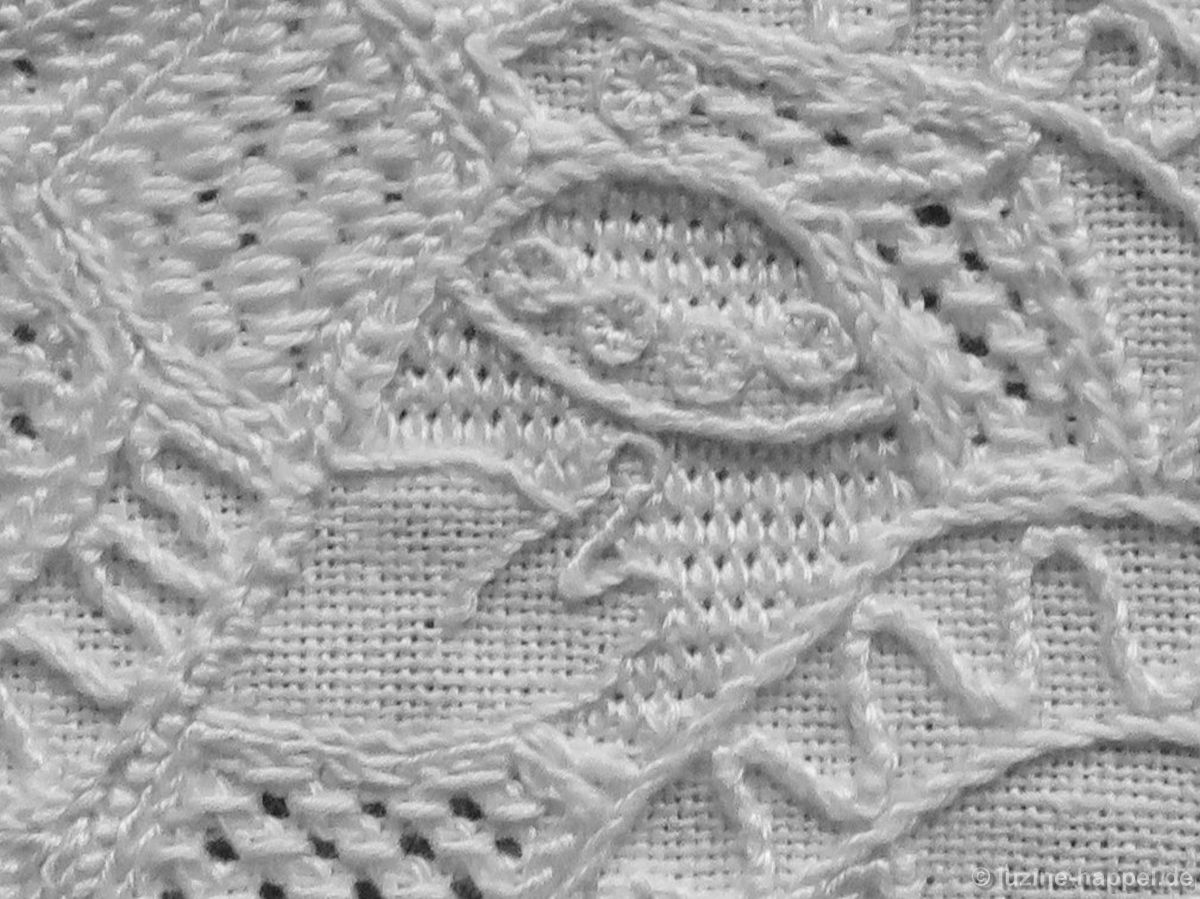
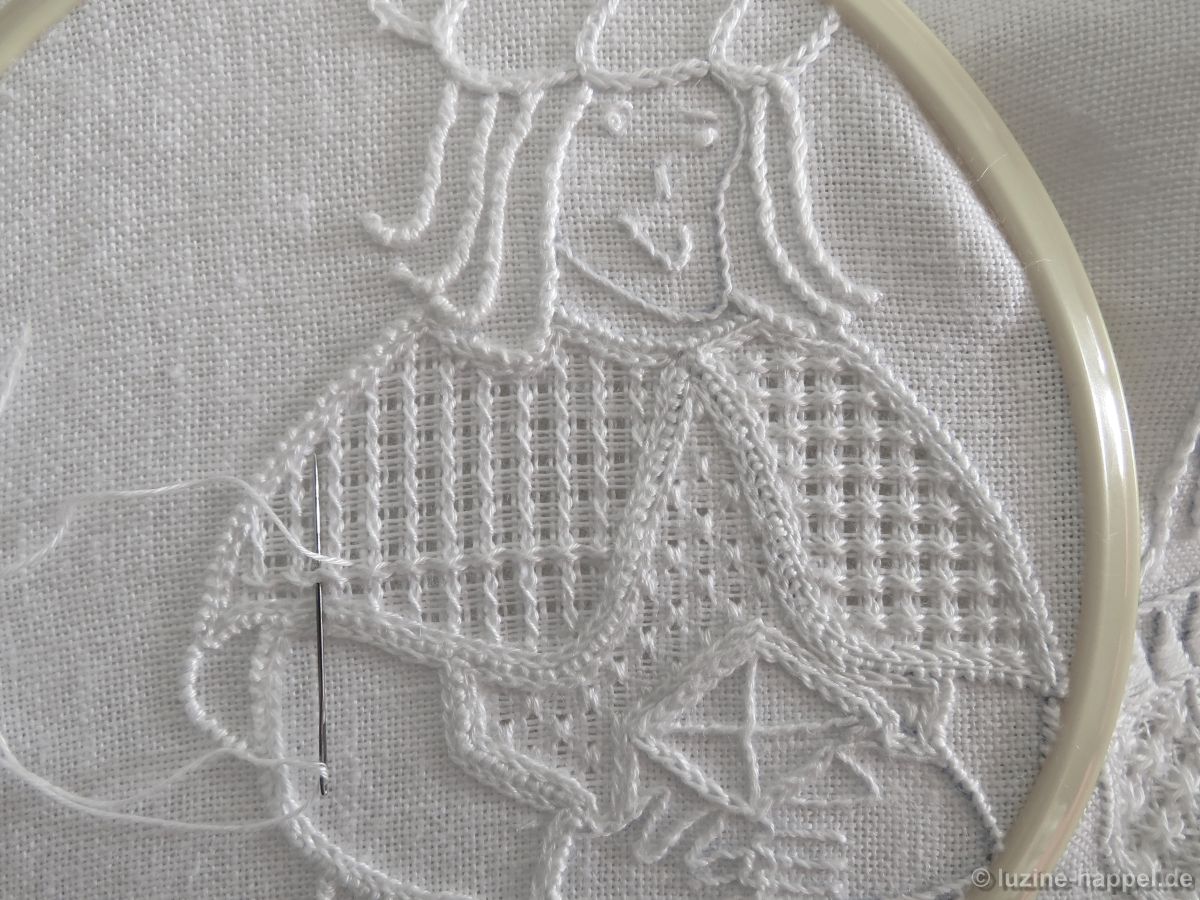
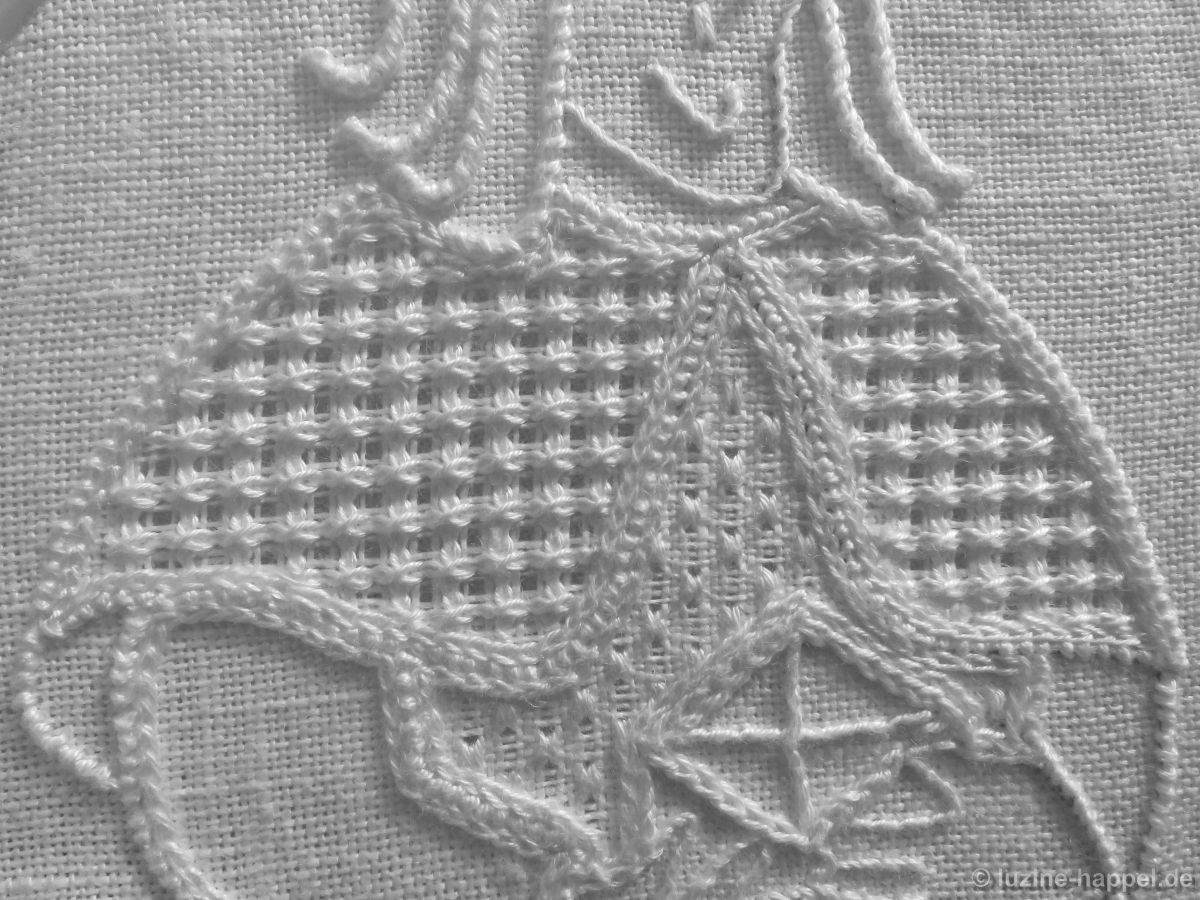
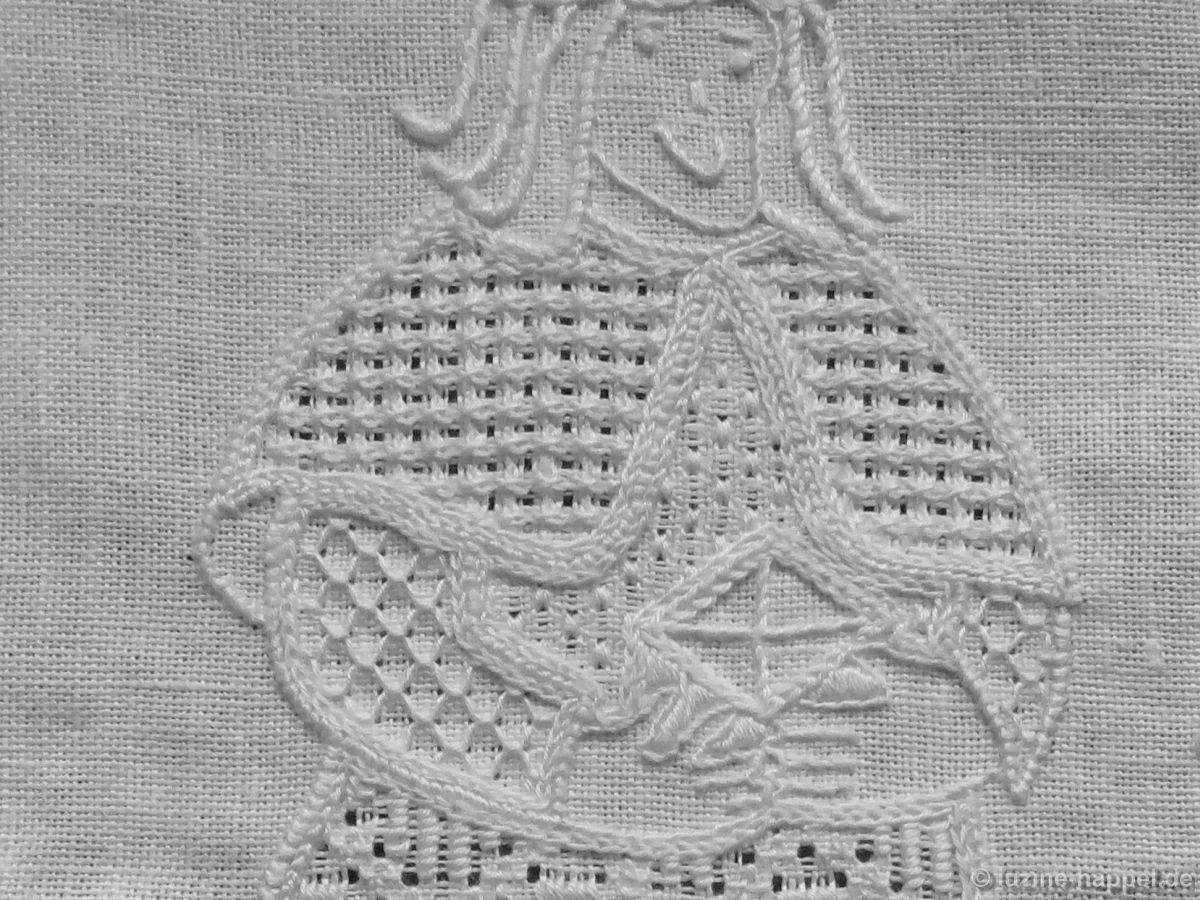
all are individually embroidered.
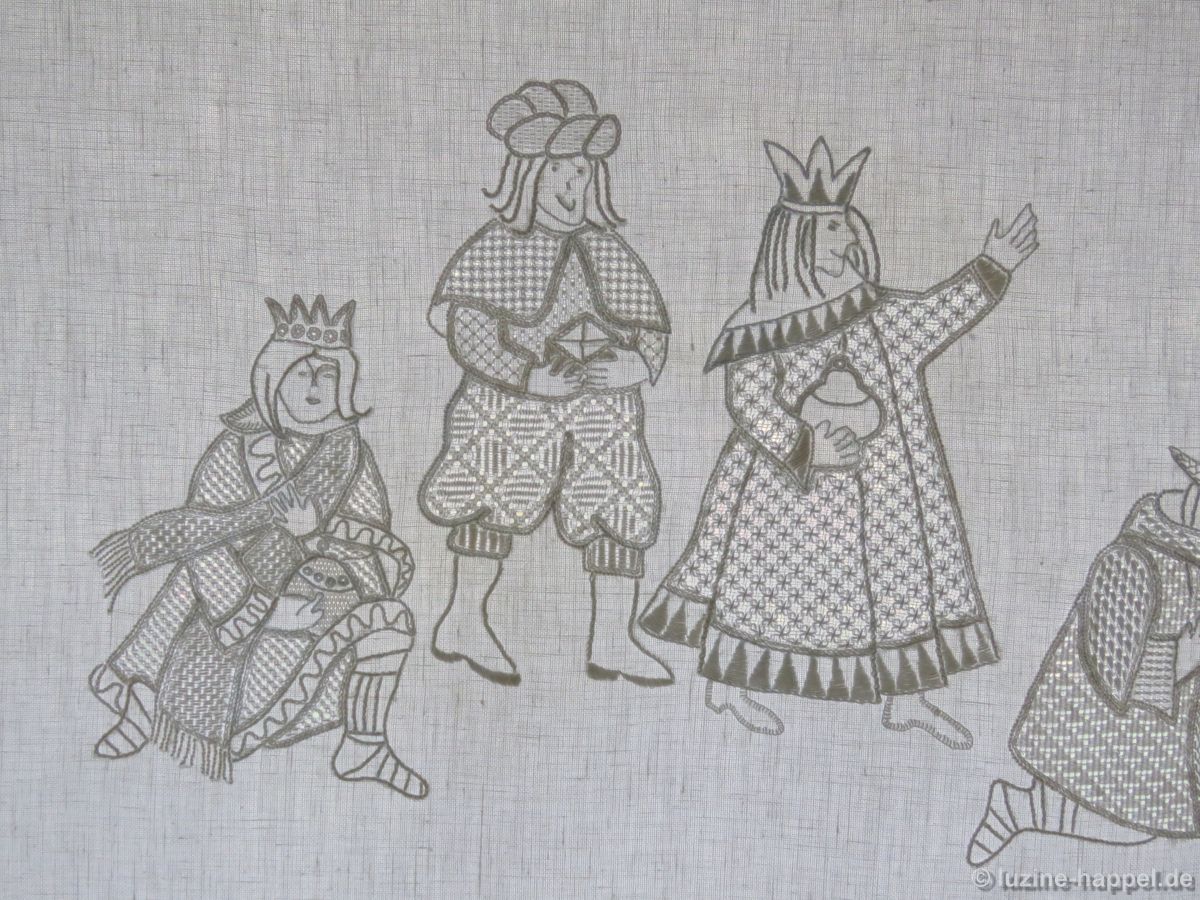
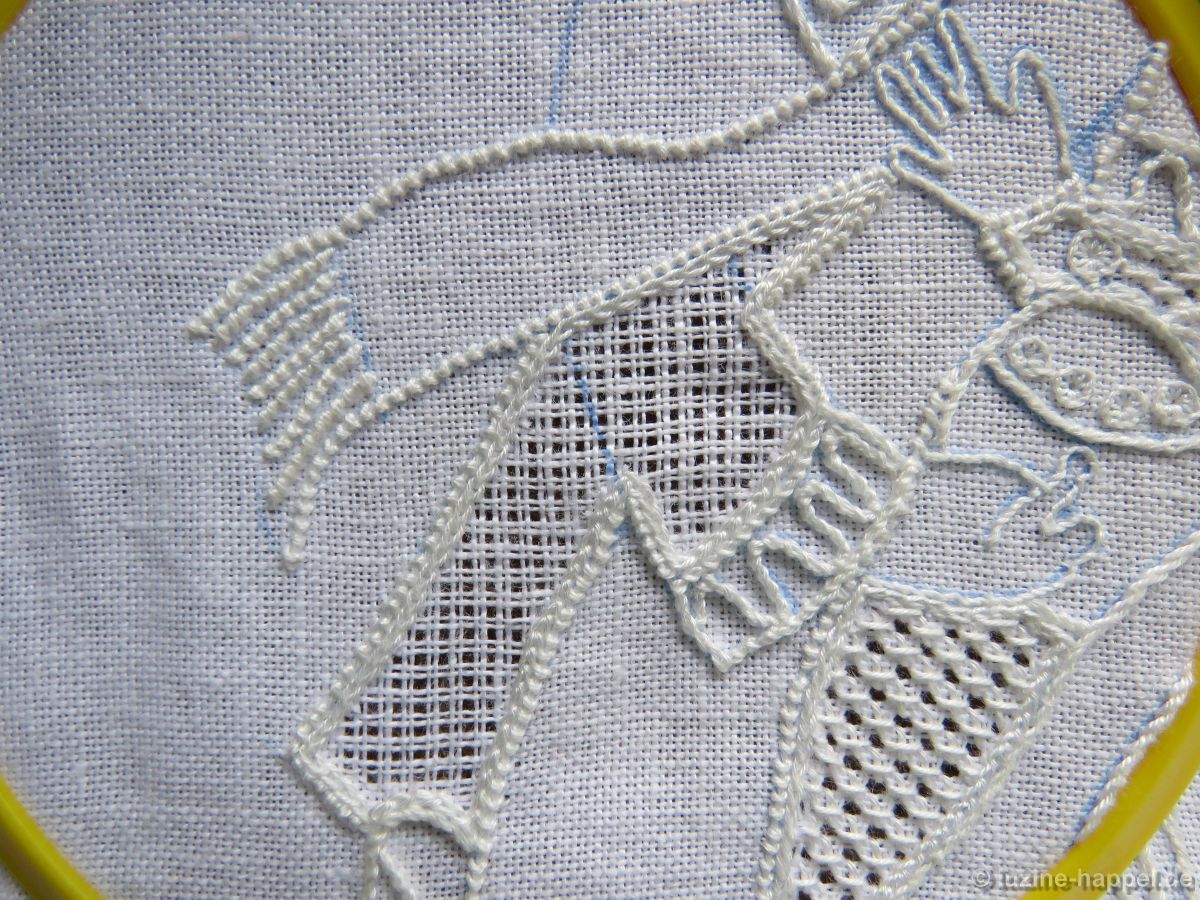
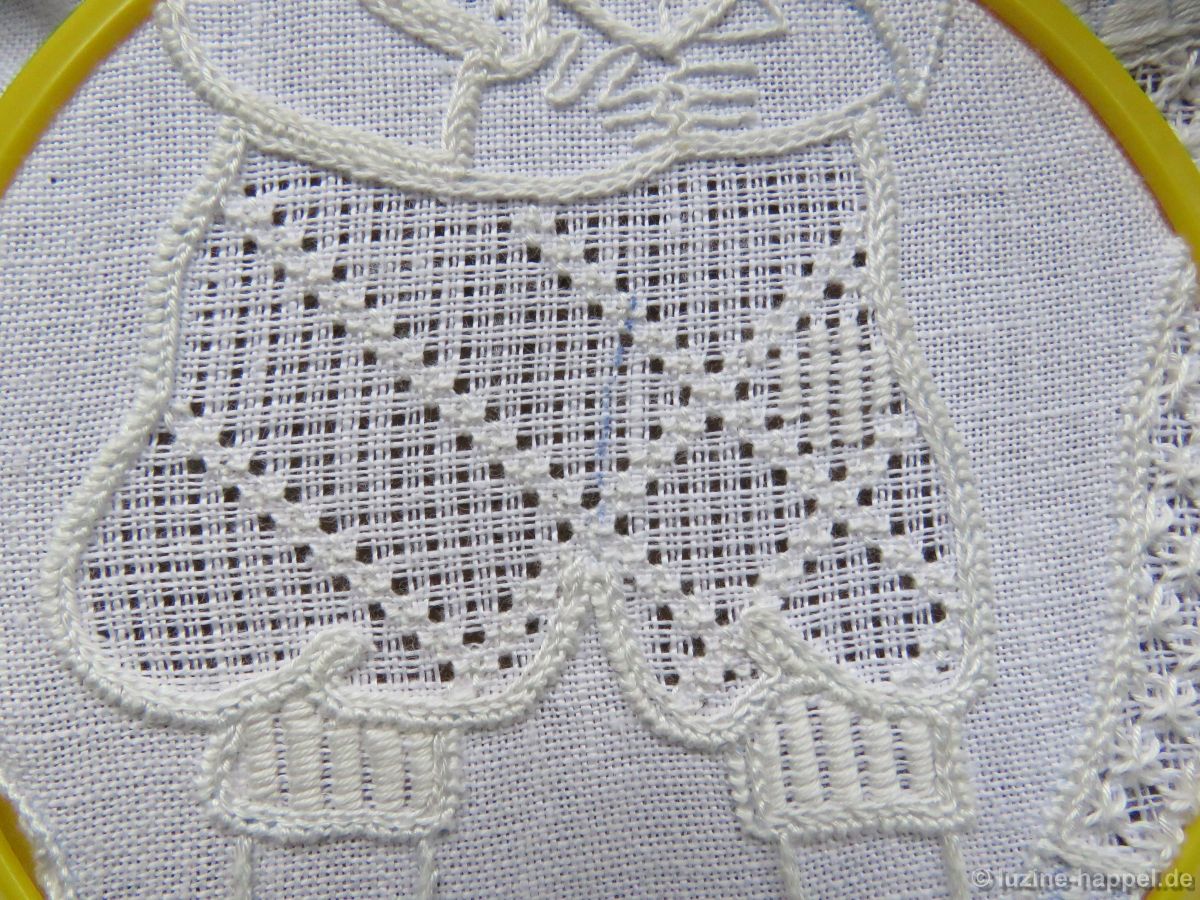
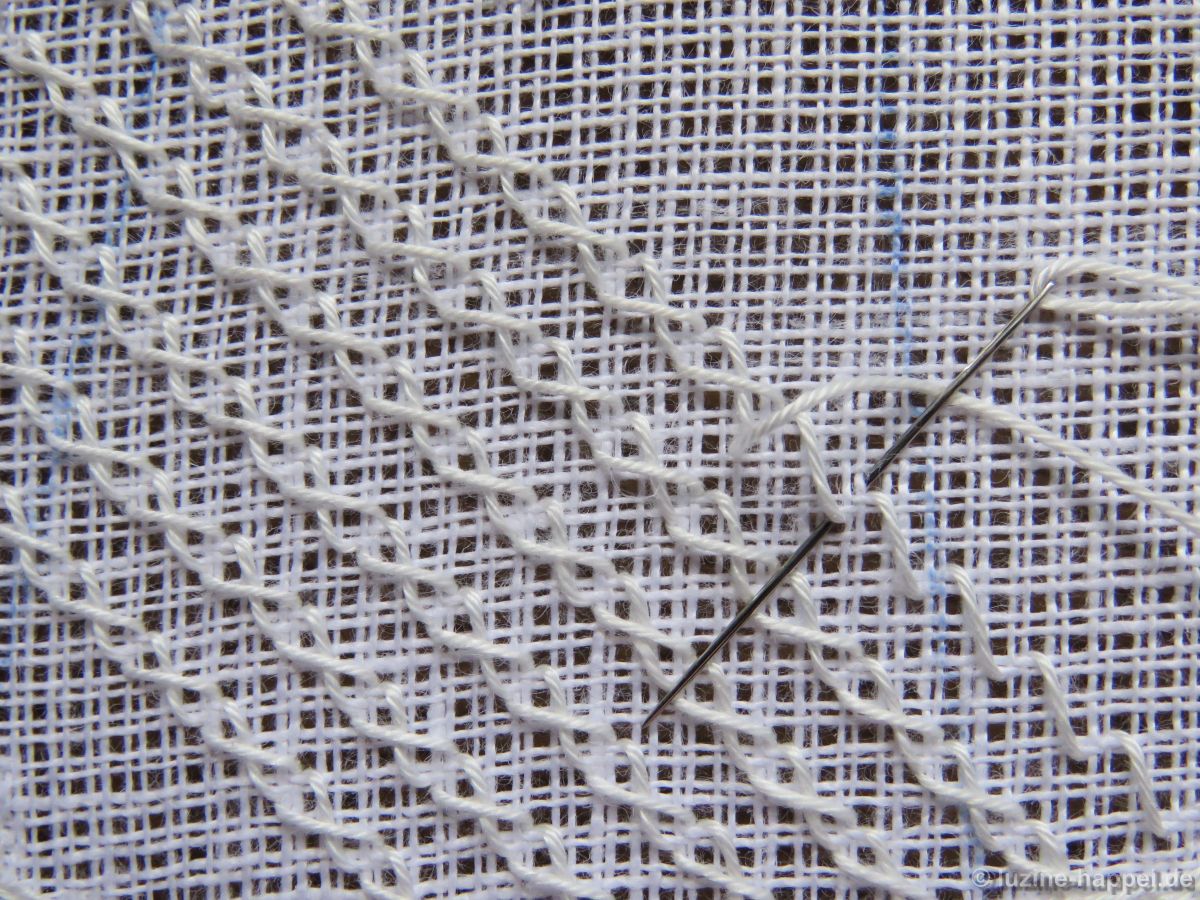
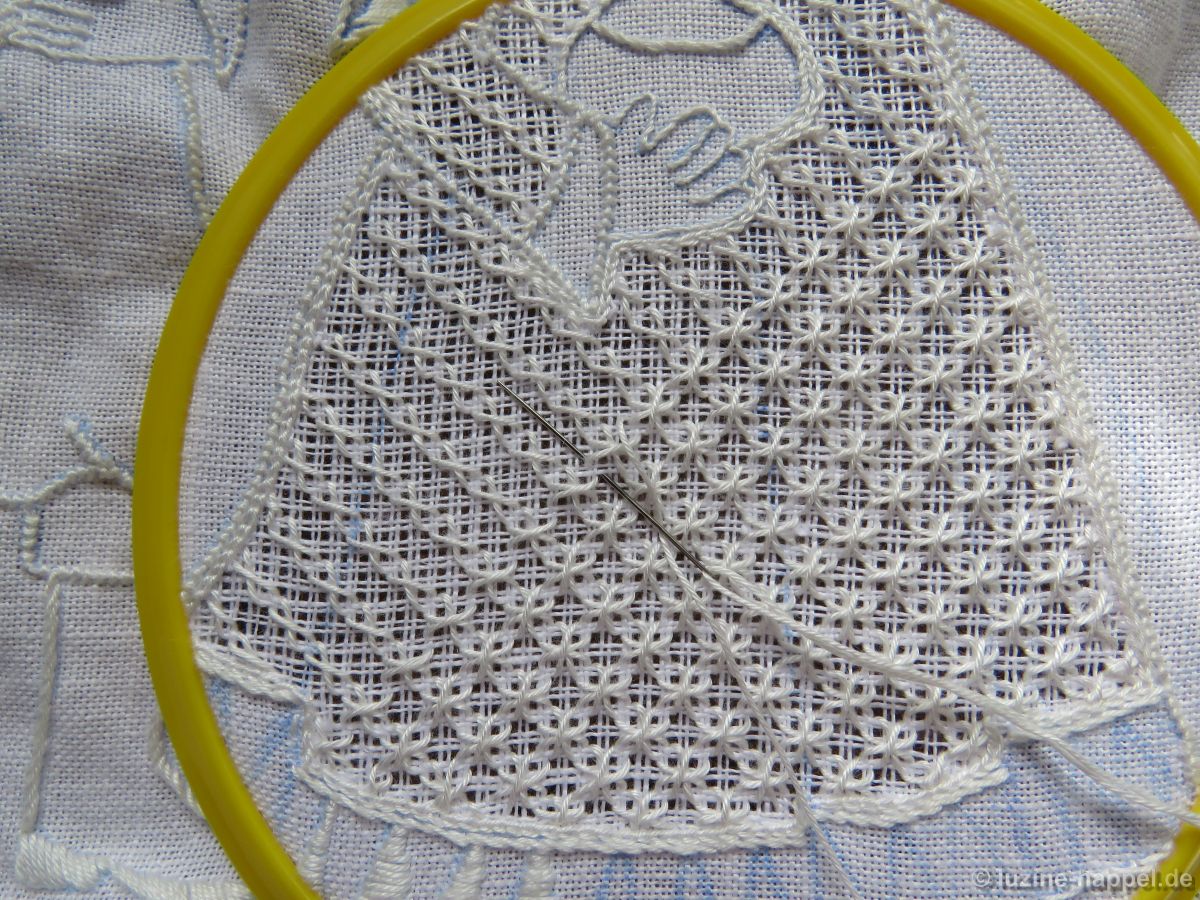
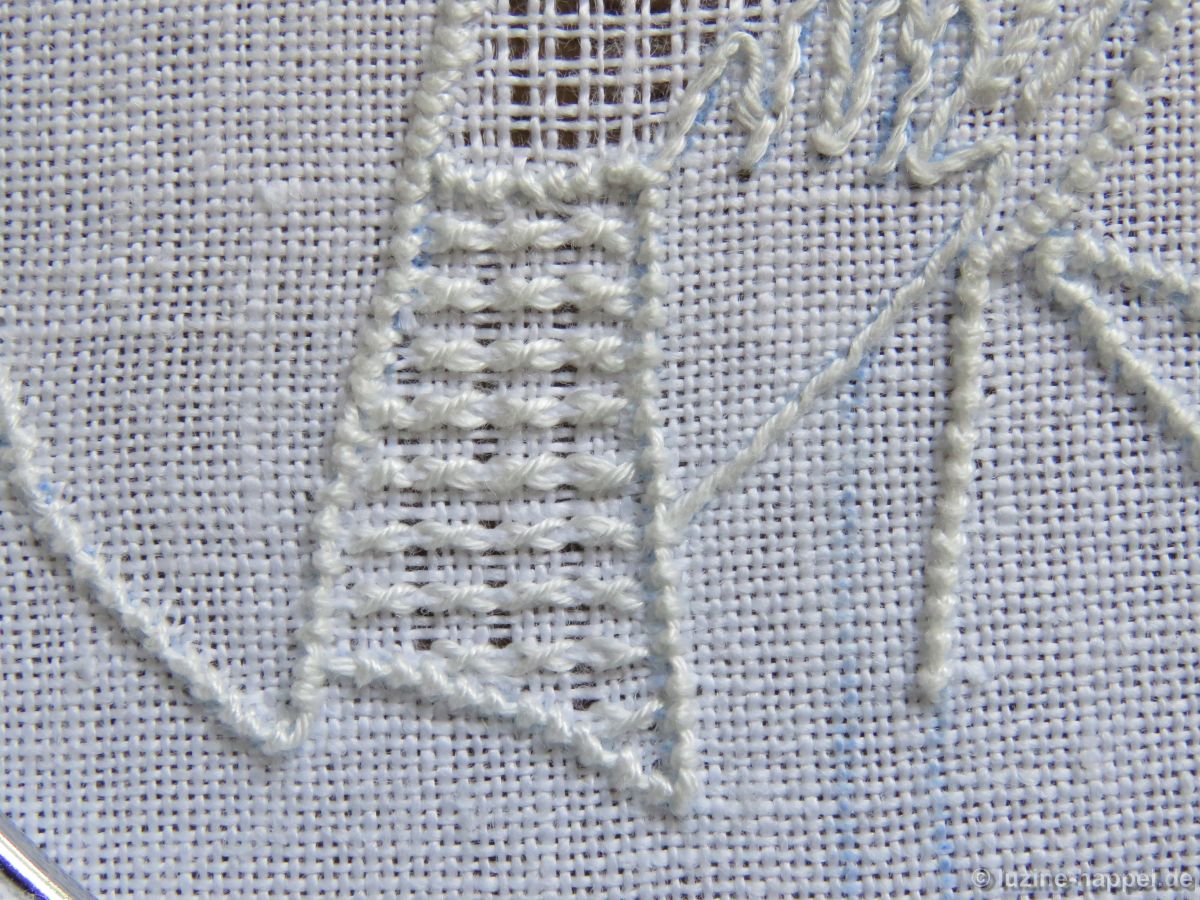
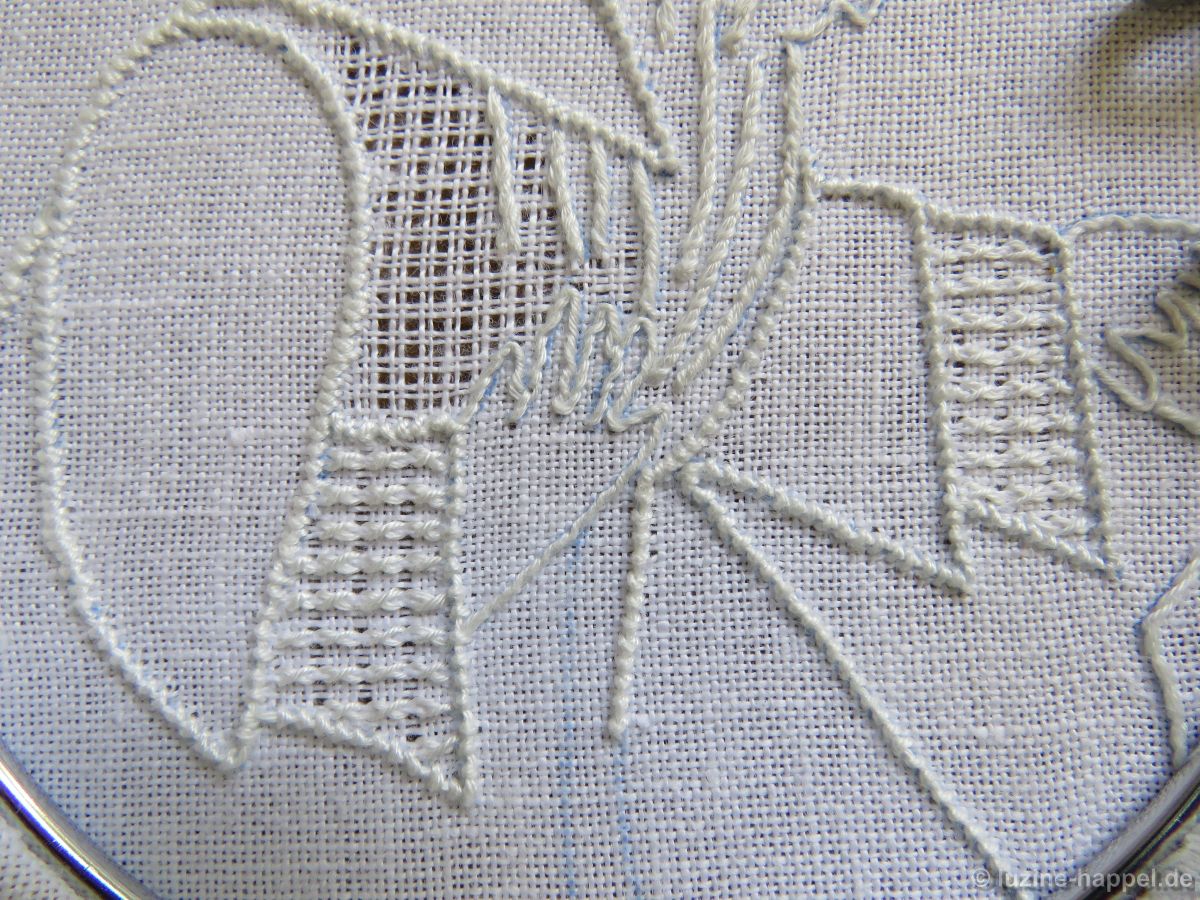
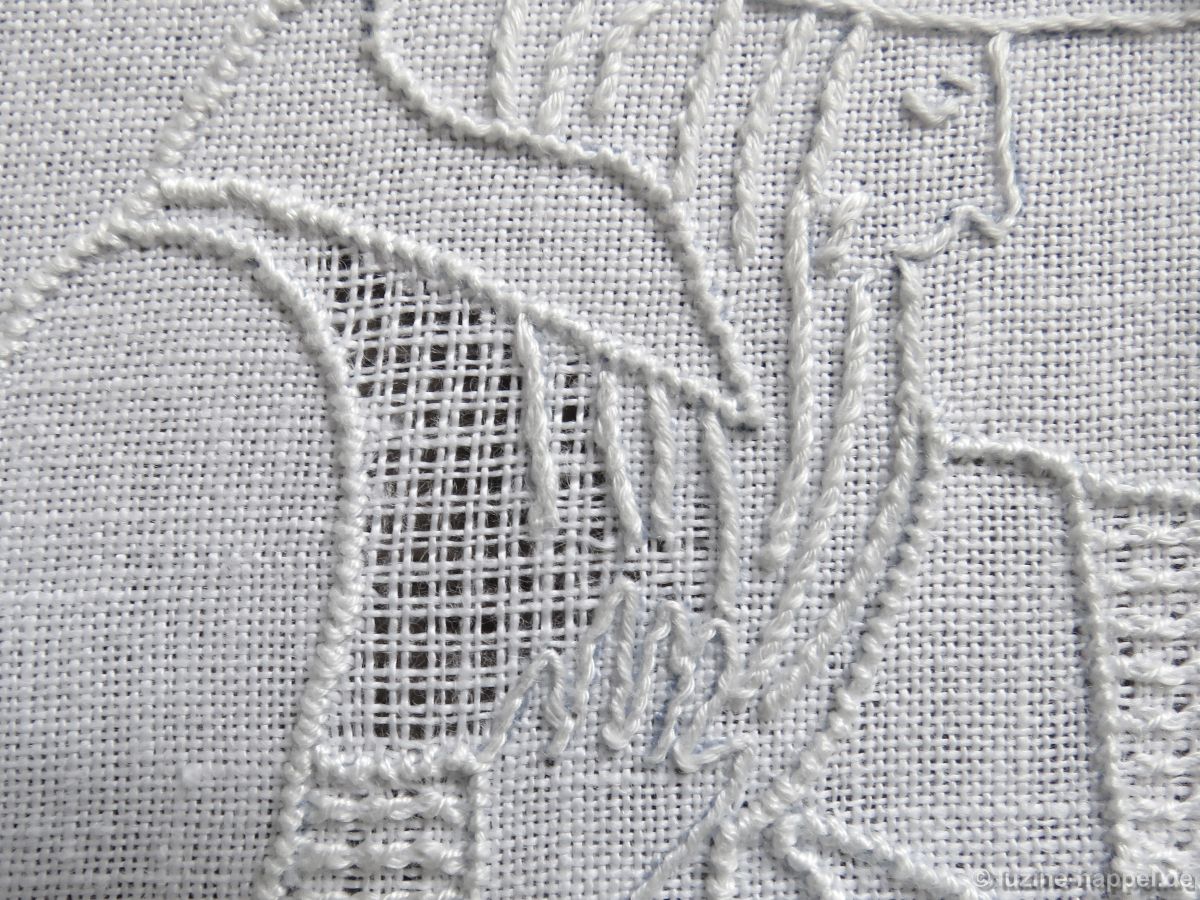
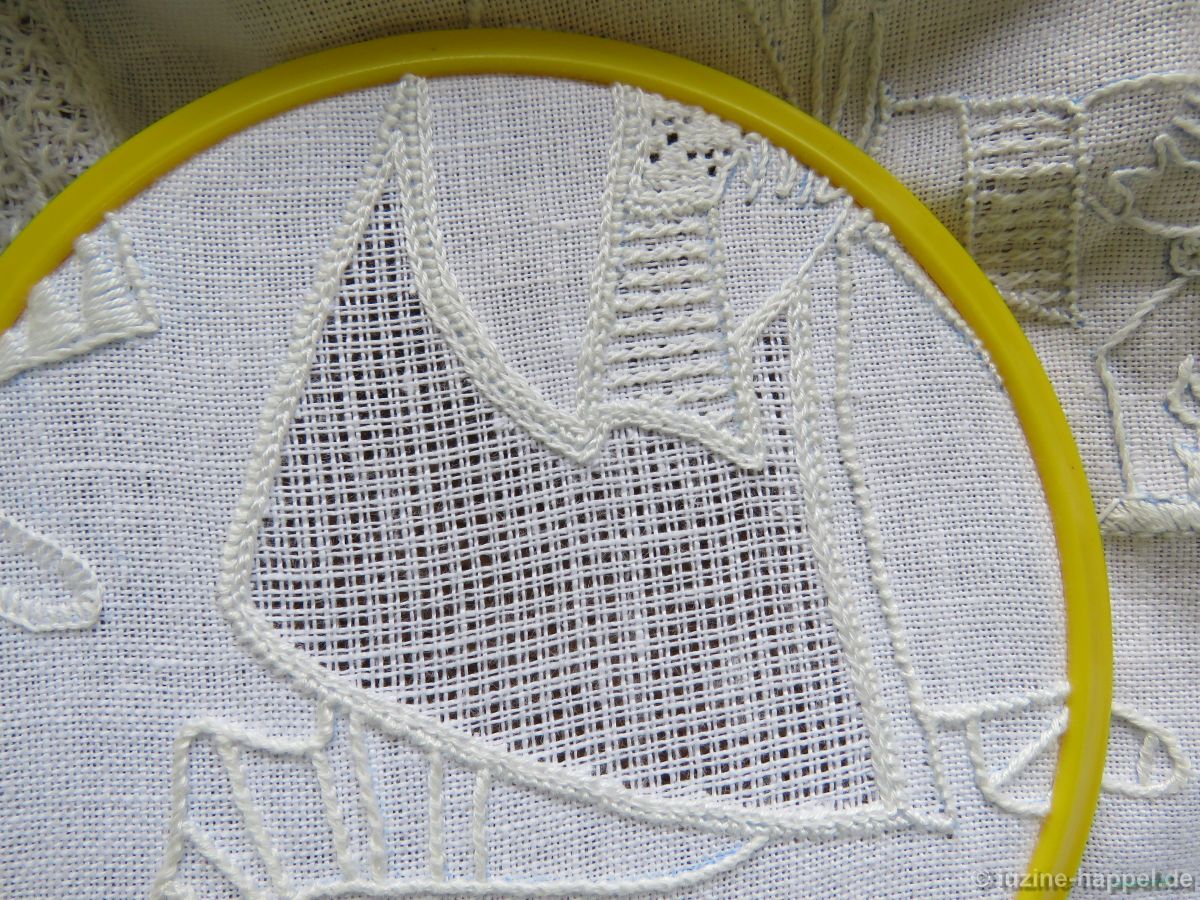
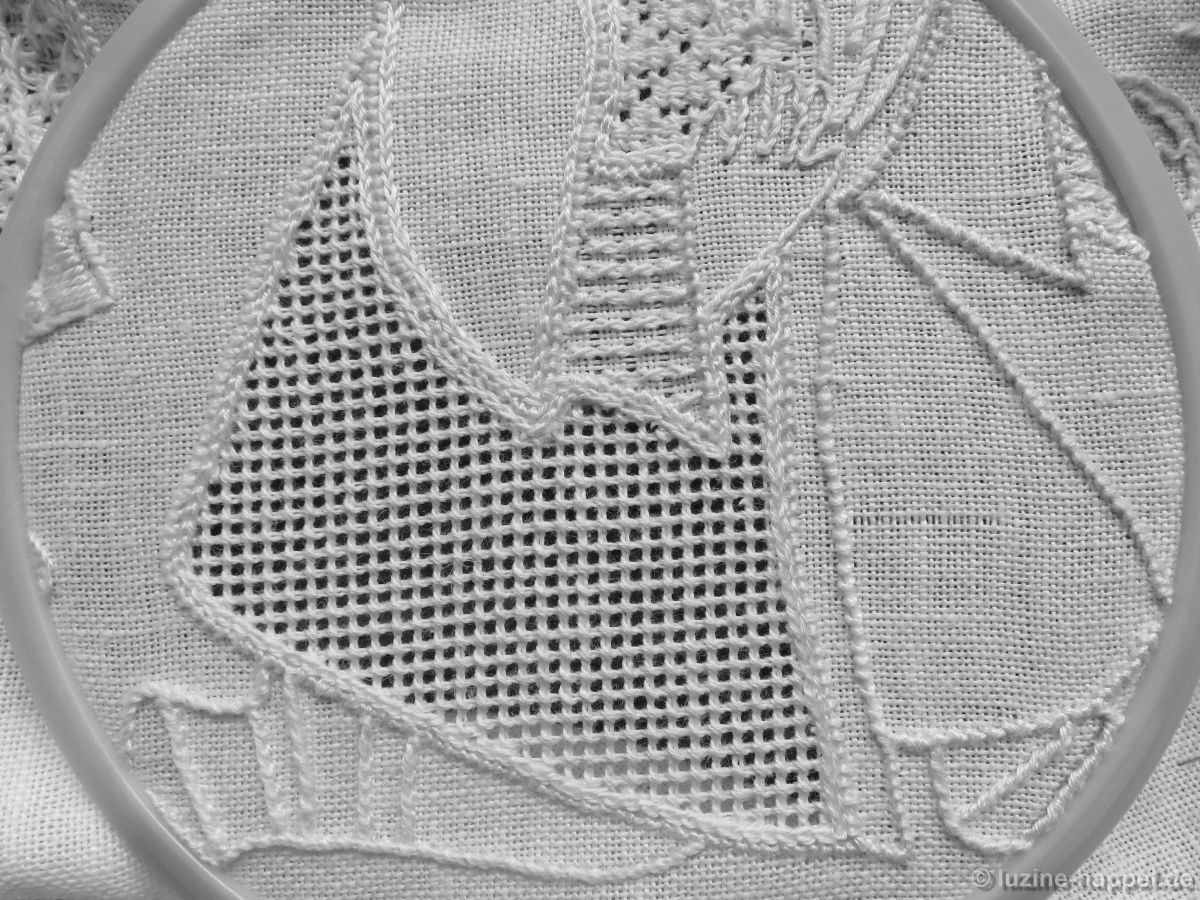
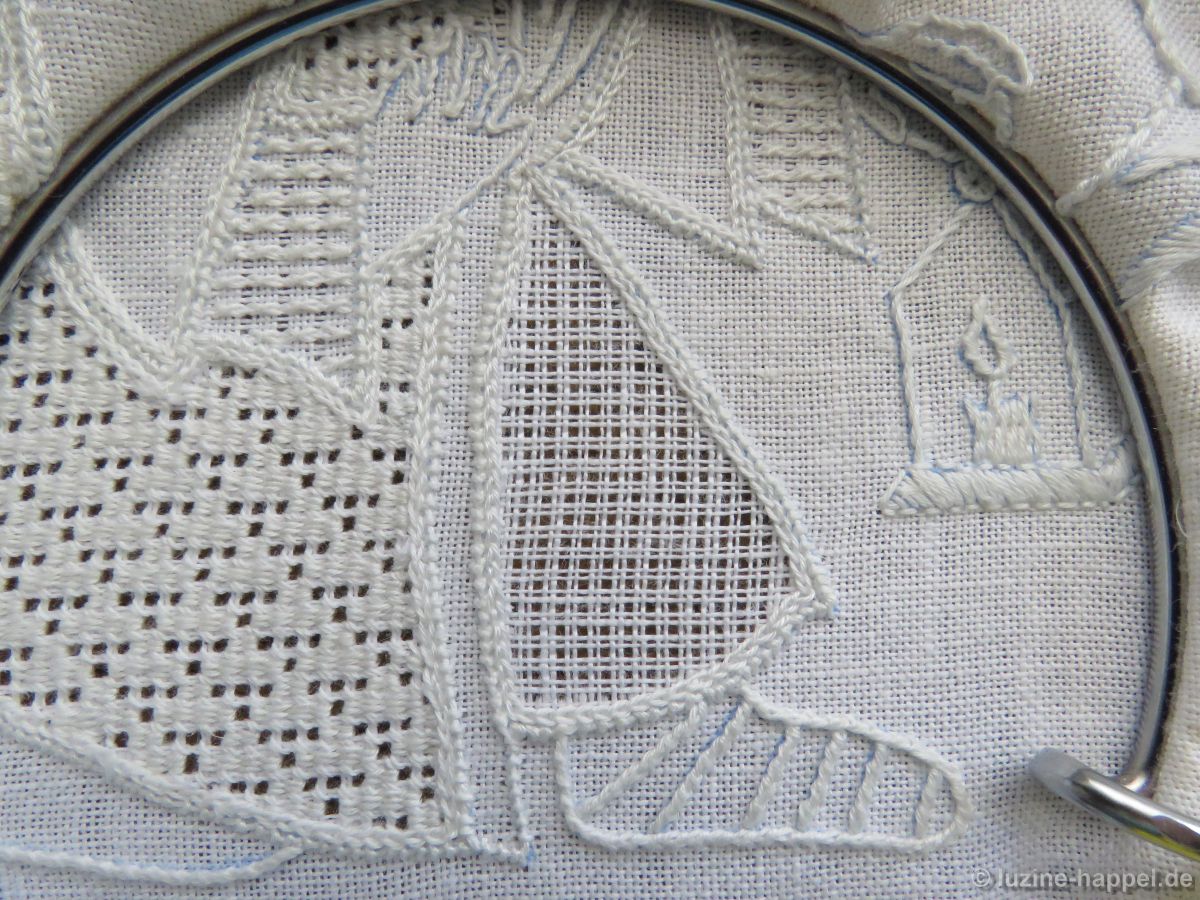
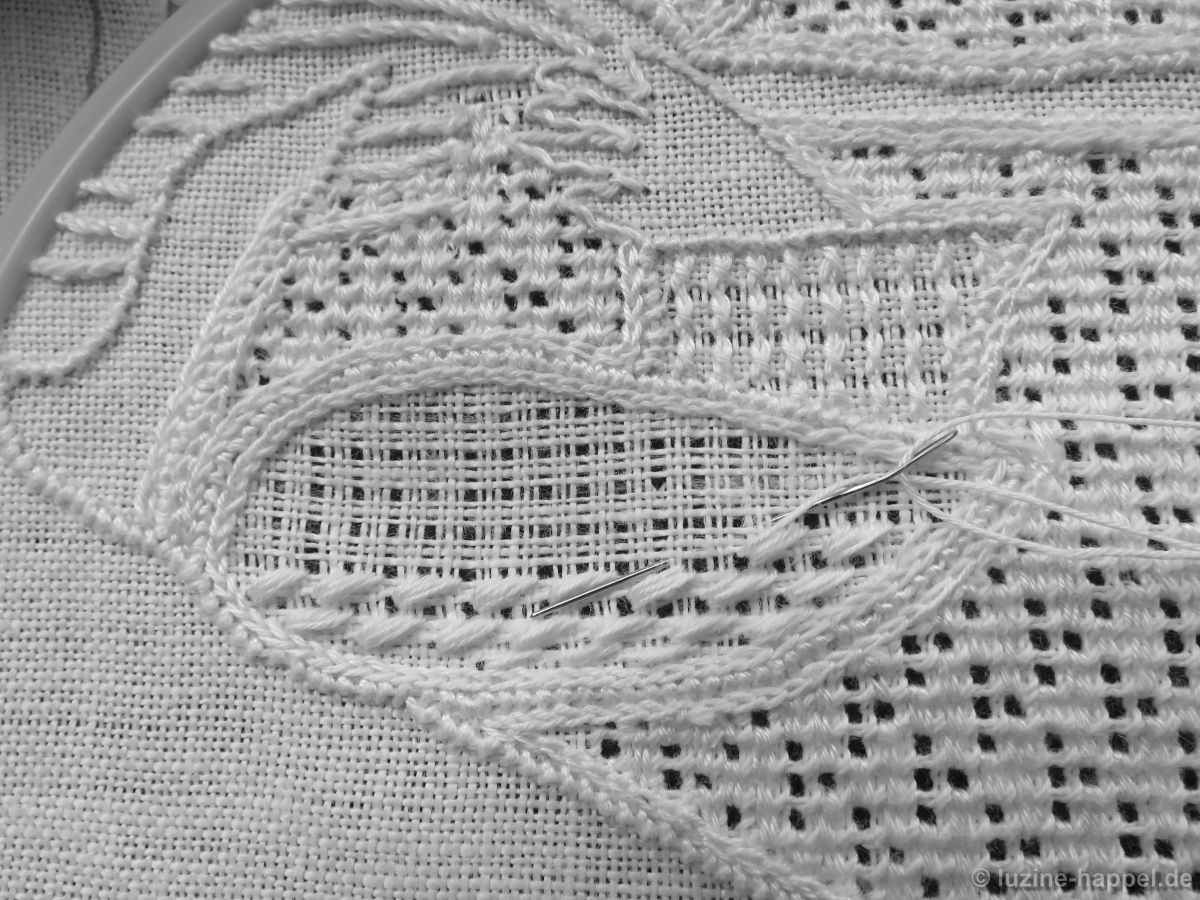
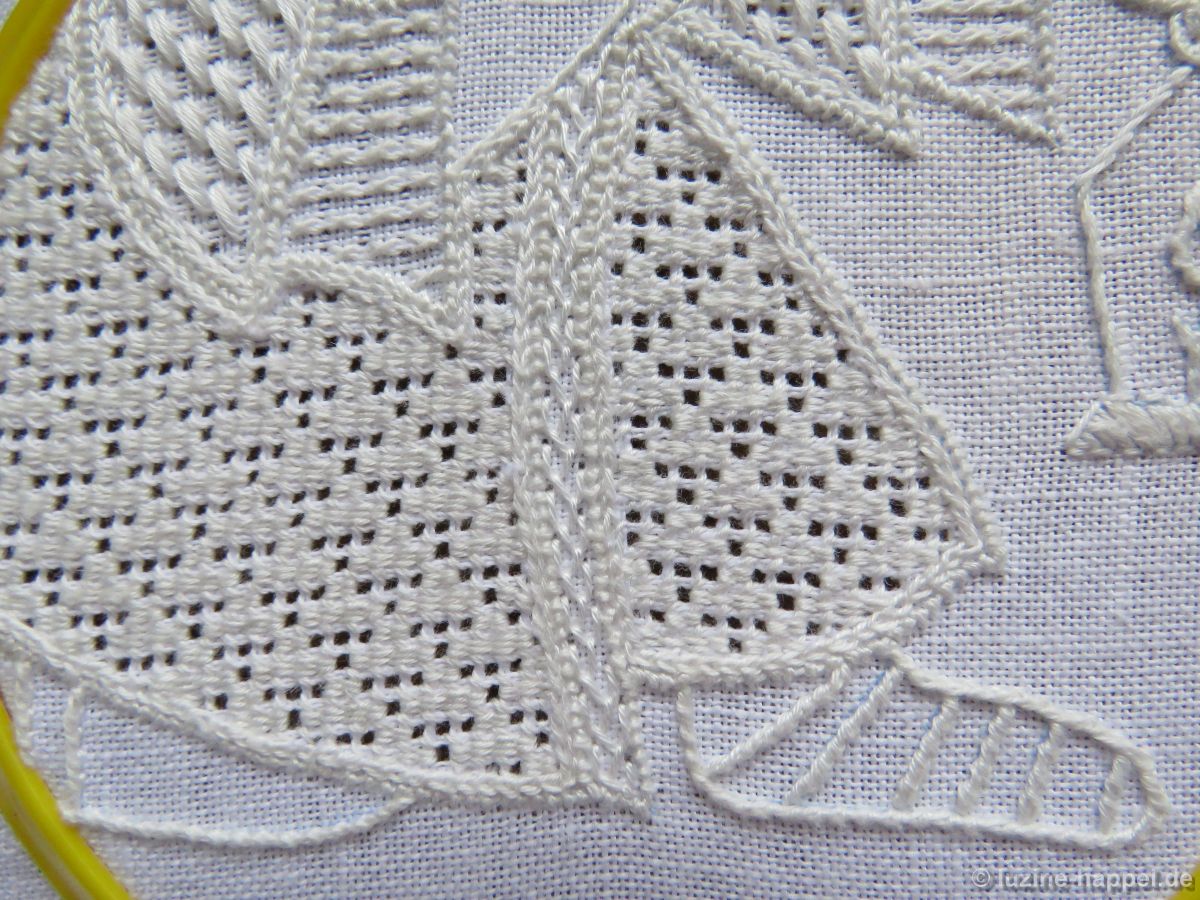
The clothing has very varied filling patterns.
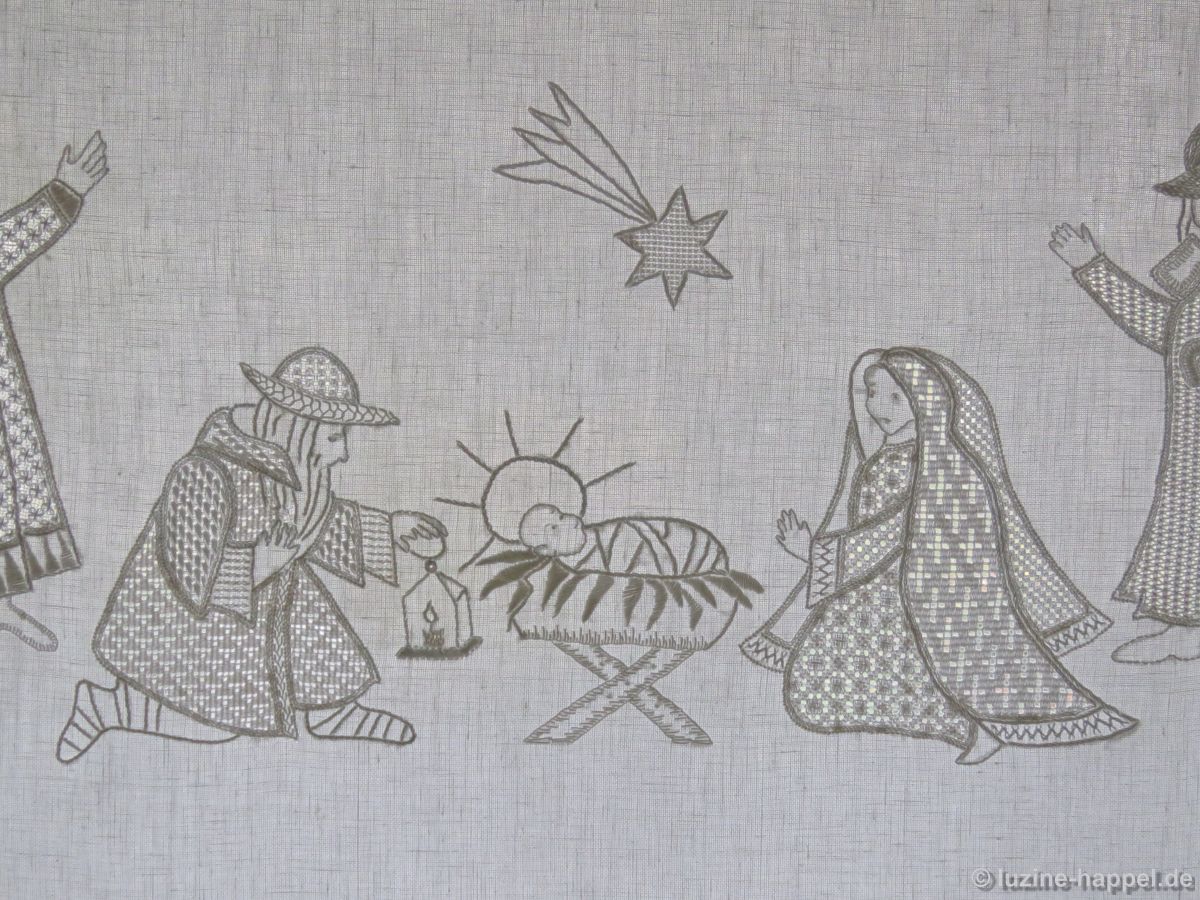
The contrasts between light and dense patterns were brought out well enough, I think.
Look for yourself:


Maybe you embroider a project with the same outlines, but design it with different stitches and filling patterns. Then I would be very happy about a few photos.