Schwalm Whitework and Bobbin Lace (1)

Recently I have shown many design options with needle-weaving hems.

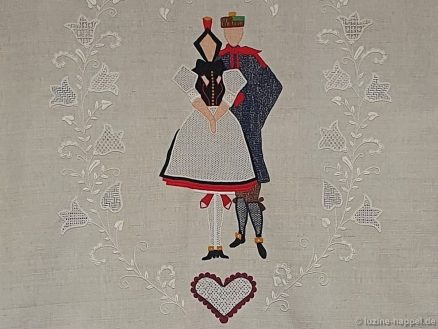
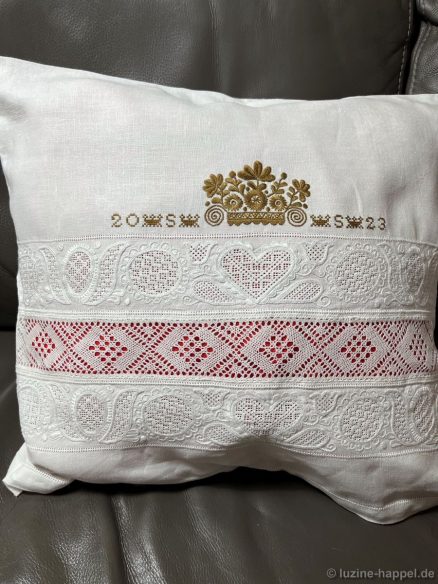
Sylvia Sellmaier has now created an interesting alternative on a pillowcase.

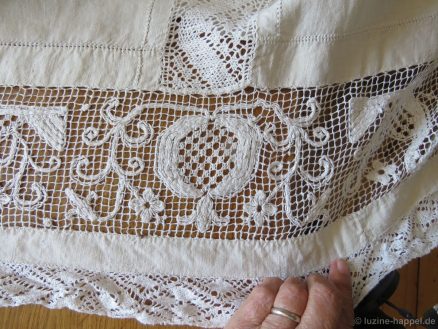
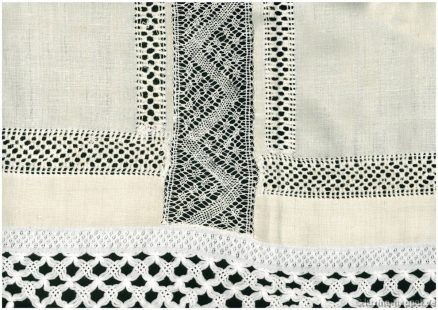
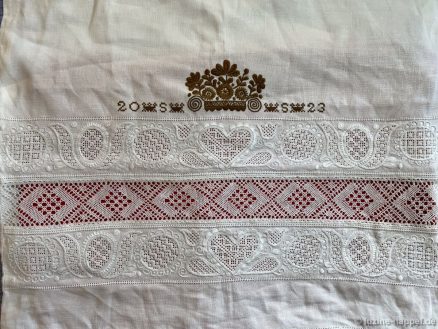
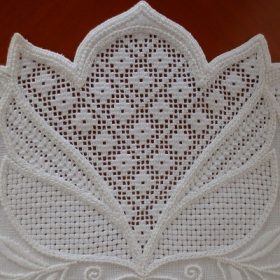
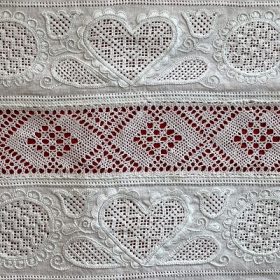
She combined typical Schwalm whitework borders and a Schwalm crown with a bobbin lace insert.

Bobbin lace has a long tradition in the Schwalm (see also: Bobbin lace in the Schwalm (1) and Bobbin lace in the Schwalm (2) ).

Neukirchen was a center of Schwalm bobbin lace production for a long time. However, bobbin lace was mostly used as an edge finish.
But I also know of historical pieces with bobbin lace inserts.

Bobbin lace can be found both as an edge decoration and as an insert combined with a fillet embroidery border on a Schwalm bed cover from the late 18th century.

A bed cover from the beginning of the 19th century shows a wide bobbin lace insert between needle-weaving hems. The edge of the cloth was decorated with the machine lace/ trimmings that were just emerging at the time.

In my large collection I have five other pieces with different bobbin lace inserts:
• a bed cover with elaborate early Schwalm whitework and very fine bobbin lace,
• a parade cushon with needle-weaving hems and gimp (?) bobbin lace
• a parade cushon with a very wide Schwalm whitework border, needle-weaving hems and a wide bobbin lace insert,
• a bed cover with various bobbin lace bands and a crown as well as
• another bed cover from 1844 with a crown, elaborate openwork pattern borders, a wide bobbin lace insert and a machine-made trimming.

I will introduce these pieces in later blog posts.

But now to the pillowcase from Sylvia Sellmaier.

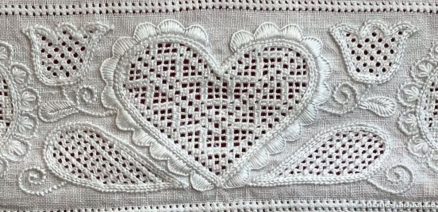
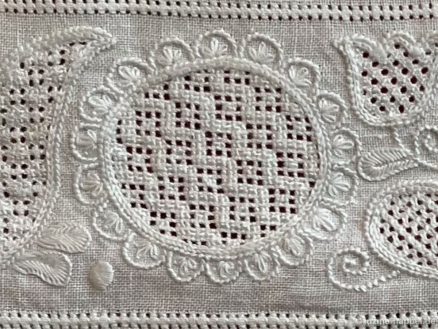
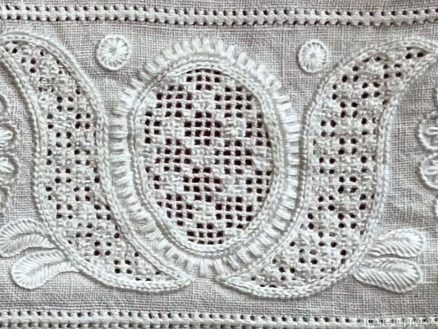
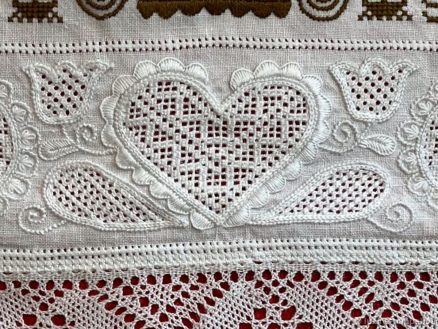
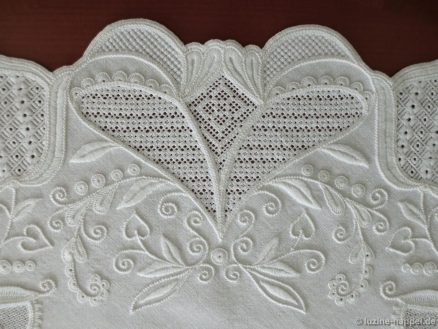
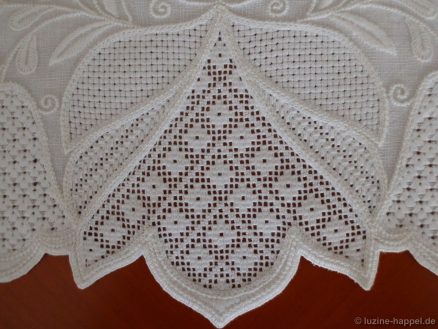
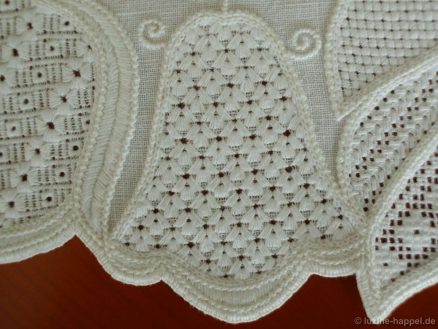
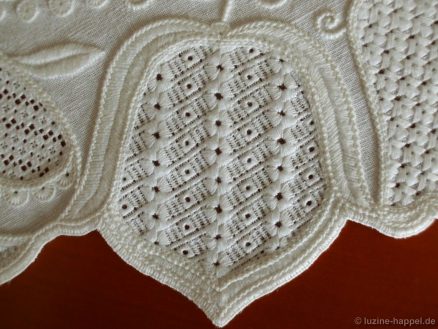
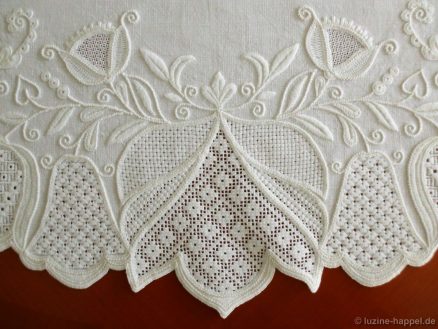
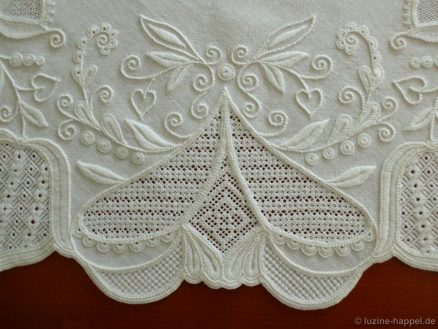
She embroidered the initially continuous fabric for her pillow with two identical whitework borders – each bordered by a row of Four-sided stitches.

She chose the classic motifs of heart, tulip, leaf and

circle as well

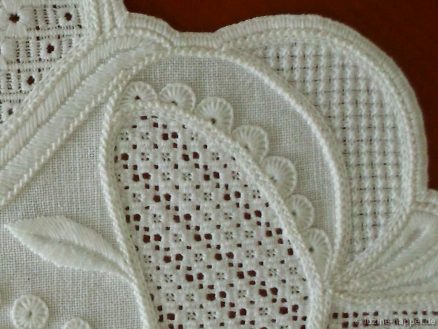
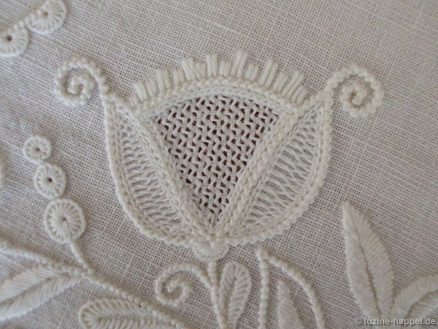
Oval. She filled the areas between the motifs with tendrils, leaves, Blanket stitch eyelets and satin stitch points. As border stitches she used Blanket stitch scallops, 2short – 2long and the rarely seen variant with scallops made of Coral knot stitches, filled with groups of 3 Daisy stitches.

To fill the motif areas, she used traditional openwork patterns, usually with Rose stitches.

A popular Schwalm crown shape with a basket, palmette branches, flowers and tendrils – embroidered with stranded cotton in Anchor colour 888 – “crowned” her embroidery.

Her initials and the year were attached to the crown, separated by small cross-stitch crown ornaments.

The borders were spaced the same width as the bobbin lace that was used later. After the embroidery was finished, the fabric was cut apart and folded to the back at a distance of 10 fabric threads from the Four-sided stitches.

Each edge was finished with two rows of stitches. The first row is a “half Four-sided stitch.” Sylvia Sellmaier found it in a lace book. The second stitch is a traditional Four-sided stitch. Both stitches were worked through two layers of fabric. After completing the edge stitches, the excess fabric was cut off

and the lace sewn on.

For the insert, Sylvia Sellmaier worked

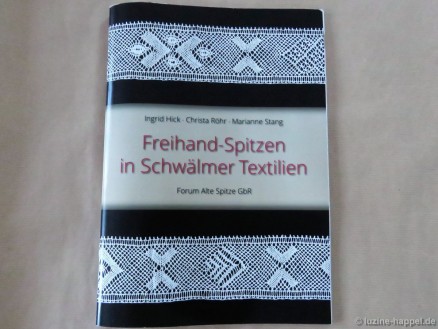
from a pattern from the book

24_KS_2

Freihandspitzen in Schwälmer Textilien
Ingrid Hick, Christa Röhr, Marianne Stang
Zu beziehen bei:
Forum Alte Spitze GbR
Am Tomberg 18
52531 Übach-Palenberg

However, she made the lace using the torchon technique.

Sylvia Sellmaier hopes that through this blog post embroiderers/lace makers will be found who have similar pieces and are willing to show them or share their insights with her.
Schwalm Tablecloth – round (3)

Fascinated by the care and precision with which brubi creates her beautiful Schwalm tablecloth and the attention to detail with which she prepared the embroidery, I wanted to share it with my blog readers. To do this, brubi opened her folders again so that she could create the corresponding images – thank you very much for that.

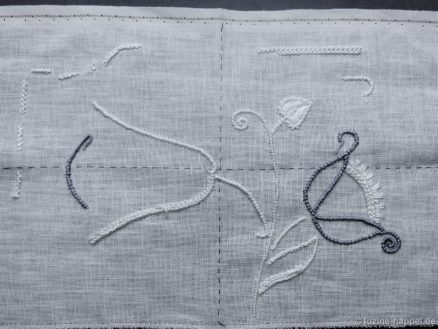
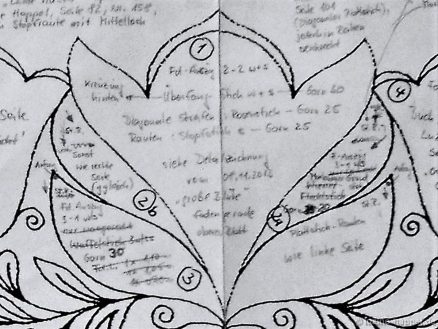
First tests at embroidery: Coral Knot stitch in different thread thicknesses and types, Chain stitch, Satin stitch, Macrame stitch

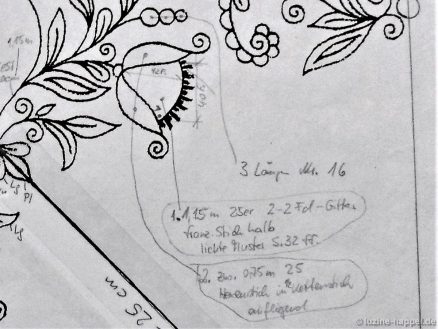
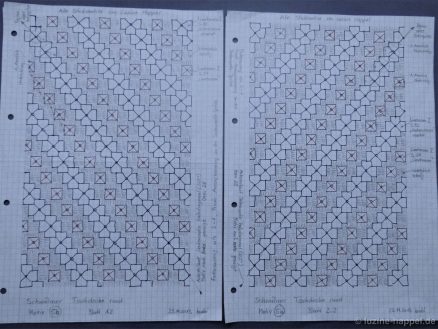
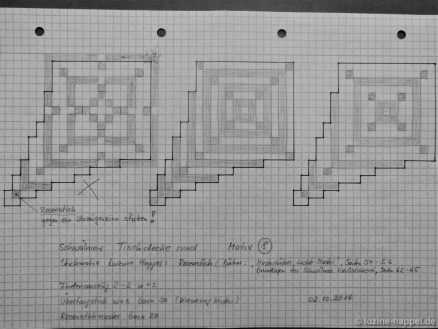
Overview 1: thread allocation, thread weight and thread length to the individual objects, definition of stitch types.

Section 1 from Overview 1: thread length for the individual objects, definition of stitch types

Section 2 from Overview 1: thread allocation and thread weight

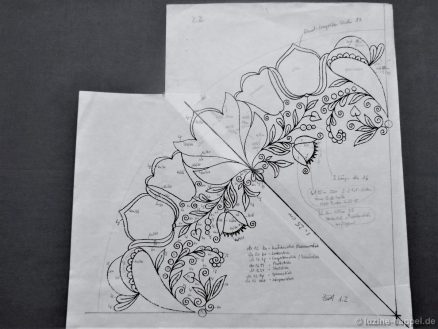
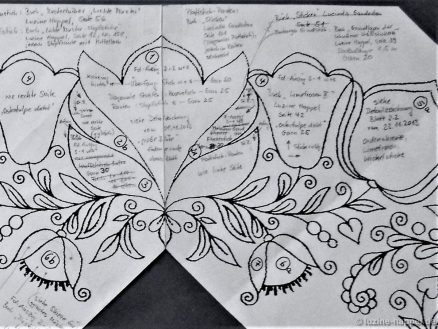
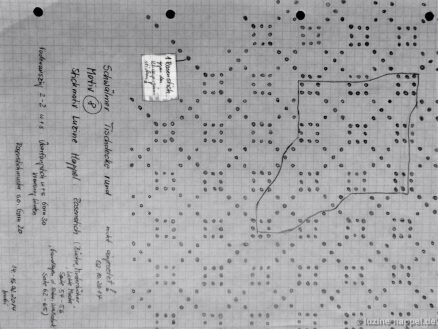
Overview 2: initially only numbering of the motifs,
later, after drawings and test embroidery, gradually determining the course of the pattern, the thread withdrawing, the embroidery direction and the embroidery patterns.

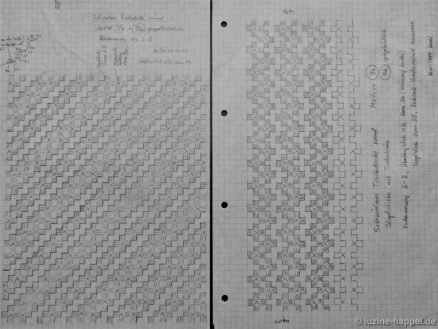
Embroidery samples: tried out various types of stitches, embroidered combinations of embroidery stitches.

Section 1 from Overview 2

Section 2 from overview 2 with details 1, 2 and 3

Detail 1 large flower (in the straight of grain) flower center – sketched

Detail 1, 2 and 3 – finished embroidered

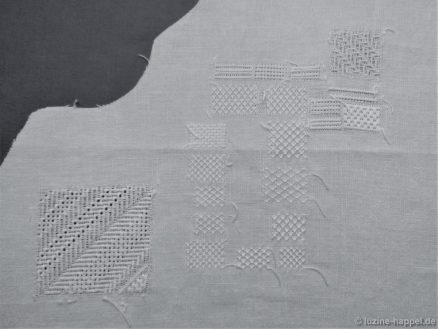
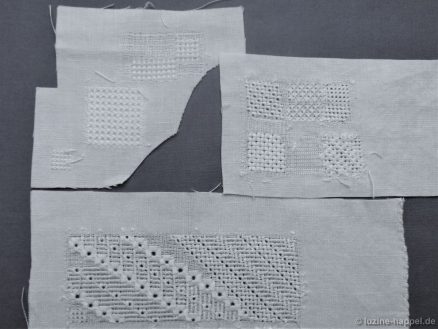
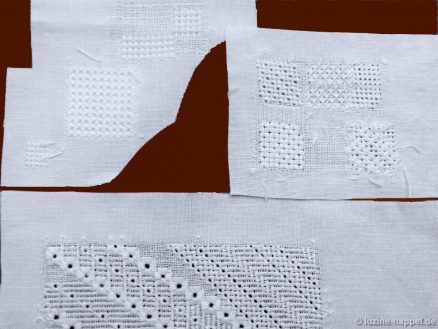
Embroidery samples:
small patch at the top left –
2nd pattern from above = embroidered in detail 10 (top petals).
small patch at the top right –
sample bottom left = embroidered in detail 3 (outer petals),
sample bottom right = embroidered in detail 2 (inner petals).
large patch below –
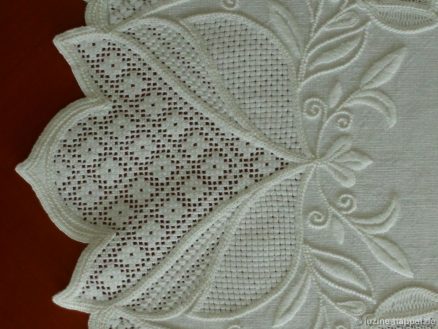
sample between middle and right cross, upper area = embroidered in detail 5 (large tulip inclined 22.5 degrees).

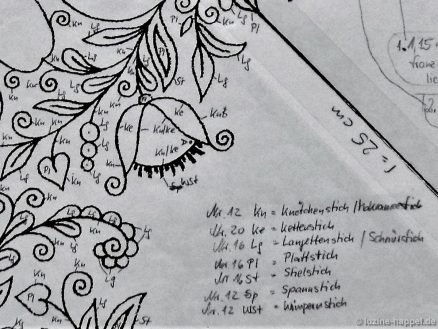
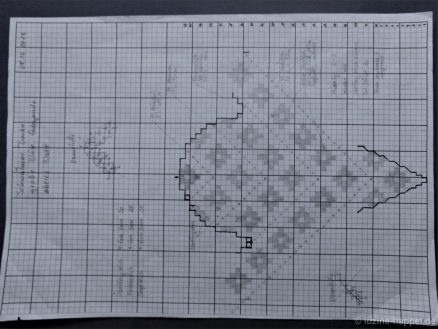
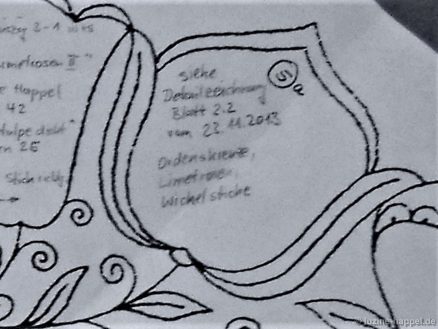
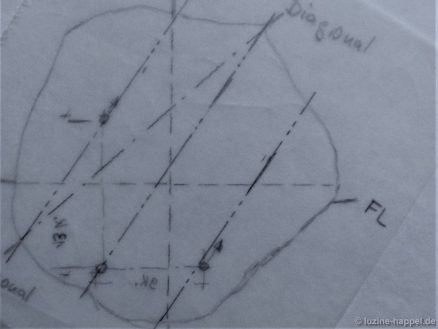
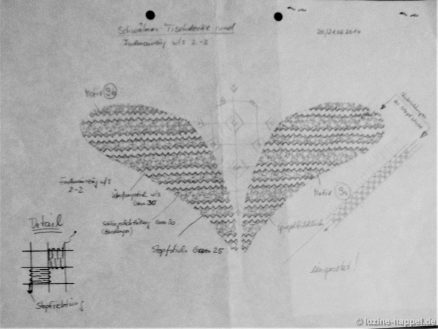
Detail 5 (a + b) – large tulip (inclined 22.5 degrees): determination of thread lines (sketched on tracing paper – so you can get the mirror image motif by turning it over.

Embroidery samples of the patterns in question

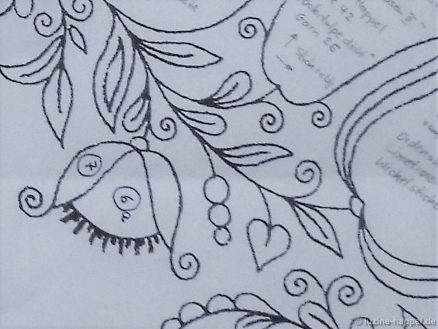
Detail 5 (a + b) – large tulip (inclined 22.5 degrees): design sketches and arrangement of the individual stitch elements

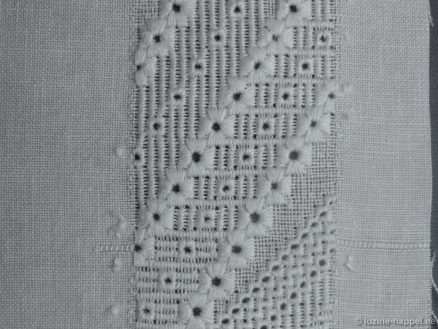
Detail 5 finished embroidered

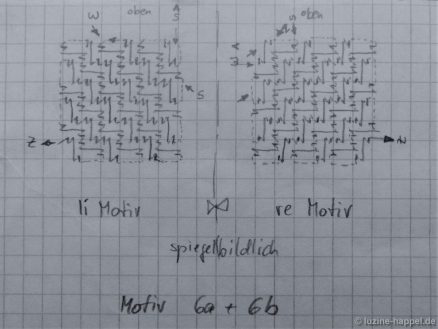
For detail 6 (a + b) bud (slightly inclined), center of flower

“Diagoanl Cross filling – French variaton/”half” was sketched in mirror image

and embroidered.

For detail 8 – large flower (diagonal) flower center –

various filling patterns were sketched.

The left checked pattern was embroidered, the others were discarded.

Detail 8 embroidered

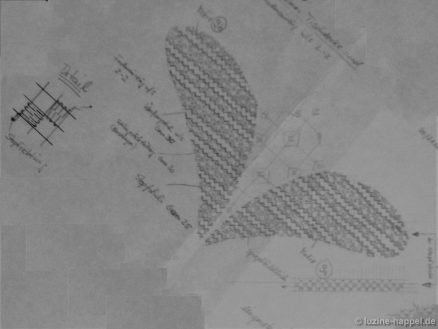
Sketches for patterns for detail 9 (large flower (diagonal) outer petals) – left side embroidered, right side discarded

Sketch for detail 9 – pattern run vertical – discarded

Sketch for detail 9 – pattern run horizontal – embroidered

Detail 9 embroidered

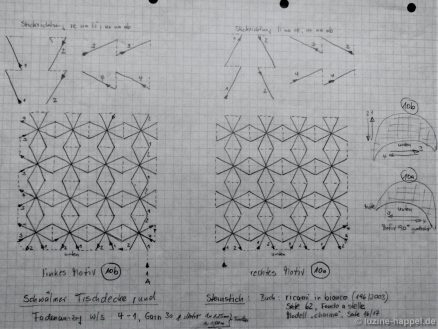
Detail 10 (a + b): large flower (diagonal) upper petals: sketches for star stitch

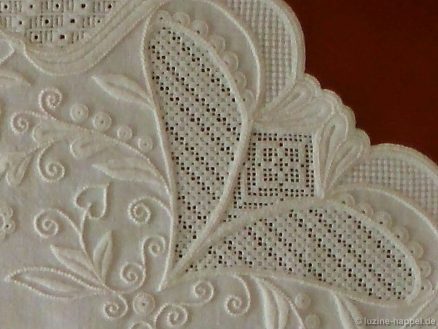
Detail 10 embroidered

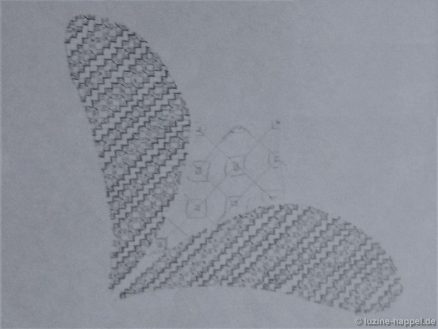
large flower diagonally with details 8, 9 and 10 embroidered

Many people might think that so much effort for embroidery is excessive. But if you consider that these preparations only took about 40 days, but the final embroidery took almost four years (not including the interruption), the ratio is quite acceptable. And only with such an accurate preparation was such a unique result possible. The effort was truly worth it.

Thanks again to brubi for providing all the information. Hardly anyone will probably undertake the entire accuracy, but you can definitely incorporate some suggestions into your own work.

Schwalm Tablecloth – round (2)

brubi – an embroiderer who wants to remain anonymous – has described her dreamy Schwalm tablecloth in detail and has kindly allowed me to share these descriptions with you:


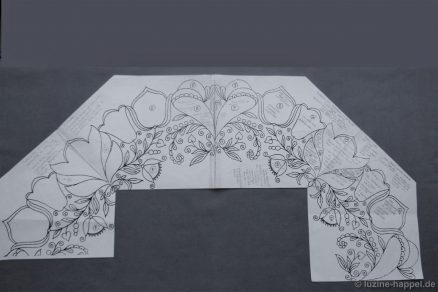
1/8 of the border embroidery
Border width approx. 20 cm


Details 1, 2 and 3: large flower (on the straight of grain)

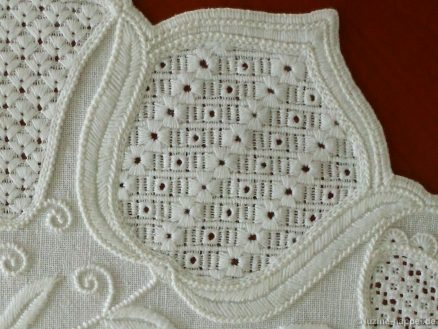
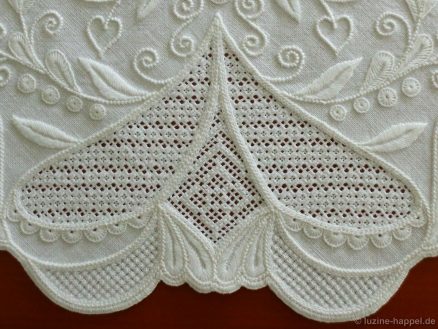
flower center: thread withdrawing: cut 2, leave 2, Cable stitch grid, Rose stitch diagonally (book: Openwork Pattern Samplers, page 64), needle-weaving pattern „Raute“ Nr. 126 (book: Openwork Needleweaving Patterns, page 66).

inner petals: thread withdrawing: cut 2, leave 2, Cable stitch grid, two Satin stitches over one empty squares with change of direction around the corner, thread continuation on the back, embroidered in opposite directions,

outer petals: thread withdrawing: cut 1, leave 3, Satin stitch diamonds made of 5 stitches with change of direction (book: Sticken von Lucinda Ganderton, page 101).

Detail 4: small tulip (on the straight of grain)
thread withdrawing: cut 1, leave 3,
double square eyelet pattern „Ostertulpe – dicht“ (book: Limetrosen II, page 42)

Detail 5: large tulip (inclined 22.5 degrees)
thread withdrawing: cut 1, leave 3,
Stitch combination, embroidered in mirror image in every second tulip, consisting of double square eyelet „Cross Medal – staggerd“, here single row (book: Limetrosen I, page 78), „Simple Square Eyelets“, here offset in one row (book: Limetrosen I, page 33), Satin stitch bars slanting, here with a change of direction (book: Wickelstiche I, page 9).

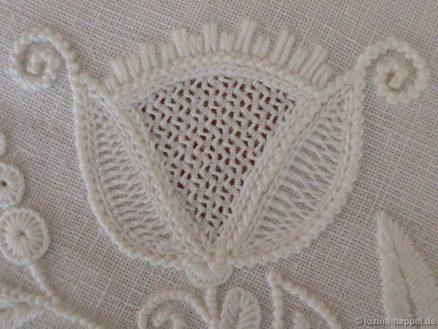
Details 6 and 7: bud (slightly inclined)

flower center: thread withdrawing: cut 2, leave 2,
Diagonal Cross Filling – French Variation/”half”, here embroidered in mirror image in every second bud, (book: Openwork Pattern Samplers, page 32),

outer petals:
surface Herringbone stitch, hooked into the chain stitch (inspired by book: Early Schwalm Whitework).

Details 8, 9 and 10: large flower (diagonal)

flower center: thread withdrawing: cut 2, leave 2,
Cable stitch grid, Rose stitch vertically (book: Openwork Pattern Samplers, page 63),

Outer petals: thread withdrawing: cut 2, leave 2,
Cable stitch grid, needle-weaving pattern over 1 square, here with a change of direction, 2- and 3 rows, (book: Openwork Needleweaving Patterns, page 83) with Rose stitch filling.

upper petals: thread withdrawing: cut 1, leave 4
Star stitch in rows (book: Ricami in bianco, Casa Editrice Mani di Fata, page 62, pattern „Fondo astelle“).

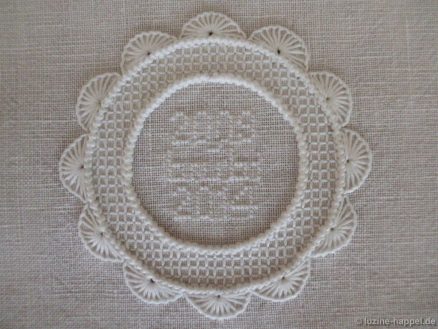
Detail 11: Crown (on the straight of grain – own design)

Circles: Macrame stitch,
Ring filling: Four-Sided stitch,
Semicircles: Blanket stitch half eyelets,
Characters: Cross stitch, text horizontally “brubi”, vertically “2009 – 2014”.

General information about embroidery realising

fabric: pure linen, 16 tpcm, Weddigen linen mill,

embroidery threads:
coton à broder:
No. 12: Makramee stitch, Coral Knot stitch, Satin stitch, Blanket stitch (border),
No. 16: Blanket stitch, Satin stitch, Stem stitch,
No. 20: Chain stitch, Blanket stitch (Detail 1),
No. 25: Rose stitch (Details 1,8, and 9), needle-weaving stitch (Detail 1 and Detail 9),
Karomuster (Detail 11), Limetrosen und Satin stitch (Detail 4 and Detail 5),
Diagonal Cross stitch – French Variation (Detail 6) and Herringbone stitch (Detail 7),
No. 30: Cable stitch grid, Rose stitch filling (Details 8, 9), Star stitch (Detail 10), Satin stitch diamonds (Detail 3),
Stranded Cotton:
1-ply: characters,
2-plies: underlay of the border.
Preparation for embroidering this tablecloth began on September 20, 2009.
Embroidery work began on October 27, 2009.
Completion of the embroidery work on November 16, 2014, 10:55 p.m.

Order of embroidery work:
1. Flower outlines in Macrame stitch (stitch embroidered from top to bottom)
2. Stems, tendrils, hearts, leaf outlines partly in Coral Knot stitch (stitch embroidered from top to bottom),
3. Leaves, leaf fillings, flower border fillings in Satin stitch,
4. Bud awns in Satin stitch
5. Some leaves, eyelets and half eyelets in Blanket stitch,
6. Inner flower outlines for the filling patterns in Chain stitch
7. Underlay border (stitch type forgotten), border in Blanket stitch.
– at least 1 year break –
8. Select, determine, sketch, test embroider outside the wreath area, withdrawingt the threads, embroider, and partially remove them again and changing the filling patterns.

You will find out exactly how the preparatory work was done to achieve such sophisticated and first-class embroidery in the next blog post.

Stay tuned!

Schwalm Tablecloth – round (1)

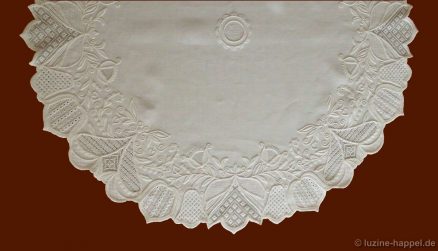
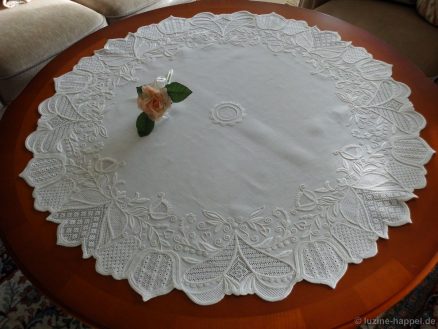
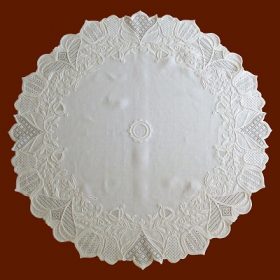
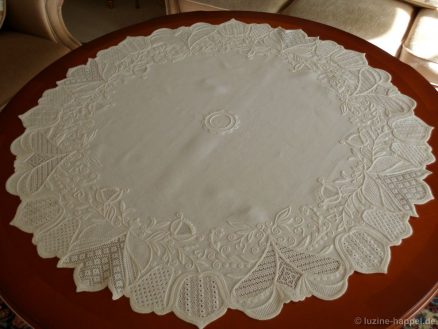
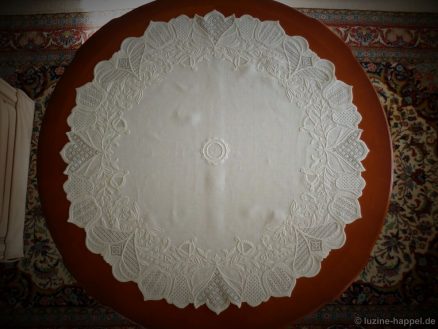
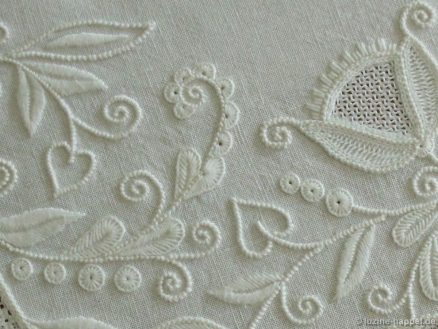
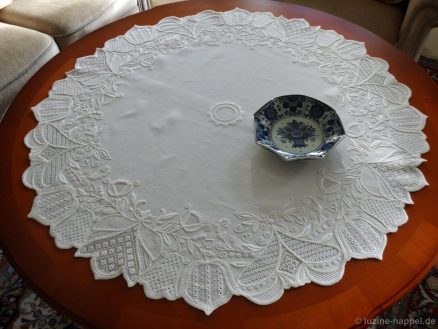
Today I can present an excellent masterpiece of Schwalm embroidery – modern and yet timeless.

Many years ago, when I saw Maria Deistler’s “Schwalm Circle” design for the first time, I was immediately impressed by the beauty and uniqueness of the pattern.

Only at second glance did it become apparent that the design would not be easy to embroider. Of course, you could simply work any pattern into the large areas in the style of many “old” Schwalm women. But that would take away a lot of the elegance of the design.

In the meantime I have been able to admire a few examples embroidered according to this drawing. brubi from Germany – an embroiderer who wants to remain anonymous – achieved the absolute crowning glory with her embroidery.

She went to the trouble of determining the inclination of the areas and looked for suitable filling patterns. It was very time-consuming to test thread withdrawings and pattern runs on test pieces. But the effort was worth it.

It was also worth the fact that she washed the linen first to end up with a really round tablecloth – even if it certainly made withdrawing the threads a lot more difficult.

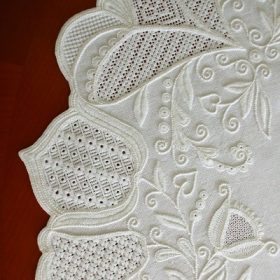
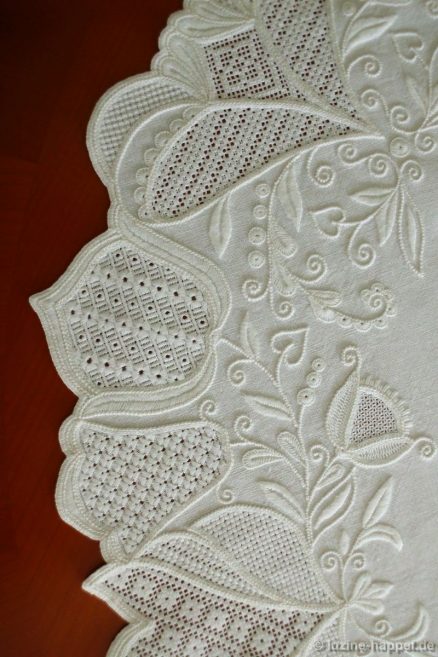
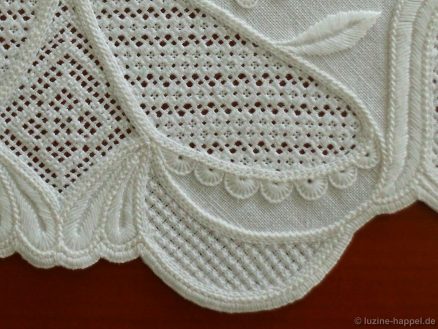
Perfectly matching filling patterns were found for each area. The interplay of the patterns is excellent. The combination of dense and light patterns to achieve the contrasts is impressive.

The striking outlines created by using No. 12 embroidery thread and the choice of macrame stitches in some areas ensure a balanced overall picture. I also think the choice of the other thread weight is correct.

Eyelets and tendrils are embroidered with perfect precision. The decoration of the leaves – sometimes completely filled, sometimes only partially or not at all, as with the little hearts – is harmonious.

I don’t like to use this word in connection with embroidery, but here I have to use it: brubis tablecloth is a “dream”!

Started in September 2009, she completed her Schwalm tablecloth on 16.11.2014.

See and read for yourself:

“I removed some filling patterns and embroidered other patterns. After all, it is my very first work in Schwalm embroidery, so I had to do some digging to see if I liked a fill pattern or not.

Some versions of my embroidery do not correspond to the original Schwalm embroidery technique. But I thought to myself, the design is very modern, so I can be a little more flexible in my stitches.
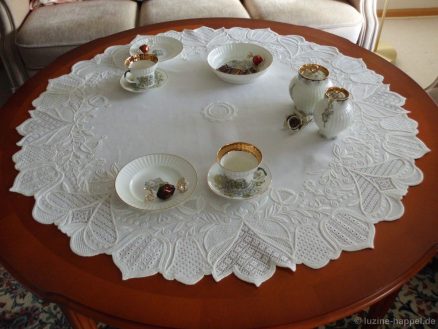
The tablecloth has a diameter of about 100 cm (the original has a diameter of only 75 cm).

To ensure that the tablecloth remains exactly round (it lies almost completely on a round table), I washed the fabric at a temperature of over 60C, contrary to the rule, before drawing and embroidering, then lightly starchend and ironed it carefully.
For the size of the flower motifs, the typical Schwalm Coral Knot stitch seemed too puny to me, so I embroidered all the motif outlines in Macrame stitch, which looks more bold.

In the case of the filling patterns, I browsed through my books for days, also designed my own filling pattern combinations, as I found it suitable and harmonious.

First, I drafted the individual filling patterns, including the outlines, on paper to determine whether the filling pattern is suitable for this motif. Then I embroidered sample pieces on the edge of the fabric to see what thread weight this pattern looks best with.

Of course, pulling out the threads was no longer so easy due to the compaction of the fabric after washing, but my husband built me a little help according to my instructions – he provided a tapestry needle No. 26 that had become unusable for embroidery with a handle (similar to an awl). This allowed me to lift each individual thread well and remove it from the fabric piece by piece without getting a cramp in my hand.

All in all, however, the whole thing was a mammoth task that I had set out to do. My ambition didn’t always make it easy for me, and I often fell into bed late at night with cramped, aching limbs and half-blind eyes because I really wanted to finish embroidering a filling pattern.

But all the hardships were forgotten when the tablecloth was finished.
When I started with my Schwalm tablecloth, I was already 63 years old, so my fine motor skills and eyesight had already suffered a bit when embroidering despite adapted glasses and magnifying glass. When the project was finished, I was 68 years old.”

Please look forward to the next blog post with many more interesting details about this stunning project next Saturday!

Shop window in focus

The beautiful half-timbered town of Wanfried is home to a very active embroidery group. The ladies have been meeting regularly for years and indulge in their hobby – Schwalm whitework. Some older embroiderers have meanwhile left, but younger ones have followed. Even the breaks during the corona pandemic and the loss of their teacher did not make the group give up. On the contrary: the eleven group members meet regularly every other week for two hours each, exchange information on the progress made in their work at home, help each other with problems, embroider together and motivate each other. They are also happy to pass on their knowledge to interested outsiders.
The group around Heike Wagner, who was born in Schwalm, appreciates the outstanding importance of Schwalm whitework. The ladies act as supporters should the Schwalm whitework be included in the list of intangible cultural heritage.

But regardless of the entry, they are also involved in a variety of ways to raise awareness of embroidery again and to make it known to younger people.

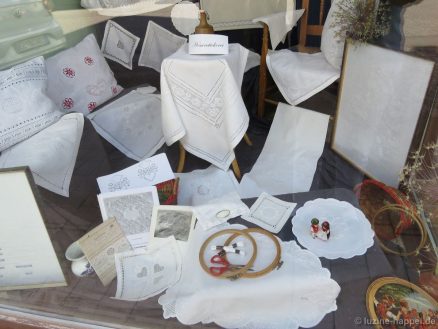
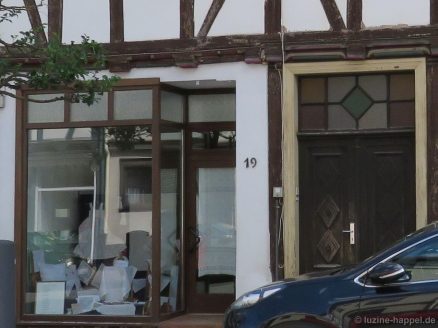
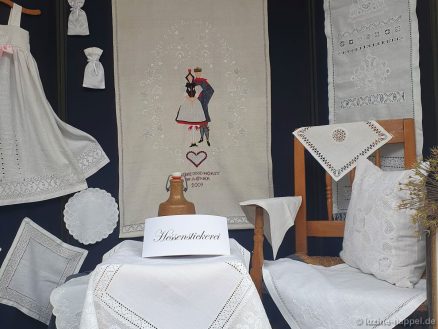
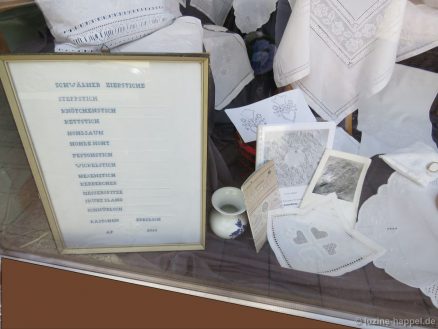
Recently they lovingly decorated a shop window with some of their intricate embroidery. As in all cities, there are vacancies in Wanfried. Some homeowners make their shop windows available for free decoration so that the cityscape doesn’t look too desolate. The embroidery group took advantage of such an opportunity. They show the variety of possible patterns on cushions, tea clothes, doilies, small bags, wall hangings and a christening robe.

With the public exhibition, they address locals and tourists – interested parties are invited to the embroidery meetings for more information.