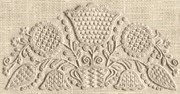
Filling Pattern – No. 447

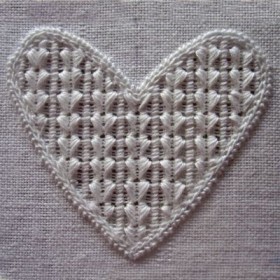
No. 447
category: Limet-Filling pattern
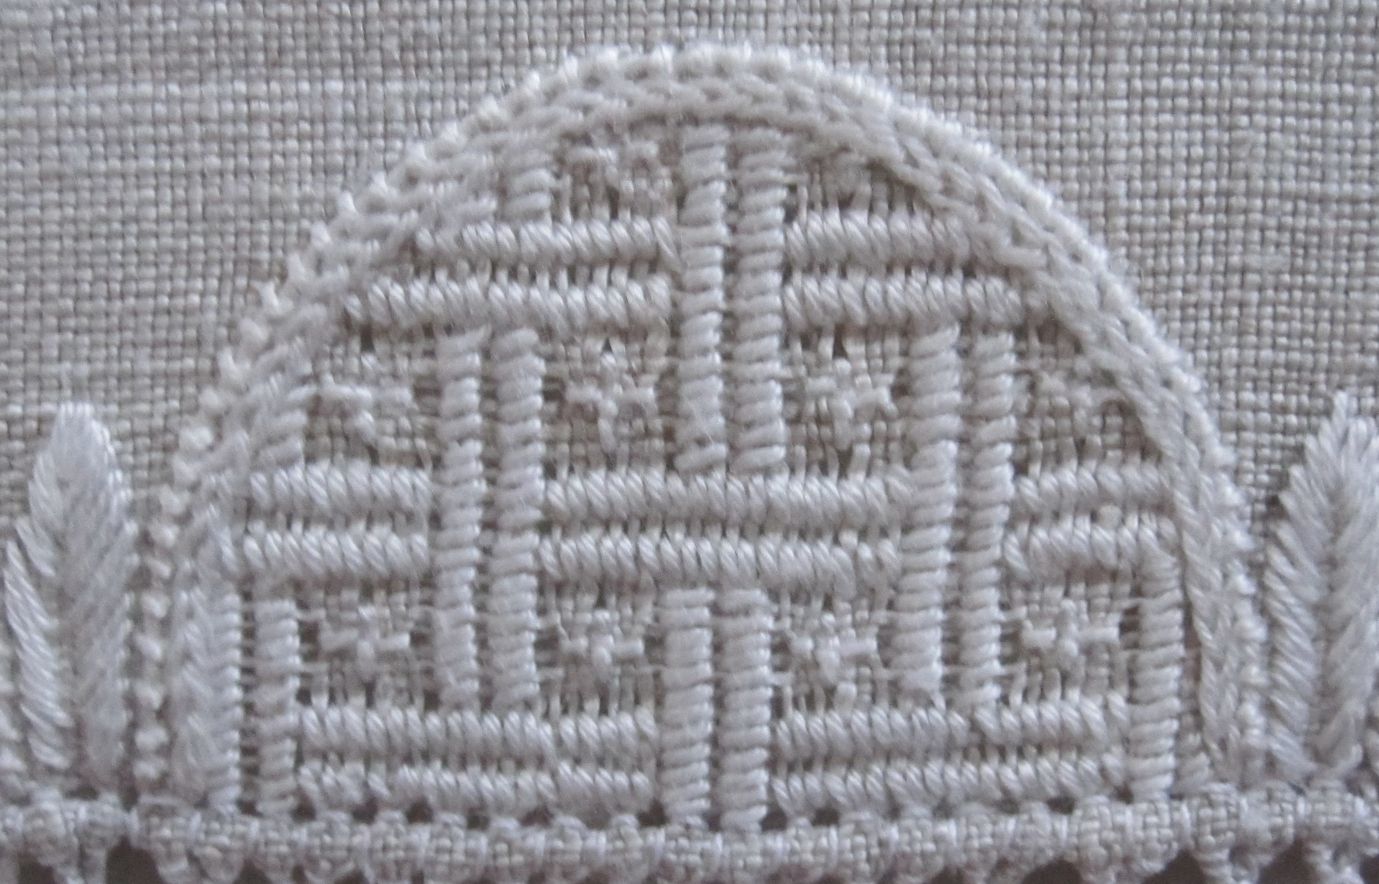
stitches used: Satin stitches over one square in the width and 6 squares in the height as well as Rose stitches
longitudinal axis: withdrawn thread line

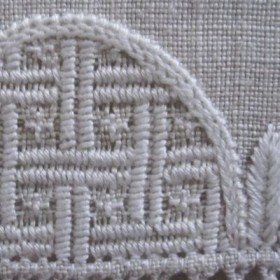
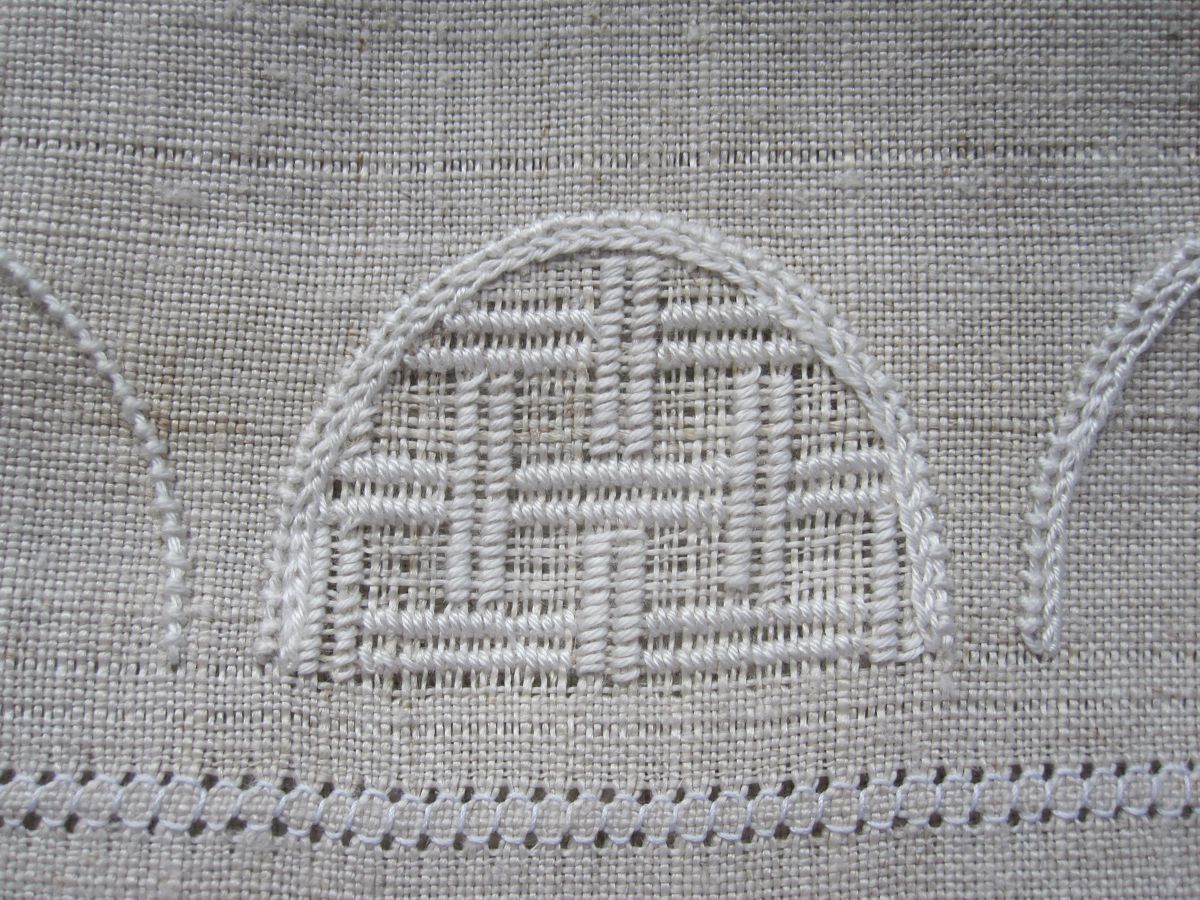
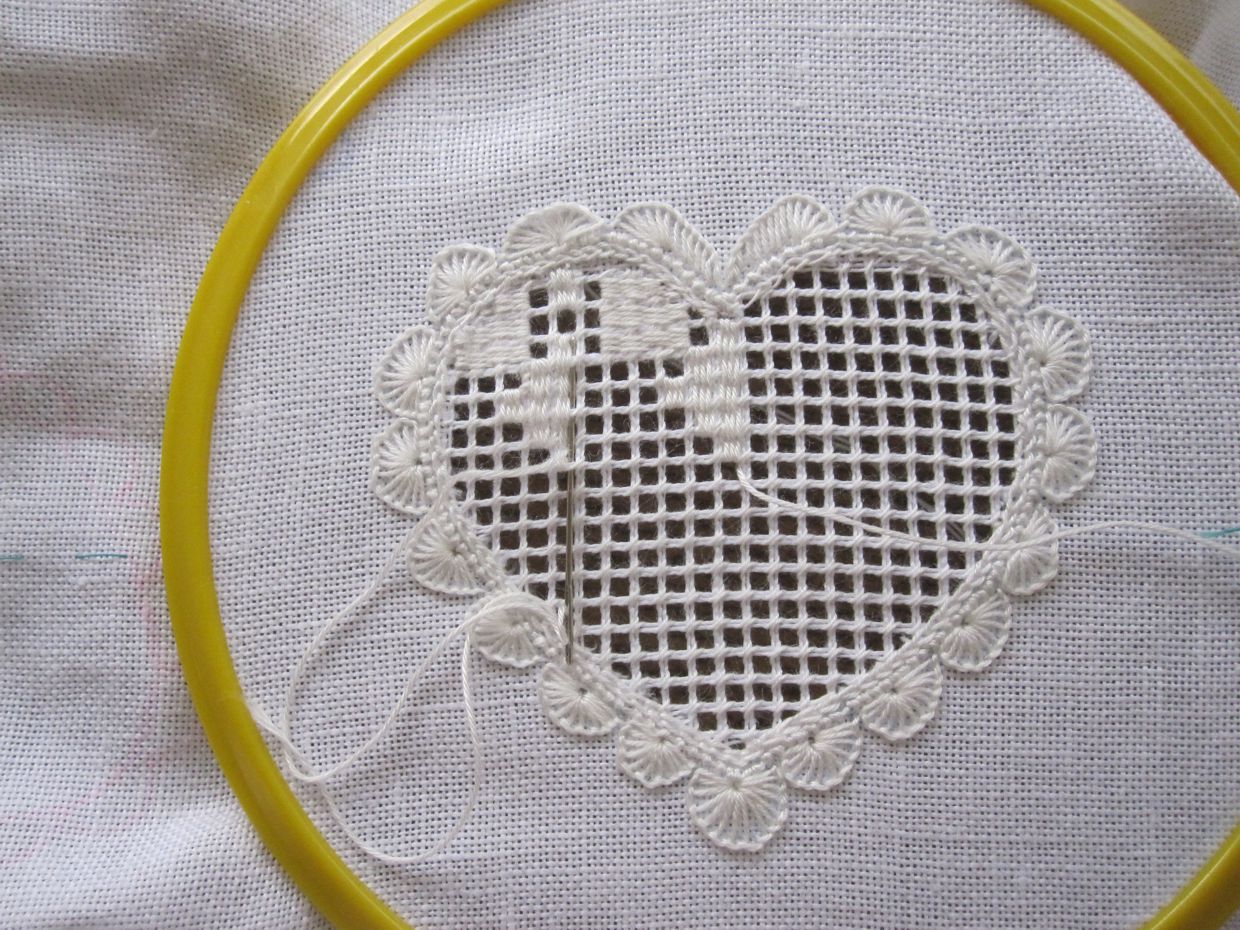
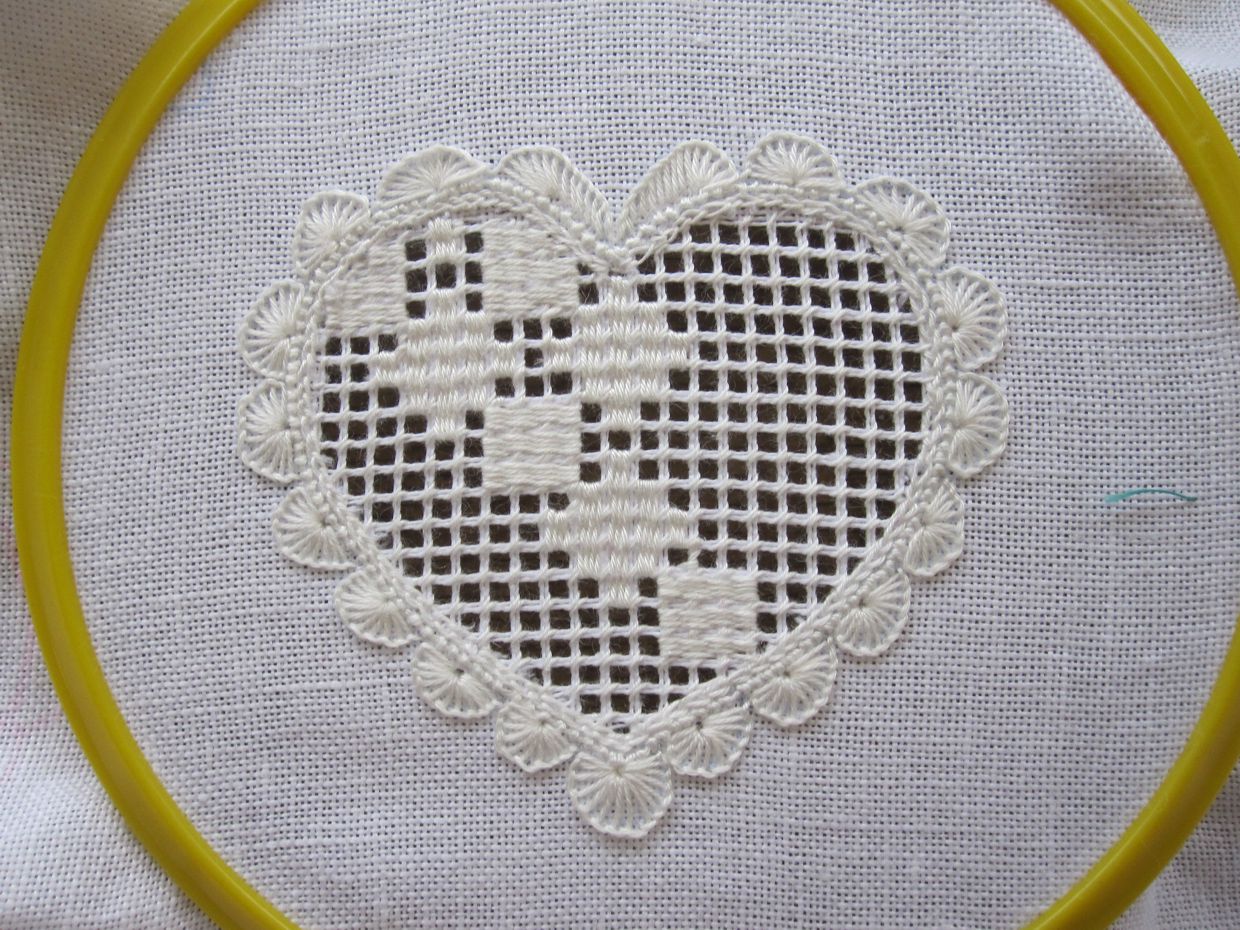
First, in the established Limet grid, work Satin stitches as “Wickerwork of double bars with gaps”.
Therefore work pairs of bars consisting of 18 Satin stitches (6 squares) over one square (3 threads).
In each row always alternate the direction of the double bars from vertical to horizontal.
Wickelstiche 1 | Satin stitches 1
And in subsequent rows, work the double bars opposite from how they were worked in the previous row.
Flechtwerk aus Wickelstichen | Wickerwork
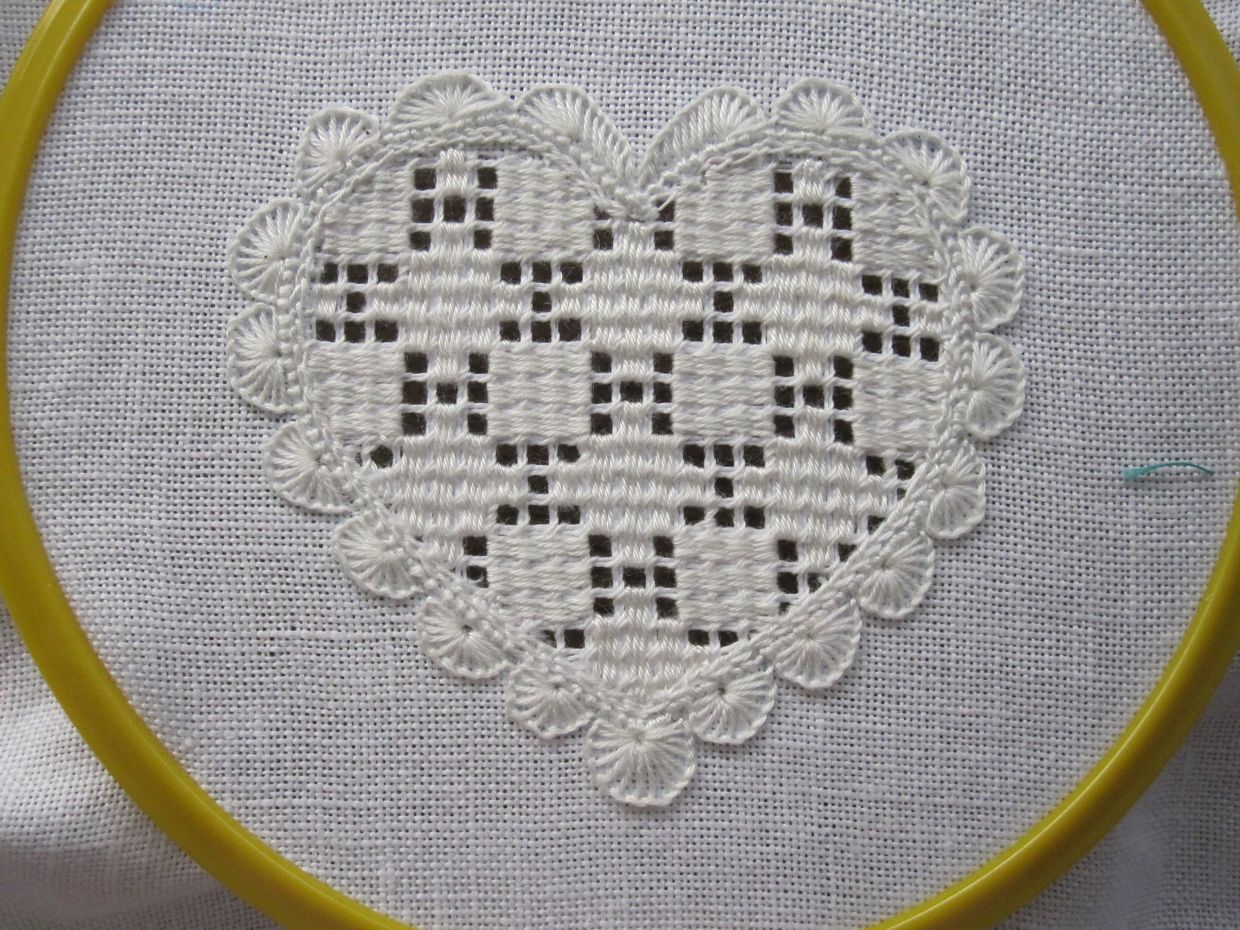
Work one Rose stitch in each of the remaining squares. Moving from one stitch to the next, please slide the working thread through the backs of the previously worked stitches so that the traveling thread is invisible from the front.
Rosenstiche zwischen Wickelstichen | Rose stitches between Satin stitches
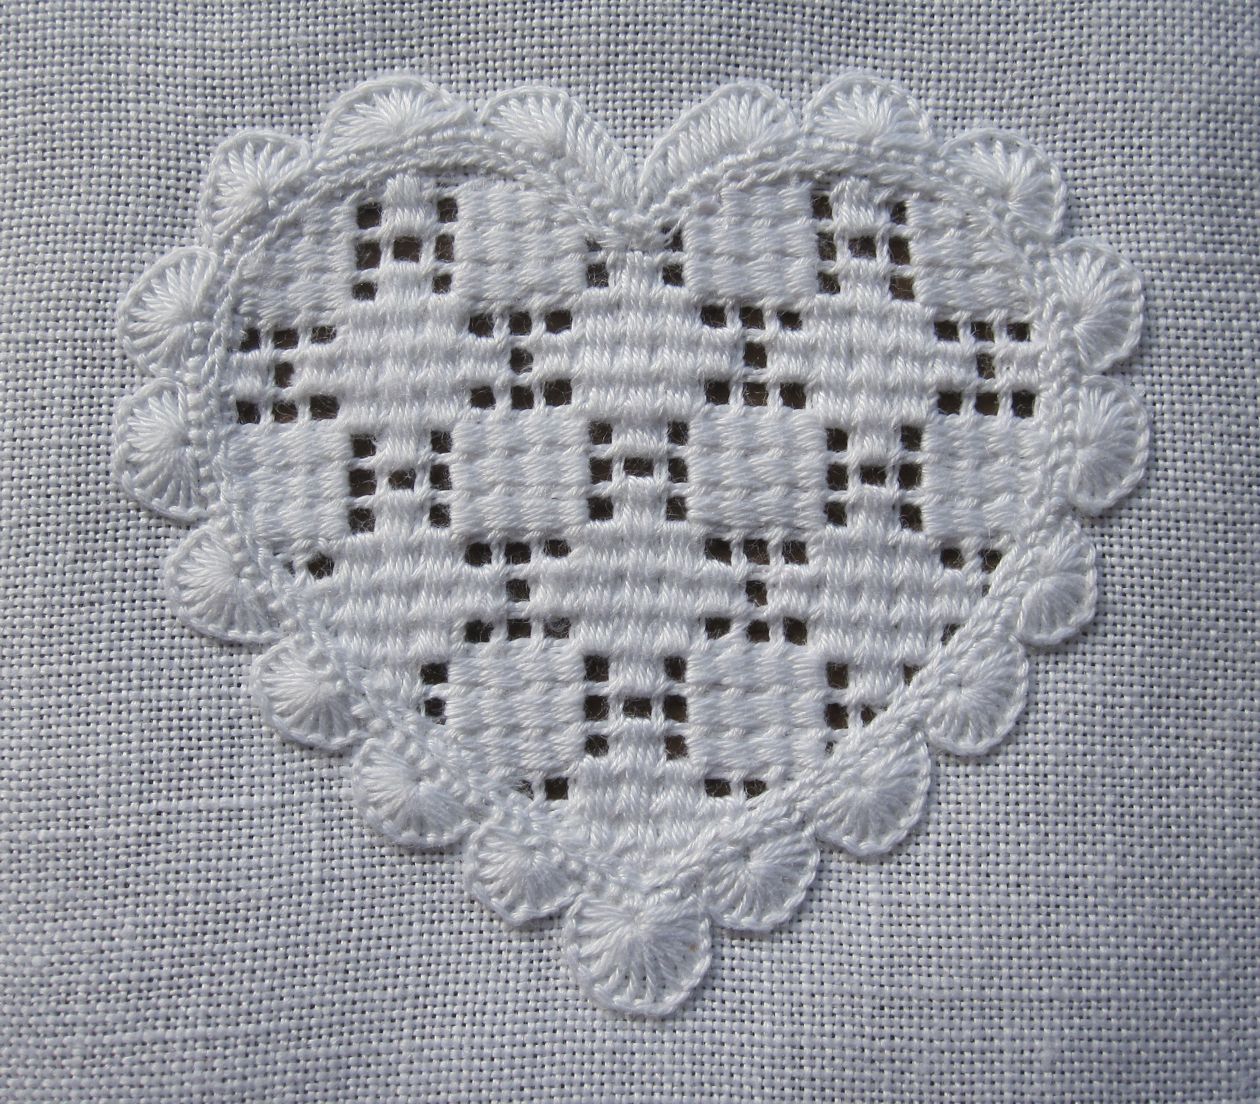
Washed, starched and ironed the pattern gets its full charm.
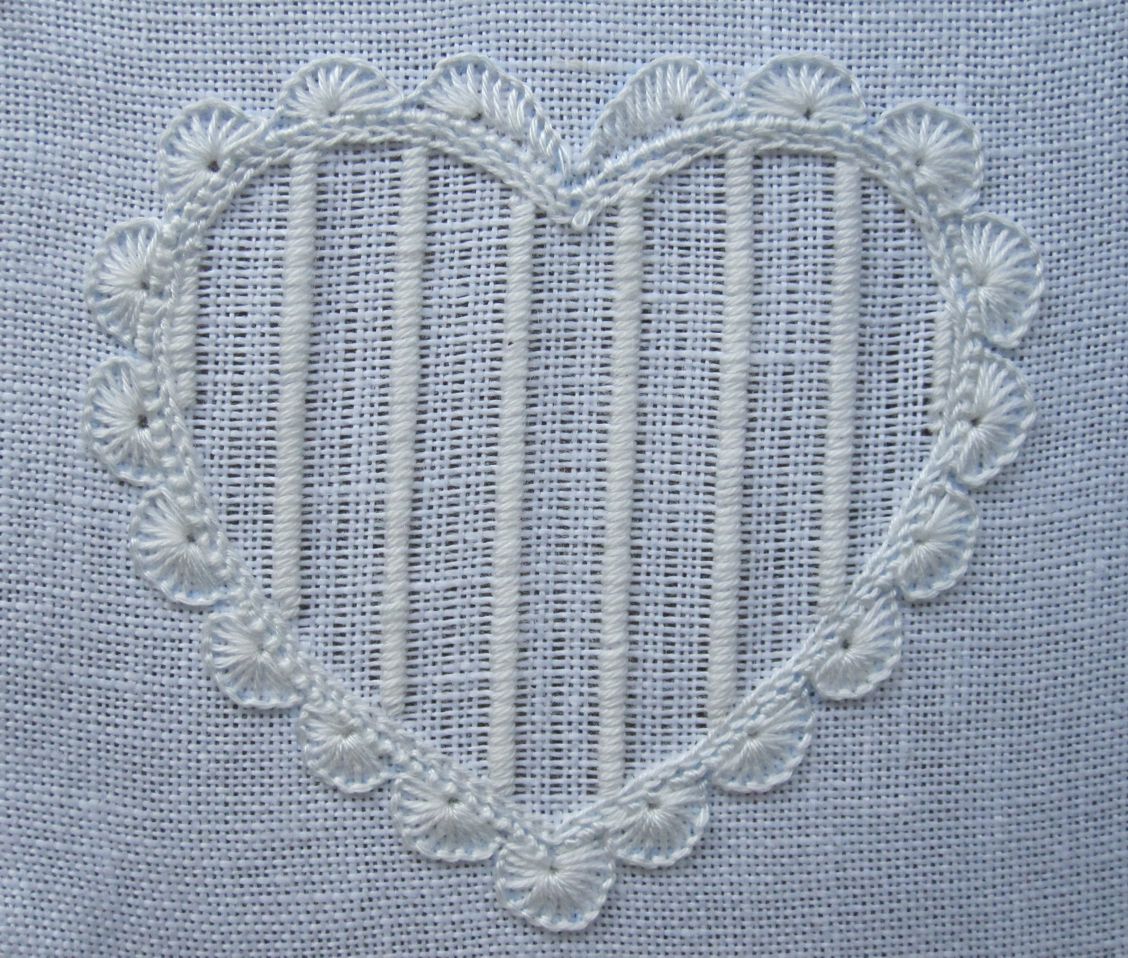
This example was worked on 17/cm thread-count old handwoven linen with Coton à broder No. 20.
gewaschen, gestärkt und gebügelt | washed and ironed
Such a pattern is also attractive utilizing more space. In the example below it was worked on 13.5/cm thread-count linen with Coton à broder No. 25.
447 in groeßerer Flaeche | 447 in a largershape

Filling Pattern – No. 446

No. 446
category: simple drawn thread filling pattern
stitches used: Satin stitches over 3 threads in the width and Honeycomb Darning stitches
vertical axis: withdrawn thread line
materials used: 13.5/cm thread-count Weddigen linen
Coton à broder No. 20 (Coral Knot stitches, Satin stitches and Honeycomb Darning stitches), No.
25 (Blanket stitches) and No. 30 (Chain stitches)

Fadenauszug | thread withdrawing

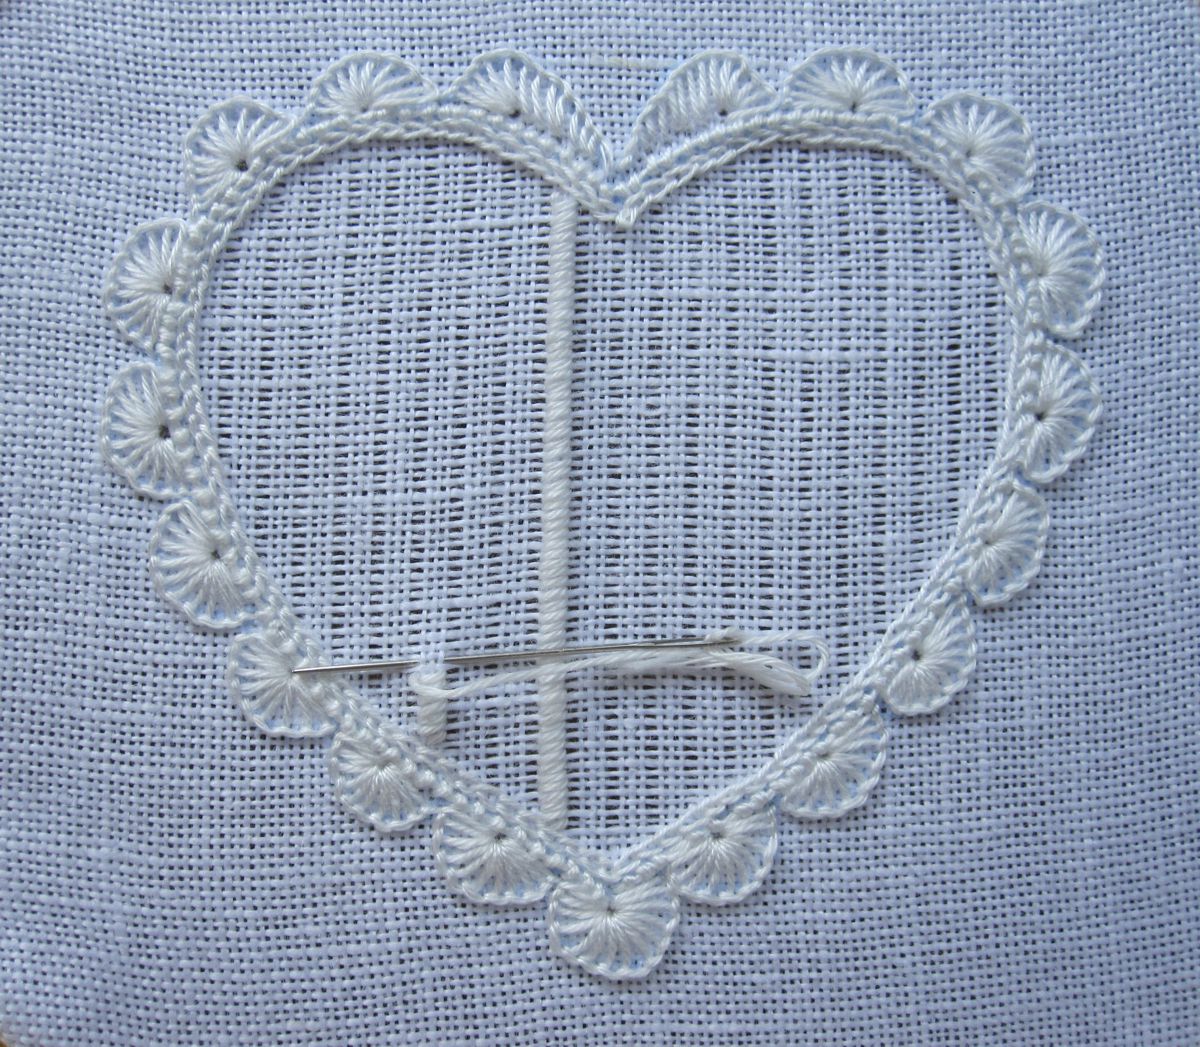
Starting in the middle, alternate withdrawing 1 vertical thread and leaving 3 vertical threads.
In vertical columns, from bottom to top and back, embroider Satin stitches as “bars”. From the center, leave unworked the 2 centermost groups of 3 vertical threads. Stitch a Satin stitch bar over the next 3 threads, *leave 2 groups of 3 unworked, then work another Satin stitch bar*. Always repeat the steps (*), until one half of the shape is filled.

Wickelstichstangen | Satin stitch bars

Again starting in the middle, fill the second half mirrored.

Waffelstiche | Honeycomb Darning stitches

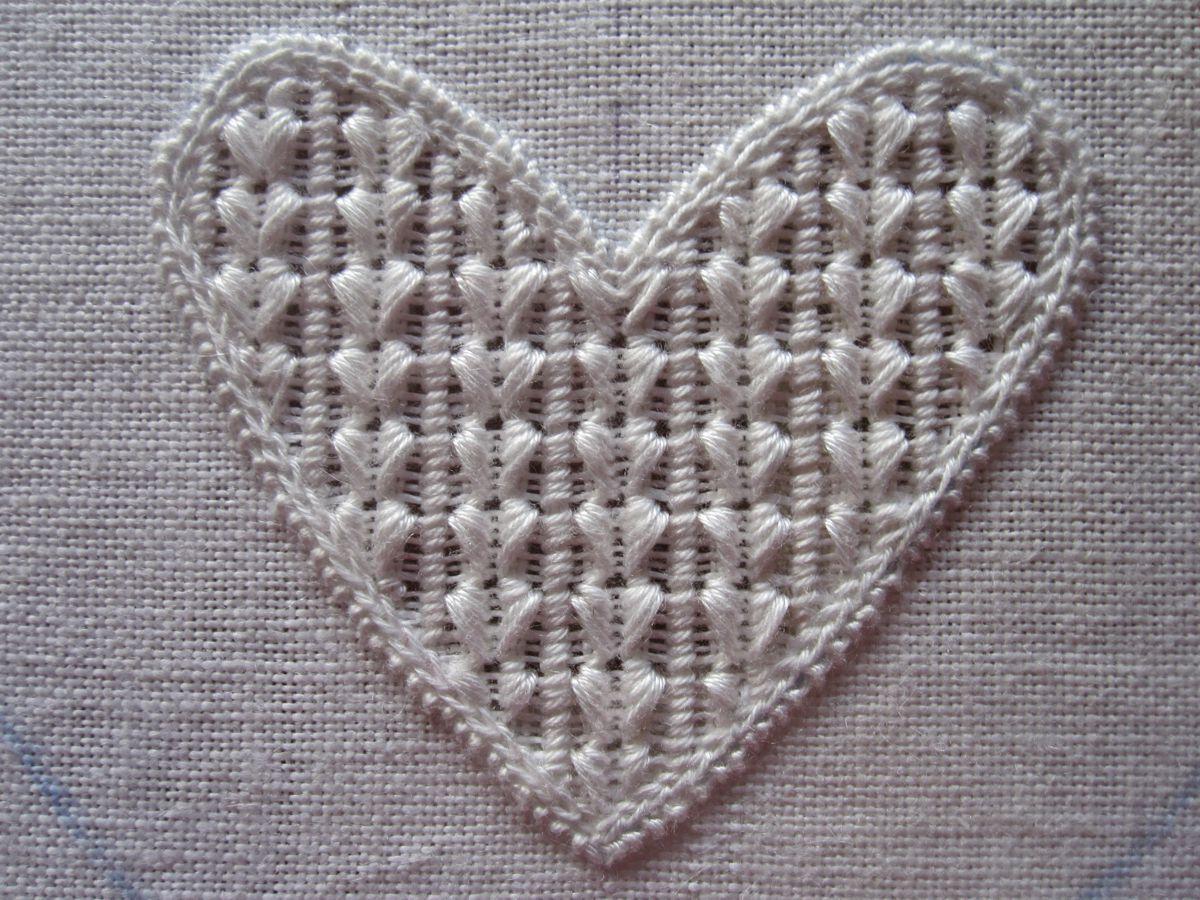
The right of the two remaining groups of 3 vertical threads are now embroidered, from bottom to top, with Honeycomb Darning stitches over 4 threads in the width (when the heart is turned 90°).
Finally, the remaining group of 3 vertical threads is embroidered from top to bottom mirrored to the first.

Waffelstiche vergrößert | Honeycomd Darning stitches enlarged

The enlarged image shows how the Honeycomb Darning stitch is worked. However, more detailed instructions can be found in my book “Basic Principles of Schwalm Whitework”.

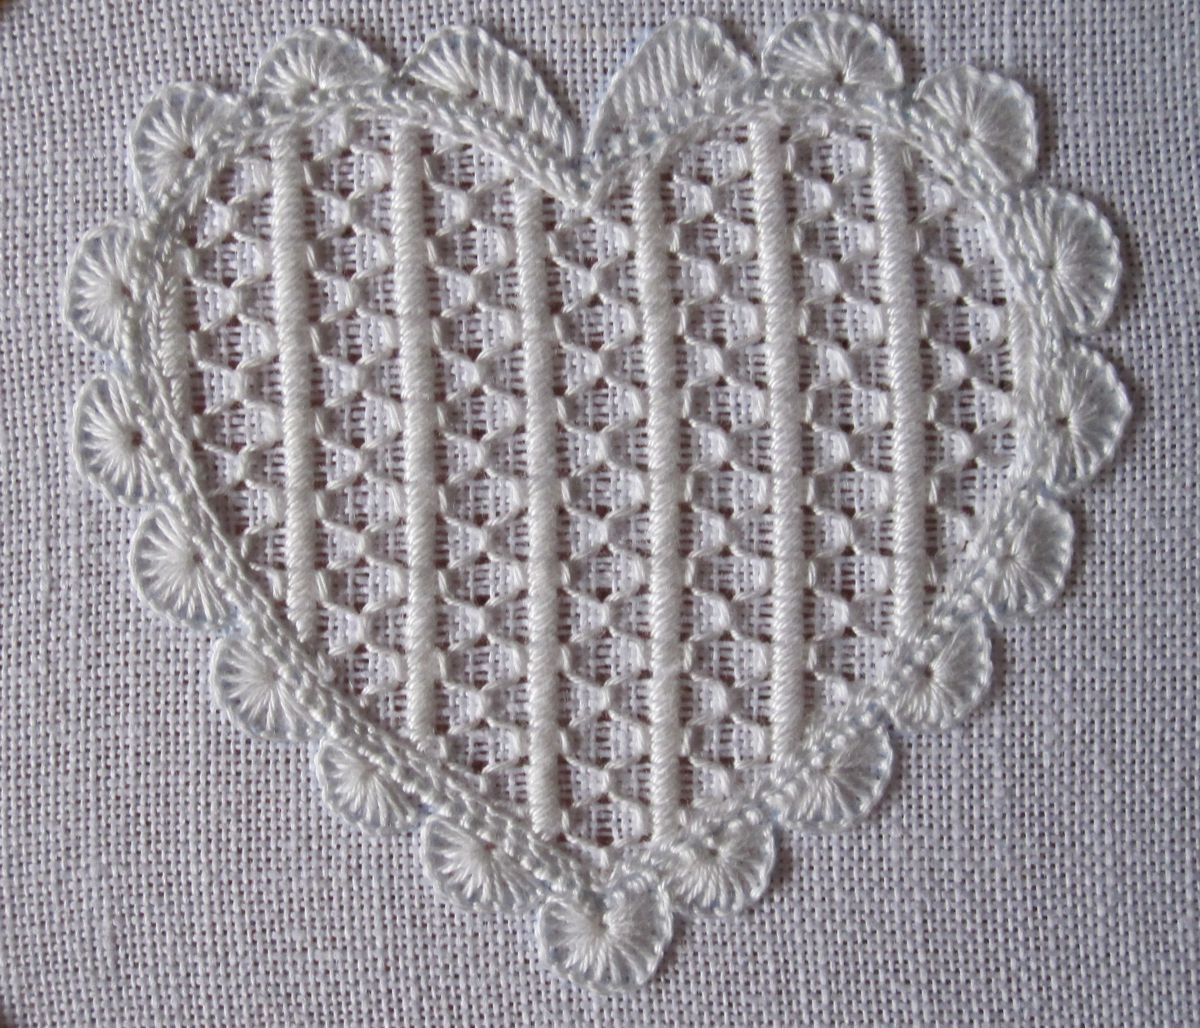
fertiges Muster ungewaschen | finisched pattern before laundry

The finished pattern – here unwashed – has a three-dimensional effect.

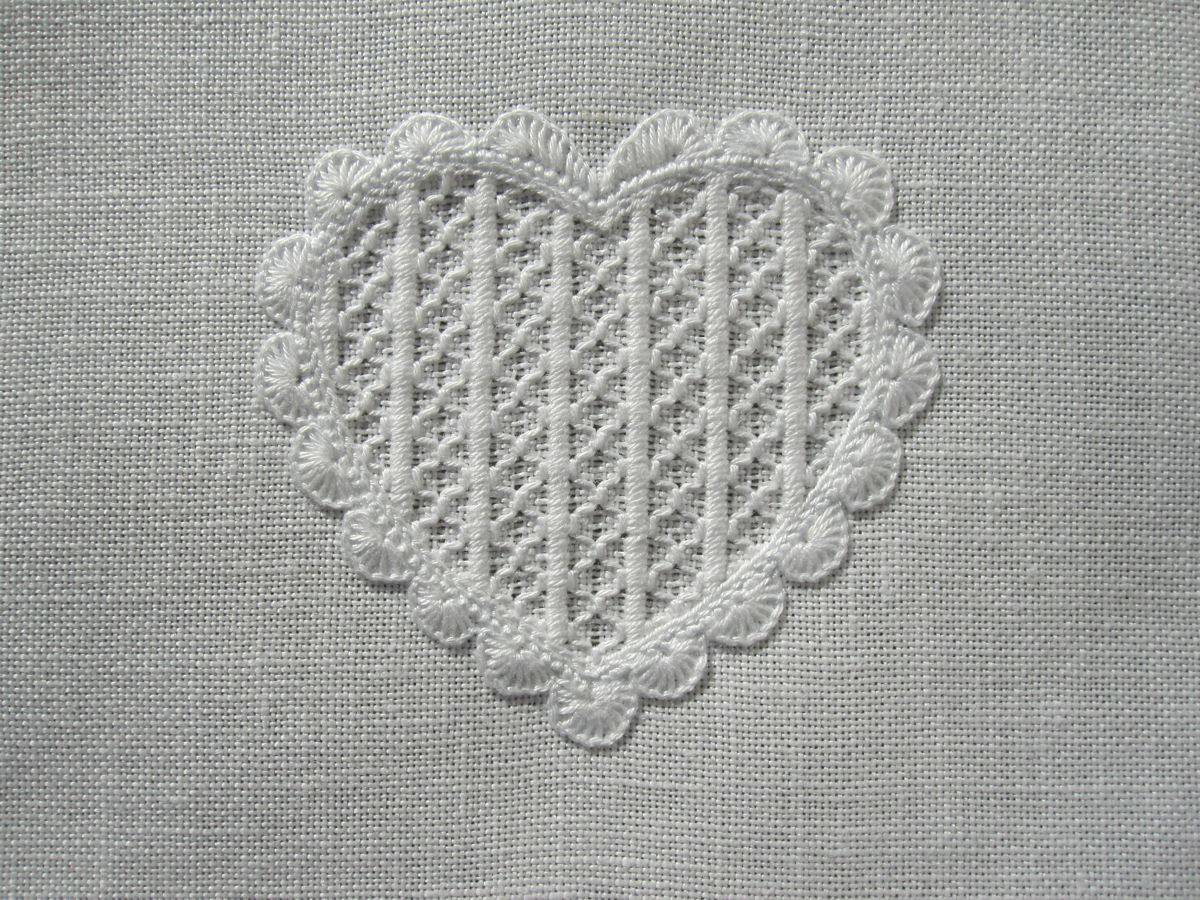
gewaschen gestaerkt gebuegelt | washed starched and ironed

Washed, starched and ironed the finished pattern shows its full charm.

Filling Pattern No. 445

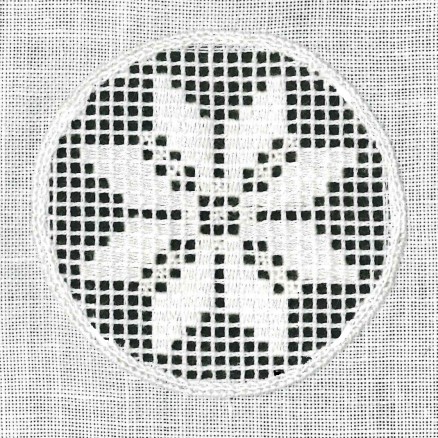
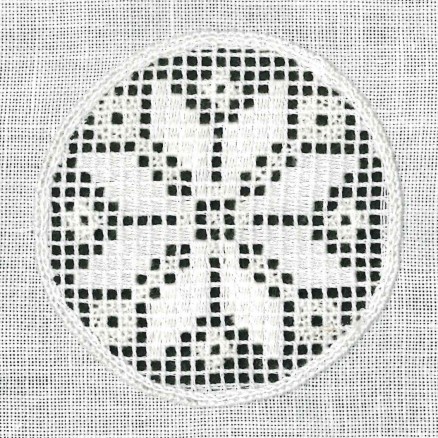
No. 445 (star No. 1)
category: Openwork pattern with Cable stitch grid
stitches used: Rose stitches and Needleweaving over 1 and 3 squares; changing the direction
center: square
material used: 13.5/cm thread-count Weddigen linen
Coton à broder No. 20 (Coral Knot stitches, Rose stitches and needleweaving) and No. 30 (Chain
stitches and Cable stitch)

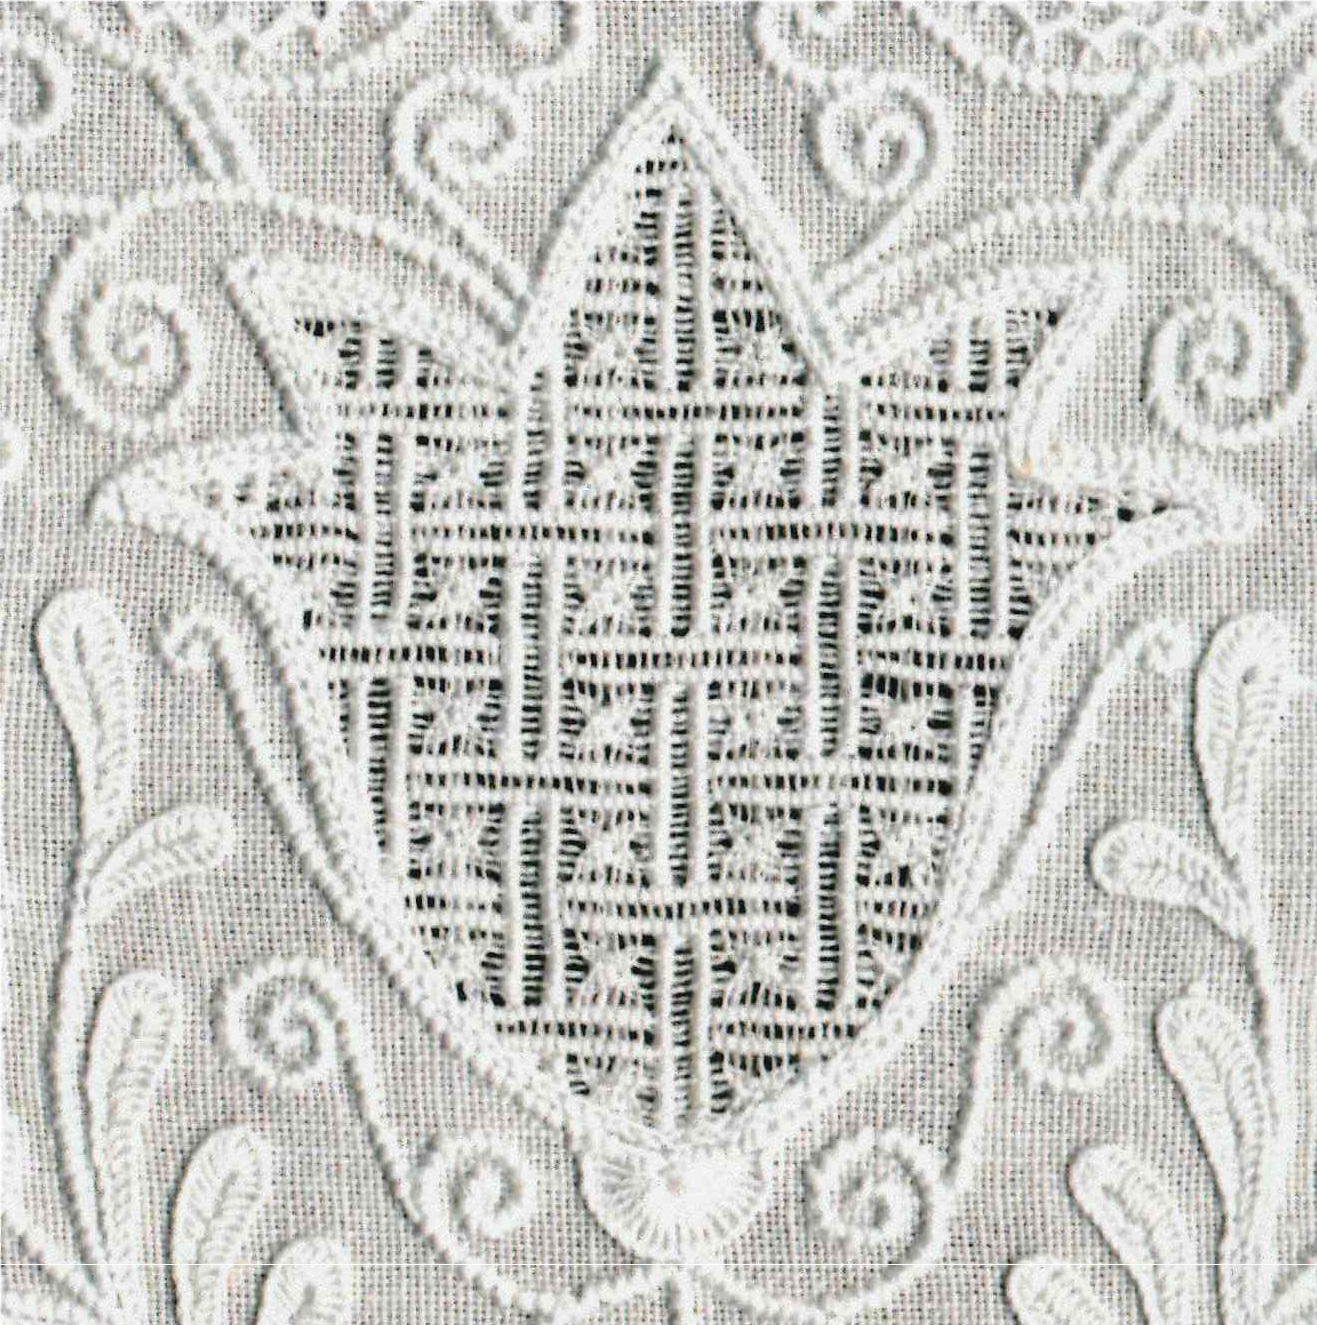
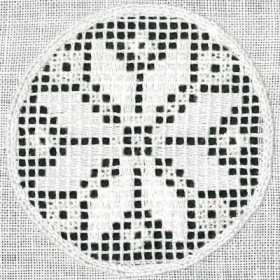
In Schwalm whitework it is also common to fill openwork cable stitch grids not only with endless patterns, but also with figures: manikin, birds, tulips, hearts and, of course, stars.

The star patterns are the same as those found in Norwegian knitting patterns, but there is any room for imagination.

Stars are mainly worked within circles. Usually, the stars are stitched with Rose stitches, sometimes with a combination of Rose stitches and Needleweaving, and rarely with needleweaving only. This is because a single square filled with a Rosestitch remains as a square, a single square filled with needleweaving appears oblong. For a star, it is preferable that the squares do not appear oblong.

There are smaller and wider star patterns. You should always use a pattern that matches the number of squares in your grid. It is not attractive when the tip of a star is not fully visible. It is better that there are unworked squares around the star. Also, these remaining squares can be filled with single stitches.

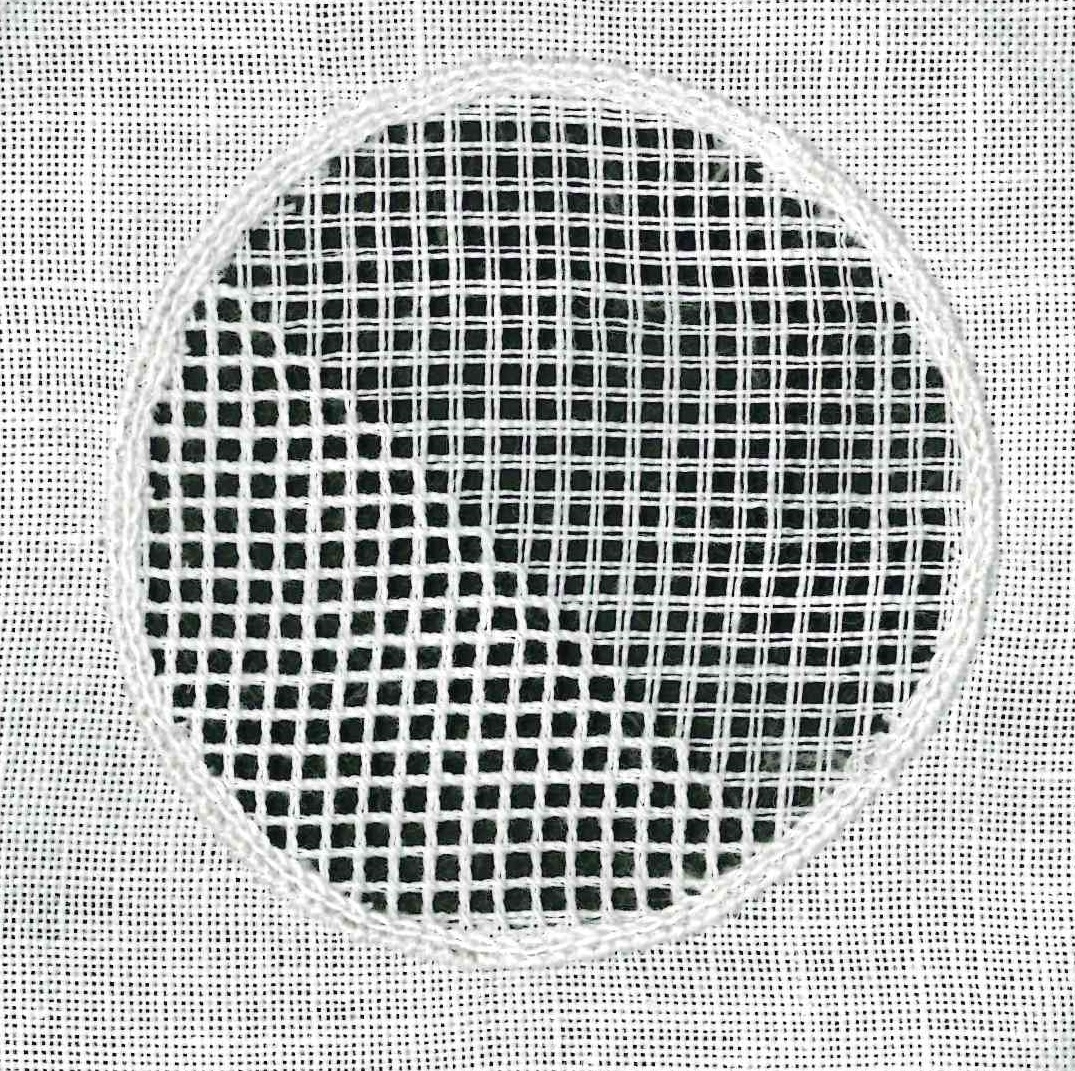
Starting at the centre, always alternate withdrawing and leaving two vertical threads. Do the same with the horizontal threads. So that the star looks pretty and turns out well, it is necessary to place it right in the middle (with the same number of squares to the right as to the left). If your linen is not absolutely evenweave, it is better to ascertain the centre by counting and not by measuring.
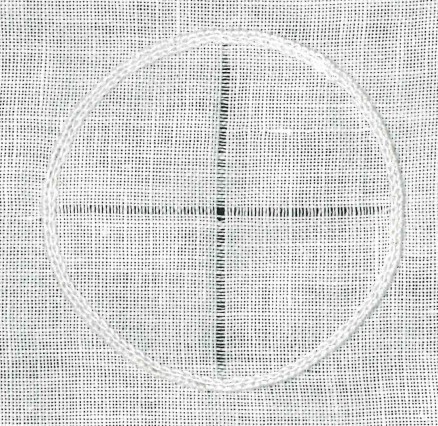
Fadenauszug | thread withdrawing

The established grid is stabilized with Single Faggot stitches – which is simply Cable stitch from the front – worked from the back side of the fabric.
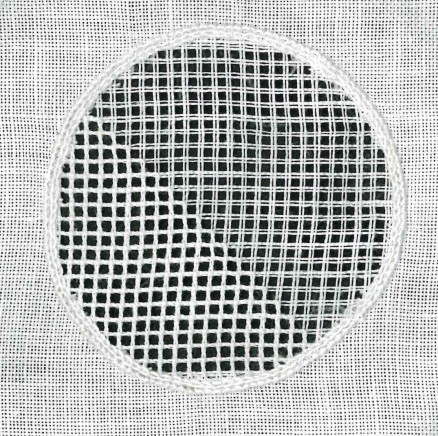
Grundstichgitter | Cable stitch grid

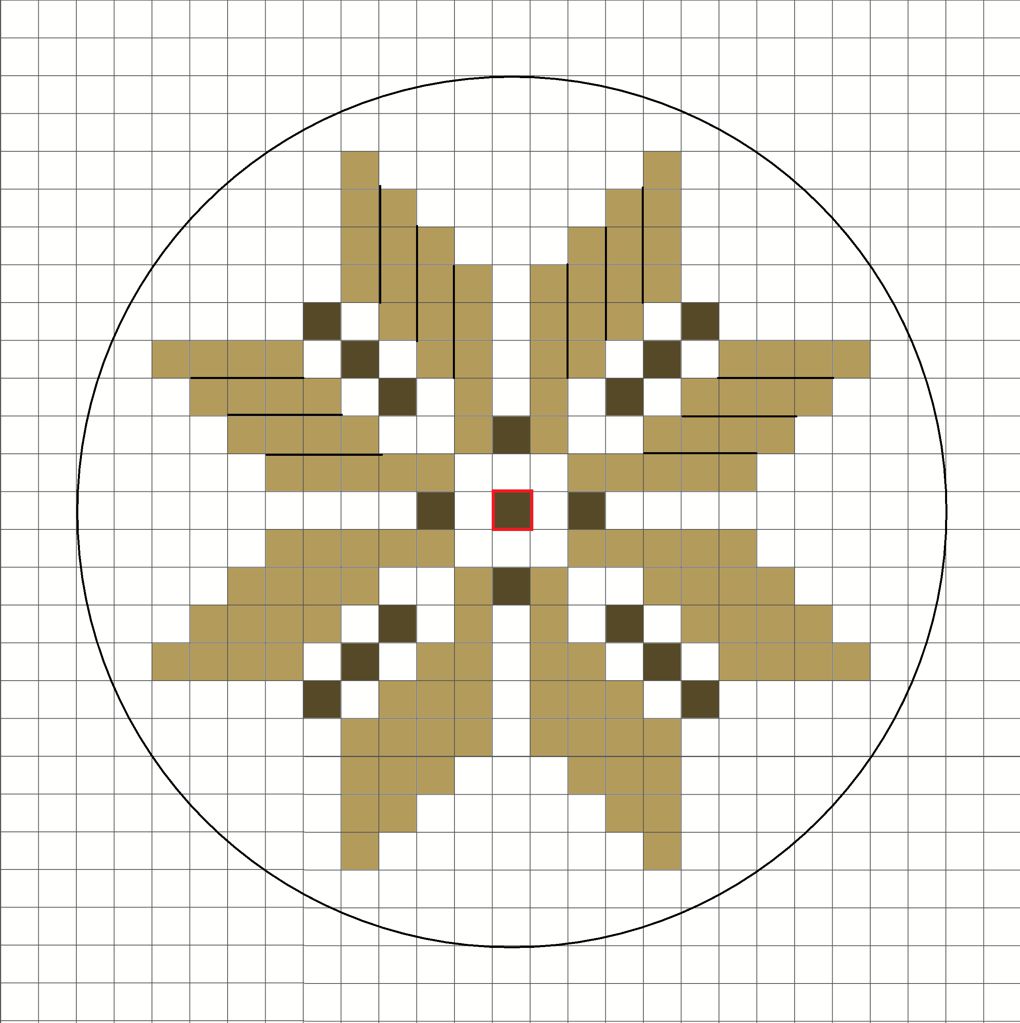
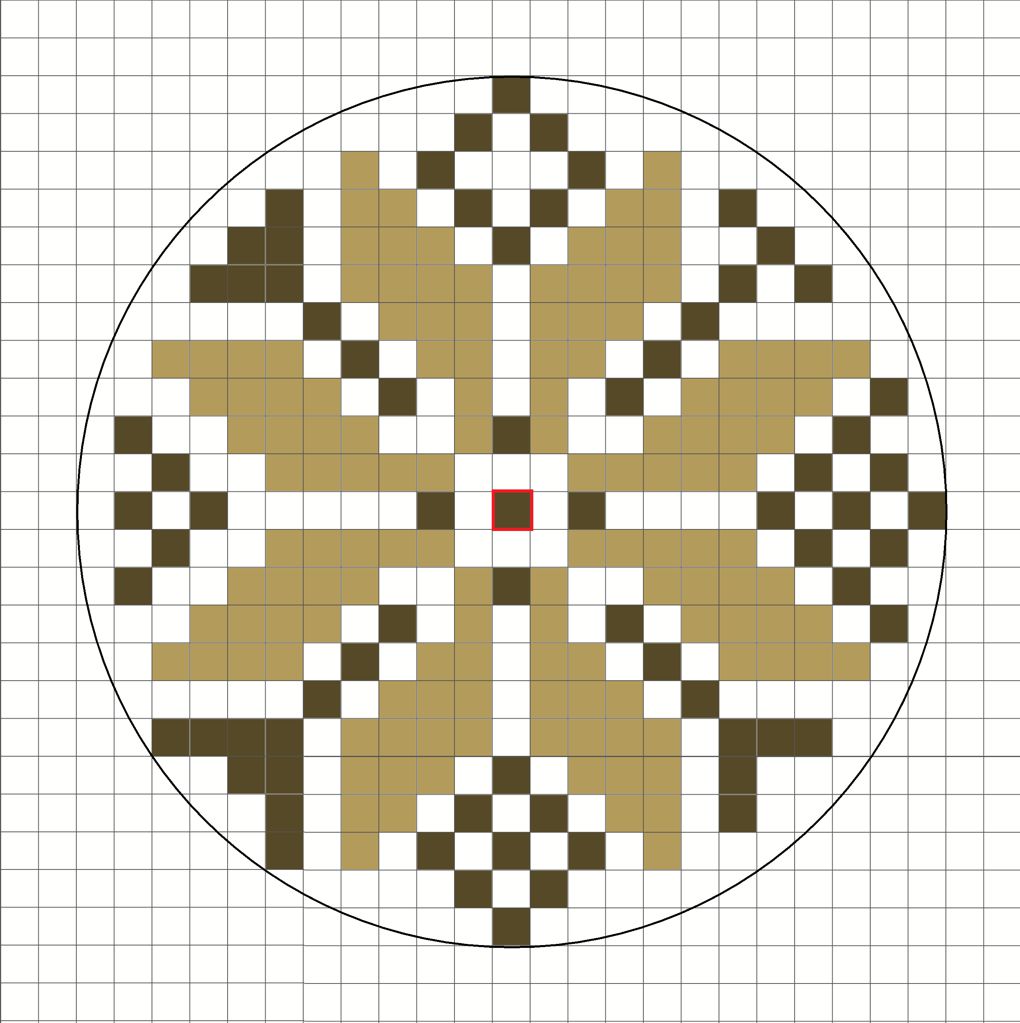
My established grid has 23 squares along the center axes. So I chose the following chart:
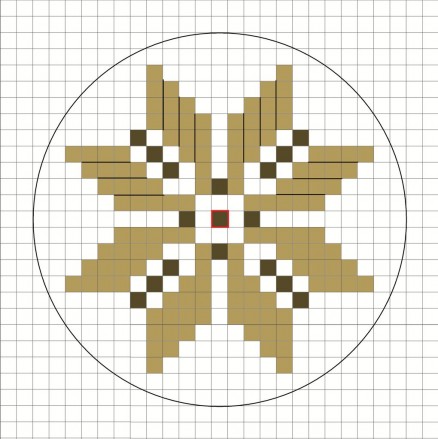
442 a Grafik | chart

The darker golden squares are filled with Rose stitches, the lighter golden squares are filled with Needleweaving. (It would be also possible to work all with Rose stitches, but then the patterns will appear somewhat different.) The black lines show the direction of the needleweaving.

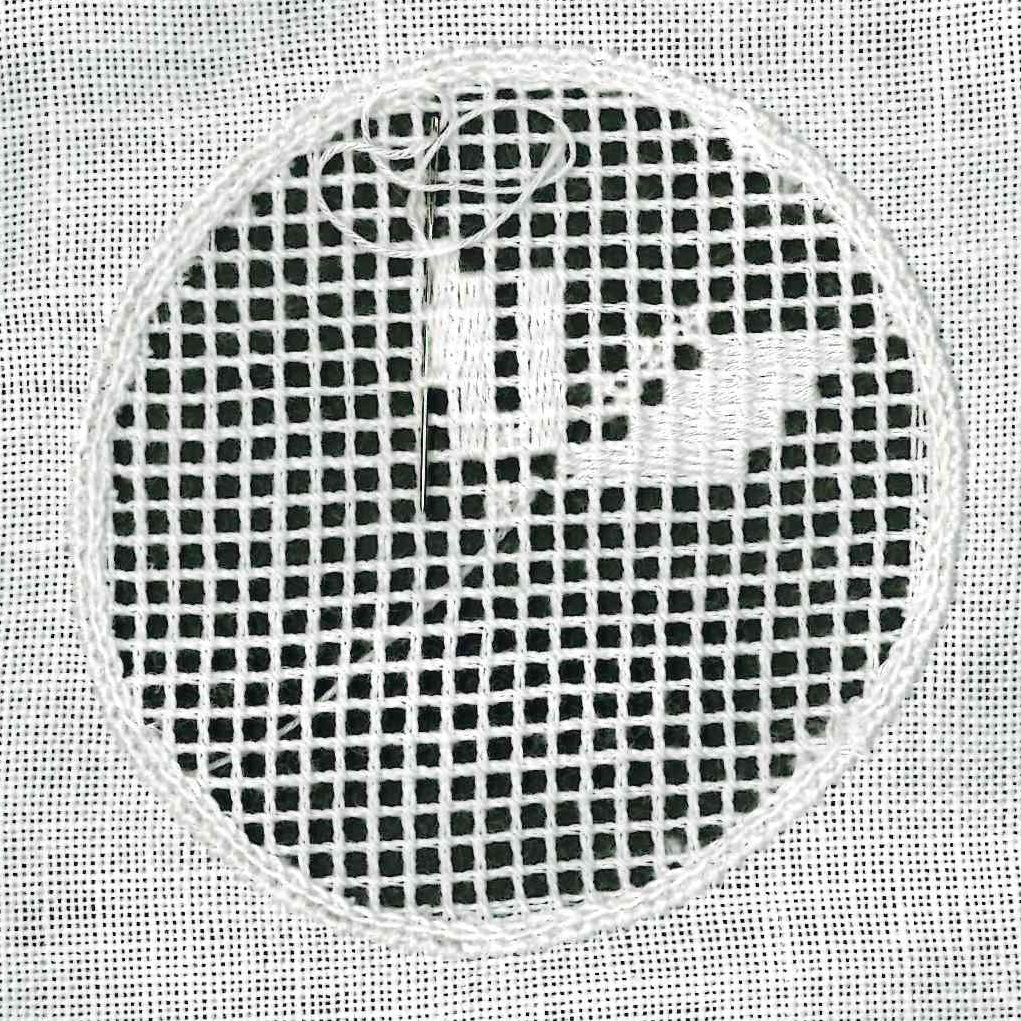
Starting at the center – marked red – work outwards, following the chart.
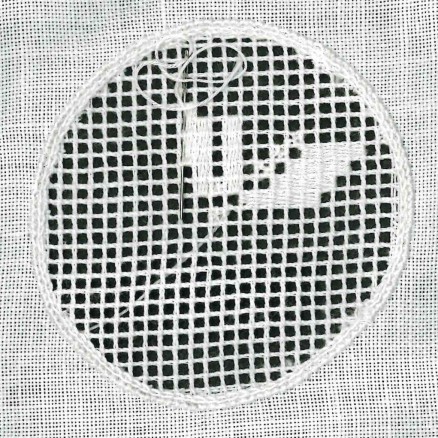
Musterfüllung | filling pattern
Grundstern | basic star

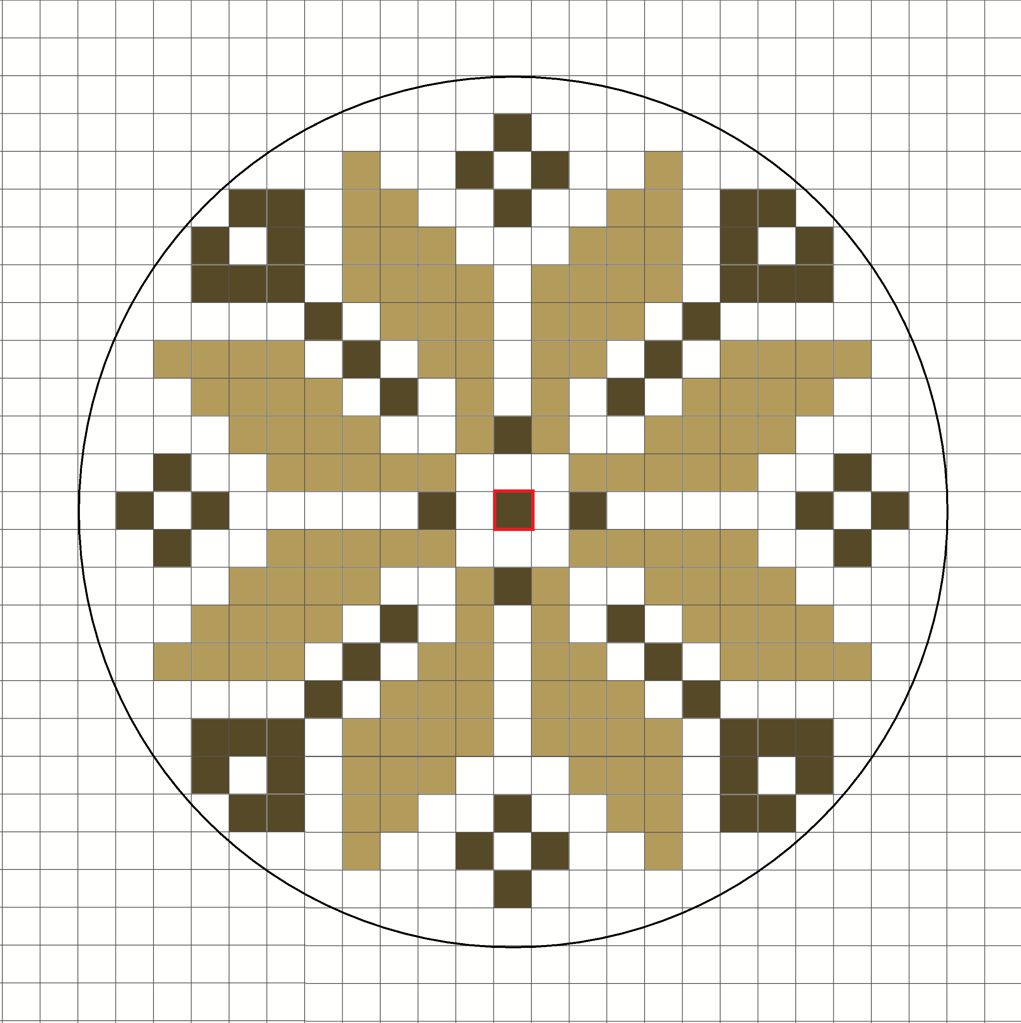
When the star is finished, the remaining squares up to the edge can be decorated with further stitches. There are different possibilities, as the following charts show:
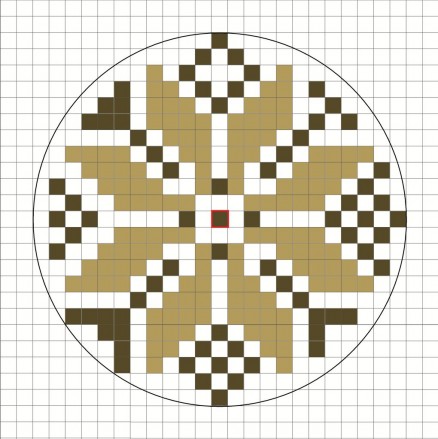
442 b Grafik | chart
There is room for imagination – please try to find your own pattern!

I chose the following pattern:
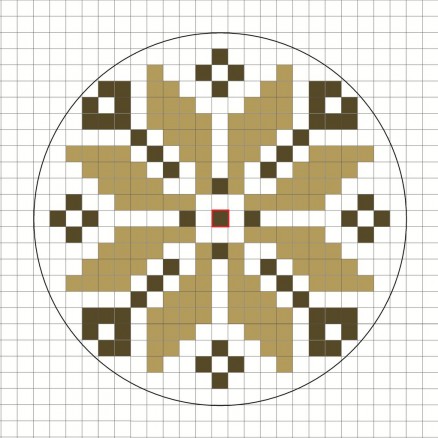
442 Grafik | chart

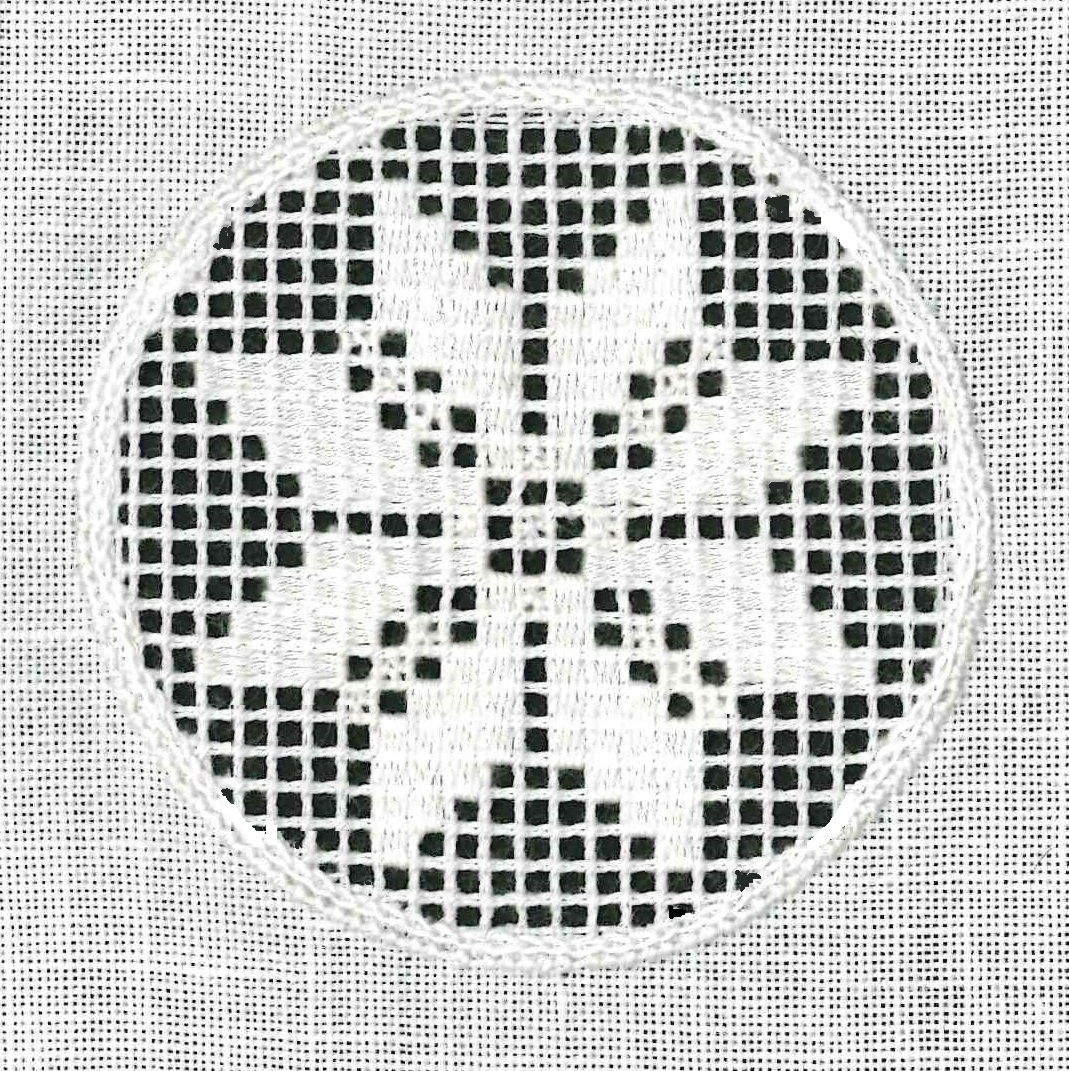
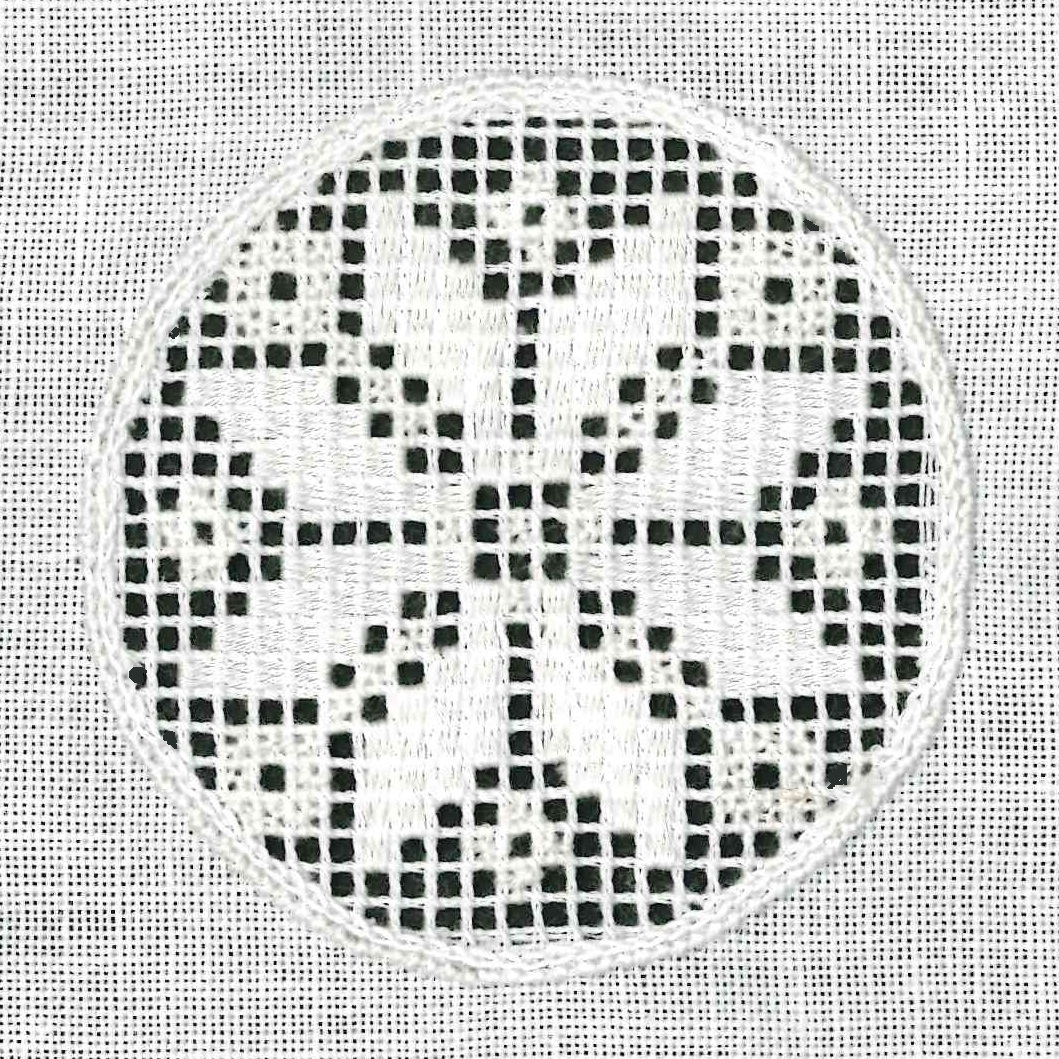
Embroidered it looks like this:
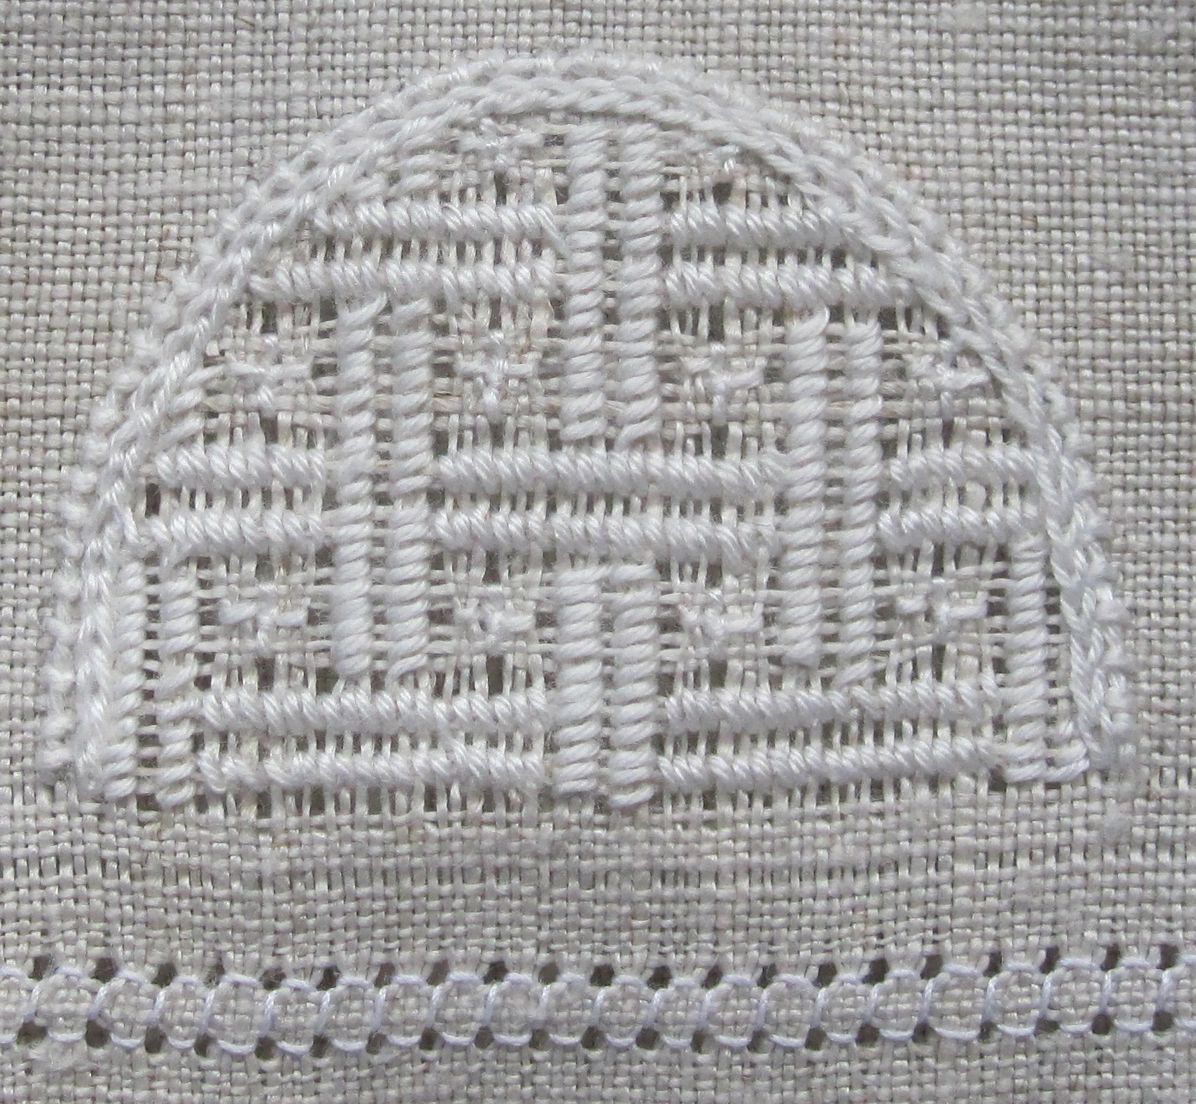
fertiger Stern | finished star

Filling Pattern – No. 444

No. 444
category: Limet-Filling pattern

stitches used: Satin stitches over one square in the width and 2 squares x 7 stitches of warped eyelet longitudinal striped pattern
longitudinal axis:withdrawn thread line

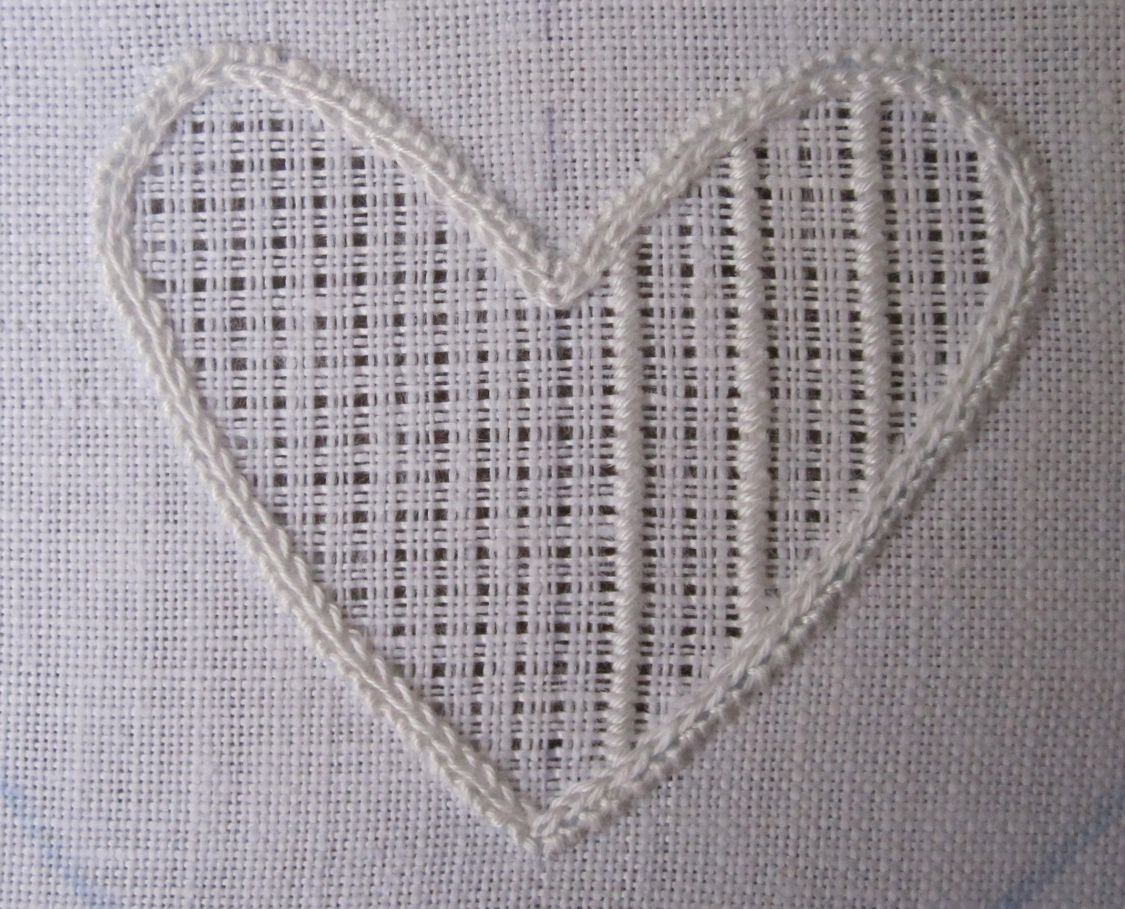
Limetfadenauszug | thread with drawing cut 1-leave 3

Starting in the middle, always alternate withdrawing 1 vertical thread and leaving 3 vertical threads.
Do the same with the horizontal threads; it is best to start right below the concave point of the heart (upper point).
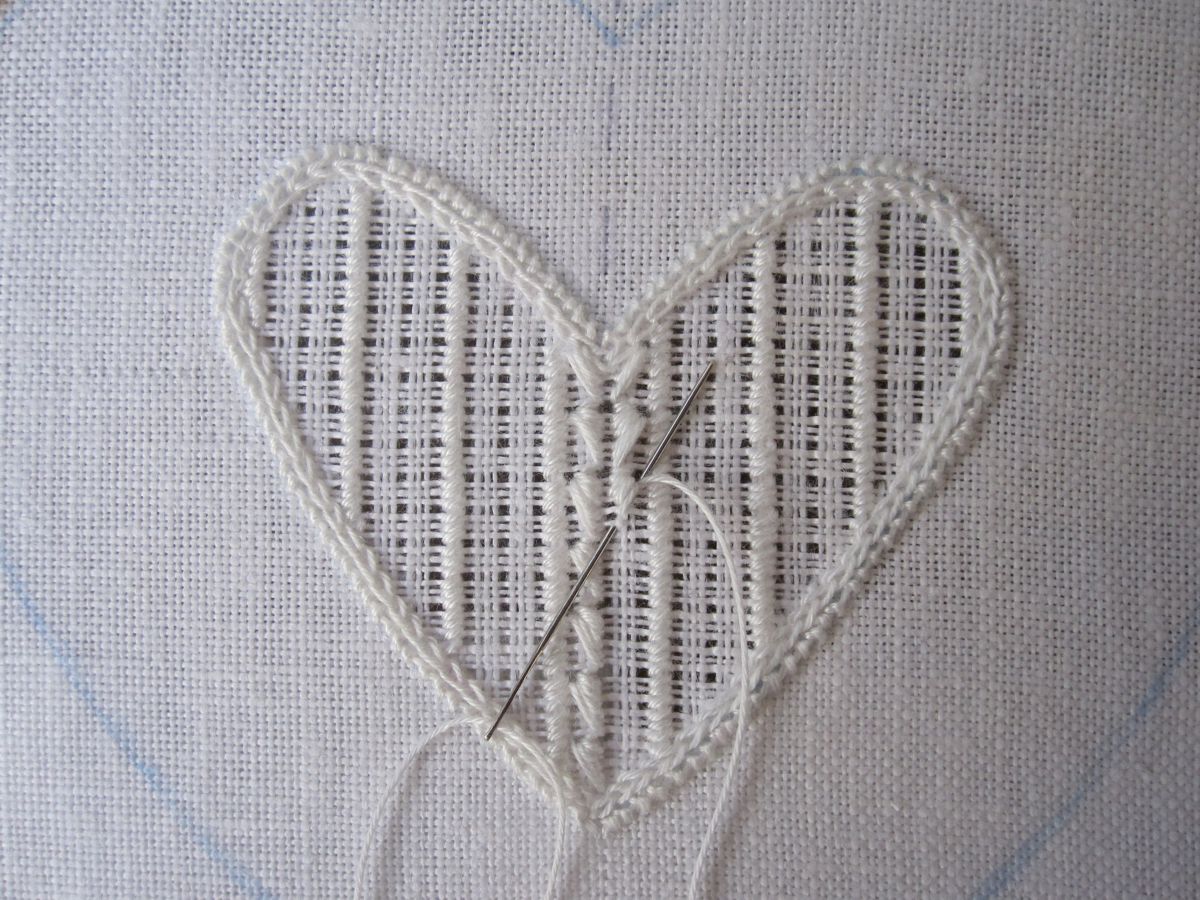
In rows, from bottom to top and back, embroider Satin stitches as “bars”. Leave the two centermost square-rows unworked, and stitch a Satin stitch bar over 1 square in the width, *leave 2 square-rows unworked and stitch another Satin stitch bar*. Always repeat the steps (*), until one half of the shape is filled. Again starting in the middle, fill the second half mirrored.

Limetrosenmuster 1. Schritt | Square Eyelet pattern 1. step
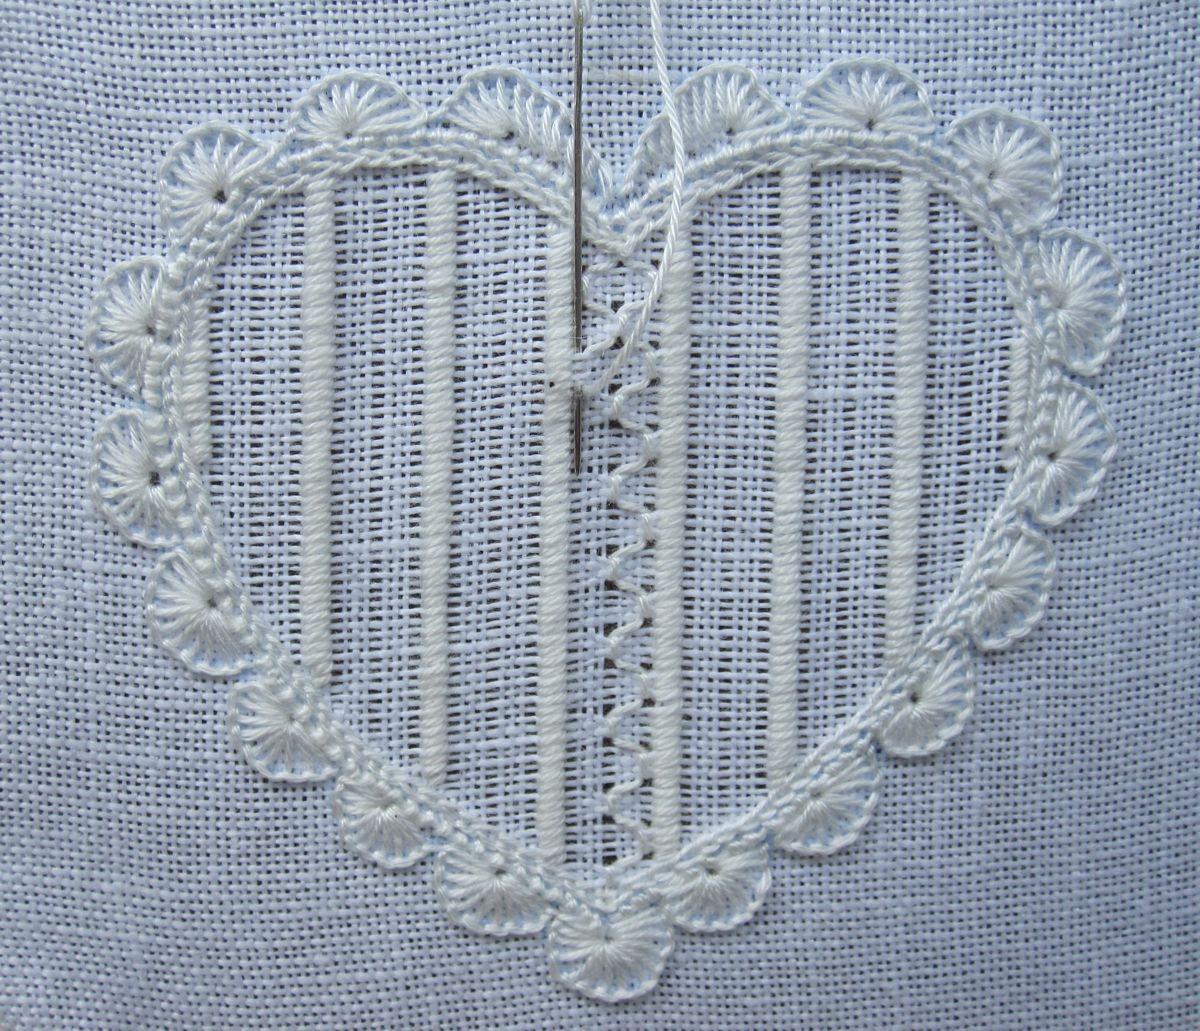
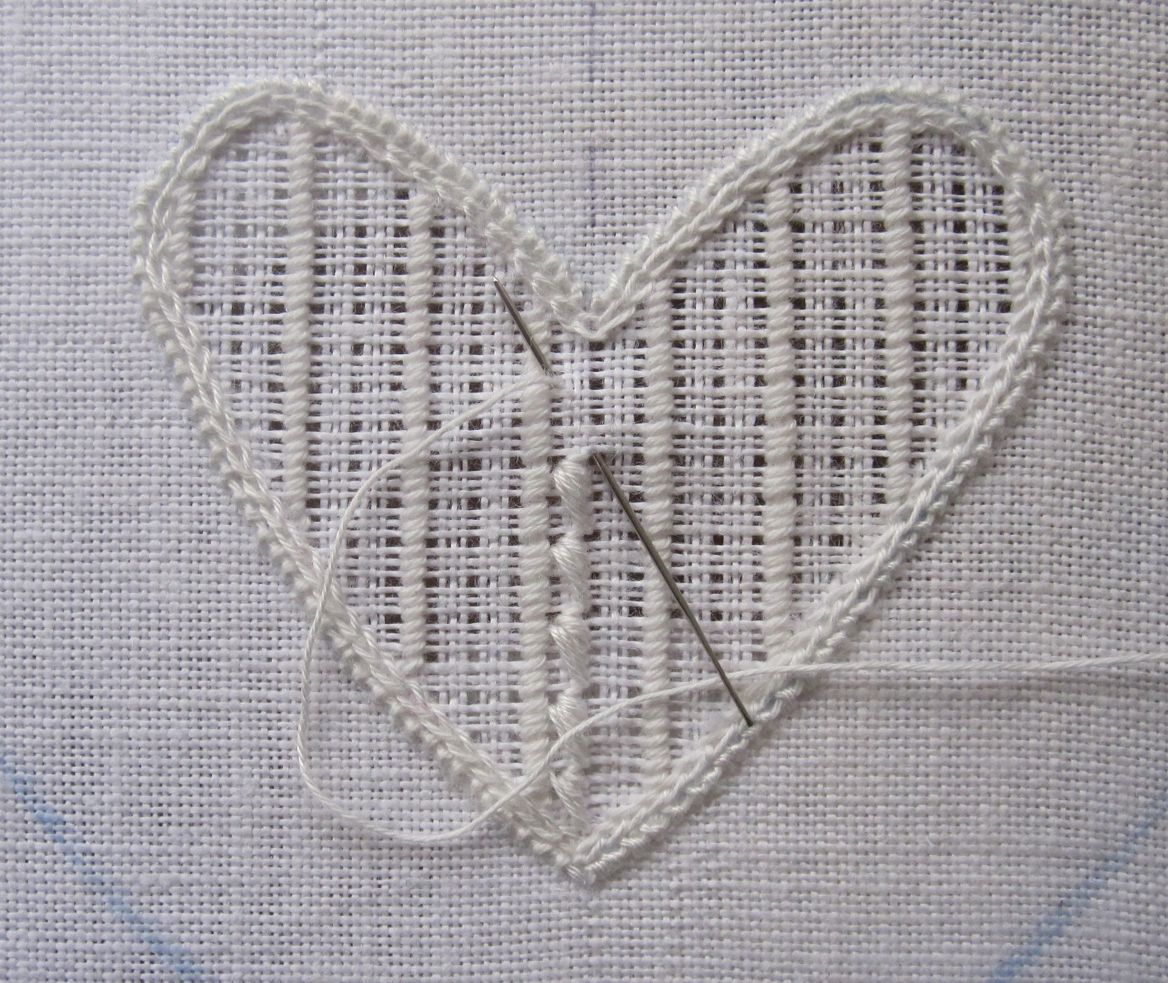
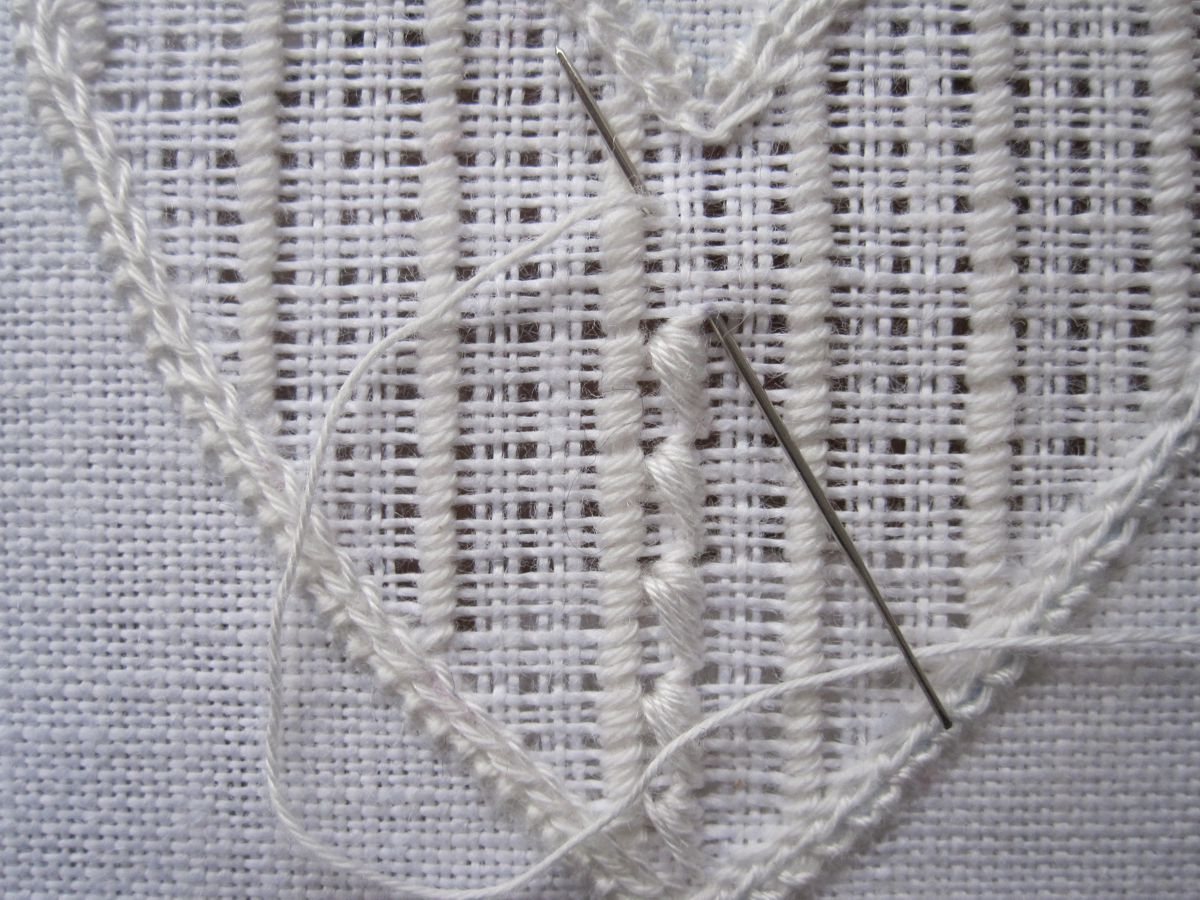
You now have pairs of vertical square-rows. The left side of each pair of square-rows is now embroidered from bottom to top with parts of the warped eyelet. Therefore work, always starting at the same point, 7 stitches over 1 square in the width, moving with every stitch one fabric thread up.

1. Schritt, vergrößert | 1. step, enlarged
For the exact placement of the stitches, please look to the enlarged image. For more detailed description please refer to my book “Limetrosen I”.

Limetrosenmuster 2. Schritt | Square Eyelet pattern 2. step
The remaining square-row is embroidered from top to bottom mirrored to the first.

fertiges Muster, ungewaschen | finished pattern before laundry
The finished pattern – here yet unwashed – has a three-dimensional effect.

Filling Pattern – No. 443

No. 443
category: Openwork pattern with Cable stitch grid
stitches used: Needleweaving over 1, 3 and 5 squares; changing the direction
center: square
negative pattern to No. 442
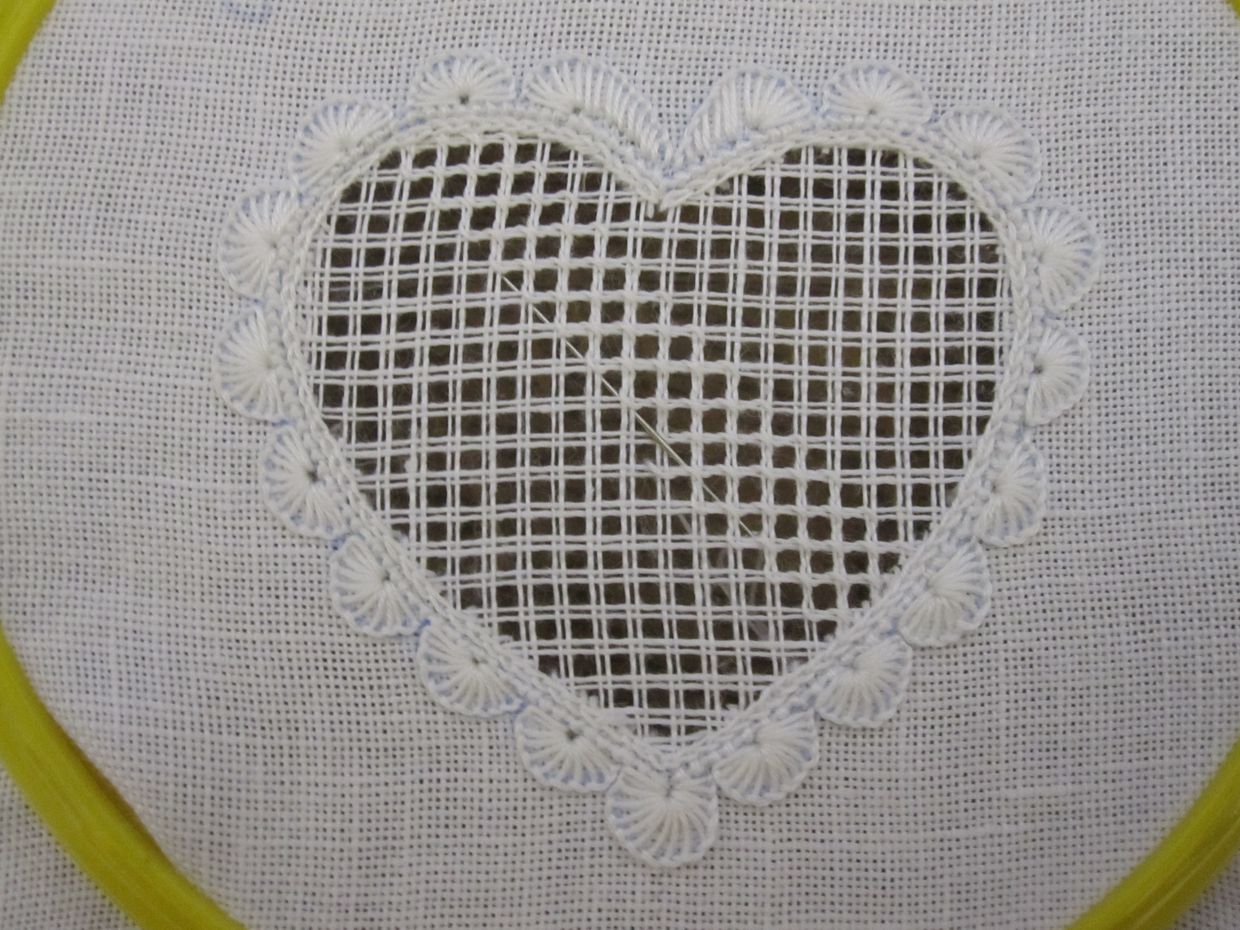
Lichter Fadenauszug | thread withdrawing cut 2-leave 2
Starting in the middle, always alternate withdrawing and leaving two vertical threads. Do the same with the horizontal thread; it is best to start below the concave point of the heart (upper point). The established grid is stabilized with Single Faggot stitches – which is simply Cable stitch from the front – worked from the back side of the fabric.
Einstopfen des Musters | weaving the pattern
Starting at the concave point (the middle of the motif), the pattern (alternating rhombi with 1, 3, 5, 3 as well 1 and blocks with 3 X 3 squares) will be woven in a stair-step manner. You will notice how the direction of the weaving changes with each weaving pattern.
Reihe neben Reihe | row by row
To move from one block to the next, empty squares are left. To hold them clear and open, the working thread has to be wrapped around the bundled threads of the grid in the same direction of the Single Faggot stitches. This way the wrapping is barely visible.
If you require more detailed instructions, please refer to “Basic Principles of Schwalm Whitework” or “Openwork Needleweaving Patterns”.

Diagonal pattern rows are worked one after the other until the entire shape is filled.
fertiges Muster 443 | finished pattern 443
Washed, starched and ironed the finished pattern shows its charm.

Another 175 Needleweaving patterns can be found in my book “Openwork Needleweaving Patterns”.