Global Schwalm Sampler – Update (35)

Global Schwalm Sampler – Update (35)

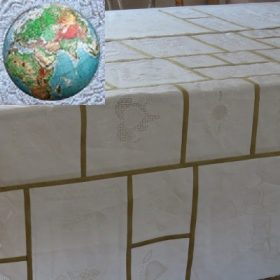
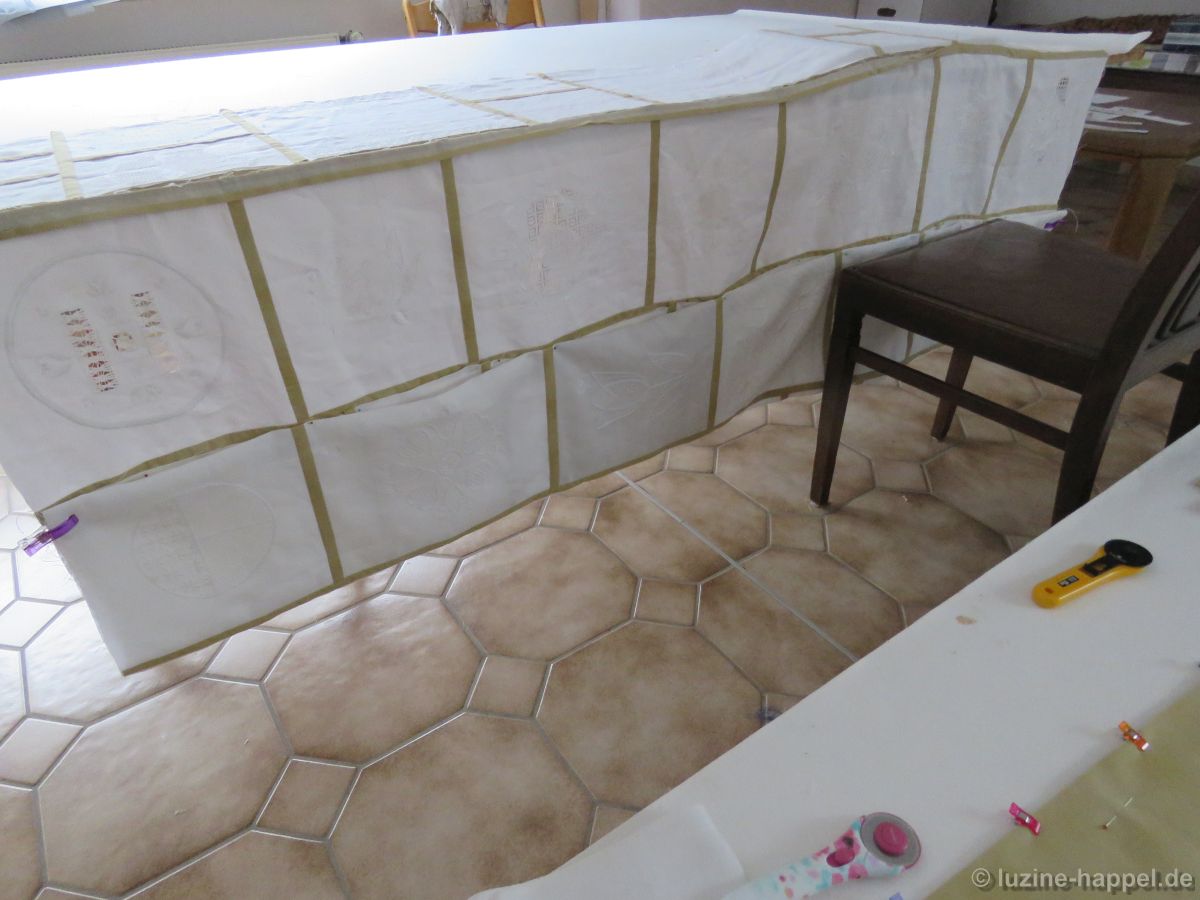
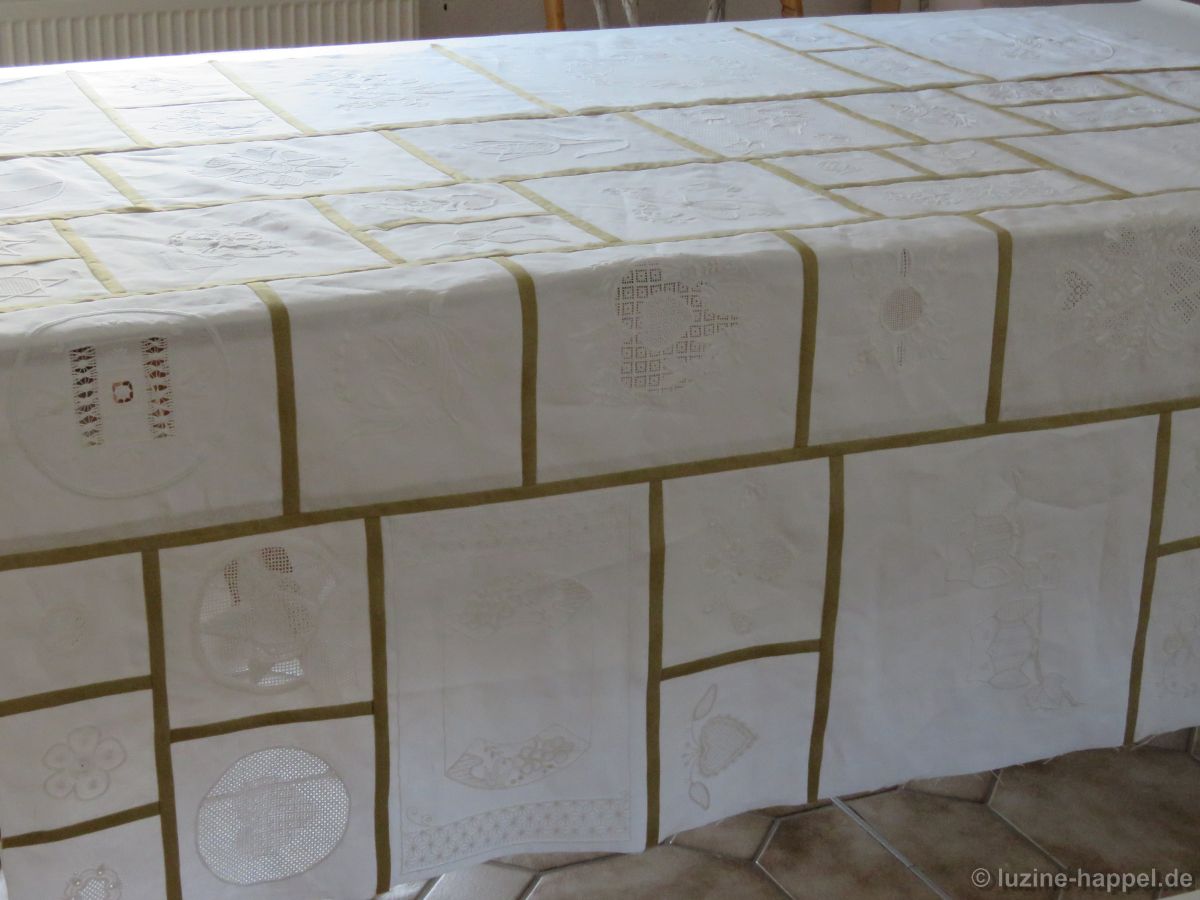
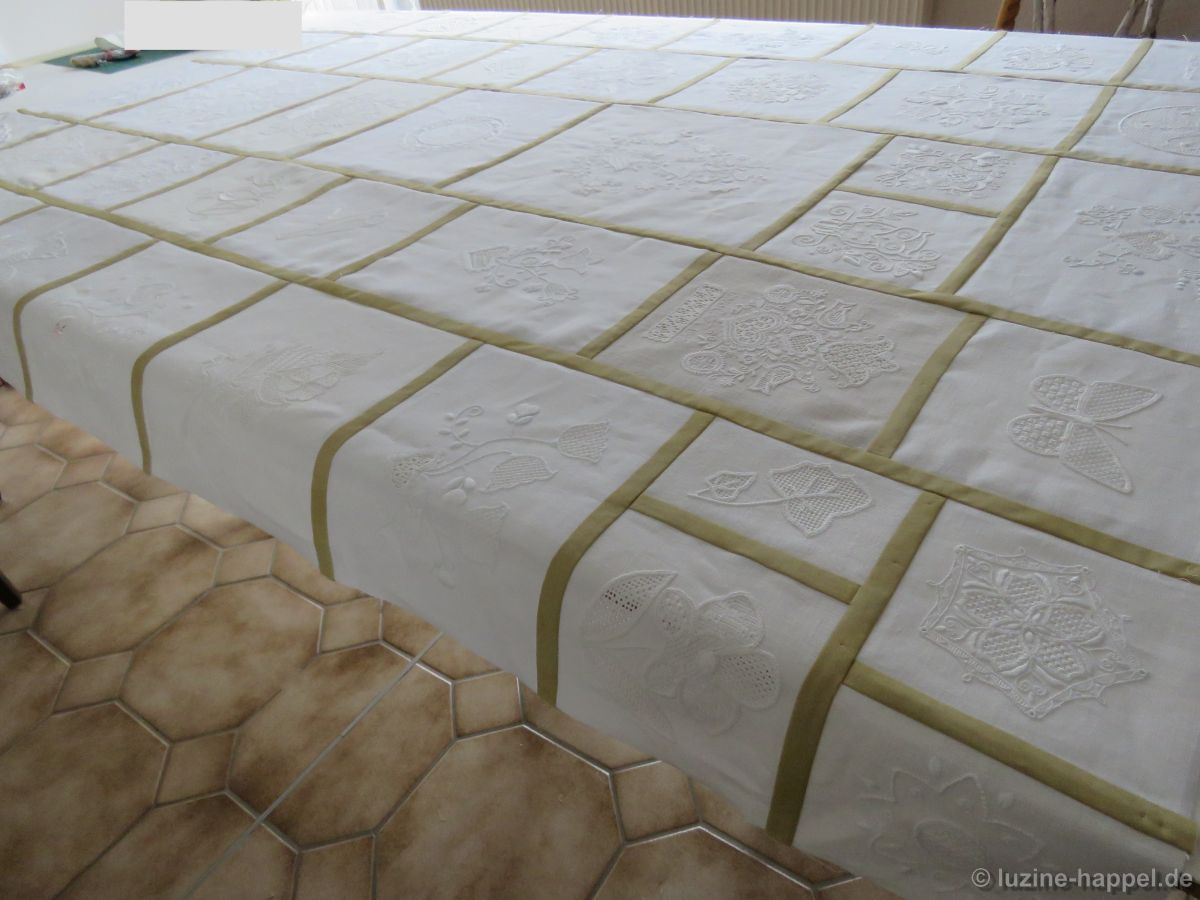
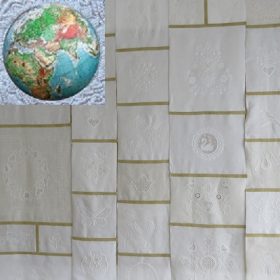
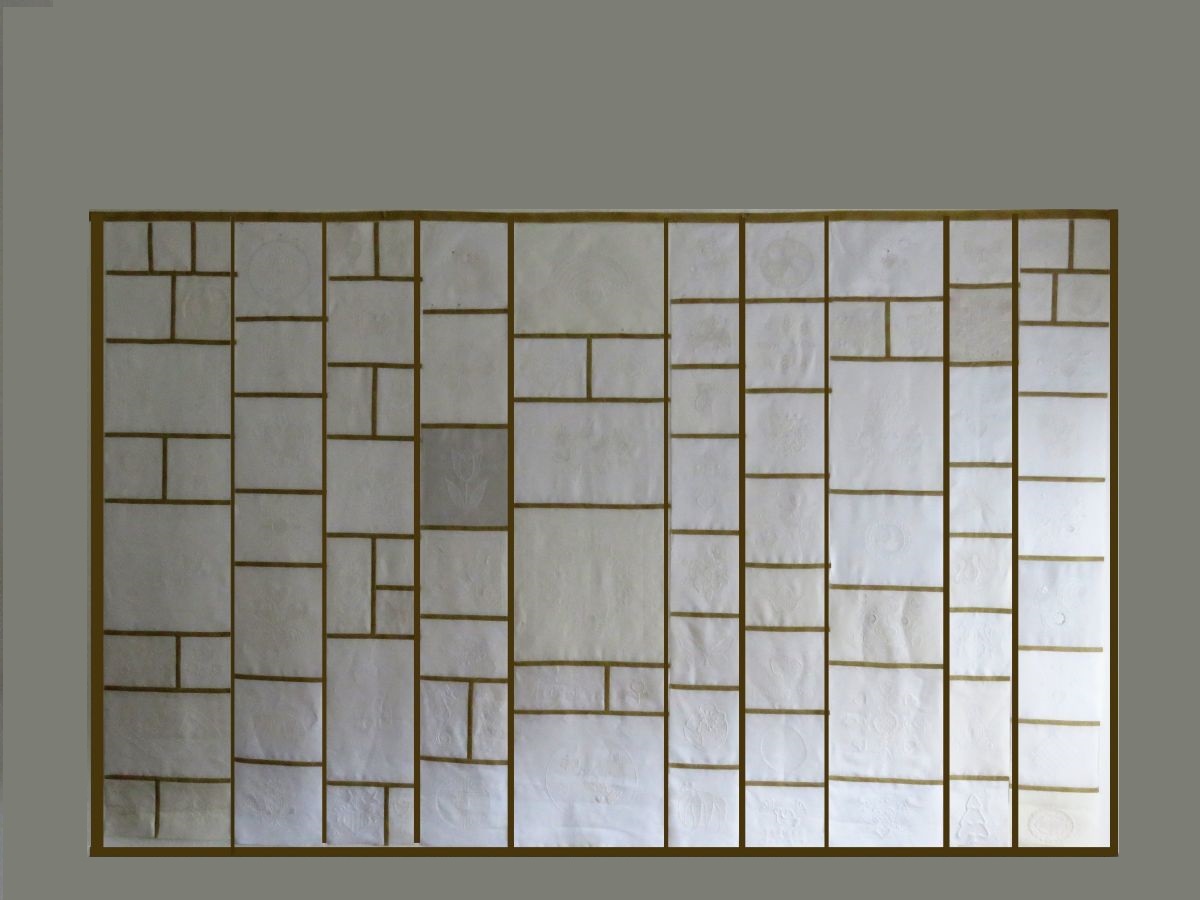
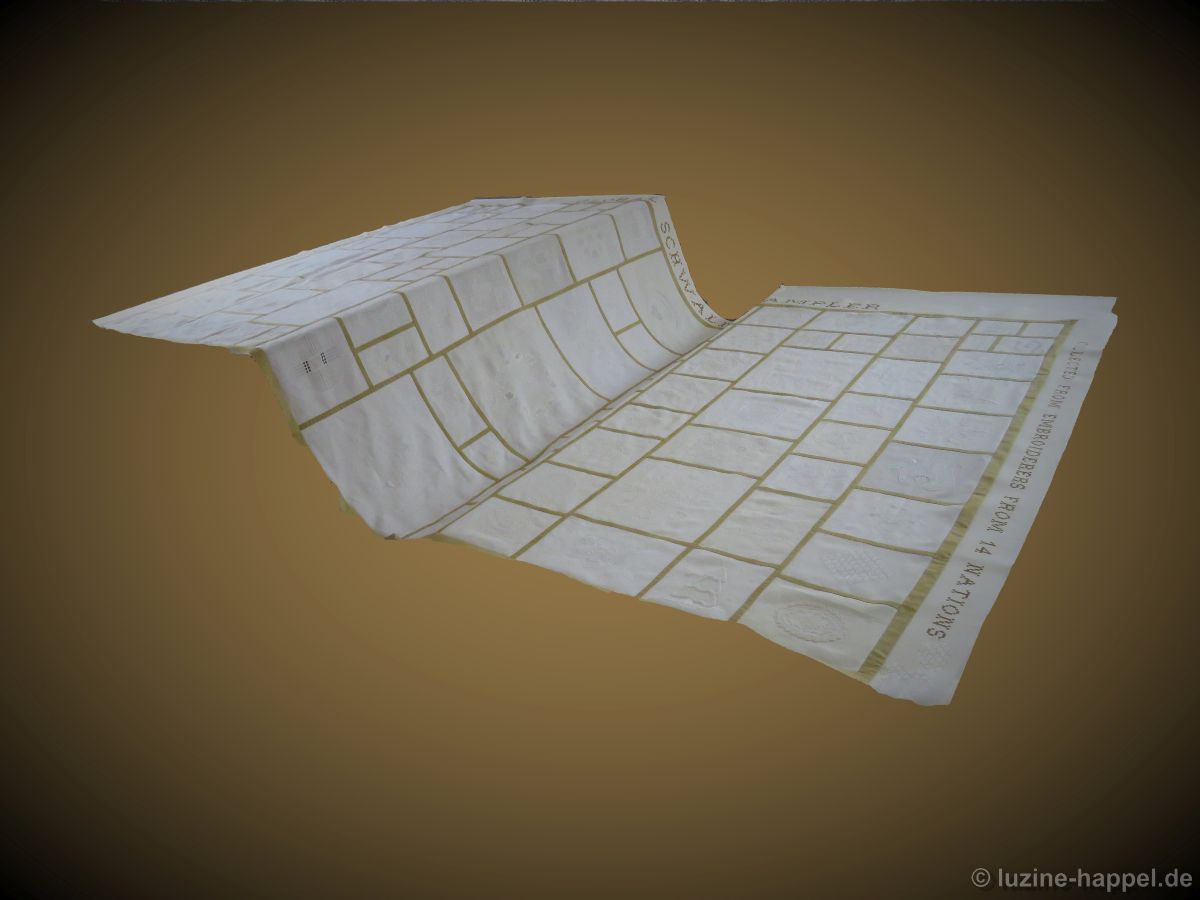
Thanks to precise preparation and assistance holding the large amount of fabric during machine sewing, the inner part of the sampler is now completely assembled. It measures 1.90 m X 3.08 m.

But before it can be hung up, an edge fastening must be attached.

An explanatory inscription will be integrated into this border design. Since my vision for the sampler is that it should travel around the world, it makes more sense to keep this text in English.
I decided on the following text:

GLOBAL SCHWALM SAMPLER

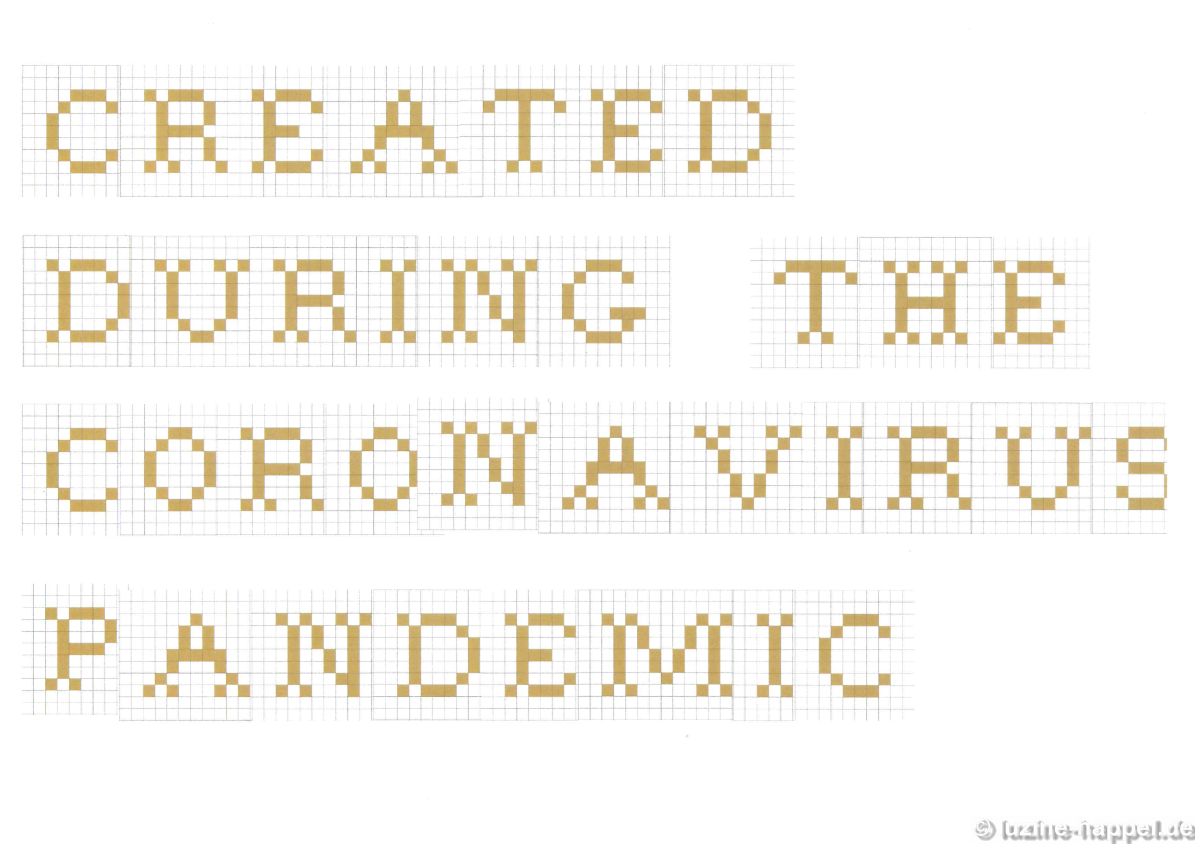
CREATED DURING THE CORONAVIRUS PANDEMIC OF 2020

COLLECTED FROM EMBROIDERERS FROM 14 NATIONS

THE PROJECT WAS CONCEIVED, IMPLEMENTED, AND BROUGHT TO FRUITION BY LUZINE HAPPEL OF ESCHWEGE, GERMANY

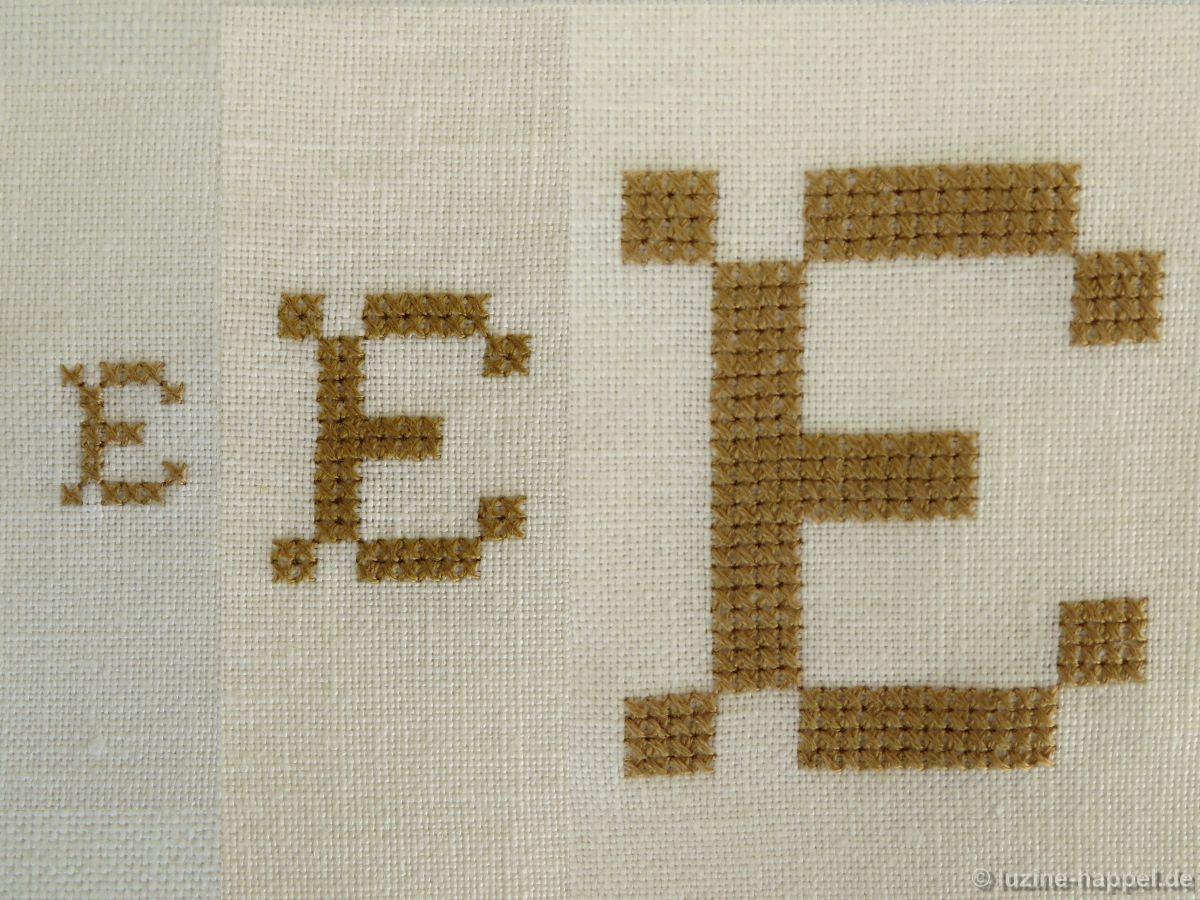
The letters will be in three different sizes: the largest for the headline, the middle for the two lines that will be placed on the left and right of the embroidery, and the smallest for the long explanatory text at the bottom of the sampler.

I chose to work the letters with cross stitches – the most common type of lettering in the Schwalm. However, the usual Schwalm characters are very heavily decorated, and that makes them difficult to read. So I decided to use modified Schwalm characters that are less ornate.
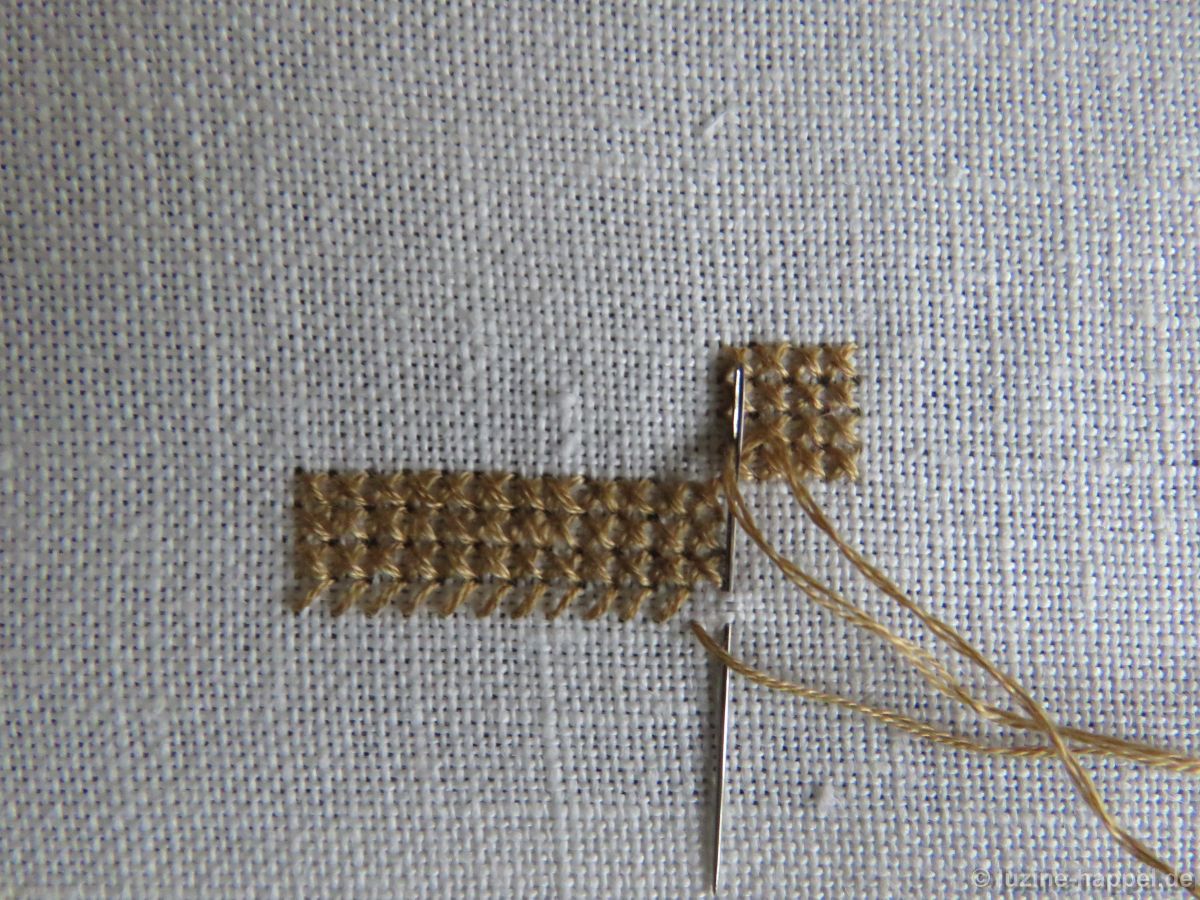
Common in the Schwalm, the crosses are usually embroidered over 3 X 3 fabric threads.
For the sampler, the smallest letters will be worked with one cross per chart square, the middle with 2 X 2 crosses, and the largest with 4 X 4 crosses each.
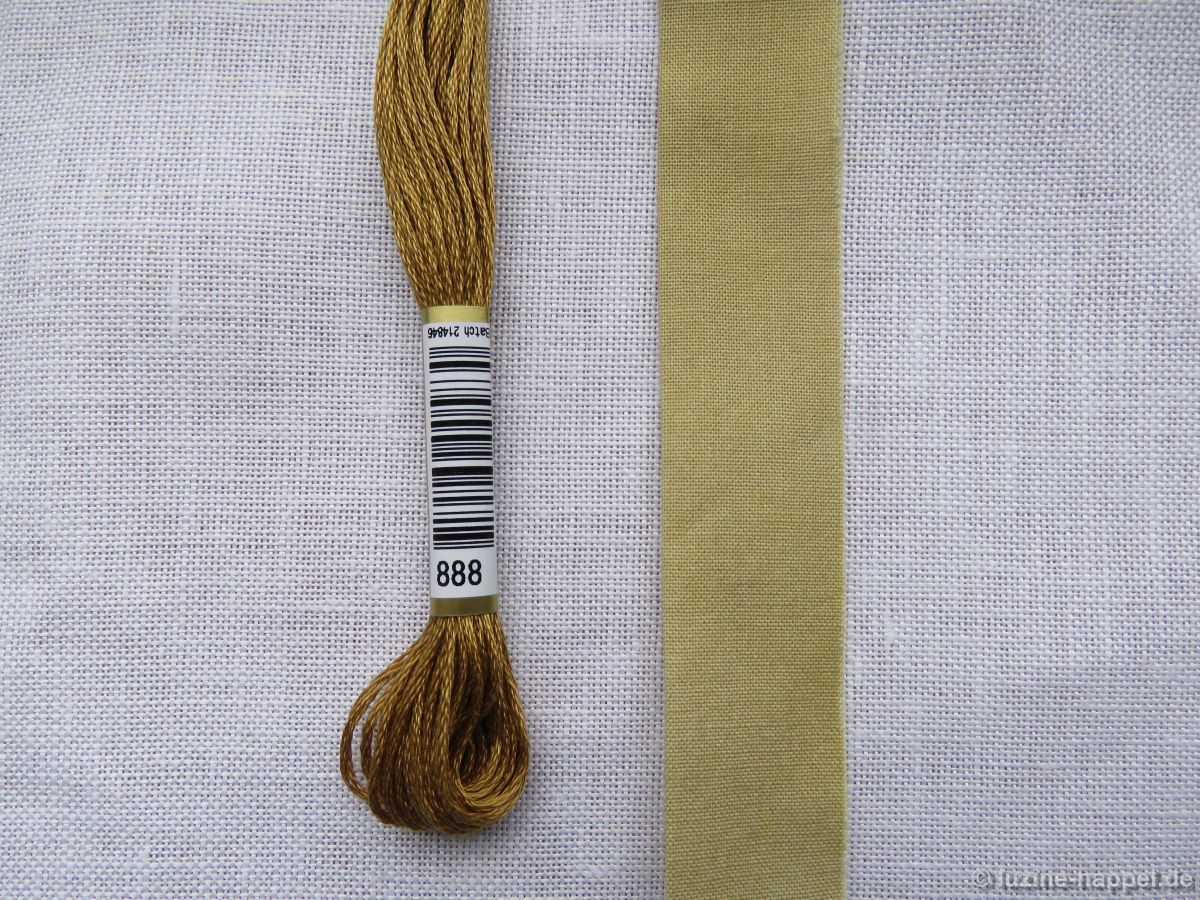
Two strands of 6-ply stranded cotton will be used for this embroidery. I chose Anchor colour No. 888 – the most widely used colour for working Schwalm crowns and a shade darker than the colour of the connecting strips. And I chose a linen with a 13.5/cm thread count as the base material.
There are 12,074 crosses in the entire border text and thus 24,148 stitches that have to be made (all done on a densely woven linen, which is very fine for counted embroidery). After trying things out with the aids available to me, such as a spectacle attachment and a small magnifying lamp, I bought another, more flexible, magnifying lamp.
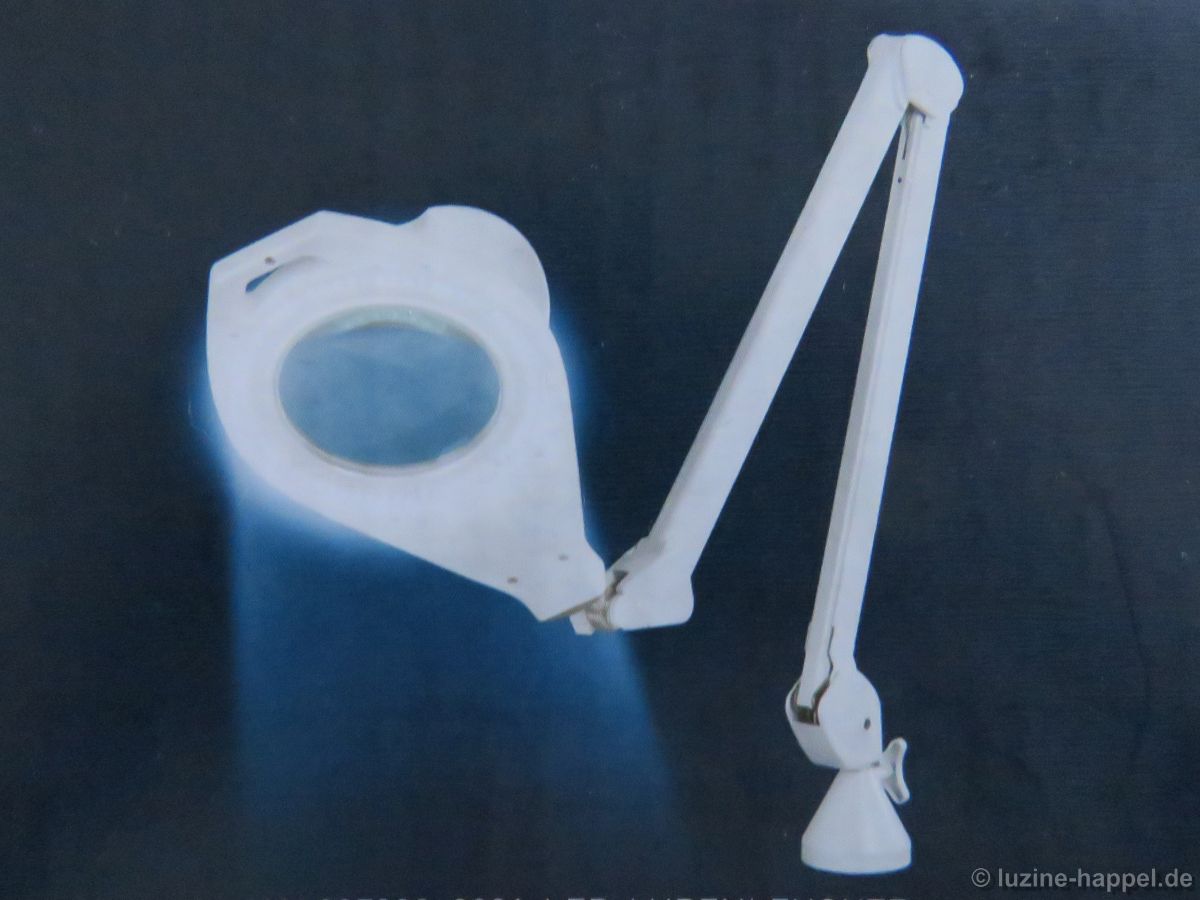
Now the final work can be done quickly. But only after the many stitches are embroidered first!
Previous Update
Next Update

A “Look through the Keyhole”

As 2020 comes to an end, I would like to give you a “look through the keyhole.” Perhaps you can guess what blog posts are in the works for the next few weeks.

For now I wish you the best for the coming year – may the COVID-19 pandemic soon get under control. Stay healthy, take much pleasure in Schwalm whitework, and enjoy each and every stitch!

Happy New Year!

Global Schwalm Sampler – Update (34)

Global Schwalm Sampler – Update (34)

Before the ten columns of the sampler could be sewn together, the connecting strips had to be cut first. Since I didn’t want any pieced strips, they were cut at their full length along the warp direction of the fabric. The back strips were marked and ironed.

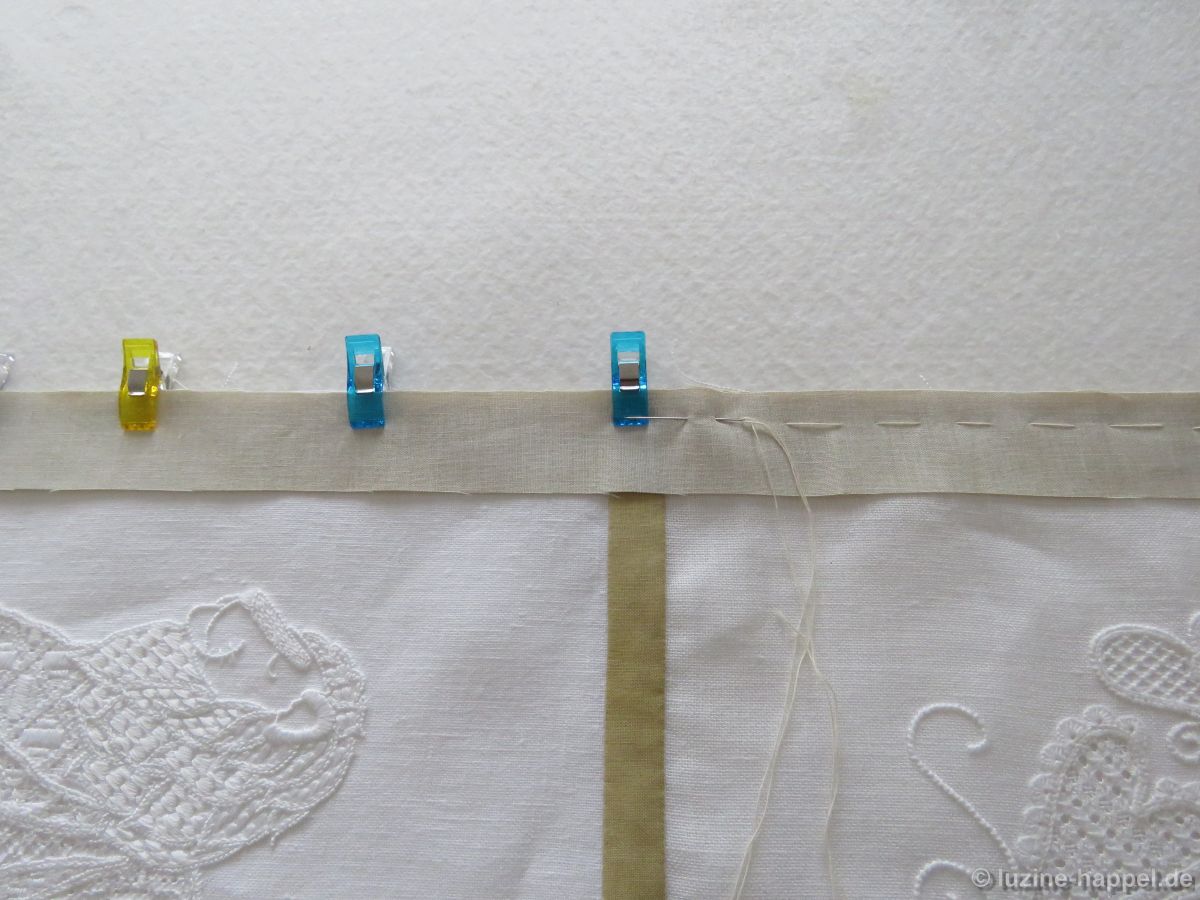
The long seams were again prepared very carefully by clipping and then basting. (Every now and then when sewing with the machine the upper thread breaks or the bobbin thread comes to an end without my noticing it immediately. Therefore, it is good to have securely joined the fabric layers with short basting stitches.)

Sewing on the machine went relatively quickly. After a few hours I had already joined several columns together. Actually, I wanted to quit working for that day. But it was a sunny day, and I prefer to work in bright natural light rather than with electric lighting. So I decided to take advantage of it and kept working for a while. Then it happened: I was probably losing concentration, and so I incorrectly sewed a back strip – with the front facing downward!

To make matters worse, this column had a lot of loosely woven edges, which I had connected to the strip with additional zigzag stitches. I found it impossible to remove the many hundreds of small stitches. Leaving the strip upside down would have made the hand seam very difficult, because it is not easy to flip an already strongly ironed fold. So what should I do? I put the piece aside to have time to consider.

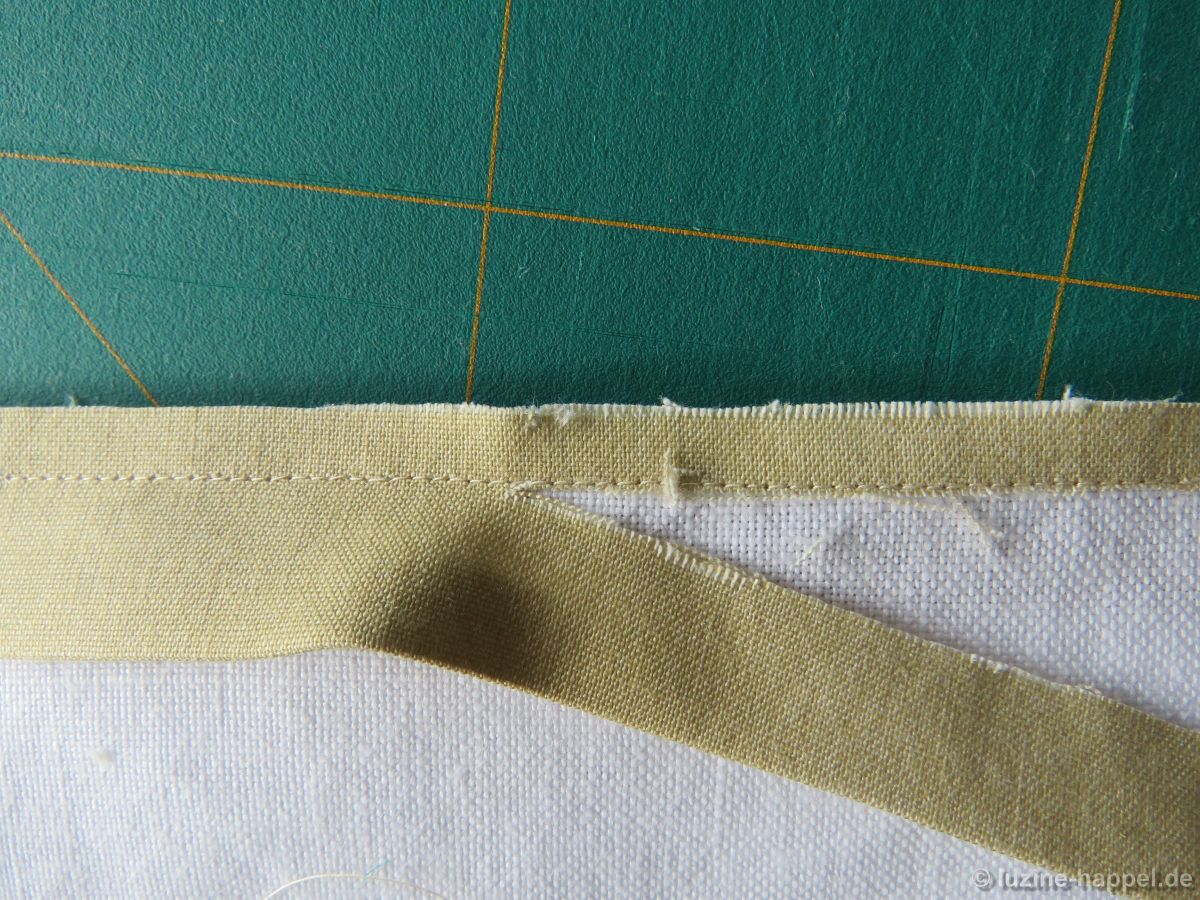
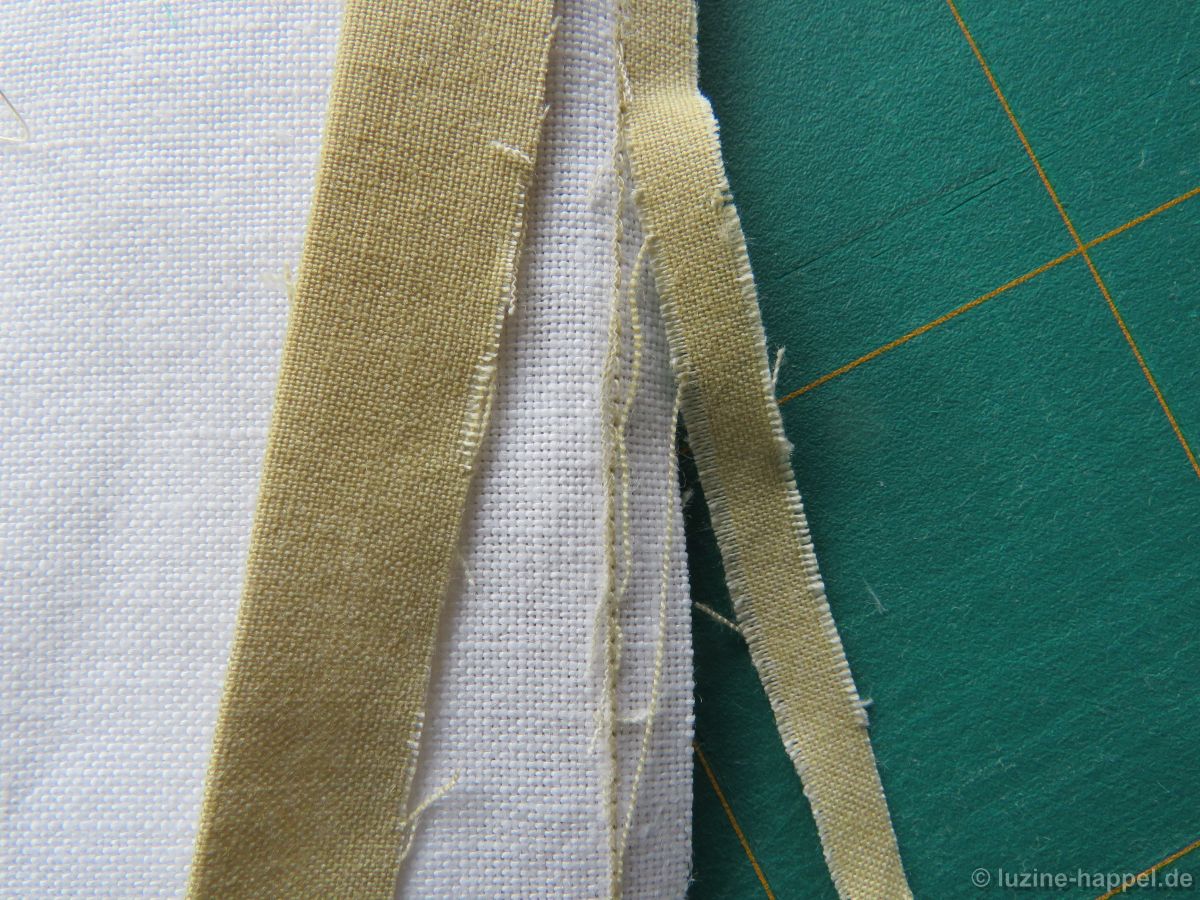
The next day the solution was there. The strip was carefully cut through close to the seam so that the wrongly sewn fabric could be pulled out from under the seam and removed. A new strip was attached with another seam close to the first on the back. This hurdle was cleared too!

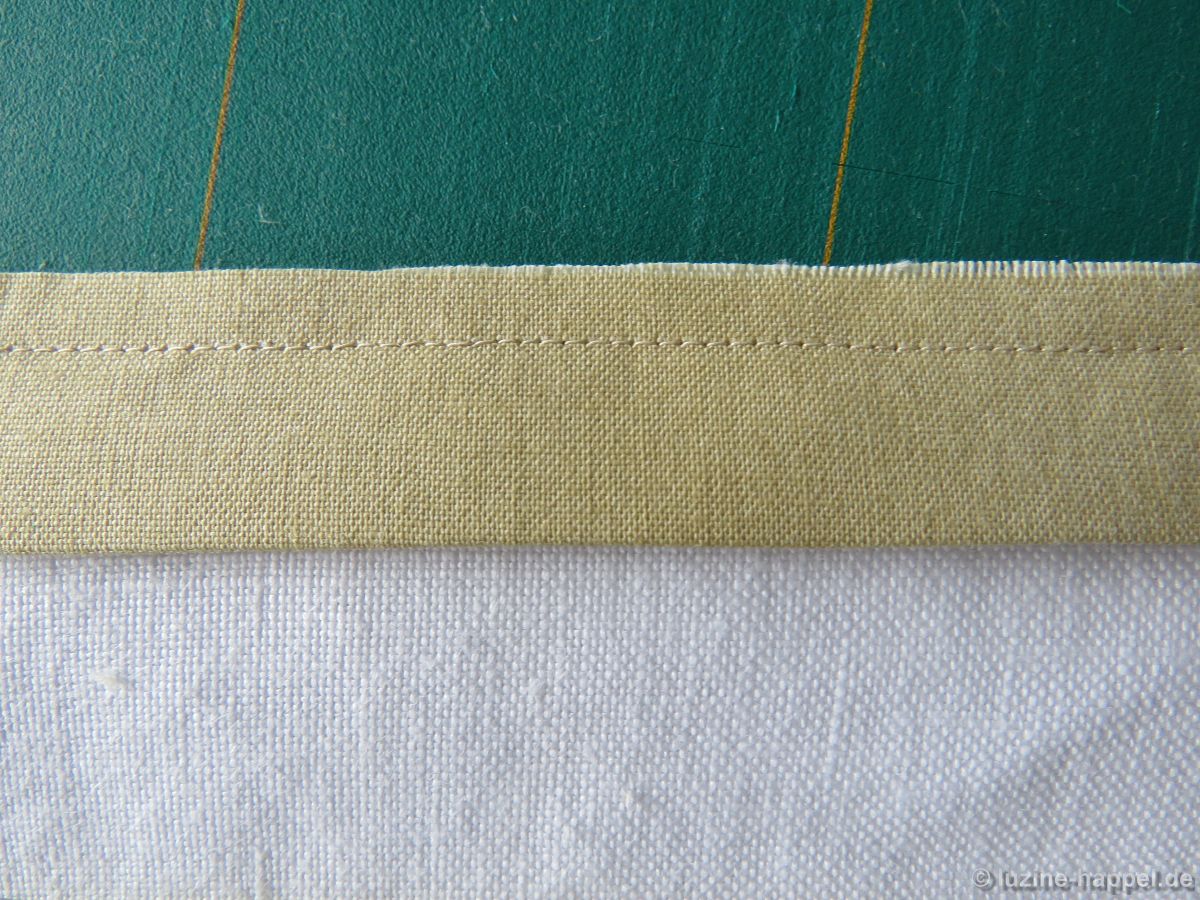
The long hand seams were also a bit of a challenge. The columns were placed on the table with the connecting strips on the edge. As the seam progressed, the book to raise the tabletop was pushed further and my chair moved further. It was a little tedious but workable.

The downward-hanging columns were rolled up and pinned so they wouldn’t hang on the floor.

In the process my patience was put to the test. The constantly knotting thread made it impossible to work quickly. When I was angry about it, I often stabbed my finger and had to be careful not to get a drop of blood on the sampler.

With each additional column, the quantity of fabric increased – making the overall weight heavier. The heavy weight of the fabric made it more difficult to control under the sewing machine’s presser foot. Therefore, I first put together two parts of five columns each. In the end all the ten culomns all together weighed a total of 2170 grams.

I will need someone to assist me in sewing the two pieces together.

I’m also thinking about the final ironing …

Previous Update
Next Update

Global Schwalm Sampler – Update (33)

Global Schwalm Sampler – Update (33)

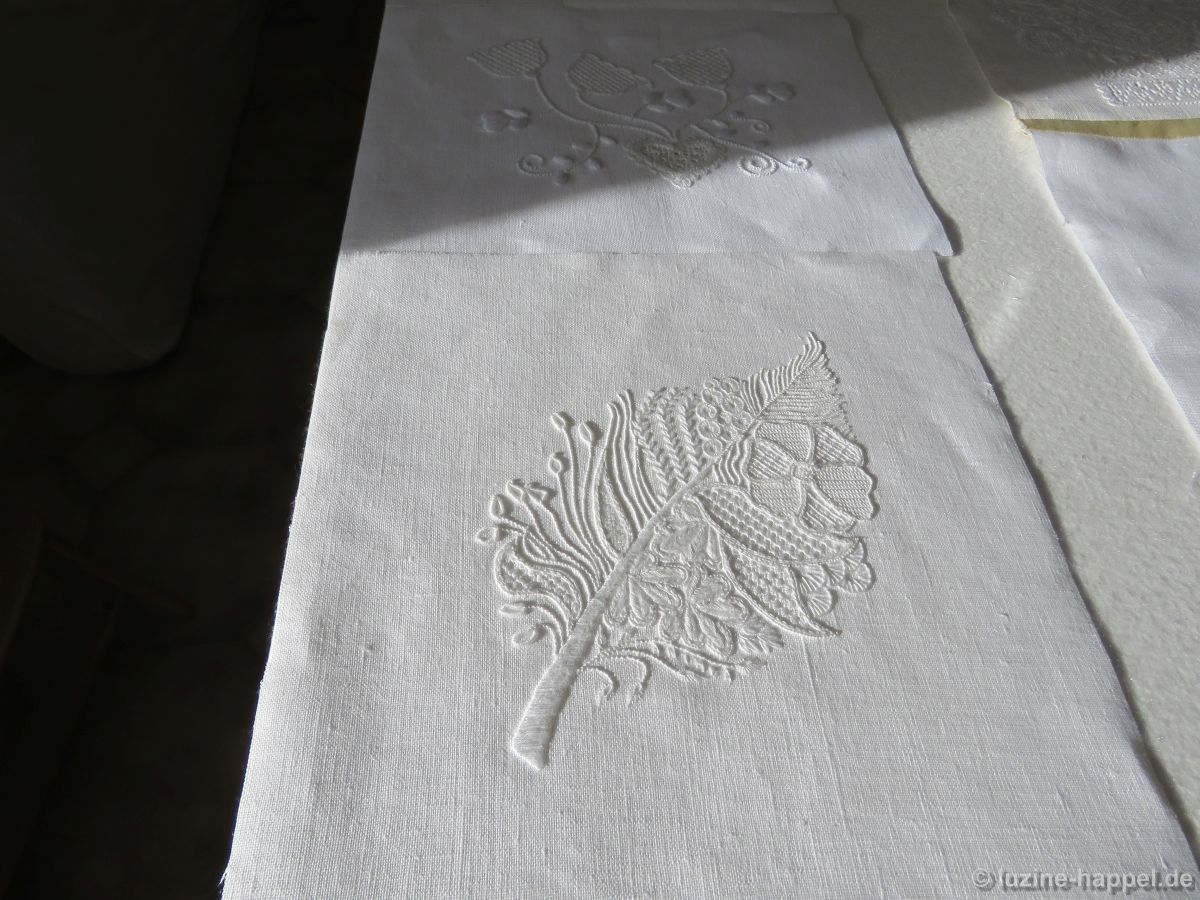
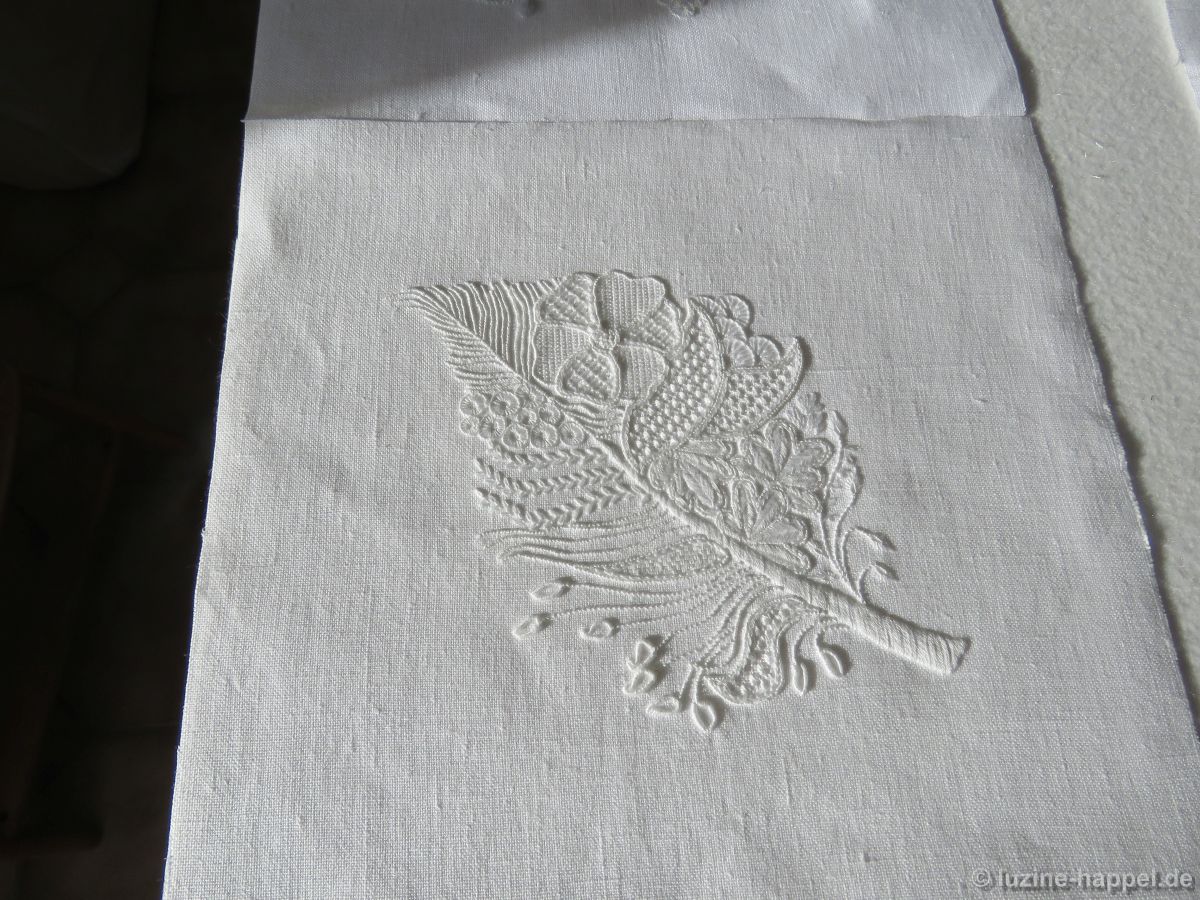
I also have to make decisions when putting the last column together. An embroidery with a leaf motif measures 26 cm x 25 cm. In my opinion – and I also think the embroiderer feels the same – the leaf should be arranged with the axis rising from left to right. That would mean a width of only 25 cm is available for this column, and all other embroideries would have to be reduced to fit this width.

But then I would have difficulties with other pieces that do not allow for my cutting away any additional fabric.

So I decide on a width of 26 cm and place the leaf motif with the leaf axis rising from the bottom right to the top left.

There were a few other things to consider as well. And once I didn’t pay attention and sewed on a motif upside down! Fortunately, I quickly noticed my error and so only one seam had to be reworked. Finally, the last column was ready.

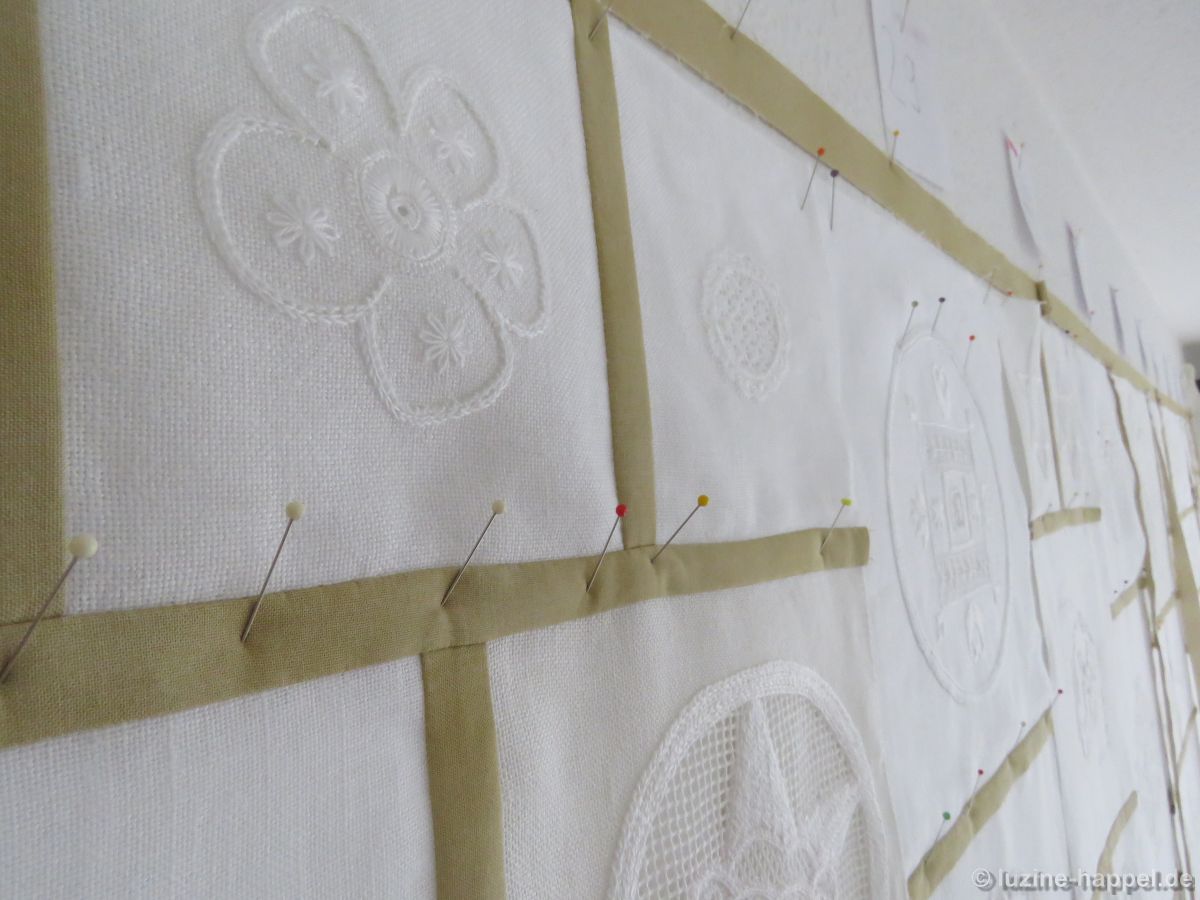
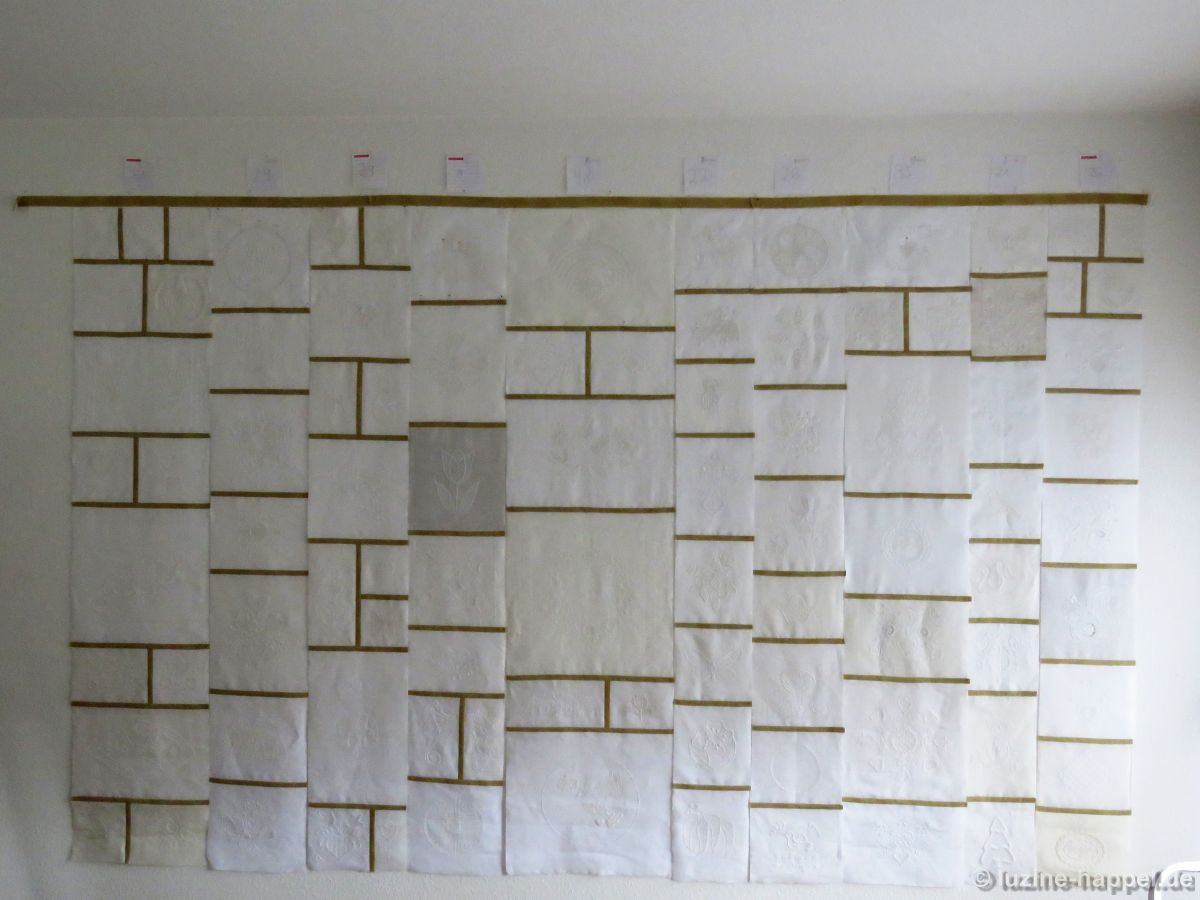
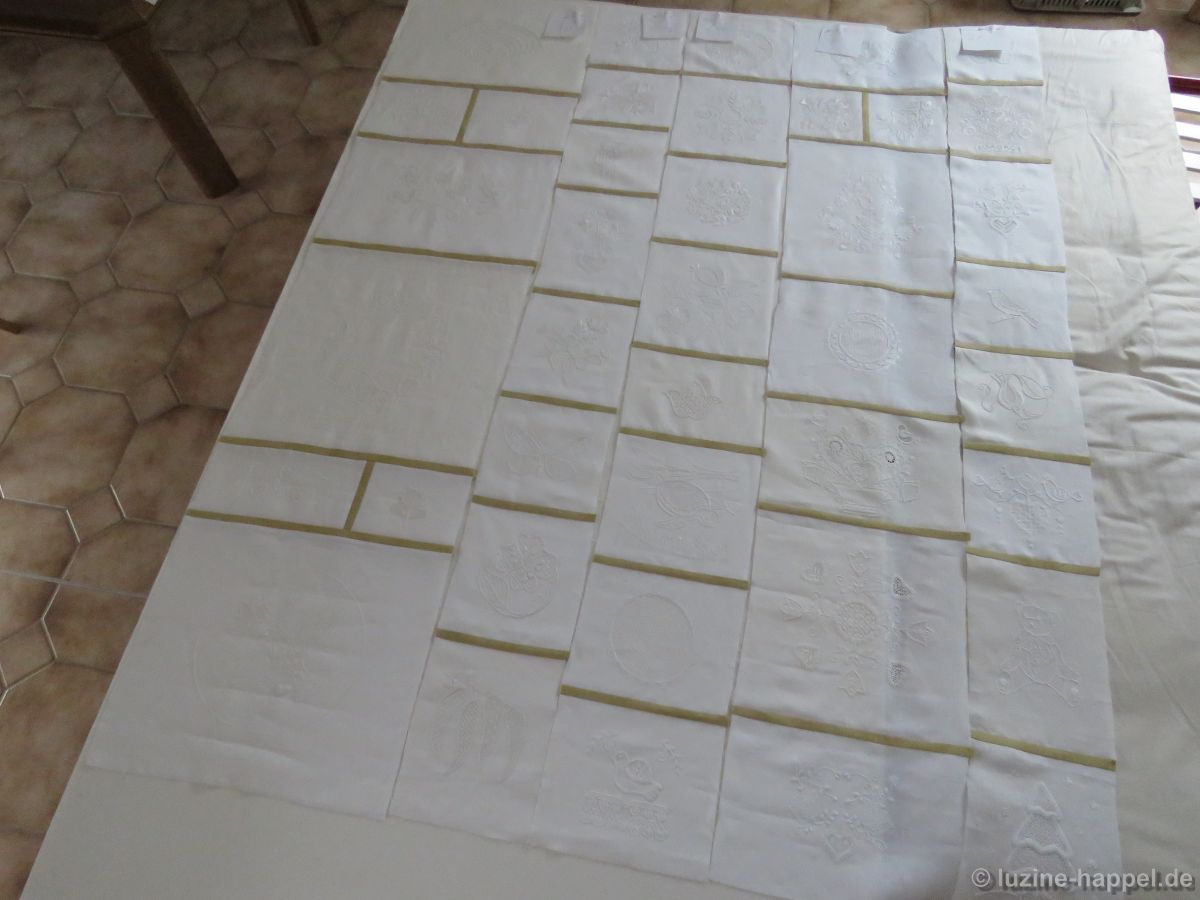
Now the big moment came: all the columns were carefully attached to the wall with pins

to get a first impression of the overall picture.

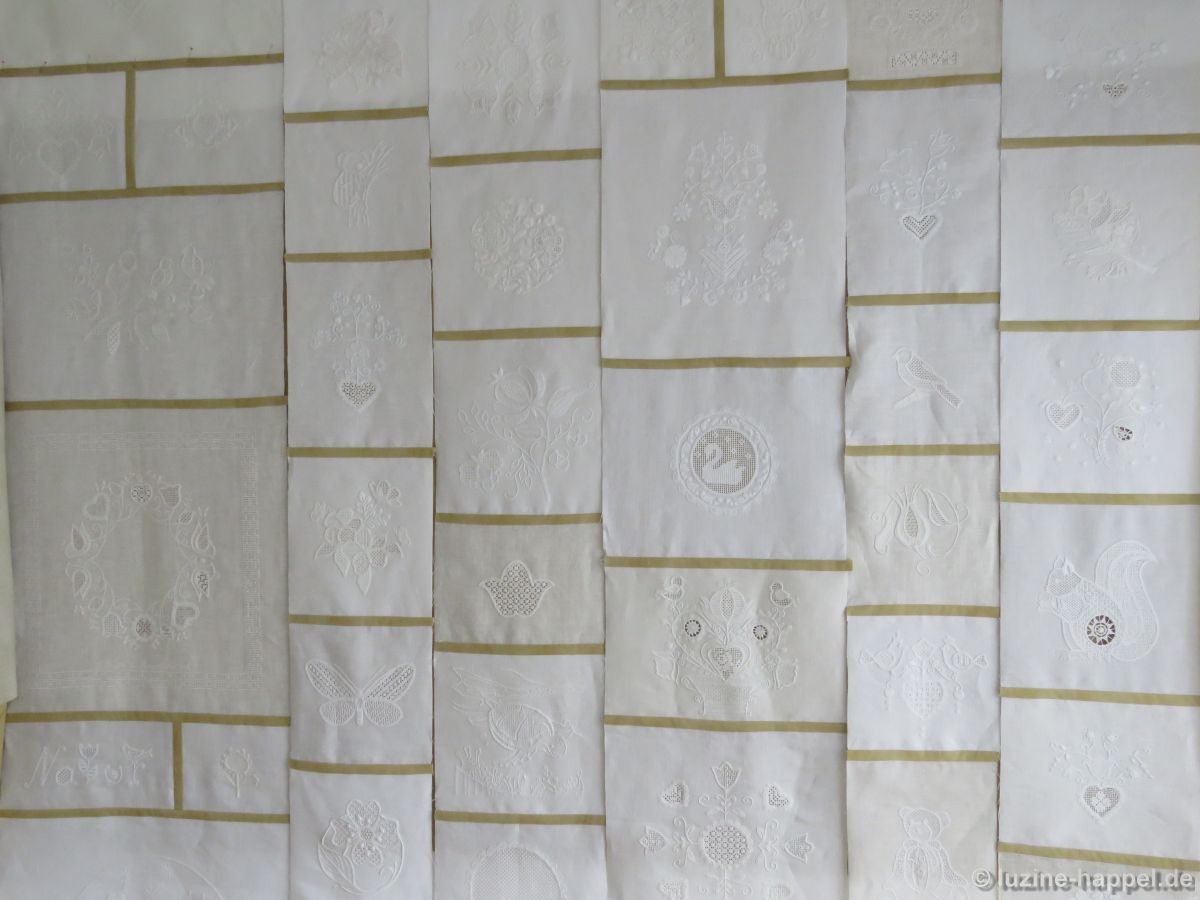
Of course, the white background is annoying and the lighting is completely inadequate, but the structure is easy to see.

With a coloured background fabric temporarily placed behind, the details stand out much better.

The widest column is arranged in the middle. To keep the areas to the left and right of it the same size, five narrower columns had to be arranged on one side and four wider columns on the other. The missing vertical strips still make the right side appear less subdivided.

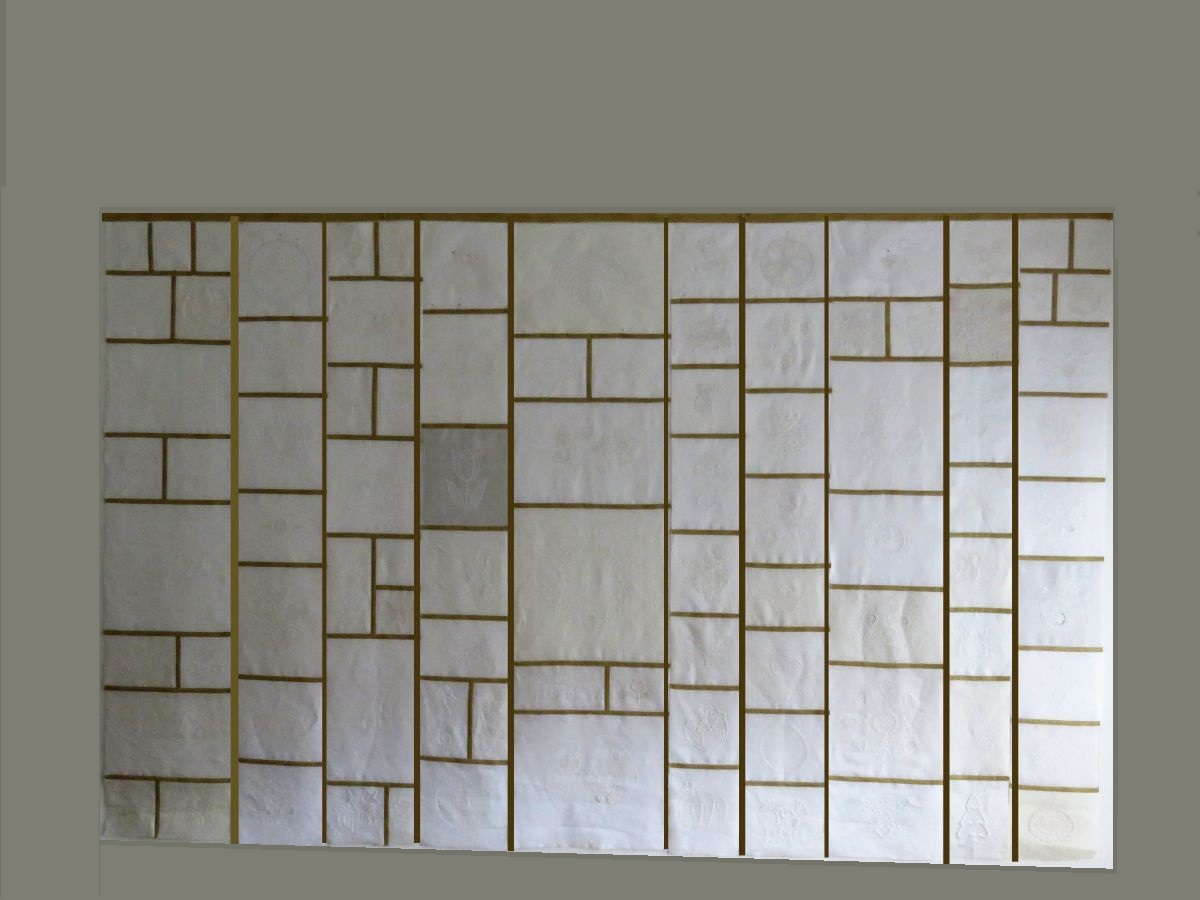
In order to get a better visual impression of the final overall picture, the sampler image was edited to include vertical lines

and then also a border around it.

That changes the impression enormously. (The subdivisions look somewhat crooked because the columns are not yet connected to each other. They have only been attached at the top and so turn slightly towards the bottom.)
I’ve tried to fit all 92 embroideries seamlessly into the rectangle, and in that I’ve succeeded.

I tried to either let the horizontal connection strips of the individual columns line up with those of the adjacent column or to give them a clear offset. And I strove to evenly distribute large and small embroideries as well as the different colour nuances and motifs. However, it was not always possible to achieve all my self-imposed requirements at all times.

The arrangement of the individual columns is checked once again: the image printed and cut into strips gave the impression of a different possible order. The result: the arrangement remains as it is!

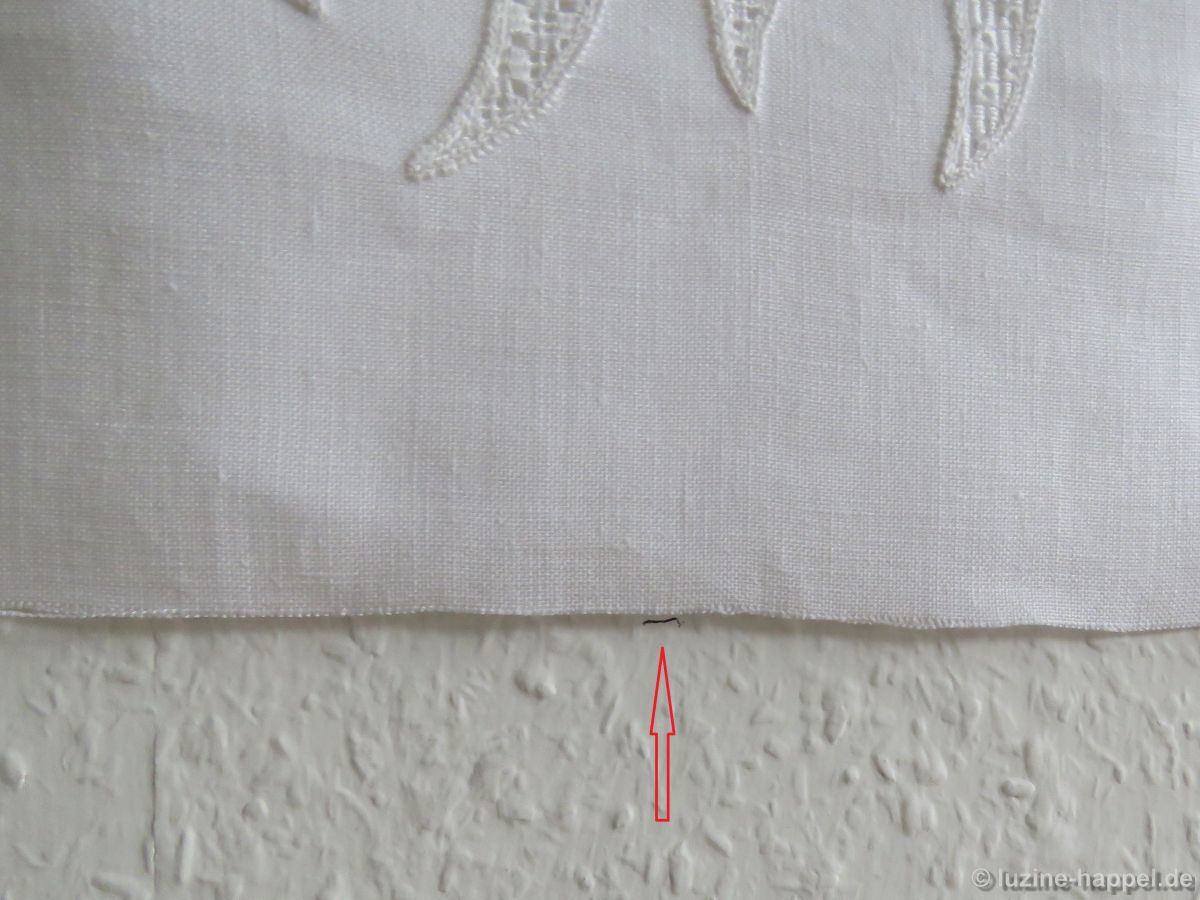
In order to test whether the individual columns stretch due to their own weight influenced by the different fabrics, I made a small mark on the wall at the bottom of each column. After several days I could see that none of the columns had stretched even minimally.

So I can now sew the columns together without any further worries.

Previous Update
Next Update

Global Schwalm Sampler – Update (32)

Global Schwalm Sampler – Update (32)

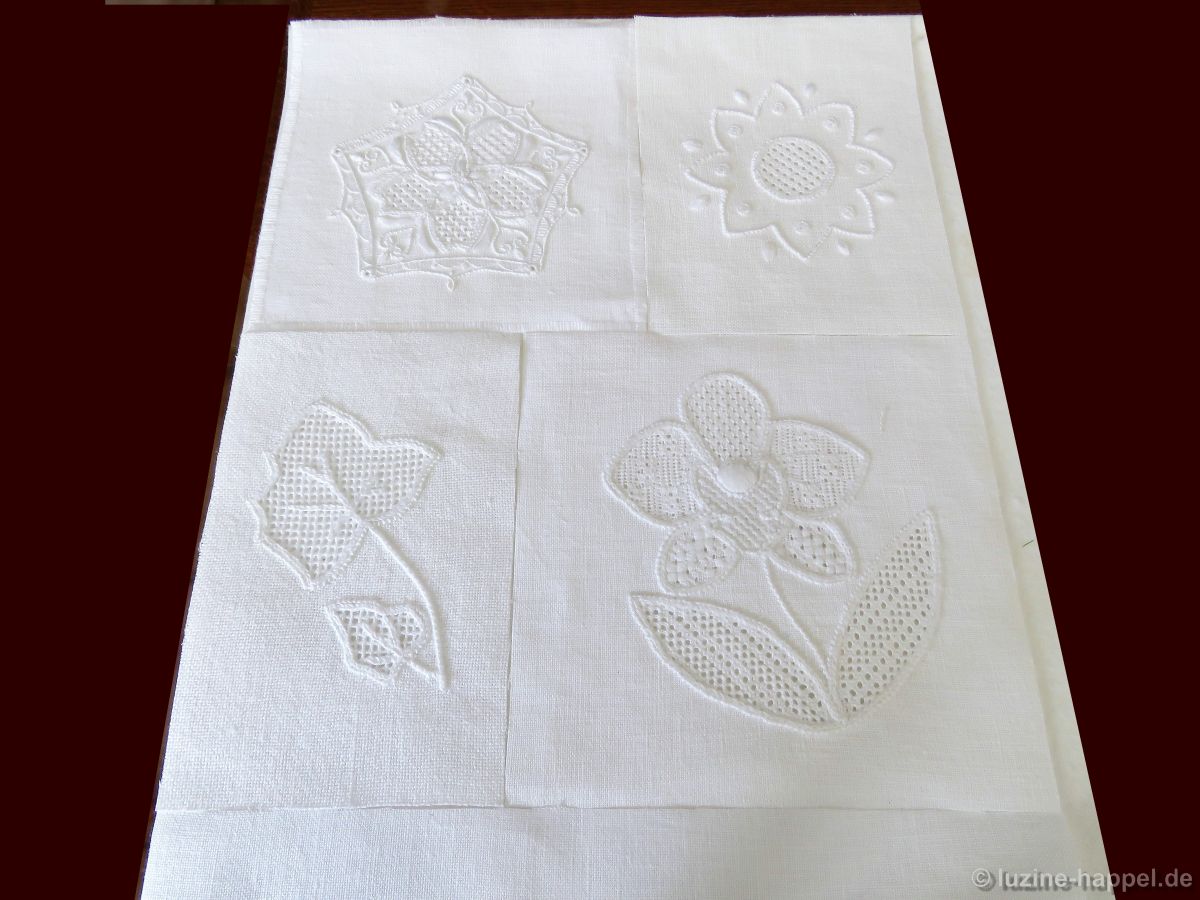
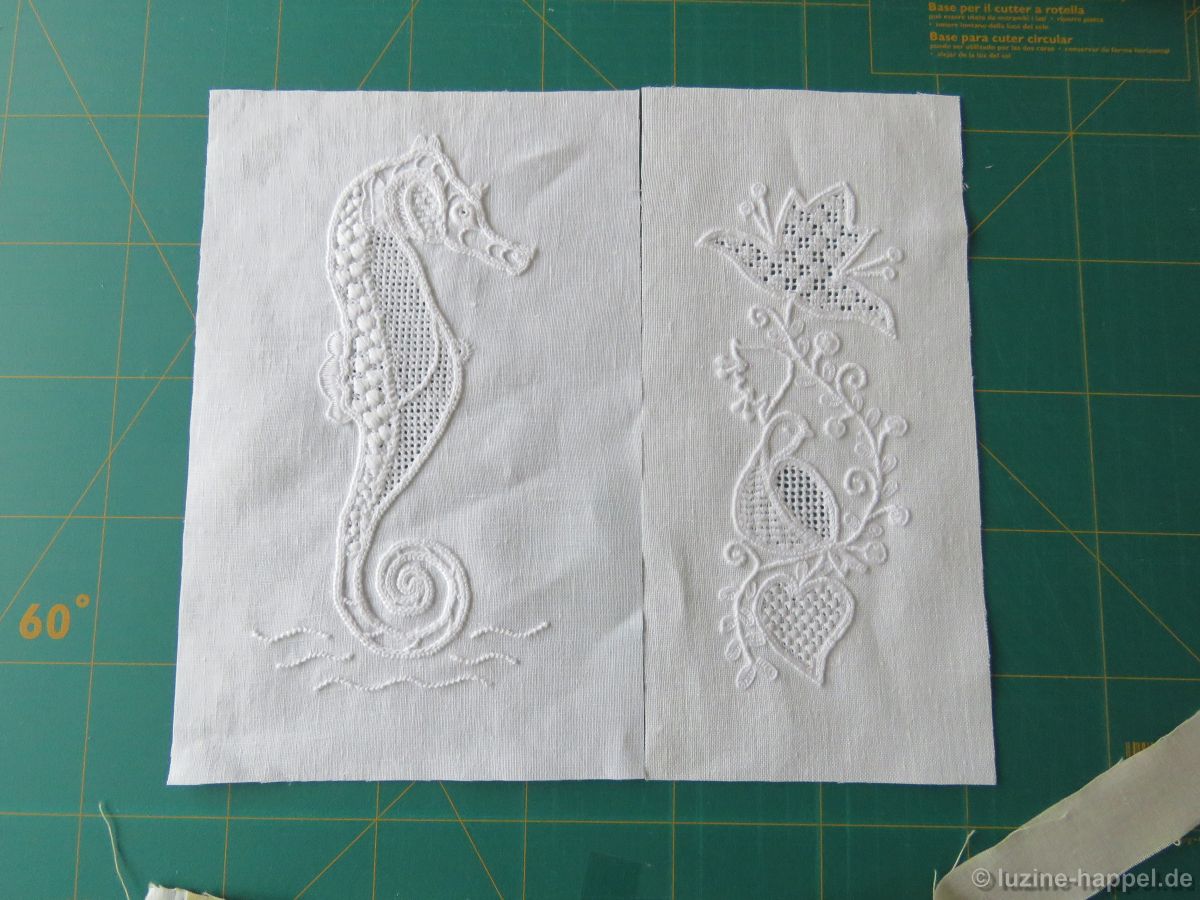
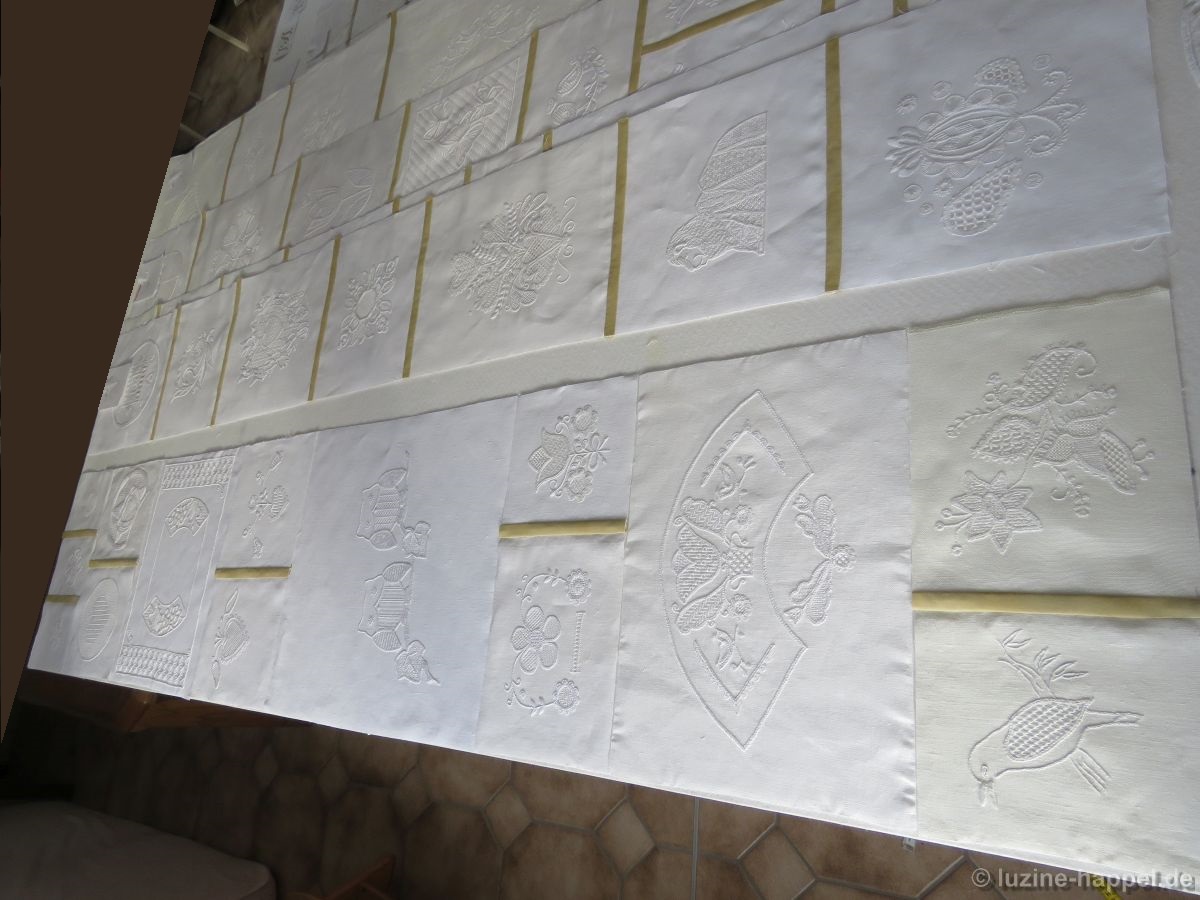
Sometimes two embroideries have to be placed next to each other within one column. Both are not always the same width, and it must be decided whether the wider embroidery should be placed on the left

or on the right side.

I will often make my decision after considering the layout of adjacent columns that are already finished.

If a column has divided sections, these are sewn together first.

Then the horizontal seams are sewn. Looking at the clock, I am amazed that another 2 1⁄2 hours have passed only for sewing these fourteen seams of the seven connecting strips, and I haven’t even started the seams requiring hand sewing.

I was a little worried because a few problem areas curled slightly while sewing. The concern was unfounded – when hung on the wall, this column is perfectly smooth, too!

After 7 days of about 8 hours of concentrated work each, only the last and most difficult column is left.

I’m a little concerned about the subsequent joining of the individual strips – the huge amount of fabric will be difficult to manage and long seams with always increasing amounts of fabric are difficult to maneuver under the sewing machine’s presser foot.

But that is a long way off. Now I am please to give you a little peek at the progress made so far.

Previous Update
Next Update