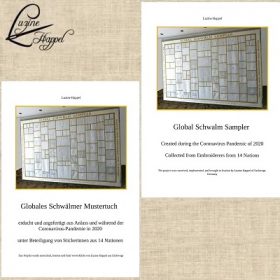
Global Schwalm Sampler – Update (40)
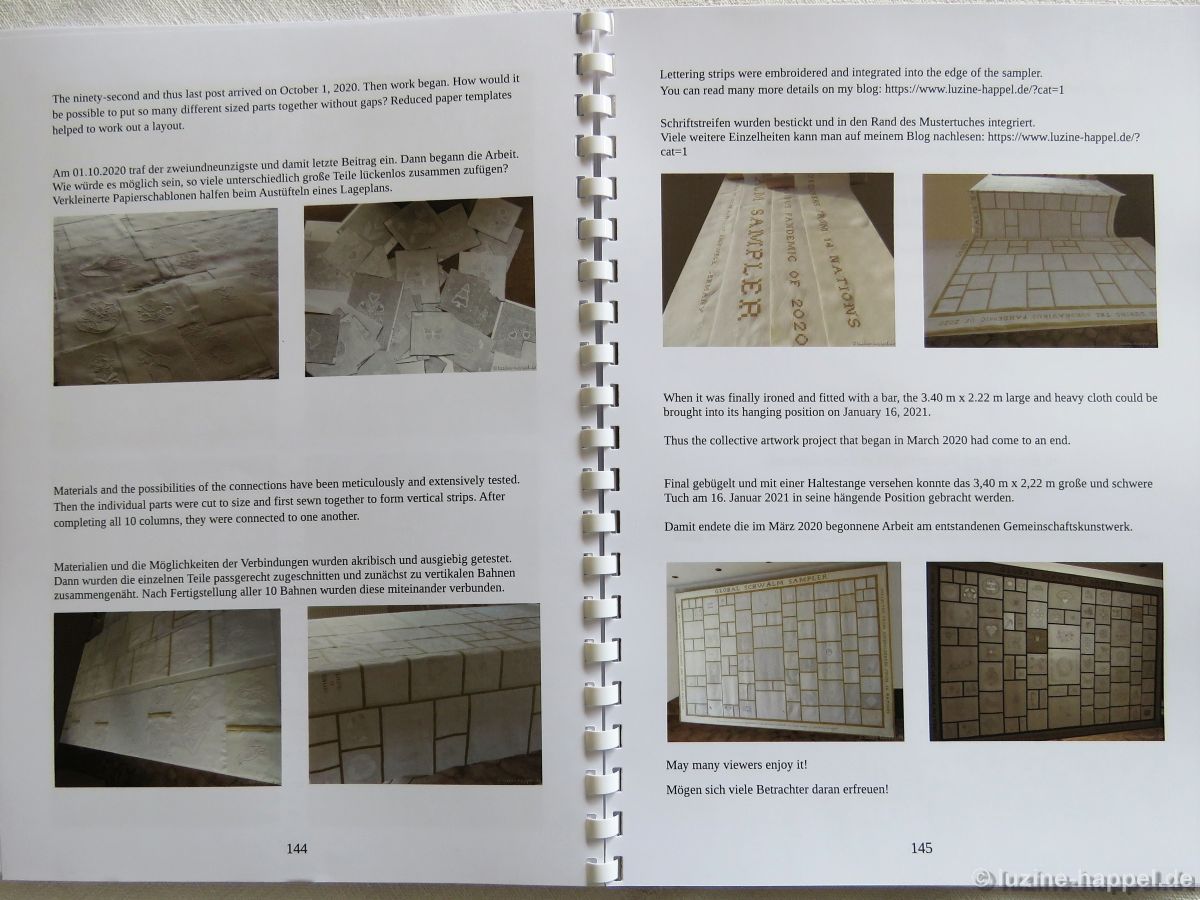
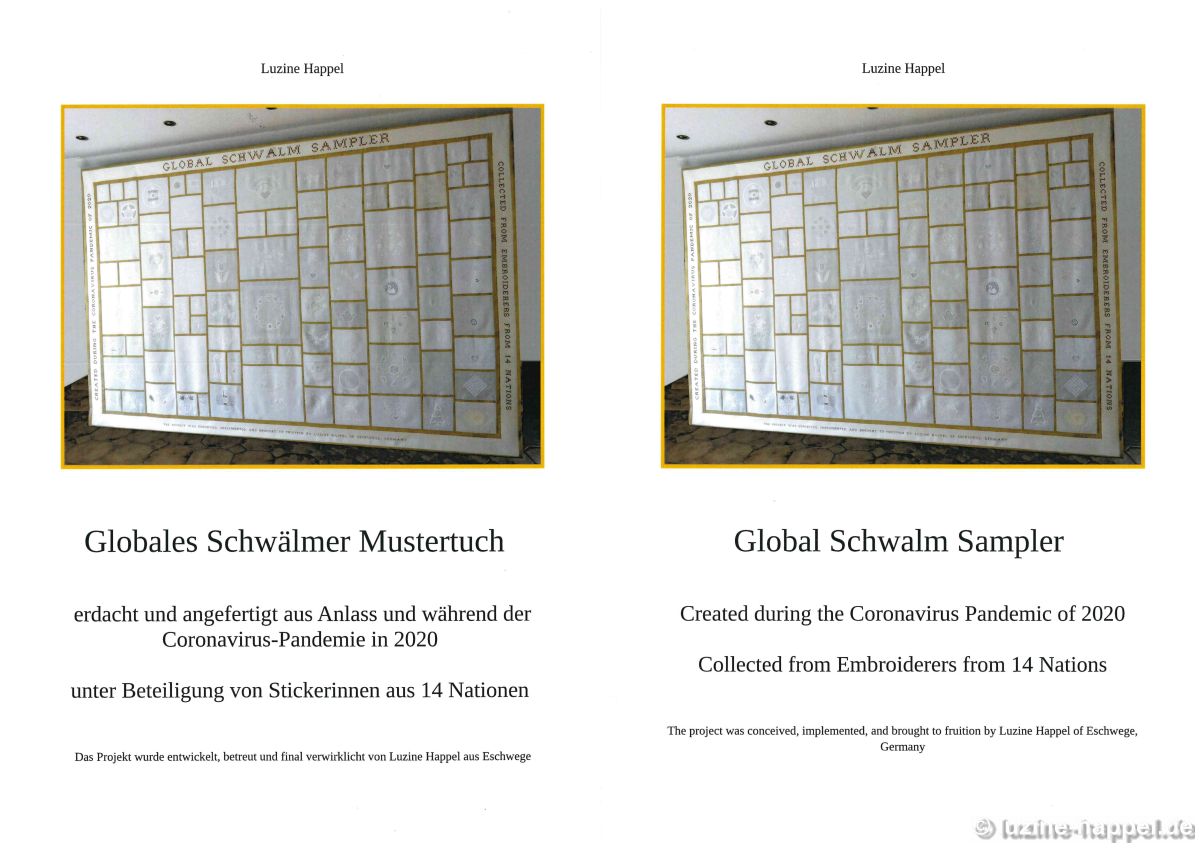
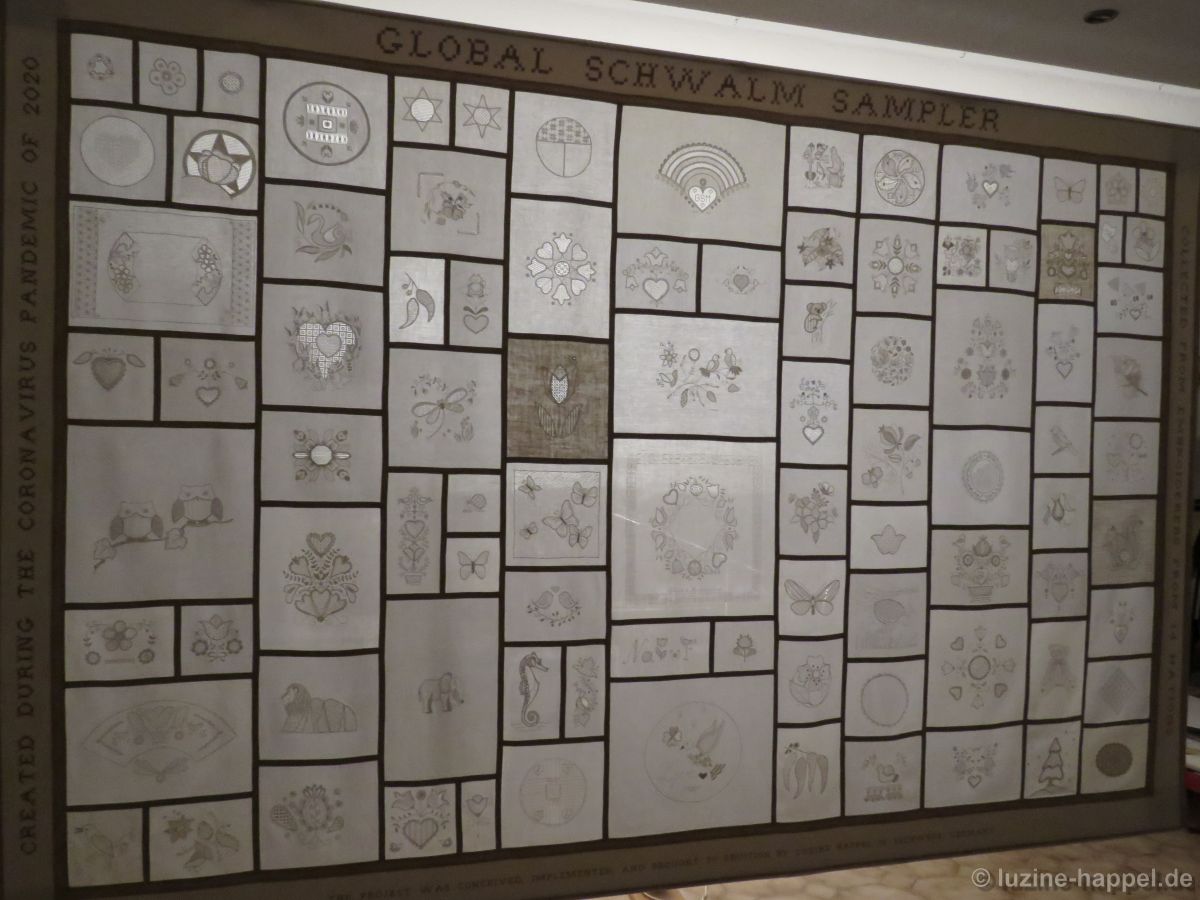
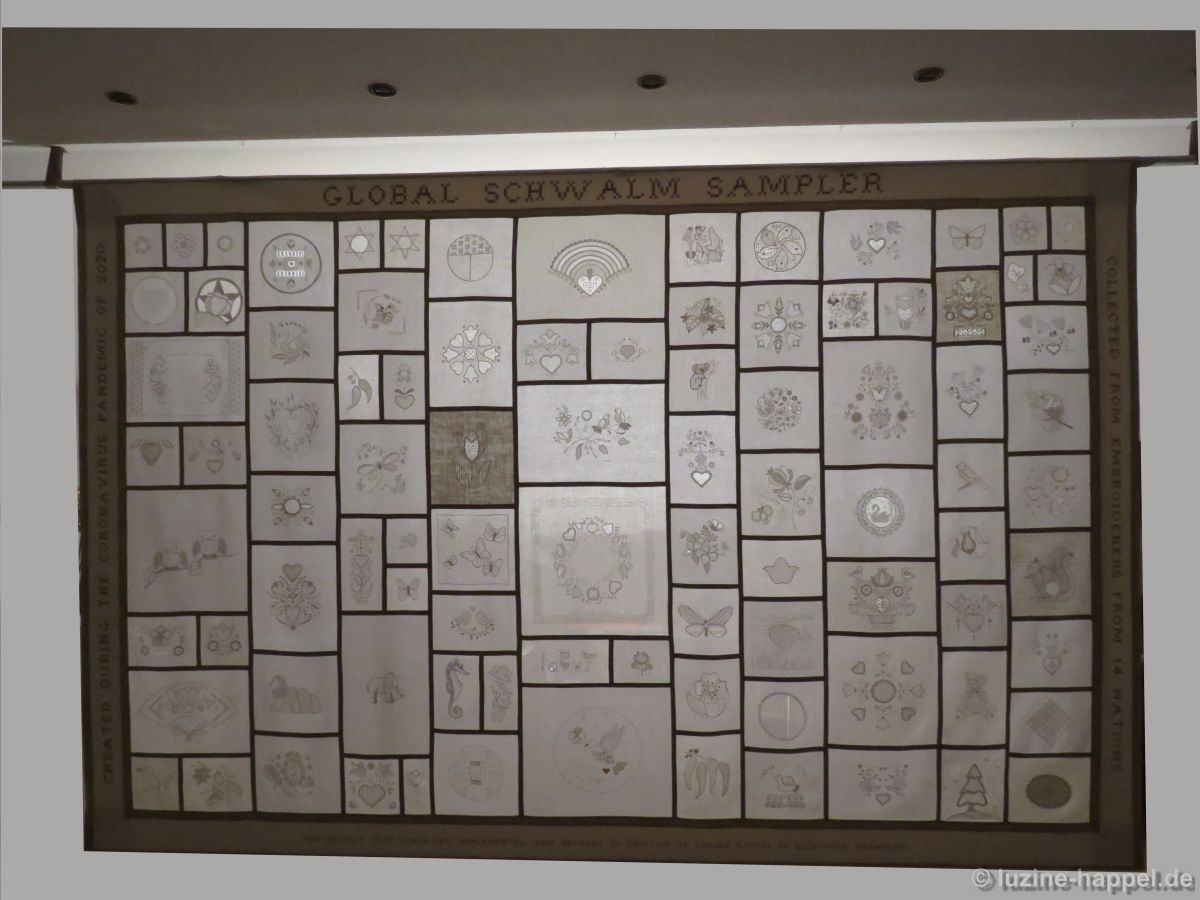
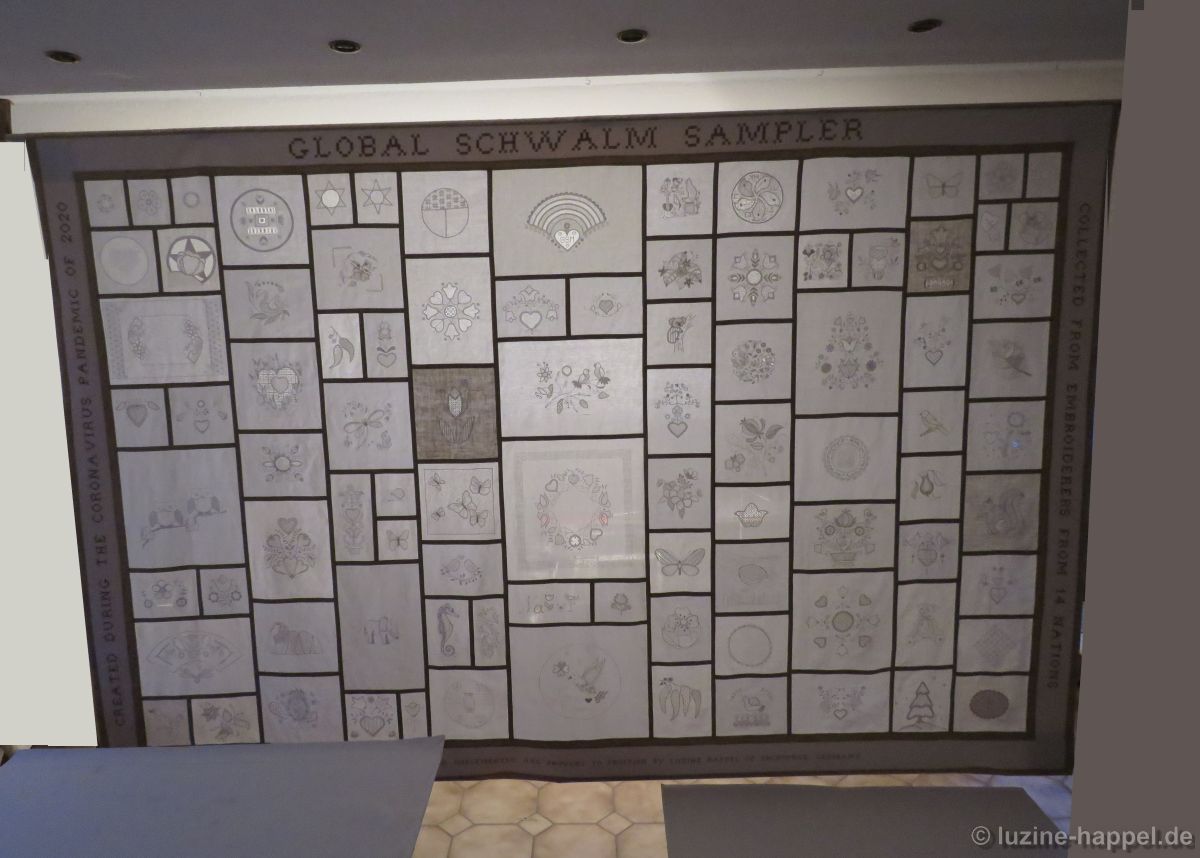
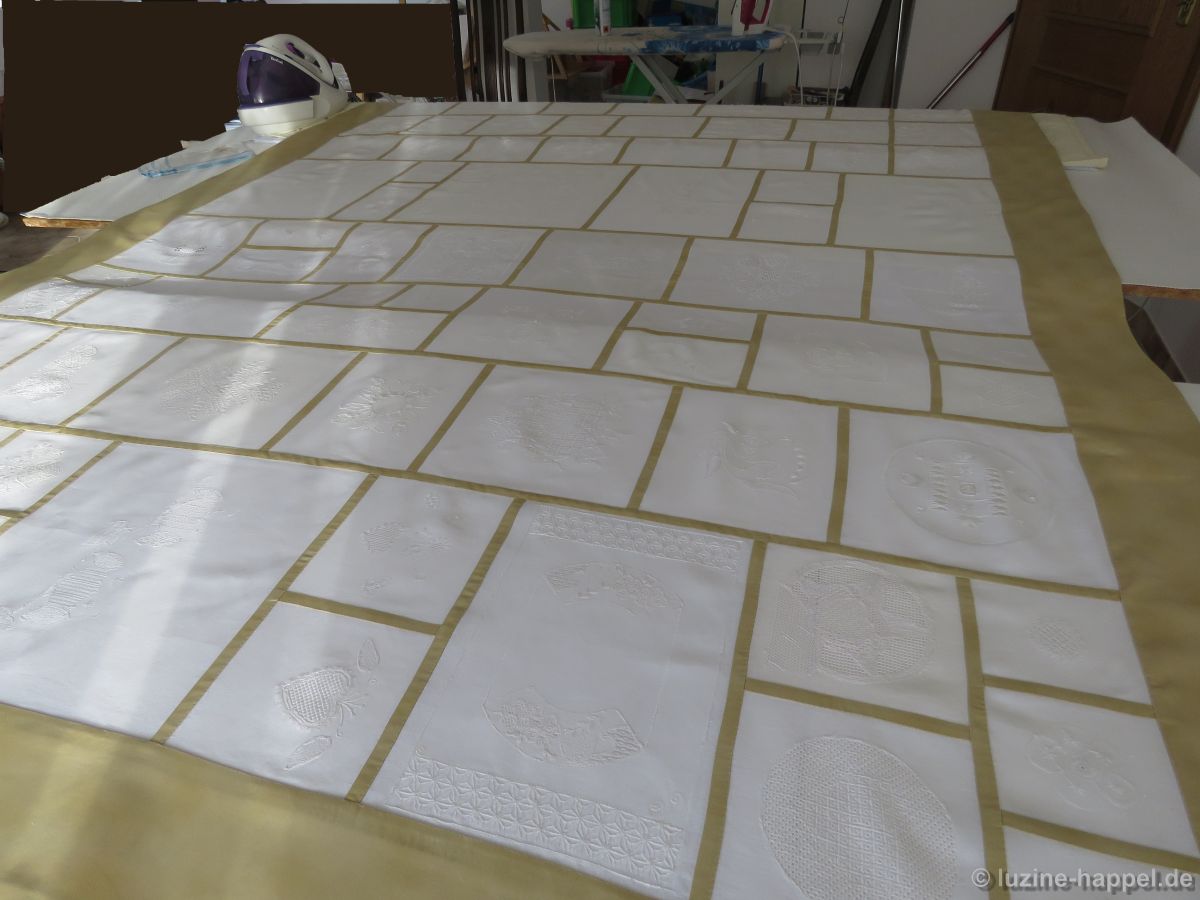
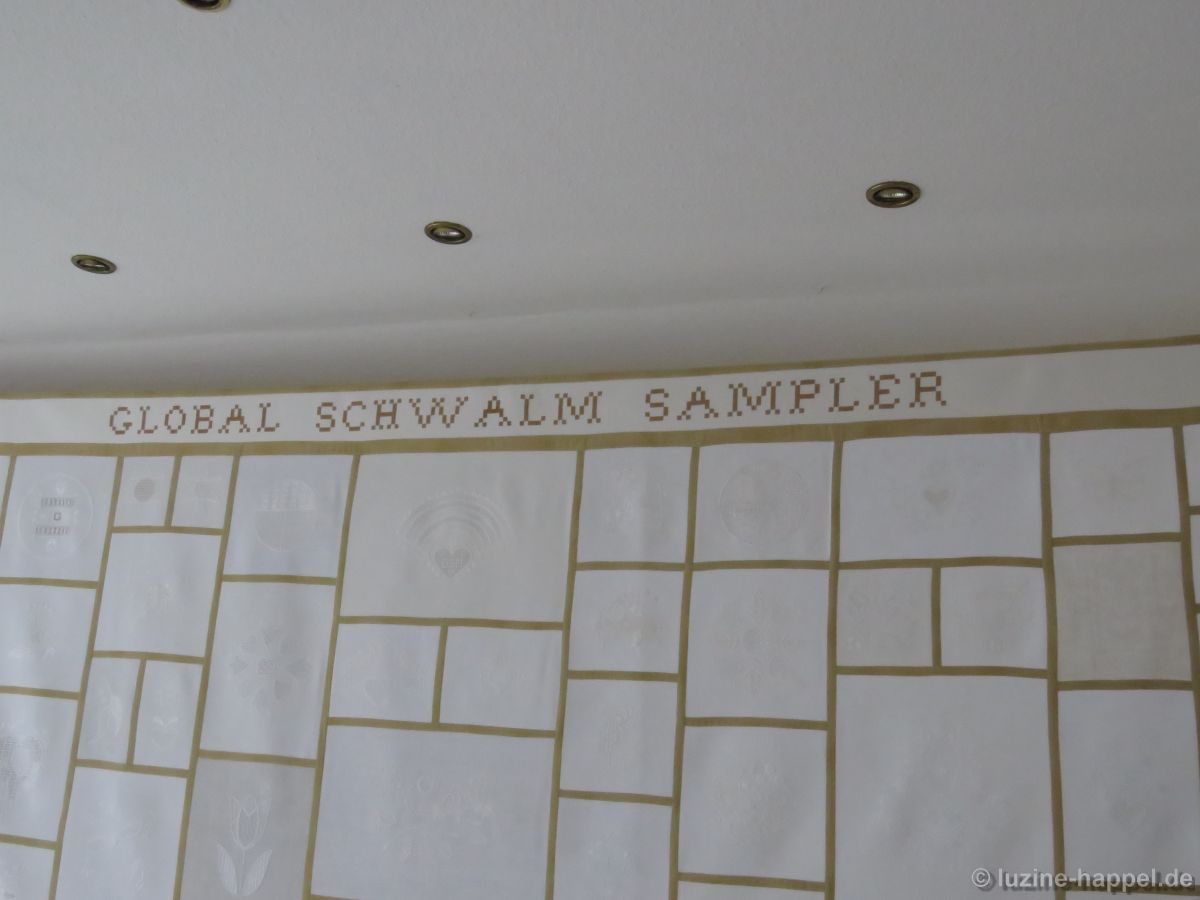
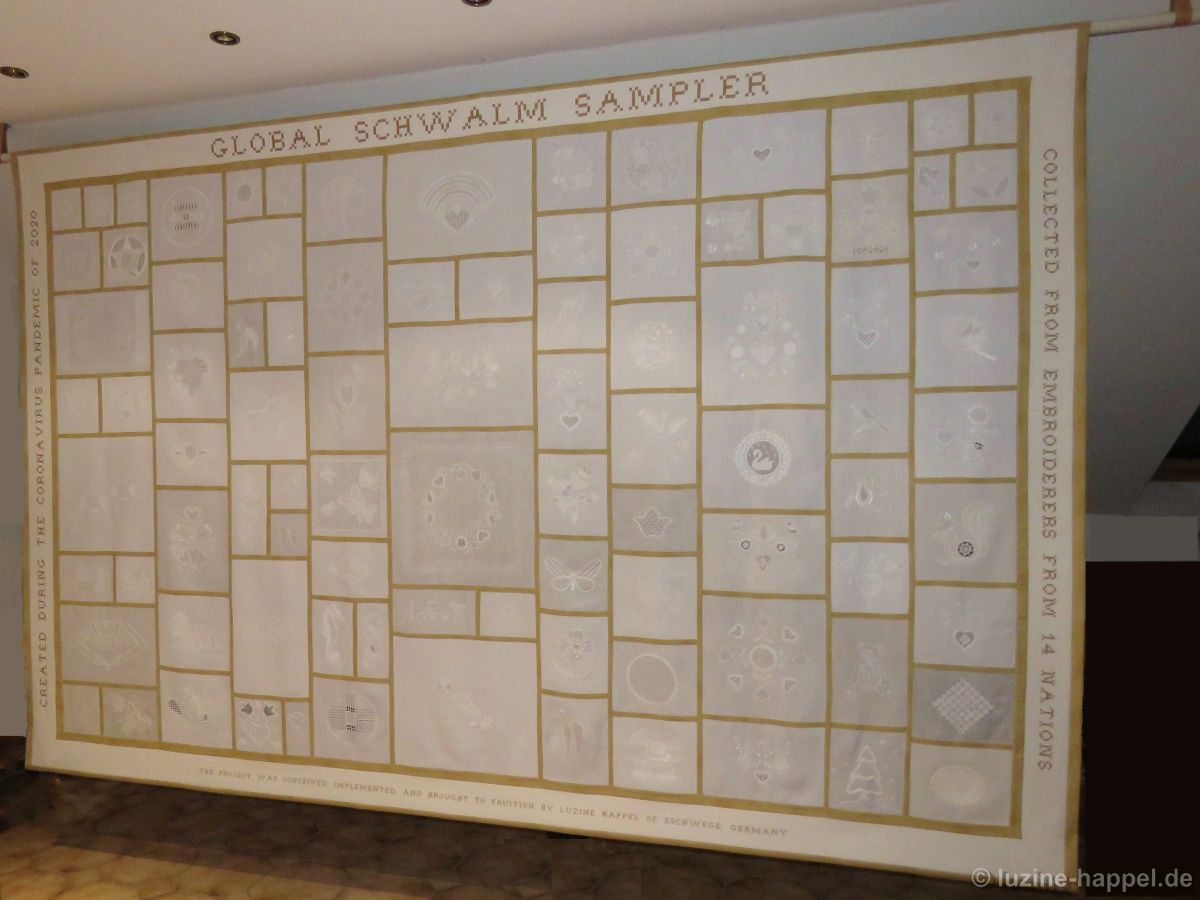
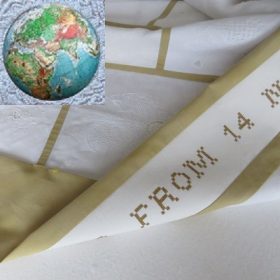
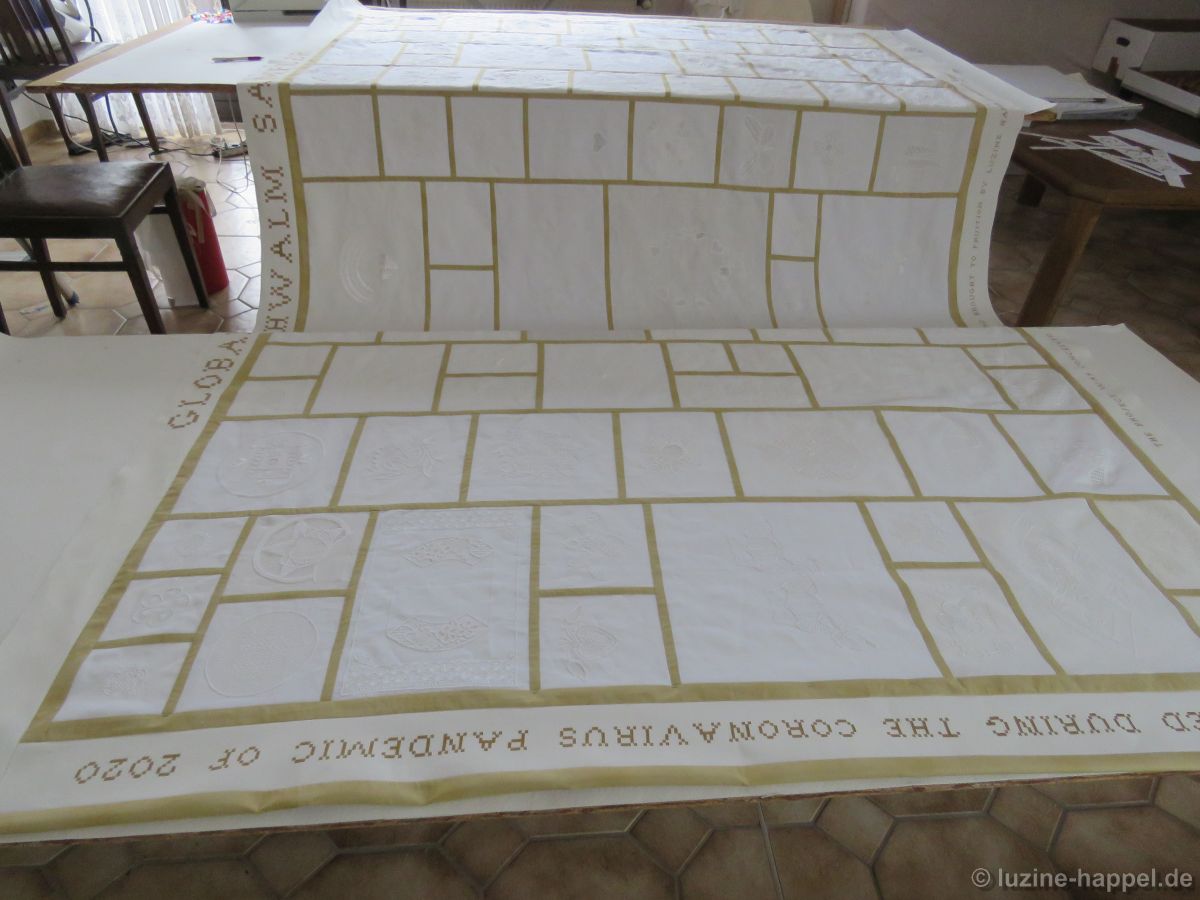
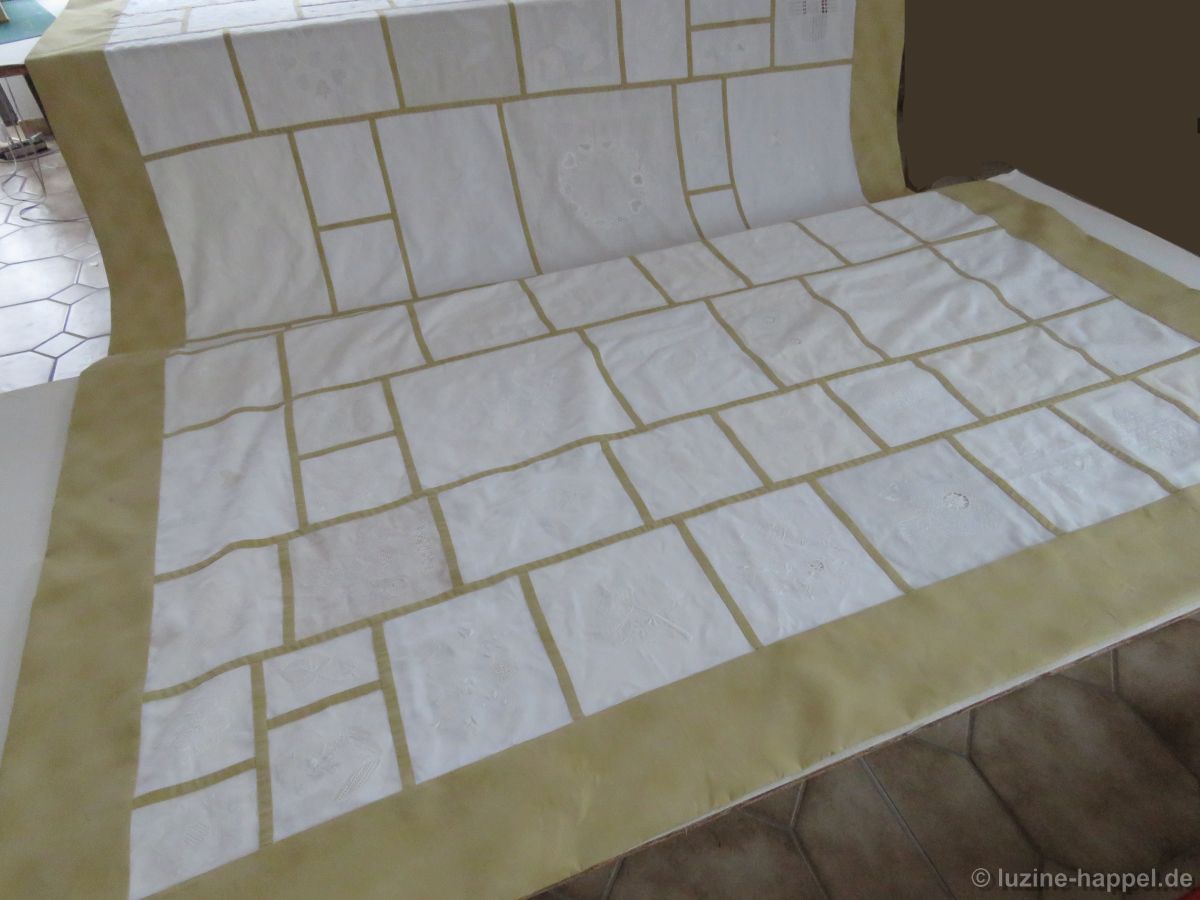
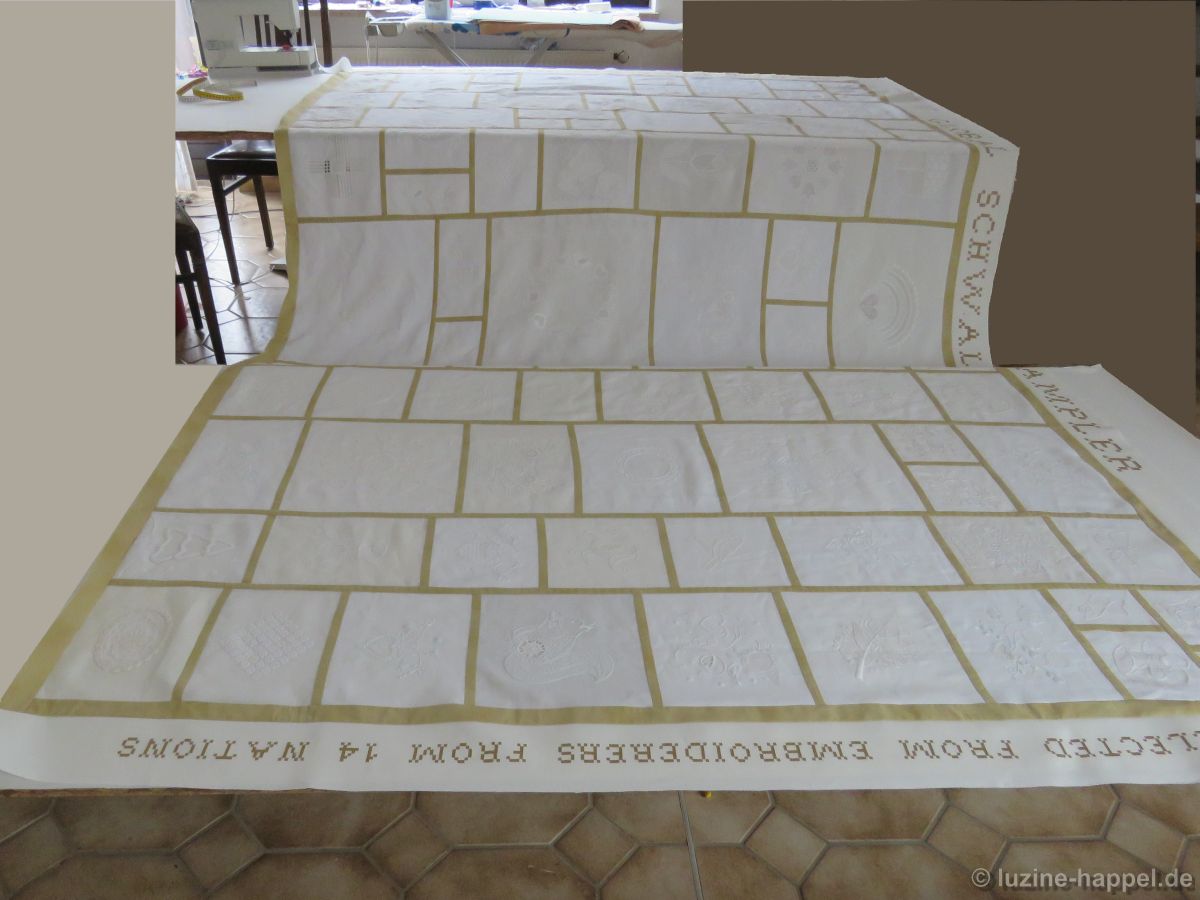
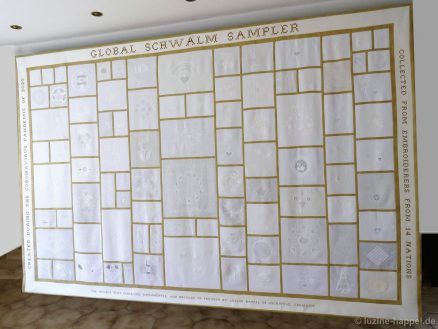
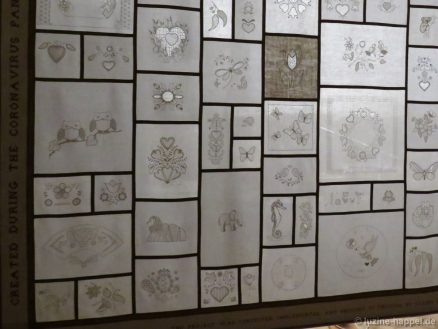
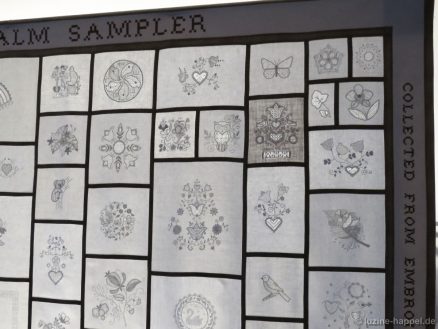
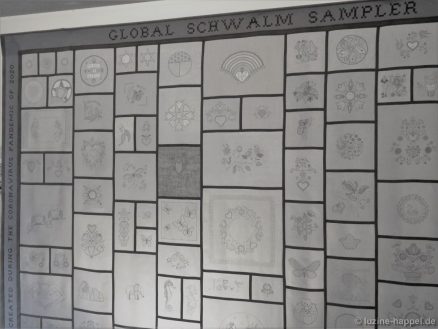
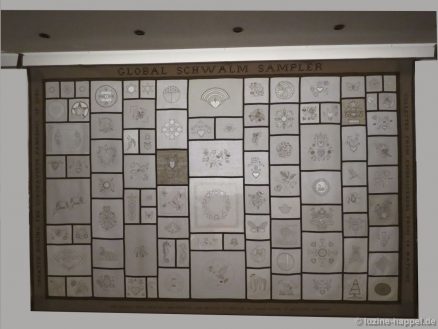
Now the sampler is ready. Its final a size is 3.40 m X 2.22 m!
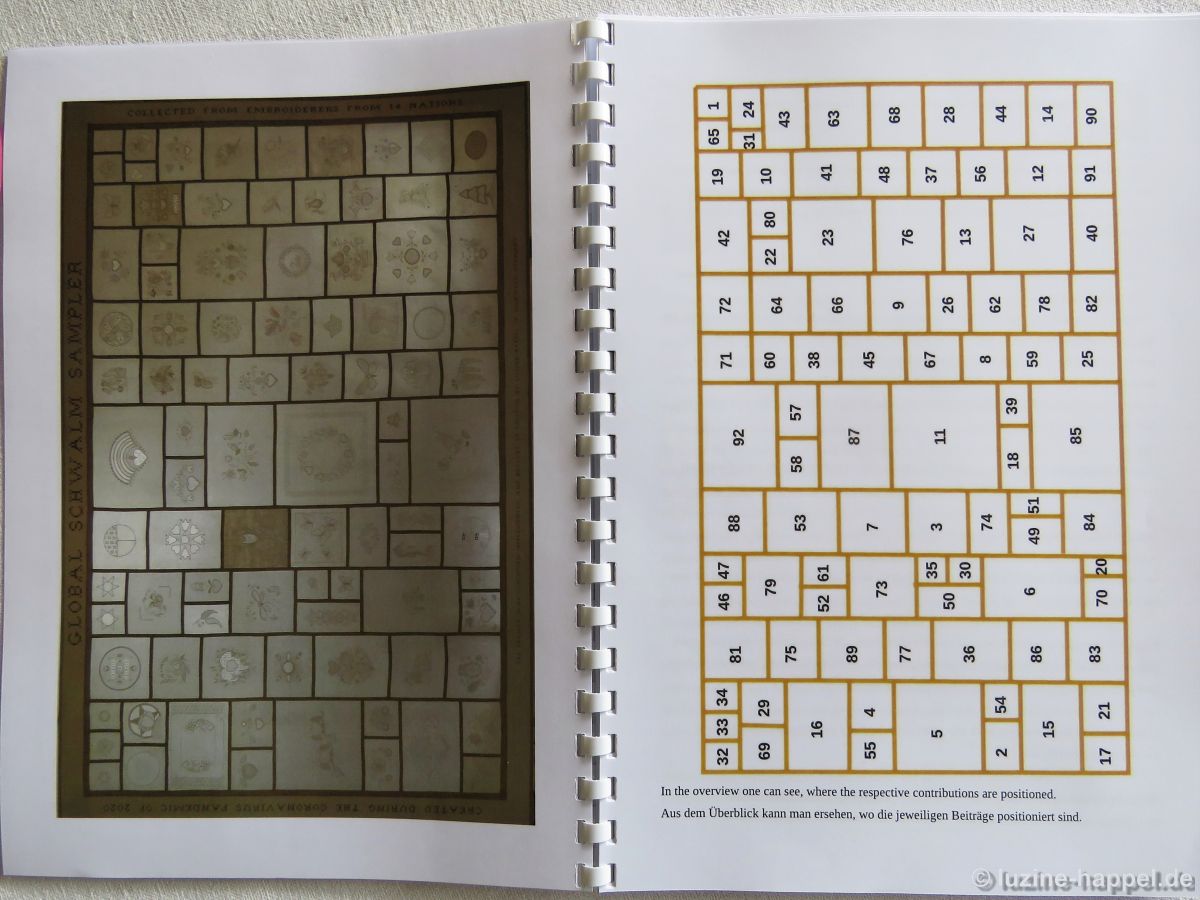
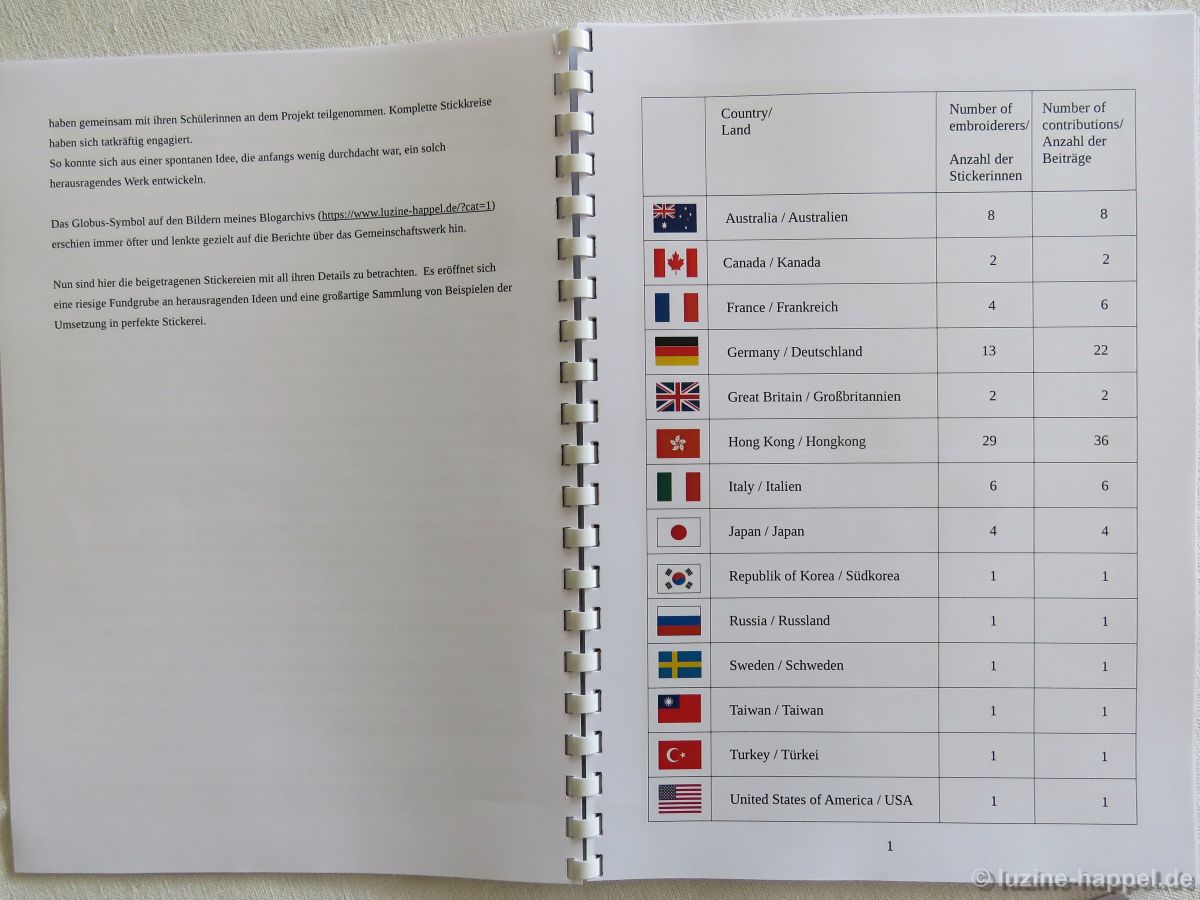
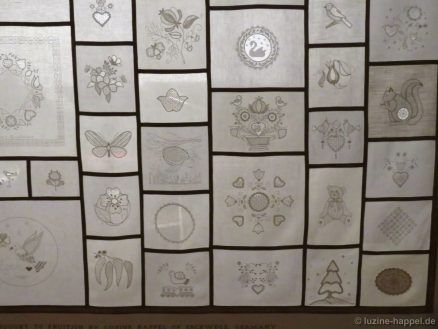
A superlative cloth was created not only because of these dimensions but also because 74 embroiderers from 14 nations with great creativity and a lot of work contributed a total of 92 very individual pieces.
Beginners were just as enthusiastic as seasoned embroiderers. Occasional embroiderers had good reason to pick up the needle again. Teachers participated in the project together with their students. Complete embroidery circles actively committed themselves.
In this way, such an outstanding work was able to develop from a spontaneous idea that was initially poorly thought out. This worldwide effort was also made possible by translating the idea into many different languages. Thanks to everyone involved for their invaluable help and selfless commitment.
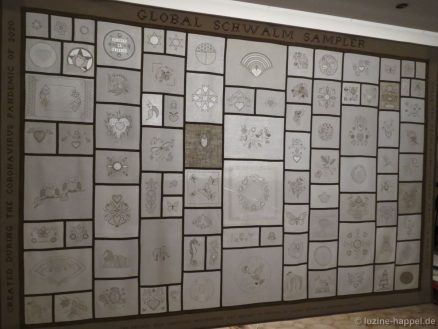
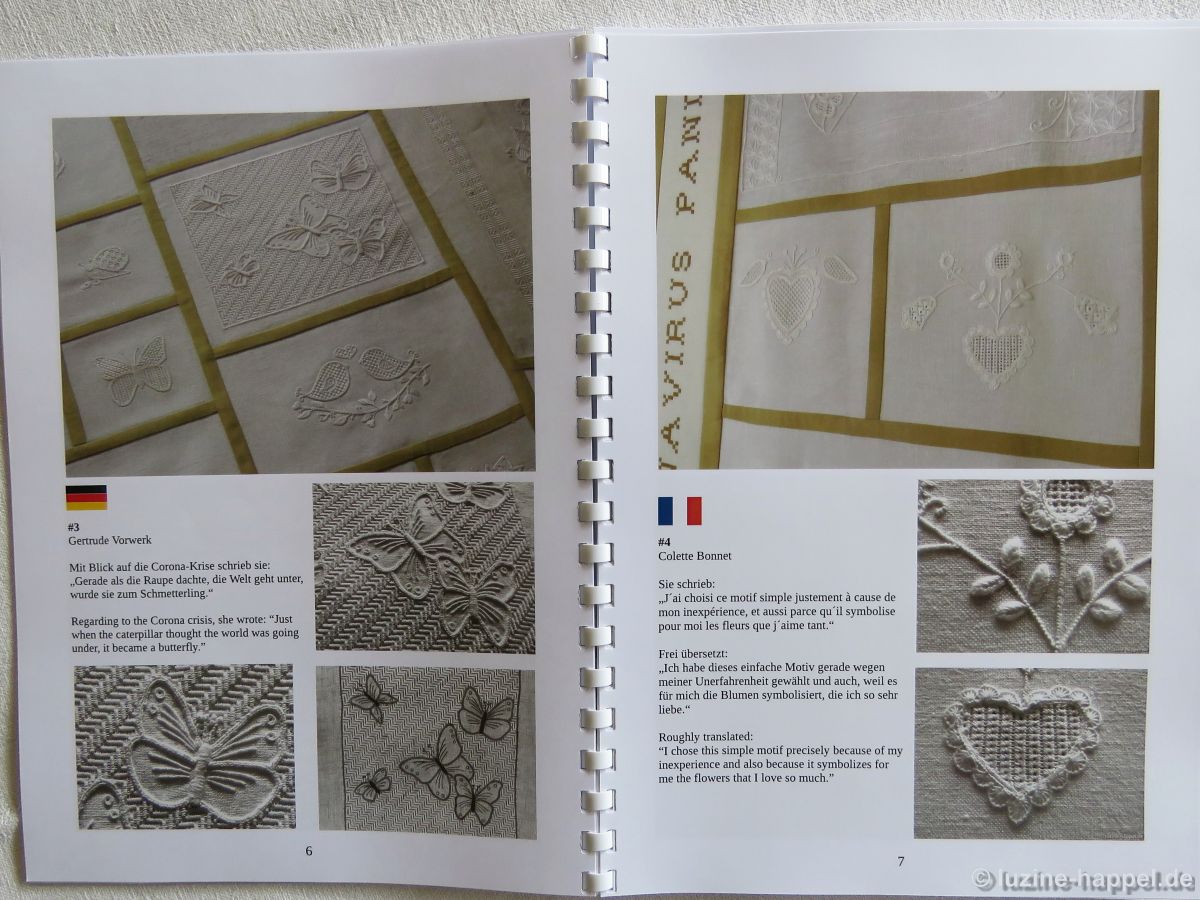
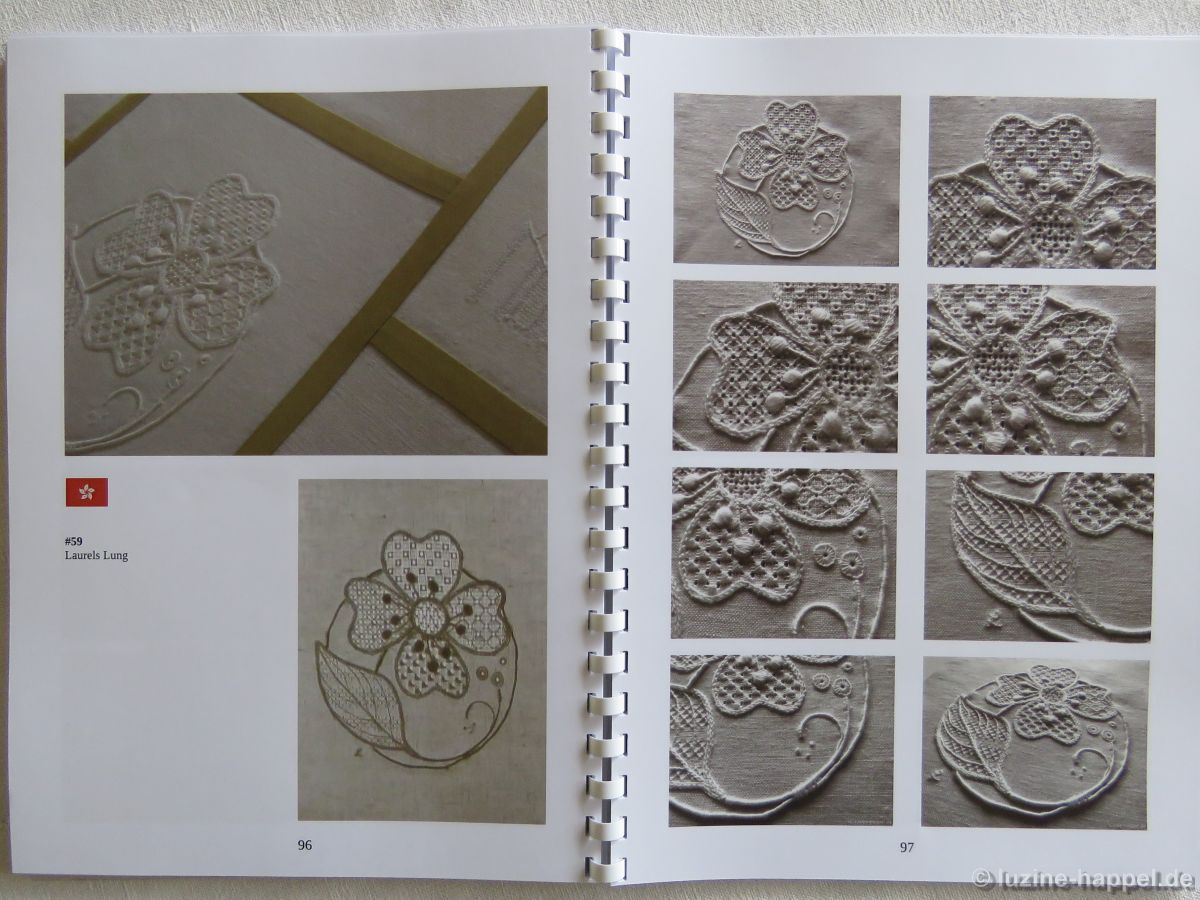
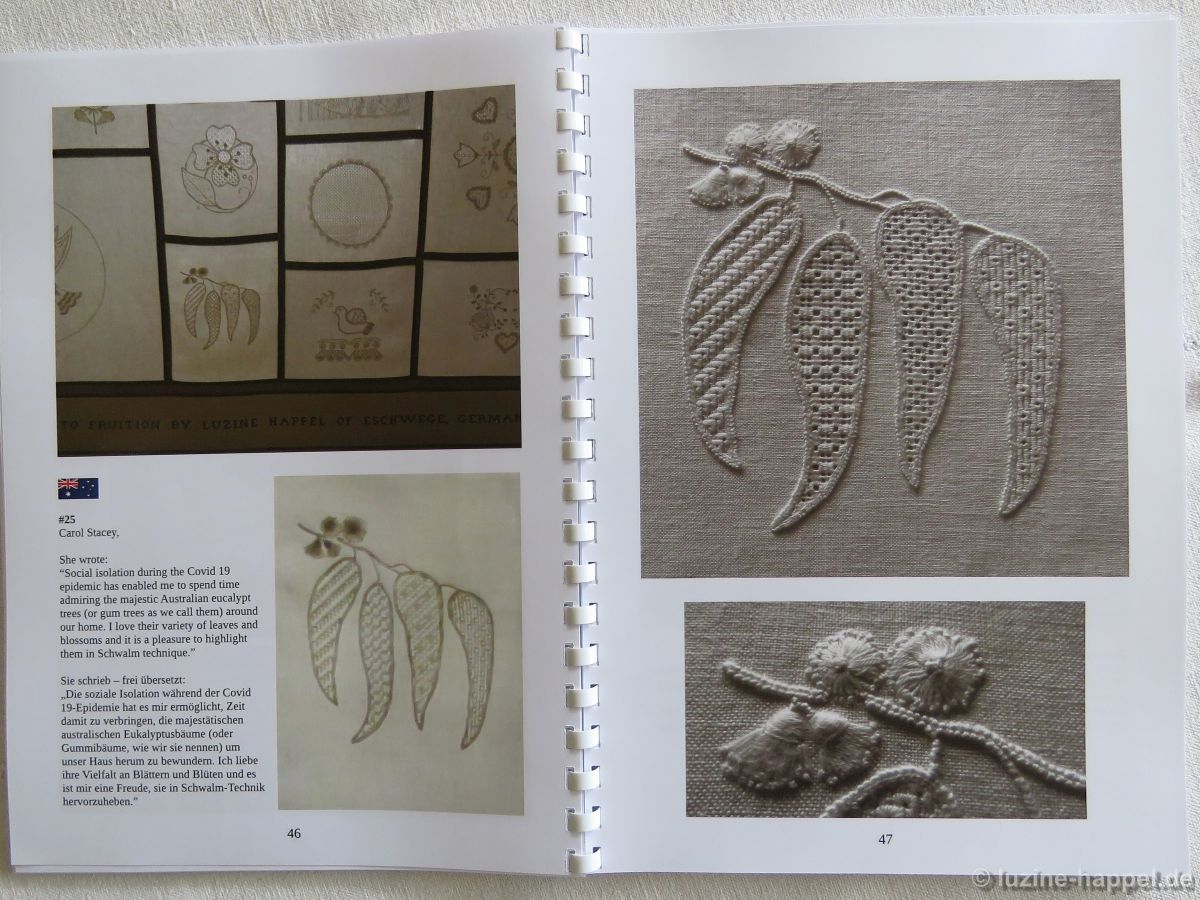
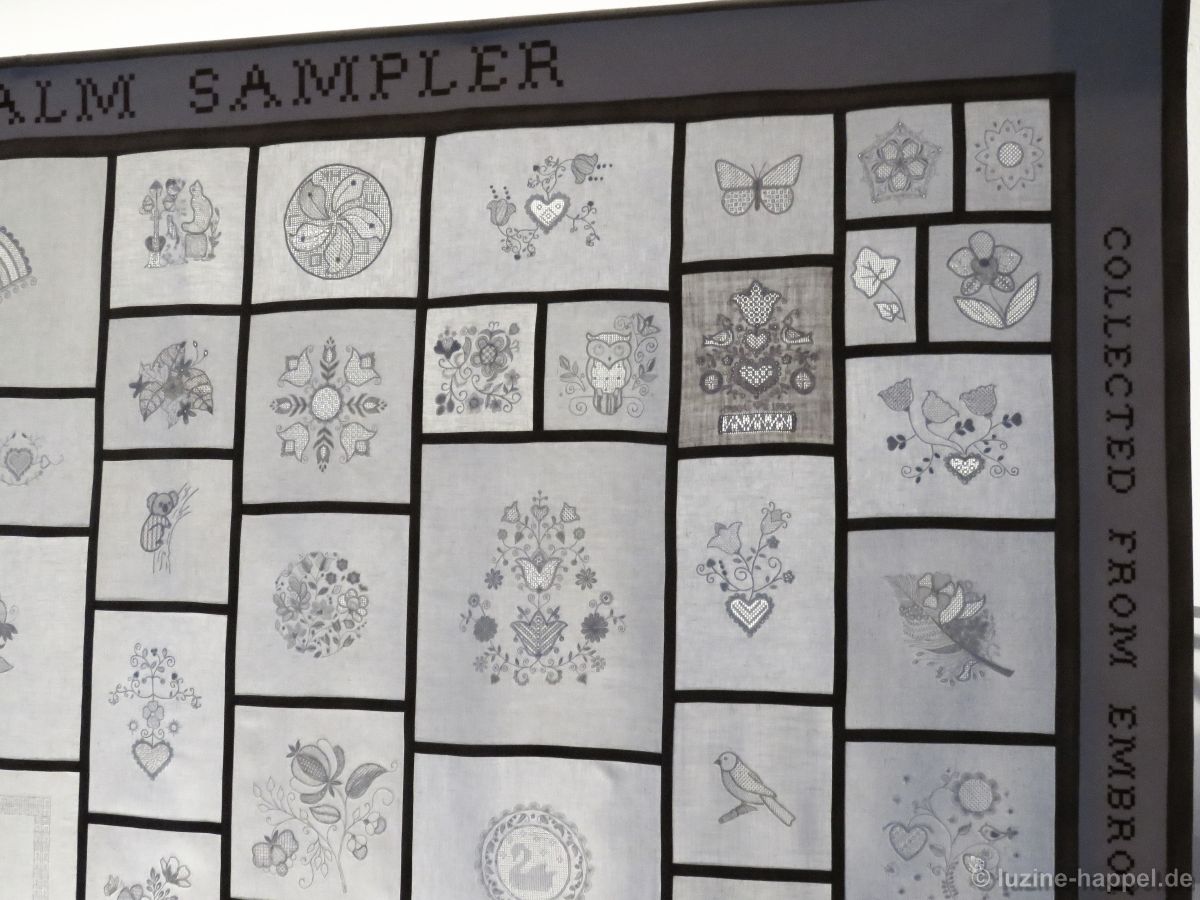
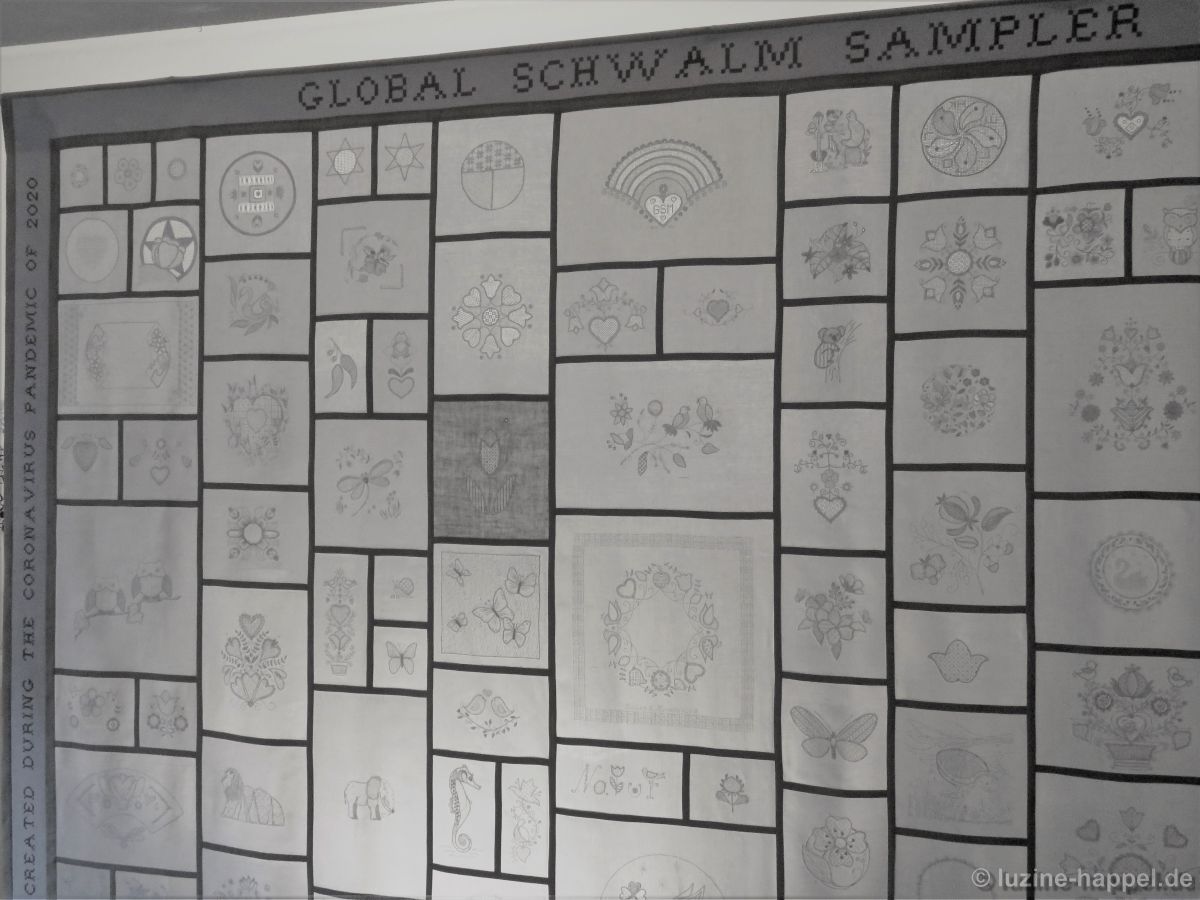
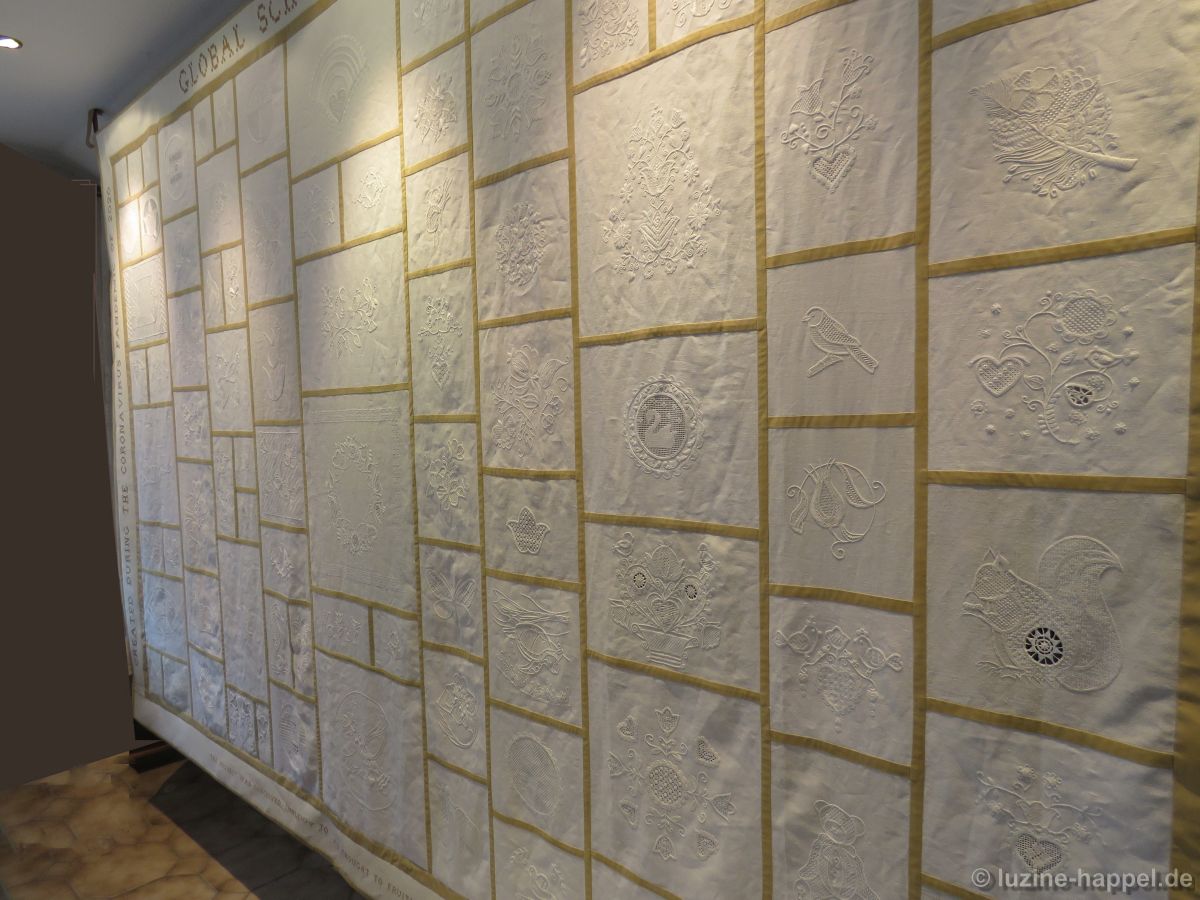
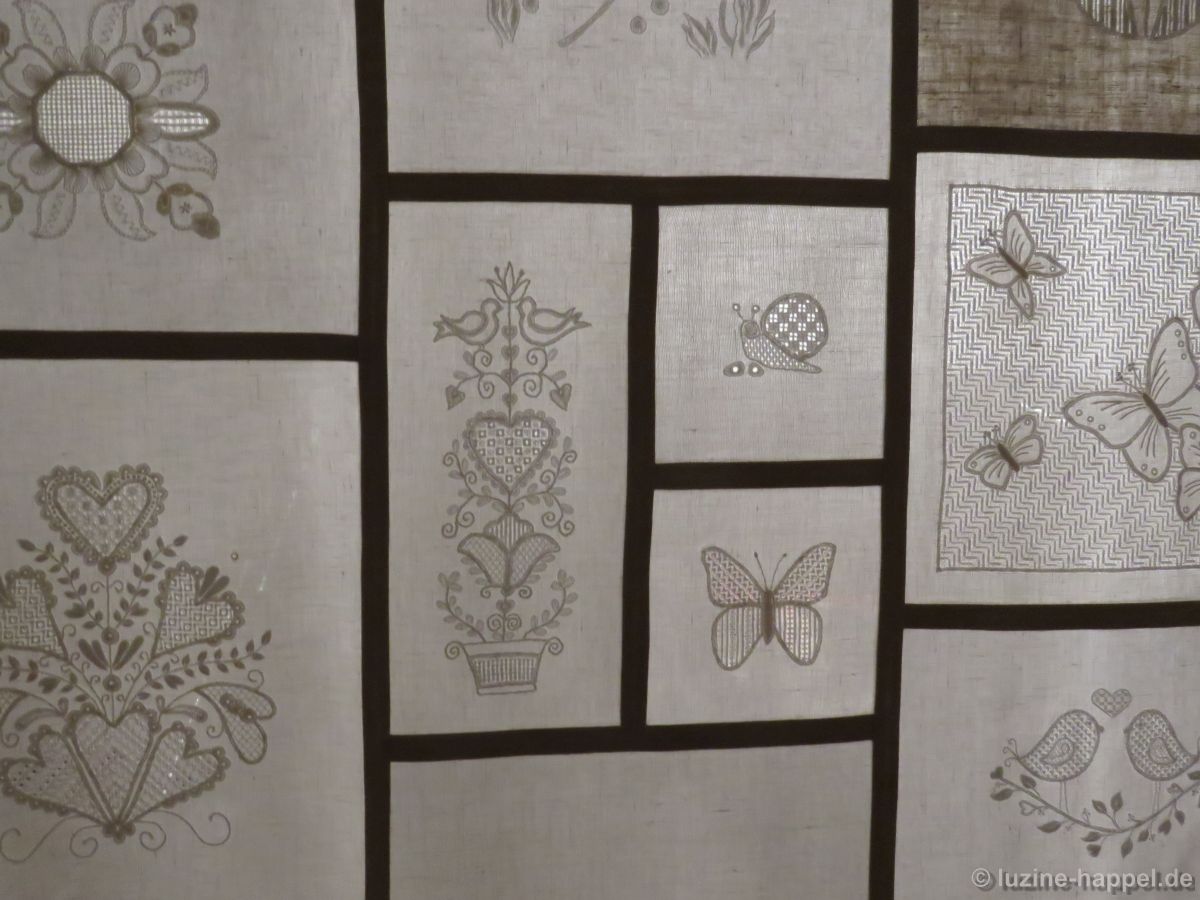
Unfortunately, all of its impressive beauty only unfolds in detailed photos or with backlighting. Only when viewing the entire ensemble in real life can the human eye perceives the imposing sublimity of the fine embroidery.
To everyone who contributed, I thank you from the bottom of my heart
- for accepting the food for thought
- for developing your own ideas
- for implementation in attractive designs
- for the generous provision of the required materials
- for many hours of fine embroidery
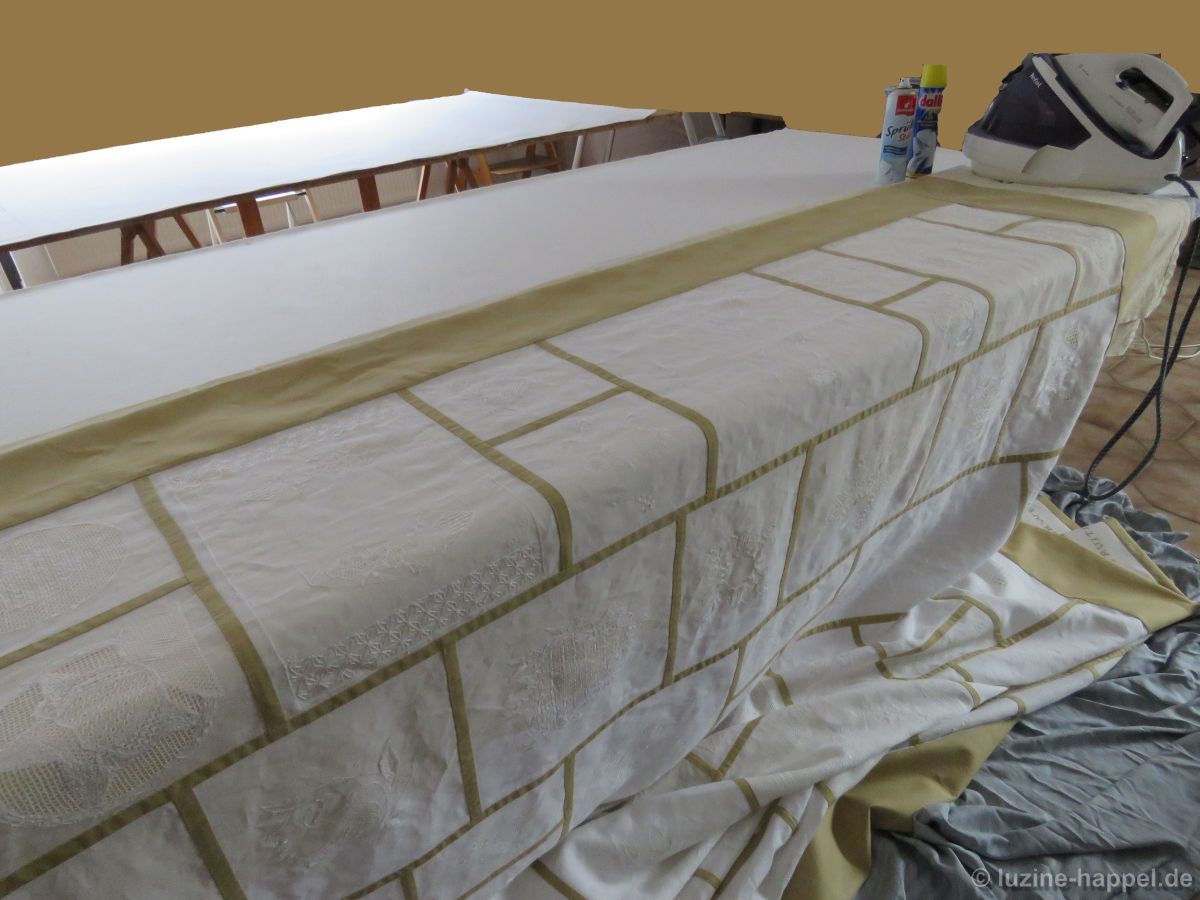
- for washing and ironing
- for safe packaging
- for the attached personal statements
- for the loving words / comments
- for delivery to the post office
- for the generous acceptance of part of the significant shipping costs, and not least
- for your commitment to show the world the beauty and the exceedingly interesting, varied, and specific techniques of Schwalm whitework.
If one recalls my definition of Schwalm whitework “Large areas of stylized motifs are surrounded with Coral Knot and Chain stitches, in the early form of Schwalm whitework also with Stem stitches. The inner surfaces are embroidered in different ways with simple, Limet and openwork patterns, in circular motifs also with needle lace and in the early form of Schwalm whitework with surface patterns. Decorative stitches complete the designs. The spaces between the motifs or around the motifs are filled with tendrils, small leaves and flowers.” Critics could point out that not all embroideries are based on the Schwalm technique. However, most of the participants followed this definition as can be seen in the following statistics. Approximately 11,129 cm Coral Knot stitches and approx. 7,734 cm Chain stitches were embroidered. (I laid a thread along the respective stitches and measured the length of the thread at the end, so the distances – including those of spirals for example – were relatively easy to calculate.) Nineteen embroiderers also chose stem stitches for working stems.
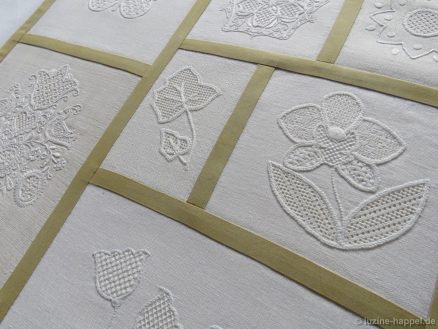
A total of 577 areas were filled with patterns from all five categories, with the Limet filling patterns being the most popular. I counted 96 different patterns – there are some that were unknown to me until then. The embroiderers were not only very creative in terms of design, but also in the execution of the embroidery.
280 Blanket stitched eyelets and 1058 Blanket stitch half-eyelet scallops were made.
683 small leaves, 123 satin stitch points and 420 tendrils adorn the embroidery.
Herringbone stitches, Lazy Daisy stitches, Eyelash stitches, Bouillon knots, and Bouillon stitches were often used. Many other decorative stitches completed the range.
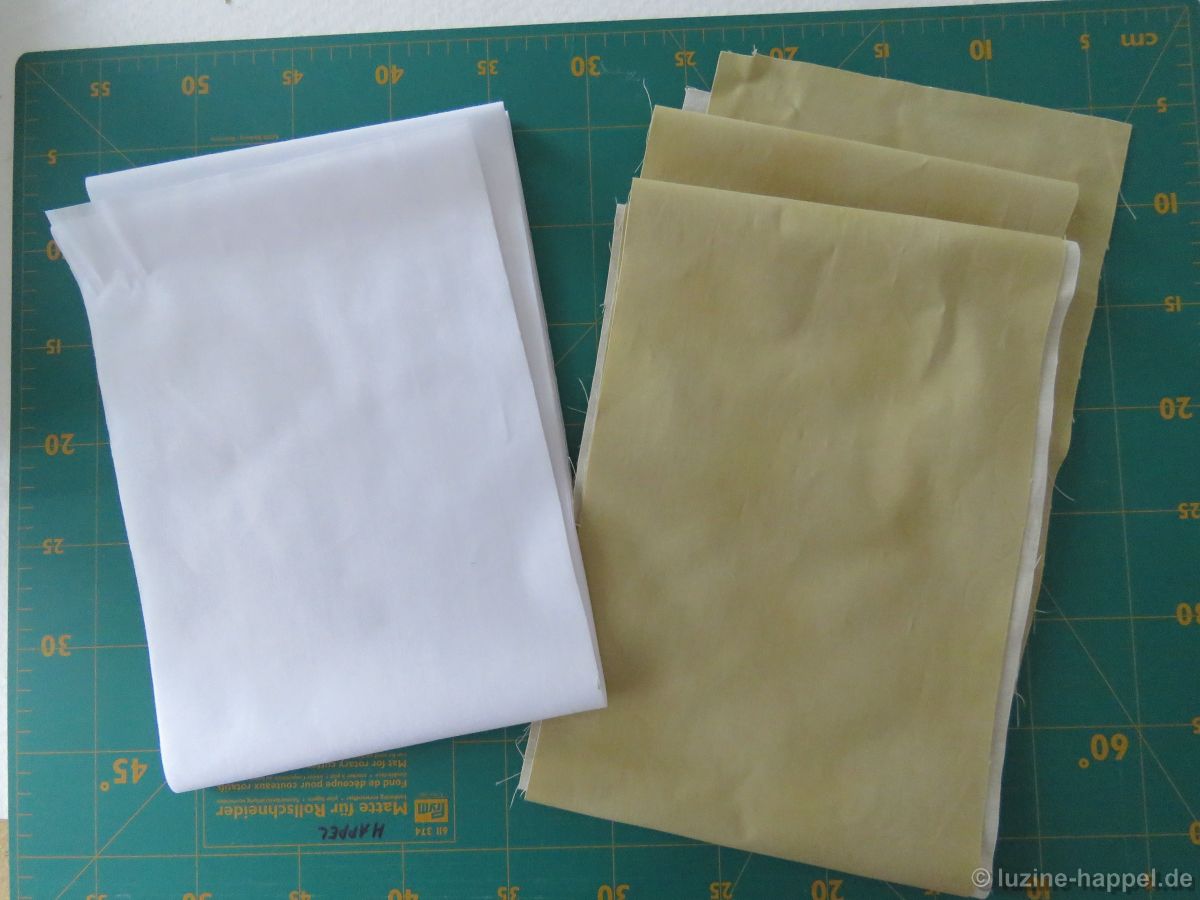
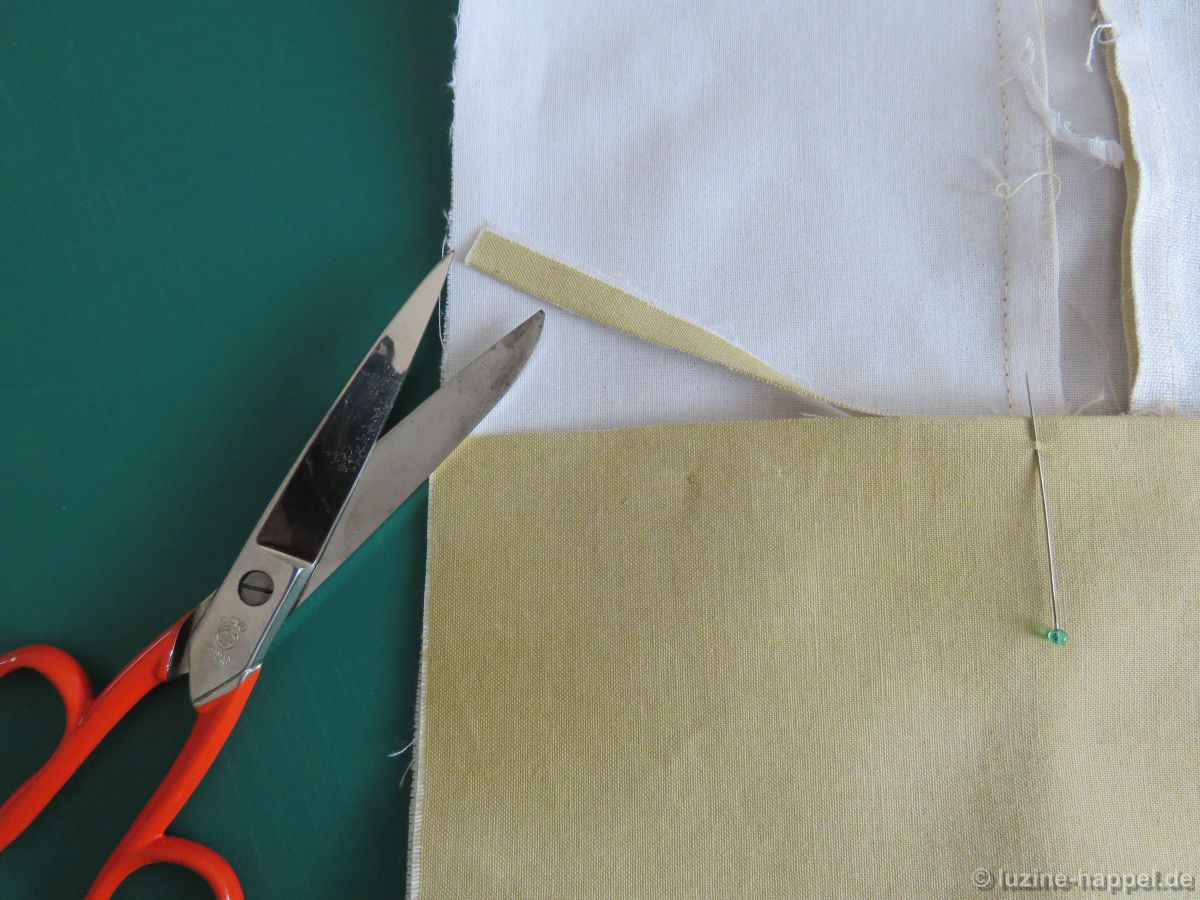
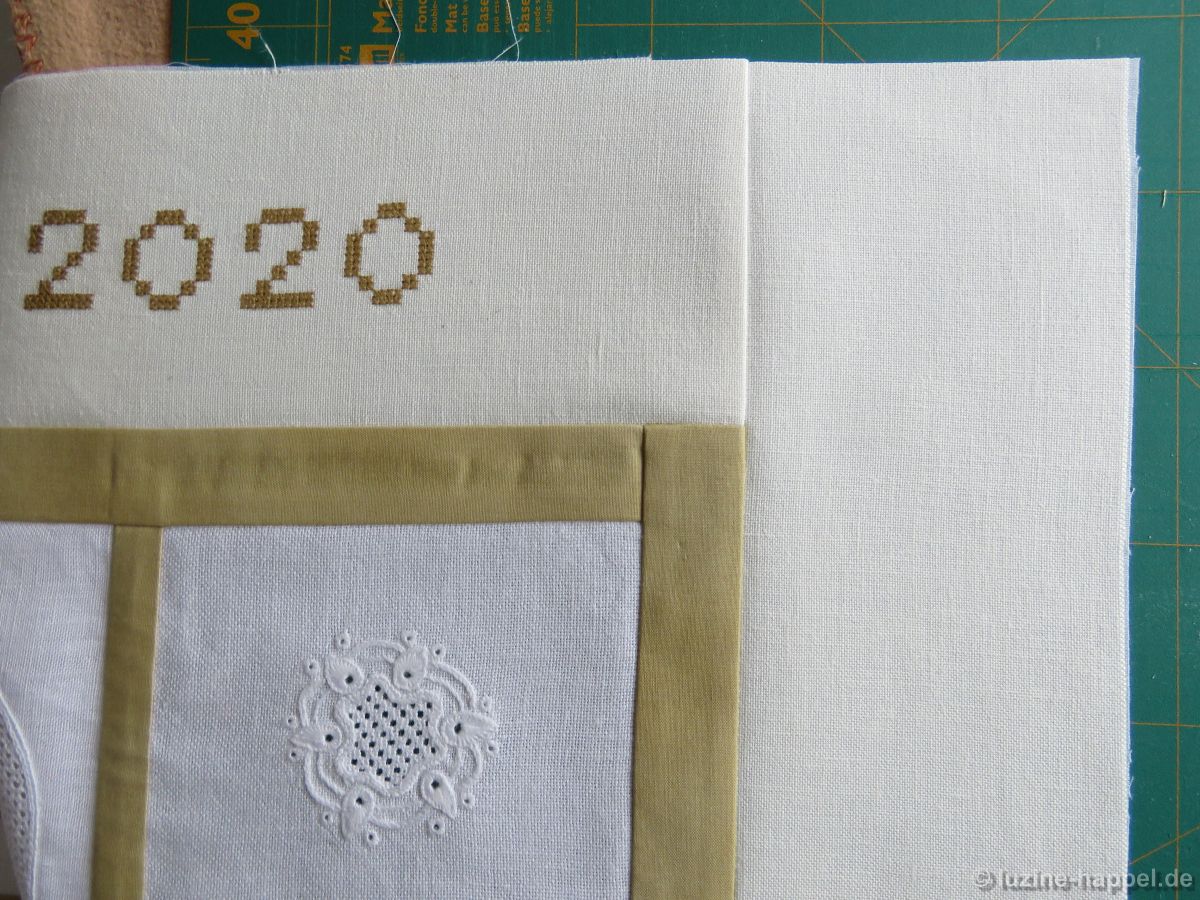
Fabrics totaling nearly 69,950 cm² were sent to me, and, in order to be able to put everything together properly, these were cut back to a final size of 58,520 cm².
It would also be interesting to know how much thread has been used. Of course, the thread consumption depends on many factors and cannot be precisely calculated. But since I know that many of my blog readers would love to get an idea of it, I made a very rough calculation based on mean values. Years ago, when I was only doing embroidery for my own enjoyment, I kept detailed records of, among other things, thread consumption. So I can now draw on a wealth of experience.
With one meter of thread (divided into two halves) I can embroider an average of 19 cm Coral knot stitches. That would be a thread consumption of approx. 586 m or approx. 20 skeins (11129 cm: 19 cm = 585.74 cm; 586 m: 30 m = 19.53 skeins of 30 m).
With one meter of thread I can embroider an average of 20 cm Chain stitches. That would be a thread consumption of approx. 387 m or approx. 13 skeins (7734 cm: 20 cm = 386.70 cm; 387 m: 30 m = 12.9 skeins of 30 m).
With one meter of thread I can embroider about 5 Blanket stitch eyelets. That would be a thread consumption of approx. 2 skeins (280: 5 = 56 m; 56 m: 30 m = 1.87 skeins).
With one meter of thread I can embroider around 8 Blanket stitch half-eyelet scallops. That would be a yarn consumption of 132 m or 4 skeins (1058: 8 = 132.25 m; 132: 30 m = 4.40 skeins).
With one meter of thread I can embroider about 10 small leaves. That would be a thread consumption of 30 m or one skein (300: 10 = 30 m; 30 m: 30 m = 1 skein).
With one meter of thread I can embroider about 5 slightly larger leaves. That would be a thread consumption of 77 m or 3 skeins (383: 5 = 76.6 m; 77 m: 30 m = 2.57 skeins).
Of the 58,520 cm² of linen on the sampler, roughly 5,033 cm² (that’s a little more than 70 cm x 70 cm) are embroidered with filling patterns. For a filling pattern with little thread consumption (Rose stitch, etc.) one needs about 30 cm thread / cm², but for a dense Satin stitch pattern one can easily calculate about three times and for a densely embroidered Limet pattern easily six times as much. After looking through all the patterns used from this point of view, I decided to assume an average thread consumption of 60 cm thread / cm². With 5,033 cm² of embroidered area that would be 301,980 cm of thread, i.e. around 3,020 m and thus approx. 100 skeins of embroidery thread just for the filling patterns, including the Satin stitch fillings.
In all that would be:
- 20 skeins for the Coral knot stitches
- 13 skeins for the Chain stitches
- 2 skeins for the Blanket stitch eyelets
- 4 skeins for the Blanket stitch half-eyelet scallops
- 4 skeins for the leaves
- 100 skeins for area fill patterns and in addition
- 2 skeins for all remaining stitches
So the consumption adds up to approx. 145 skeins of 30 m of embroidery threads.
Before the Global Schwalm Sampler can be viewed in reality, the pandemic barriers must be removed. Until then we must be content with the pictures shown here. If you want to enjoy all the beautiful embroideries again in detail, it is best to start here (up from Update 25. The concentrated load of interesting details is impressive.
Previous Update
A documentation about the Gloabl Schwalm Sampler is found here.